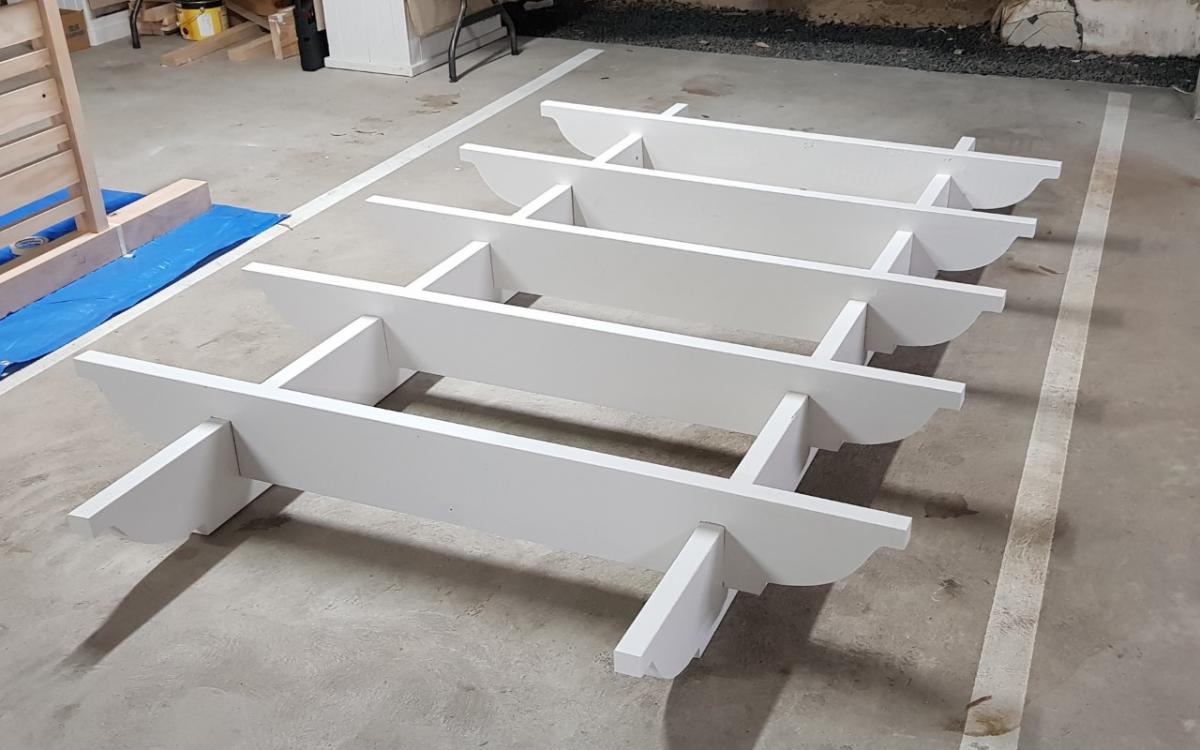
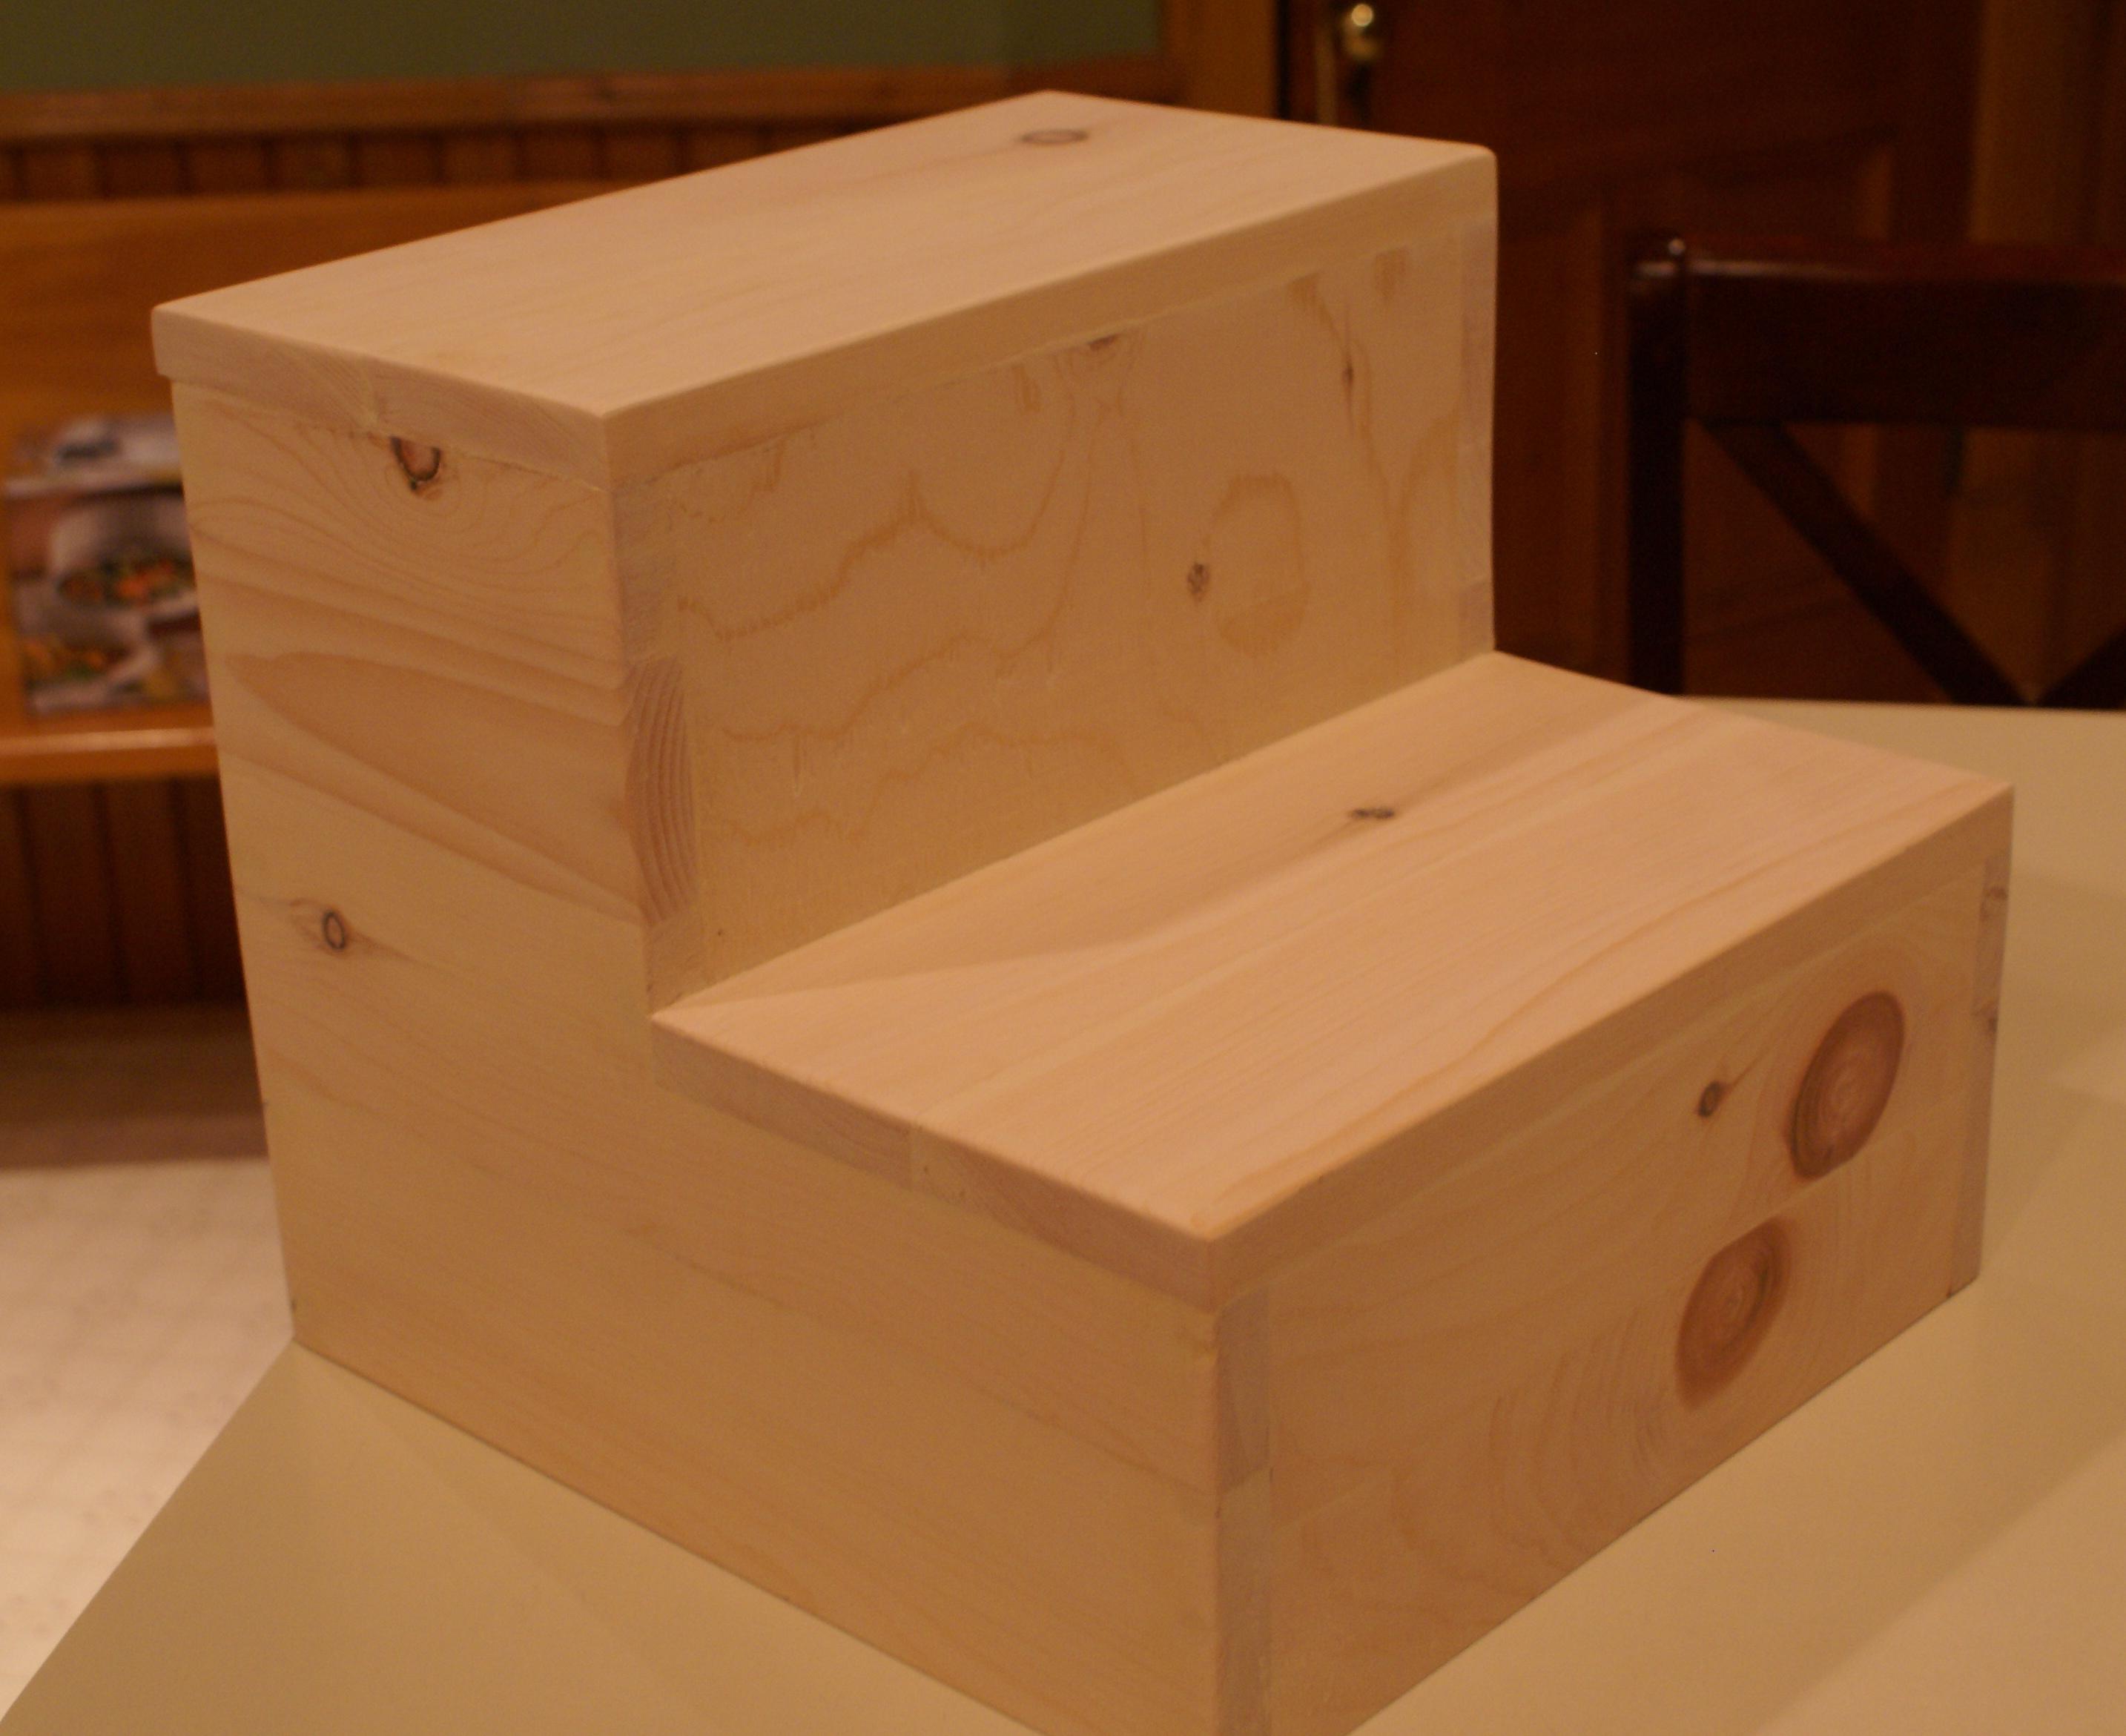
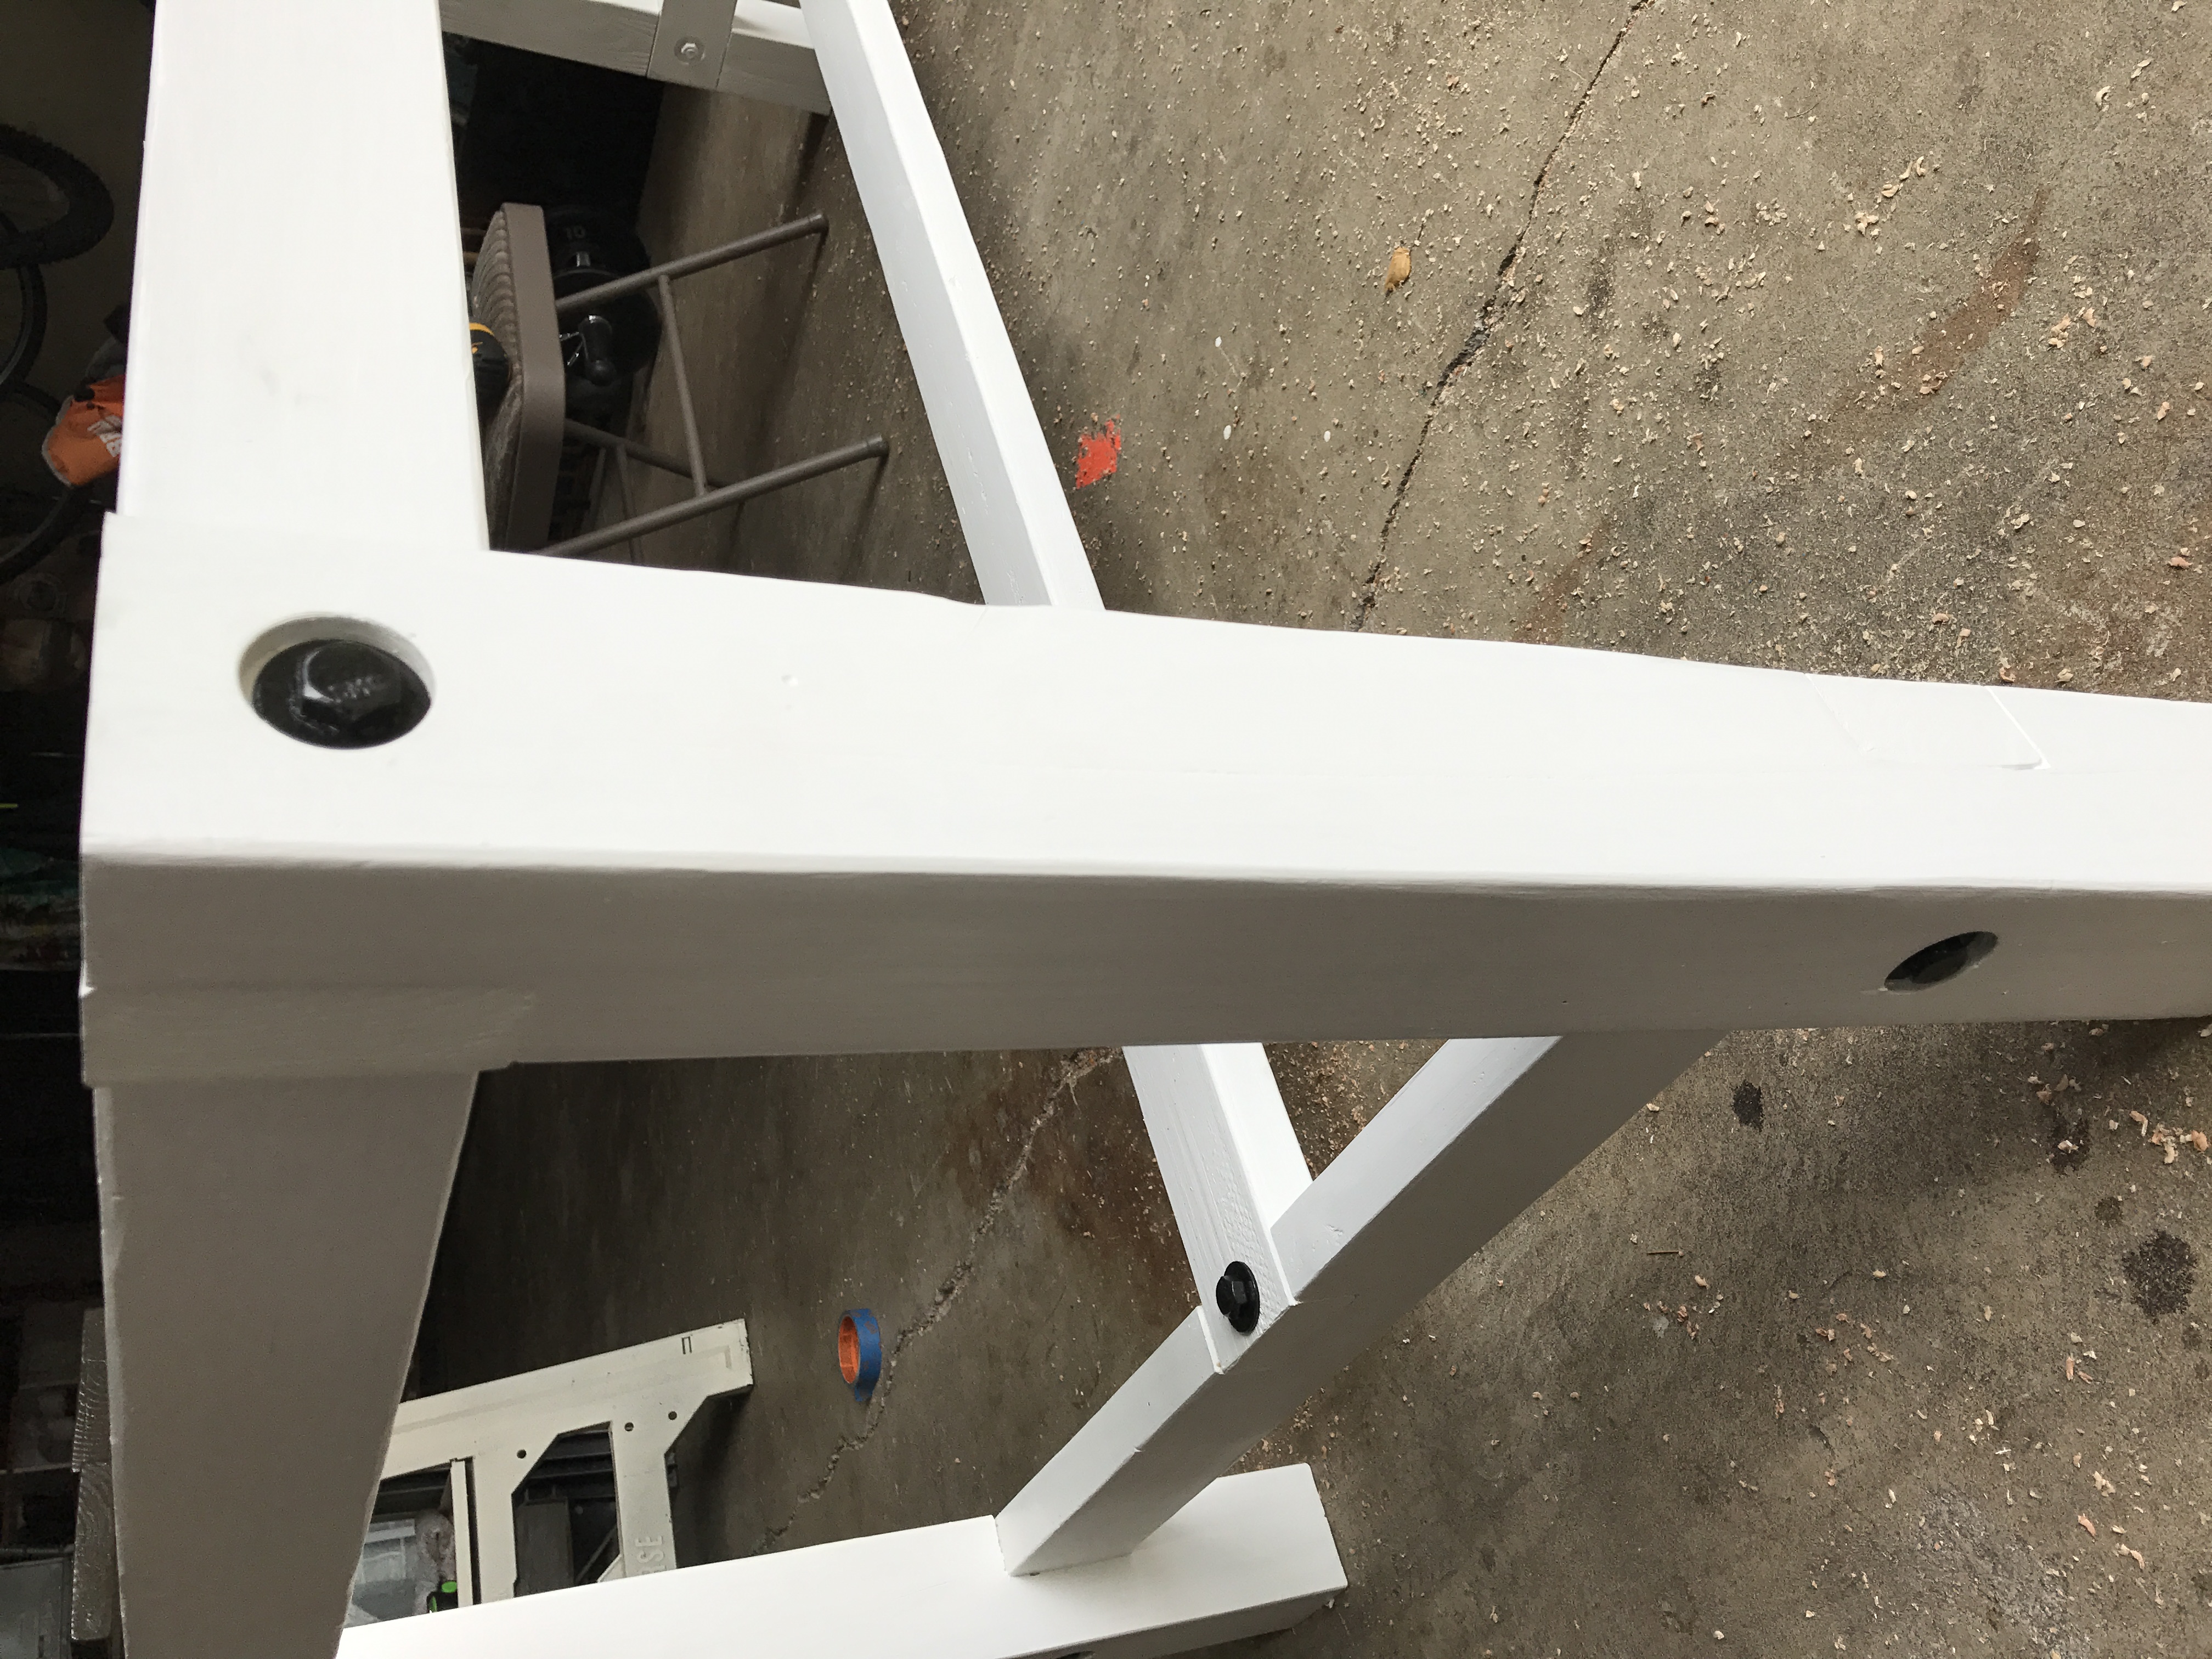
So, here is my unexciting step stool. It became a hodge podge of material because I didn’t have practically ANYTHING on the cut list in my shop! So the sides are made of 2 1×4′s a 1×3 and a 1×2 pocket holed together! The bottom kick is two 1×3′s and the top is a piece of 5/8″ plywood. The back is plywood too, and the treads are two pieces (each) of 1×4! Talk about a weird way to build Ana’s simple plan!
I decided not to do the storage step since I really didn’t need it, and I was tired of scrounging for wood too! It still needs a touch-up of putty (especially the opposite side because I forgot to mirror the pieces and all the pocket holes are on the outside! whoops!) and then some sort of easy to clean paint.
Took me a couple hours to put together on a cold Christmas afternoon while my son was sleeping and my mother-in-law and guy were watching Shrek on tv.
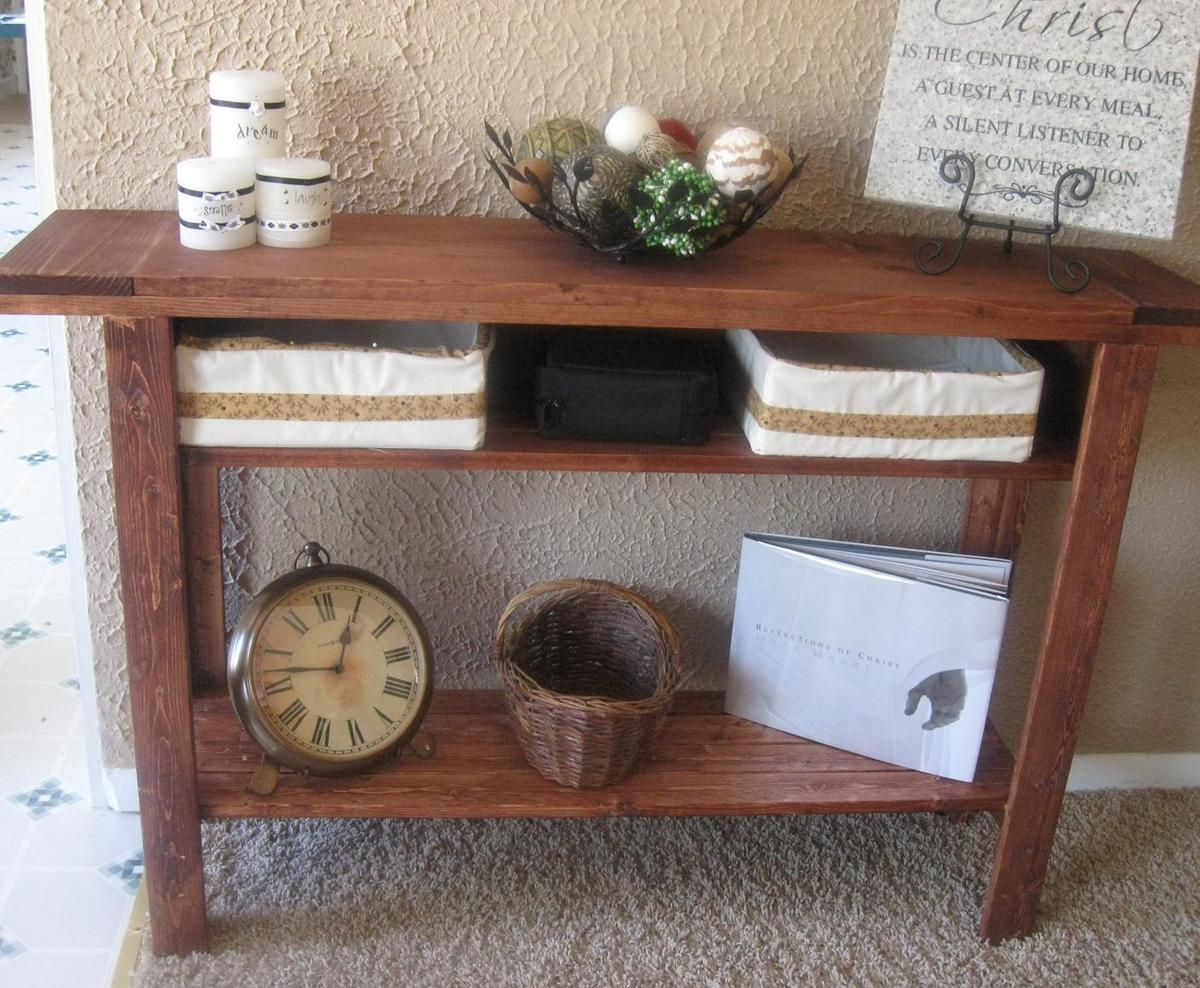
Very unexciting. Not nearly as exciting as the lockers I’ve been coveting…
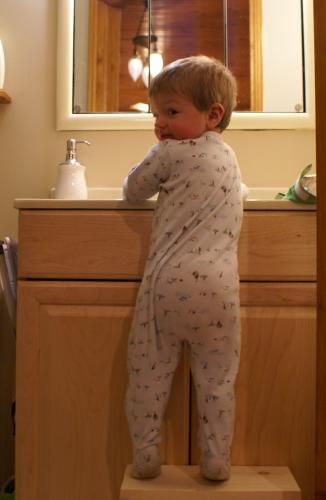
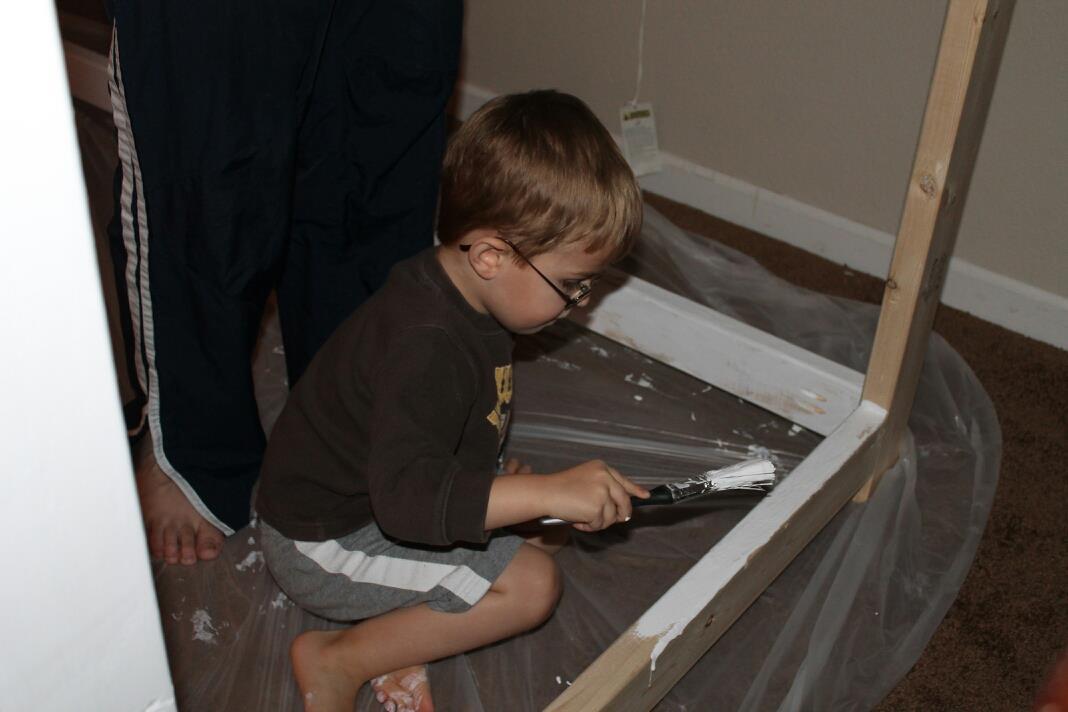
Except…. when you see just how happy my lil guy was when he got up from his nap….
… and then it becomes a WHOLE LOT more exciting!
Merry Christmas everyone!