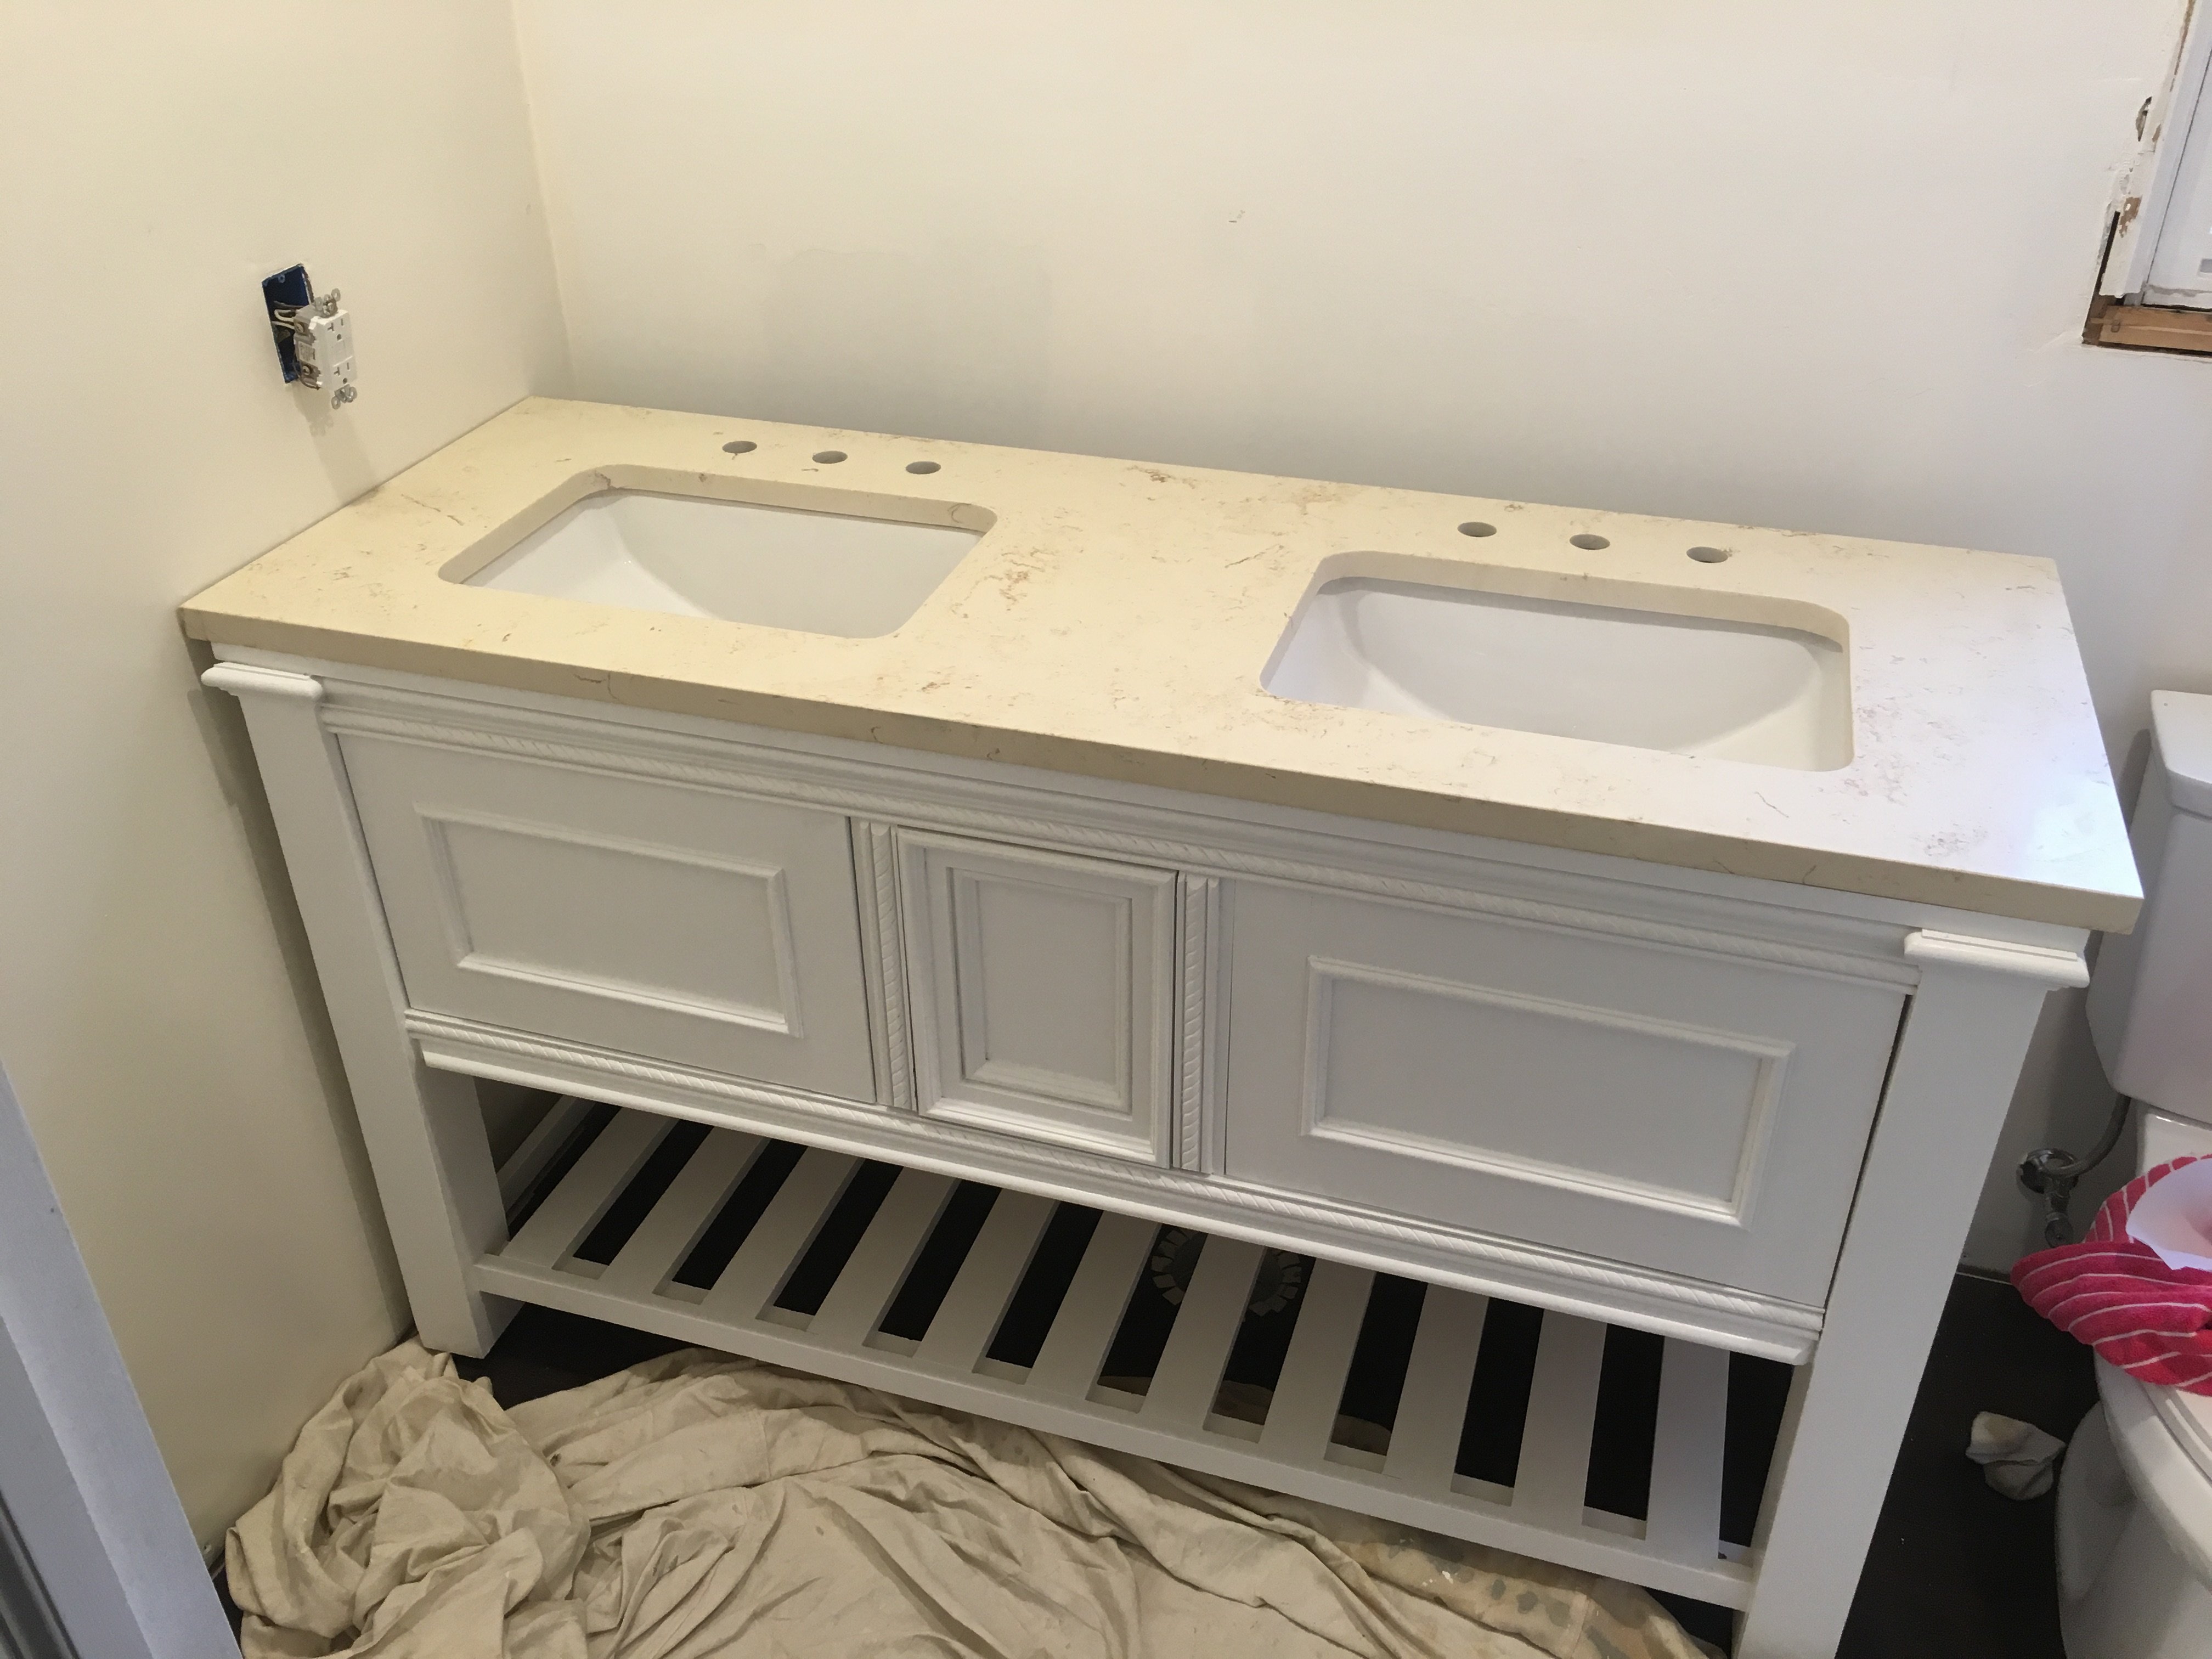
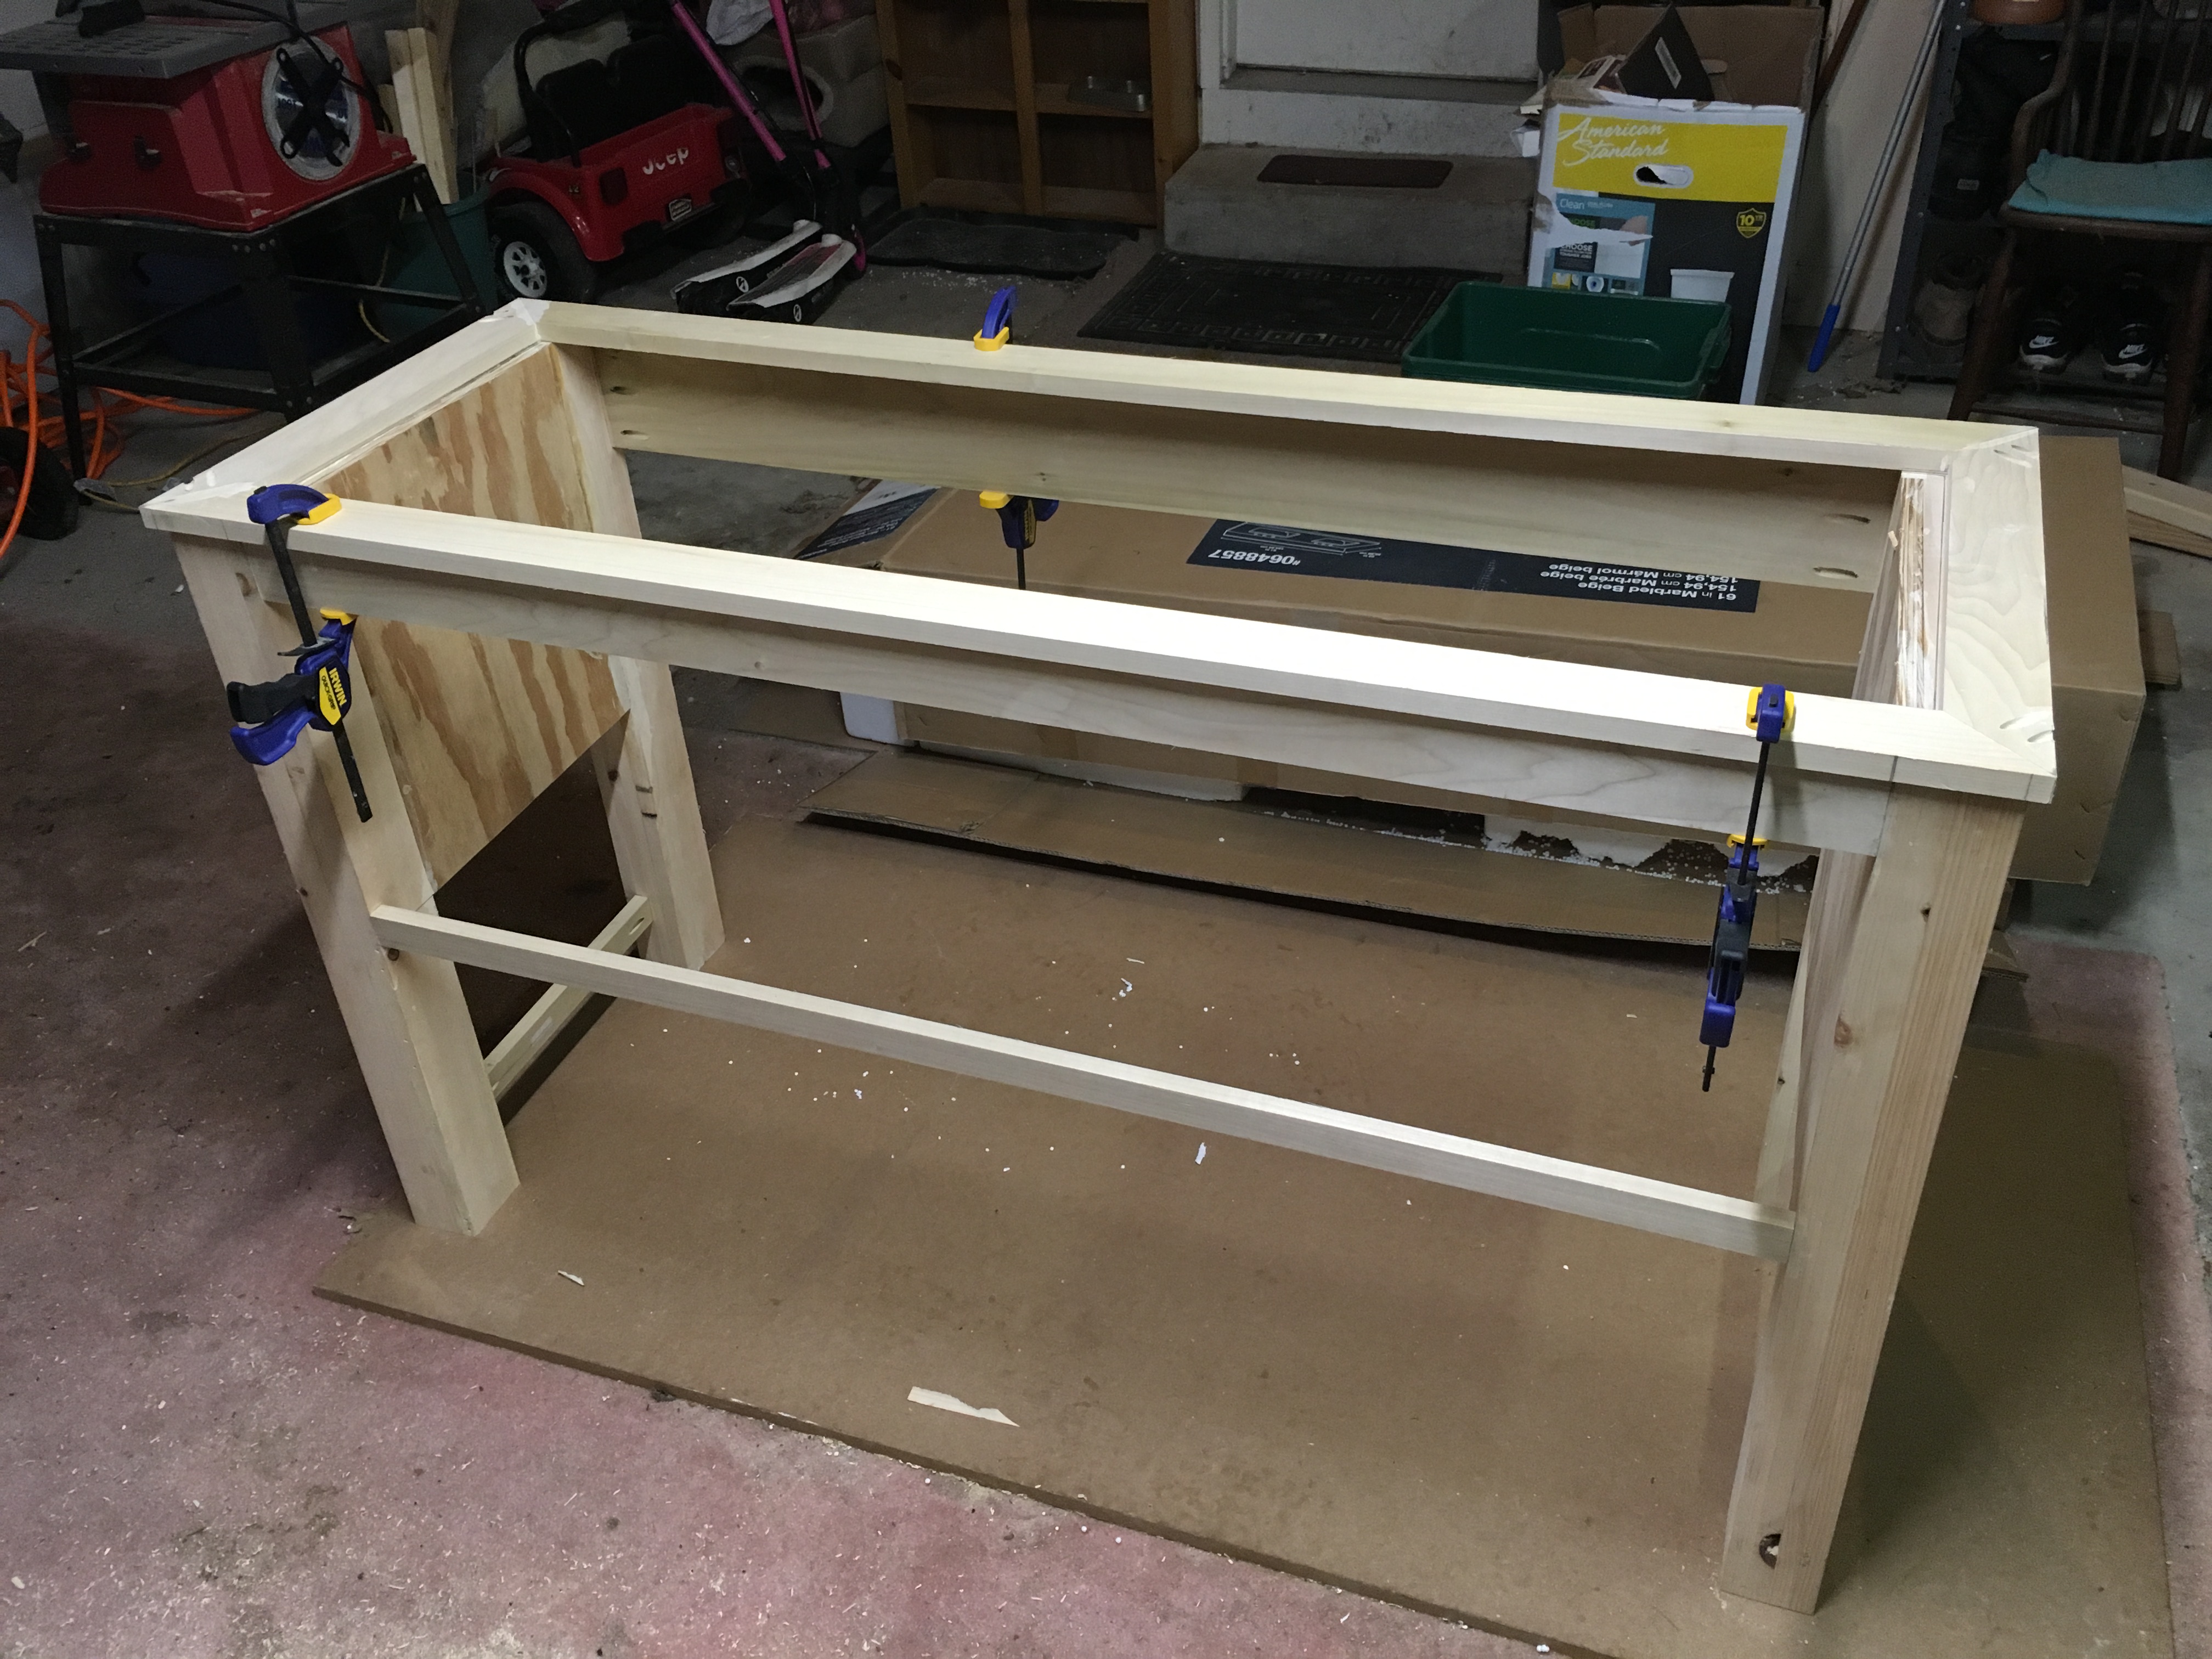
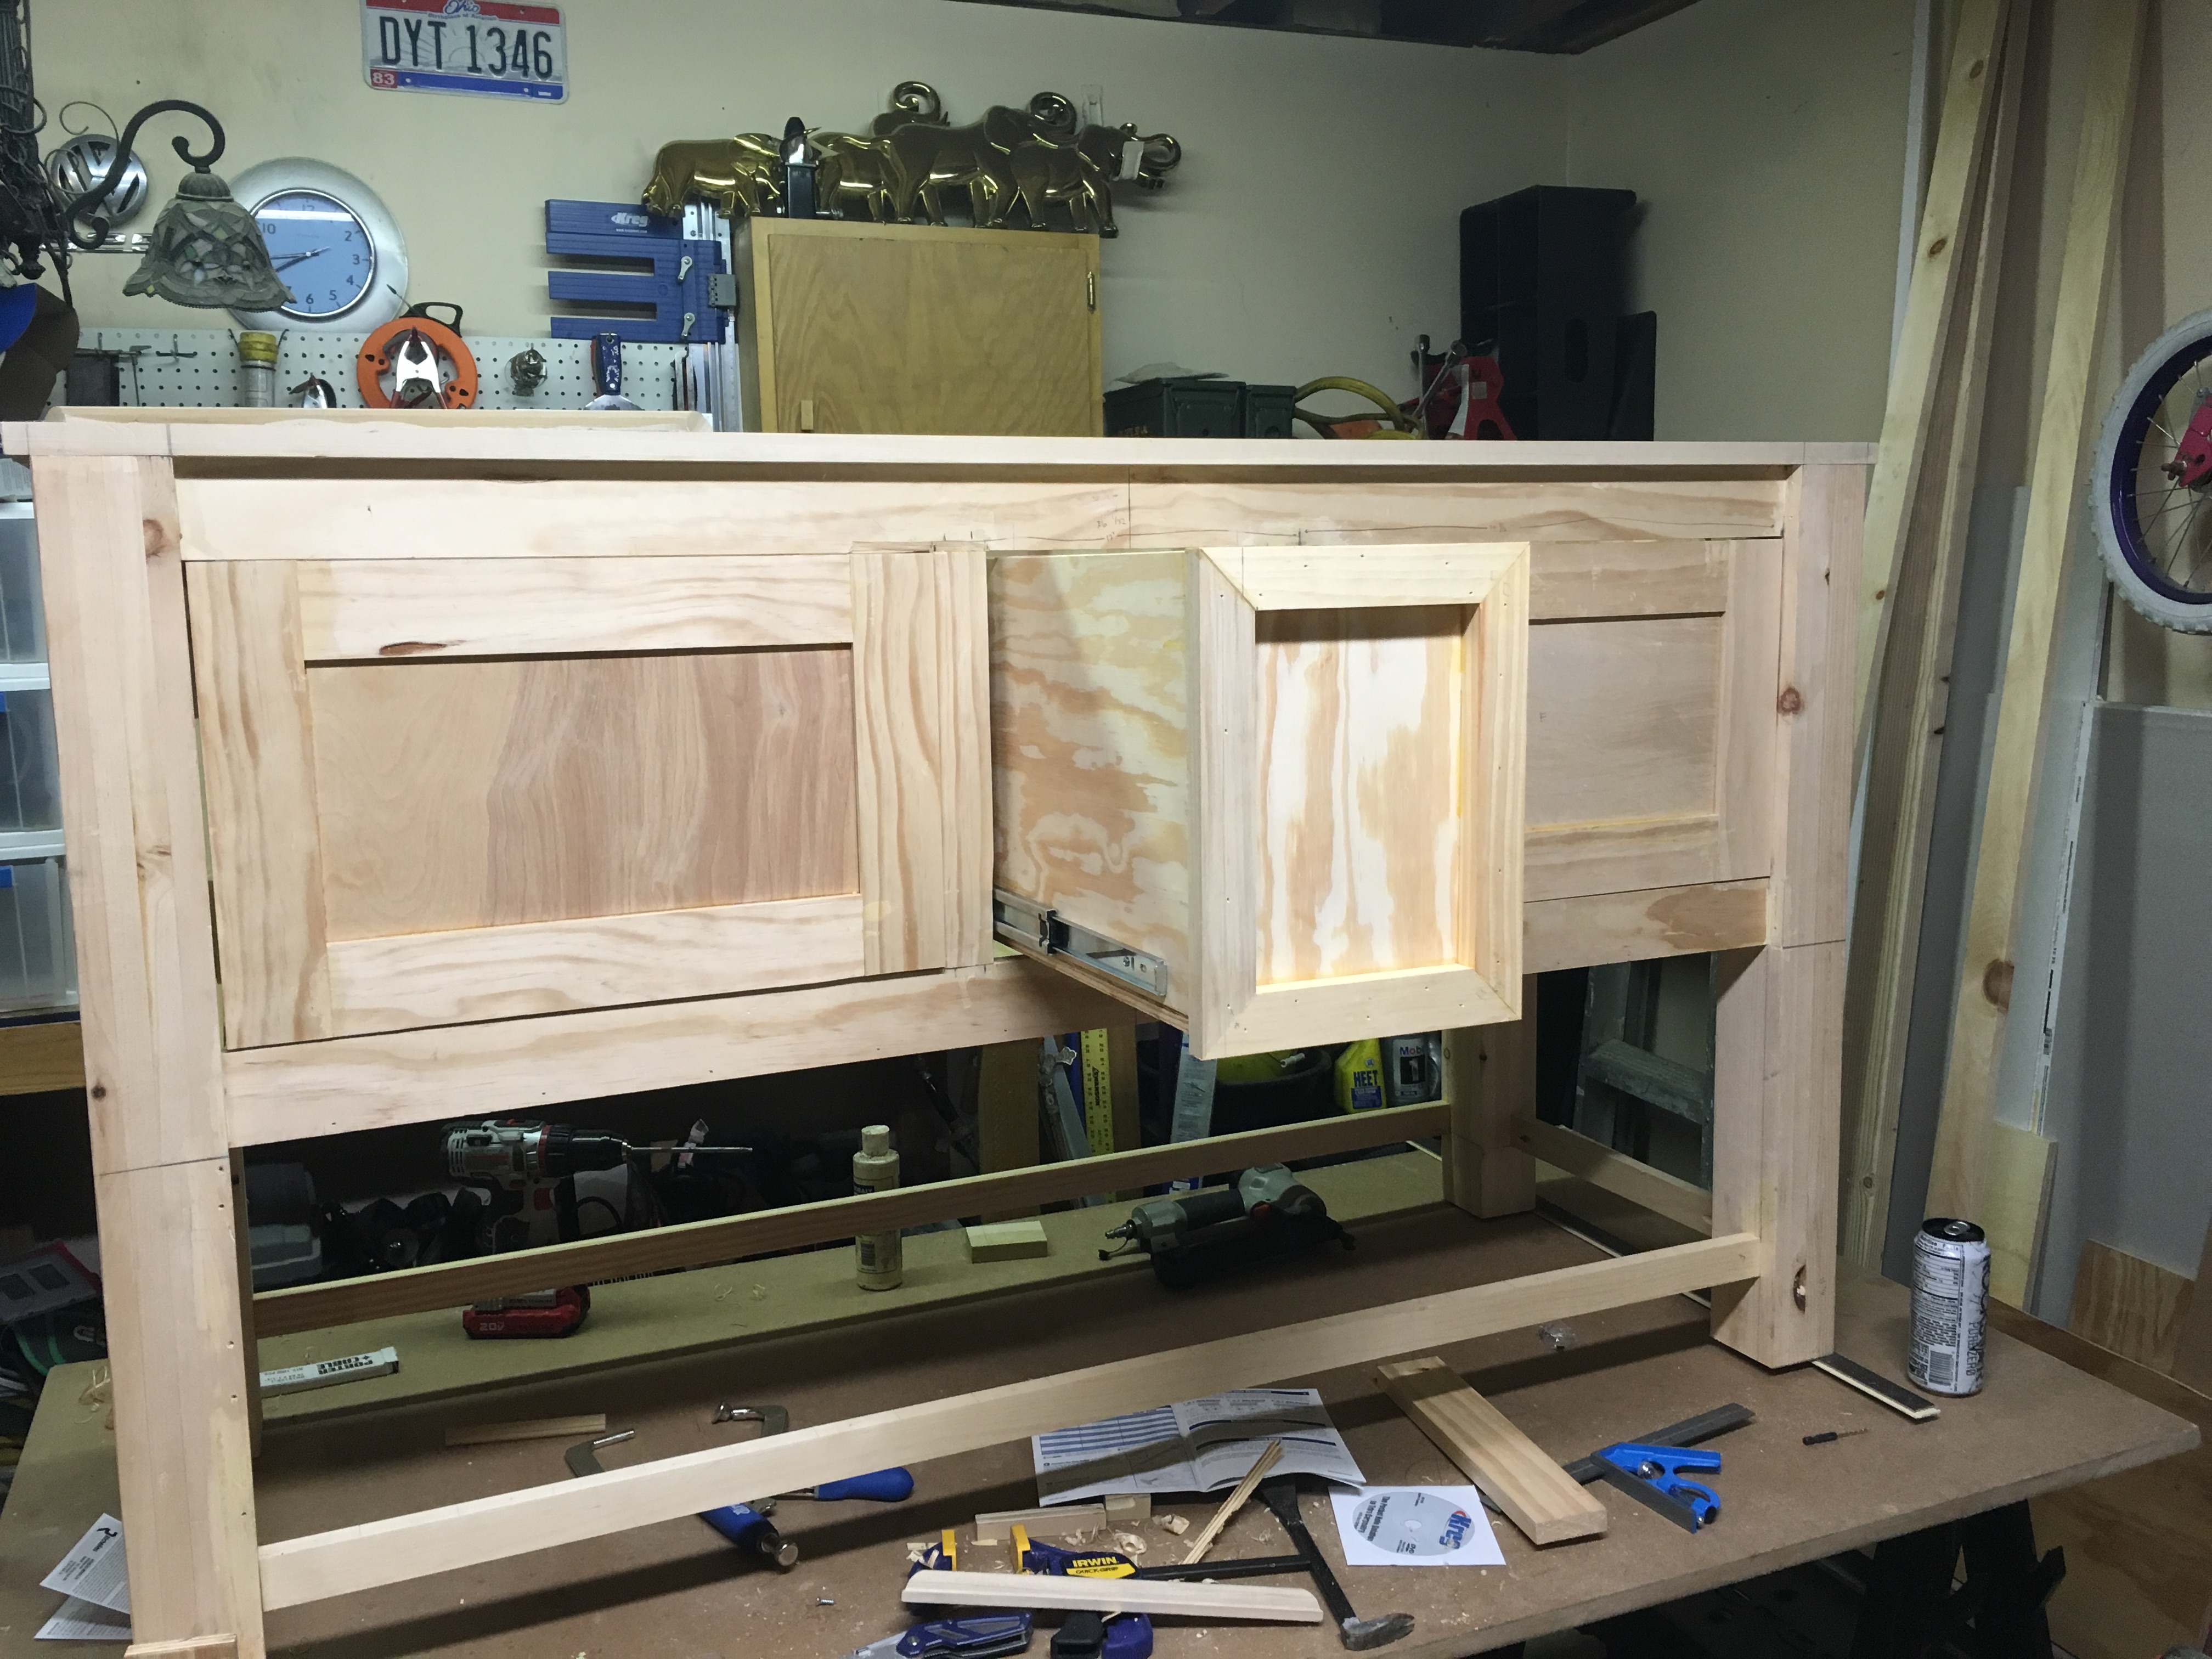
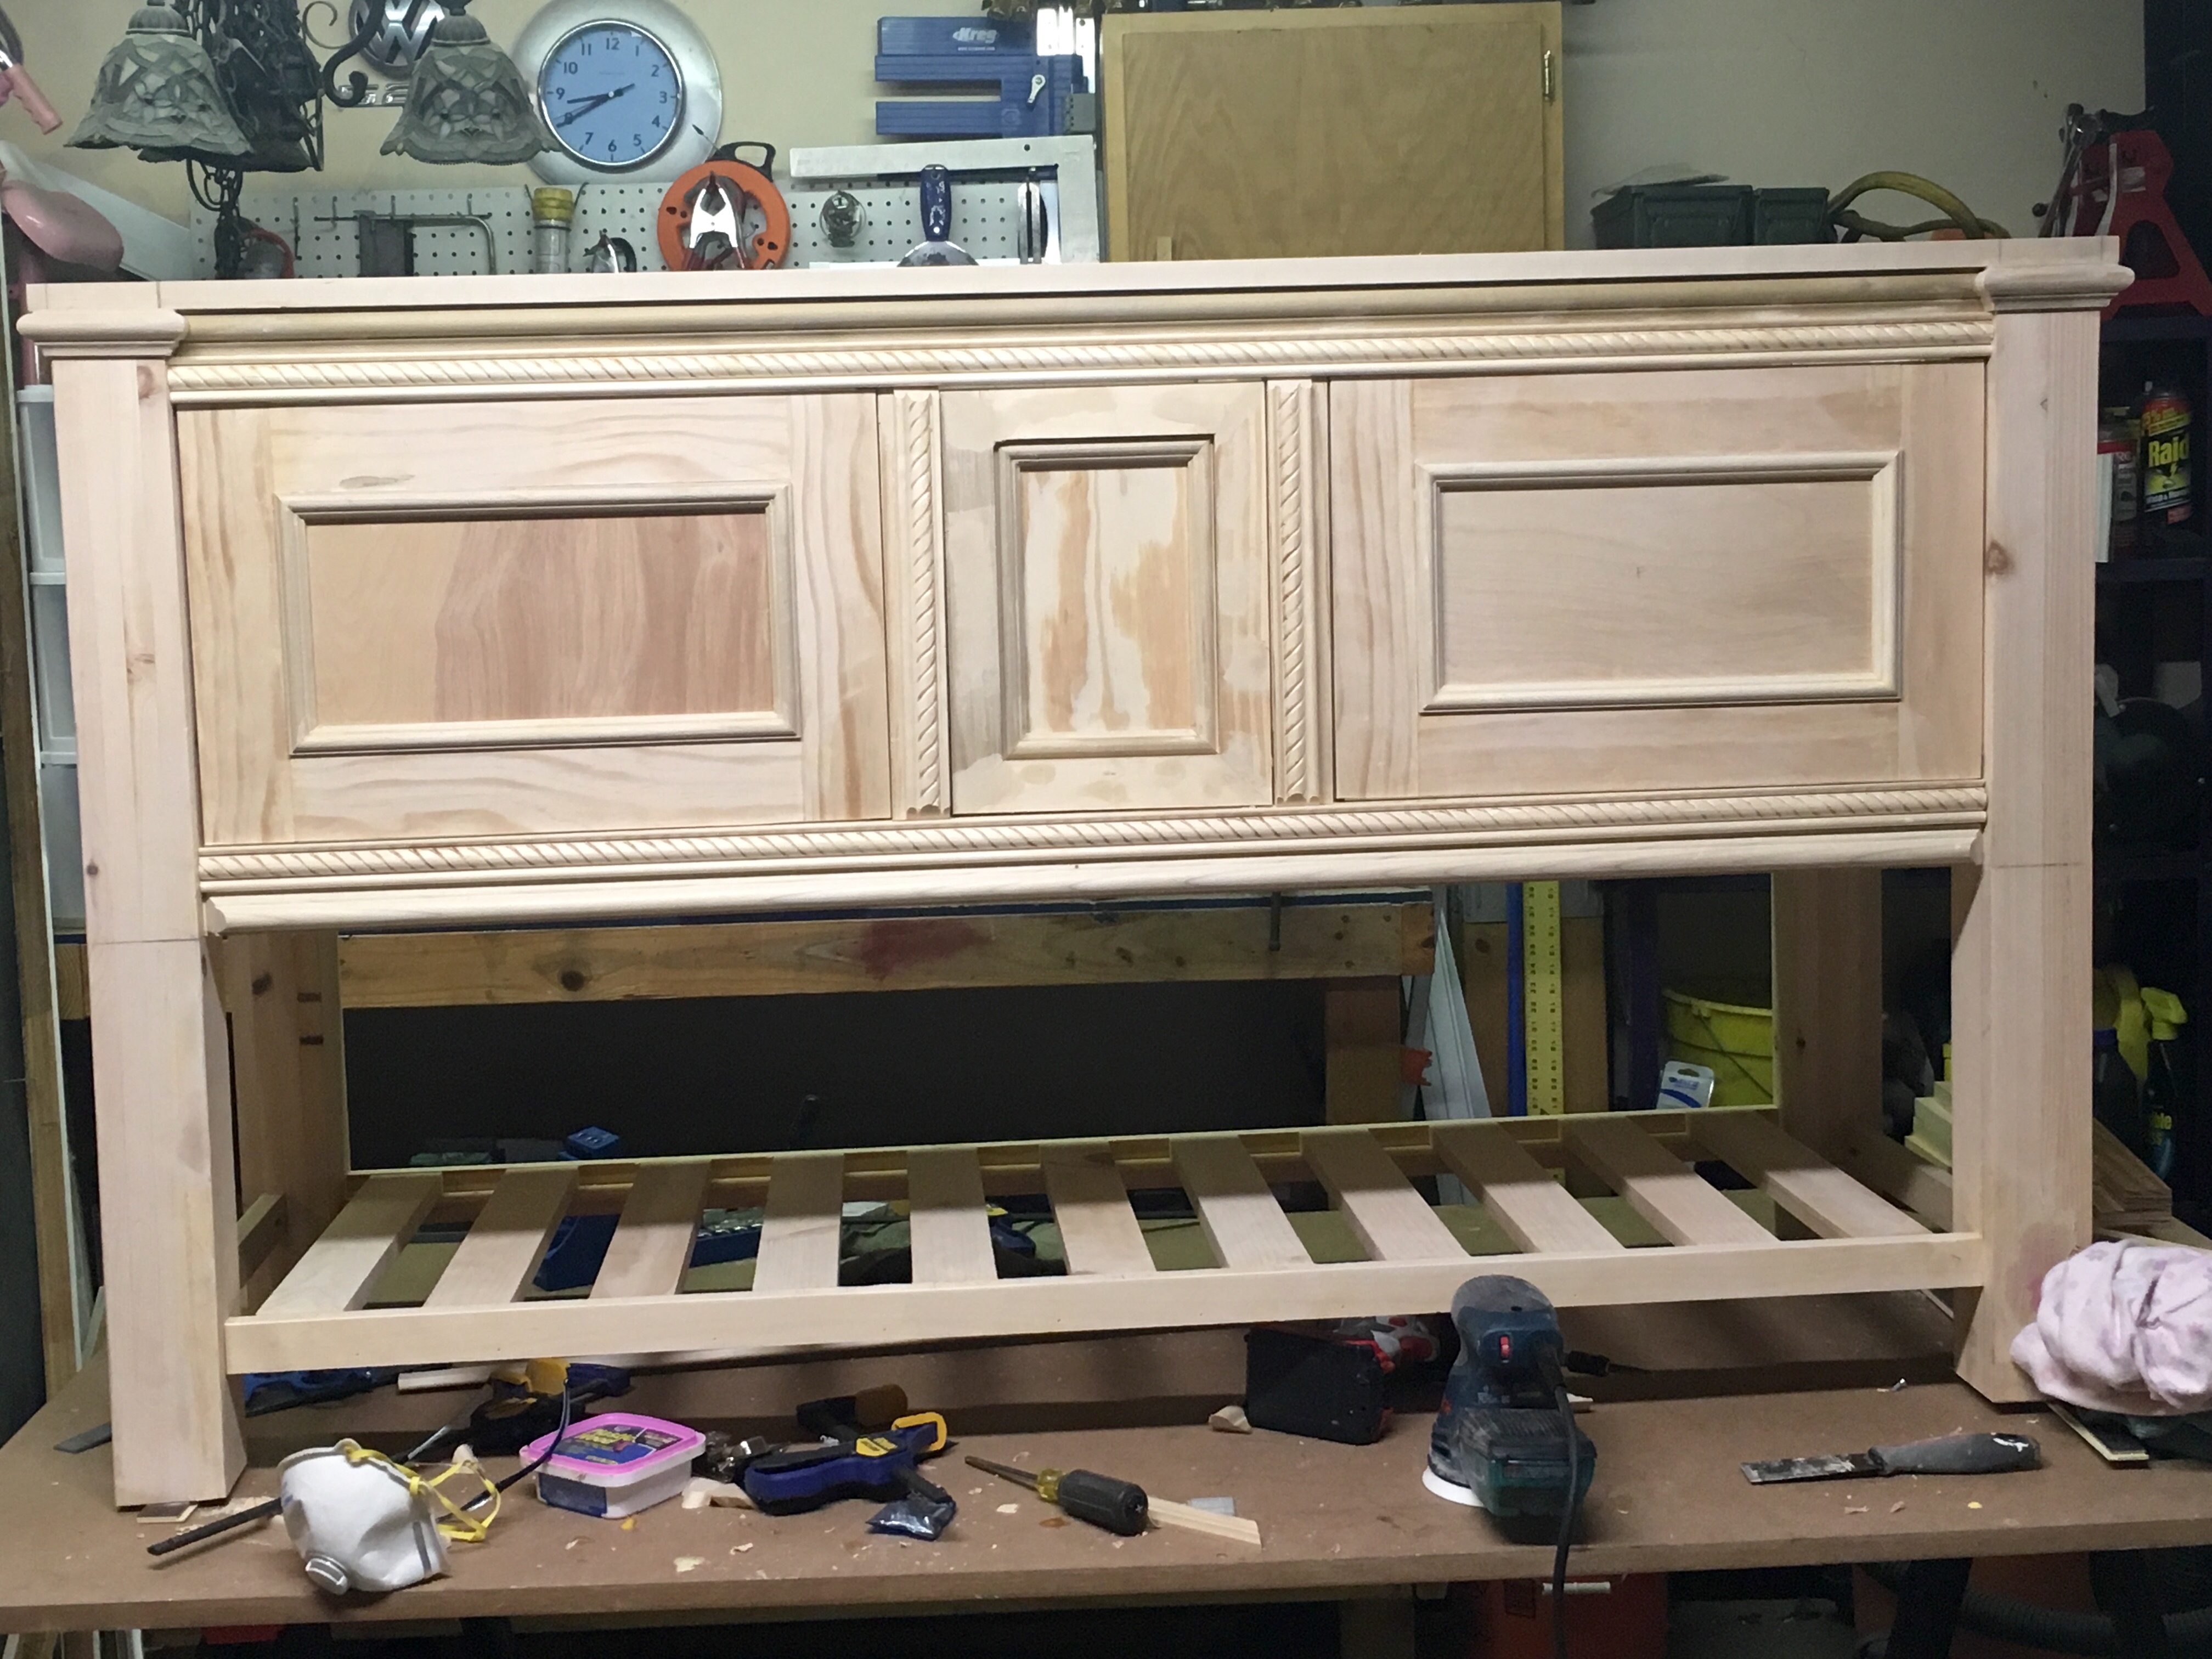
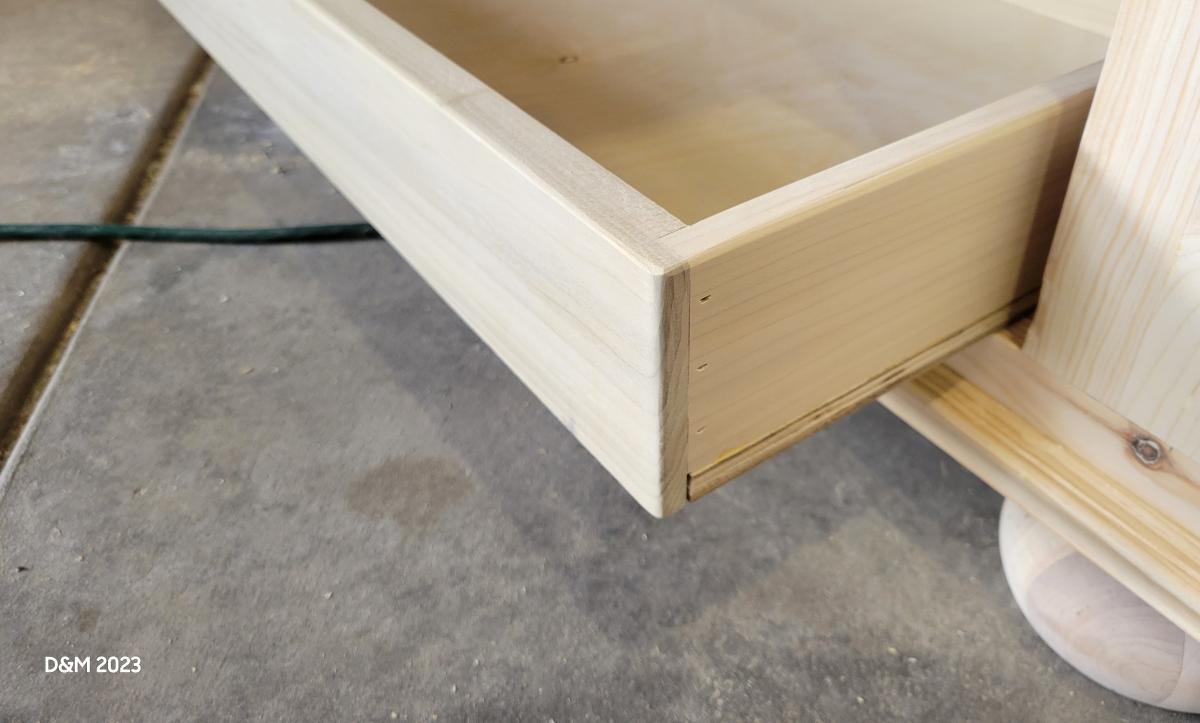
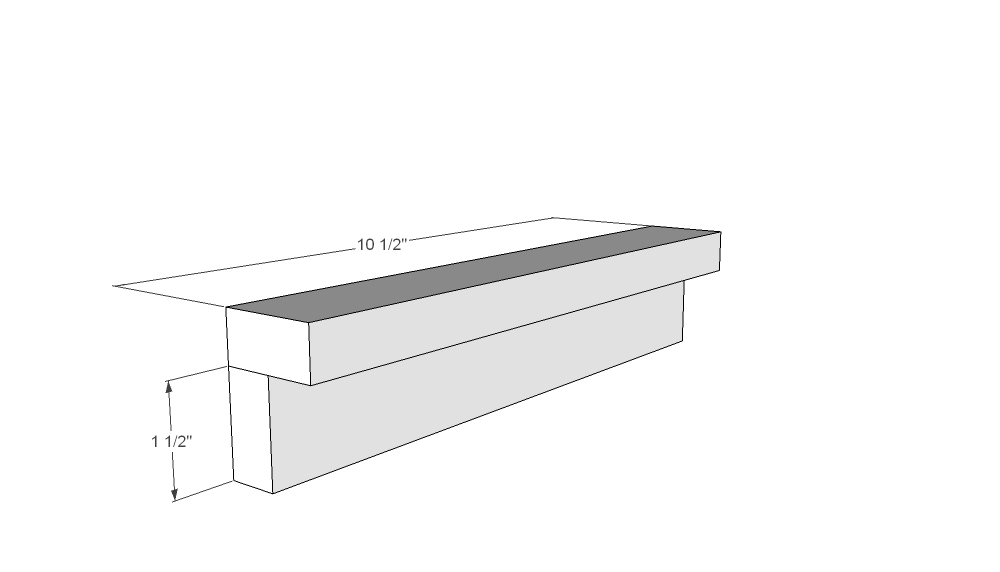
Outdoor Umbrella Stand
![](/sites/default/files/3154814169_1345767397.jpg)
This was such and easy project. It went together in a few hours. The hardest (and most time consuming) part was finishing it. I detailed the build process on my blog if you'd like more info.
![](/sites/default/files/3154814167_1345767397.jpg)
This was such and easy project. It went together in a few hours. The hardest (and most time consuming) part was finishing it. I detailed the build process on my blog if you'd like more info.
My wife was wanting to get some cupboards and a hutch for her craft room that we were setting up. I looked to buy something but it was very hard to find anything the right size and combination. I was looking at different plans and I came across your site and was inspired to have a go myself. I used the plans for Patrick's Jelly Cupboard and also the Schoolhouse hutch.
I had to change some of it to get the right fit. It took a fair while to complete but I now have a very happy wife
I followed your plans, with the exception of the computer desk. I mede it just a bit deeper, 1.5" or so. If I were to do this again, I think I'd go a little deeper still, maybe. Anyway, great design.
I had an empty space next to my stair case and desparately needed a place for my kids to hand their back packs and put their shoes that wasn't all over the place! I adjusted Ana's plans for 4 drawers since there are 4 of us and added board and batten. I also was placing the bench over an outlet which I didn't want to lose so I got an extension piece and cut a space out for it on top with a jig saw. Love the way it came out!
You can't tell in the pictures but the frame where the bolts are supposed to be barely touch the legs on the headboard. I have a standard queen bed on a standard queen frame, but it's just a bit too wide to bolt the frame to the headboard. I also had to take about 8 inches off the original plans because of the window the bed is under. Measure, measure, measure.
Get straight wood. The straighter, the better.
I used standard finishing nails and liquid nails glue to hold it. I didn't need to break out the Kreg Jig as the original plan stated.
This has become my dream sewing/craft desk!! This project took about a week from start to finish (with work days in between). The shorter portion of the desk is used for my machine and sewing. The taller portion is used as a cutting table. The plans (dimensions) were tweaked some to get the perfect heights for me :).
Wed, 03/25/2015 - 06:31
Your desk is GORGEOUS!!!! It's exactly what I've been looking to build for my space. I would love to know how you modified the plan to make it.
Wed, 03/25/2015 - 07:21
I need to modify my home office/craft space and building a couple of these just may do the trick.
Wed, 03/25/2015 - 07:23
I also wanted to comment on the thread shelf you build, that is really awesome, you can see all your colors right in front of you. Mine are in a drawer and I have to pull the whole thing out to see what I need. This is really giving me ideas.
Fri, 09/04/2015 - 08:45
Would you please send the plan instructions (with measurments). It is perfect for me as I sew and embrodery both and have two machines.
Wanted new nightstand but also wanted so shelving for pictures and stuff. Saw a picture on here and google images and decided to make it my own.
I finished my first project. Although there are some cosmetic errors, I think overall it’s amazing. We had a lot of wood left behind by the builder of our log home. So, I was able to use a lot of that. I made some adjustments to the height of the boxes to help the back!
Michelle M - Jefferson, NC
Our first building project and couldn't be happier with the outcome!
My husband and I were in the market for a new bed frame, but nothing in the shops were what we were looking for. We discussed making it. I came across these plans (http://ana-white.com/2012/01/plans/hailey-platform-bed) and off we went! The headboard was something we "designed" on our own (we did not work off any plans). We wanted something simple and functional.
We started from scratch .... had to buy tools, wood conditioner, stain, etc. But unbelievably thrilled with the outcome (and cost)
It is a very sturdy and heavy bed, something that is great for use, but may cause some issues when we move .... ;)
I did not include the time needed to dry, only the time it took to get items/measure/cut/build/assemble.
Flip down tray added for computer keyboard.
Wed, 12/27/2017 - 20:15
I love this, it is exactly what I am looking for! Is some type of extra support needed for the flip down tray for the keyboard ? If so, what would it be, or is there a special hinge I should look for?
Love these plans for the farmhouse table comsole
What a quick easy project!!
I bought 8 ft long boards....and was able to make a 3 ft shelf and a 5ft shelf with each set. (The 5 foot shelves are going in my bedroom for photos...I'll be finishing those up this week!)
I hung these (3 foot) book shelves behind my daughter's bedroom door....so I adjusted the 1x4's to 1x2's....that way the door can open all the way and not bump in to them. A perfect fit for usually wasted space!
I staggered the shelves in my daughters room, so some taller books could stand up on the sides. She LOVES them!!
~Don't mind all the other chaos in the photos....that is all my daughter's "projects". She's a doer- like her Mama! =)
This was done entirely with thrown out pallets. Lots of work and sweat but I love it! Used polystain as the finish. Only spent about $30 in supplies ie screws, nails, stain.
Sat, 10/24/2015 - 13:27
This is awesome!! How did you make the length with the pallets?
First attempt. Used Vaseline to distress corrners and shelves.
Sun, 09/25/2016 - 09:31
I love the two tone finish! Great first project! Ana
We did some small edit to the original plan. Putting six large drawers and only one chair which was moved to the center. We also extended the chair legs the full length of the cabinet. The outer legs are 2x2s instead of 2 1x2s since no chairs were placed there.
My husband built this bed using the plans for the Hailey Storage Bed but added a few extra features of his own. Our 2 year old could not be more happy about her new big girl bed!!!
Sat, 09/01/2012 - 02:42
Beautiful! Love the headboard and footboardand, and the lift top center storage is a super idea. You did a teriffic job on this!
Mon, 09/03/2012 - 19:08
This is so nice! I love the uniqueness of it. I just did the farmhouse bed for my little girl, sooo fun to get them in a bed!! It's a milestone.
A skinnier version of Ana's table, combining her plan with Letterpress for a custom table.
My wife recently started Grad School and needed a better space to study other than the dining room table. She found the plans that she liked on Shanty2Chic and bought the addtional tools needed for the job...she was serious about this project. I made the desk over 3 weekends, a few hours each day. I only diverted from the plans by adding a 1 1/2" spade bit hole in the back to run the power cords through and tacking a surdge protector in between the top beams to help organize and hide the cords.
Super fun swing for my son
Single wide rustic x console table build