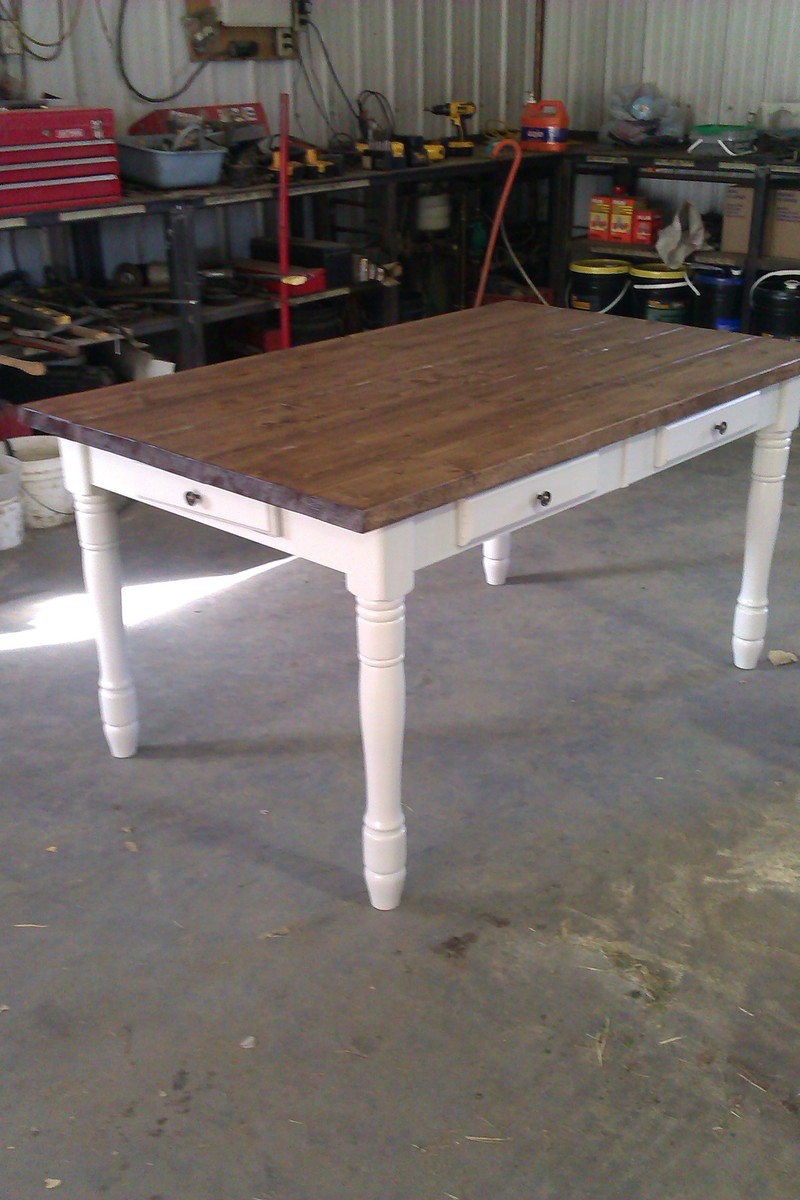
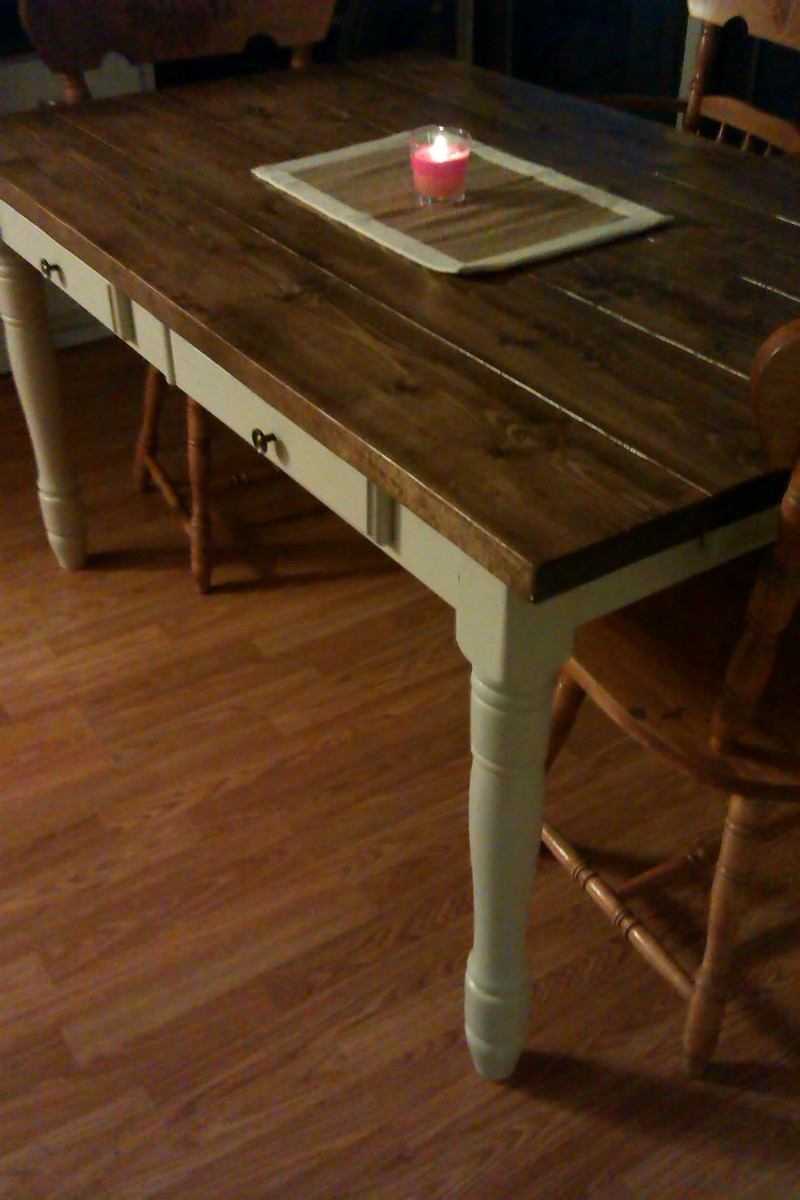
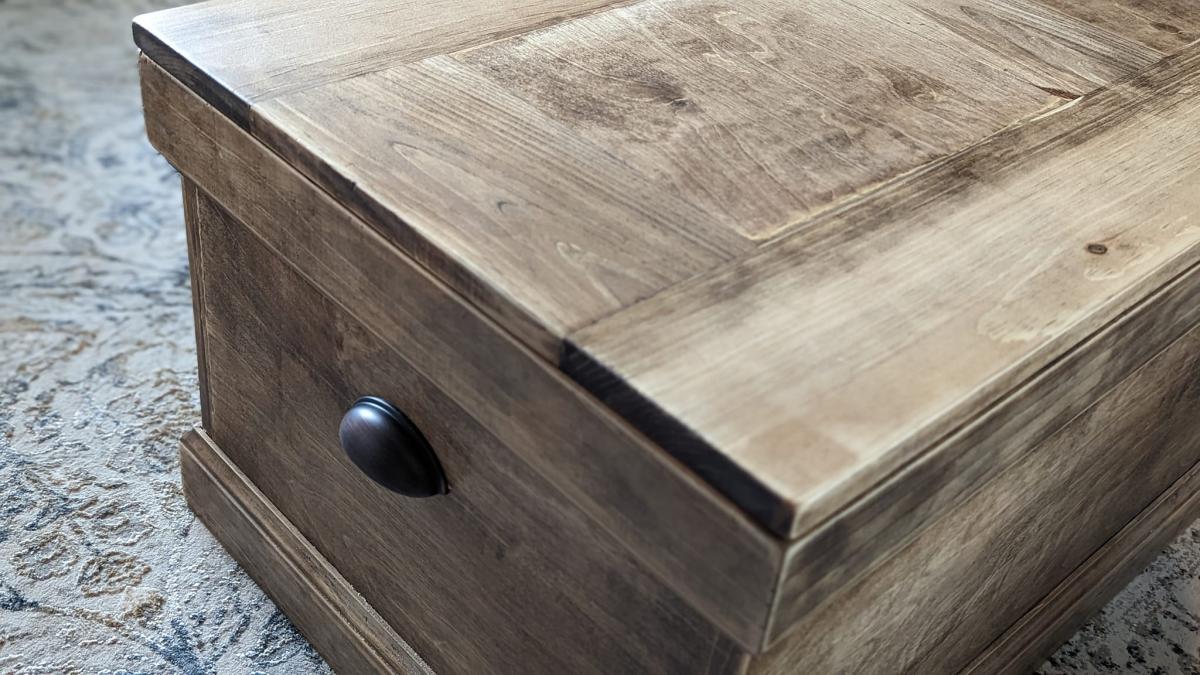
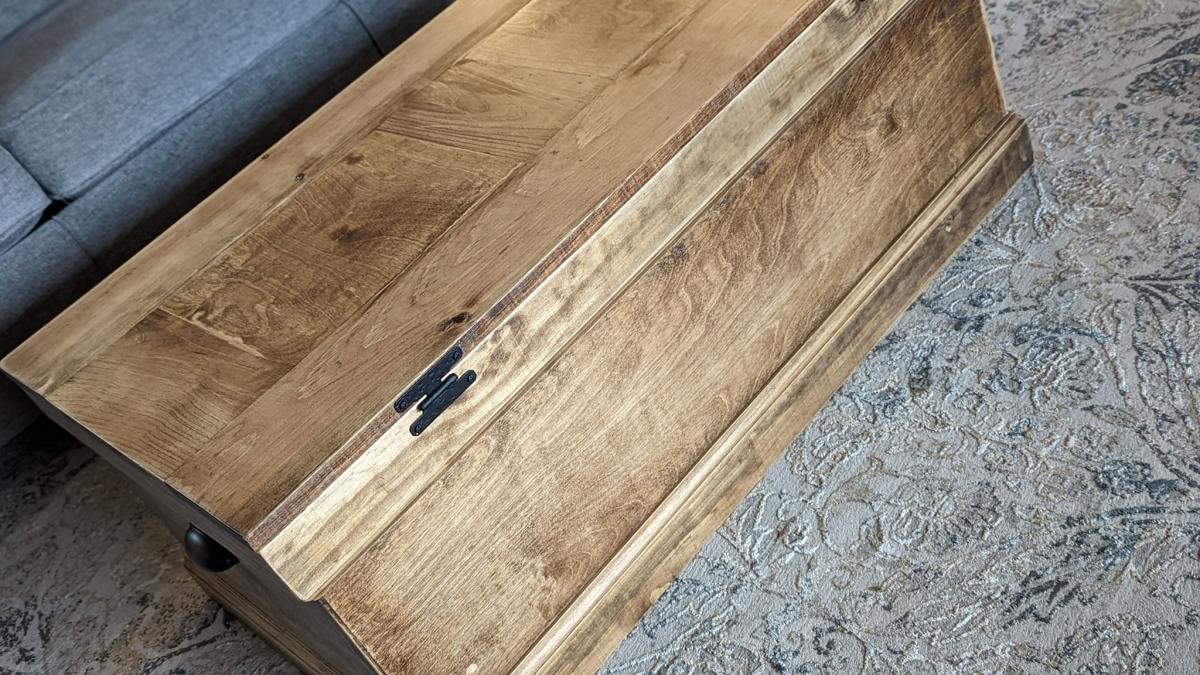
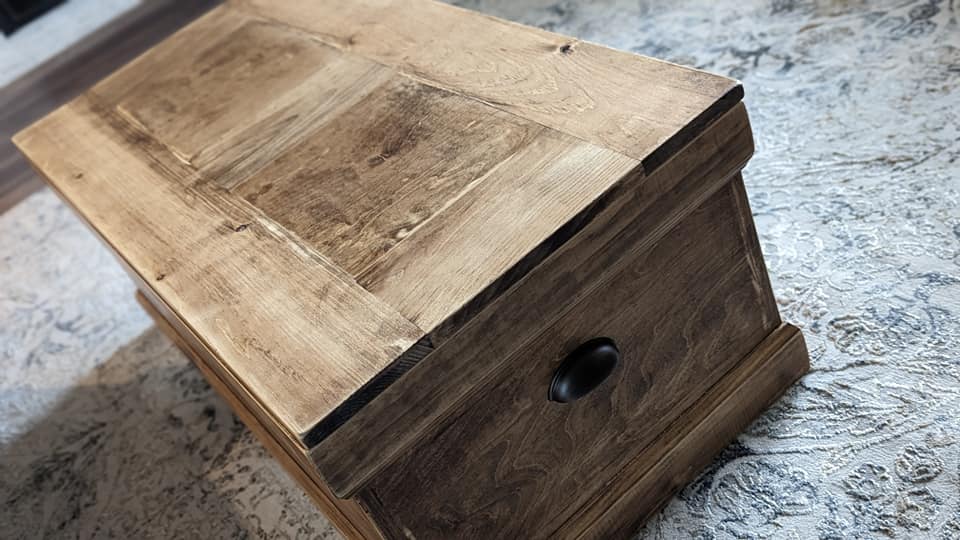
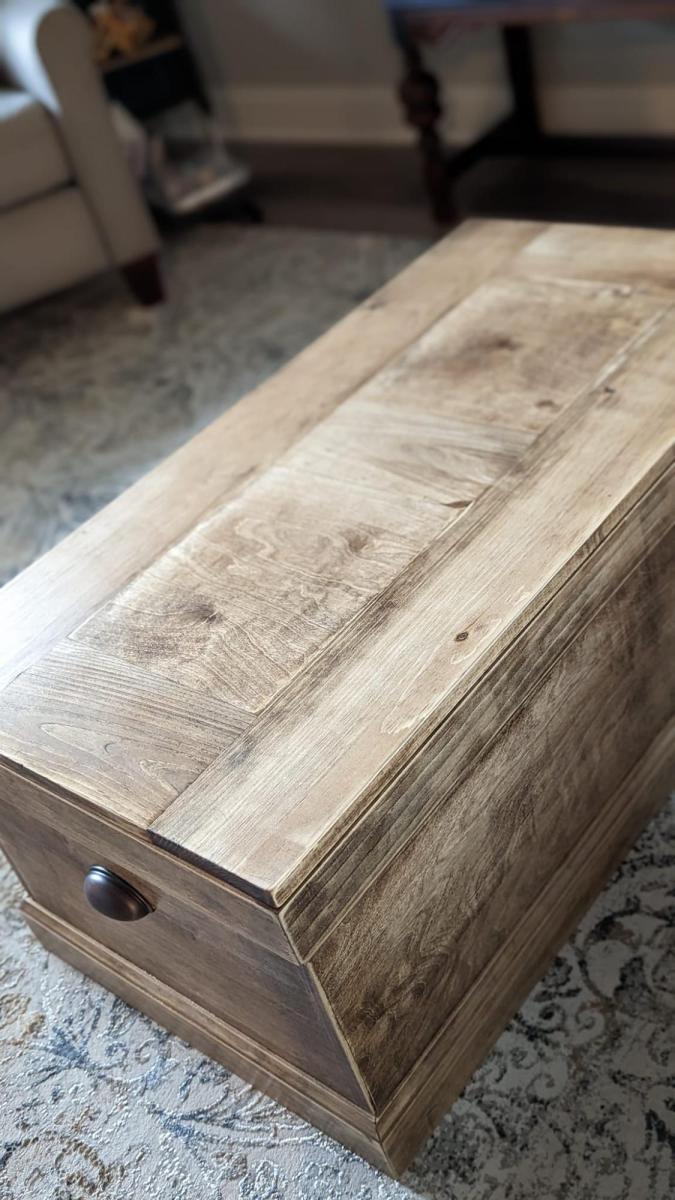
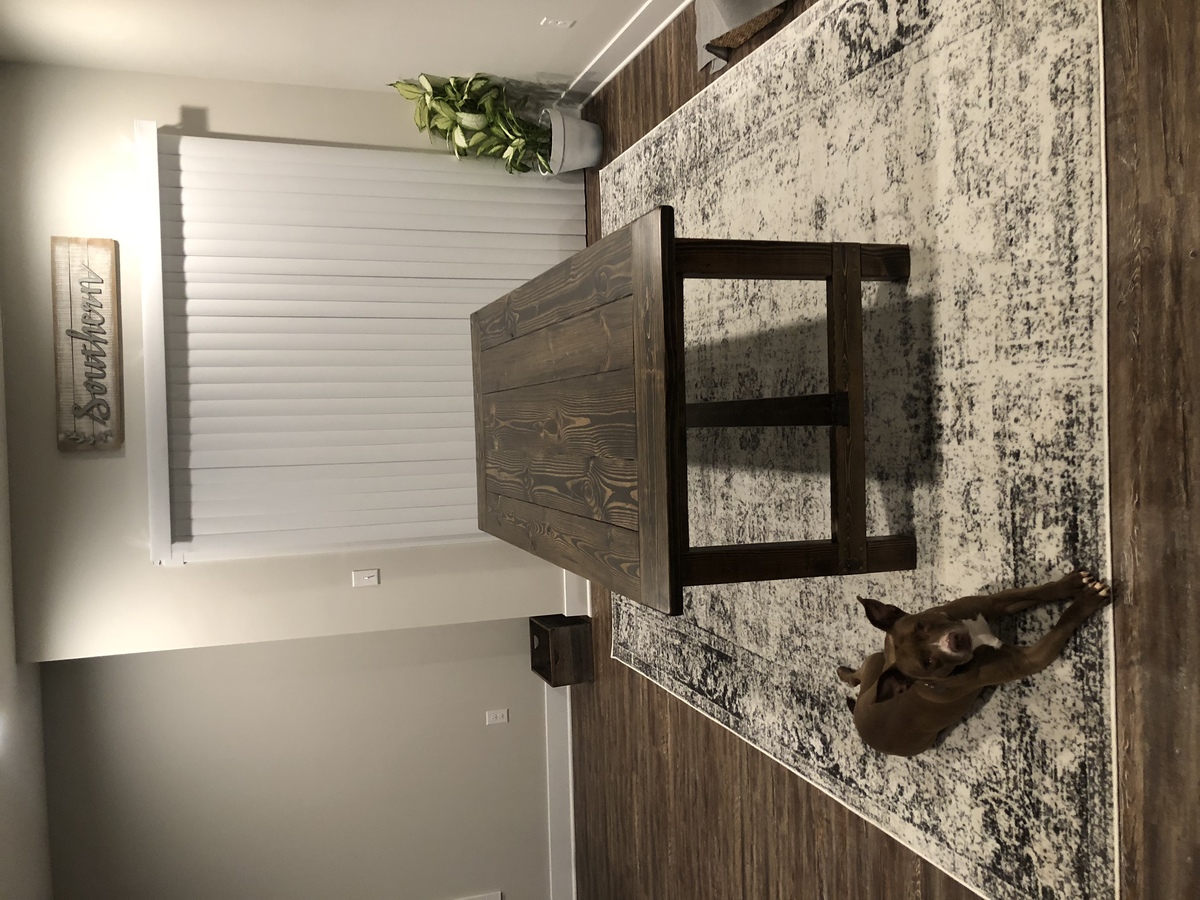
Farmhouse table
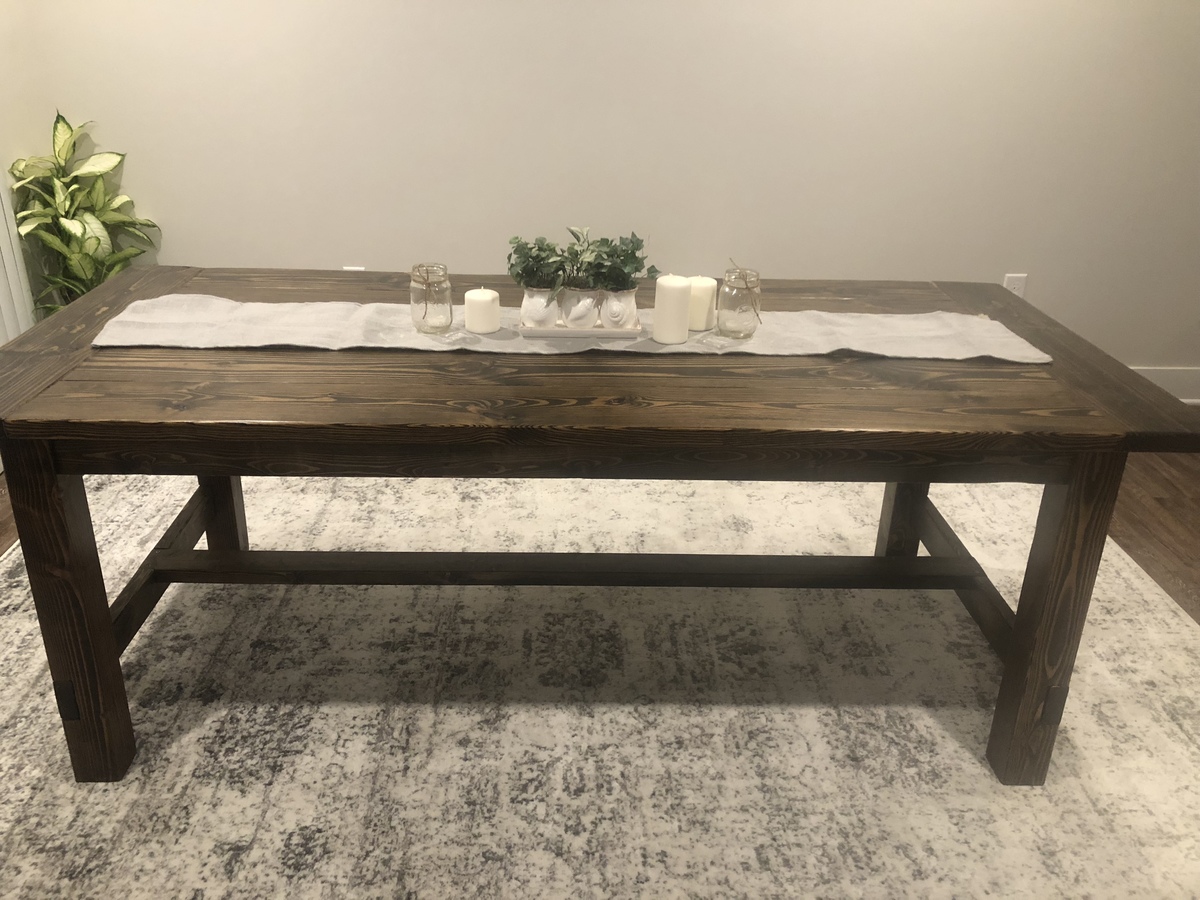
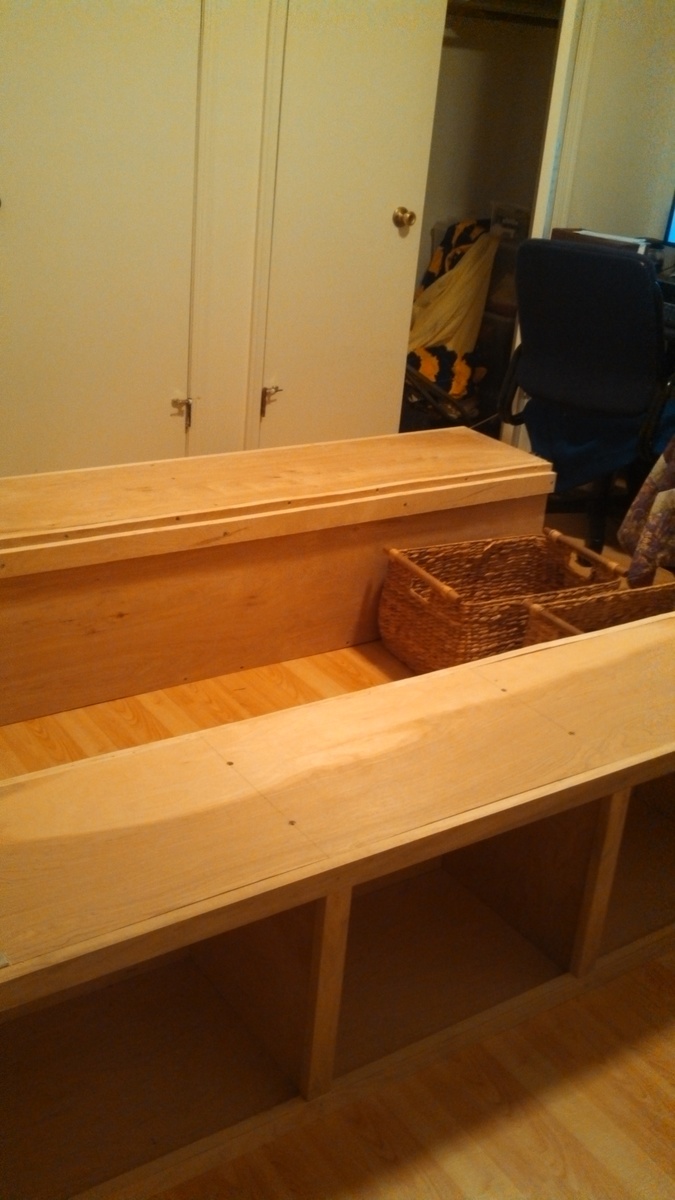
Absolutely in love with this table. It turned out even better than we thought since this was my first diy project. We didn’t want to spend thousands of dollars buying a table similar to one we could make ourselves so we decided to give it a go. Our biggest issue with building it was the wood warping. We could only work on it every other weekend so the wood starting moving and it wasn’t on a flat surface. Definitely tie it down to a flat surface if you can’t build it all in a few days. We reinforced the breadboards with pocket holes on the inside and out because the first time we only did the inside, it snapped off. We used a lot of glue the second time around. Will definitely be making more tables in the future.
Built from Plan(s)
Estimated Cost
130$ Wood and materials
Estimated Time Investment
Week Long Project (20 Hours or More)
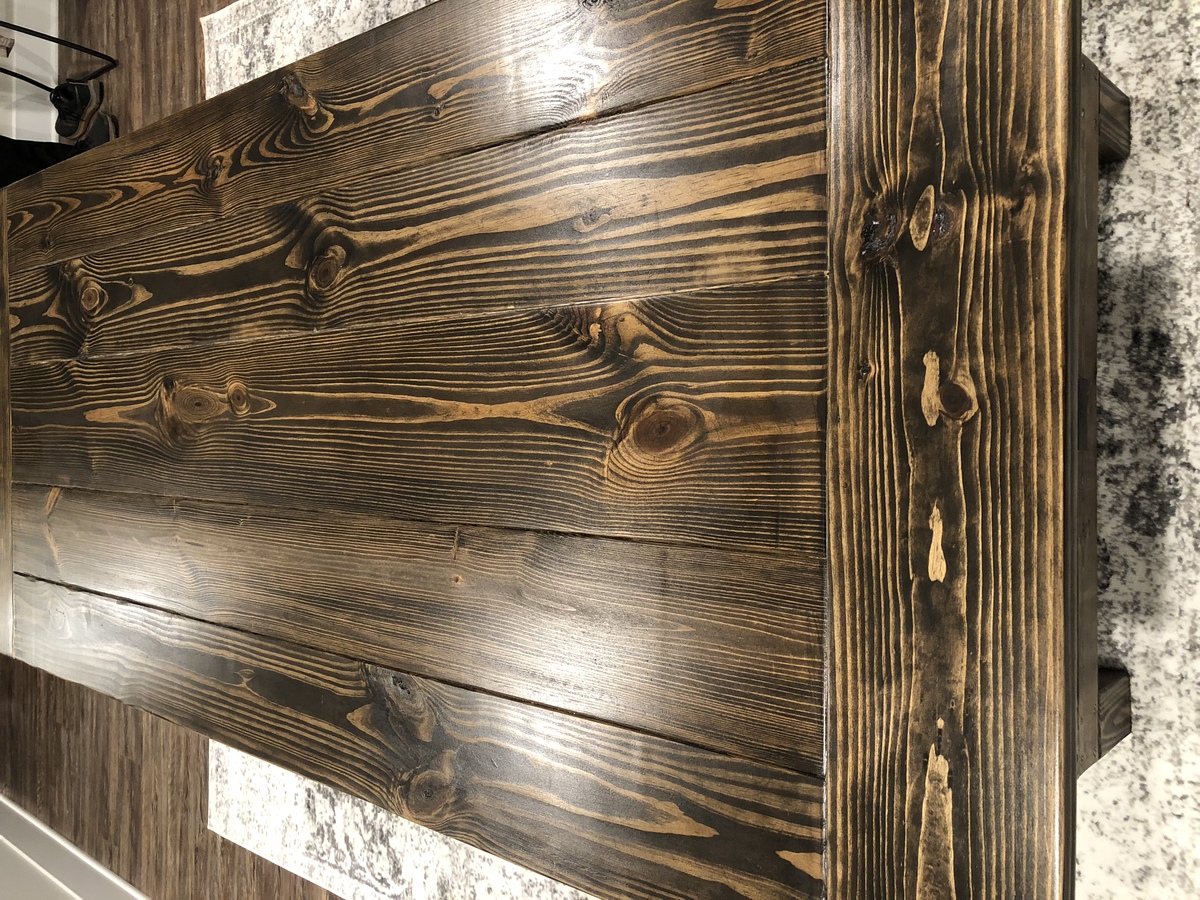
Finish Used
2 coats Varathane Jacobean, 2 coats water based satin polyurethane
Recommended Skill Level
Intermediate