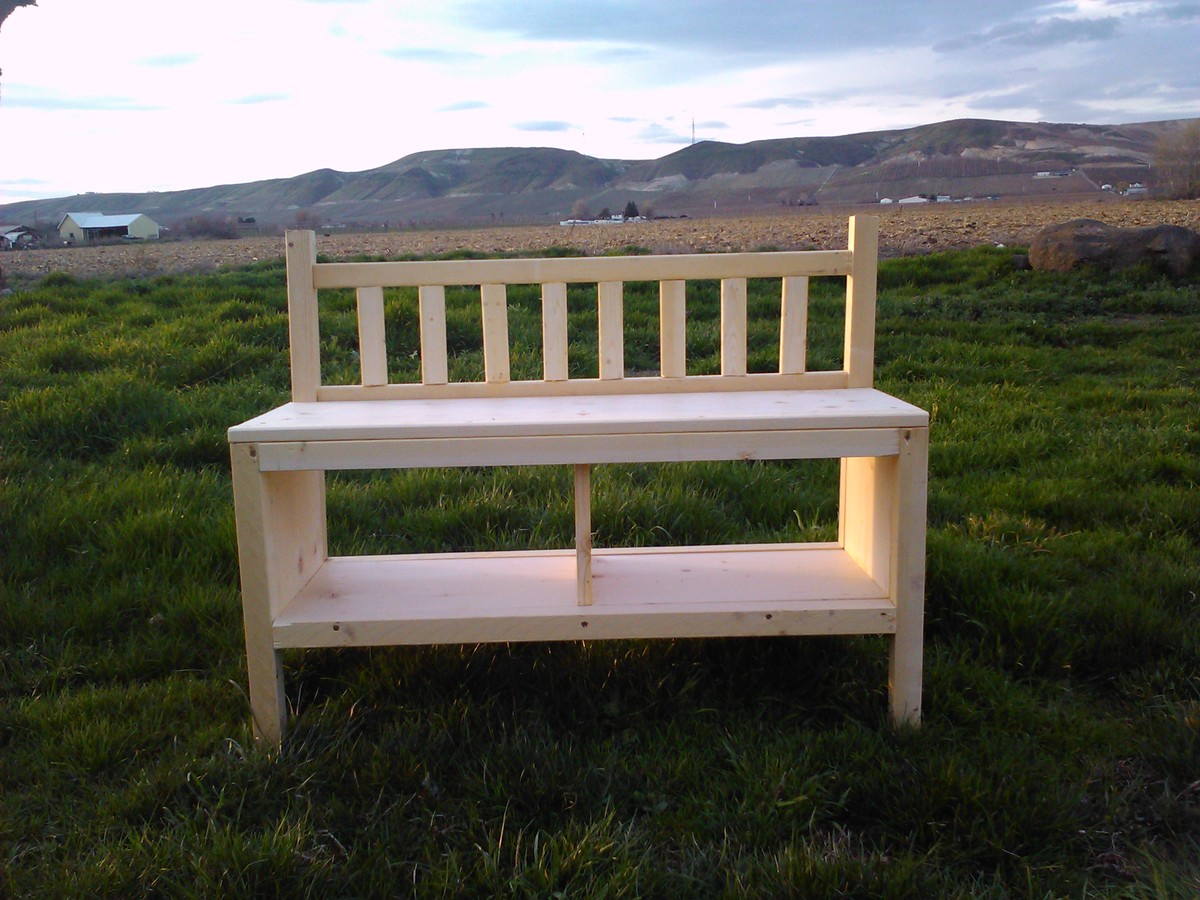
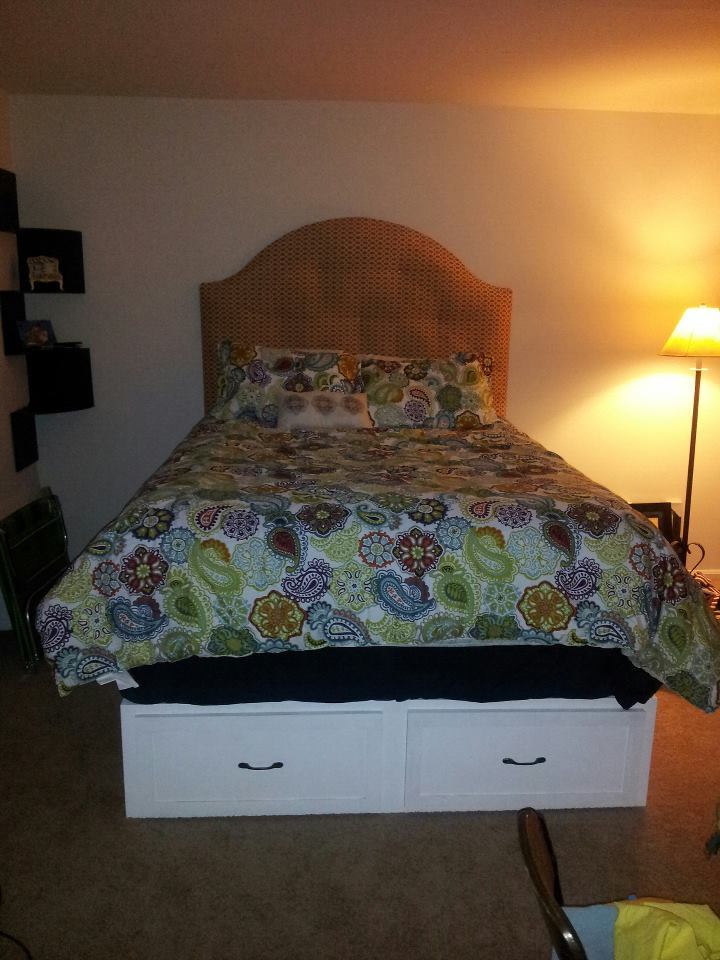
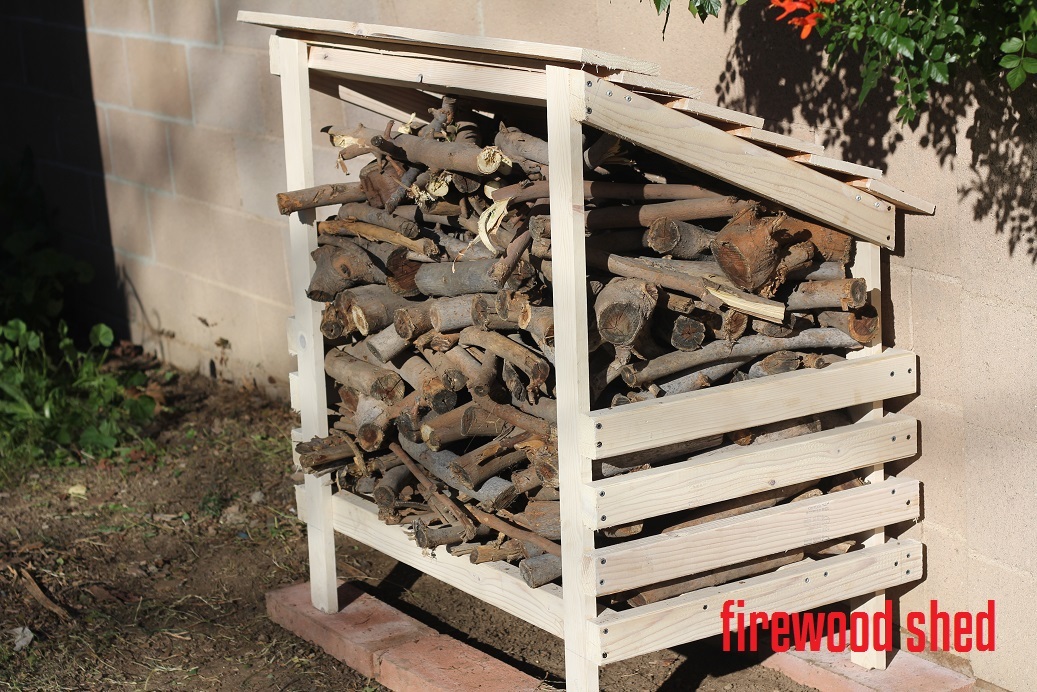
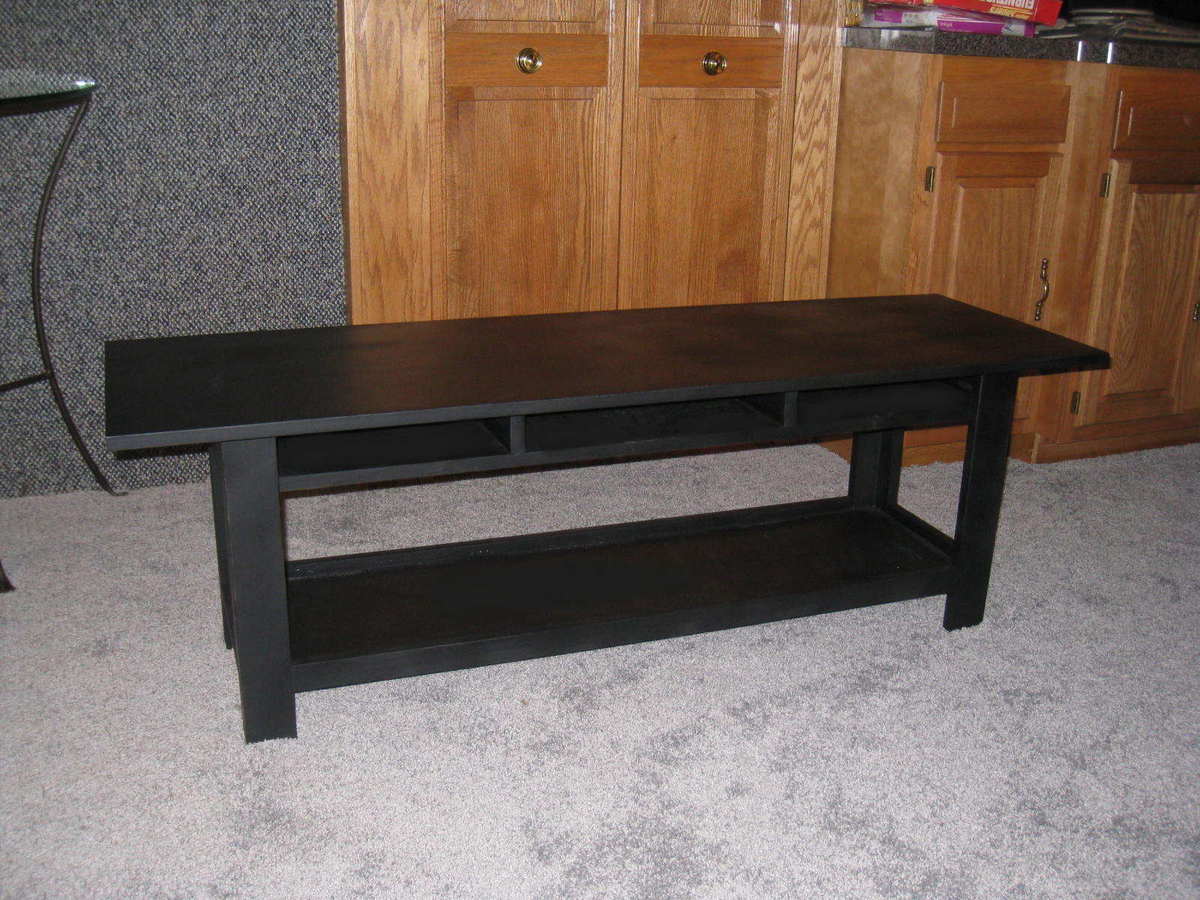
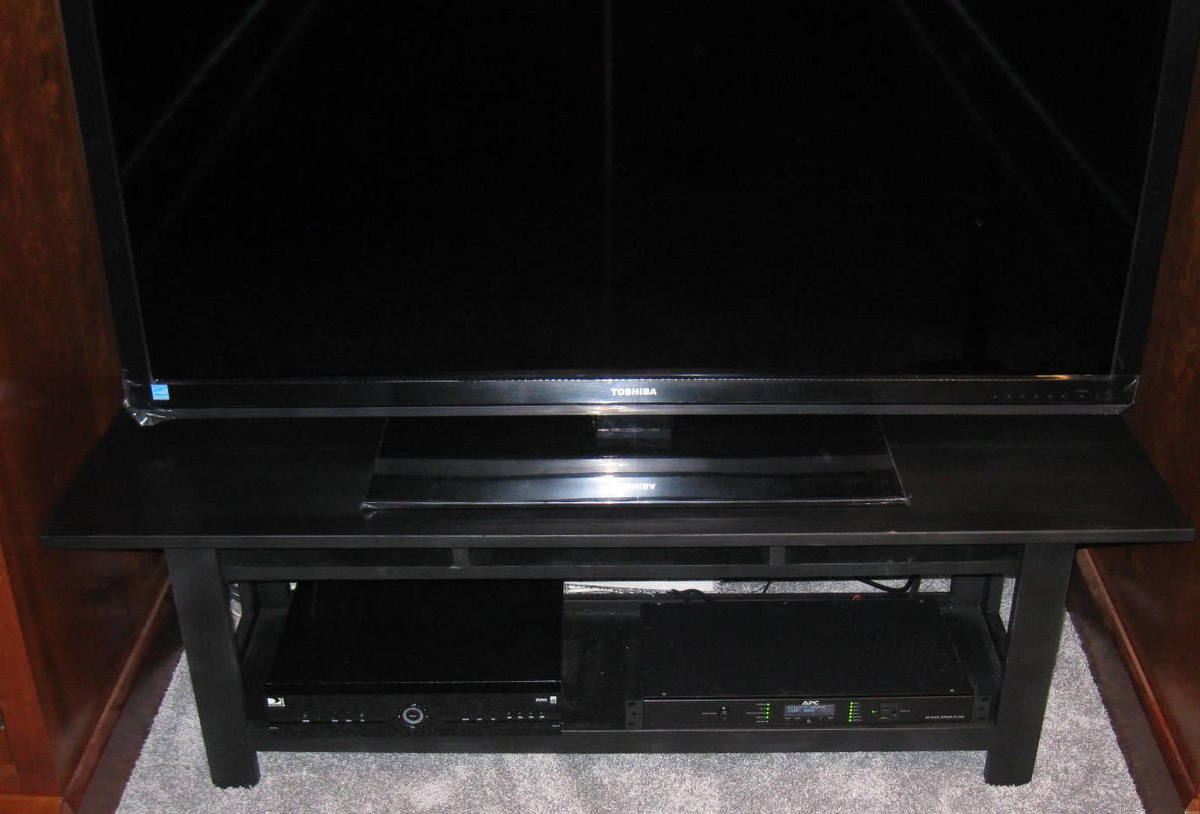
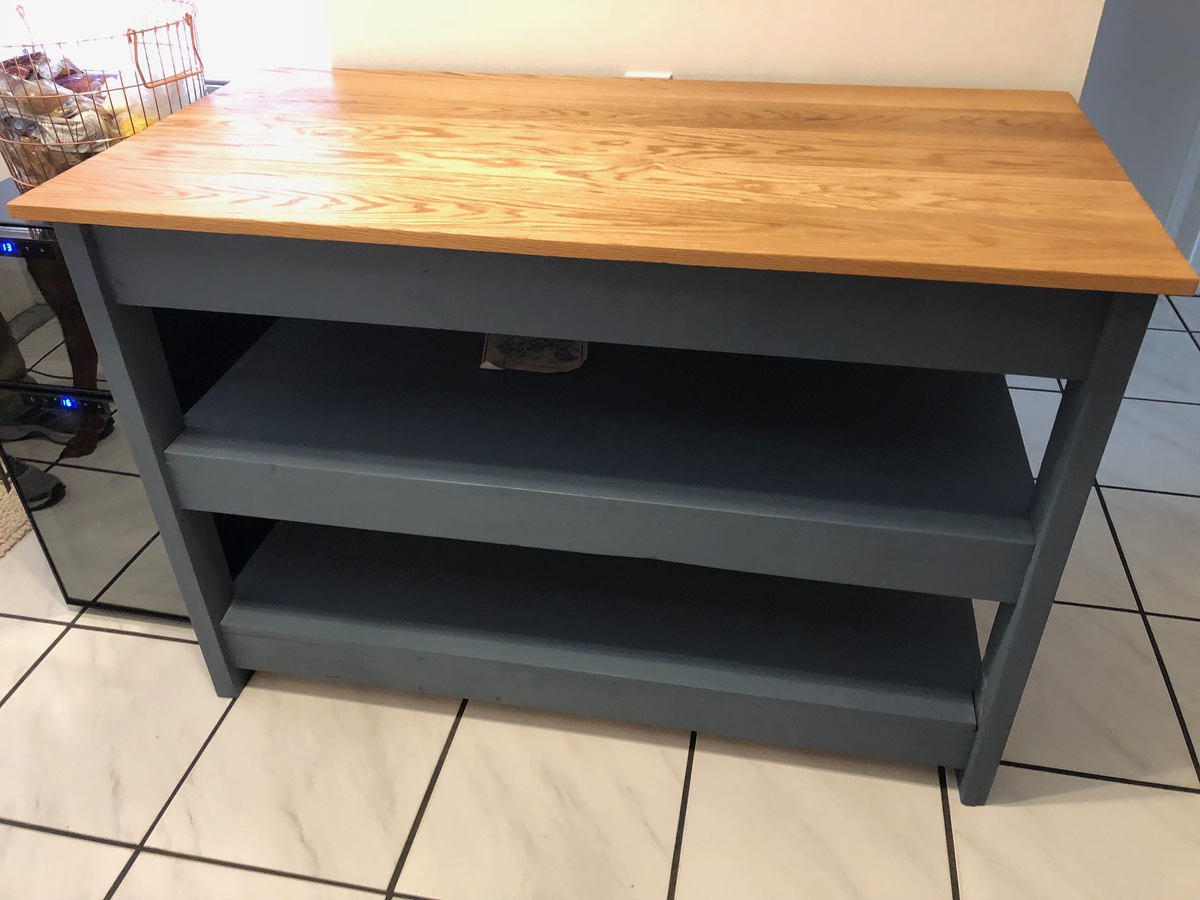
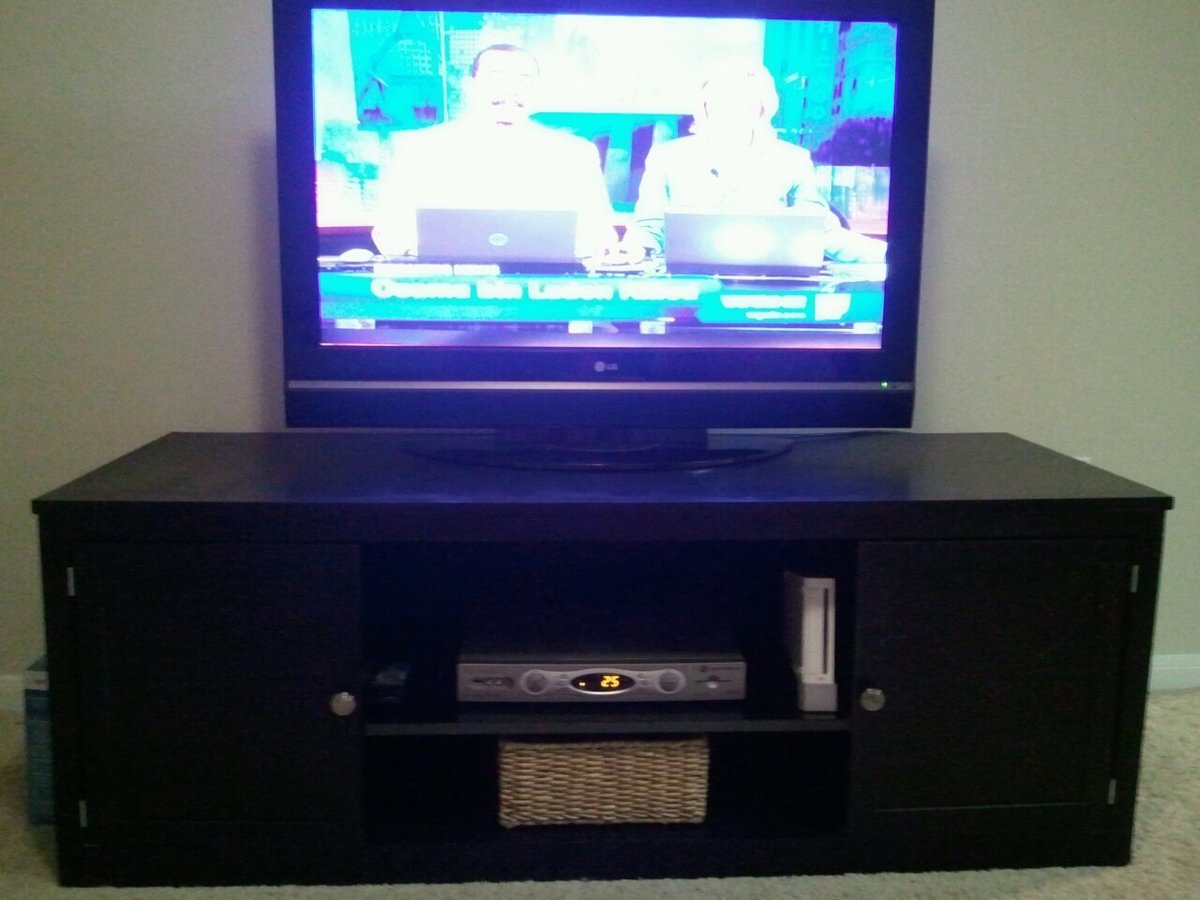
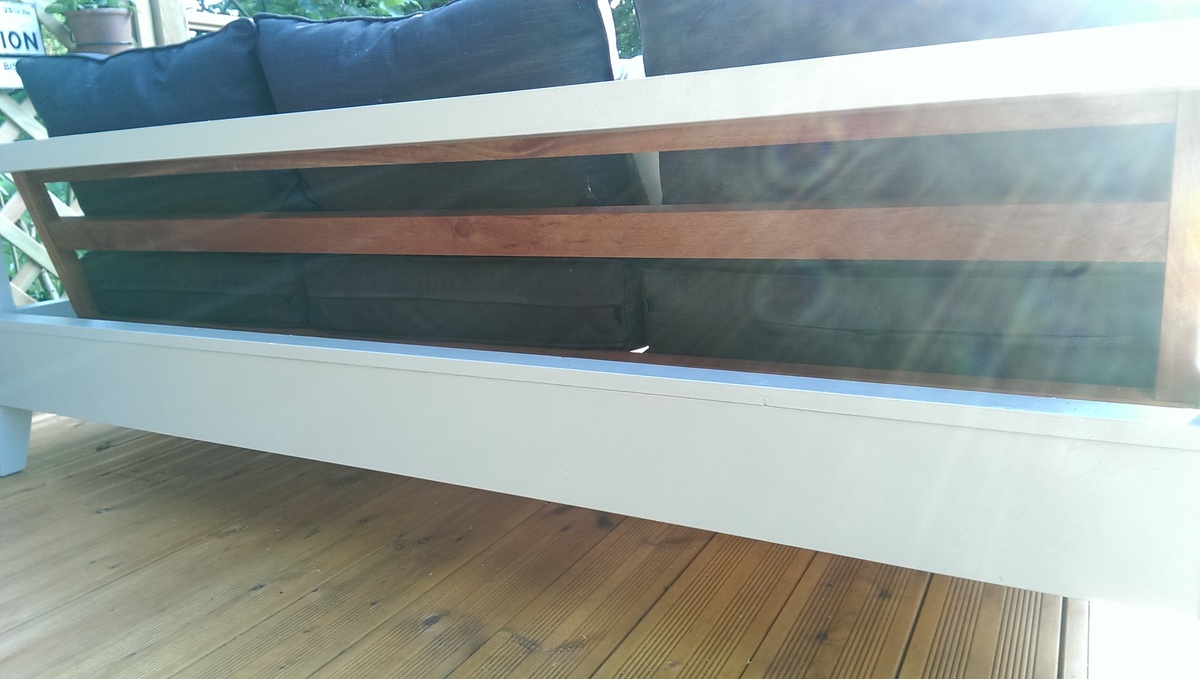
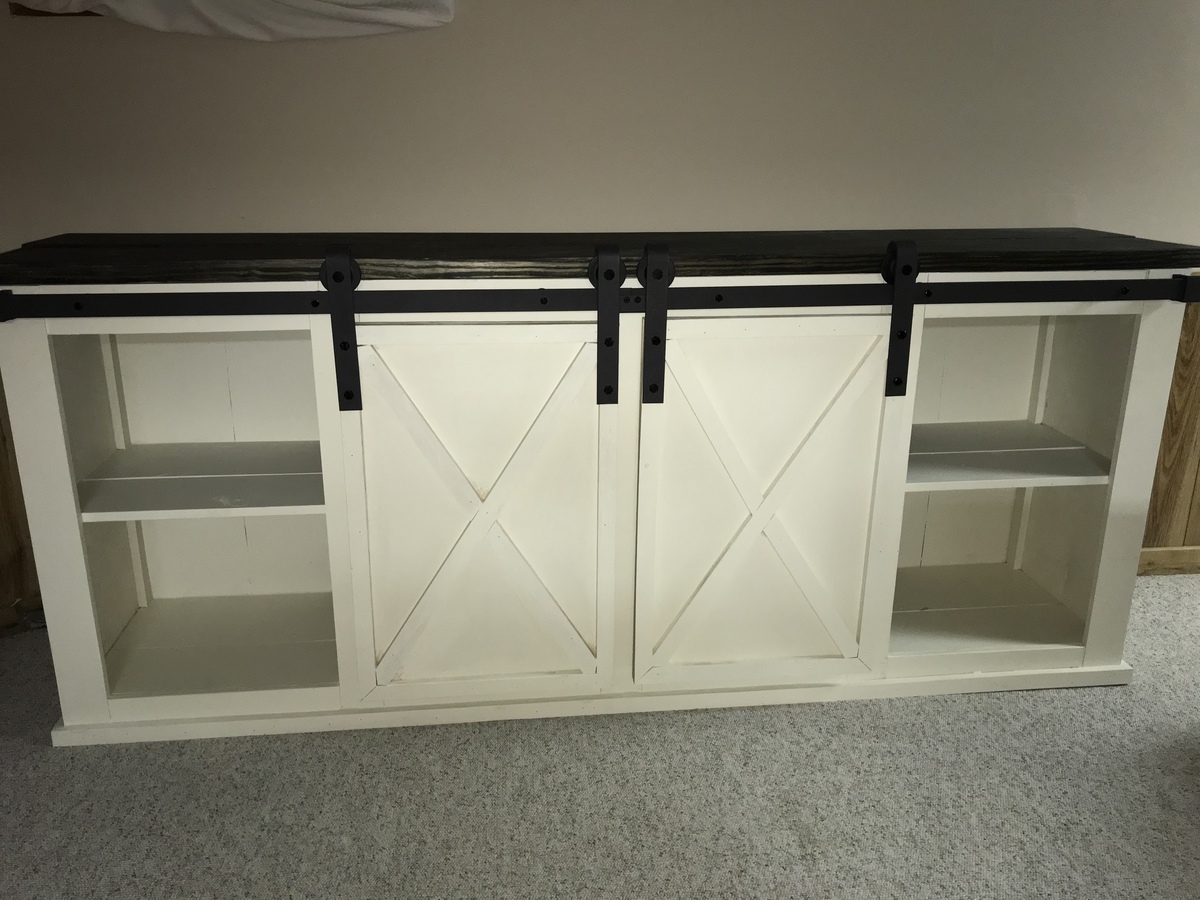
This table is based on the Flip Top Storage Bench / Coffee Table. While the original design size was almost perfect for my needs, my intended use was as a base for a flat panel TV. For this use, the flip-top made no sense so a modest design change was required.
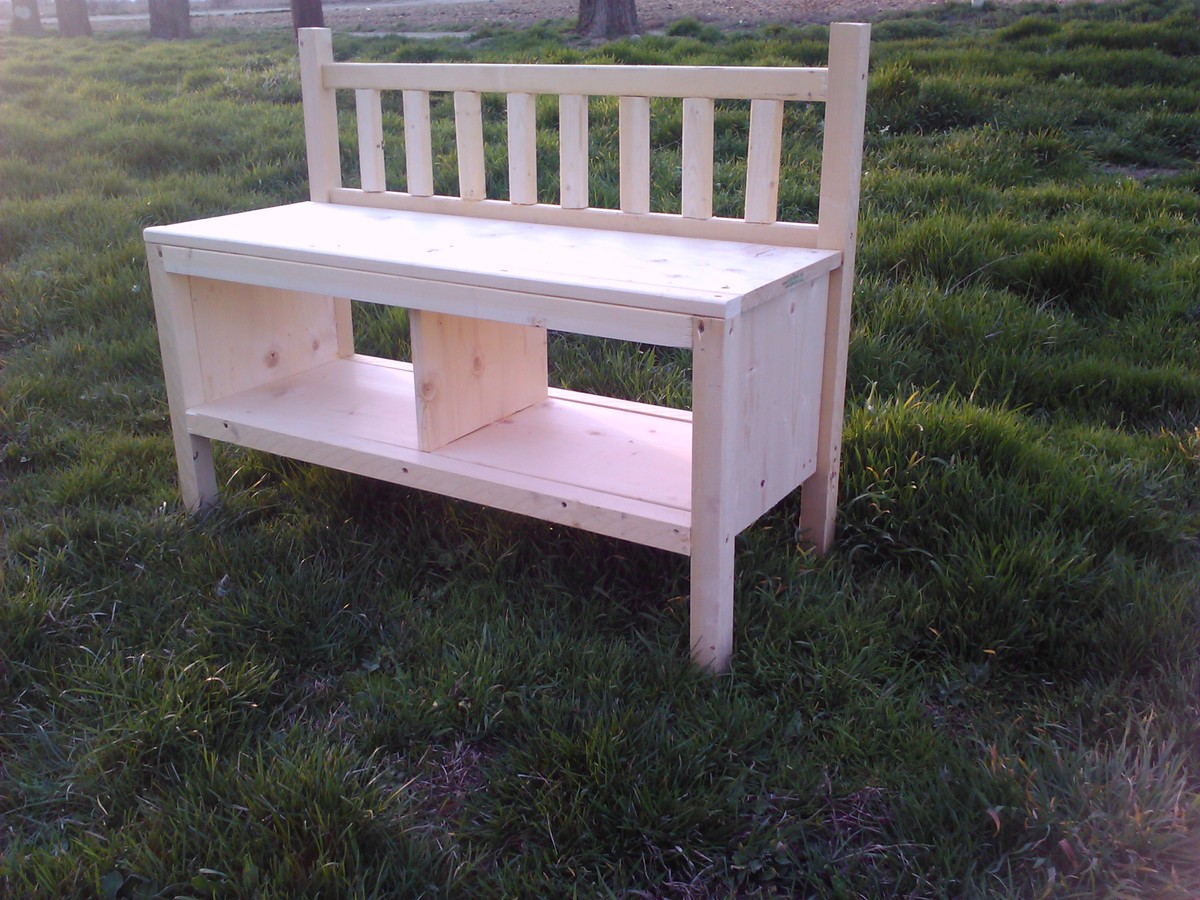
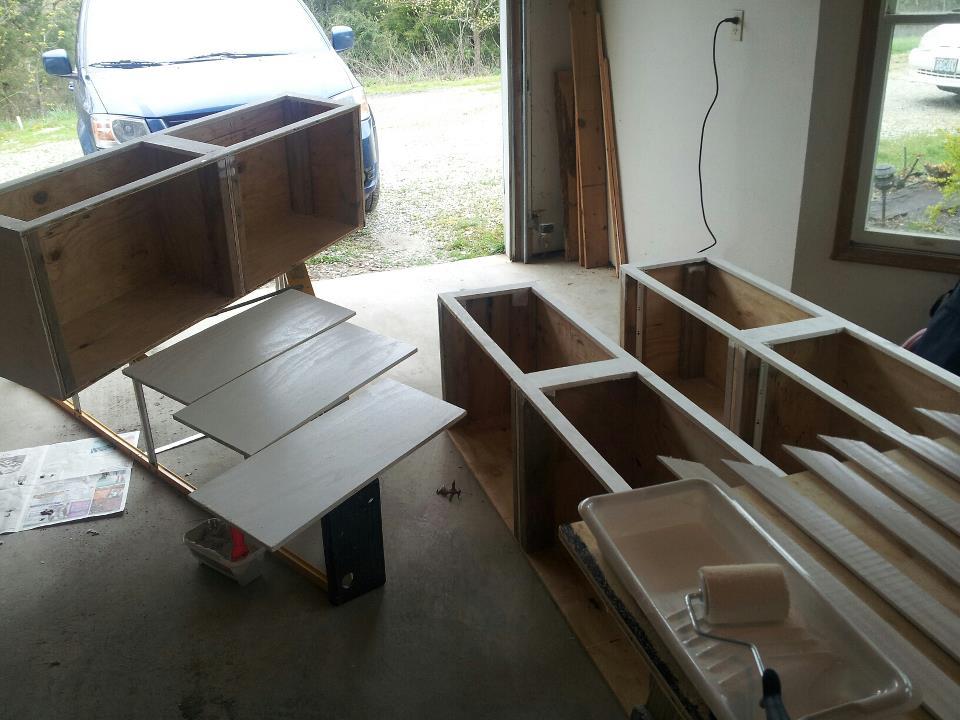
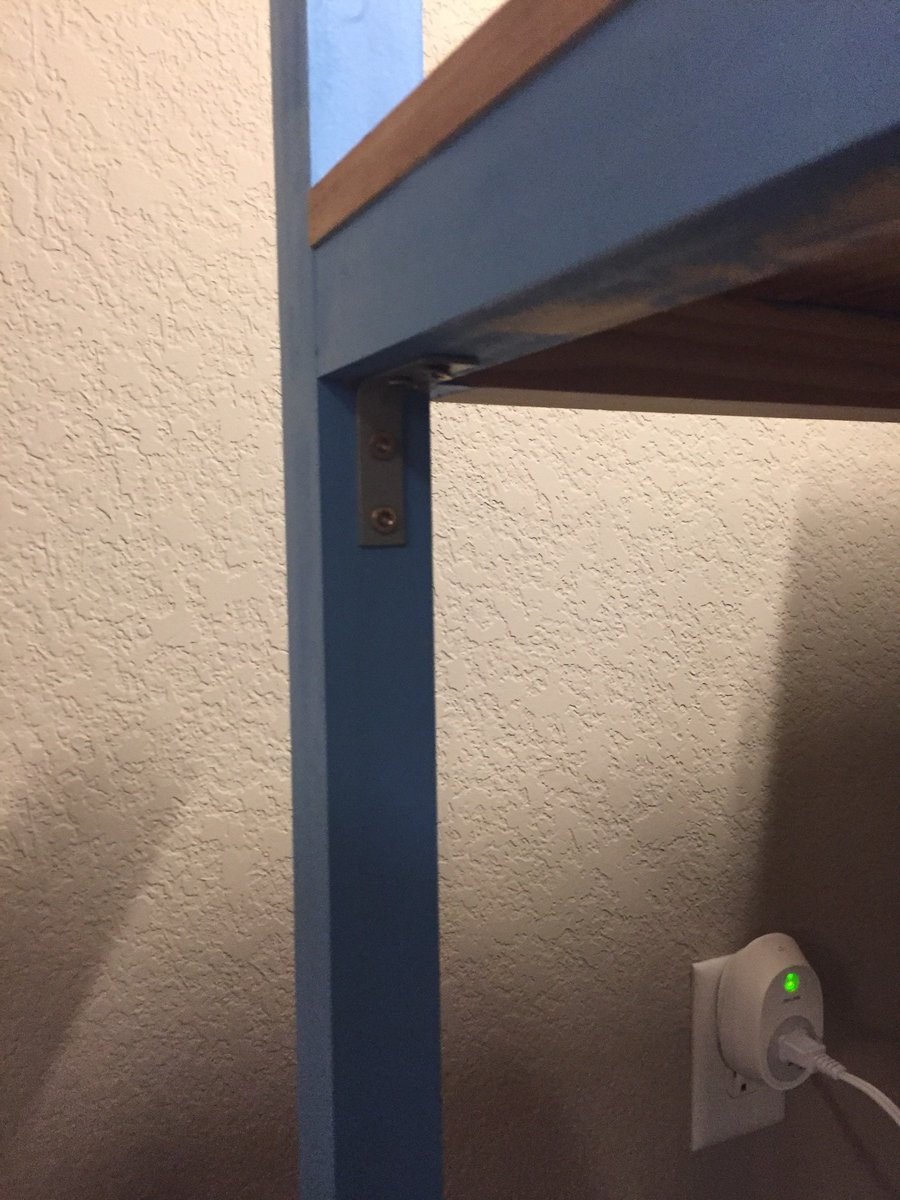
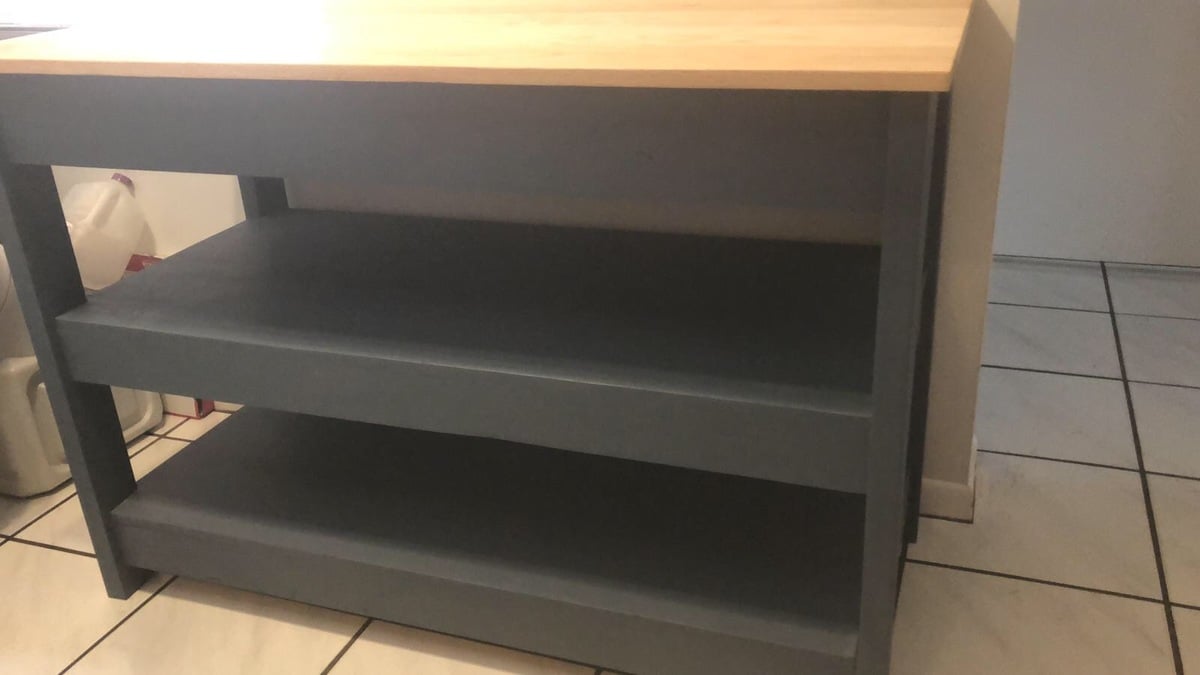
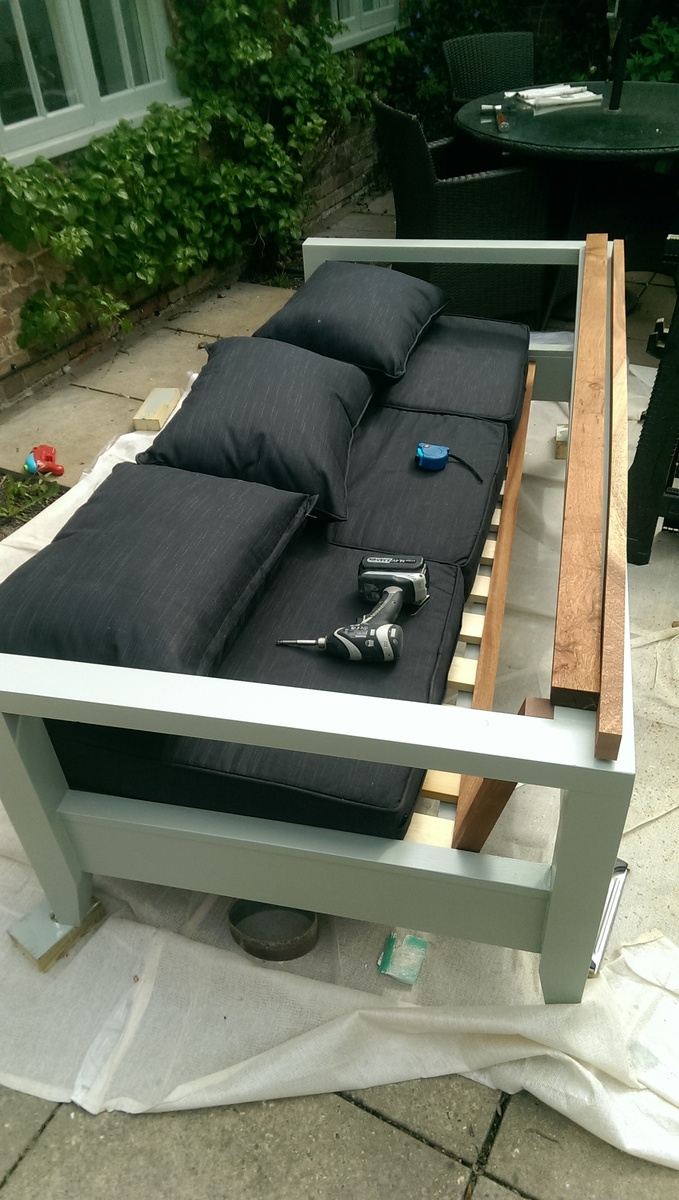
To add some strength to support the TV, and still get some utility out of the top shelf for remotes, magazines and what-not, I left off the front trim and pocket screwed a couple risers to the top shelf and back trim and attached the top to these as well as the legs.
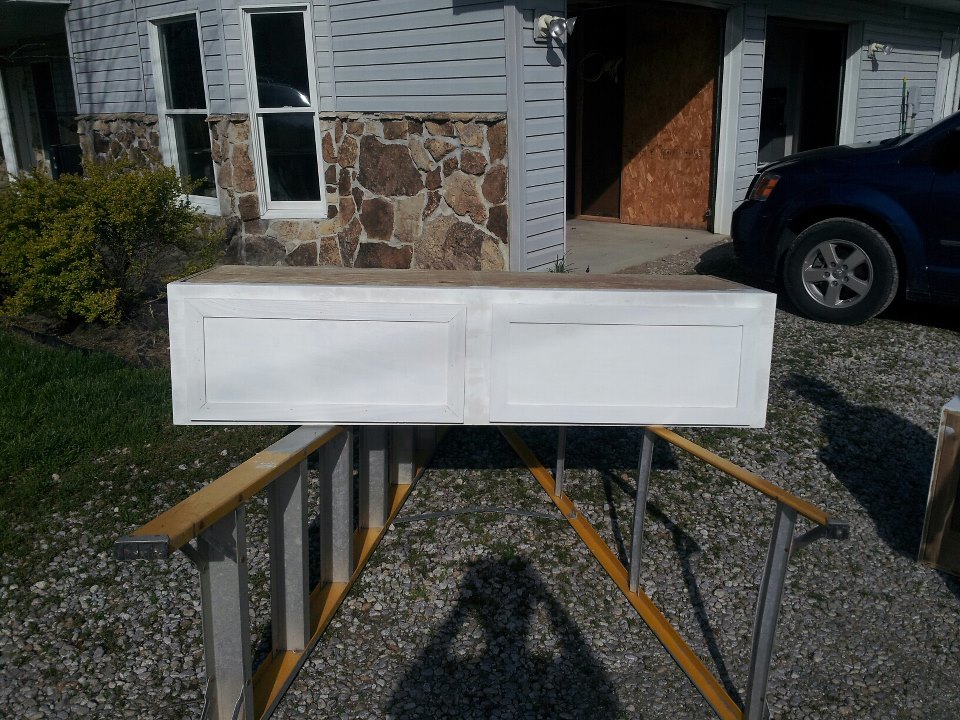
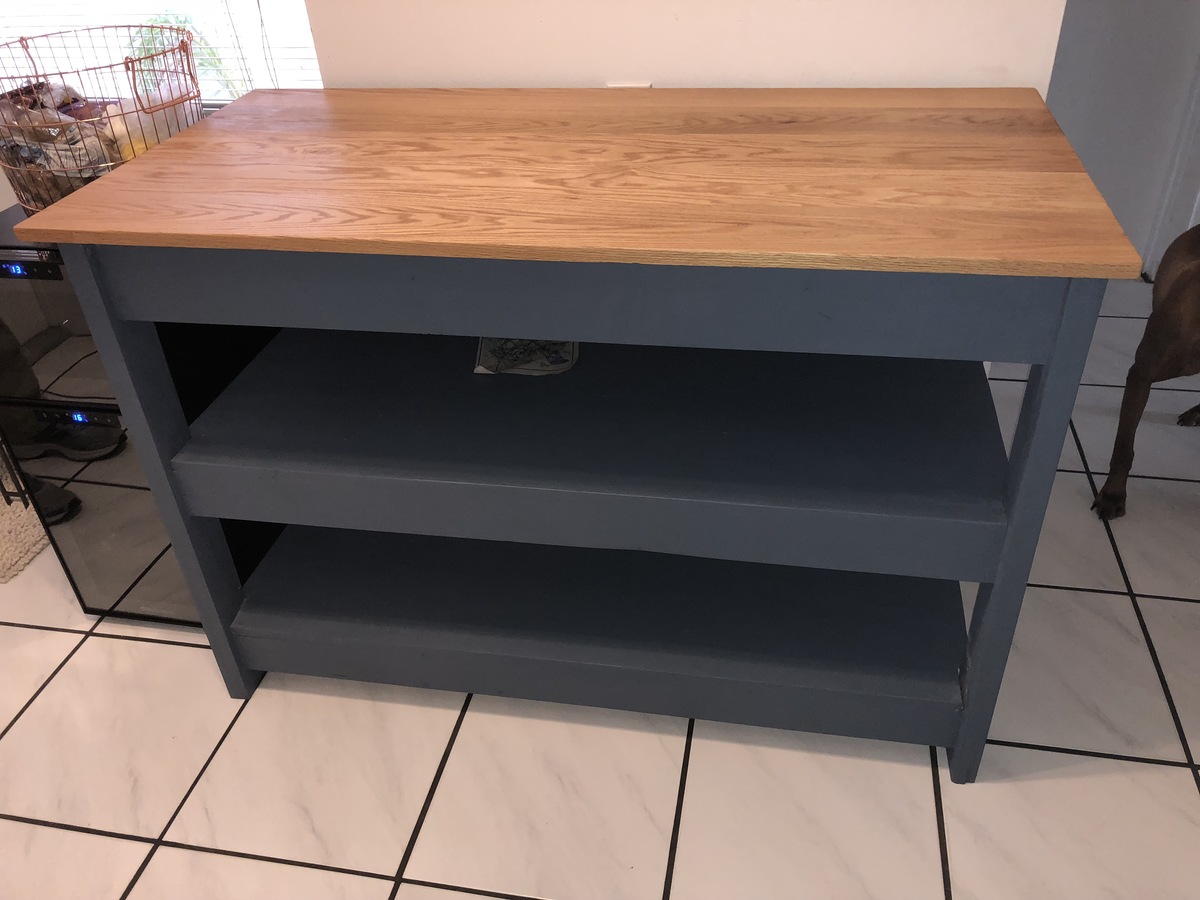
I had big-time warpage issues with 1 X 12 pine boards, So I settled on a 'speed' approach using a 18 X 72 laminated pine board, which I cut to 52 inches length. These dimensions eliminated the need for second top board used for the hinge mount in the original design. I immediately took it home, cut and mounted it on the table carcass and locked it in position with screws before it had a chance to move on us. My wife then quickly painted it.
I have a sketchup model of the revised non flipping bench. If anyone is interested in that let me know.