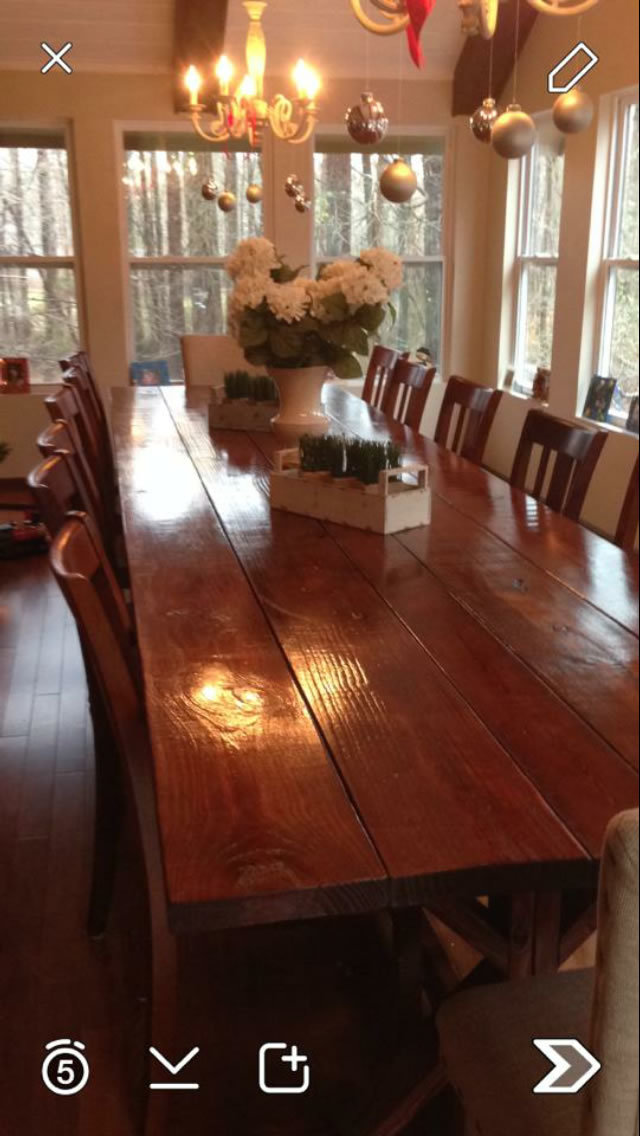
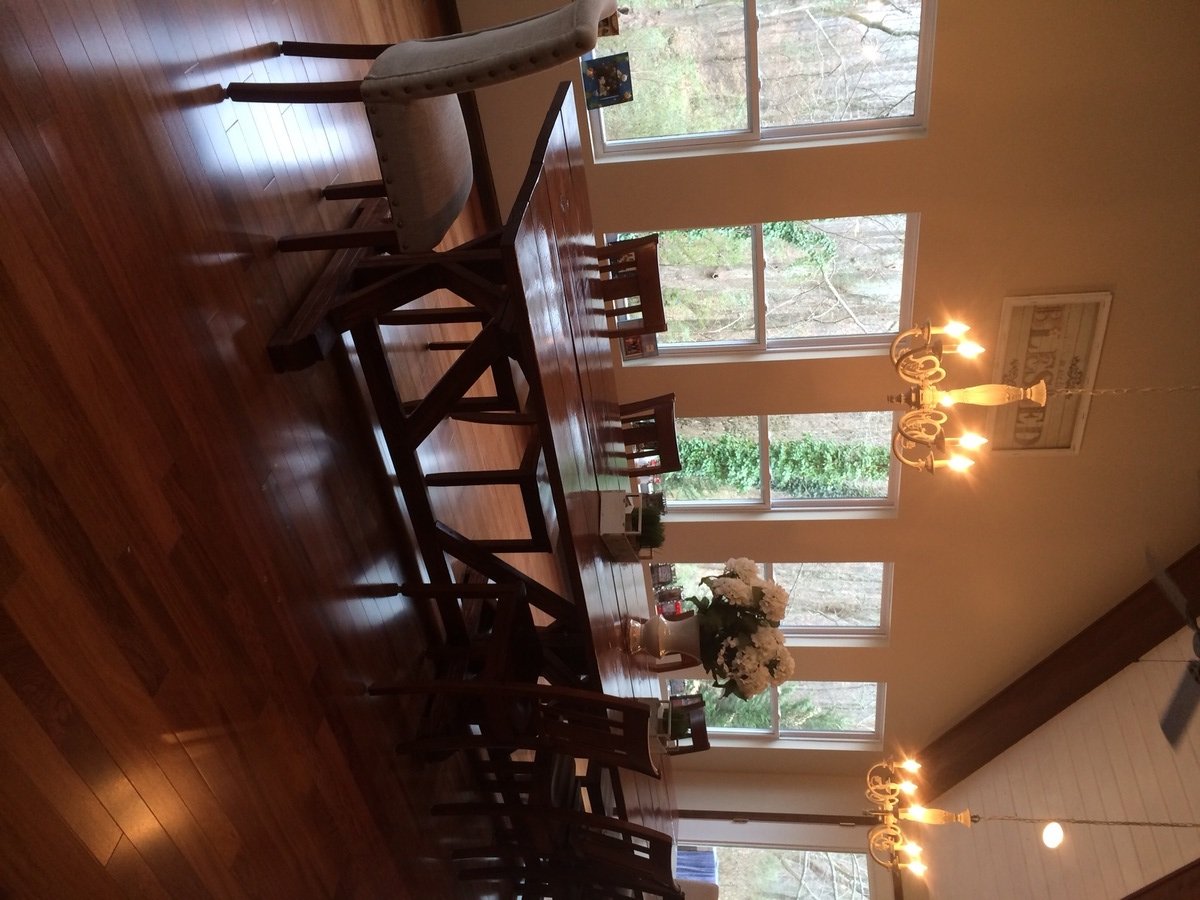
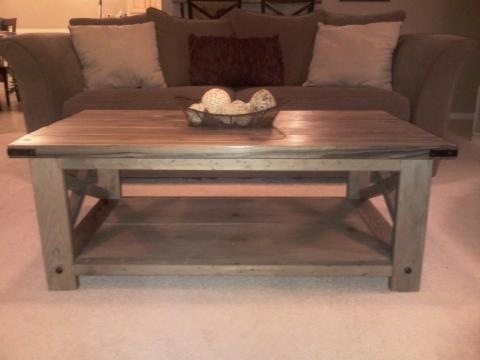
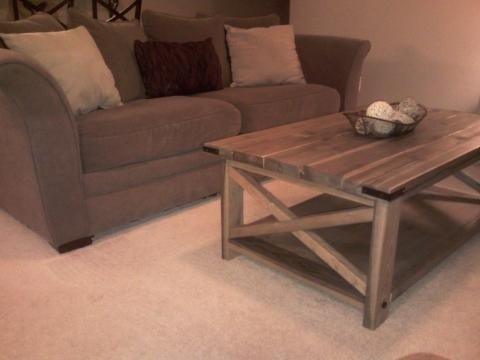
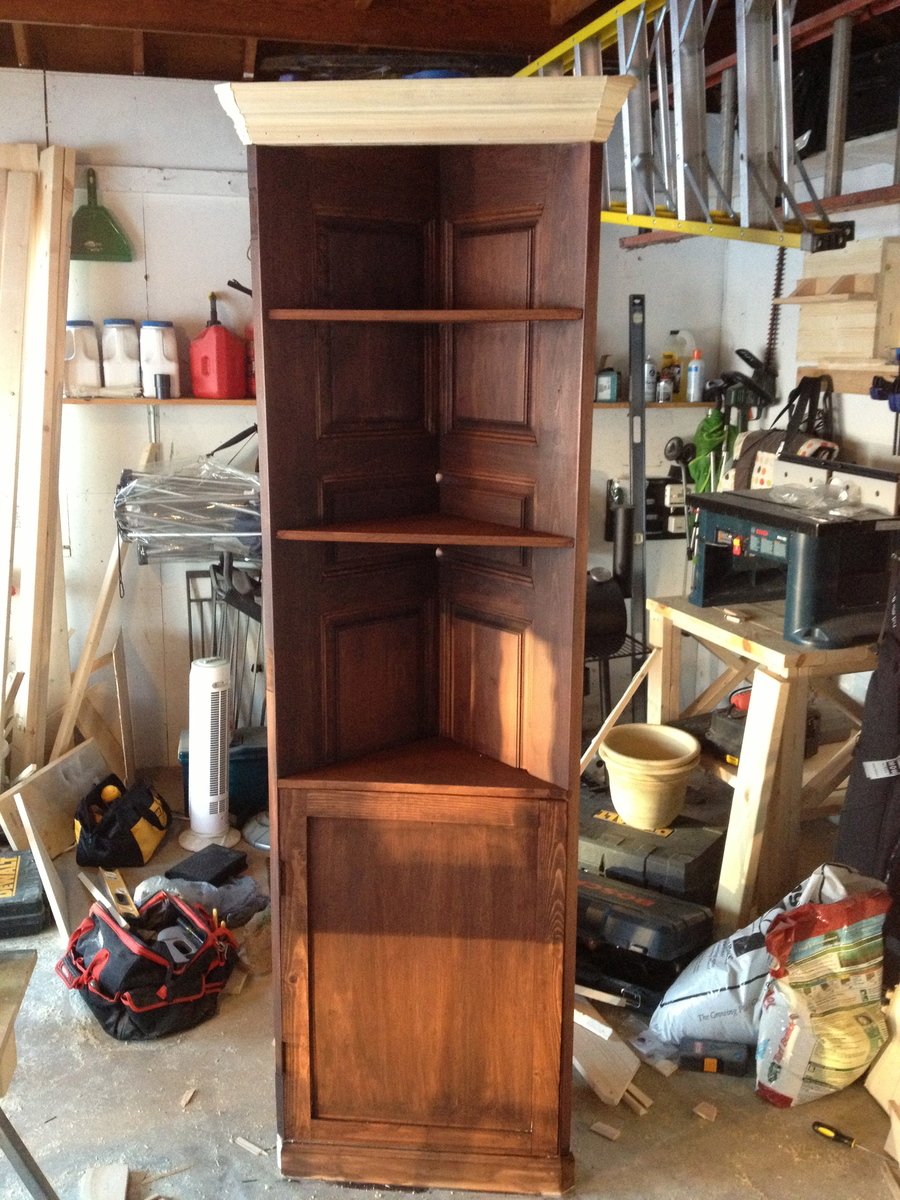
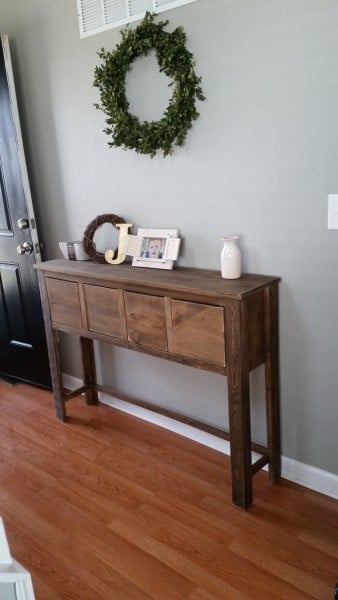
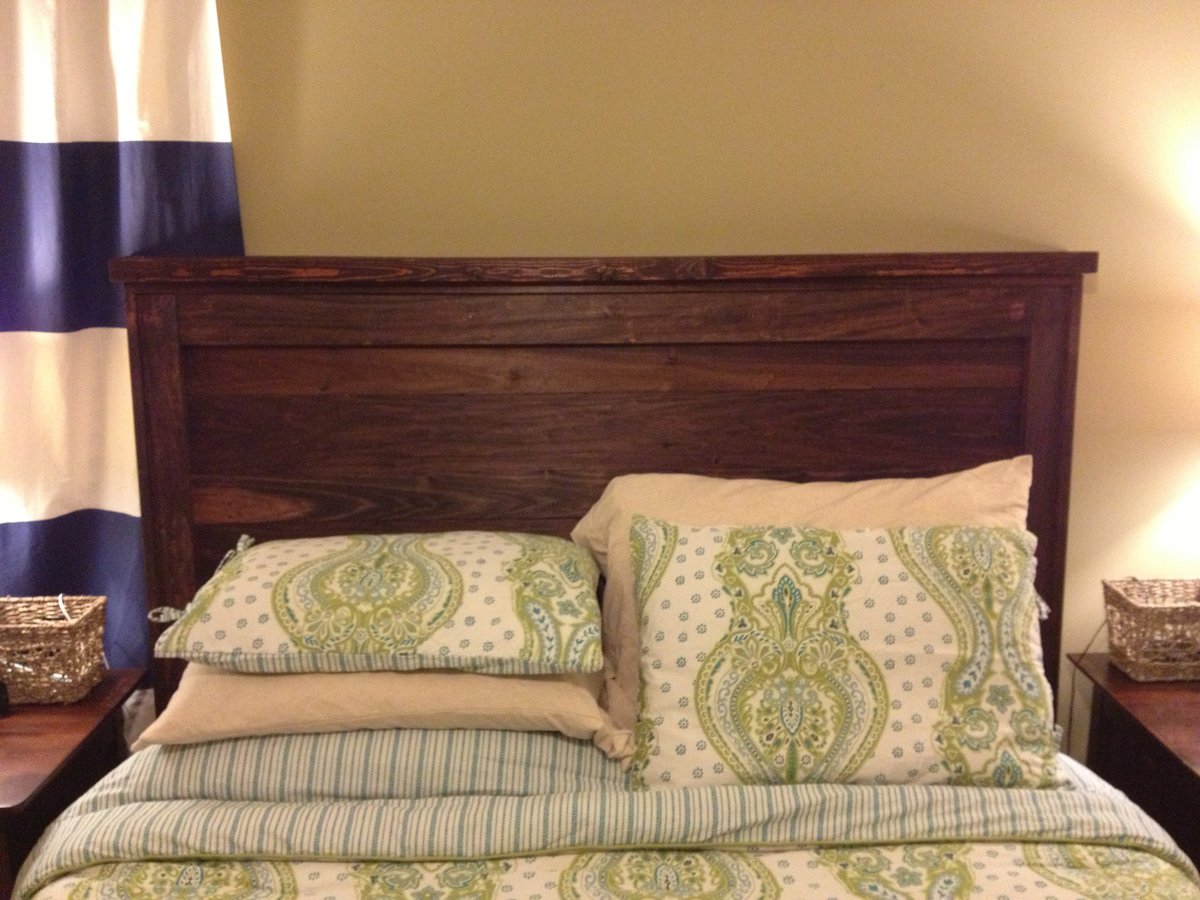
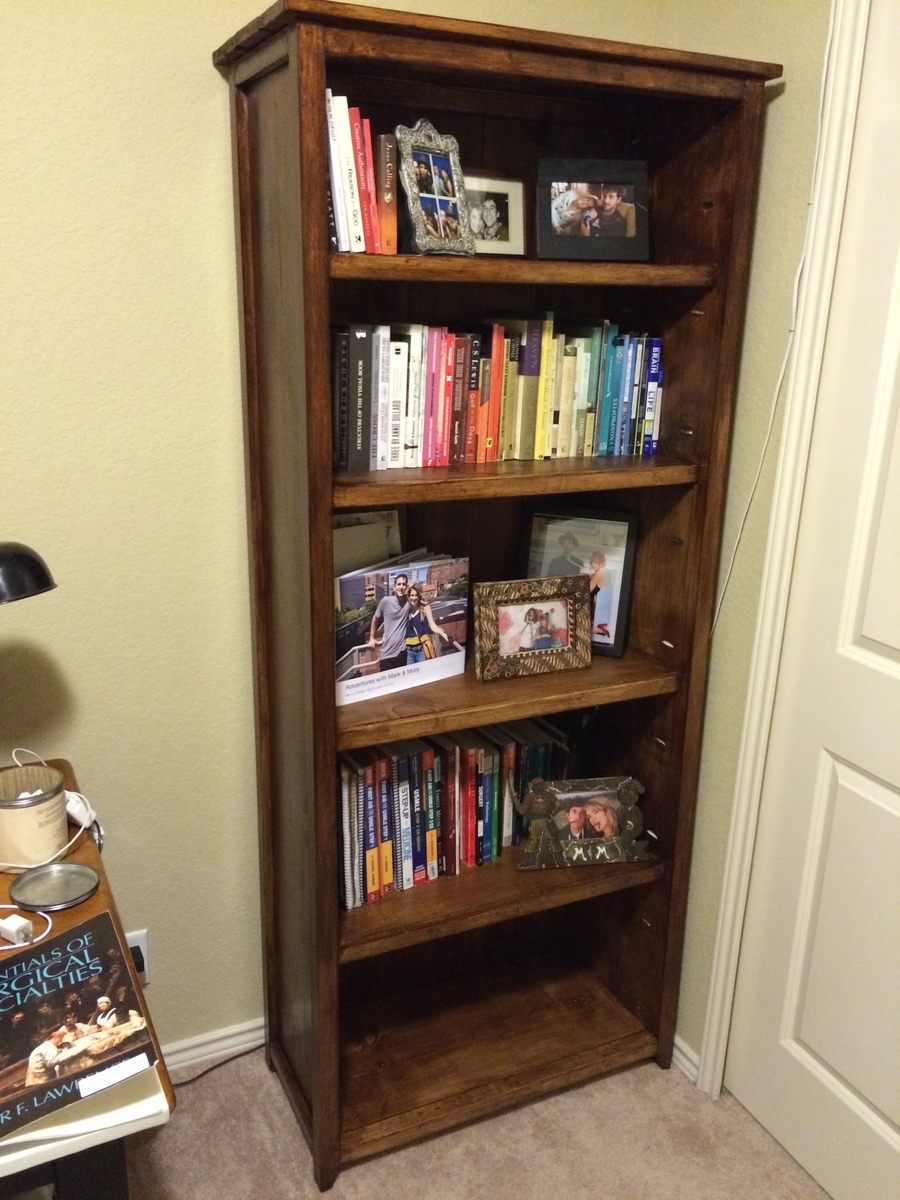
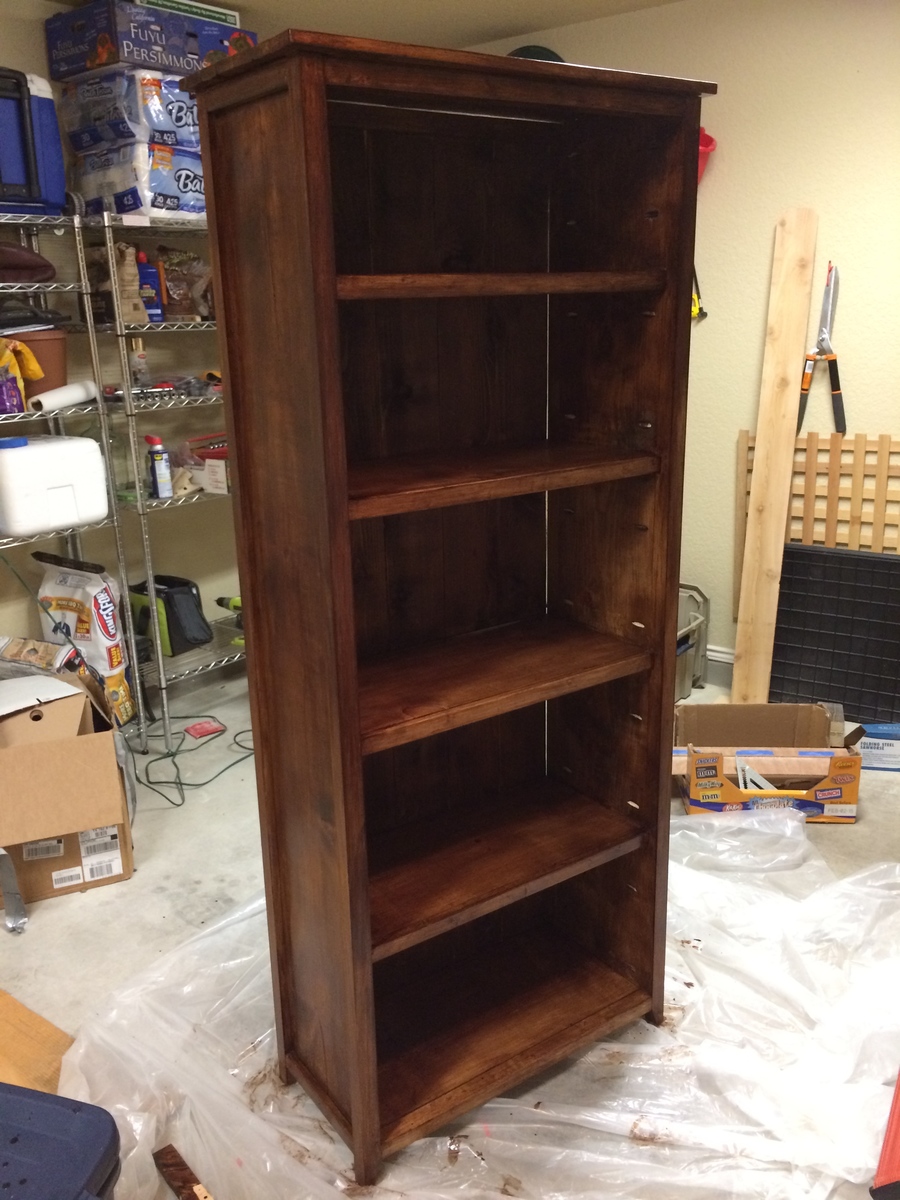
This was my first time using a plan from this site, it was my first time using a kreg jig, and pretty much my first time using a circular saw on anything that mattered. Also my first time staining. I'm real happy with how it turned out except for the staining! I used a stain + polyurethane in one and found it very difficult to get the color even without streaks. Next time I think I am going to stain all my cut wood BEFORE I assemble. I think that will let me have a nice even stain. Any thoughts on that?
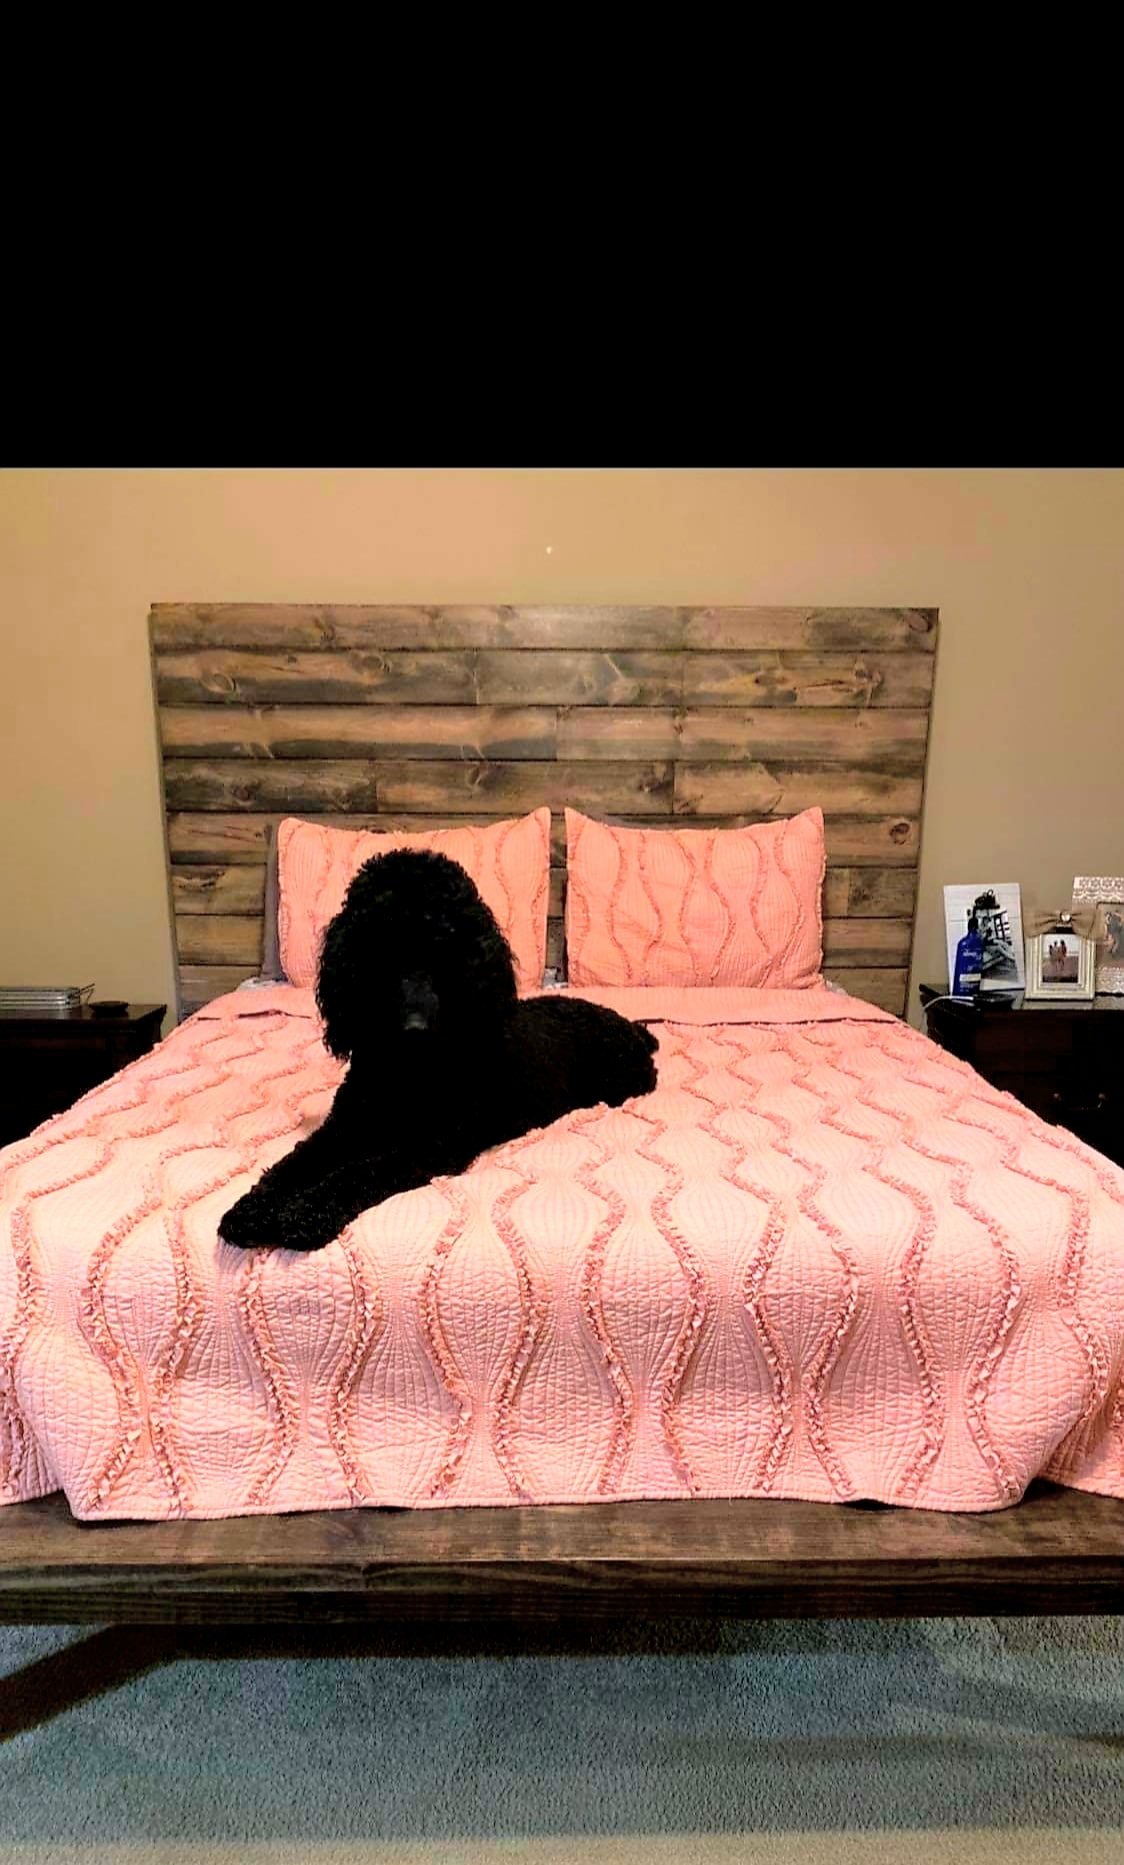
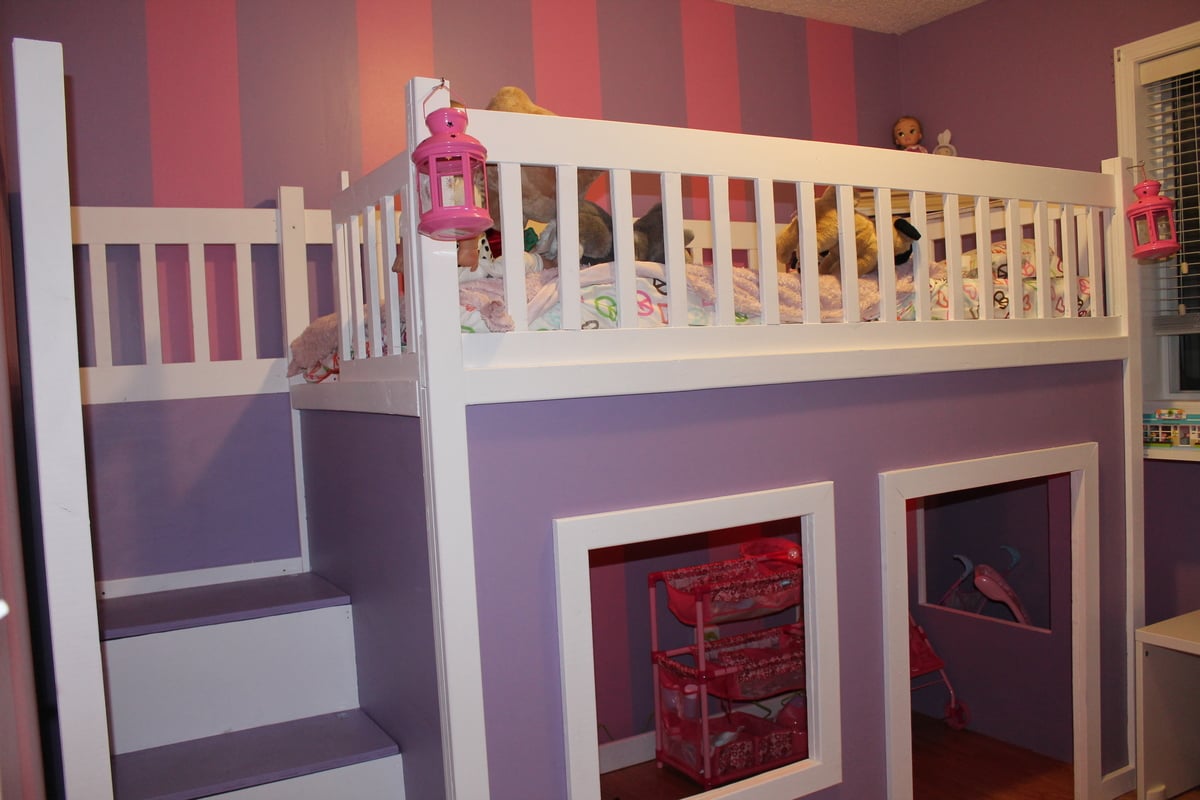
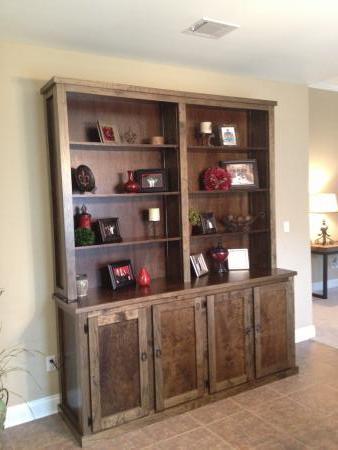
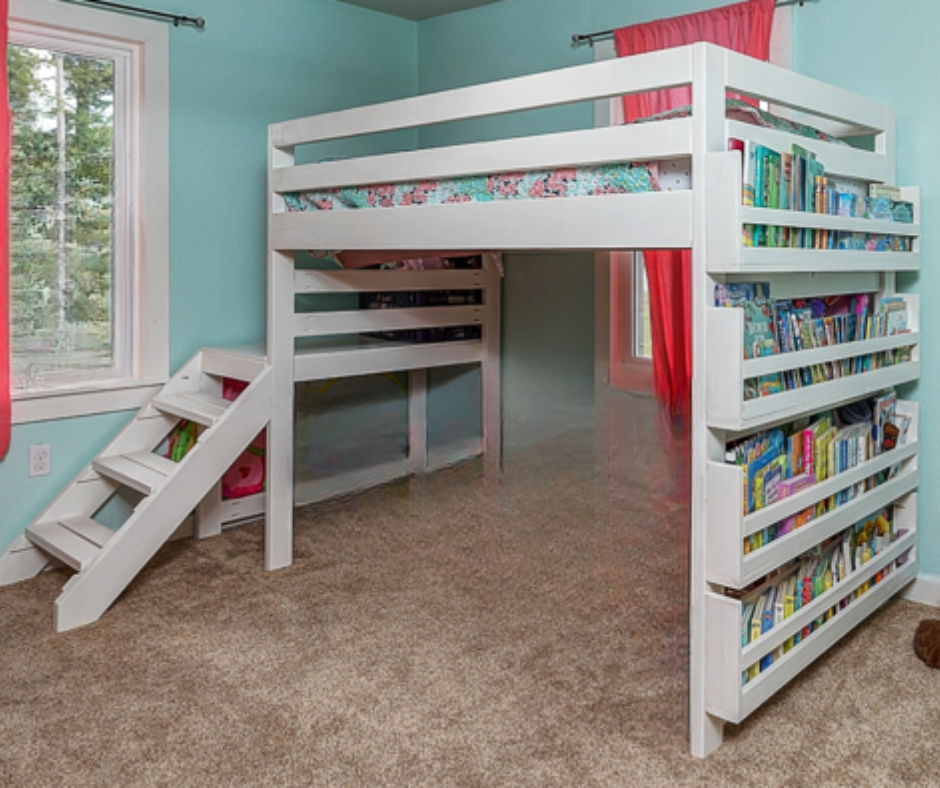
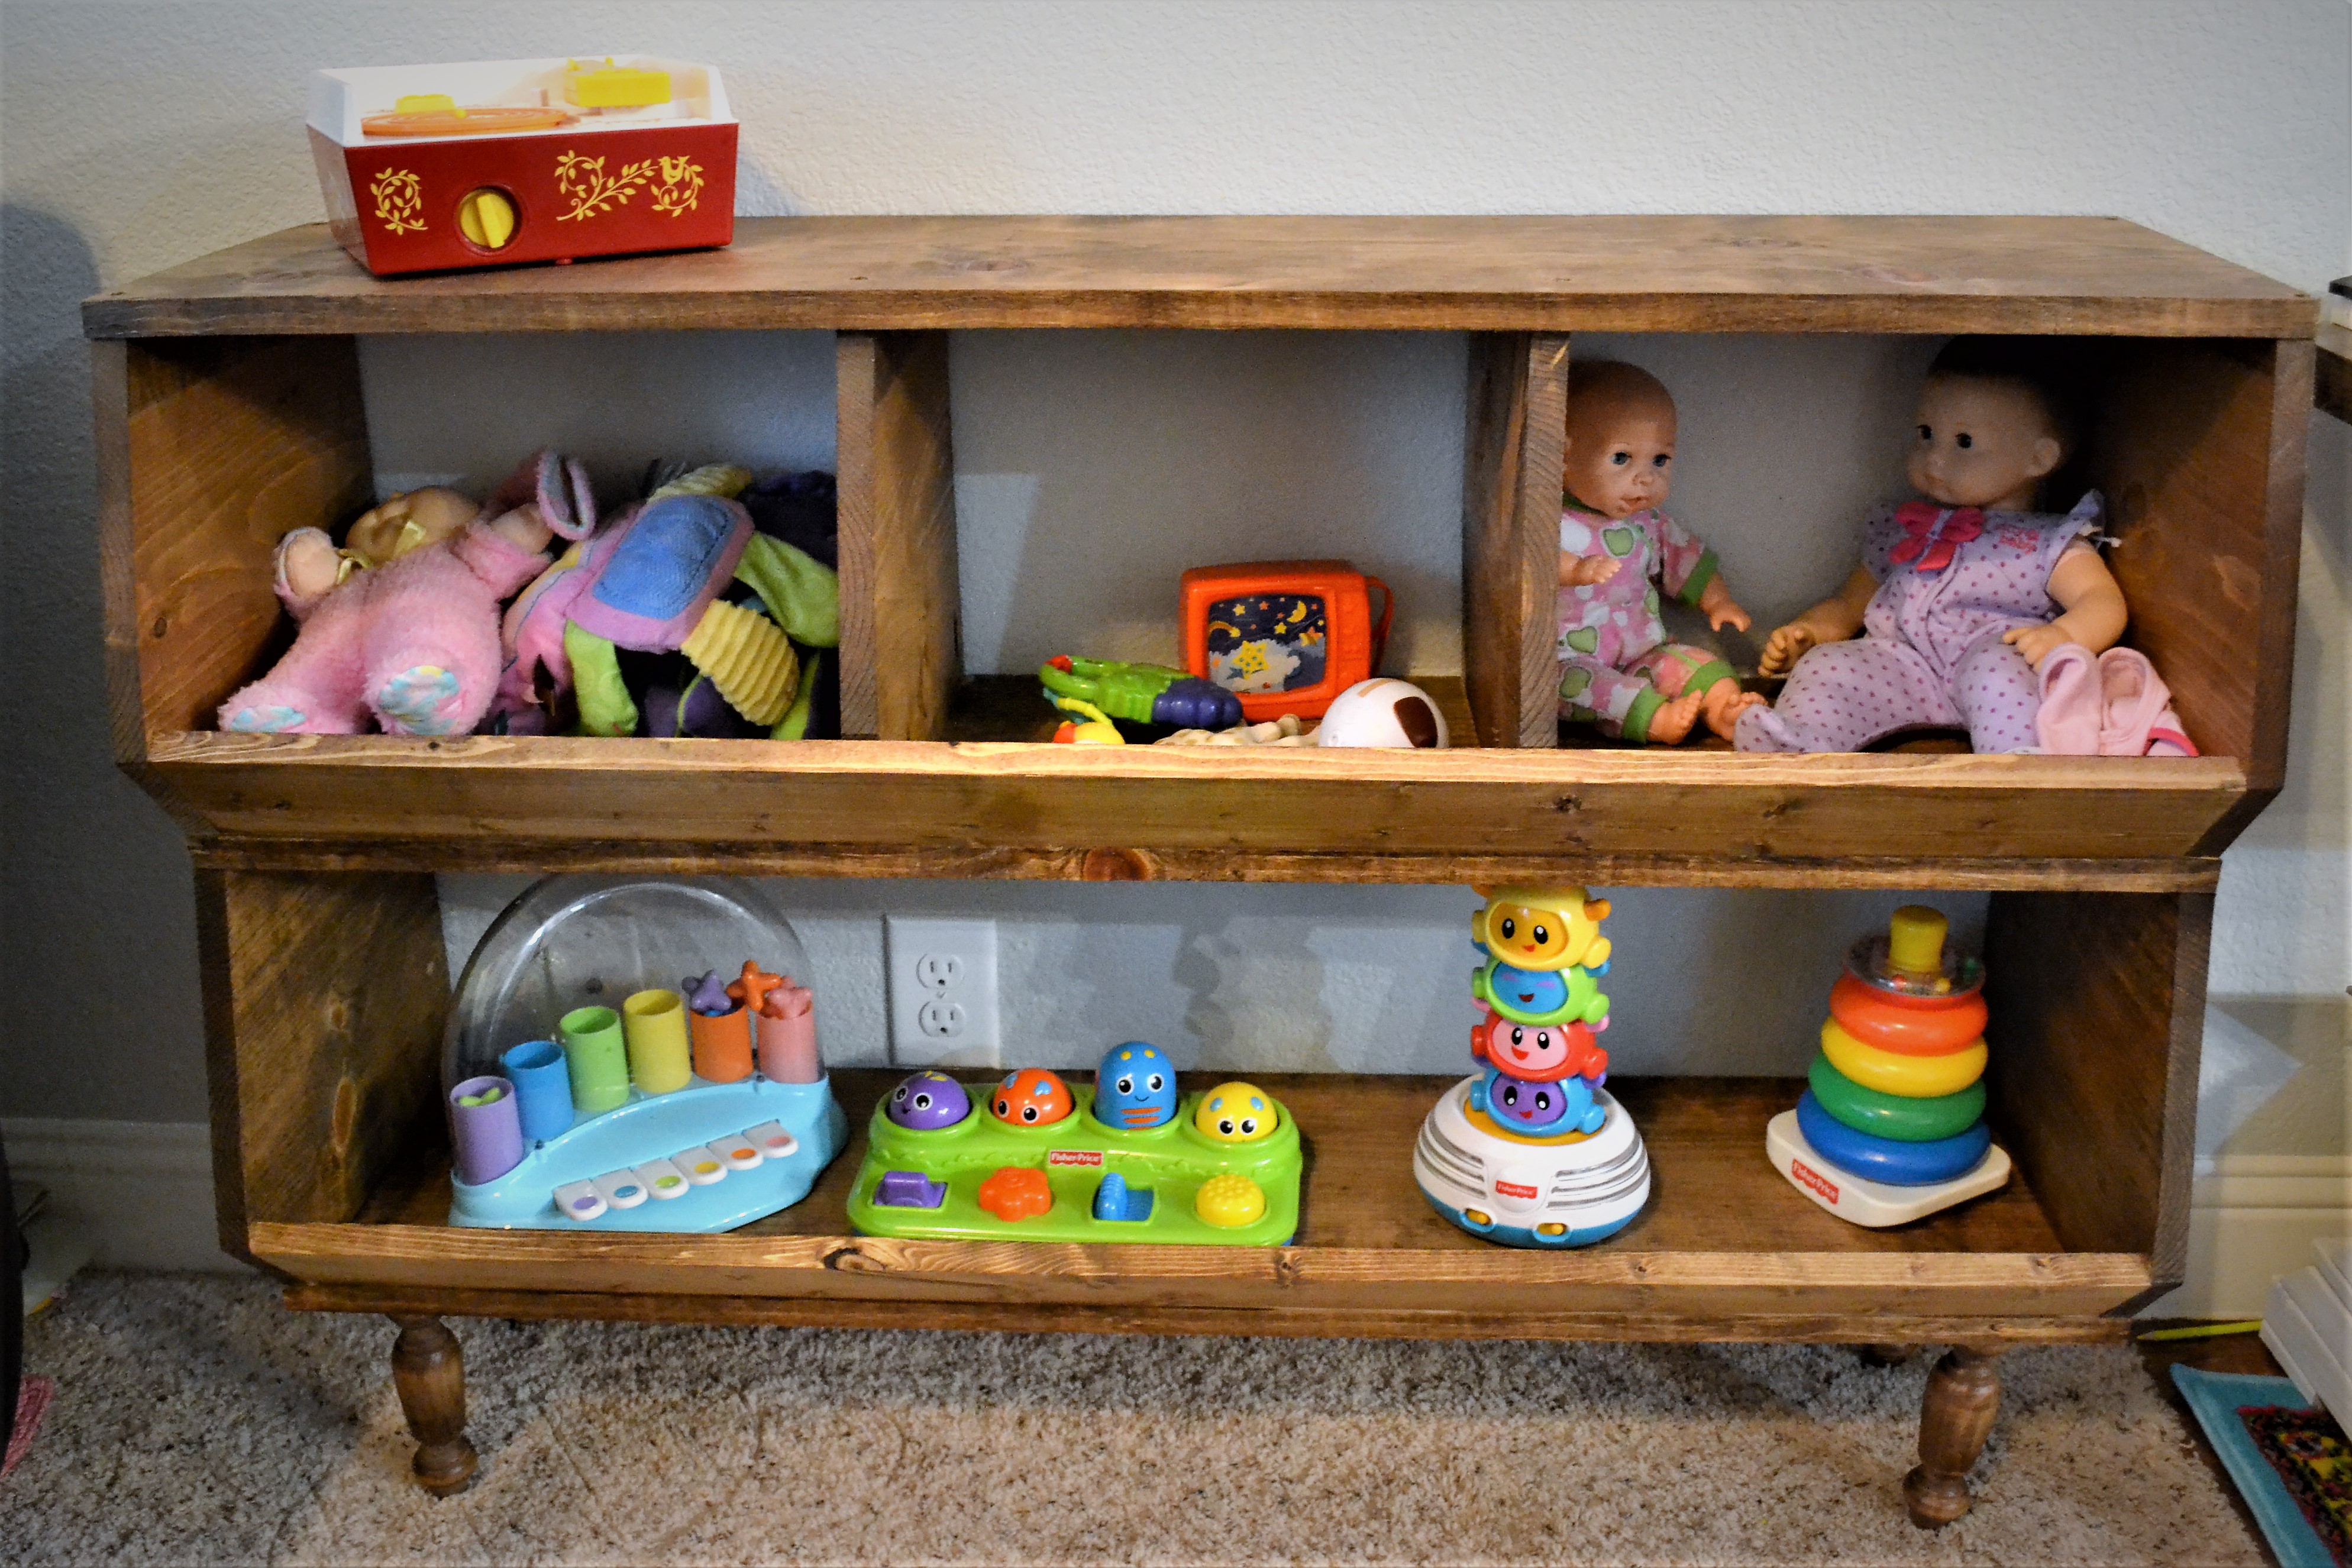
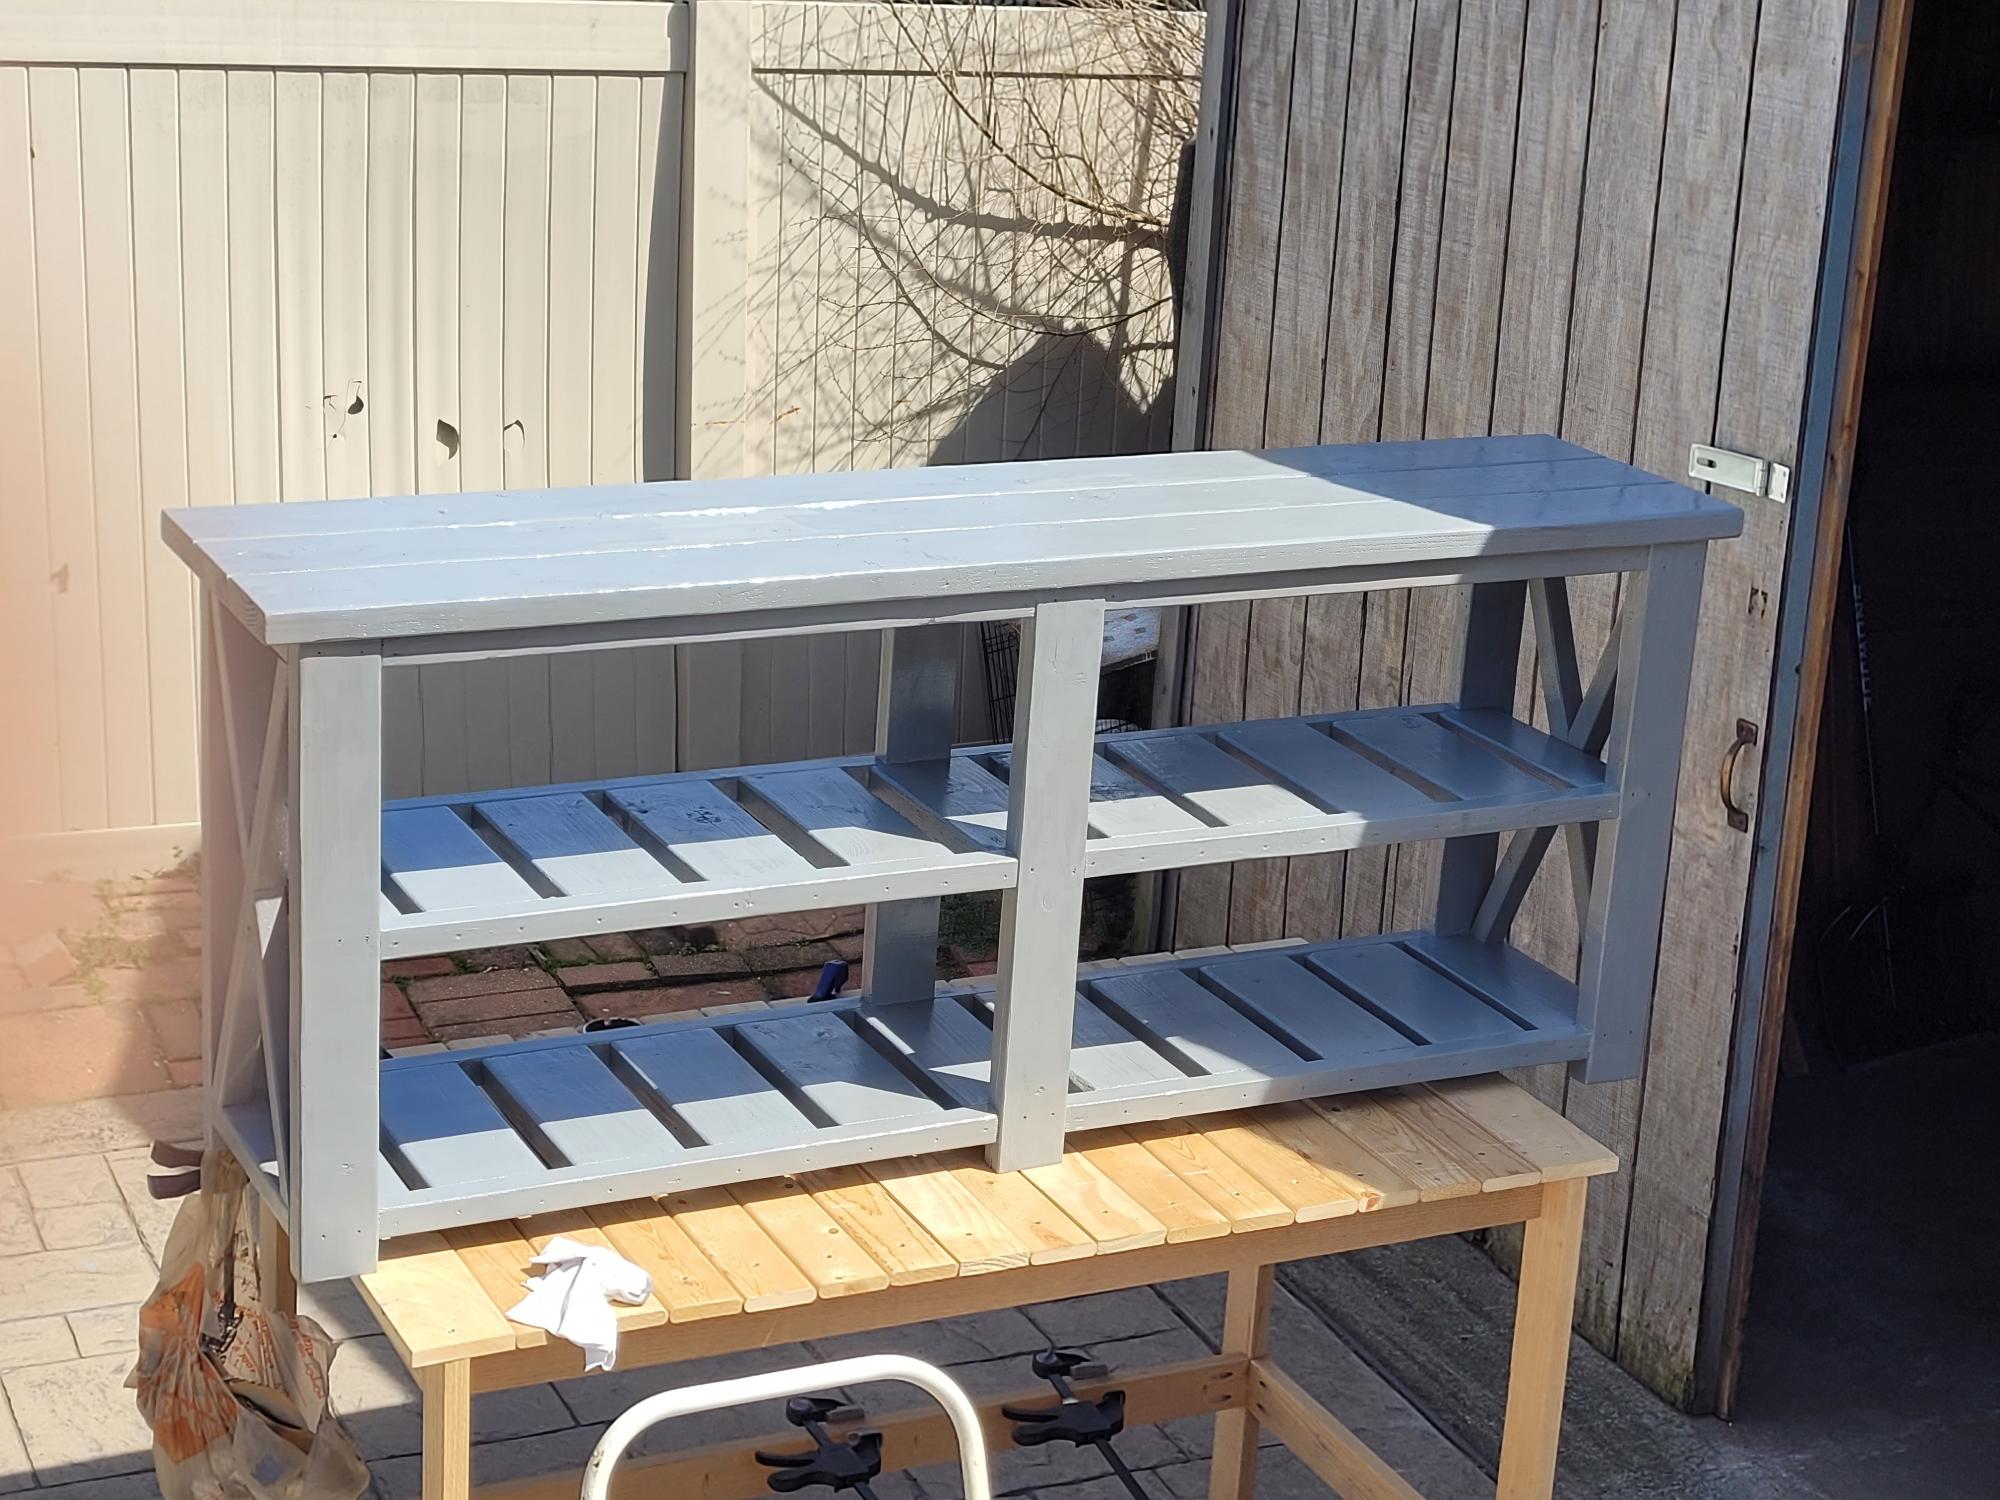
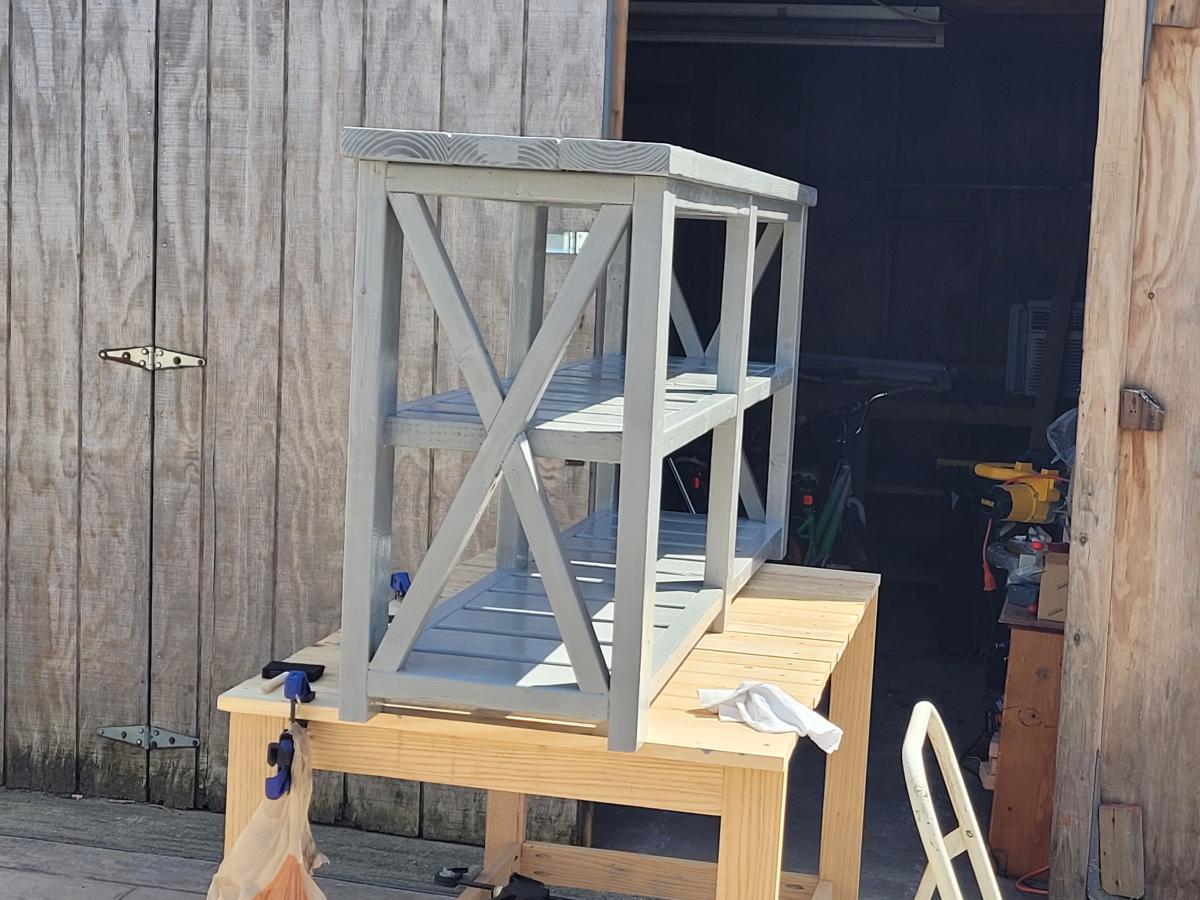
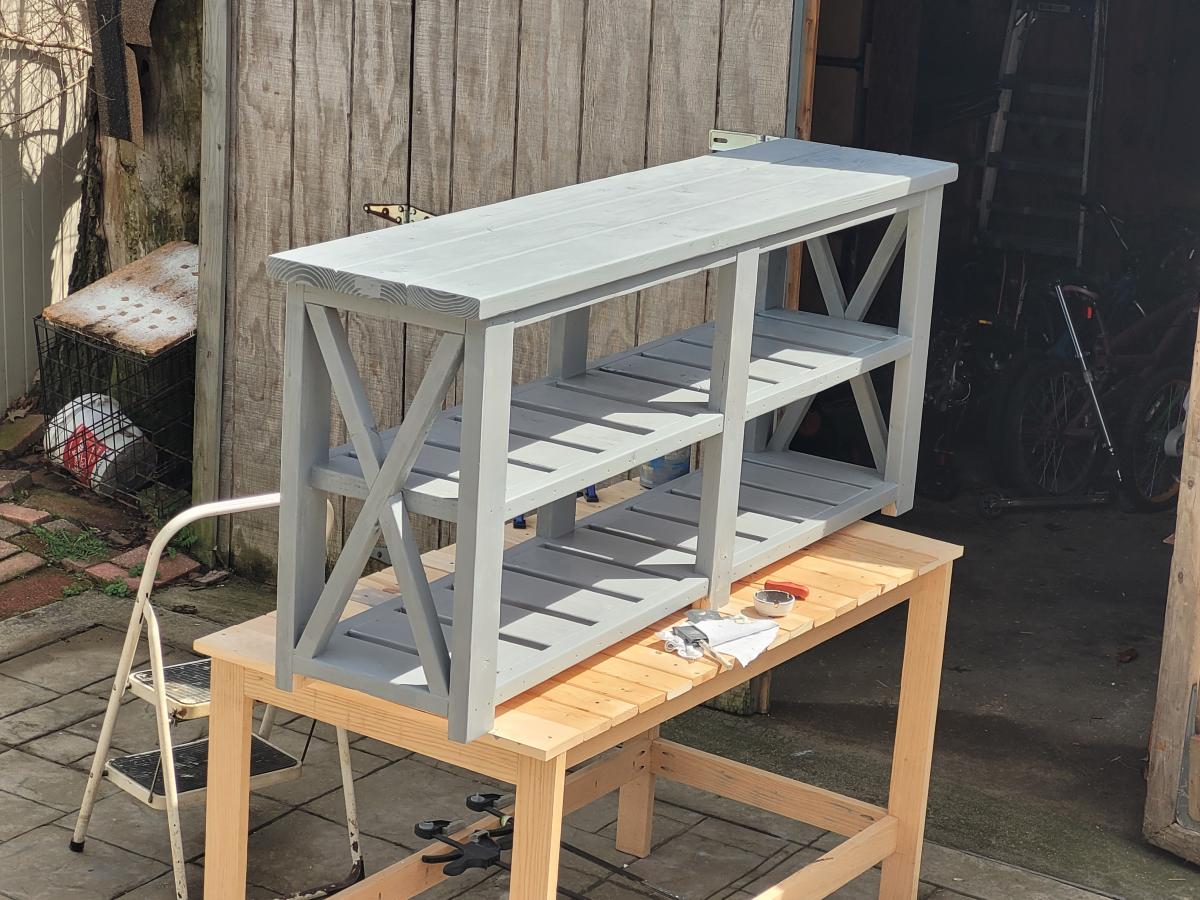
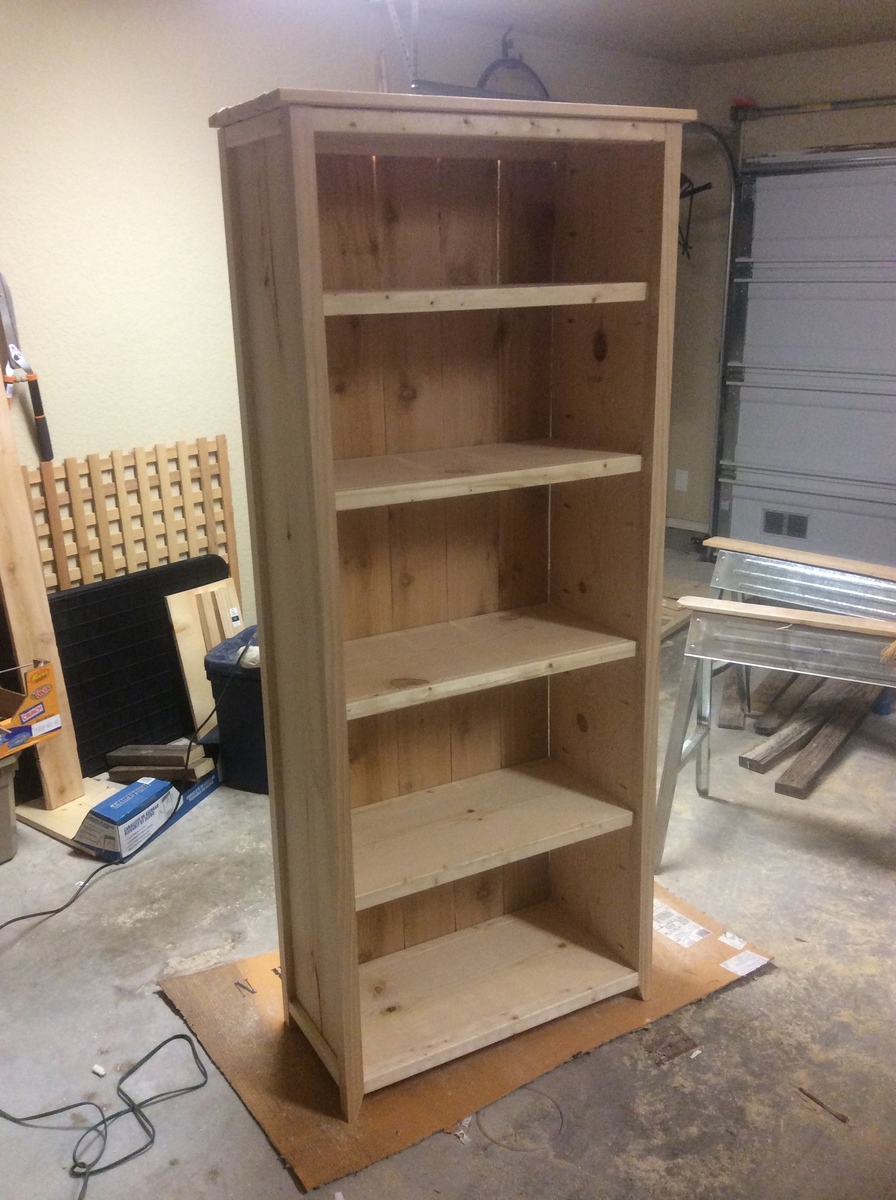
I enlarged the plan by adding 12 inches to the top and 6 inches to the width. So I added a shelf 12 inches above the top one. It feels big and I love that.
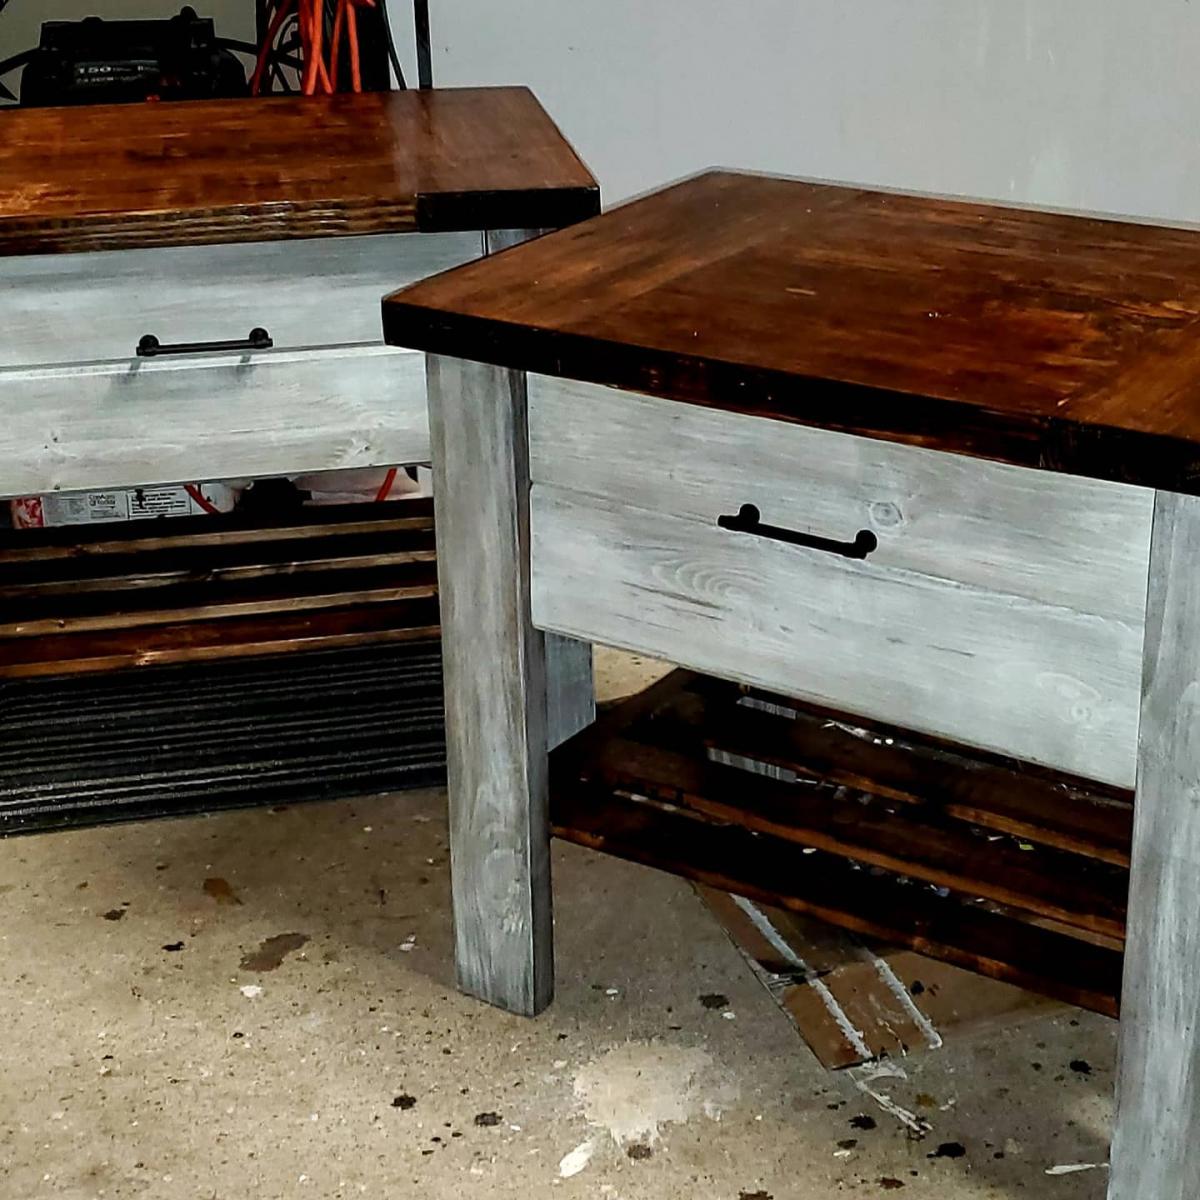
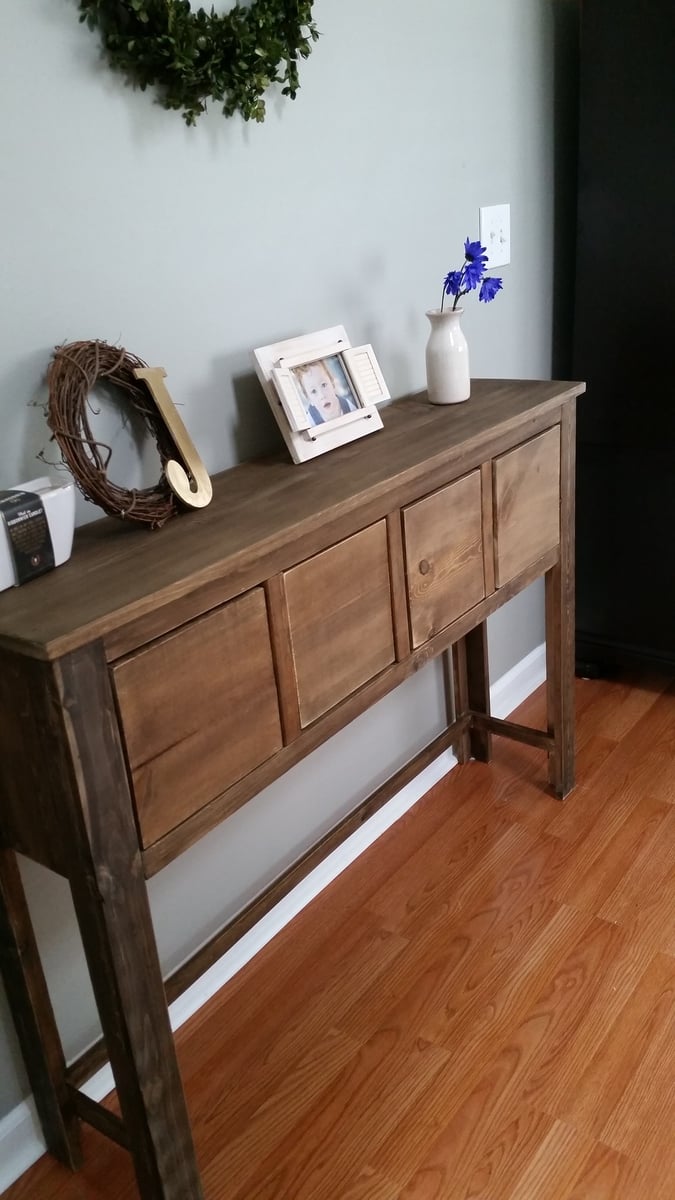
Another thing that worked out nicely for me, I noticed when I was buying lumber from HD, the 2x2's were all a little bit warped or crooked, So for the four legs I opted for the premium perfectly strait and smooth pine. It was 8 bucks a piece instead of two but worked out I think. For the back I used mahogany pickets - not smooth, hard to sand down, but looks nice.
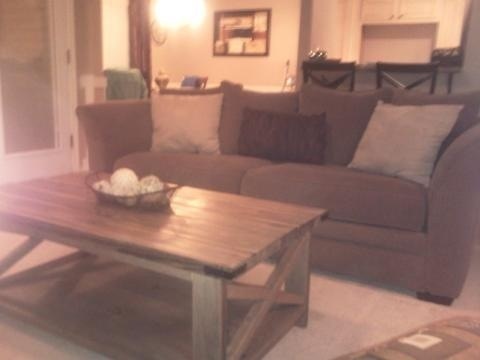
Took me about 20-25 hours over two weekends. Sanding and staining were the only laborious parts.