Community Brag Posts

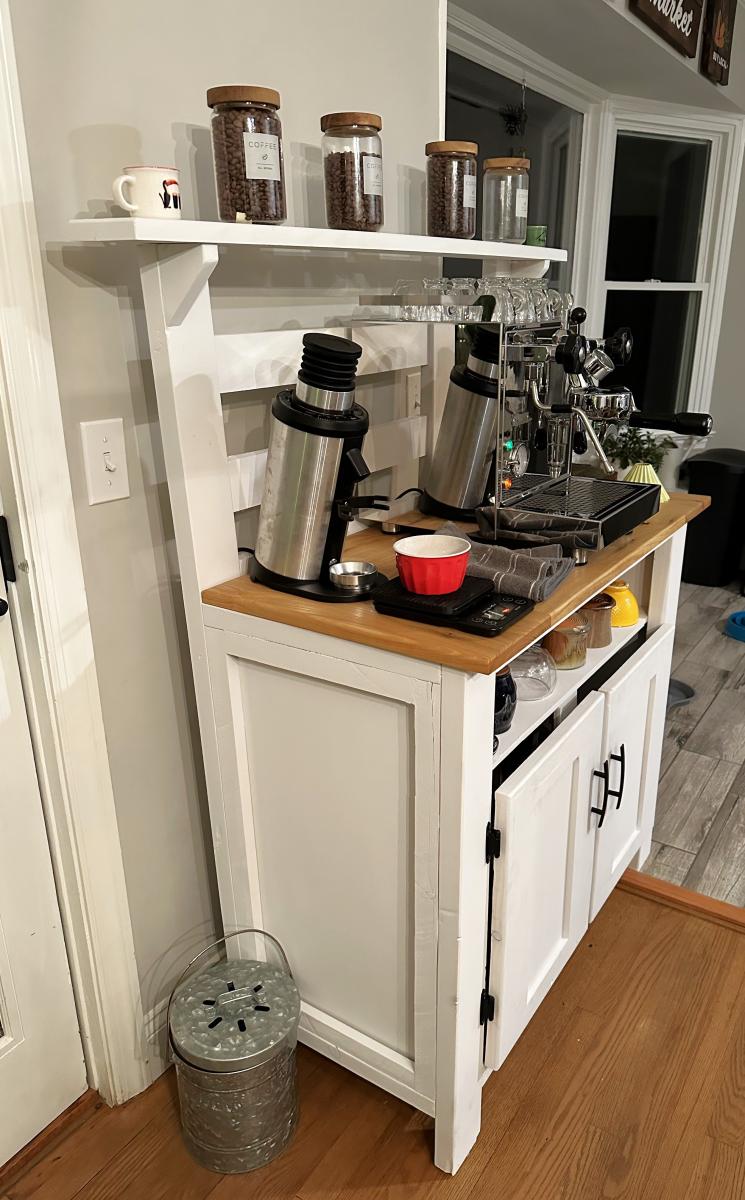
DIY Home Coffee Station

Submitted by Anonymous (not verified) on Thu, 11/02/2023 - 08:14

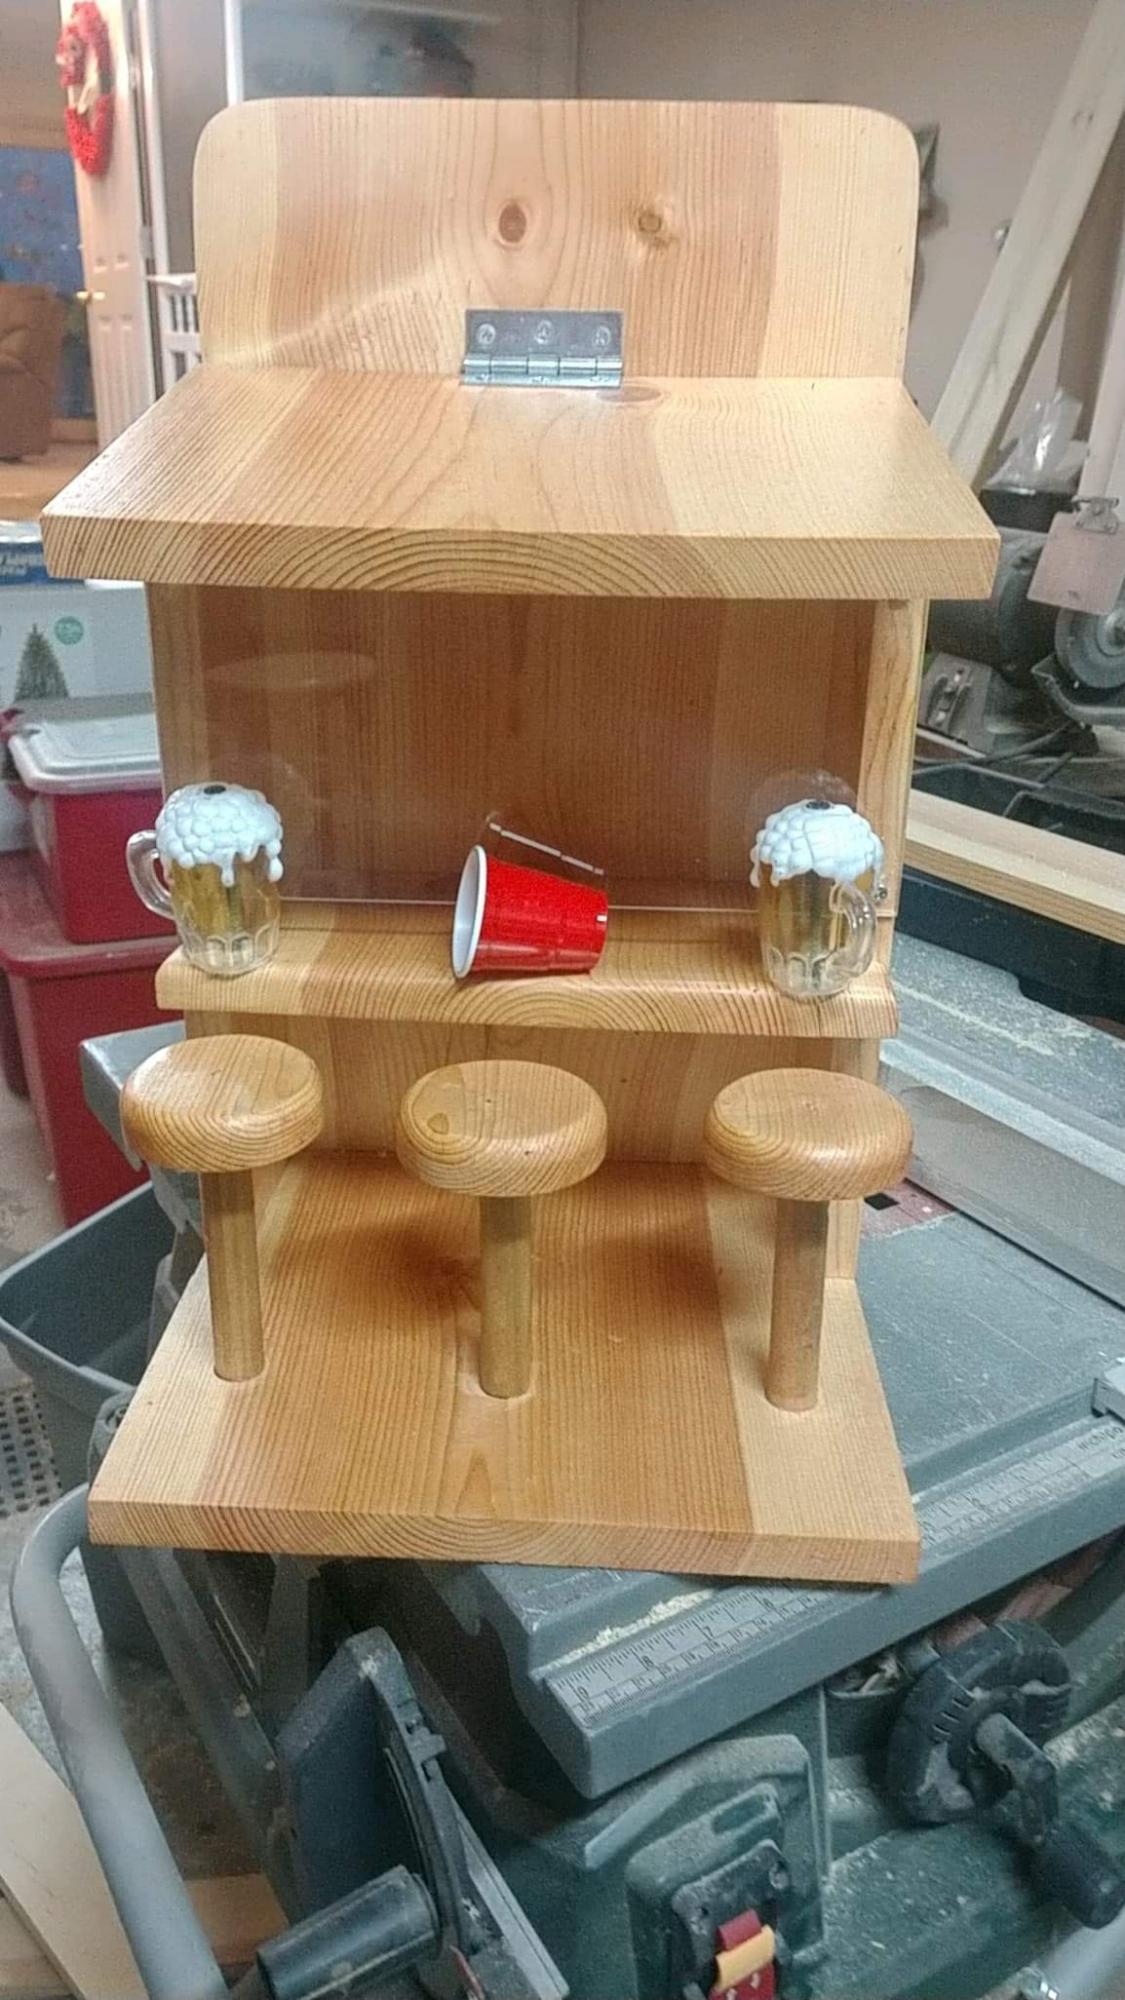
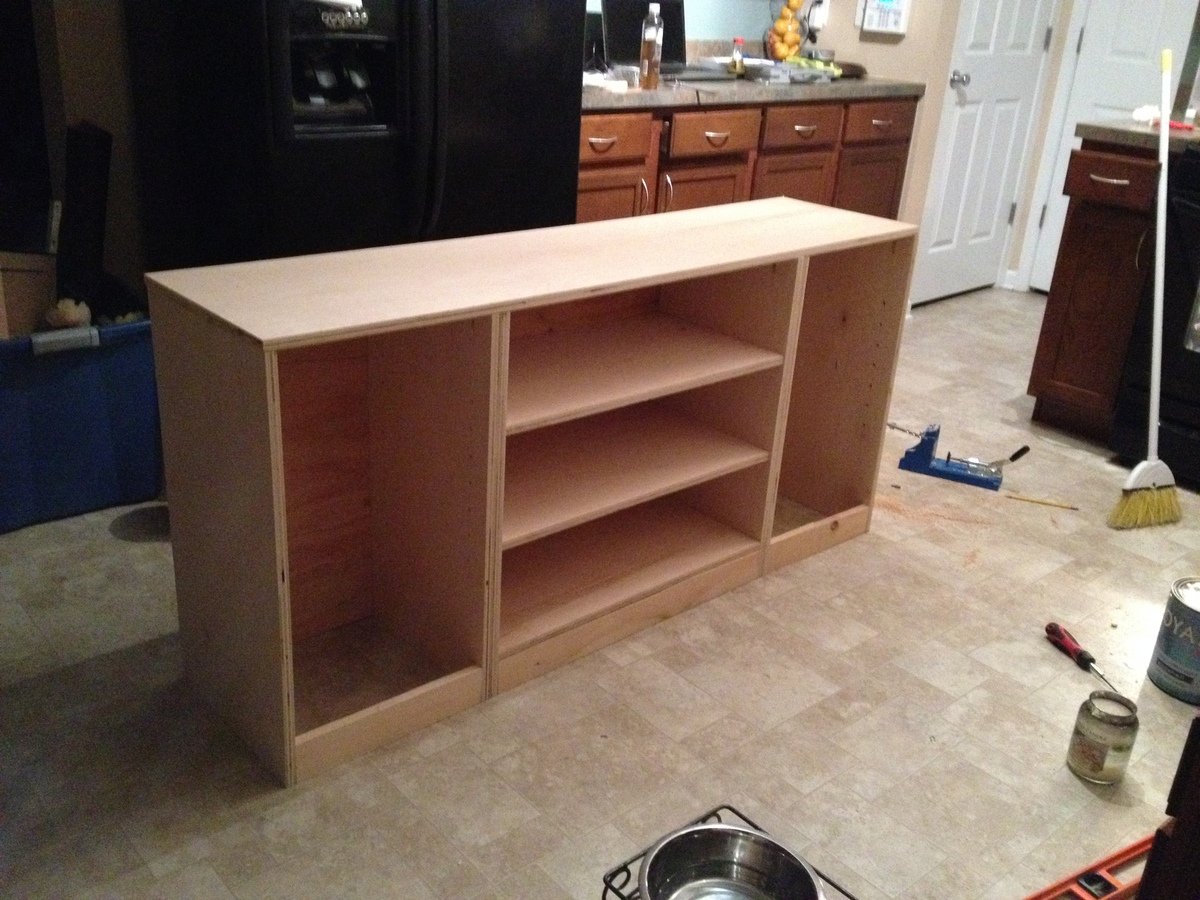
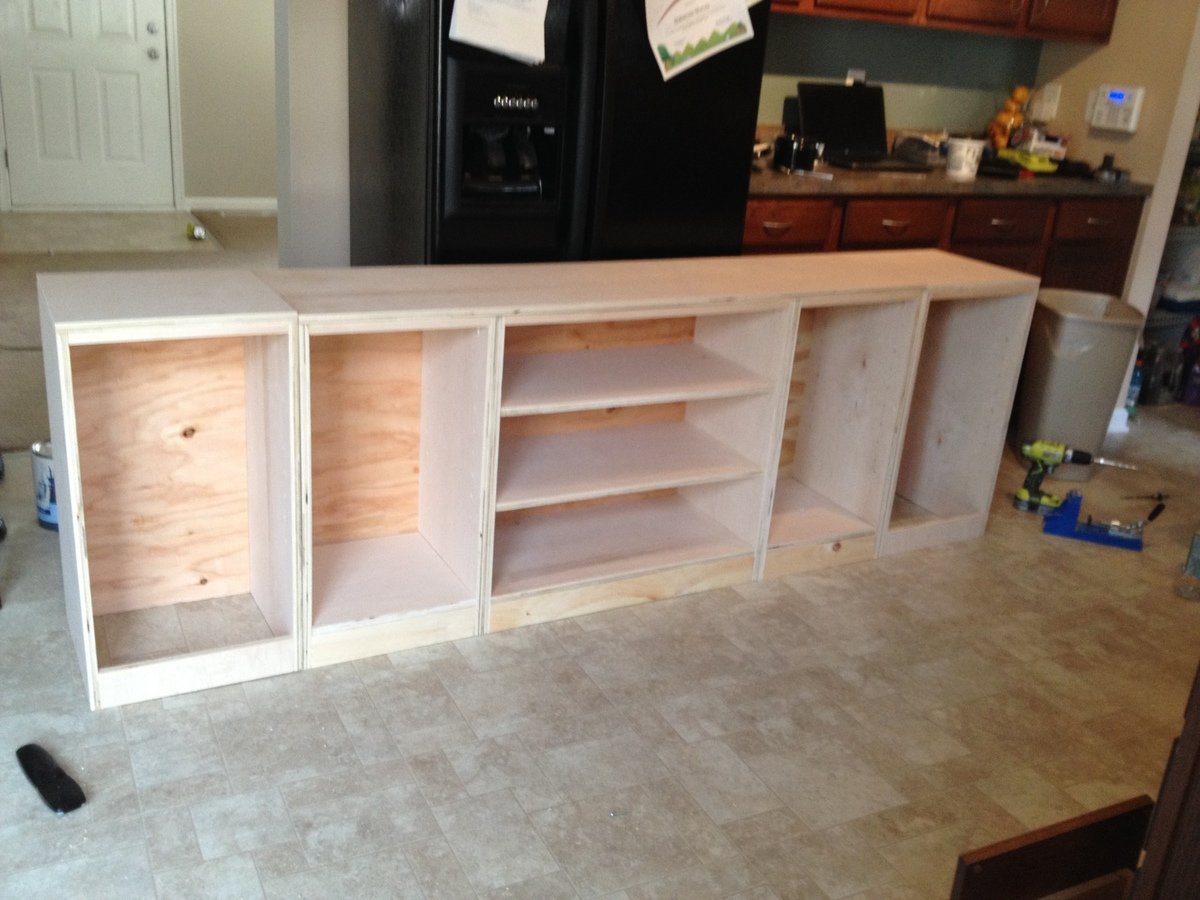
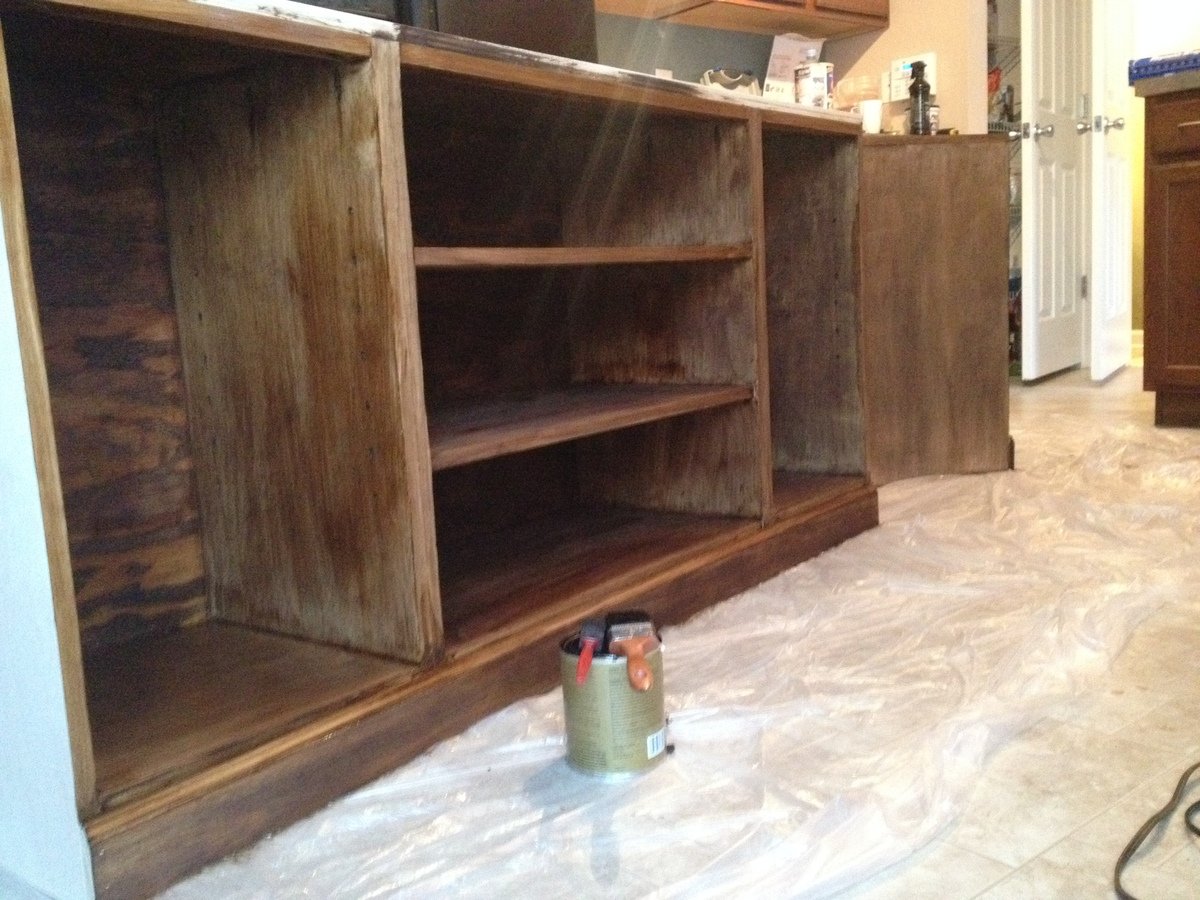
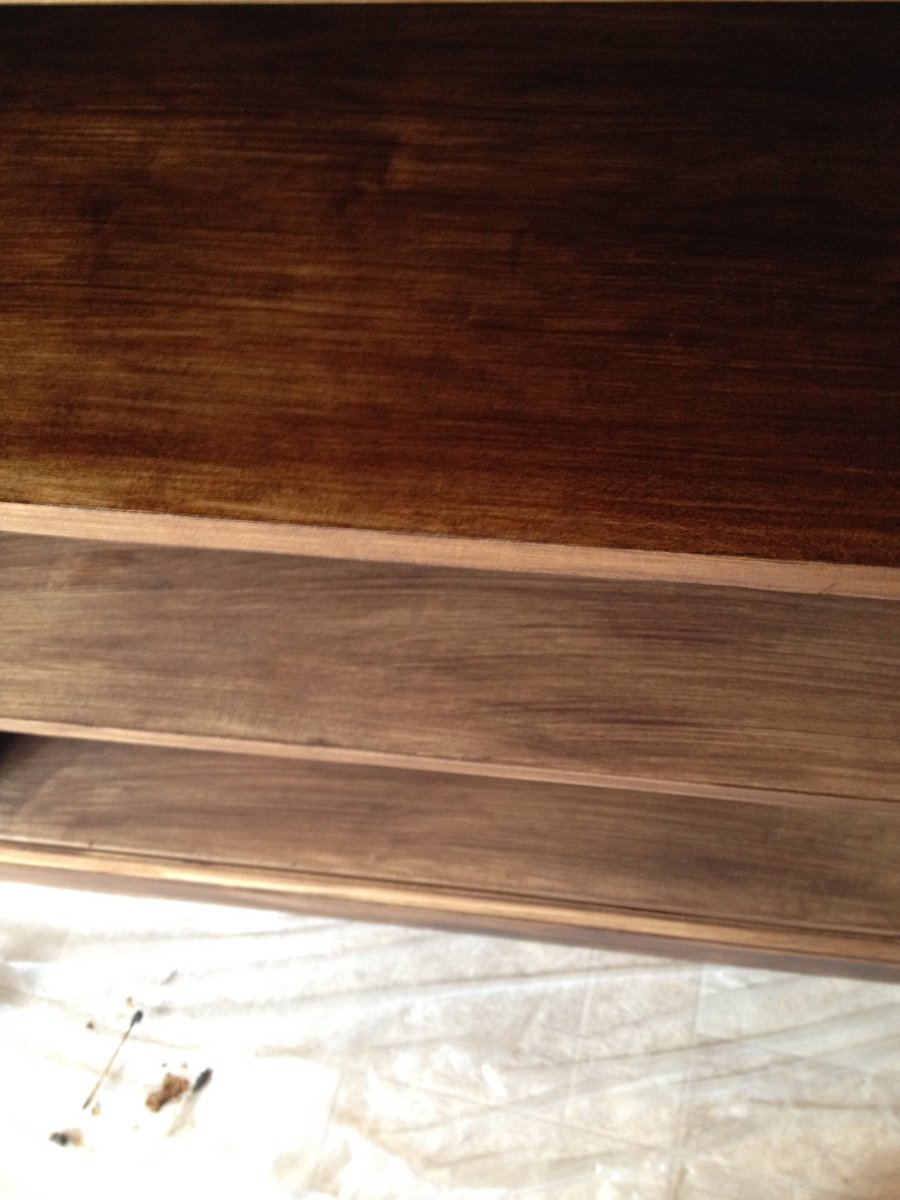
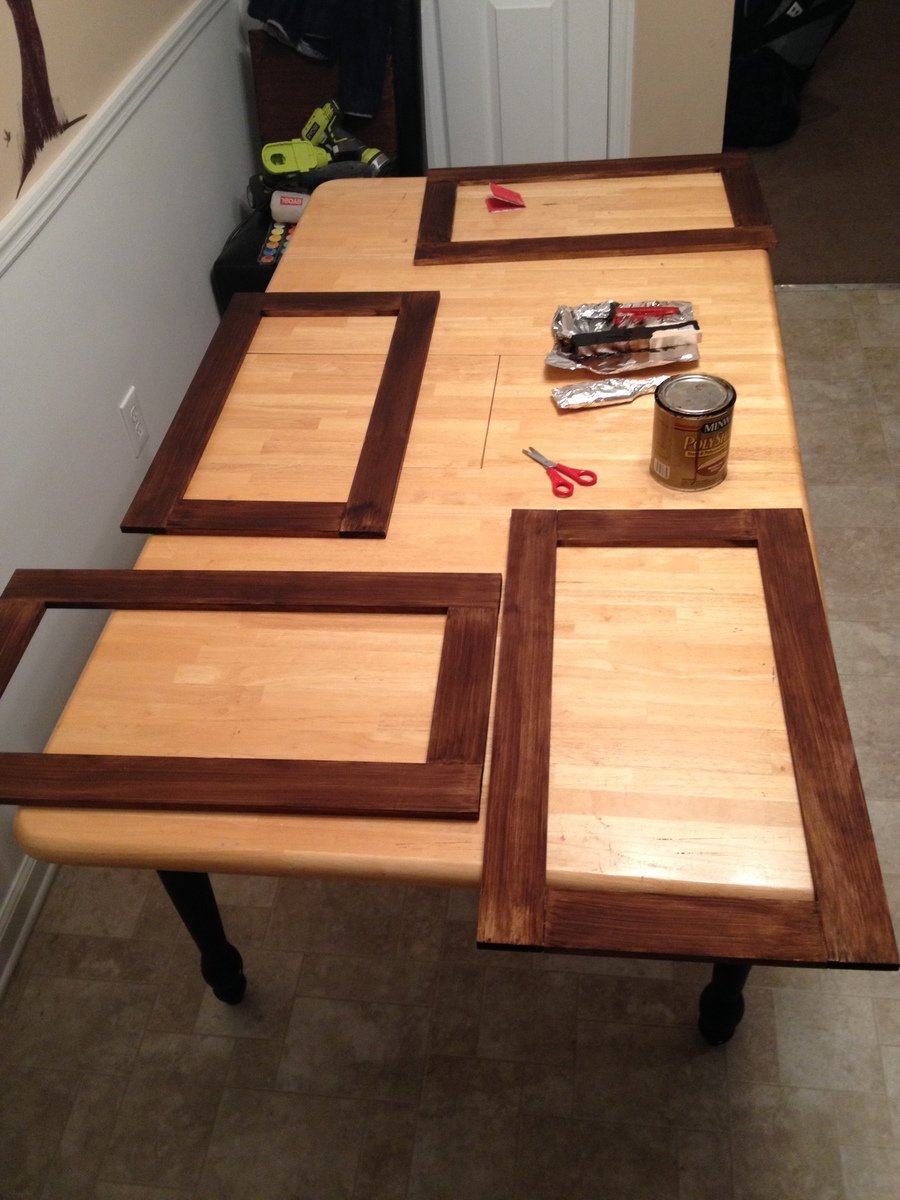
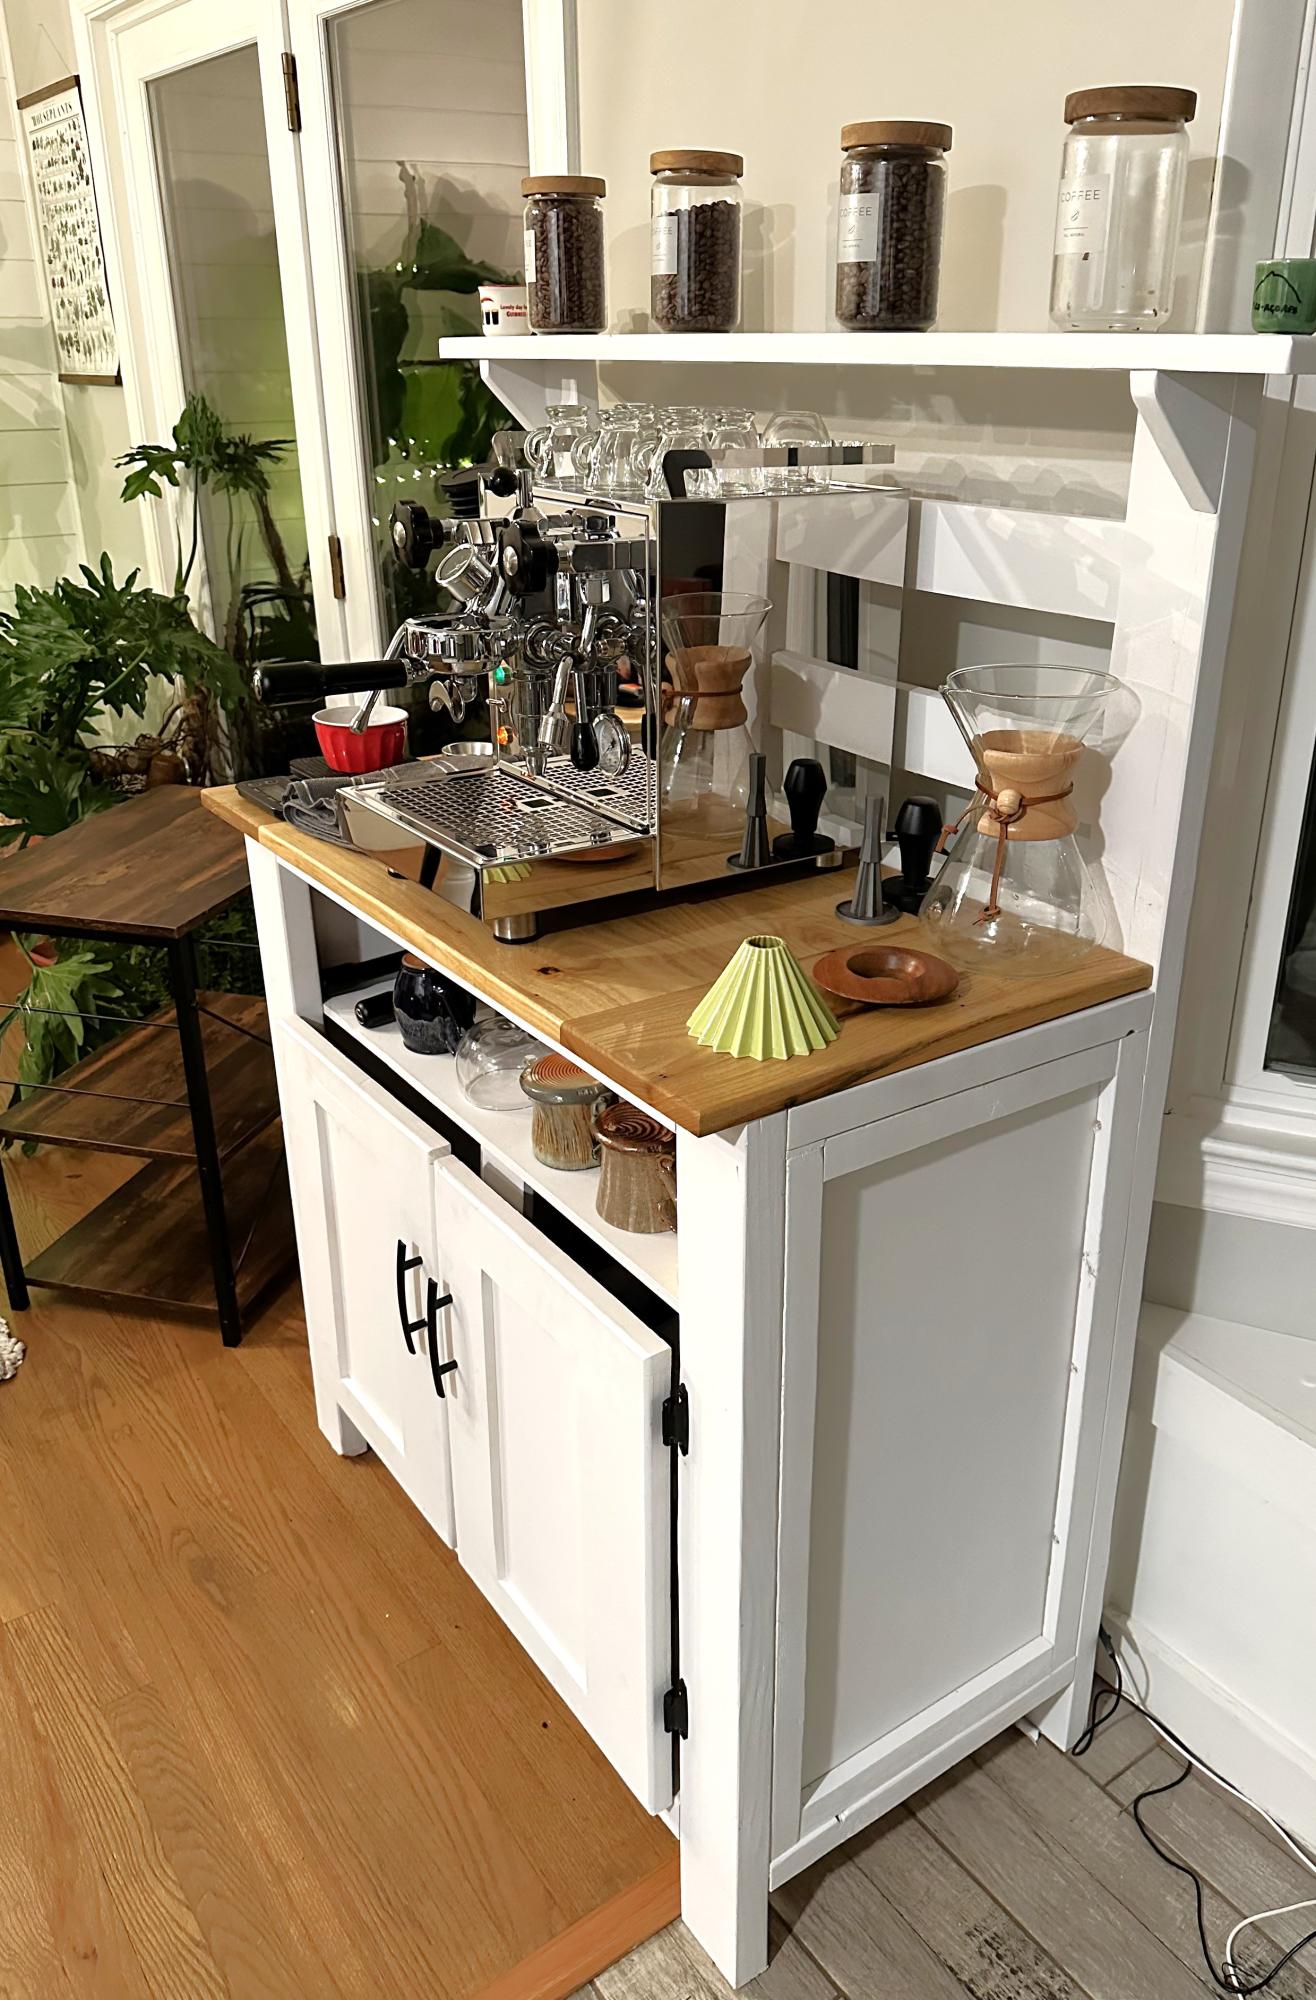
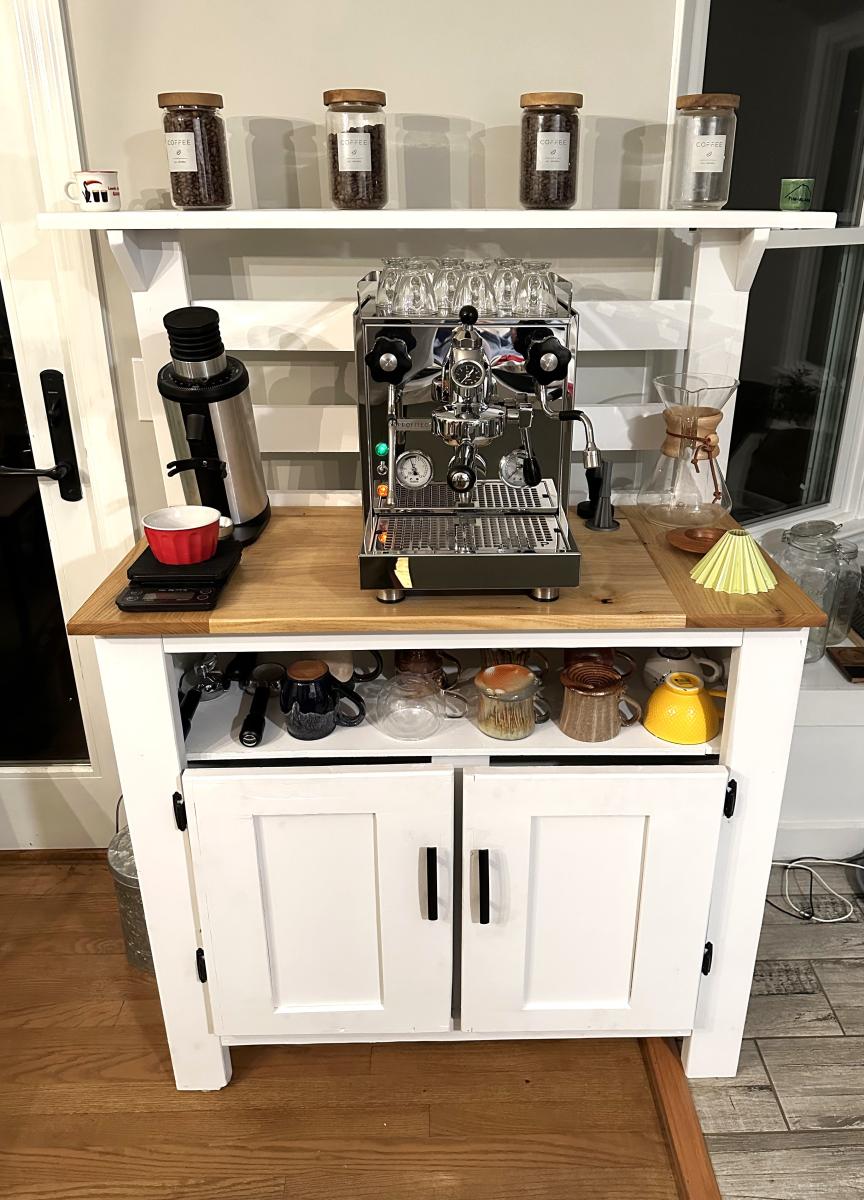
Had a bunch of scrap wood from other projects and random pieces we found in our barn after we moved into our new house so decided to make a new coffee bar to use it up. Modified the Potting Bench plans and pretty happy with how it turned out!

Nate B

Built from Plan(s)

Potting Bench for a Friend

Submitted by Jake on Sun, 05/20/2012 - 17:07

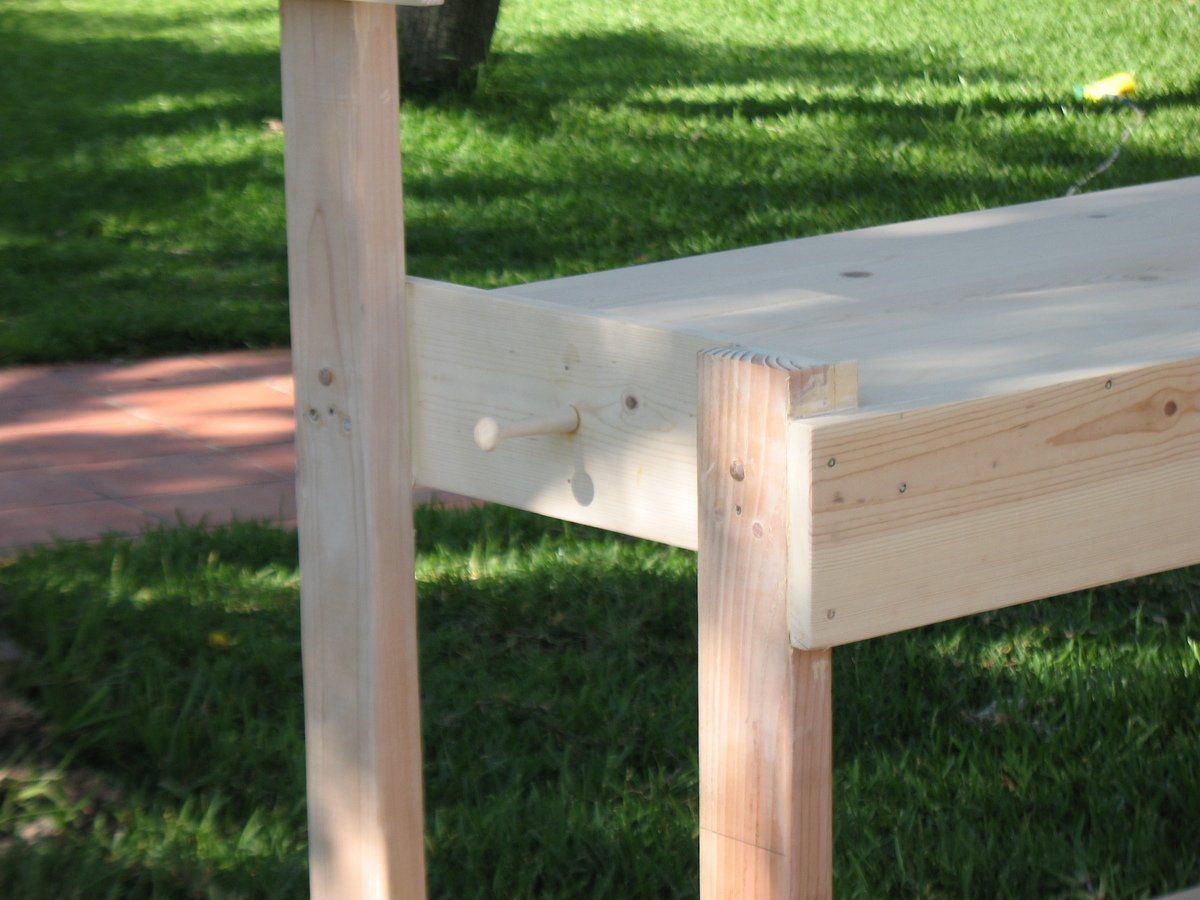
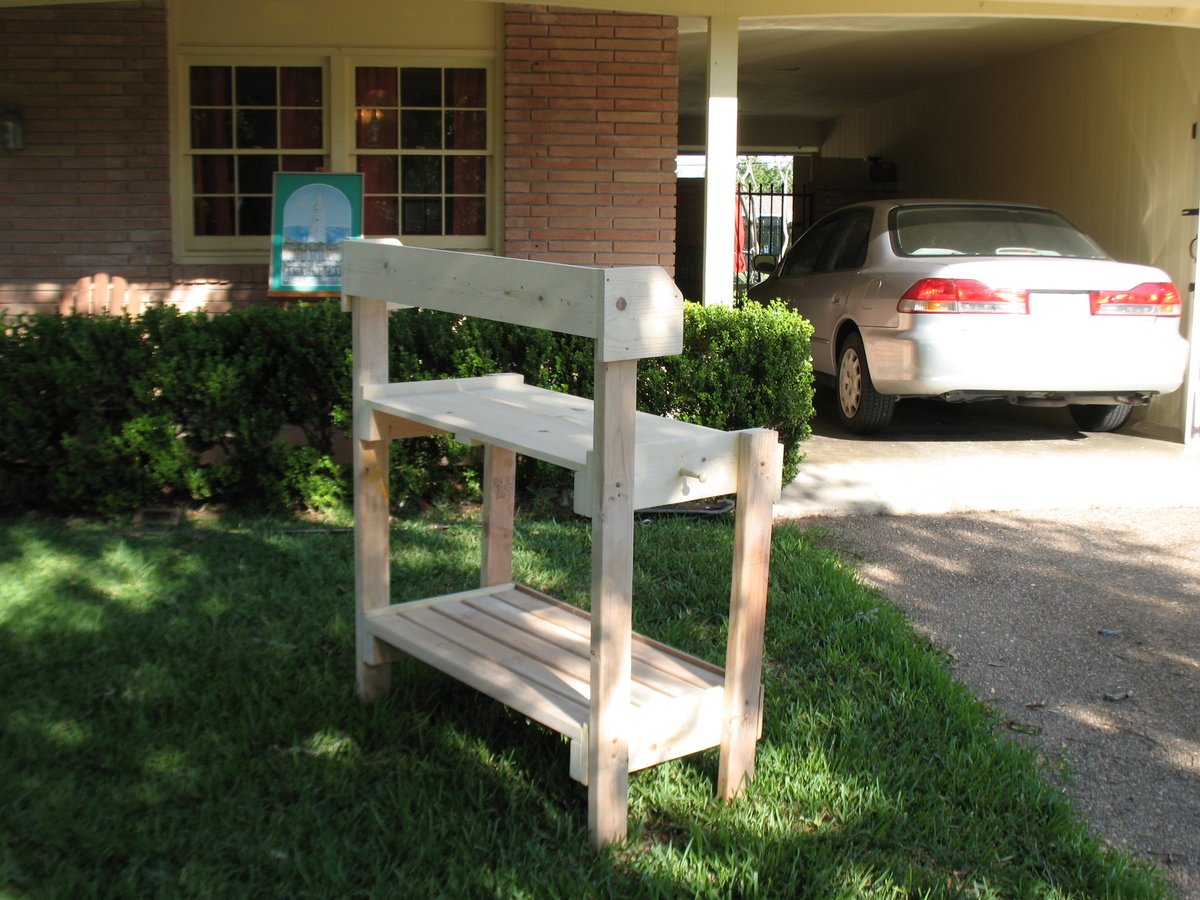
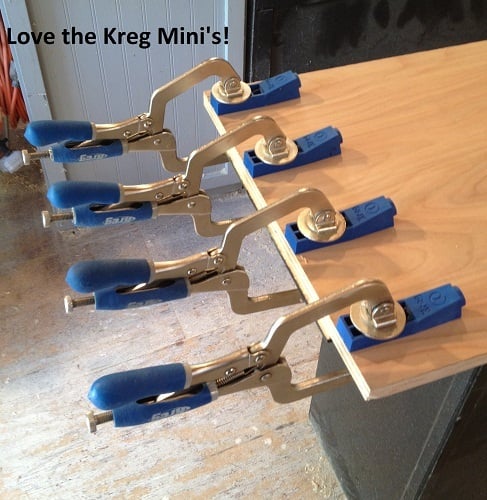
A friend of mine said she needed a potting table (aka bench) so I offered to make her one. Got the plan for the simple potting bench and went to work. The friend wanted a lip on the left and right sides of the top self and she wanted the top shelf to be solid. So adding the lip was no problem and I added the same but smaller on the bottom shelf. I built the solid top from three pieces of wood held together with pocket joints and glue. Worked great. With just a little sanding it is a beautiful flat solid piece of wood. Much better and cheaper than plywood. Since I do not like to rip lumber the final top self was about an inch or so deeper than the plans but that was easily adapted to. It is a good lesson to cut as you go along rather than cutting everything at the onset of a project. You make changes and it effects other aspects of the build. I added a Shaker peg on each end to hang a bar towel or a trowel whatever suits your fancy.

Most important is to continually check for square joints. Especially if you don't have the fancy tools and jigs. I got lucky and my final bench was square and level in all directions.
The build takes about 8 hours (plus a couple of days for priming and painting) using mostly hand tools. If I do another one I am going to substitute lighter and thinner wood. The 2x4 shelves and supports are over kill. I think it will give you a better and nicer looking final product. Keep Ana on The Web,,,,
Built from Plan(s)
Estimated Cost
$30 - $35
Estimated Time Investment
Day Project (6-9 Hours)
Finish Used
I made the potting bench on the agreement that she would finish it. So with the table went instructions on sanding, priming, and painting. Maybe I will have a picture later of the finished product. My cost above does not include the cost of finishing,
Recommended Skill Level
Beginner

Comments

Jake

Sun, 05/20/2012 - 17:10

I also added a face to the exposed lumber ends in the front and for the top and bottom shelves. The bottom face is actually a piece of old cedar fence I found in the garage. Sorry I forgot to mention in my first Brag ...about the potting bench.

Cassidy king bed

Submitted by Krigsvolds on Tue, 03/04/2014 - 13:05

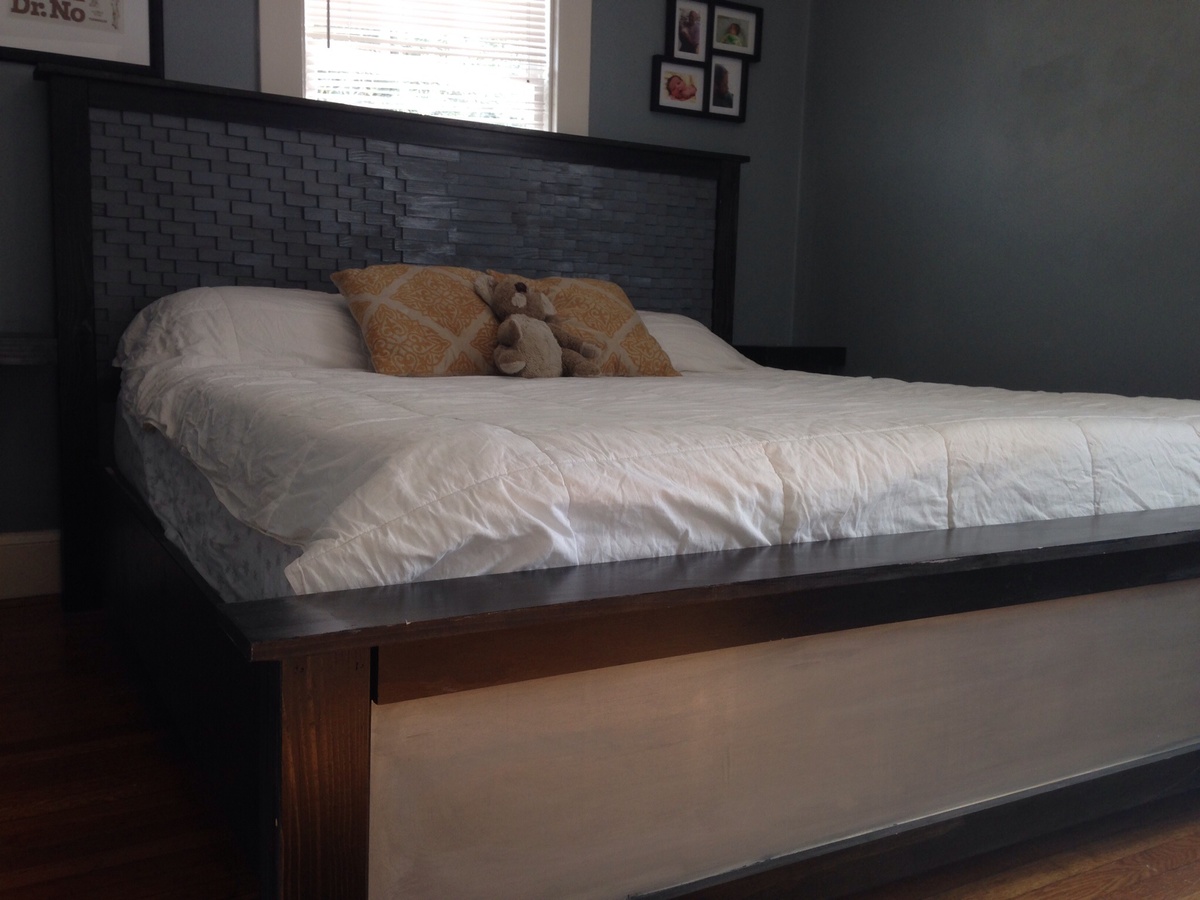
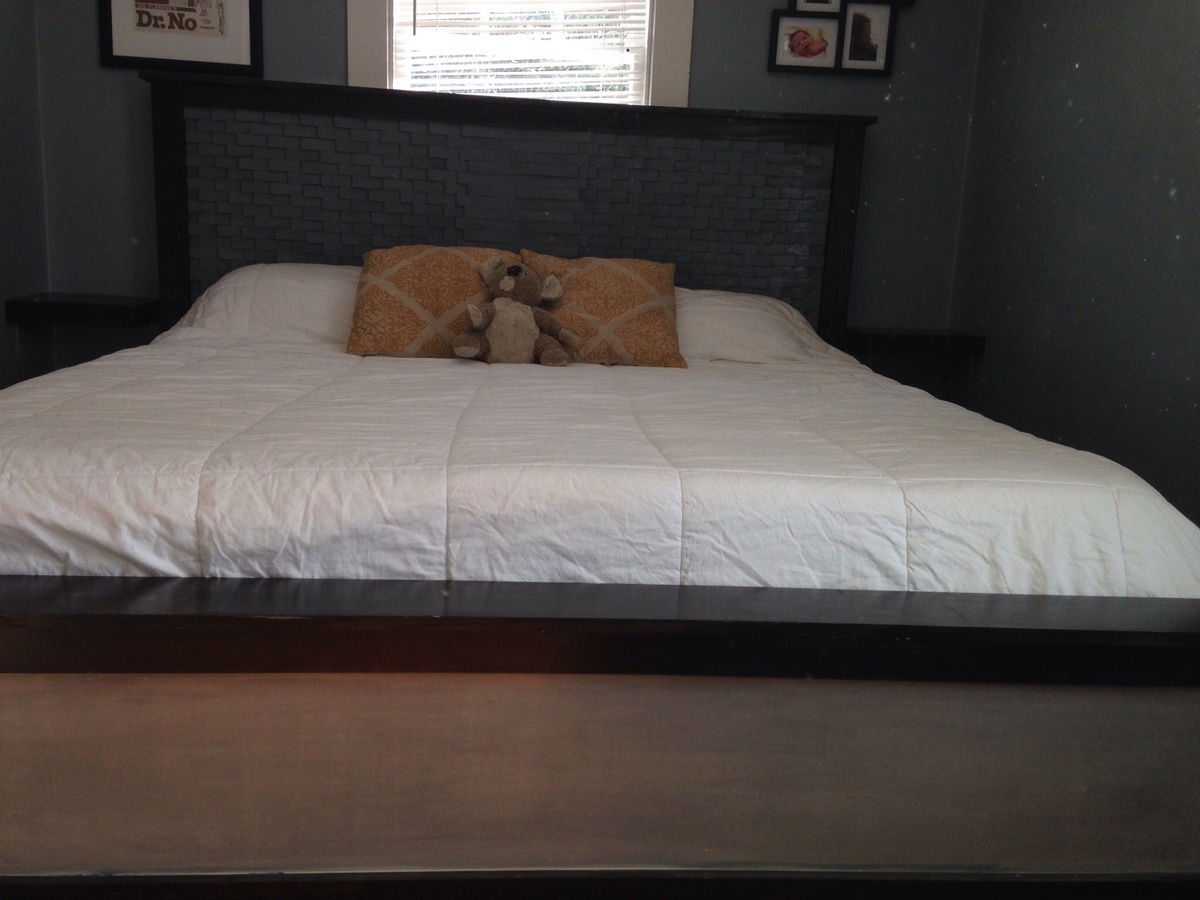
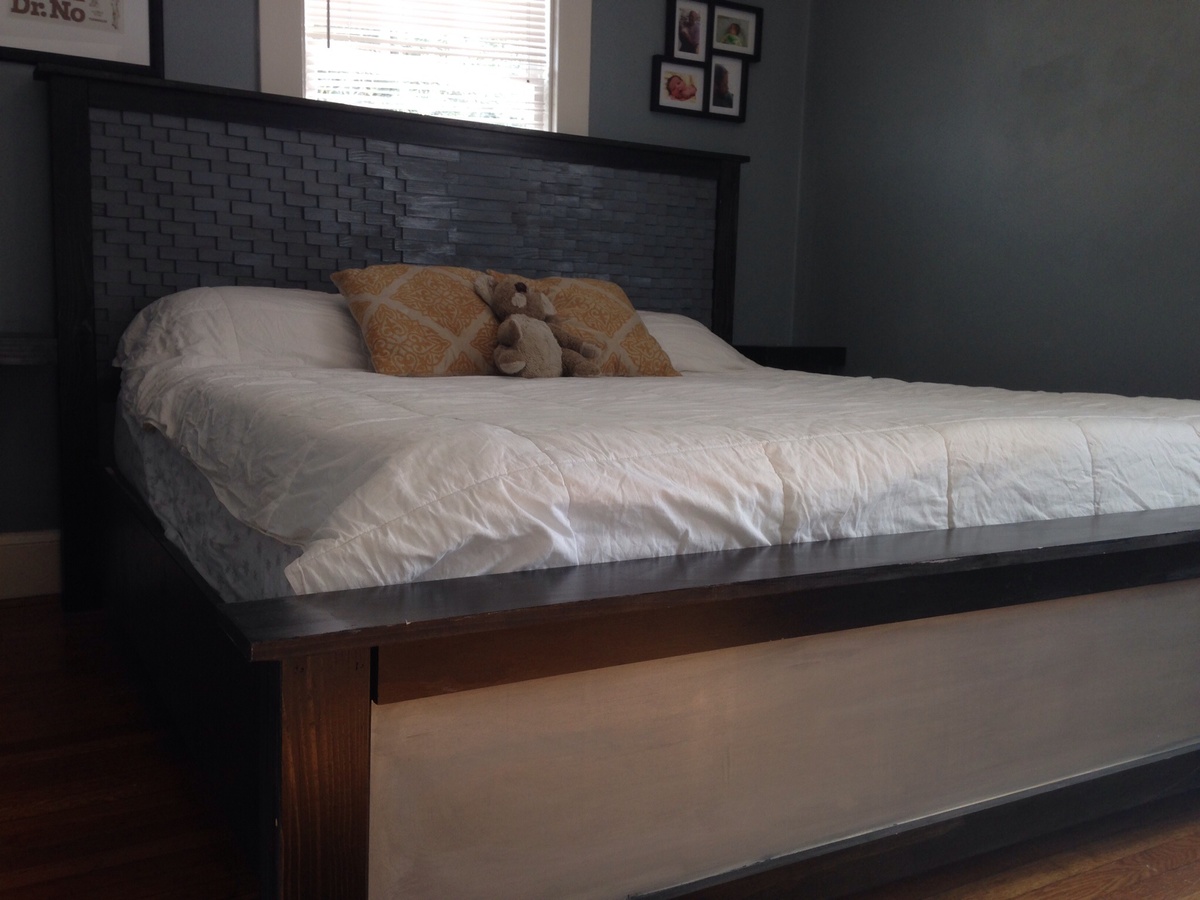
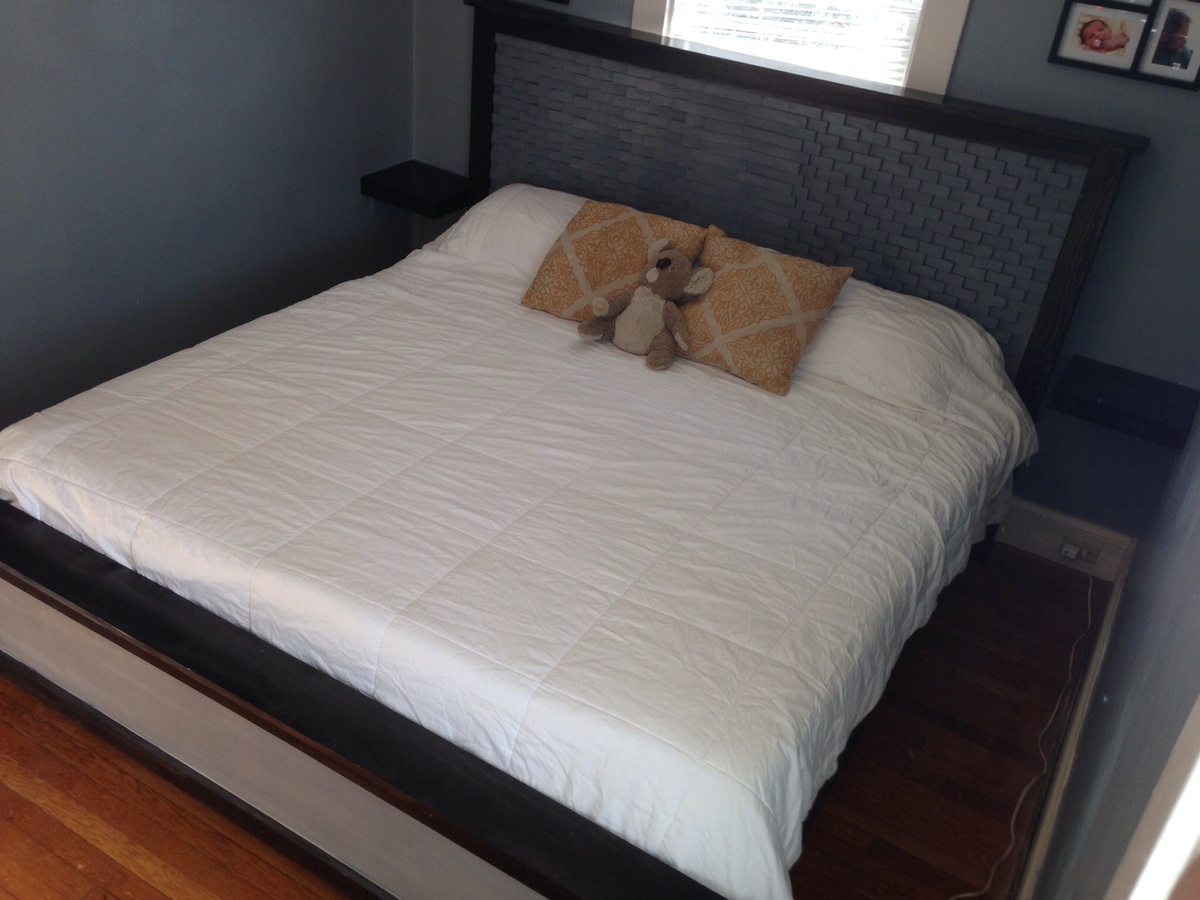
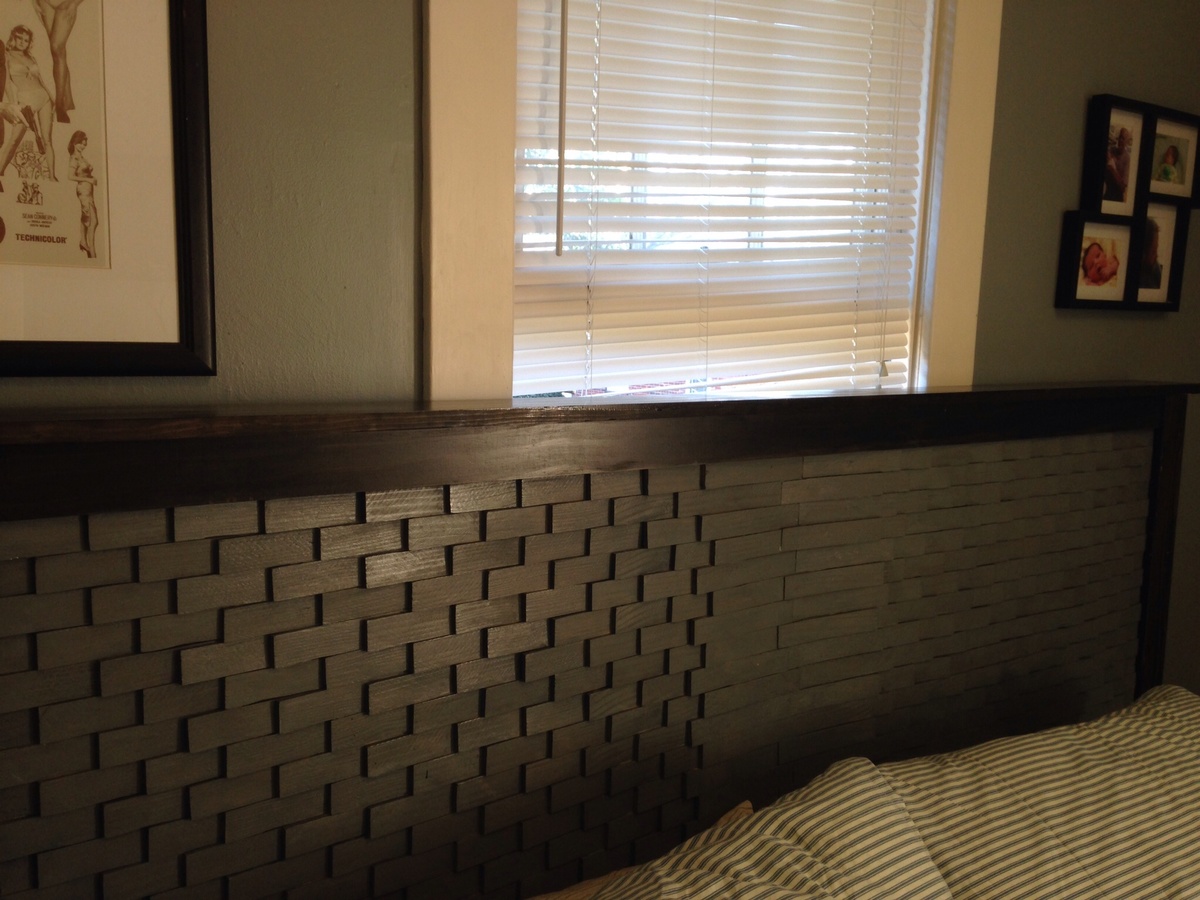
My wife and I loved the look of this bed and decided to try to do it together. I built the frame and she tackled the headboard. In my haste at the hardware store I picked up the smaller packets of shims, a happy accident in my opinion! I decided to put the supports together with joist hangers to make it easier to take apart ,if need be.
We used a nail gun to attach the shims to the head board , and changed to
the pattern a little. Being that we were putting it in a smaller room I made some floating bed side tables as well. What a gratifying project!

Built from Plan(s)
Estimated Cost
$350
Estimated Time Investment
Week Long Project (20 Hours or More)
Finish Used
Rust oleum ebony and weathers grey stains (1 coat)

Minwax polycrylic semi gloss (2 coats)
Recommended Skill Level
Intermediate

Christmas Stocking Stand

Submitted by Anonymous (not verified) on Sun, 11/05/2023 - 19:16

Love this project!

Rlynhack


Built from Plan(s)

Comments

Seasonal And Holiday

Loft Playhouse Bed

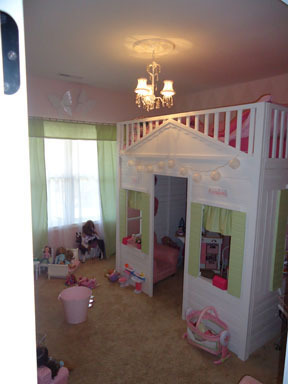
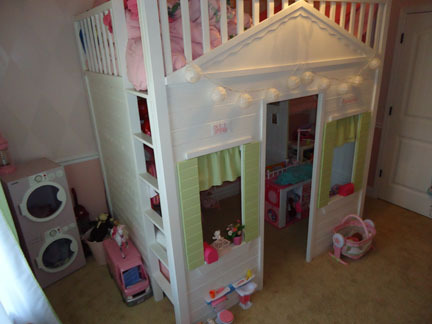
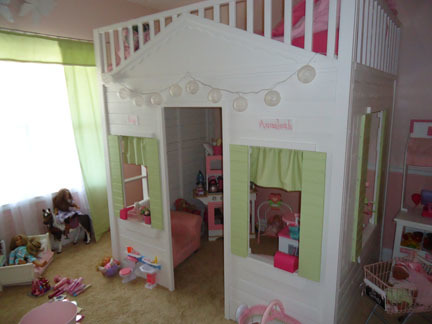
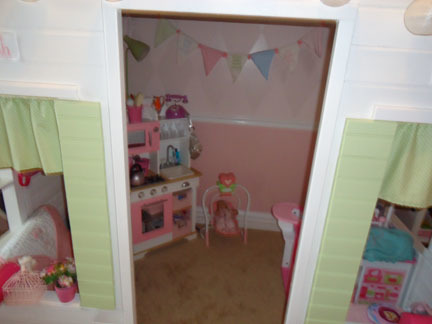
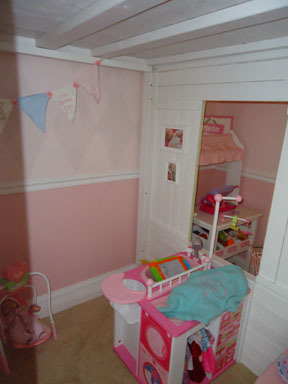
Loved making this for our girls...Selah & Annaleah. We have 9 ft walls so I made it extra tall. Love it so much!!! Used 4 in boards for the walls b/c they were so much cheaper. The shutters ended up my favorite part.

Built from Plan(s)
Estimated Cost
$350
Estimated Time Investment
Week Long Project (20 Hours or More)
Recommended Skill Level
Intermediate

Comments

Sara L. (not verified)

Mon, 08/06/2012 - 14:26

I really like the paint colors that you used on the bed and the ones on the walls. What paint brand(s) and colors did you use? I really love your room. Additionally, where is your fabric from? Your room is amazing. I know a little girl in TX who would like one just like it :)

SAJAGREEN

Mon, 05/23/2016 - 18:52

Hi! I really like the taller version for my daughter's room, would you be able to share the new measurements, or what you did differently? Thank you! !!

Pottery Barn Printer's Long Low Media Suite

I feel in love with the Pottery Barn Media Suite and new immediately I wanted to build it. I couldn't justify paying close to $2,000 on an entertainment center. I knew Ana would have the plans to help me out. I modified the plans a little bit and instead of building 6 cabinets, I decided to make the inner 4 cabinets one piece, and the 2 outer cabinets removable. This will give me options for when I have to place the Christmas Tree or if we move and cannot fit this huge piece. I also wanted to have as much strength in the middle for our plasma TV. It's about 4 years old and isn't as light at the new TV's are. I loved every minute of building this project and couldn't be more happier! Feel free to search PB website to compare their media suite to my version (savings of $1,700). Feel free to ask any questions!

Estimated Cost
$325
Estimated Time Investment
Week Long Project (20 Hours or More)
Recommended Skill Level
Intermediate

Comments

ctufano

Wed, 07/08/2015 - 08:35

Love how you did yours Christina

I too would like to make one larger unit rather than say 6 of the individual cabinets. Looking at your pictures, it looks like you still made them individually but I'm assuming you attached them (screwed) together? Is that the case? Did you have any issues with the main piece and two ends being different heights when finished?

Am wanting to make a total length of around 104". Means I'll have to tweak some measurements.. In addition, I would like to have one side be a lift top so we can put in a record player and simply lift the top face to access. That wont be too big of a deal.

How did you find the doors were to make? No big deal? i've been curious how the dimensions all play out with the hinges and doors opening etc.

Industrial end tables

Submitted by Anonymous (not verified) on Mon, 06/06/2016 - 21:30

Saw the basic 'c' looking shape end table on Pinterest, but it didn't have any plans. So I drew up my own plans, used different types and dimensions of lumber, and added the black iron pipe to our design to truly make it our own.  These took my quite a while, and were a lot more expensive then I wanted them to be. So these will probably be staying in my home. Lol

Estimated Cost
Lumber was about $125 (used special laminated shelving)
Pipe and fittings were about $50
Total around $180-200.
Estimated Time Investment
Day Project (6-9 Hours)
Finish Used
Minwax Jacobean and Minwax Polycrylic
Recommended Skill Level
Intermediate

Comments

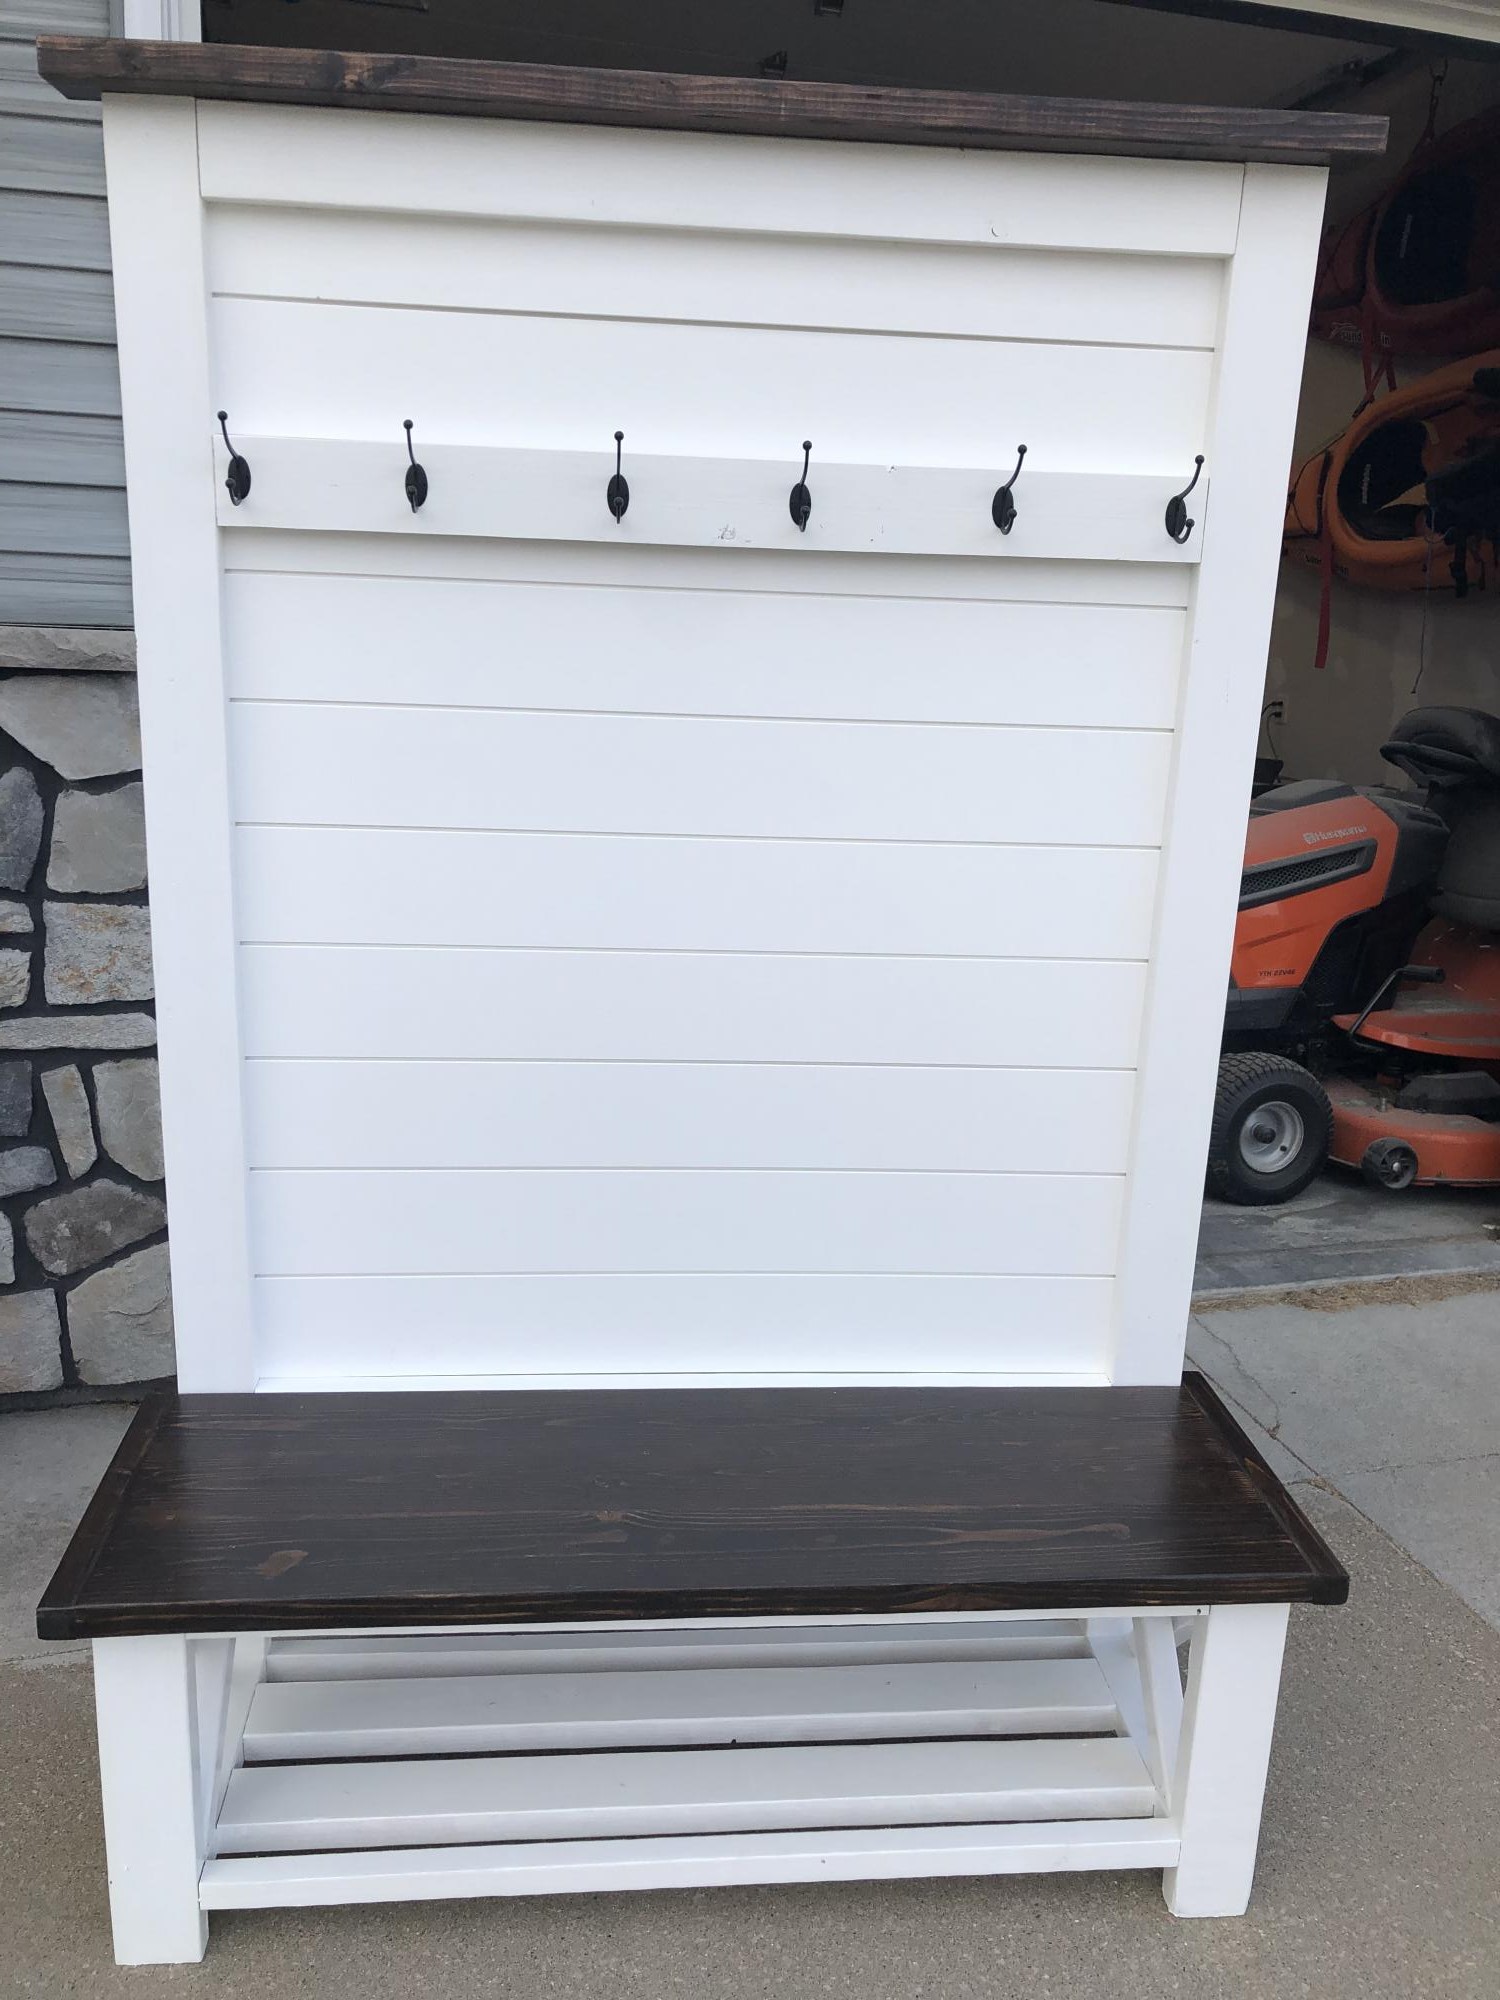
Hall Tree Bench with Shiplap Back

I made this for a cousin, but now I think I am going to need to make one for myself too!  I used shiplap for the back instead of plywood. It cost a little more but was less effort than cutting the lines into the plywood. Plus it was already finished. 

Built from Plan(s)

Kitchen Trash Pull Out Cabinet

Submitted by JoanneS on Sat, 05/26/2012 - 08:29

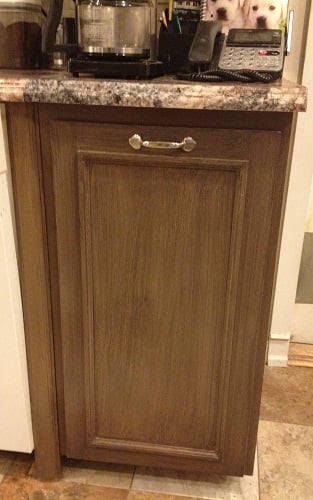
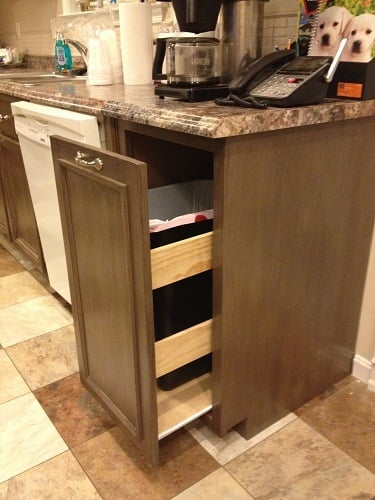
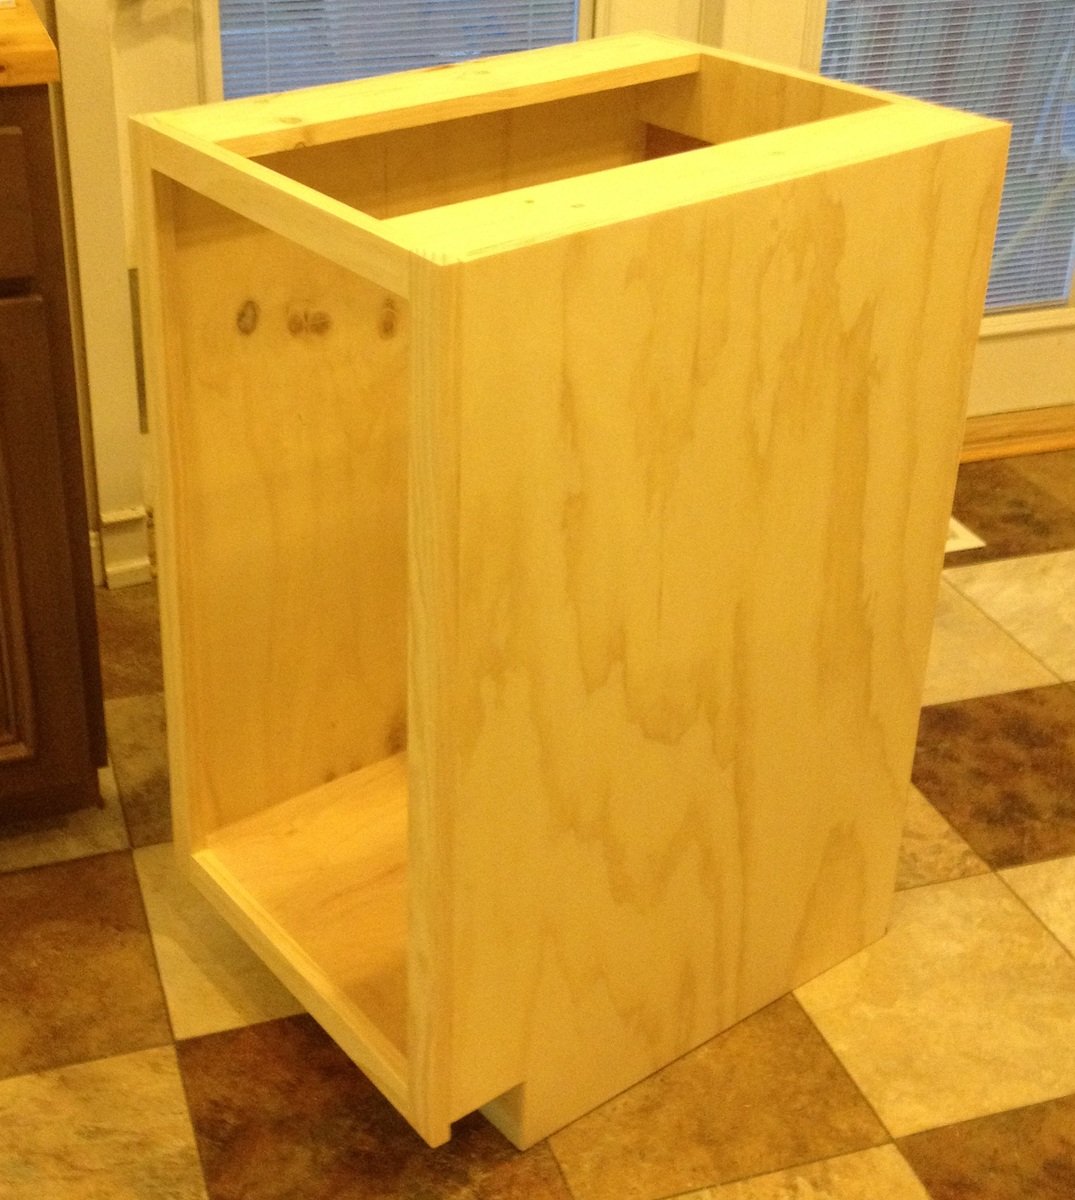
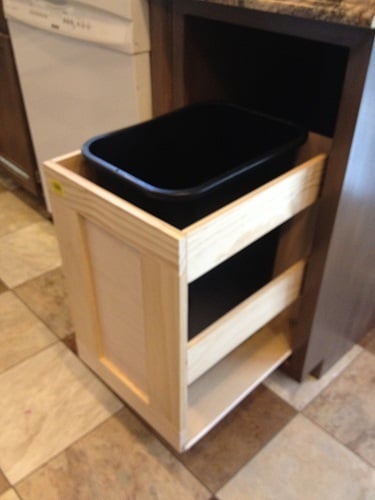
Plan was super easy to follow. Built a drawer type pull out so I could fit in odd sized trash cans. Made the pull-out part like an open sided drawer box, out of lightweight wood, and attached the door to it - used 75-lb euro drawer slides. Construction took a couple of afternoons, and finishing took a couple of afternoons. The finishing materials were all left over from other projects, and the plywood for the cabinet sides was left over from our kitchen island build. Topped with a leftover piece of countertop. The contractor who installed our new countertops said I did a good job on the cabinet build. I was very flattered! Ana, thank you for your wonderful plans!

Estimated Cost
$75
Estimated Time Investment
Weekend Project (10-20 Hours)
Finish Used
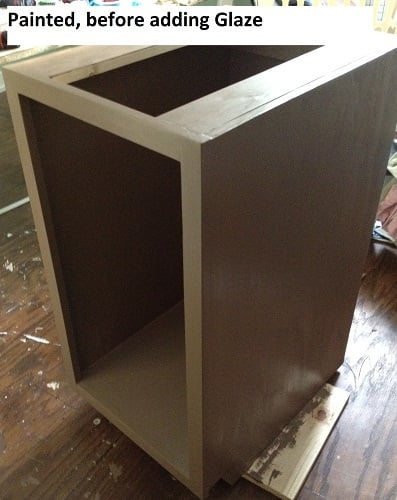
3 coats Benjamin Moore Aura paint in Spanish Brown (sanded between coats). Brushed on glaze (mixed 2 oz clear glaze + 1 TB flat black paint - lots left over), 2 coats of water based poly (satin) top coat
Recommended Skill Level
Beginner

Comments

JoanneS

Thu, 07/26/2012 - 15:16

Thank you Gina! Yep, I built the door too! :) This one is made from an edge glued Aspen wood panel (available from Lowes, ripped to size with the table saw), and then I added the wood mini-stop moulding 2" in from the edges (did these measurements and attached the trim before sanding). I did the glaze pattern over the paint so it looked like a frame and panel door when it was all done. This door is the same style we did for our pantry and island. I'm planning to do all the rest of my cabinet doors over (one at a time - ;0) to match this one. PS - I used the edge glued panel instead of plywood for the door so the edges wouldn't need any extra covering up, and also they are nice and flat and super smooth so they don't need much sanding. Aspen wood took the paint beautifully, and the grain doesn't even show through once it's painted. I had used stain grade pine panels for the pantry and island, but I think I'll stick with the Aspen for the rest of them, to save myself some sanding. ;)

Queen Farmhouse Headboard

Submitted by Sarahatlen on Mon, 03/10/2014 - 16:16

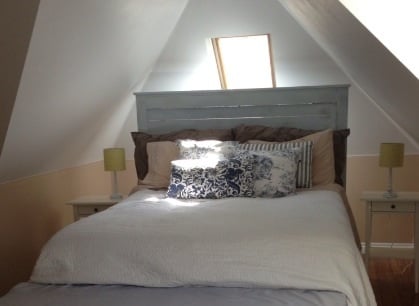
We made this for our master bedroom. We had wood that was already primed so it made the project go faster. Also, the wood for the back panelling isn't entirely straight which I like because it allows slits of lights to flow through and looks a little more rustic. I used a soft blue paint for the color called abracadabra. I hand sanded in some areas to give it a worn look and then I placed a stain over the top in which I almost immediately wiped off because I wanted it to be very minimal.

Recommended Skill Level
Beginner

Shed Ramp Build

Submitted by mtairymd on Sat, 06/11/2016 - 06:07

Build Instructions:

http://www.instructables.com/id/Shed-Ramp/

Video:

https://youtu.be/WTqfV1HDstc

My garage was starting to get cramped so I decided I needed a shed for the lawn/garden equipment. I thought about building one but bailed and decided to purchase a 10’ x 14’ shed with 6’ wide doors from the nearby Amish community. To not be a total slacker, I decided I could at least build the foundation and ramp. I’ve never built a ramp so I did a little research online and found that there are an abundance of styles, both good and bad. Anyway, this is my attempt at ramp design. Hope someone finds it useful.

Estimated Cost
$100
Estimated Time Investment
Weekend Project (10-20 Hours)
Finish Used
None
Recommended Skill Level
Beginner

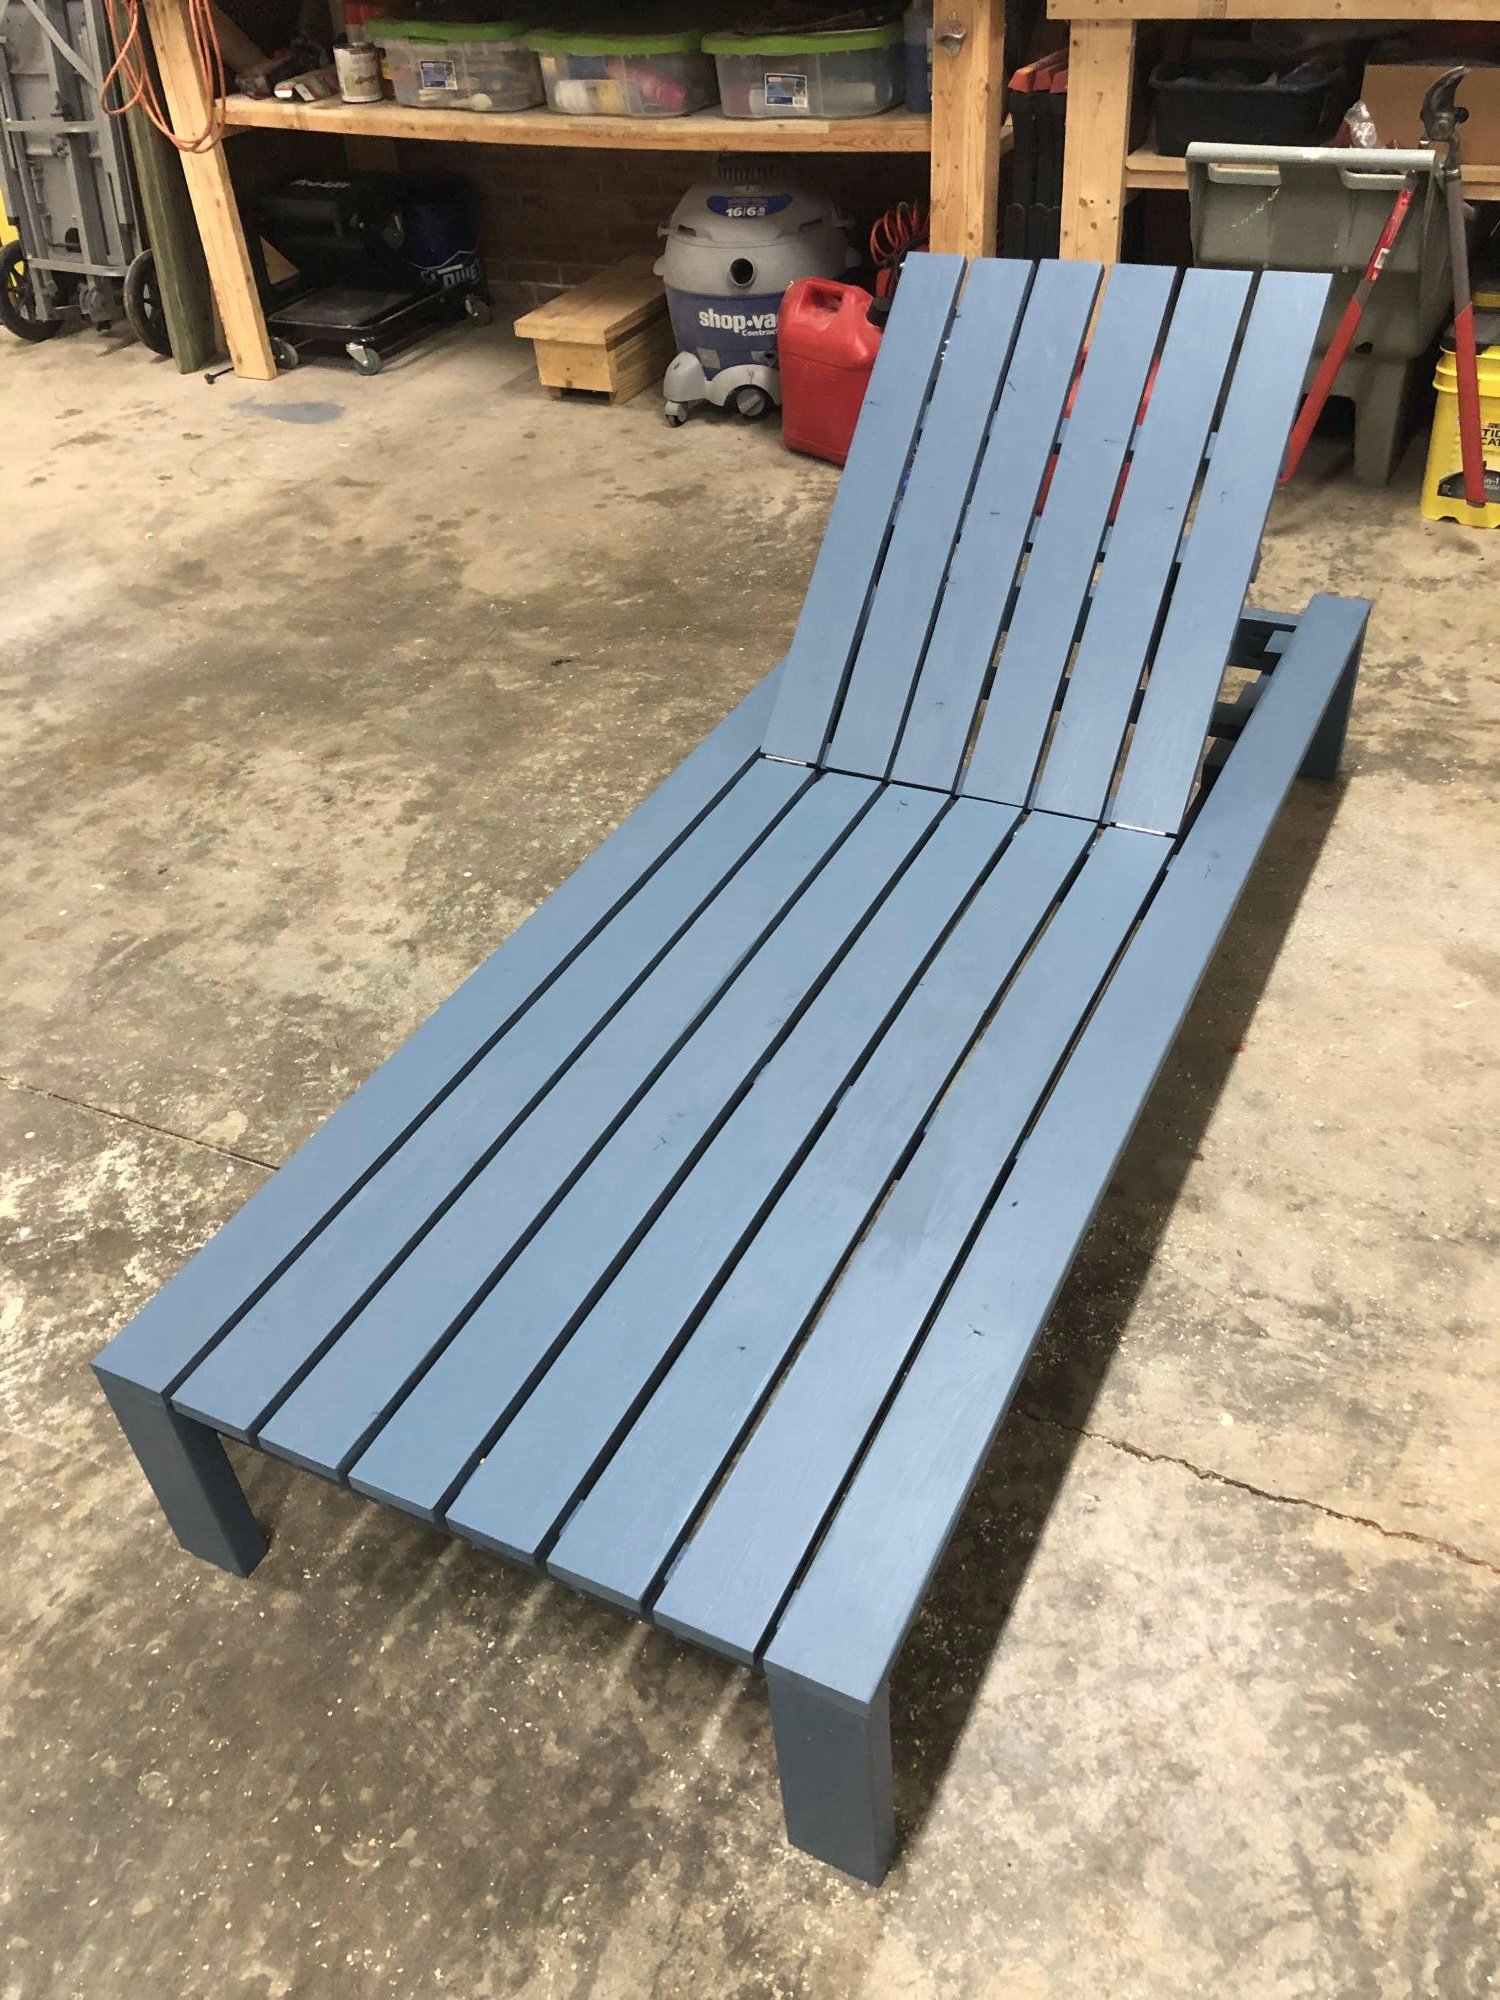
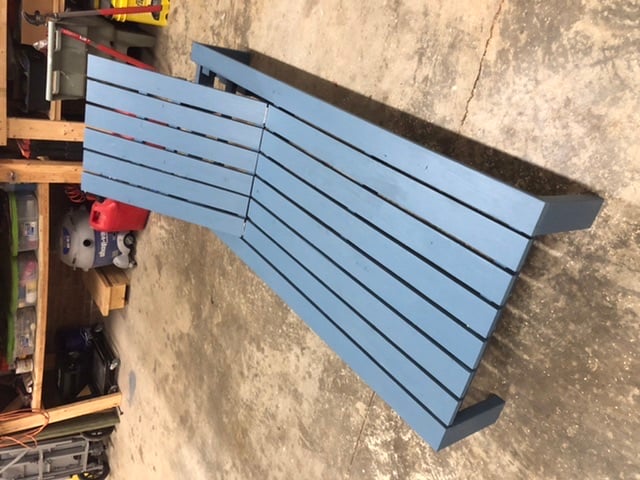
Pottery Barn Inspired Chaise Lounger

Submitted by gtd869 on Wed, 04/15/2020 - 20:34

I followed Ana’s Modern Chaise build. The number of 2x4’s specified in the instructions is incorrect. You need 3 not 2. Other than that, a great plan.

Comments

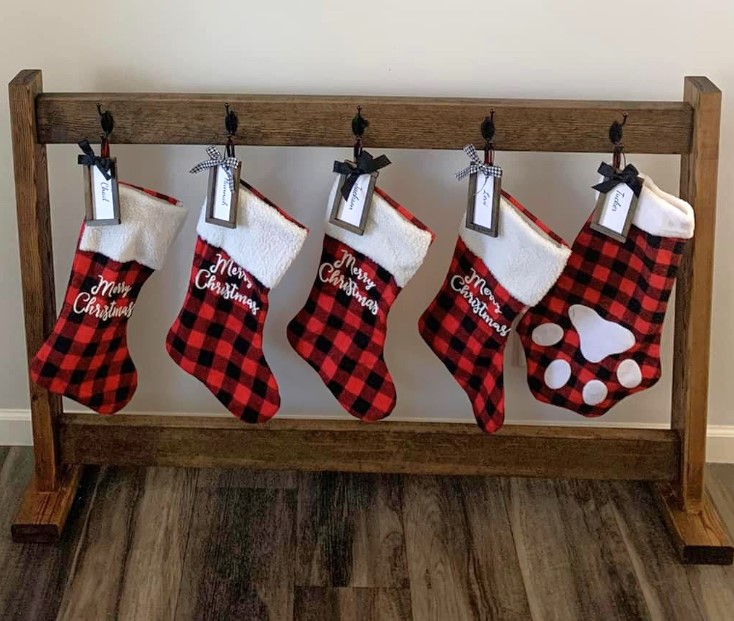
A Place for the Christmas Stockings

Submitted by Anonymous (not verified) on Fri, 11/17/2023 - 12:44

Christmas Stocking Stand by Julie Latham on Facebook.

Built from Plan(s)

Comments

Seasonal And Holiday

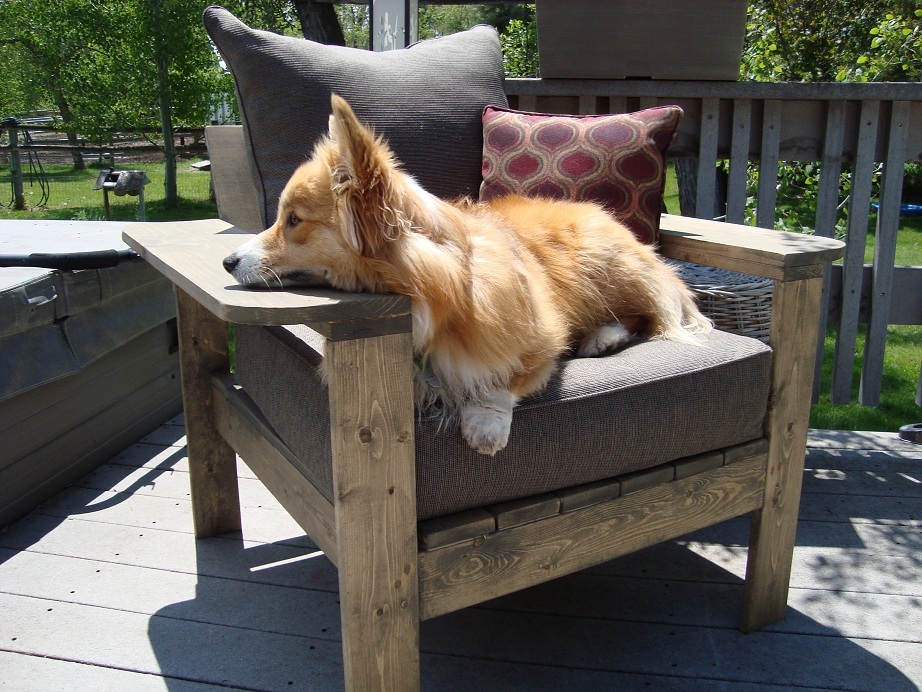
Deck Chair

Submitted by bigskygirl on Tue, 05/29/2012 - 12:44

I used the plans for the simple outdoor lounge chair and just made the arms wider, the cushions came from Target.............the dog loves it !

Built from Plan(s)
Finish Used
Benjamin Franklin oil based Dragons Breath
Recommended Skill Level
Beginner

Comments

Londons91 (not verified)

Sat, 07/28/2012 - 18:06

My husband and I love to sit outdoors and read with a hot cup of tea. The wide are will be perfect for us. Would you mind sharing the cost of your project?

Camey21

Sun, 09/14/2014 - 22:04

Hi!  I would love to make this patio set but I am having some trouble with cushions. I noticed that Ana stated this chair will use a standard size 20x20 cushion.  On your notes it says you got your cushions at Target, are they 20x20, I love the deep cushions but cant seem to find any that sized. Are yours 20x20, or did you modify you project? If so, what dimensions did you use? Thanks so much!!!

Camey21

Sun, 09/14/2014 - 22:05

Hi!  I would love to make this patio set but I am having some trouble with finding cushions. I noticed that Ana stated this chair will use a standard size 20x20 cushion.  On your notes it says you got your cushions at Target, are they 20x20, I love the deep cushions but cant seem to find any that sized for the bottom ones. Are yours 20x20, or did you modify your project? If so, what dimensions did you use? Thanks so much!!!

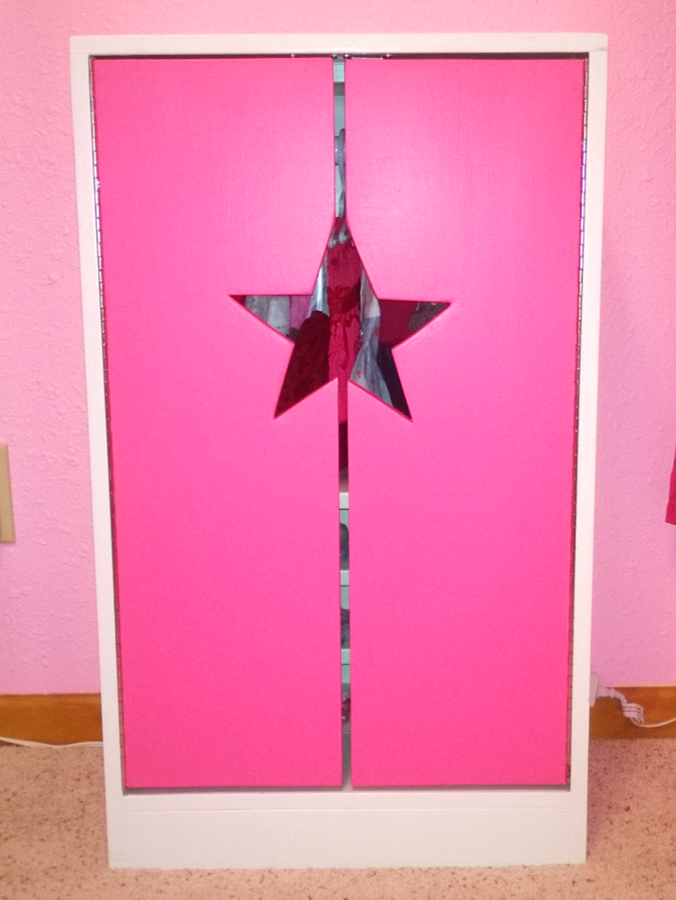
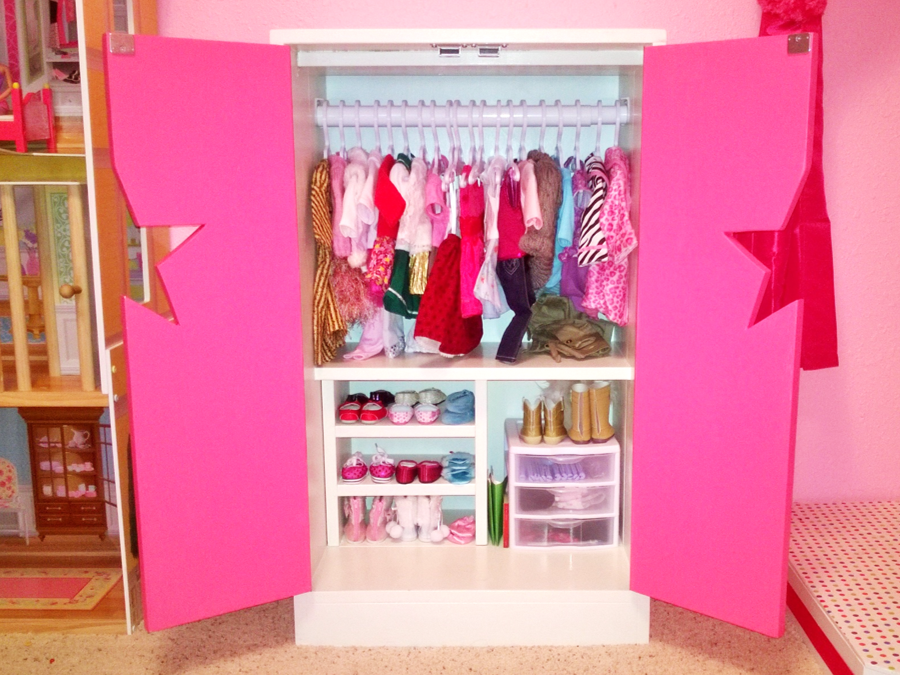
Custom Star Doll Closet w/Pink Doors

Submitted by devinmlyn on Sat, 03/15/2014 - 16:15

My daughter has been accumulating American Girl doll clothing and accessories since her birthday last summer (2013), and we were rapidly running out of room for all of it. Luckily, her Grandpa ("Pop") is a skilled carpenter and whipped up this awesome closet for her in a weekend (including the amount of time it took to pick out all the materials, paints, and paint everything/let it dry). She absolutely loves it and it is the perfect way to keep everything organized, while still looking great!

Estimated Time Investment
Day Project (6-9 Hours)
Finish Used
Latex acrylic paint in antique white for the main structure, and bright pink or the doors.
Recommended Skill Level
Beginner

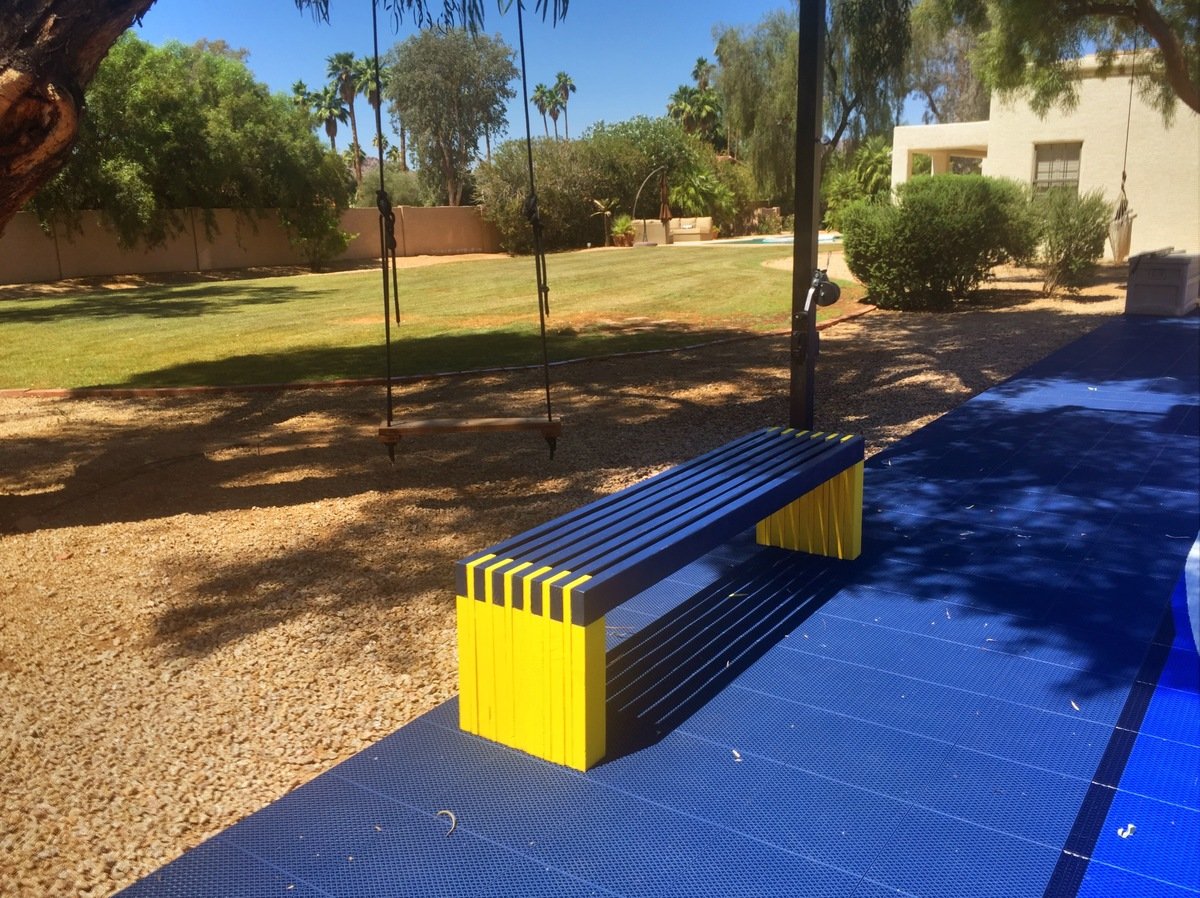
Modern Bench - School Colors

Submitted by Anonymous (not verified) on Wed, 06/15/2016 - 09:29

Great design and project!  I am working on the second one in my wife's school colors.  Thanks!

Estimated Time Investment
Afternoon Project (3-6 Hours)
Finish Used
Outdoor paint
Recommended Skill Level
Beginner

Kids Picnic Table

When my kids were stuck between that "baby" picnic table, and the "real" picnic table, we found the plan for this! It was the perfect size, and was a great addition to our backyard!

Built from Plan(s)
Estimated Cost
$30 CAD
Estimated Time Investment
Afternoon Project (3-6 Hours)
Finish Used
Minwax 2-in-1 in Natural
Recommended Skill Level
Starter Project

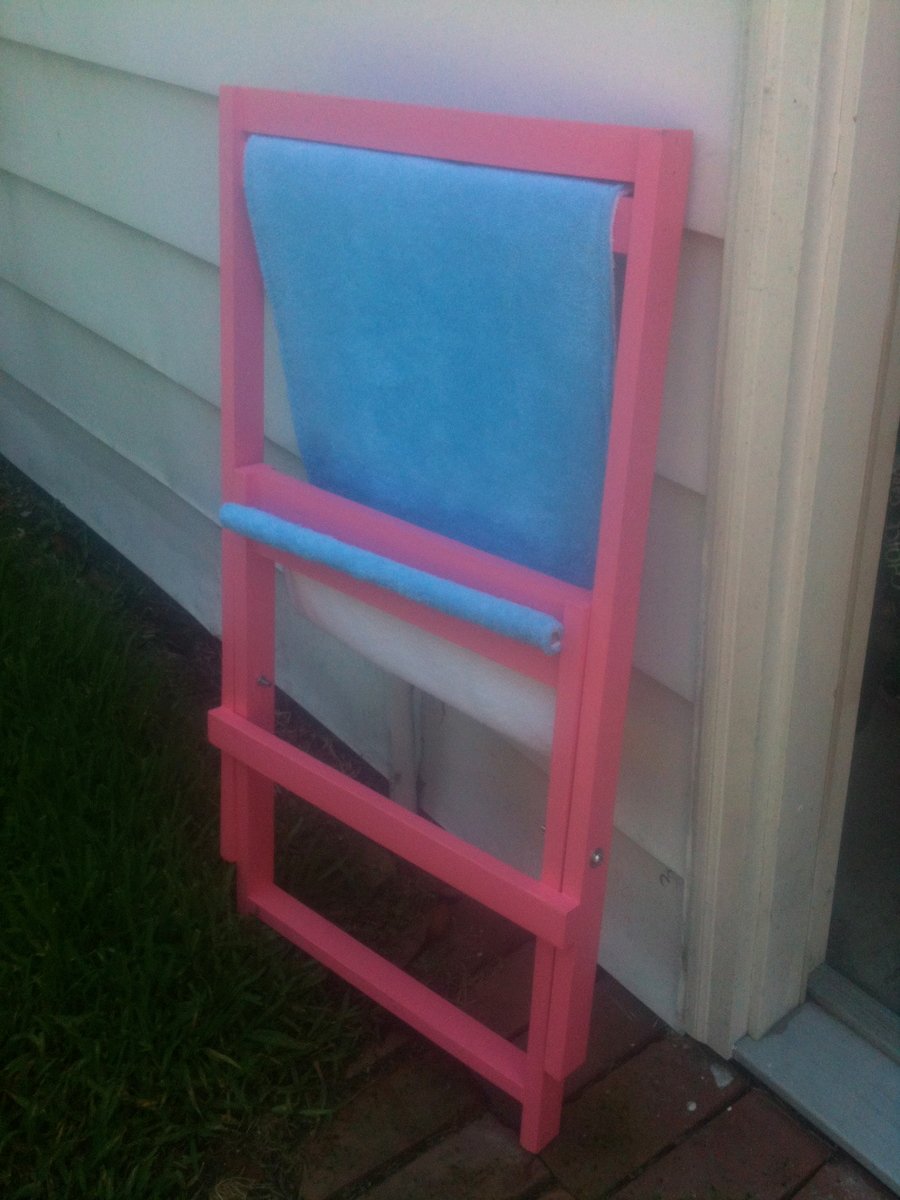
Child Beach Sling Chair

Submitted by ktjoy86 on Thu, 05/31/2012 - 08:57

I used two towels to make the sling portion of the chair, instead of outdoor/decor weight fabric. Even though the towels were thick, I did not need to change the dimensions of the dowels or slits in the wood that hold the dowels.

Estimated Cost
$1, I had the towel, hardware, nails, paint, and some scrap wood already.
Estimated Time Investment
Weekend Project (10-20 Hours)
Finish Used
Primed and then painted with leftover satin-finish paint. Lightly sanded between 2 coats of the final paint color.
Recommended Skill Level
Starter Project

Comments

Mary1025 (not verified)

Thu, 05/31/2012 - 16:59

What a great idea to use towels. I have a few extra beach towels that would be great for this.
Thanks!