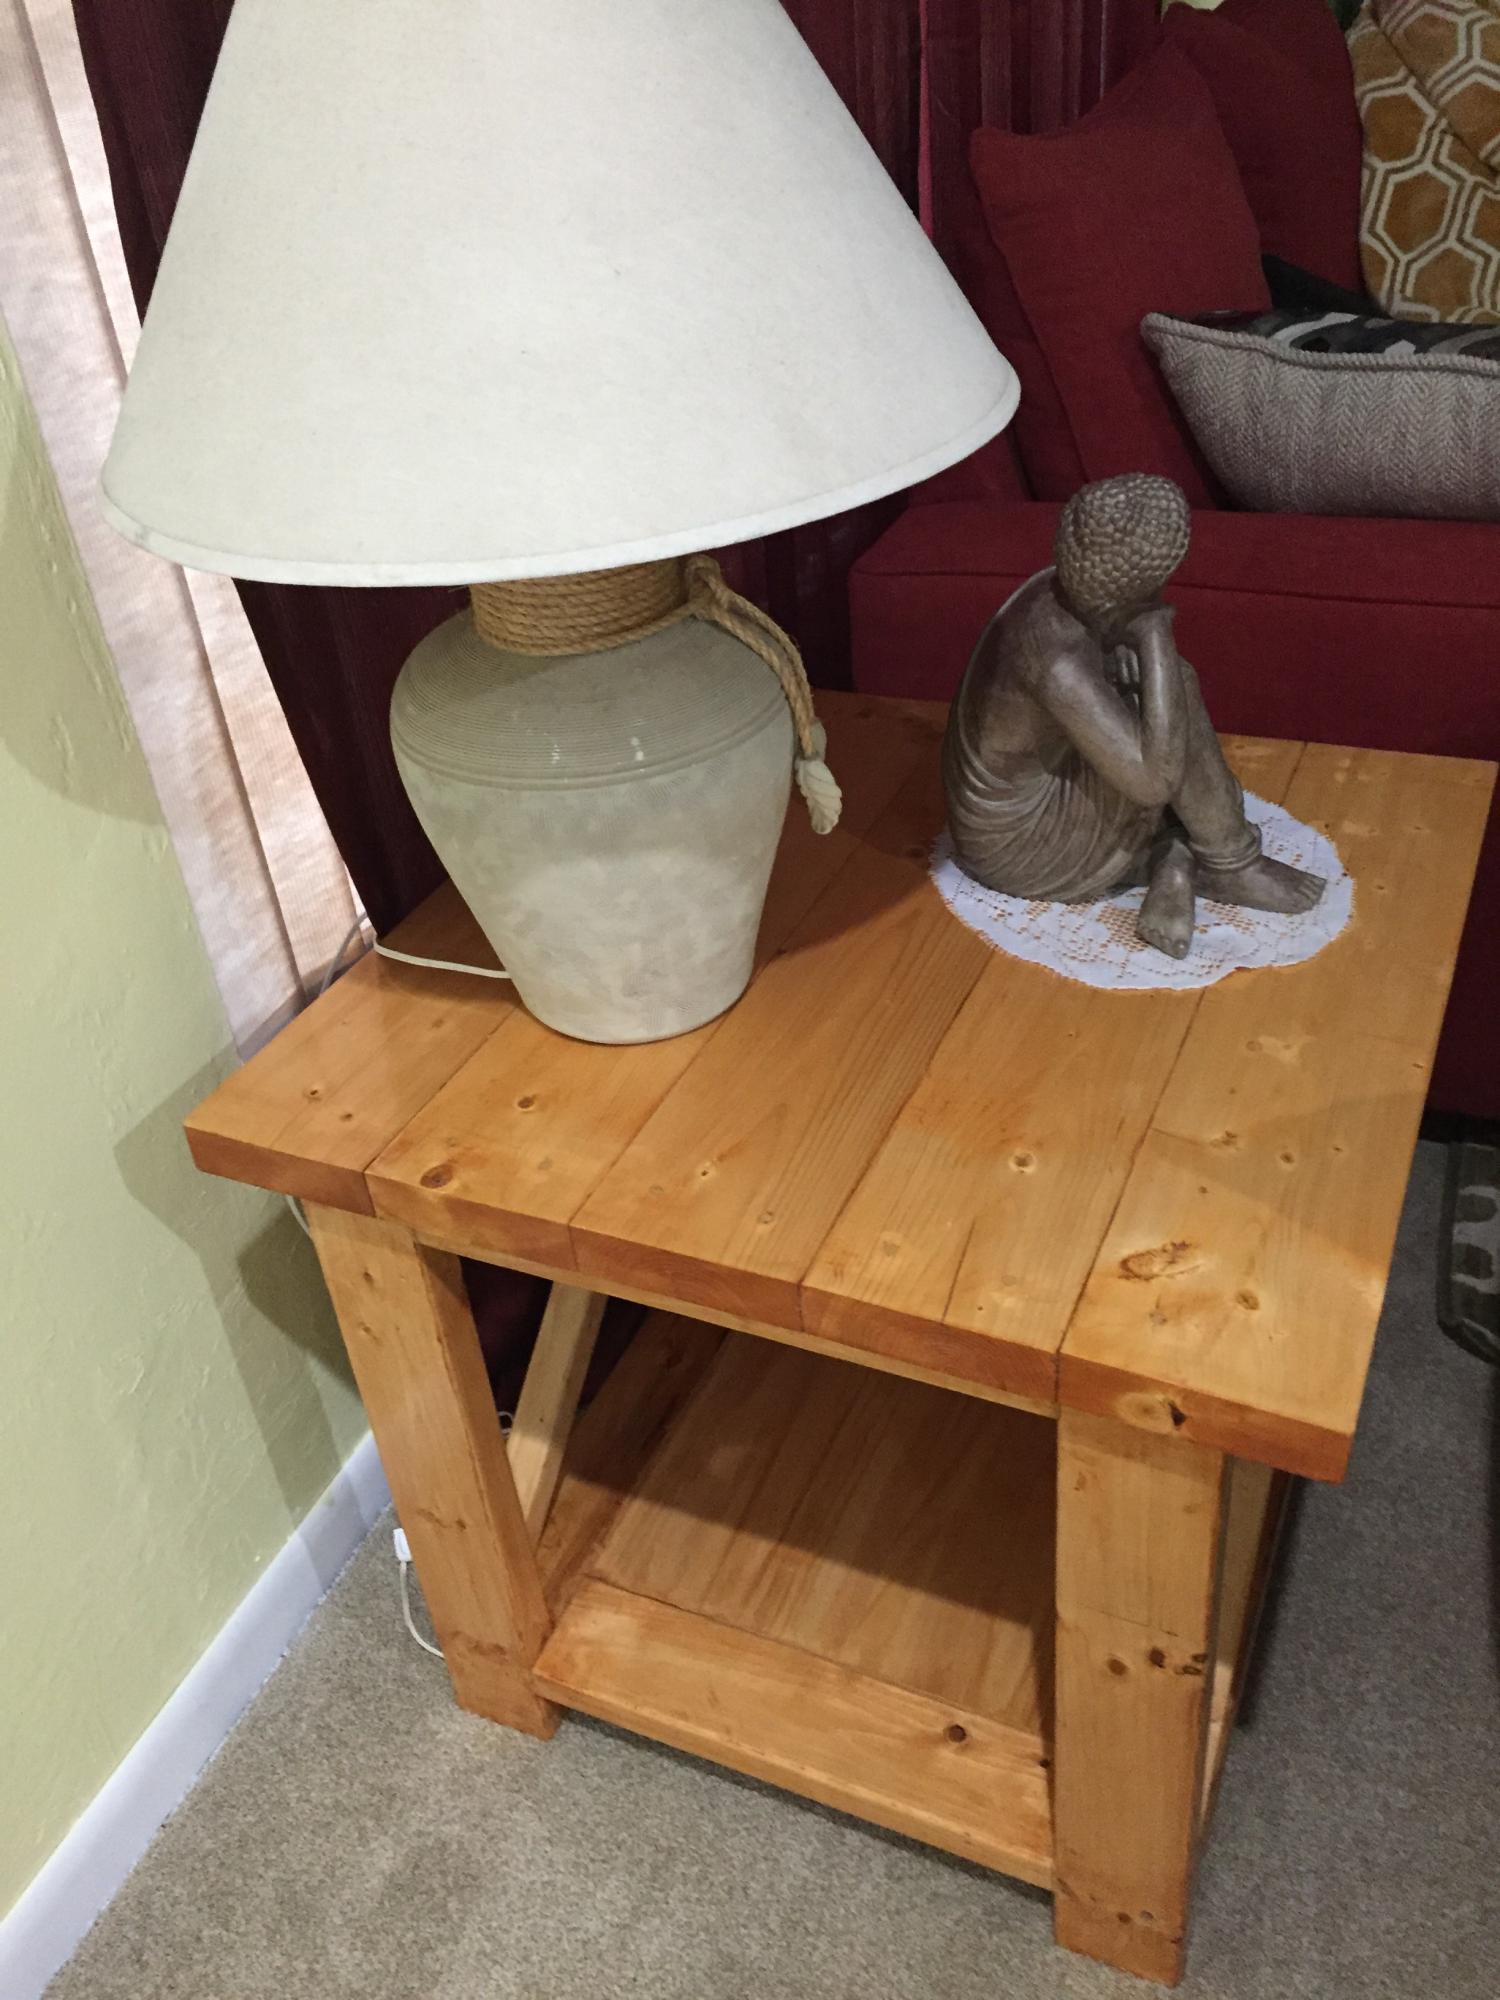
Maple finish end table
Followed exact steps but messed up on the alignment of top piece. Still came out great!
Thanks Ana!

Followed exact steps but messed up on the alignment of top piece. Still came out great!
Thanks Ana!
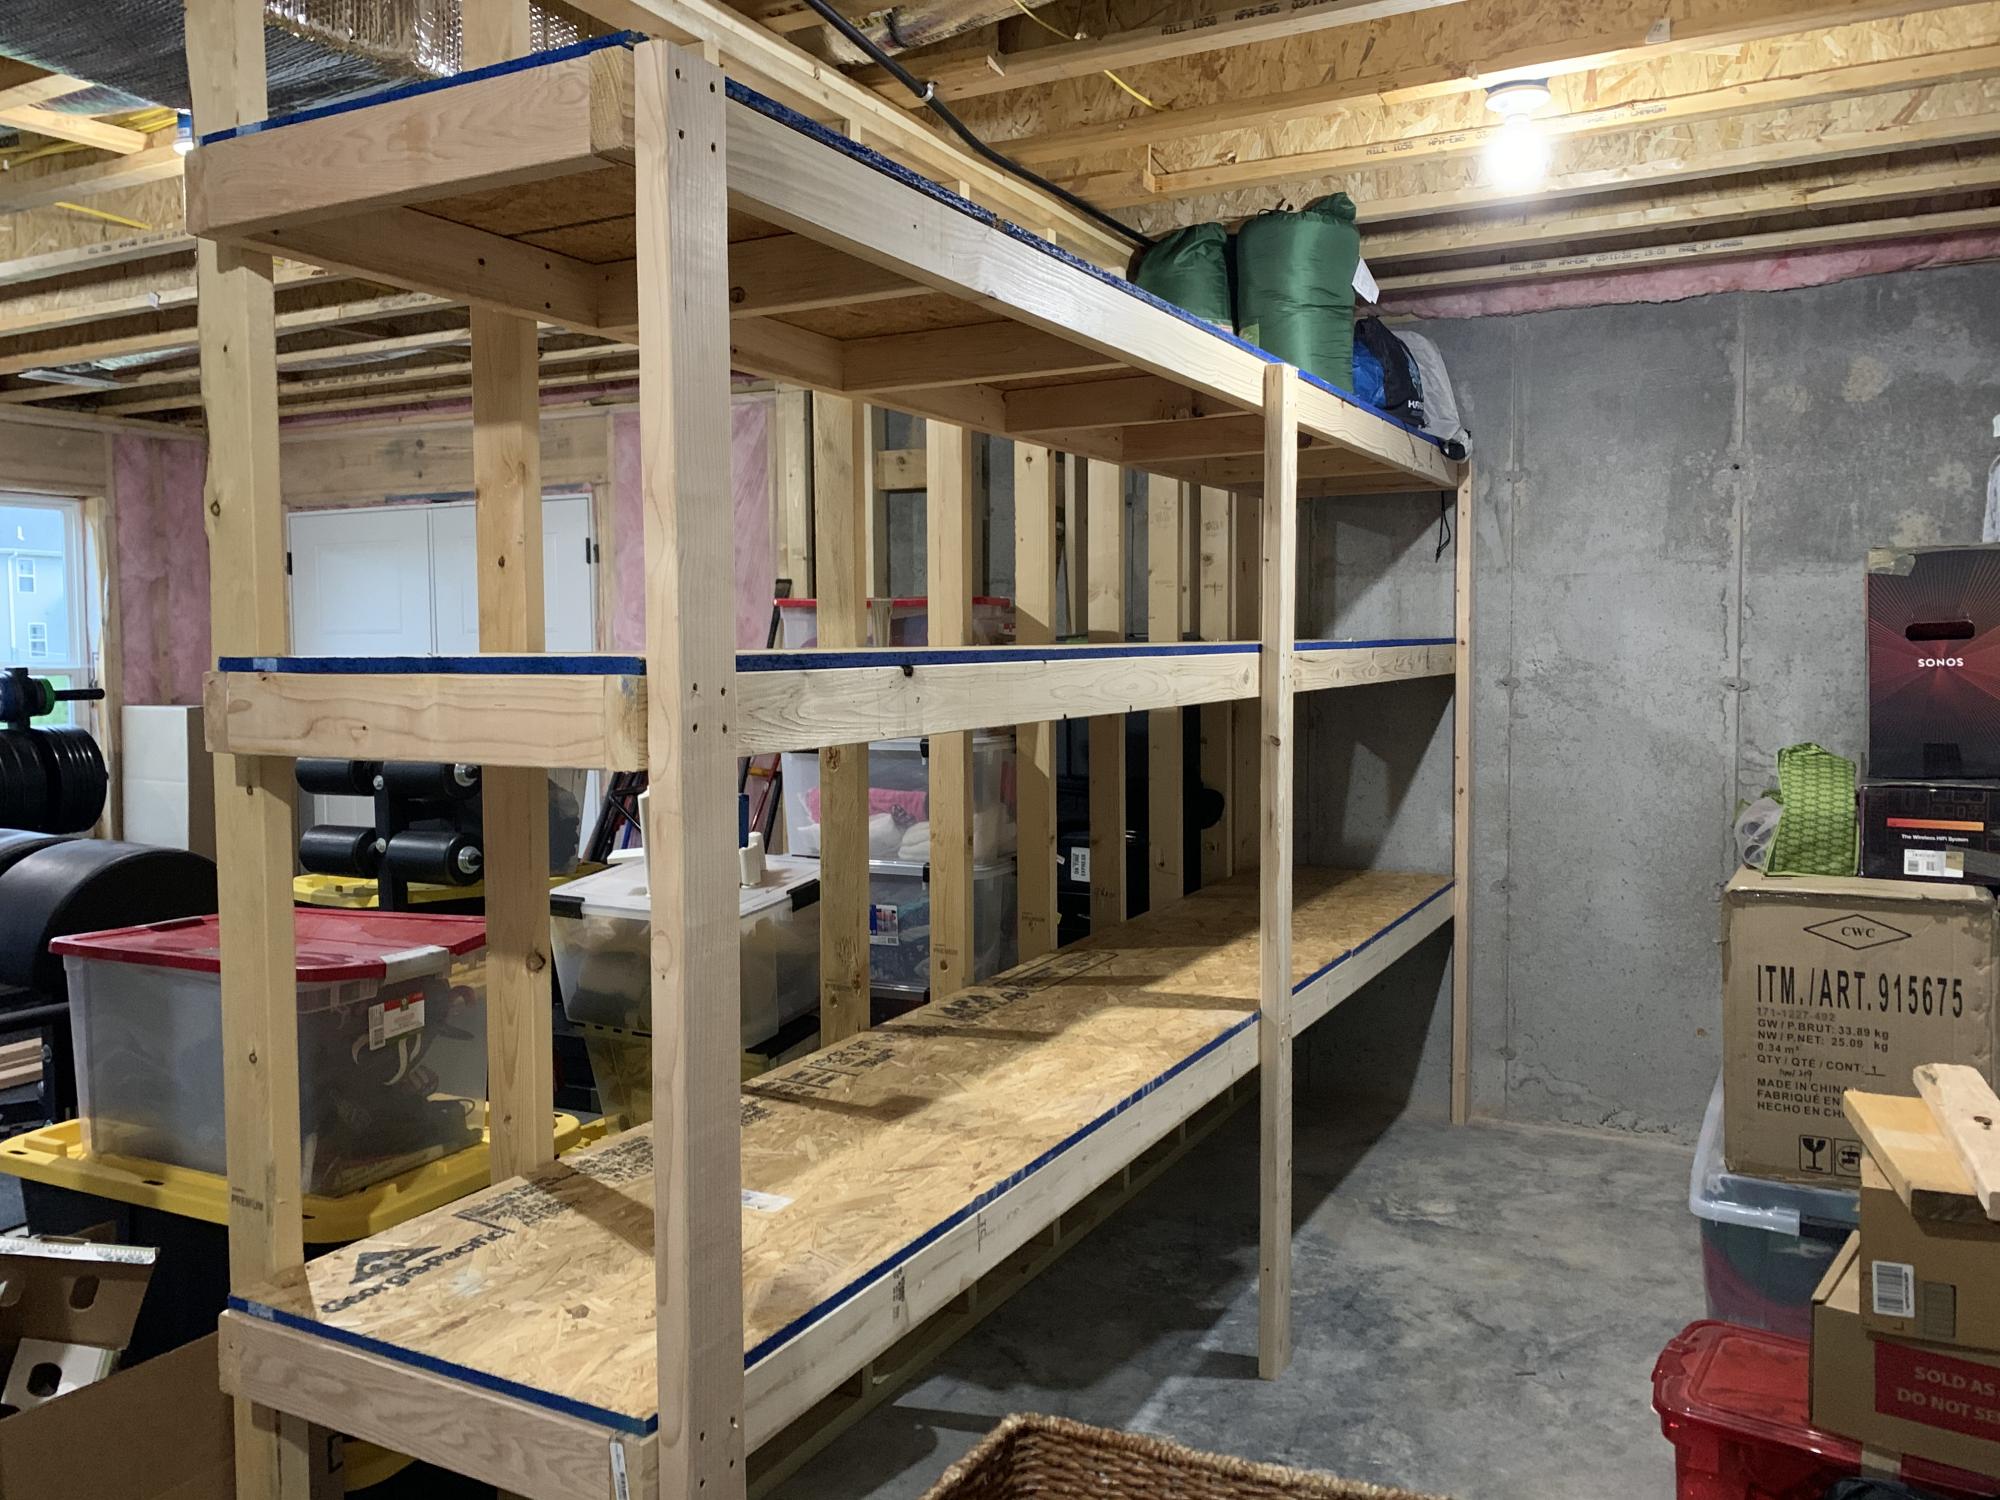
We just moved into a new home and had a huge open storage area in the unfinished portion of our basement and we’ve got a lot of stuff so we needed to make the best use of that space and these shelves deliver big time. This shelf is 12’ long by 2’ deep with 2 each 24” and 18” tall shelves. Really simple construction and I got to use my Kreg HD jig for the first time on the cleats so these bad boys are SOLID! My wife love this one so much I’m building another one in the opposite side of the wall with all 4 shelves at 18” tall.
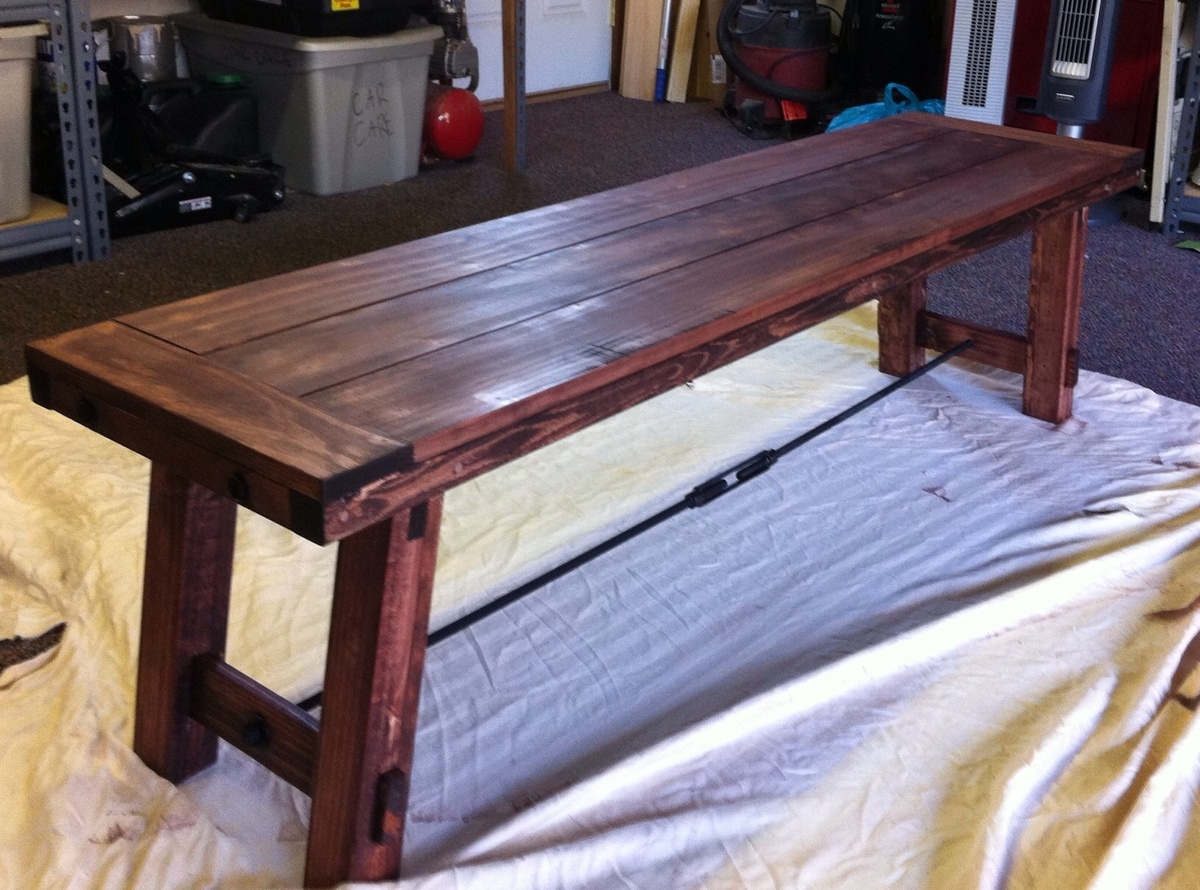
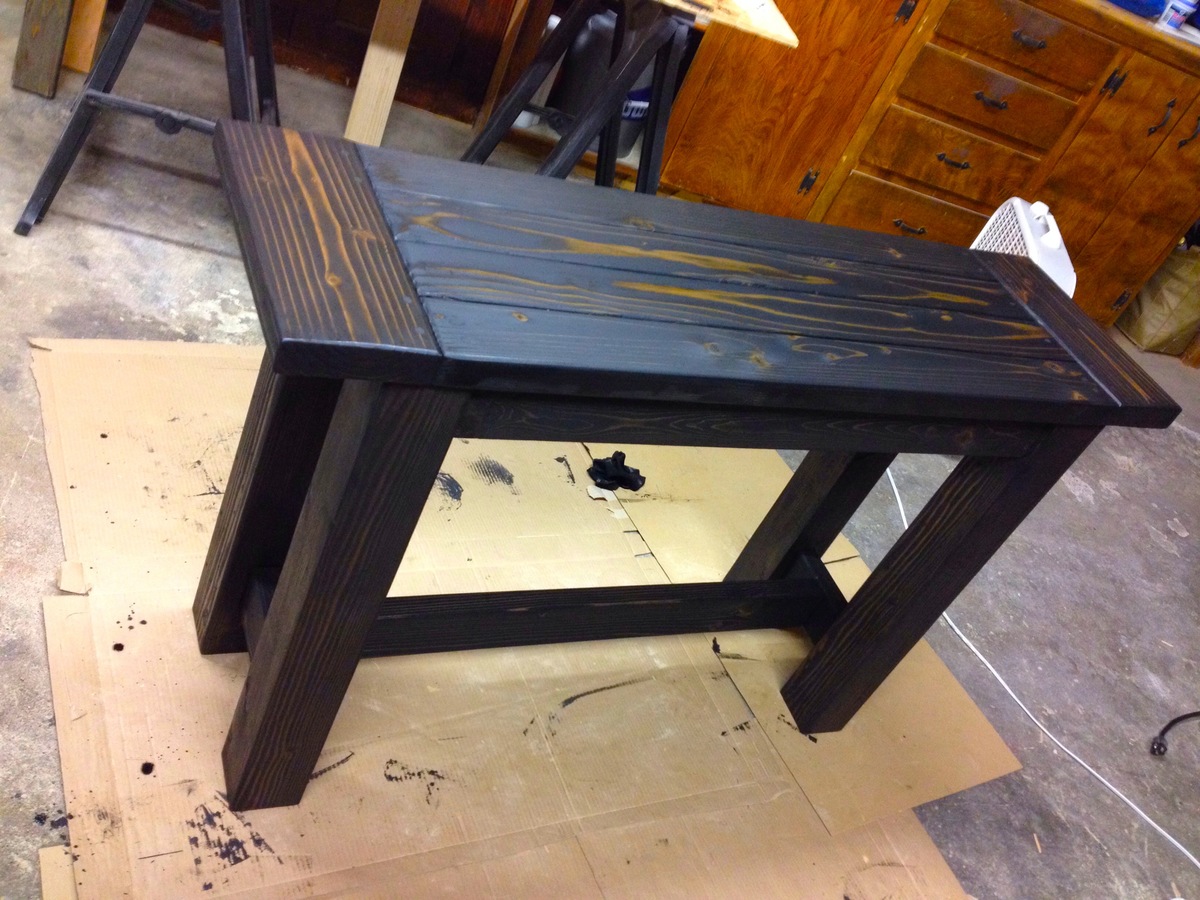
Piece of cake compared to building the table. Added hardware and stain, just have to put on the finish.
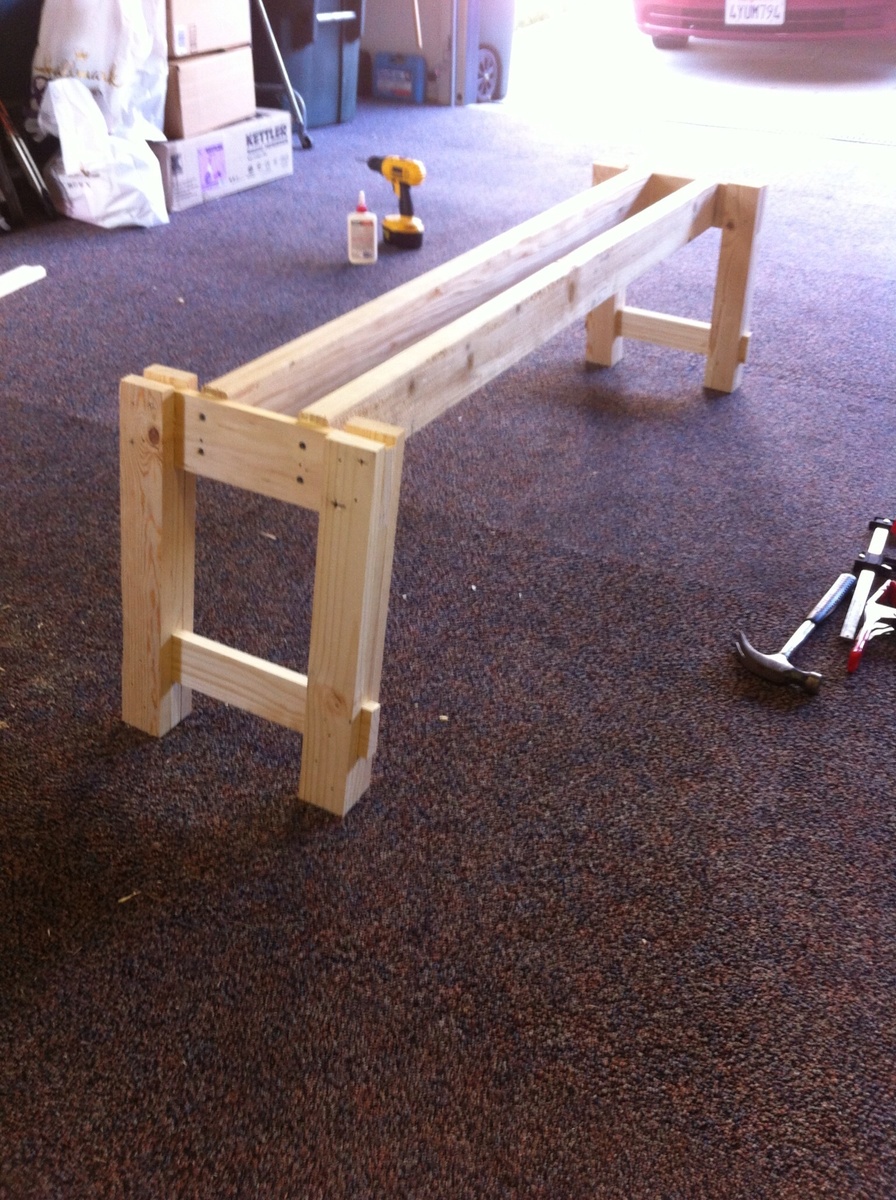
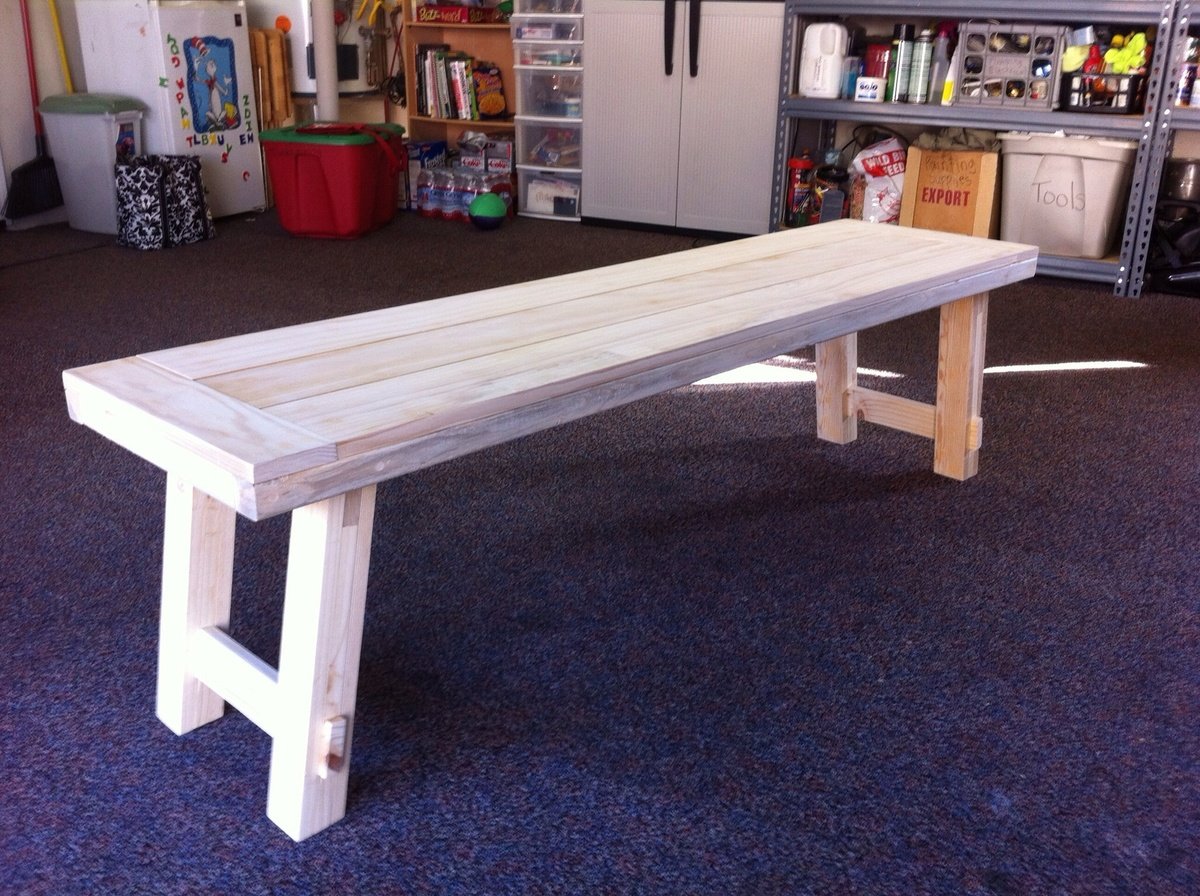
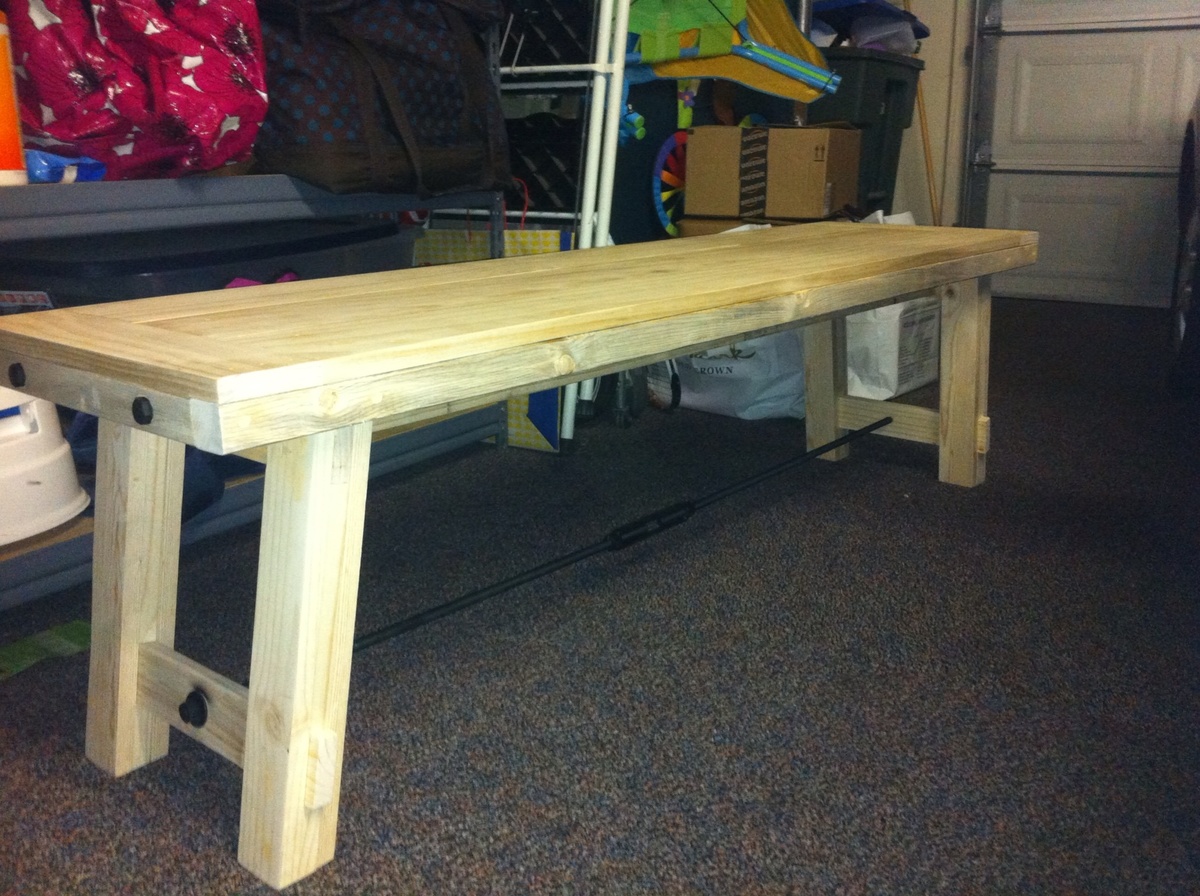
Sun, 12/30/2012 - 06:51
That looks great! I want to make this bench very soon then also make the matching table... where did you get the hardware for it? Thanks!
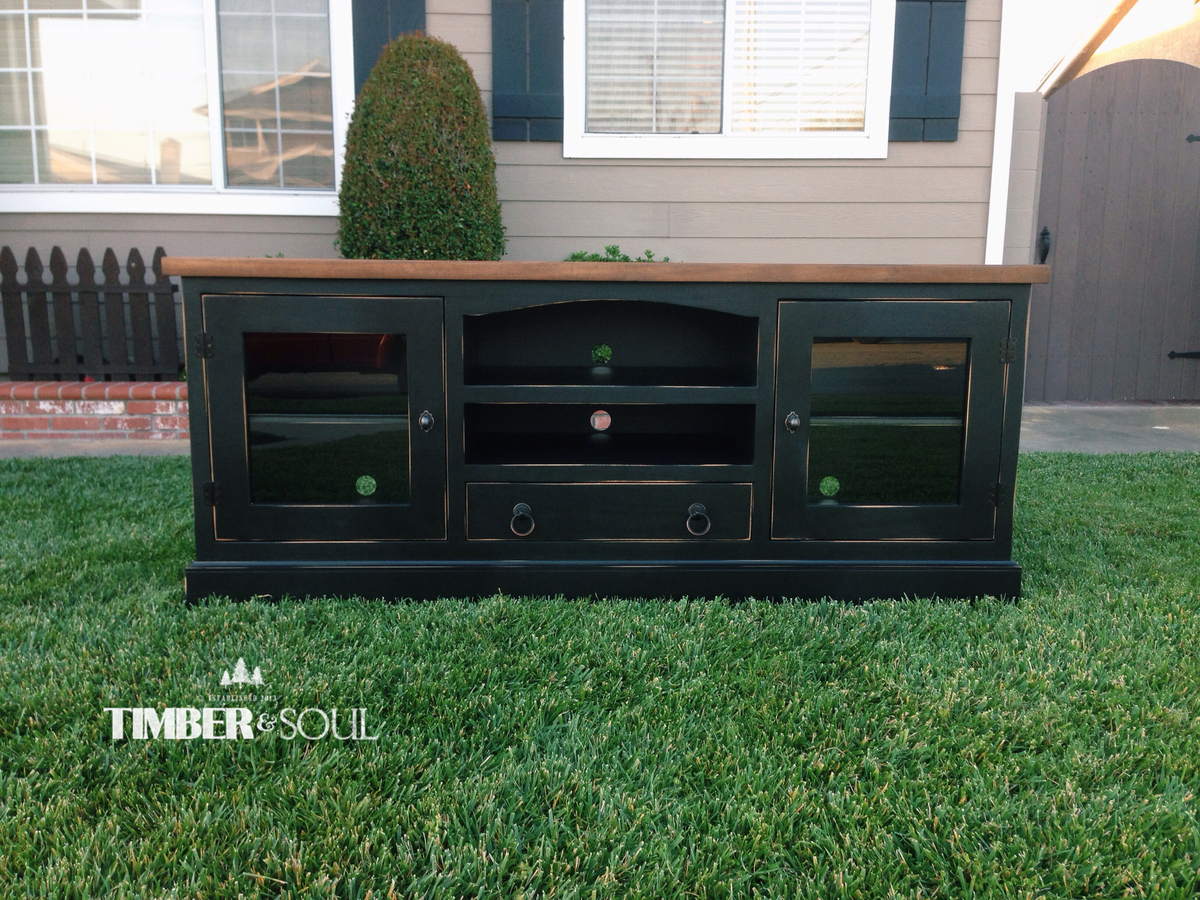
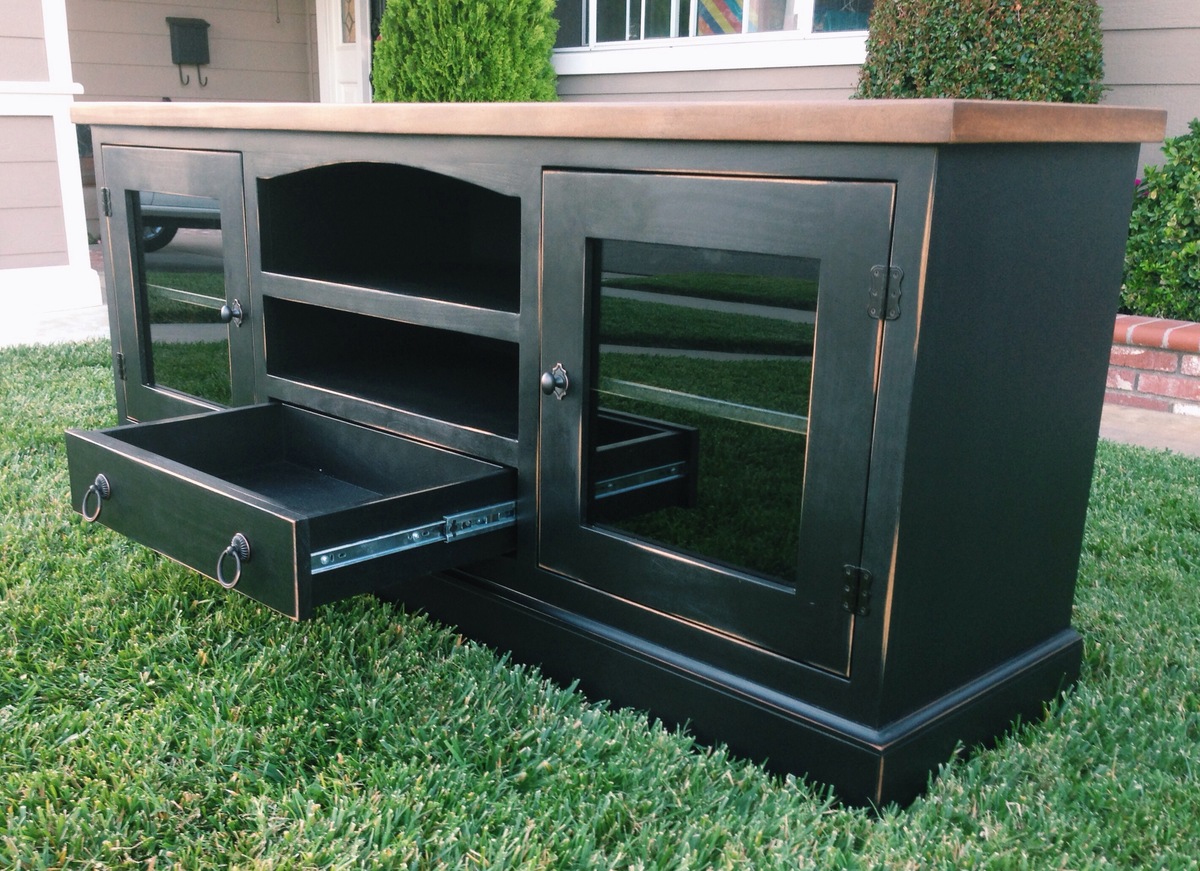
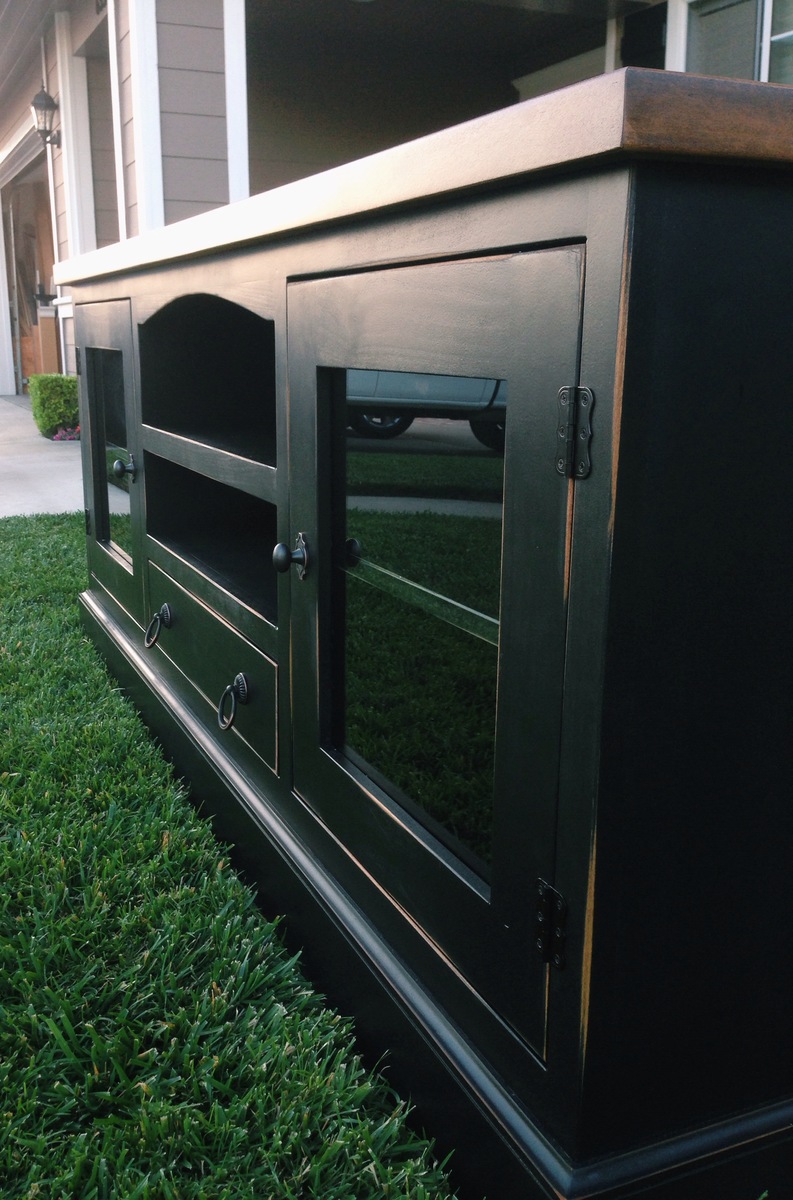
Custom built media console with distressed black finished and chestnut stained top. features adjustable shelves and full-extension drawer. This is not a build from one of ana white's plans. I built it from scratch but just wanted to share.
- Brad

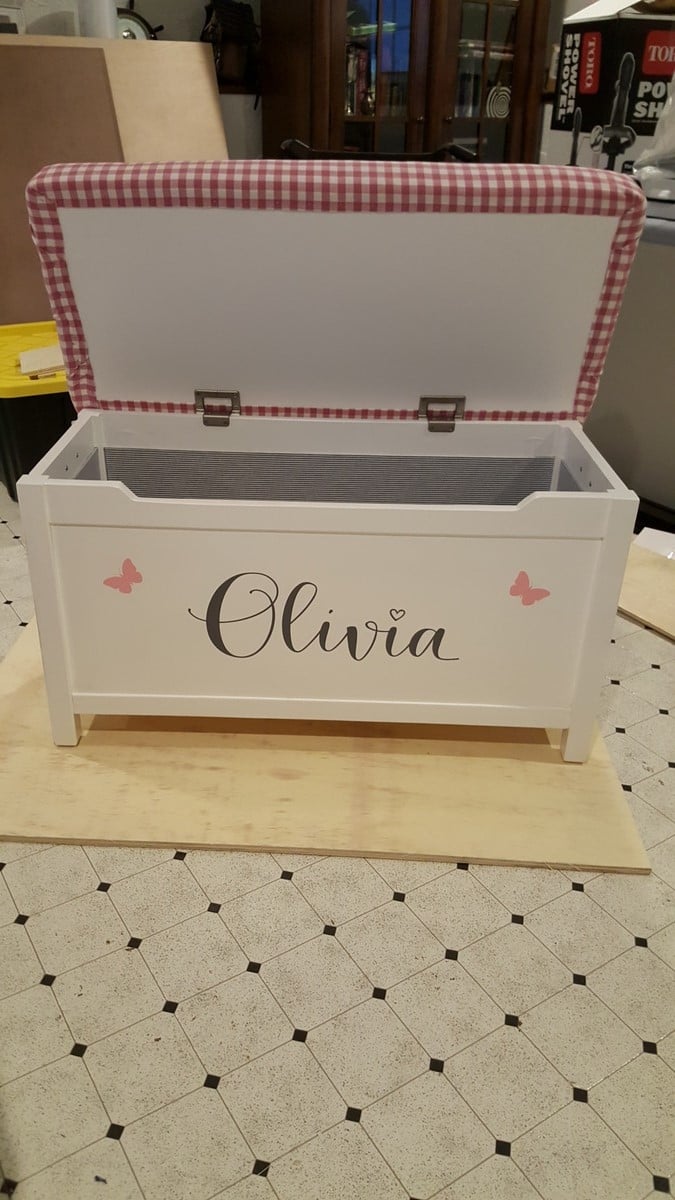
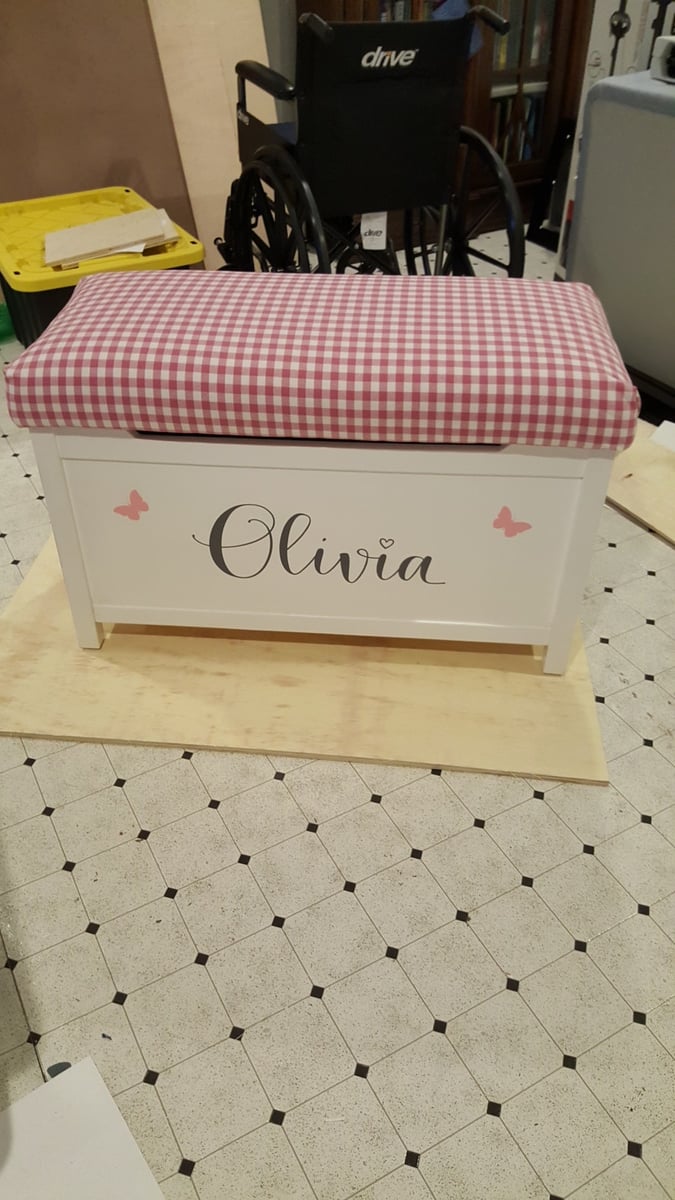
Thanks for the great plans! I built this toy box with my dad for my soon-to-be niece.
We followed the plans closely, but added four additional parts:
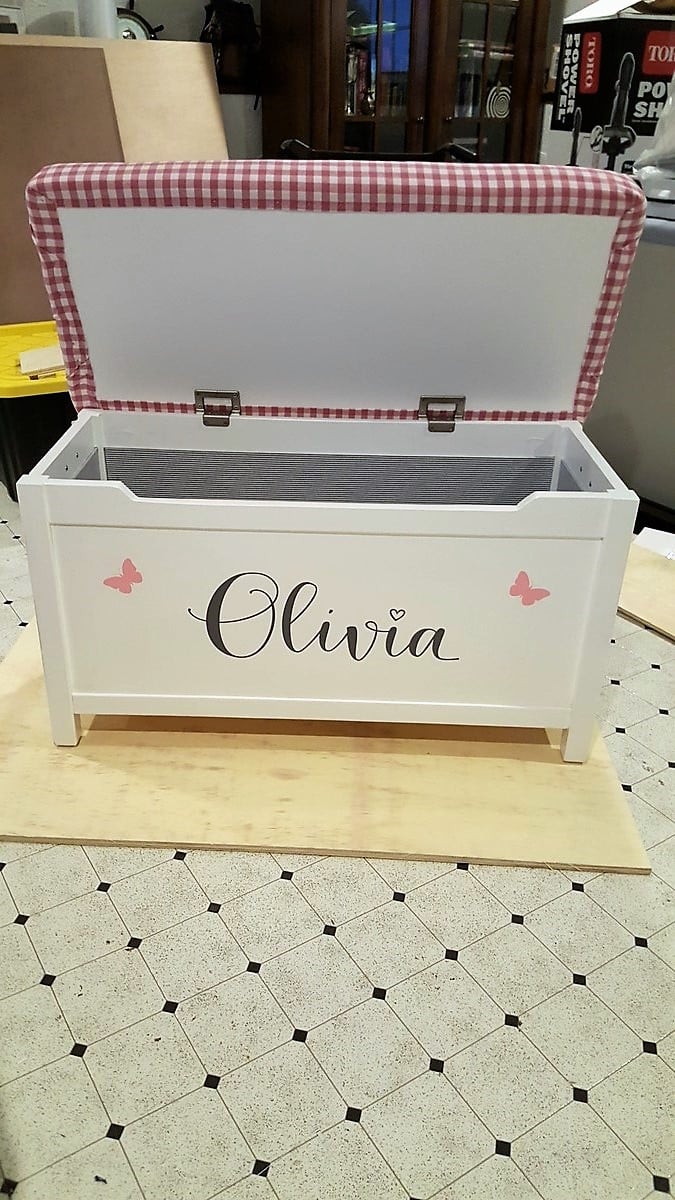
1) Added 3 inch foam, batting, and fabric on the top of the toybox
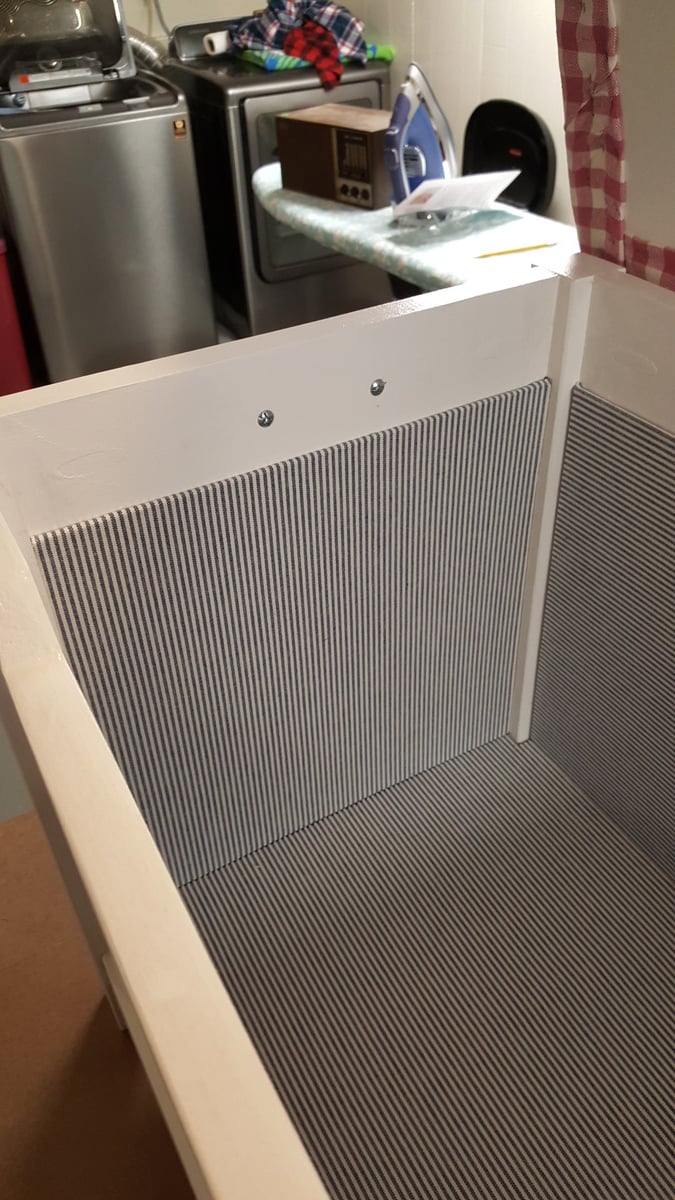
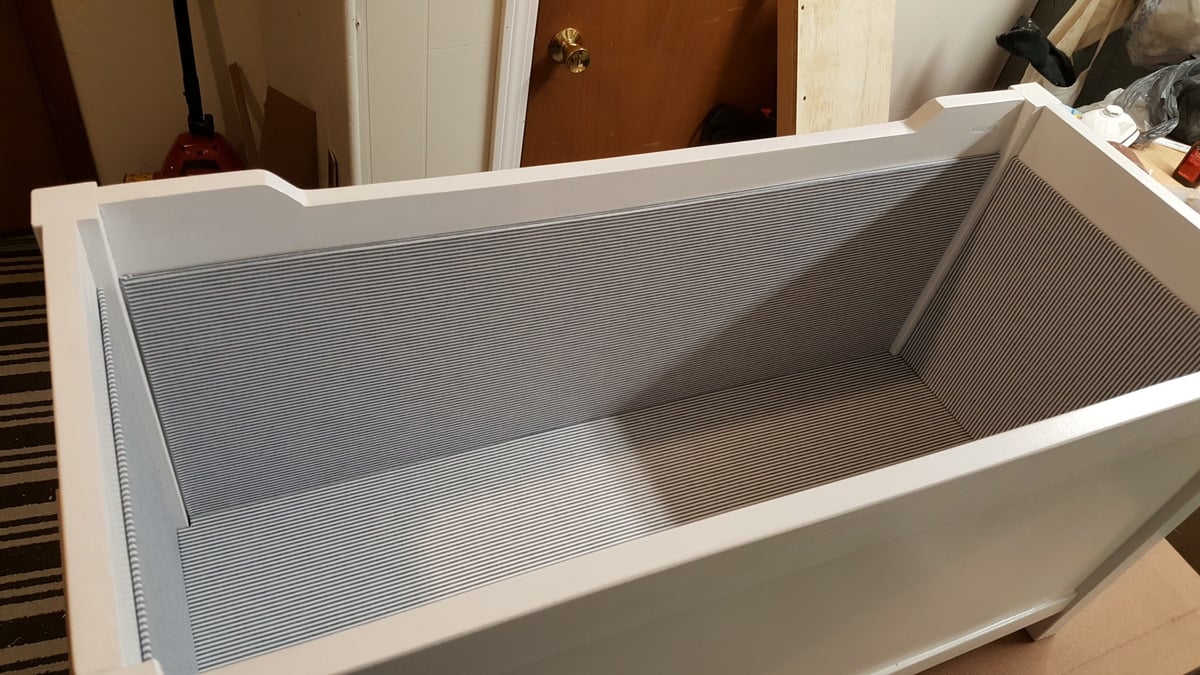
2) Lined the interior. We used 1/8 inch harboard. We cut the harboard to size, used spray adhesive to attach the fabric to the harboard, and then attached the hardboard to the toy box with loctite adhesive.
3) Added two handles to the side
4) Used a vinyl sticker pruchased from Etsy with my neice's name on the front
We used semi-gloss paint and finished the toy box with sem-glass polycrylic (brushed on, not the spray can).
Enjoy!
Best,
Mike
I was able to make this cabinet using your plans and it went absolutely flawless! Thank for all that you do!
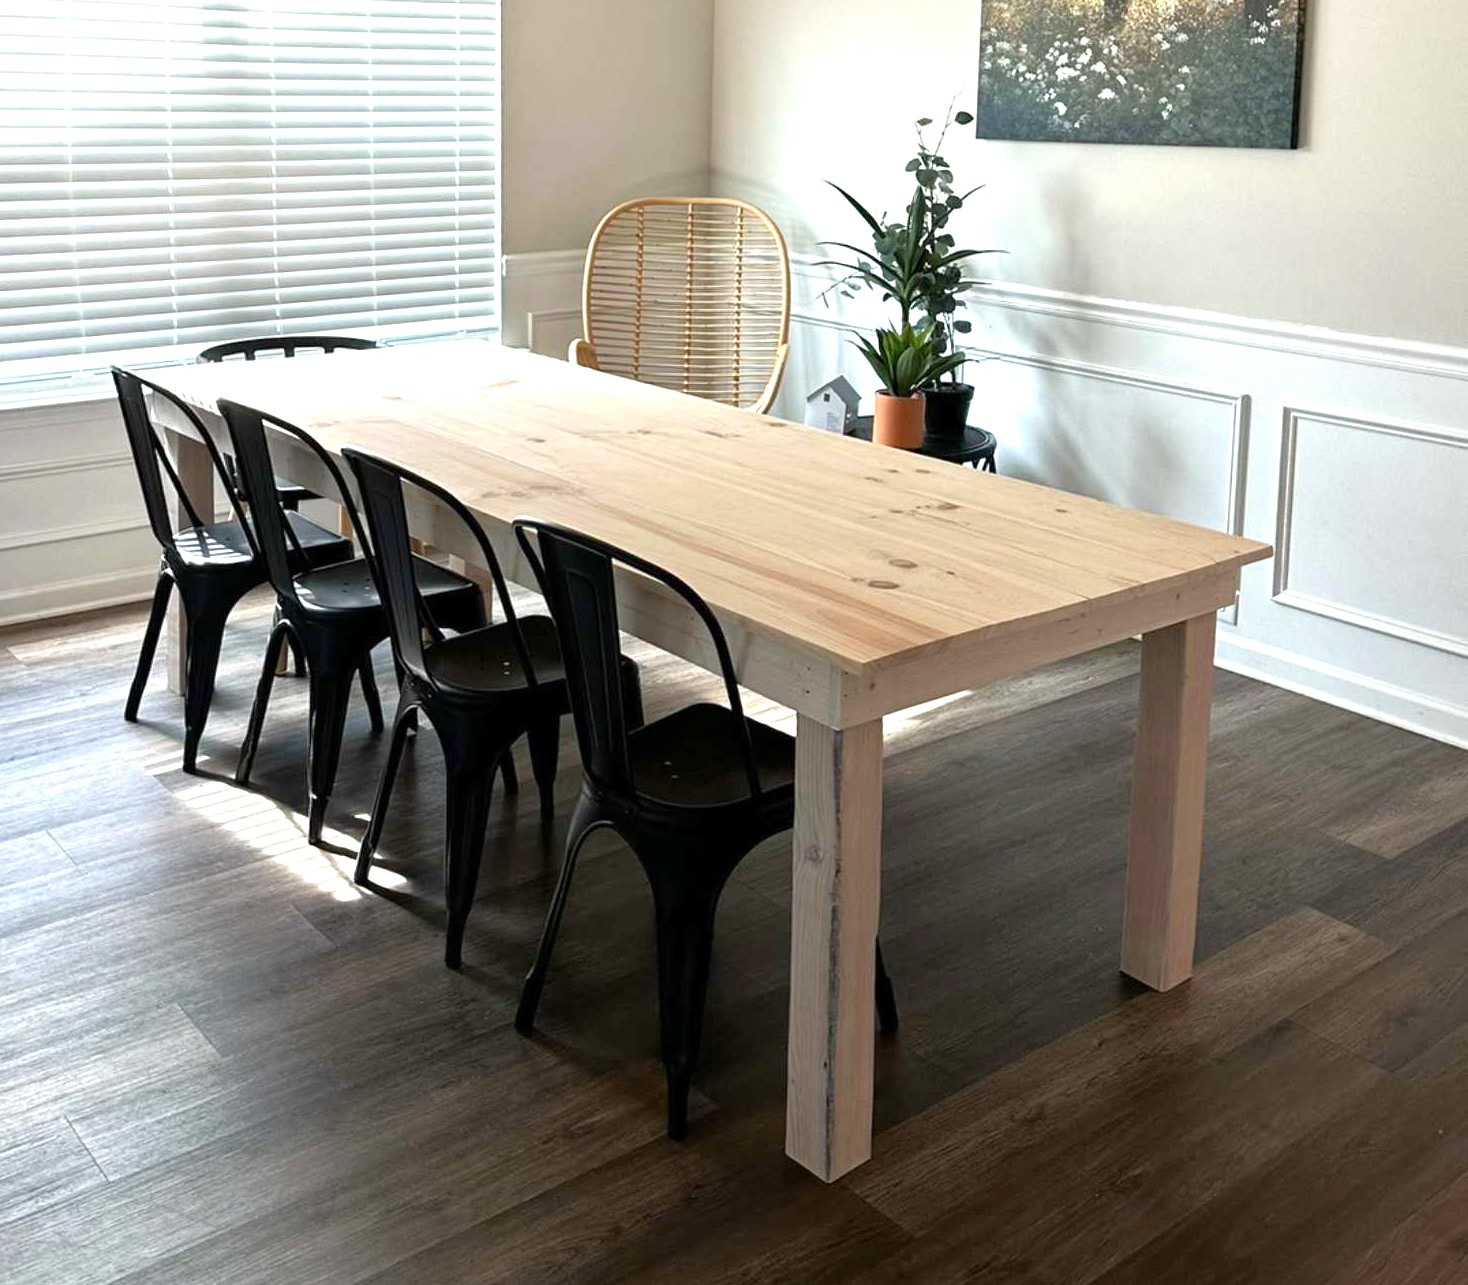
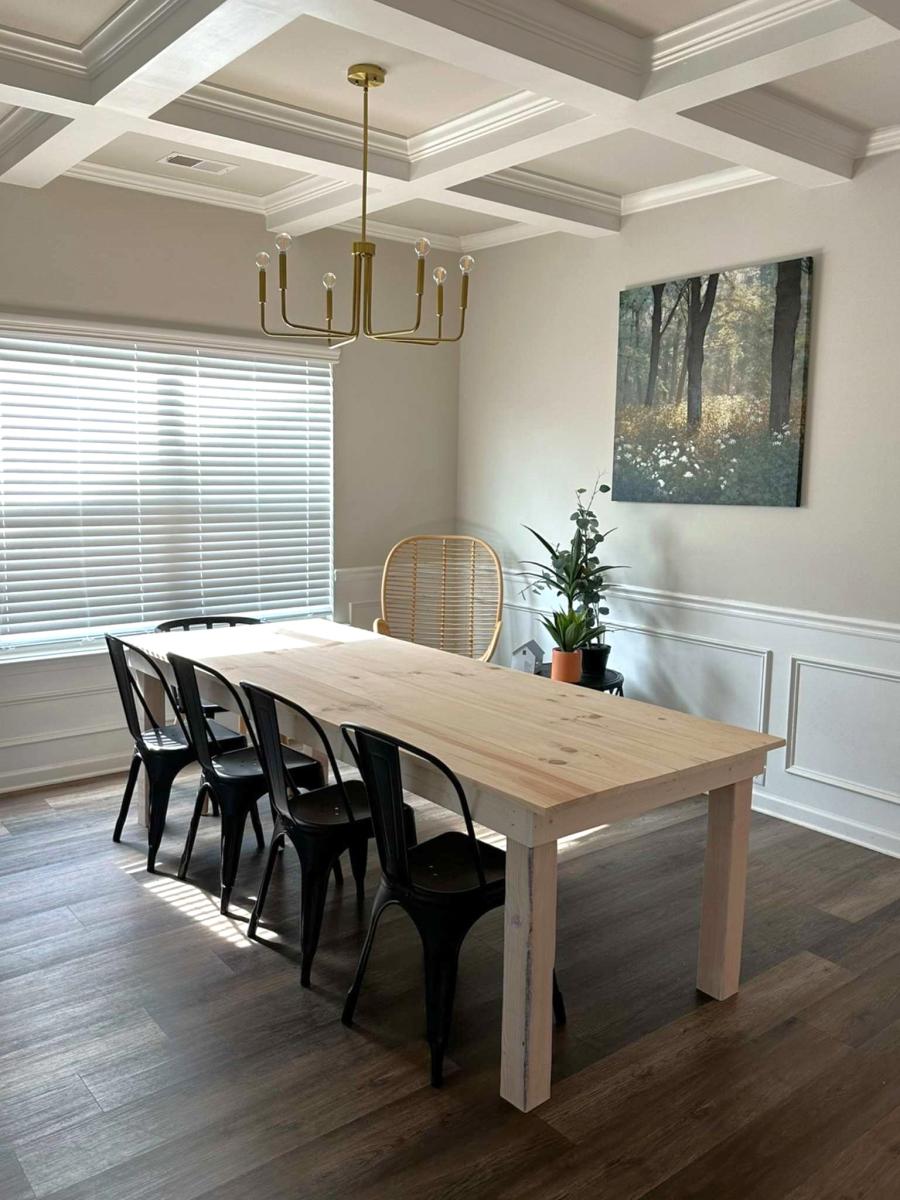
My husband and I built this very large dining table that seats 10 using the “Simple Rustic Table” plan. We think it turned out great and it was perfect for us as beginners. It looks awesome in our dining room, now we just need more chairs! Thank you so much for the great plans Ana!
Nikki at titusmom.com
I built this bench to fit a foam matress that I had (kids are sleeping on it in my bedroom when they wake up at night).
The matress is 63 inches by 20 inches and the foam is 4 inched thick.
The bench is only 15 inches off the groung in height.
1 - 2x6
7 - 2x4
fabric
foam
staple gun
Kreg Jig
Glue
Mitre Saw
Miniwax Jacobean stain
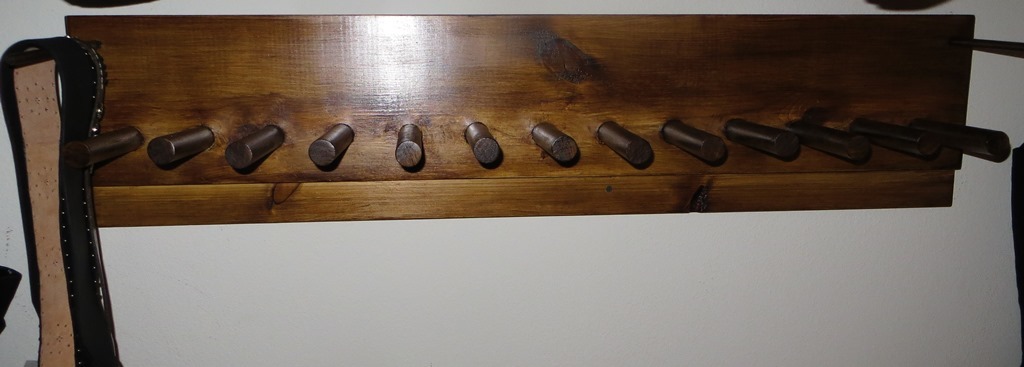
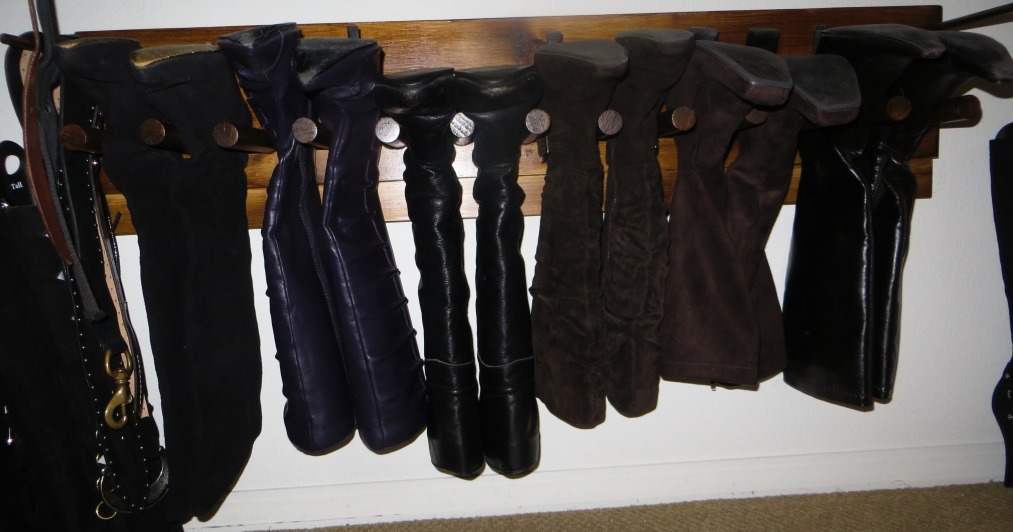
Loved the version Ana shared and then added a belt holder at each end. Also routed the edges each end to add something more. Used Mission Oak stain.
Very good plans to work from, and very adaptable! I modified the plan to add a sloping lip, which I think finishes the look. I was using old weathered cedar, so I contrasted that with cabinet style joinery (all mitered joints). I like the difference between the old distressed wood and the more refined joints. I set the skill level at "advanced" due to the compound mitered cuts required. I would be happy to supply the miter and bevel angles if anyone is interested.
One small suggestion: I found the diagram of the cuts for the sides to be confusing because the diagram of the piece of wood, which is rectangular, looks slanted in the perspective view. I would project the rectangle flat (all right angles) so that the angled cuts are clearer, and not confused with the "angles" of the sheet itself.
Thanks for a great idea!
So I bought this print, sized 16" x 20", from an independent photographer. My husband said I could get it only if I built the frame, so I was on the hook.
I used pine boards and glued and clamped the outside part since I don't have a nail gun. I sanded the really rought parts, but probably could've sanded more. Finished with Valspar's black spray paint and used mirror clips and 1" wood screws. Blue had glass pieces in 16" x 20" for less than $6. Hung with D rings and picture hanging wire.
Time estimate includes time for paint to dry and rigging up all the hanging hardware.
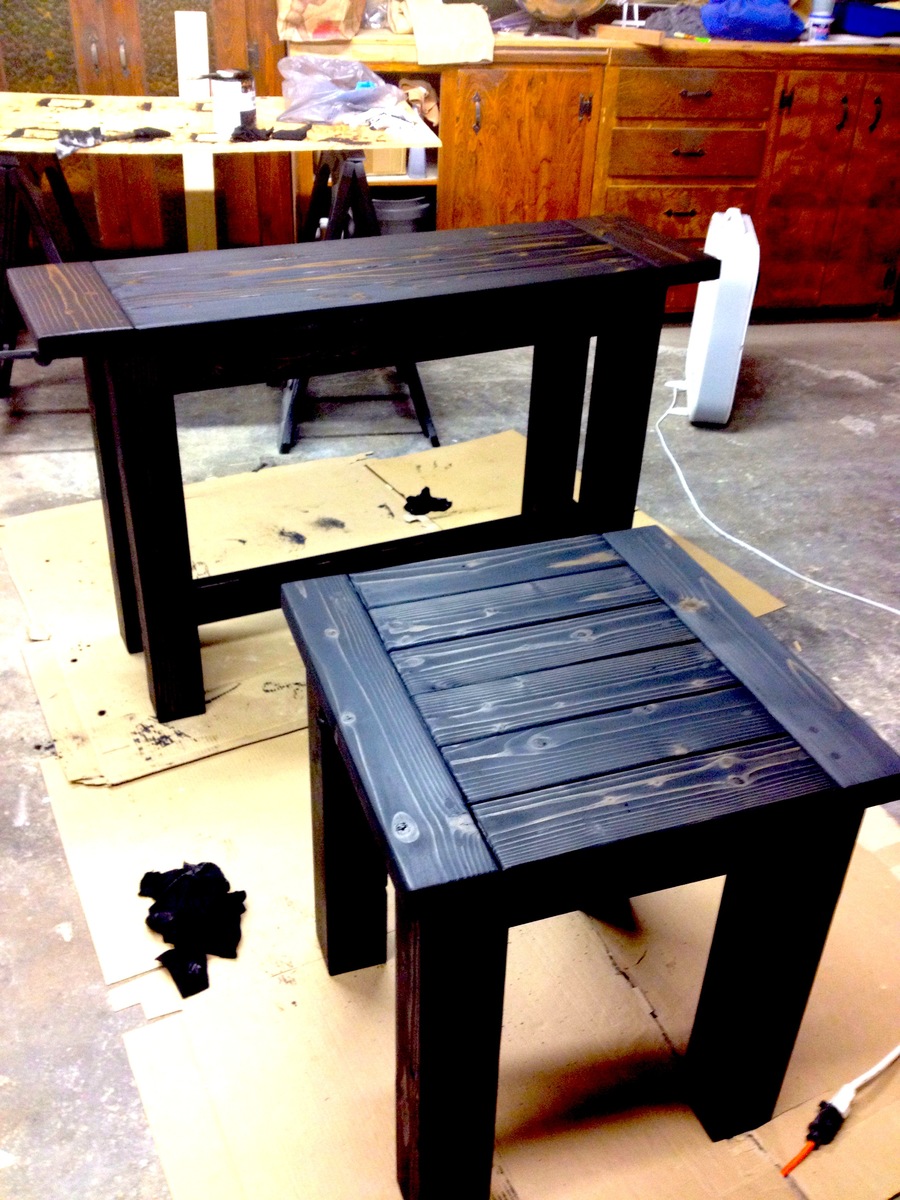
Easy to build! Some woodworking experience is definitely a plus when completing it over the weekend.
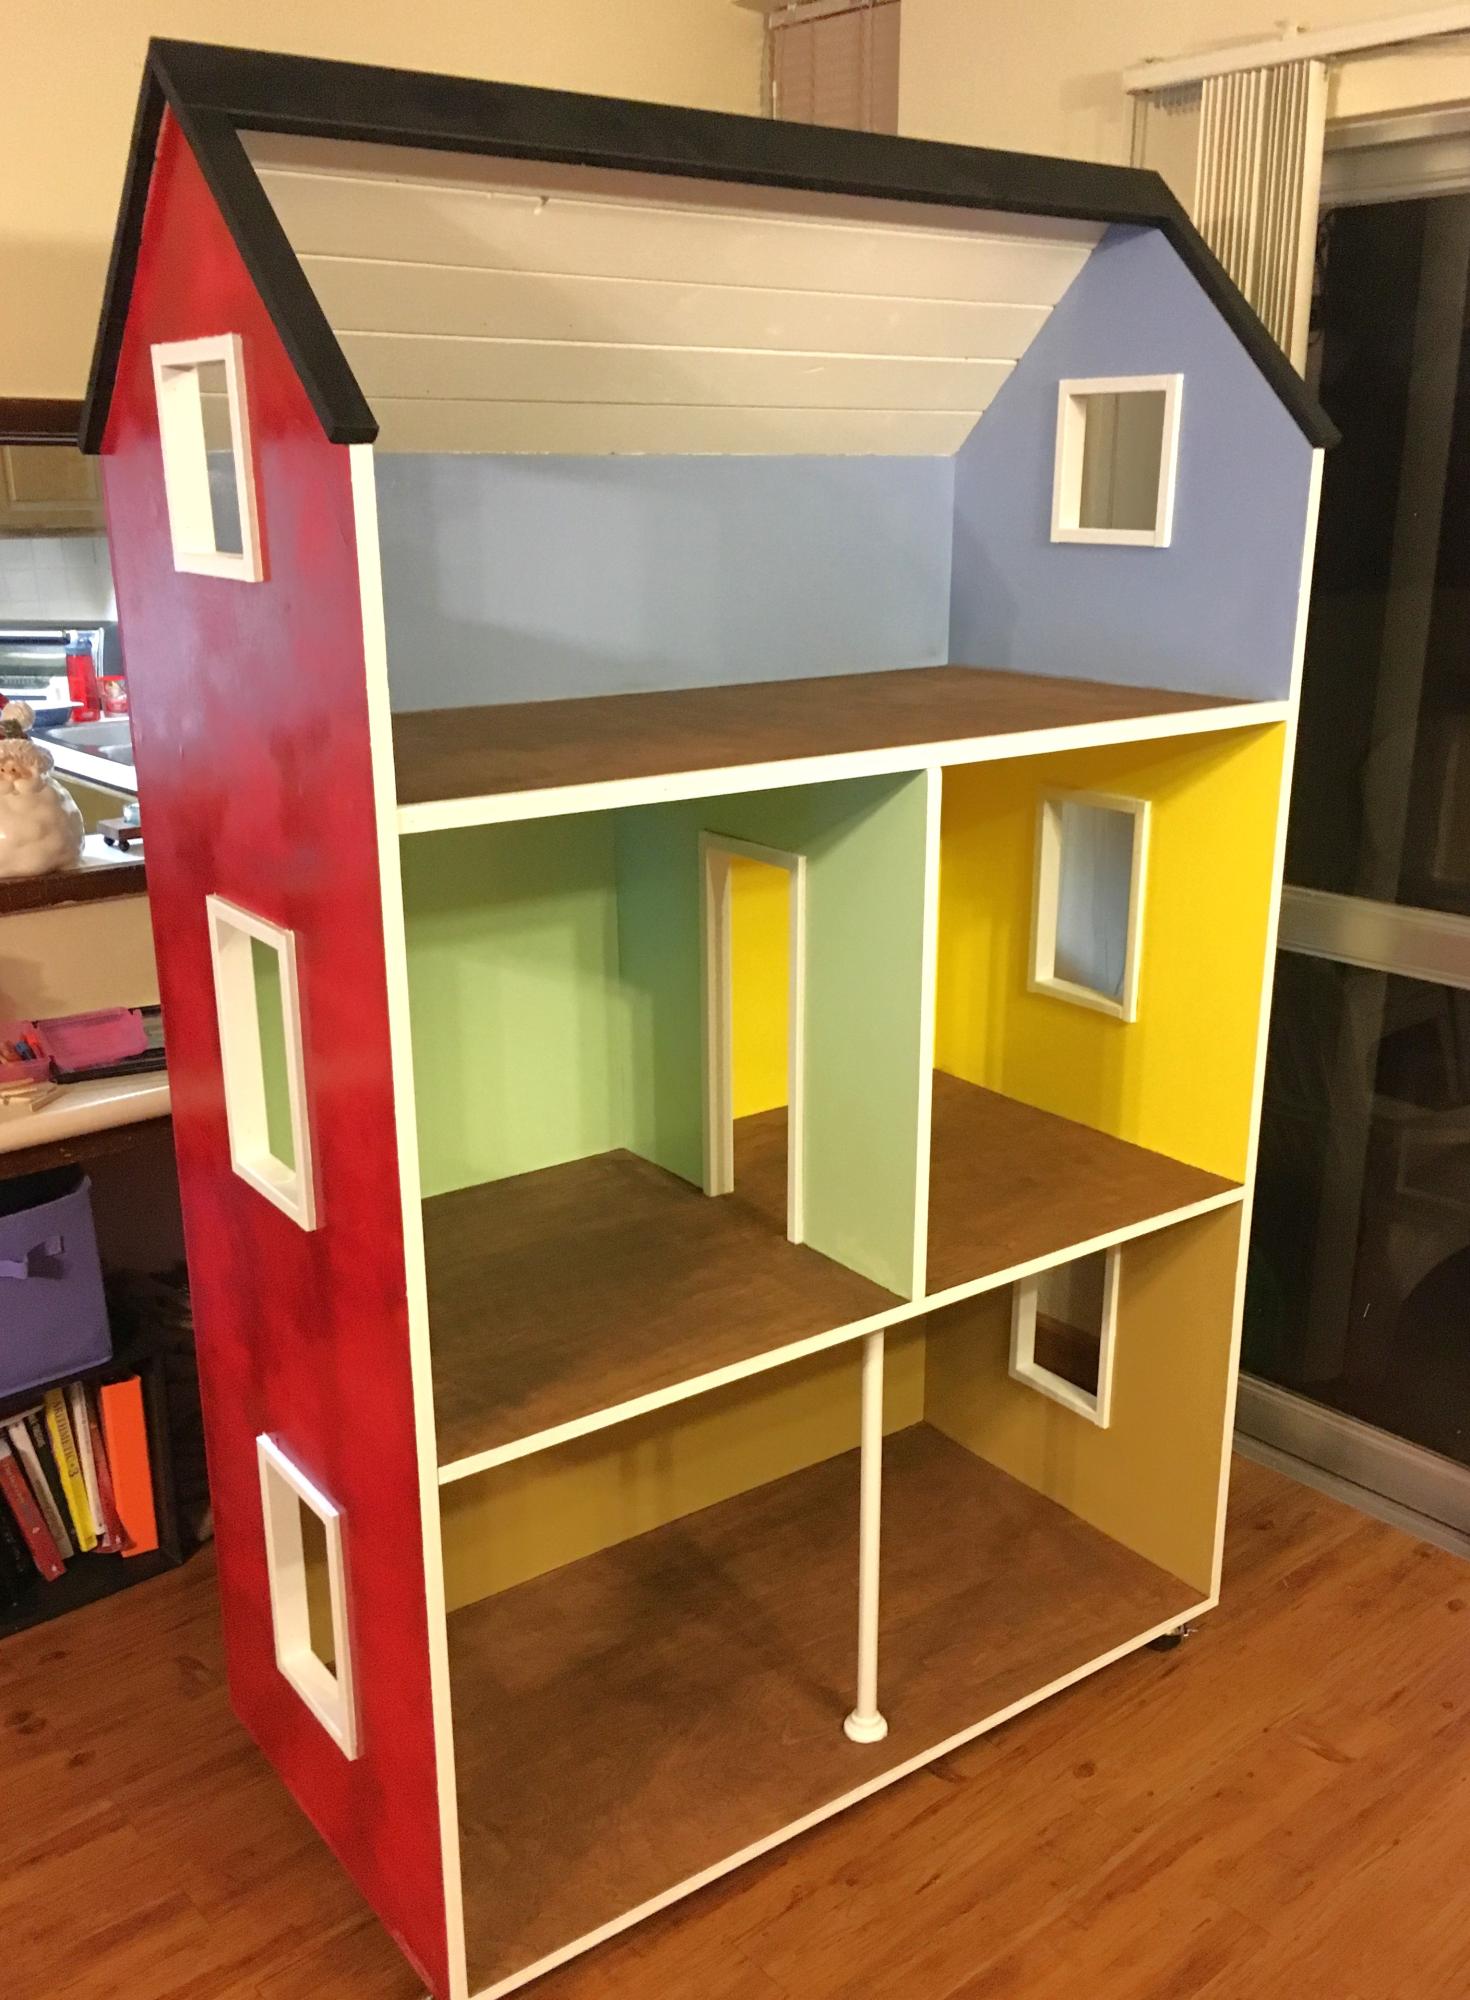
Thanks for the plans! This dollhouse is great, my daughter loves it. I changed the plans slightly to make an 'open floor plan on the bottom and added a column in the front for support.
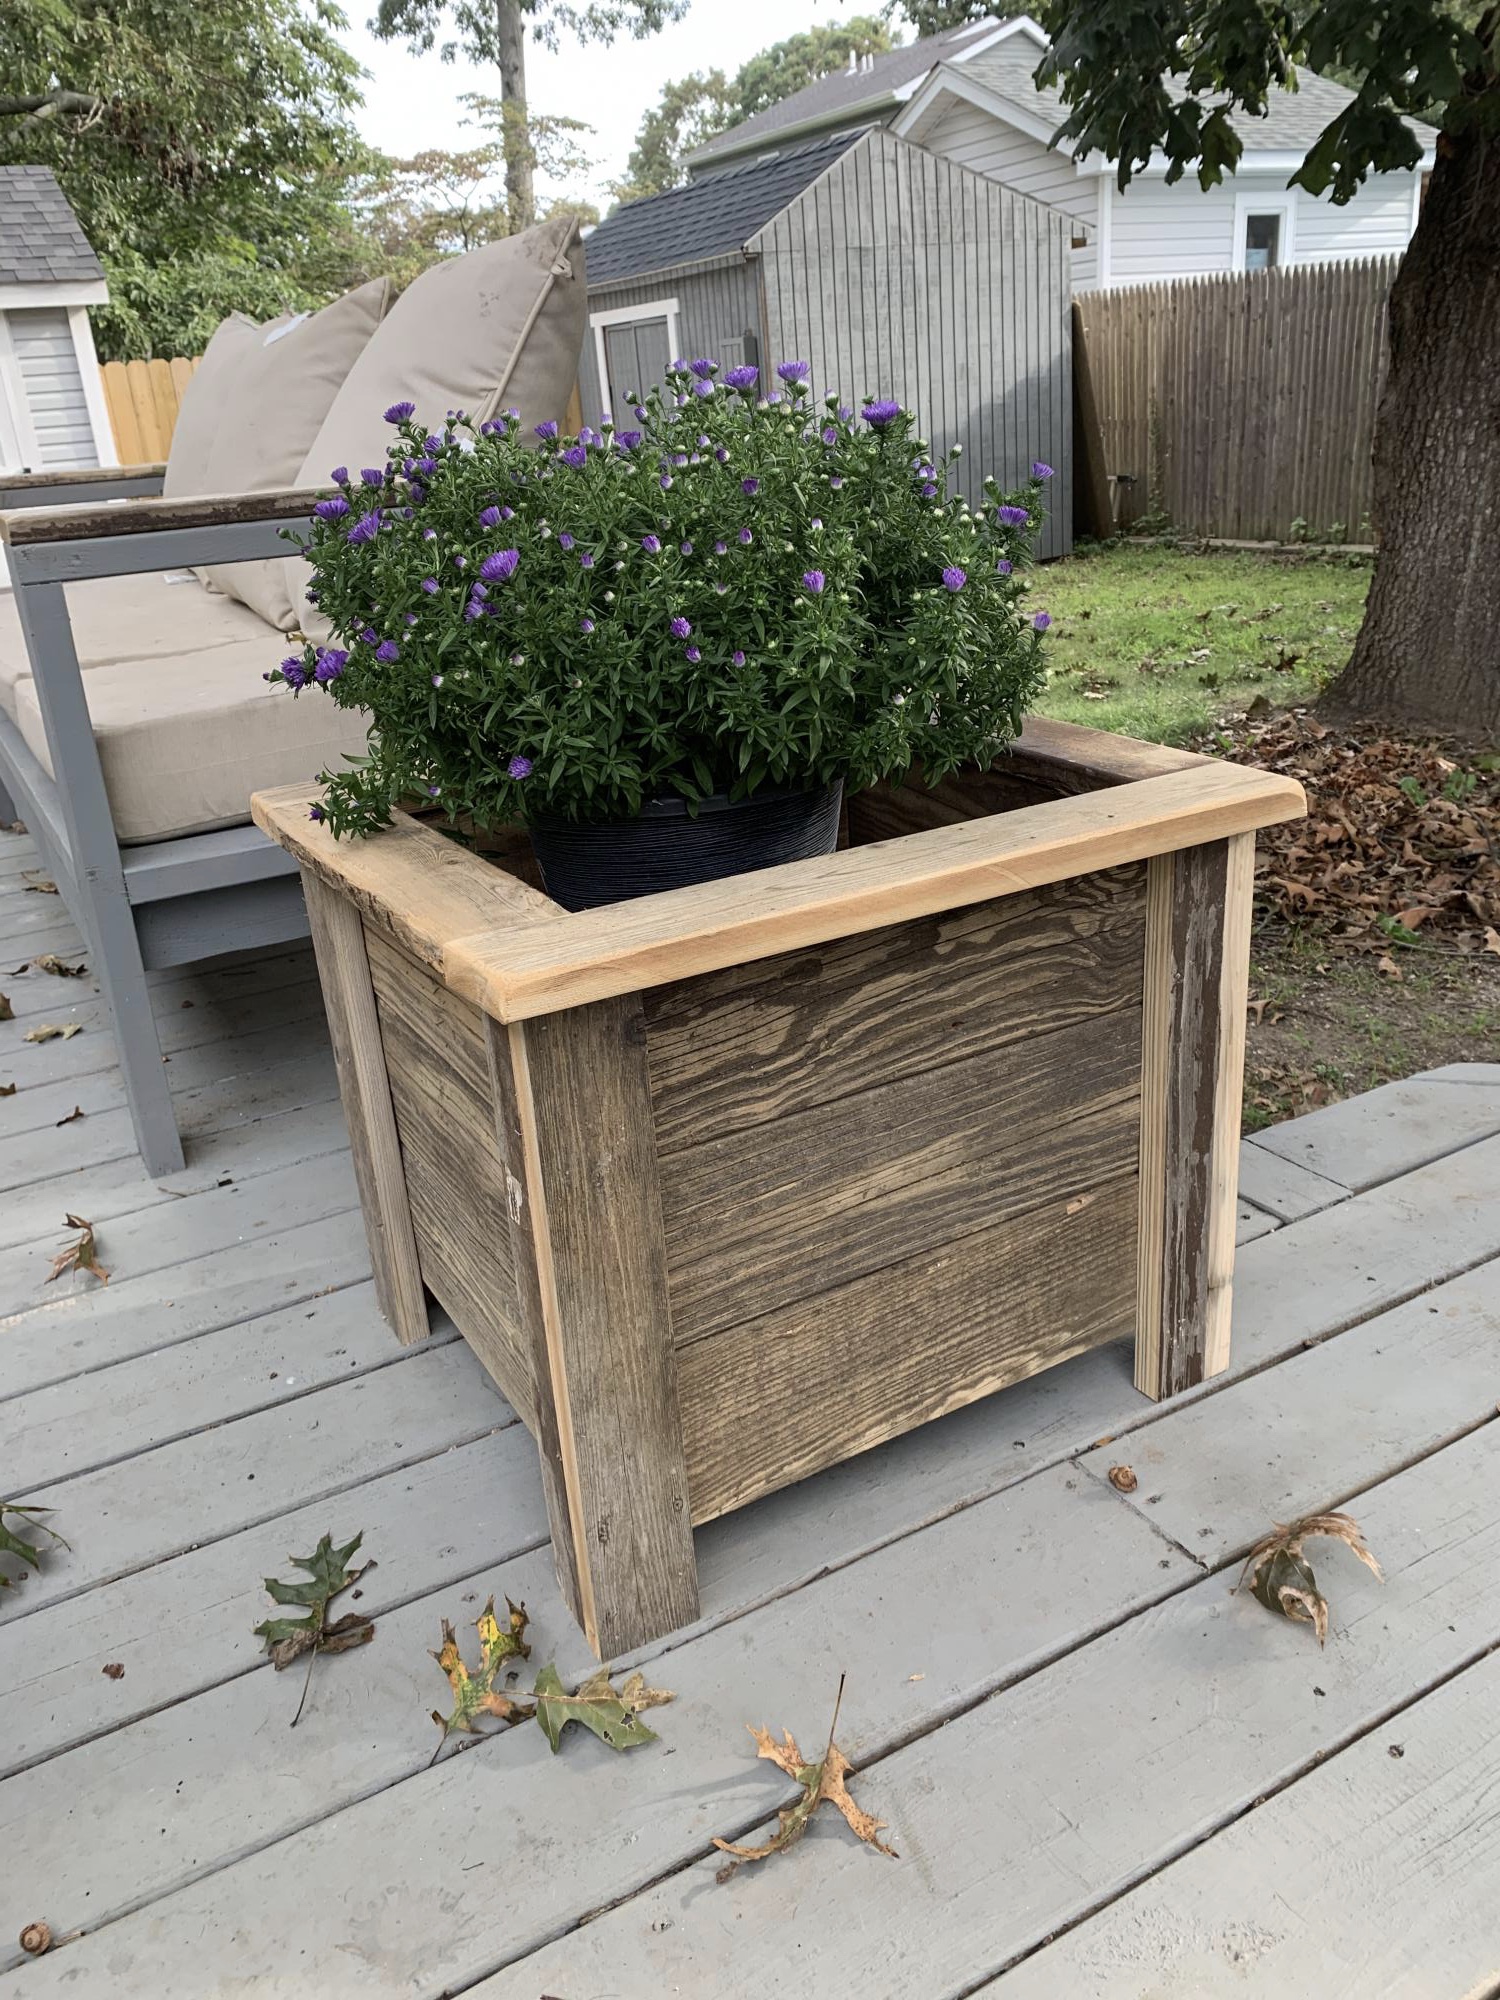
Like Anna's white planter she made with cedar, these repurposed from my old deck
I wanted a side table that was not too wide to fit under a window and the Tryde Console Table really fit the bill. I built it exactly to the plan dimensions but I altered the process a little.
1. First I built the leg assemblies including the side apron, top leg support, and the bottom stretcher. I used PH screws for the side apron and bottom stretch.
2. Then I attached the two leg assemblies together with the front and back aprons and the bottom stretcher.
3. Separately I constructed the top including the breadboards using PH screws. The tabletop boards are connected to the breadboards with eight PH screws each. The table boards are held together with PH screws.
4. Once the initial sanding and staining was completed I attached the top to the bottom assembly using eight screws through the tabletop supports from the bottom and then eight screws through the top into the top leg supports. Note I did not attach the breadboards directly to the legs as instructed as they are secured to the top with the PH screws. I can always add the screws later if necessary.
Instead of countersinking the screws to the top leg supports I used black (3 1/2 ") PH screws and let the screws remain visible on the top of the table. I think it looks nice and sort of industrial.
5. Then final staining, rubdowns, and touch-ups.
Note: I did not glue the top to the base just so repairs will be easy to make should over time the boards warp or crack. Just remove the eight top screws and lift the top off, make the fix, and screw it back on..
It took a couple of days but it is worthwhile spending the time for accurate measurements, squaring, and finishing. The results are first-class.


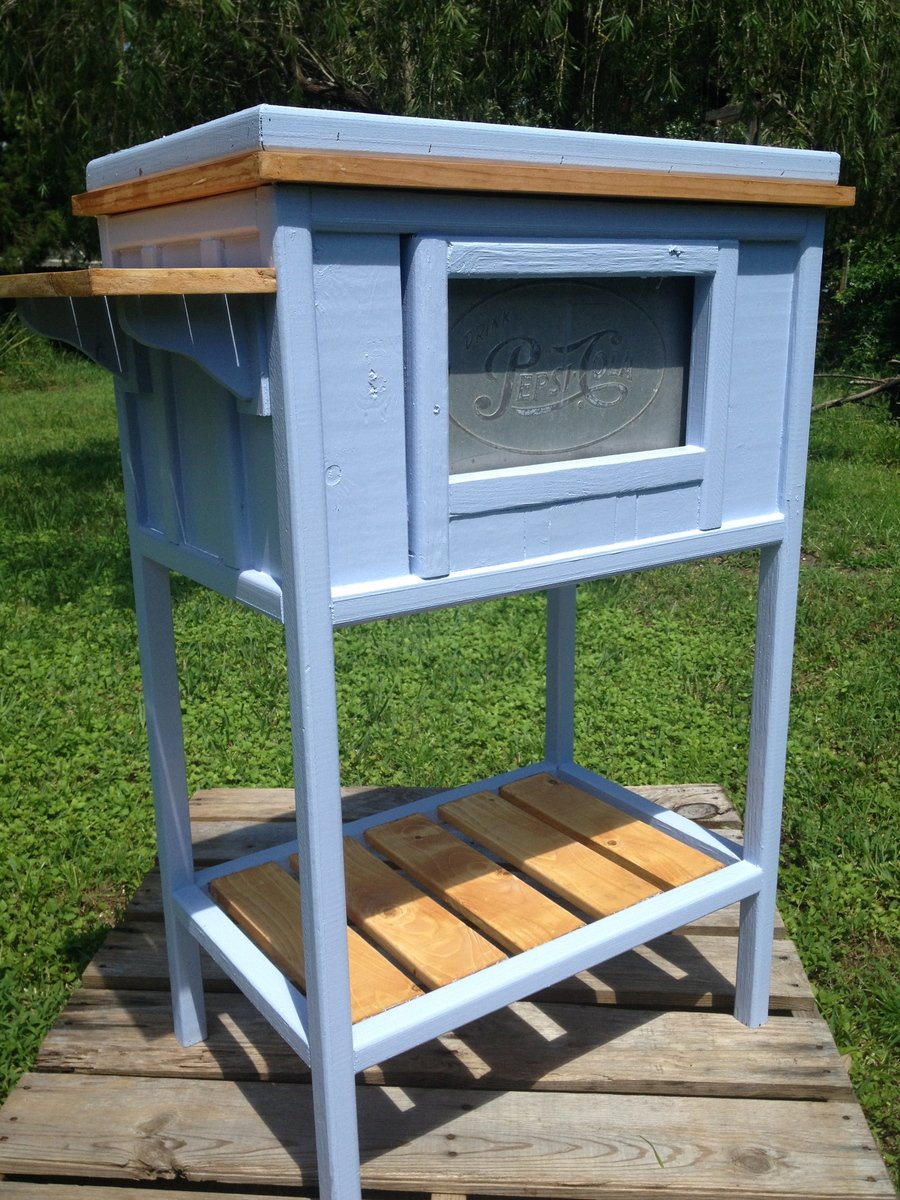
I had an old aluminum Pepsi cooler that had been sitting around collecting dust for years on the back porch, after seeing these cooler plans I was inspired to create a cooler stand the would show off the cooler and make it useful again. I built the whole thing using scrap lumber I had. Took two days to complete, Thanks for the post!
Mon, 09/08/2014 - 22:23
This is beautiful. I like the color with the contrasting trim and shelf, but most of all, I really like how you left the inset to show off the old Pepsi logo and aluminum side. Well done!
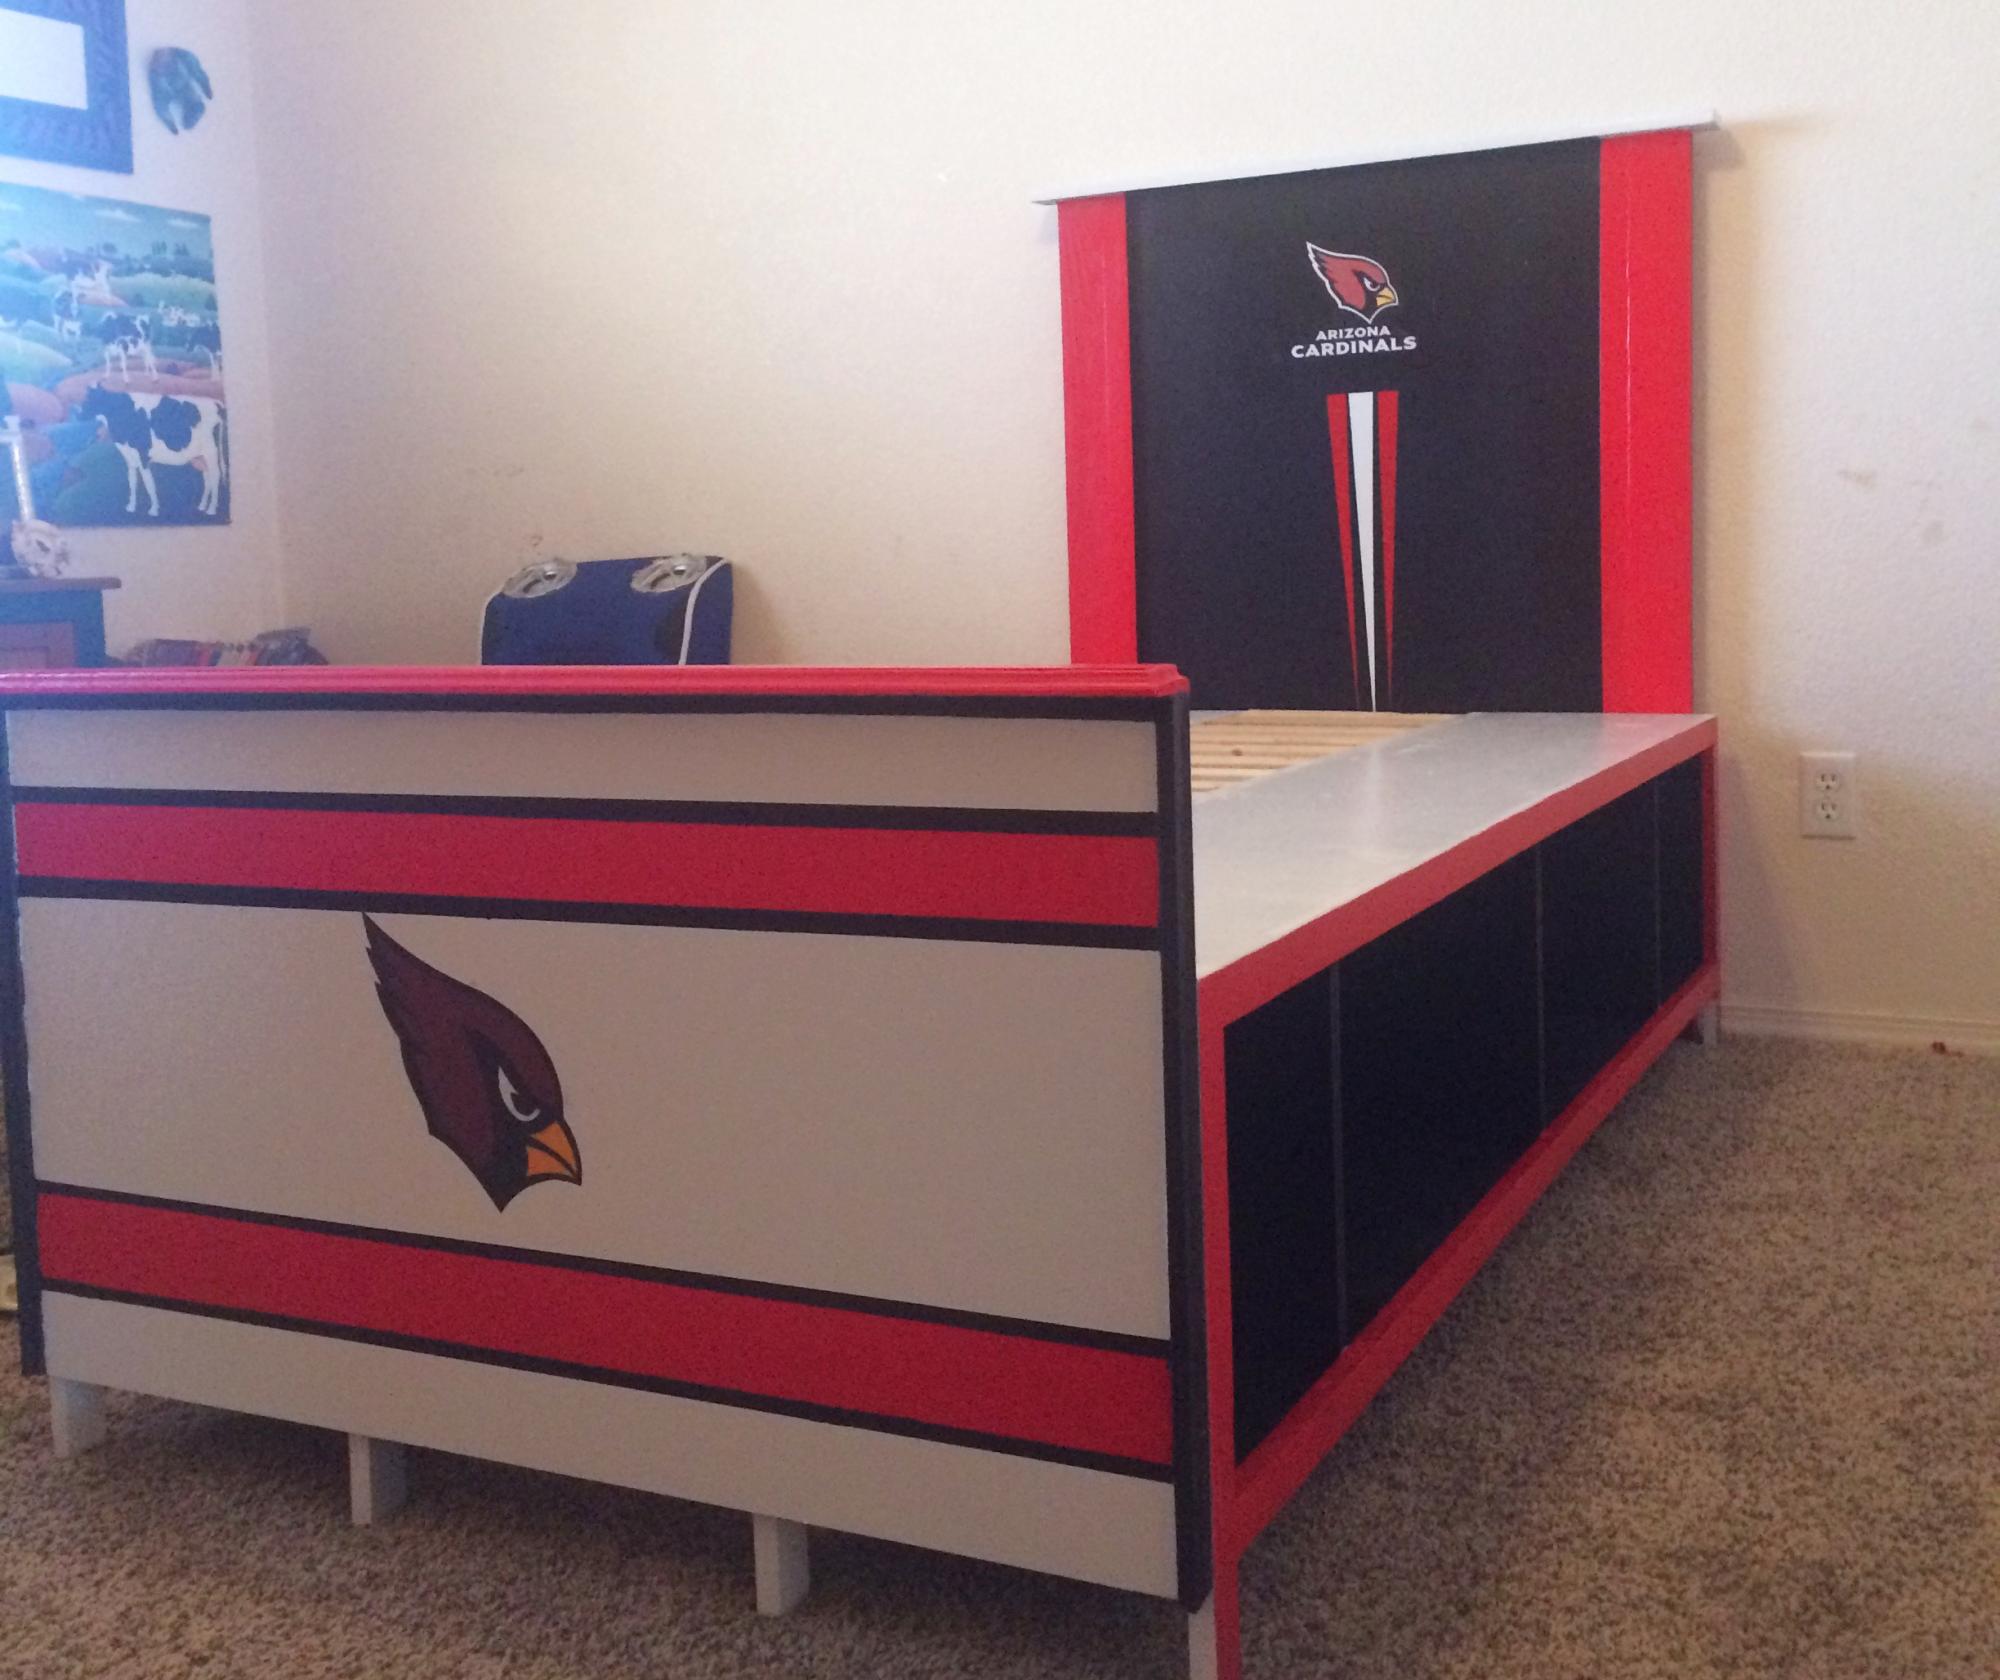
Made this for my daughter. Took two days to make and four days to paint. Great weekend project.
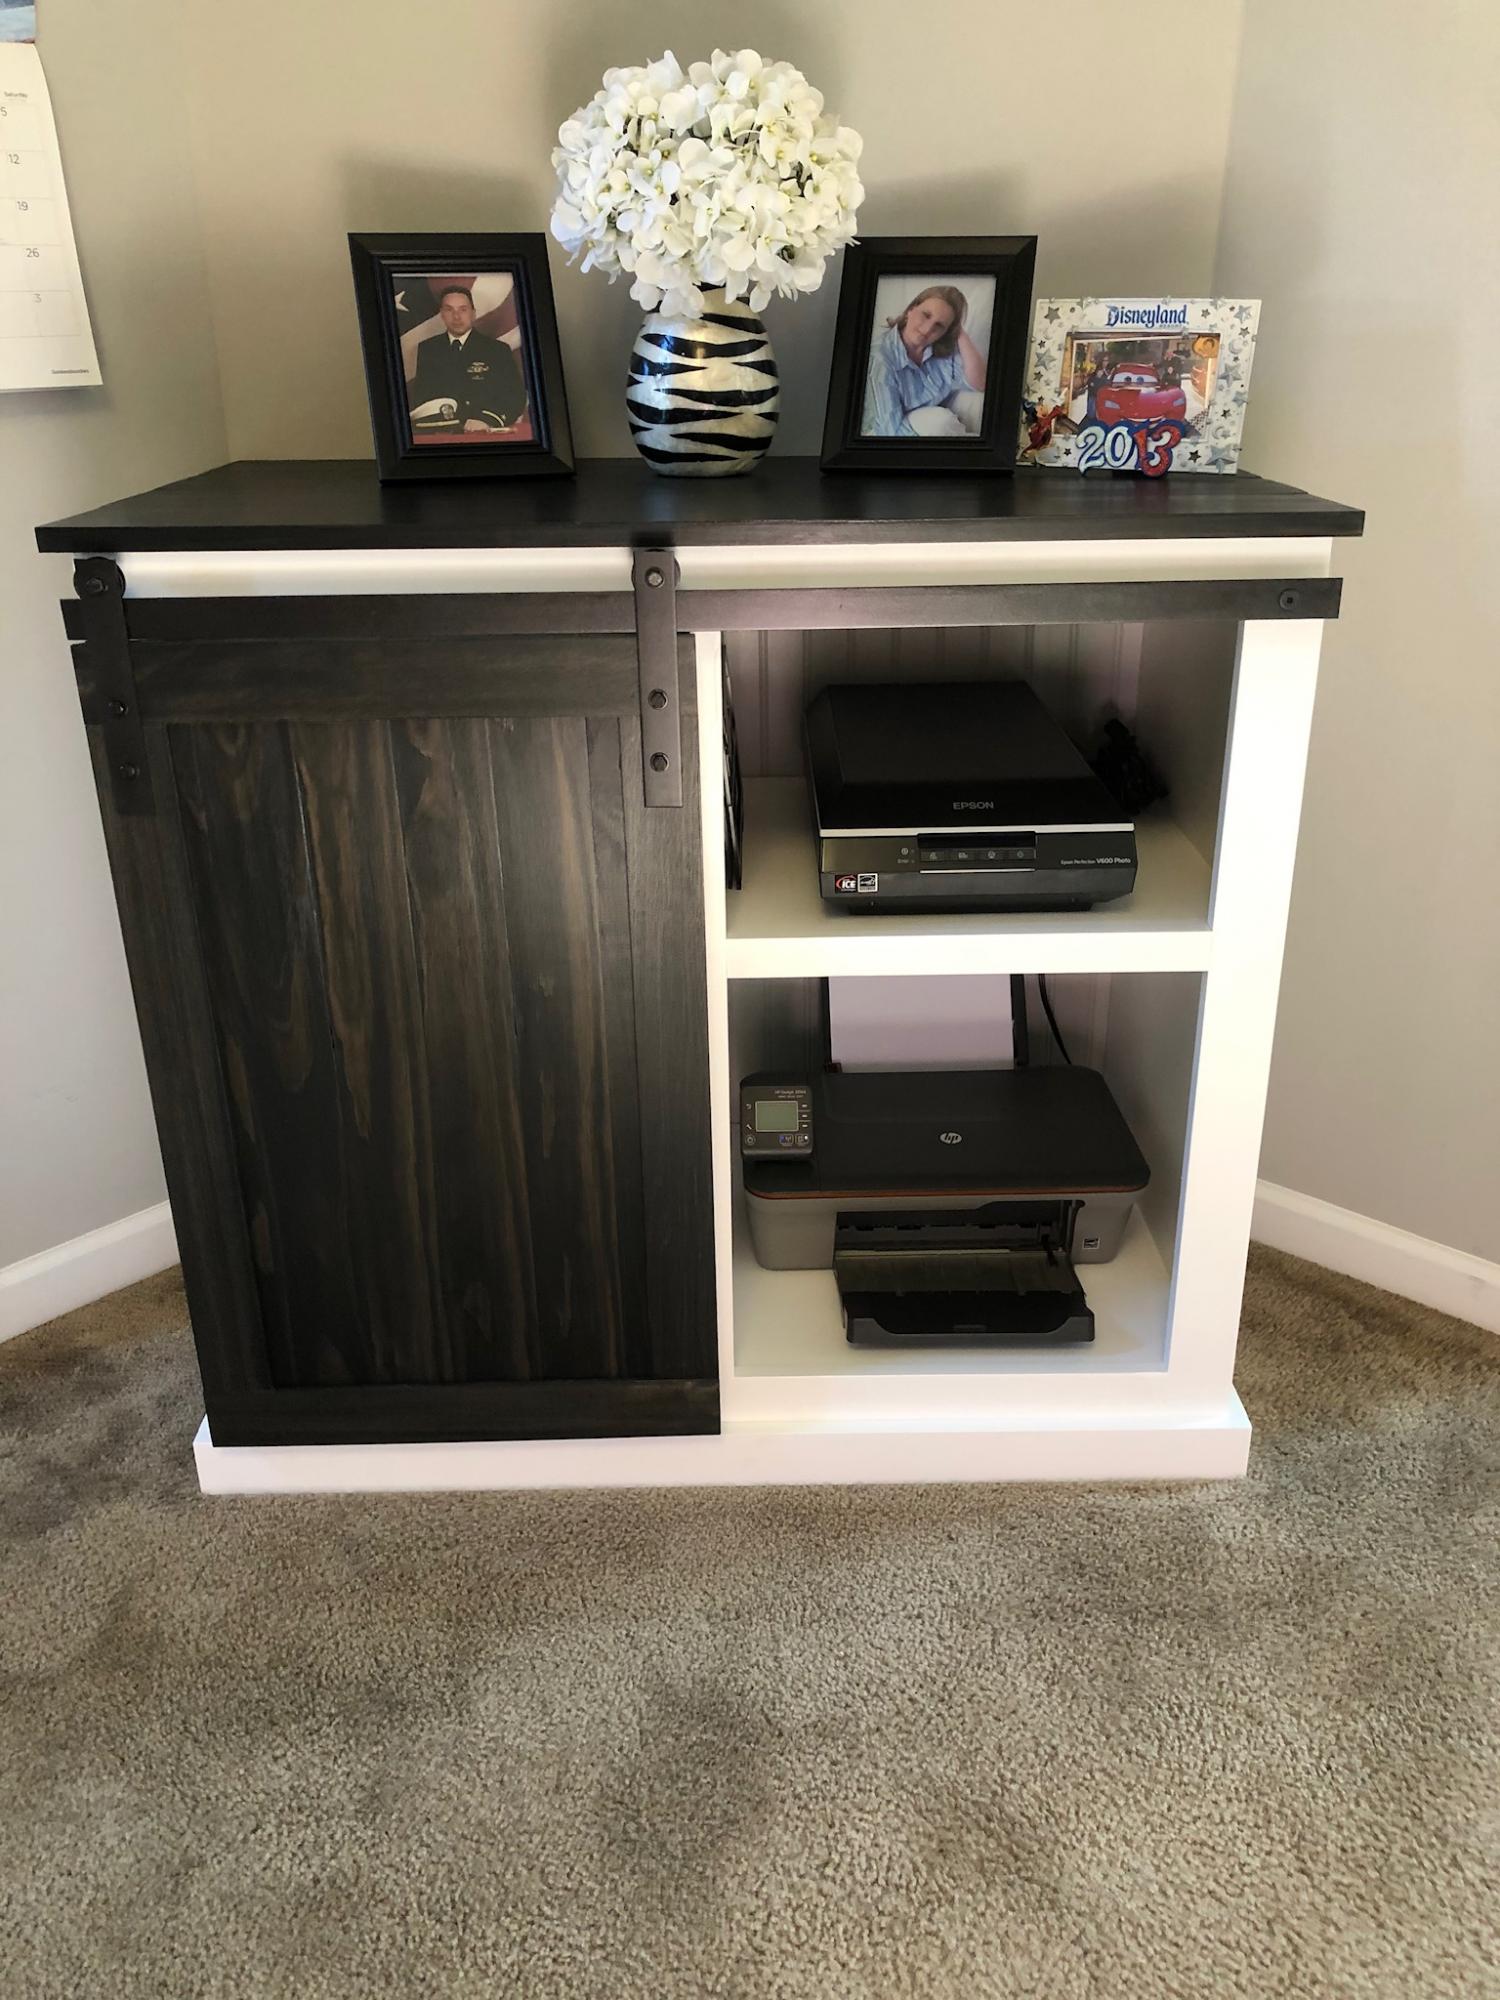
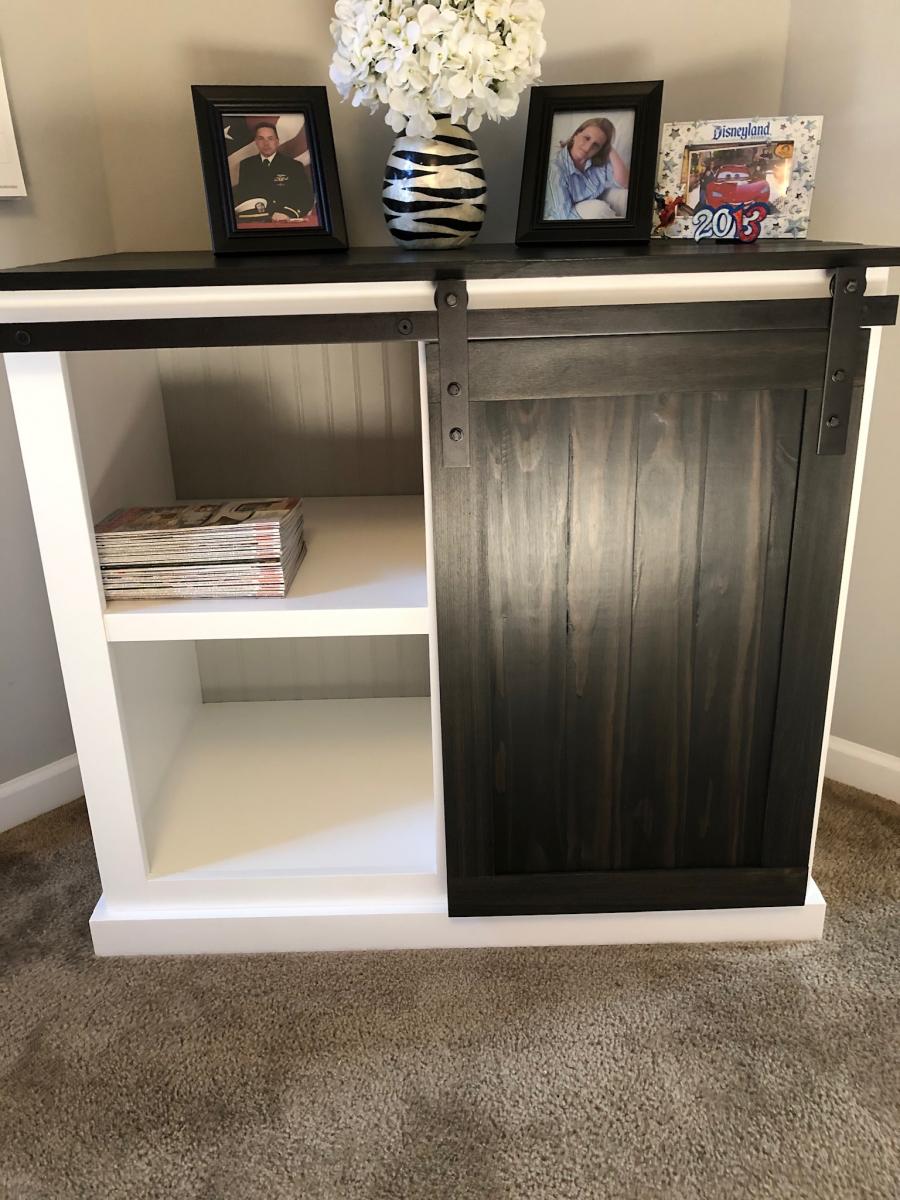
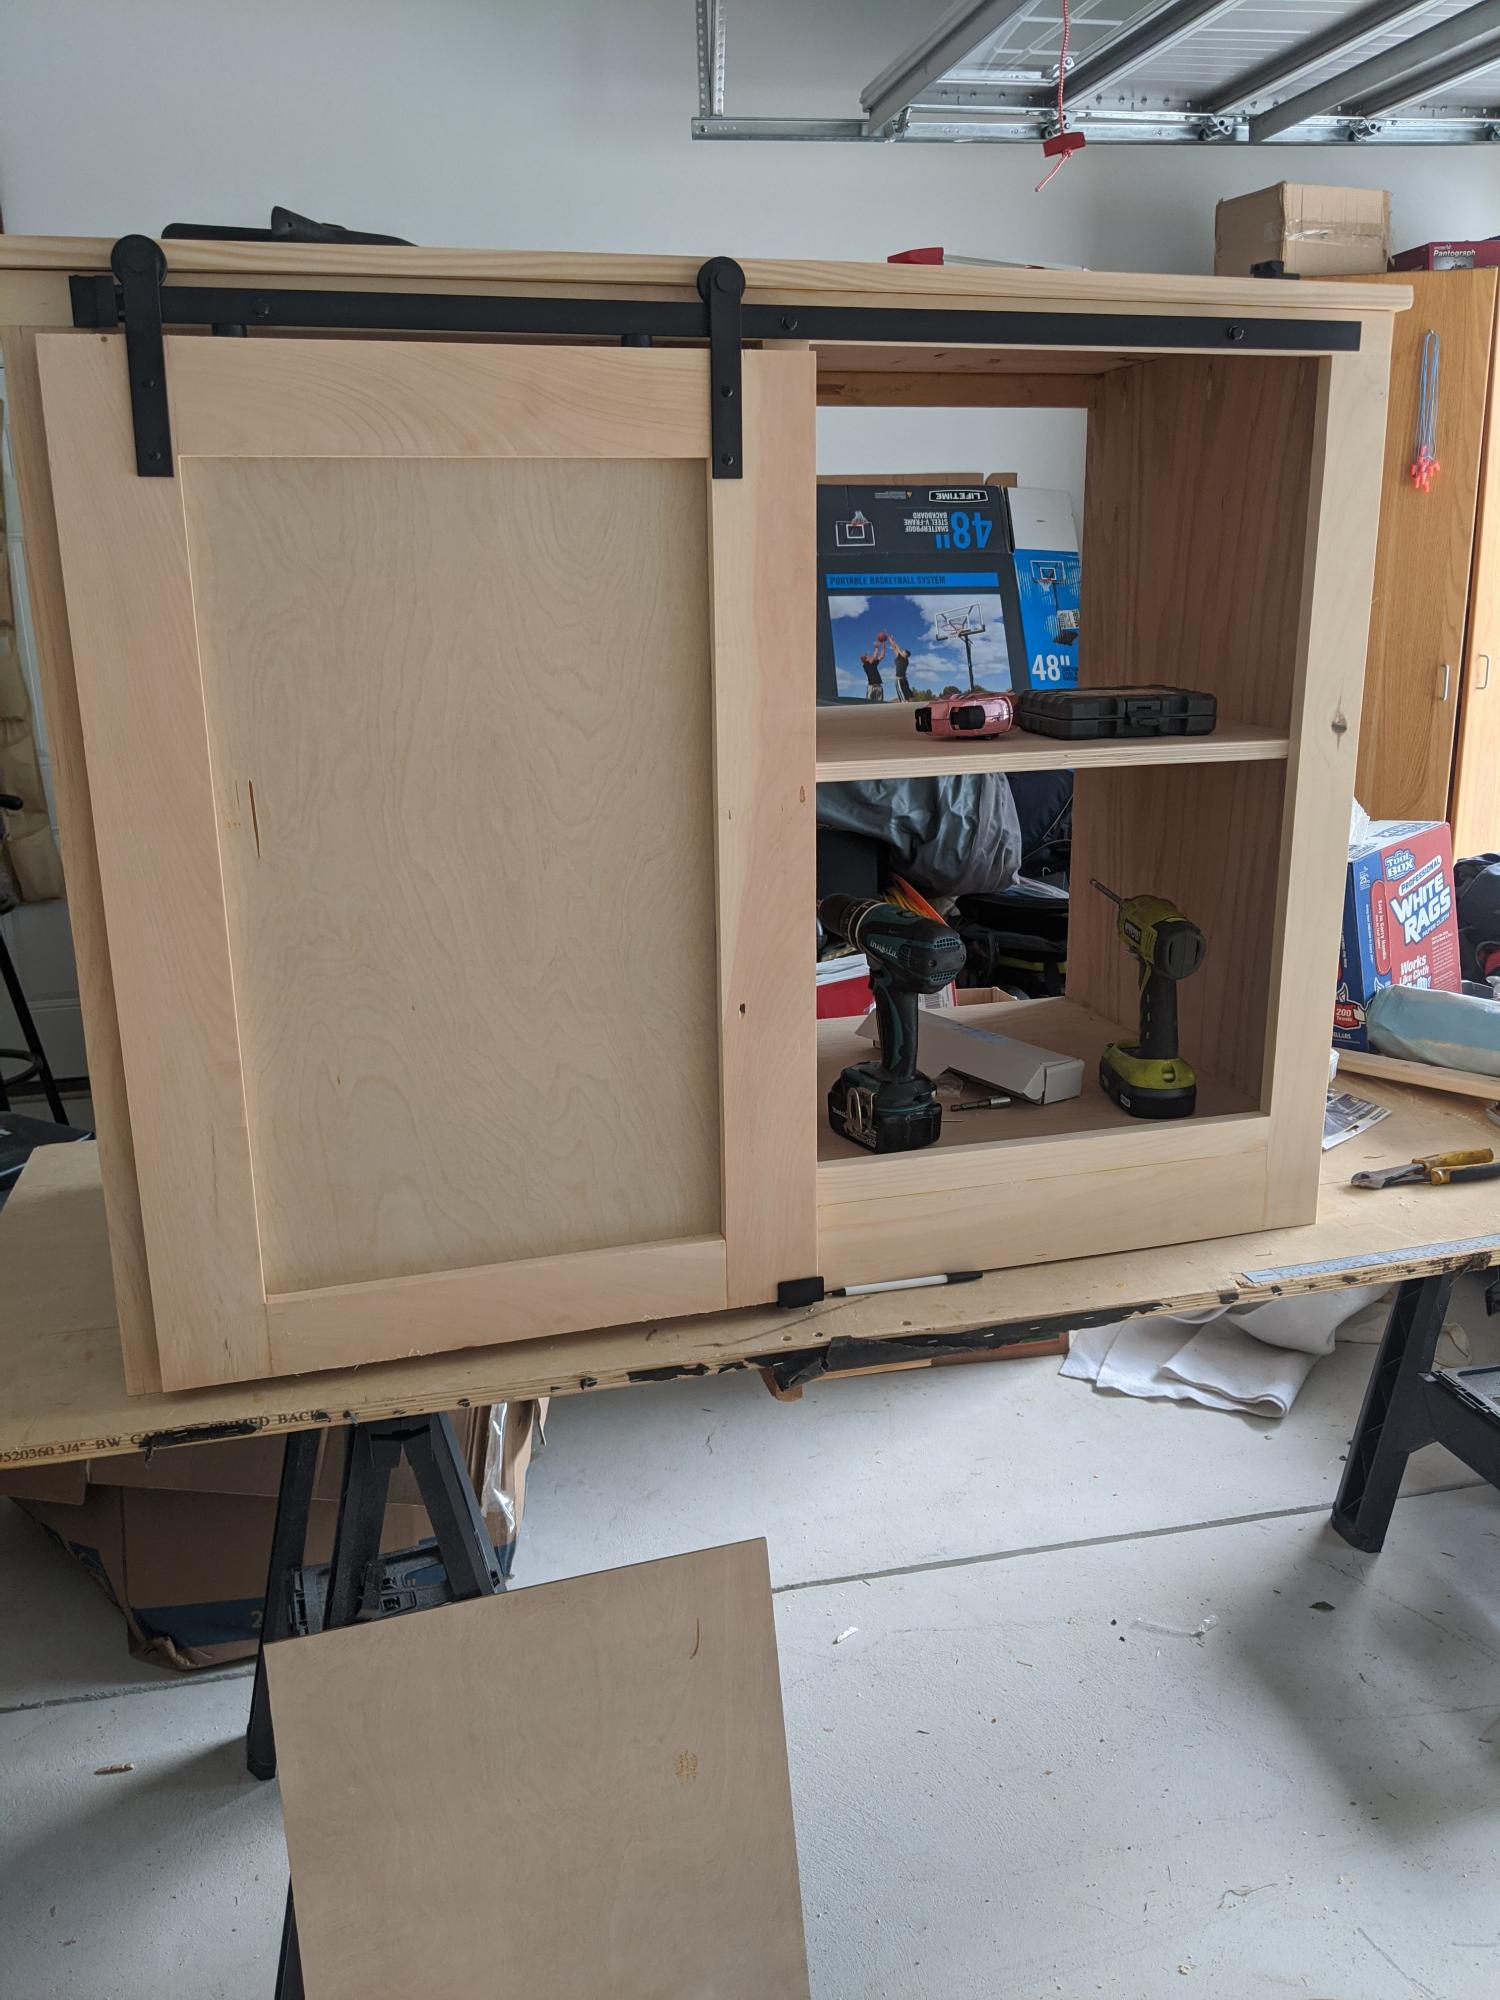
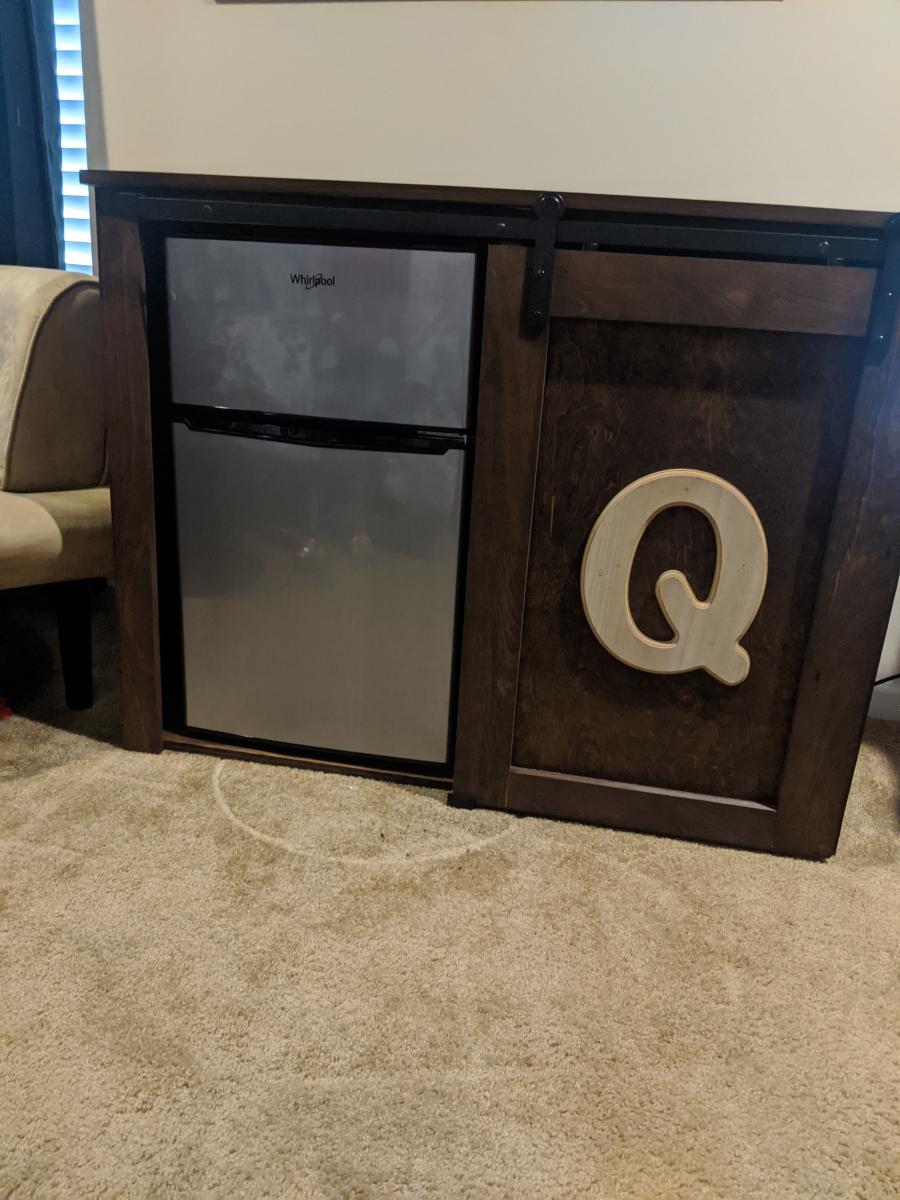
My husband and I built this credenza using Ana’s Barn Door microwave cabinet as inspiration. Thanks for all your awesome ideas and for sharing the plans!
