Queen Storage Bed
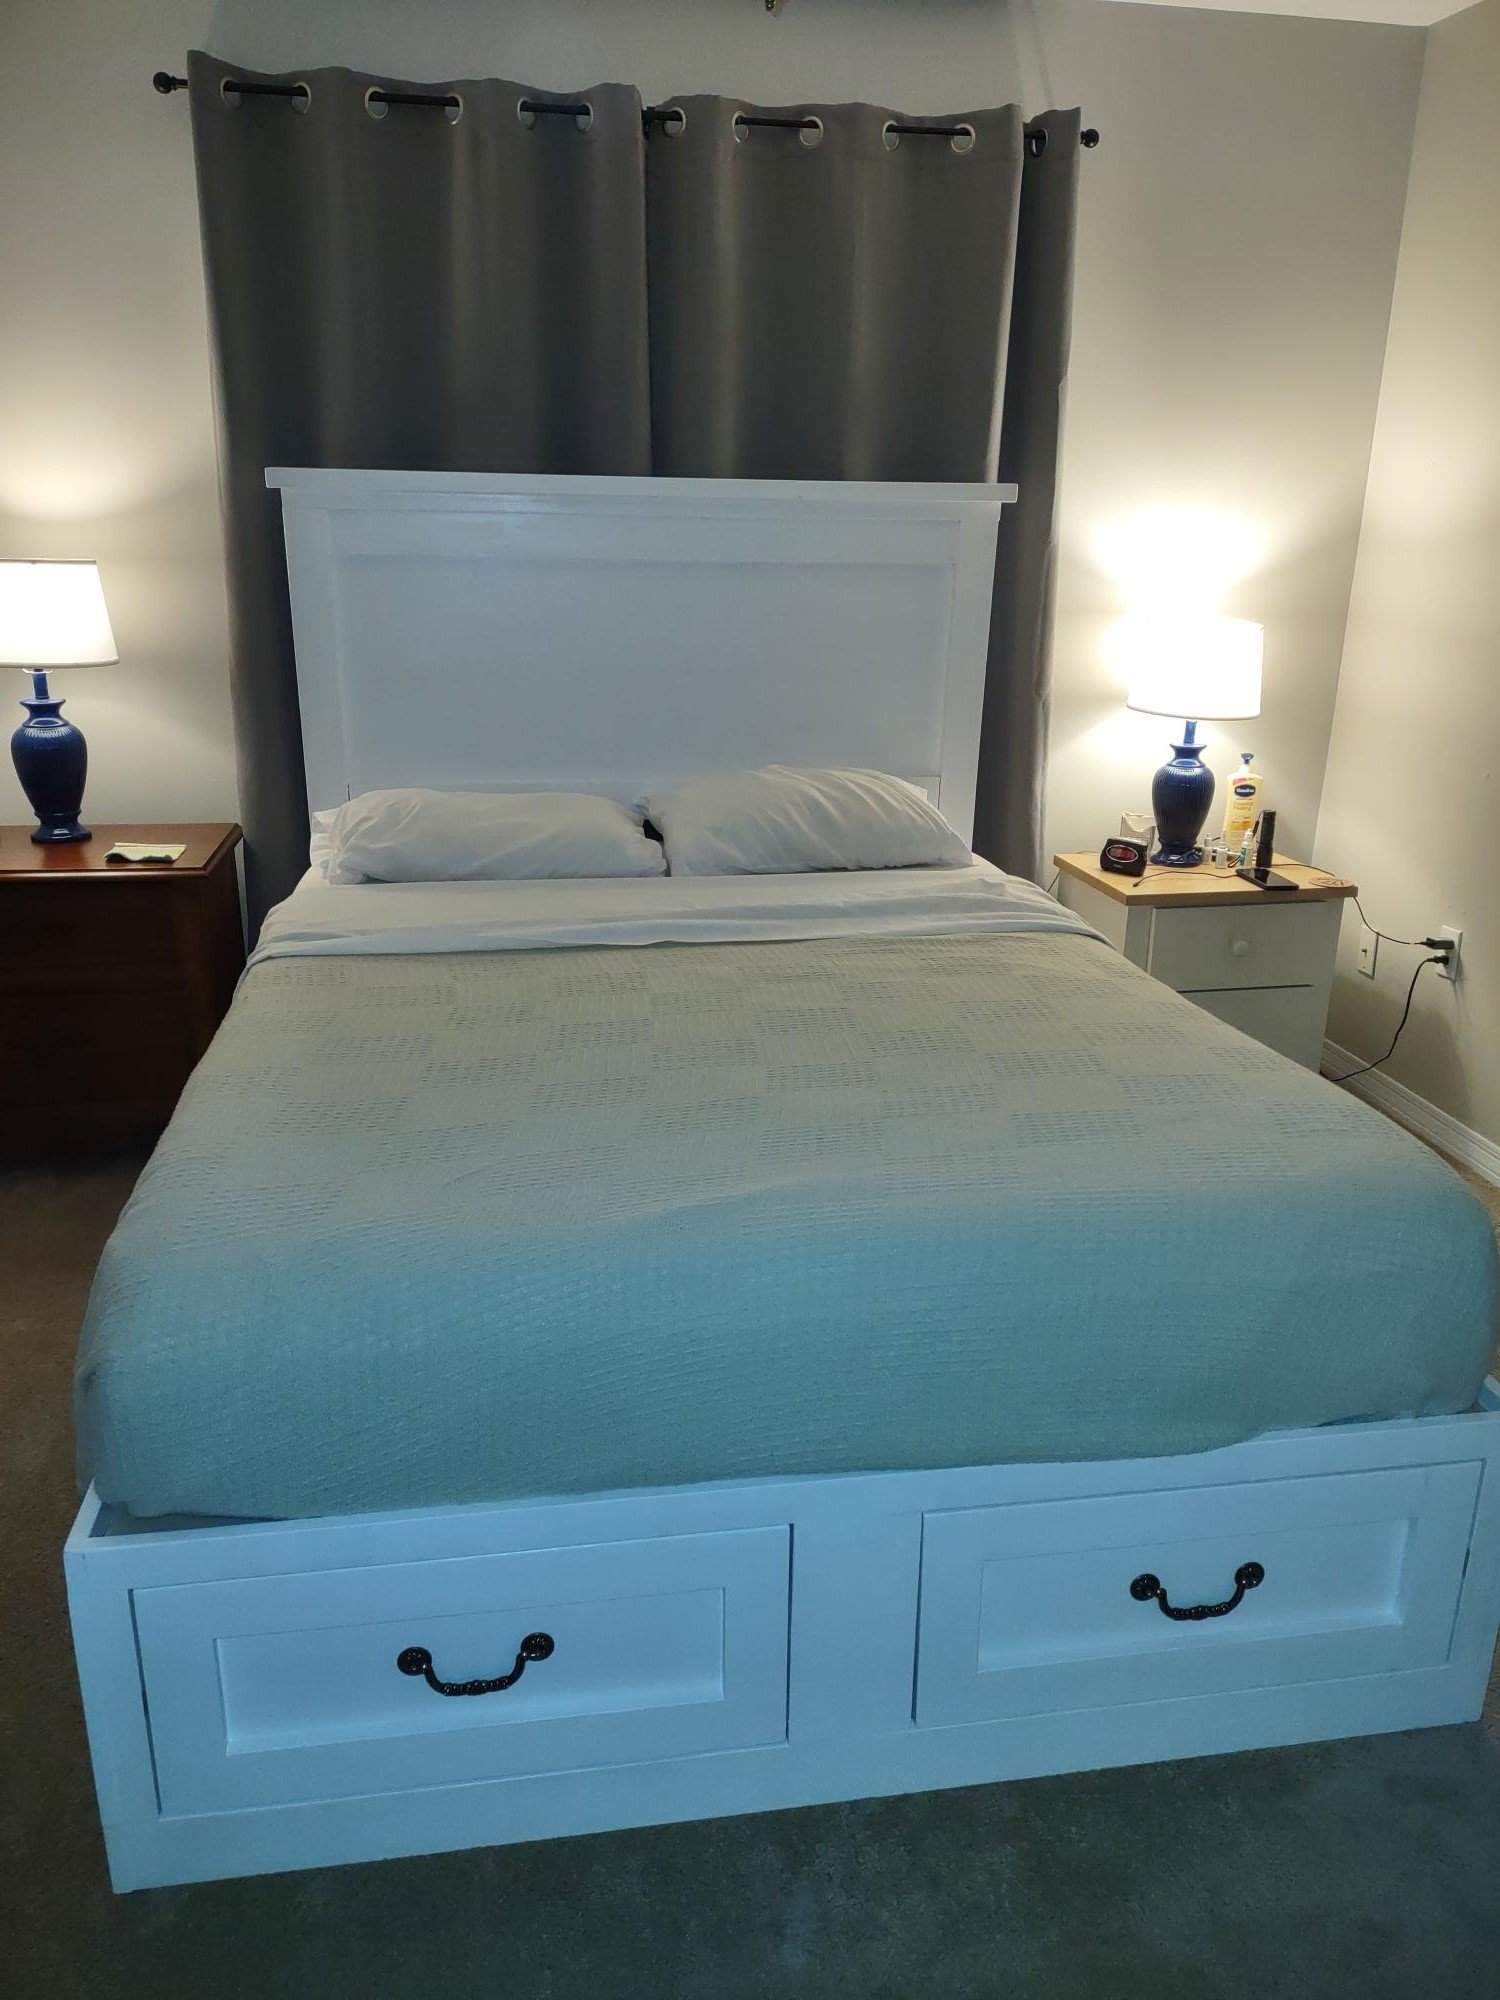
This bed has 6 drawers, 2 on each side and 2 on foot. We used Ana White pattern for Farm bed head board and storage bed for rest, while incorporating her easy and no fuss, accurate, drawer slide method.

This bed has 6 drawers, 2 on each side and 2 on foot. We used Ana White pattern for Farm bed head board and storage bed for rest, while incorporating her easy and no fuss, accurate, drawer slide method.
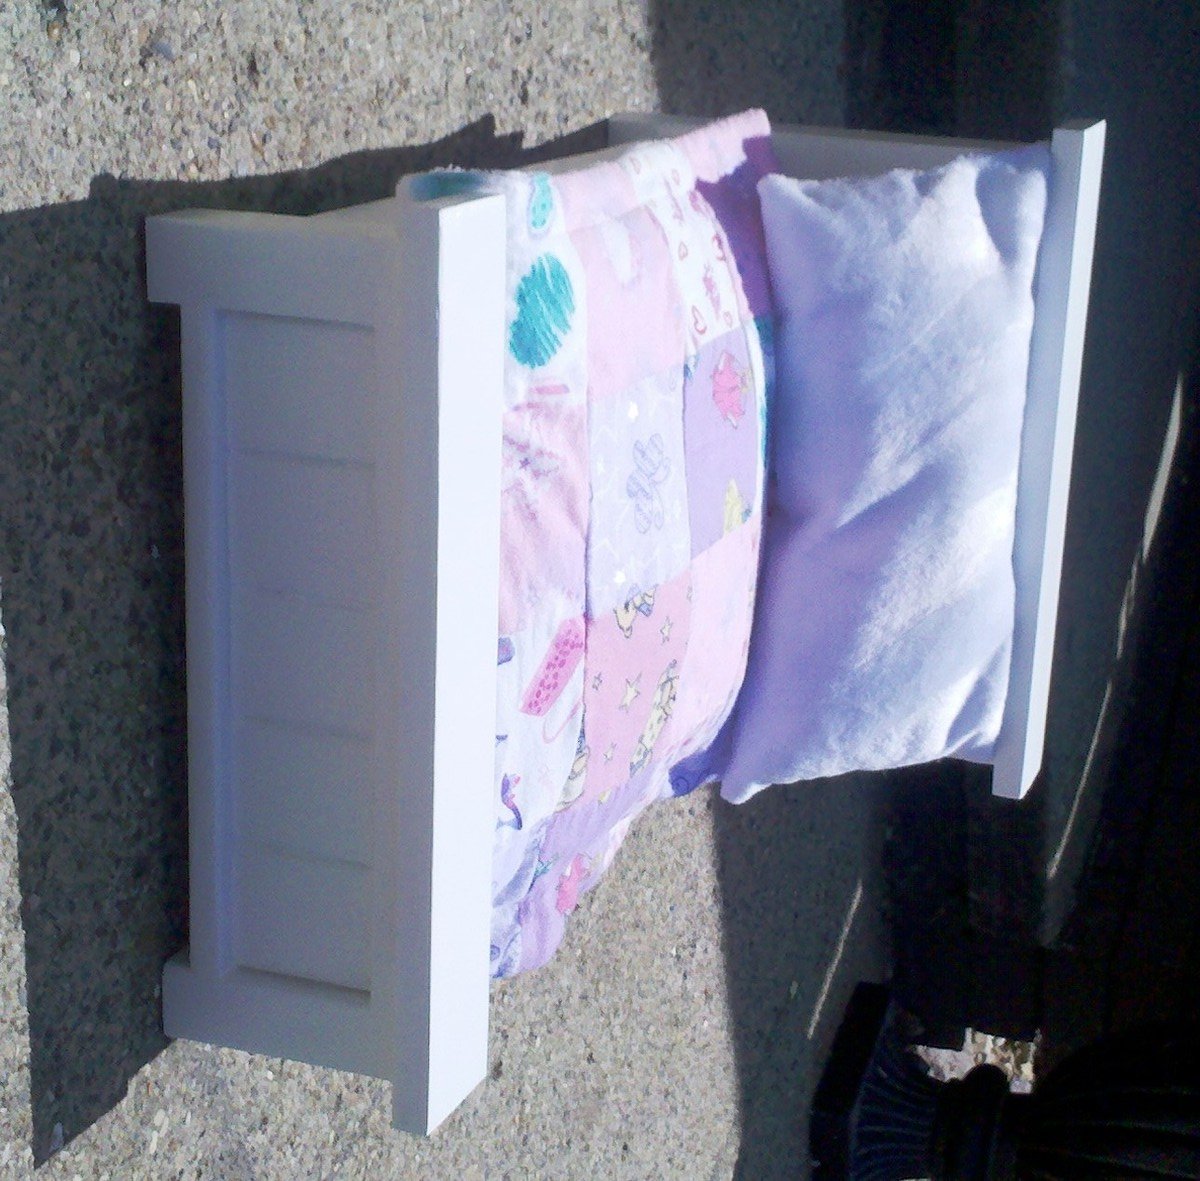
I made this bed for my nieces birthday.
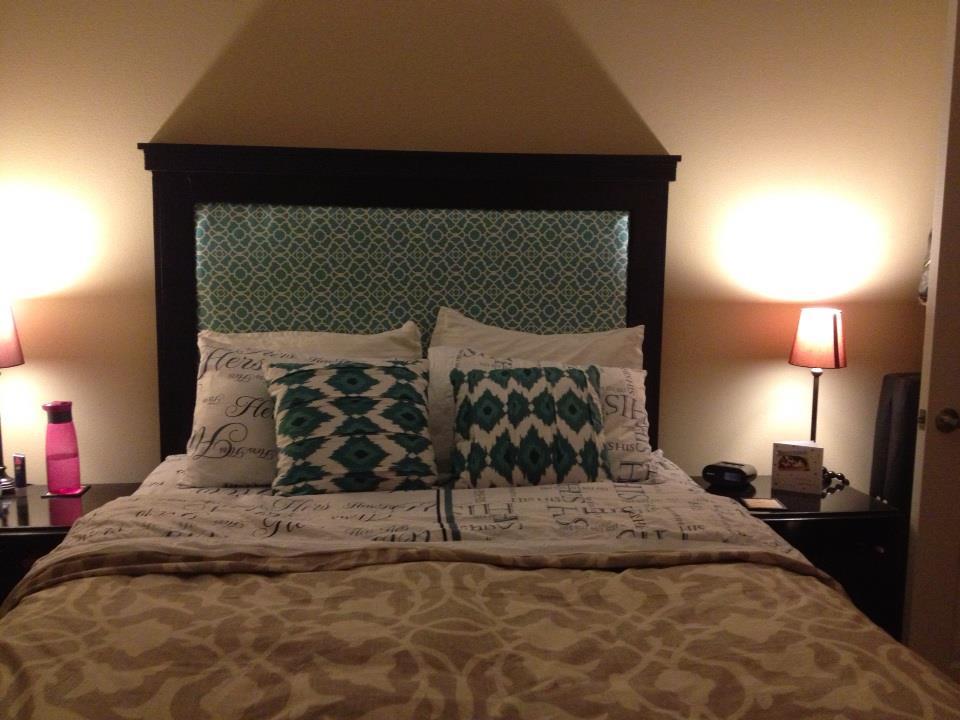
This is inspired from the Chestwick upholstered headboard. One of my first larger projects. I applied the upholstery on an 1/2 inch thick plywood that is screwed into the frame order to allow us to change out the fabric as desired and added more trim around the upholstery.
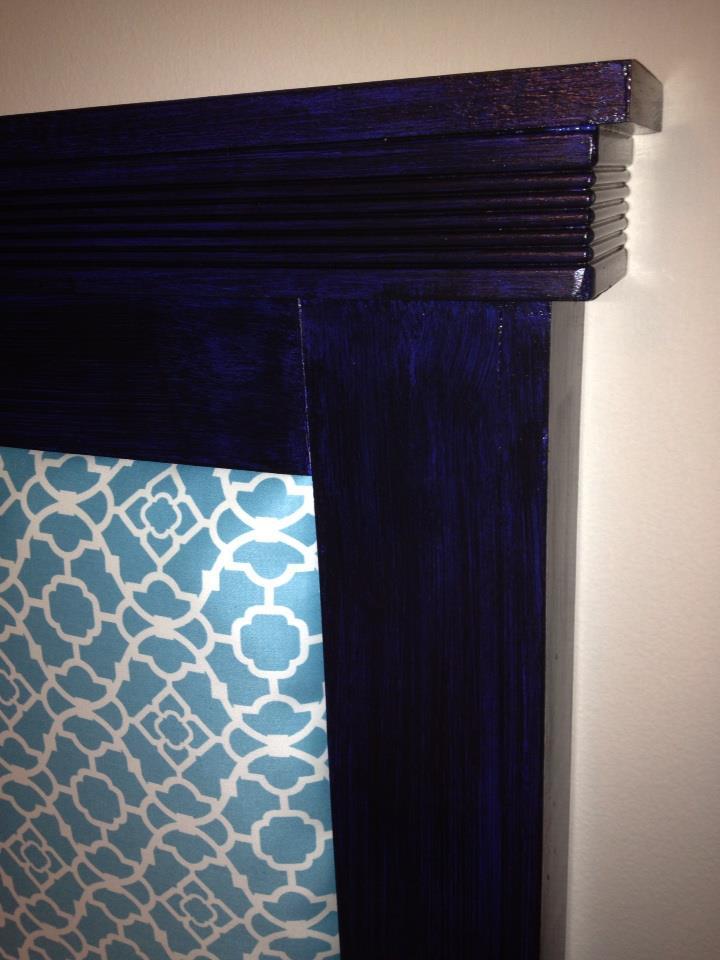
Fairly easy to build in a weekend.
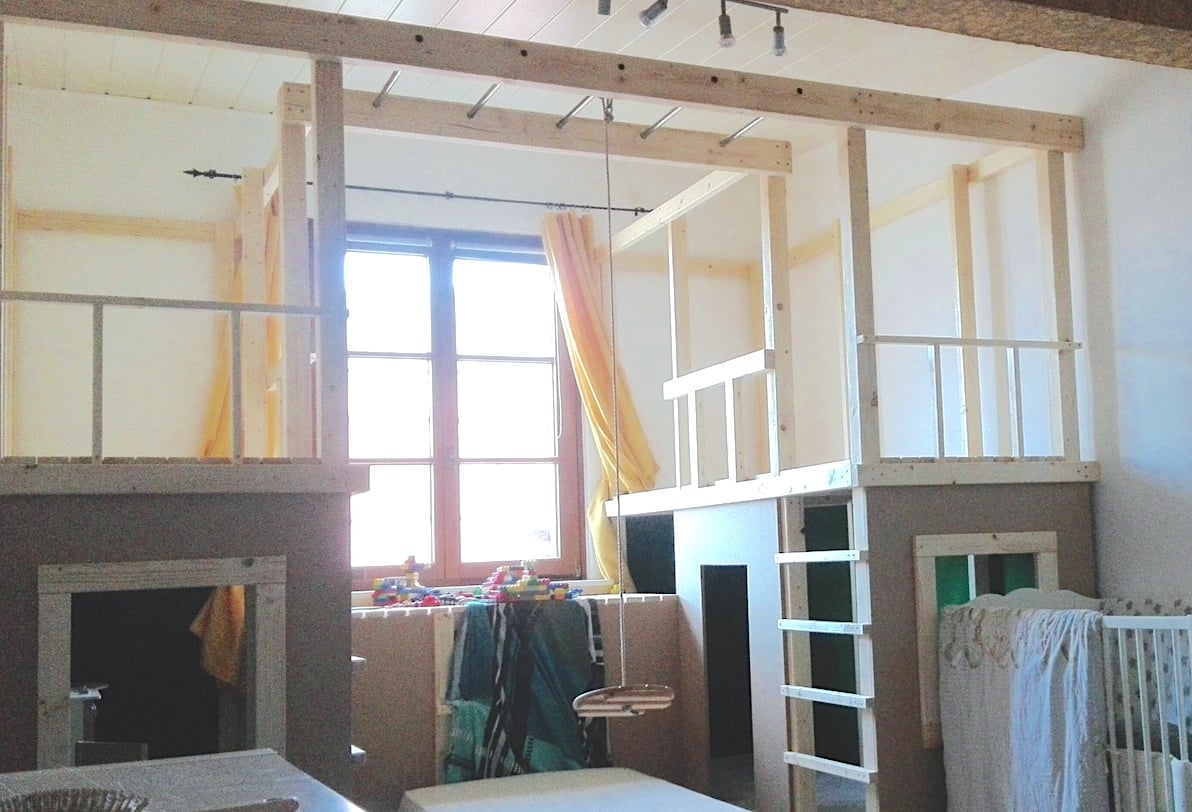
Thanks for the Plans Ana. Though we had to convert every number the plans helped us a lot. Our playhouse turned out really big: 8x8 foot. We had to include our heater under the window, so our tunnel is much bigger. It took us (three people) a half day shopping and two days and one night building and cost 600-700€. The kids where amazed when they opened the door a few days after Christmas. We still think about adding some features like a slight or a bed...
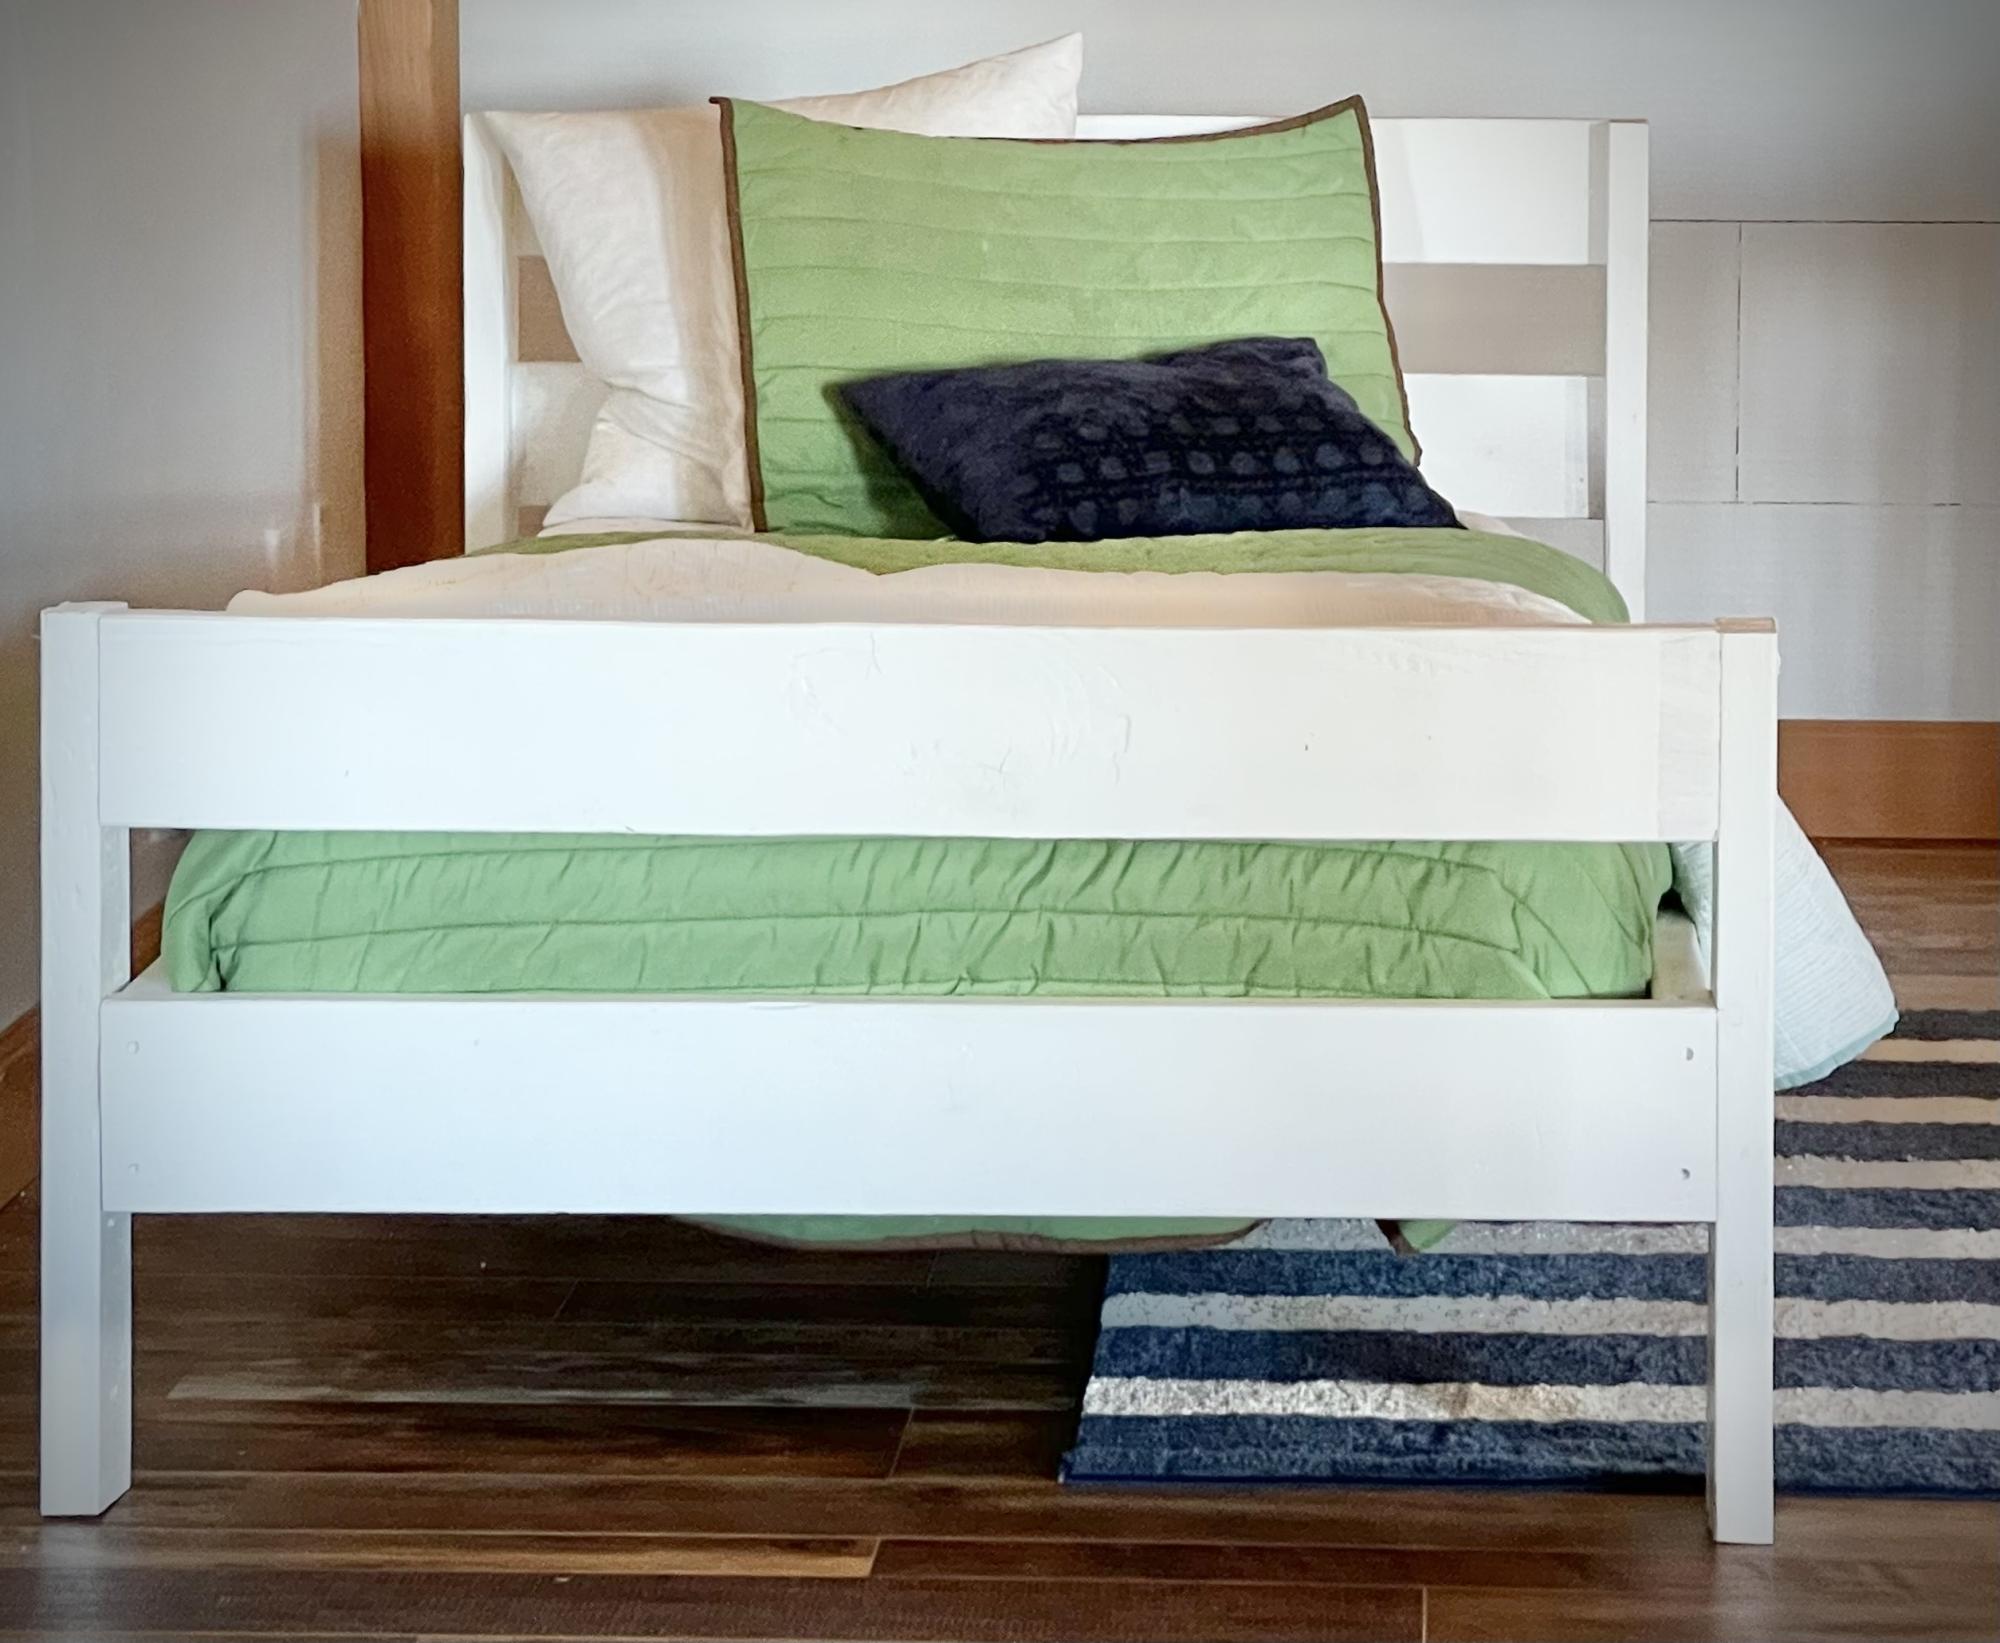
Easy build
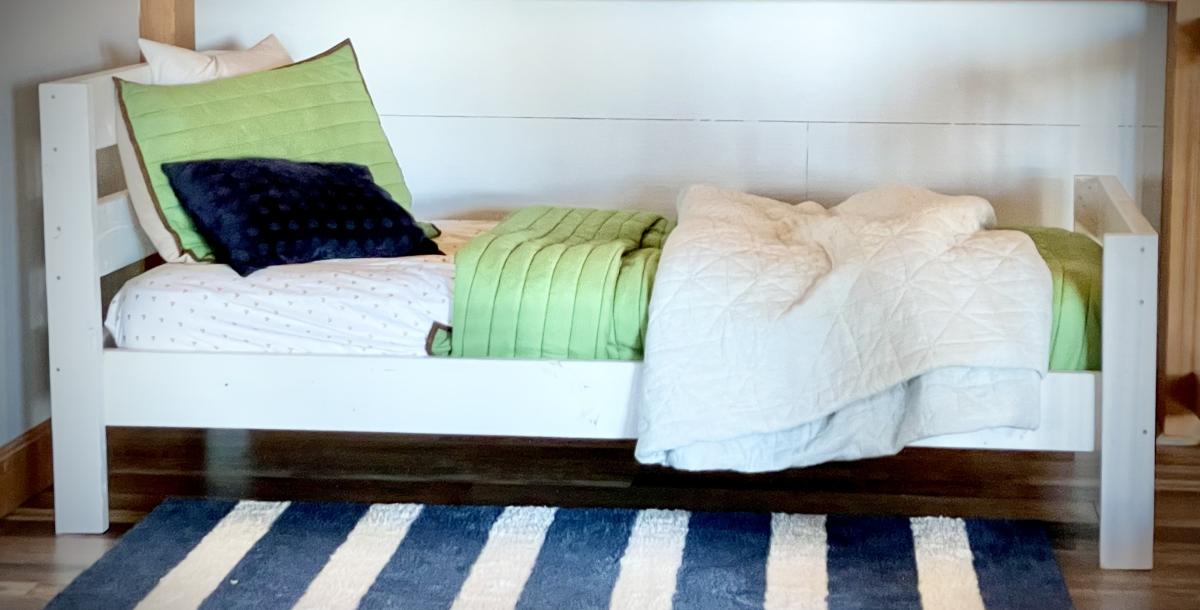
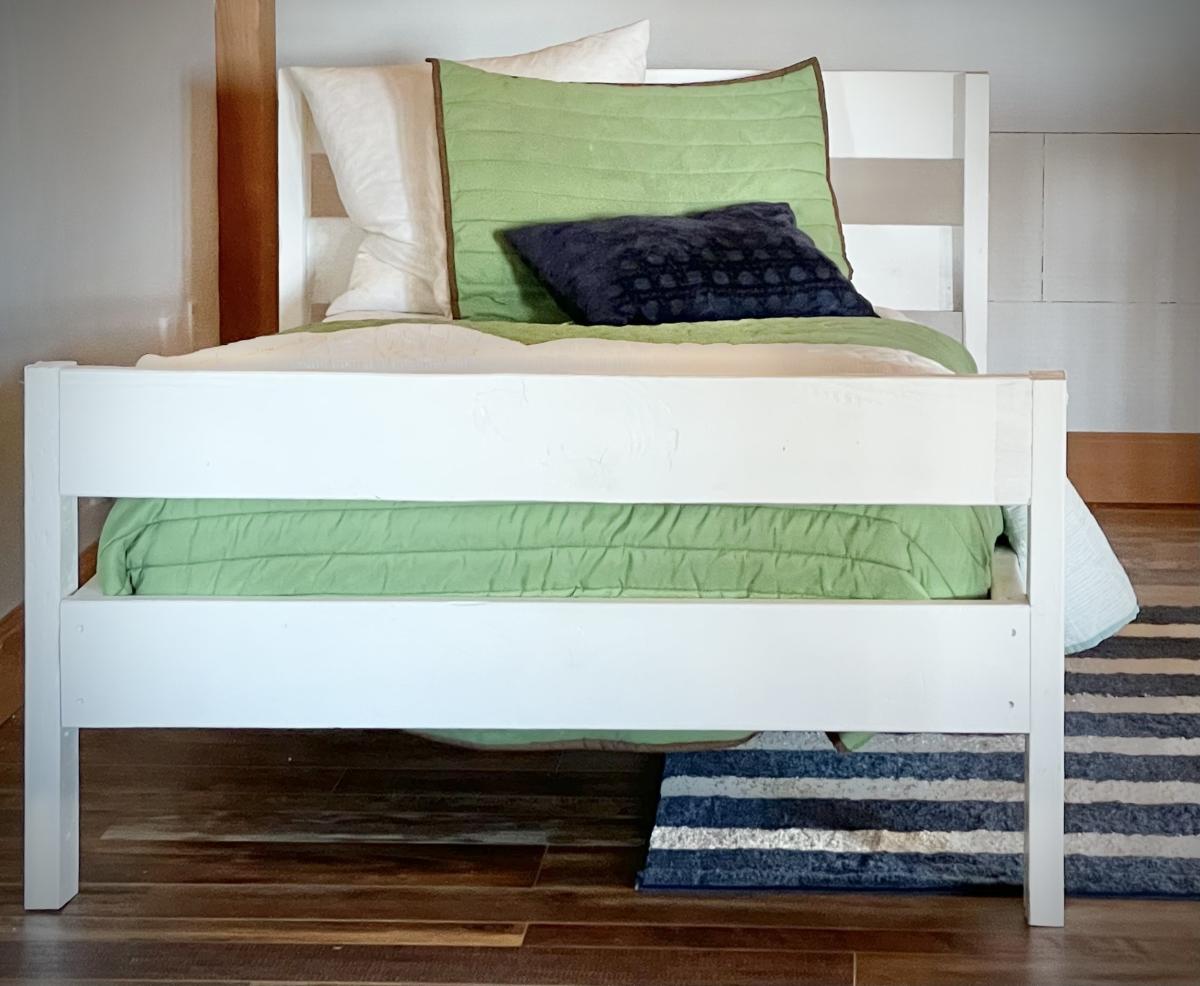
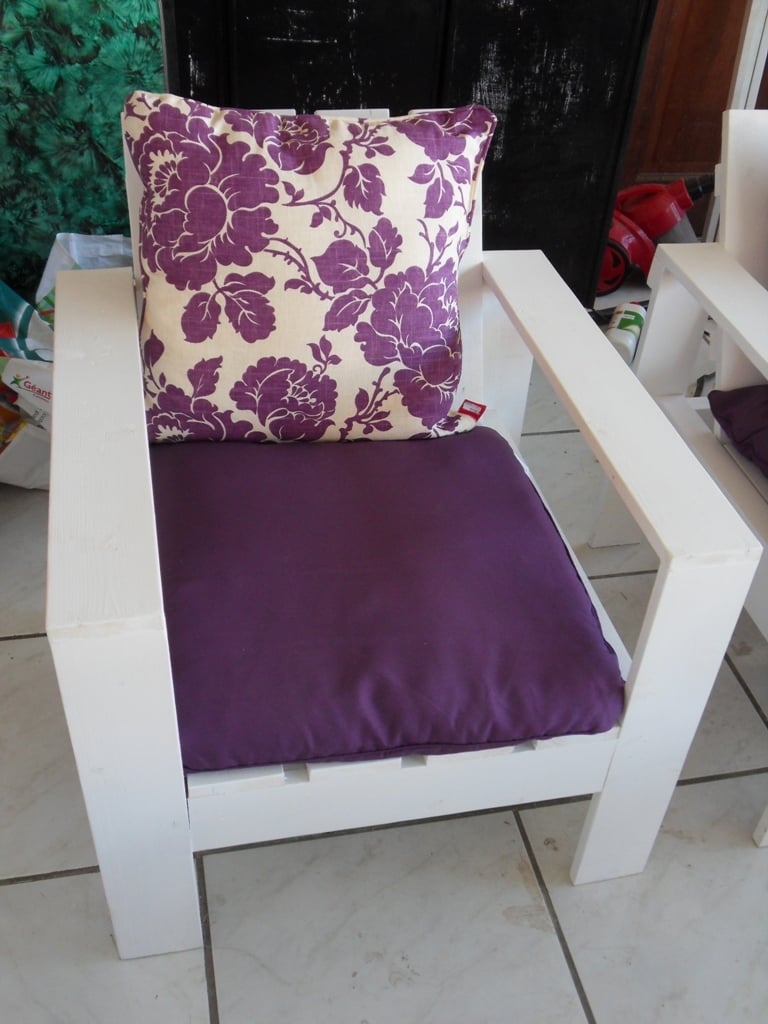
Please don't look at the mess!
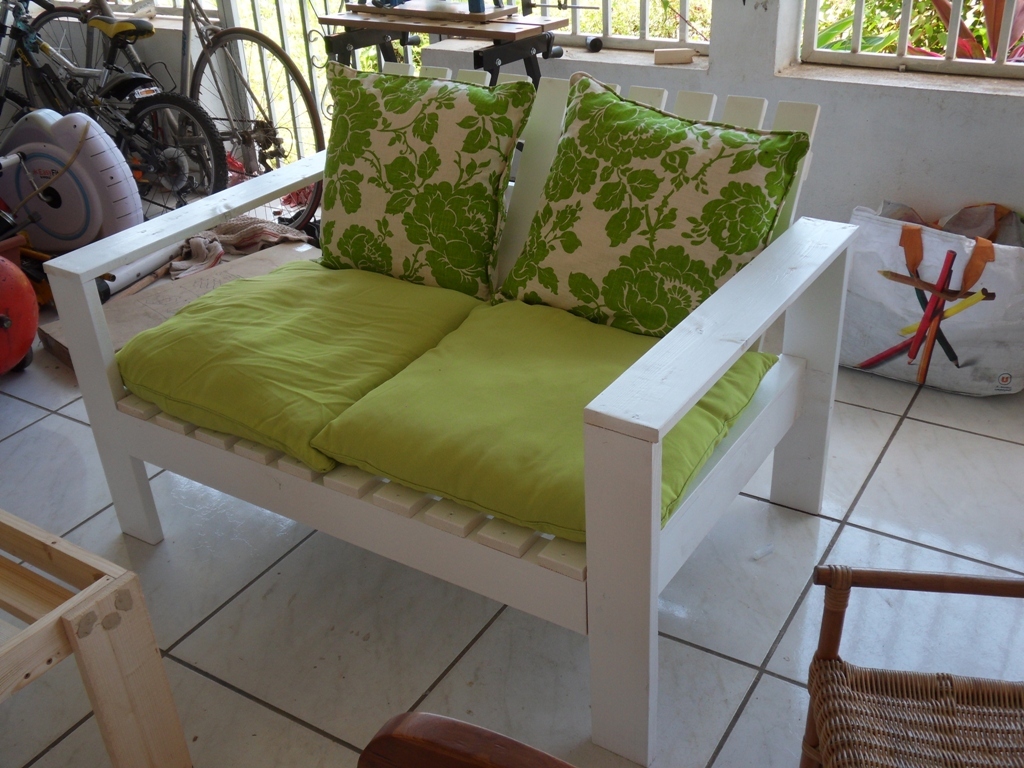
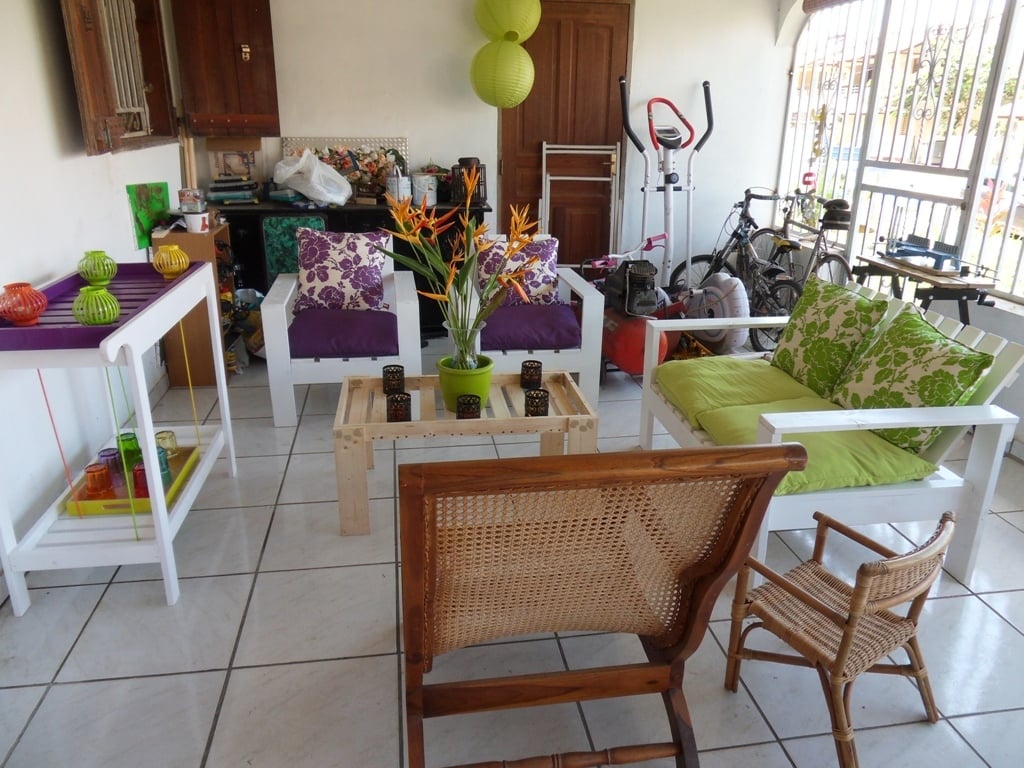
I built few furnitures for our patio and I am very happy with the result.
I modified the plan of the chair to make a loveseat.
It was rather easy as construction. By making the bar, I made an error of measure for the tray, I had to begin again. I then transformed the too big tray into coffee table by adding feet.I have to sand and paint it.
Now I am going to put a little of order.
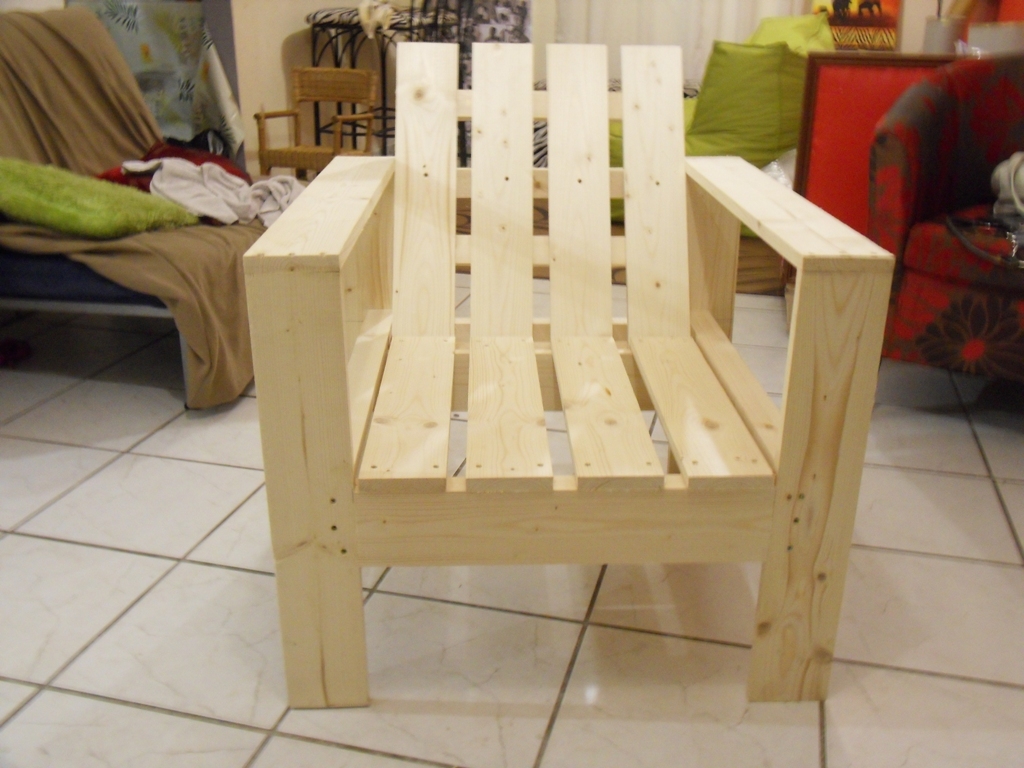
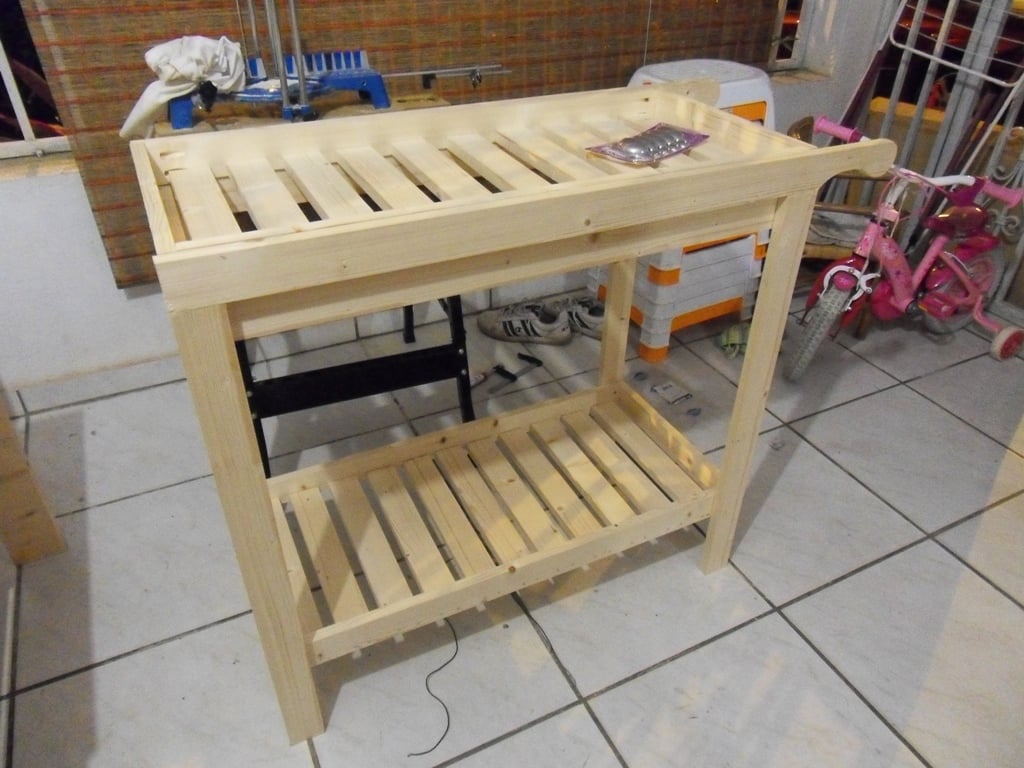
Mon, 08/22/2011 - 17:24
Really nice! I love that you now have a coffee table from your "error". What a bonus.
Wed, 03/07/2012 - 18:54
Did you reinforce love seat in any way or just double all the measurements ?? How sturdy is it. I already made chair. Can't find plans for loveseat
Sat, 03/10/2012 - 15:52
I only doubled all measurements of the chair but I used thicker boards. I used 27 mm boards instead of 19 mm for the structure. I didn't make other change. It's very sturdy and 2 adults can seat on it without problem. I am very happy with the result.
Other persons used the same wooden thickness as for chairs but I wanted to be sure that it would be sturdy.
Good luck!
I made the farmhouse bed and patrick cottage dresser. This bed was so simple to make and looks great! I have step by step pictures on my blog.
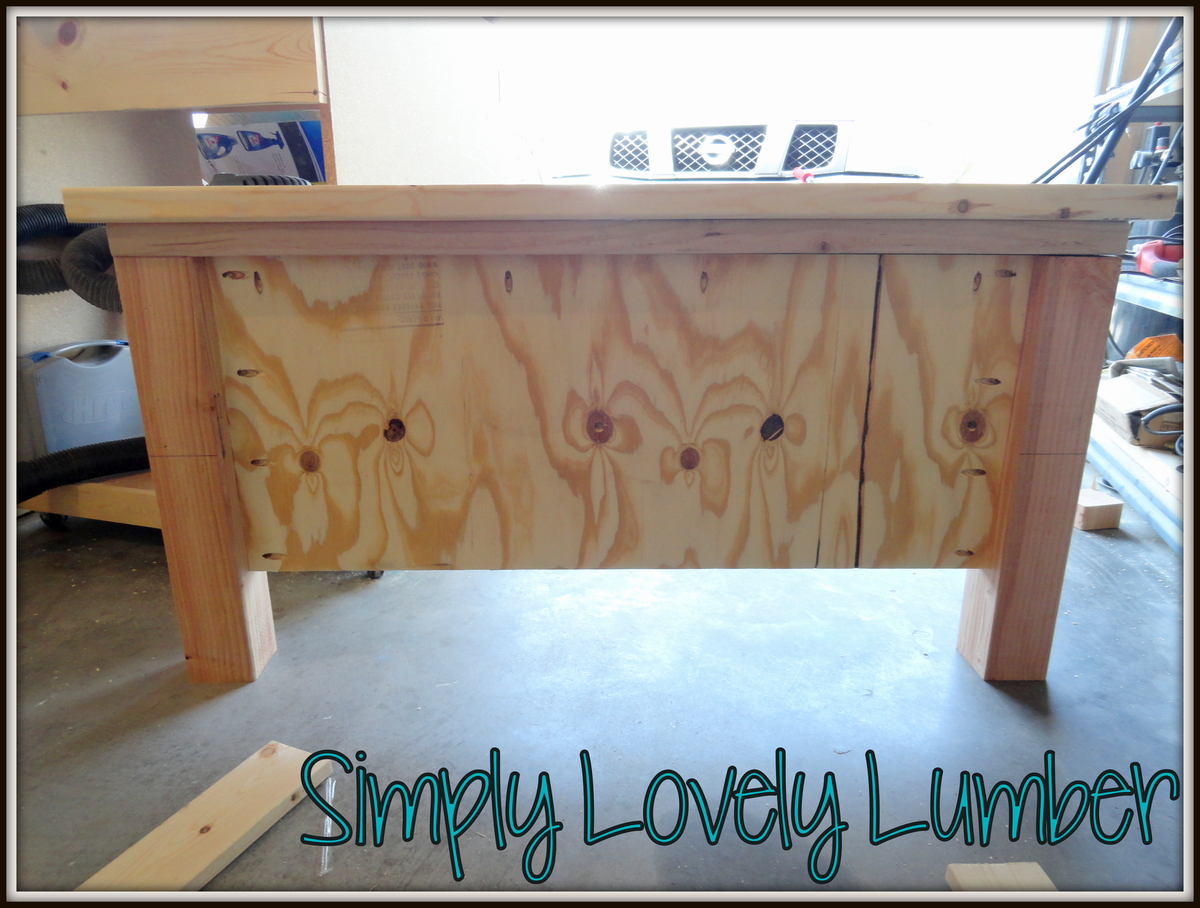
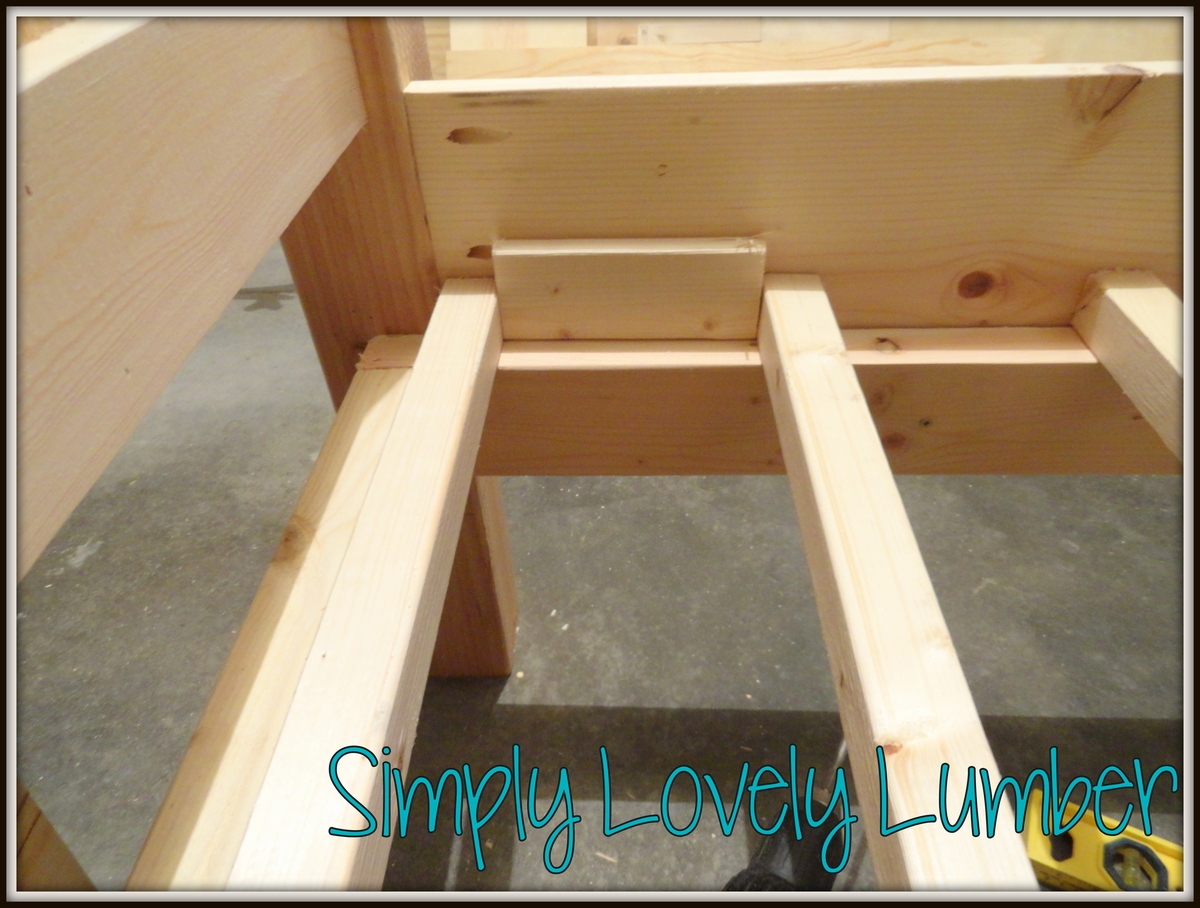
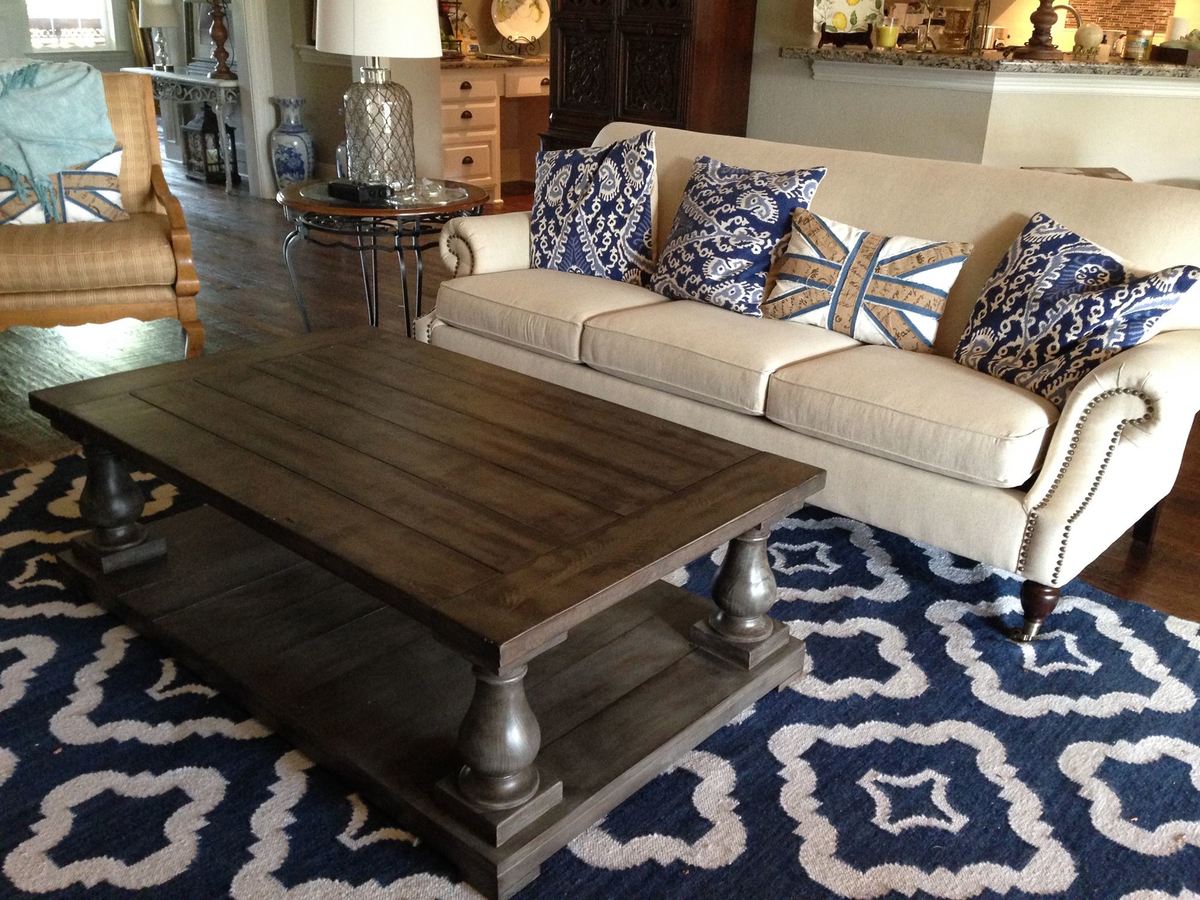
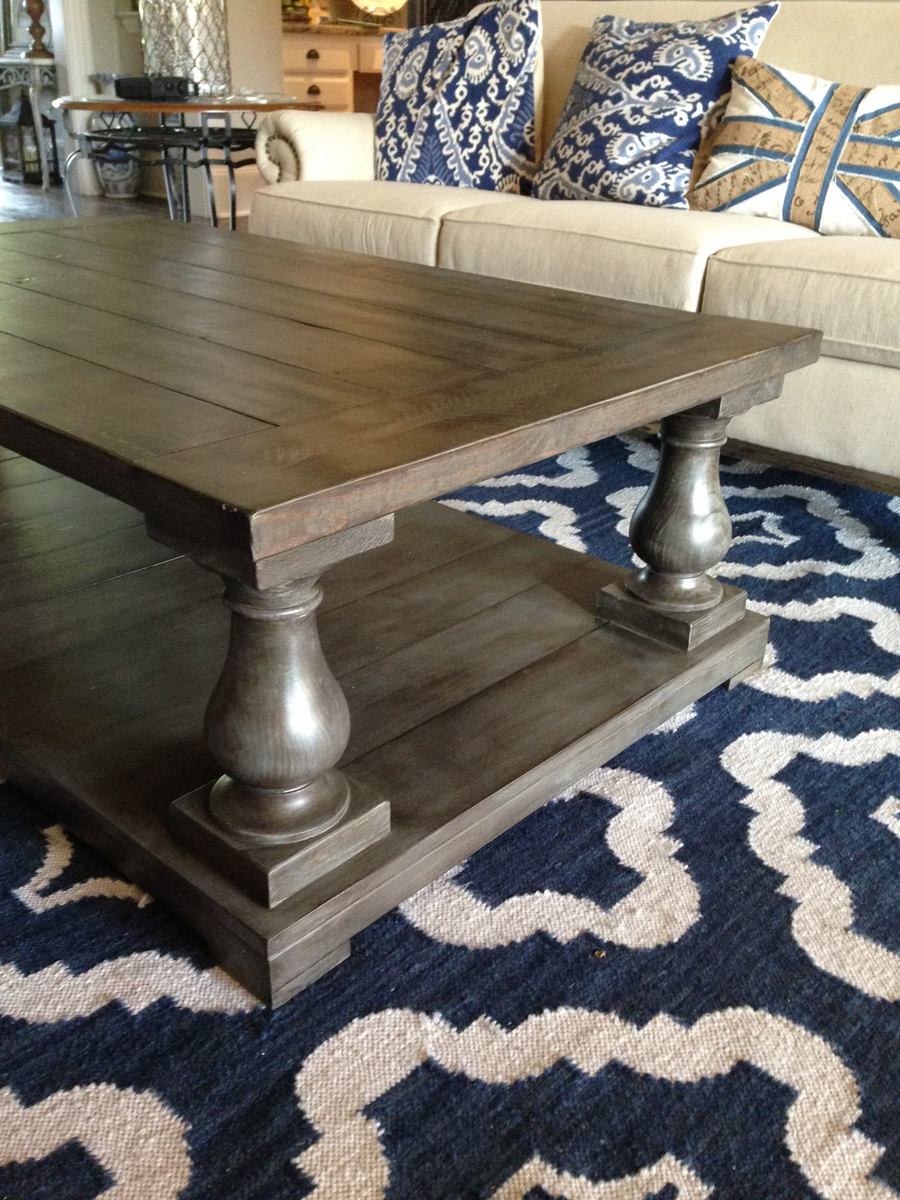
This table was my first build. Once I learned how to use the Kreg Jig and my husband taught me how to use the table and miter saws, I have fallen in love with building furniture. Since building this table, I have built a twin bed, two farm tables, a bench, the kitchen island/rolling server table from Ana's book, and an awesome workbench with red racing wheels! This past weekend I finished my first custom order - an 8-foot Husky leg Farm table using Ana's plan. I now have orders for another balustrade coffee table and an end table using the matching legs from Osborne. THank you Ana!
Sat, 02/18/2017 - 12:34
Where did you get your sofa? This is what I am looking for. And I LOVE the choice of stains.
Tue, 03/13/2018 - 17:01
Can you tell me how you applied the 3 different stains to give such a rich color. This is so beautiful.
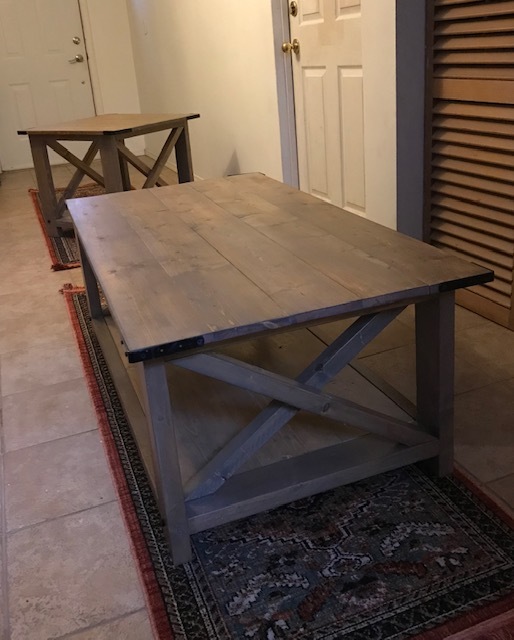
These were my first Ana White pieces of furniture. I was so pleased at how fast they came together and how clear the instructions were. These were a Christmas present for my son and after taking a look at your website, he is full of enthusiasm to start building his own pieces. Thanks Ana.
Fri, 01/04/2019 - 13:29
This is such a beautiful first build! I bet your son was delighted! Can't wait to see more from you guys! Thank you for using my plans and sharing a photo - it is much appreciated. XO Ana
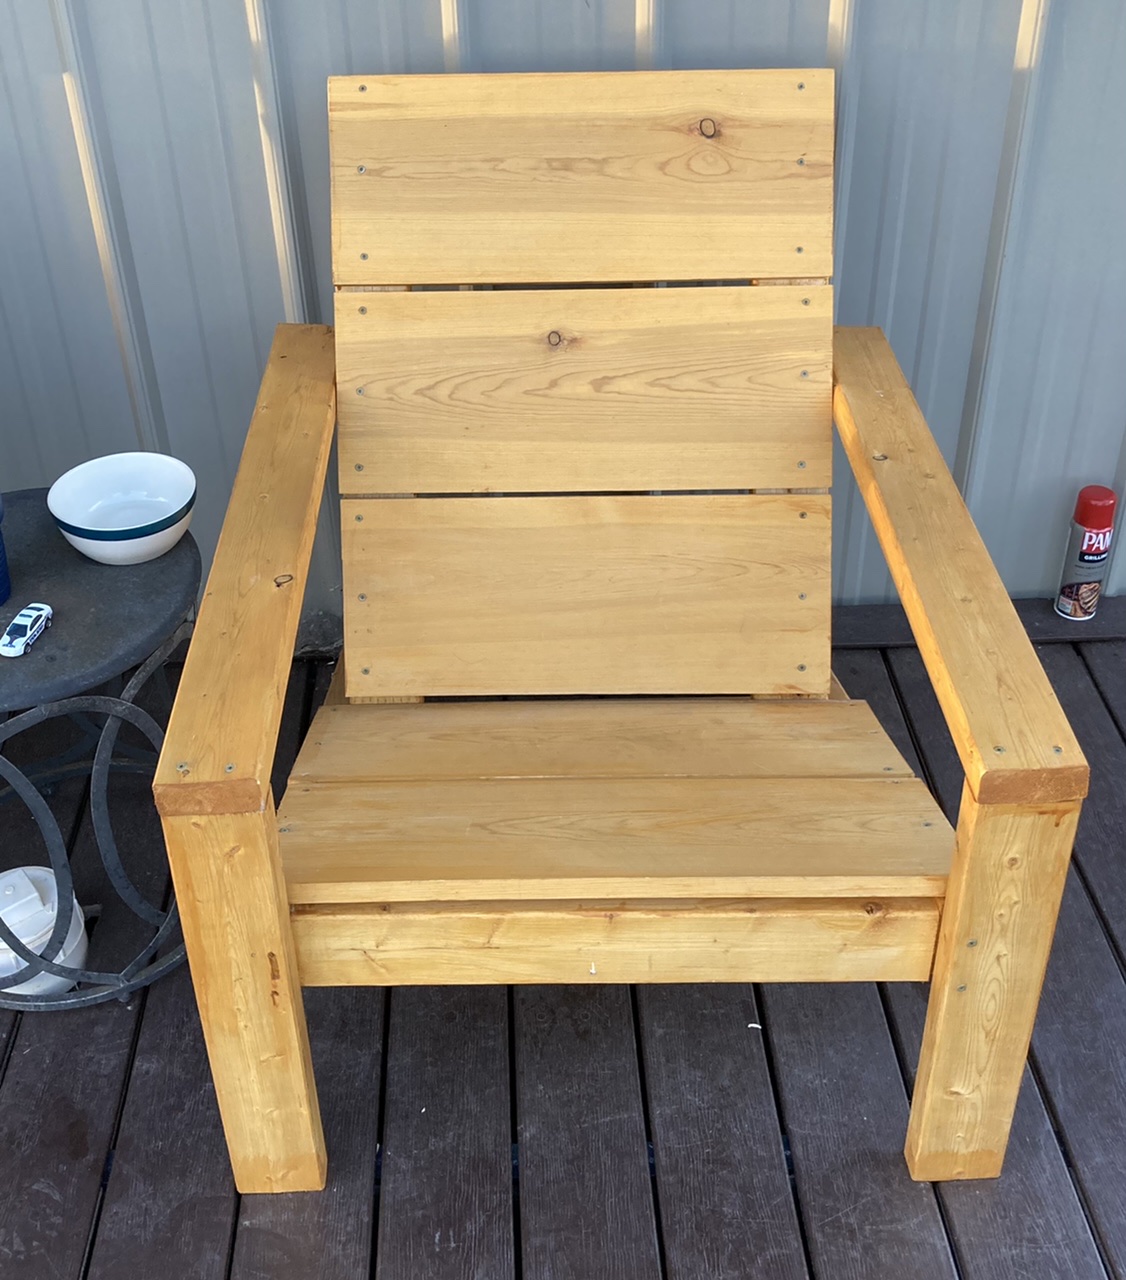
I just started building when I found Ana’s site. This chair was the second thing that I’ve built. I can’t believe how comfortable it is and how easy for a novice like me to put together.

This was our first project from the website. I fell in love with the concept and love the finished product. My husband and I worked on it for a full weekend, and now we have a table that the whole family can sit at. The plans were easy to follow and came together nicely.
We also decided to do the Simple Stackable Outdoor Chairs. They are large and comfortable. I did adjust the seat board length to 19 1/2 to give it a little over hang. One down and 4 more to go.


Tue, 03/20/2012 - 03:37
Great job. Both the table and the chair look really good. I am curious how the chairs hold up. Are they sturdy? Anything you would change or do differently? Thanks.

This was my first project I've ever built, although I have wanted to build something for years. I needed a bench for my cat to sit on in front of the window, and also extra seating for my dining room table when we have guests. I didn't buy any lumber. I just used scrap wood that was left in our garage when we moved in for the base and old bed slats from bunk beds we no longer have for the top.
I made one HUGE mistake....I didn't have a carpenters square and didn't realize how important it was to use so my bench turned out a little wobbly, but I found a solution to fix that. It took me a couple of days to build because I kept having to stop and run to my sons school and do many other mommy duties. I found a tutorial for the finish on Pinterest.
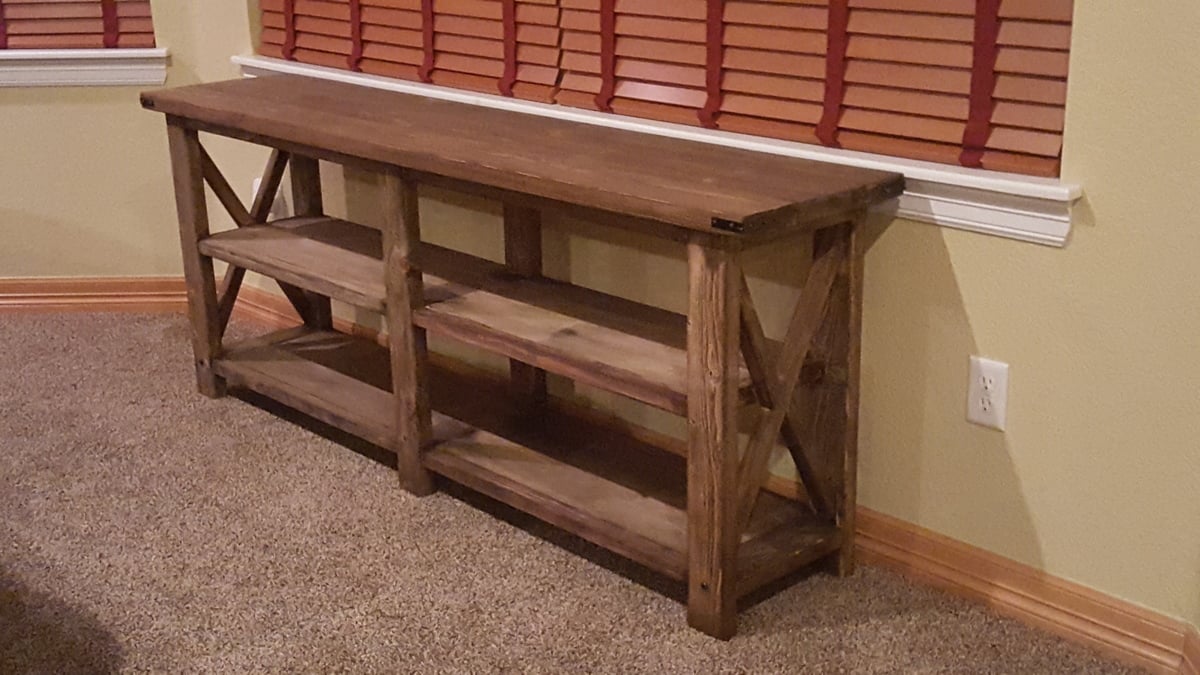
Followed the Rustic X console plan except did not go for the rustic stain look. I am happy with how it turned out, even though this is my first wood furniture type project. I am not much of a handyman.
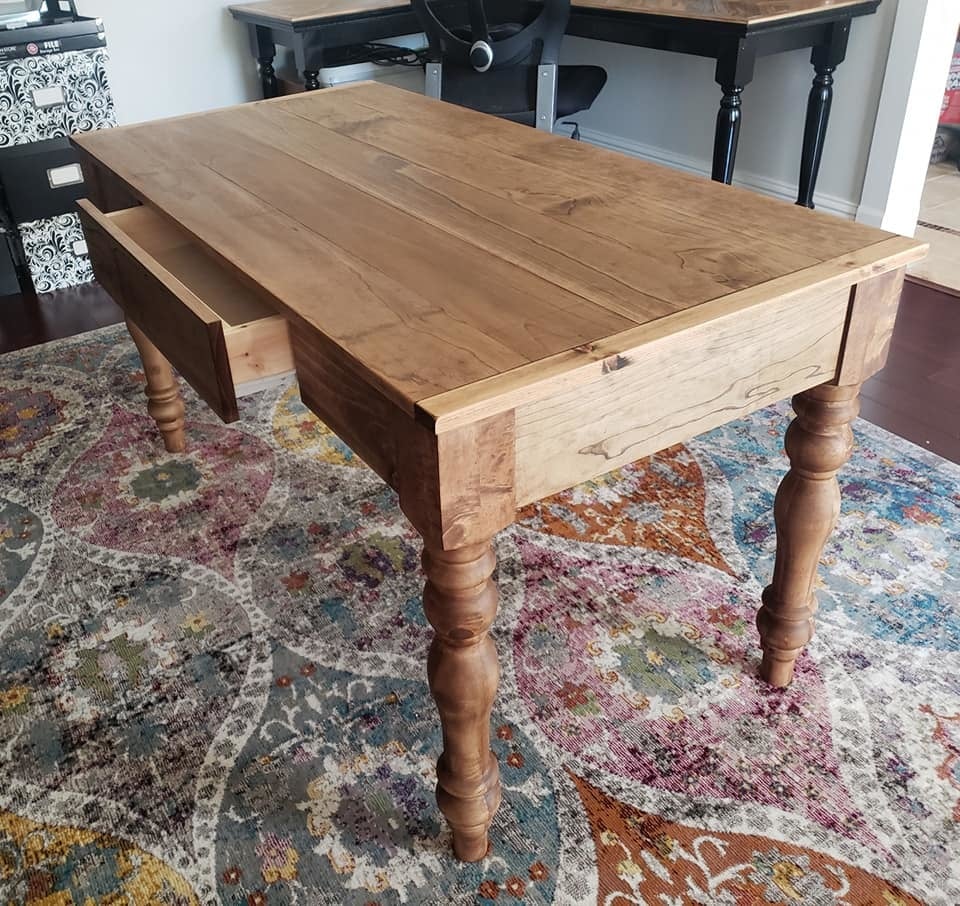
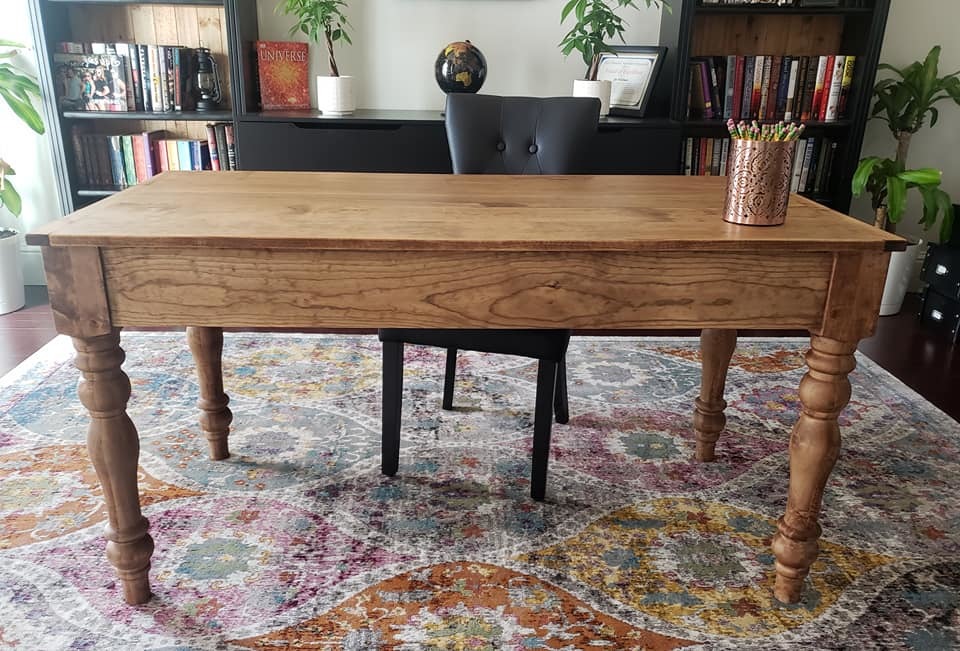
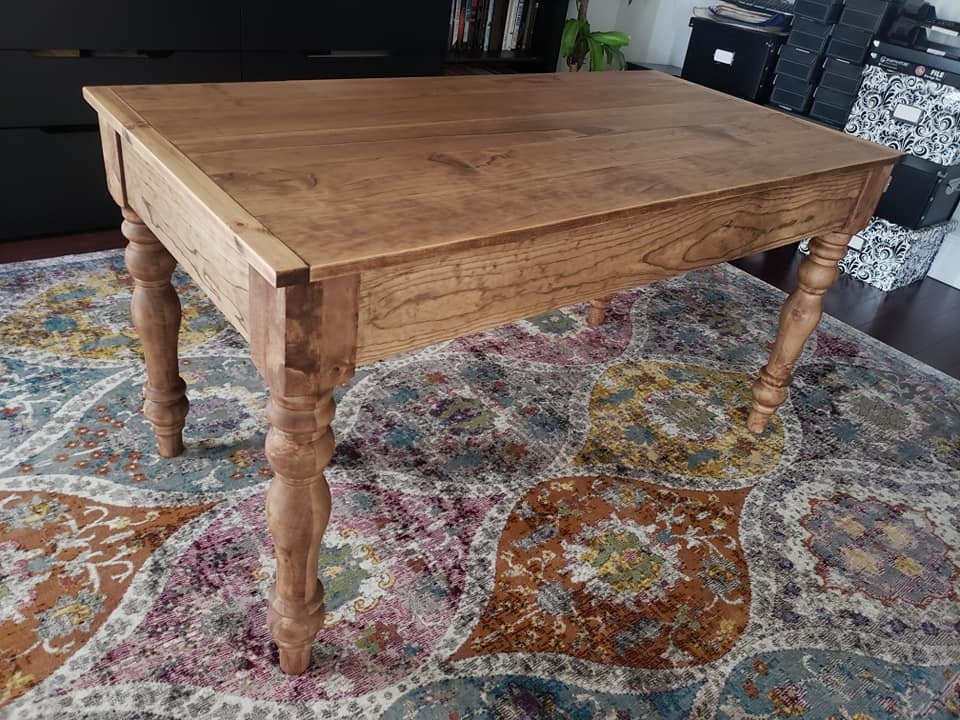
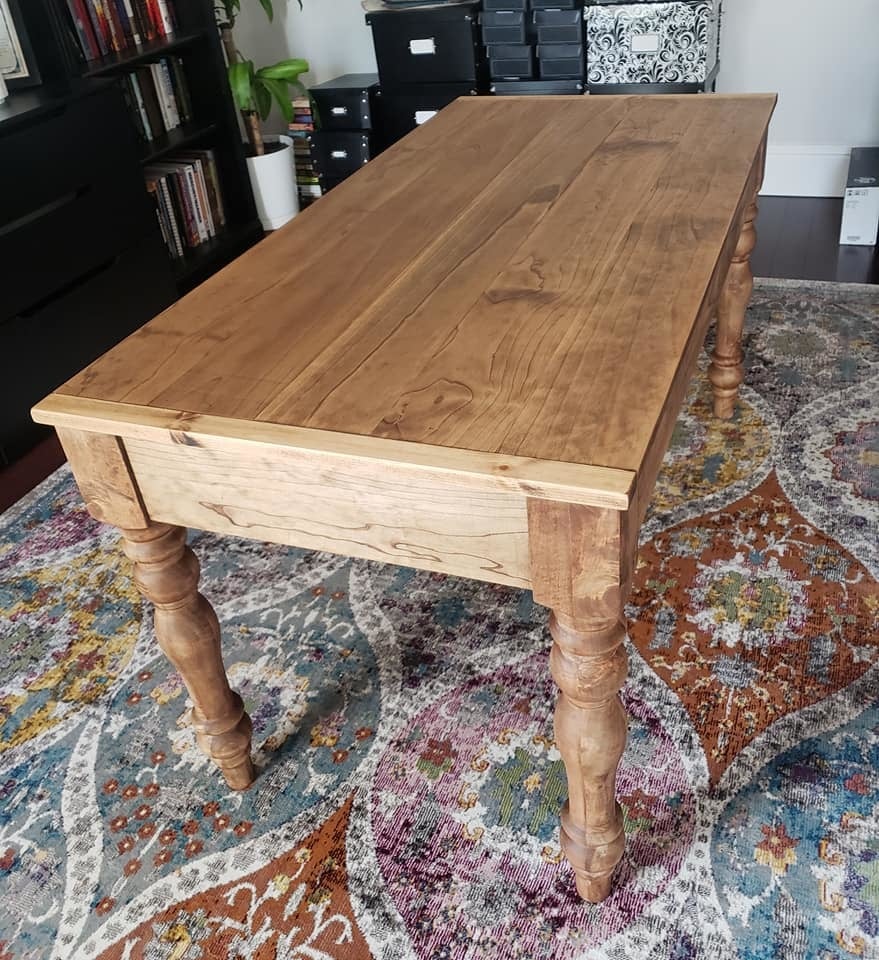
I modified the Small Old English Style Farmhouse Dining Table plan to build a writing desk. I used five 1x6 boards for the top for a width of 27.5 inches. I made my desk 56 inches in length. I put the drawer on the long side like a pencil drawer. I did use the legs that Ana recommended in the plan. I love how it turned out. I used dark walnut danish oil and dark wax for the finish.
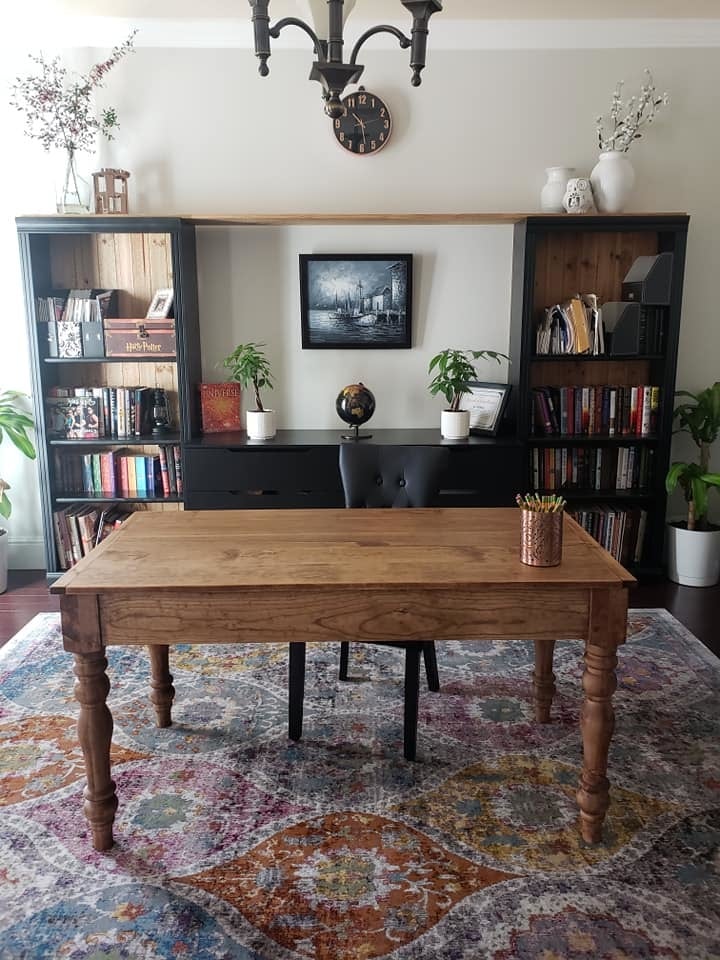
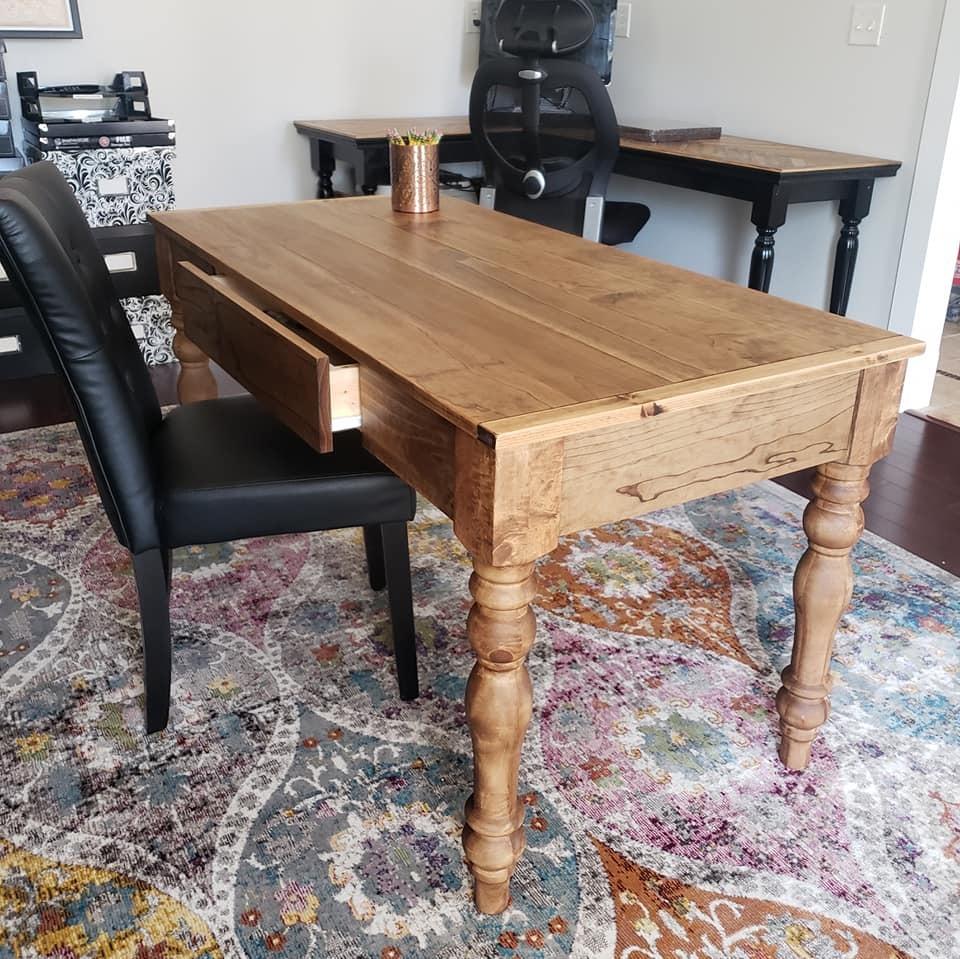
Sat, 08/31/2019 - 05:18
Beautiful! What are the brands of oil and wax that you used?
Fri, 10/04/2019 - 21:46
Thank you! I used Watco Danish oil and I used Minwax dark wax. I've tried alot of different wax brands and I always come back to Minwax. It dries the hardest in my opinion.
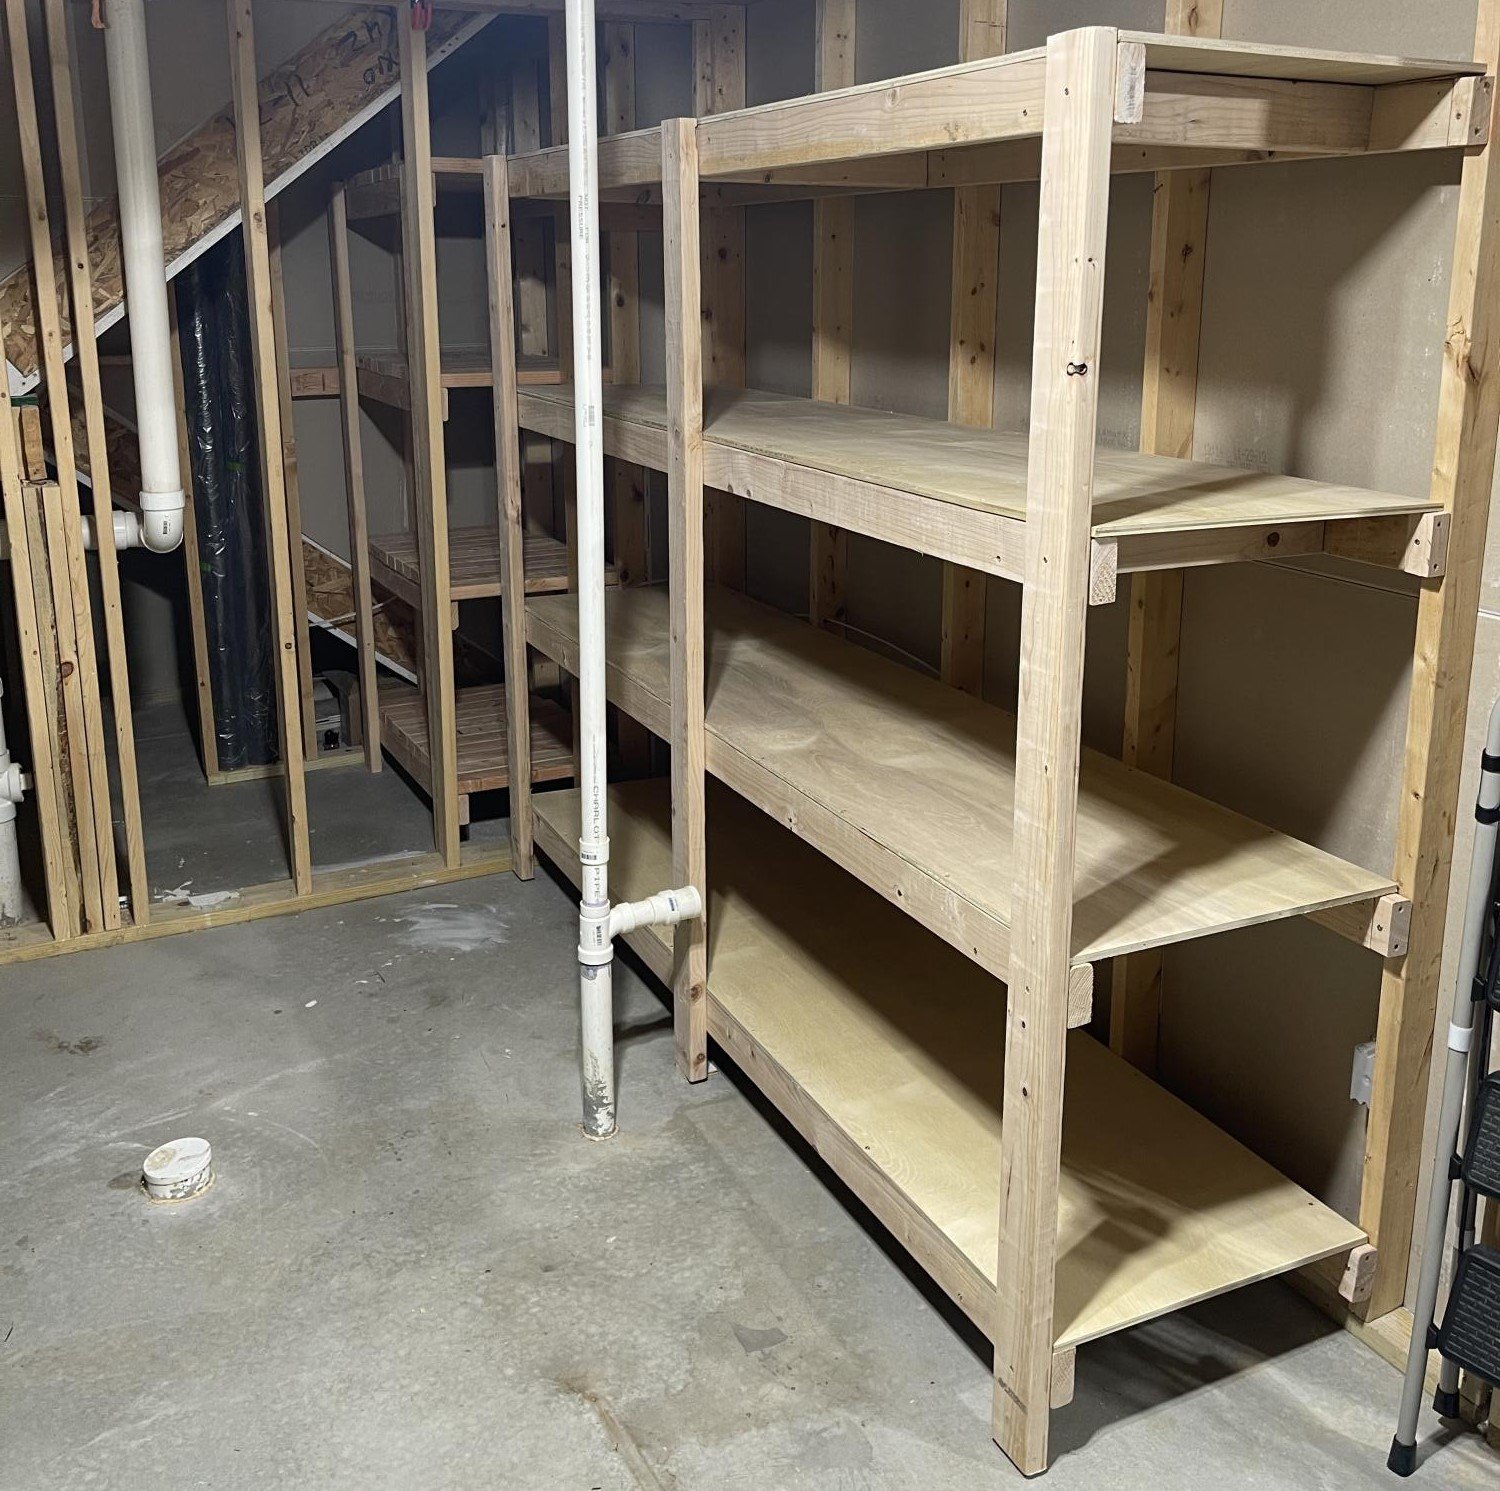
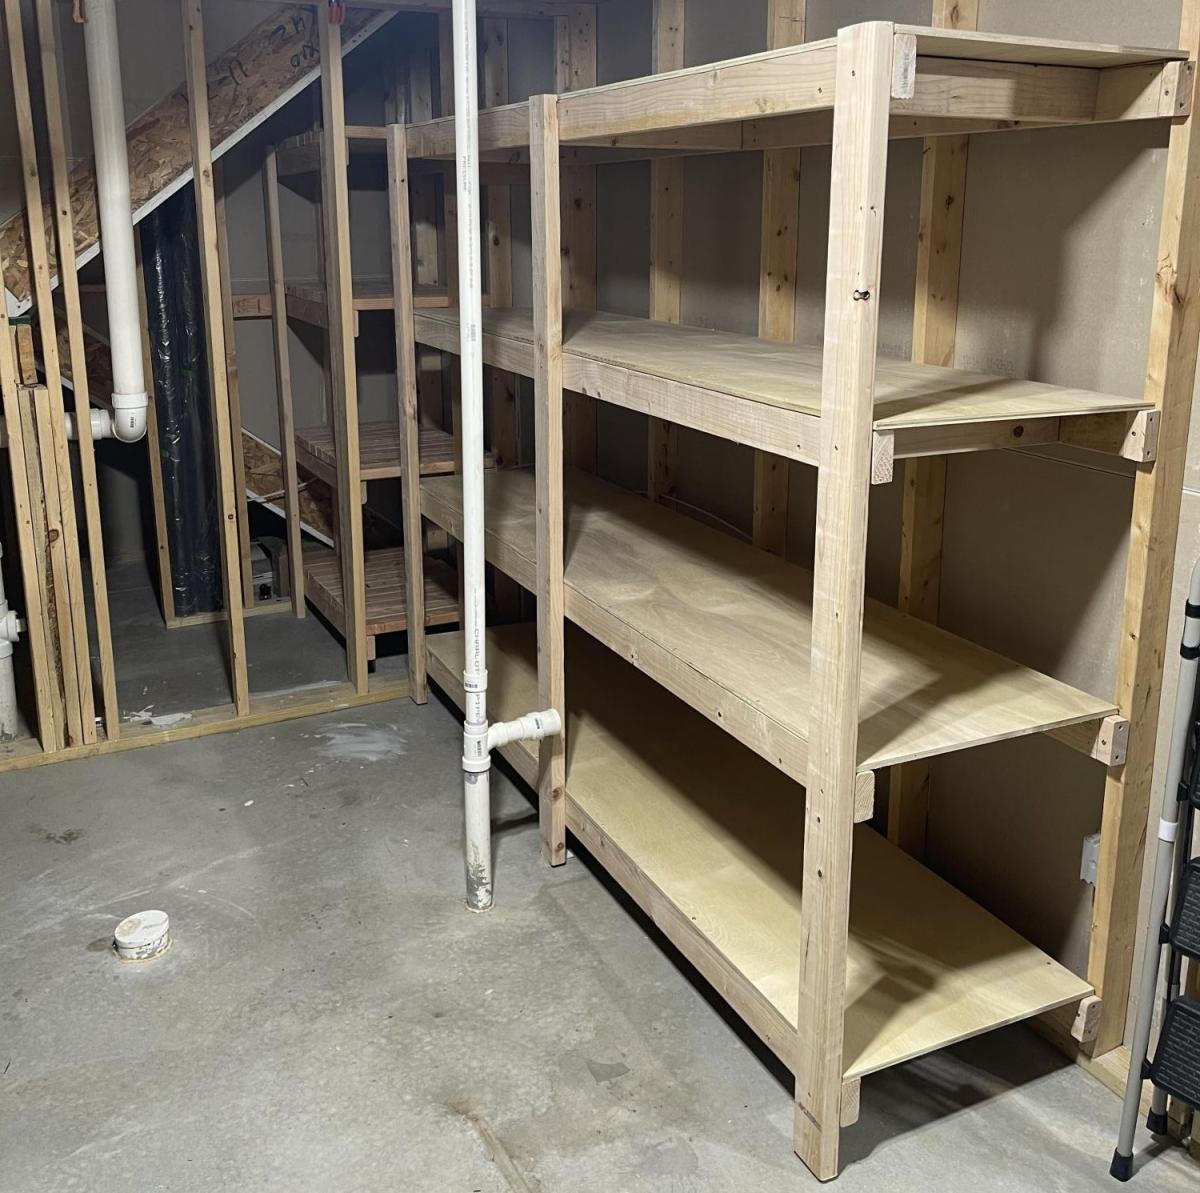
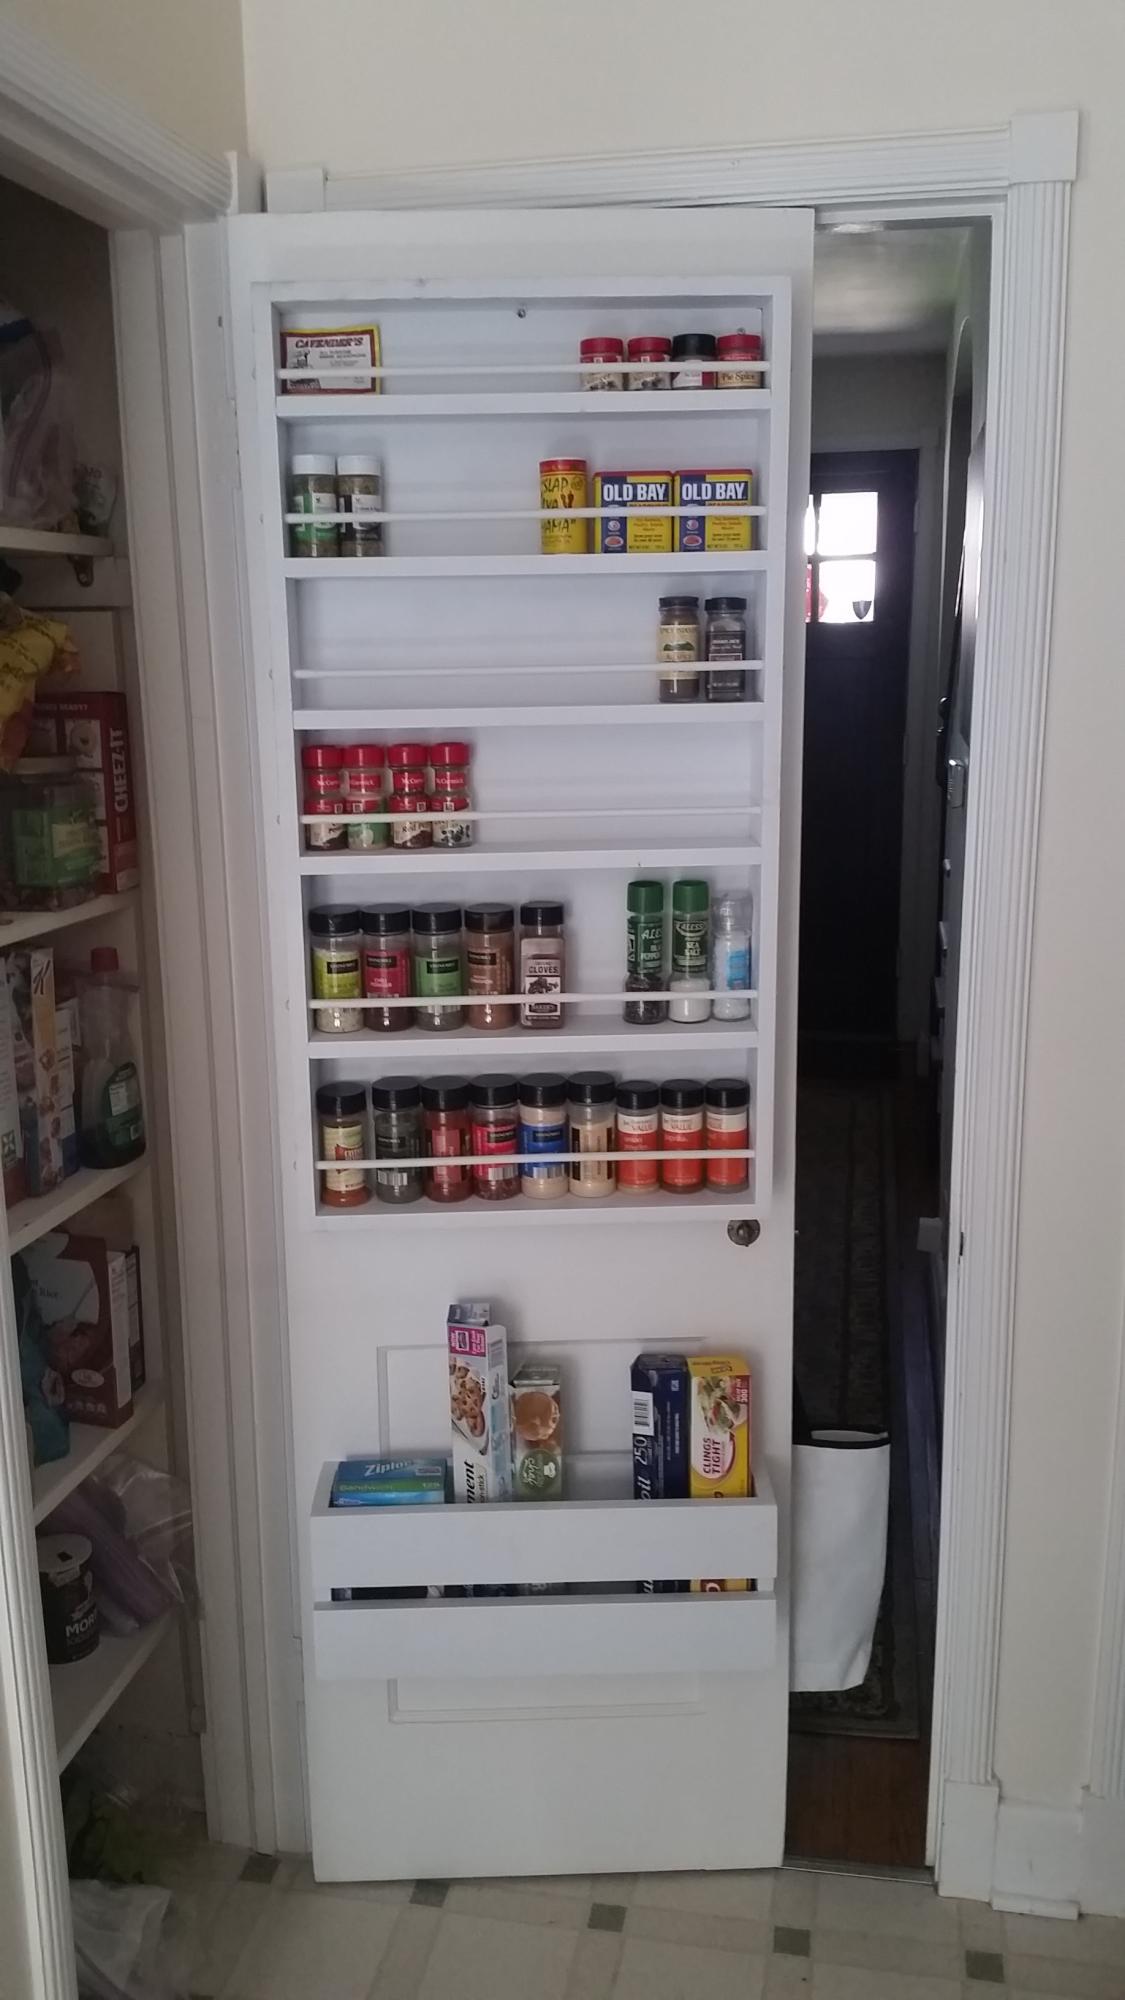
Using the guidelines for the “BEST DIY Garage Shelves (Attached to Walls), I added this to our unfinished basement area for additional storage. I plan to replicate it in our actual garage as well and build the freestanding shelves also!
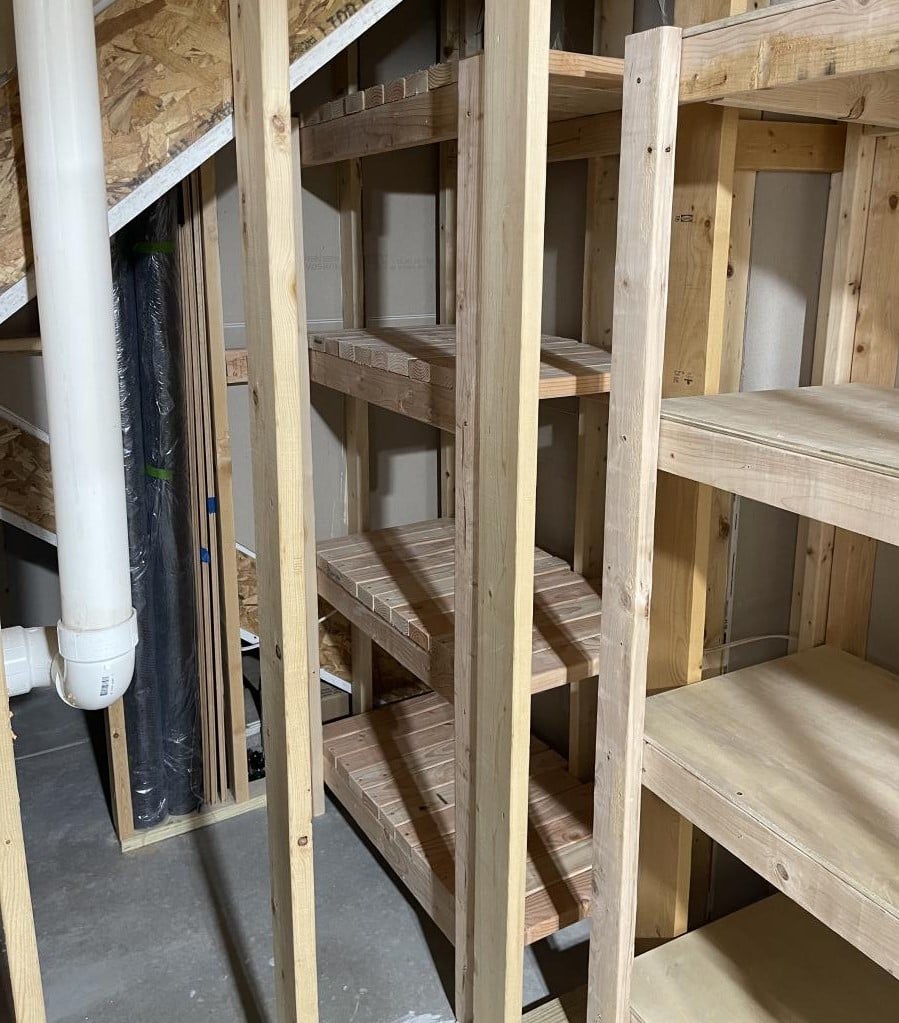
As a bonus, I used this plan as inspiration and built directly beside it, which is an unused space under stairs, a wine/liquor storage shelving replacing the plywood with cut 2x4s for added weight capacity/stability.
Couldn’t have been easier!
Wed, 10/19/2022 - 09:14
Thank you!! I am so thankful for Ana White and team! These projects are helping me build a lot of confidence to continue endeavoring more challenging projects each step of the way :-)

My husband made the little helper tower for my son. After using it for a day I asked him to add a seat so that my son could eat lunch at the counter while I worked in the kitchen. I LOVE this tower!!!
In reply to Love the added seat! by cdswhite
Mon, 07/20/2015 - 10:47
does he have the material and tool list that he use
In reply to Love the added seat! by cdswhite
Mon, 07/20/2015 - 10:47
does he have the material and tool list that he use
Fri, 08/26/2011 - 09:20
This is what custom furniture is all about! If you had a store bought tower, I bet you would not even think about messing with it to add that seat. It looks great and now it is multi-purpose!
Sun, 08/28/2011 - 20:25
I have a two year old who is going to need this soon. Does your son try to stand up while the seat is in place? Do you have any trouble with him trying to get out of it? Would love to know because my son is always climbing on stuff. I am worried he might fall. I wonder if I could put a seat belt in it. hmmm....I am a first time parent so maybe I am a little paranoid. lol
But it looks so cool. I want one.
Tue, 12/13/2011 - 09:54
I absolutely love the idea!!! We have a real small house and we are always looking for ideas that will help to maximize the space and functionality of our furniture. My husband built a couple of months ago the tower and our 2 kids (2&4) can climb in there at the same time and help me to cook, wash dishes or just look what I'm doing around the kitchen. It is a little bit crowded when both are in there but they learned to make it work for both :). Thank you for sharing your idea... it is awesome!
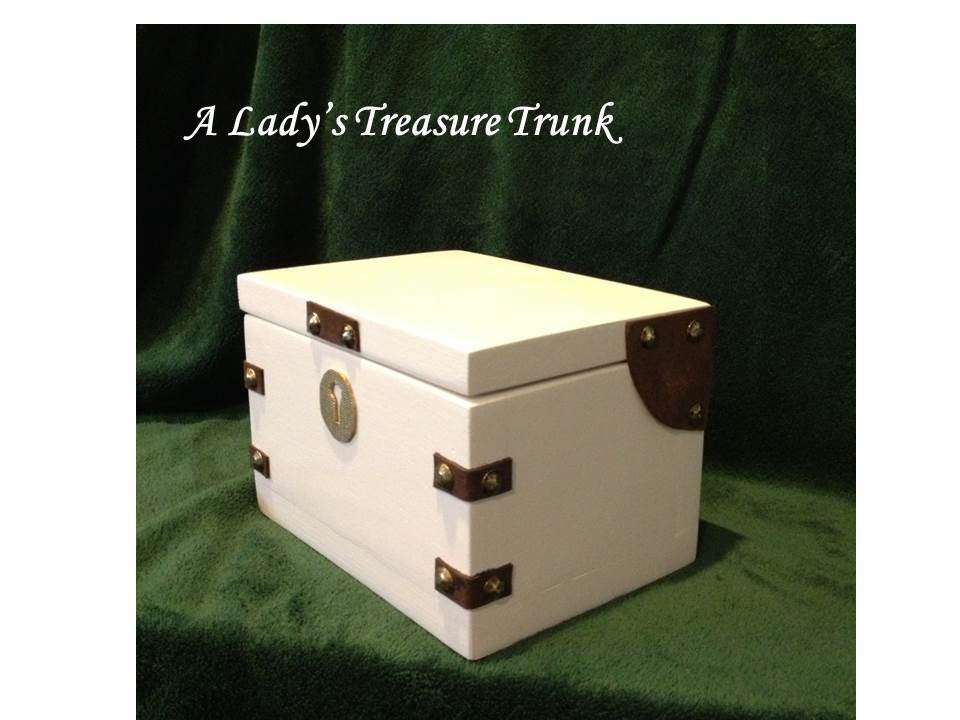
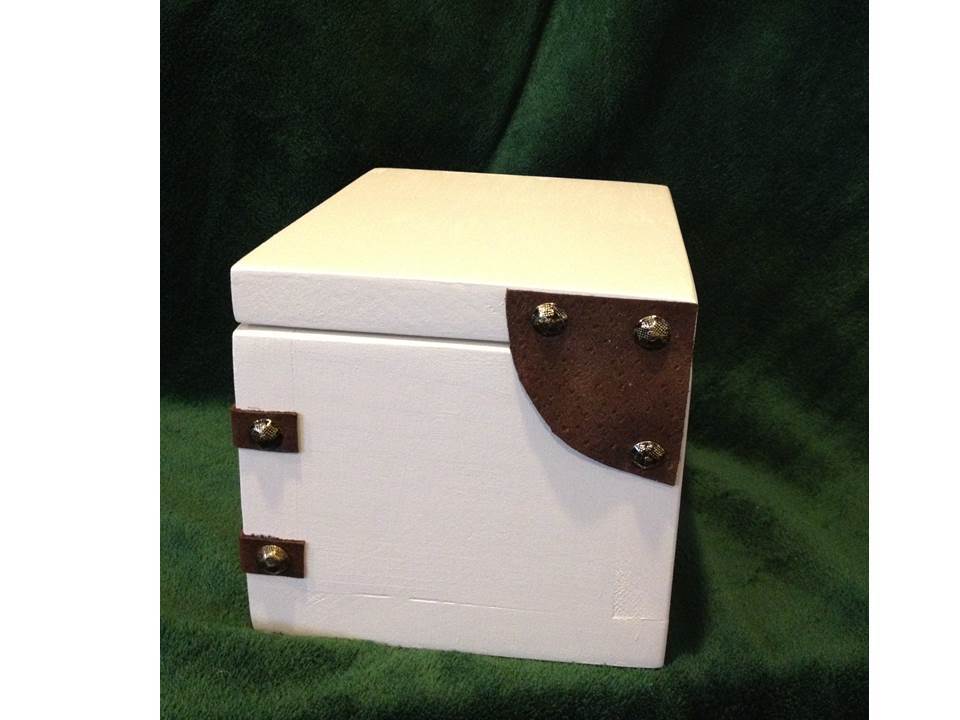
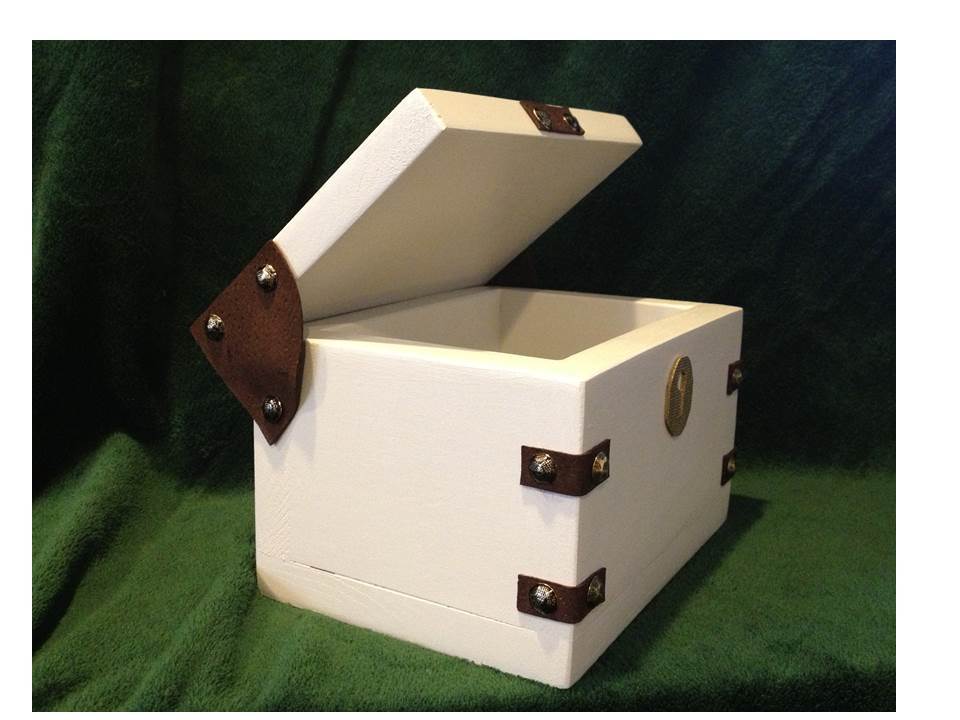
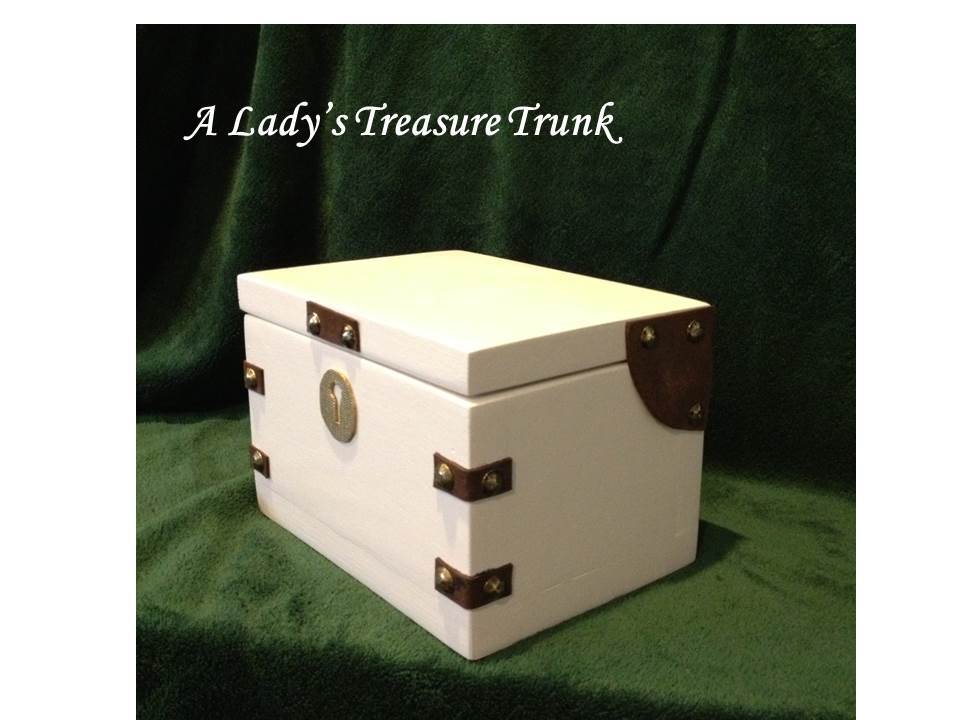
This is my vision of what a fine lady’s treasure trunk might have looked like back in the days of pirates. It is made from the Pirate’s Treasure Trunk plan. I used another alternative hinge for this one. It is a 2 ¼” radius quarter-circle of heavy craft leather, attached to the box top with some super glue and decorative furniture nails. The bottom acts as the pivot, and is attached with a furniture nail.
The decorations are made from craft leather, and attached with super glue and furniture nails. The keyhole escutcheon is made from a piece of foam shelf liner, cut to the shape of the keyhole template from the plan, and spray painted gold.
The finish for this is 2 coats of Clark & Kensington paint (white, with a little brown stain mixed in to make it a cream color).
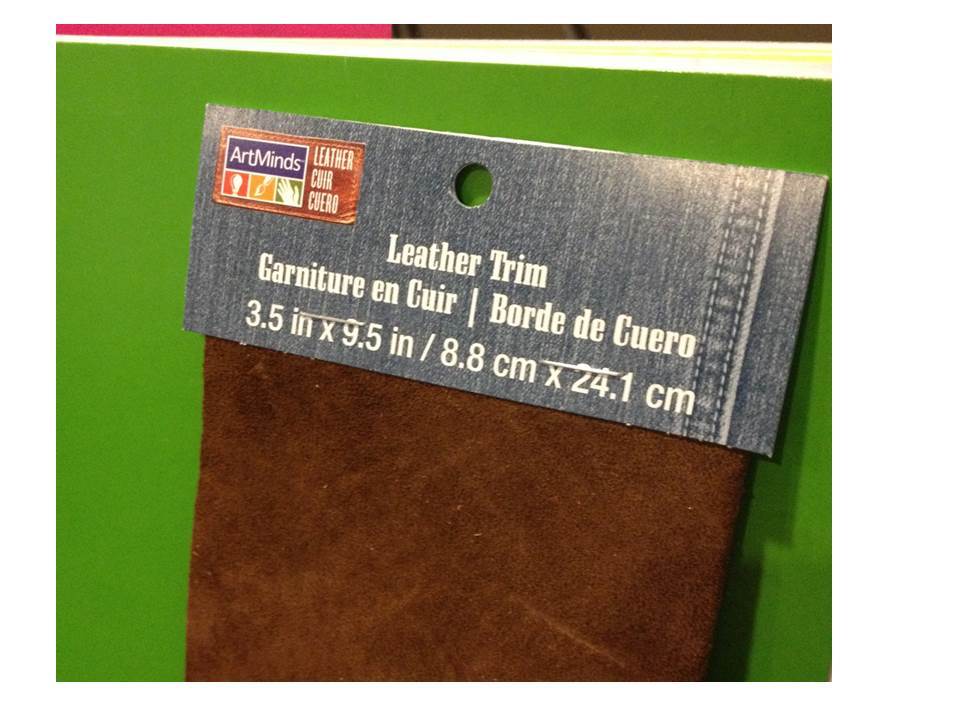
This build was nearly free – the furniture nails were left over from the prototype build, the wood was scrap, and the paint was left over from previous projects. The craft leather is from Michael’s (cost was about $3.99 - I think it was on sale, but couldn’t find it on the web site to attach a link, so a picture of the packaging is attached).
I’ll be using this one for trinkets, and it’s not going to get heavy use, so this was a good project for trying out the leather hinge idea. I’ve wanted to try that for a while. Not sure how durable it will be over time, but I think it looks cool. :)
Tue, 09/17/2013 - 17:51
Or as they say in pirate-speak: Thank ye so much! I be glad ye like them! Many hearty thanks fer postin' a comment! :)
Thu, 04/17/2014 - 05:48
For a more durable hinge could you use an angle covered by the leather? Just a thought
Wed, 12/03/2014 - 18:28
Yes I think that is a very good idea! I'm going to try that for the next one I do with leather. Thanks for commenting! :)
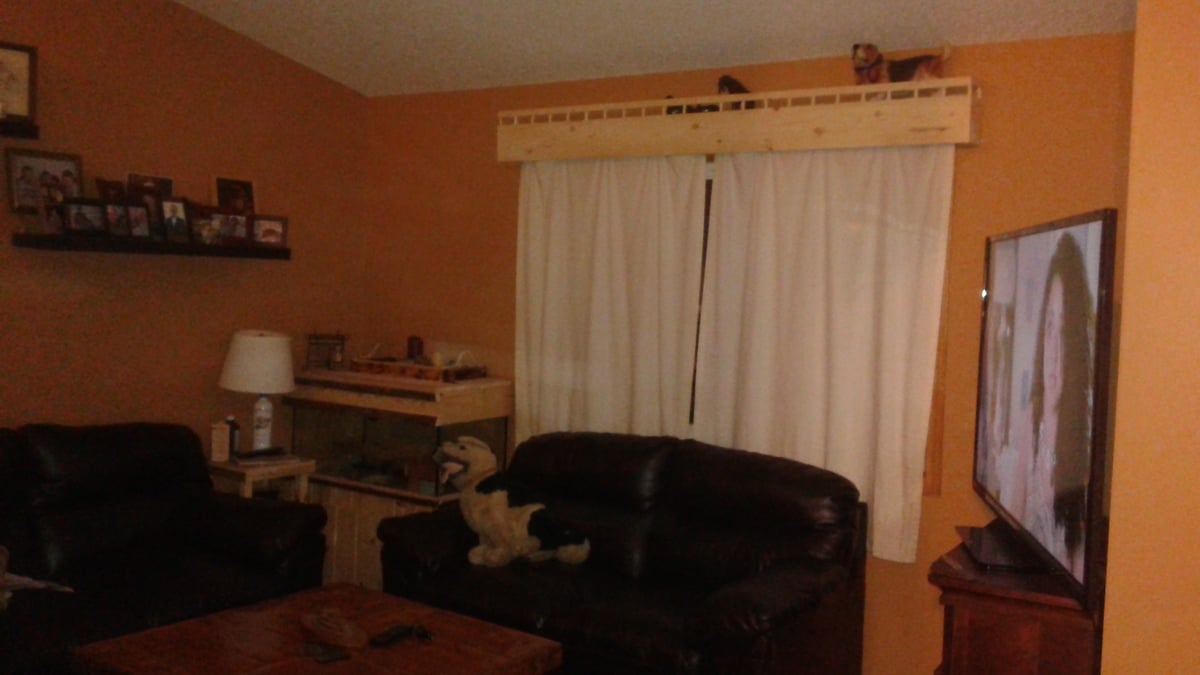
My husband has some cherished knick knacks and I am hoping to give our little home a little charm.
The most difficult part of this project was lining up the dowel holes for the shelf.
2-1x6's cut to the length of the window
2-1x6's cut to 6-1/4" for the sides
1-1x6 cut to 4-3/4" for the center support
Fostner (sp?) Bit at 1" for the dowels, I centered them and put them 2" down on each side and the on each side of the center support
Then I sanded, sanded and then sanded some more.. .
I used the 1/2" fostner bit and spaced the holes 3 3/4" apart on center for the rail and the top.
I cut a 1/2" dowel into 2" pcs.
The rail is a 2x2 that I trimmed down on the table saw, it finished out at 7/8"x1-1/16"
Lots of glue, more sanding and it was complete
Added 3 hillman heavy duty hangers to it and hung it over the living room window.
Thanks for the plans!
Wed, 10/19/2022 - 08:32
Looks great and perfect space saver and organizer!
I have a large master bedroom, but a severe lack of furniture. I love love love my king bed, but couldn't find any night stands to meet my needs or budget. So I built the farmhouse bedside tables! I love how large and tall they are, adequately flanking my large bed. I missed the mark on matching the stain color of my bed, but I worked so hard on these tables, I still love them.
I call this a master bedroom transformation because I also painted, added new bedding, and new lamps during this project. I'm so excited for my husband to come home from his month-long business trip to see all that I have accomplished in his absence!
Comments
Ana White Admin
Tue, 09/06/2022 - 11:39
Beautiful bed!
This looks amazing, thank you for sharing!