Simple White Outdoor End Table
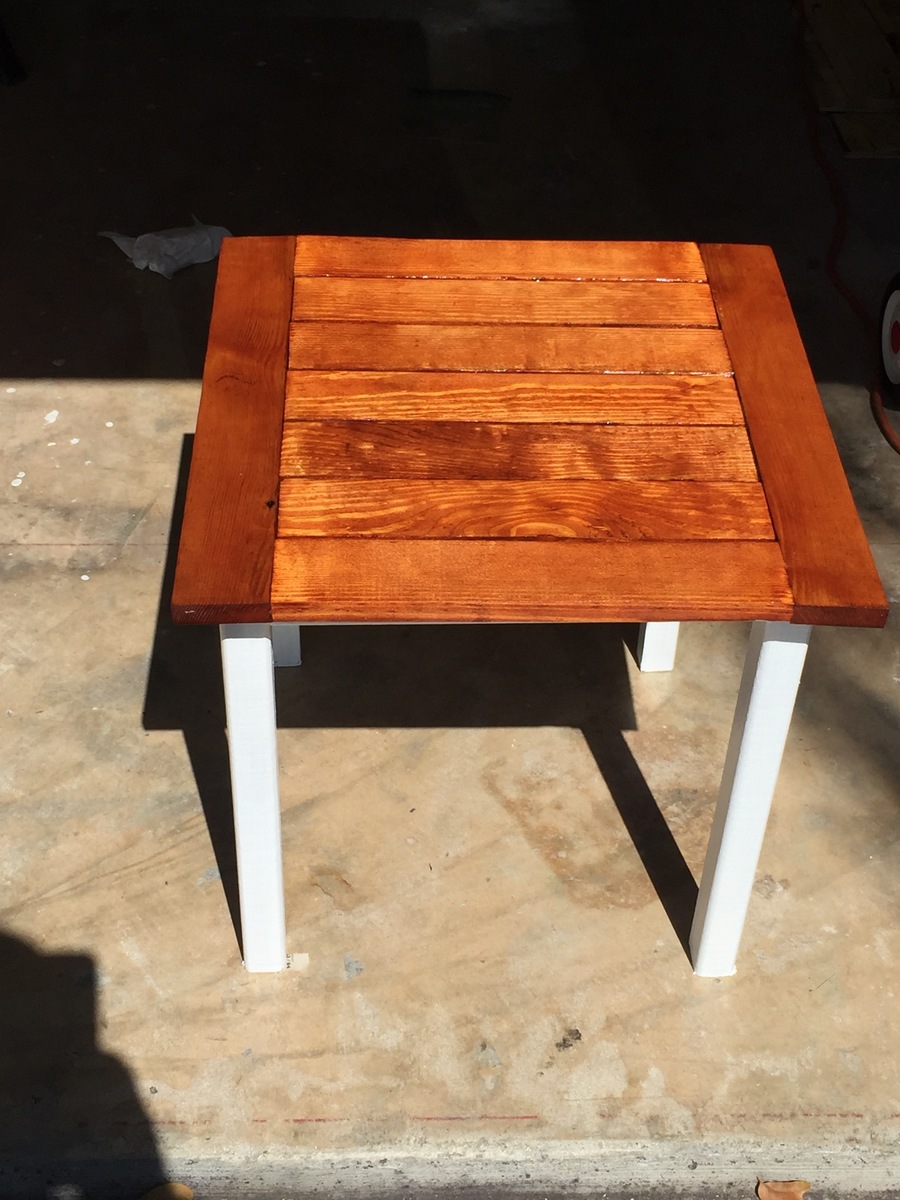
Great plan, taught me a few things about glue and stain! Corrected by sanding again and re-staining the spots.

Great plan, taught me a few things about glue and stain! Corrected by sanding again and re-staining the spots.
Decided to build a vertical herb garden after seeing a brag post. I used 3 six foot cedar fence pickets cut to 22 inches to fit between our garage doors. I used 2 inch nails and wood glue to keep everything together.
The best part was ripping th left over pieces of cedar at a 45 degree angle to use as hangers. I have not seen this described yet on this site yet. After you rip the boards you attach the one side to the back of the box so that the short side is flush. The other portion you attach to the wall so that the pieces will slide together to form a full board again. Its a great way to get the boxes flush against the wall and avoid expensive hanging accessories. It also allows you to do all your gardeining at your potting bench and then hang them when you are done.
Tue, 04/03/2012 - 11:27
looks great, and the french cleat idea is brilliant for planter boxes. Strength and mobility.
Thu, 11/01/2012 - 10:24
That technique you used is called a French Cleat system. I had three parallel rails installed on the walls in my garage, and, so far, have built two cabinets that hang on the walls (I have many more to go!).
Anything to which you can attach a cleat on the backside can be hung on a corresponding cleat on the wall! Pencil boxes, pegboard sheets (I have pegboard hanging on cleats), swivel lights, paper towel holders, an old bookcase (makes for instant shelving), etc.
Hugs!
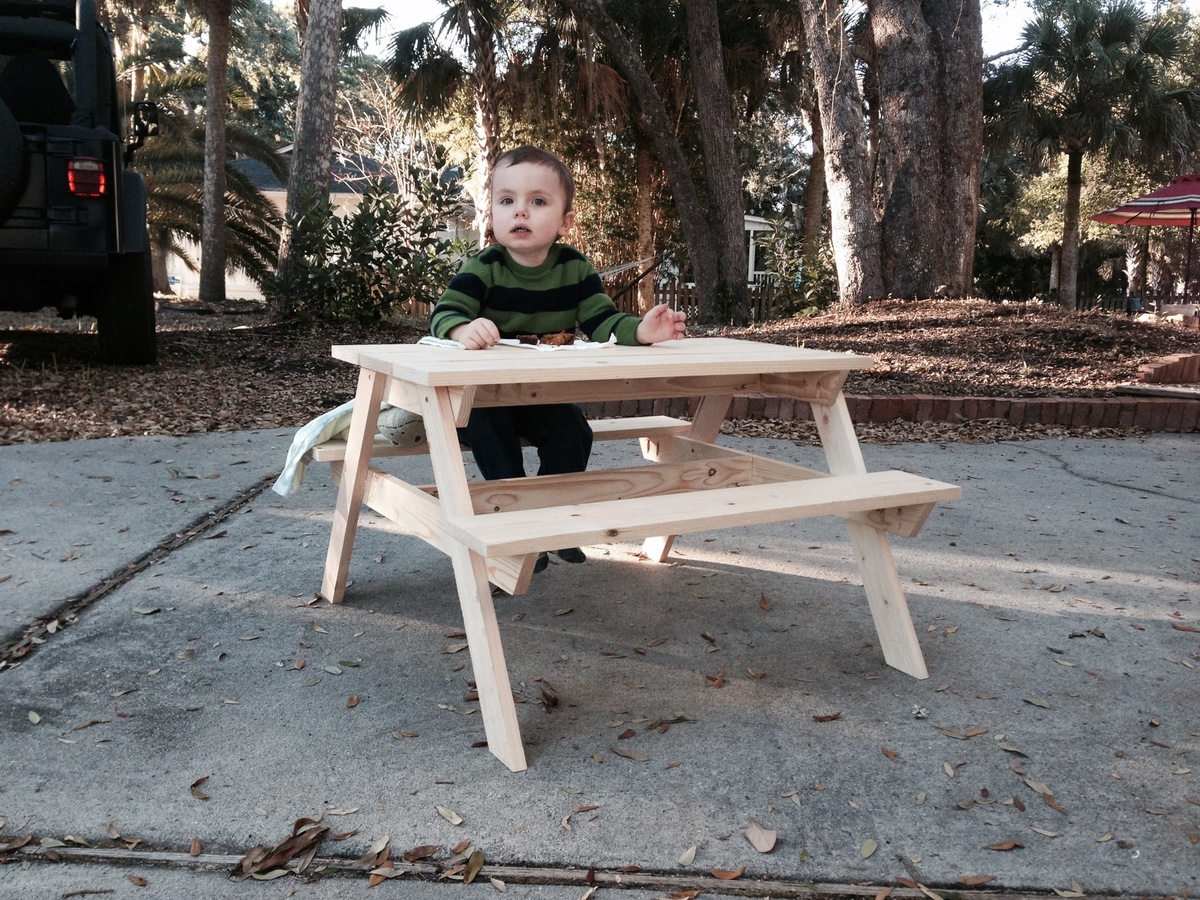
This was a fun, easy project. The main modification I made was to use 1 x 6 boards for the bench tops.
I also used my Kreg Jig extensively for this project. There are no visible screws on the tabletop or bench tops.
My grandson Oliver couldn't wait for me to put a finish on it. He had to try it out while snacking on his great-grandmother's pumpkin bread.
Built using your sewing table as the base idea. Pine cabinet, drawers and drawer fronts. The top is Hickory, poplar and red oak. base top dimension is 30x30 and folds out to 30x90. Mary will get this as a surprise on Christmas day. Cabinet and to is Varathane 3x. Casters are from Woodcraft and drawer slides are Hickory Hardware.
Mon, 12/28/2020 - 07:05
build the size of cutting mat. Add roller for fabric.
I love how sturdy and beautiful these planter steps turned out! They were easy to build and work perfectly with the new deck/front porch I built this summer. I only needed one step and I used the same 1x material for the top of the step as I did the deck. I just added a couple more supports for the 1x material, as it isn't as sturdy as 2x6's. Thank you so much for the wonderful plan!
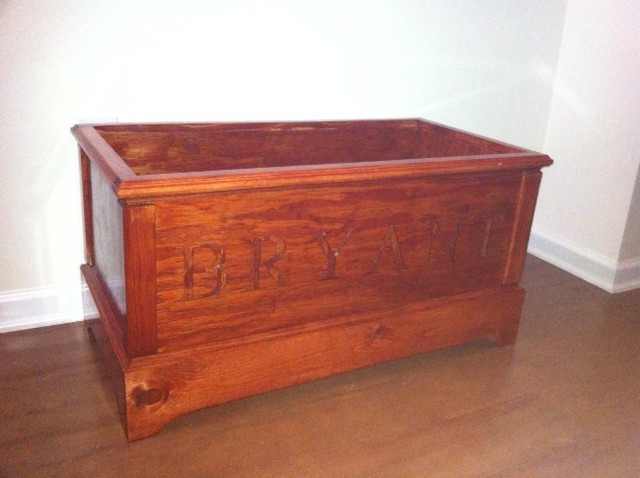
I chose to go with regular plywood, and I used thin pieces of wood to cover the screw holes in the corners. I just rounded the edges of the corner pieces to make them meet up with the molding better. Then I routered the top to smooth it out. I stained and clear coated it instead of painting it. For the lettering I chose to router it out instead of drawing it on.
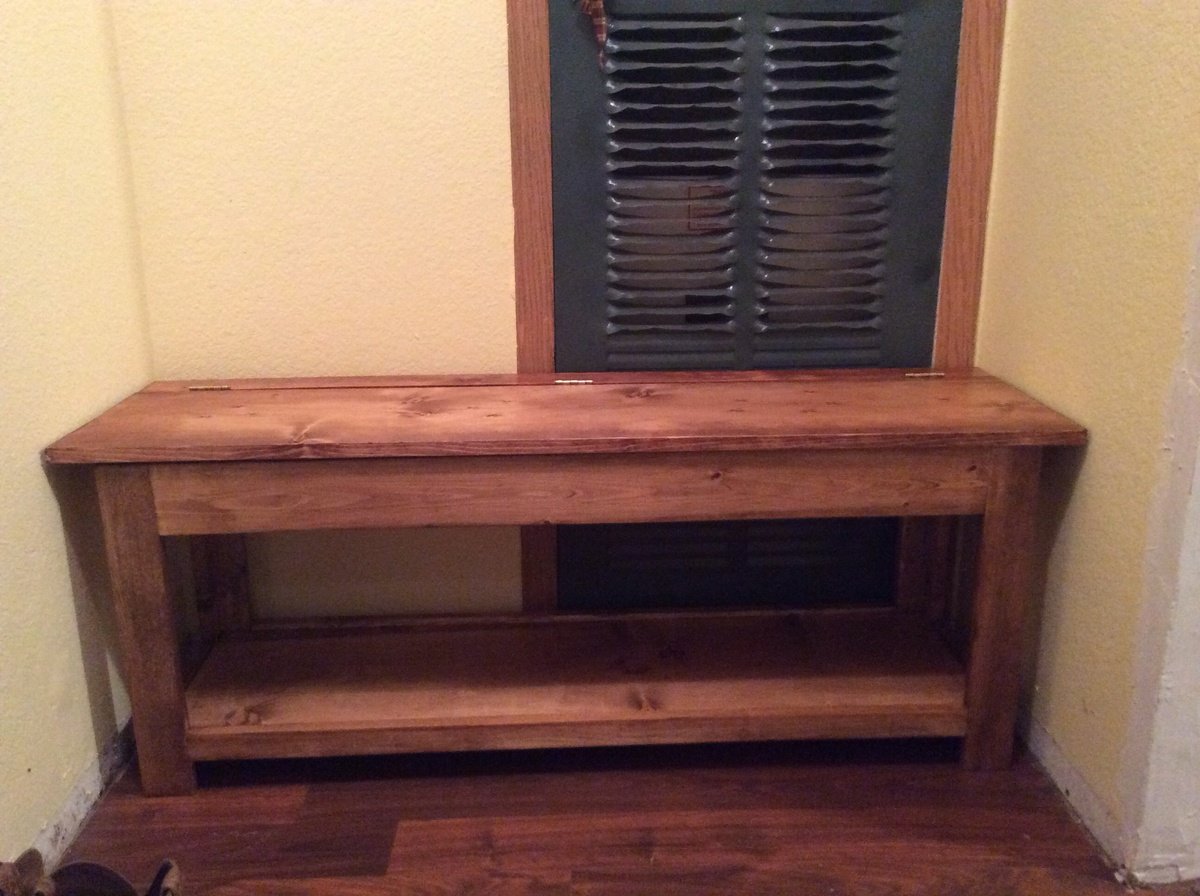
I have a small mud room and this bench was perfect for keeping shoes organized on the bottom shelf, as well as storing hats and gloves inside. The storage area isn't very deep but it holds a decent number of hats and gloves.
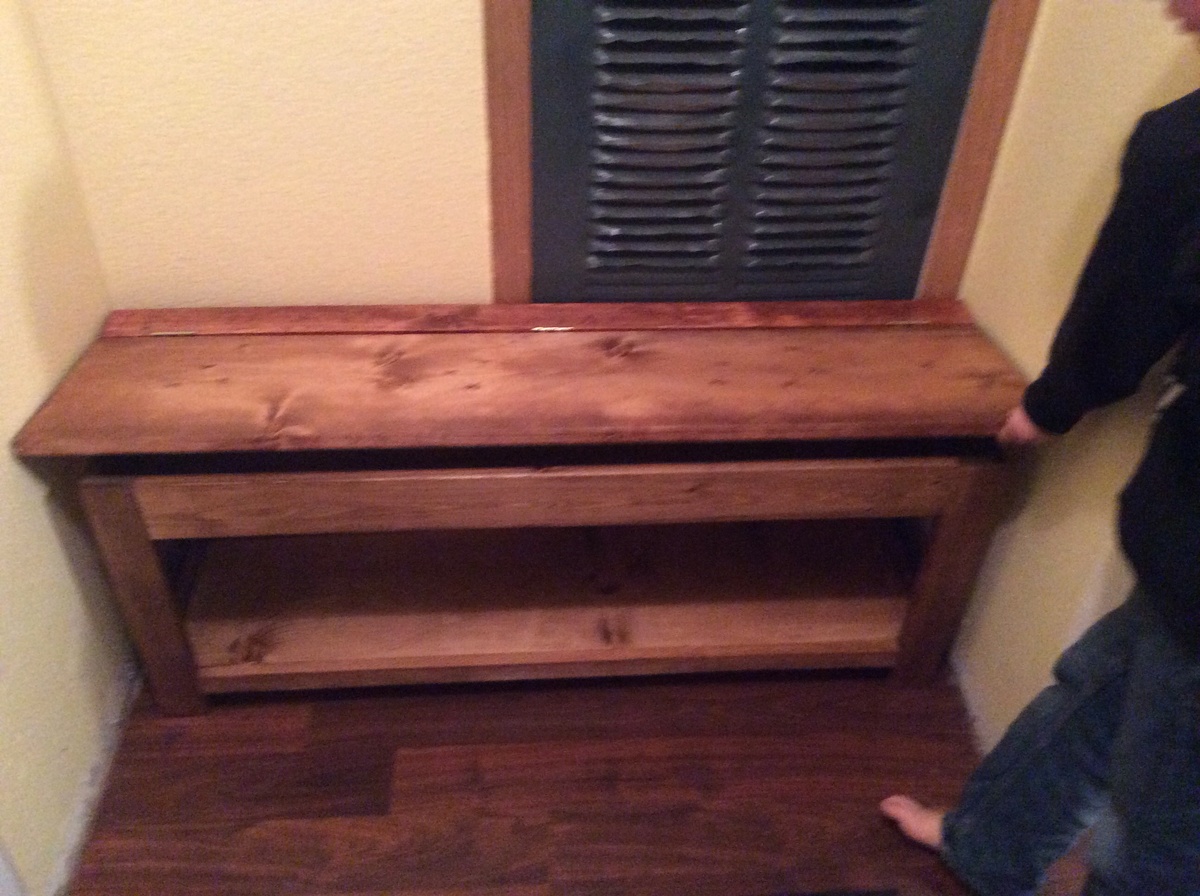
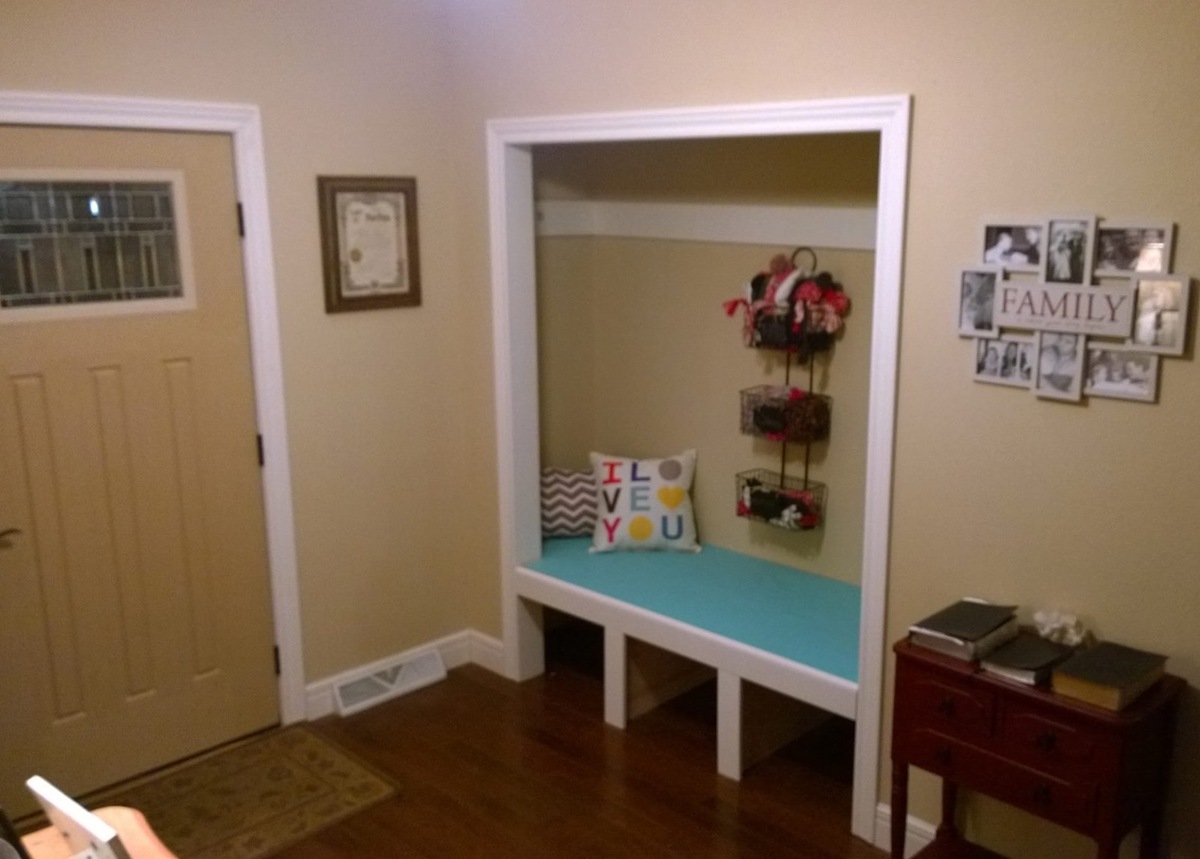
The coat closet in our entry was always cluttered with too many coats, oddly placed mittens and hats, and shoes were piled on the floor. This was our solution. After this picture was taken I attached several hooks I found at a local antique store along the rail for the coats or sweaters we wear daily, and shoe bins were added below for each of our three daughters.
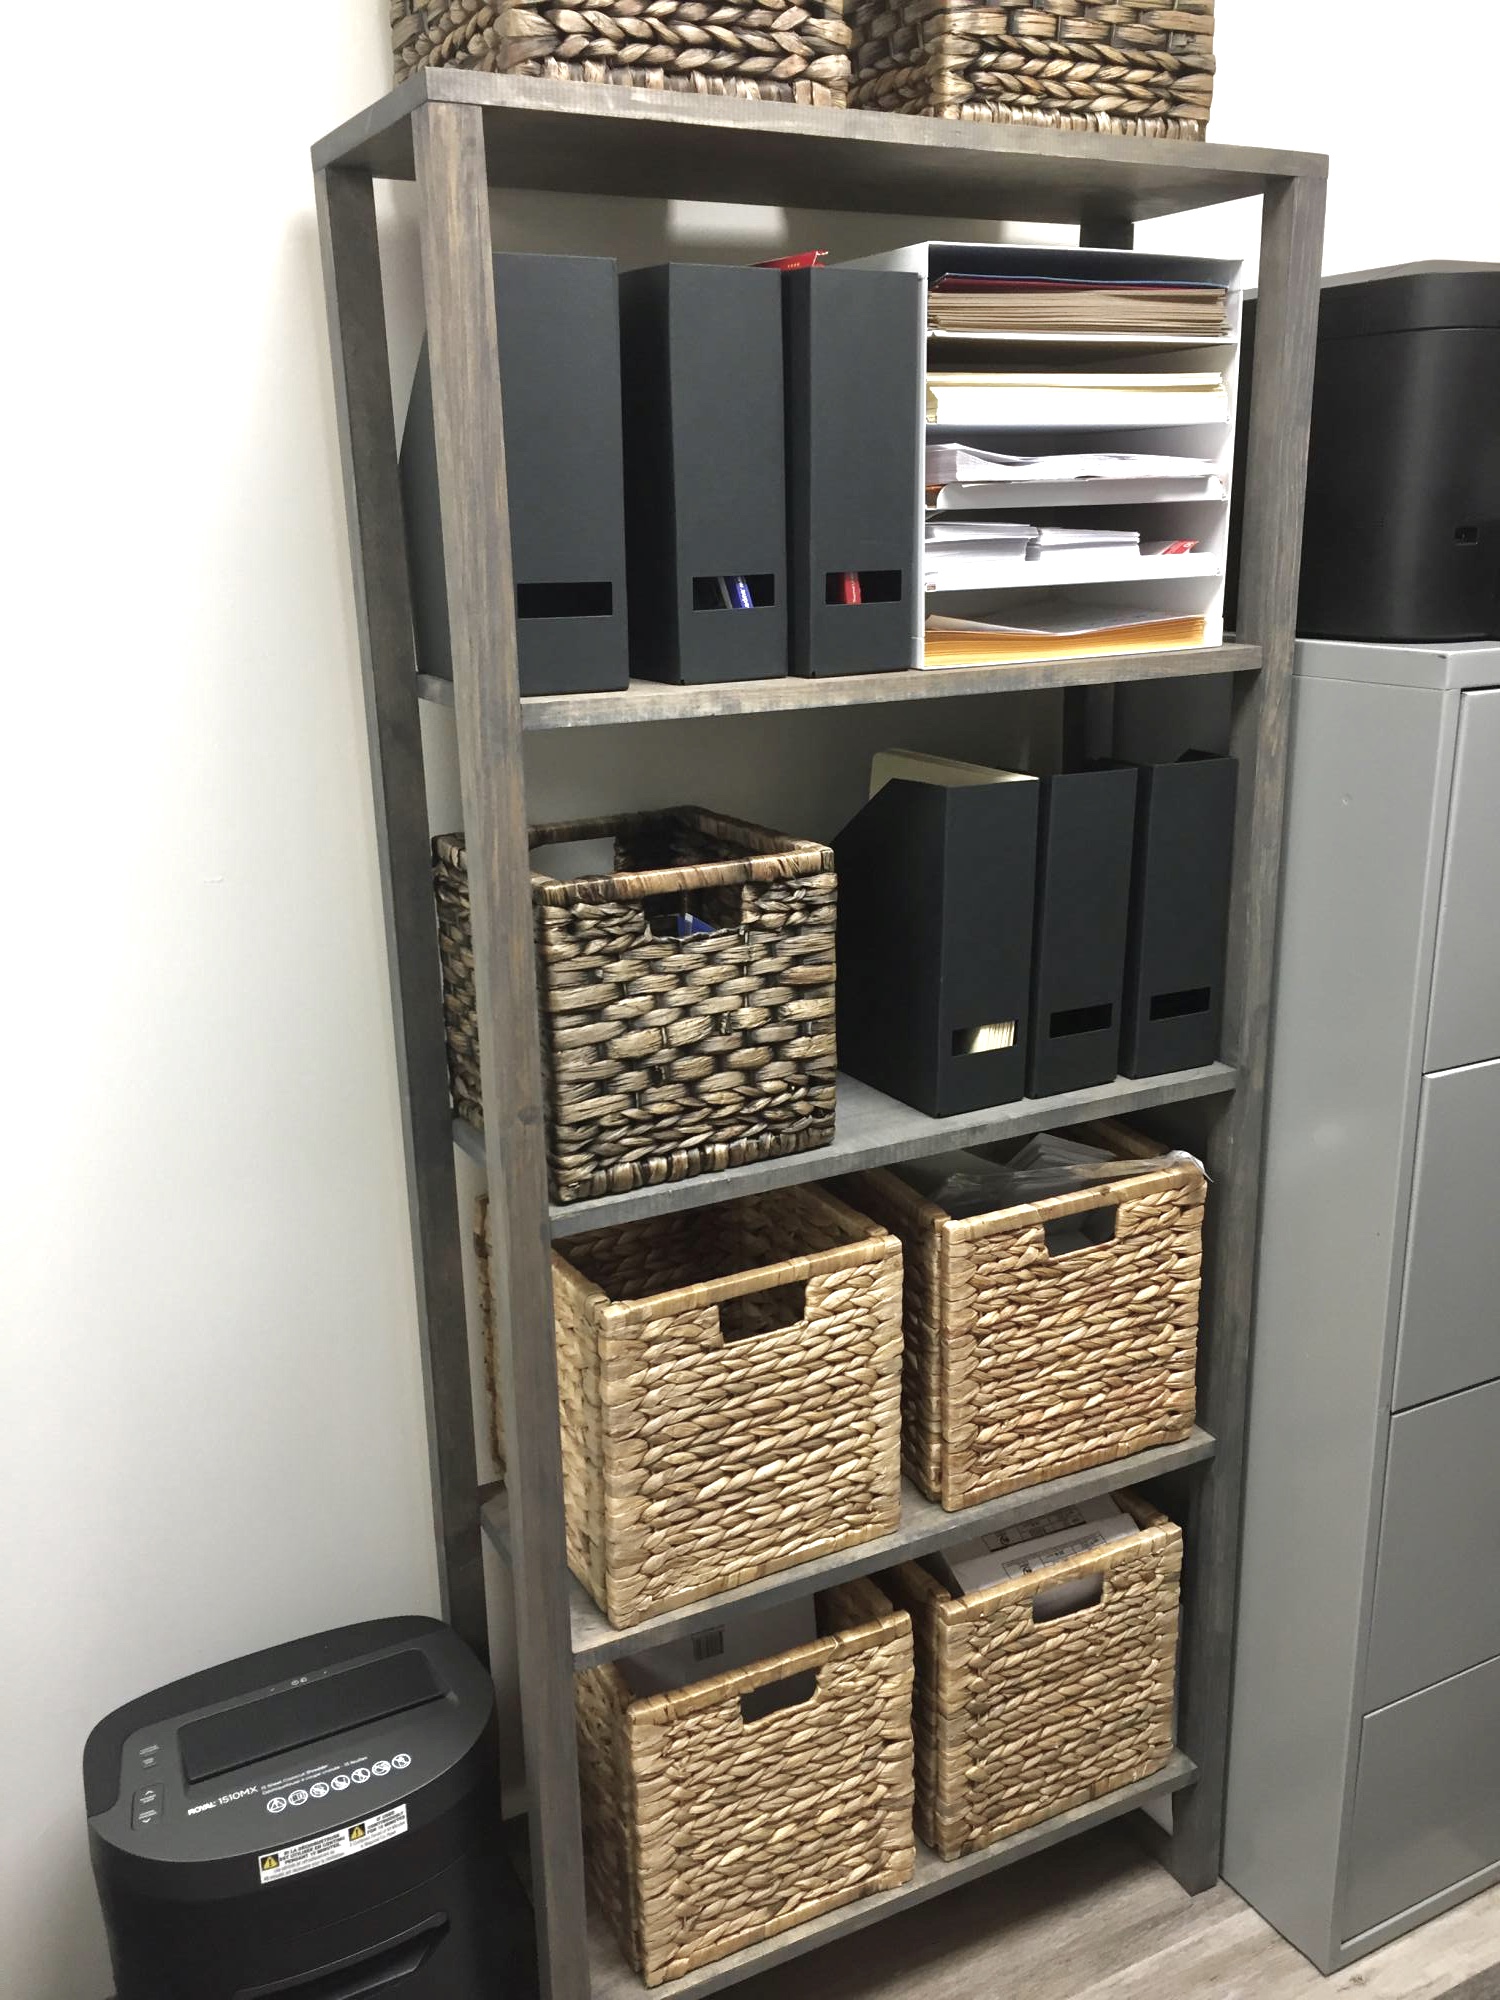
I built this bookcase for some office storage.
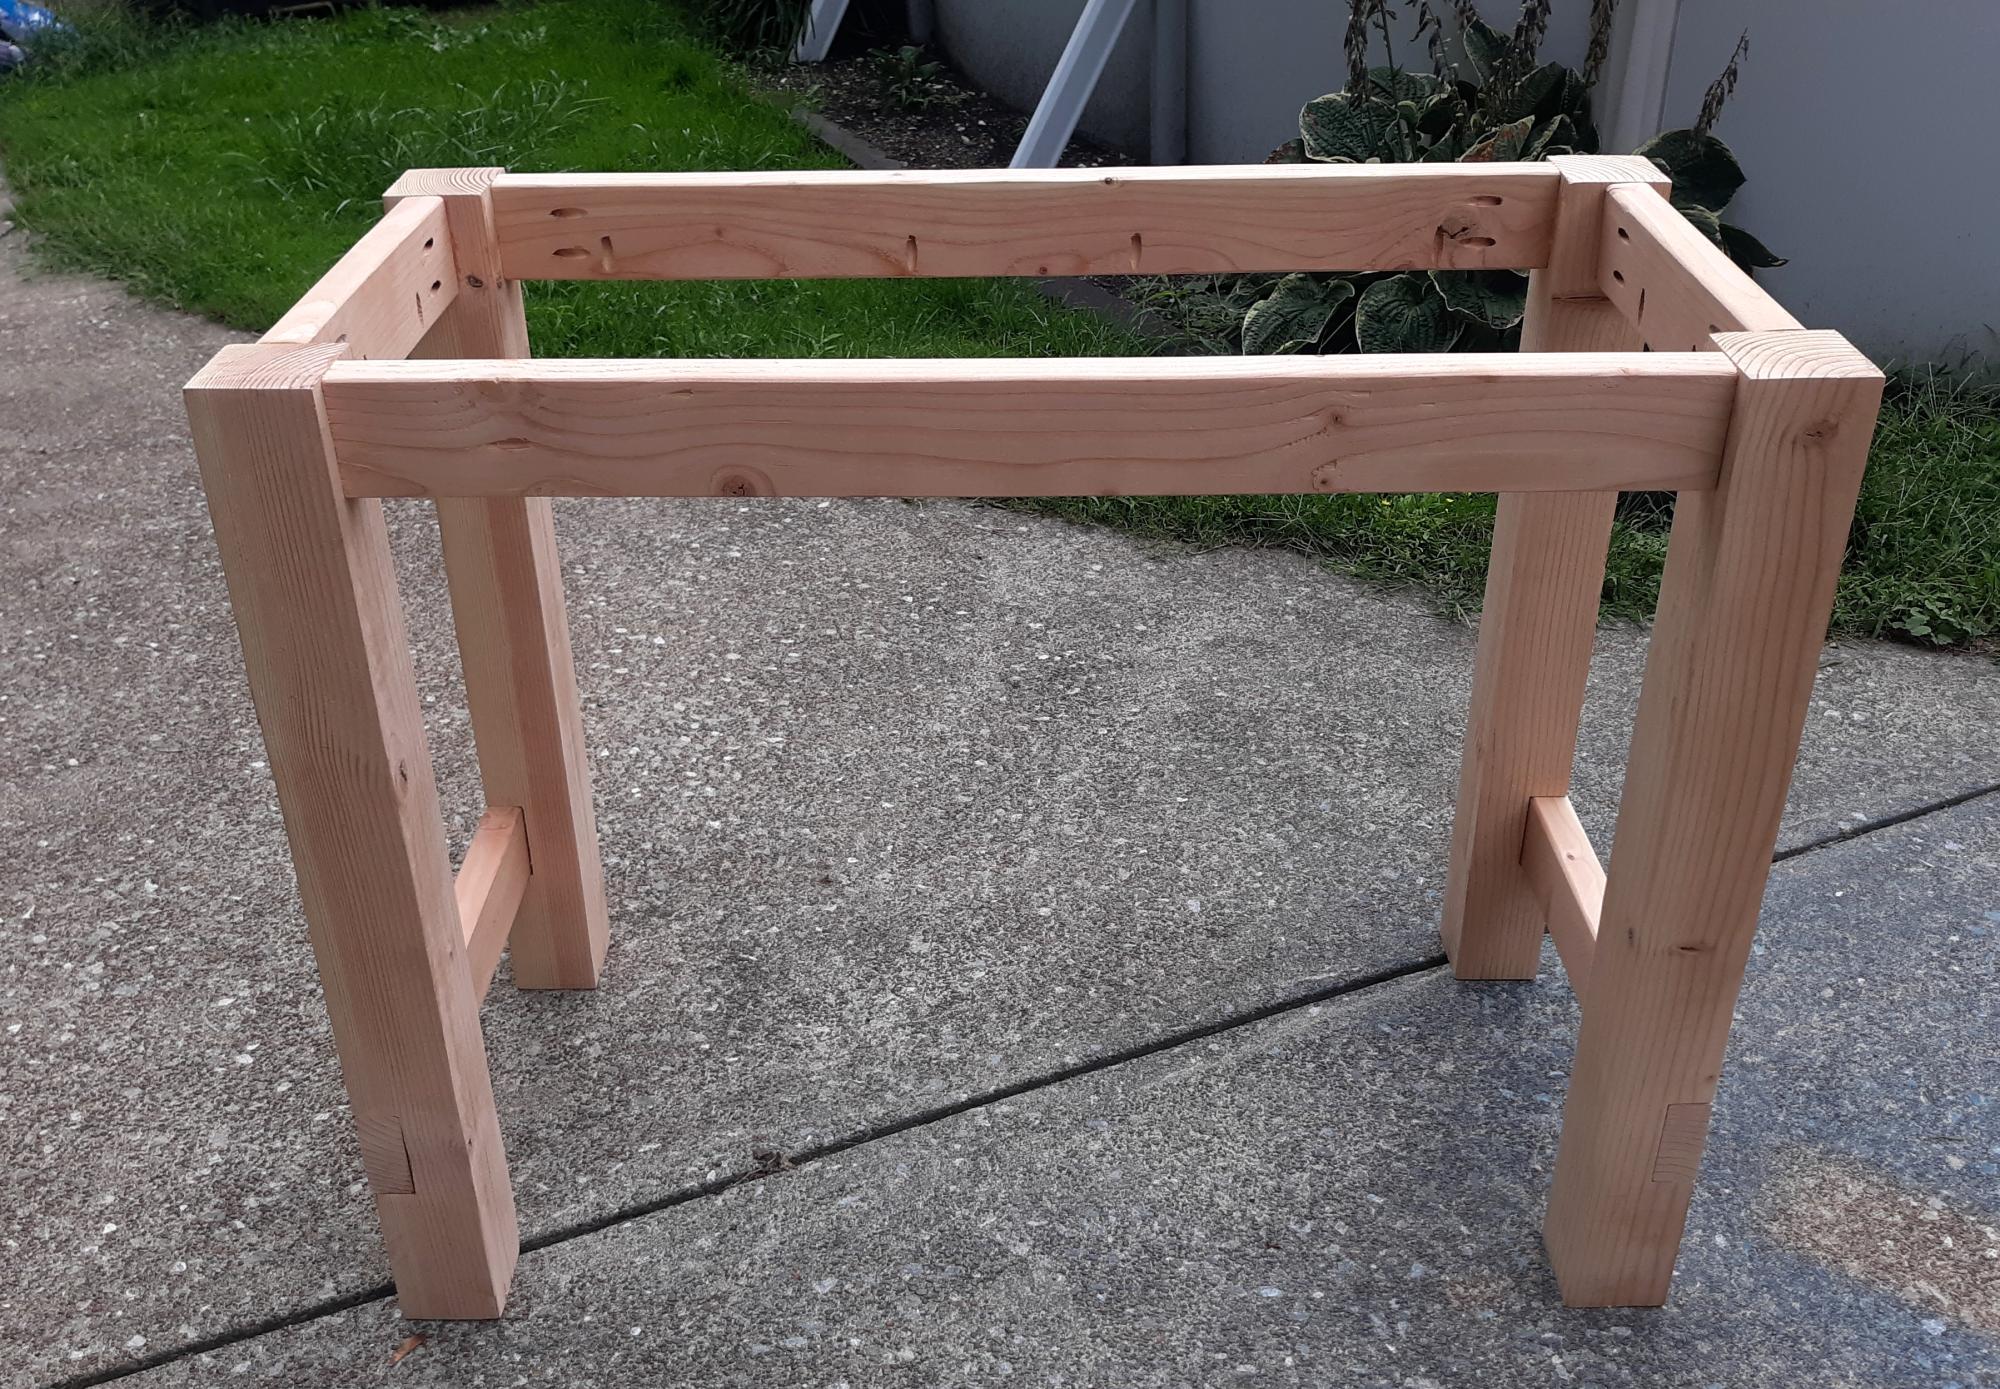
My grandson is in his second year college. He just got his first apartment and needed a table for homework and eating and folding clothes. We made a scaled down version of a farm table and it turned out exactly the way we wanted it.
Roger H
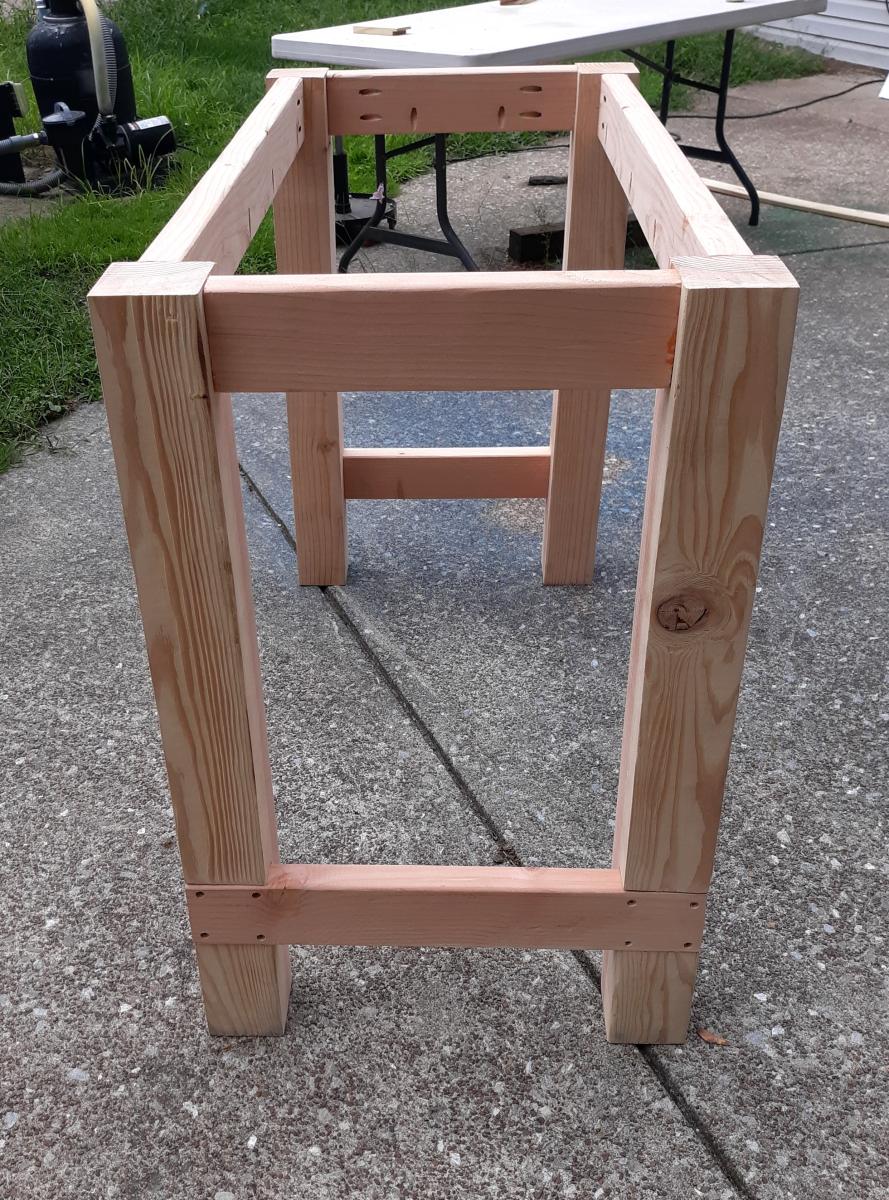
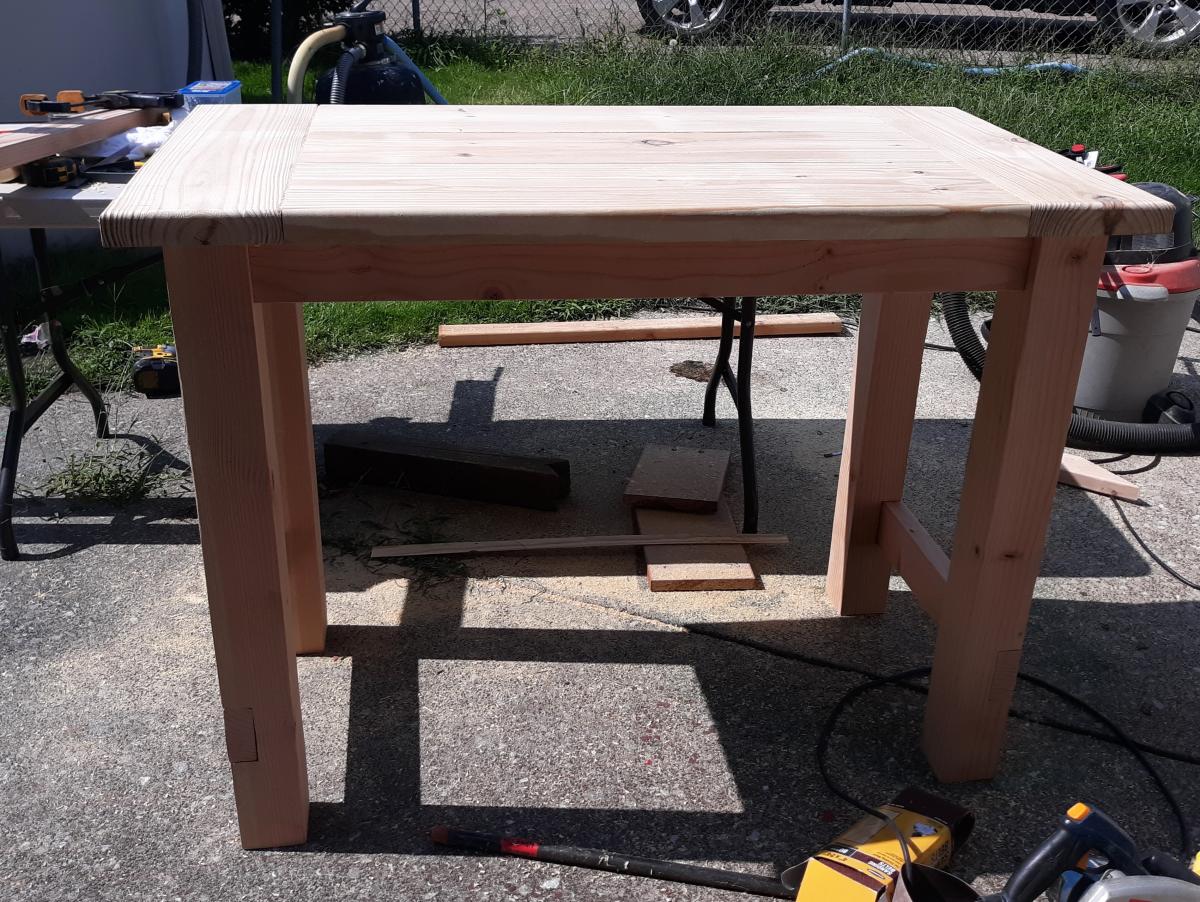
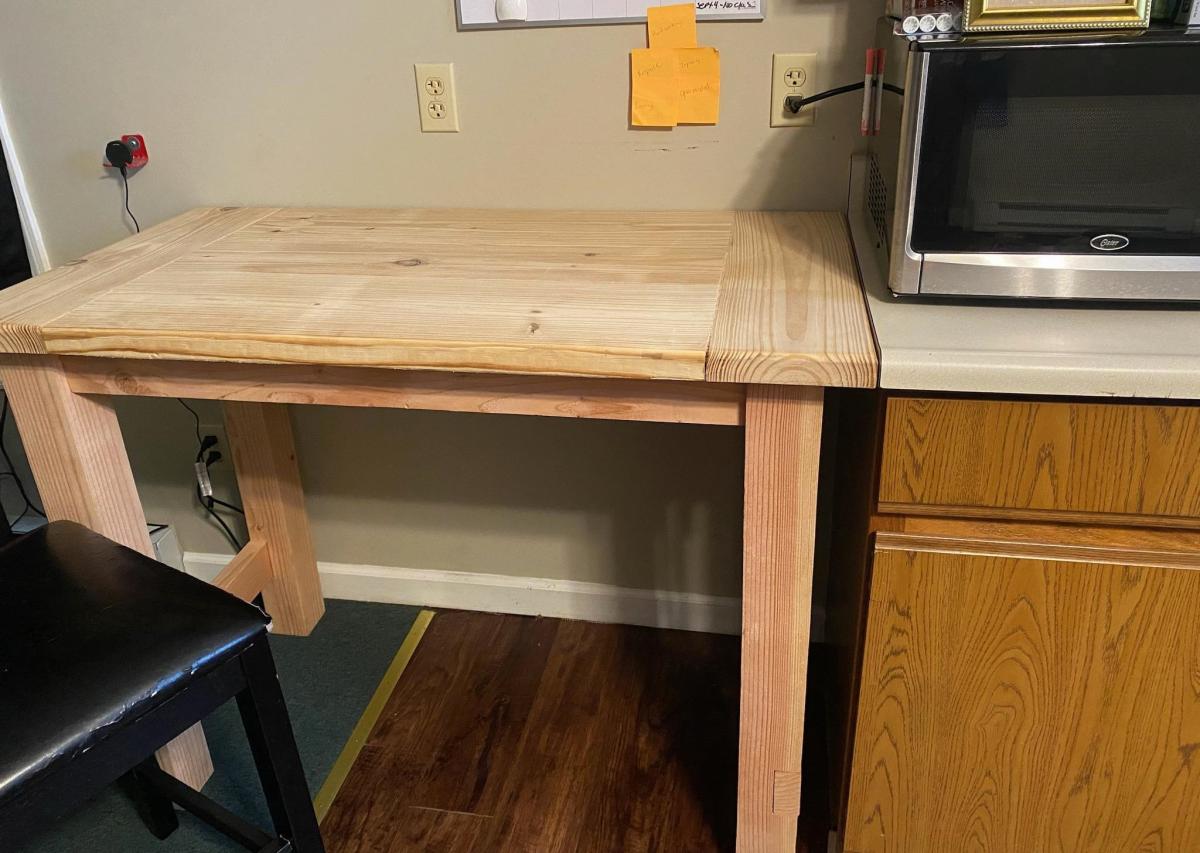
I had a bunch of extra wood sitting around the garage, so I decided to build this. Reclaimed wood 41 1/2 long by 17 1/2 wide and 19 inches tall. I used natural stain so it could keep it's beat up charm.
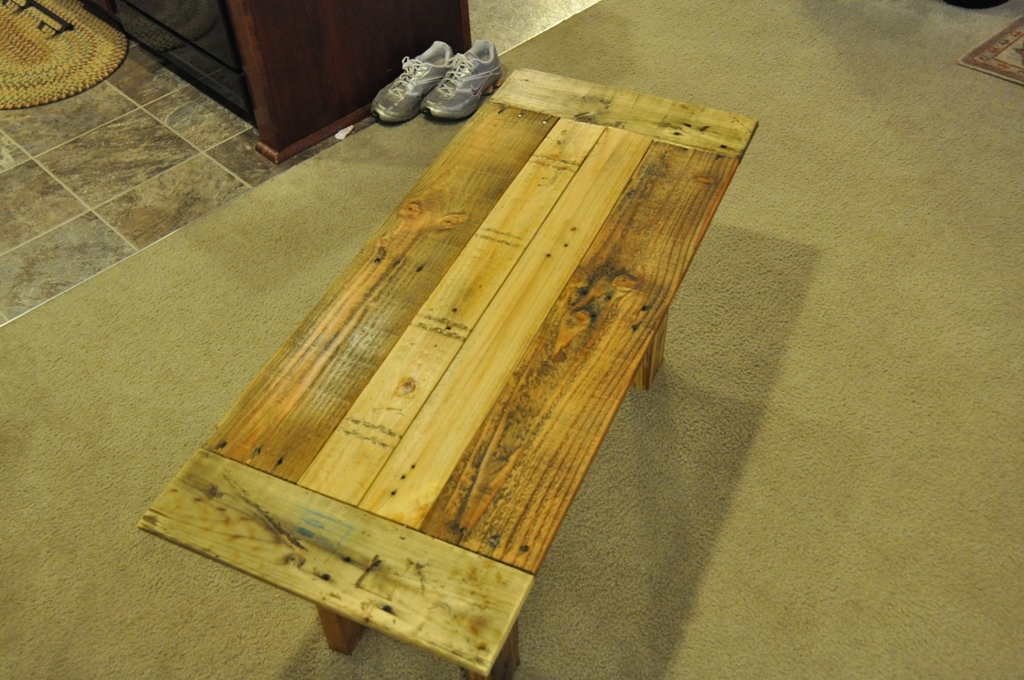
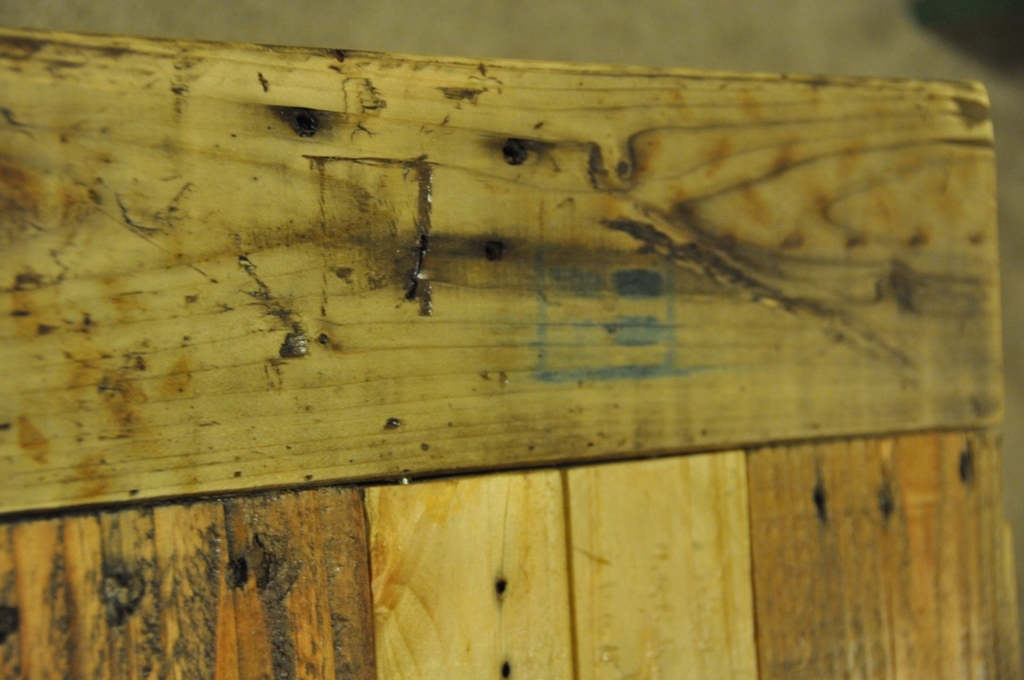
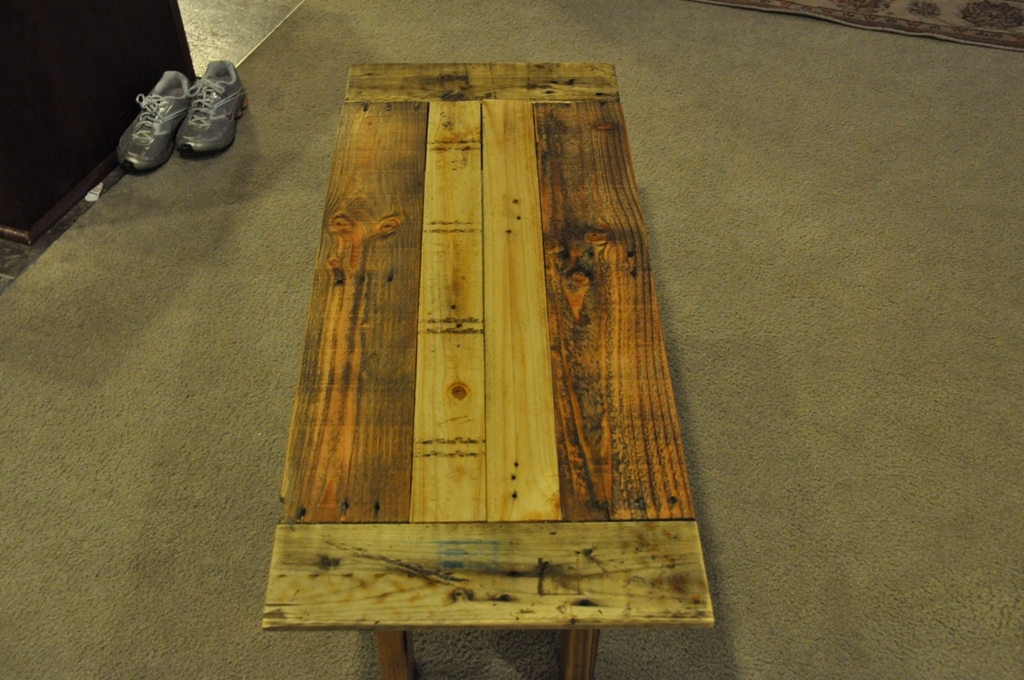
My first project!
Fri, 01/24/2014 - 22:16
Congrats on your first project! Looks great. I will start my first project as well in the next few months. I am guessing that the edges were well sanded to avoid splinters?

This was my first furniture project and I simply wanted to hide all of the cords for my TV. My husband and I opted out of the drawers since we wanted a big area to store all of the other items (DVDs, playstation, etc.). We also did not put a back on the table so the electronics stored inside could properly ventilate without overheating.
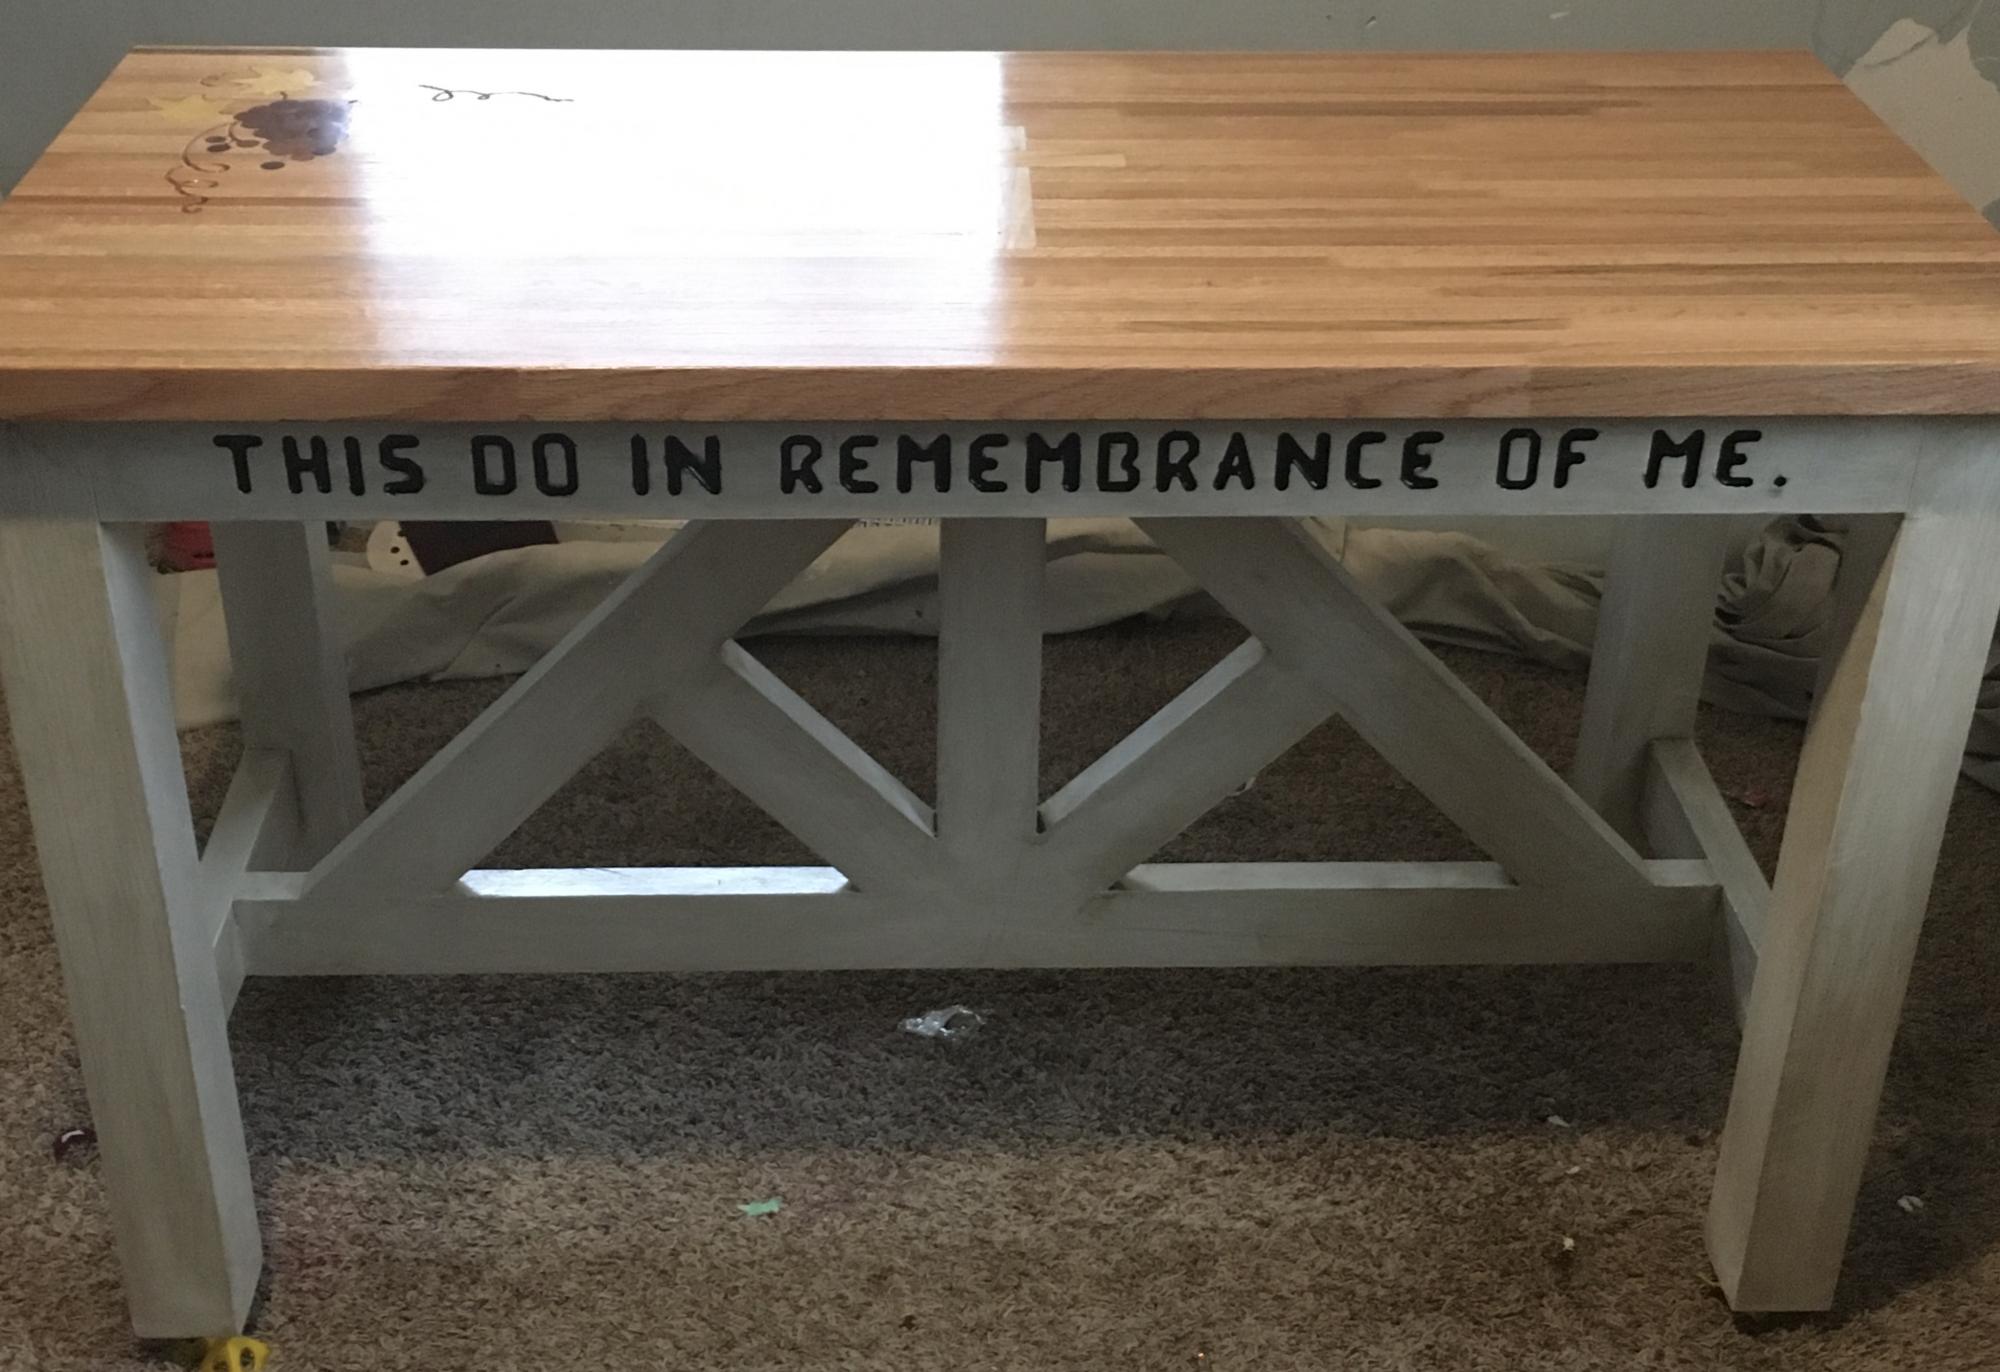
Wanted to make a Communion Table for church found these plans here on Ana White and just had to use it. I modified them to make the table 24 inches wide and only 52 inches long. I had fun making this and had help from all five of my kids with the oldest being 11 and the youngest 3. Thanks for recommending these plans they were awesome. 👍
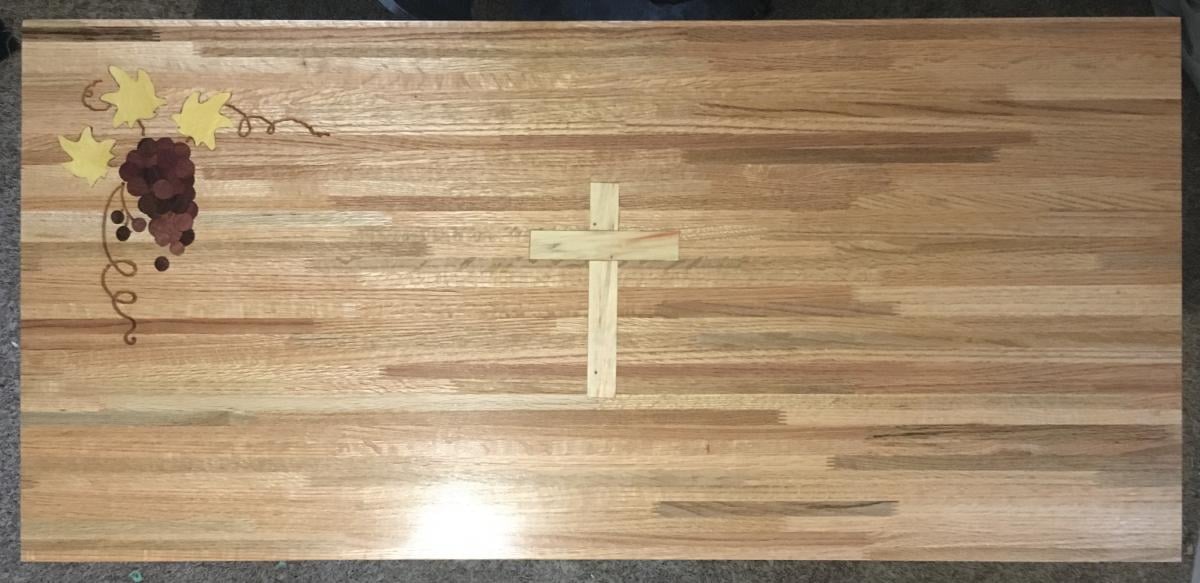
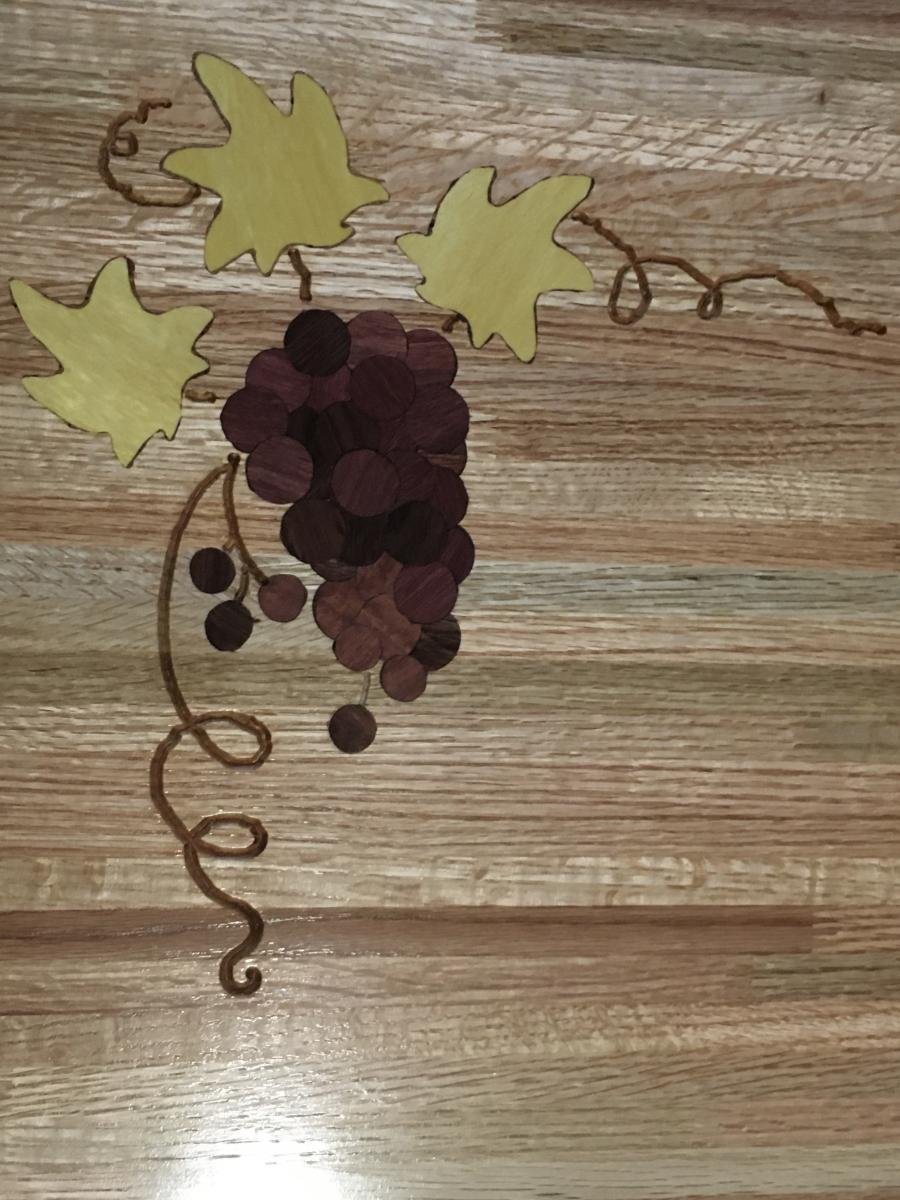
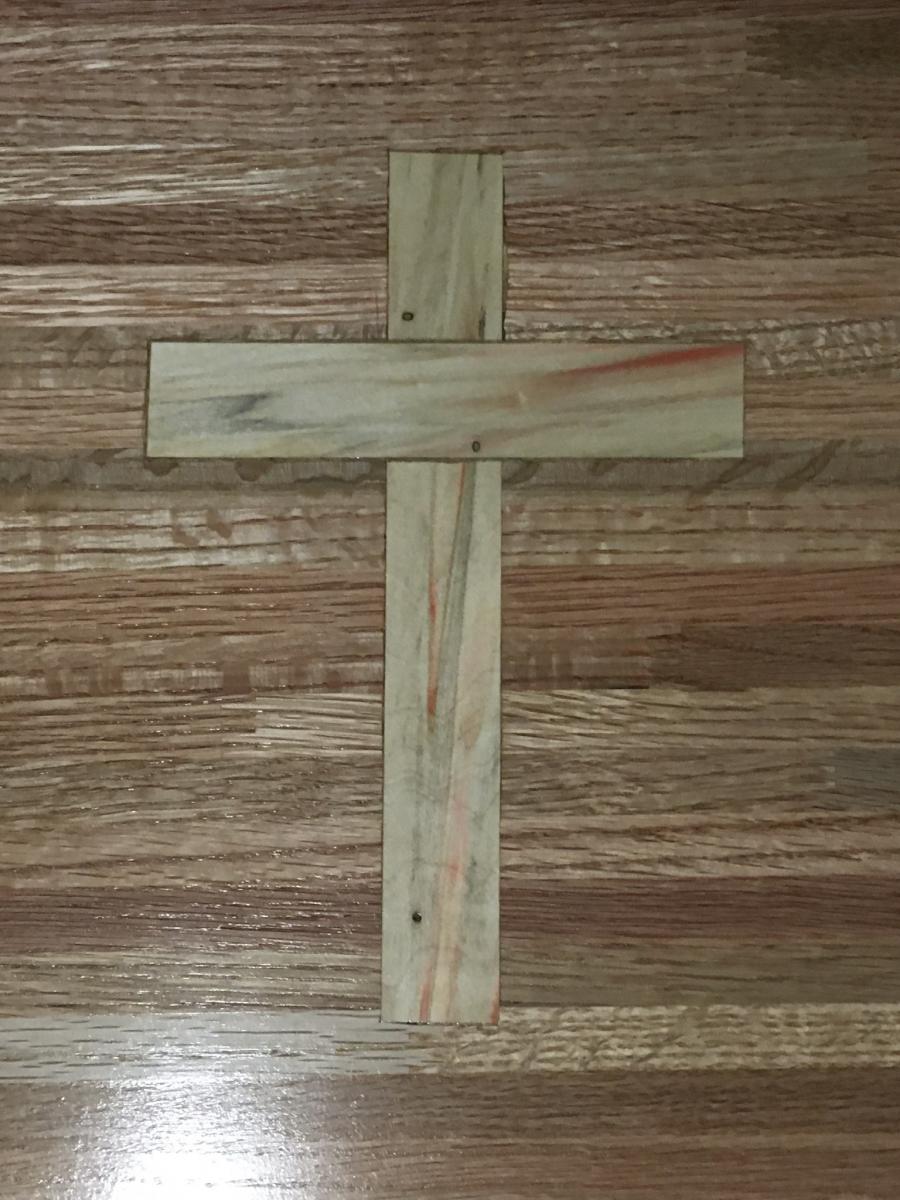
Bedroom DIY Suite
Paul Burdine
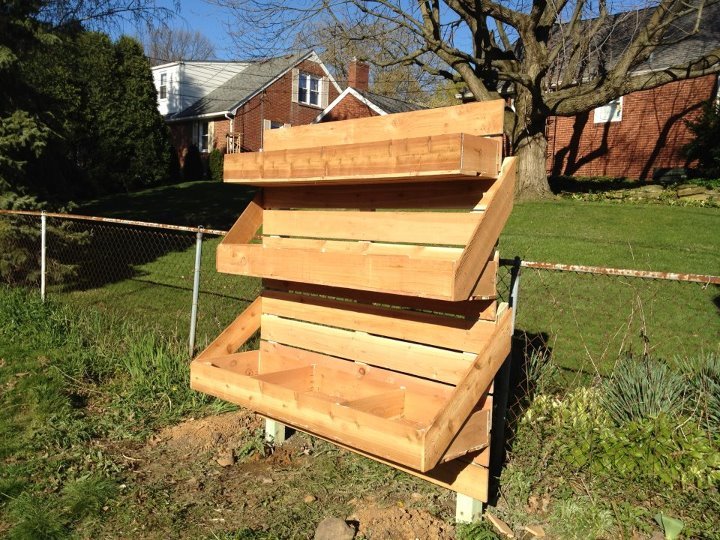
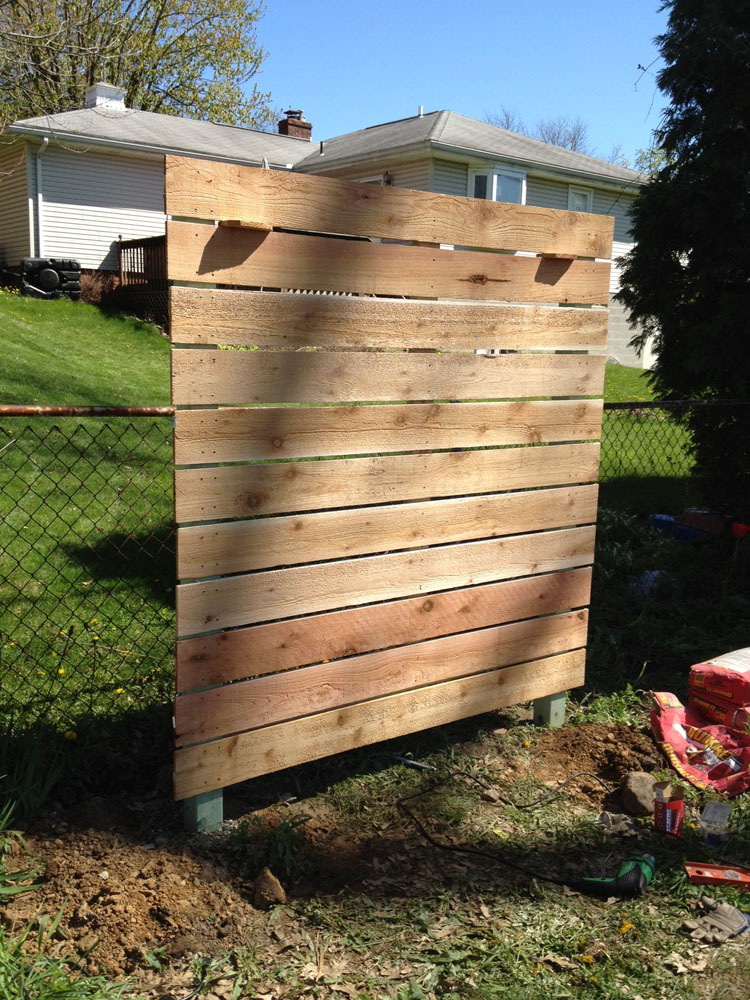
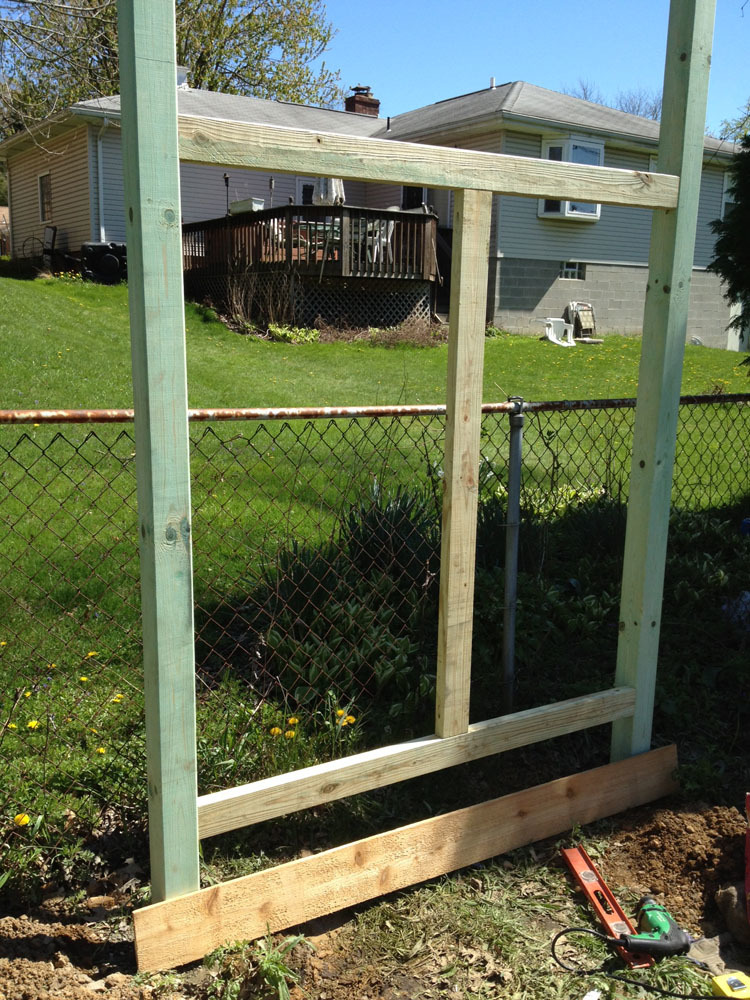
We don't have a ton of space in our back yard thats in direct sunlight. Also we have an ugly old chain-link fence. I saw a lot of vertical gardens and decided that would help two issues, maximize sun space and obscure part of that ugly fence. It's super easy to put together and was pretty cheap as well. I took some inspiration from the cedar raised beds on the site and built all the planter boxes out of cedar fence pickets. I added some extra supports so that the weight of the boxes wouldn't rip down the planters.
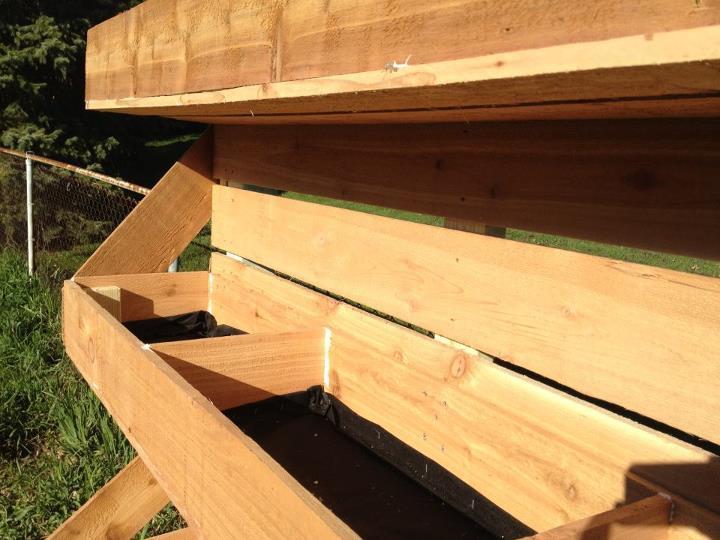

Sun, 07/08/2012 - 10:32
Thanks for this great idea and the photos of the details. What did you decide to plant? (Btw, all you need for that fence is a few cans of black spray paint!)
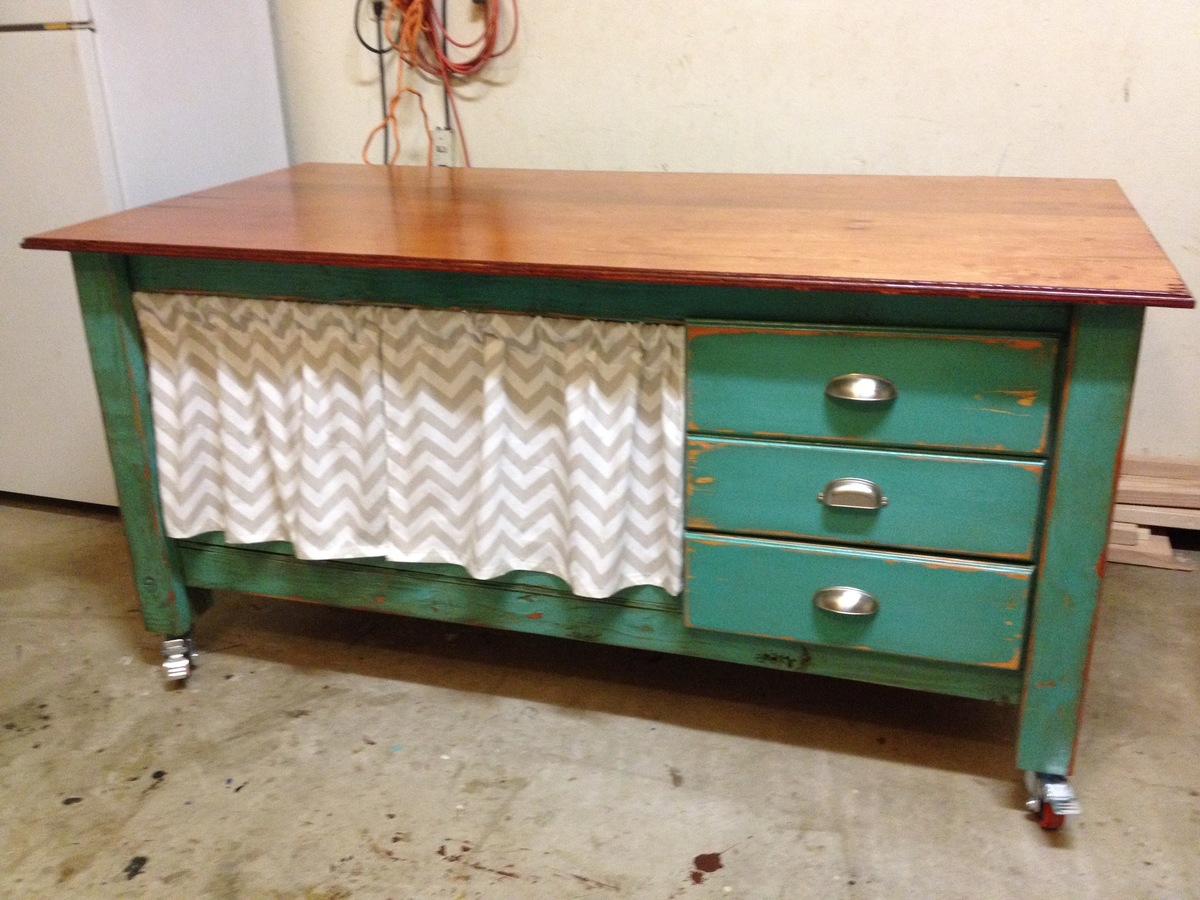
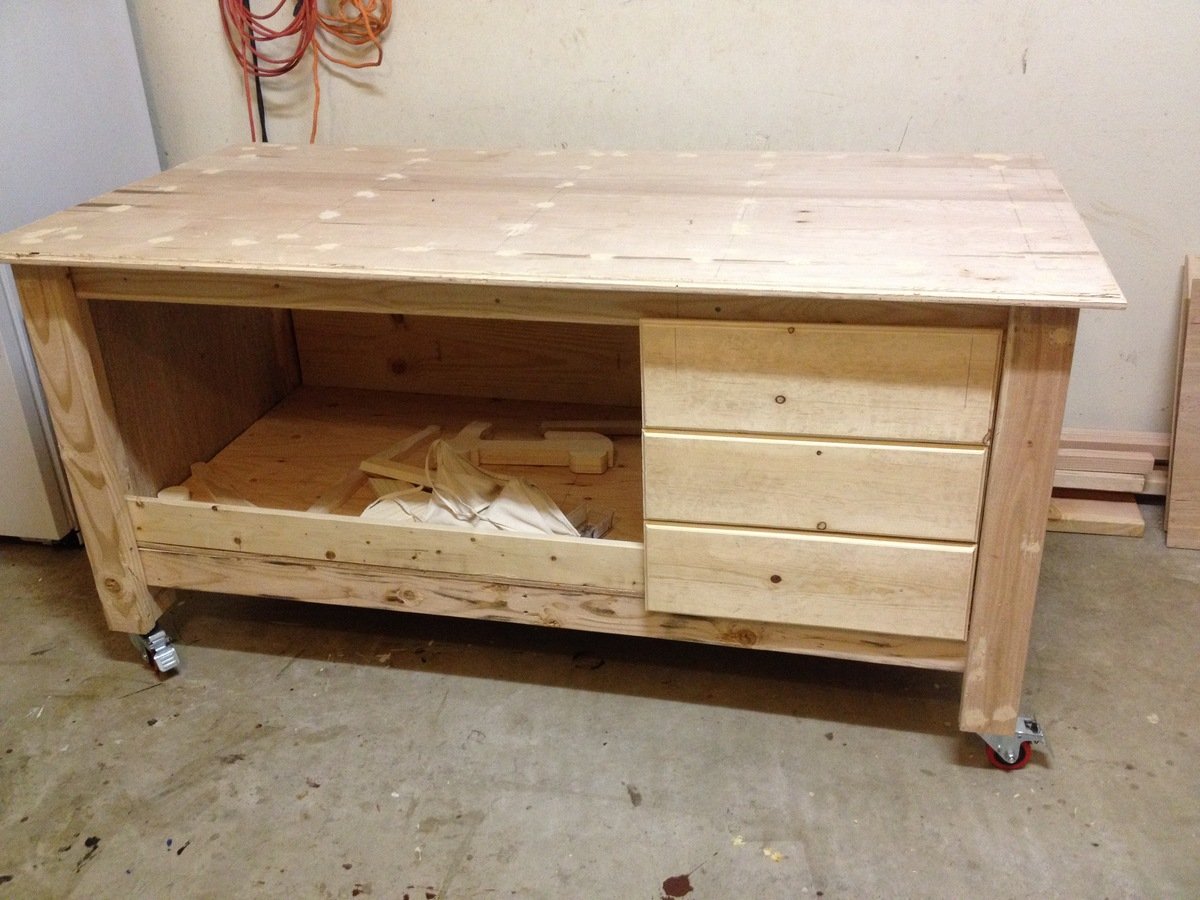
I'm so excited. I have my very own work bench! Thank you Ana for the sturdy work bench plans. I've added drawers and some curtains to keep the dust out. My brother did most of the work on this but I did some of the build at the end and all of the painting. Even though this will be stored in the garage, I wanted it to look like a piece of furniture found inside the house. I love the distressed look and I think I've succeeded in making it look old. I've made a few of your projects which I will post later. Right now I'm enjoying my new (old looking) work bench and I think it's really cool that it looks like it belongs to a girl.
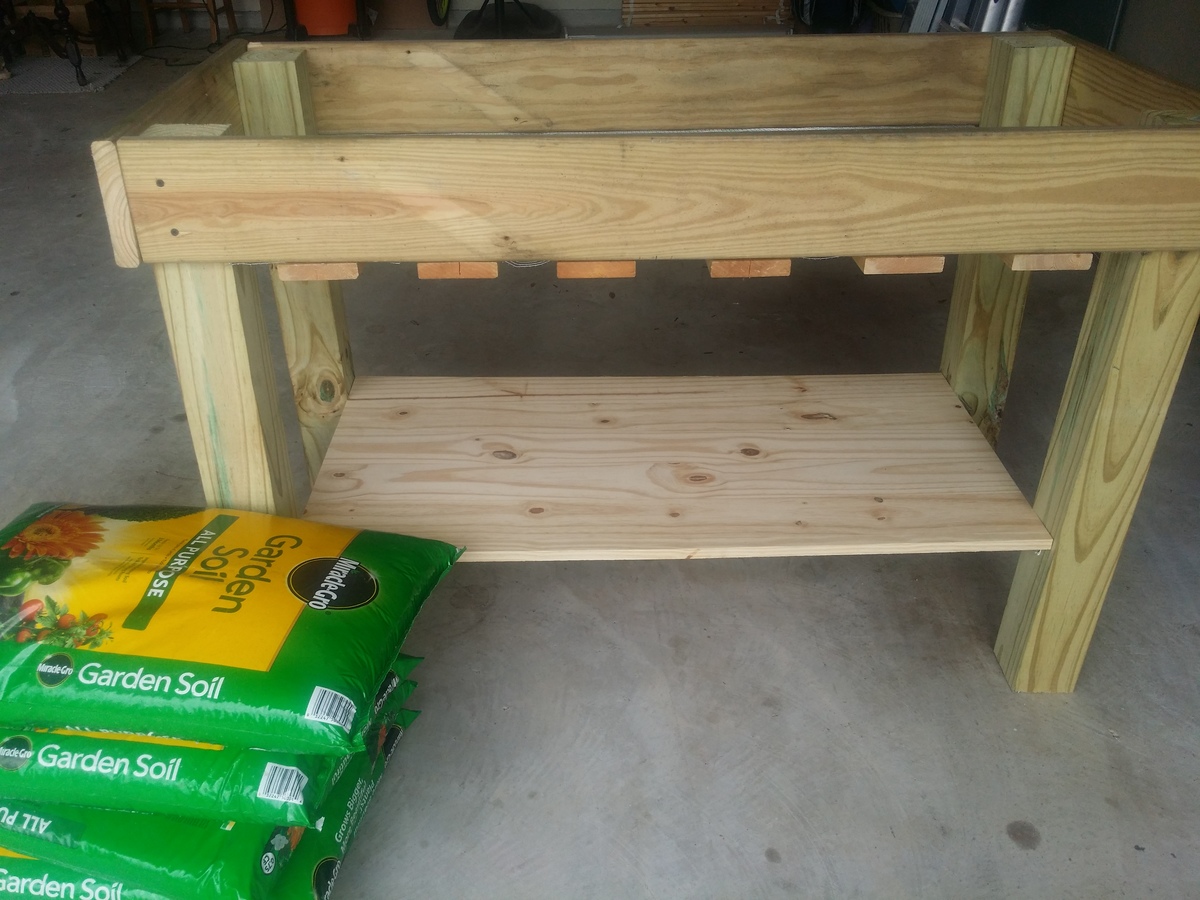
I always wanted a raised planter box, but never took the time to try building 1 and certainly didn't want to buy 1. My hubbie saw these plans and decided to make it for me. He used wood from our deck that we just pulled up, so the only cost was for the 4x4s and the plywood used for the bottom shelf.

We've been desperate for more storage in our little house and this build really helped. The whole bench is 103“ wide and each drawer gives us 24"x17" of usable space. We had to do some custom shaping for the benchtop (two joined fir 2x12's) fit as the walls are not square but in the end we were really pleased.
The hardest part of the project was getting all of this built and in place while working around a busy family as this is our only meal space and the majority of cutting/forming was done either on the weekends or after bedtimes. If I were to do this again I'd prioritize sending the kids to grandparents for the weekend and know king everything except for paint out in one go.
We could have spent less time with the benchtop by using plywood like in the plans but we wanted the look of a separate benchtop. We may replace the fir with stained oak down the line but this should be plenty sturdy for the next several years.
