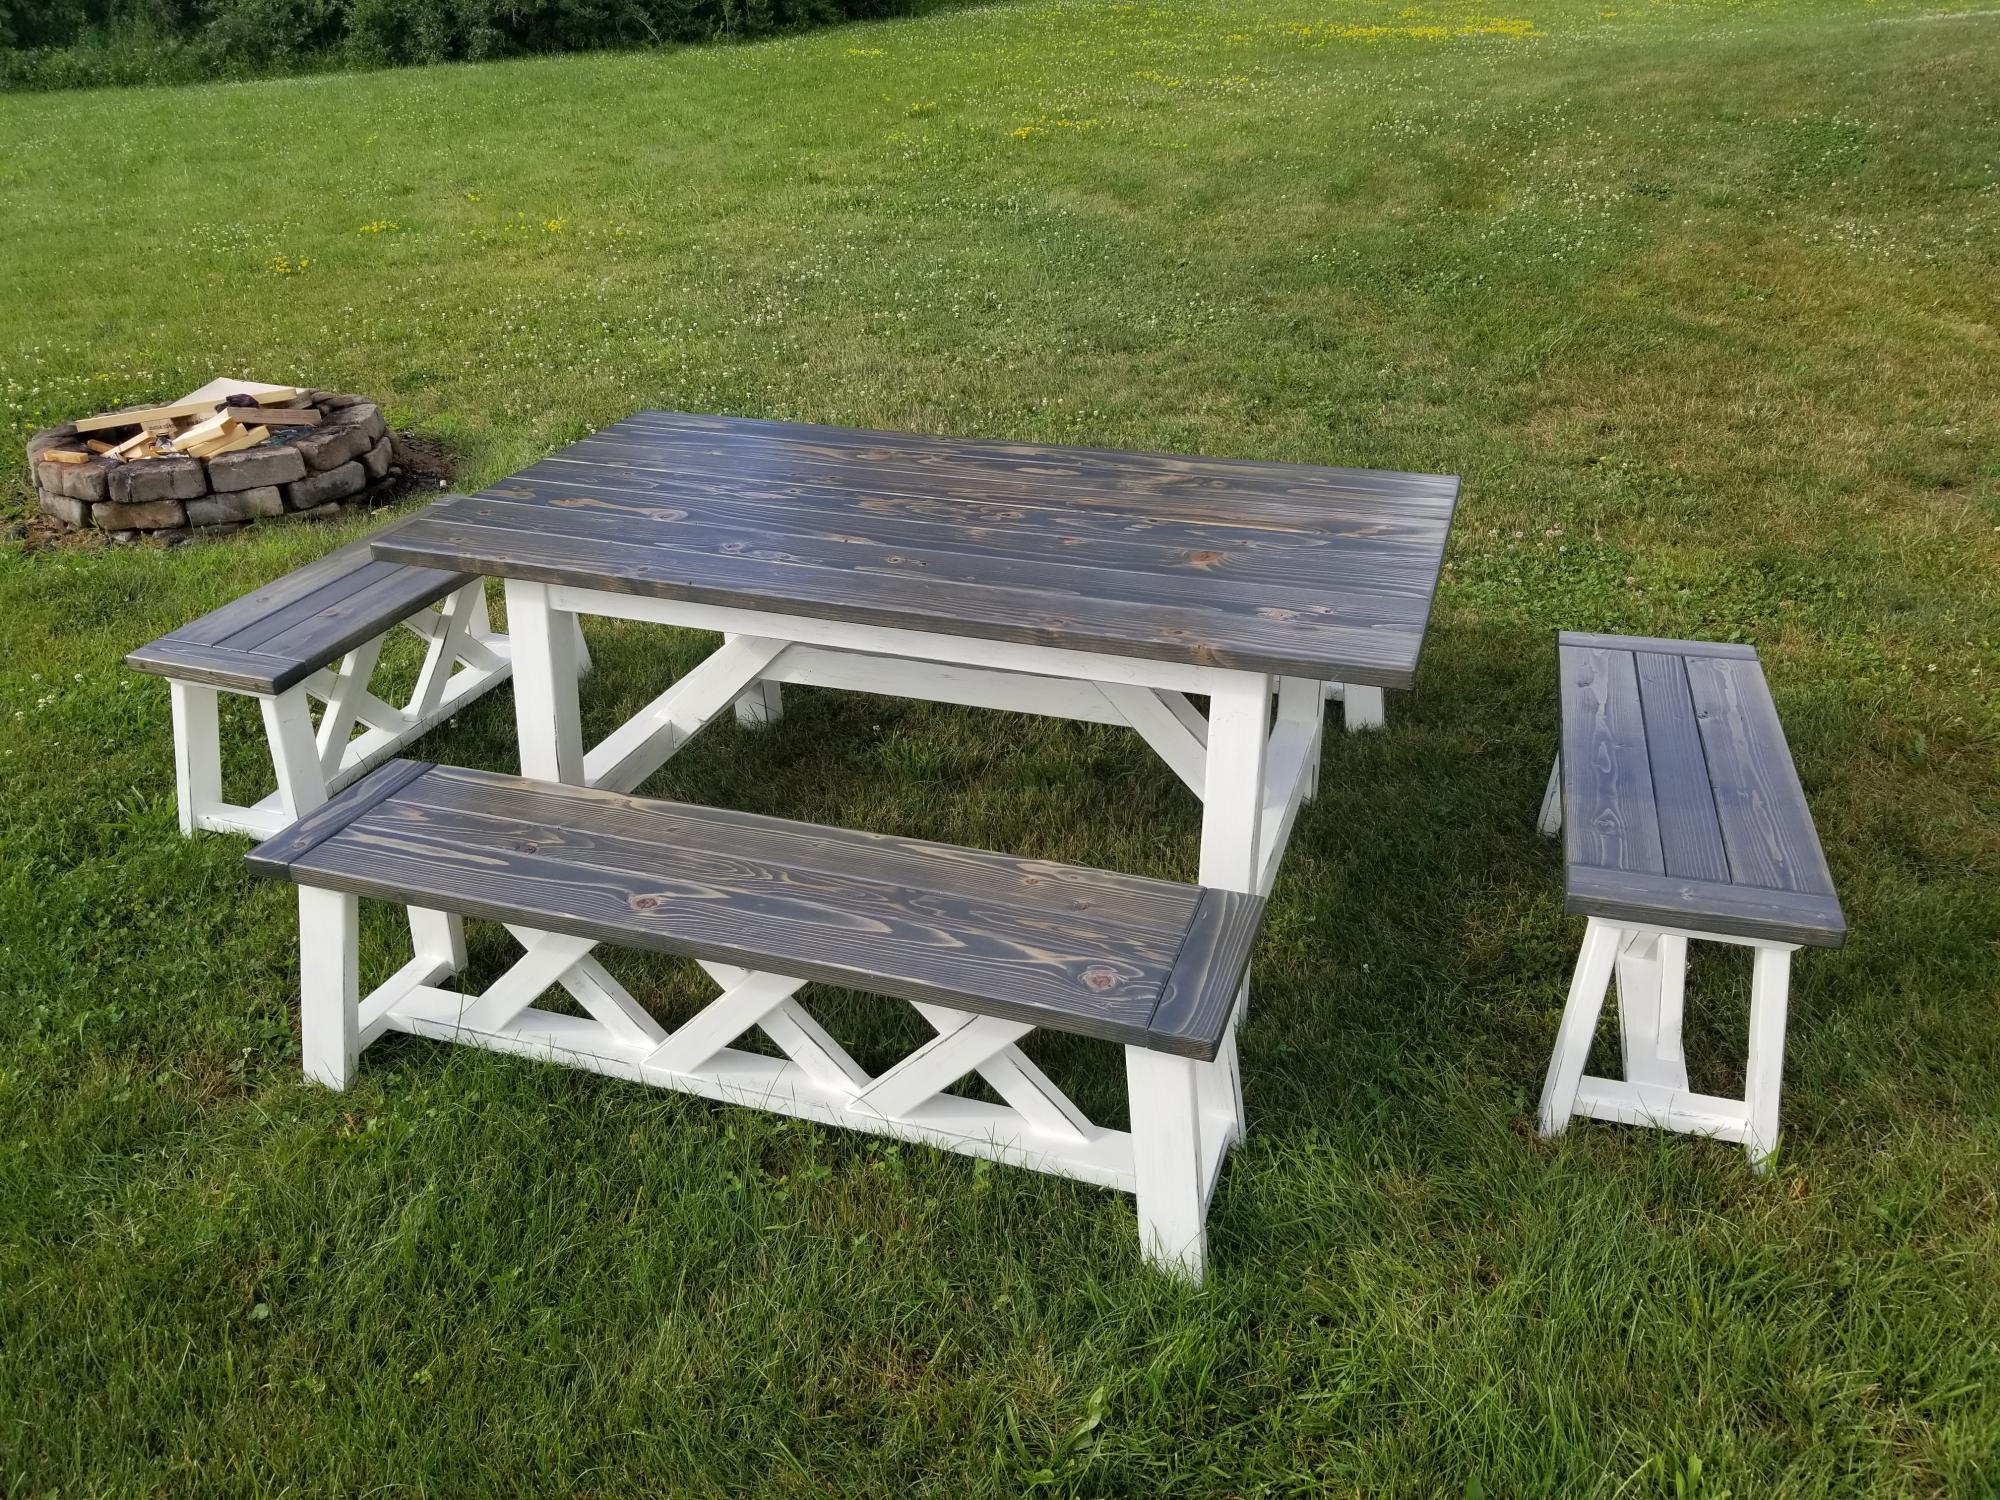
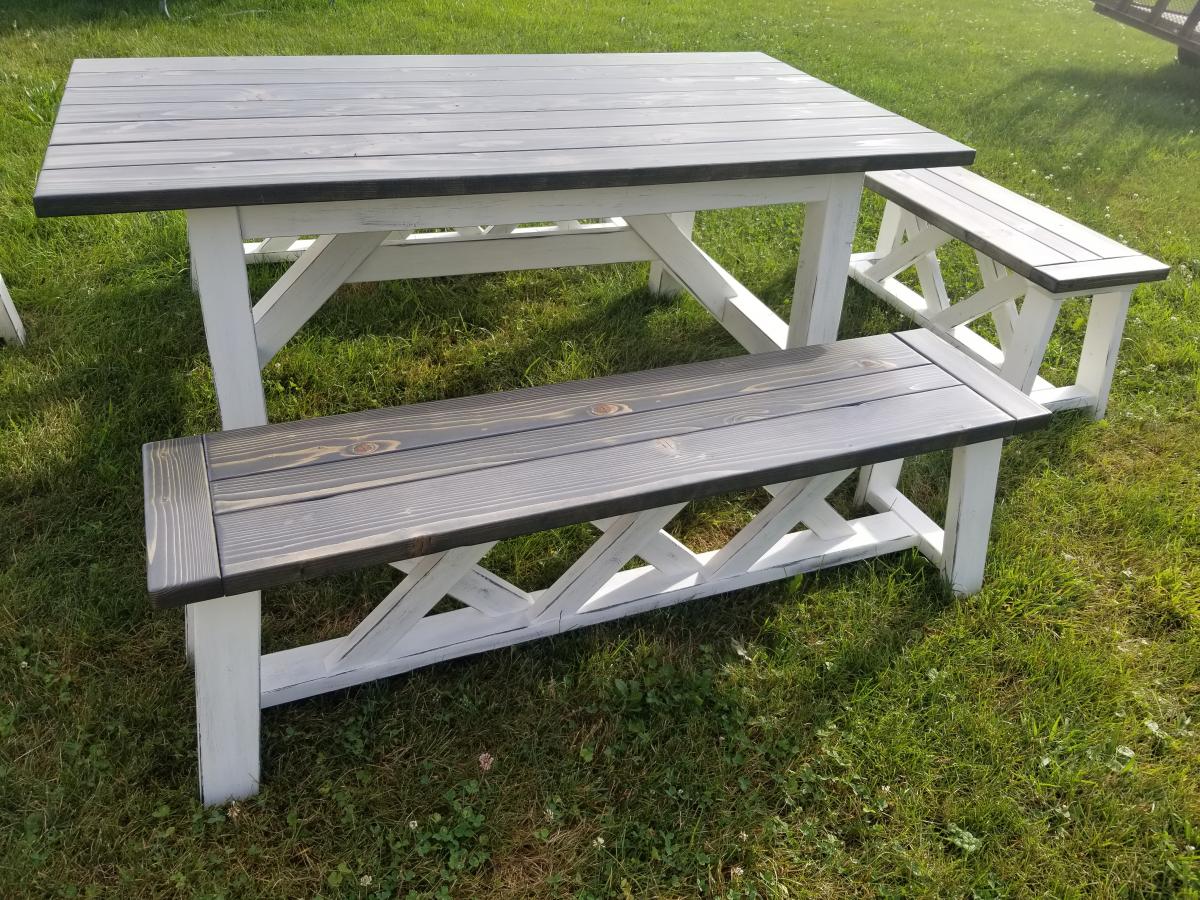
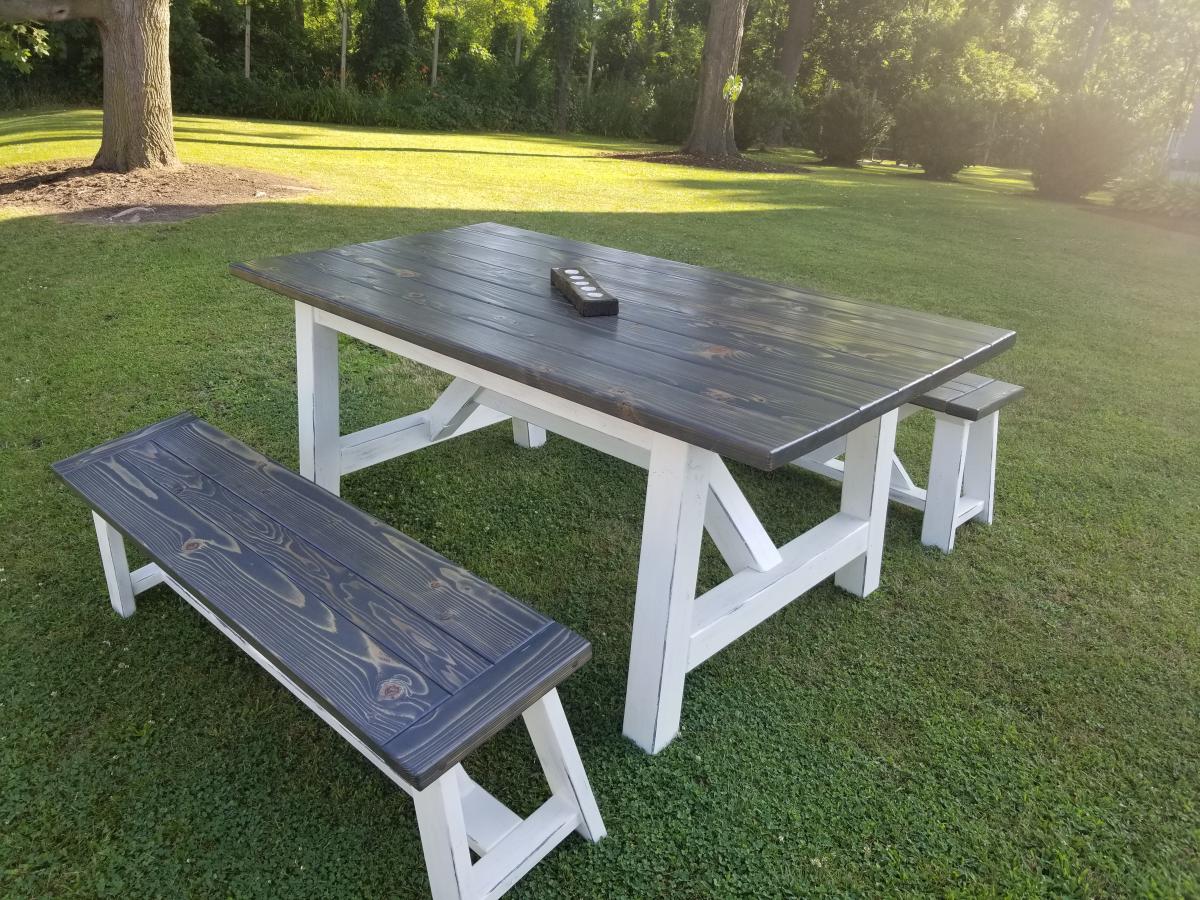
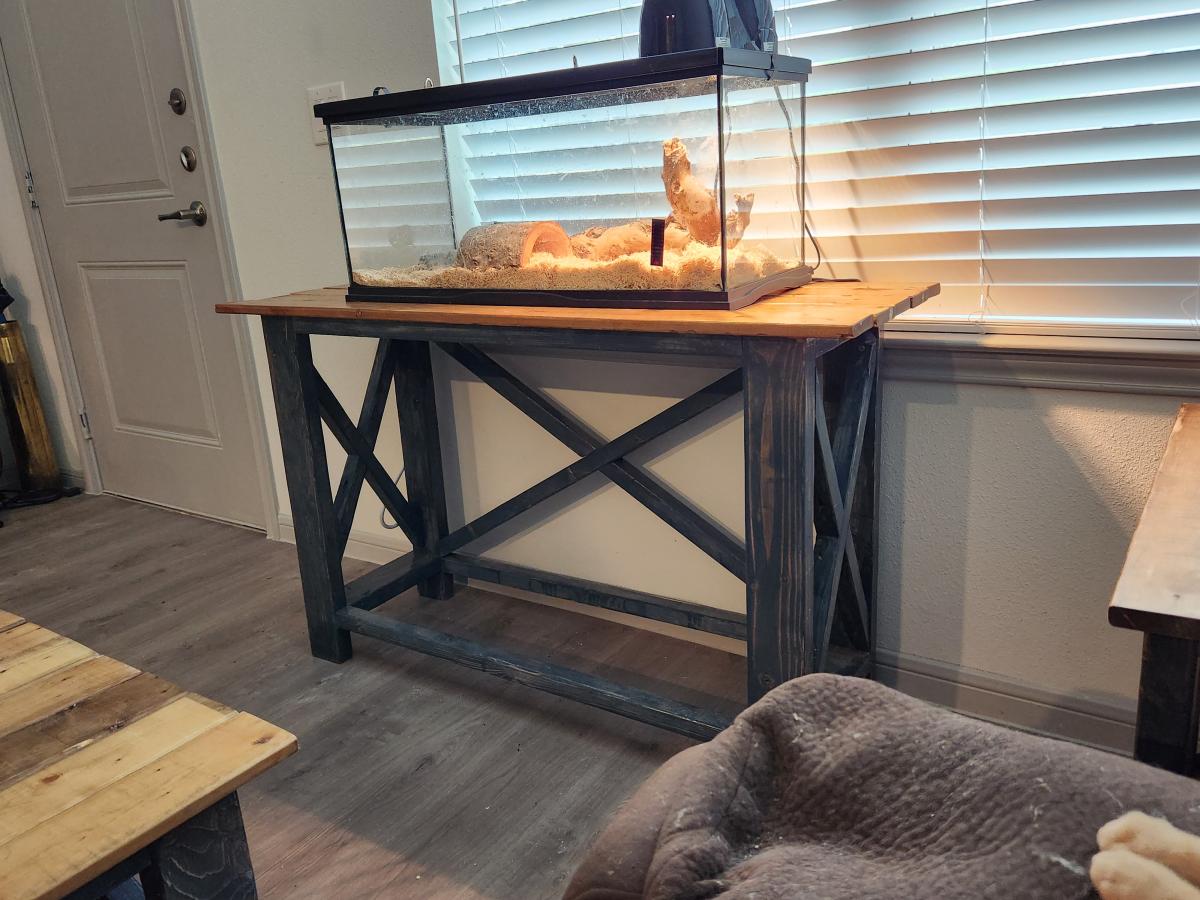
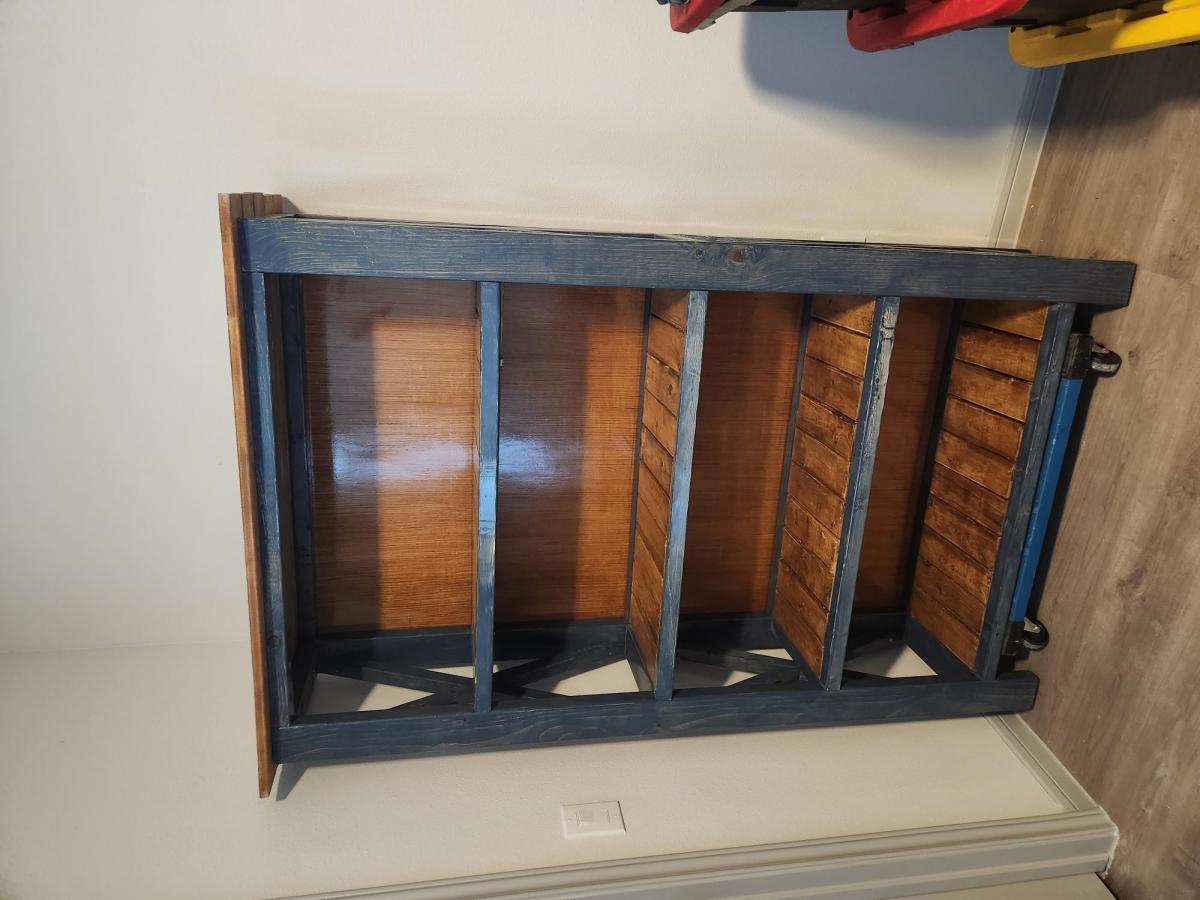
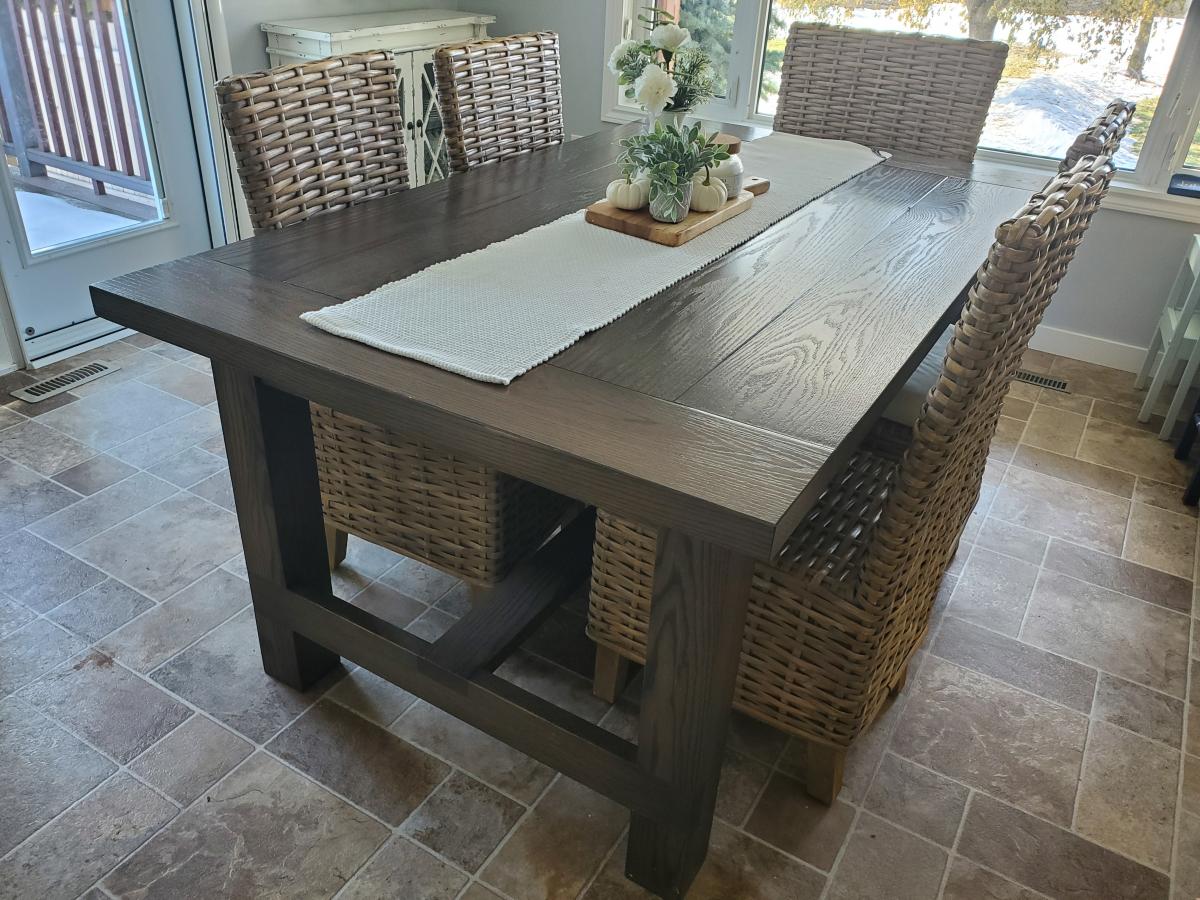
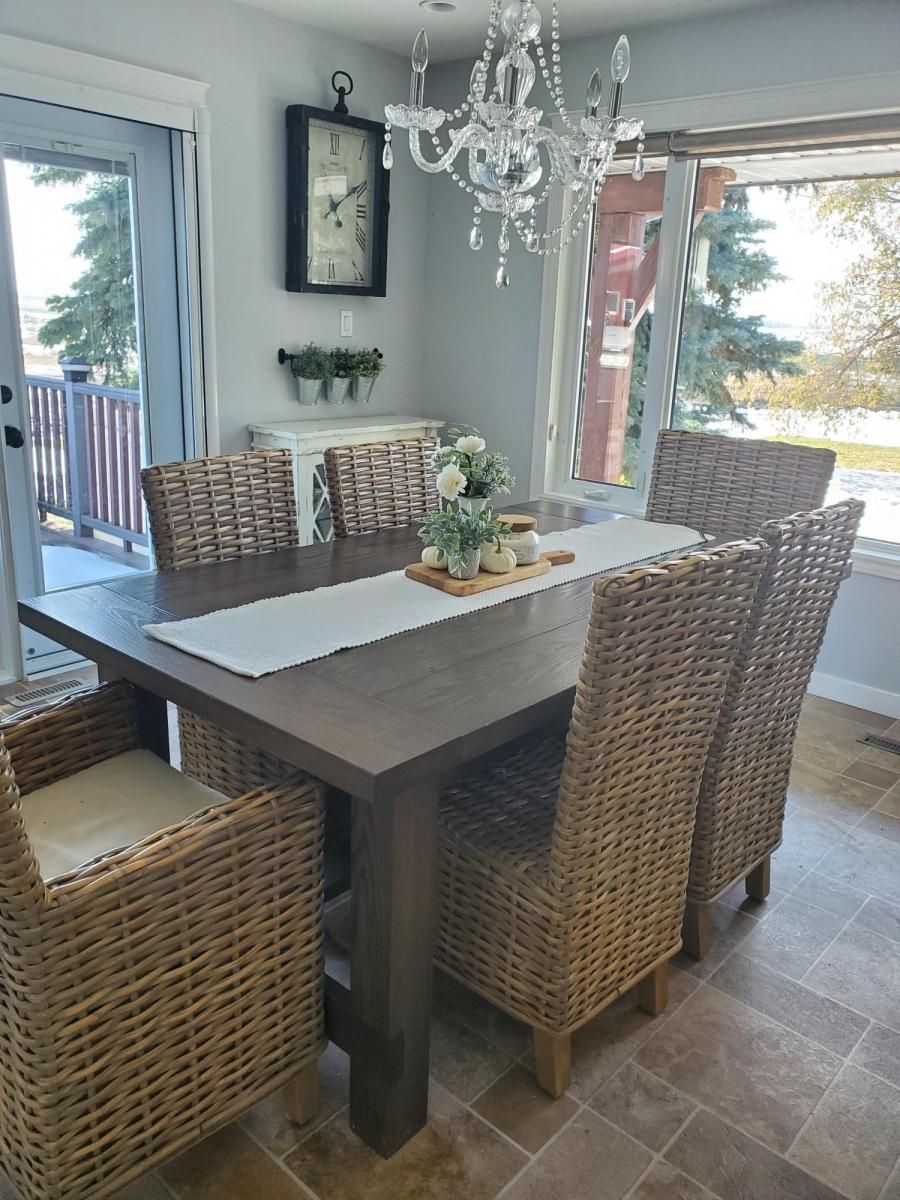
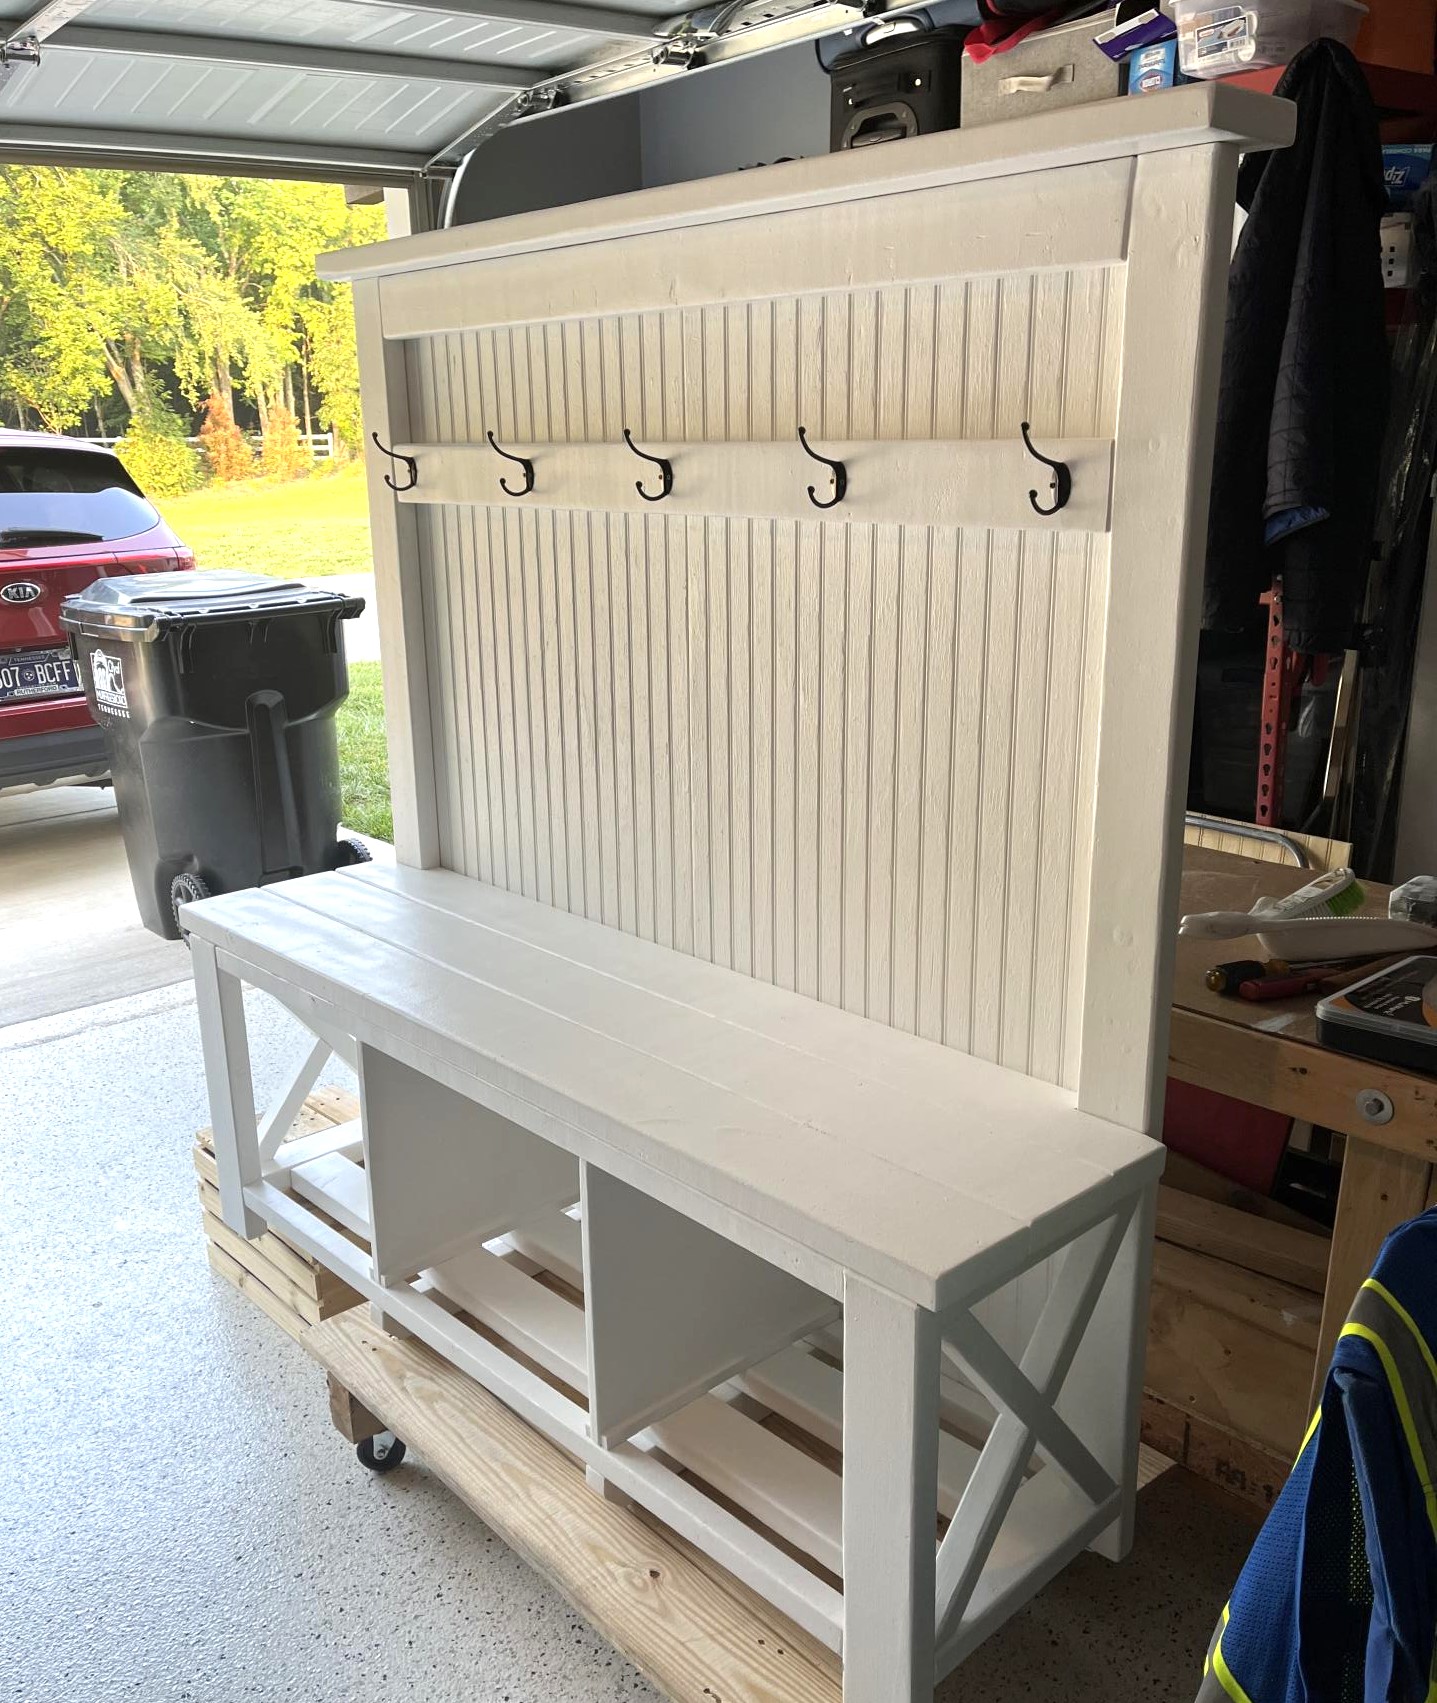
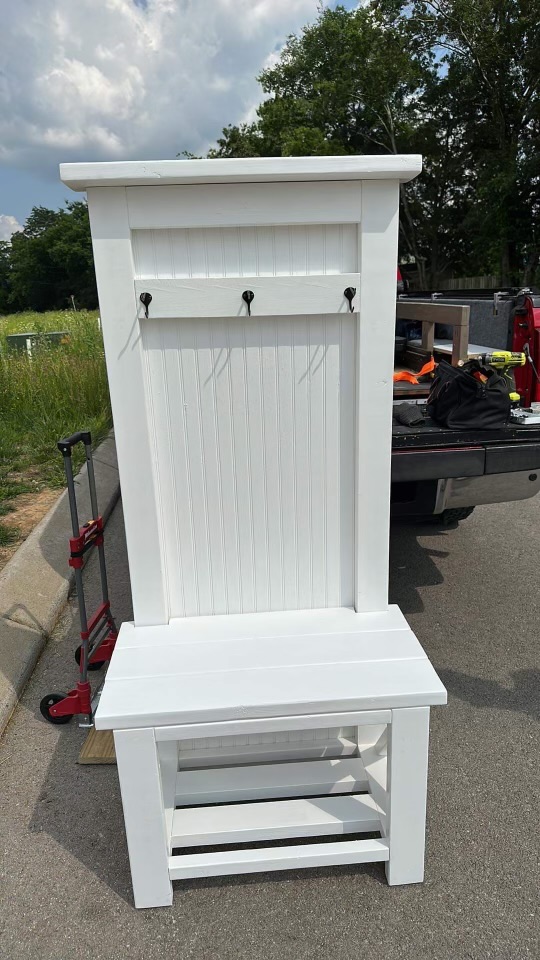
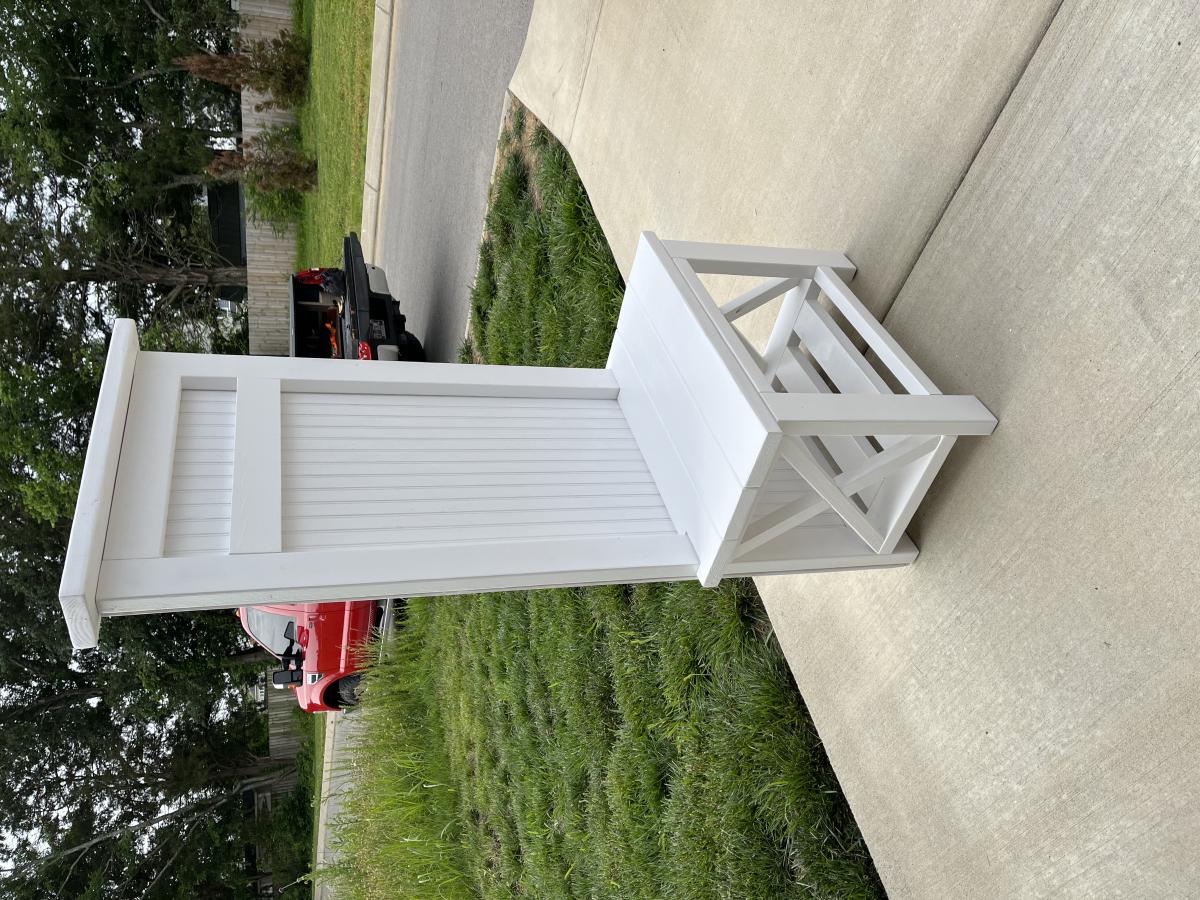
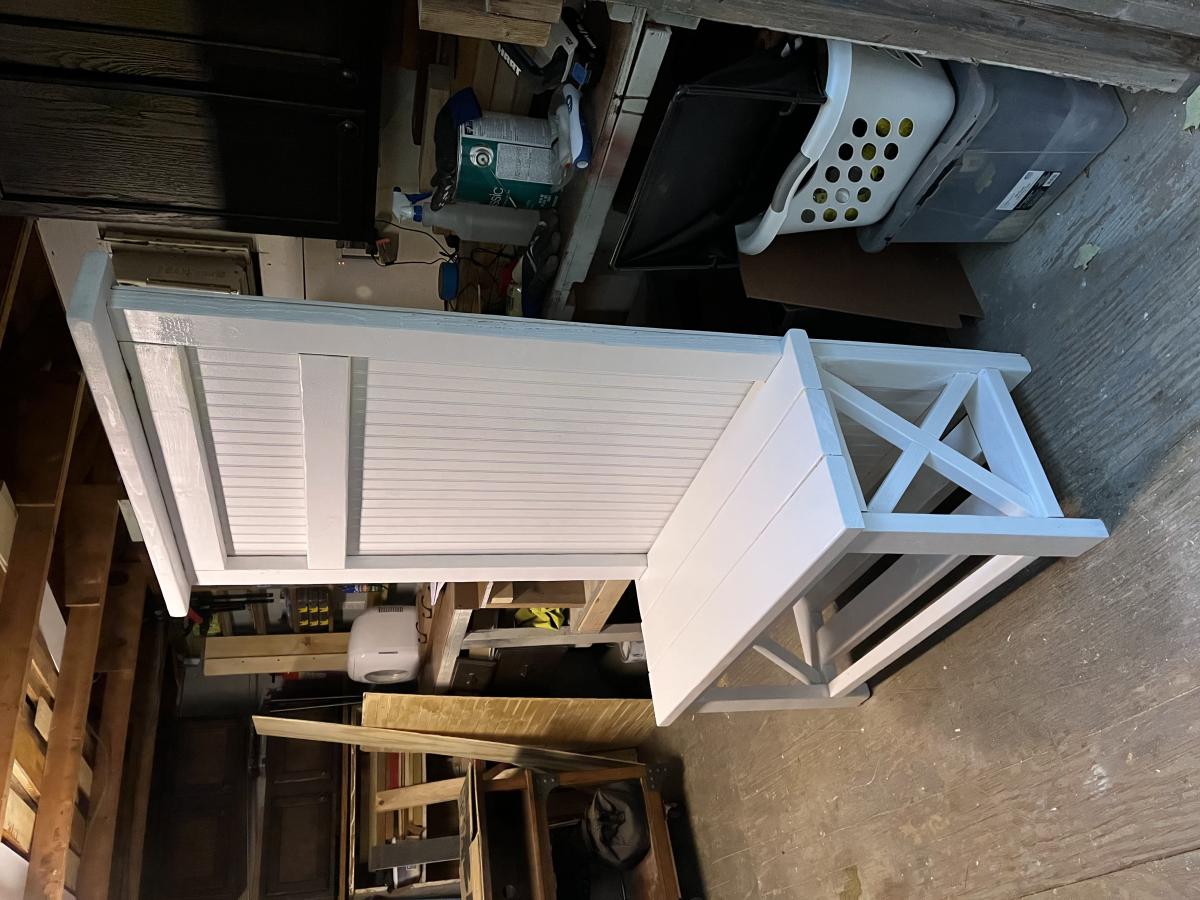
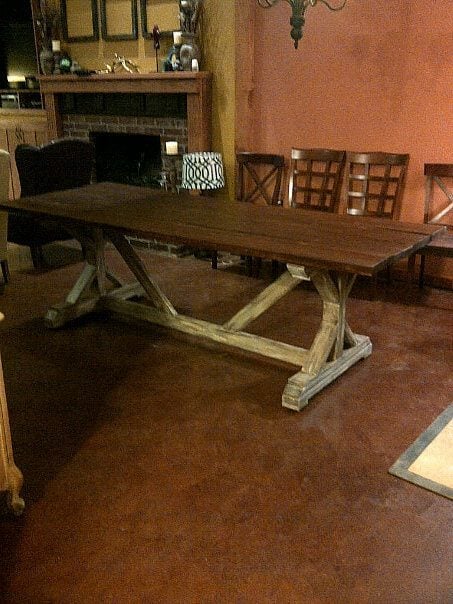
Farmhouse Table

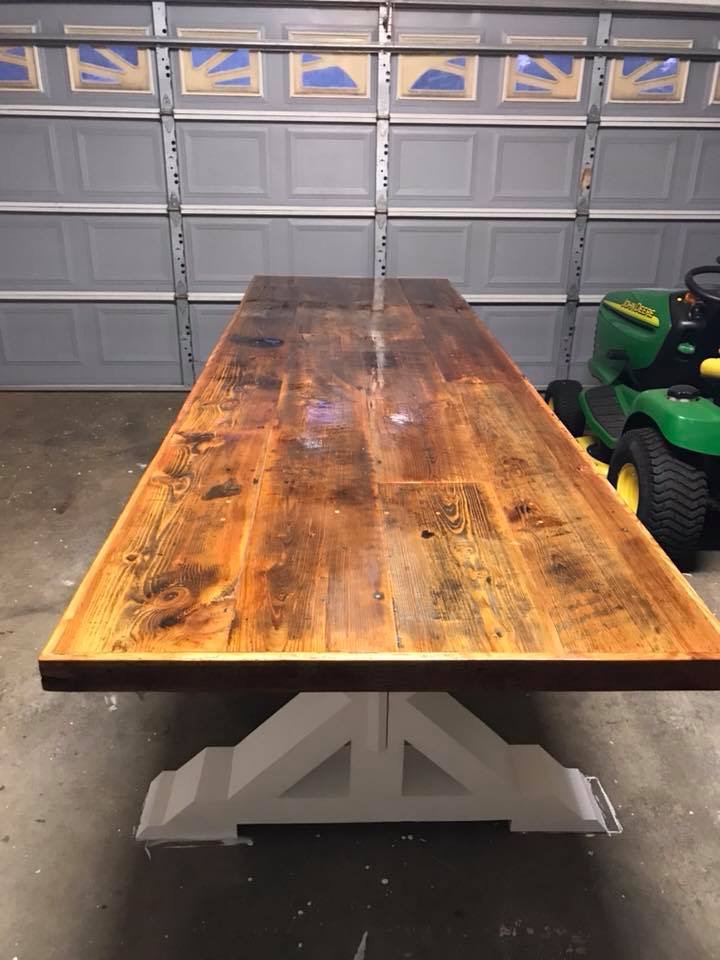
I had a friend of mine ask me about building a table for her farmhouse and an anniversary gift . She has a large family and a very large space, and needed a table large enough to fill that space... I had no idea how large it would be. After going through some of my preliminary questions about the build I finally got to the dimensions. She said I’m thinking about 11’ ... she was serious...
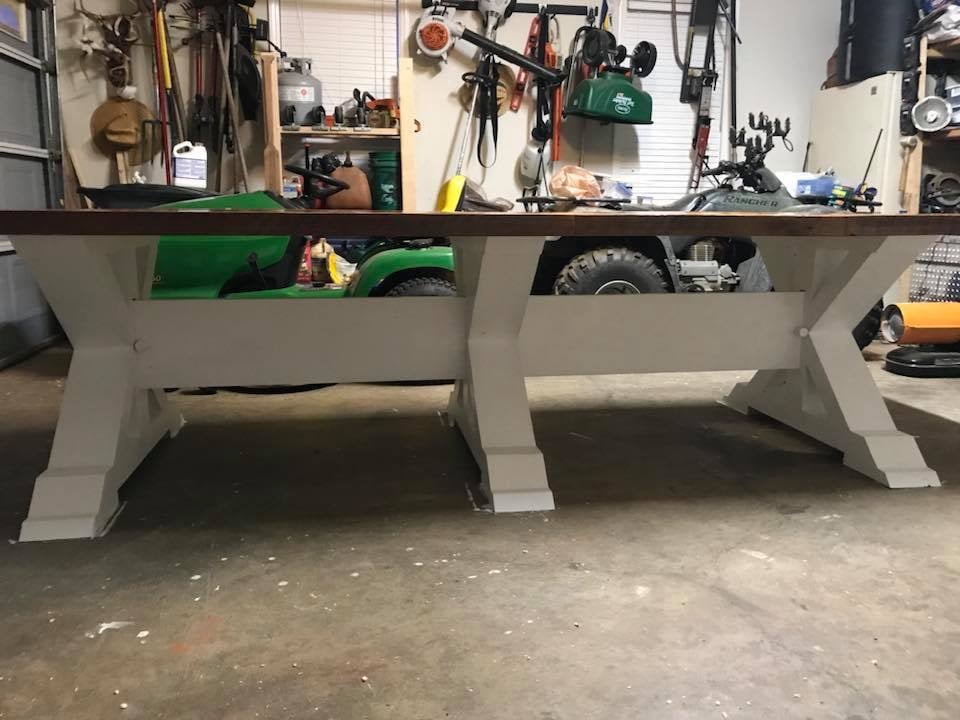
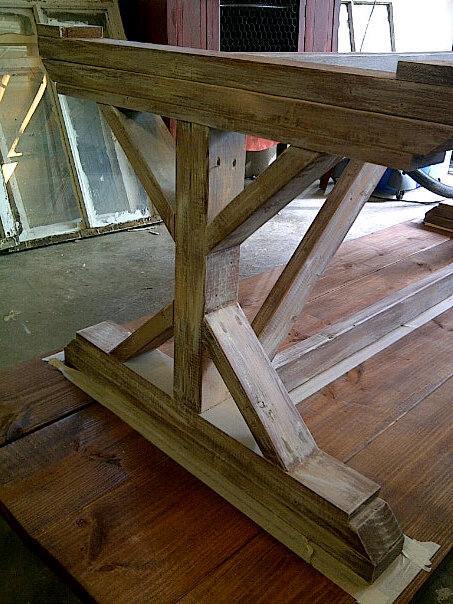
I had never built anything that large, I was nervous and very excited. She started researching bases and she told me she liked the x base look. I knew I had seen it on the Ana White website. http://ana-white.com/woodworking-projects/triple-pedestal-farmhouse-tab… So I immediately went to work on the design with modifications in mind so an 11’ table would be feasible.
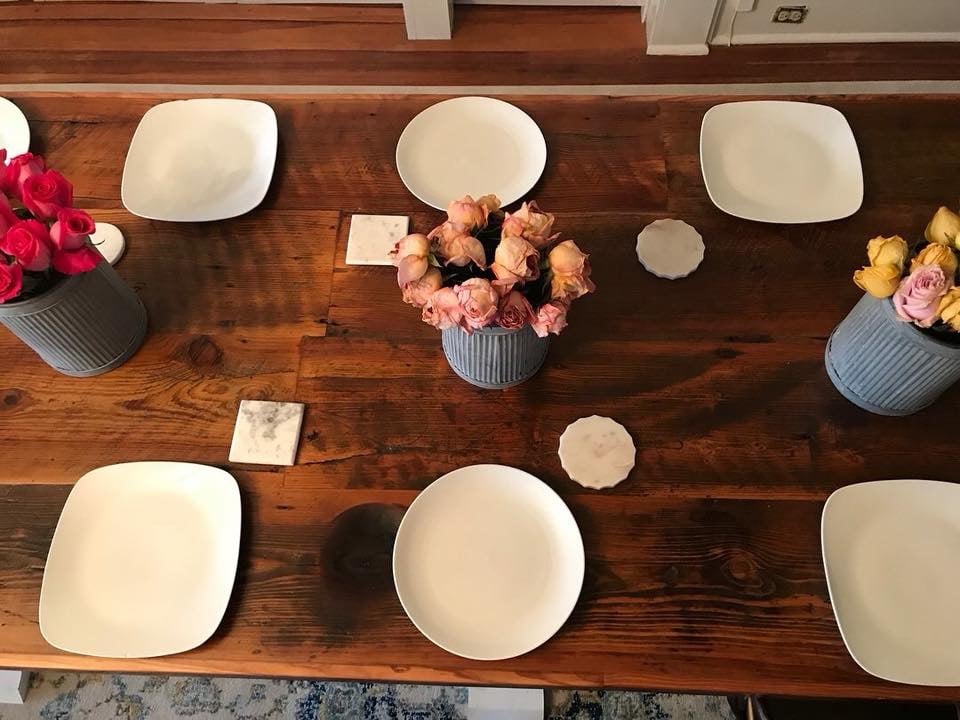
Their family also supplied the wood... they estimated it to be roughly 100 year old pine flooring from a house that they were tearing down on the property.
It was an incredible challenge, but it turned out to be so beautiful. It is my first and last 11’ table.

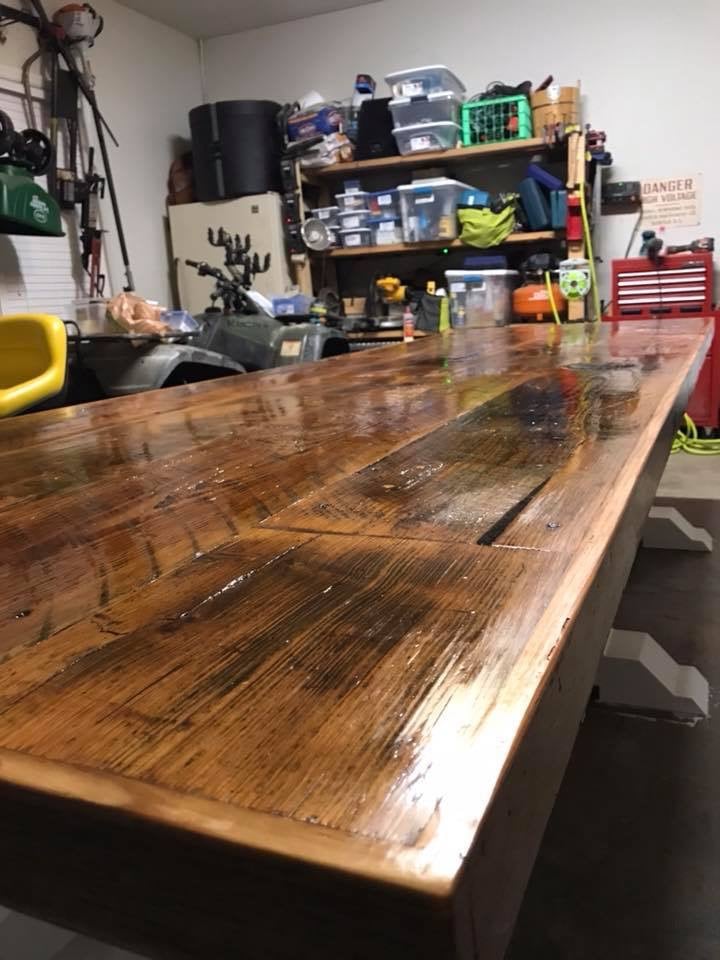
Sand everything to 220.
3 coats natural bristle brush
Base was an oil based white paint.


Comments
Ana White
Wed, 10/02/2019 - 09:53
What a massive gorgeous…
What a massive gorgeous beauty!!!