Community Brag Posts

ABC Book Holders

Submitted by ebuffy99 on Tue, 04/02/2013 - 22:20

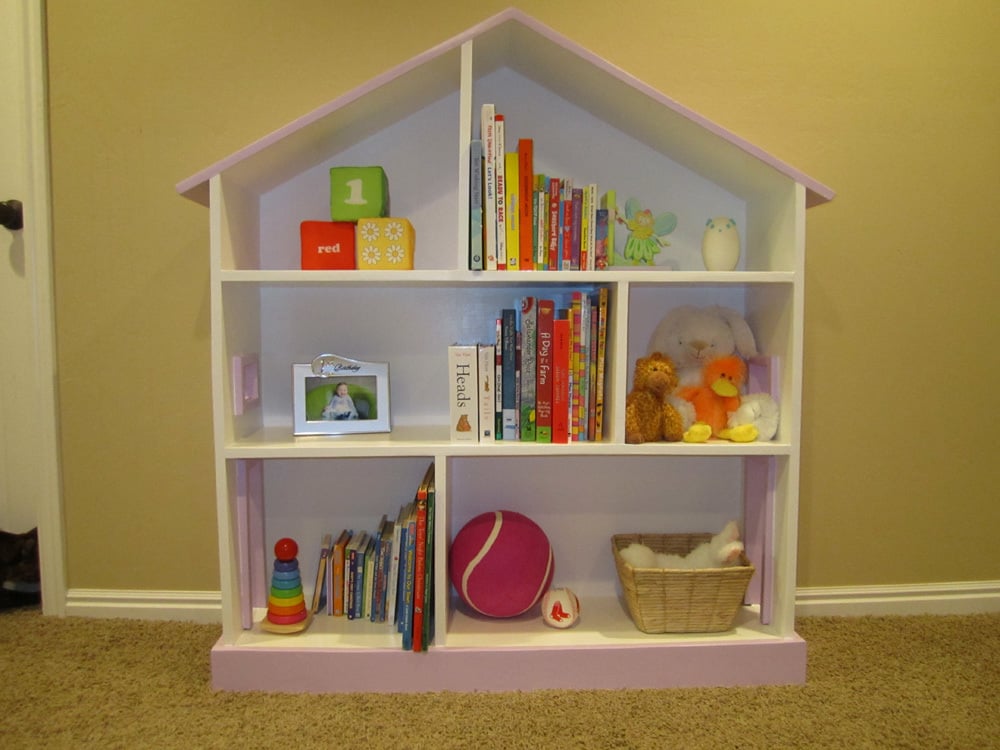
I used the longer book holders to make these. I painted it in a flat light pink and bought craft wood letters that i painted with Martha Stewart Glitter Turquoise craft paint and glued them to the front. Not only does this hold books that are in arms reach once its bedtime but its a nicer way to have the alphabet shown on the wall everyday to help my 3 year old learn her letters.

Built from Plan(s)
Estimated Time Investment
An Hour or Two (0-2 Hours)
Recommended Skill Level
Starter Project

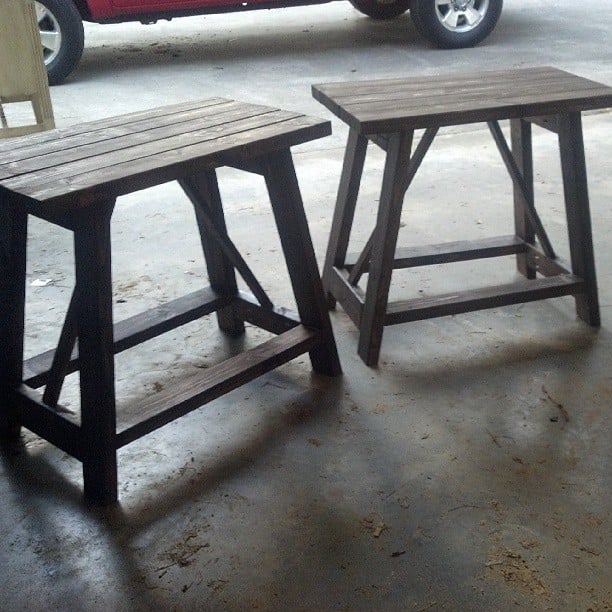
NightStands to match bed

Submitted by ejkamp21 on Sun, 02/15/2015 - 11:07

Built this set of Nightstands to match a bed that I made.

Built from Plan(s)
Finish Used
MinWax Stain
Recommended Skill Level
Beginner

Comments

Coffee table bench

Submitted by Anonymous (not verified) on Mon, 05/15/2017 - 05:43

This design was straight forward and easy to modify - made the bench deeper and shorter, and added a shelf.

Built from Plan(s)
Estimated Cost
90 CAD
Estimated Time Investment
Weekend Project (10-20 Hours)
Recommended Skill Level
Beginner

Awesome Adirondack chairs!!!
Submitted by Anonymous (not verified) on Sun, 05/23/2021 - 05:12

I'm a mom of two kids and new to wood working. The video instruction and the plan were so comprehensive! Thank you Ana, you inspired me to do more wood projects. I feel so accomplished and got so many comments on my new chairs. They are really really comfortable. My husband, who has a stiff back, loves the chair as it is also comfortable for him.
Estimated Cost
$120
Estimated Time Investment
Day Project (6-9 Hours)
Recommended Skill Level
Beginner

Comments

Bypass Closet Doors

Submitted by Mama2Three on Fri, 04/05/2013 - 08:49

After discovering a leak, we are in the process of a master bathroom/bedroom remodel. In the bedroom, we had replaced all of the windows, painted and installed crown moulding with rope lighting in the bedroom. Then we looked at our closet doors leading to our walk-in closet, and realized they really needed to go to. They were heavy, mirrored with brass trim and regularly would jump off their track. Unfortunately the leak had caused more damage than we originally thought, and our remodel had expanded to replacing two exterior walls as well so we were over budget. Just to get an idea of how much it would cost to buy new doors, I got online and thankfully I found these plans. Although I used to watch my Grandfather build things in his wood shop, I had never actually built something all by myself. My contractor let me use his Kreg Jig and miter saw. After purchasing the wood, I quickly put together the door frames. Since we were on a strict budget for these doors, I decided to use bead board instead of glass. I bought a 4 x 8 sheet of beadboard and had the store rip it in half. I then attached it to the back of the doors with small wood screws and glue. I painted the doors with white gloss trim paint to match the other doors in the room. Since my closet is a walk-in closet, I did paint both sides. My closet entrance had no trim, so used a piece of moulding and attached it to the bypass door track. We are not finished with the flooring or baseboards yet, but once complete we will be installing guides along the bottom.

Estimated Cost
100
Estimated Time Investment
Day Project (6-9 Hours)
Finish Used
White high-gloss enamel paint
Recommended Skill Level
Beginner

Comments

Dining chair

Submitted by Gizmolady on Thu, 02/19/2015 - 08:50

I needed chairs to go with the table I built the previous year. Thank you so much for sharing these plans. The plans are easy to follow and adaptable to any need.

I narrowed the seats to 17" wide and adjusted all measurements accordingly. I used a scroll saw for the backs, dark walnut stain and poly to finish. I was in a hurry so I managed to get all 12 chairs made, with off and on work, approx. 1 month. 

Built from Plan(s)
Estimated Cost
$30 per chair.
Estimated Time Investment
Week Long Project (20 Hours or More)
Finish Used
Minwax dark walnut stain, polyeurethane gloss.
I wouldn't suggest the water based poly, it dries way too fast and bubbles are a problem. I cut the first set of pieces and did a trial run to ensure they fit properly, then I cut and sanded all pieces for the remaining 11 chairs prior to assembly. I finish sanded again after assmbly was done.
Recommended Skill Level
Intermediate

Comments

broom closet shelves

Submitted by Anonymous (not verified) on Thu, 05/18/2017 - 06:45

got a kreg jig for mother's day and tried it out on that dead space in my broom closet.  I made $10 shelves, but in a "Z" shape instead of a "U" shape so I could attach from below and have more room on the shelf for cleaning supply storage.


 I used a 1x6 for the shelf and spray painted them black with some paint I already had.  So easy!  I used a 1x4 with a block of wood to hold up one end of the shelf so I could screw it into the cabinet.  Then leveled it and added second screw.  Awesome first project!  I learned a lot and got a place to put my spray bottles.


Sorry for the dark photo, my cabinets are black cherry.  


Estimated Cost
if you don't count the kreg jig, under $10
Estimated Time Investment
An Hour or Two (0-2 Hours)
Finish Used
spray paint
Recommended Skill Level
Starter Project

Living Room Wall Makeover

Submitted by djolly1231 on Sun, 05/30/2021 - 10:36

We have lived in our home for 2 yrs now and have been trying to figure out what we wanted to do with the plain boring wall with cords handing from out behind the tv due to no power outlet on that wall. We finally decided to do the whole wall in shiplap but the the cost of lumber going through the roof I went with 1/4 underlayment that I had ripped down to 6in strips at my local hardware store. I cut them down to size with my miter saw the painted them white before I attached them to the wall with 1 1/4 brad nails and used nickels for my space in between each row. The cabinets are 36 in tall. The carcass is made fro 3/4 in MDF and the face frames are made from 1x3 pine and attached with wood glue and brad nails. Cabinet doors are made from 1x4 pine for the frame and 1/4 underlayment for the center. I used my hand router to route out a 1/4 deep groove for the center to drop into the frame I used wood glue and brad nails to attach it to the frame and filled in any gaps with paintable caulk. They are attached to the studs in the wall with 3 in wood screws. The mantle is made from 1x6 pine boards and attached to a wall bracket made from 1x6 that are attached to the wall in each stud with 3 in wood screws. The mantle is attached with wood glue and 1 1/4 brad nails. The shelves were made out of 1/2 Poplar 4x8 plywood sheet ripped down to size. The wall brackets are made from 1x2 pine attached to studs with 3 in wood screws. And the shelves are attached with wood glue and 1 1/4 brad nails. I added 3 1x2 spacers to each shelf between the top and bottom board to prevent them from sagging before attaching the face of the shelves with wood glue and 1 1/4 in brad nails. This project took about a month to complete because I worked on it during free time. Also this was the first major build I have ever done so I was also learning along the way. Some parts were frustrating but most of it was fun and a great learning experience. Also this project evolved as I was building it. My wife loves the finished product. Now it’s time to find my next project.

Estimated Cost
500
Estimated Time Investment
Week Long Project (20 Hours or More)
Finish Used
Dark walnut stain. Valspar Ultra in eggshell and ultra white for the color of the cabinets , shiplap and crown
Recommended Skill Level
Intermediate

Comments

DIYGina

Tue, 12/05/2023 - 11:47

Surprisingly makes your living room appear so much larger compared to the before picture! Thank you for sharing your photos with us and congrats on a great result!

Cedar Fence Picket Planter

Submitted by MMTruncale on Sun, 04/07/2013 - 18:31

I'm still getting to know my Compound Miter Saw, so I wanted to get another small project under my belt. Not to mention I had a whole other picket and a half left over from yesterday's project. This just seem to be the perfect project to do. And needed since we actually needed a few more planters.

Estimated Cost
$1
Estimated Time Investment
An Hour or Two (0-2 Hours)
Finish Used
Left it natural.
Recommended Skill Level
Starter Project

Flip Top Storage Bench

Submitted by rherlein on Sun, 02/22/2015 - 10:22

This was very easy but was still one of my favorite builds.  I used oak for the bench top and poplar for the rest.  I used the pocket hole jig and gorilla wood glue and it is incredibly rigid and sturdy.  I changed the height to 24 inches so I could raise the shelf platform up to 10 inches from the floor.  This allowed me to place shoes under and on the shelf.  I stained with polyshades mission oak and added an additional coat of satin polyurethane.

Estimated Cost
$80-$100
Estimated Time Investment
Afternoon Project (3-6 Hours)
Finish Used
Minwax Polyshades- Mission Oak / Minwax Satin Polyurethane
Recommended Skill Level
Beginner

Armless Patio sectional

Submitted by Anonymous (not verified) on Mon, 05/22/2017 - 17:25

I made this for my outside patio but since completing the project, it's been raining. So, it's inside the screen porch for the time being.


Estimated Cost
$60 for wooden chairs $240 for cushions
Estimated Time Investment
Week Long Project (20 Hours or More)
Finish Used
Semi transparent stain
Recommended Skill Level
Beginner

Rustic Display End Tables

Submitted by Anonymous (not verified) on Sun, 06/06/2021 - 18:09

These rustic display end tables were built using the “Rustic X End Table” plan, with an added twist! The fronts and two sides are all glass enclosed with barn wood backdrop and bottom.

Built from Plan(s)
Estimated Time Investment
Weekend Project (10-20 Hours)
Finish Used
Minwax Classic Gray with Polycrilic Clearcoat
Recommended Skill Level
Intermediate

Rhyan coffee table with our own twist

Took us about 2 weeks from start to finish but we could only work on it about an hour a day. We also had some issues with the stain. We were going for an aged look and weren't happy with the colors so we layered different stains till we were happy. Hardware is from Martha Stewart. Over all, the table wasn't that hard, but I would definitely advise measuring and cutting as you go, because of all the drawers, the slightest mis-measurement can put the whole thing off. You can see better pics at facebook.com/oldsouldesigns. Absolutely love the end result and so do our customers!

Built from Plan(s)
Estimated Cost
$100
Estimated Time Investment
Weekend Project (10-20 Hours)
Finish Used
Miwax provincial, covered with minwax sun bleached, and topped with a natural reddish stain (can't remember)
Recommended Skill Level
Intermediate

Comments

Baby proof

Submitted by shoak on Thu, 02/26/2015 - 12:02

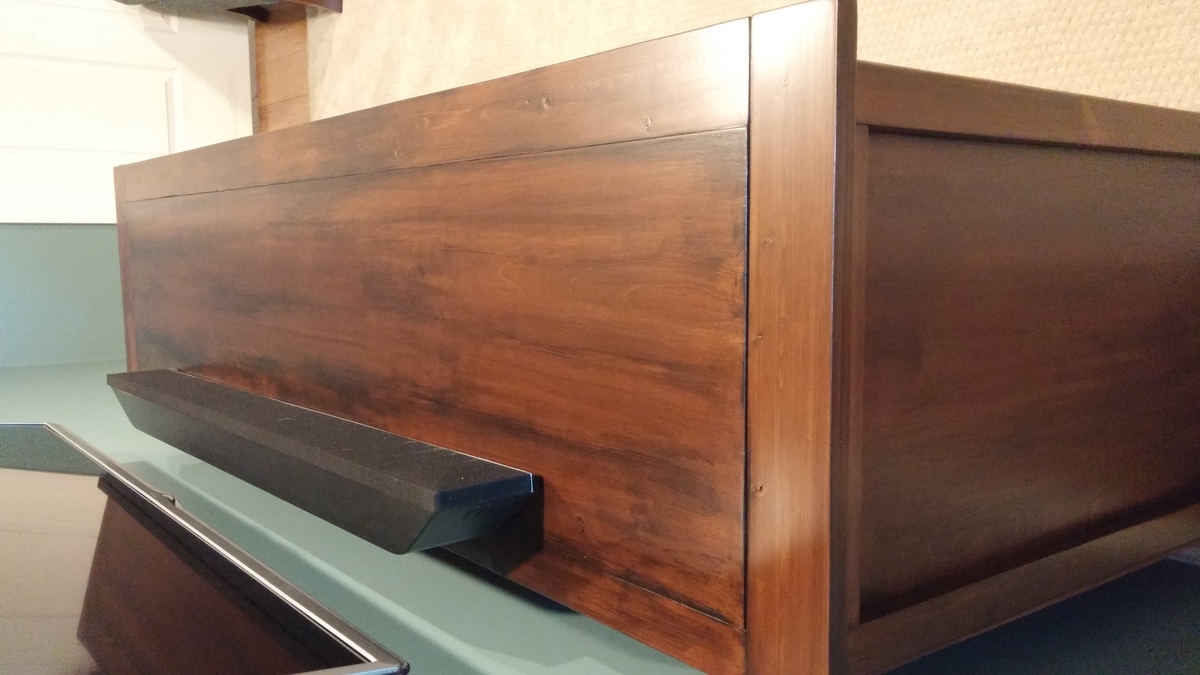
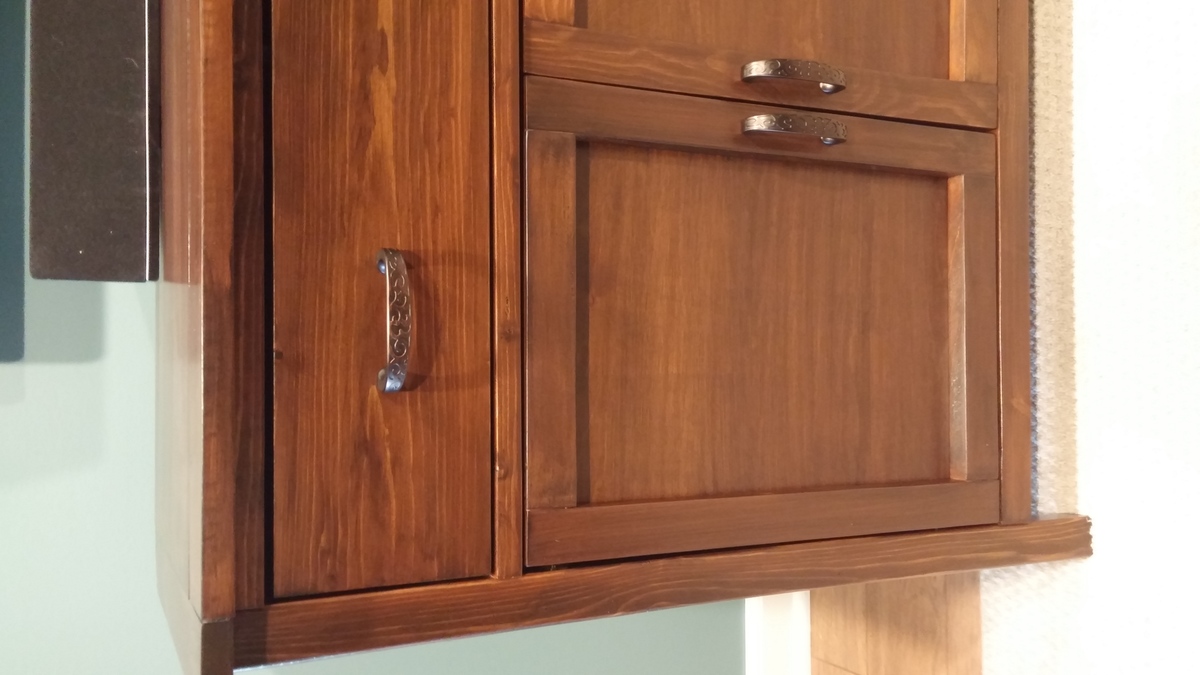
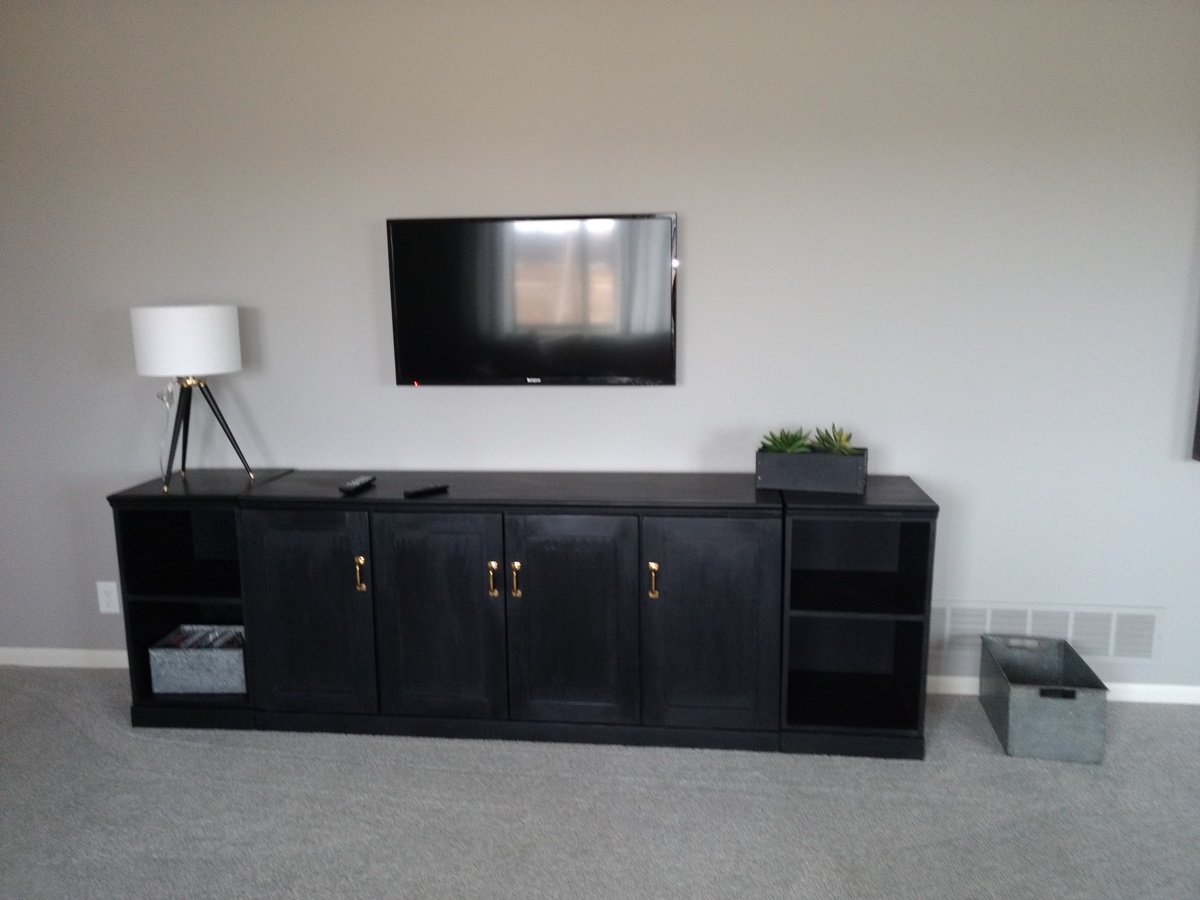
We just recently had our first child and decided we needed to protect our electronics a little better from the soon to be mobile baby. Turned out great! I highly recommend leaving the back off until the piece is completely stained or painted. It takes up less floor space and the tv is totally out of reach of little hands. We customized the shelf heights to fit the sound bar and computer perfectly. I was so excited when I stumbled across these plans looking for a new tv stand. Everything I found either wouldn't fit my computer     Or didn't have doors. Love it!

Built from Plan(s)
Estimated Cost
$200.00
Estimated Time Investment
Weekend Project (10-20 Hours)
Finish Used
Minwax stain with two coats of satin polyurethane
Recommended Skill Level
Intermediate

Comments

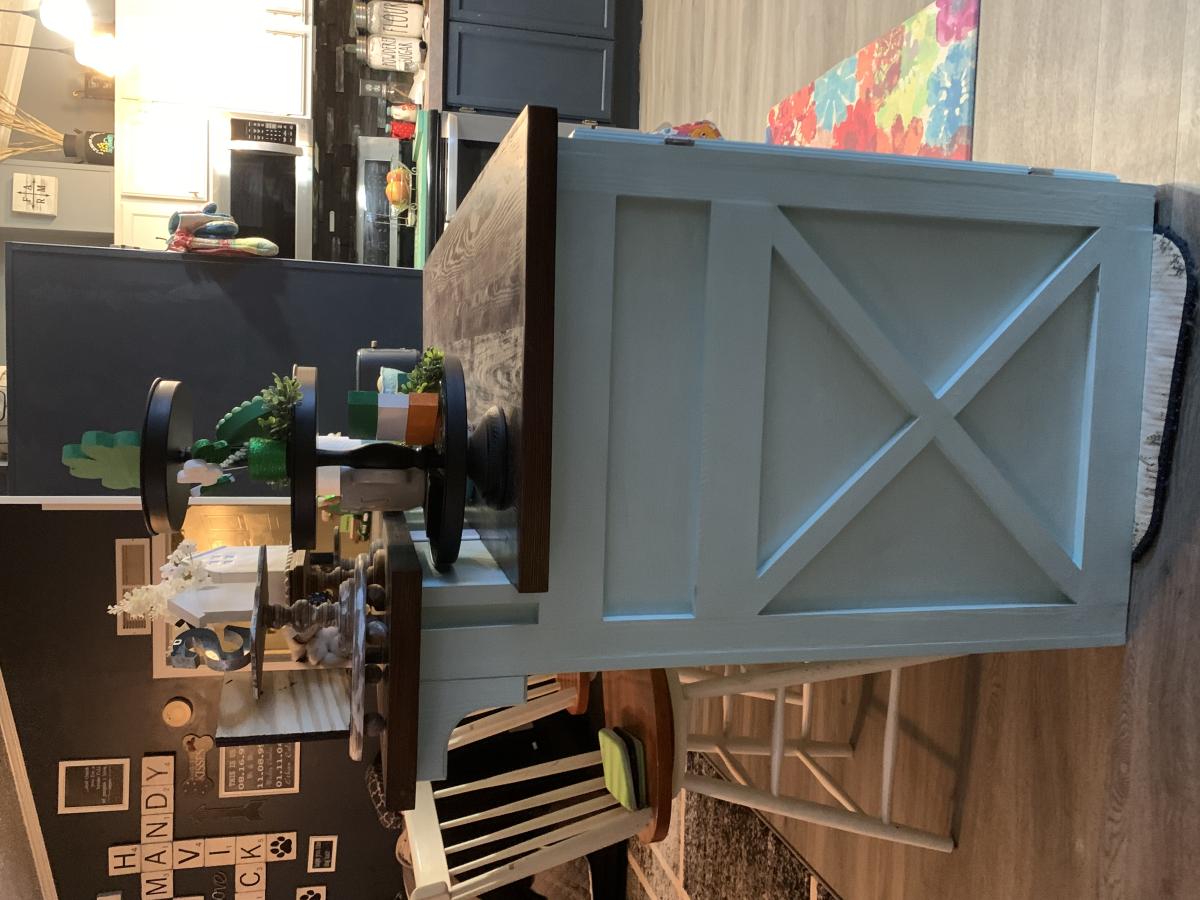
Farmhouse Table

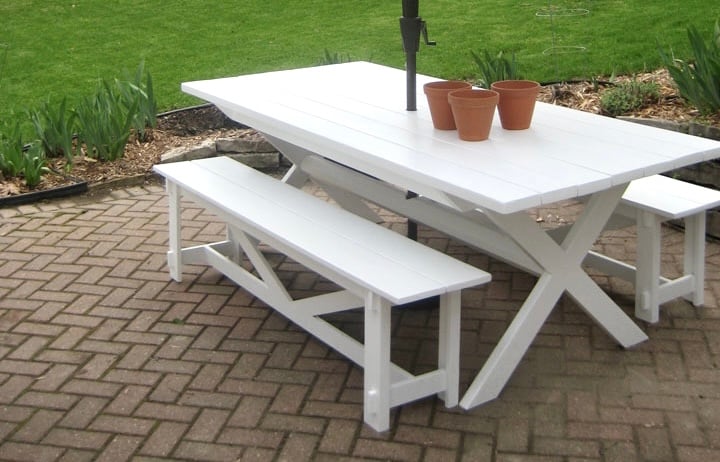
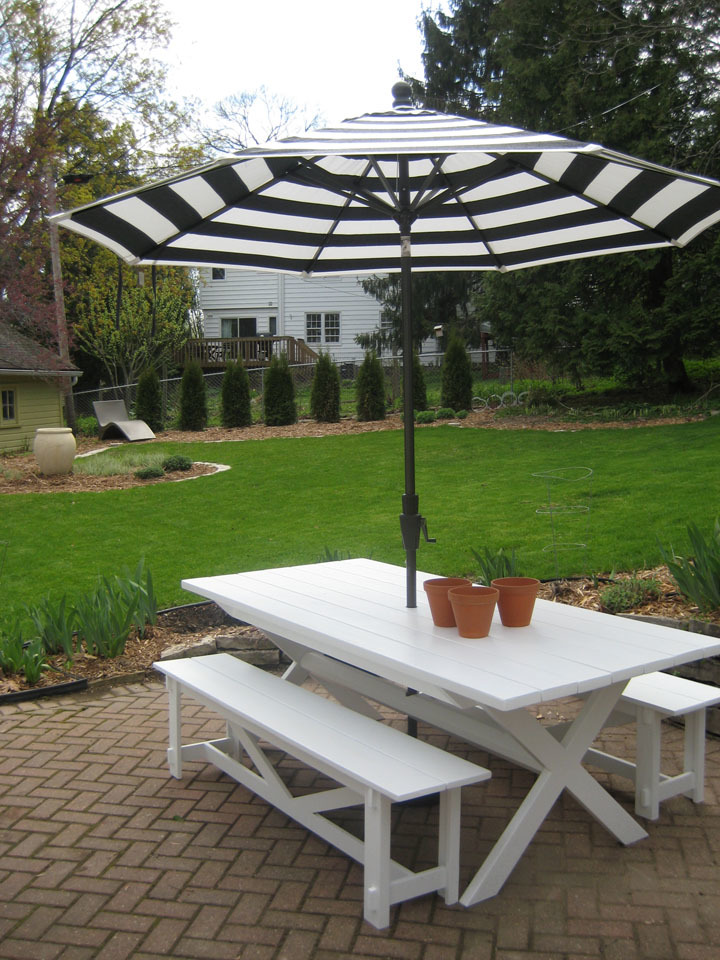
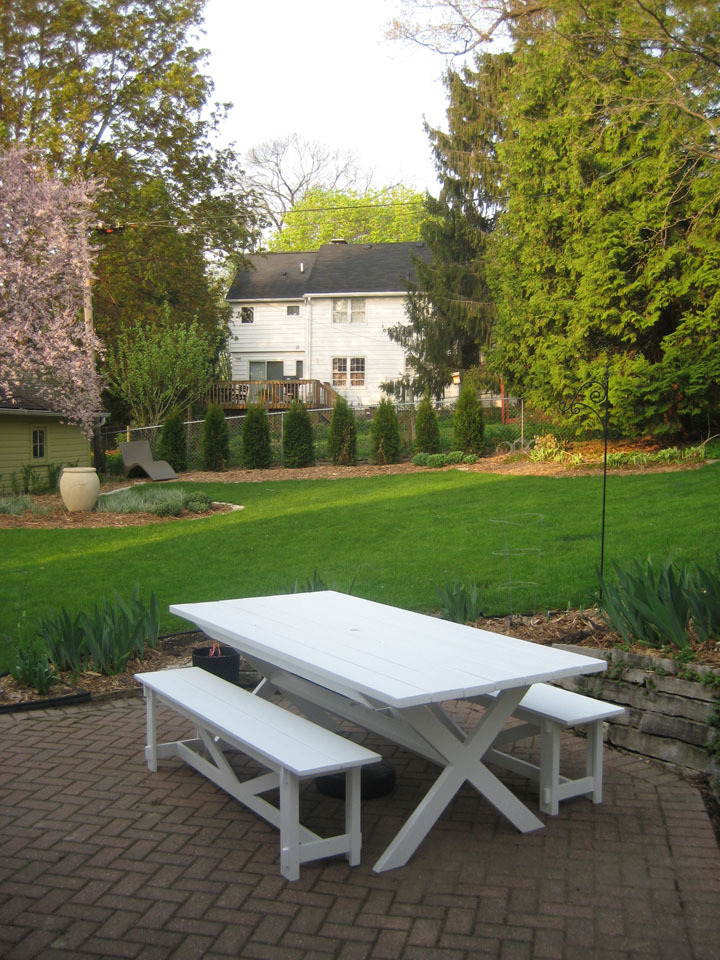
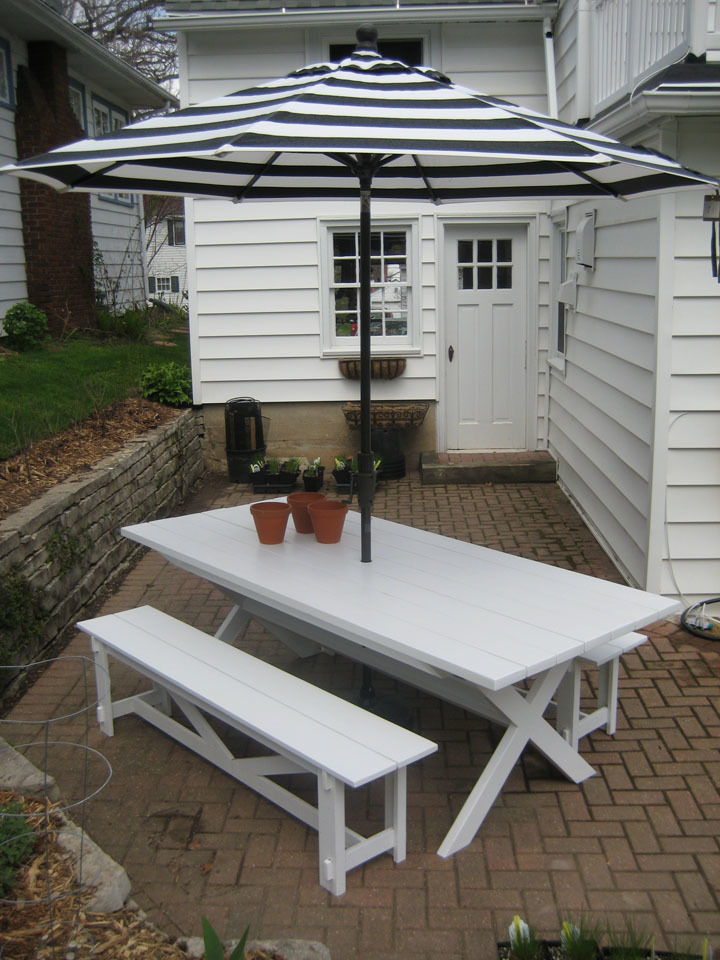
Submitted by Anonymous (not verified) on Thu, 05/25/2017 - 19:12

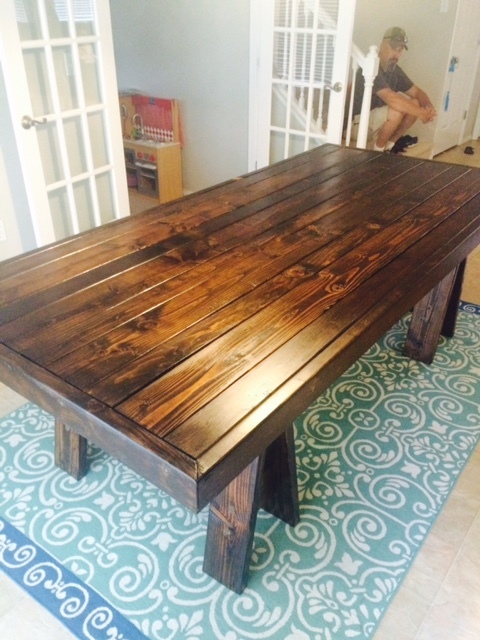
I've been needing a patio table for some time and this fit what I needed. Ready for next project!


Estimated Cost
$125
Estimated Time Investment
Week Long Project (20 Hours or More)
Finish Used
Minwax espresso finish
Behr hemisphere blue
Polyurethane
Recommended Skill Level
Intermediate

"Old Wood" Adirondack Chairs

Submitted by Anonymous (not verified) on Mon, 06/14/2021 - 06:16

Given the crazy price of wood (2021), I'm glad I saved some old deck boards and fence panels we replaced last year, so I could build these! Love the design.

Comments

Doll crib

Submitted by DWolf on Sat, 04/13/2013 - 15:46

After building the playhouse loft bed recently, I whipped up the fancy doll crib for my daughter. My mother made a beautiful pillow and quilt to match the one of my daughter's bed.

Built from Plan(s)
Estimated Cost
$13
Estimated Time Investment
Afternoon Project (3-6 Hours)
Finish Used
White all purpose paint
The tiny rails are a bit tricky to paint. A paint sprayer would definitely help!
Recommended Skill Level
Beginner

Growth Chart Ruler

Submitted by pde00311 on Mon, 03/02/2015 - 07:40

I followed the instructions at 517 creations to make this: http://517creations.blogspot.com/2011/04/ruler-growth-chart-pottery-bar…. It was relatively quick and easy project that I made to chart my daughter's growth on her second birthday (and our little ones' future birthdays). I printed the numbers off my computer, made an indent with ball point-pen and then traced with a paint marker. It took a little patience and concentration, but I drew the lines and numbers without barely making a smudge.  

Built from Plan(s)
Estimated Cost
$20
Estimated Time Investment
Afternoon Project (3-6 Hours)
Finish Used
Minwax Ipswich Pine with Minwax Polyurethane
Recommended Skill Level
Beginner

Comments

Fun father son project

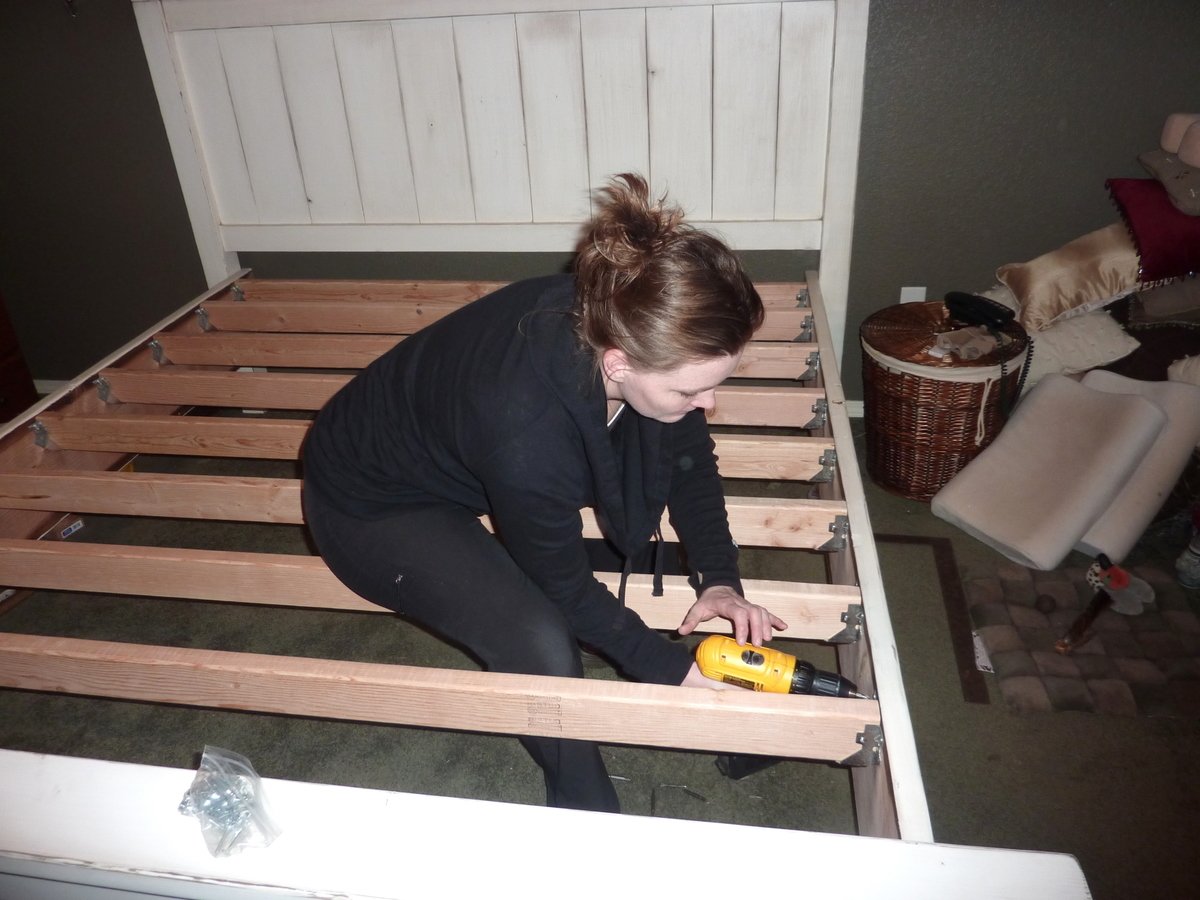
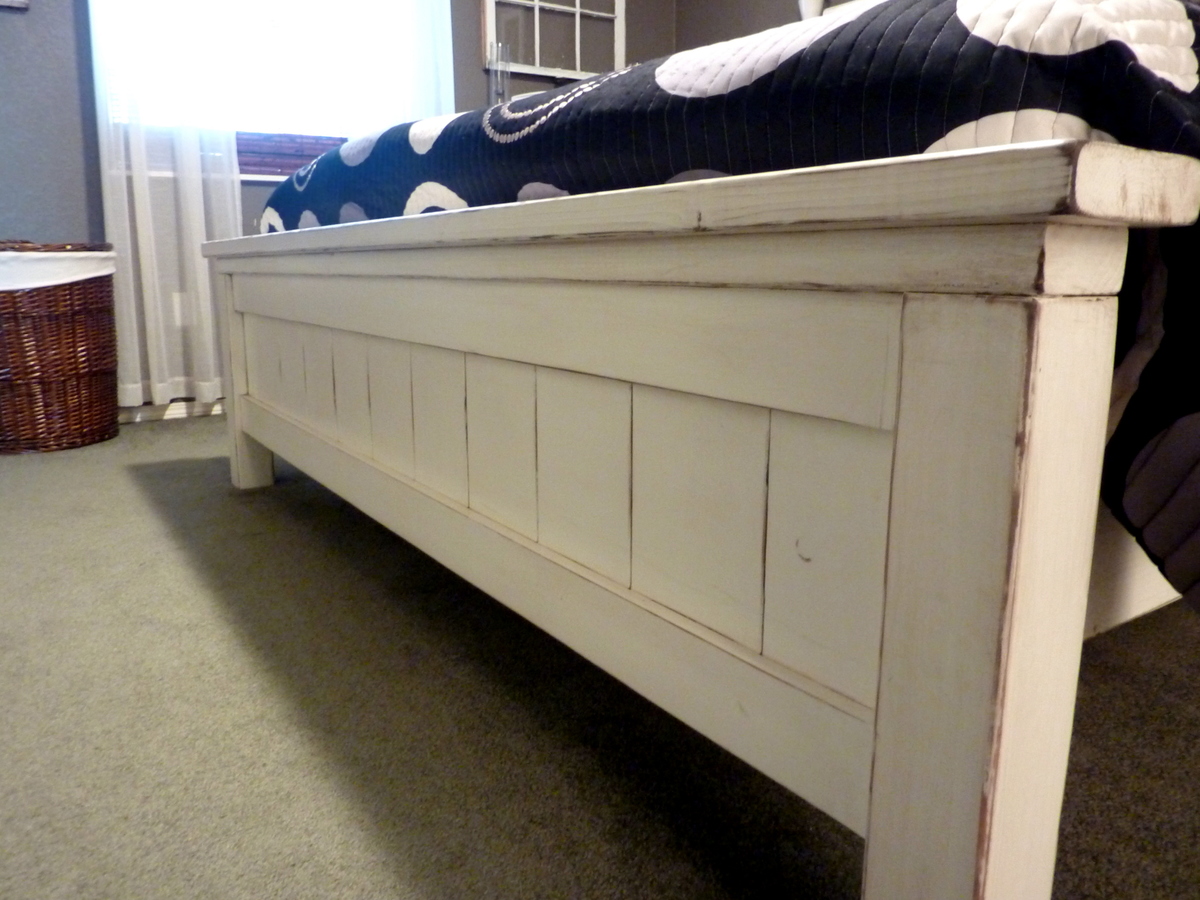
Submitted by Anonymous (not verified) on Mon, 05/29/2017 - 16:01

Plans make this a fairly easy project. Im looking forward to making a dresser to match as time allows. The bed ends up being a bit higher than i expected but still very happy with it. This made for a good 4 day father son build. 

Estimated Cost
750
Estimated Time Investment
Week Long Project (20 Hours or More)
Recommended Skill Level
Intermediate

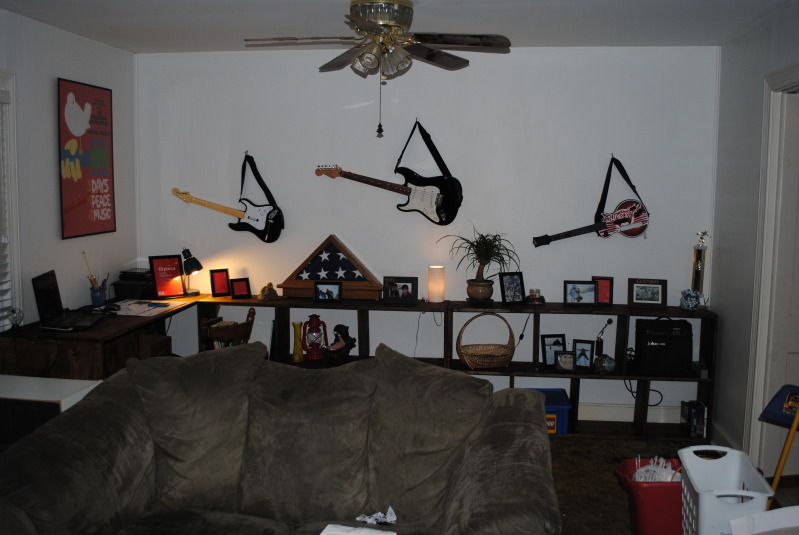
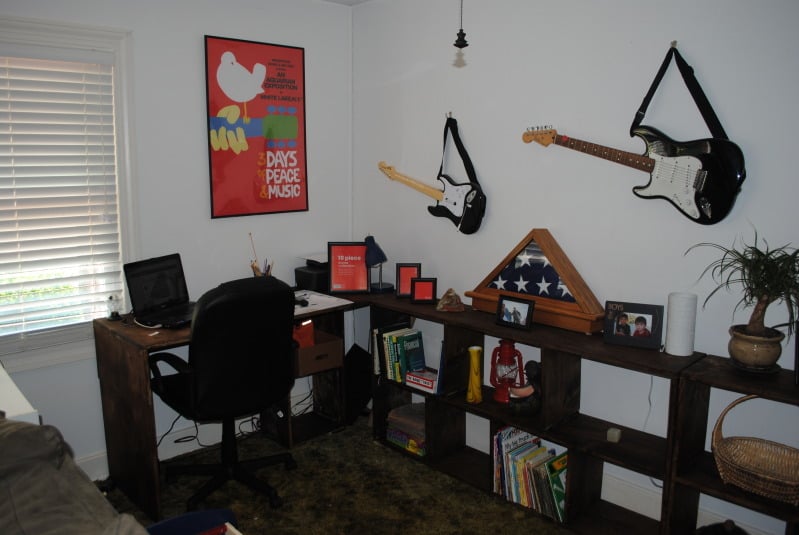
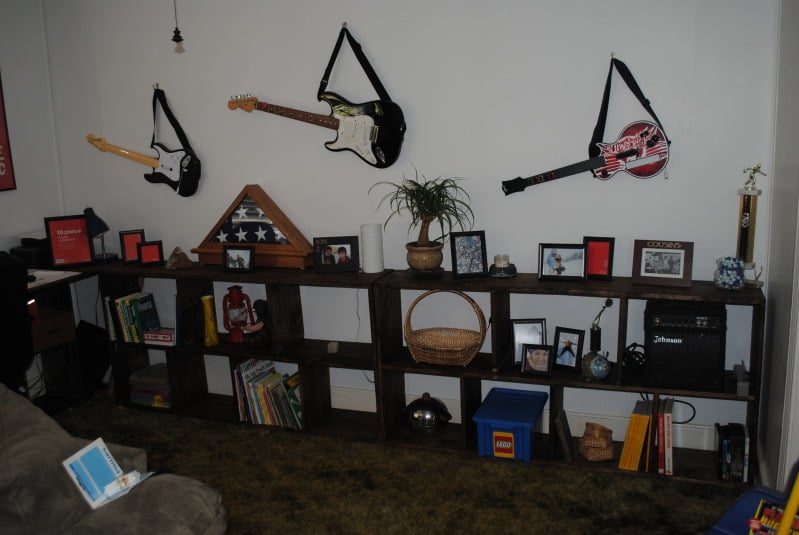
Electronics workstation desk from RusticX plans

Submitted by Anonymous (not verified) on Sat, 06/19/2021 - 20:37

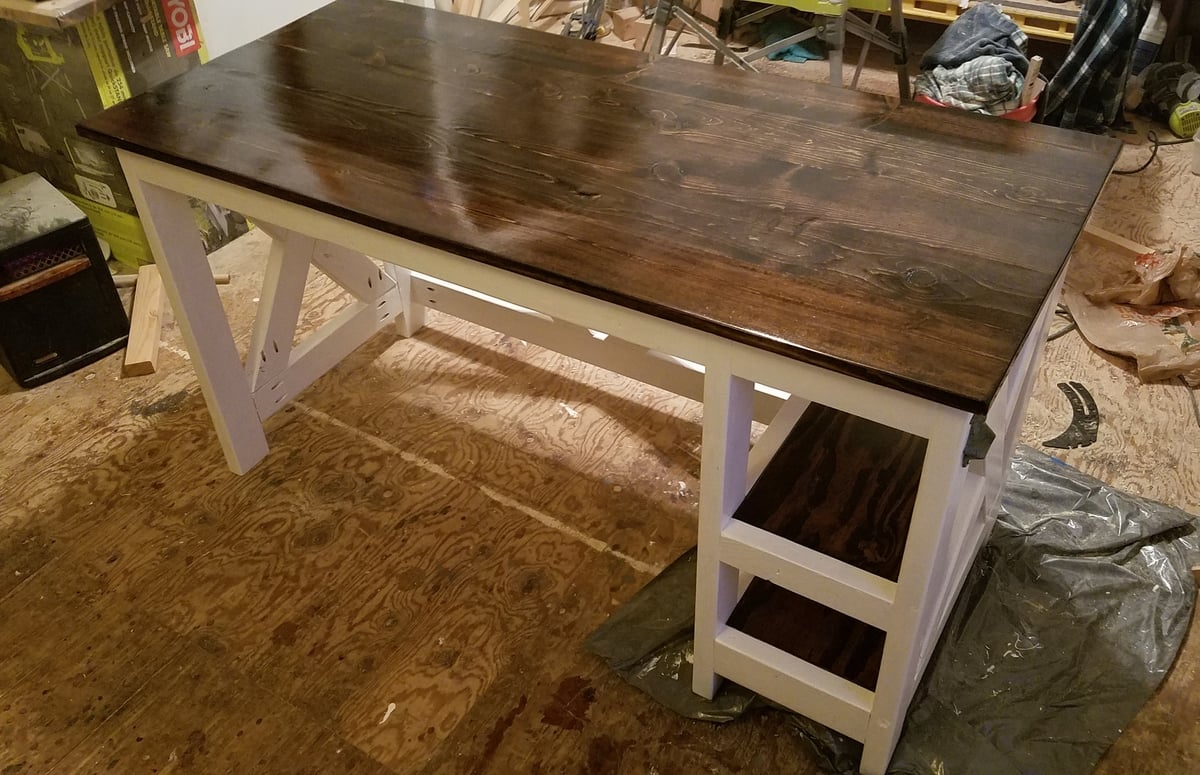
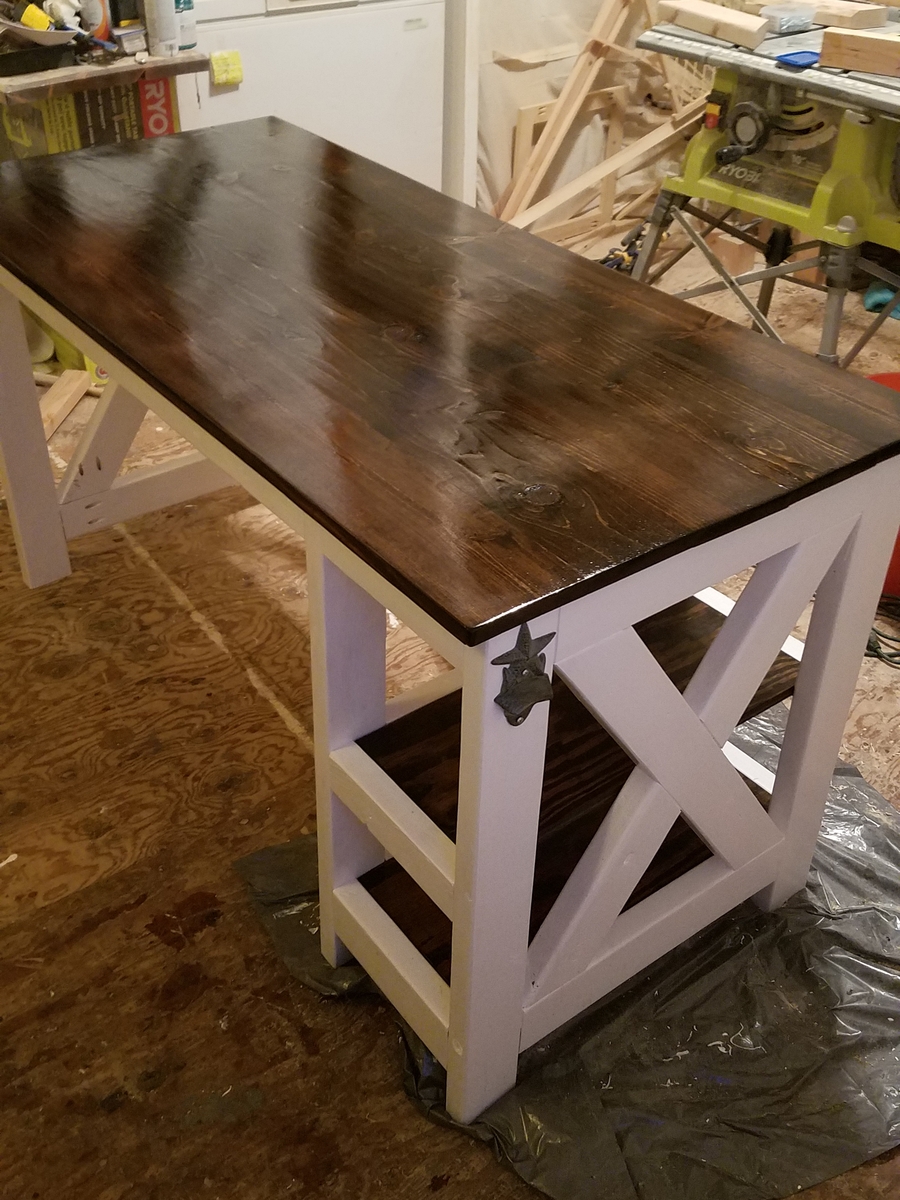
Base desk for workstation. Will probably add a "hutch" at some point.

Comments

X Rustic Coffee Table

Submitted by csmark on Sun, 04/14/2013 - 20:04

X rustic coffee table

Estimated Time Investment
Day Project (6-9 Hours)
Finish Used
Vinegar/Steel wool stain
Recommended Skill Level
Starter Project