Modern Outdoor Sofa and Loveseat
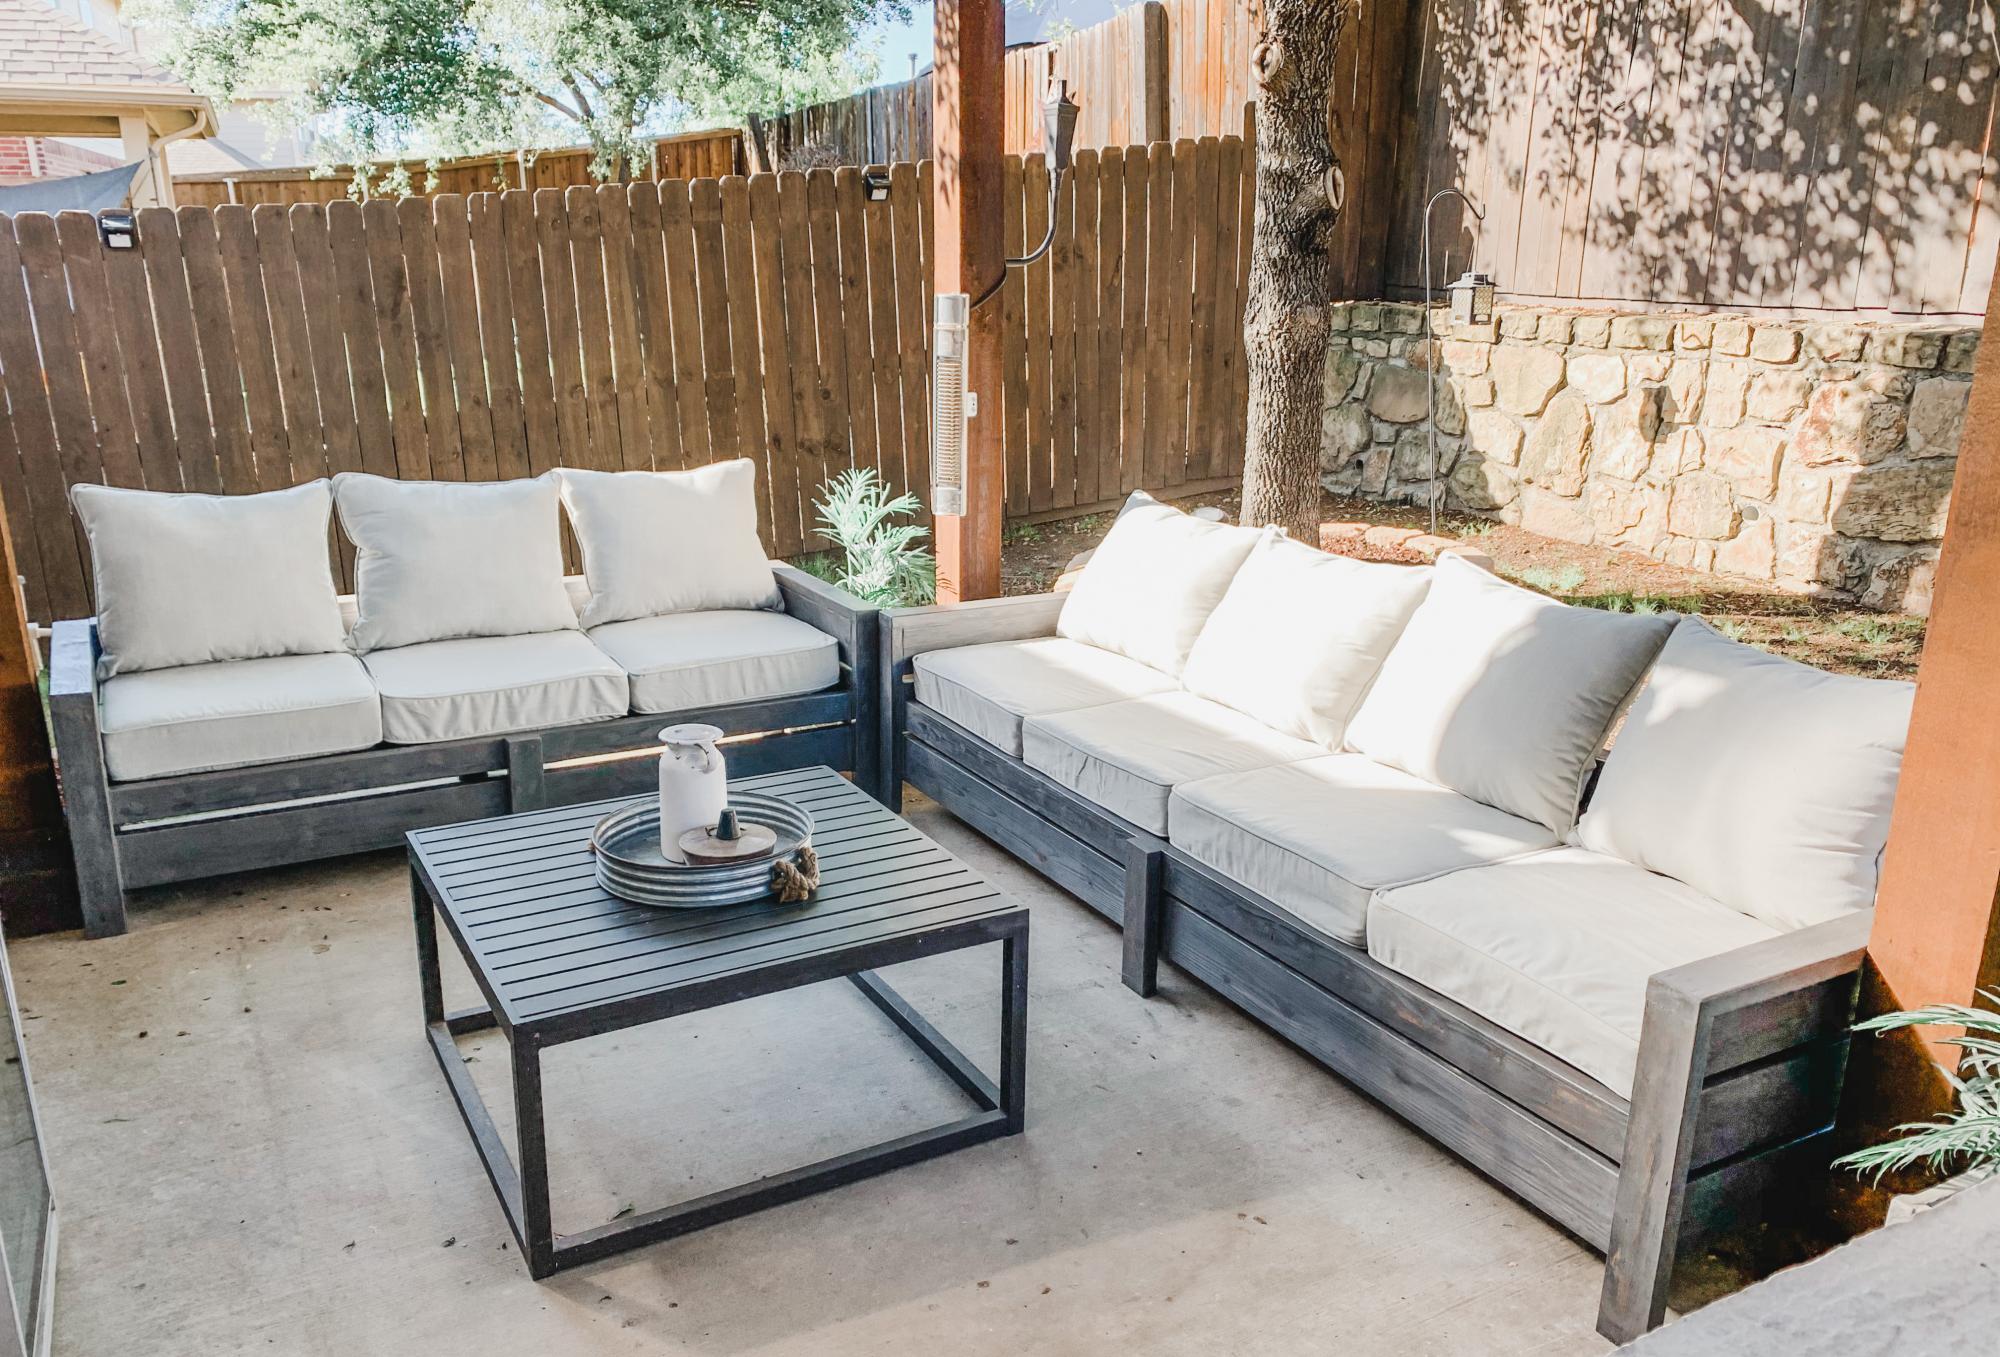
Modified the loveseat plans and created a sofa as well. No one that sees these thinks I built them. They look so much nicer than anything you can buy!
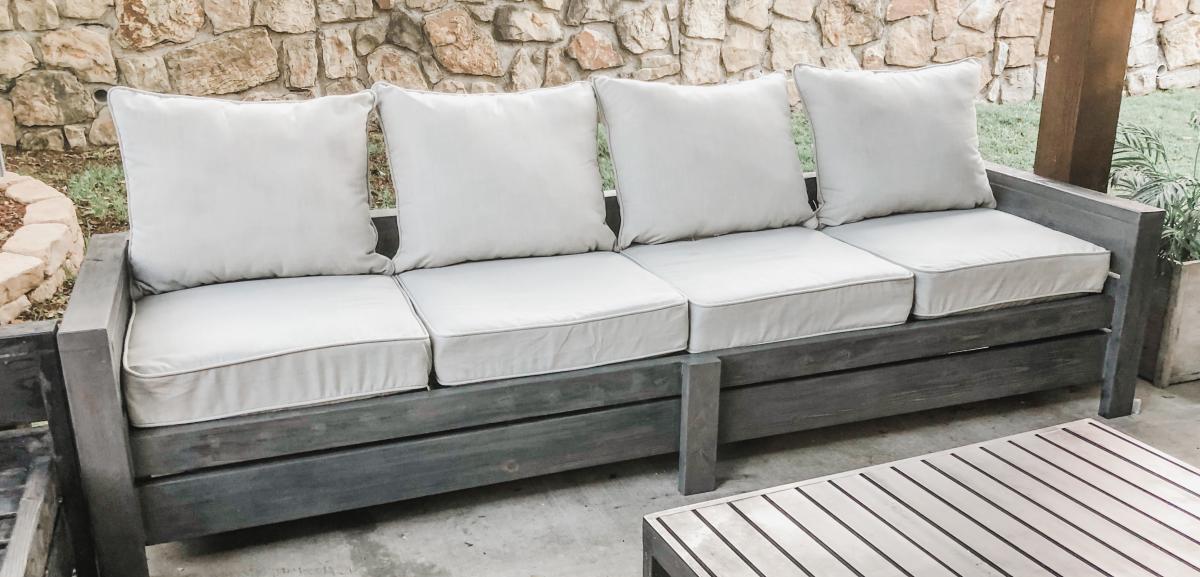
second coat Varathane Briarsmoke

Modified the loveseat plans and created a sofa as well. No one that sees these thinks I built them. They look so much nicer than anything you can buy!

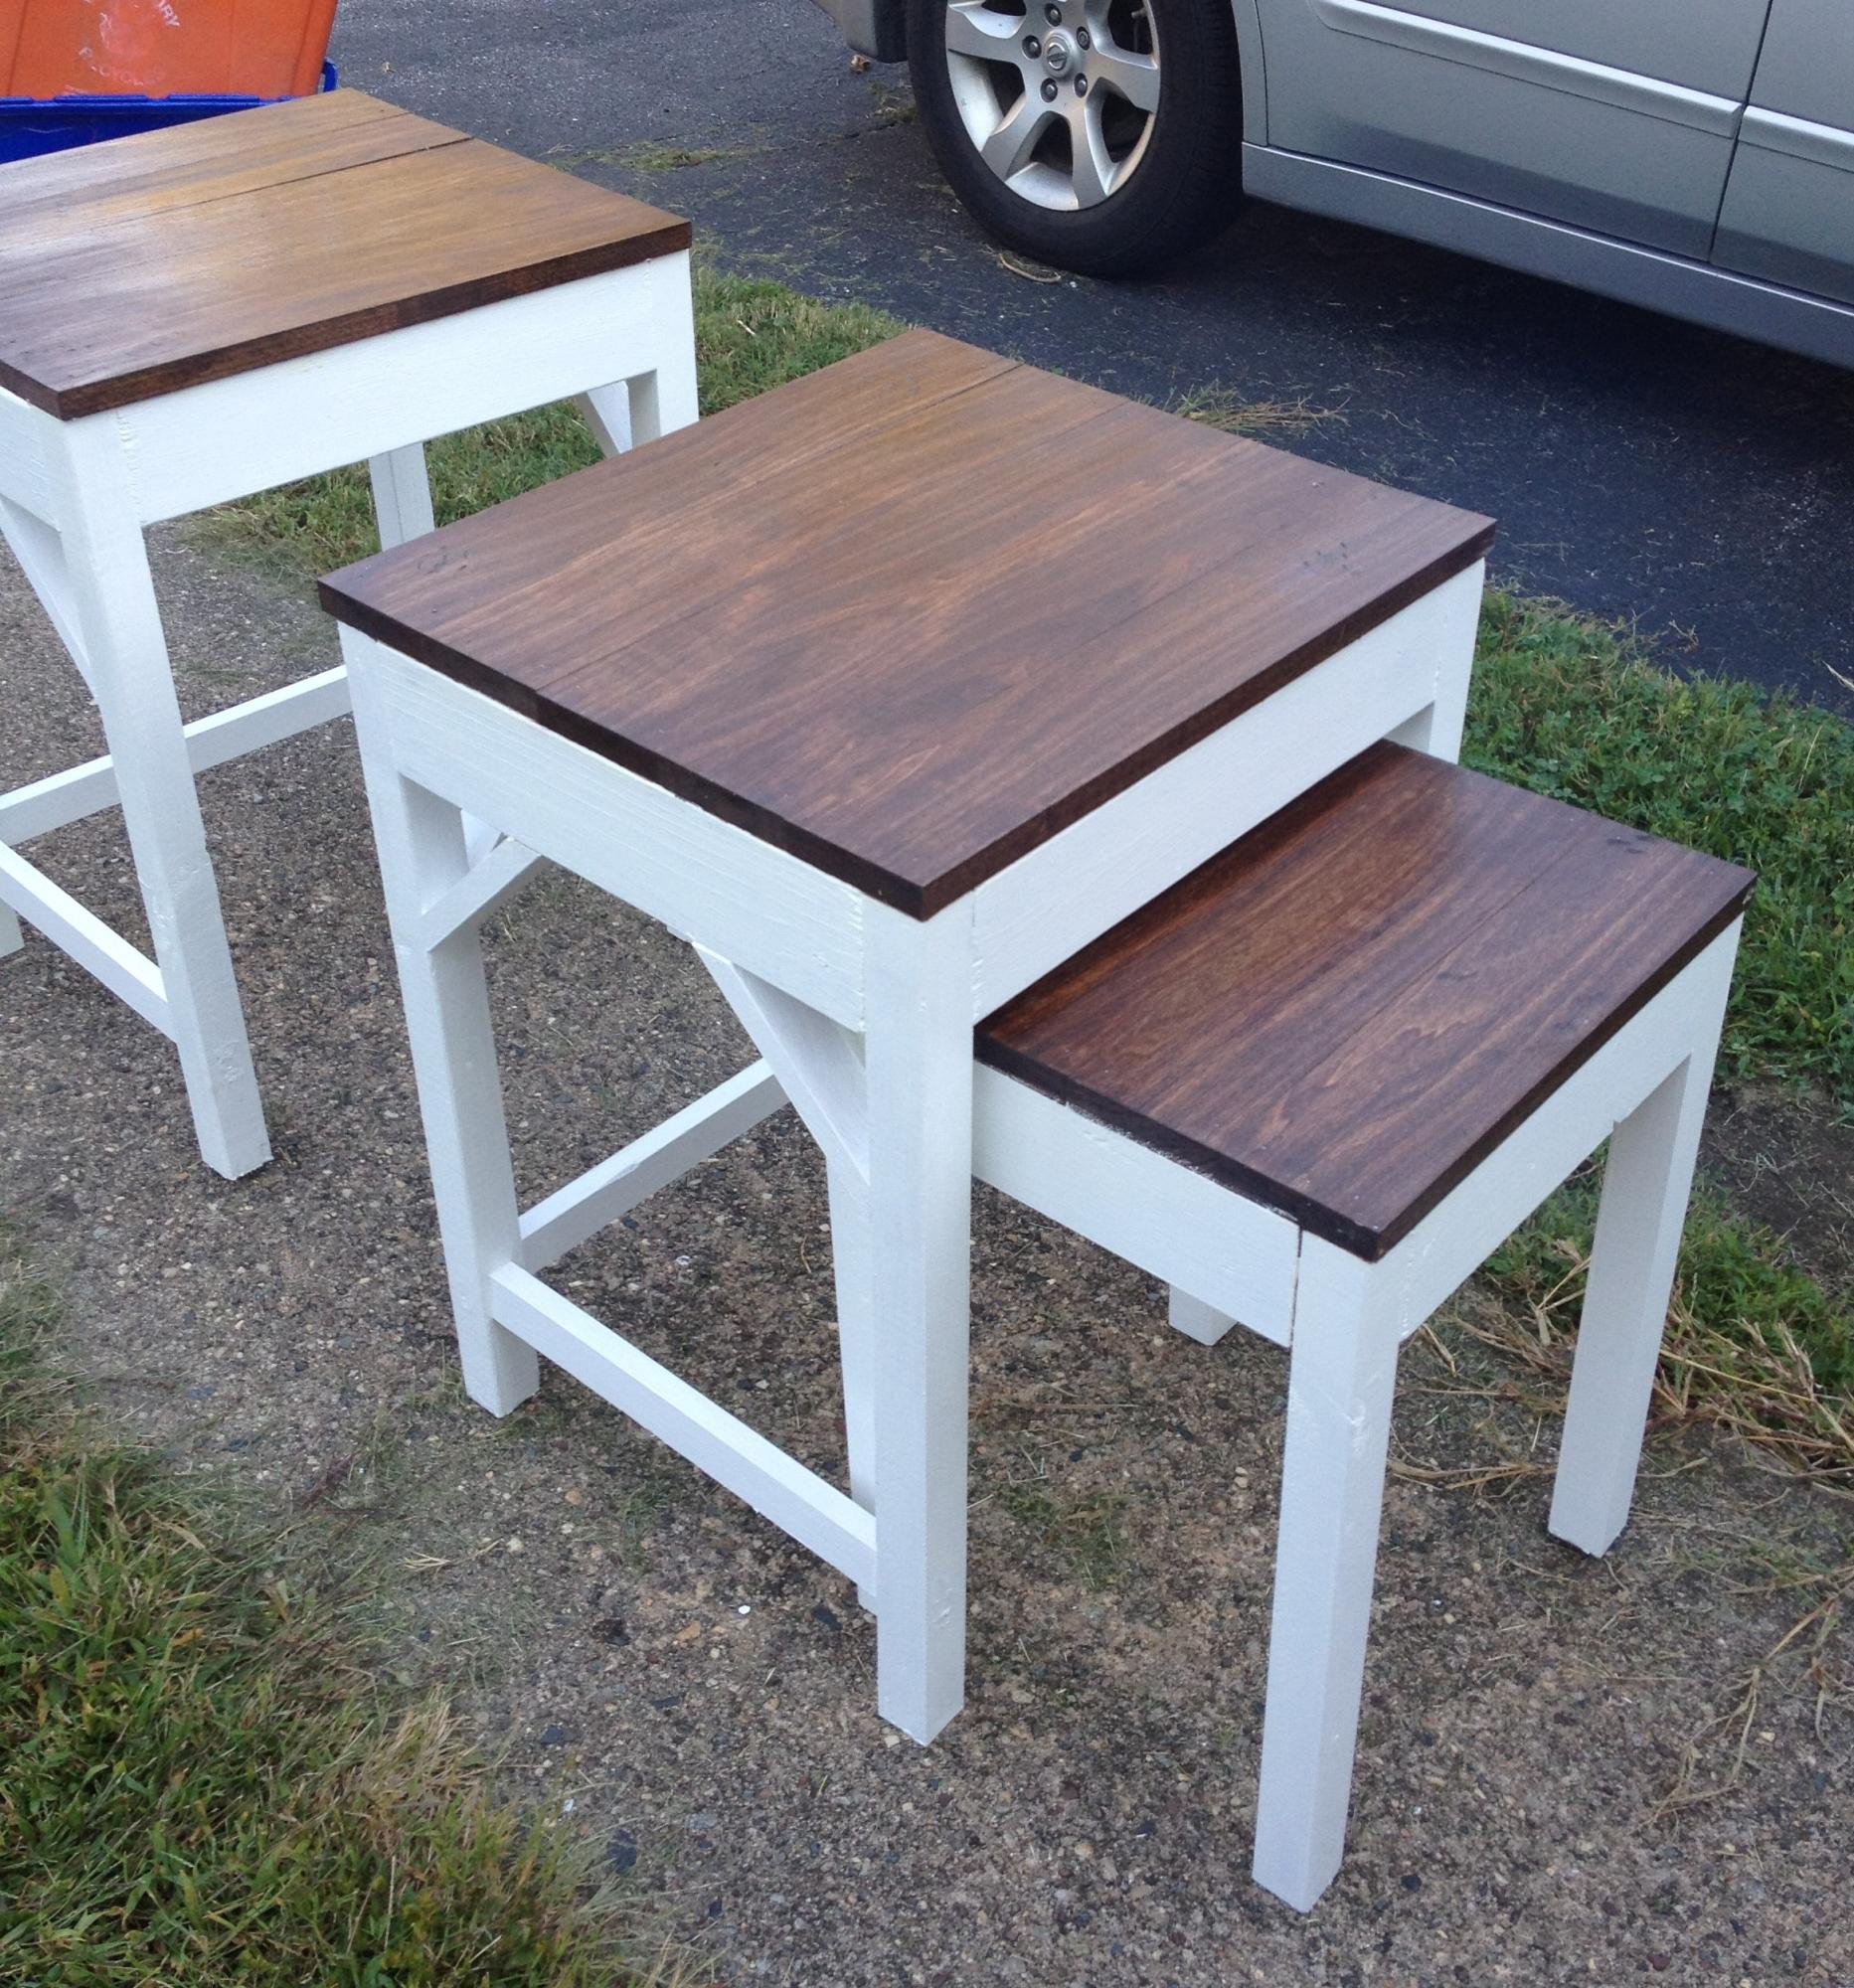
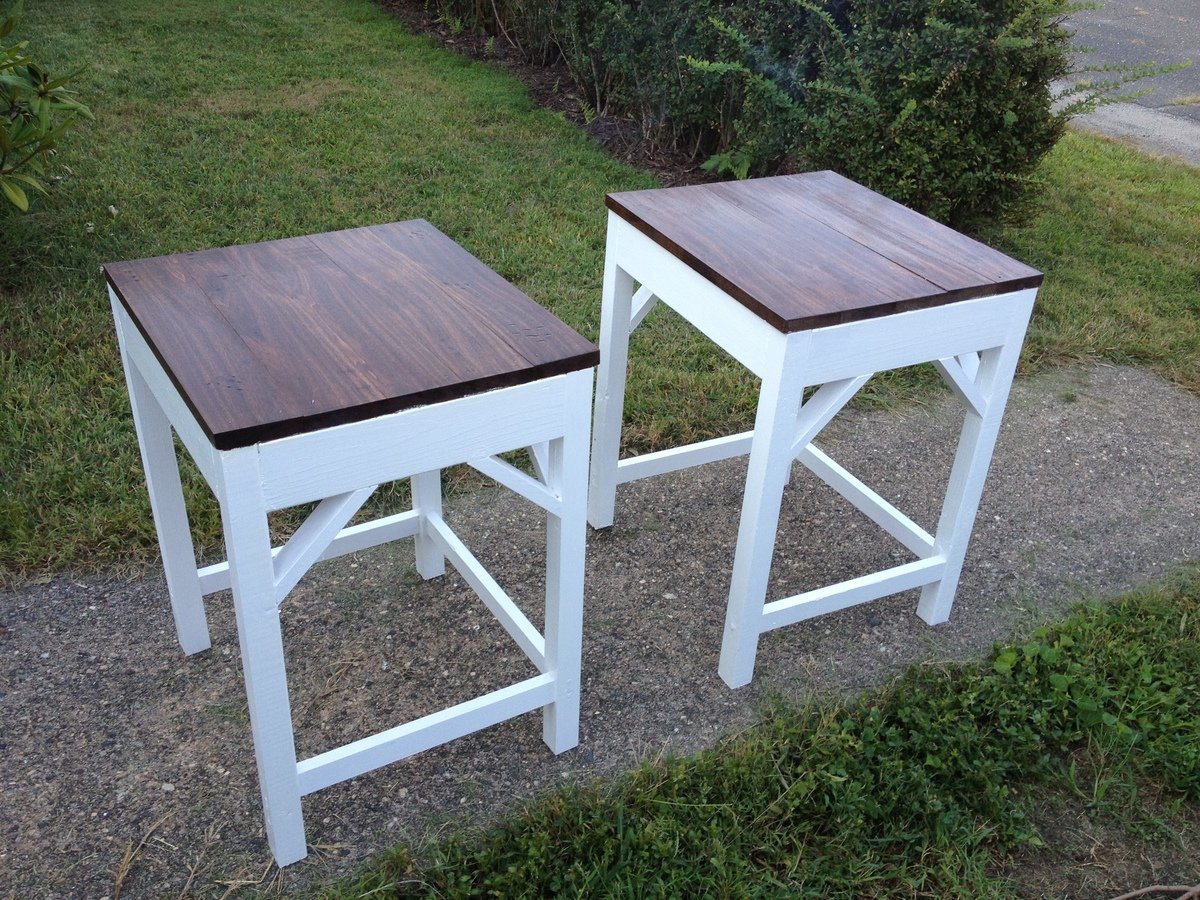
After building my new coffee table, I needed new end tables to match! I love that I can store the little tables underneath, or use them around the room during a party. After the coffee table, these were a lot simpler to build, though took longer due to the fact that there are four of them!
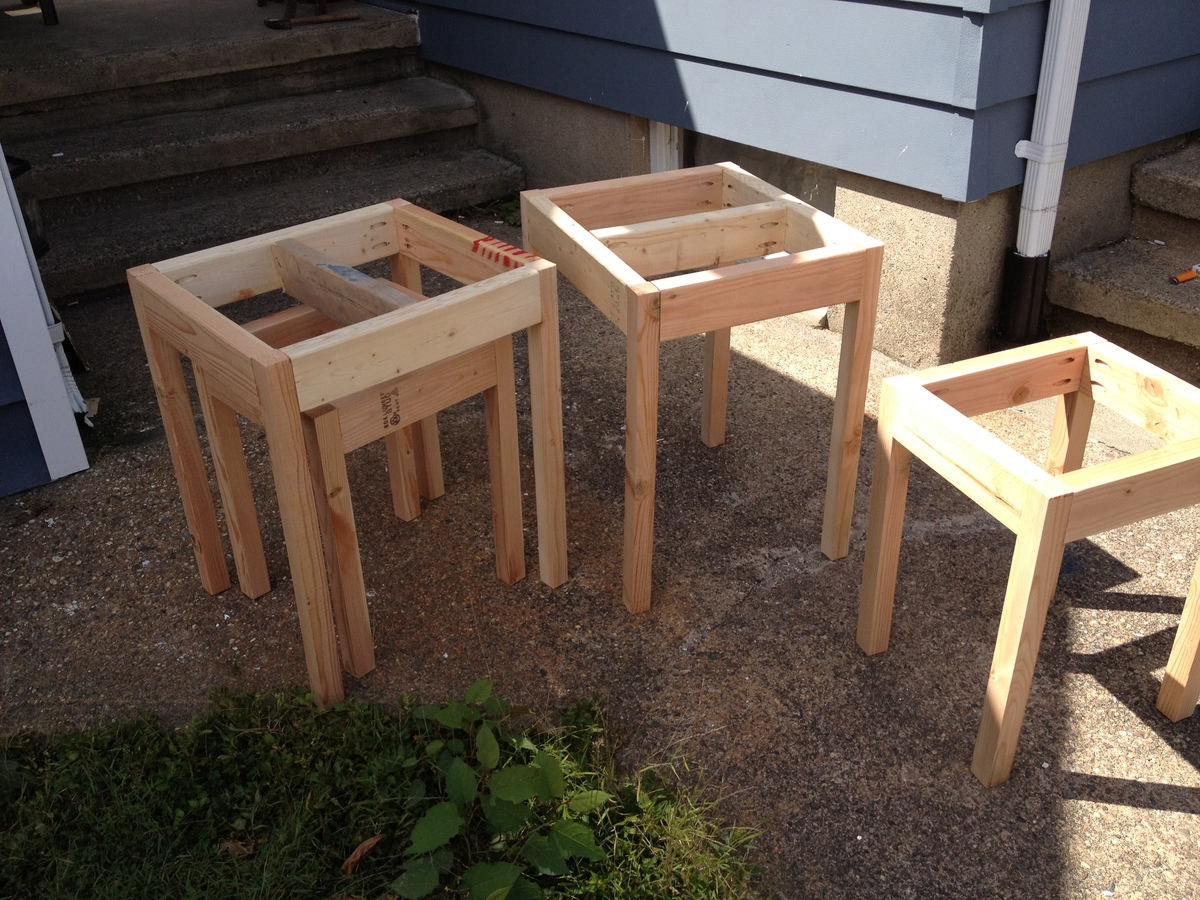
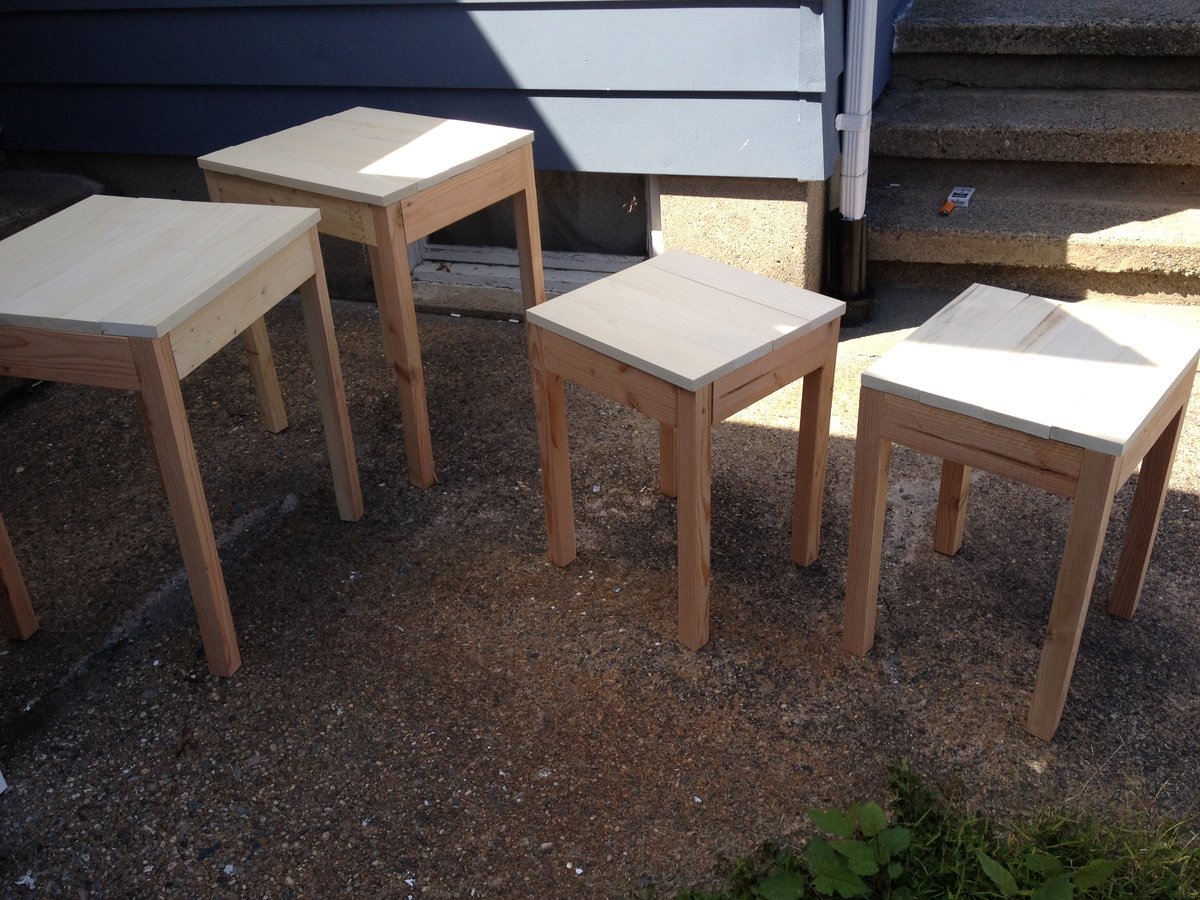
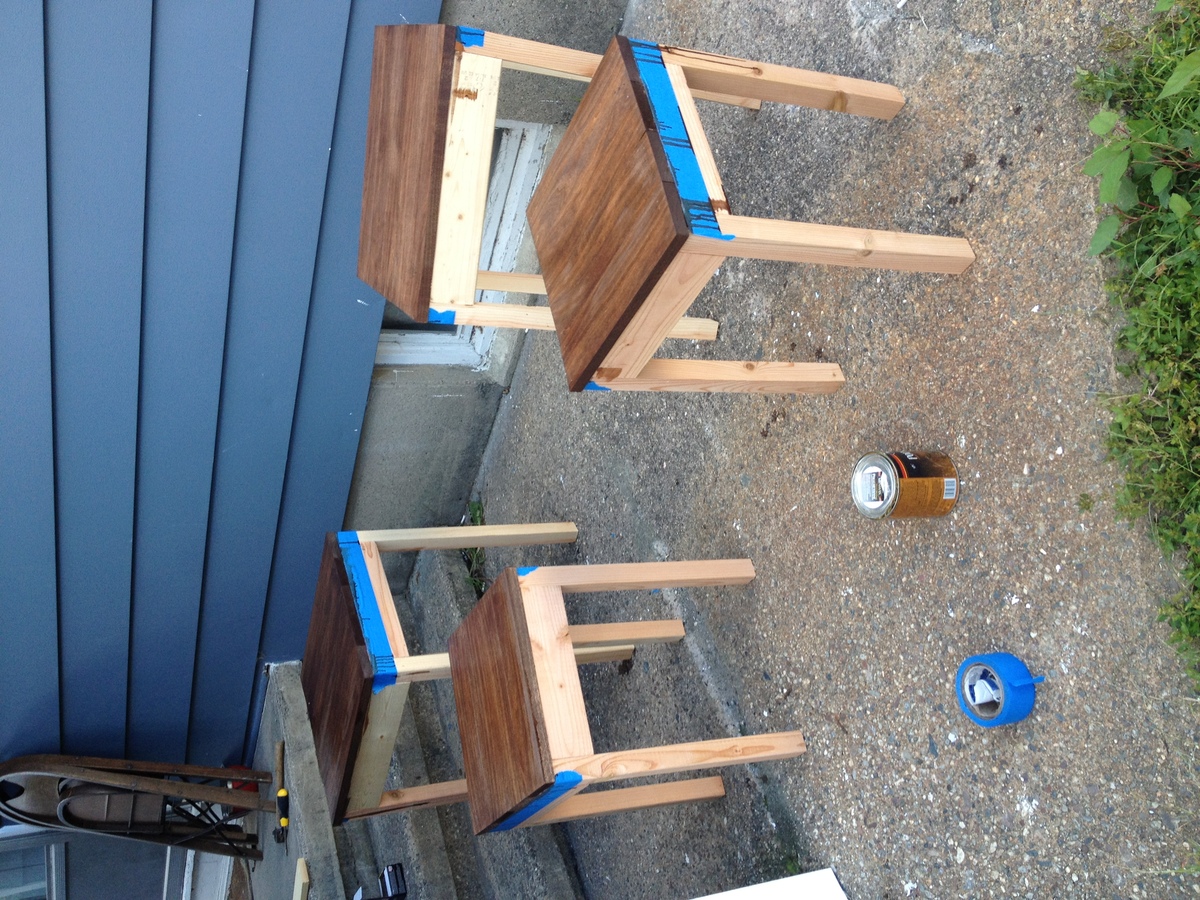
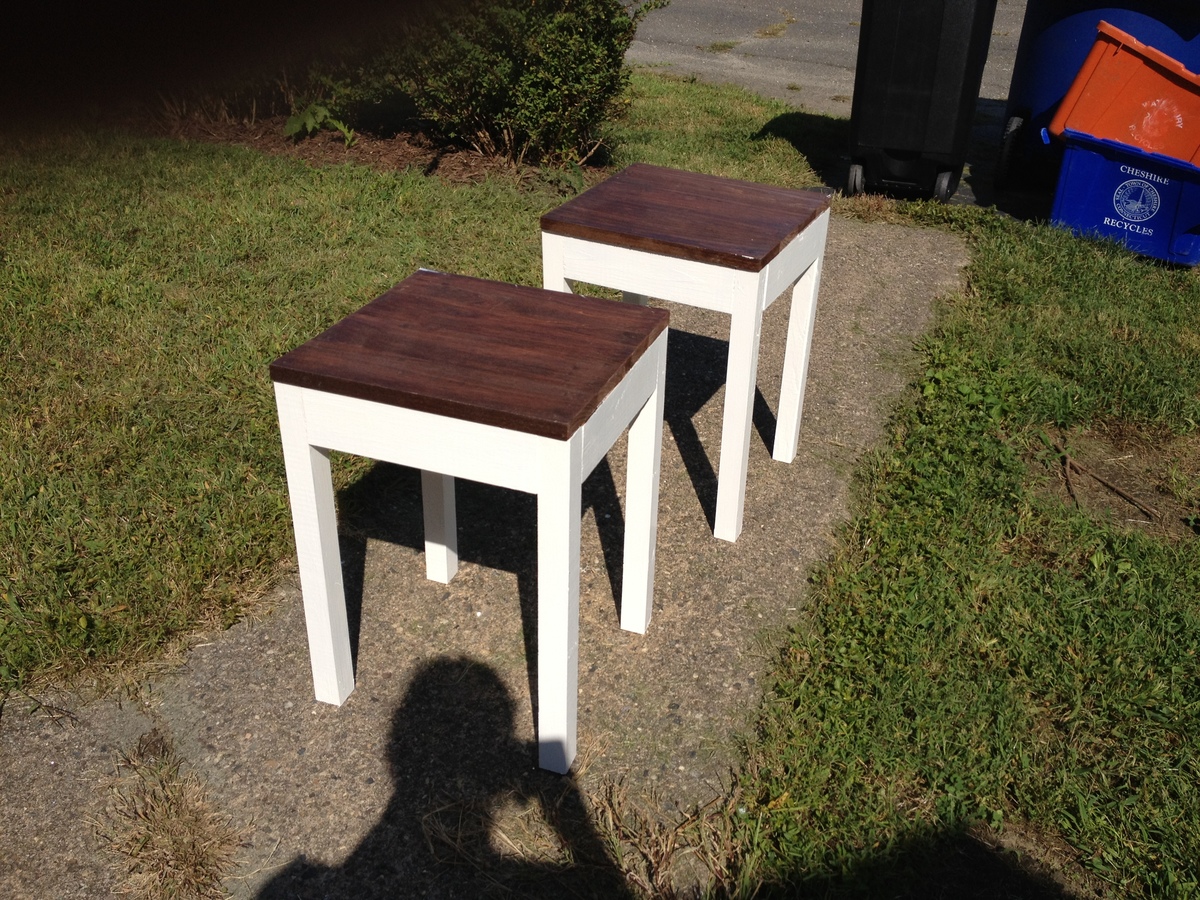
Sun, 09/16/2012 - 21:20
Hi, stain on your tabletops is beautiful - I was wondering what brand of chestnut stain you used? Thank you!
My wife wanted a bench to put in the mudroom as a place to sit when you take off your boots in the winter. I came across this project on your website and decided to try to tackle it.
it turned out pretty good, in my opinion. Only a few small things learned. One, is that if you're changing the space of the gap from 1/4" to 1/8", the boards should be resized to accommodate the change. And/Or at the very least, put the boards on the outsides first and work your way in. Then, at the very least the sliver needed to fill in the gap would be in the middle. ☺
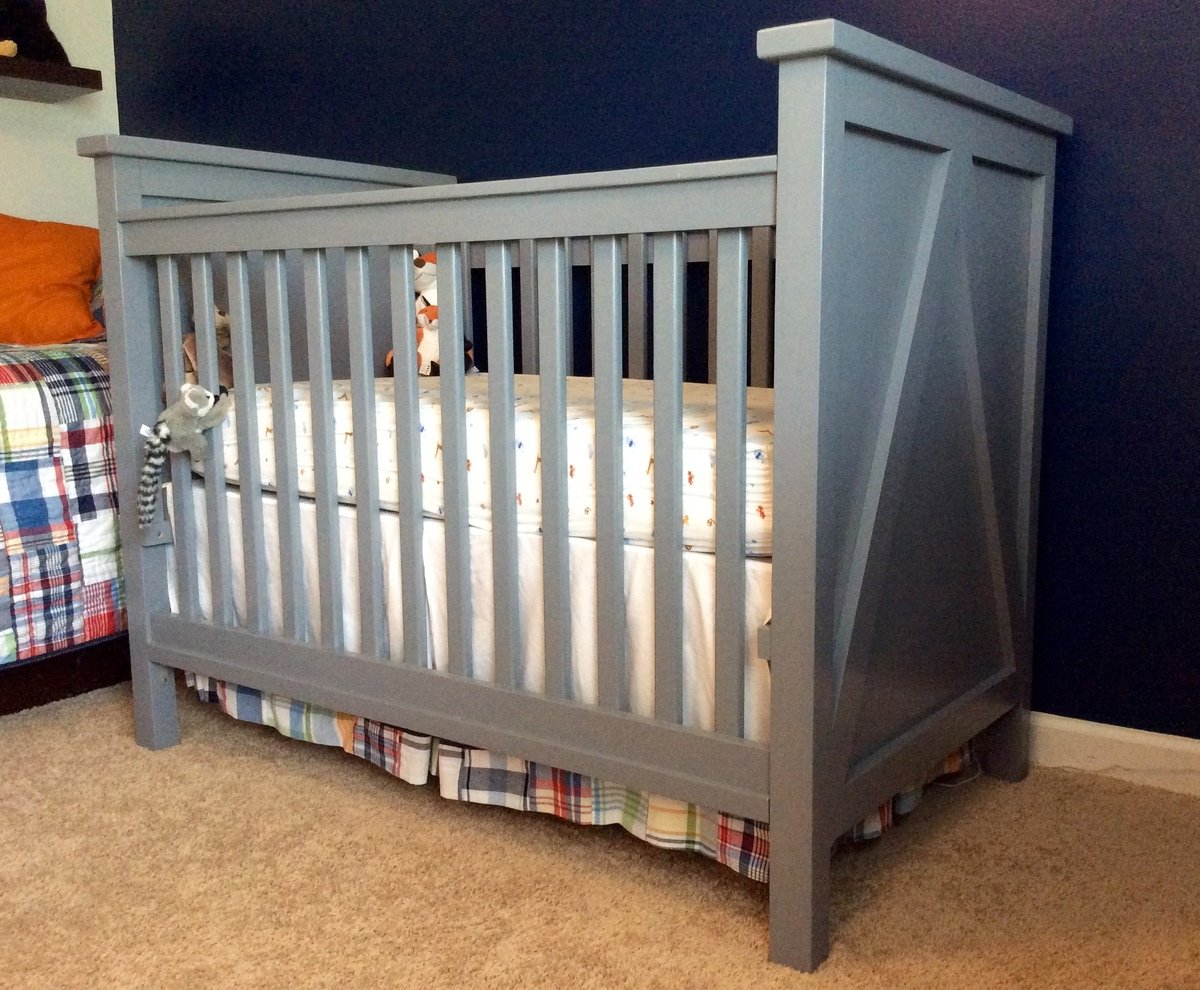
My husband and father-in-law built this crib over many weekends. They decided against using pine since it is soft. Instead they used maple and the materials cost far more than the $50-100 estimate. The finished project is beautiful and is lovingly referred to as the bomb shelter because it is so sturdy and heavy.
They made it so the mattress could be raised and lowered as well as easily converted into a toddler bed. They used the crib mattress as a starting point to adjust the plans to ensure there would be no gaps between the sides of the crib and the mattress.
They used a router to put a dado at the top and bottom of the sides so the slats fit into the slot instead of just butting against the top of the rail in order to minimize the number of nail holes and create a nicer fit. They used one solid piece of maple plywood at the ends of the crib because there is a lot of temperature variation where we live resulting in a lot of expansion and contraction and they wanted to make sure that didn't cause any gaps.
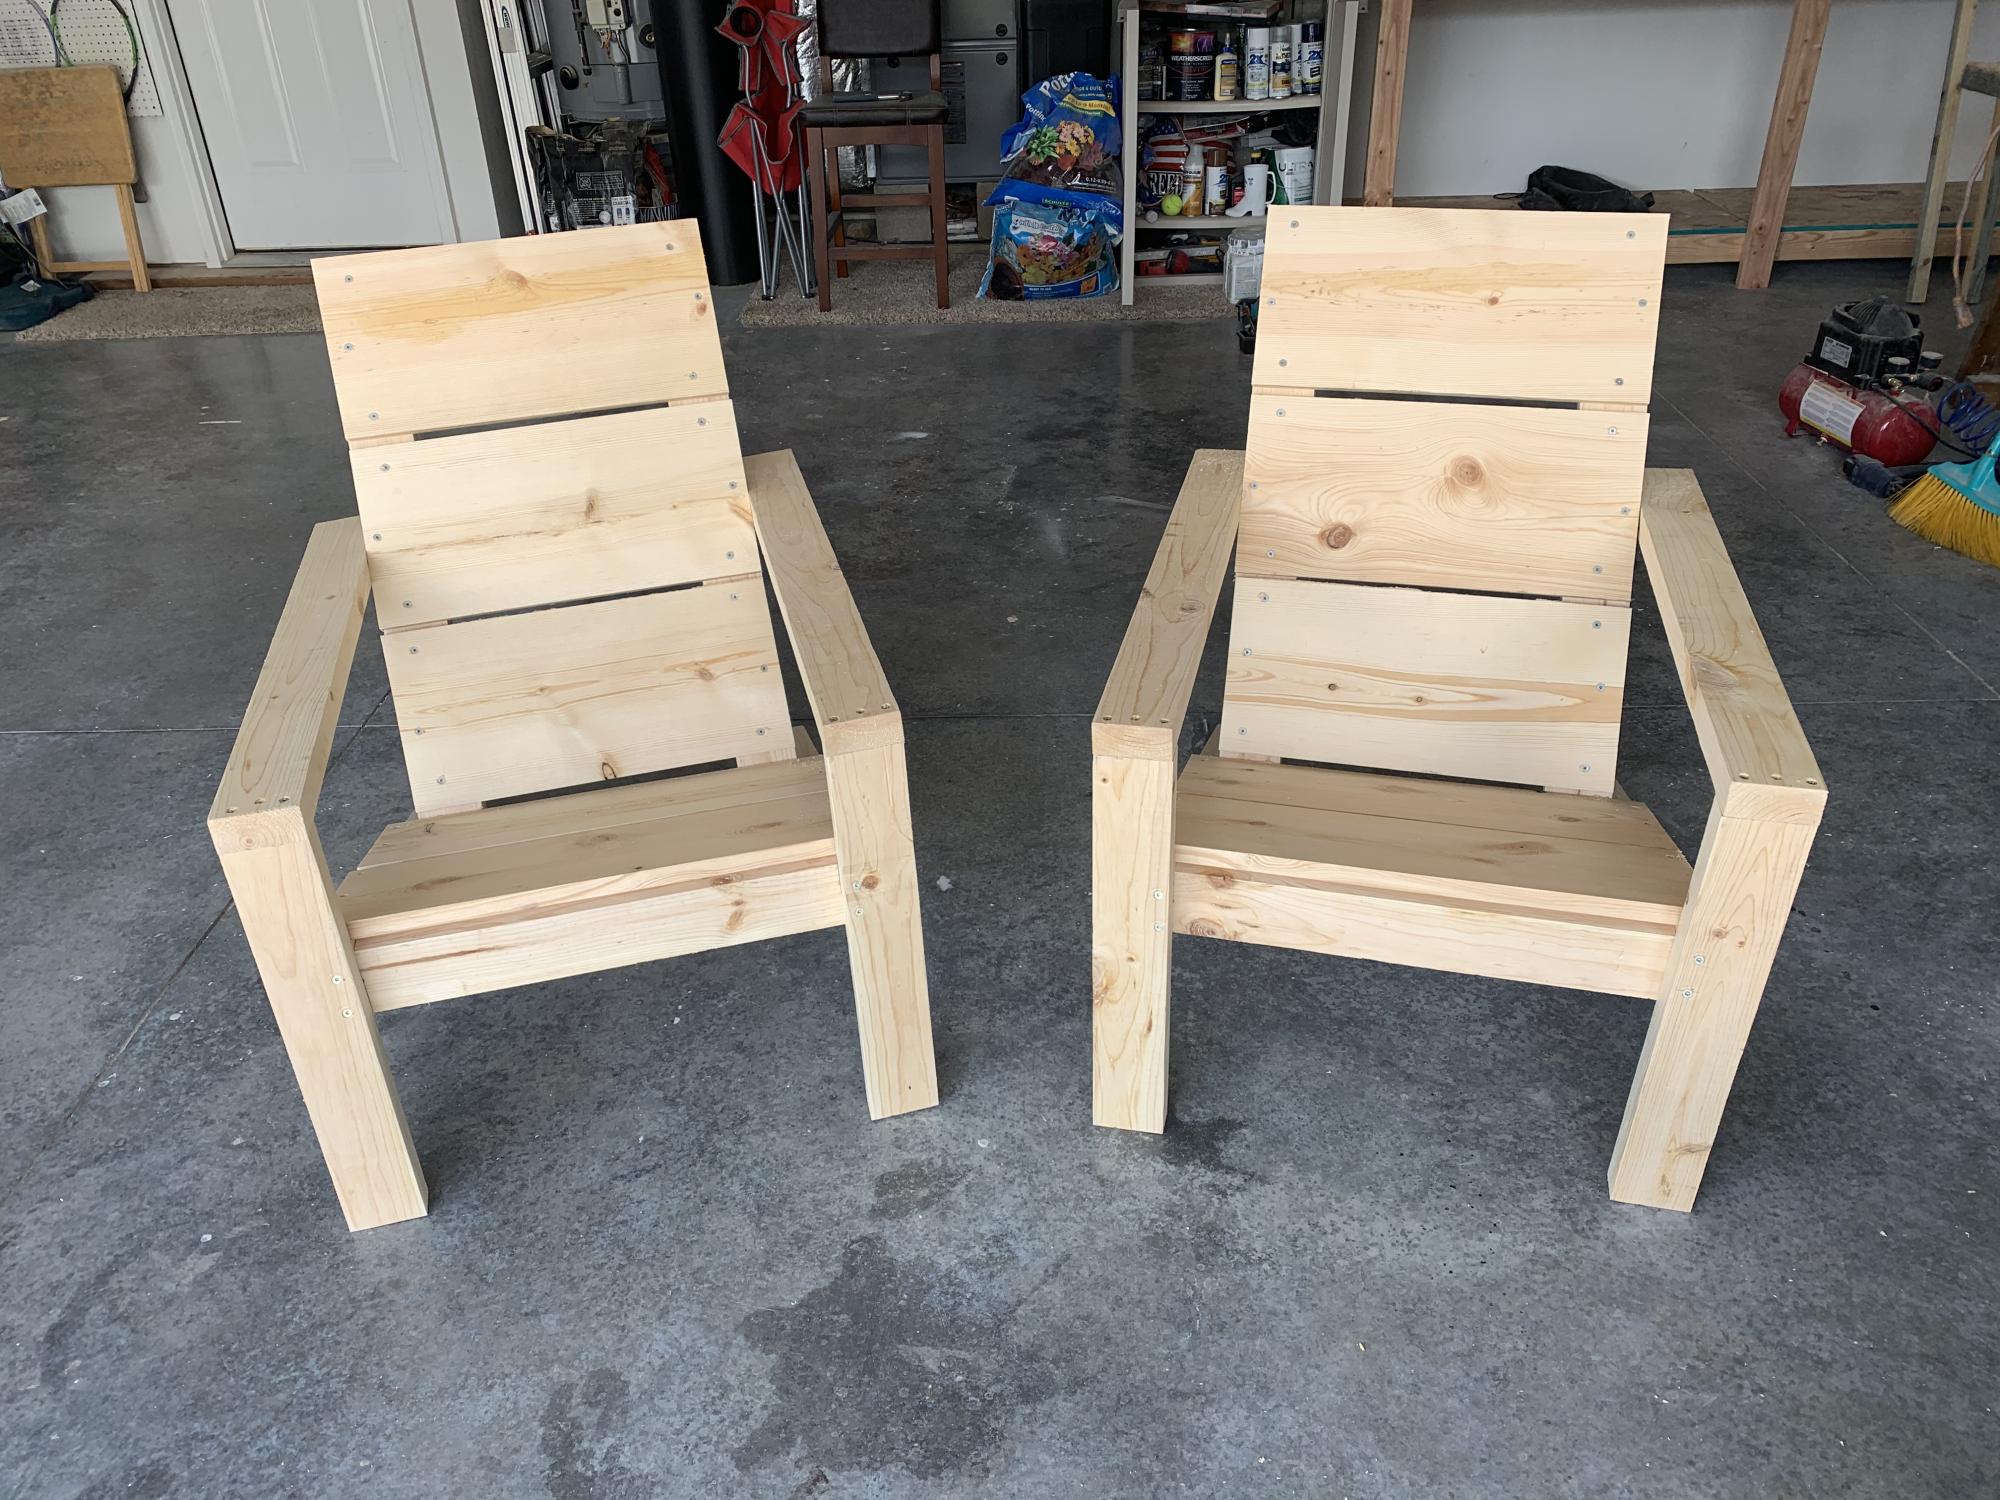
Such easy plans to follow! Thanks, as always!!!
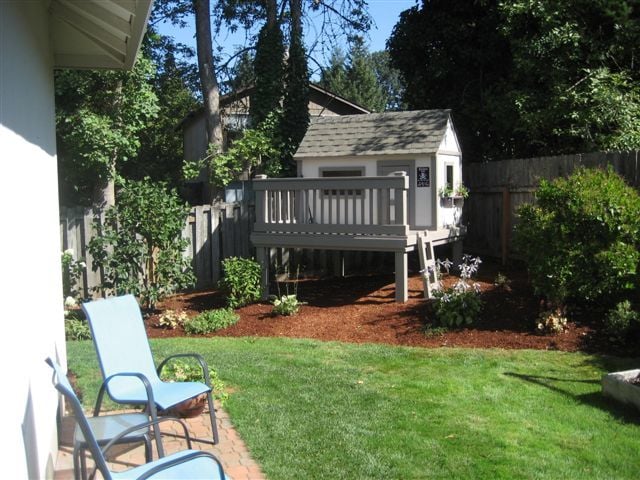
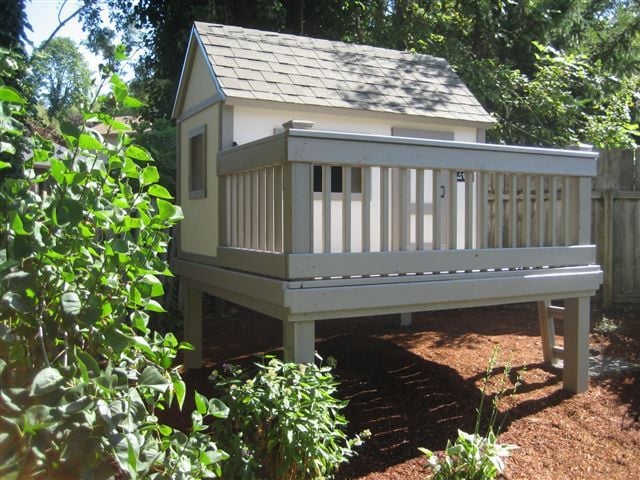
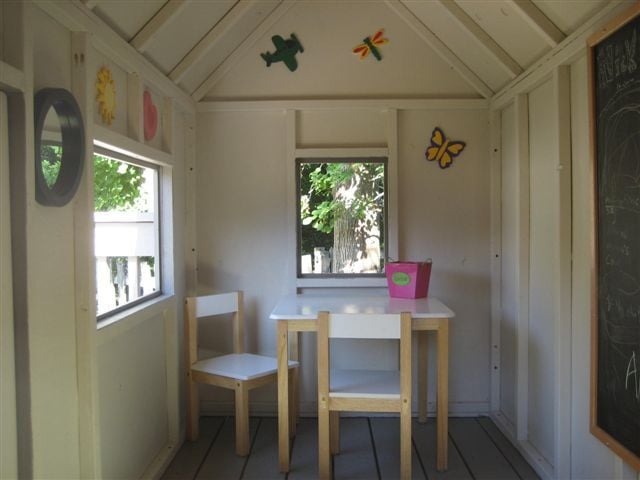
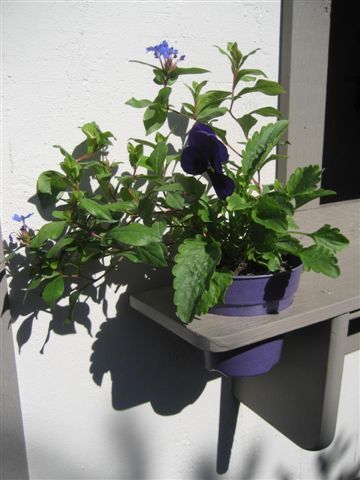
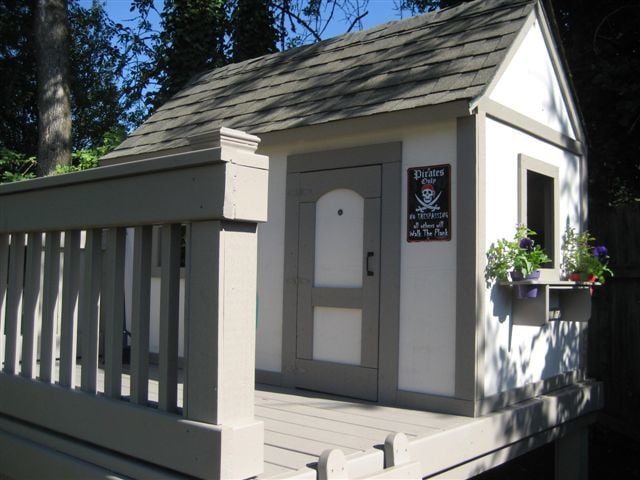
Grandma and I spent a couple months building this playhouse for our grandkids. The project took longer and cost more than we initially thought it might but we had a lot of fun doing it and it's a big hit with the kids.
We followed the plans on this blog pretty closely only changing a thing or two here and there. We used cedar for the deck and railing and we painted it (and roofed it) to match our house. We put in 1/4 inch tempered glass windows to keep the rain out in the winter. (The glass is easily removed for summer.)
Thank you Ana White for providing such a great little plan!
Fri, 09/28/2012 - 05:52
This is just beautiful! The build, the landscaping, the paint. I am always stalking the brag posts to see if any new playhouses have been posted as we have been working on my daughter's since March:) I know! It has taken us forever. This is our first build and I work full time so we are a little slow. I just love what you've done with the place! Great job!

Made two 48" long cedar benches that could be carried down to the firepit in our yard. They're also nice for sitting on the deck and watching the dogs play. I had to use 3 - 2x6s for the seat instead of 2 - 2x8s since 2x6 was the largest I could get in cedar. Made it a little bit wider.
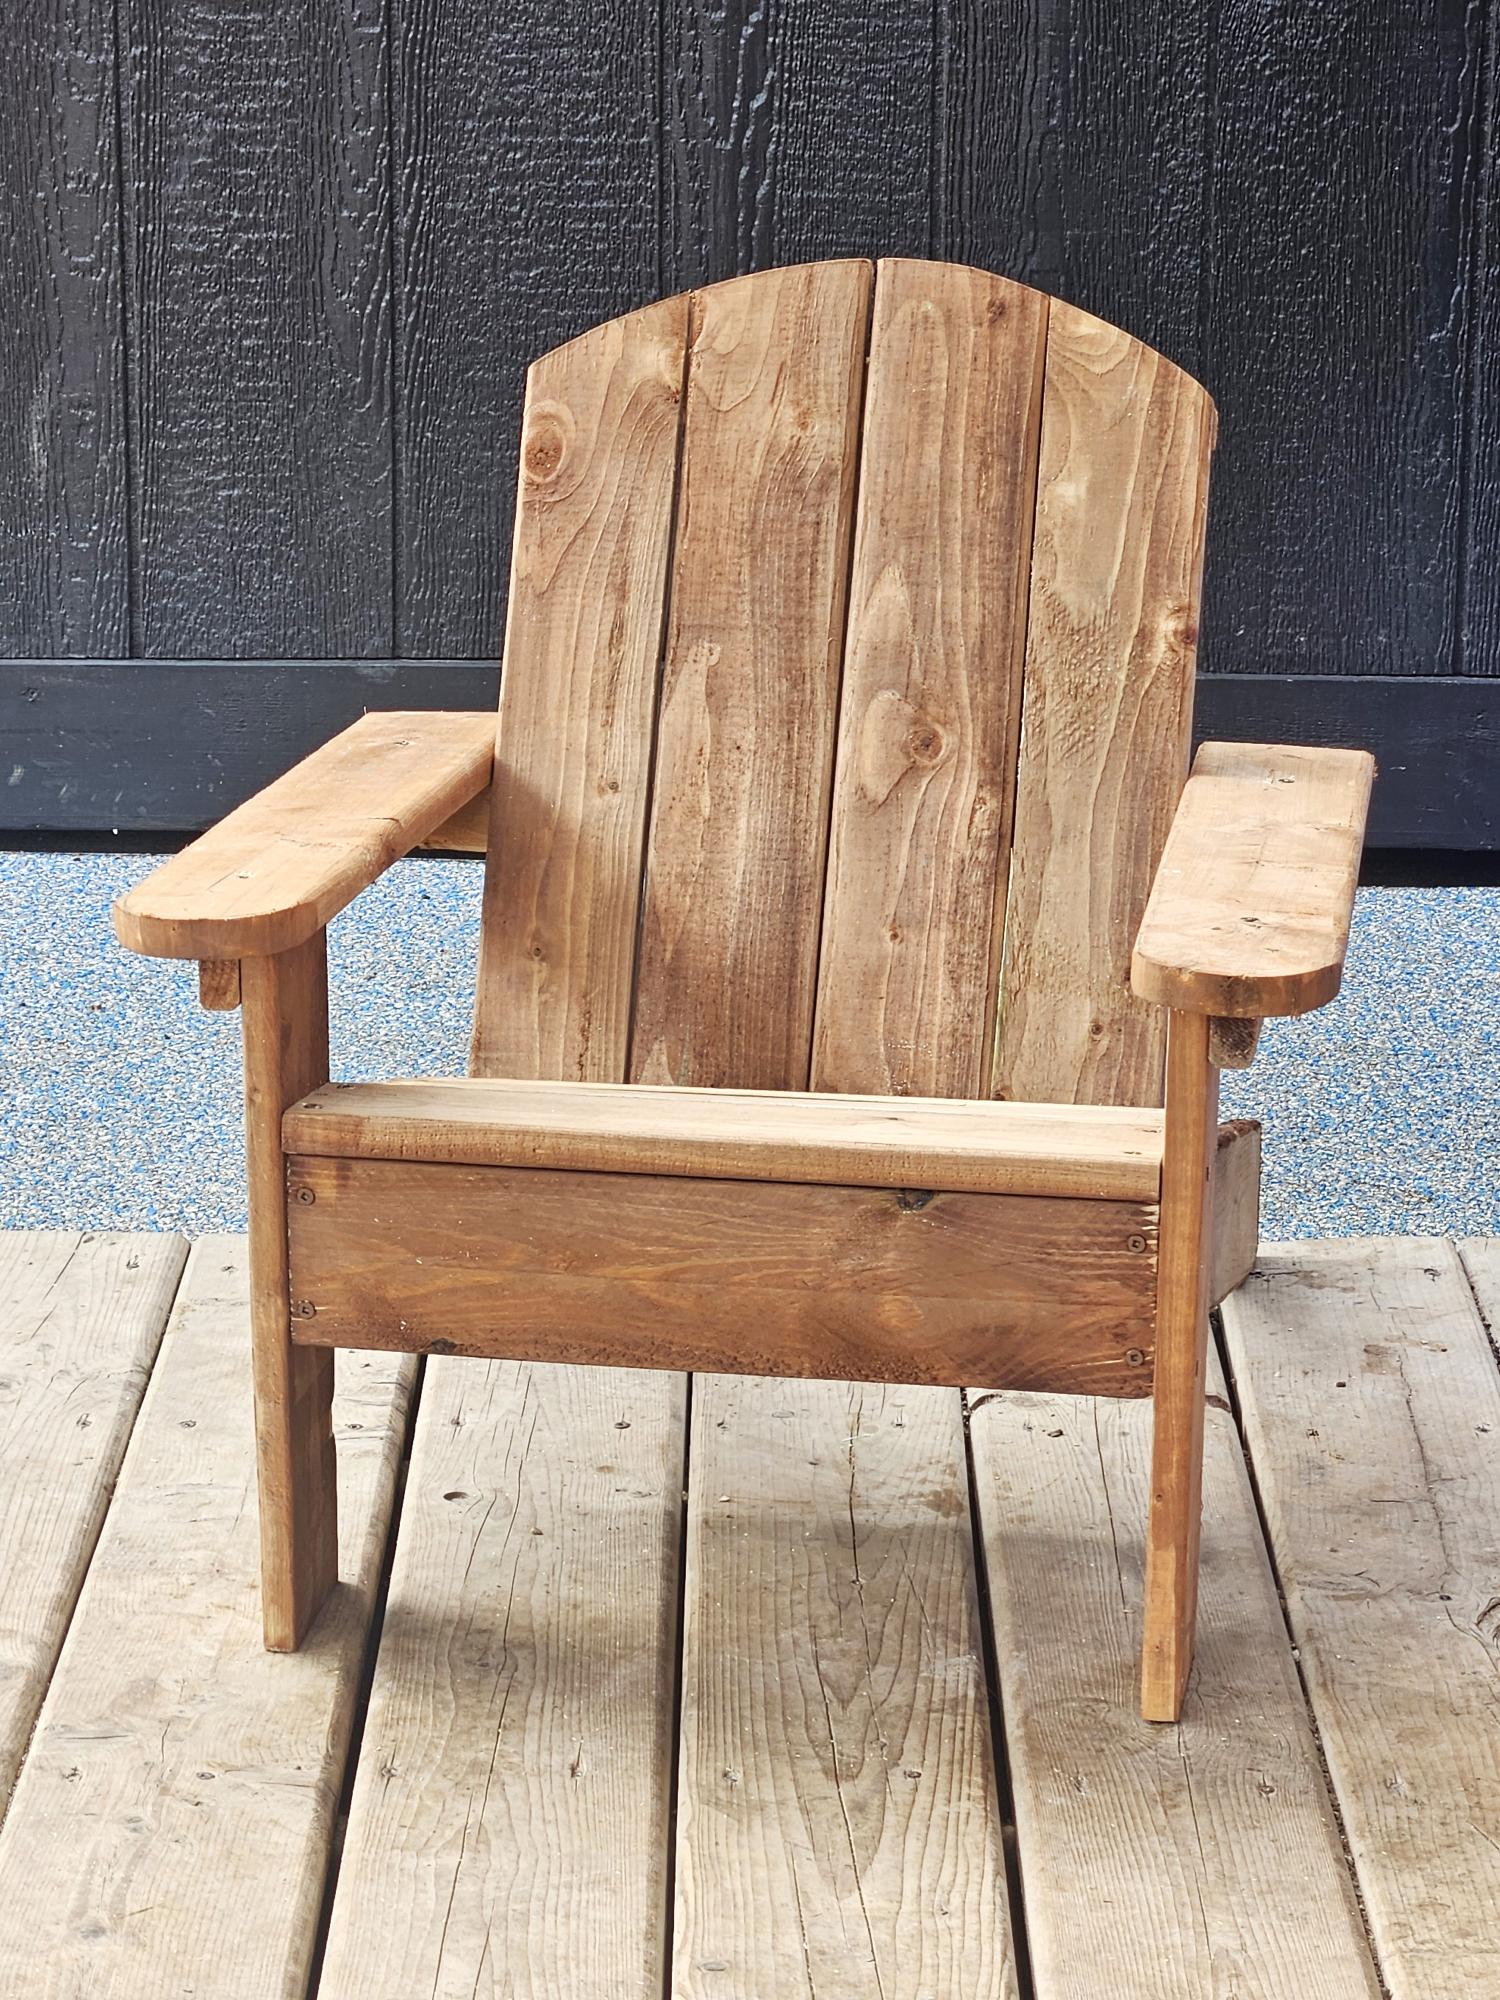
Your plans were great. Followed exactly except I opted to use pressure treated wood. 1x3 is not available for pressure treated wood so I used all 1x4s in place of 1x3. Turned out great. Donating 6 of these to a zoo near me for their lemurs.
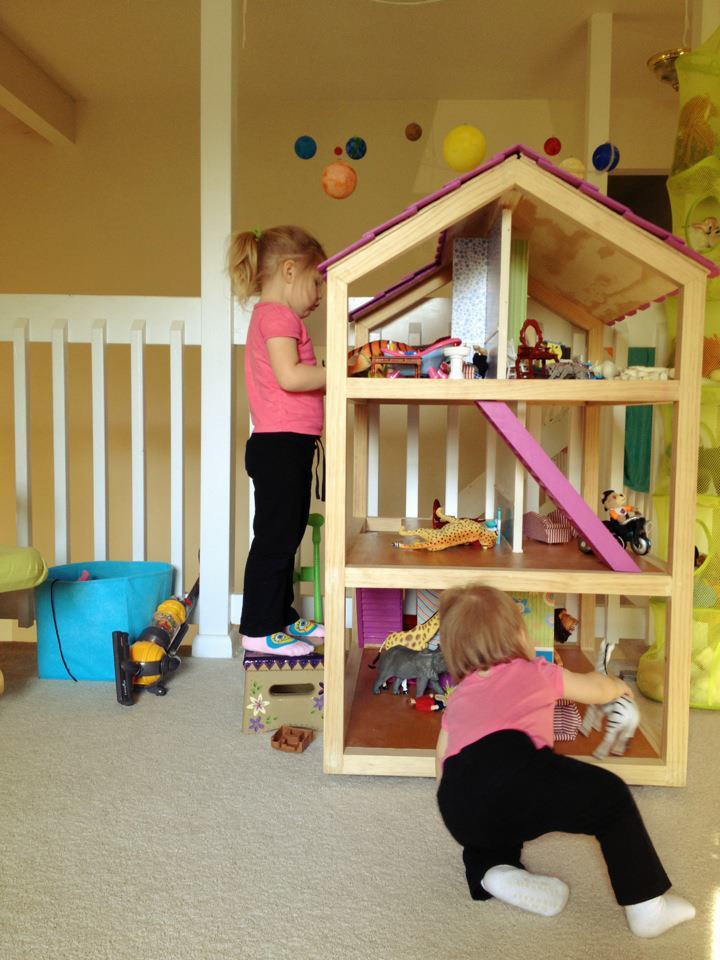
We enlisted help from my brother-in-law to build the dollhouse for our daughter last Christmas. He also painted the floors, stairs, and roof. I spent many nights after the kids were in bed "wallpapering" the walls with various scrapbook paper.
I love this house and it's something that will last for many years. Even better, both of our daughters love it and so do their friends.


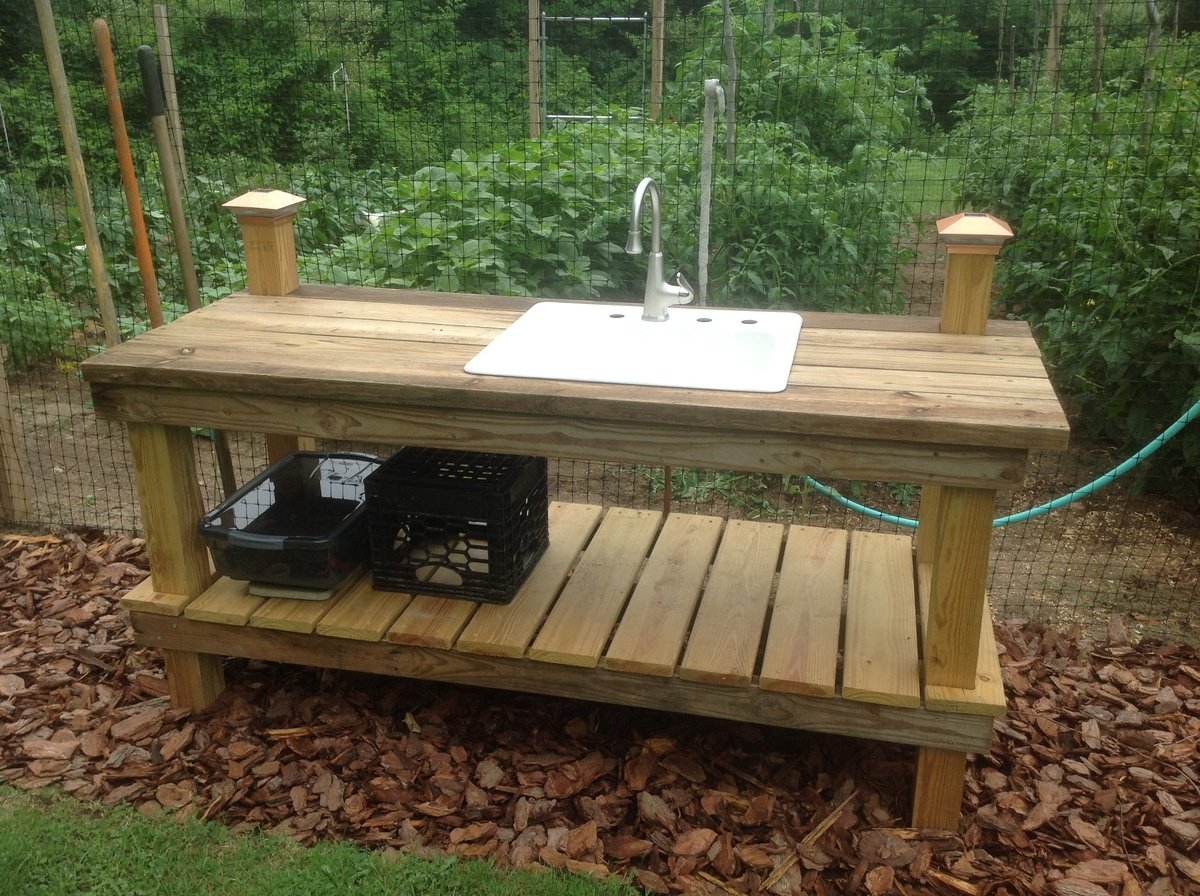
I started with the potting bench by Between Naps. I made it longer and taller (for my dad). There is a tool holder along one side and I added a sink, for washing the veggies newly harvested from our garden. We ran the water from our house faucet and will blow out water for winter. All that's left is running a pipe from the drain to leach out across the perimeter of the garden. Most of the lumber was given to me (pressure treated even). And I bought the sink from a junk guy for $50. My dad was so impressed and I think it may be my best present project ever. I can't believe I made that! Oh yeah, the end caps have solar lights, nighttime gardening! Ya never know!
Thu, 07/17/2014 - 12:05
That is awesome! I want a sink for my garden (and a cooktop for outdoor canning) so I am very jealous. :)

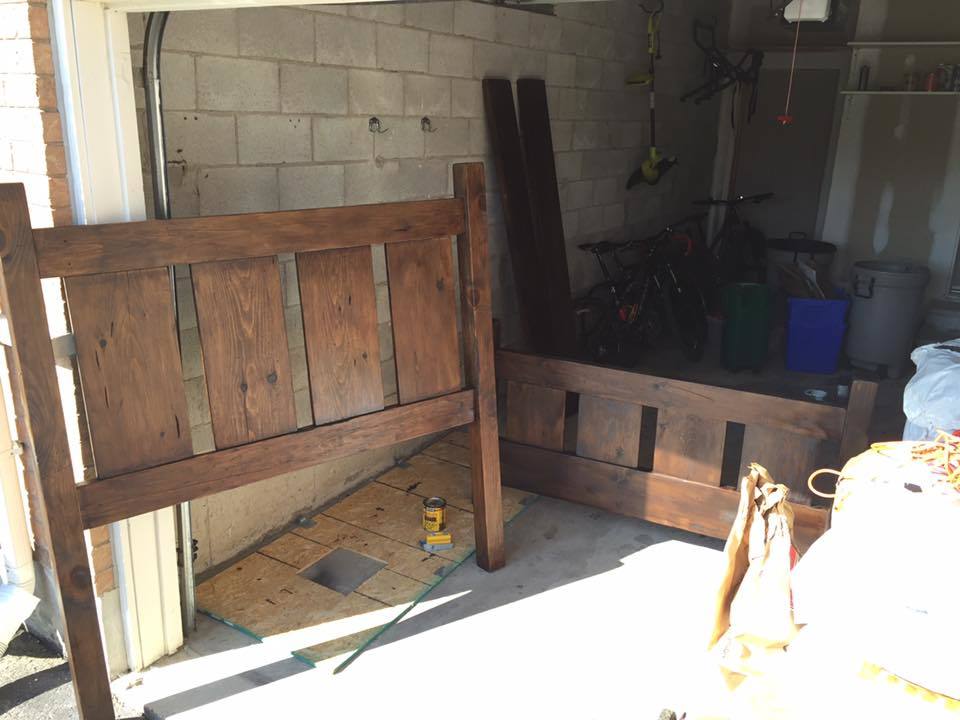
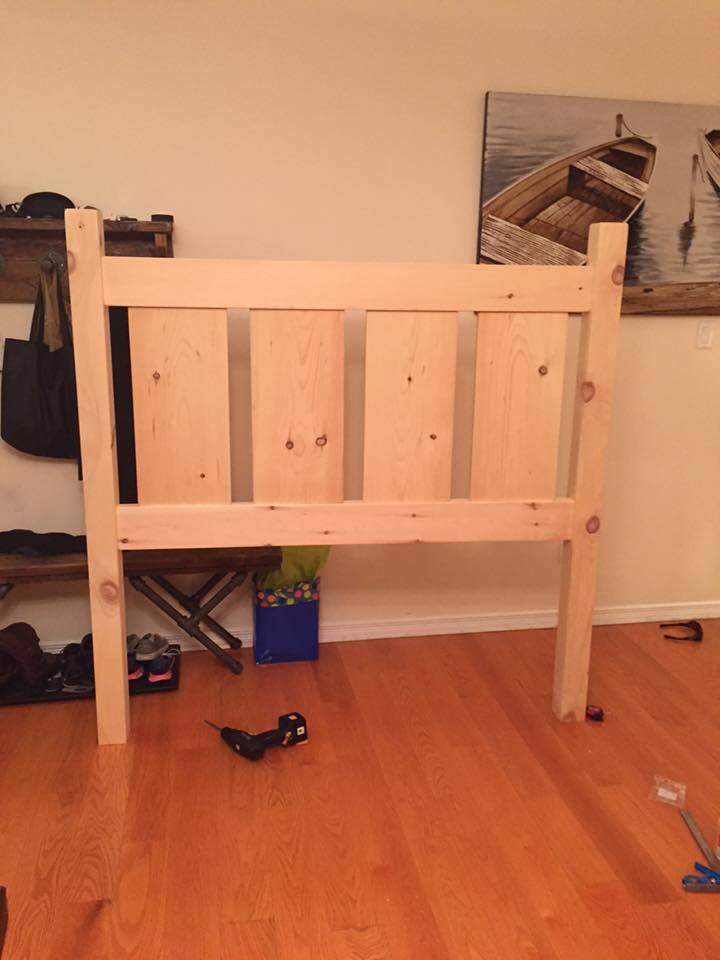
We wanted this beautiful bed for a guest room, but the room was a little small to have the large four posts so I modified it to make all 4 posts shorter - but otherwise the plans are the same. I used miniwax dark walnut stain and 2 coats spray polyurethane, followed by light 220 sanding and then 1 coat paint on semi-gloss polyurethane. I also lightly distressed the wood prior to staining with chisels, screws, hammering etc.

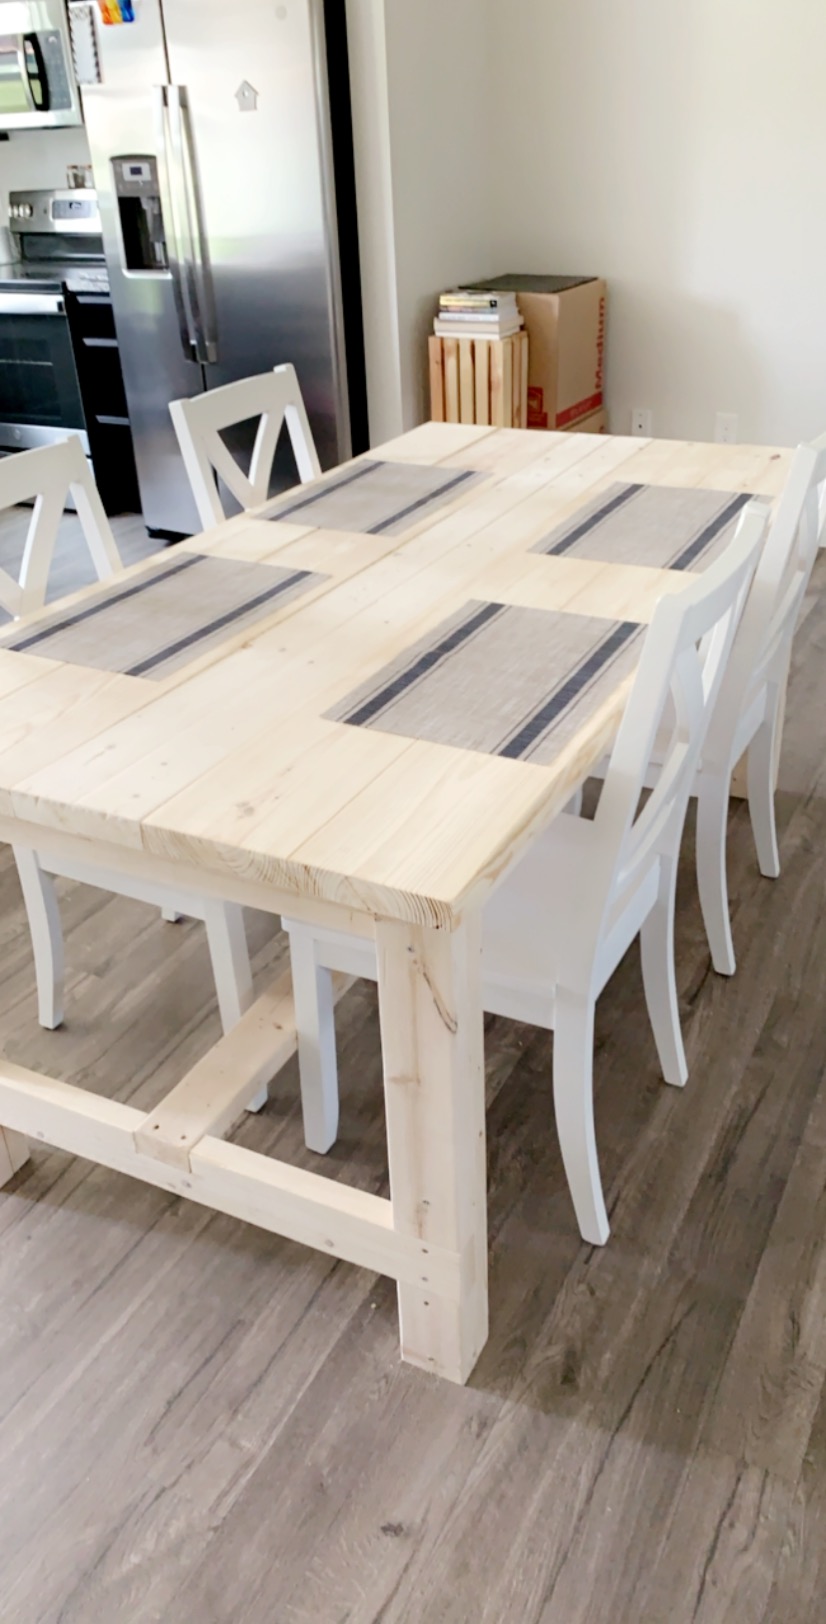
Had to make modifications for size, errors, and personal preference, but we love this table! Still deciding on all white paint or a 2-tone finish. Also- first time using a Kreg jig. What an amazing tool.
My first carpentry effort; thanks Ana for the great plans!
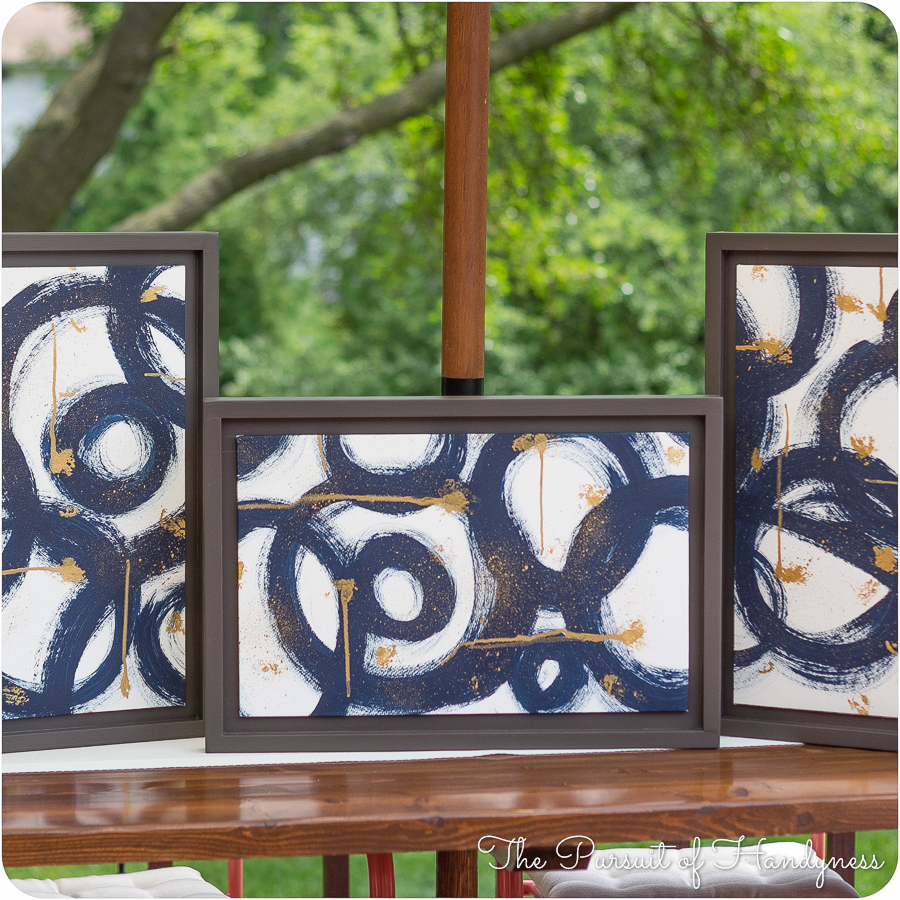
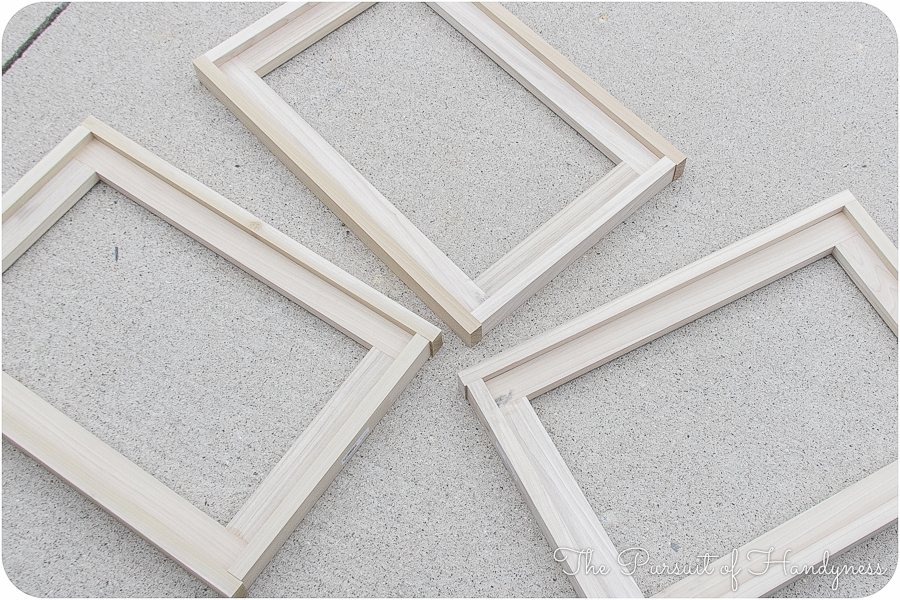
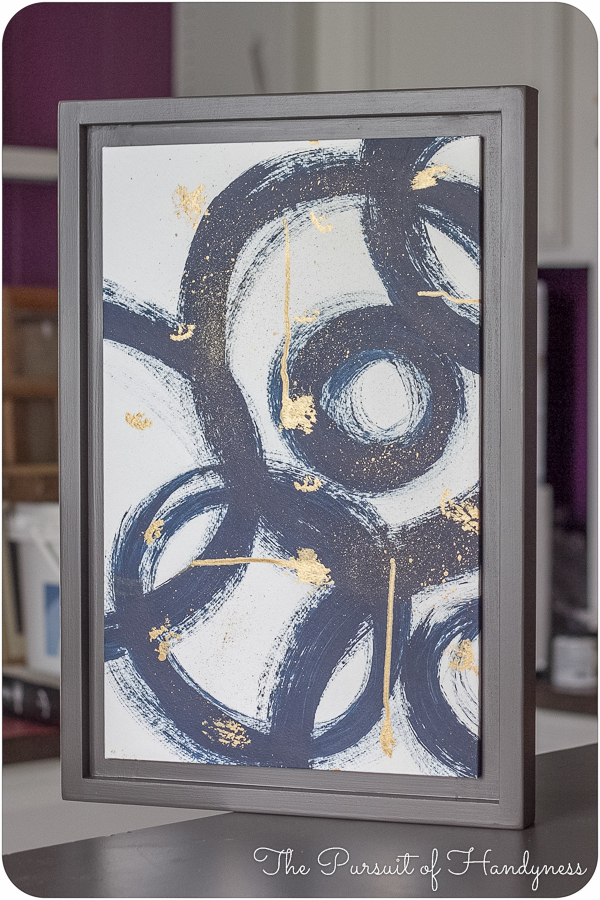
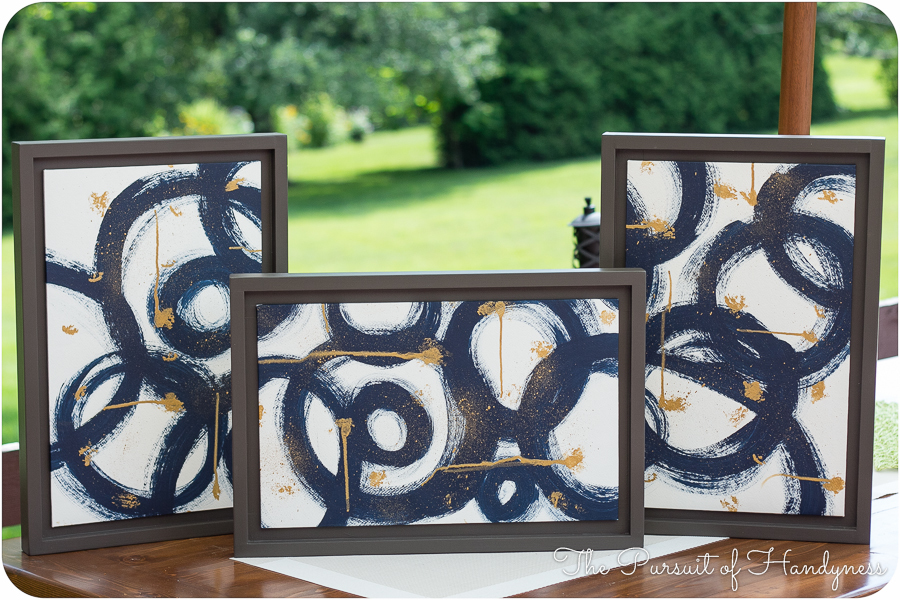
I modified Ana's plans to fit the triptych art I created. I used a combination of this plan and her Wall Frames plan from her book. She wan't kidding when she said these frames were versatile. I plan on applying the same concept to a leaning wall mirror.
For a step by step tutorial on the modifications to this plan as well as how to create the triptych art, visit the blog http://thepursuitofhandyness.com/diy-triptych-art-custom-frames/
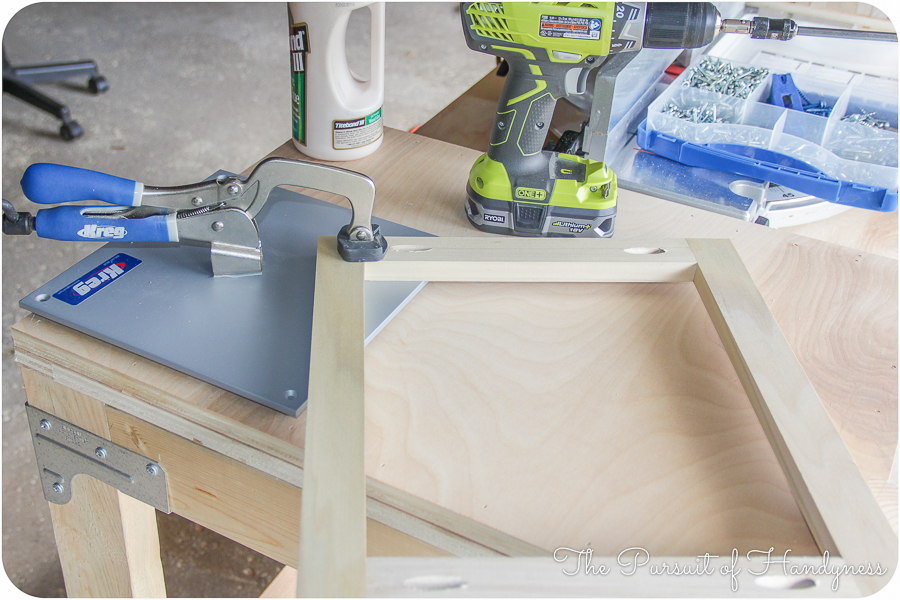
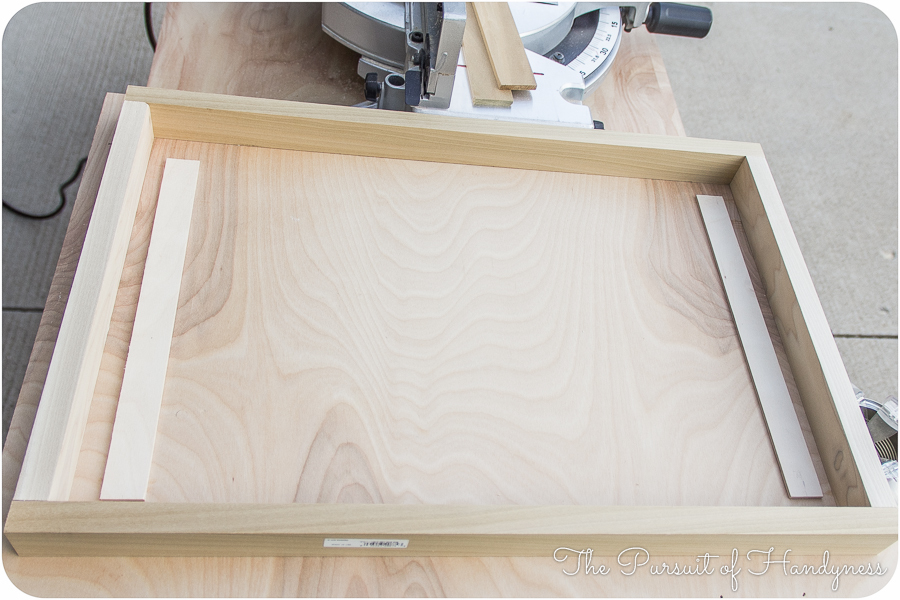
Super easy to build. I did this 7 months pregnant! I'm a beginner and I'm so happy with the results
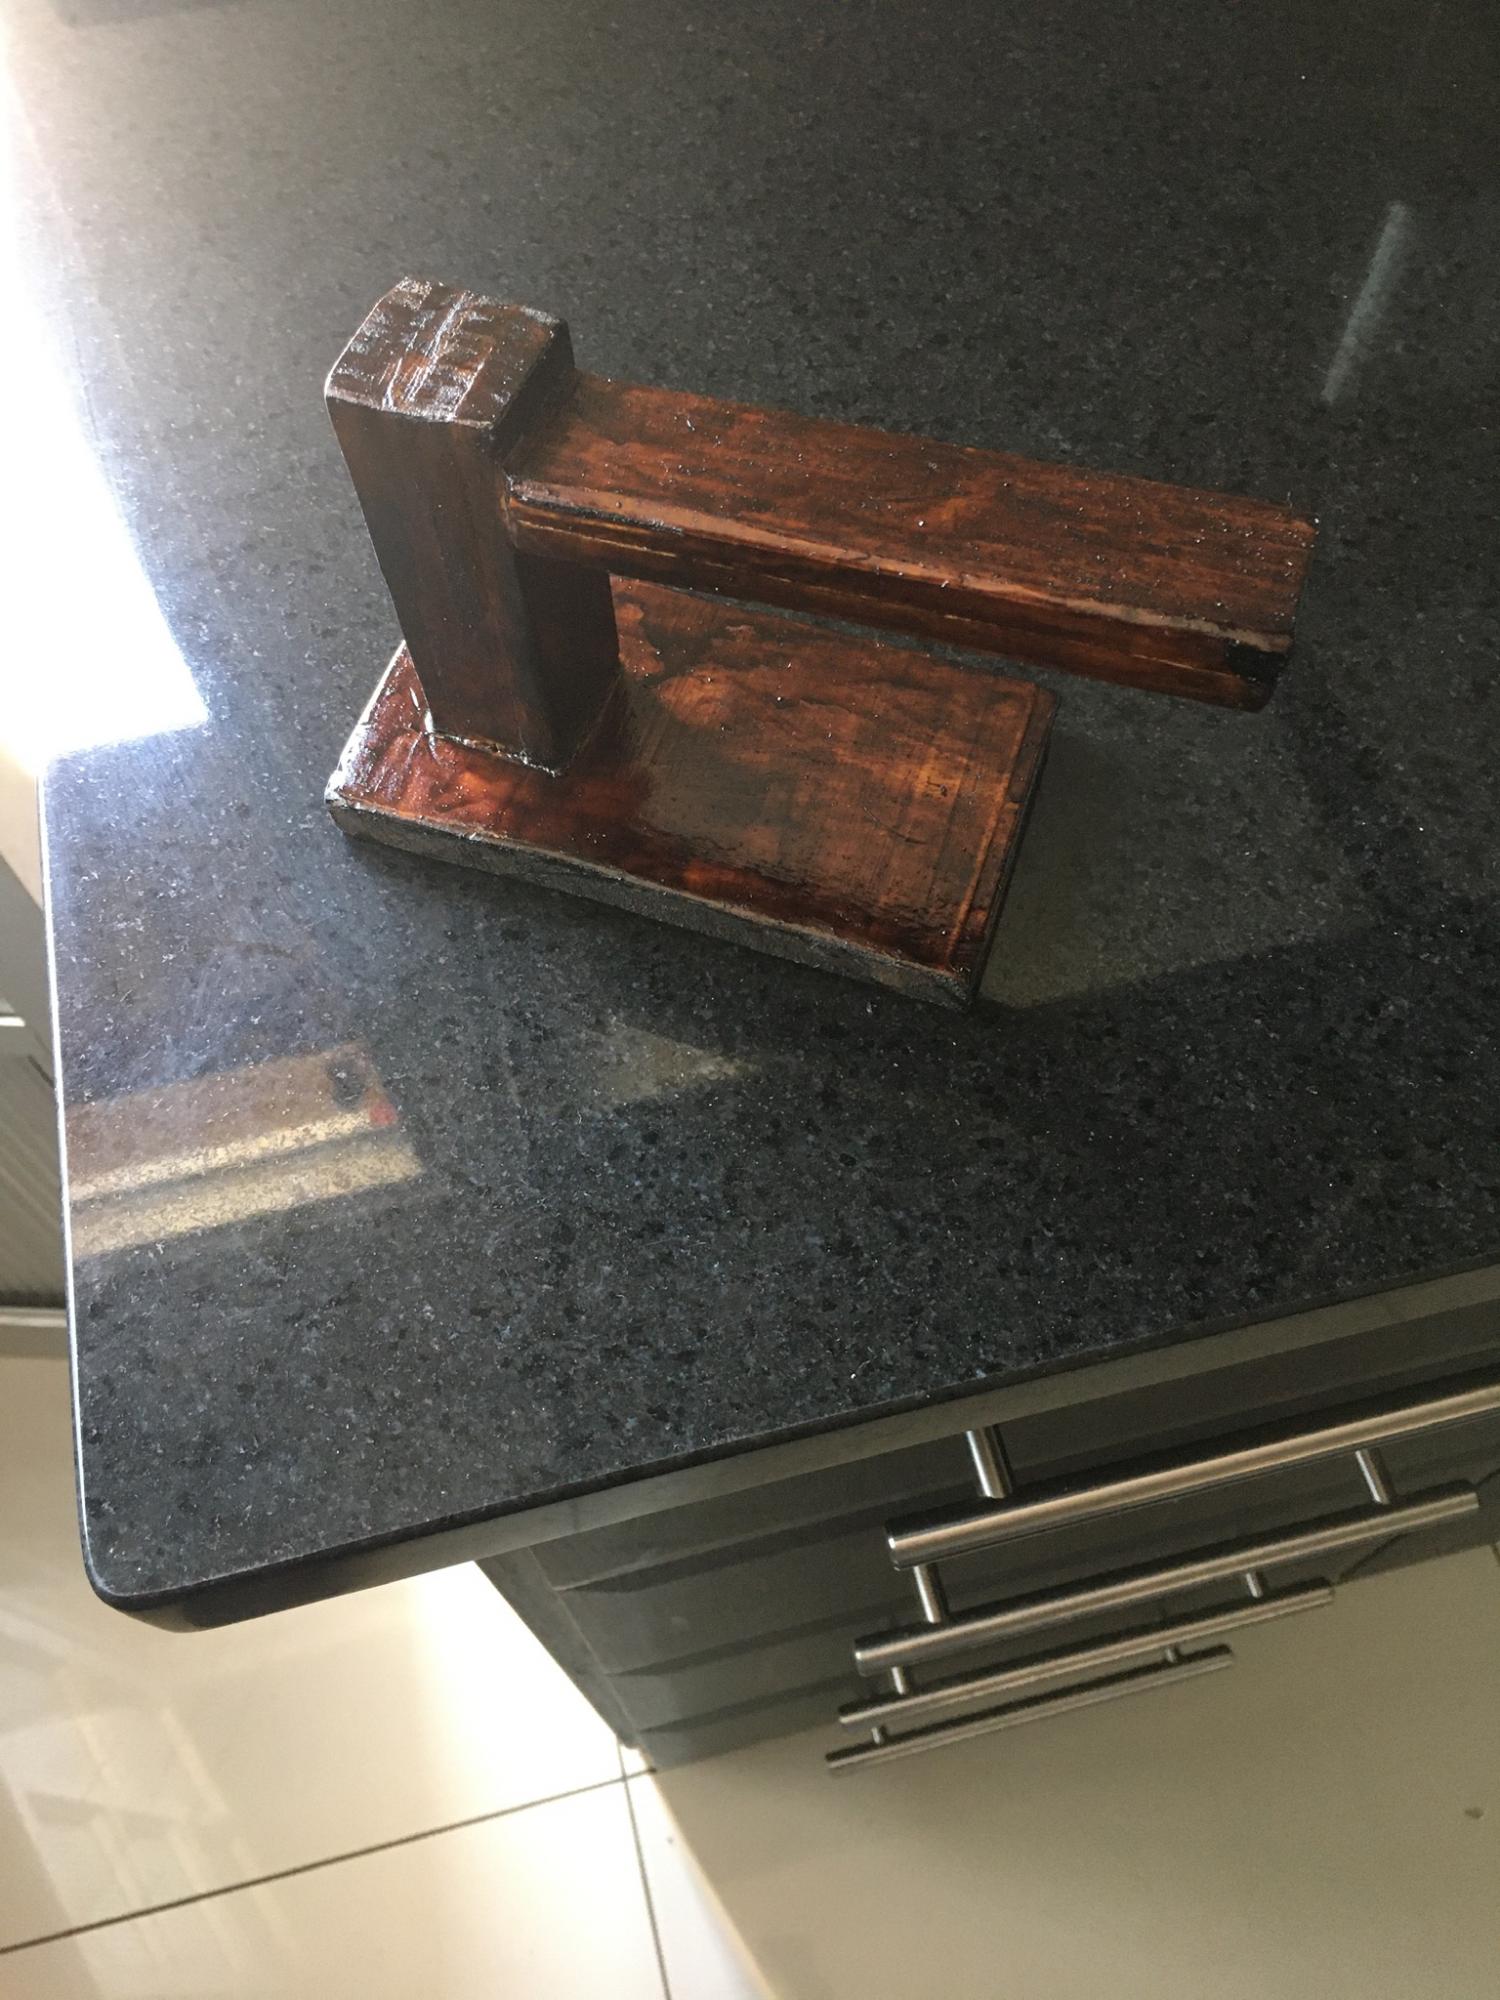
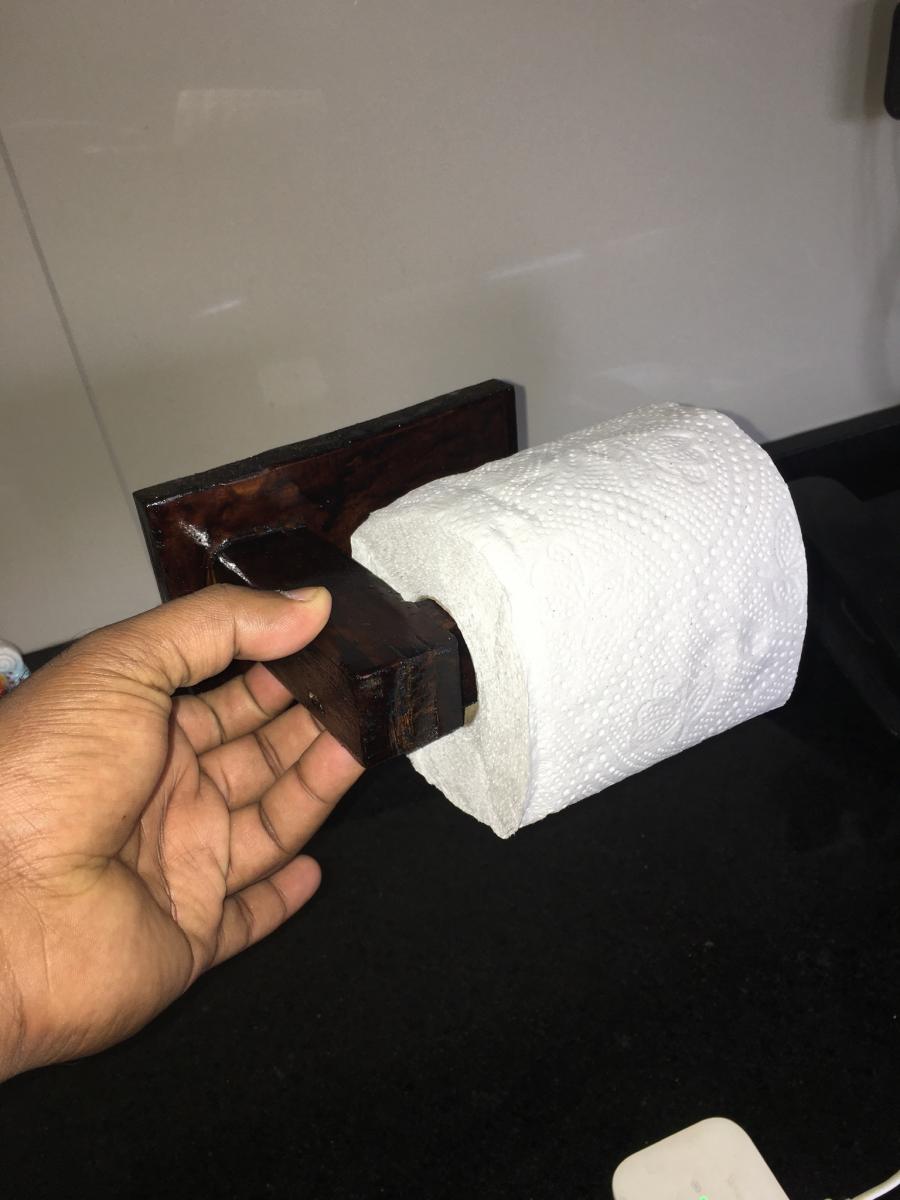
Toil paper holder
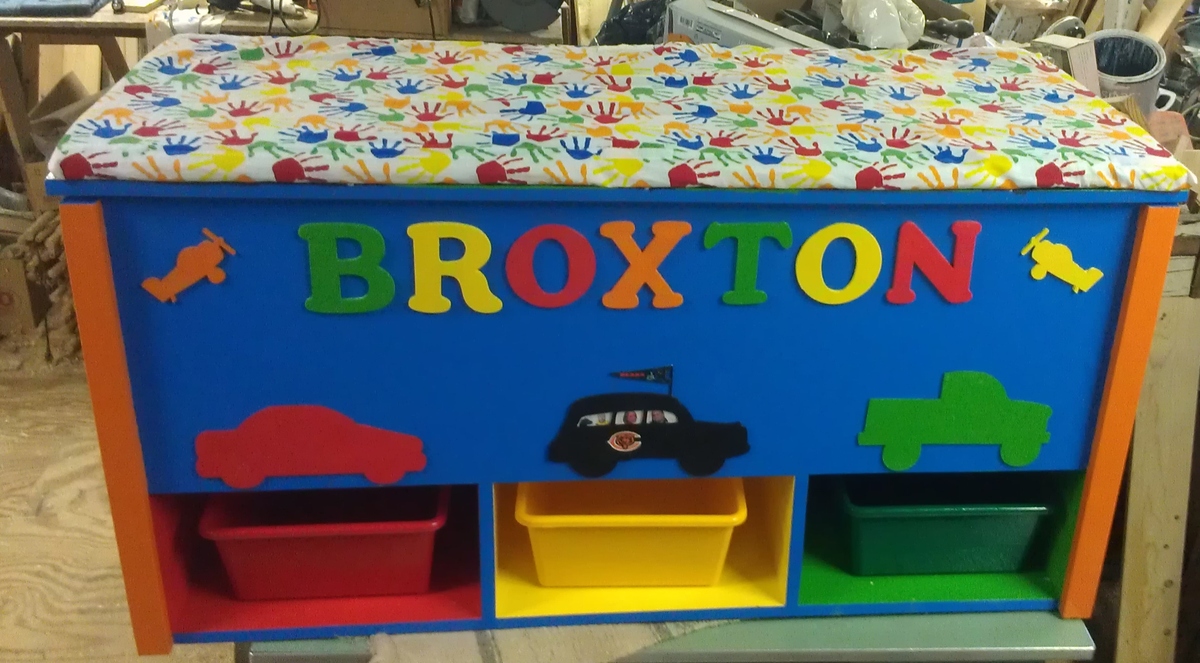
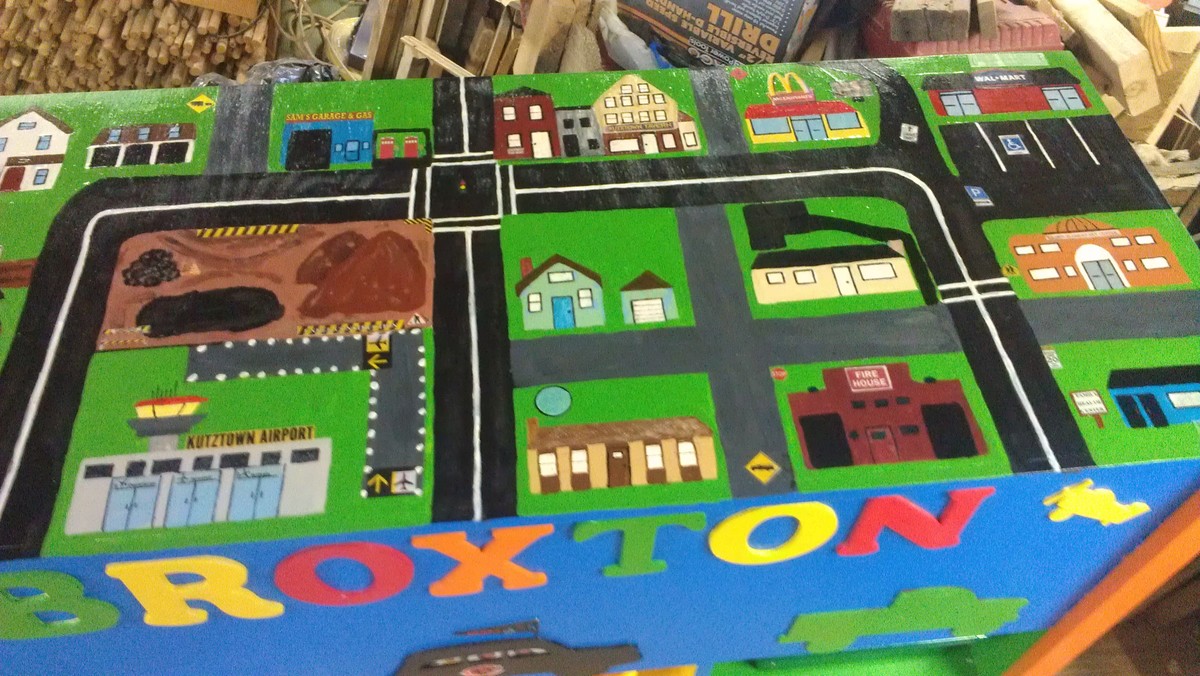
My grandson needed a toy box and we really liked this plan. We changed the dimensions a little, made it taller and a bit wider. My husband built the box and did the basic painting. I made the cushion for the top. When the cushion is removed (it Velcros to the top) there is a hand painted matchbox car town and roads. I painted places my grandson knows, like his house, grandparents houses, mom's and dad's work, McDonalds, wal-mart and general places like airport, gas station, fire house, etc. We used stay tension support hinges to make sure it was safe for our little one, yes they are expensive, but they are my grandson's fingers. Everyone loves it. The vehicle in the center(black) matches their car. I put pictures of my son-in-law, daughter, Broxton, and their dog, Briggs in the windows. And decorated it with my son-in-law's favorite team "the bears".
Tue, 09/25/2012 - 11:49
That's cool! Makes me wish I was a kid again, or had a kid at that age.
Comments
Ana White Admin
Sat, 02/27/2021 - 20:33
I agree!
Seriously awesome, great job!