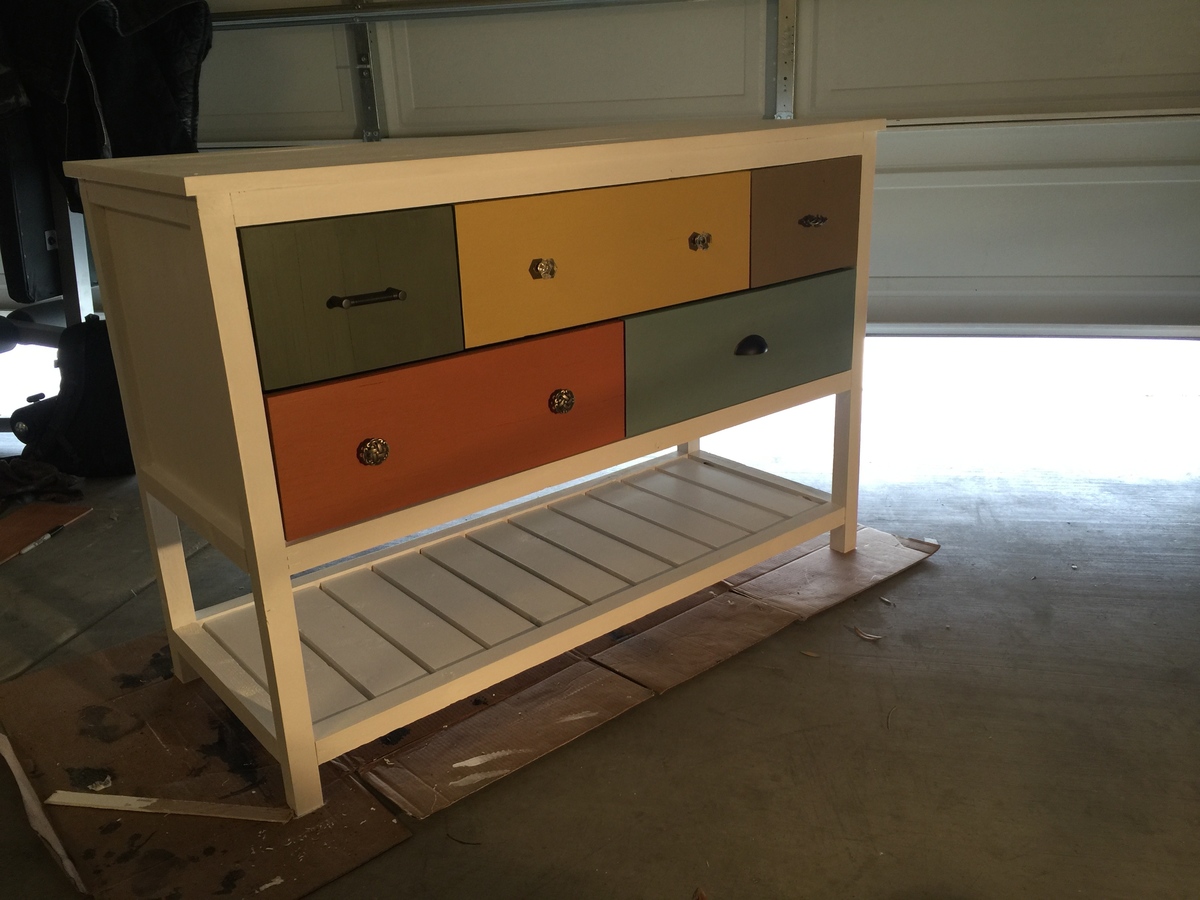
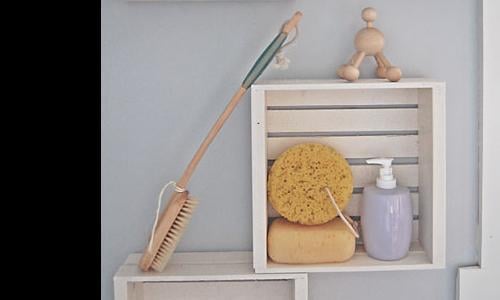
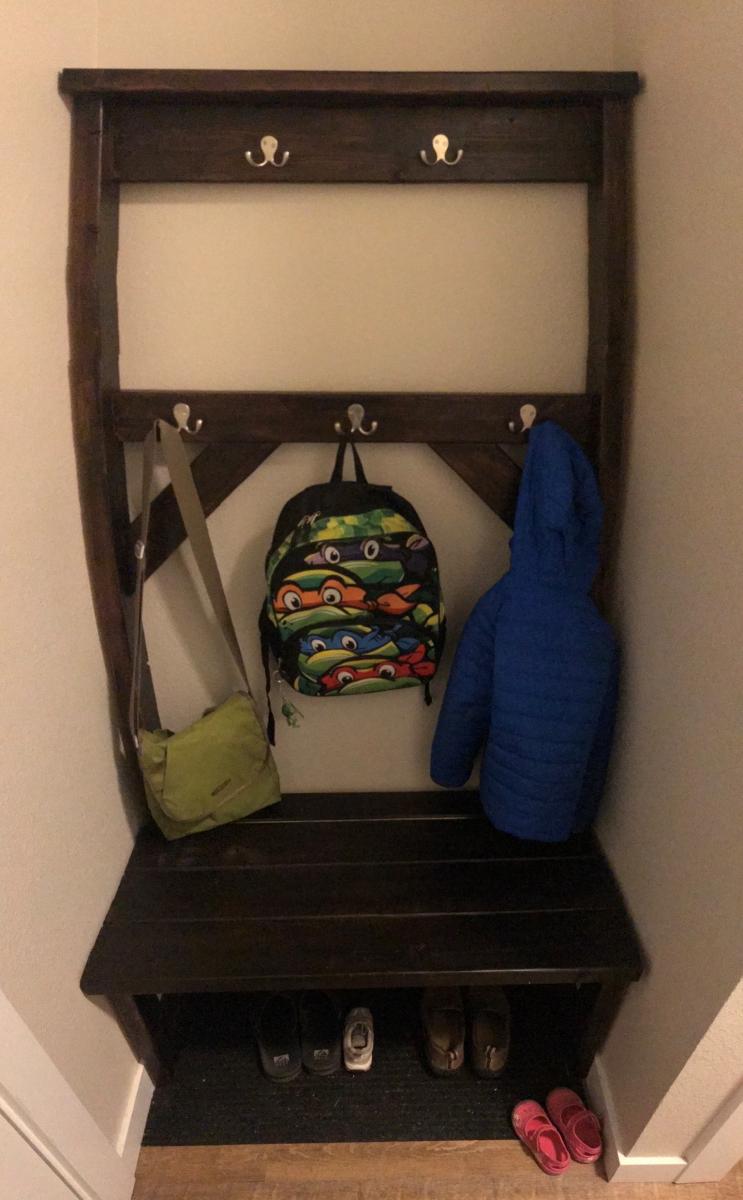
Entry Nook Tree and Bench
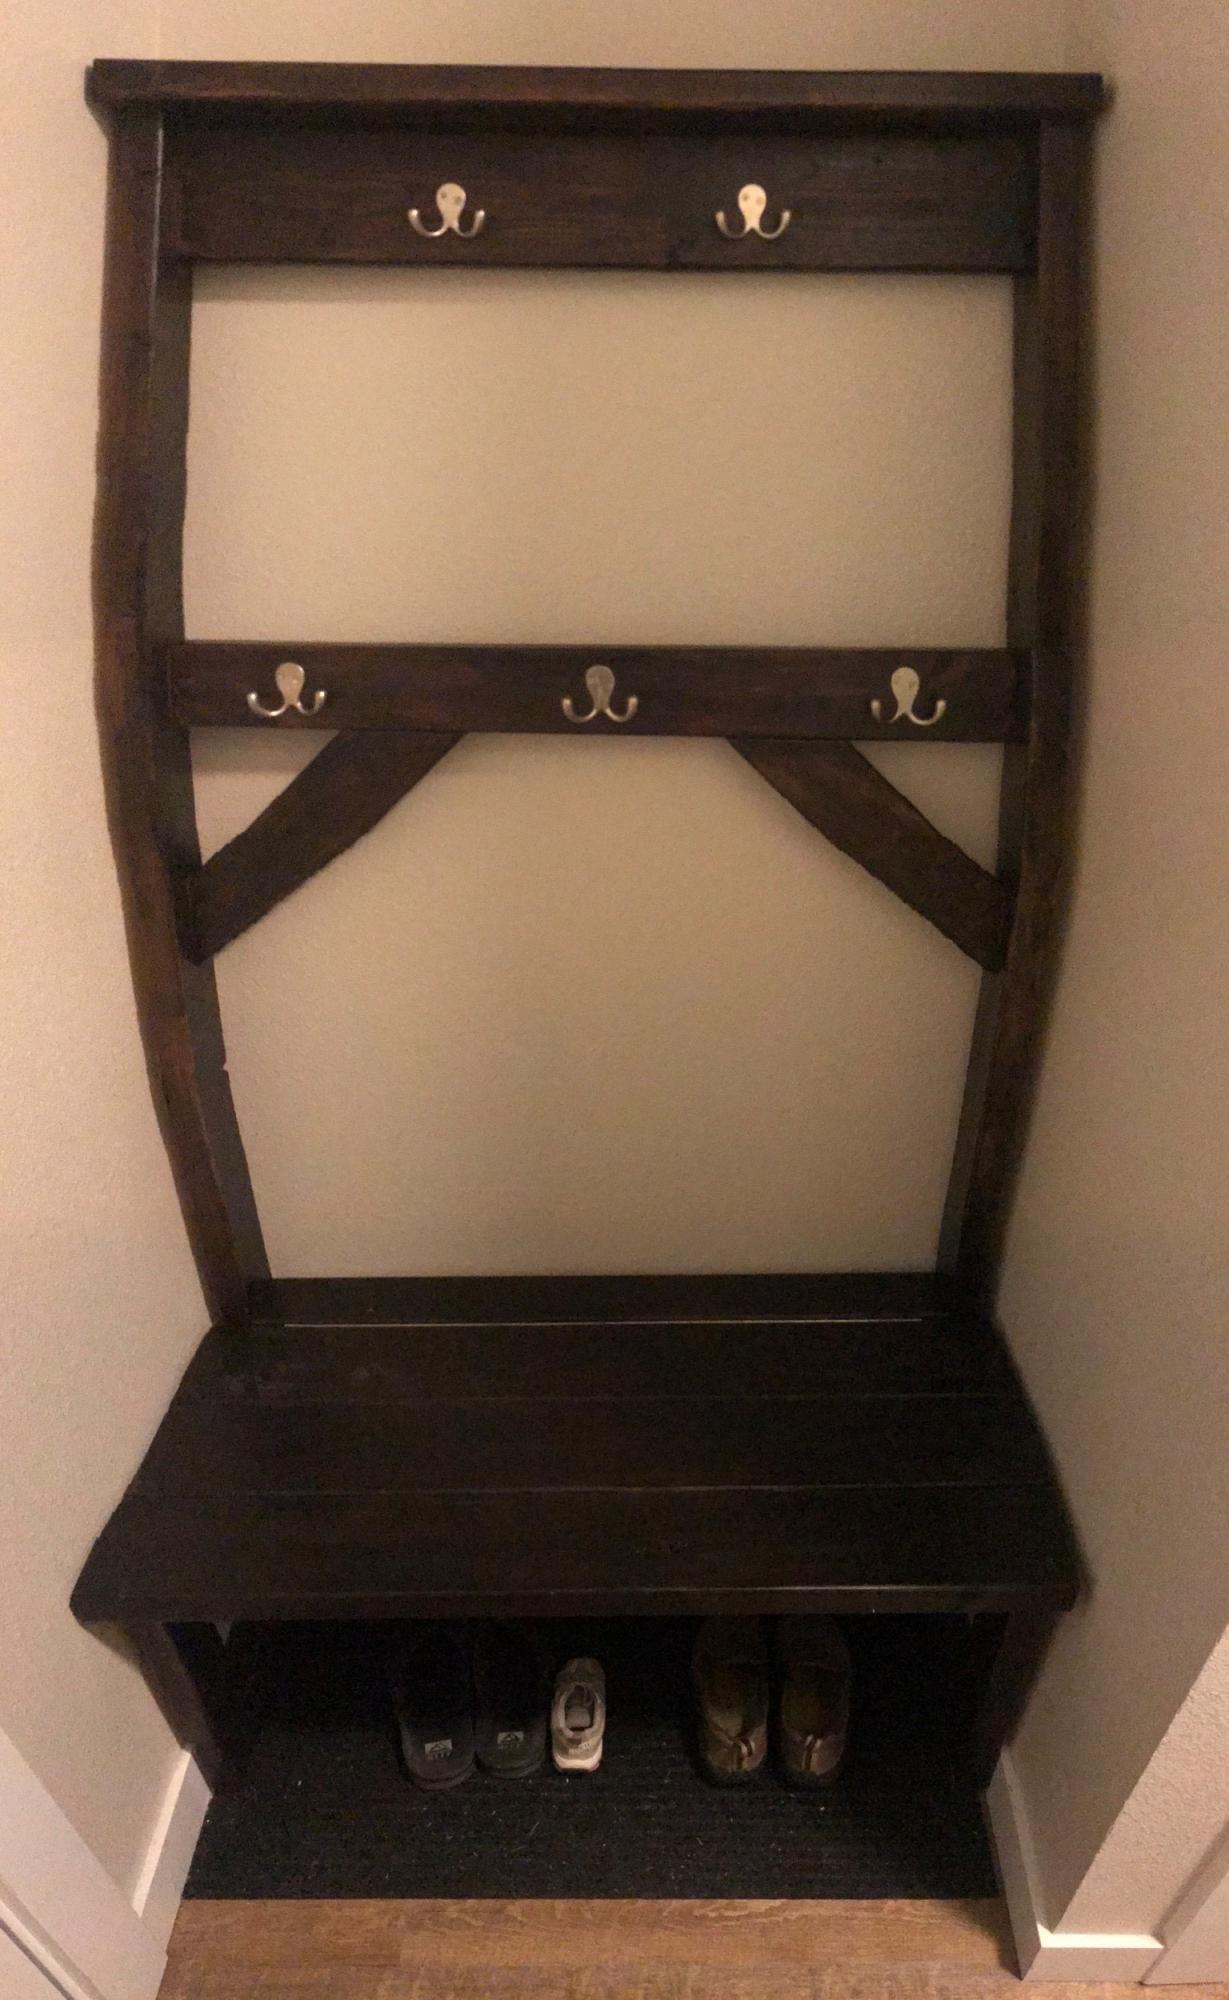
Modified version of the $40 Hall Tree
Had to reduce the width to 36" to fit into this specific nook that is just inside the door from our garage. We've used it as a kick off place for our shoes. Having nothing else there was a waste of wall space that could be additionally utilized. We have a closet just up the hallway for most of our coats, but with winter coming and struggling with our oldest finding his coat and backpack every morning to leave for school, we wanted to designate a spot for him to use.
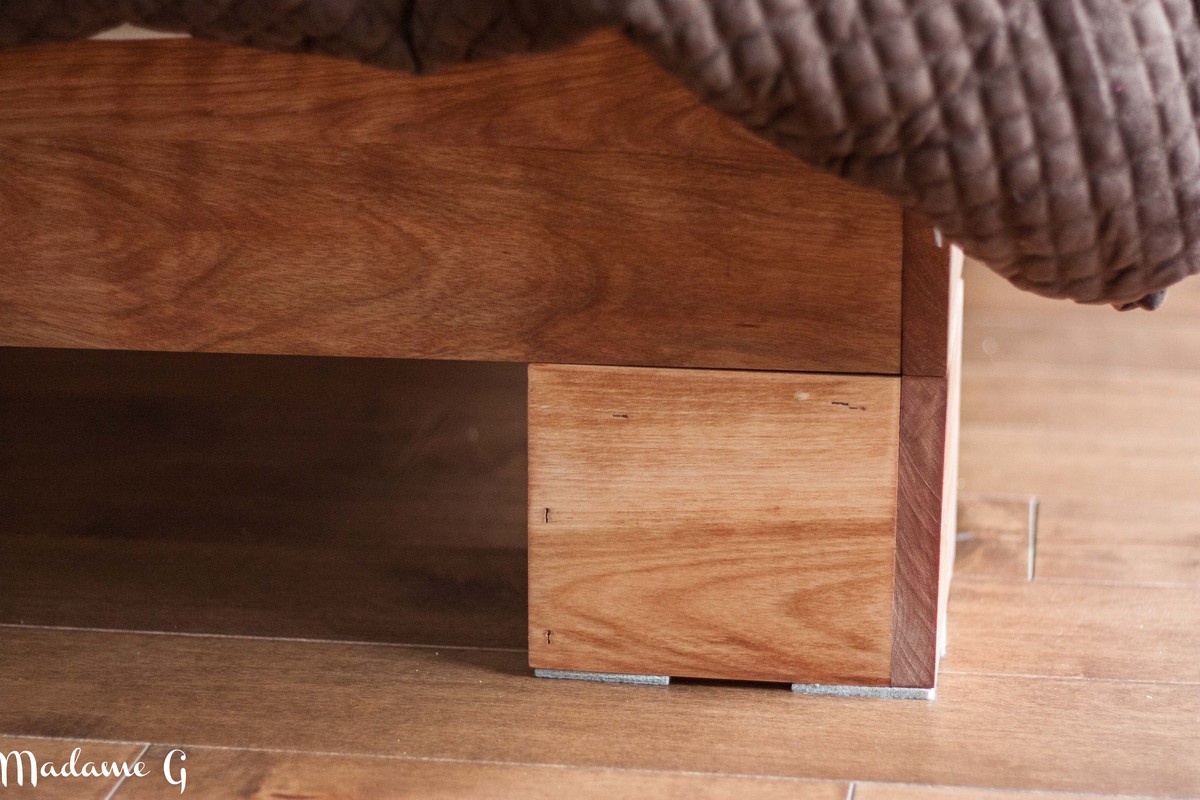
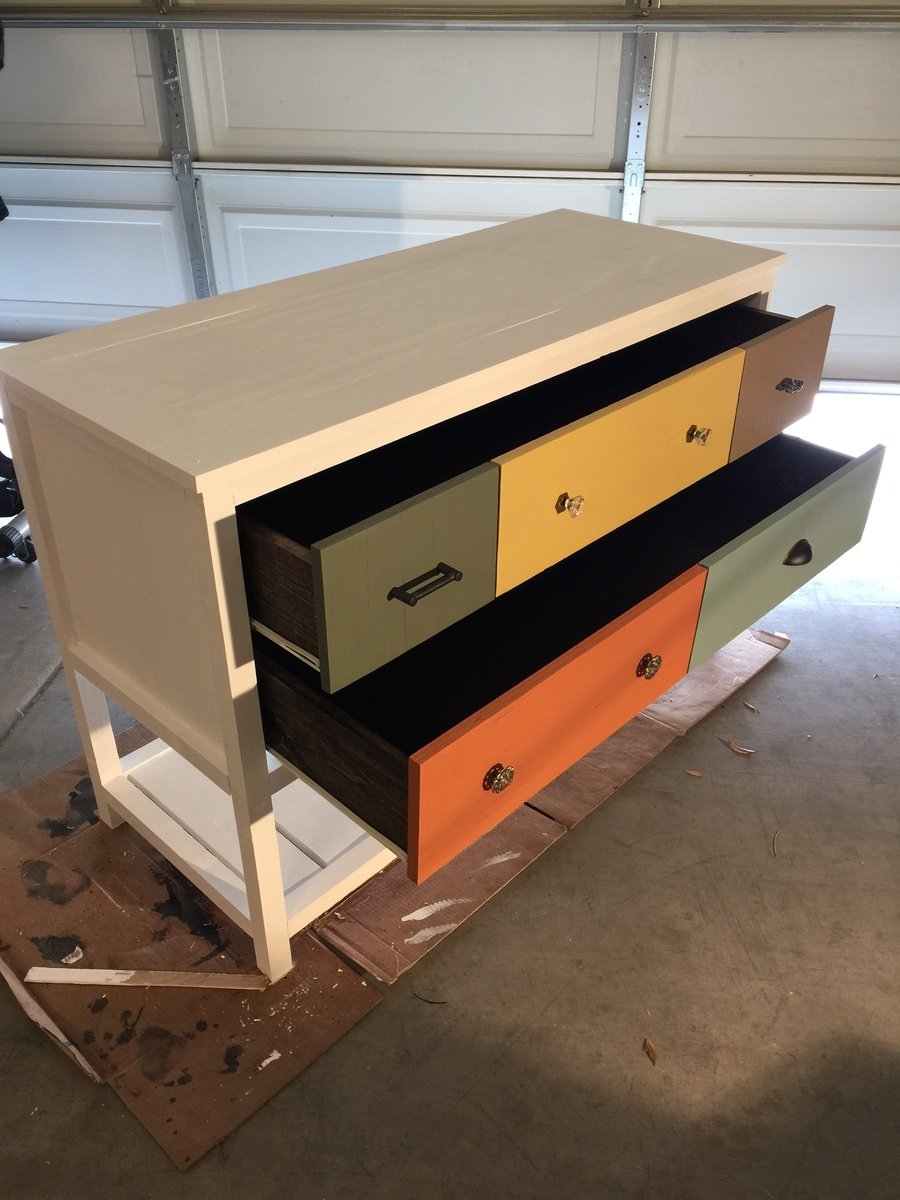
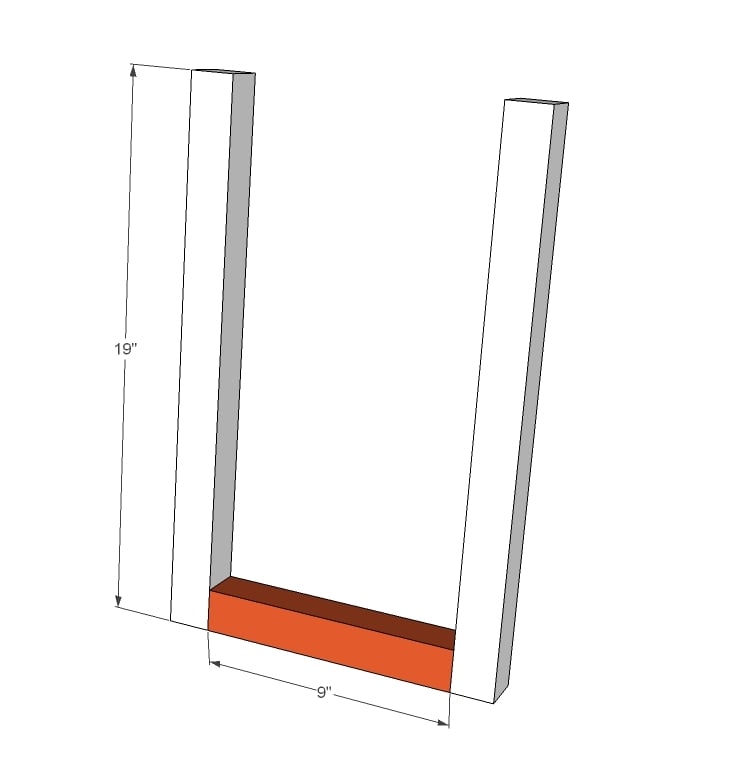
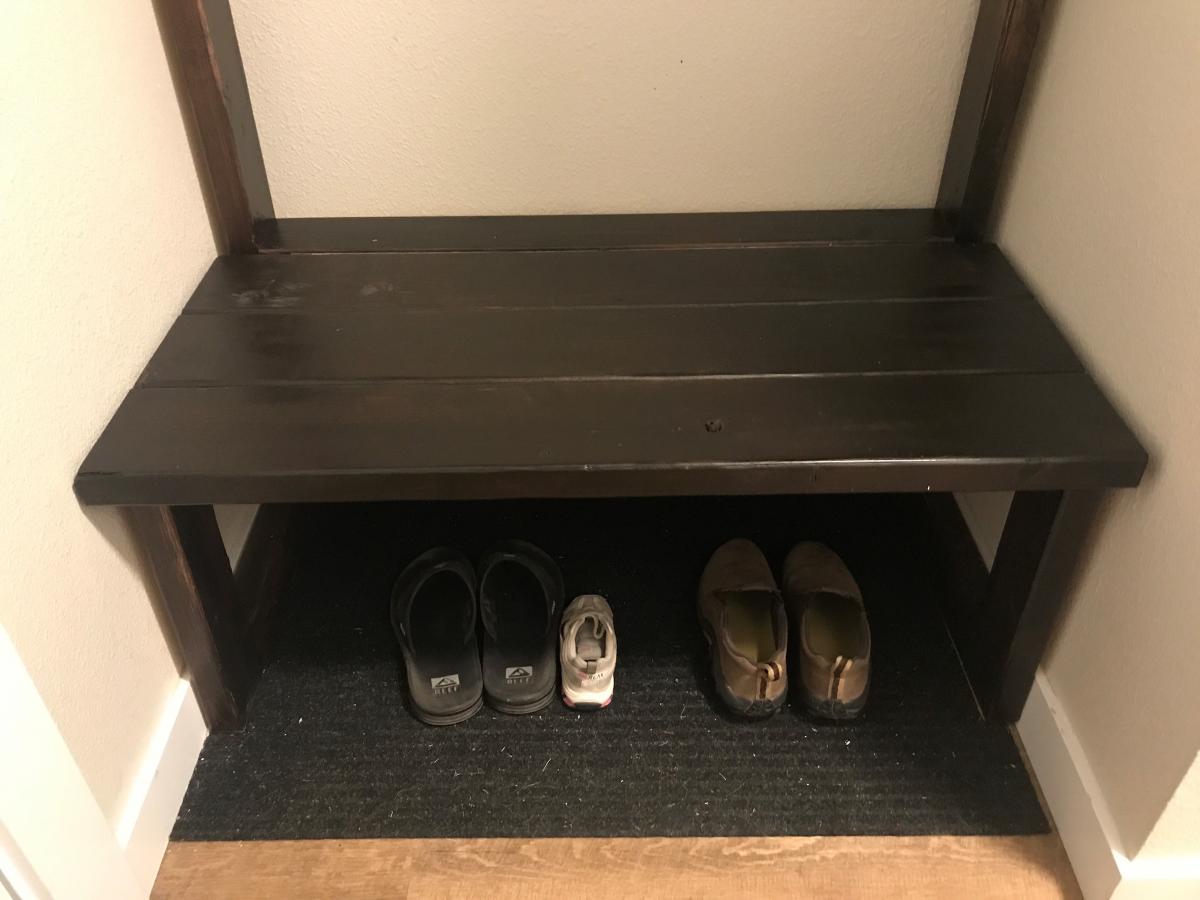
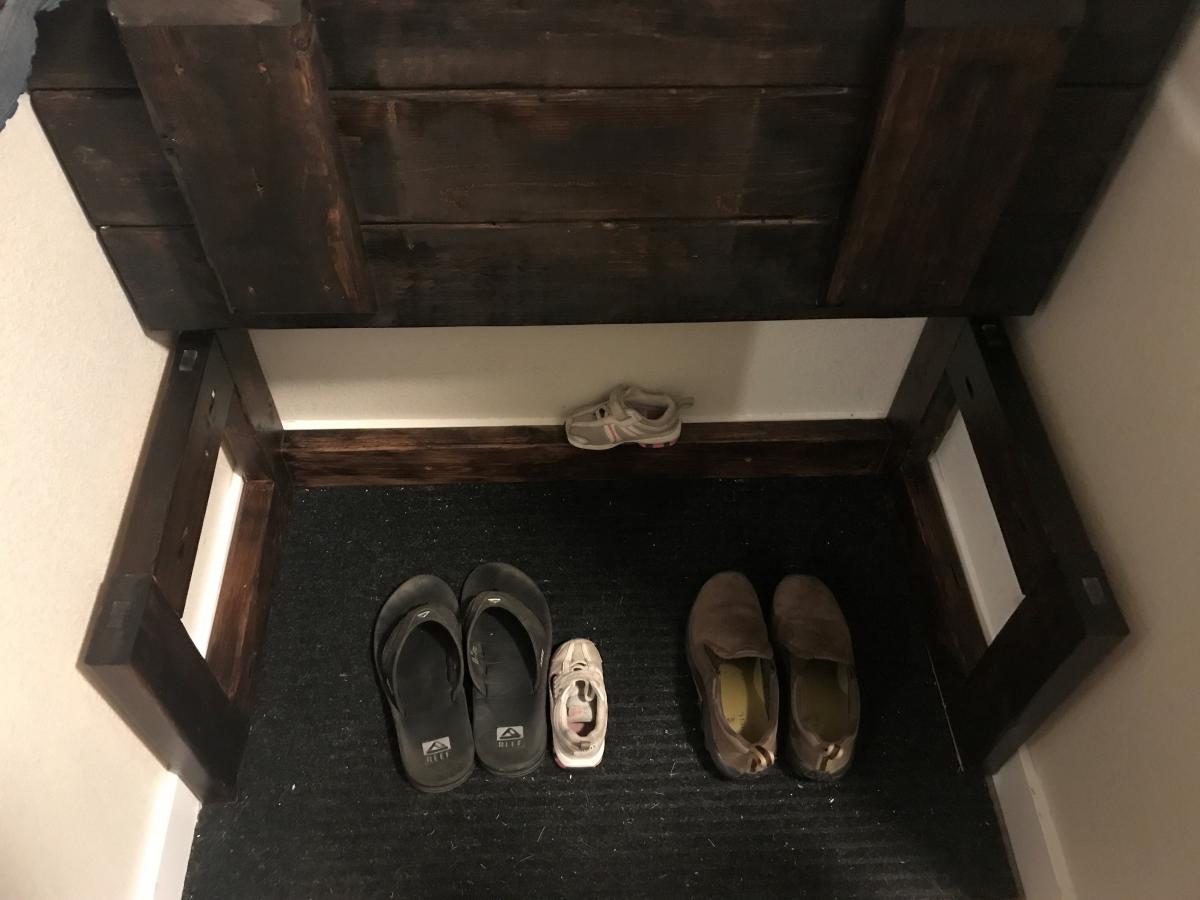
With that said, the space still had to be functional for all of us, and having to crawl under and find the lil girl's 'lost' tiny shoe/s way in the back under the bench was going to be a no-go for my knees. To remedy that, I decided to modify the bench to lift up to find those lost items (see pics). This required removing the front cross beam and creating squared off supports on each side instead of just 'legs'.
Before hooks, stain, and the 30" piano hinge, this project came in just under $25.
Total completed project was closer to $65 for all materials.
{Apologies if the full length shots look a little wonky/bowed. Getting a full shot was tough with my back against the wall, literally. :) Had to use the pano mode.}
1 qt. 'Espresso' Satin Oil-Based Interior Stain and Polyurethane (project consumed about half the quart)
I gave the bench top and front edge a "pretty good" sanding knowing we'd be sitting on it and such, so we didn't want it catching/snagging clothing, but I didn't go too crazy. Otherwise, left the rest pretty much as the lumber came from the store, just a light scuff to pick up the stain better.