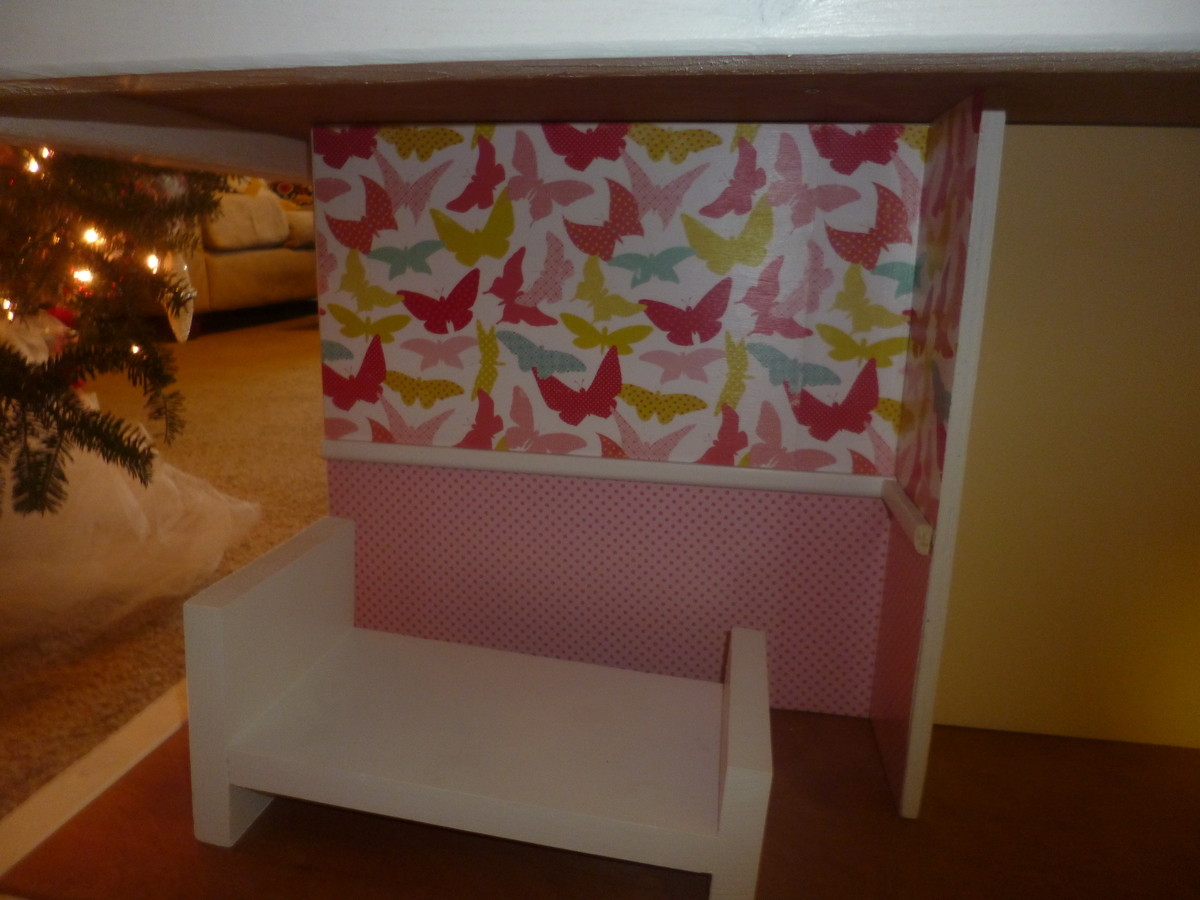
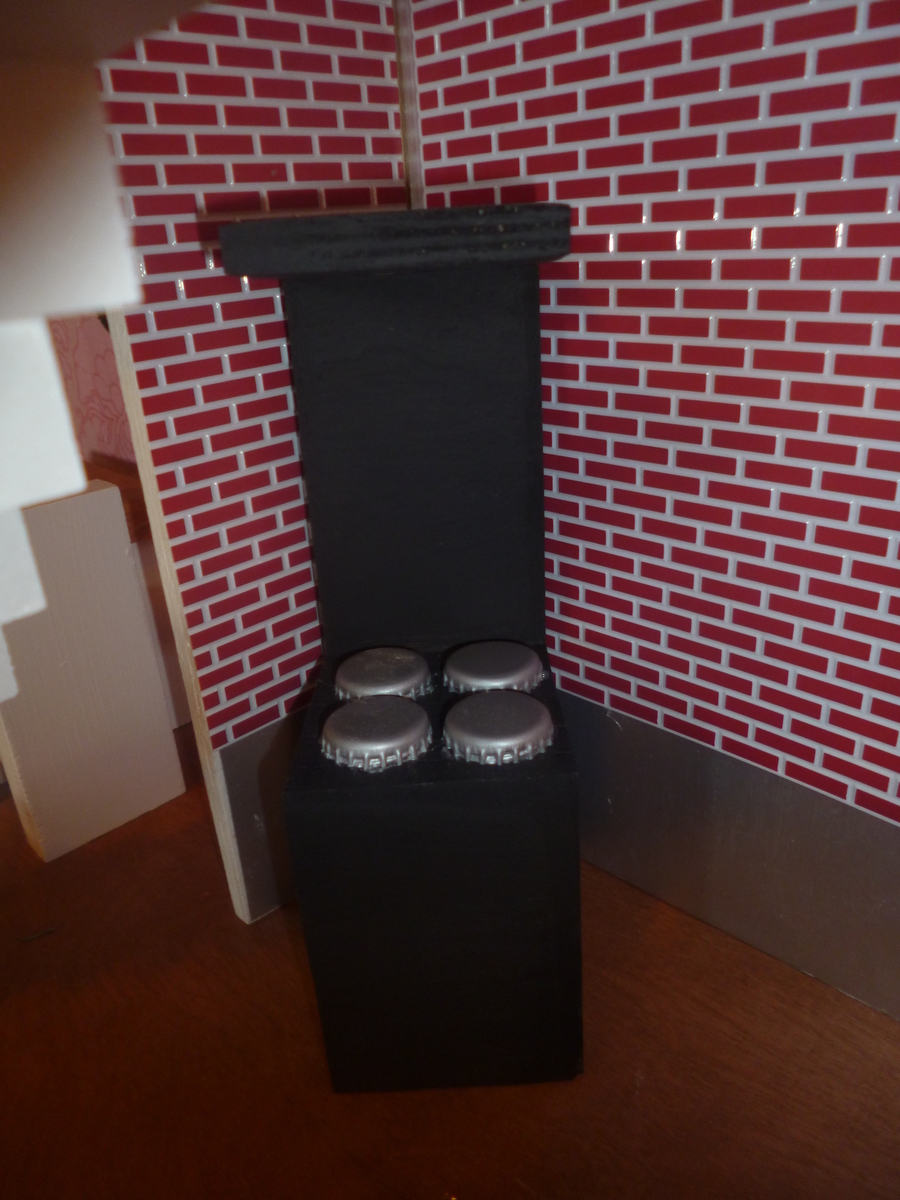
Dream Dollhouse Revisited
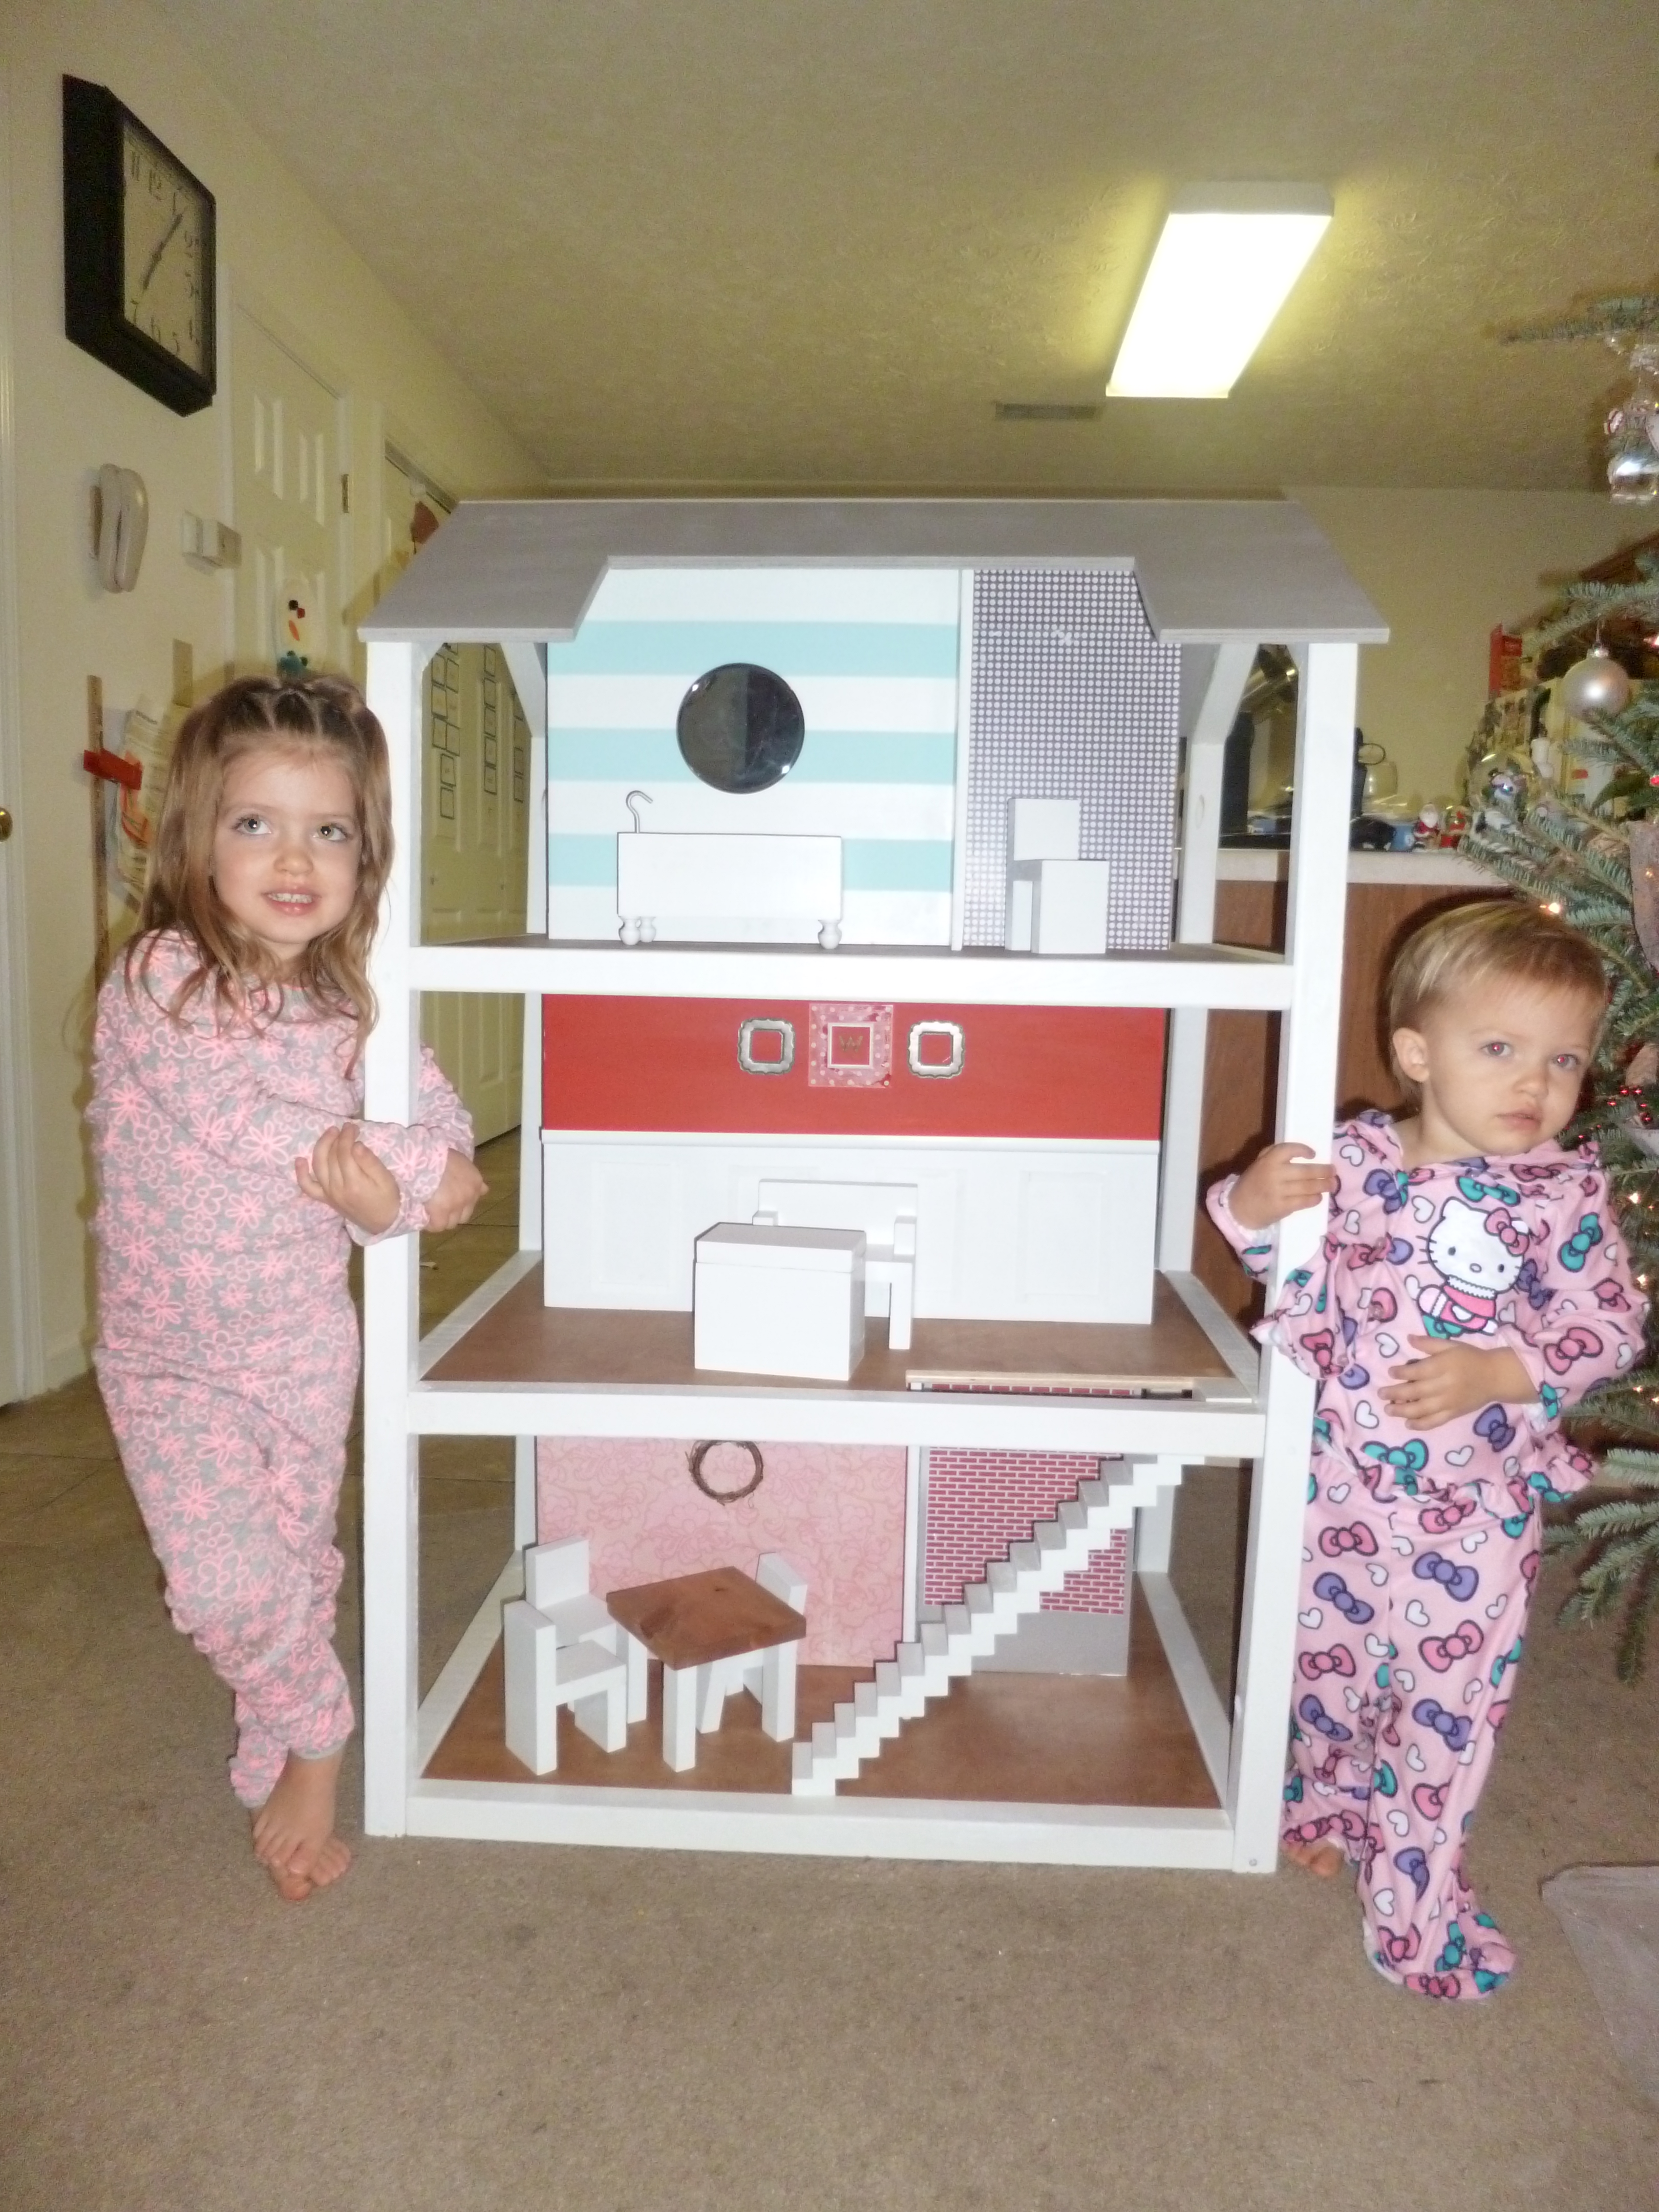
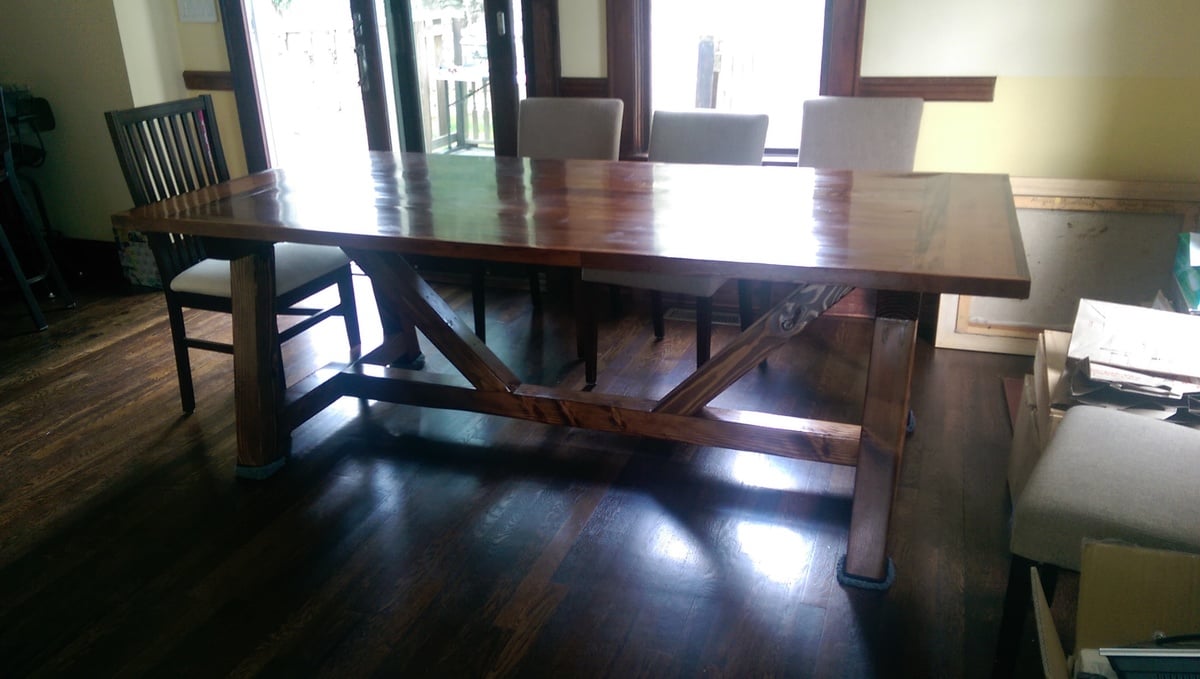
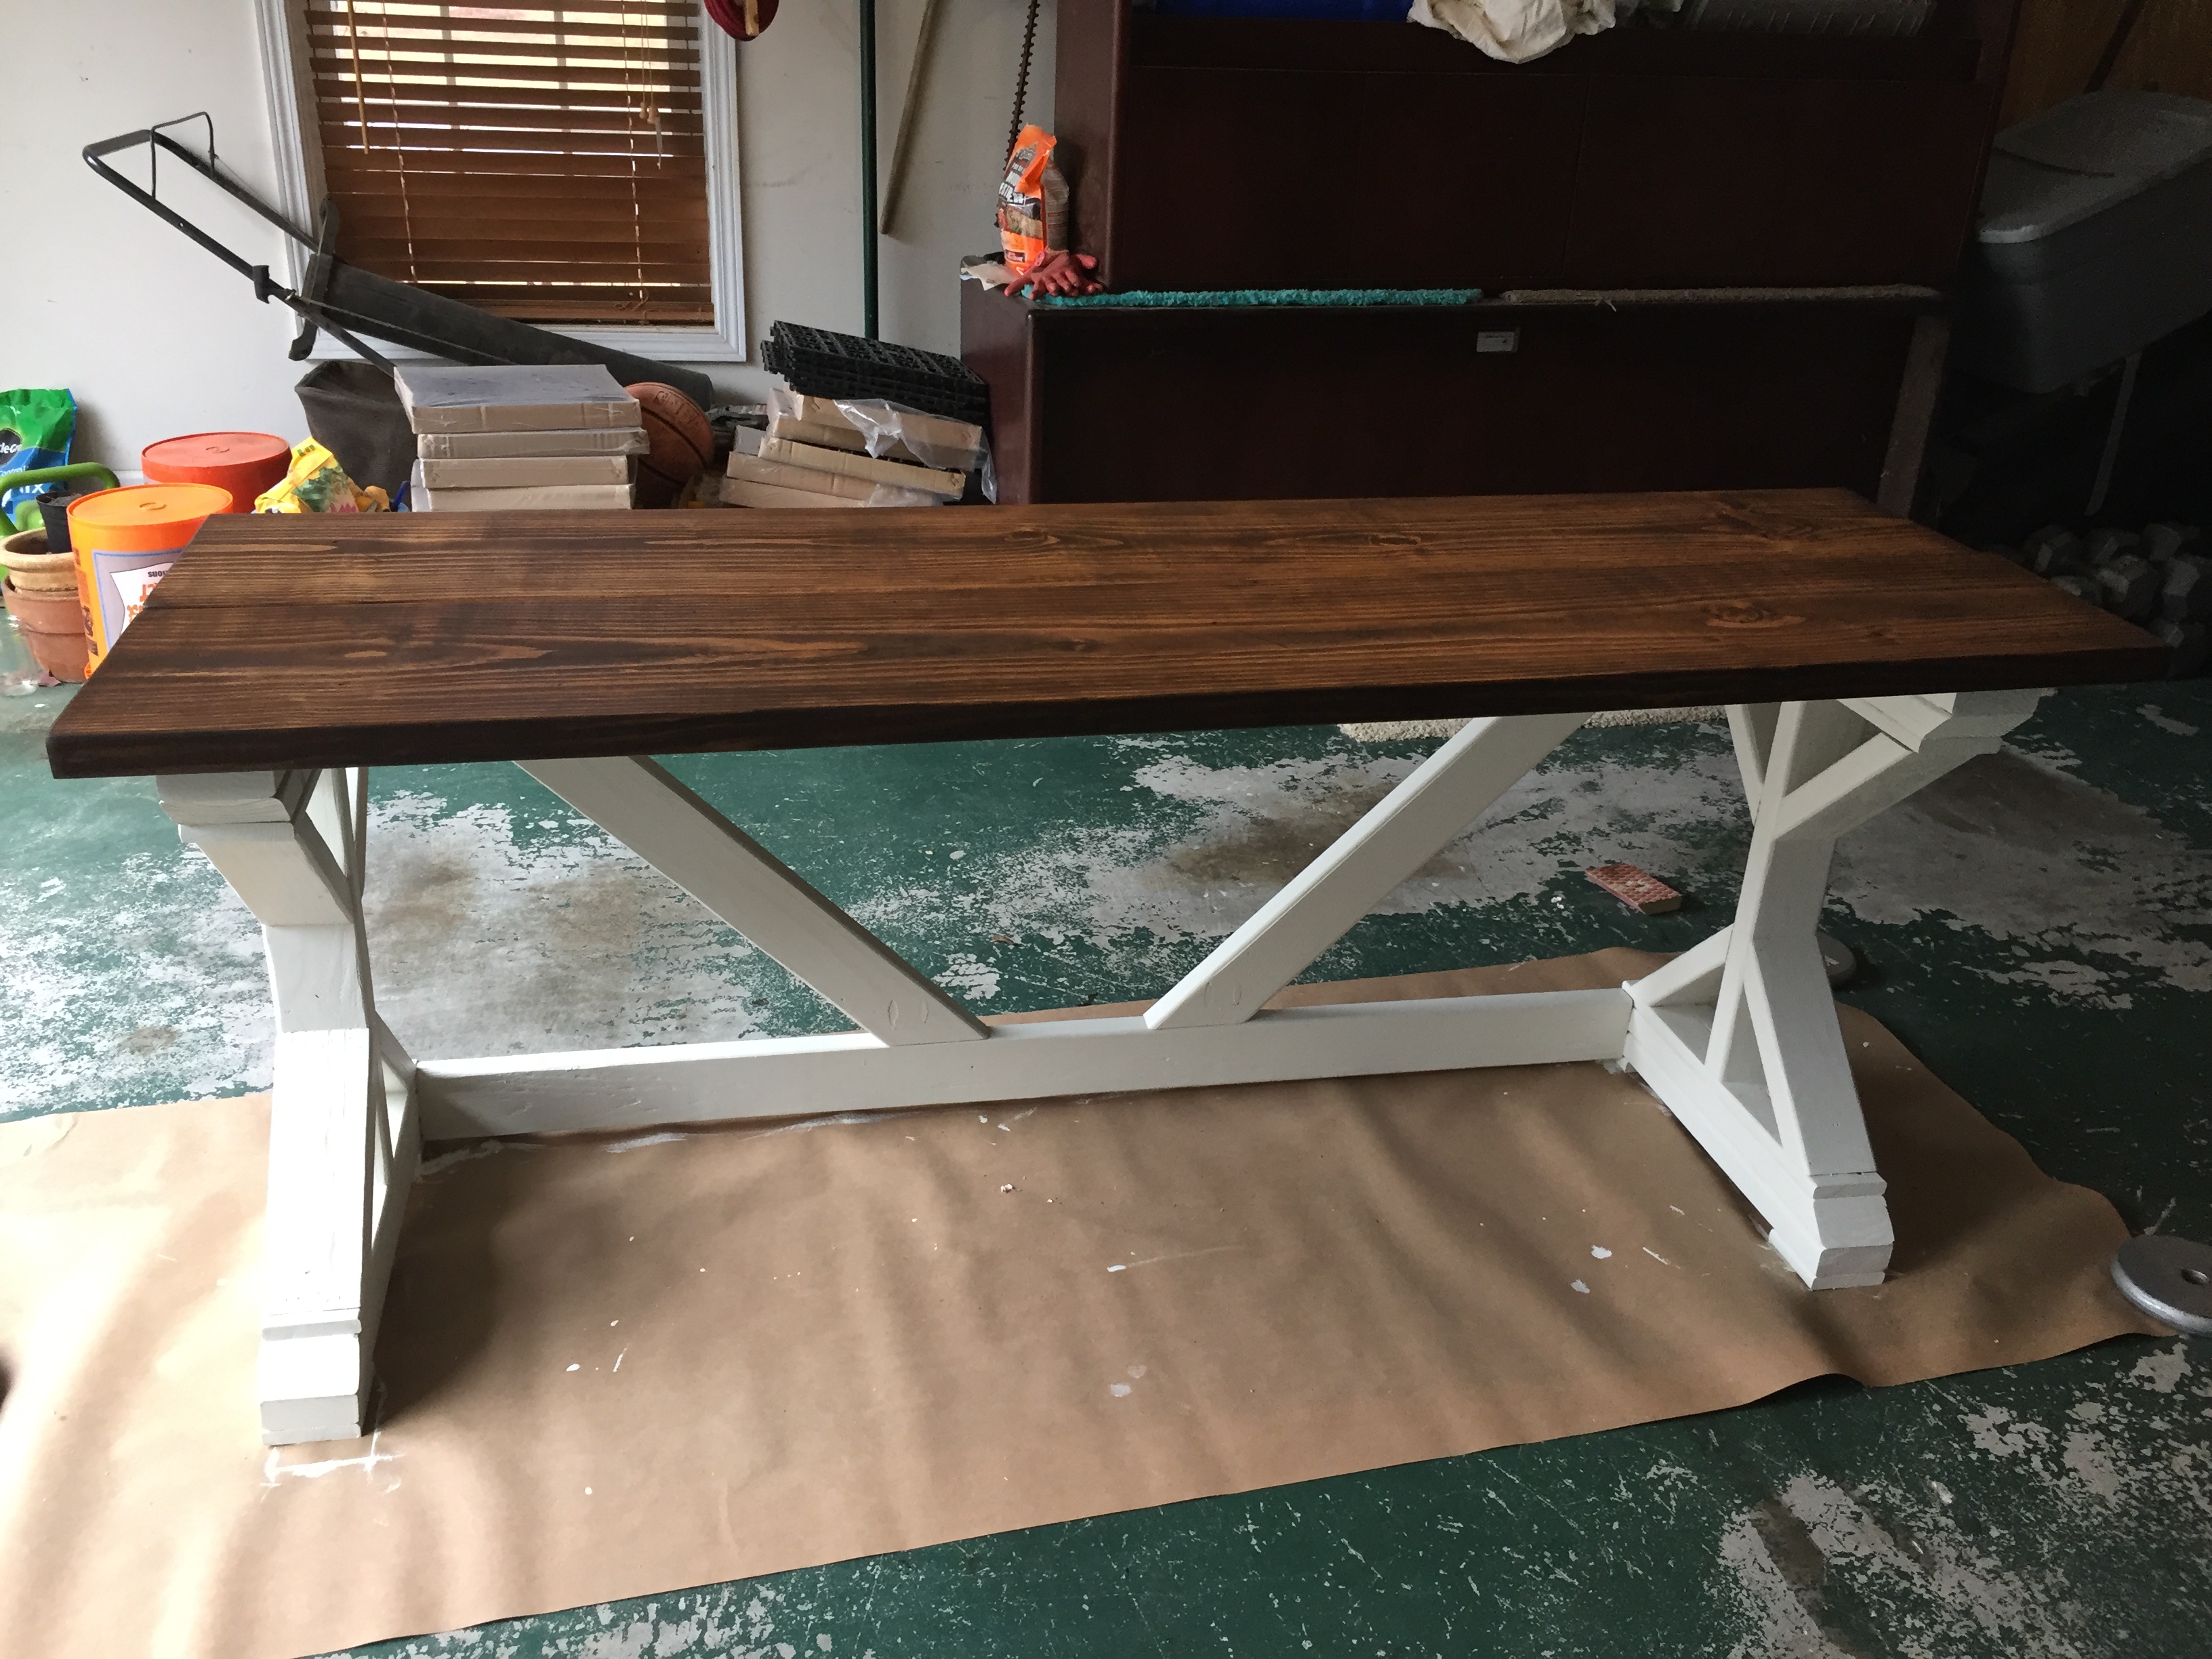
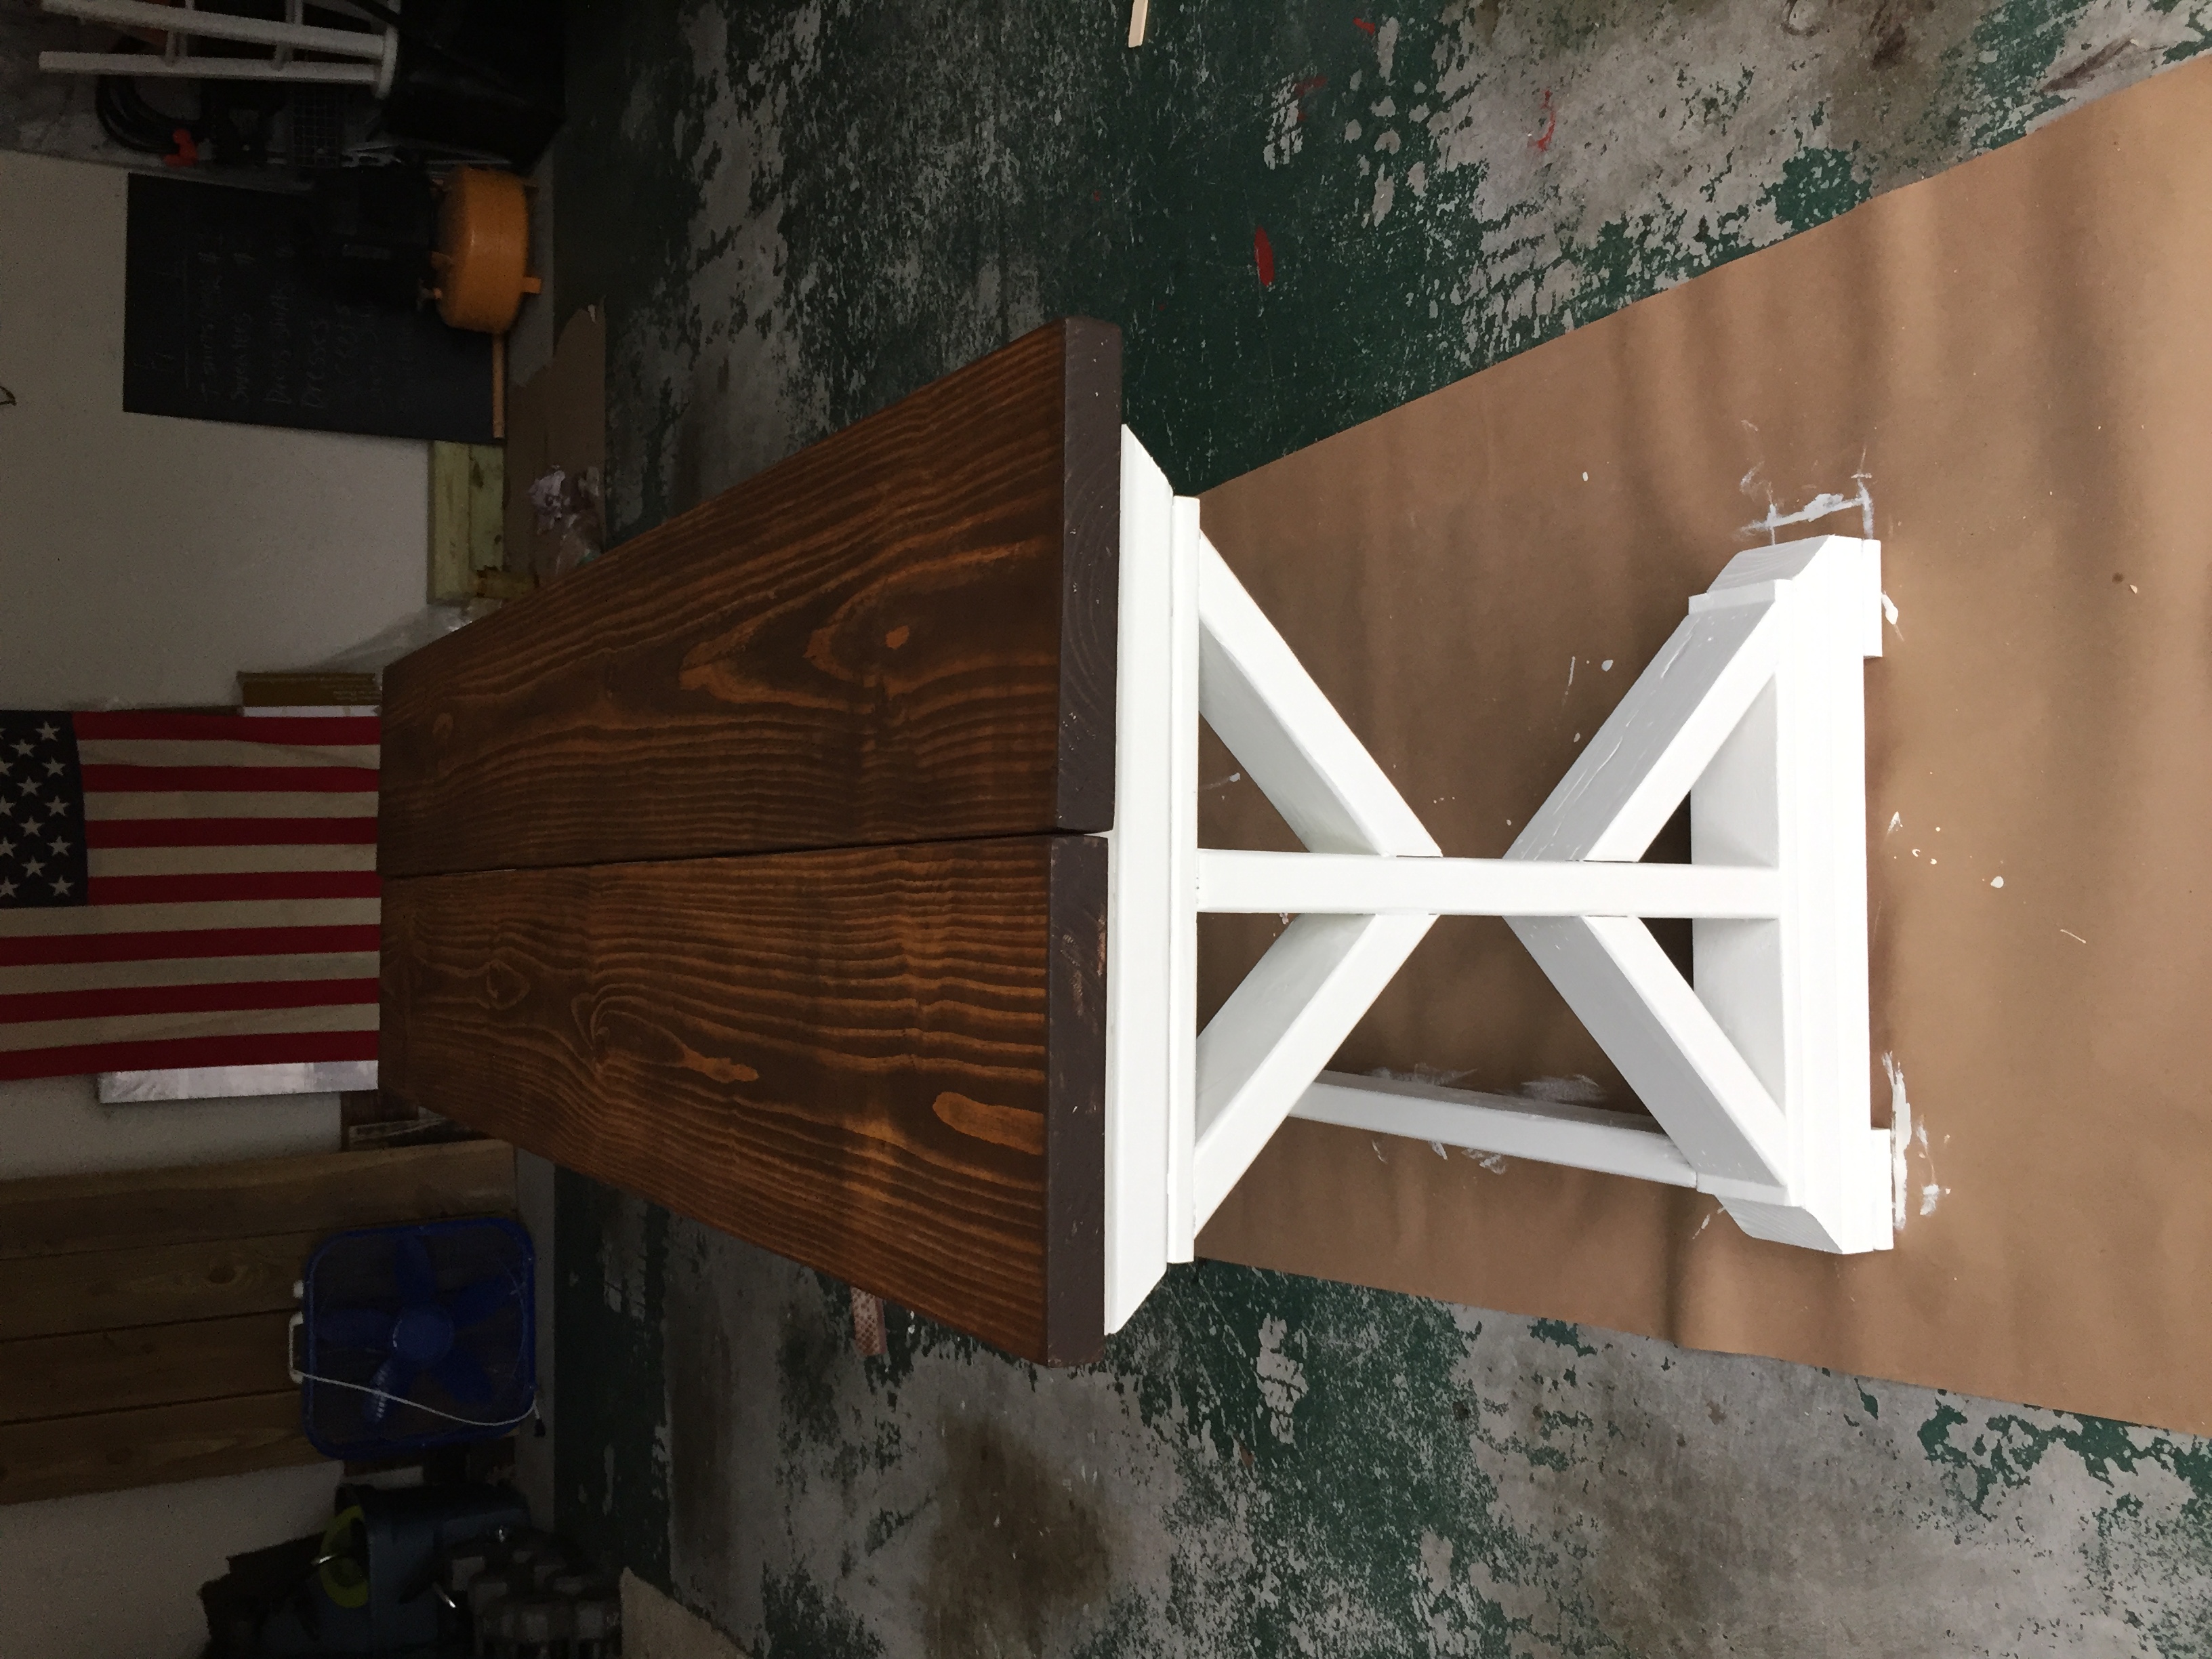
We made a modified (and scaled down) version of this dollhouse. Check out our blog for a complete list of details, plans, dimensions, furniture plans, and a downloadable sketch-up file to help you in building this. SUCH a fun and wonderful project. This was a Christmas gift and we are hoping it will be around for years to come! Thanks Ana.
http://www.thoughtcomics.com/projects.html
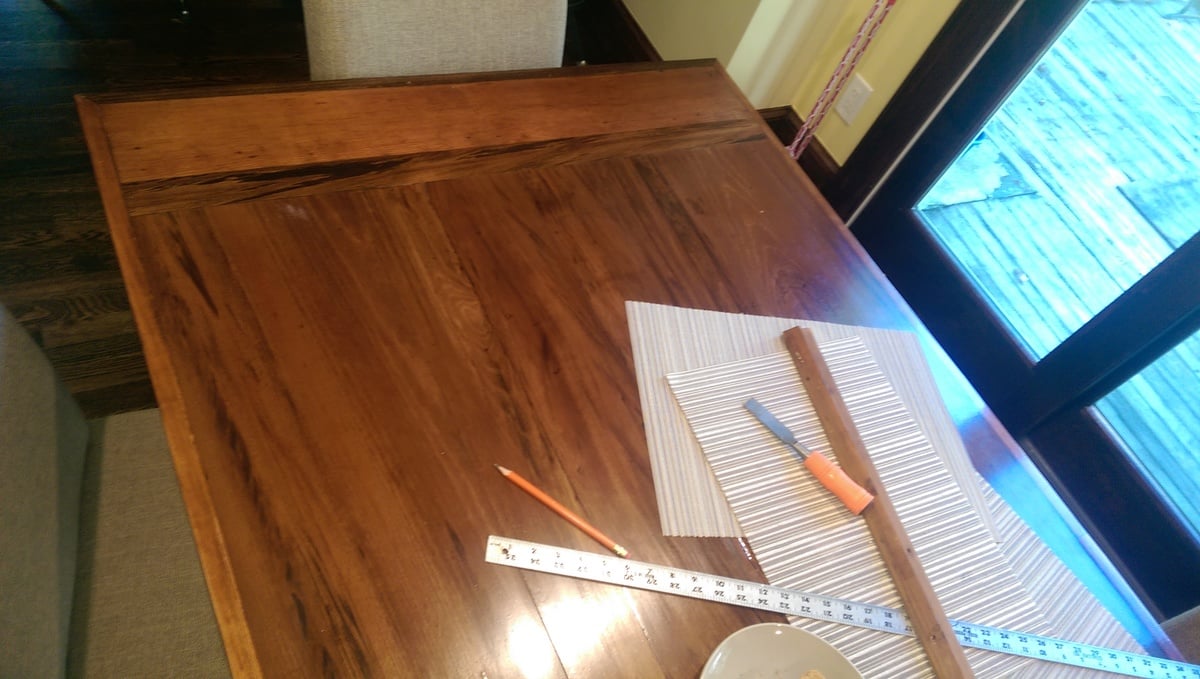
Have fun! We are beginner builders but it took us quite some time to build this. 20 Hrs...??
Email any questions!

Estimated Time Investment
Week Long Project (20 Hours or More)
Finish Used
water based poly
Recommended Skill Level
Beginner


Comments
mblee (not verified)
Wed, 01/23/2013 - 06:27
Nice
That looks amazing.