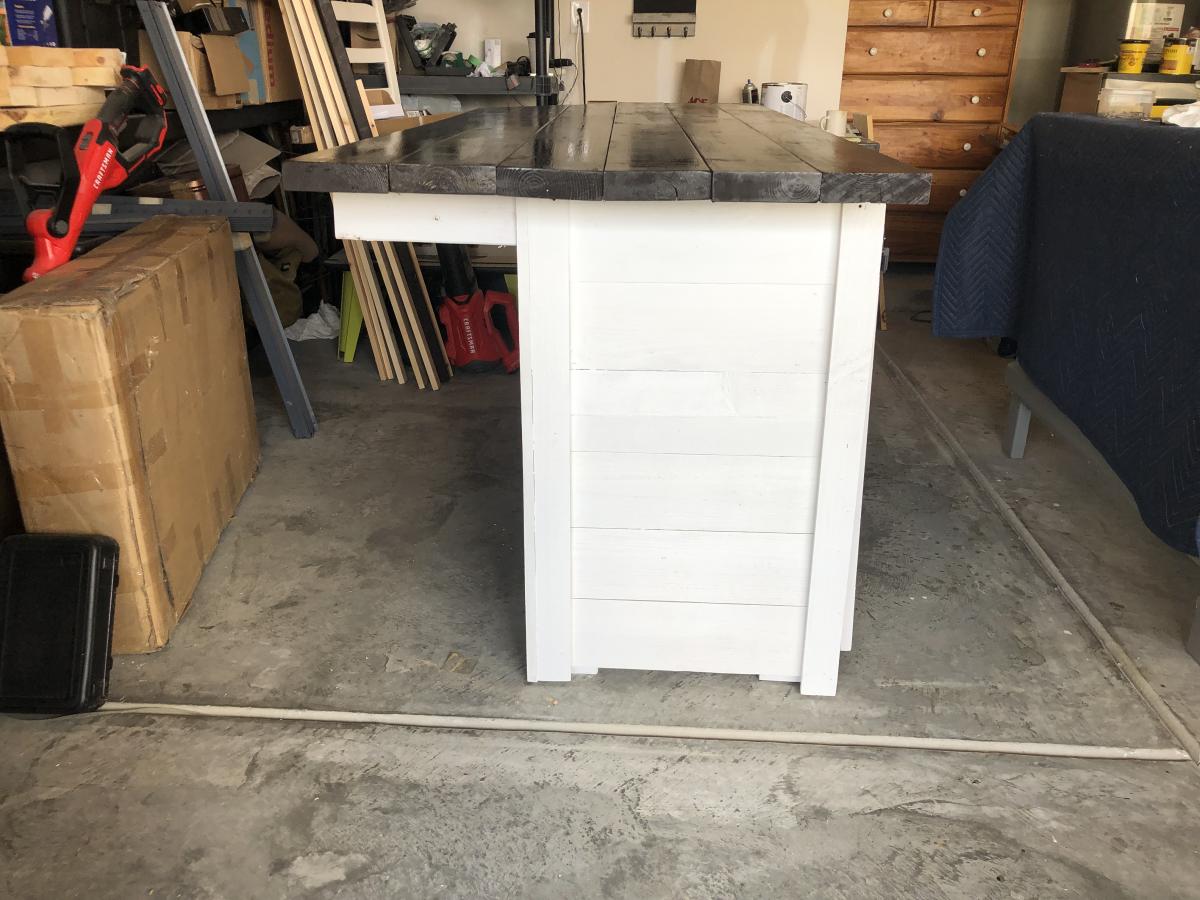
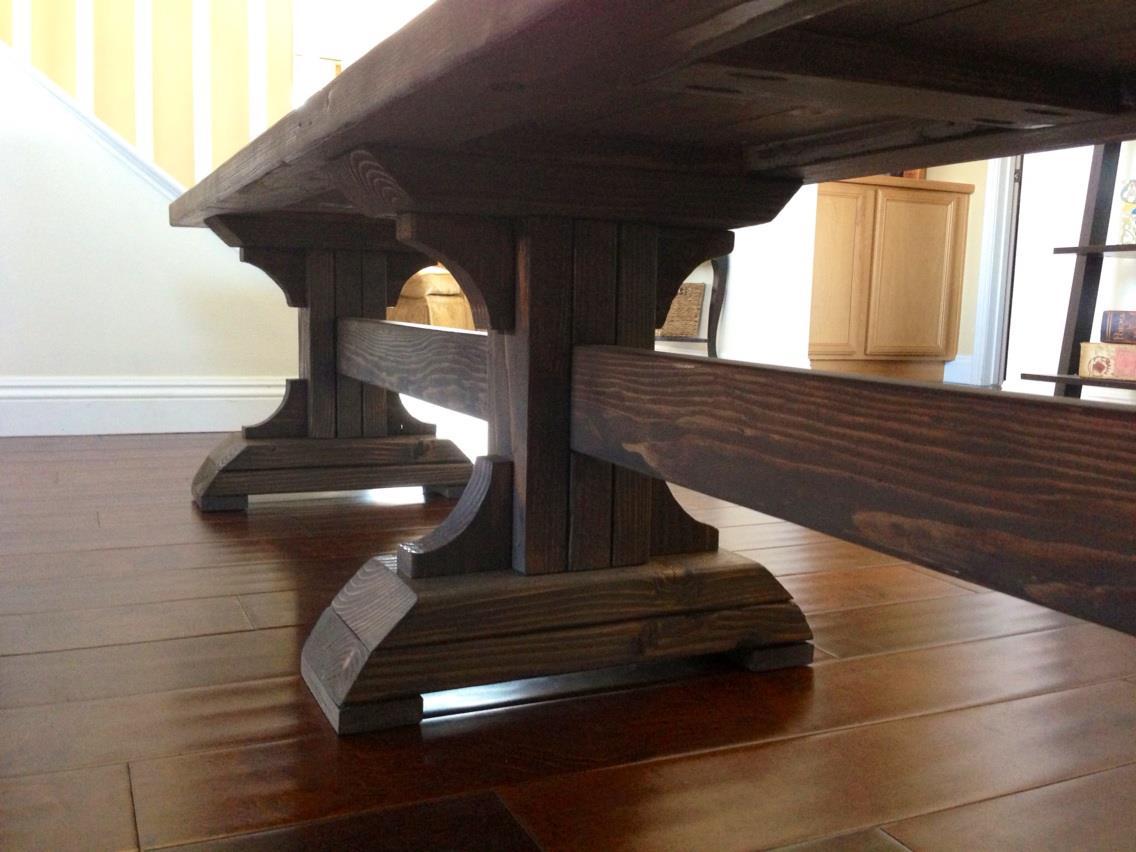
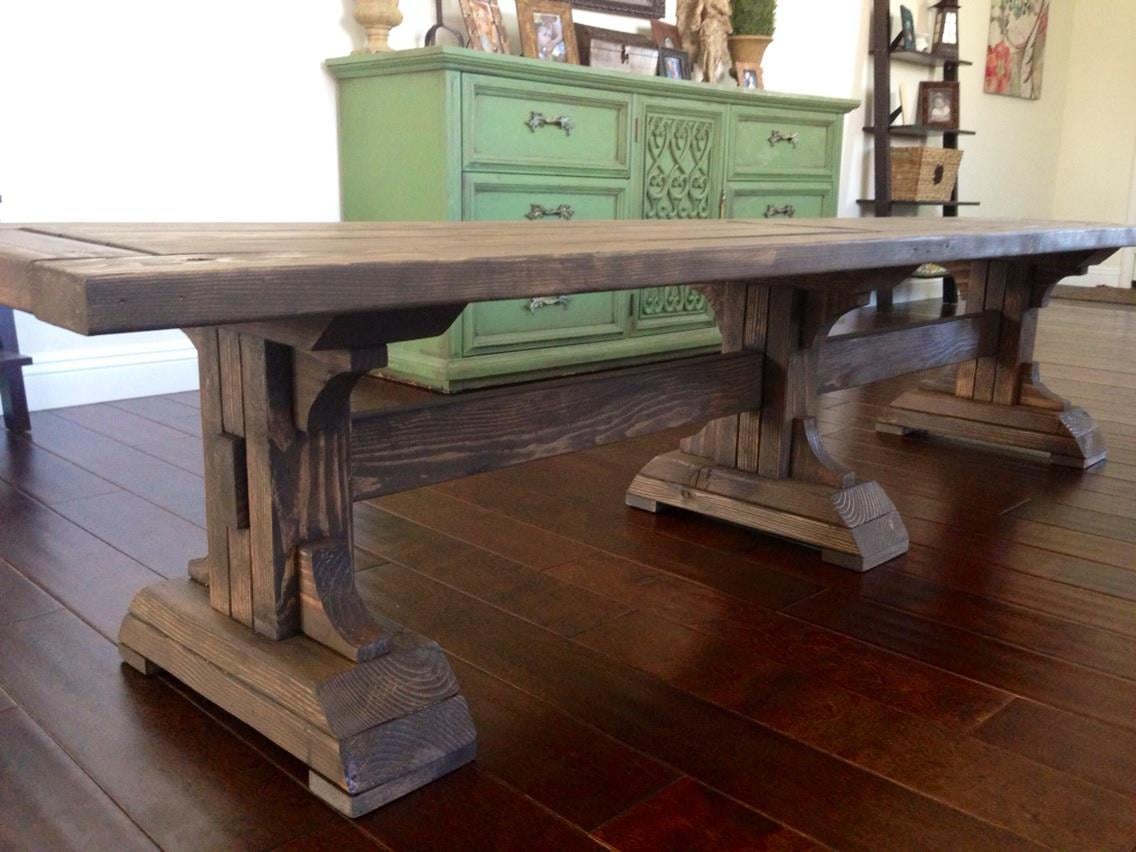
Farmhouse Table
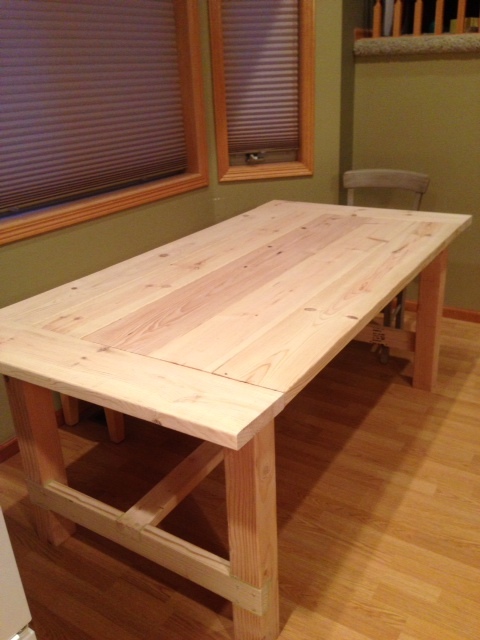
I've been wanting a farmhouse table for the past year or so ever since we updated our kitchen cabinets. The thought of spending lots of money on a dining table was not something I wanted to do with two little boys who tend to get a little rambunctious at times! I found the plan for the farmhouse table, sent my husband a text with the link and asked if he thought we could build it. We've been on a roll recently building closet systems, and laundry organizers so I thought I would nab him while he was in building mode. He agreed to give it a try, and we built it this past weekend, with the help of a 2 and 4 year old.
The plans were very straight forward and easy to follow. We moved it inside to build after all the cuts were made (other than the bread board ends) as we knew it would be too large to carry in the house. We also cut 10 inches off the length as we did not have a big enough dining area for an 85" table.
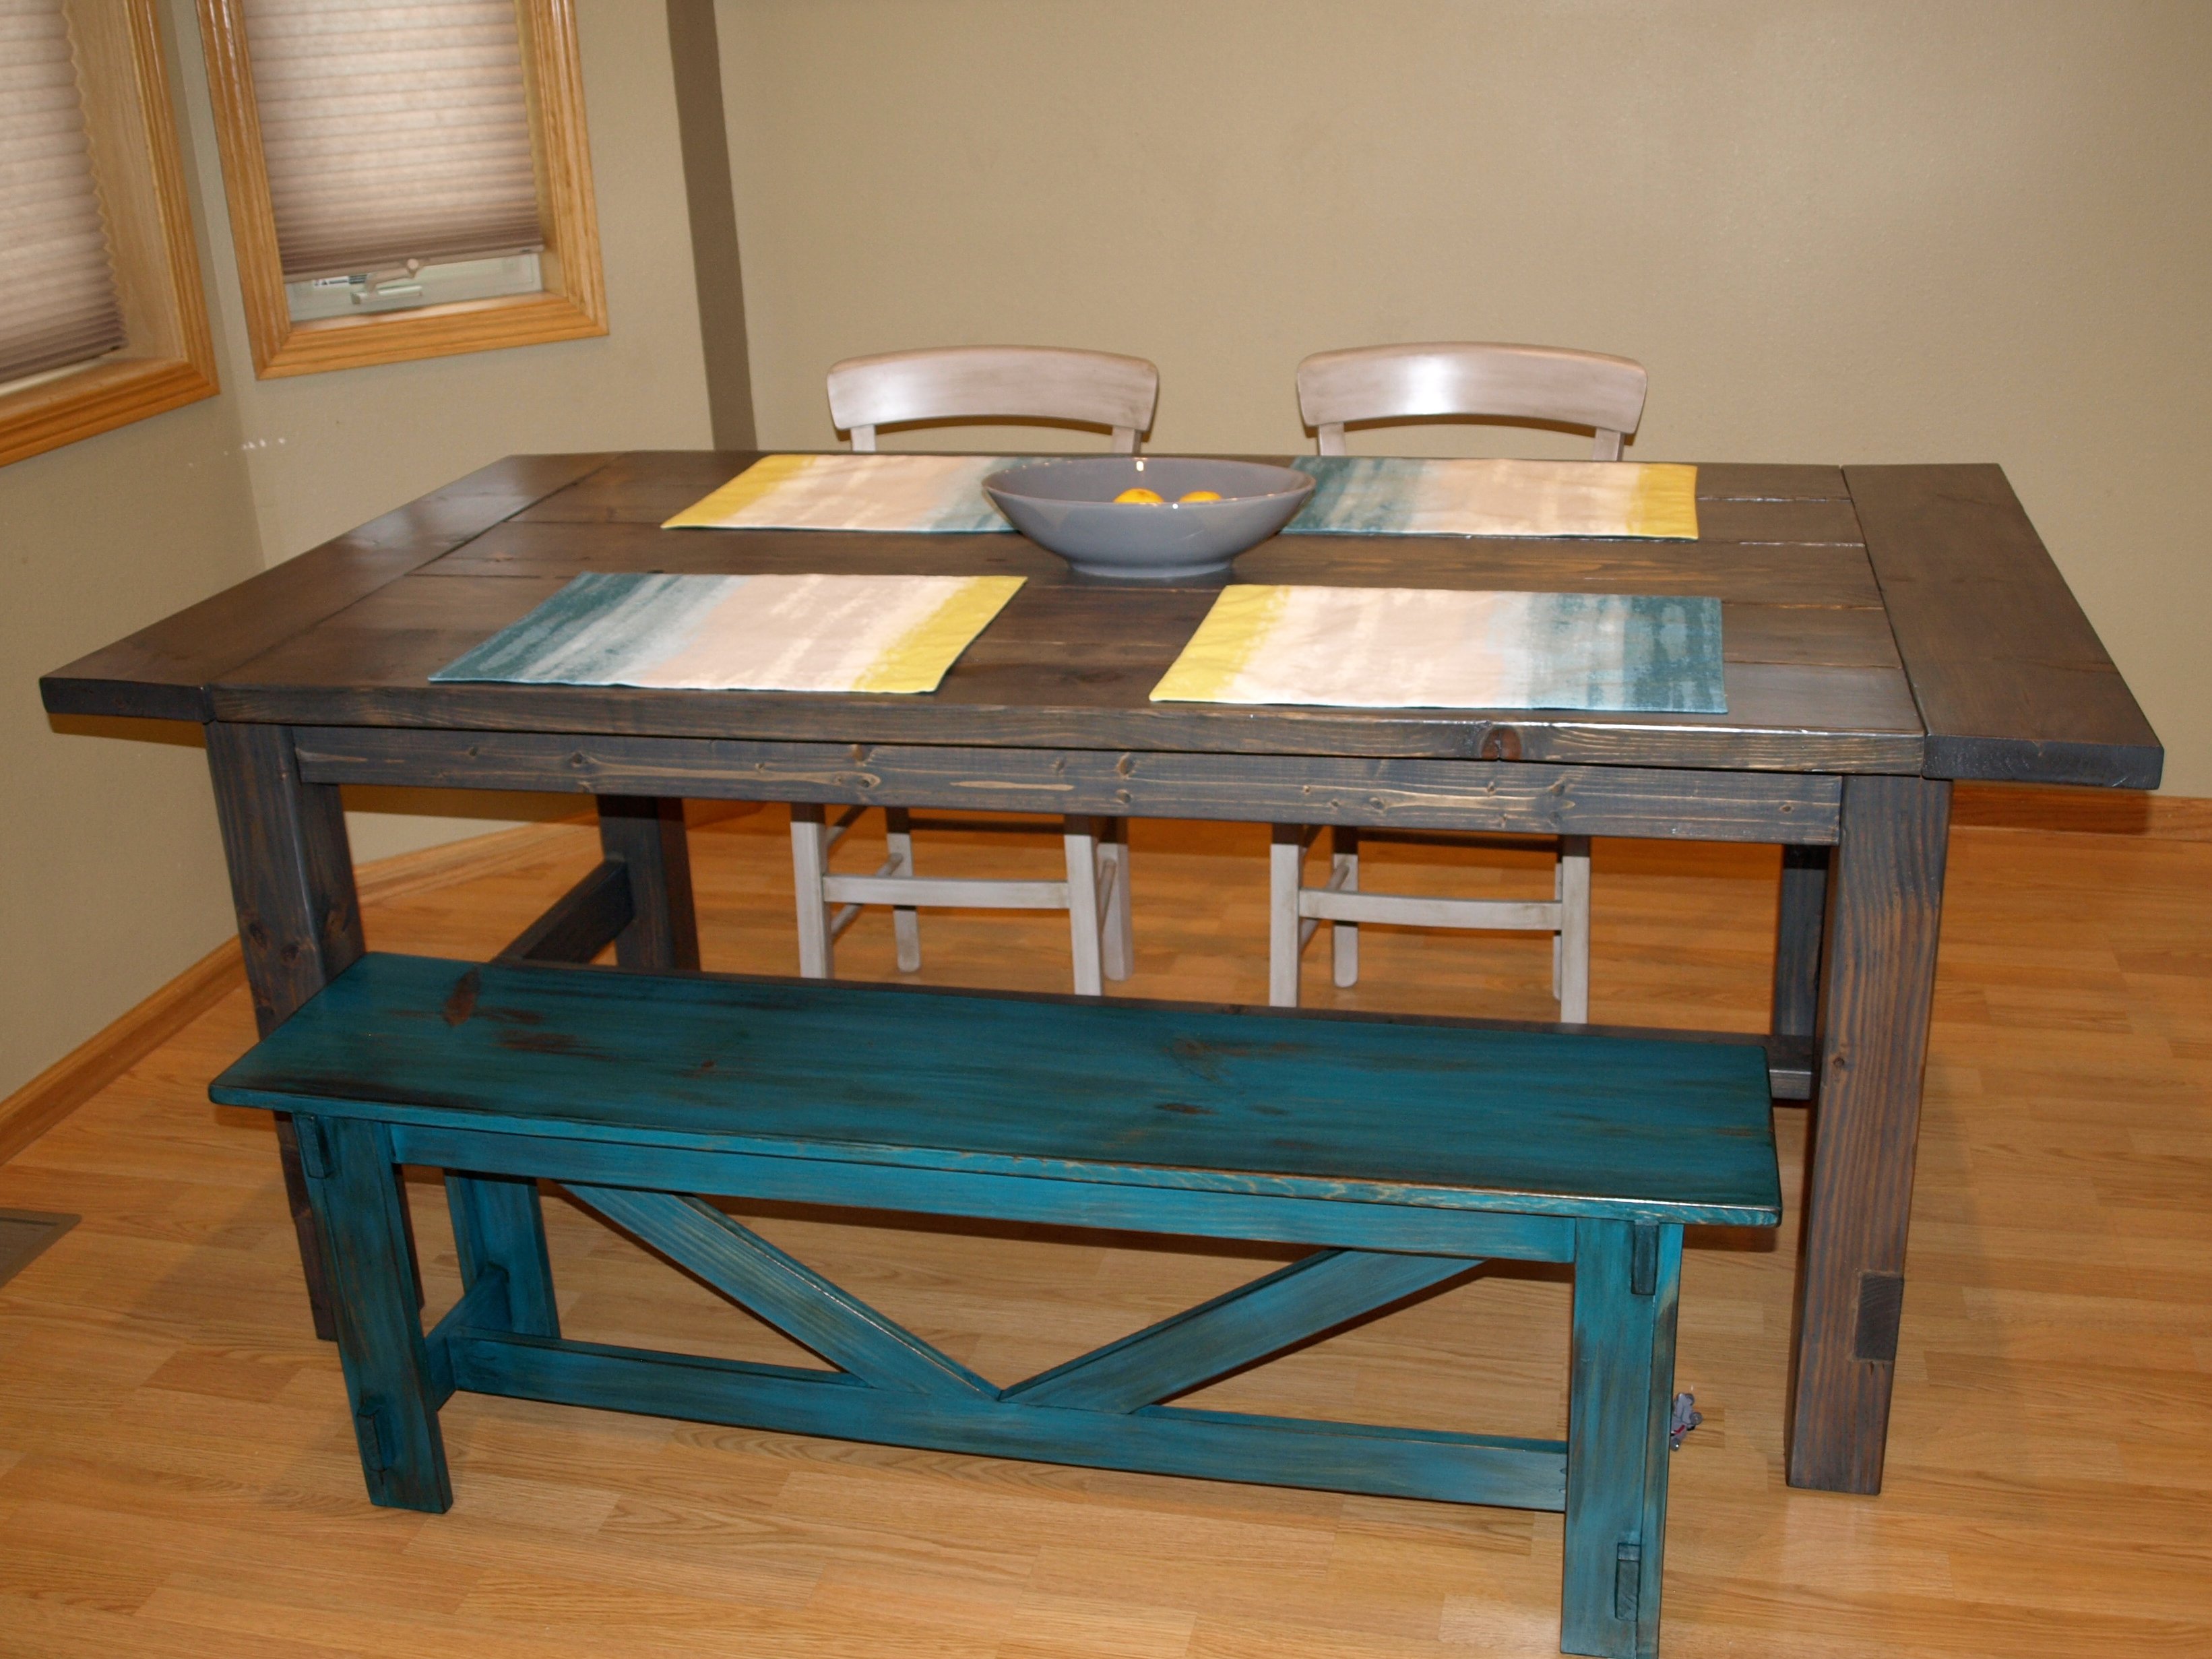
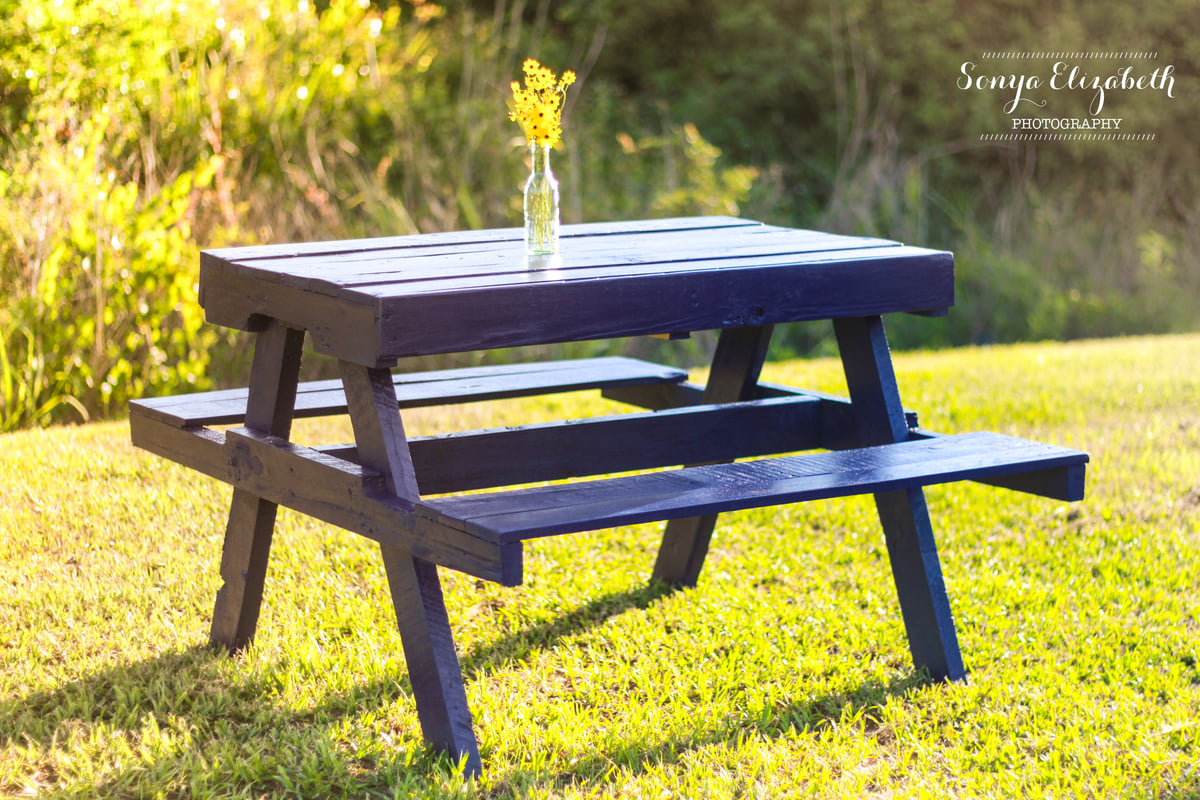
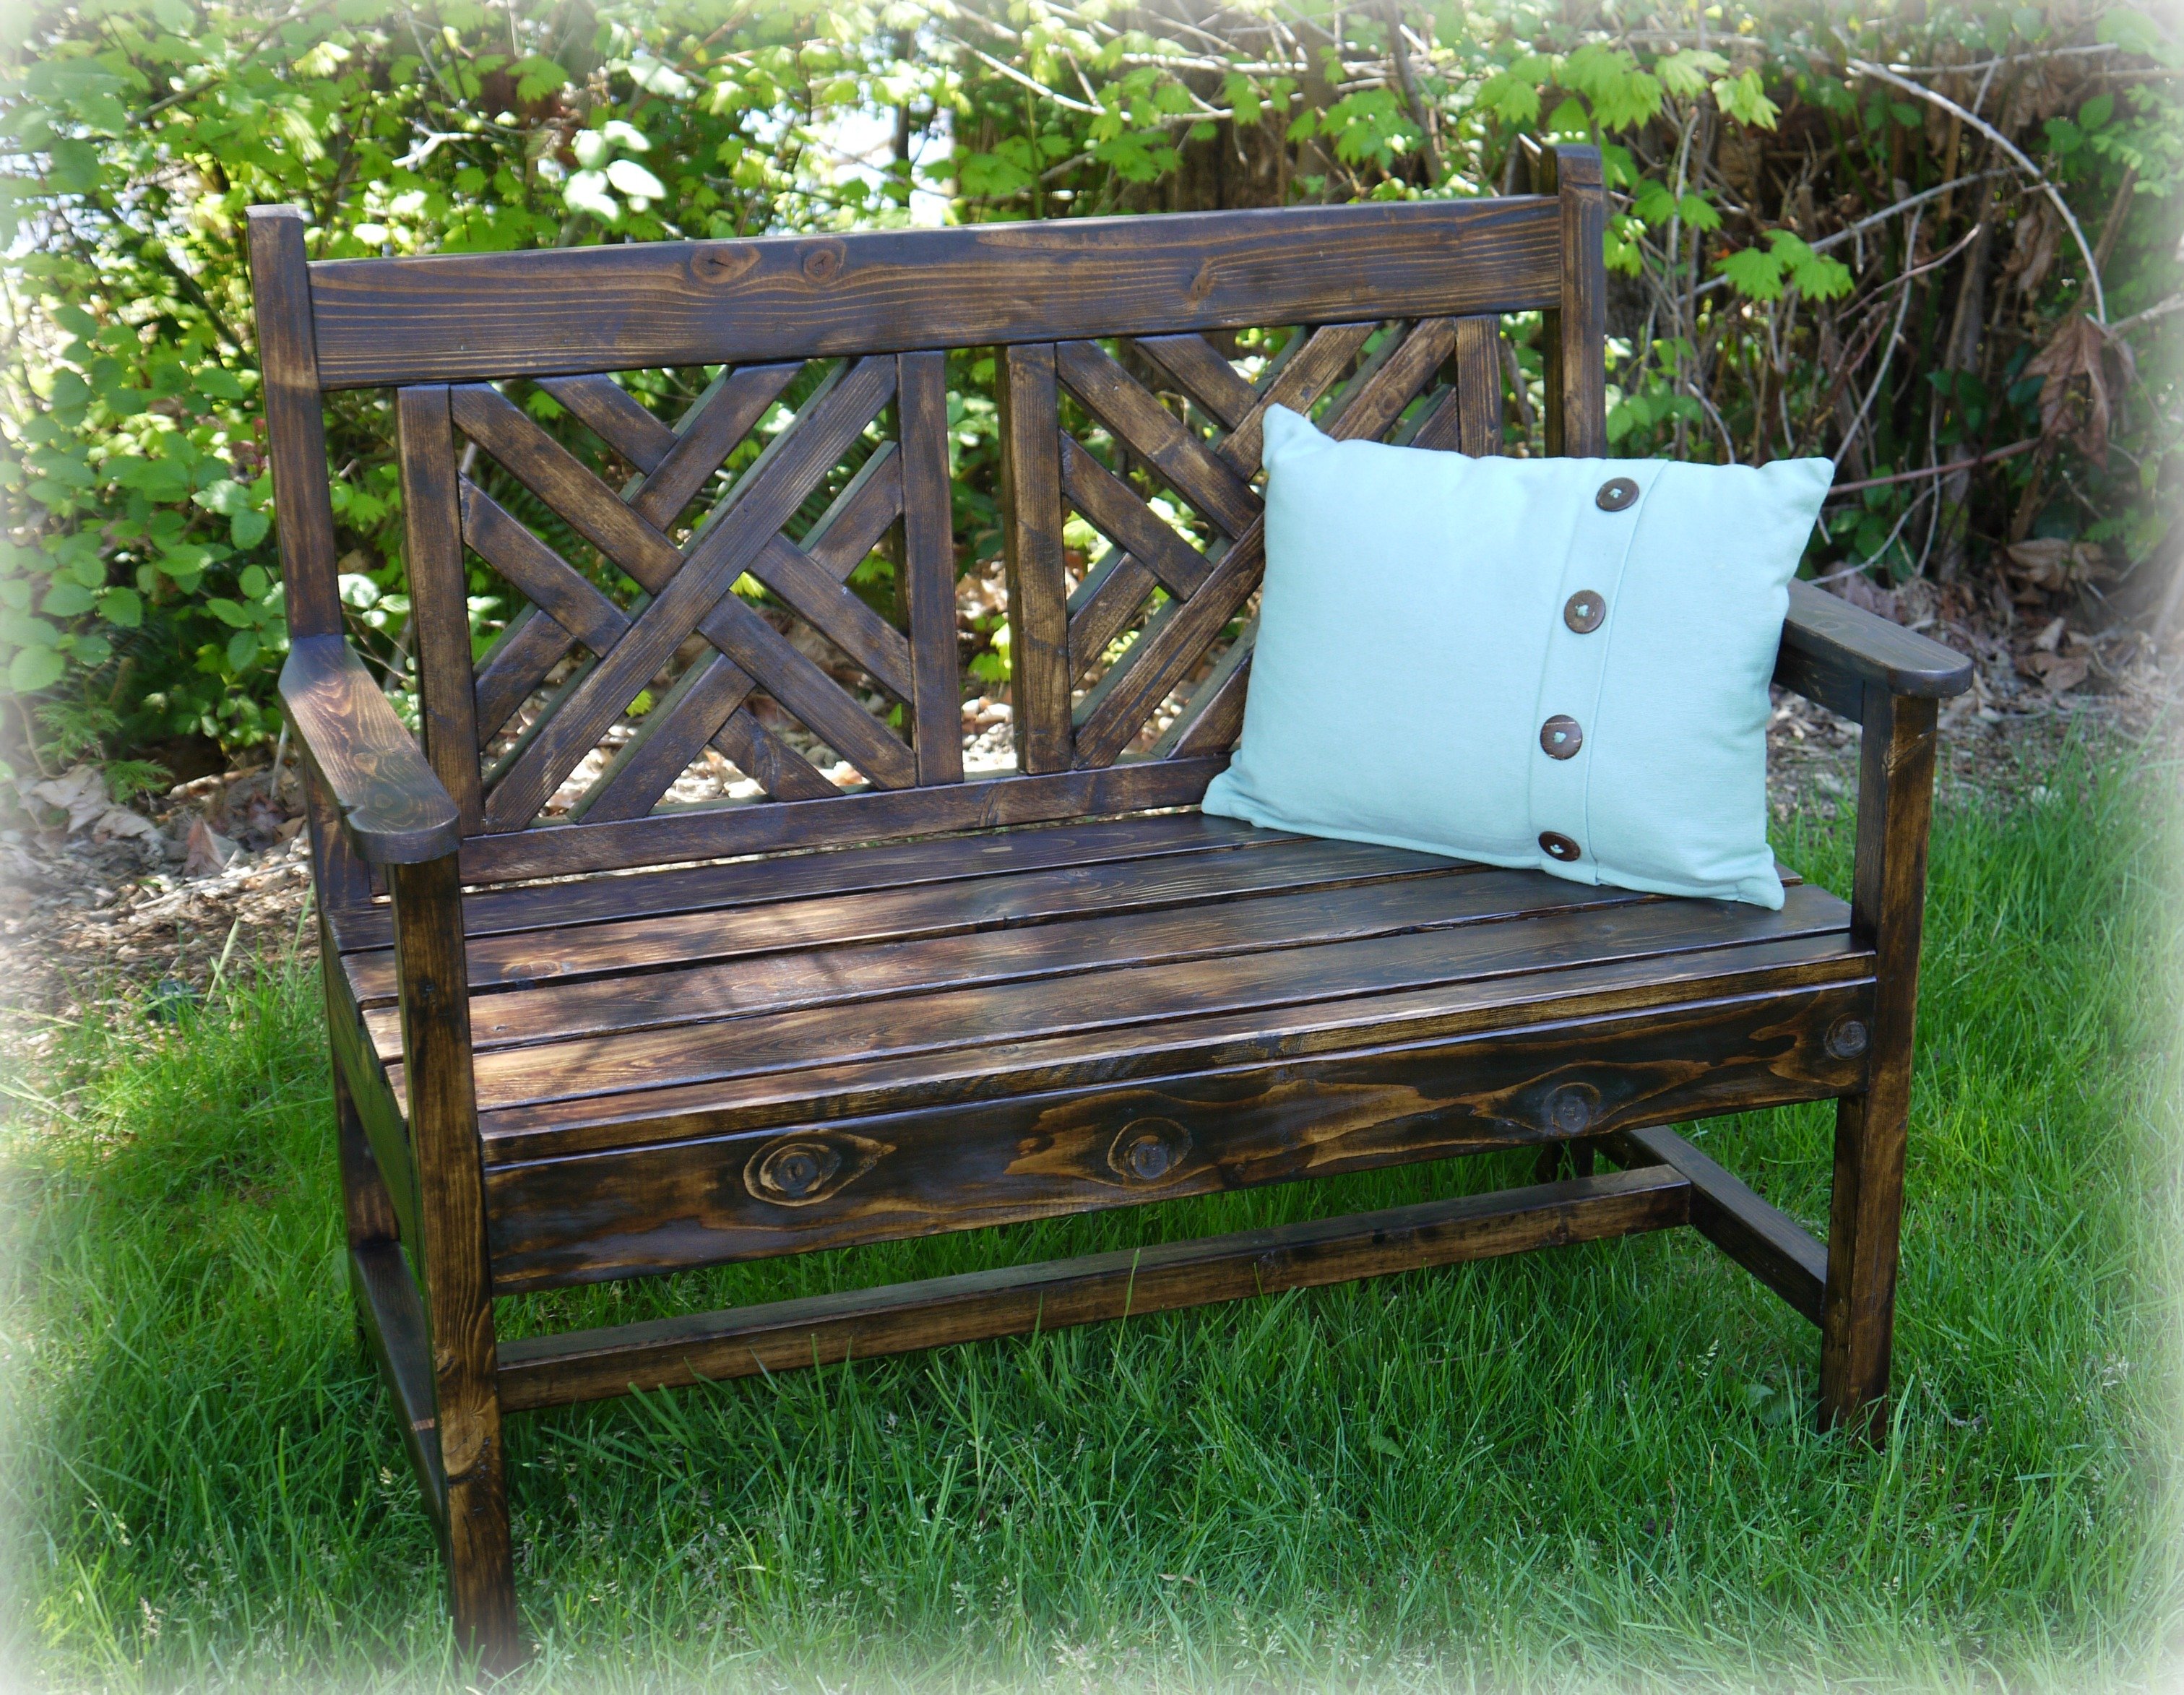
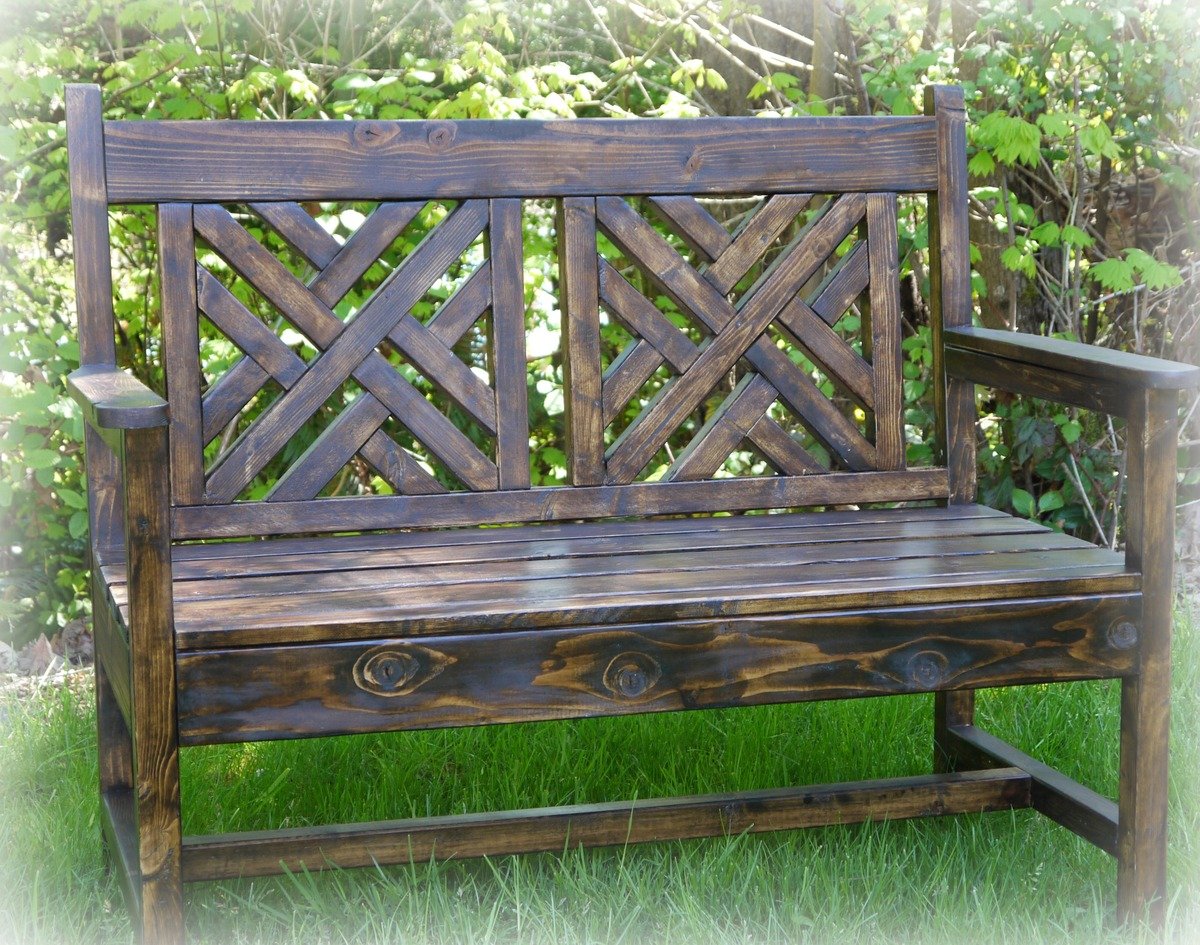
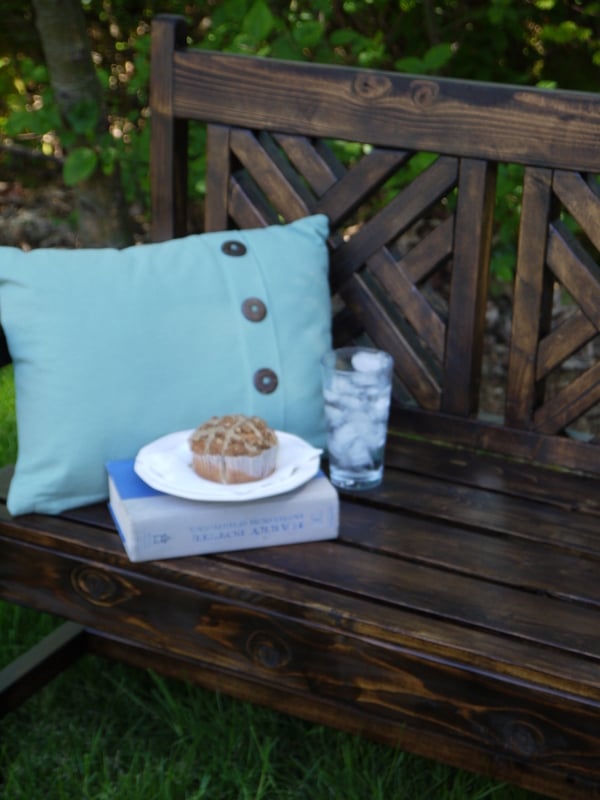
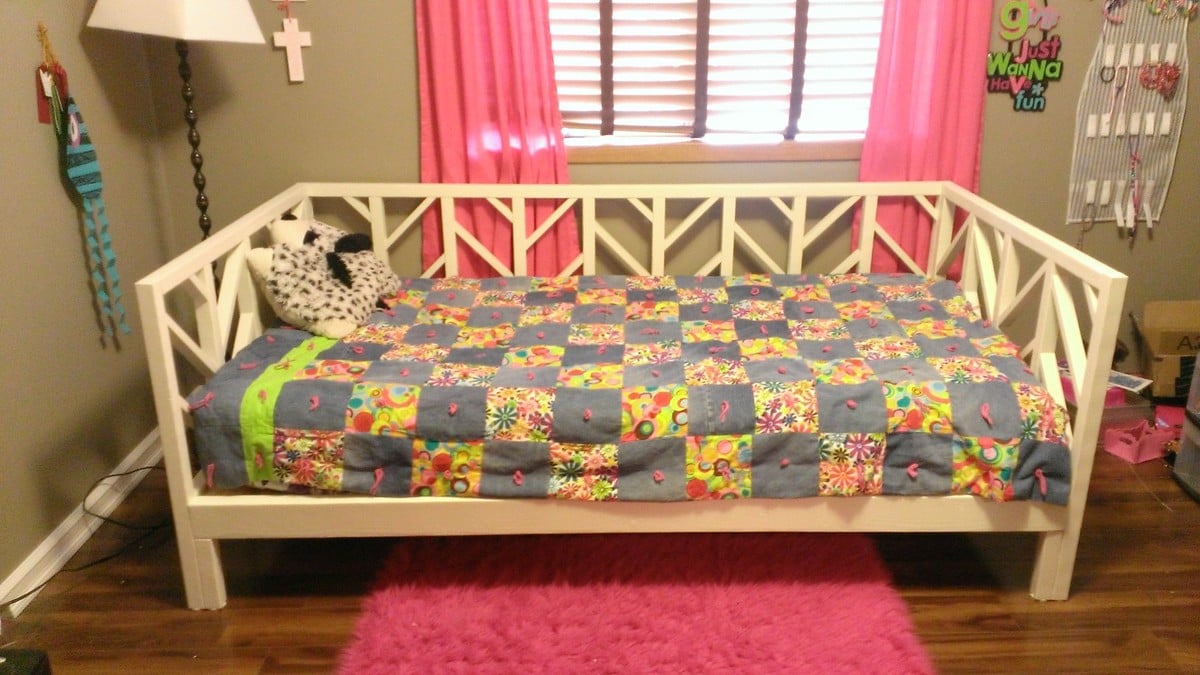
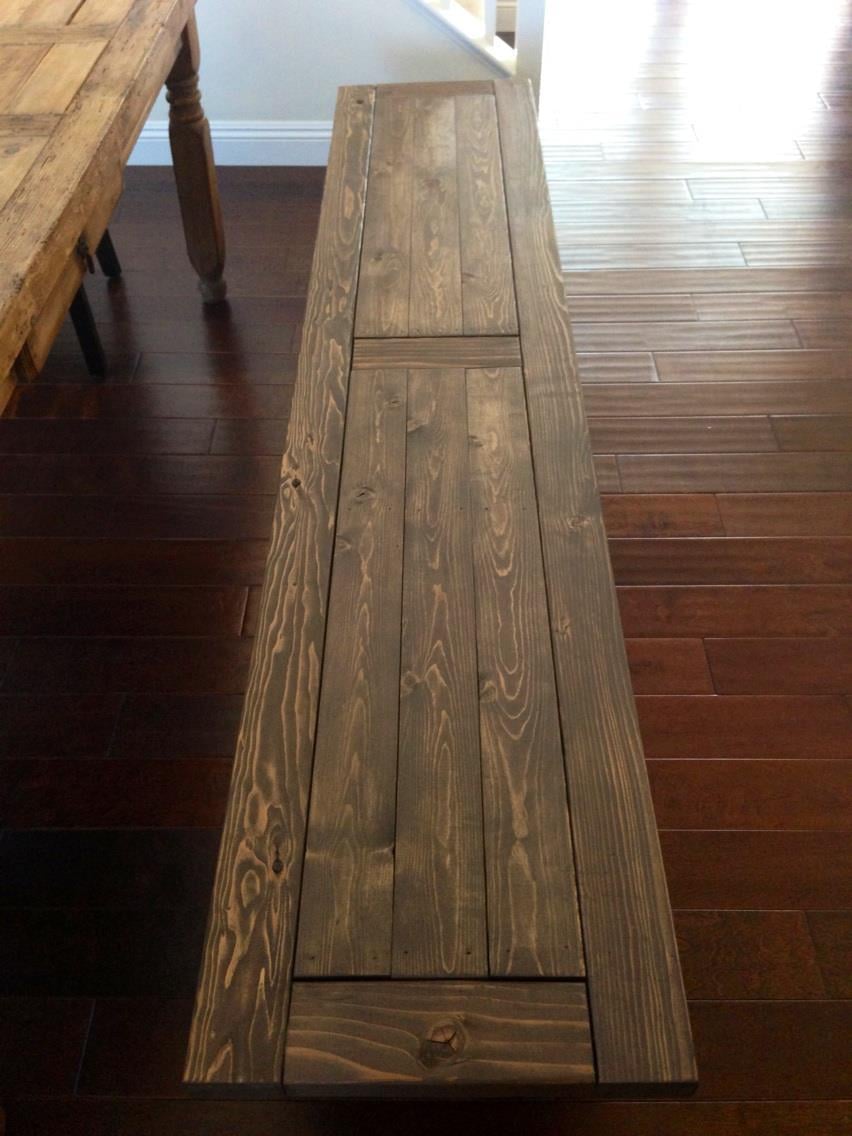
Then we made the large rustic x bench for seating!
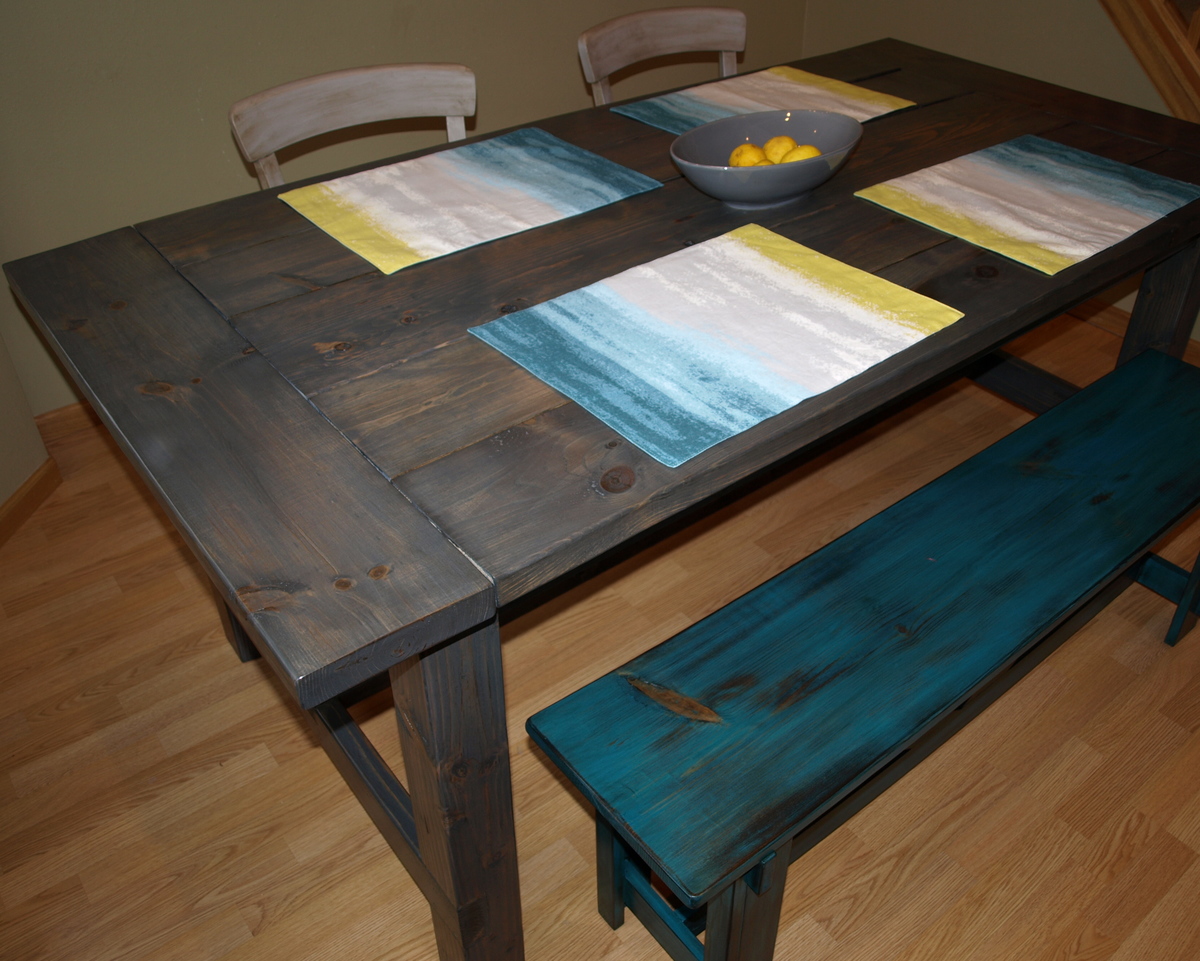
Bench: Spray painted with Rustoleum Satin Lagoon, sanded, stained with dark walnut, and finished with polyurethane.


Comments
jvanhorn
Fri, 05/10/2013 - 17:15
Nice work!
Looks wonderful - Great job!