Wood Shop Storage Solutions...
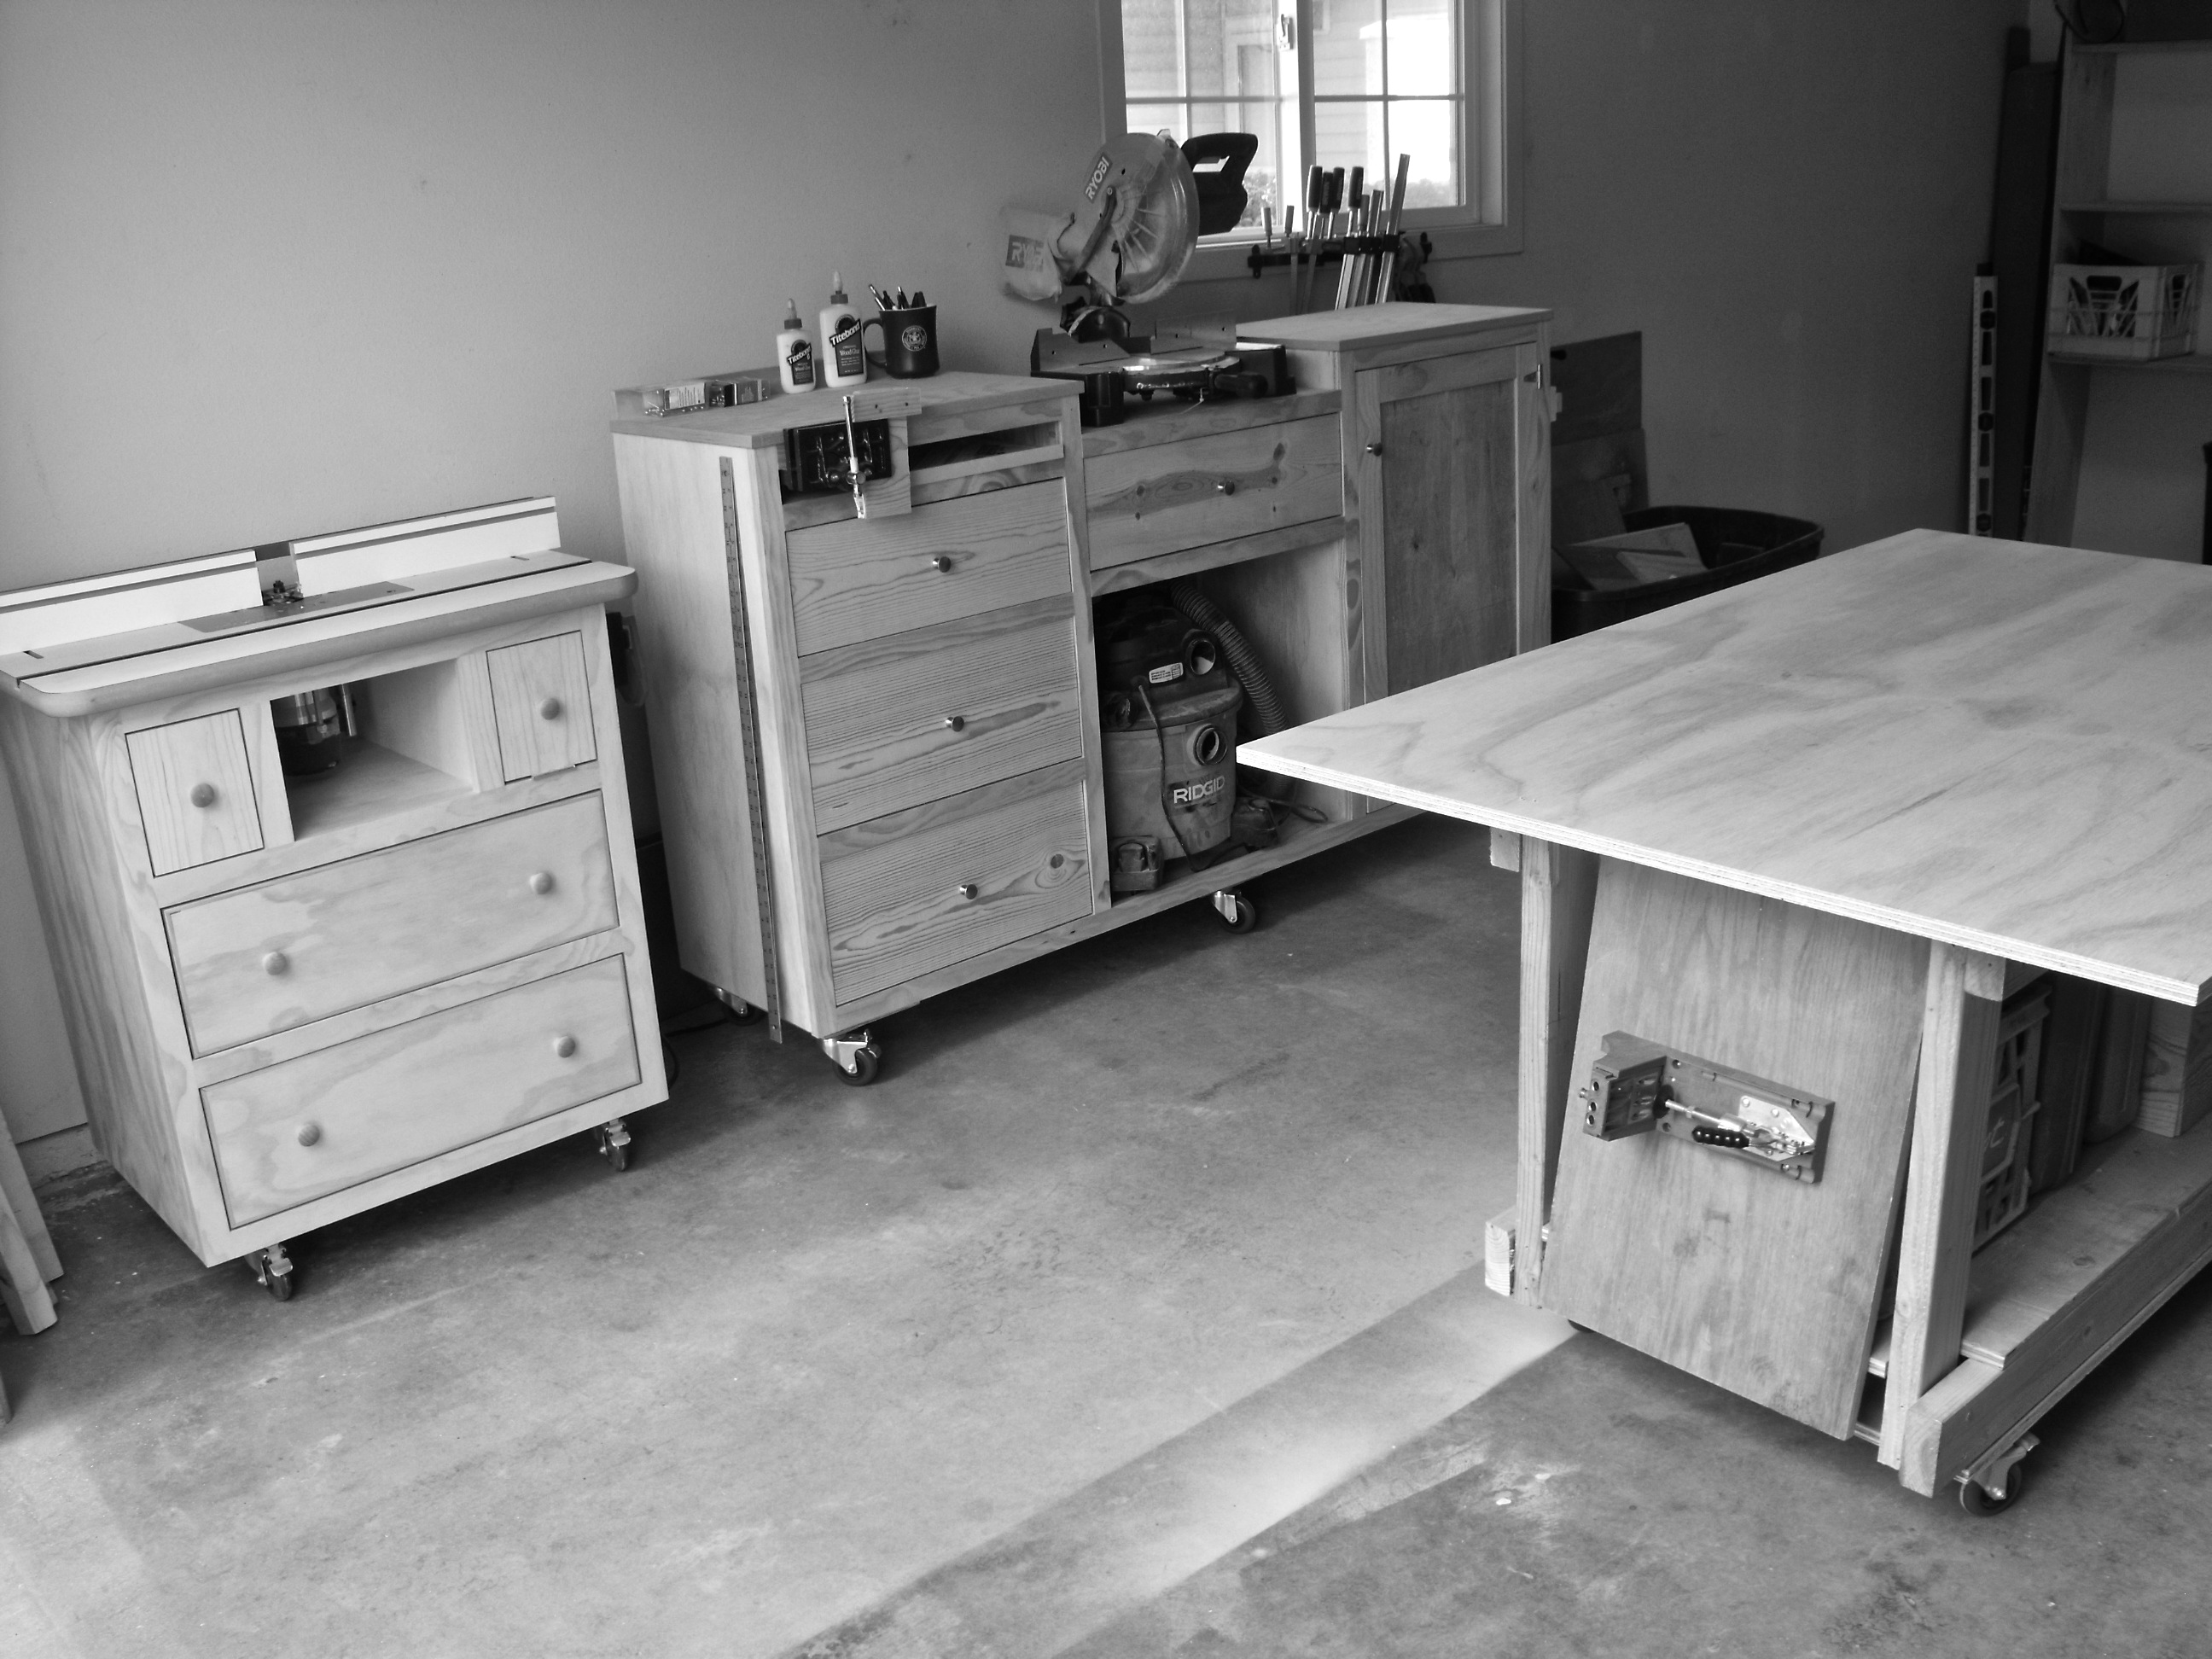
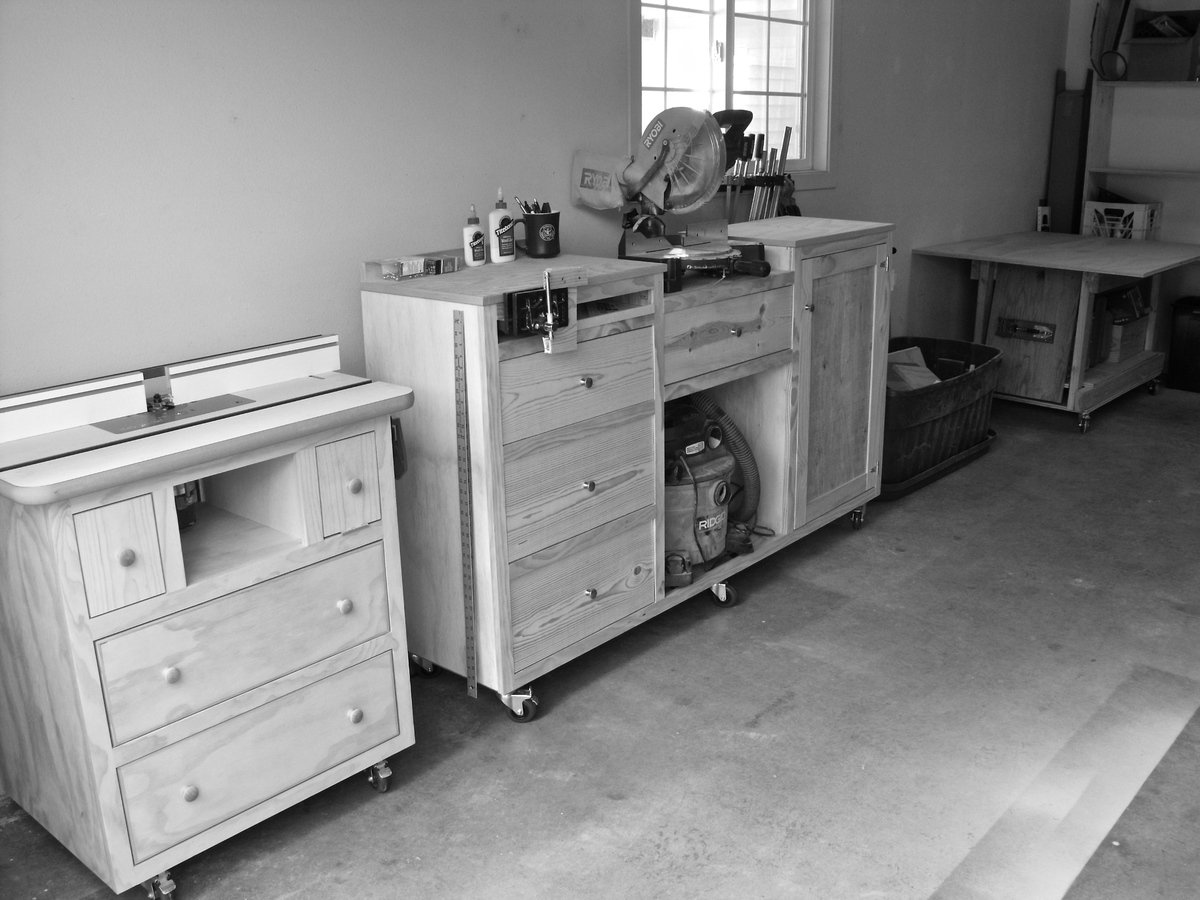
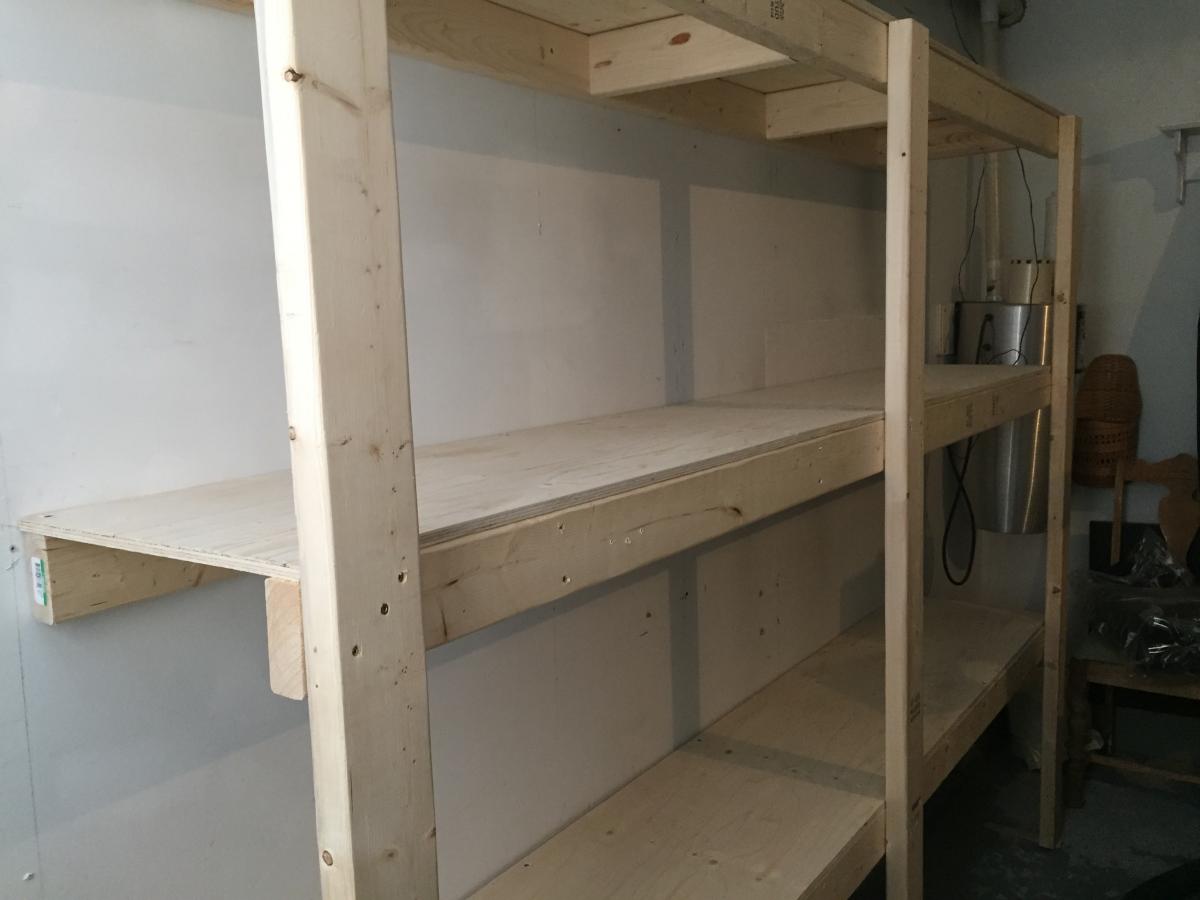
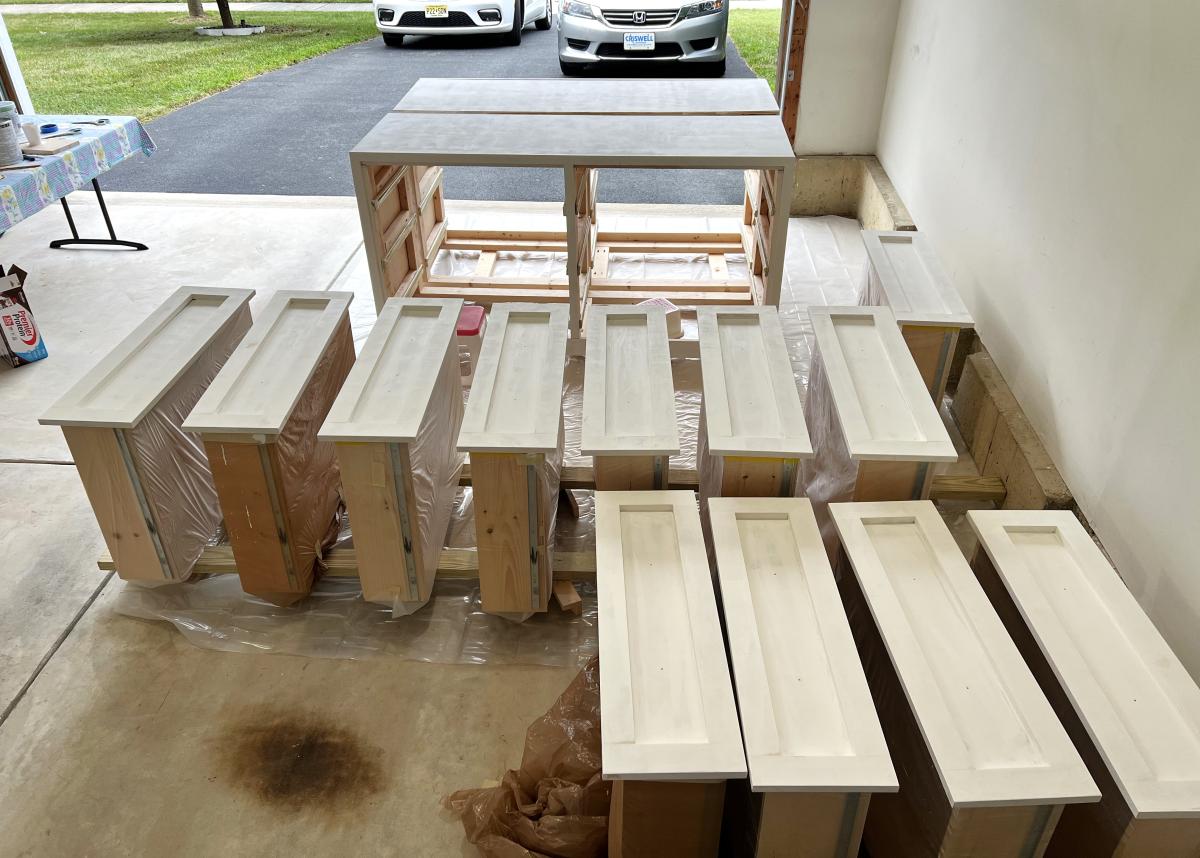
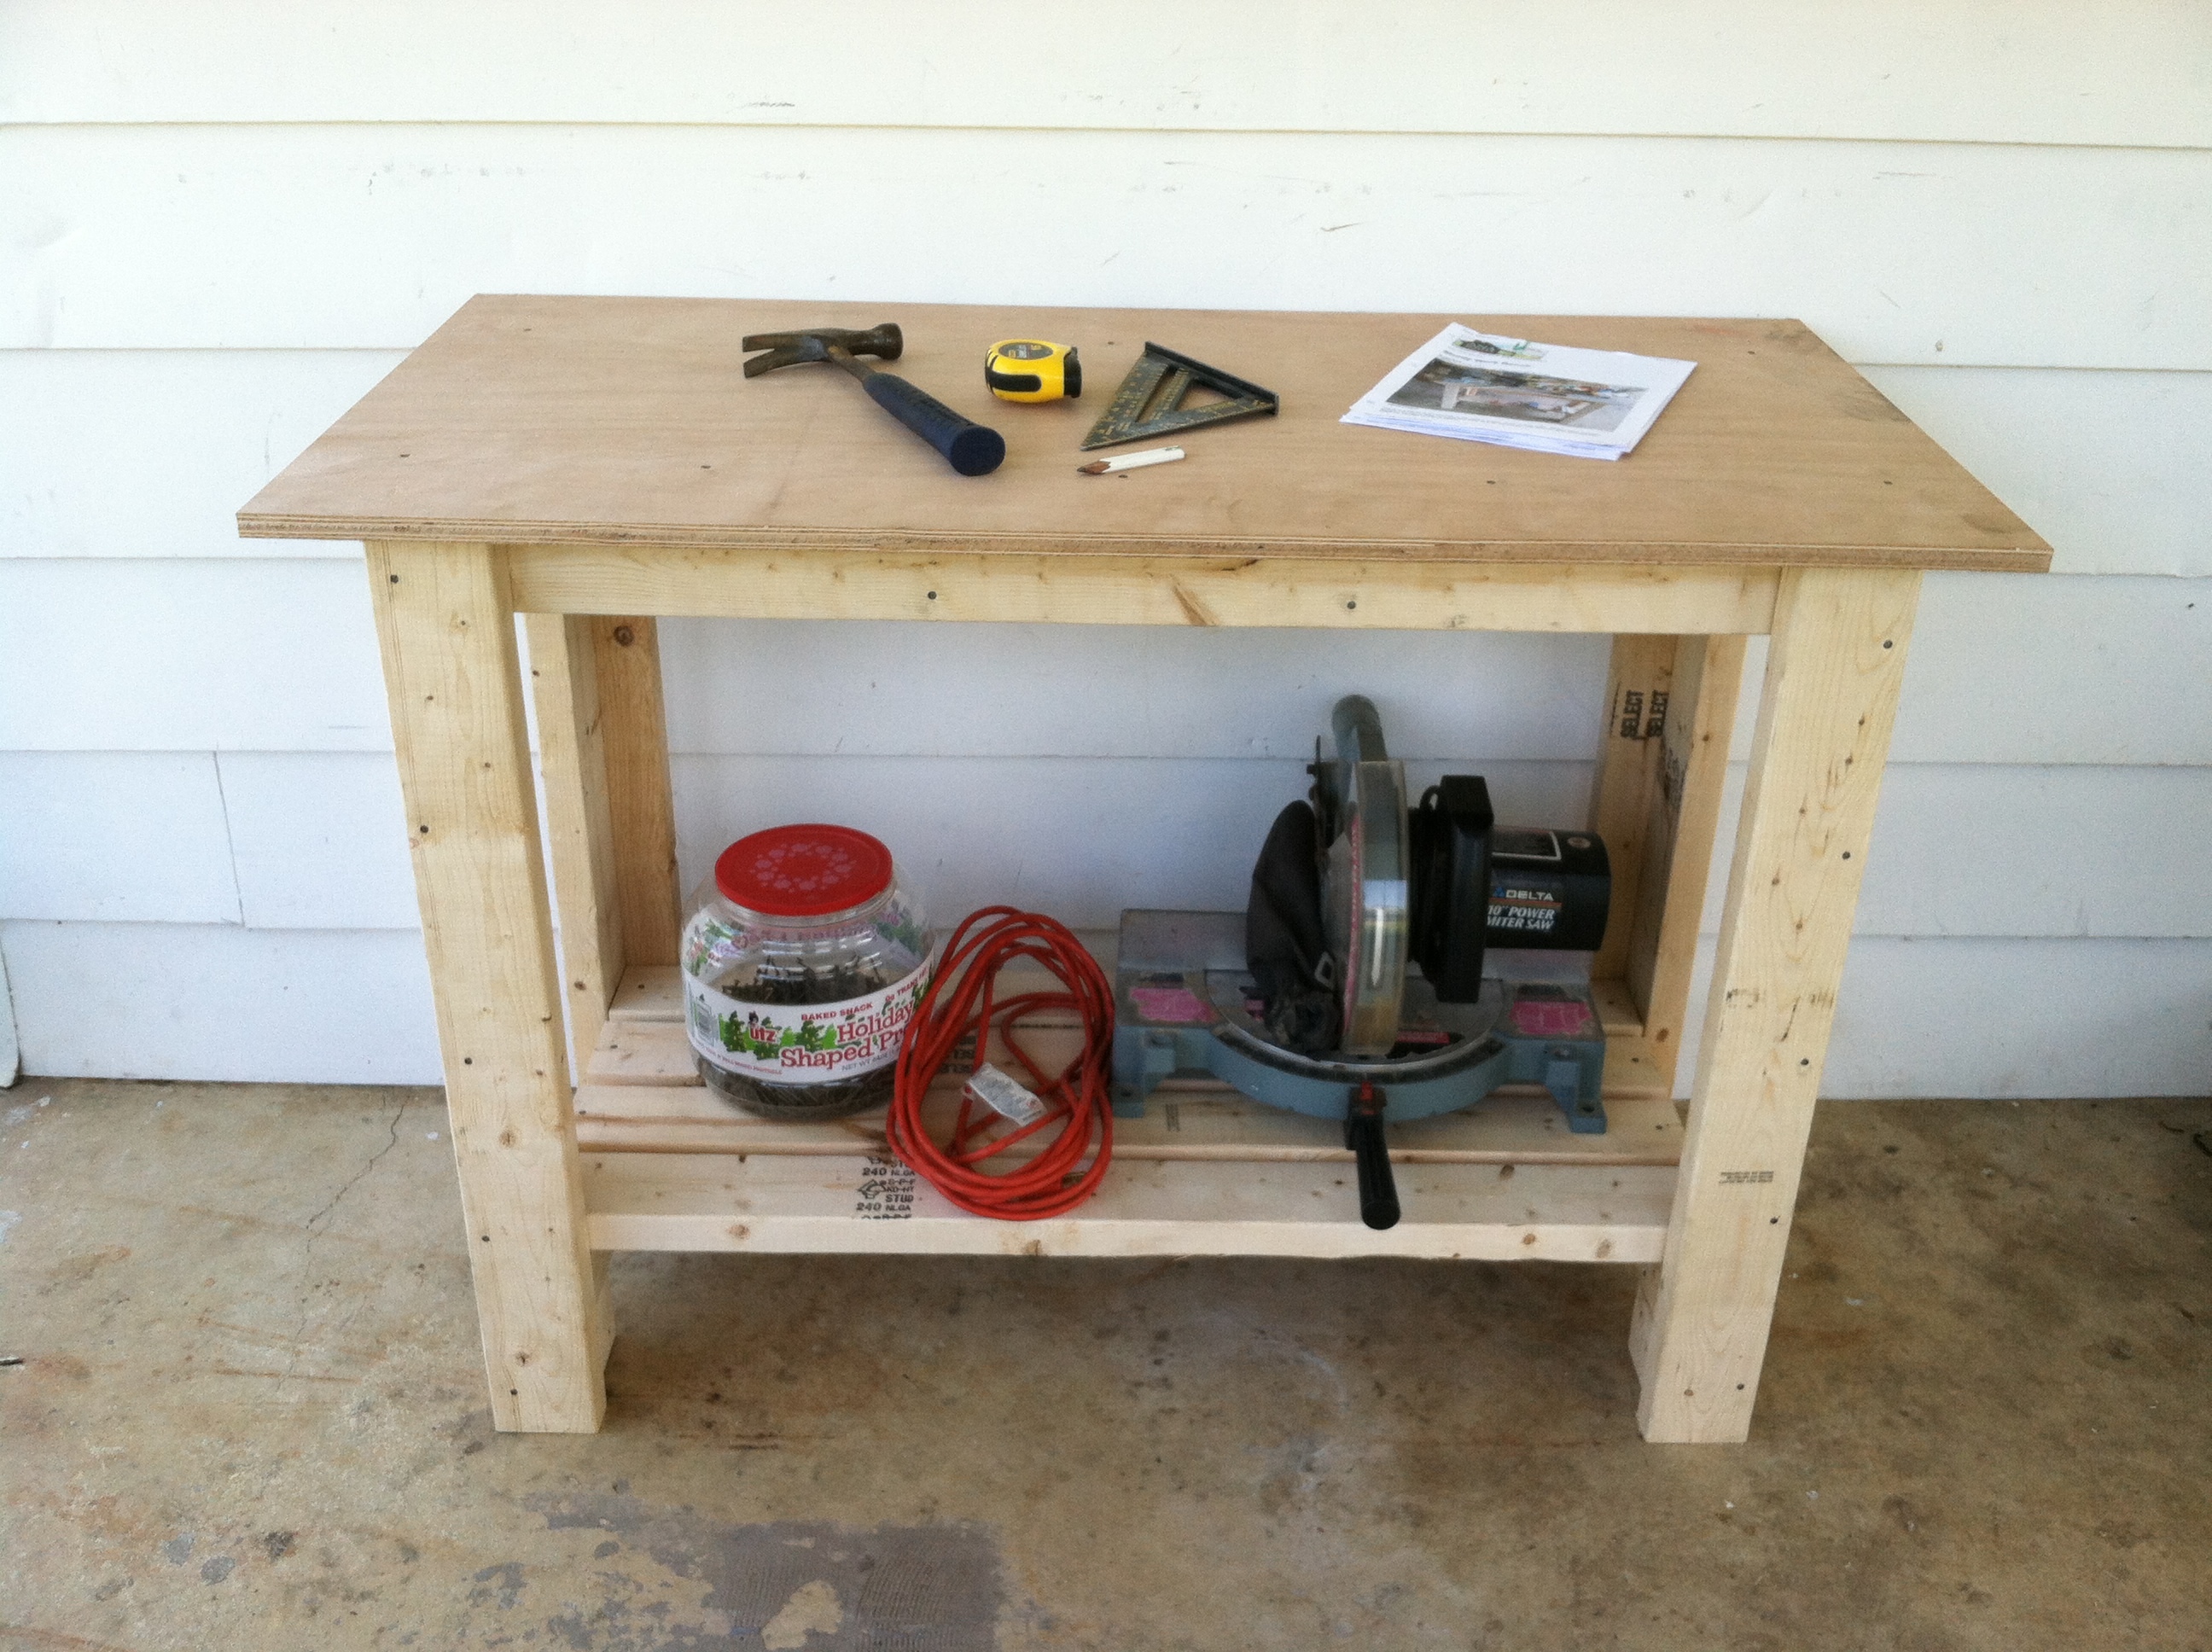
It seems like organization is always a work in progress especially in my one car garage shop. Honestly it took years to realize what I needed to customize my space in order to organize things. I've built bulky work benches out of 2x4s and plywood. I've rearranged the work space over and over again over the last few years and finally came up with my own system
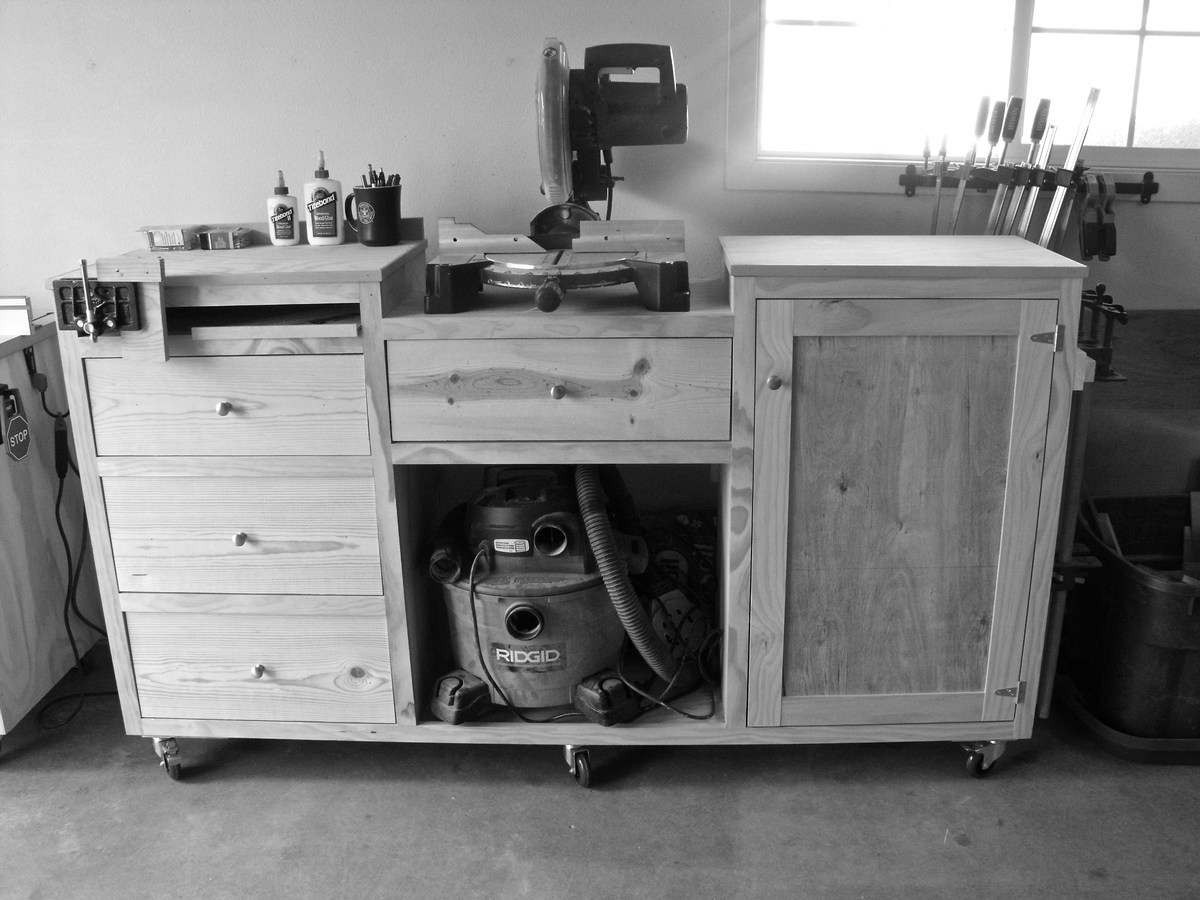
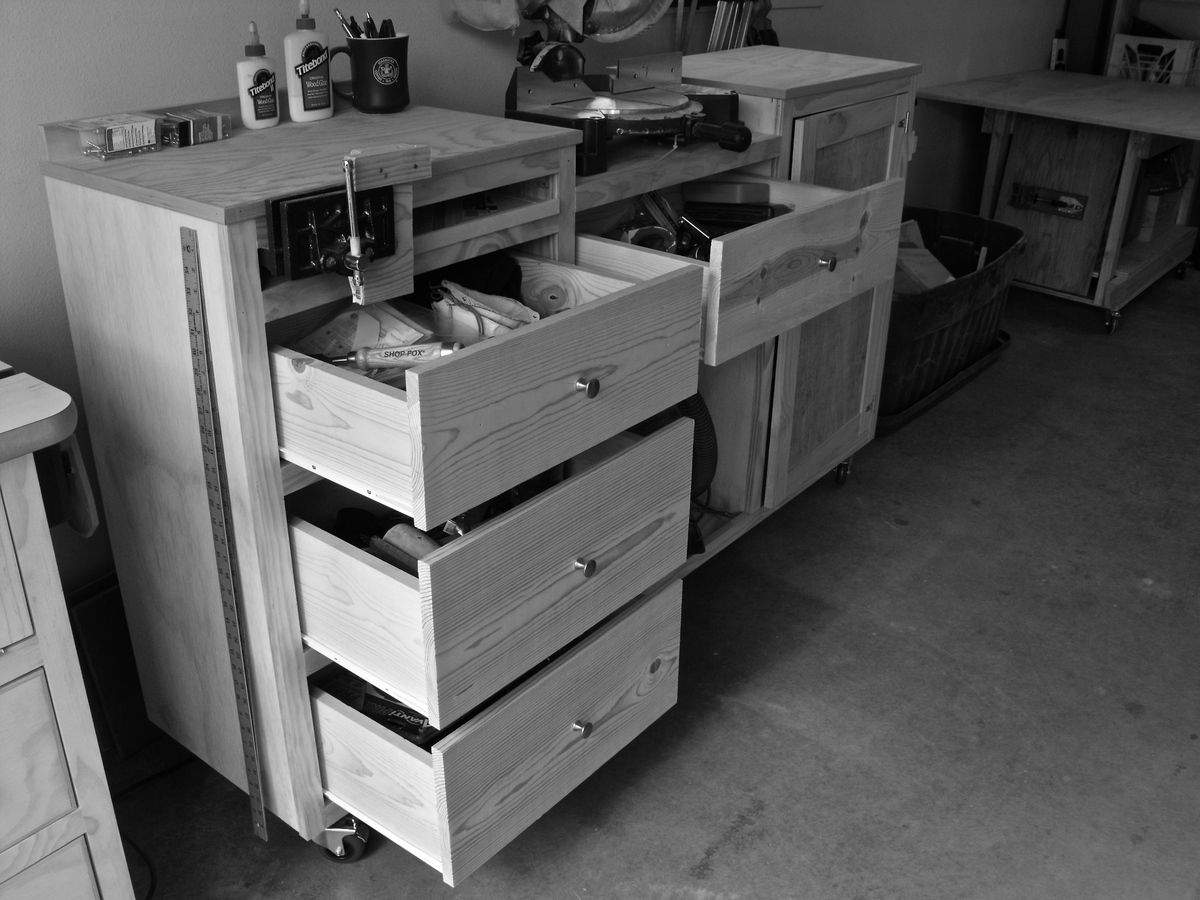
The miter station is a life saver. I had one of the fancy ones with the foldable wings but didn't like it. The object of it was to be able to fold the wings down for storage but I never did and it caused other space saving problems. Now I can easily store all of my small tools and woodworking knick knacks all in one spot. You can find plans for these if you google miter station, but take my advice and custom make one that fits all of your needs. There's a spot for my vice and speed square too. Things like that make it count.
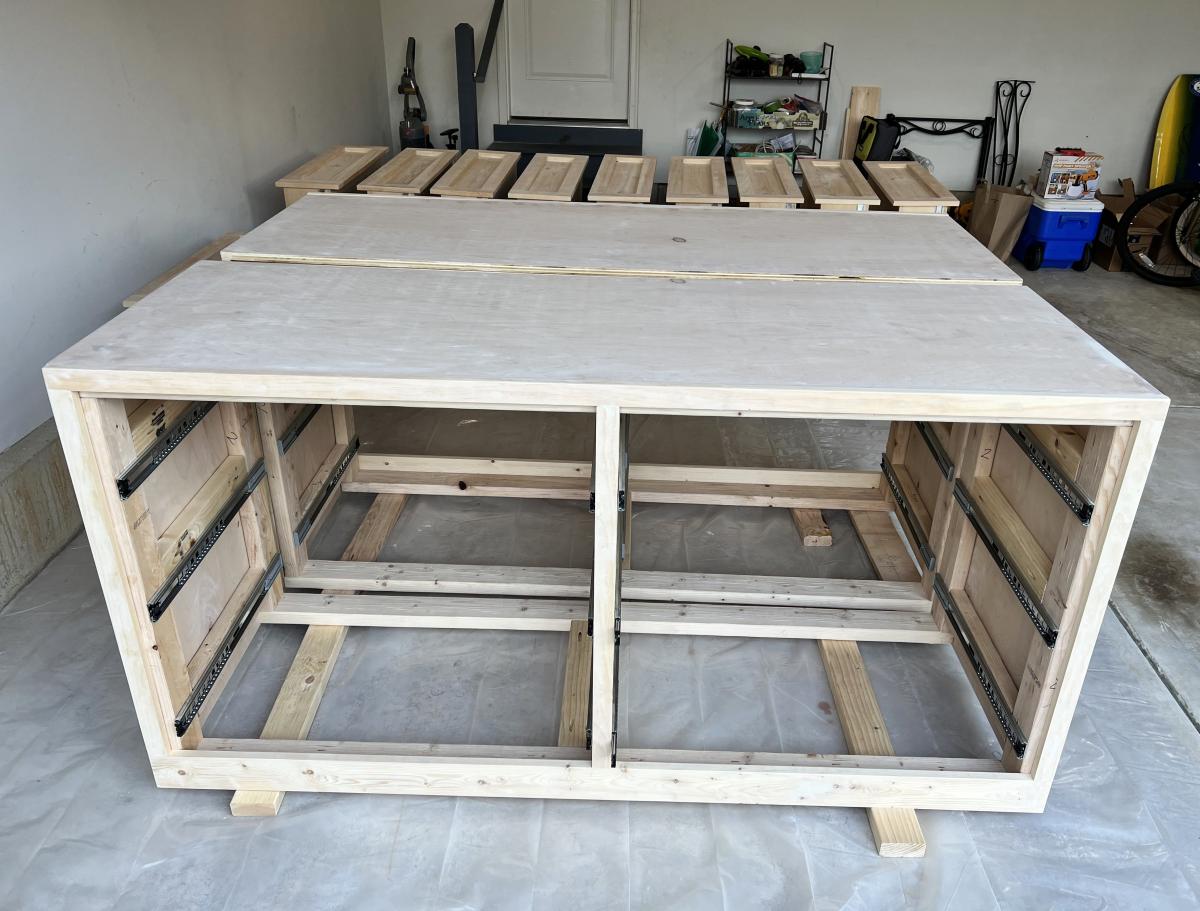
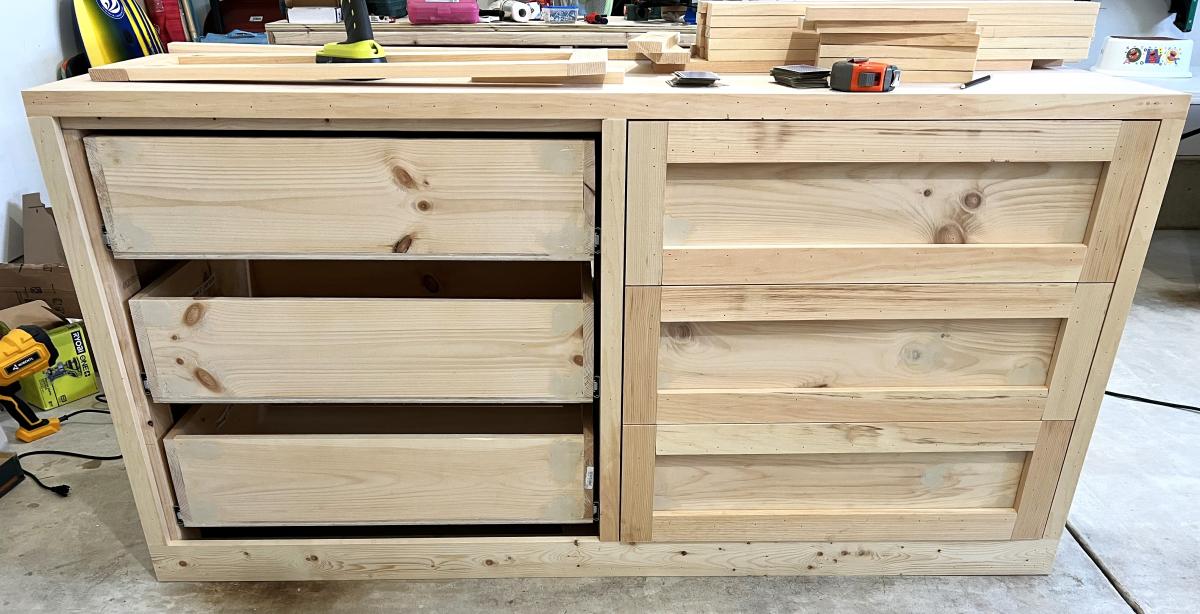
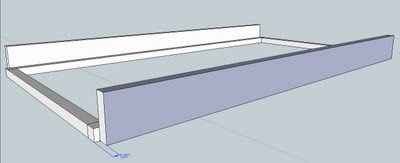
The router table is probably my favorite tool in the shop. You can do so many things with the router table. I started out with just a top and a base and worked from there. Now everything router is in the cabinet ready to go.
Everything is on wheels. Us military guys and gals have to move around a lot so we have to plan for that. Now everything can just roll up the ramp and in to the truck.
Take some time and think about the efficiency of your shop space. How does everything flow? Or do you even flow at all? I used to woodwork myself in to a bunch of brick walls and now I don't.
Thanks for checking it out
Patrick


Comments
birdsandsoap
Fri, 04/06/2012 - 22:05
wow. This is very impressive.
wow. This is very impressive. I love how tall the pieces are so you don't have to bend down, I'm always working with my tools on the ground and it is a pain.
I covet your router table.
And the miter station is awesome. I just may copy that! I love how it houses all of your other tools as well. OMG! It even holds your shop vac, and has a handy ledge for pipe clamps?! I would love a simple plan.
I'm really curious about your kreg jig setup on that work table too.... details please.
Well Done!
patrickhosey
Sat, 04/07/2012 - 09:20
Ahh The Ground
You've got to get up off the ground. I did that for a looooong time and my back suffered big time.
The kreg jig is mounted to a piece of plywood. Then I drilled 2 holes in the top corners and hung them on the side of the work table.
The miter station has to be custom made for your shop needs but planning it out is very important. I needed a spot for my vice and a quick spot for my speed square. So I calculated all the space needed for 3 drawers and then just added a few inches. Also measure how high your saw sits and recess your work surface exactly that amount.
Grizzly tools has a good deal on simple router table set ups right now. I'd check that out. Eventually the miter saw will be hooked up to the shop vac. I bought an outlet that automatically turns the vacuum on when I use the saw.
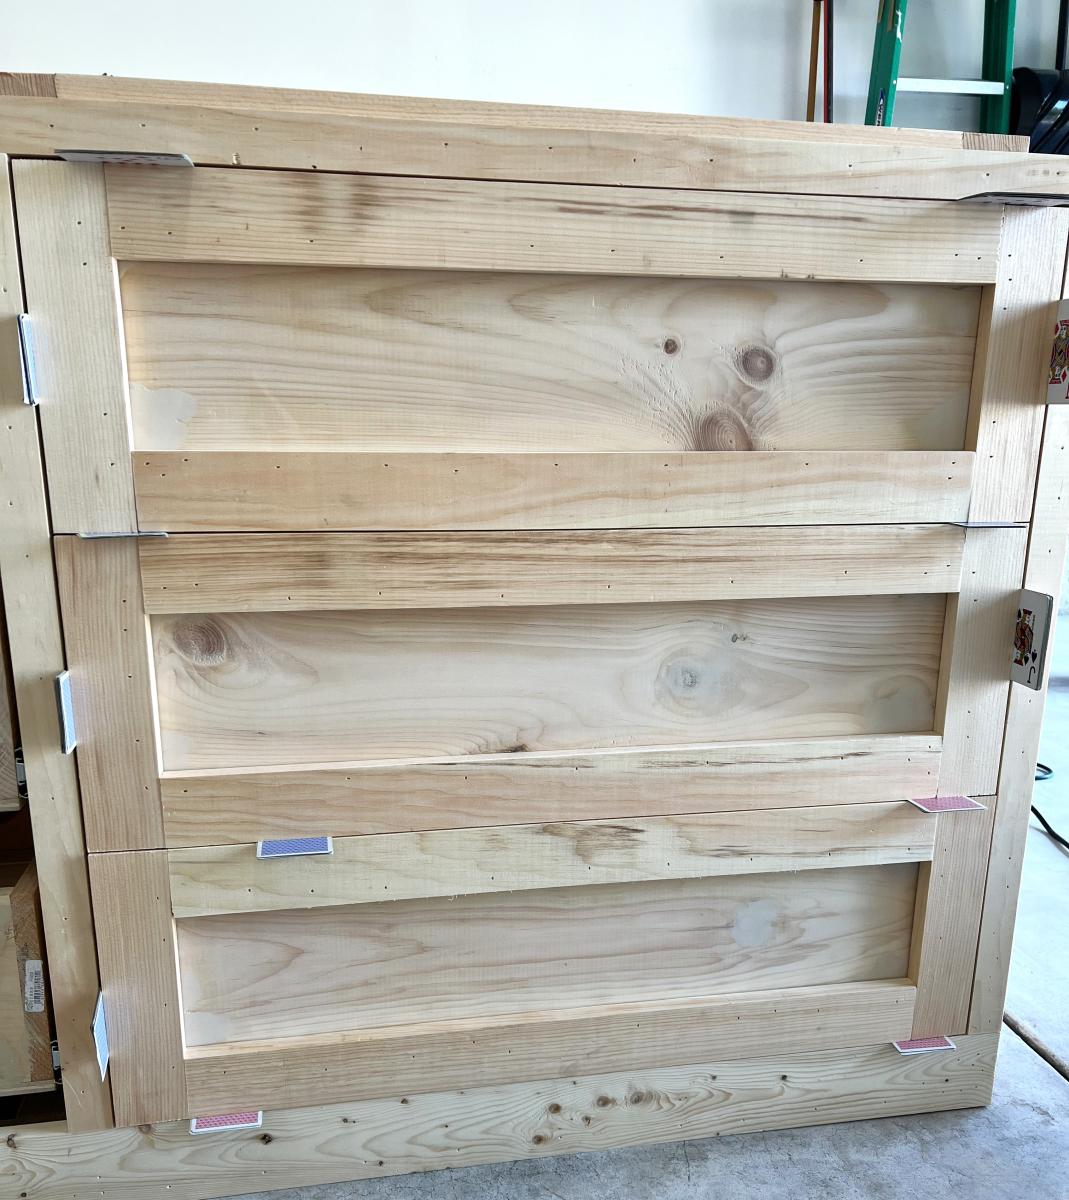
It's just like the other stuff. Start with the face frame and the rest will come to you.
Patrick
claydowling
Sat, 04/07/2012 - 11:49
Alternate plans
If working without plans makes you twitch, Startwoodworking.com, Fine Woodworking and Popular Woodworking usually all have plans for shop furniture like this. There are enough variations over the years that you can usually find the features you're looking for if you do some mixing and matching. I know there was a very nice router table plan last year.
For the record, I work more like Patrick unless what I'm building gets complex.
birdsandsoap
Sun, 04/08/2012 - 00:25
Me too! i always seem to get
Me too! i always seem to get inspired by a plan, and by the end of the project, it's totally different than the original because of all of the adjustments I make. I have never even considered building shop furniture before, these photos are inspiring!
Thanks Clay for the link, I will have to go burn some time on that site as well. Someday (when I don't have a leaky garage) I will have a shop worthy of such beautiful equipment.
Great Job again, Patrick!
spiceylg
Sun, 04/08/2012 - 04:06
Impressive
Really nice job on these and oh so practical! And Patrick, thanx for serving!
In reply to Impressive by spiceylg
patrickhosey
Sun, 04/08/2012 - 05:19
My pleasure!
My pleasure!
redhead_61
Sun, 04/15/2012 - 14:24
AMAZING
Uh, this is amazing. Good thing I can tell your shop vac and scraps bin have DUST on them, or I think you might be lying about this somewhere you actually work :) ! I just got around to finishing my work space table. I am planning on doing some major organizing before the heat of the summer hits, and then maybe a router table like this might make it to the top of my list.
Scott Kershaw (not verified)
Mon, 06/11/2012 - 19:56
Sheer inspiration!
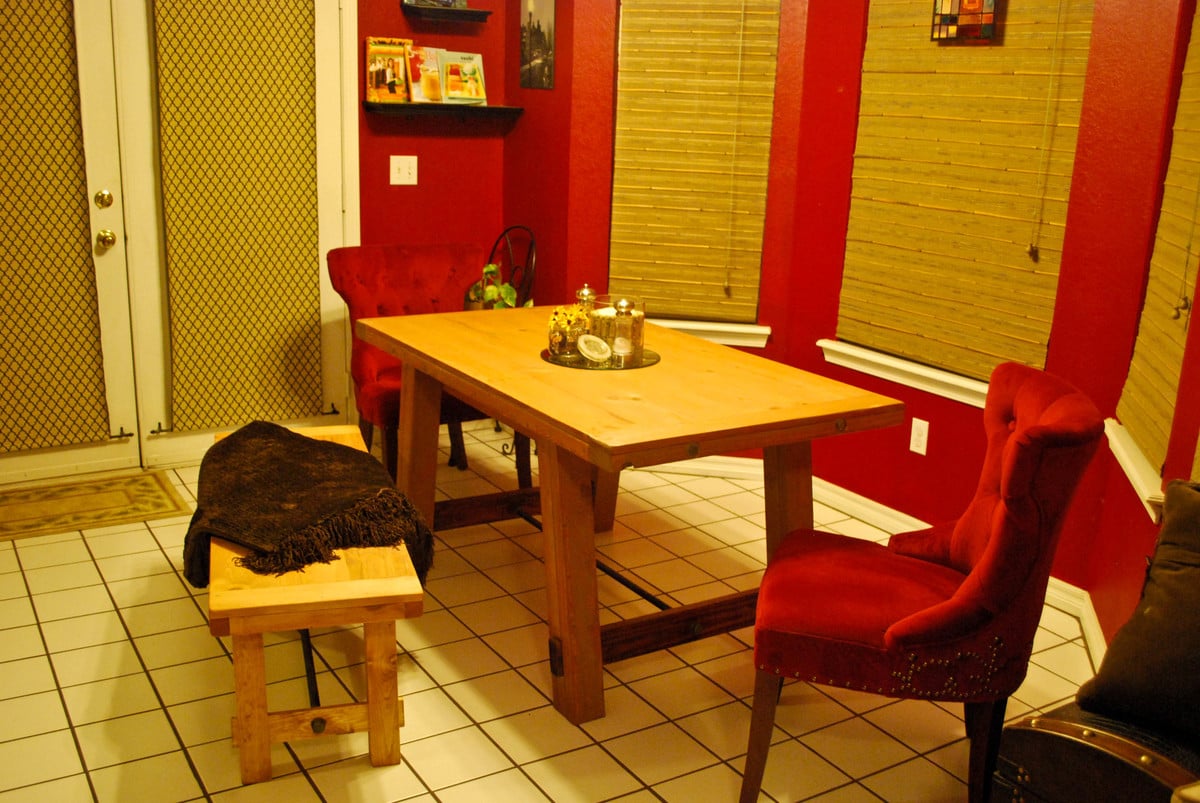
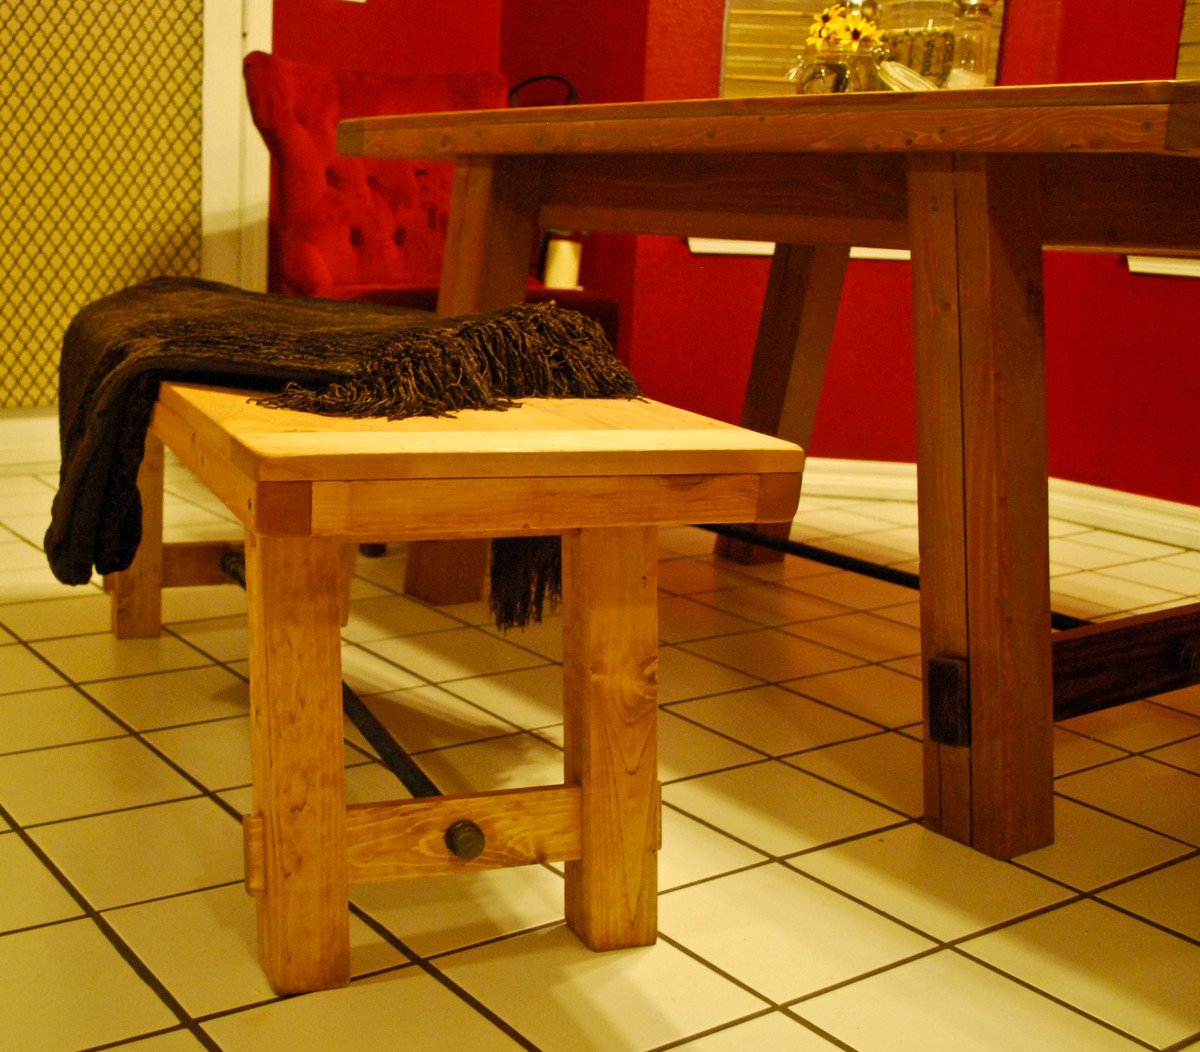
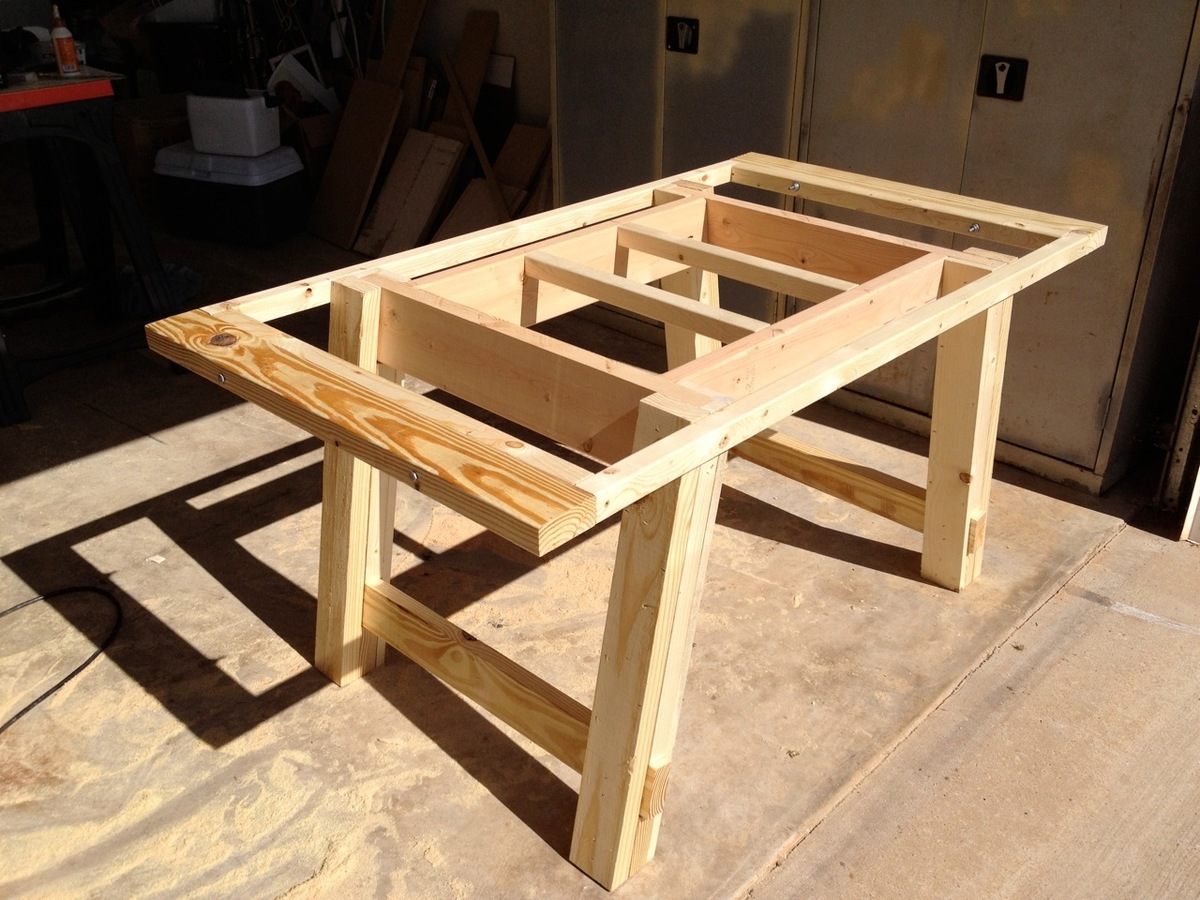
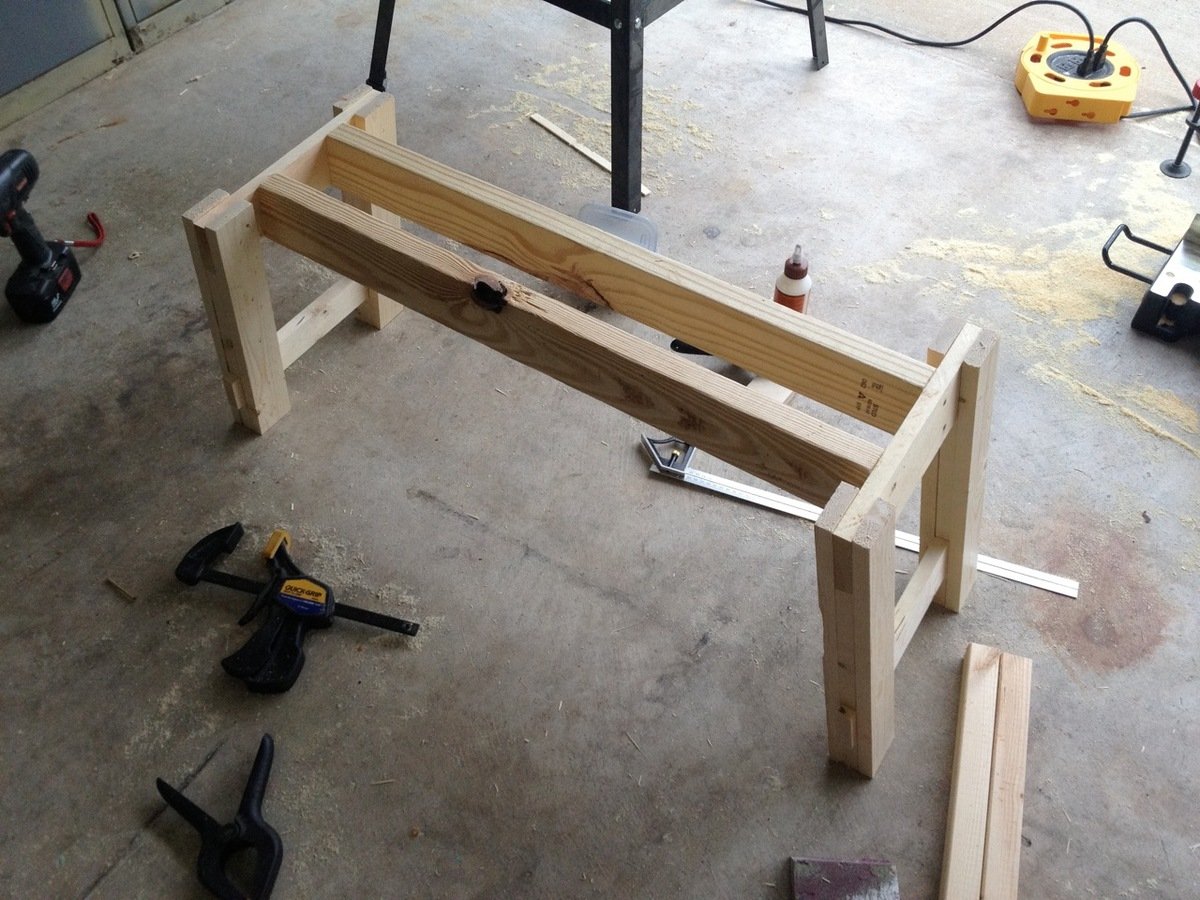
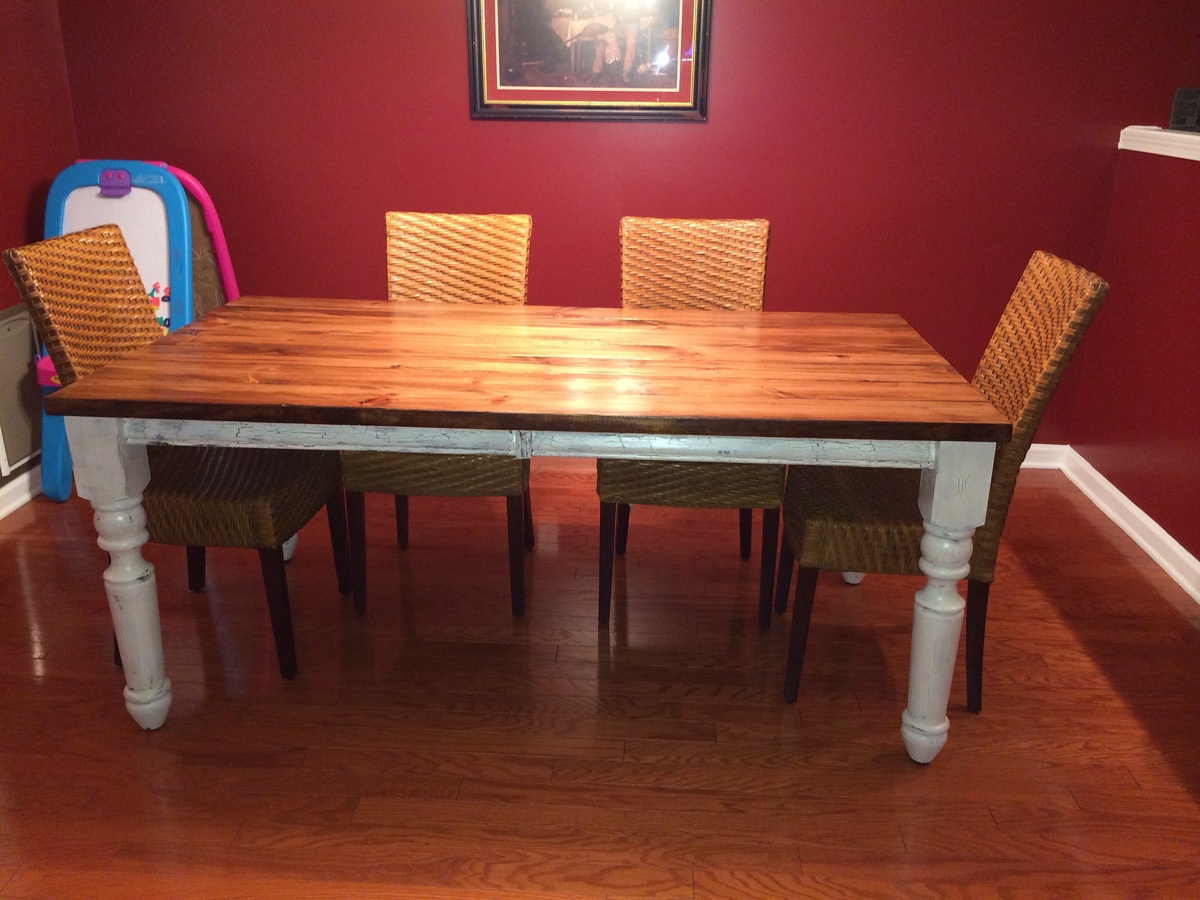
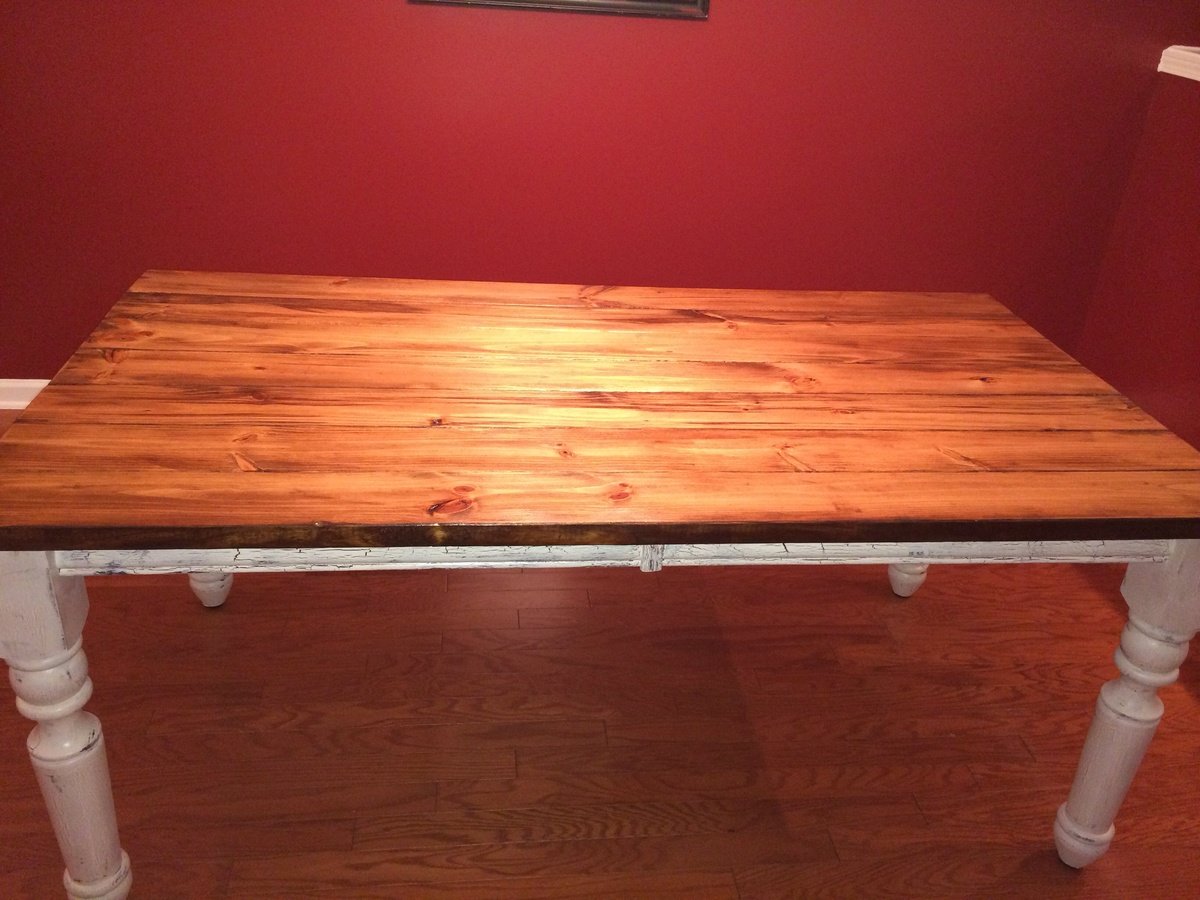
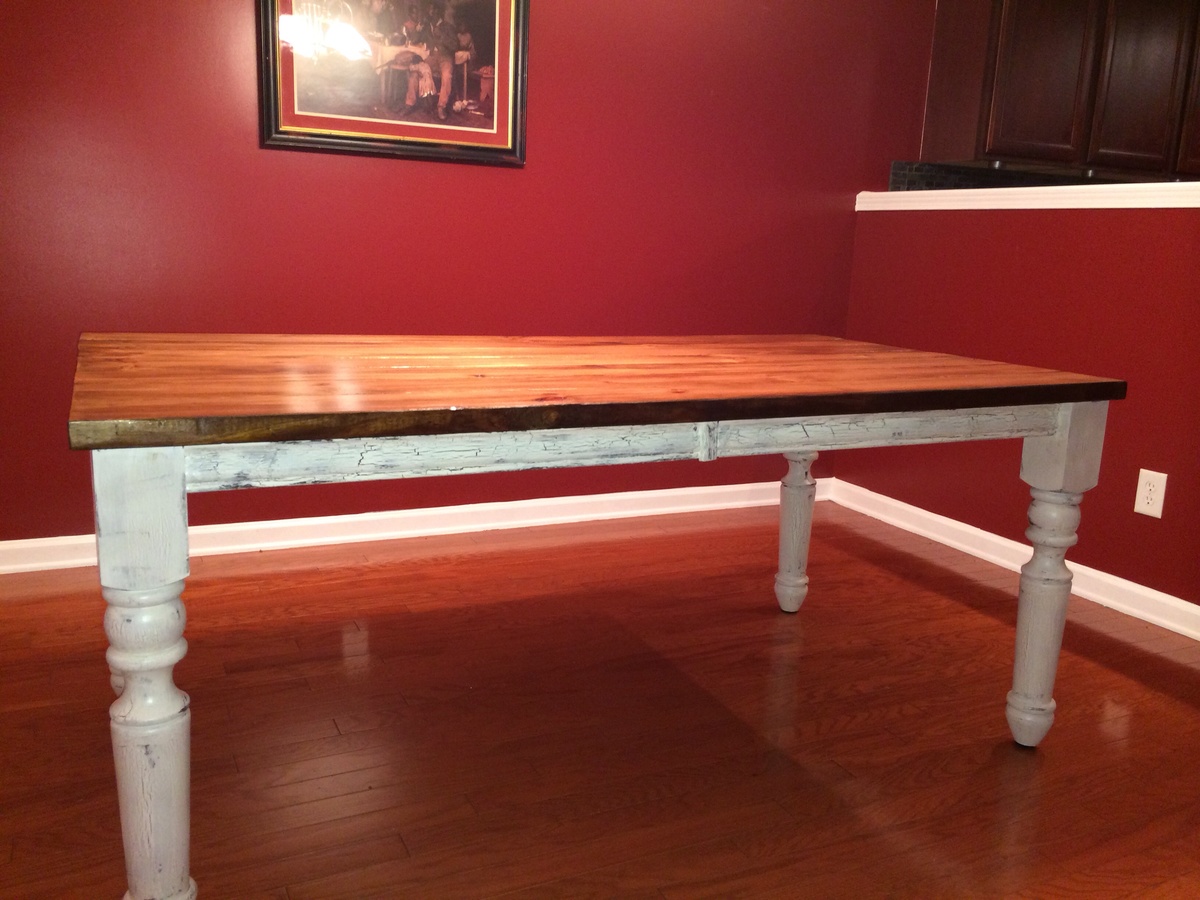
Patrick, with the recent release of your Farmhouse Table, I find myself watching it over and over and my jaw is always on the floor by the end. In a way, the flow and the craftsmanship is intoxicating. My family is in the process of moving to a new home and I am mostly looking forward to organizing the garage space. I need a man cave and it needs a miter saw station and a router table.
Did you construct it all with pocket holes? What material is the majority of the carcasses, face frames and drawer fronts?
Thanks for the excellent pictures and marvelous video!
Scott
In reply to Sheer inspiration! by Scott Kershaw (not verified)
patrickhosey
Mon, 06/11/2012 - 22:54
Thanks Scott
The materials are just standard pine boards from Home Depot. White pine for the face frames and drawers and 3/4 pine plywood for the cabinets. I'm glad you like the video and I really appreciate the nice words. We have some new stuff coming up, so be checking back for the router table plan.
Patrick
In reply to Thanks Scott by patrickhosey
birdsandsoap
Mon, 06/11/2012 - 23:13
Woot!
Woot!
Scott Kershaw
Tue, 06/12/2012 - 18:36
Thank you, Patrick!
Do you use a table saw for any of your projects? What would you estimate the cost of the miter saw station, alone, to be? For some odd reason, nice 3/4" birch plywood is the same cost as 3/4" pine/fir plywood here is Missoula, MT. An 8' x 4' sheet goes for ~$45. Is your switch for the vacuum the Rockler product like in this video: http://www.youtube.com/watch?v=7LmSVvOnxsI ? Sorry for all the questions. Your station is by far the closest to the what my mind has been imagining and what my garage could handle. Thanks!
In reply to Thank you, Patrick! by Scott Kershaw
patrickhosey
Tue, 06/12/2012 - 20:18
Scott
I just bought a used Grizzly table saw. It's pretty new to me so I'm all excited about learning on it. For the most part I used a circular saw with a straight edge. Now that I have a table saw, all that should go a lot faster. The switch is very similar to that one, but I bought it from sears a few years back. The miter station is hard to make plans for. Every miter saw is different so the platforms need to be different sizes to match whatever saw you're using. Then you have to keep in mind the size of your shop vac and design it around that as well.
claydowling
Wed, 06/13/2012 - 05:31
Used Table Saws
Table saws are something that can last fifty years or more without any trouble, so you can get them used pretty readily. You want to buy a good sturdy saw. Locally the used market is dominated by Craftsman/Sears saws. The saws made before 1962 were made by King-Seeley, a company local to me, and those are pretty good saws (I own one and really like it). The ones made after that were made by Emerson Electric, and the owners of those saws have not had such kind things to say about them.
jlouki01
Tue, 03/12/2013 - 11:48
Patrick what router table top
Patrick what router table top are you using?
In reply to Patrick what router table top by jlouki01
patrickhosey
Tue, 03/12/2013 - 12:47
router table top
I got that table top at Rockler. It's been great so far.
cmm314
Tue, 09/16/2014 - 06:30
Length of Miter Station?
Hi Patrick,
I am in the process of desinging a similar miter station, but am curious as to how long your's is? Some of the recommendations call for a full 8 ft long base, but not sure I have the space in my garage for something like that. What is the length of yours?
Thanks!
justinjester
Thu, 06/02/2016 - 13:55
Miter Station
Hey Patrick. Thank you for providing so many plans to such beautiful pieces. I am about to start working on the router station this weekend. I can't wait to get started. The reason for the message, could you possibly provide the plans for the miter station you created. I am a new woodworker and I need plans to be able to create some of these pieces. I would love to have a garage of similar pieces. Is that something you could provide? I would be happy to purchase it from you. Thank you again for your hard work. - Justin
ShellyFrey
Tue, 12/12/2017 - 10:25
Mitre saw table
I would also be very interested in the plans for your saw table.