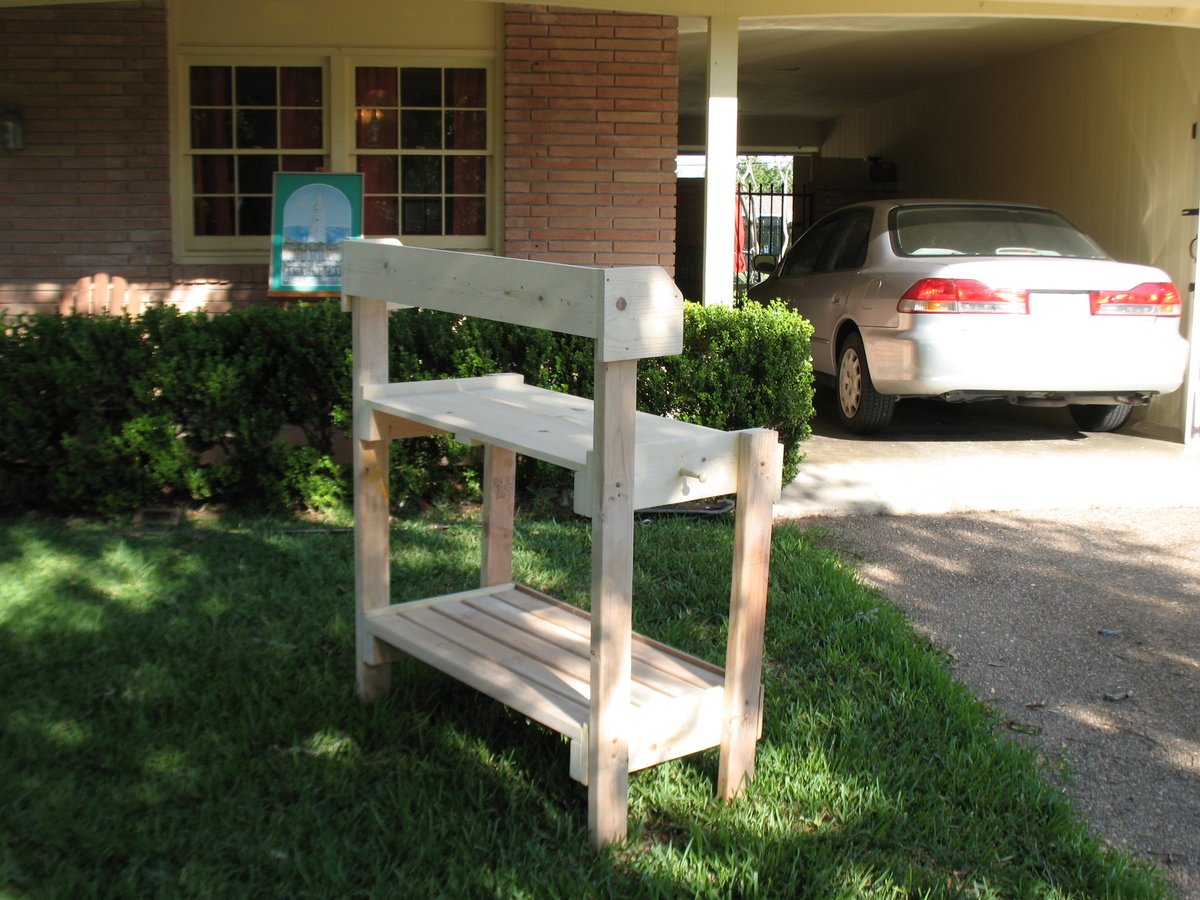
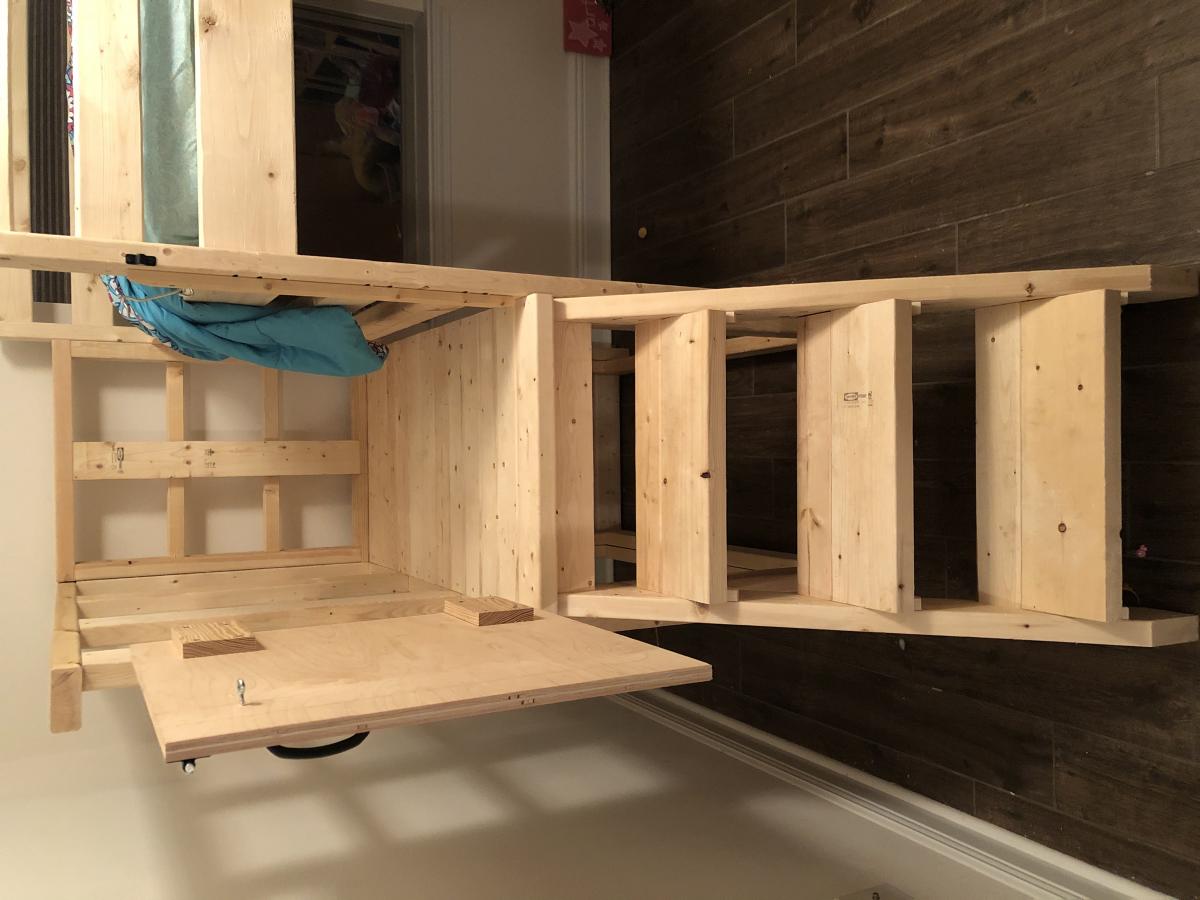
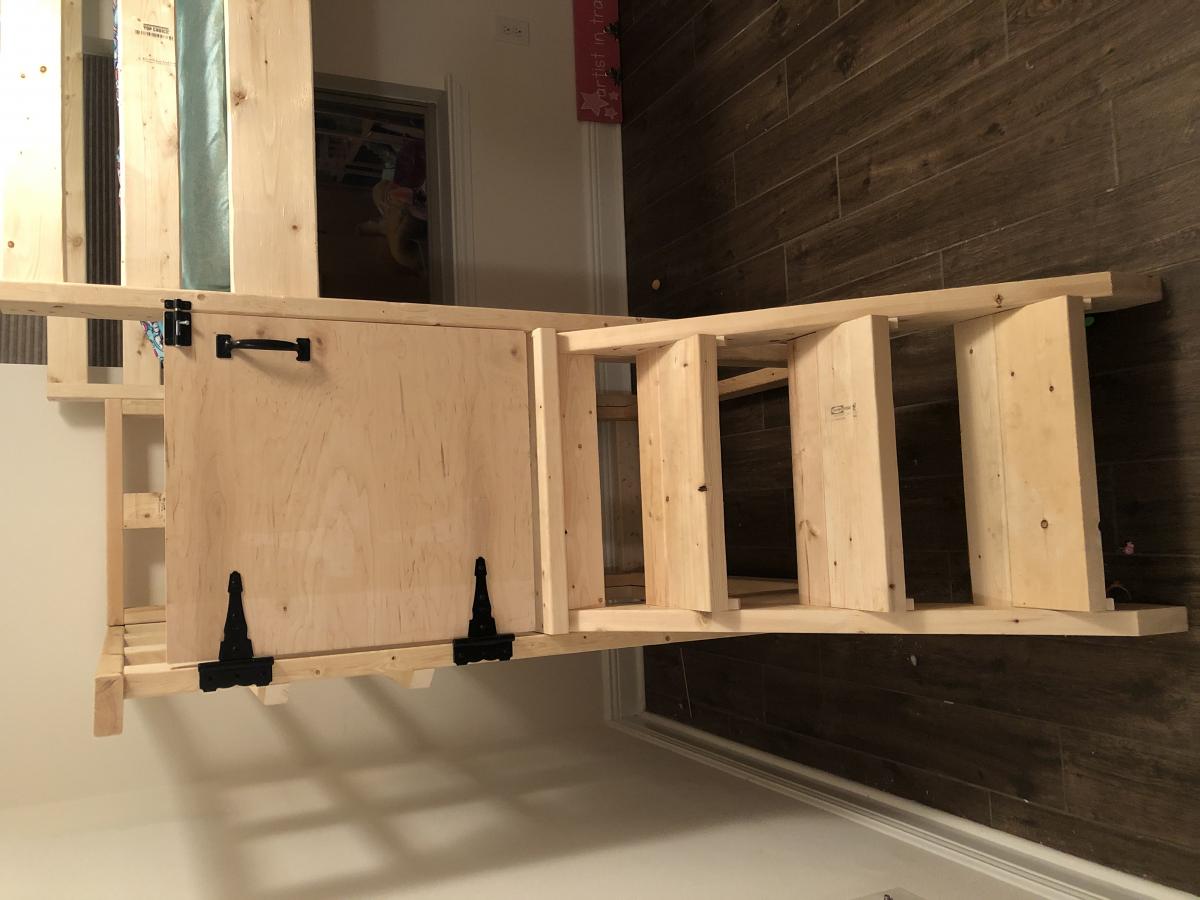
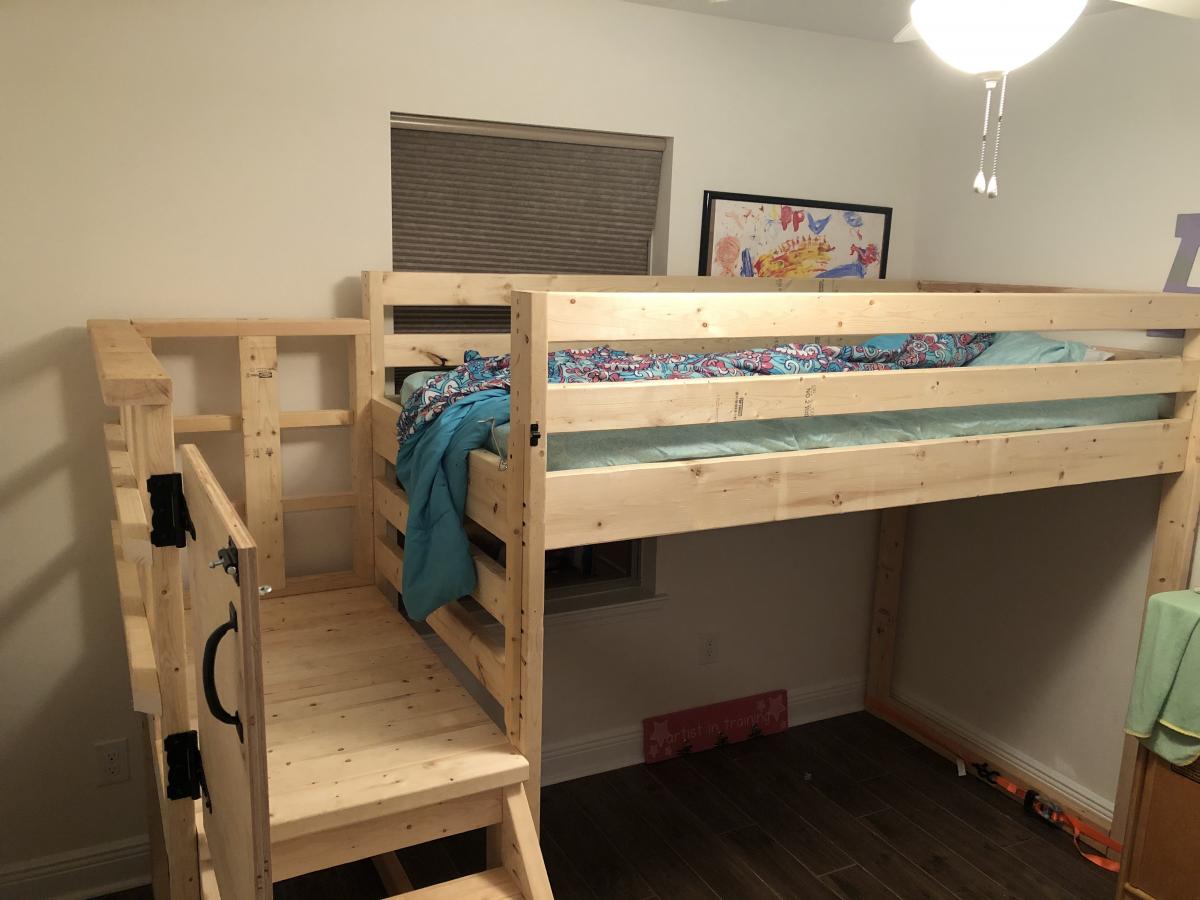
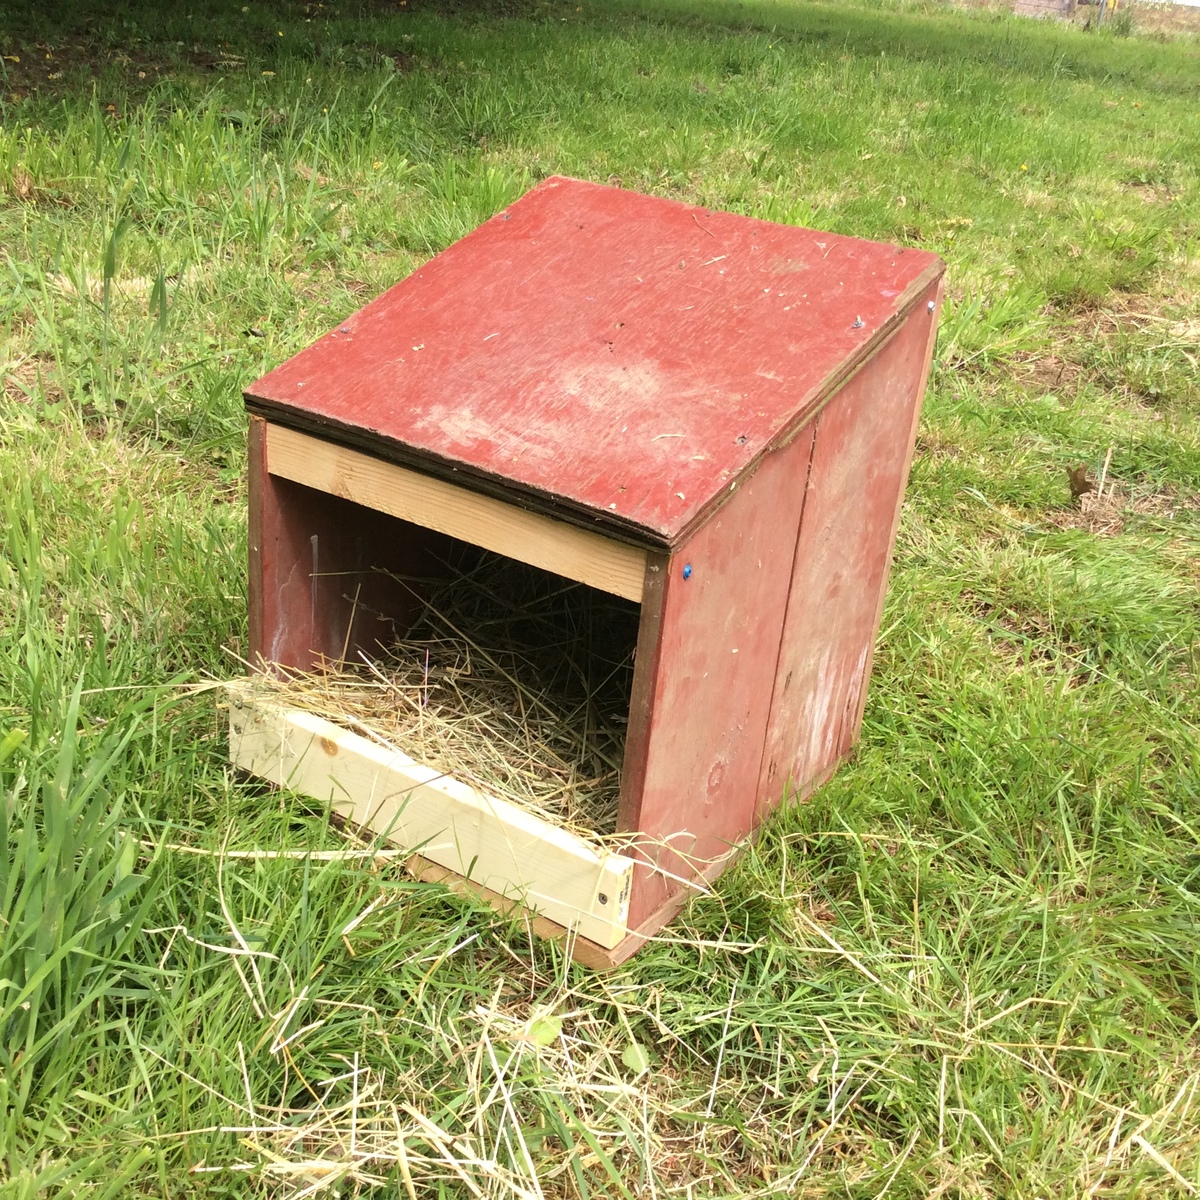
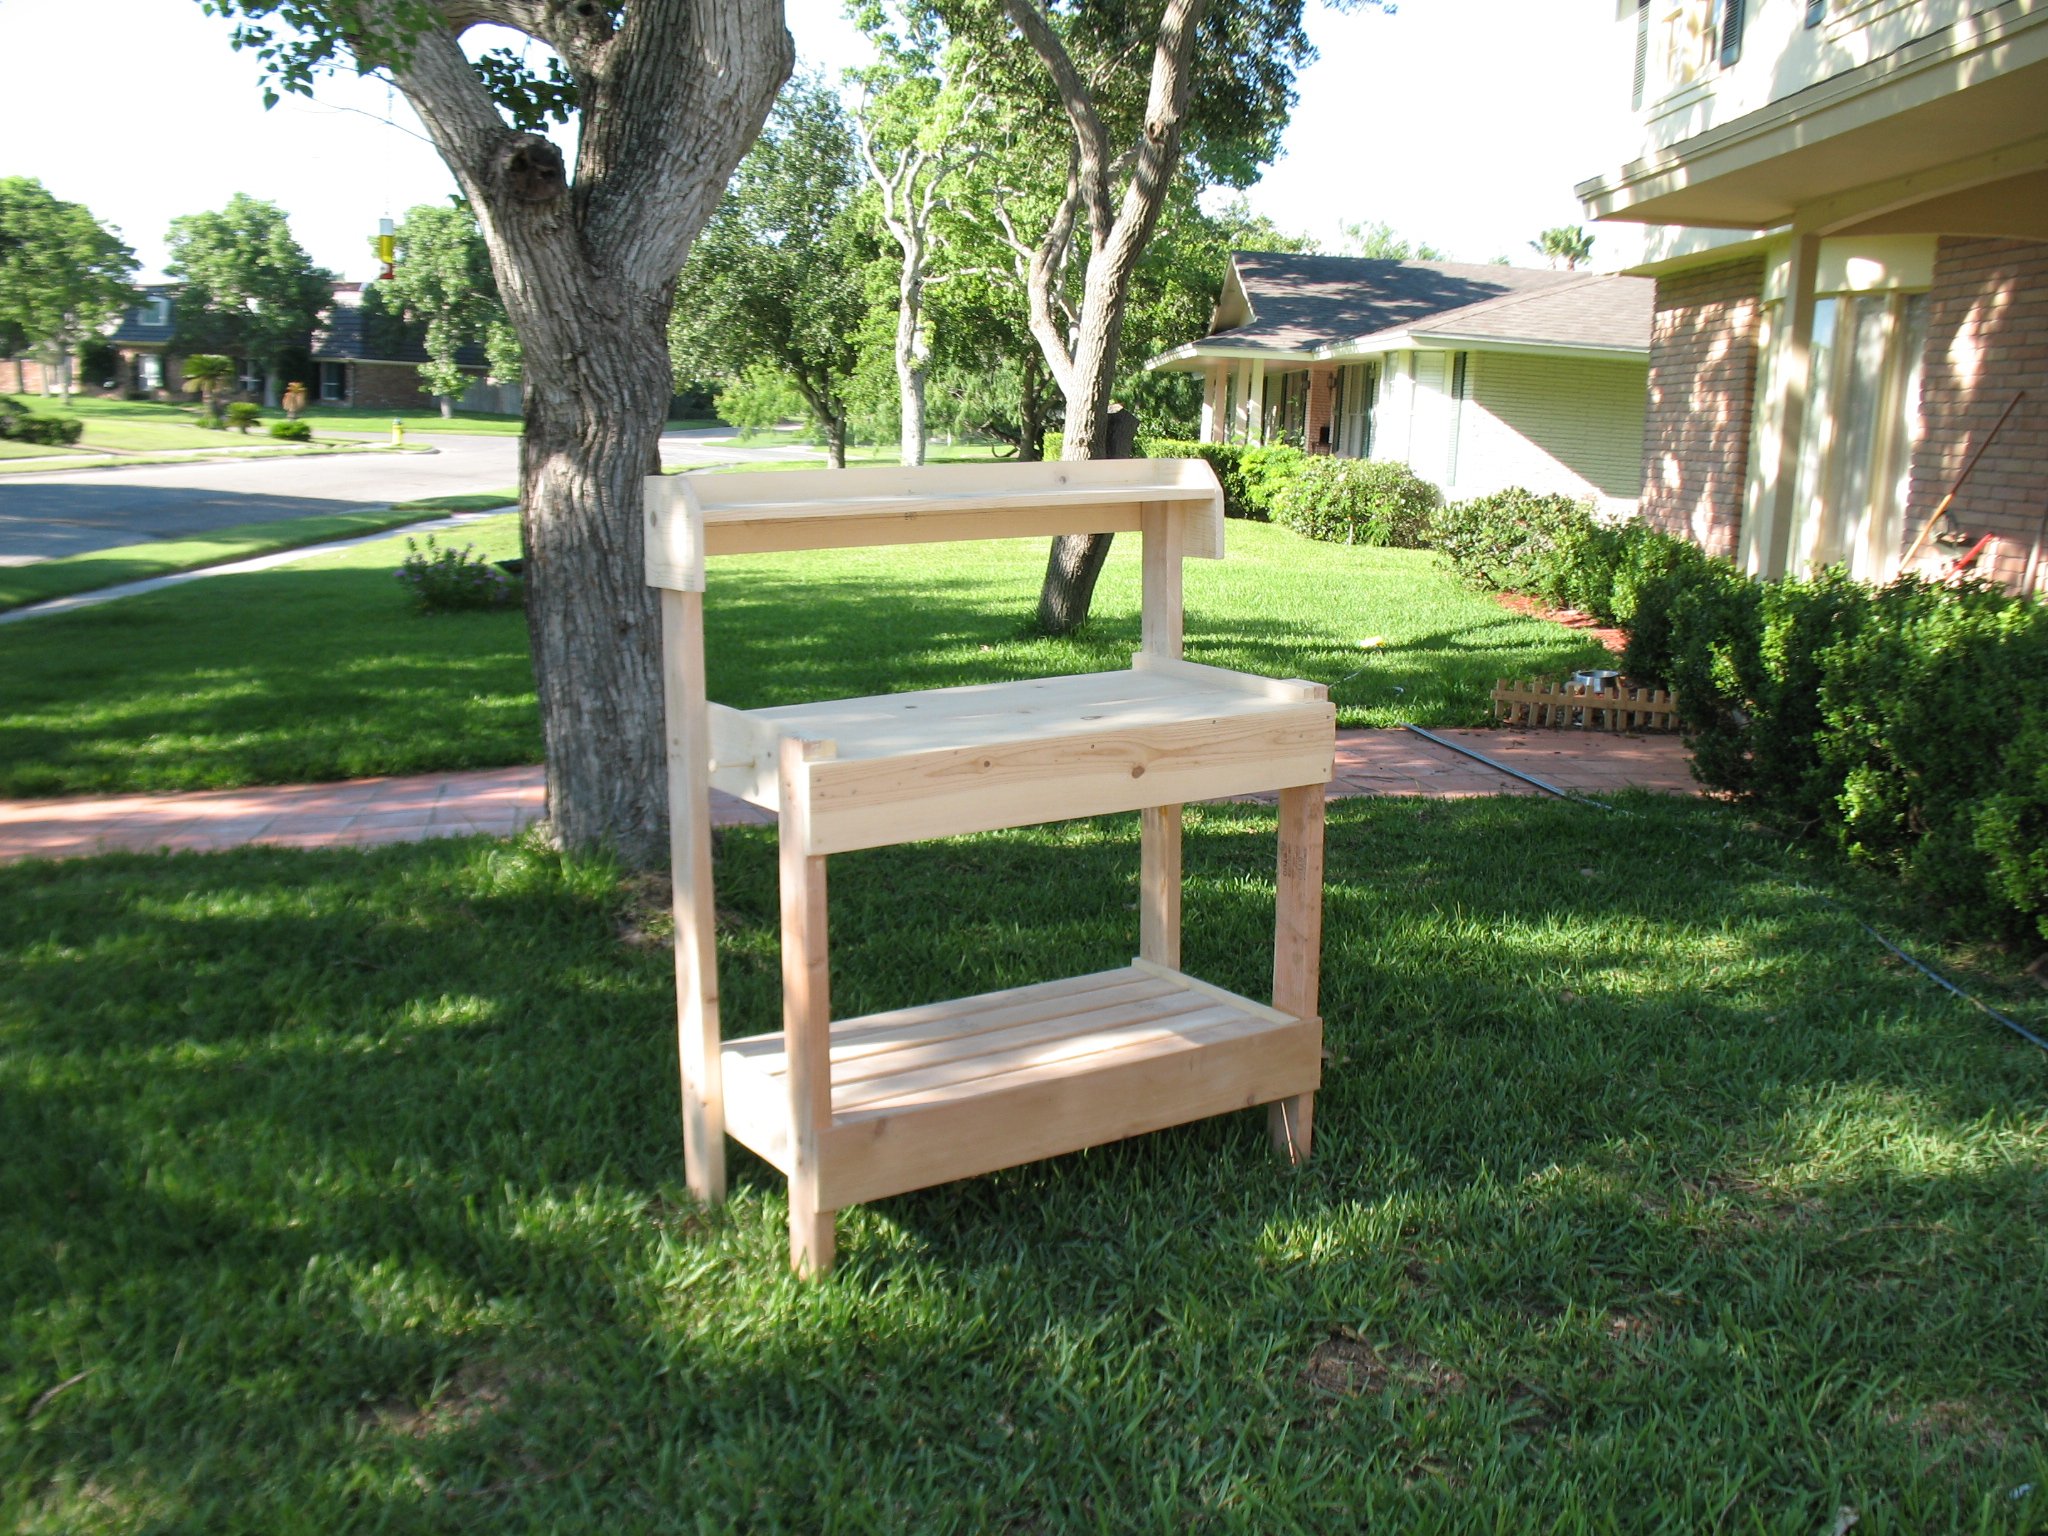
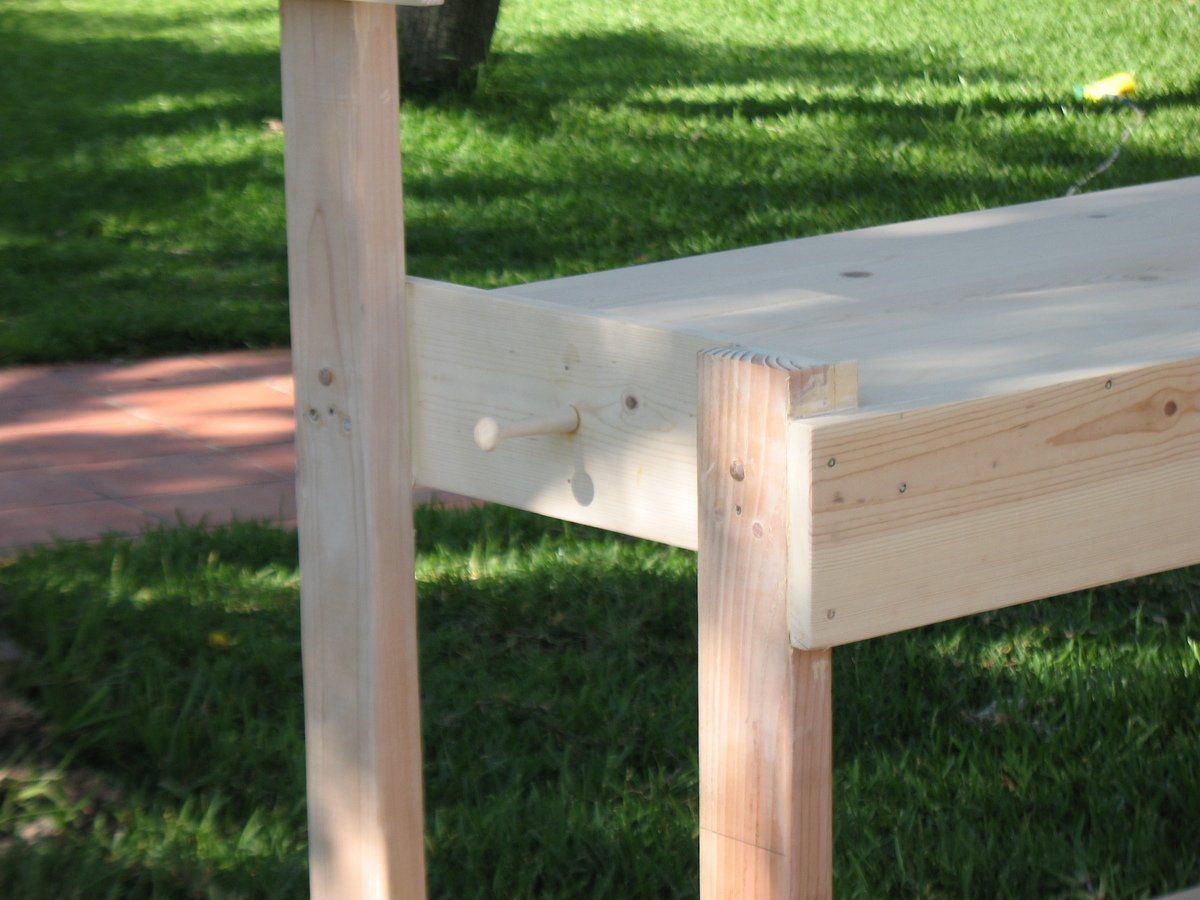
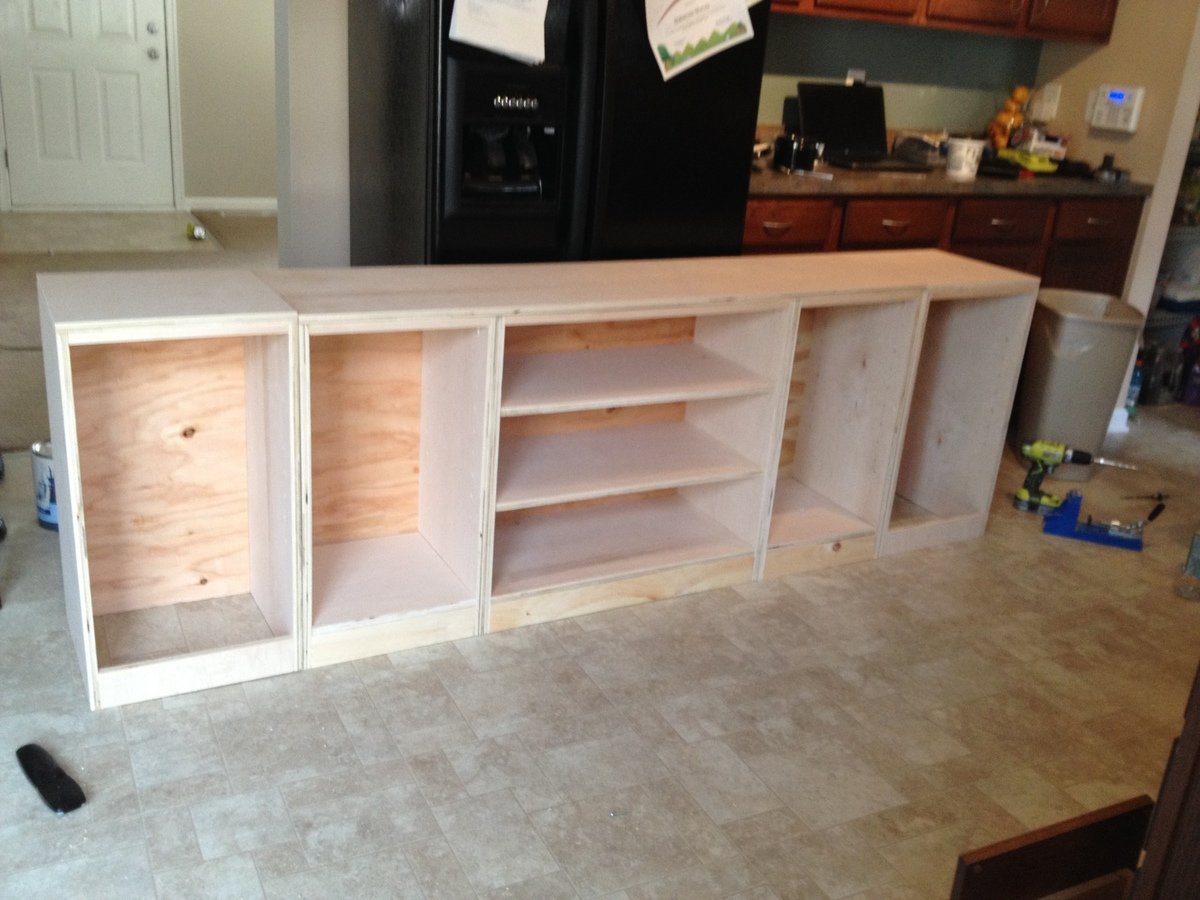
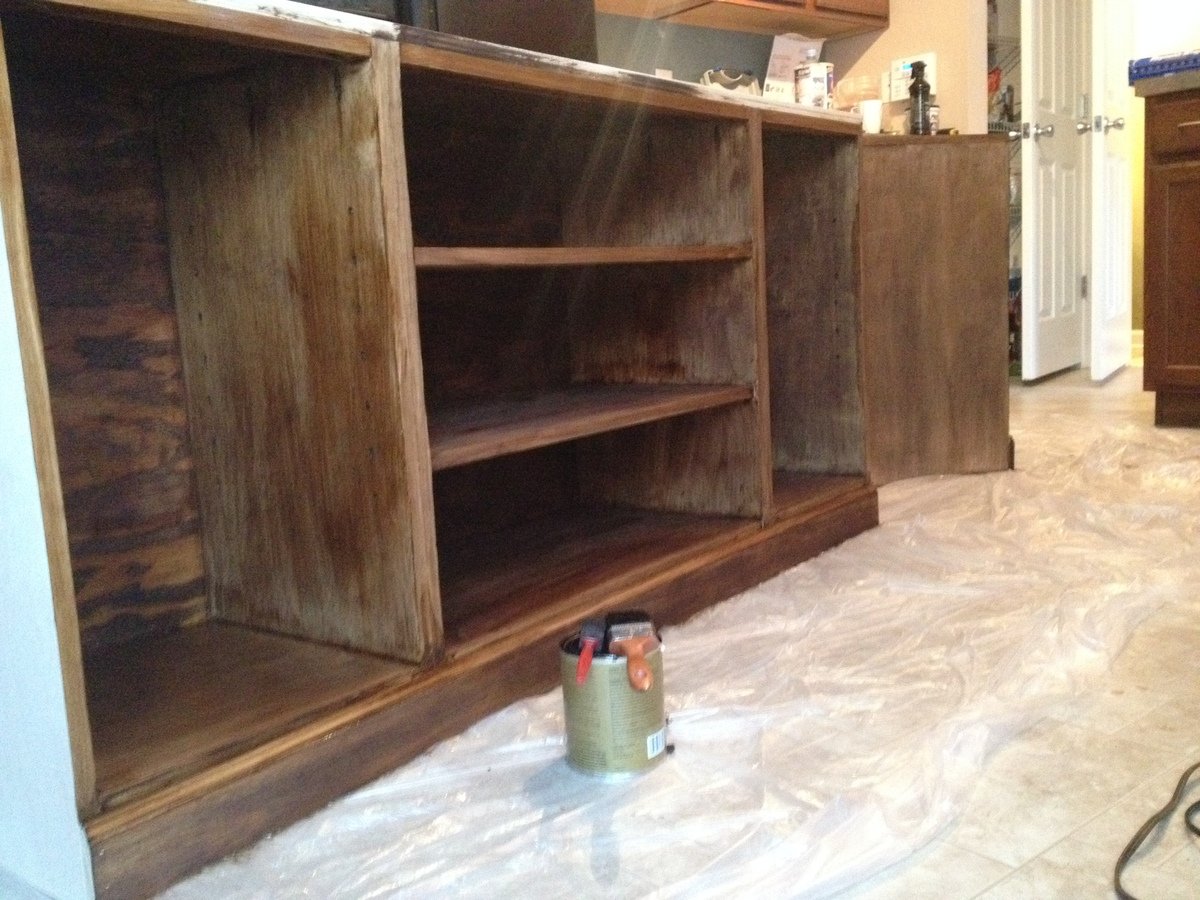
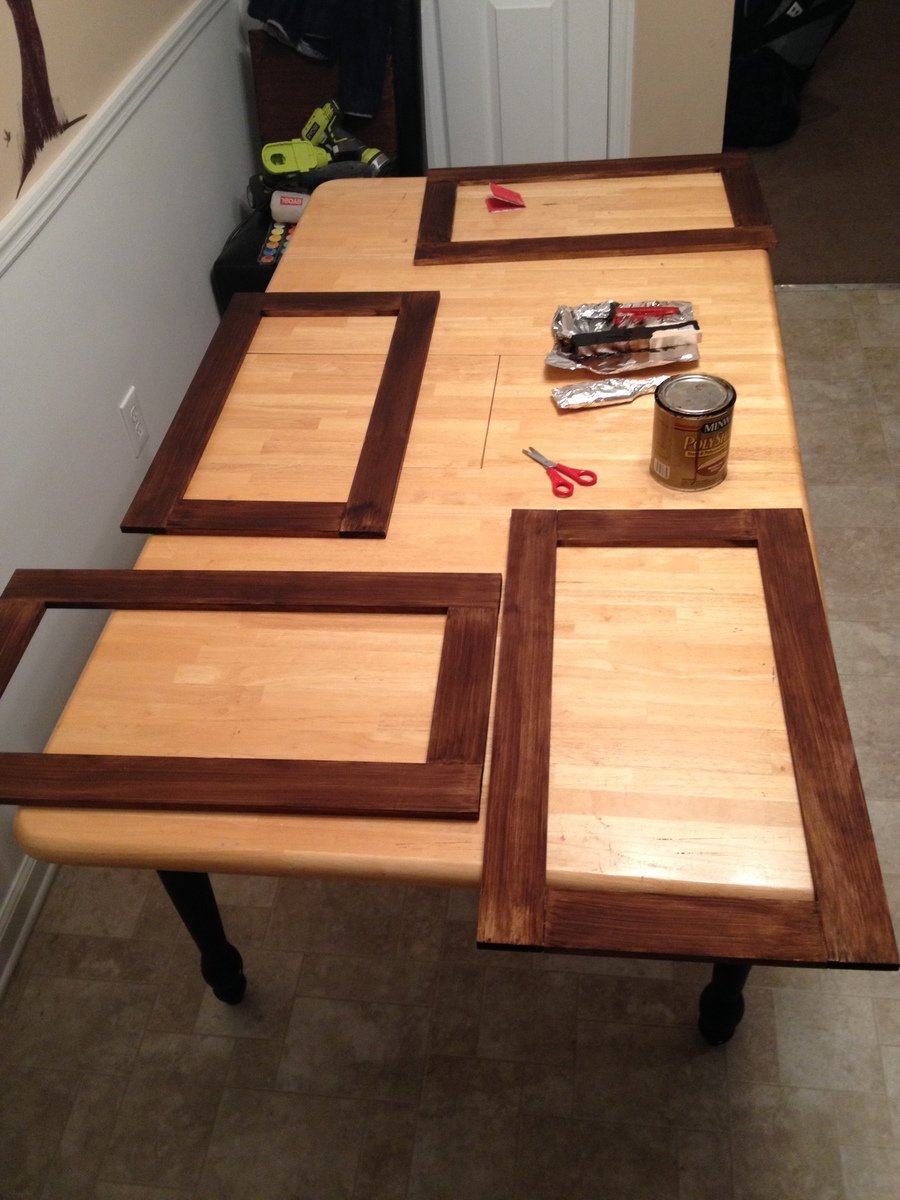
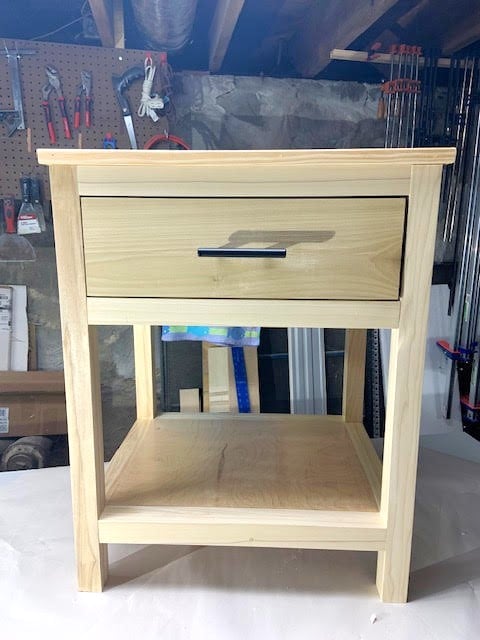
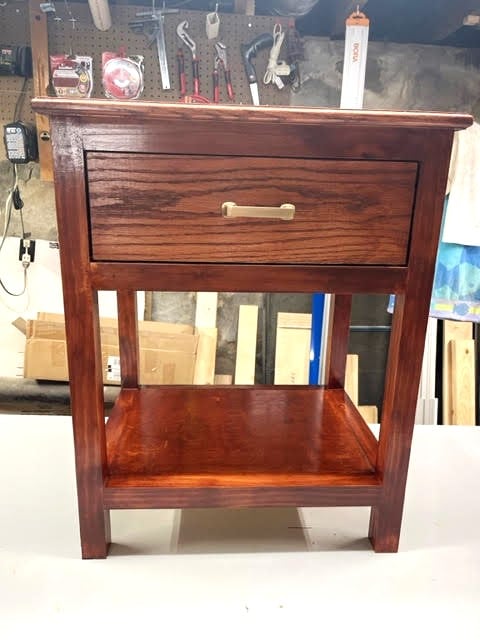
Community Brag Posts

Side Board based on your planked sideboard plan

Submitted by Ken Brown on Tue, 05/28/2019 - 06:52

I modified this sideboard from the Anna White plan that used 2x4s and 3/4 inch plywood, by substituting select pine 1x4s for the face frame and 1/2 inch maple veneer plywood for the vertical partitions and shelves. Vertical partitions were inserted into dadoes in pine 2x4 cross pieces joining the two base 2x4s. The end pieces and doors were made with tongue and groove joints using 1/4 plywood and 1x4 or 1x2 frames. Next was addition of the face frame(1x2s)and base. The 1x4 base covered up the 2x4s, and was mitered at each corner. I used ball bearing slides to attach the drawers, made of 1/2 inch plywood. I painted the carcass with a latex paint and purchased 13/16 inch Cherry boards to join together to make the top. The drawer fronts where made from 1/2 inch plywood, with rabbitted pine edging added to match the doors. The Figure shows the finished side board with hardware installed.

Built from Plan(s)
Estimated Cost
$400 for materials
Estimated Time Investment
Week Long Project (20 Hours or More)
Finish Used
Latex paint on carcass, cherry stain and polyurethane on shelves and polyurethane only on top.
Recommended Skill Level
Intermediate

Barn Wood Frame Birthday Gift

We loved the barn wood frame plan, and we just happen to have a barn that is coming down soon, so this project was a no-brainer. The picture is actually a metal sign purchased half off at Hobby Lobby, and was the only expense associated with the project. All he did to the wood finish was plane and clear coat.

Estimated Time Investment
An Hour or Two (0-2 Hours)
Finish Used
None, just a clear coat.
Recommended Skill Level
Beginner

Fillman toddler headboard

Submitted by brogers67 on Sat, 11/02/2013 - 15:02

Loved this design as was sinple and elegant and easy to execute !! Constructed out of salvaged timber so only real cost involved the screws and paint .

Built from Plan(s)
Estimated Cost
$5.00
Estimated Time Investment
Weekend Project (10-20 Hours)
Finish Used
White Gloss
Recommended Skill Level
Starter Project

Comments

JoanneS

Sat, 11/02/2013 - 18:15

What a great bed, this is super cute! Love the decorations for the headboard. Looks better than the PB Kids bed!

Rustic x table

Submitted by Anonymous (not verified) on Mon, 01/18/2016 - 16:20

Fun project. 

Built from Plan(s)
Estimated Cost
20
Estimated Time Investment
Day Project (6-9 Hours)
Finish Used
Minwax poly coats stain and polyurethane in one classic oak

Rust oleum paint/primer spray paint /satin lagoon
Recommended Skill Level
Beginner

Modern Outdoor Chair and Sofa

We built the chairs first using the Modern Outdoor Chair Plans found here on Ana White. We then modified the plans to make a 75" couch that fits 3-25" cushions. Both were super easy to build. We are very happy with them. We built the couch on the porch because it is very heavy when finished. Everyone loves them!

Estimated Cost
Wood and screws for chair around $30 each. Wood and screws for sofa around $60. We already had the paint and cushions.
Estimated Time Investment
Afternoon Project (3-6 Hours)
Finish Used
Satin Exterior Paint
Recommended Skill Level
Beginner

TV Stand

Submitted by Anonymous (not verified) on Fri, 03/24/2023 - 17:18

My daughter wanted a TV stand with a space for her sound bar, along with storage for toys and blankets. Hardware for barn doors were used from a video you had posted

Built from Plan(s)

Comments

Kitchen Island

Submitted by lbrown on Sun, 12/11/2011 - 19:52

I made this kitchen island for my mom last year by repurposing two cabinets and building a bookcase for the back.

For details: http://www.homeandawaywithlisa.com/blog/2011/11/28/kitchen-island-for-m…

Estimated Cost
$200
Estimated Time Investment
Weekend Project (10-20 Hours)
Finish Used
I used white paint for the finish
Recommended Skill Level
Intermediate

Comments

Finished the amazing playhouse loft bed

Submitted by gftl33 on Tue, 11/05/2013 - 12:27

My granddaughter is so in love with her loft bed! She feels so special, and she is! Thanks for such wonderful plans.

Estimated Time Investment
Week Long Project (20 Hours or More)
Finish Used
I created the brickwork by using 1/4 " tape 3 colors of paint sponged on to create 3 dimensional looking "bricks". Added trim at seams, mitered corners around window and door. Fabulous house!,,
Recommended Skill Level
Intermediate

Comments

JoanneS

Tue, 11/05/2013 - 14:05

Love this project! It is absolutely beautiful! Your paint details and trim work make it a castle! :)

Shelving the idea in Texas

Submitted by Anonymous (not verified) on Wed, 01/20/2016 - 20:33

We tweaked a few things, to make the brackets more personalized. We changed the measurements to suit our space, added a decorative bevel to the bottom of the brackets, and used 2x12's for the shelves. We love the warm open feel these shelves give to our farmhouse kitchen! Thanks, Ana, for providing so much help and inspiration!

Estimated Cost
Less than $40
Estimated Time Investment
Weekend Project (10-20 Hours)
Finish Used
Minwax Early American stain and Rustoleum glossy white 2 in 1 spray paint
Recommended Skill Level
Starter Project

Simple Writing Desk

Submitted by Chuck1979 on Wed, 06/19/2019 - 14:41

Love making this simple writing desk for my daughter!

Built from Plan(s)
Estimated Cost
$100
Estimated Time Investment
Afternoon Project (3-6 Hours)
Finish Used
White semi-gloss paint, dark walnut danish oil
Recommended Skill Level
Intermediate

Comments

sectional and chairs!

Submitted by Anonymous (not verified) on Mon, 04/03/2023 - 13:57

my husband and I used your plans for the sectional, end tables and chairs I made the pillows thanks so much for the designs we love them

Comments

Small Cedar Chest

My husband built this for his grandma as a Christmas present. The frame is made of white pine and then the slats are cedar.

Estimated Cost
$35
Estimated Time Investment
Weekend Project (10-20 Hours)
Finish Used
Minwax stain in Provincial on the pine, and clear coat on the cedar.
Recommended Skill Level
Intermediate

Comments

Sunshine Art

I used wood glue and scrap 1 x 2s (yellow pine). Cutting the 1 x 2s, 9 inches long (there are 5), I sanded them and then glued them together with wood glue, leaving them clamped together overnight. The following evening, I stained the piece with a light wood stain for the rays. The next night, I used painter's tape to create my version of the sun, so that my son, who wanted to paint it, didn't feel pressure to stay in drawn pencil lines with a paint brush. My son picked out the colors and where to paint them from my Lowes oops paint collection. After the paint dried, I sanded very lightly to give it a bit of an aged feel before applying 2 coats of Polyurethane to seal it, lightly sanding between coats. A self leveling picture hanger finished it off. The finished product was not too much bigger than my IPad.

I was inspired by two other bloggers' bigger projects.
http://www.iammommahearmeroar.net/2013/10/how-to-create-giant-art-for-g…
http://www.inspiredbycharm.com/2012/01/from-wood-to-wall-the-making-of-…

I like a bit of the sun on the wall.

Estimated Cost
$4-$6
Estimated Time Investment
Afternoon Project (3-6 Hours)
Finish Used
Minwax Golden Pecan, 3 different oops paints, 2 coats of Polyurethane
Recommended Skill Level
Starter Project

American Girl Doll Bunk Beds

Submitted by Anonymous (not verified) on Thu, 01/21/2016 - 19:27

This was easily made from the plans on Ana White's website.  I spent about $20 total on the bed and $7 on the fabric.  I had the foam from another project.  I could have spent less on the wood, but I opted to buy the sanded pine boards for they are much straighter! Thanks for the plans....it saved me about $150 that I can now spend on more projects!

Estimated Cost
$20 for bed and $7 for bedding
Estimated Time Investment
Day Project (6-9 Hours)
Finish Used
Walmart Grotto colored Chalk Paint with pinkish-orange bottom layer to show through on distressed edges. Sealed with Poly-Acrylic.
Recommended Skill Level
Intermediate

Miter saw cart modified

I have enjoyed my miter saw cart for years. My sweet hubby gifted me with a table saw but I was nervous to use it without support for large pieces of wood and needed better storage. So... I modified my cart by adding a back leaf and making the shelf adjustable with two sets of cleats for the height of both saws.

Built from Plan(s)
Estimated Time Investment
An Hour or Two (0-2 Hours)
Finish Used
Discounted paint from the oops cart at Home depot.
Recommended Skill Level
Beginner

Comments

Library Console Table for cookbooks

Submitted by russ.roske on Sun, 04/09/2023 - 14:53

We needed storage for all of our cookbooks, so I built this from your Library Console Table plan. I painted it to match our kitchen cabinets and added a cherry top to match our floors. I re-used some shelving boards we had to make the boxes, so they now have a new life! Thanks for the plan!

Built from Plan(s)

Comments

Adirondack Table with modified top

Submitted by stacynabby on Mon, 12/19/2011 - 14:09

I used the design for the adirondack side table, but modified the top to have glass tiles. I just used a 12x12" sheet of glass tiles from the blue store to create the top. The wood is just clear poly. This is my Mom's Christmas present.

Built from Plan(s)
Estimated Time Investment
An Hour or Two (0-2 Hours)
Recommended Skill Level
Beginner

Comments

Kristan (not verified)

Tue, 12/20/2011 - 14:19

AWESOME!!! I'm inspired by this to take your design and turn it into a mobile chess table!!! soooo pretty!!

keyetta

Fri, 01/06/2012 - 03:30

Hey i love your rendition of this table, would like to use the same rendition, only thing i cant figure out is what you did under the tiles, did you use plywood or places the tiles on top the regular wood pieces

claydowling

Fri, 01/06/2012 - 07:05

Plywood, particle board or MDF is what should be under the tiles, not solid wood. Better yet would be a plywood bottom with a thin cement board or hardibacker over it. If you put it over solid wood, expansion and contraction of the wood will pop the tiles loose over time, and probably sooner than you like to think about.

Rustic Console Table

Used the reclaimed wood bench top plans for this project to make it a console table. This was very easy to alter. Rather than cutting out a triangle at the bottom, I left it uncut. I squared off the top edges too in addition to placing the boards longways instead of small pieces like a bench.

The finish I made it look rustic painting VERY lightly white one and instantly wiping it off for the rustic effect.

Pretty good for my first project every!

Estimated Time Investment
Day Project (6-9 Hours)
Recommended Skill Level
Starter Project

Platform Bed and Headboard

Submitted by ScottG on Tue, 01/26/2016 - 01:24

Built a platform bed and headboard using 2x4s for the main frame and 1x4s for the trim pieces on the bed. The headboard was made using 1x6s for the frame and 1x4 scrap pices from the slats used for the vertical pieces. Used a Minwax water-based "pearl gray" stain for the 1x8 sides and a Minwax oil-based walnut stain for the frame and trim pieces. Used the K5 Kreg jig to join most of the pieces. The Kre Jig was a new purchase and my advice would be to practice with the jig before starting the project. It takes awhile to get the hang of the jig and to make sure that you are using the correct screw lengths. The very complete and detailed plans can be found in the attached links.

Built from Plan(s)
Estimated Cost
Wood cost was about $100 and this would include the 2x4 for the frame, the 1x4 furring strips for the slats and headboard, and the 1x4 and 1x6 trim and frame boards. The stain and polycrylic sealer cost about $20. You should also budget for Kreg screws, wood glue, nails, etc. I did have to buy several clamp, and the Kreg Jig cost a bit, but is well worth it. I've used the the clamps and the jig on many projects since the original purchase.
Estimated Time Investment
Week Long Project (20 Hours or More)
Finish Used
Minwax water based and oil-based stains and Polycrylic water-based sealer. .
Recommended Skill Level
Intermediate

Closet Shelves Using Shelf Help

Submitted by Anonymous (not verified) on Fri, 04/14/2023 - 08:40

I have used Ana's shelf guide on a few projects and it is so simple to use. I was able to maximize the space by tweaking the shelf guide so the new closet shelves fit exactly.

Comments