modern Adirondack chairs
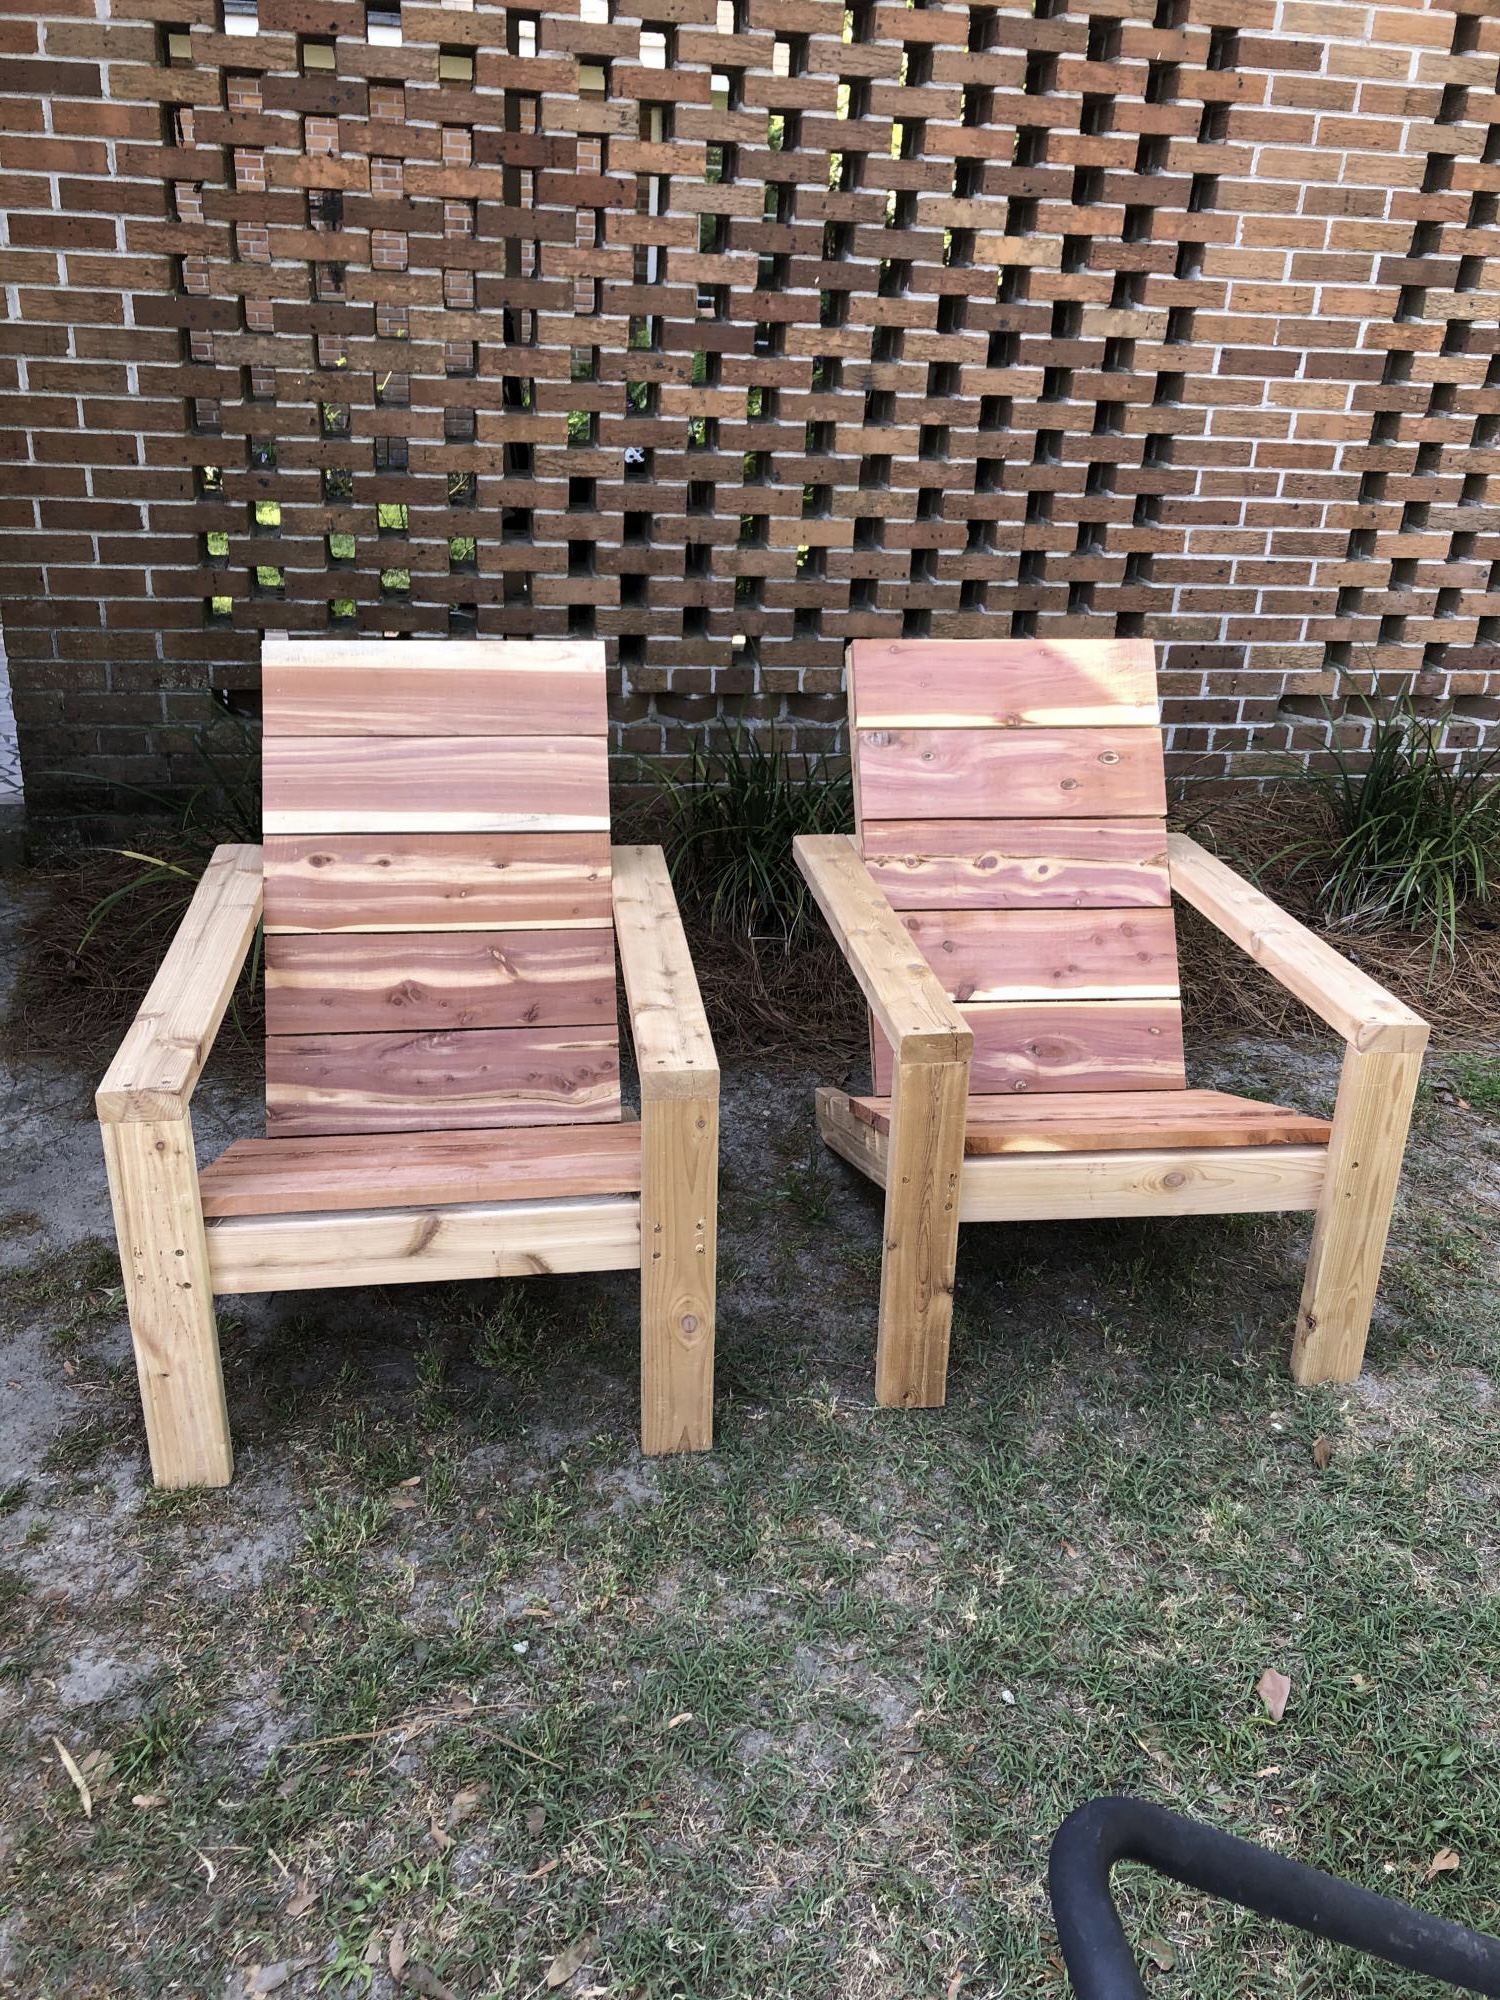
After a cabin remodel I had some left over 1X6 red cedar that I wanted to use and these chairs looked like a great project. After buying some white cedar 2X4's , here's my first 2. Thanks for the plans.

After a cabin remodel I had some left over 1X6 red cedar that I wanted to use and these chairs looked like a great project. After buying some white cedar 2X4's , here's my first 2. Thanks for the plans.
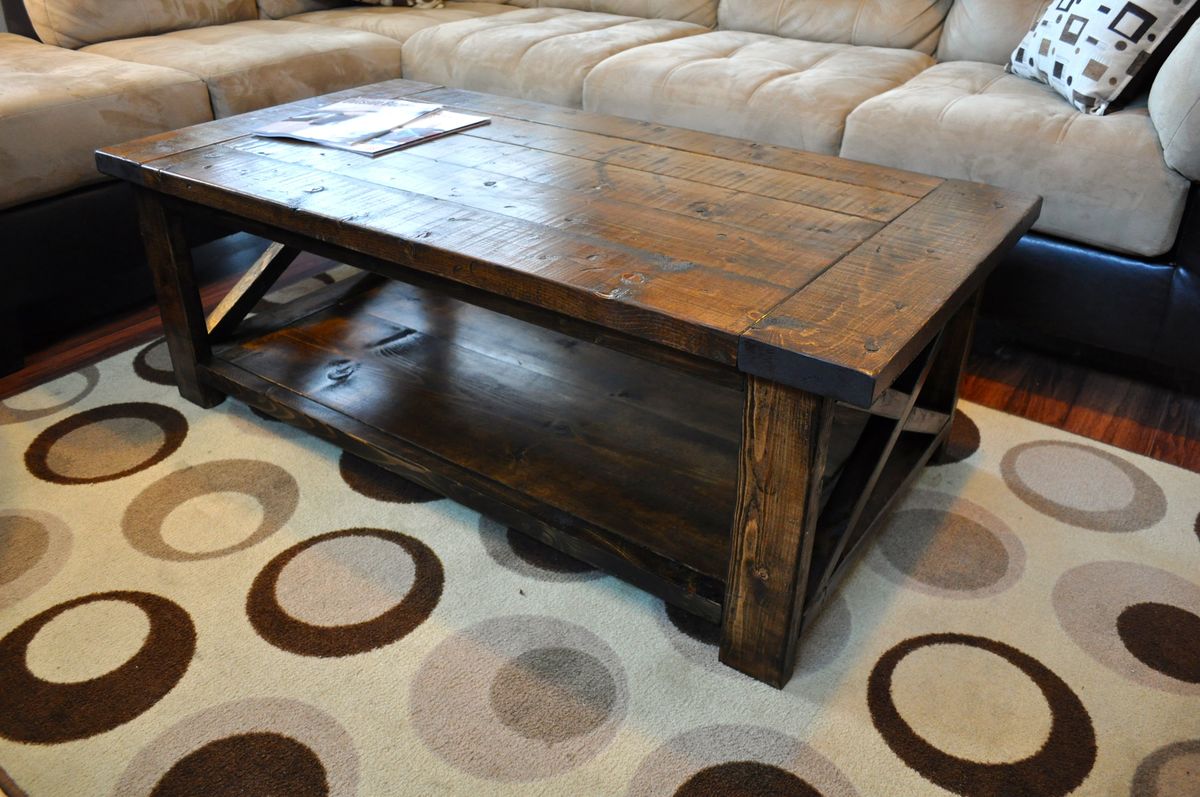
Ana's design caught my eye and I had to build one that was similar. I decided to modify the top because I really like the look of breadboard style tops. So the main difference is that I cut the top boards 41" long and added two 2x6 pieces for breadboards (about 27-27.5" long). So the total width still comes to 52". Turned out pretty cool!


My dream bed is finally done. Blood, sweat and tears.....not really, but after making a few mistakes along the way, I can finally say it's done. I am happy to report that it only cost $300 -- a whooping $ 1895 savings from Restoration Hardware's Maison Bed Collection. I am in love with my new chic bed. I will be posting my tutorial for the Chestwick Bed - King size - very soon. In the meantime, thanks for looking.
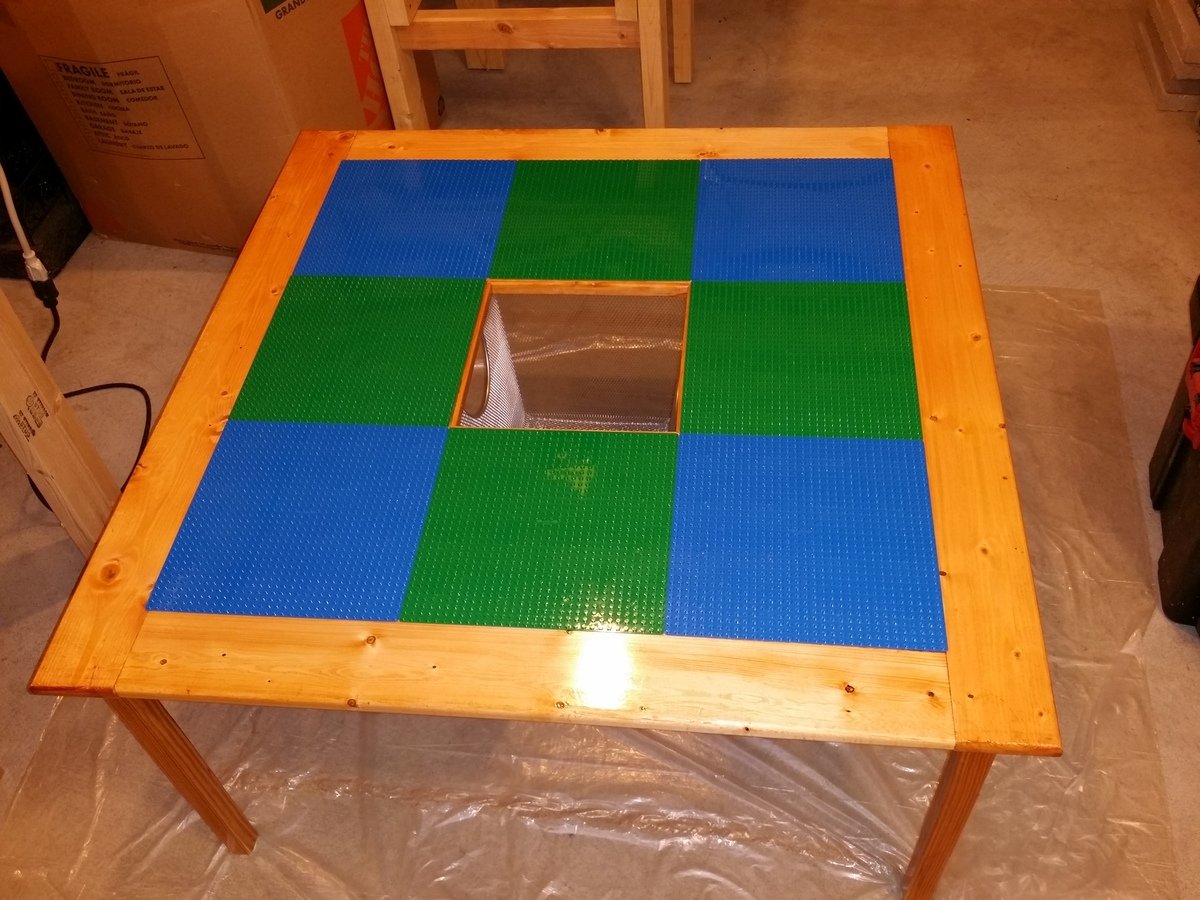
This is a Lego Table that I built my Grandson for his birthday. I found the plans for it on Rogueengineer.com
https://rogueengineer.com/free-diy-lego-table-plans/
I switched things up a bit by routing all of the edges to soften them, and I added the little mover men casters under each of the legs.
It's one of the better projects that I done recently, and nothing beat the look on his face when he saw it...
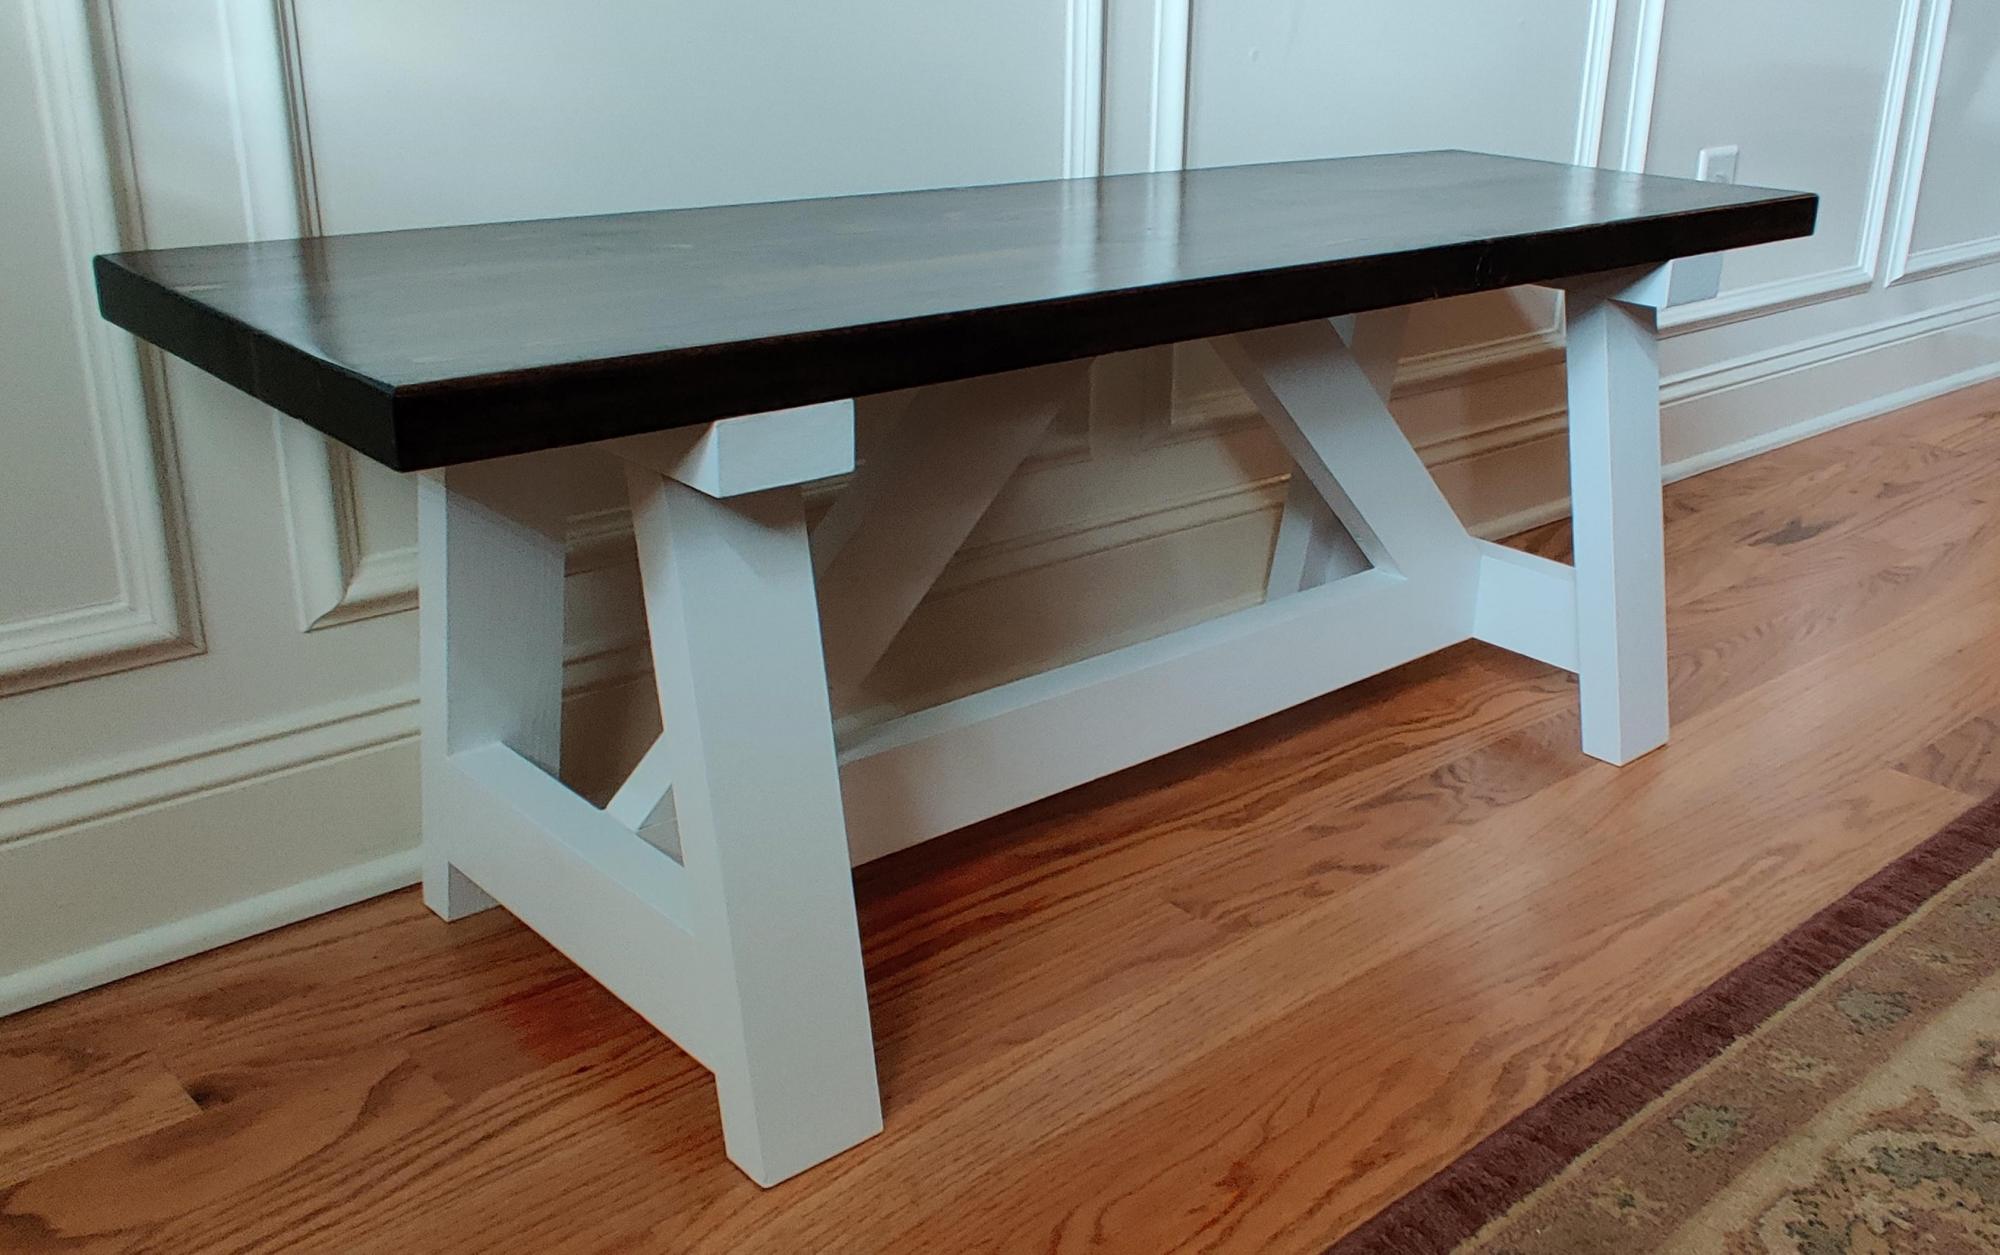
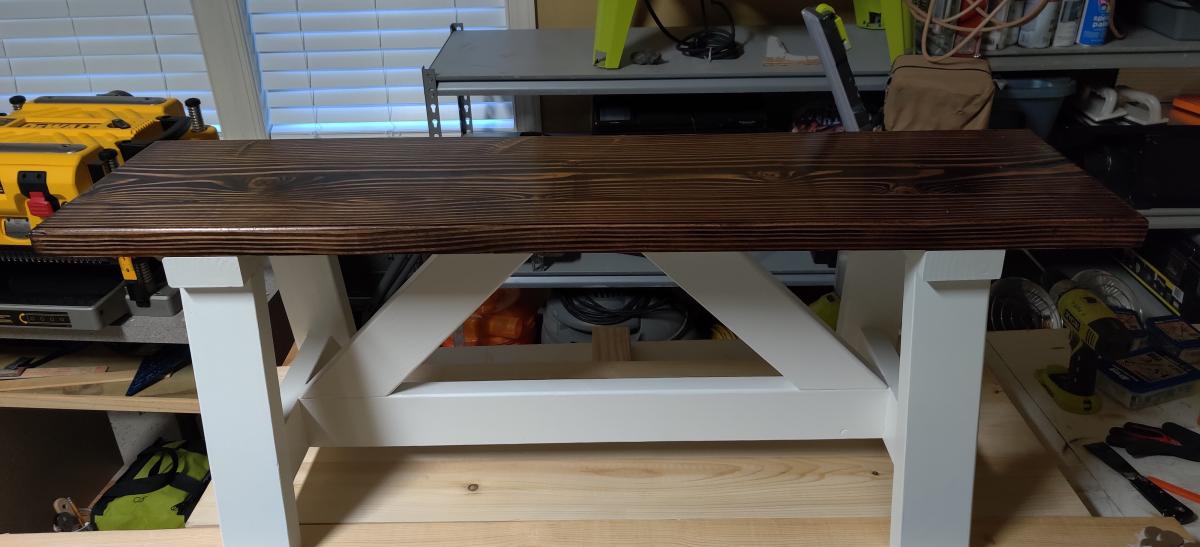
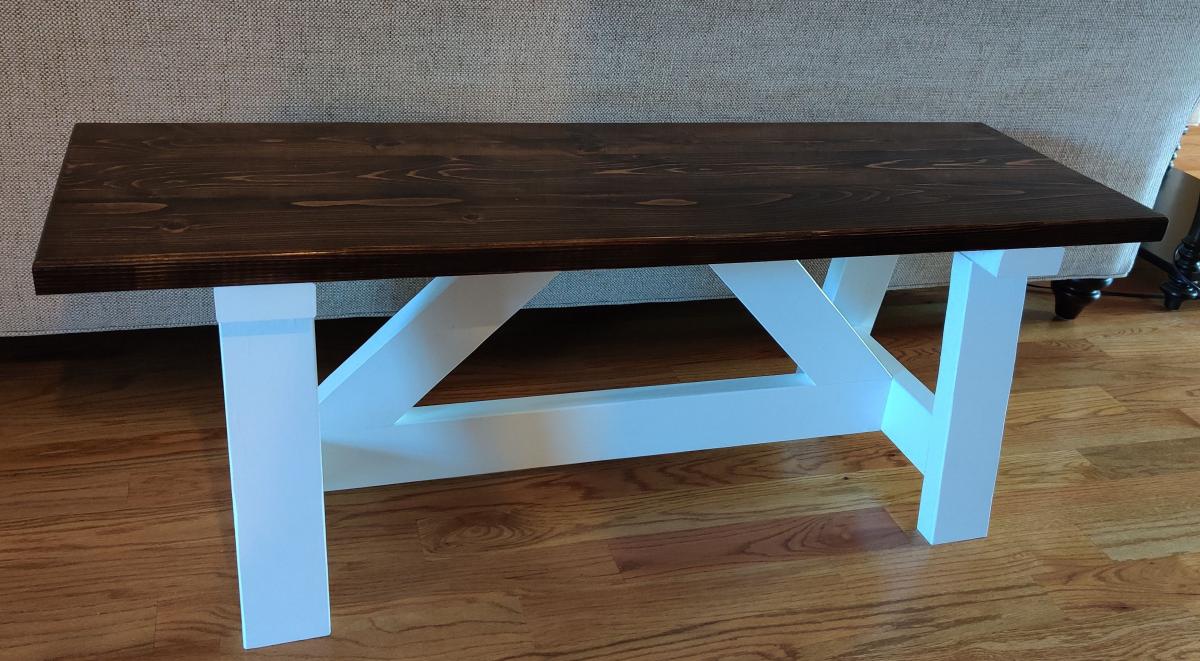
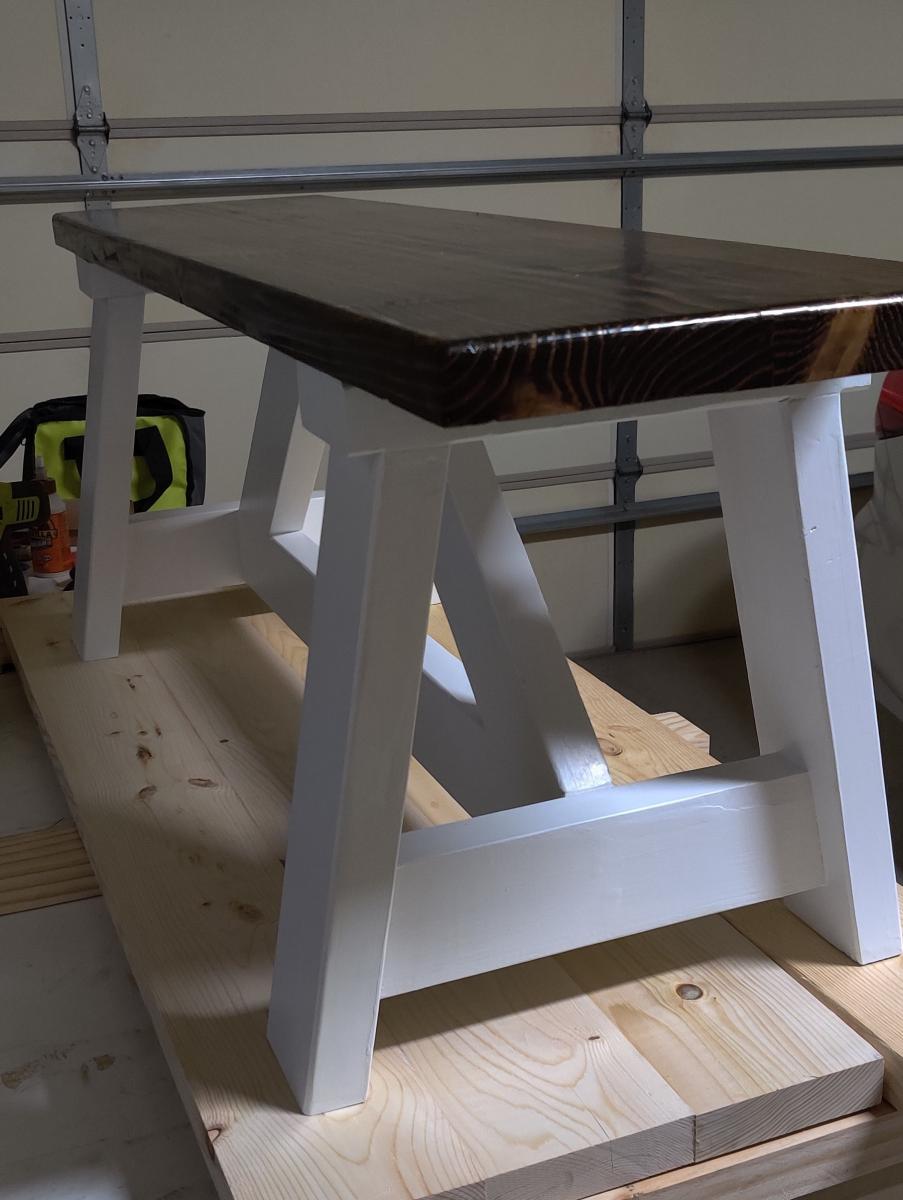
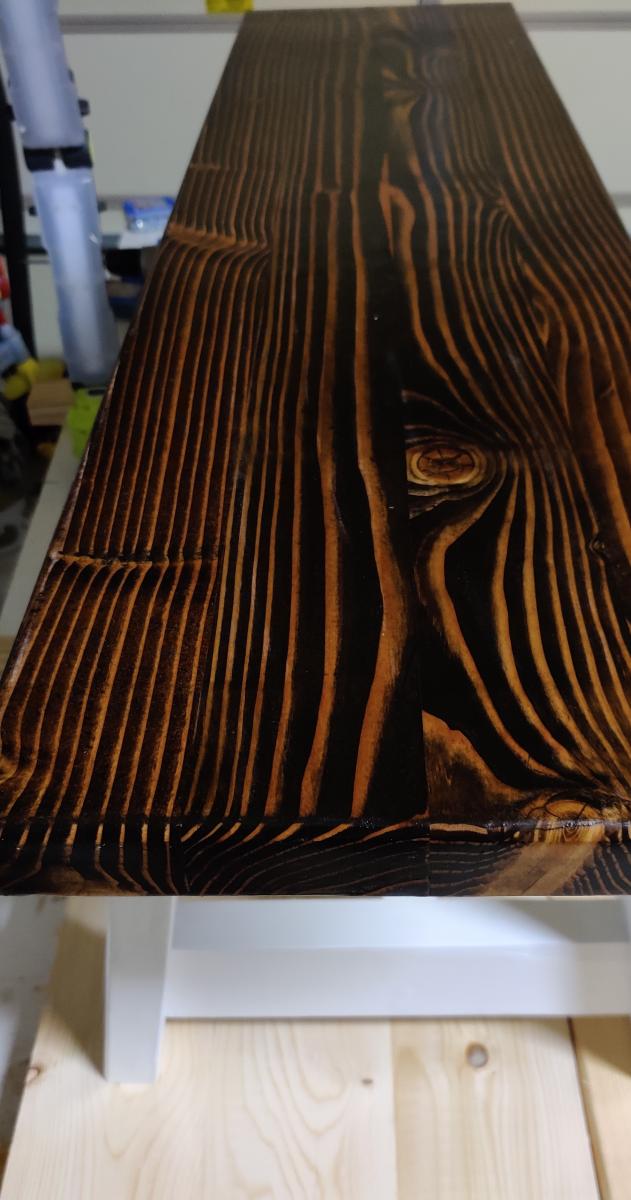
I call my bench, Modern Farm style bench. I joint the edges and plain the faces of each 2x4. this creates a bench seat that looks likes a solid piece. I use pocket hole screws and glue to make the bench seat. Typical stain the bench seat and paint the bench frame.
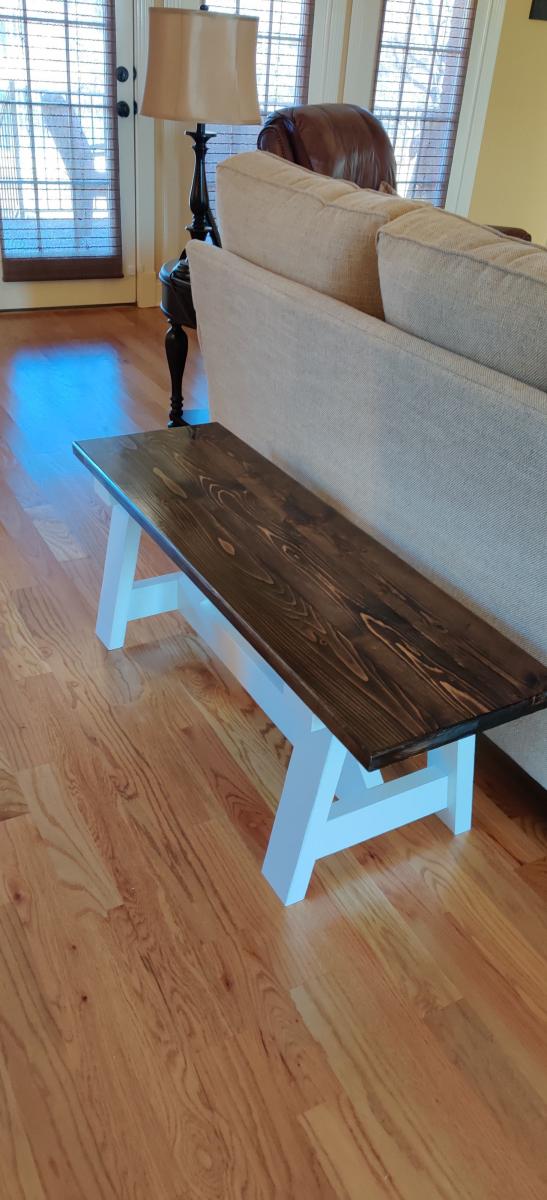
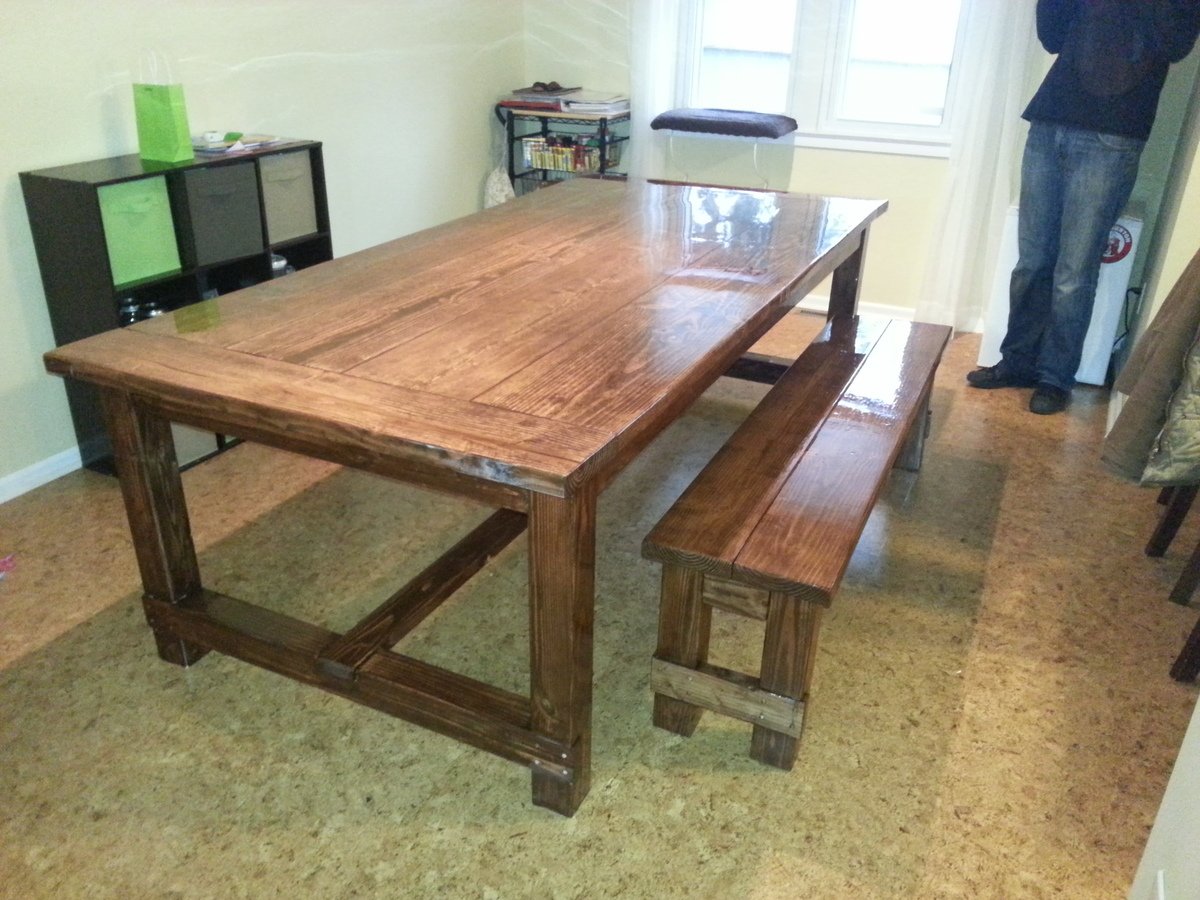
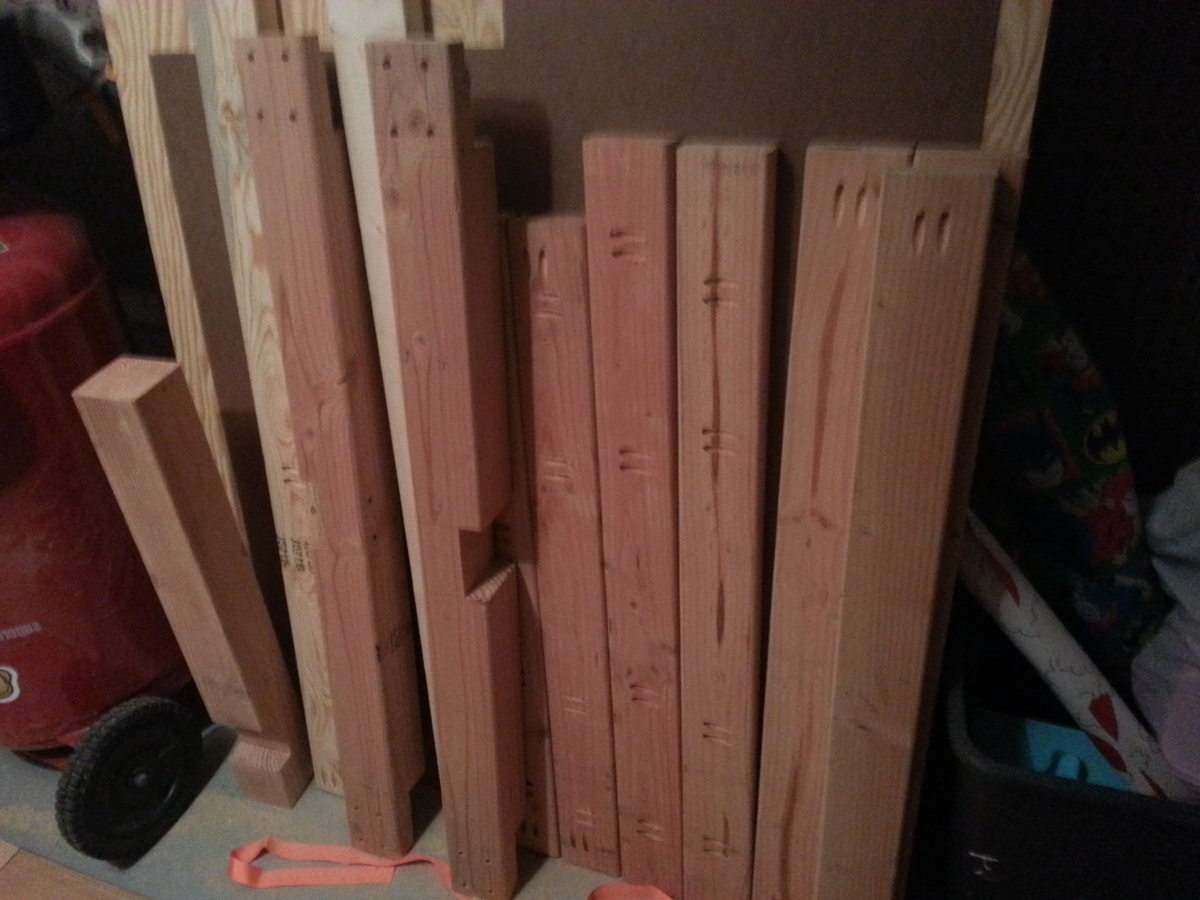
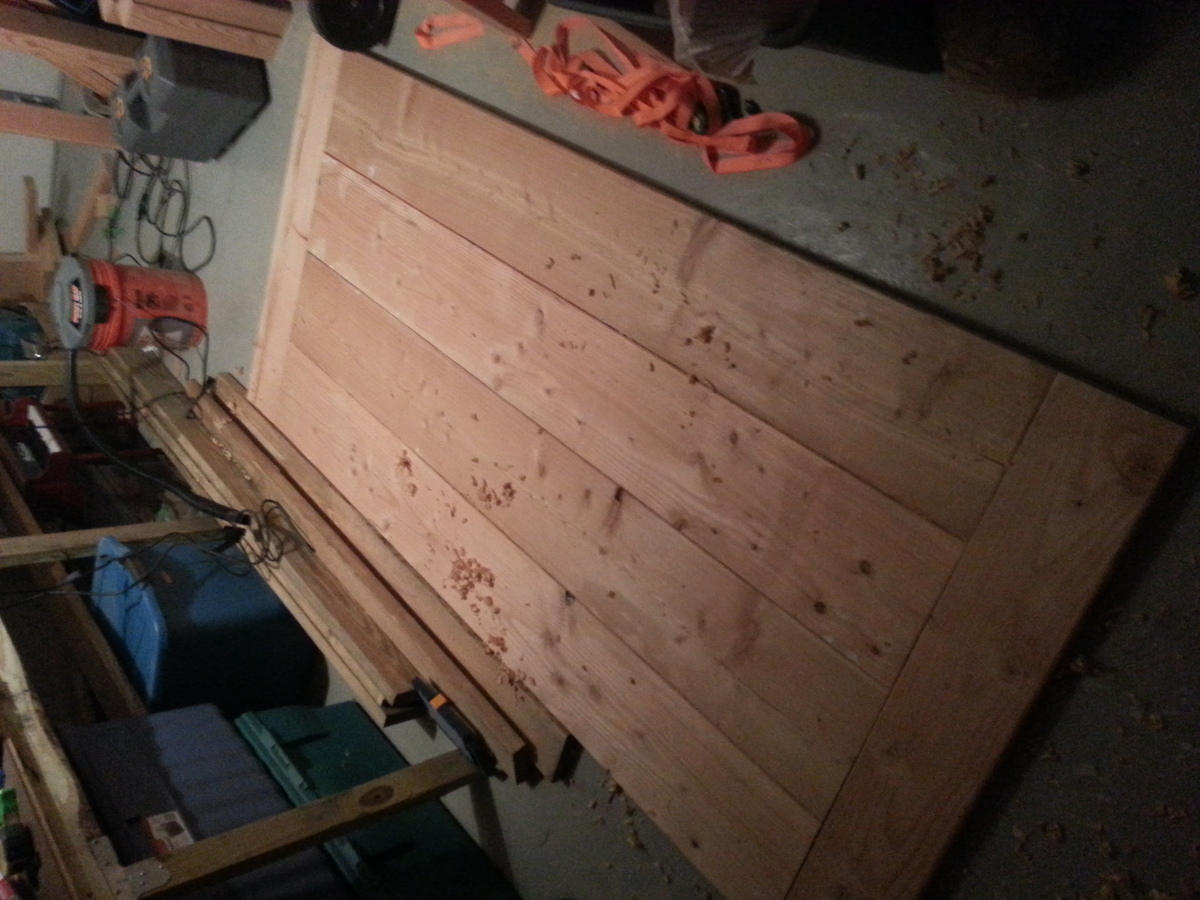
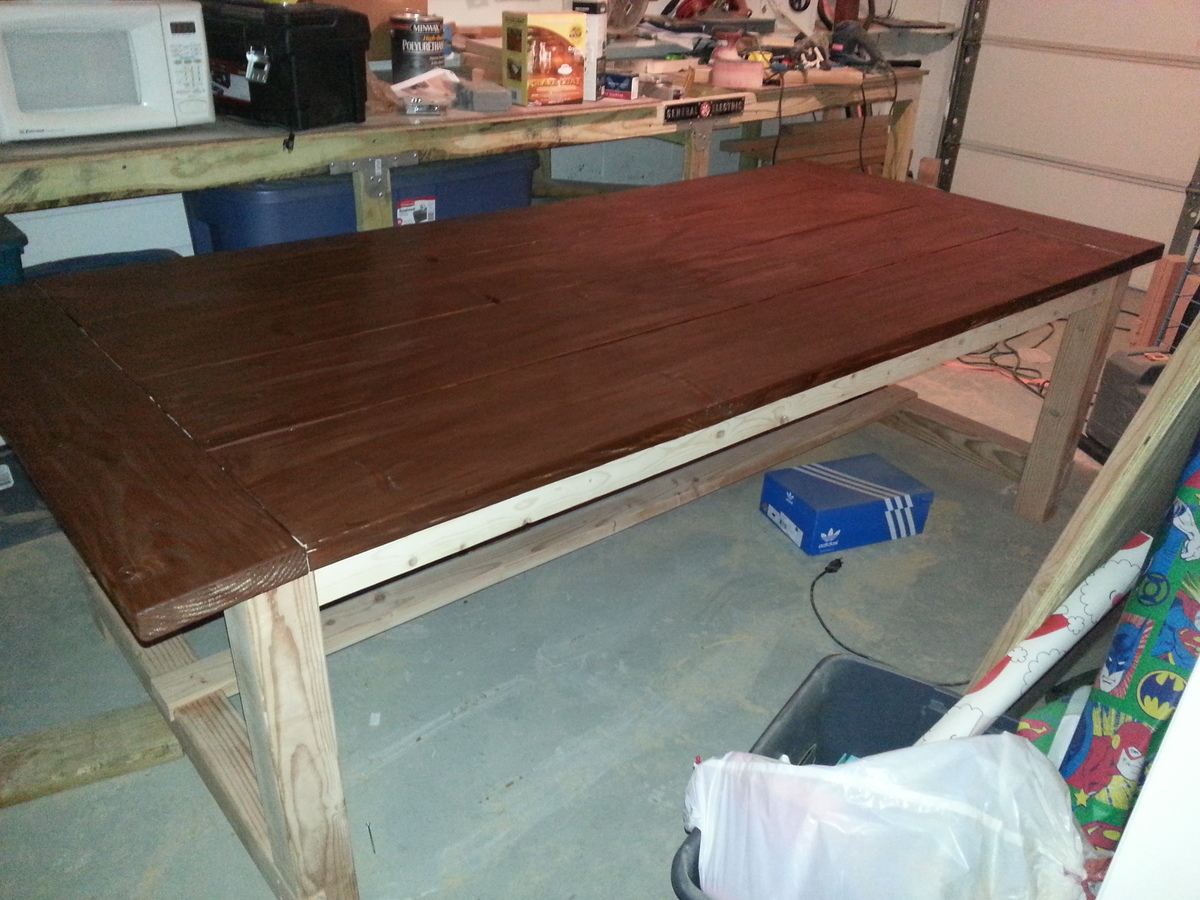
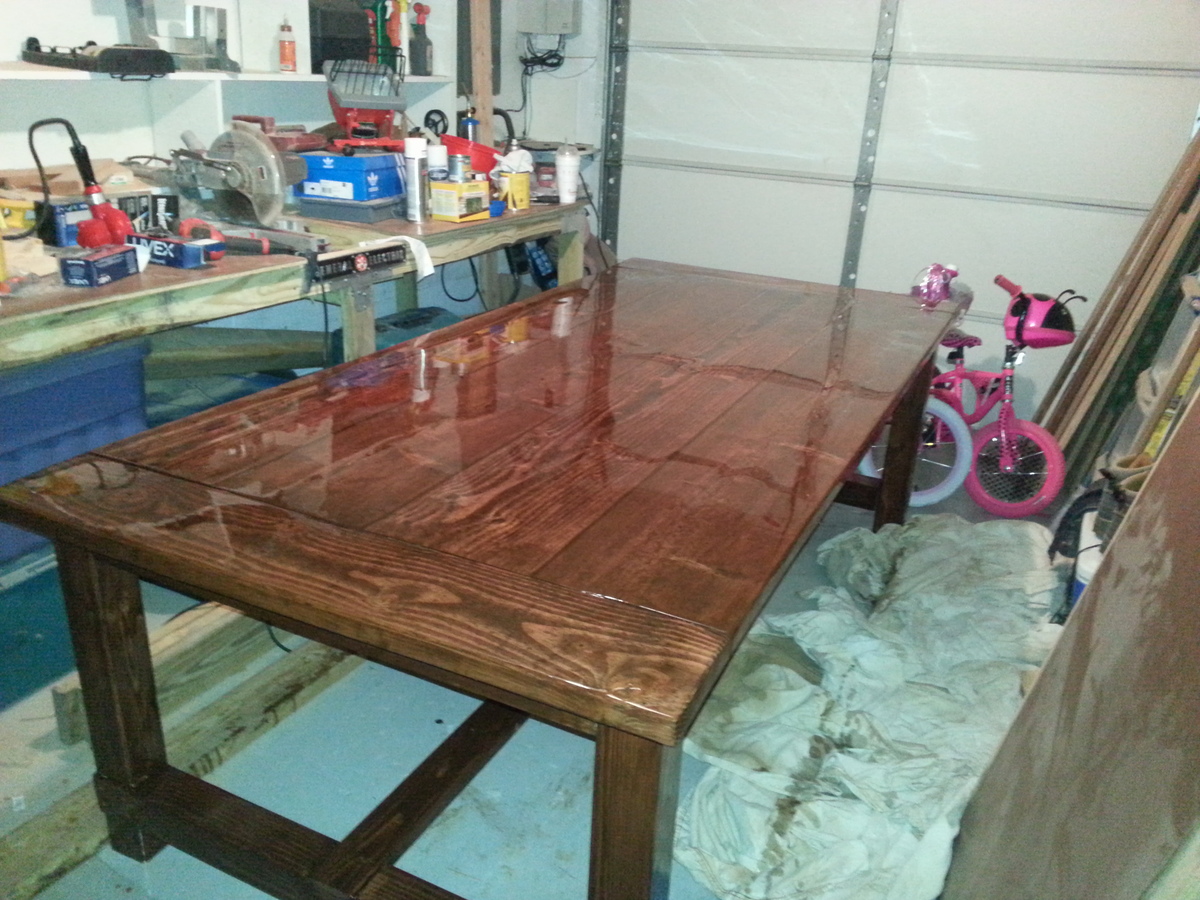
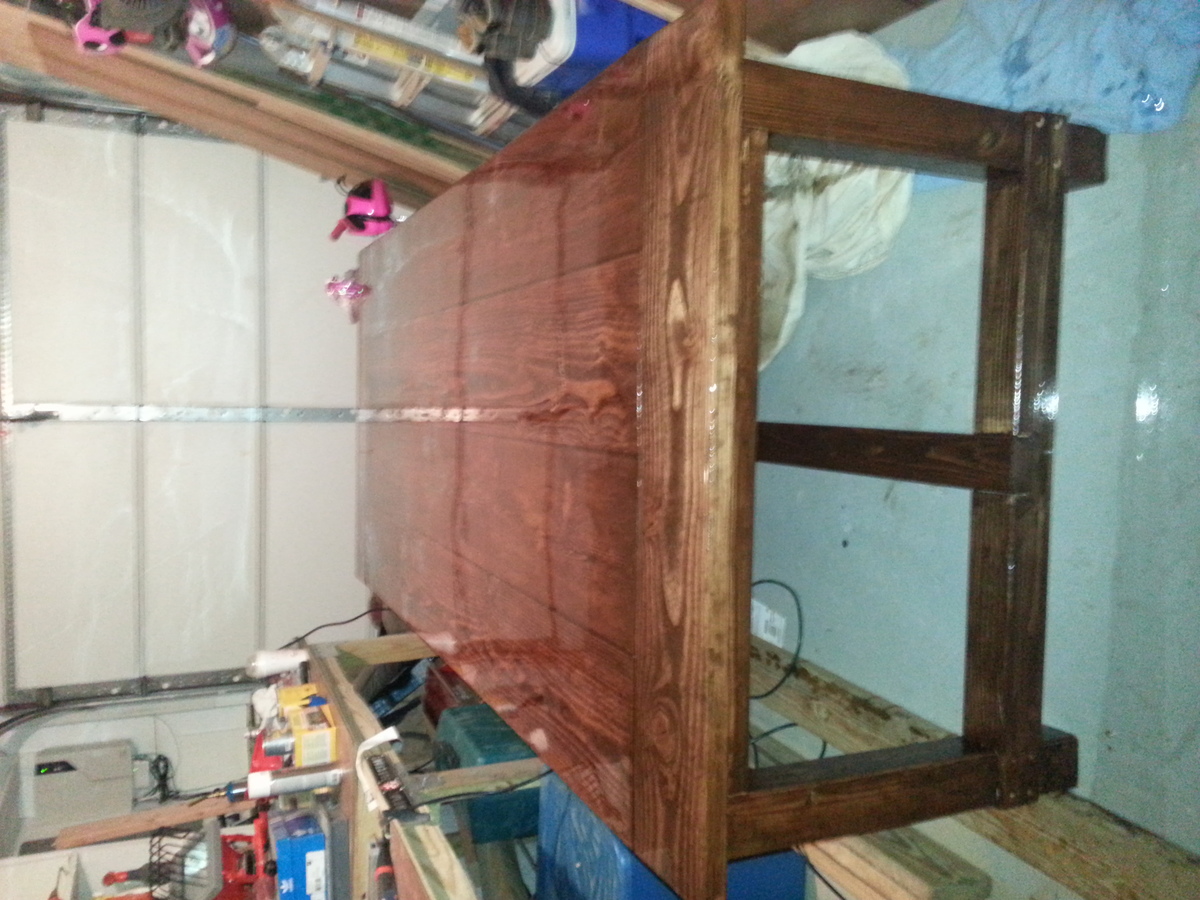
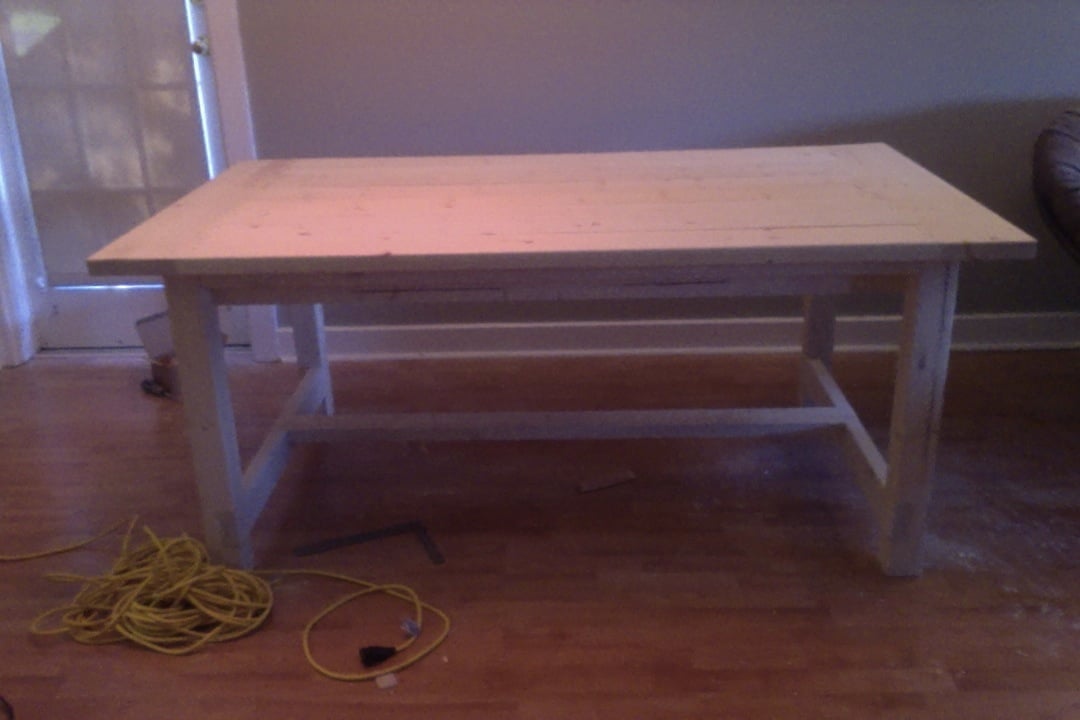
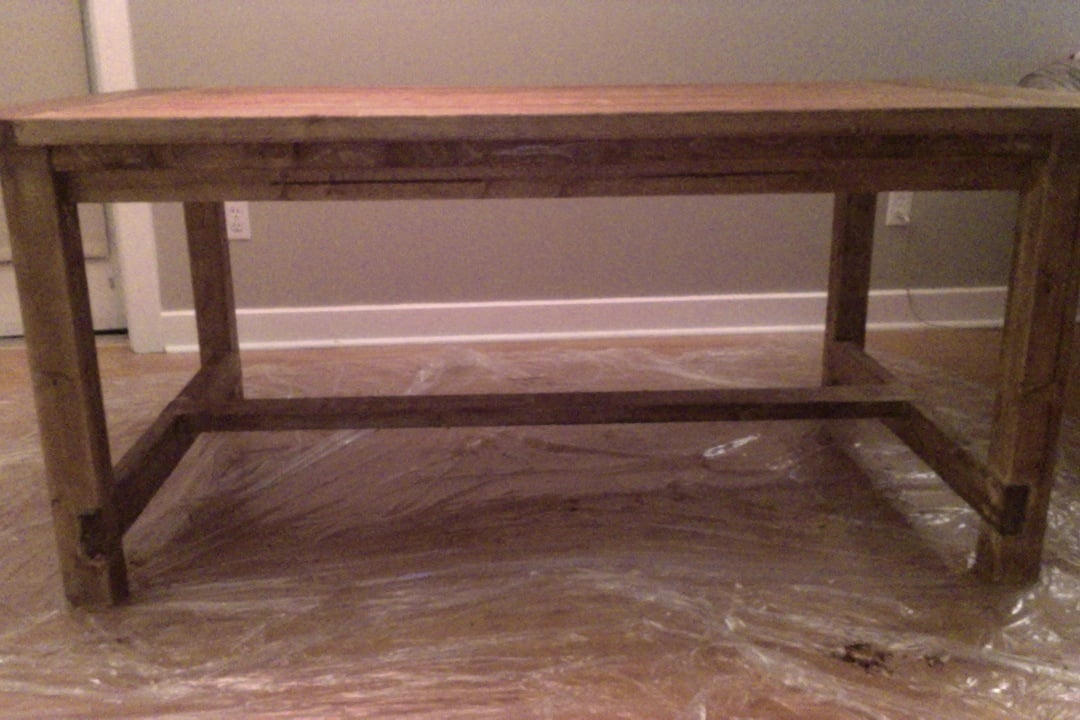
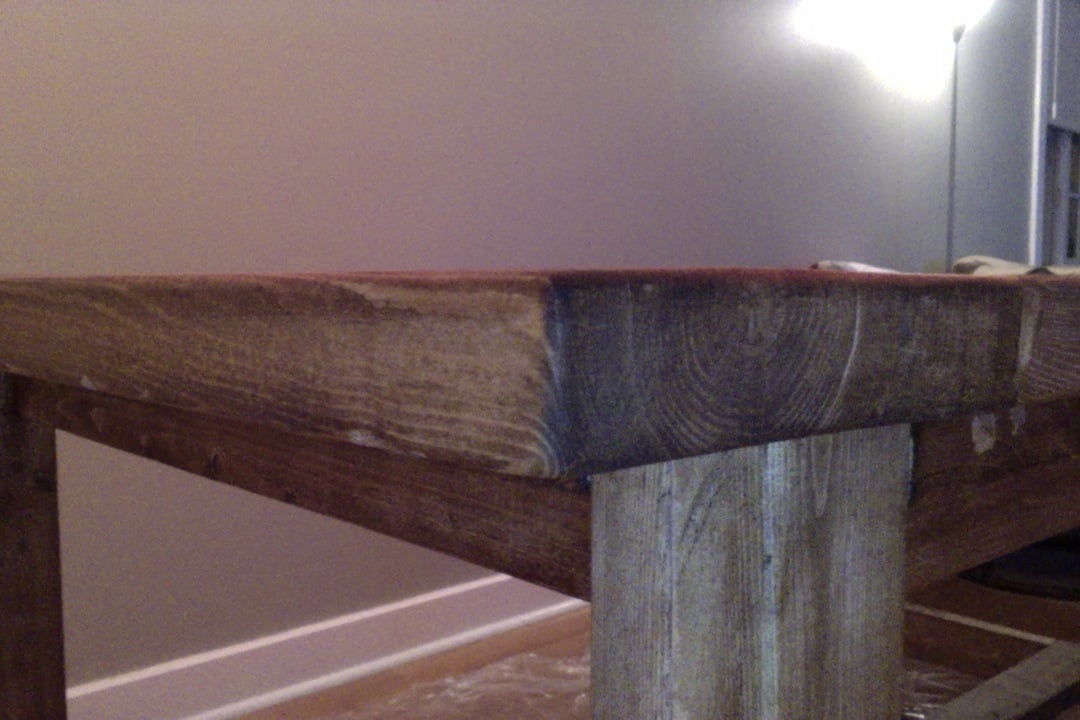
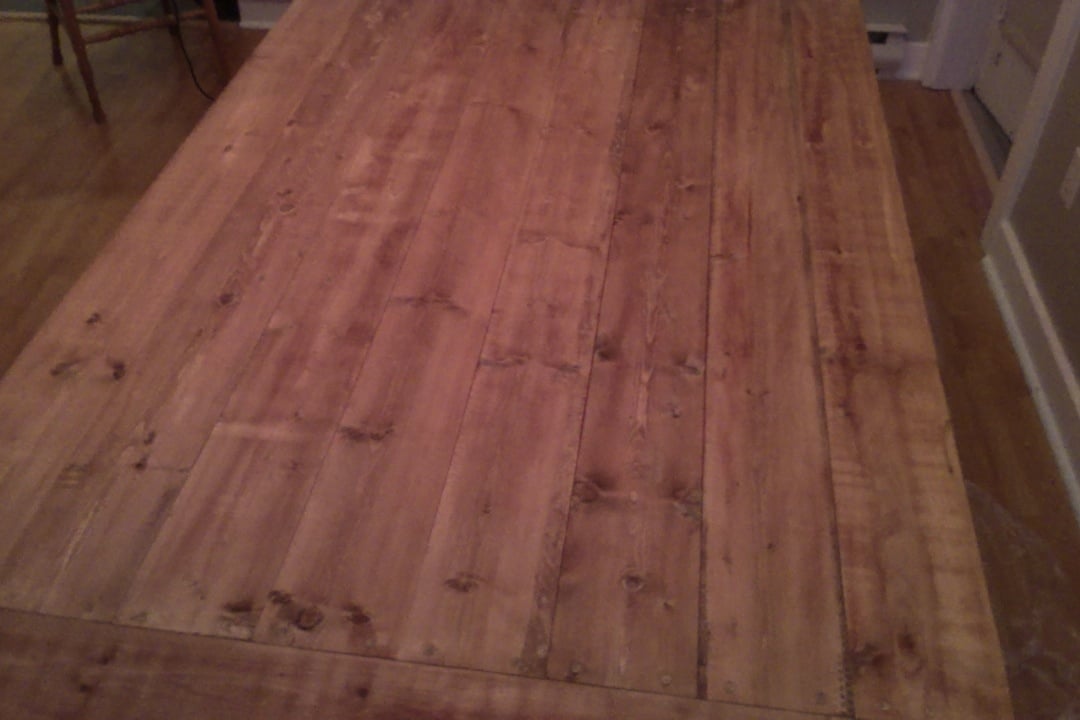
This is my first big woodworking project. That being said, there were a lot of mistakes that were made. In the pictures you can see the beginning stages when I was making the base cuts and assembling the table top. The picture with the dark top and natural legs was the beginning of one mistake. I bought gel stain because it was the color I liked but I had no idea how to use it correctly. Because of this I left the stain on and it was waaayyyyy too dark. I had to sand down the entire top and redo it. After fixing that I correctly stained the base, extensions, and bench. The extensions I made are not in the photos because I forgot to make the cuts to slide them in. I'm supposed to do that this weekend... After staining I polyurethaned the base, bench, and extensions to give them a nice shine. The table top I finished with Liquid Glass two part epoxy. That gave the top a super hard surface that shines and makes the normally soft pine top, rock hard. I figured this way when my daughters do homework on it they wouldn't leave their writing indented in my nice, new table. I hope you guys like it and I plan to do many more projects and post my results here. Thanks for taking the time to check this out.
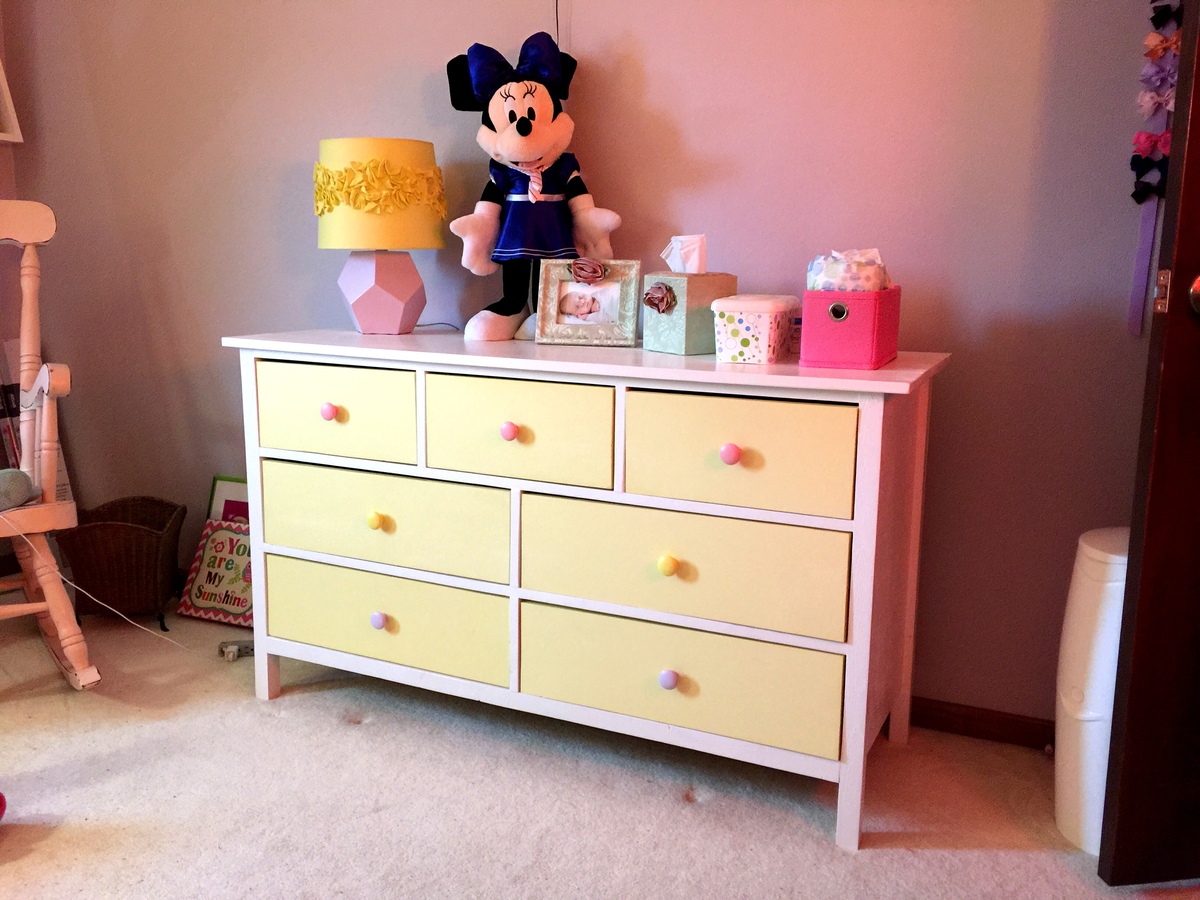
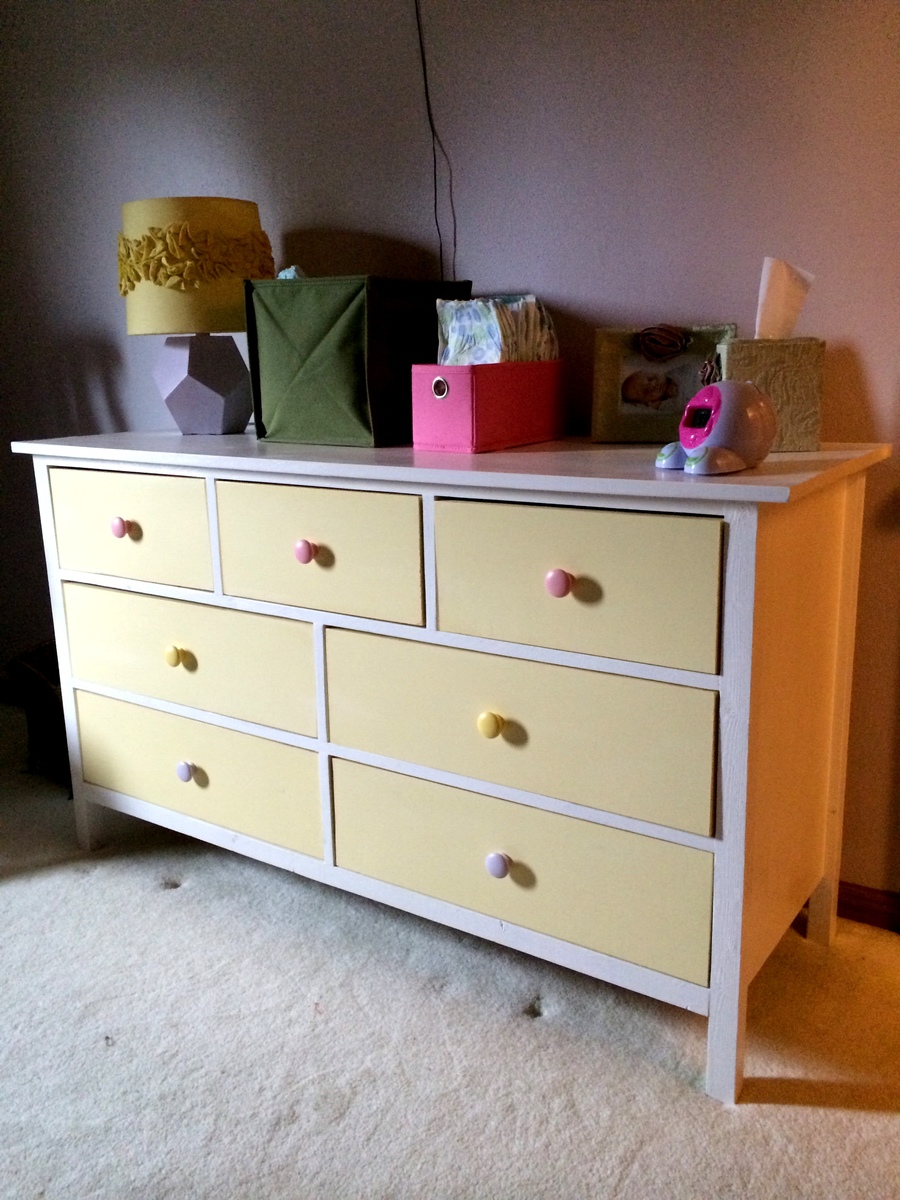
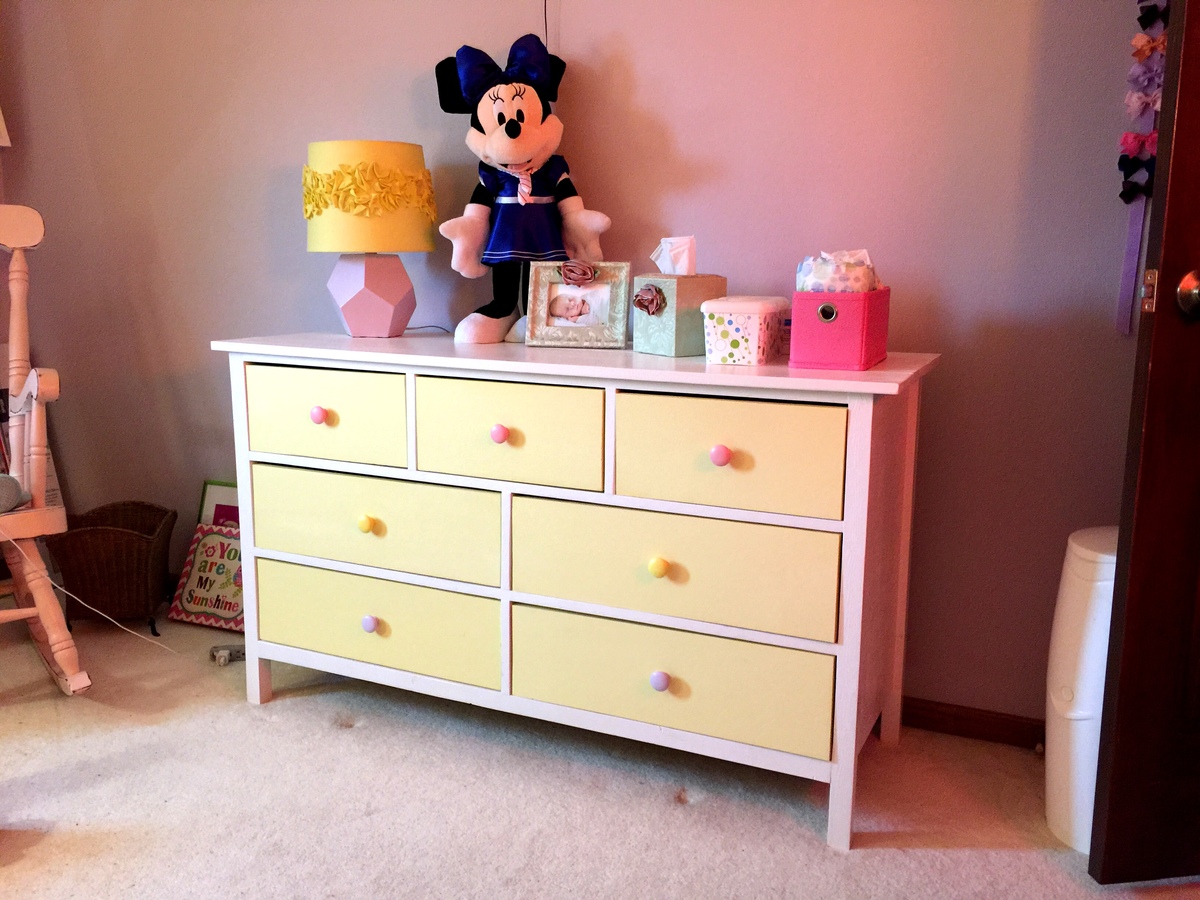
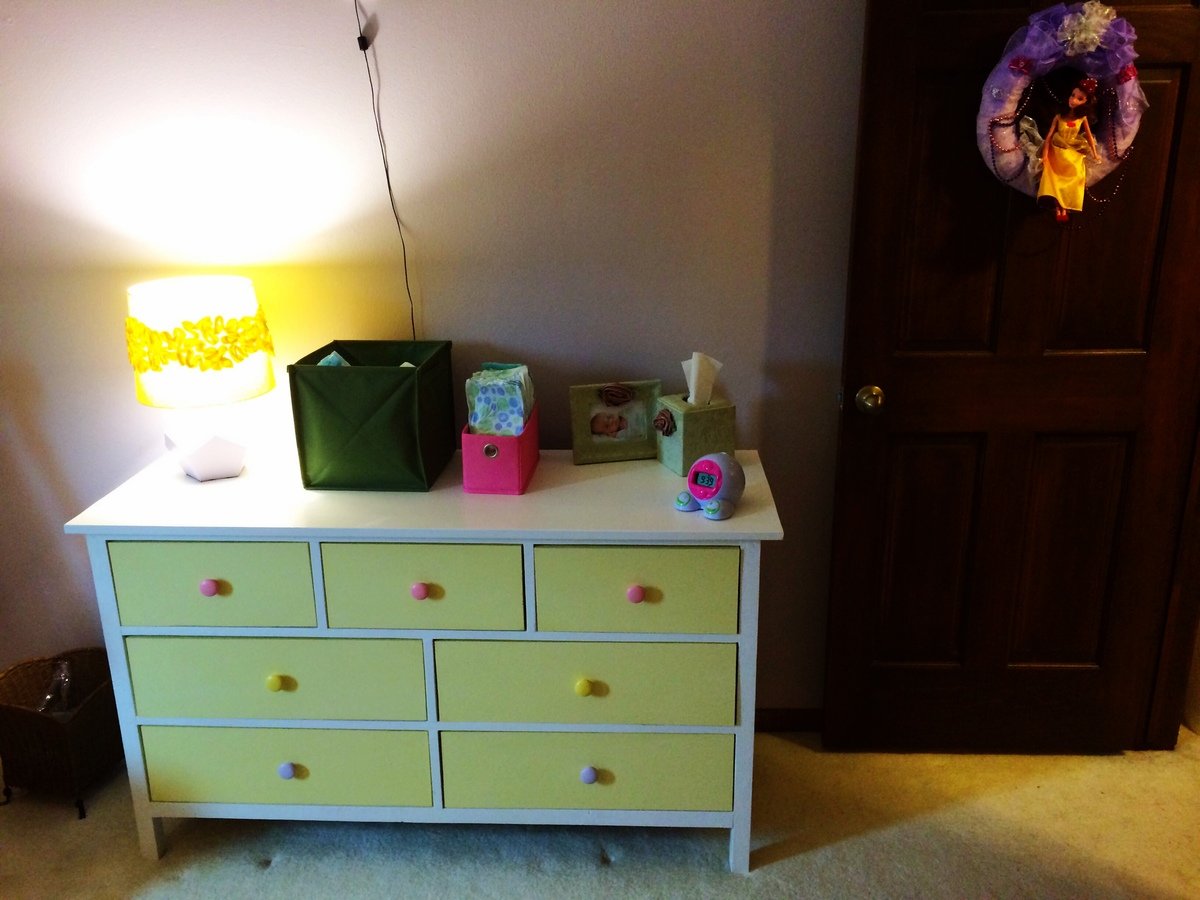
With another baby on the way in a few months, we decided to move our 2+ year old daughter across the hall into her first big girl room. I built big sister the Kendal Extra Wide Dresser, Traditional Wood Toddler Bed, Letter A Shelf and a Dollhouse Bookcase and matched the colors with her new comforter, lamps and princess canopy tent from the Land of Nod outlet.
While I have built drawers with other projects (with less than spectacular results), it took some time and trial and error, but this is the first project that I was able to install drawers with any sort of success in lining them up (kind of) and getting them to work properly. Of course, bookcase drawers in a child's room are succeptible to a lot of wear and tear, so hopefully, they will hold up on us. We definitely have been satisfied with the result and love how it turned out.
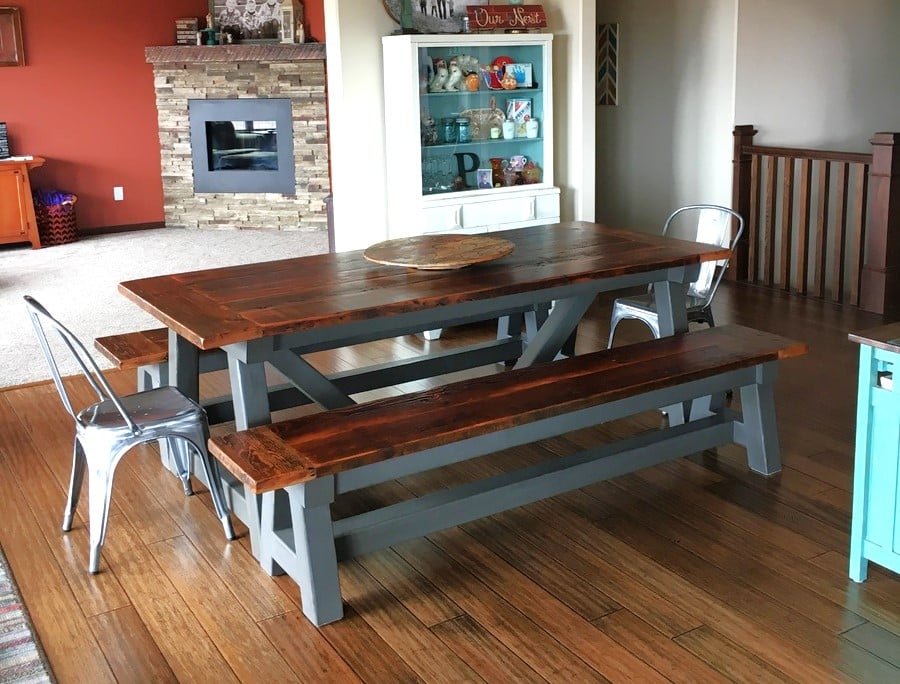
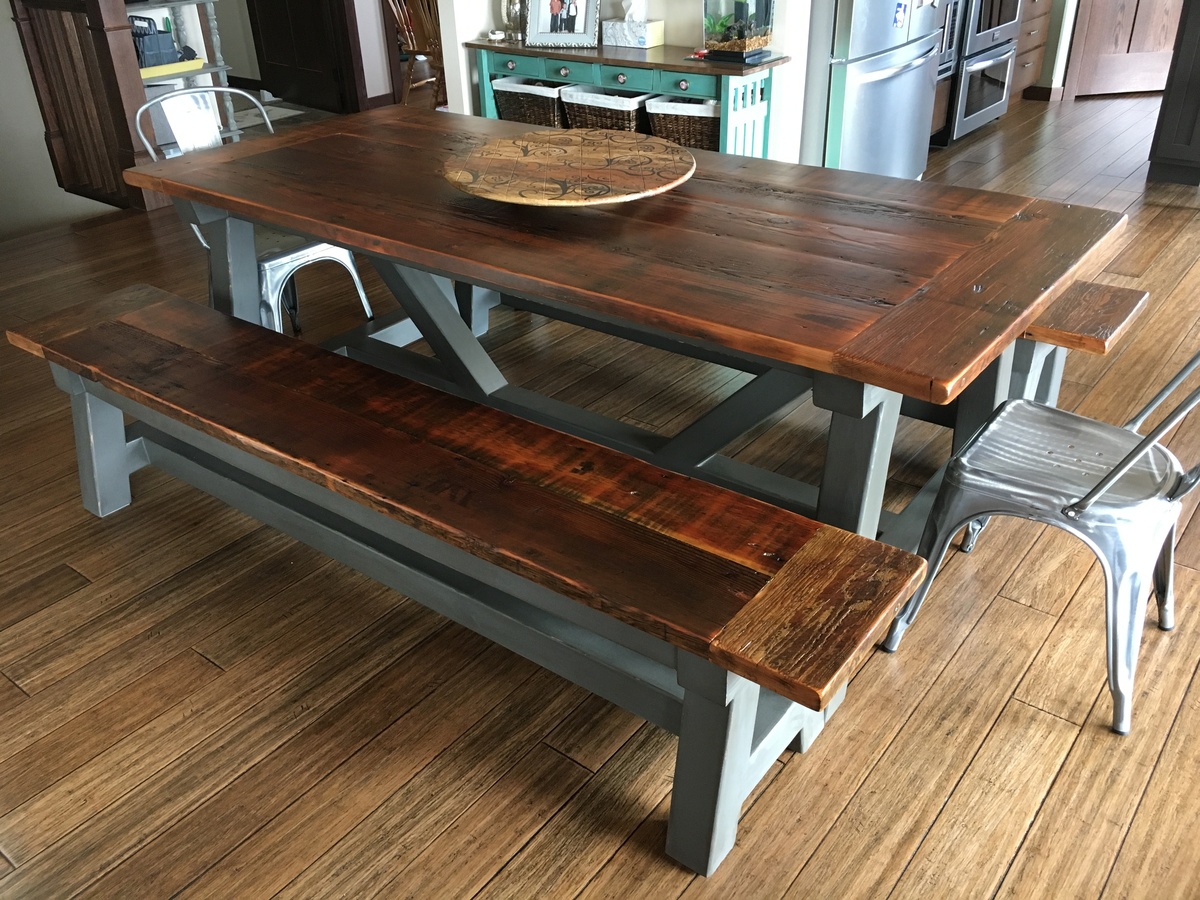
Dining Room table and benches tops built from reclaimed Douglas Fir and table and bench bases built from 4x4 posts.
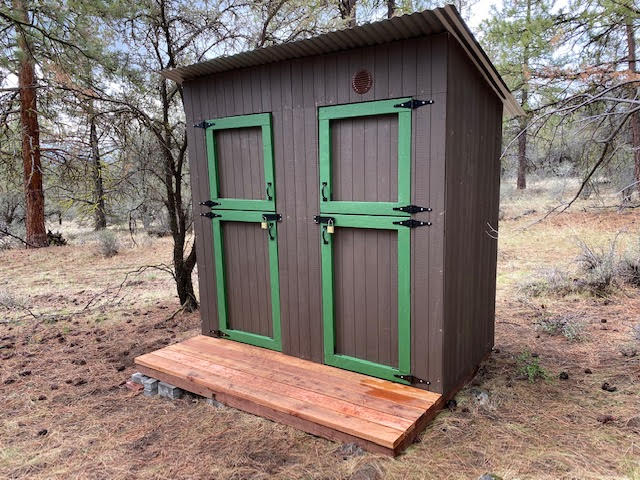
I built an an outhouse for my camping property in the PNW. The plans were great and easy to follow.
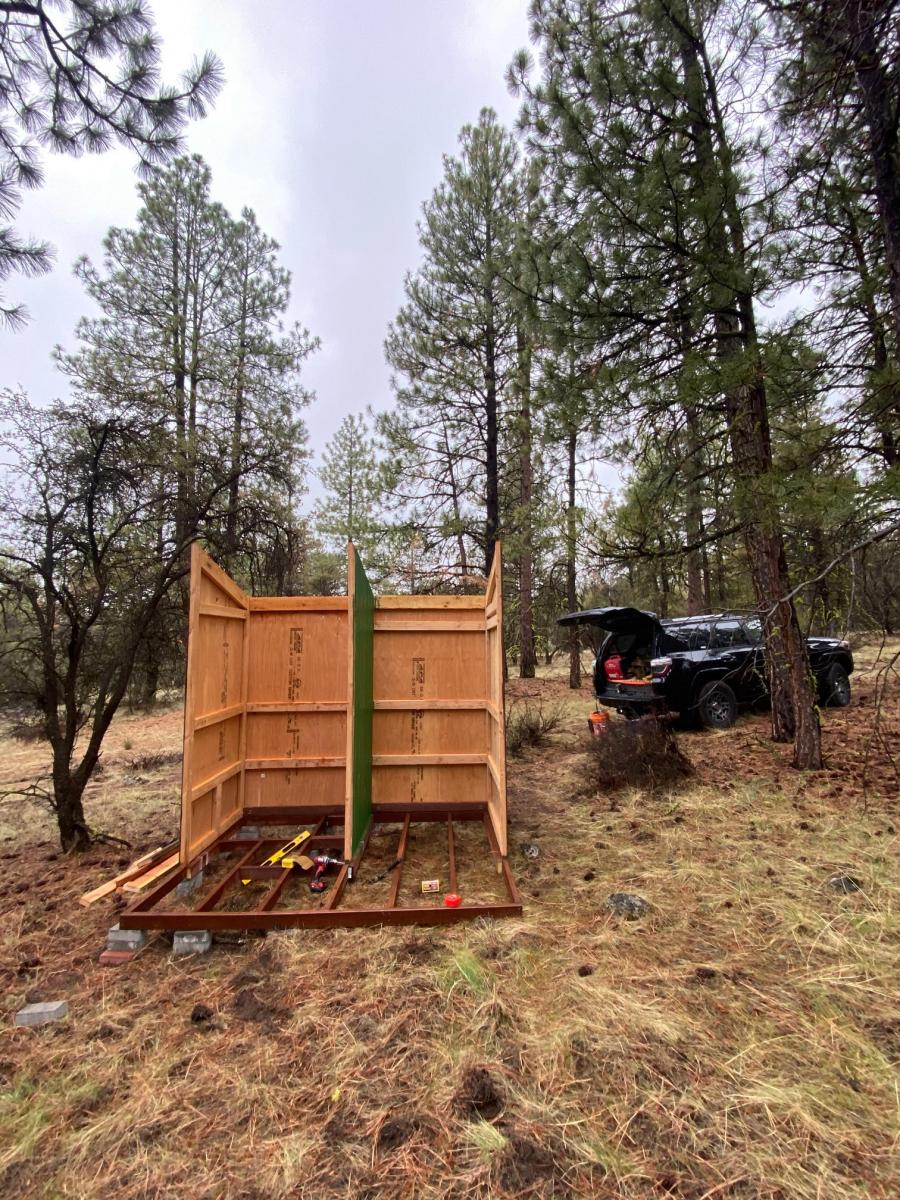
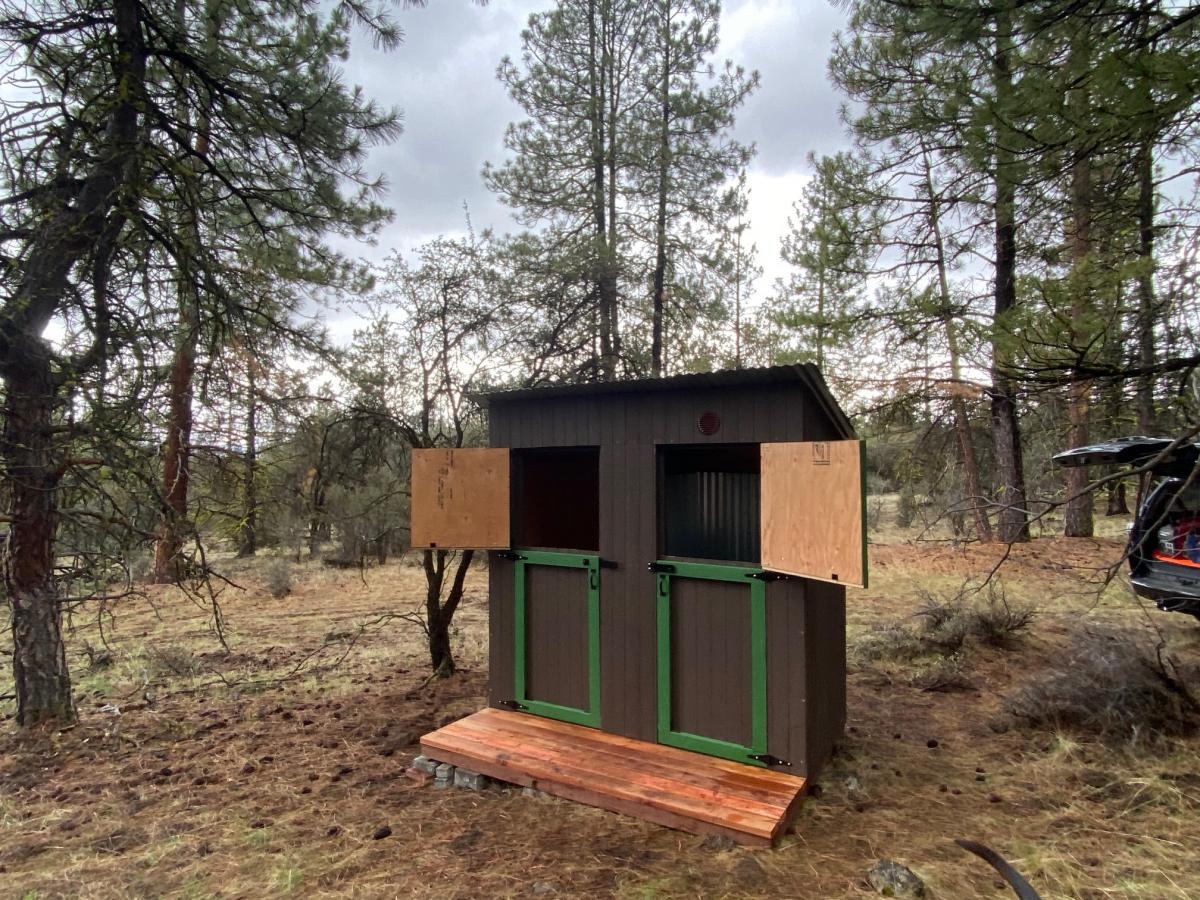
I did take the liberty of extending the the front wall to 8' still using the 15 degree roof line. I also wanted the option to shower during extending camping trips so I extended the floor and added one more back and side wall to create a shower house. With this design, I basically duplicated the side and back wall. Since I am in the middle of the woods, the Dutch doors were a last minute embellishment that I'm glad that I implemented in order to take advantage of the view!
For the shower, I used composite decking with 1/2" gaps for drainage and lined the inside with 6' lengths of corrugated metal roofing.
One additional note: I did build this on my back patio over a couple of weekends since my property is a fairly long drive from my home and about 2 hours round trip from the nearest hardware store. It broke down easily in about 30 minutes with 2 people and fit perfectly in the back of a full size pick up truck for the trip.
In summary, great plans and I love this site. Much appreciated and happy building!

Thu, 04/29/2021 - 16:44
Thank you so much for sharing, what a great addition to your property!
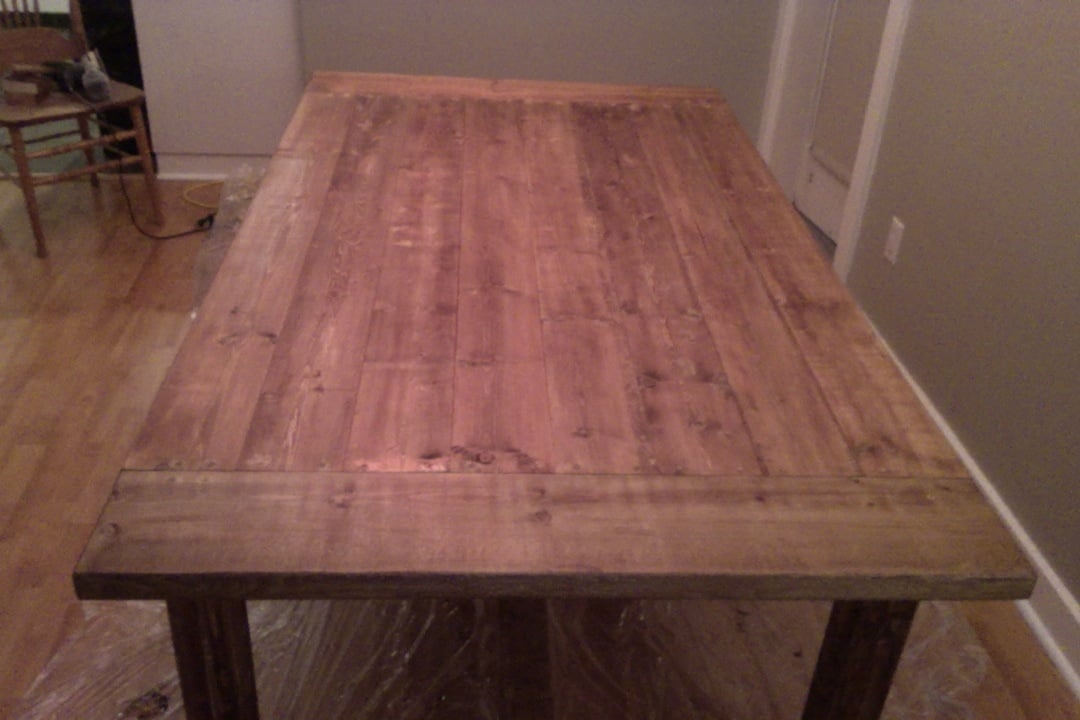
This is my first ever wood project. I helped my dad frame his basement a couple years ago and figured that a hand built table would be a nice piece of furniture to have as my wife and I begin to start a family. I've been gathering tools for a few months to begin making furniture and I chose to start with this piece.
I had read that a few people found that the 2x6's on the table top caught crumbs so I picked up a cheap, used table saw and squared off the edges so that the table top would be more consistently flat.
For the legs, I wanted to use 4x4 untreated posts but could not find them so I used the table saw to cut down the 2x4's so that, when screwed together, they formed 3x3 legs. I then used a 0.25 inch round router bit to sound off all the edges on both the legs and all exposed edges around the outside of the table.
I finished with two coats of early american stain and in between applied a distressing technique I picked up from one other blog post.
I am 95% happy with how the table has turned out. Structurally is it very sound. If I was to do it over I would have screwed the entire tabletop in with pocket hole screws to eliminate holes on the surface.

This angle frame Twin over Full bunk bed with a trundle was made of yellow pine and stained with a dark minwax stain from Homedepot.
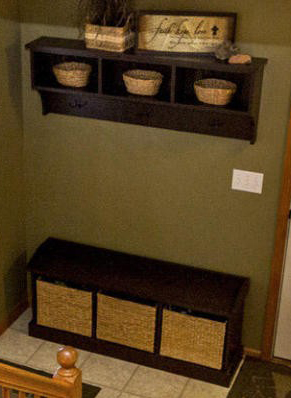
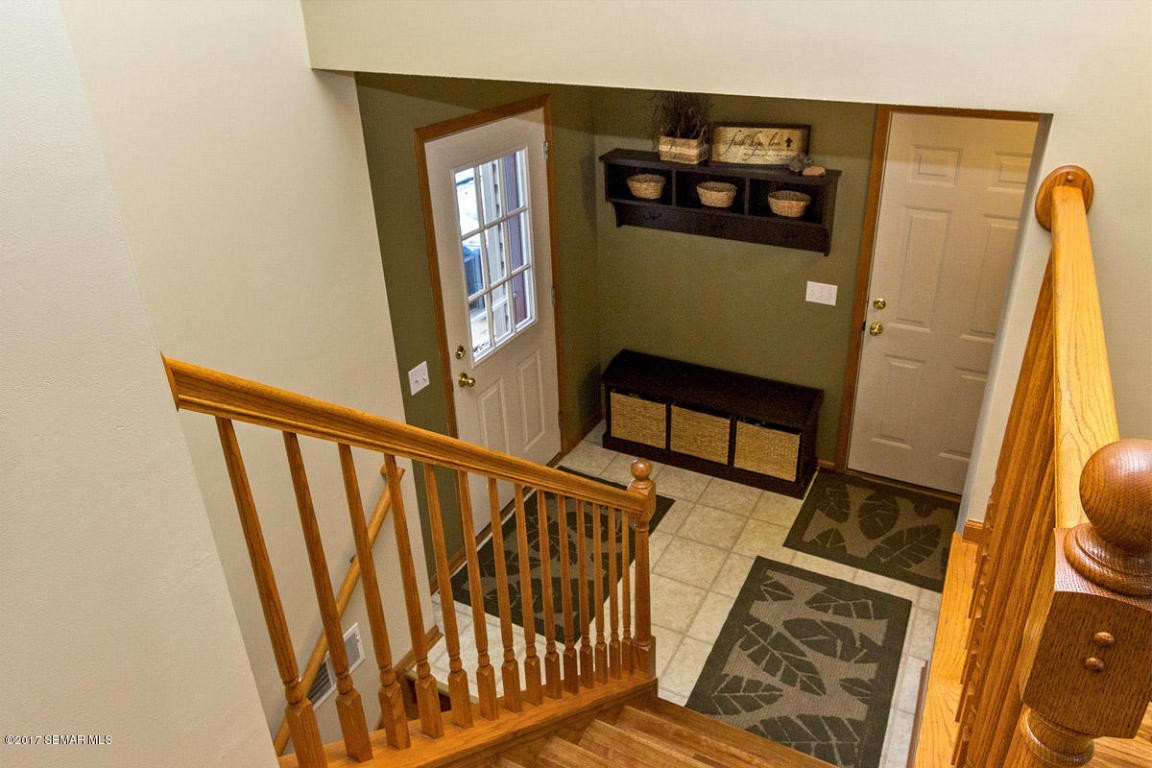
I believe I built this to spec from the original plans without much deviation using higher-grade pine boards (straight and not too many knots). It took an afternoon to build. I primed then painted with 3 coats of "Mocha" paint. There are 3 antique bronze hooks which are hard to see, but go well. The biggest challenge was finding baskets to fit, after the fact. I happened to get lucky with baskets for the bottom bench, but never did find anything to fit the top, at least in the way I envisioned. I wish I'd have located a set of baskets first, then measured and built the bench and shelf to suit the baskets. The bottom baskets actually stick out the back of the bench by about 3/4". Any rectangular baskets I found for the shelves seemed to stick out the front a couple inches. I highly recommend getting your baskets FIRST, then adjusting your measurements to accomodate them.
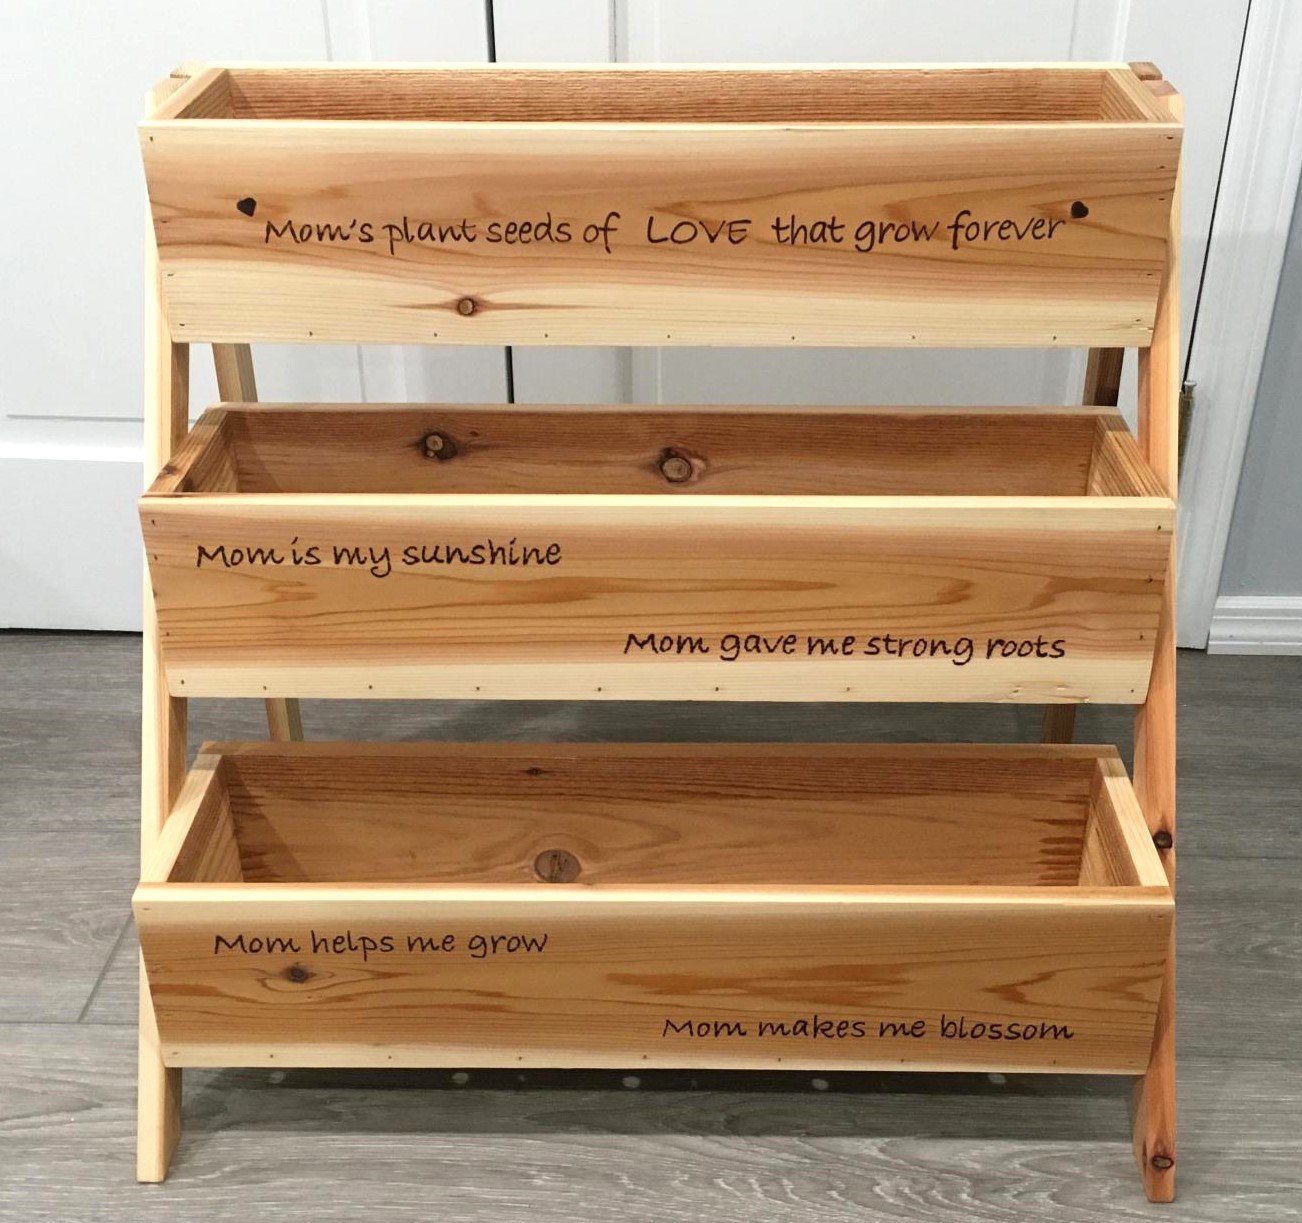
We made this tiered planter for a Mother's Day gift for my wife. It was a simple build and the plans are very easy to follow. I couldn't get any cedar fence pickets so I used standard 1x6x8 cedar boards that were available at the local big box store; that's why the cost is a little high. The planters were made 24" wide for more room instead of 16'" wide as per the plans. We personalized it by adding the quotes to the boards and burning them into the wood with a pyrography pen.
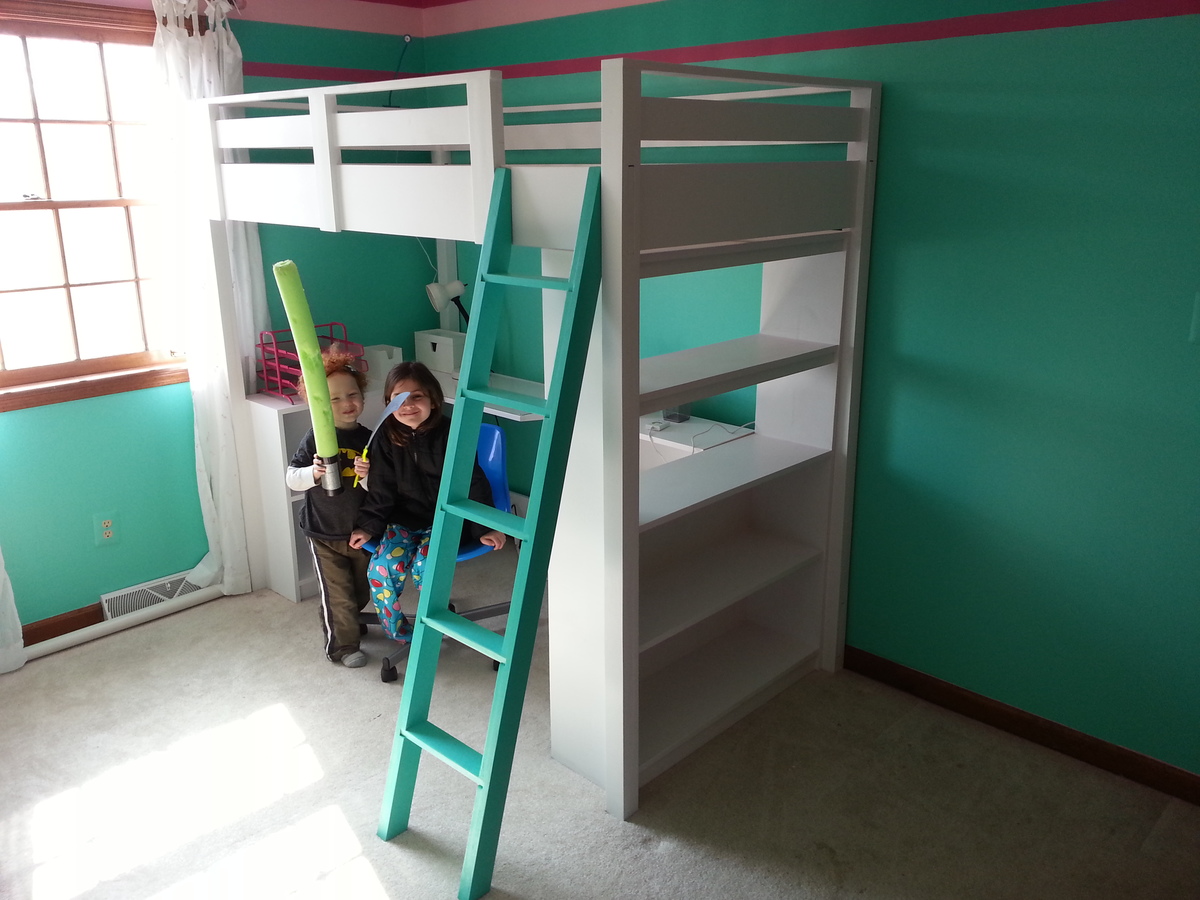
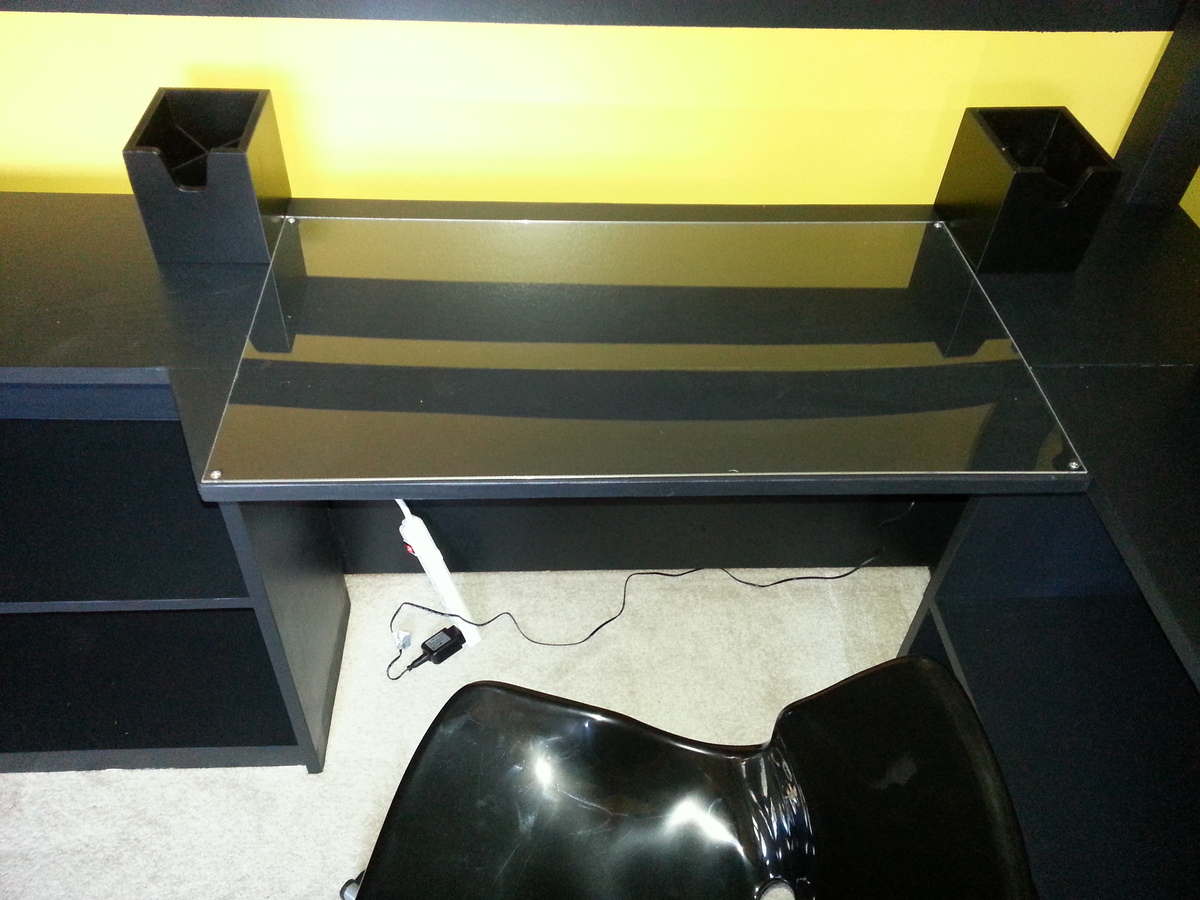
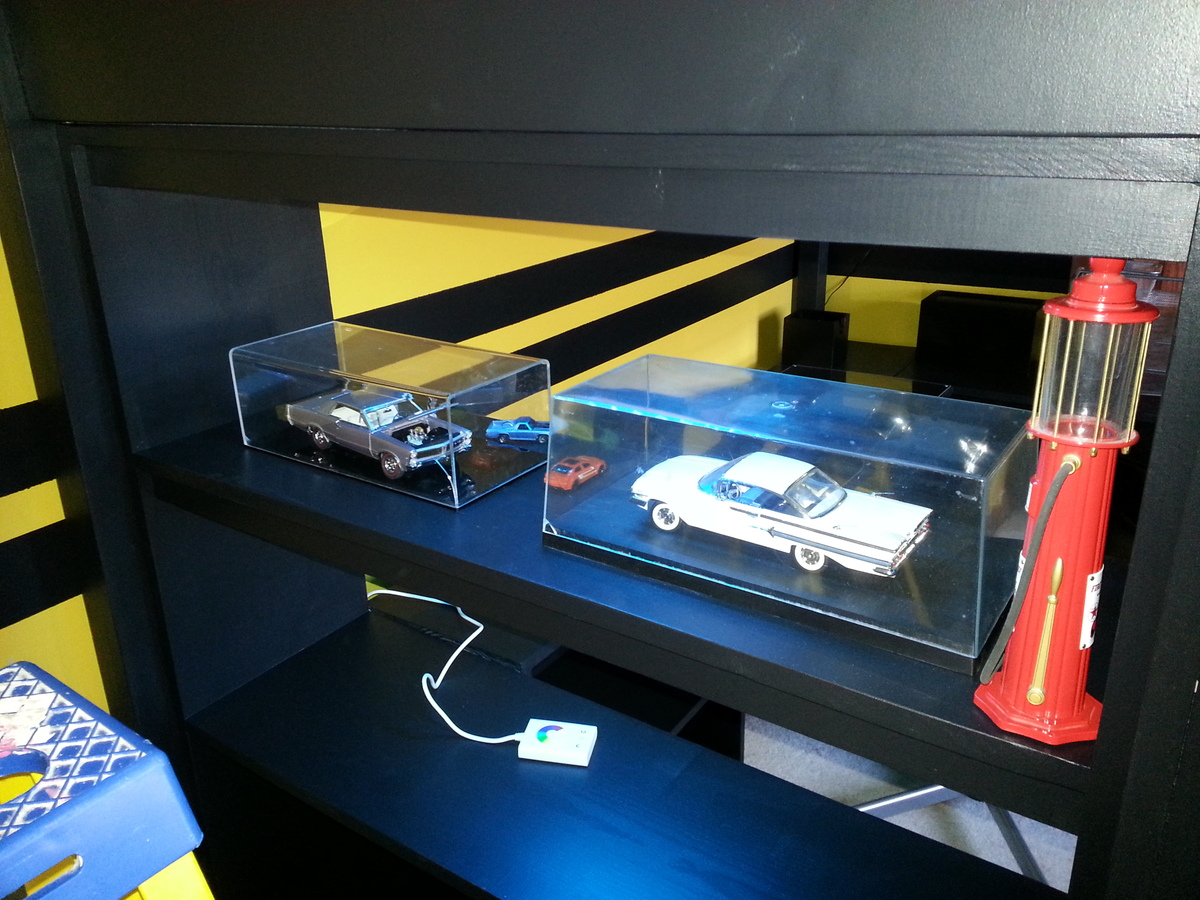
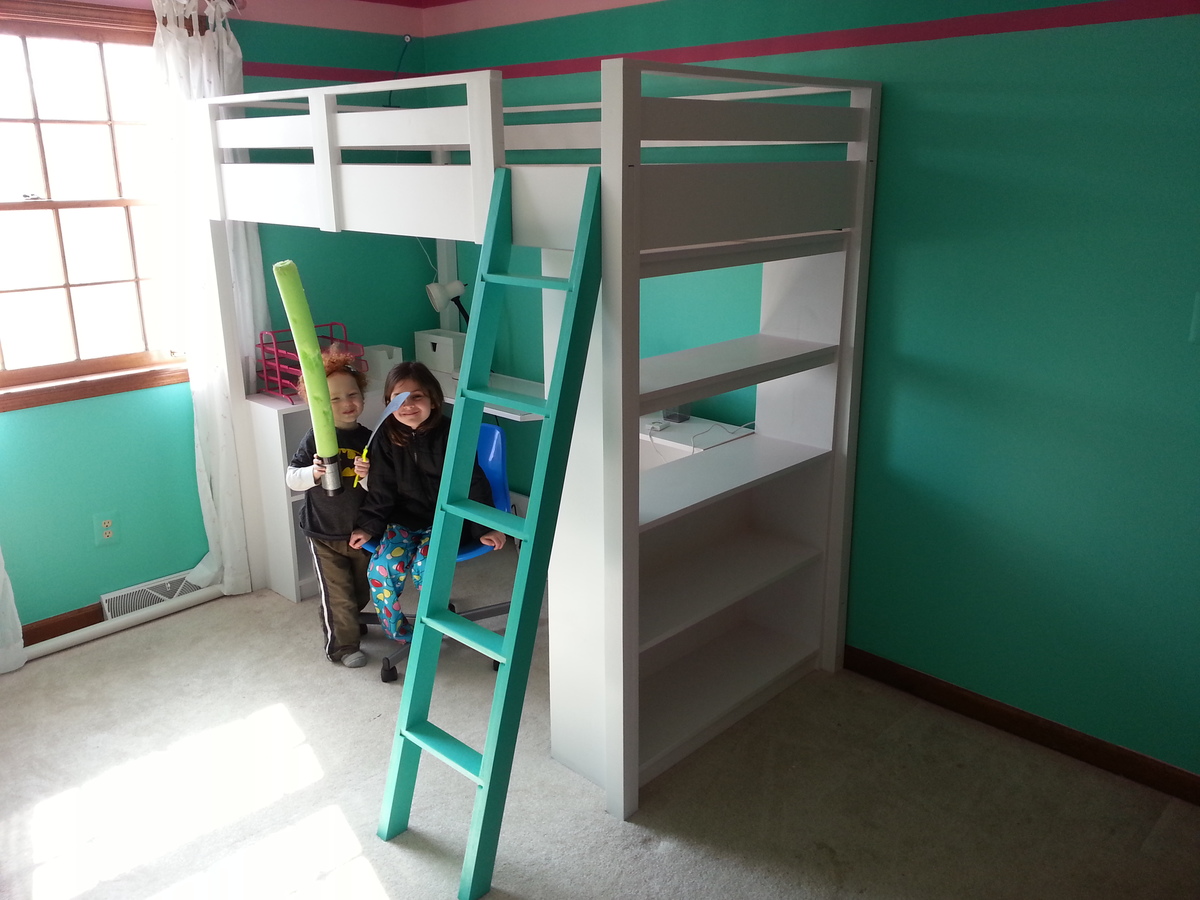
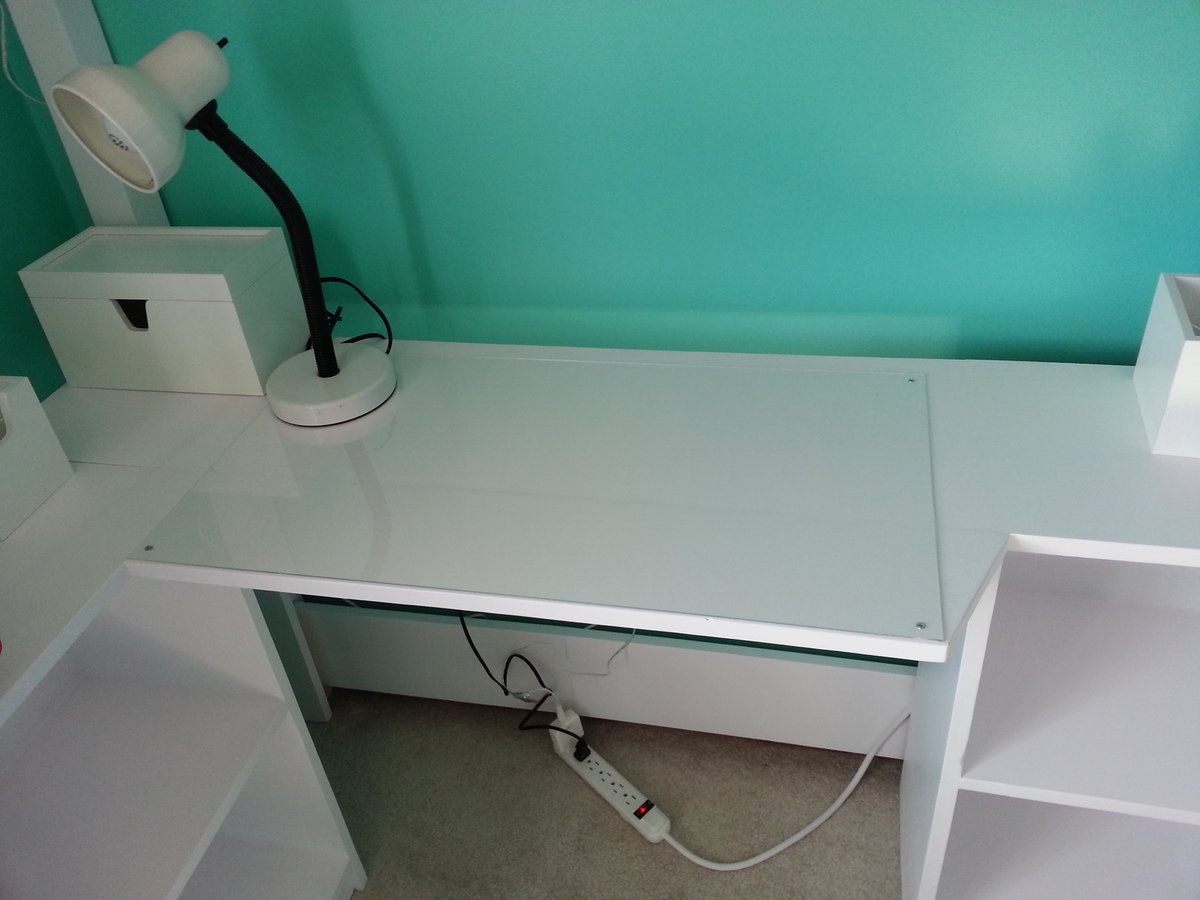
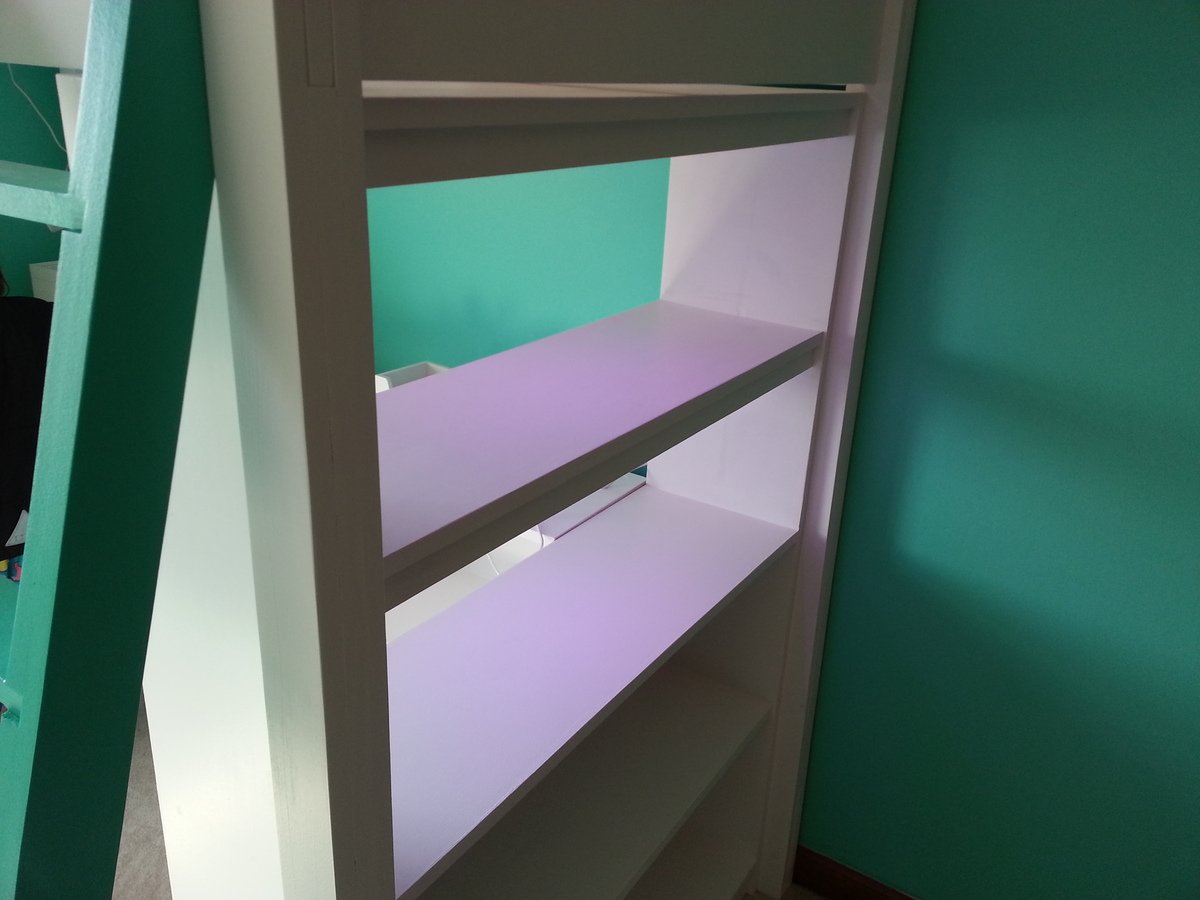
How I Spent My Spring Break Well, it was a long week but I finally finished. I made 2 complete sets of loft beds for my oldest son and my daughter. The plans were great and easy to follow. A few notes; the actual width of a 1 x 8 is 7.25 inches (not 7.5) and a 1 x 12 is actually 11.25 inches (not 11.5). I noticed this when constructing the legs and putting the optional shelf supports on the large bookcase. It's not a huge deal, it's only a quarter of an inch. Also, if you are going to assemble and paint in the room, paint the interior of the bed area BEFORE attaching the slats. That added a lot of extra painting time for me. I made a few modifications as well. For the desk, my wife suggested that the width of a 1 x12 was a bit narrow, so I cut a 1 x 6 and biscuit joined it to the desk front. I cut a 22.5 degree angle on the end that meets up with the small bookcase that is attached to the desk. The straight edge lines up with the face of the other small bookcase, like a puzzle piece. I then covered the desk top with a piece of plexiglass to make the surface smoother and to hold picture (slide under the plexiglass). In addition, I bought an LED light system (about $40 from IKEA) and installed under the 2 top shelves of the large bookcase. Really cool effect and the kids love it! Overall, I am very happy with the project results. Looks great, very solid and lumber on cost about $400 for 2 complete sets. Just need to put in some sweat...
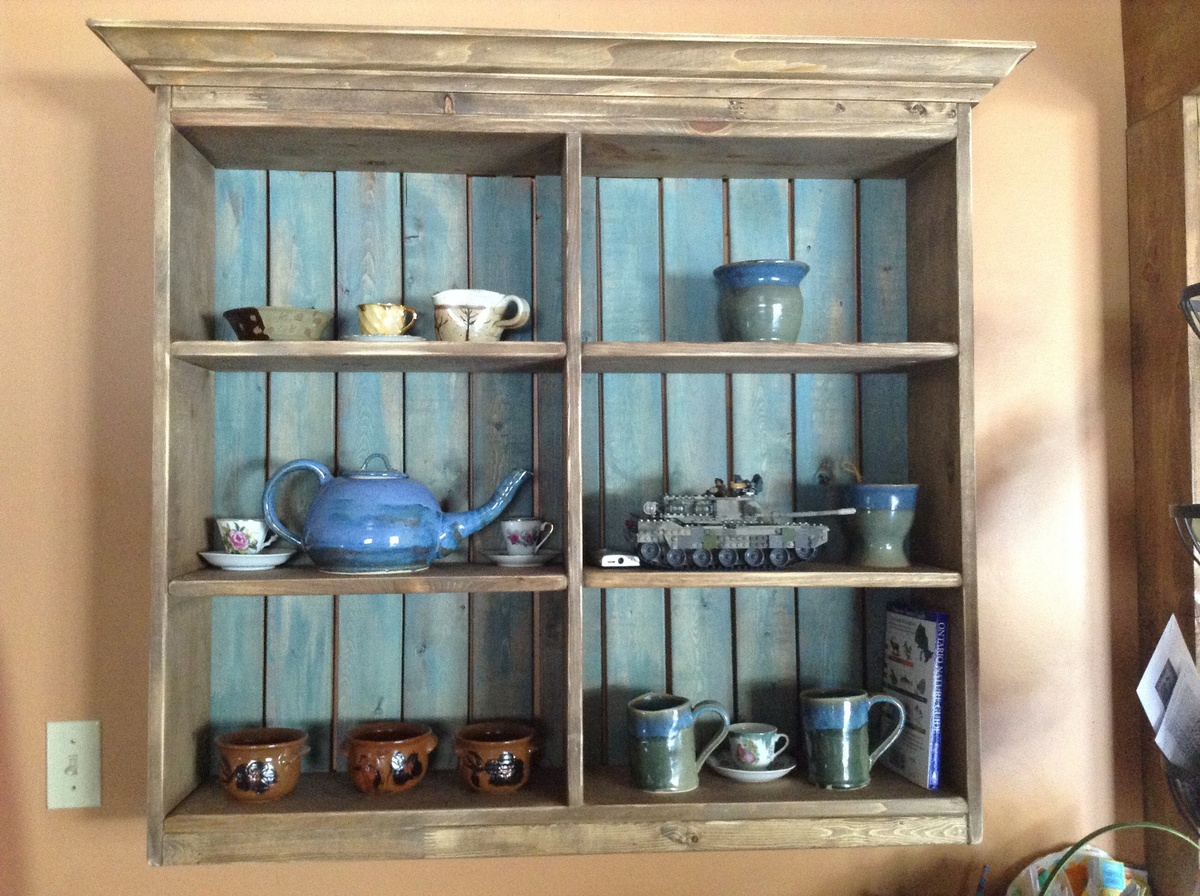
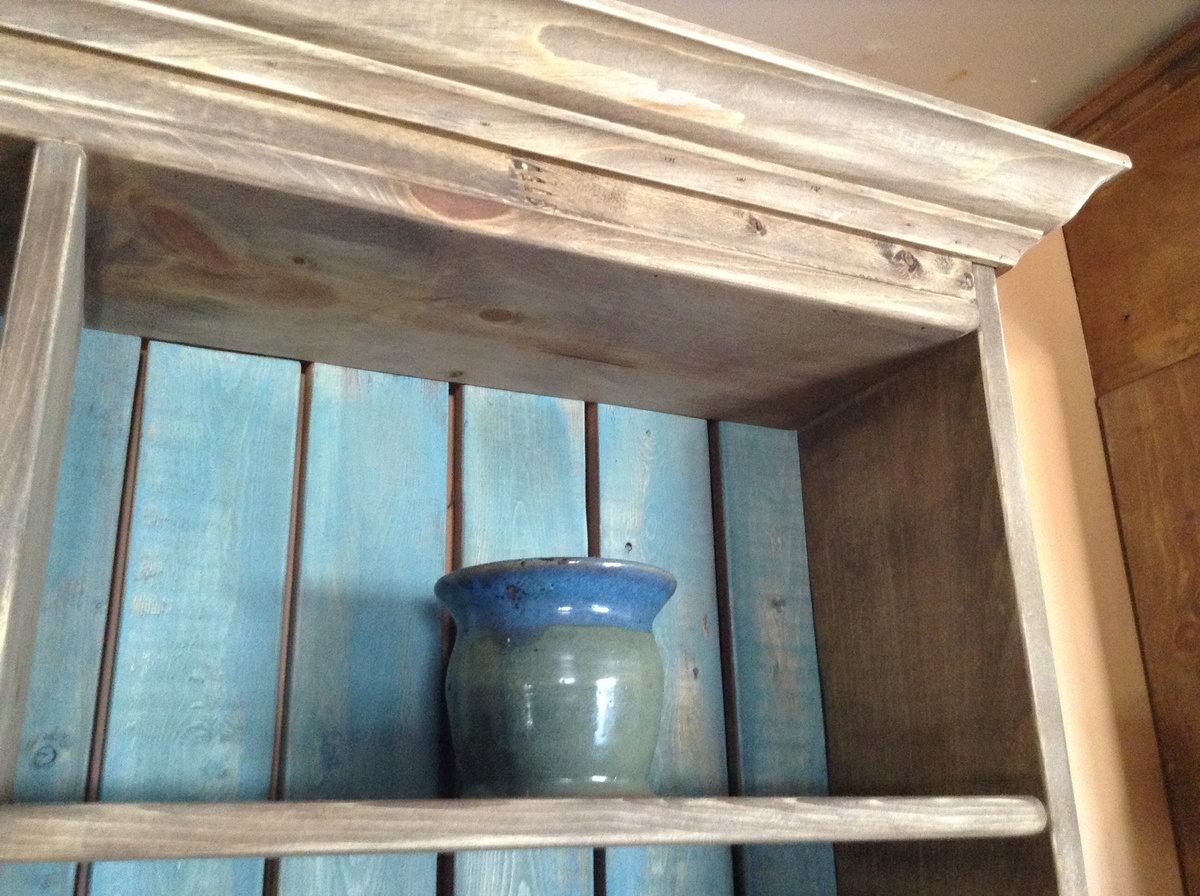
3x4foot wall unit for displaying pottery and your kid's Lego sets that took you 3 hours to put together. Back boards have been washed with diluted blue green latex paint and then stained with Minwax Special Walnut. The main frame is just stained, distressed and then waxed.
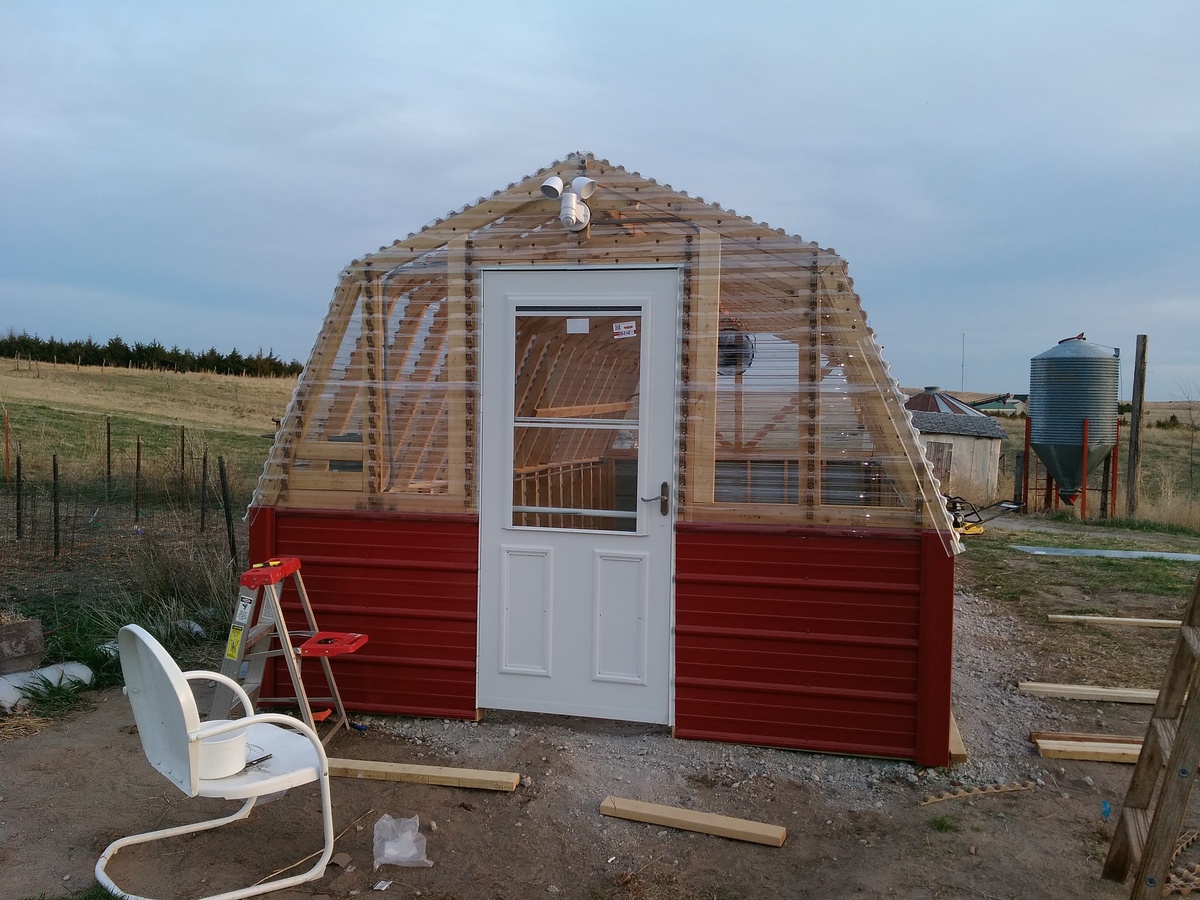
It was a Mother's day gift for my mom. My sister and I built it from the plan except we doubled the length and made the walls 38 inch total height no we didn't have to cut metal down and we made the door a 36 inch door.
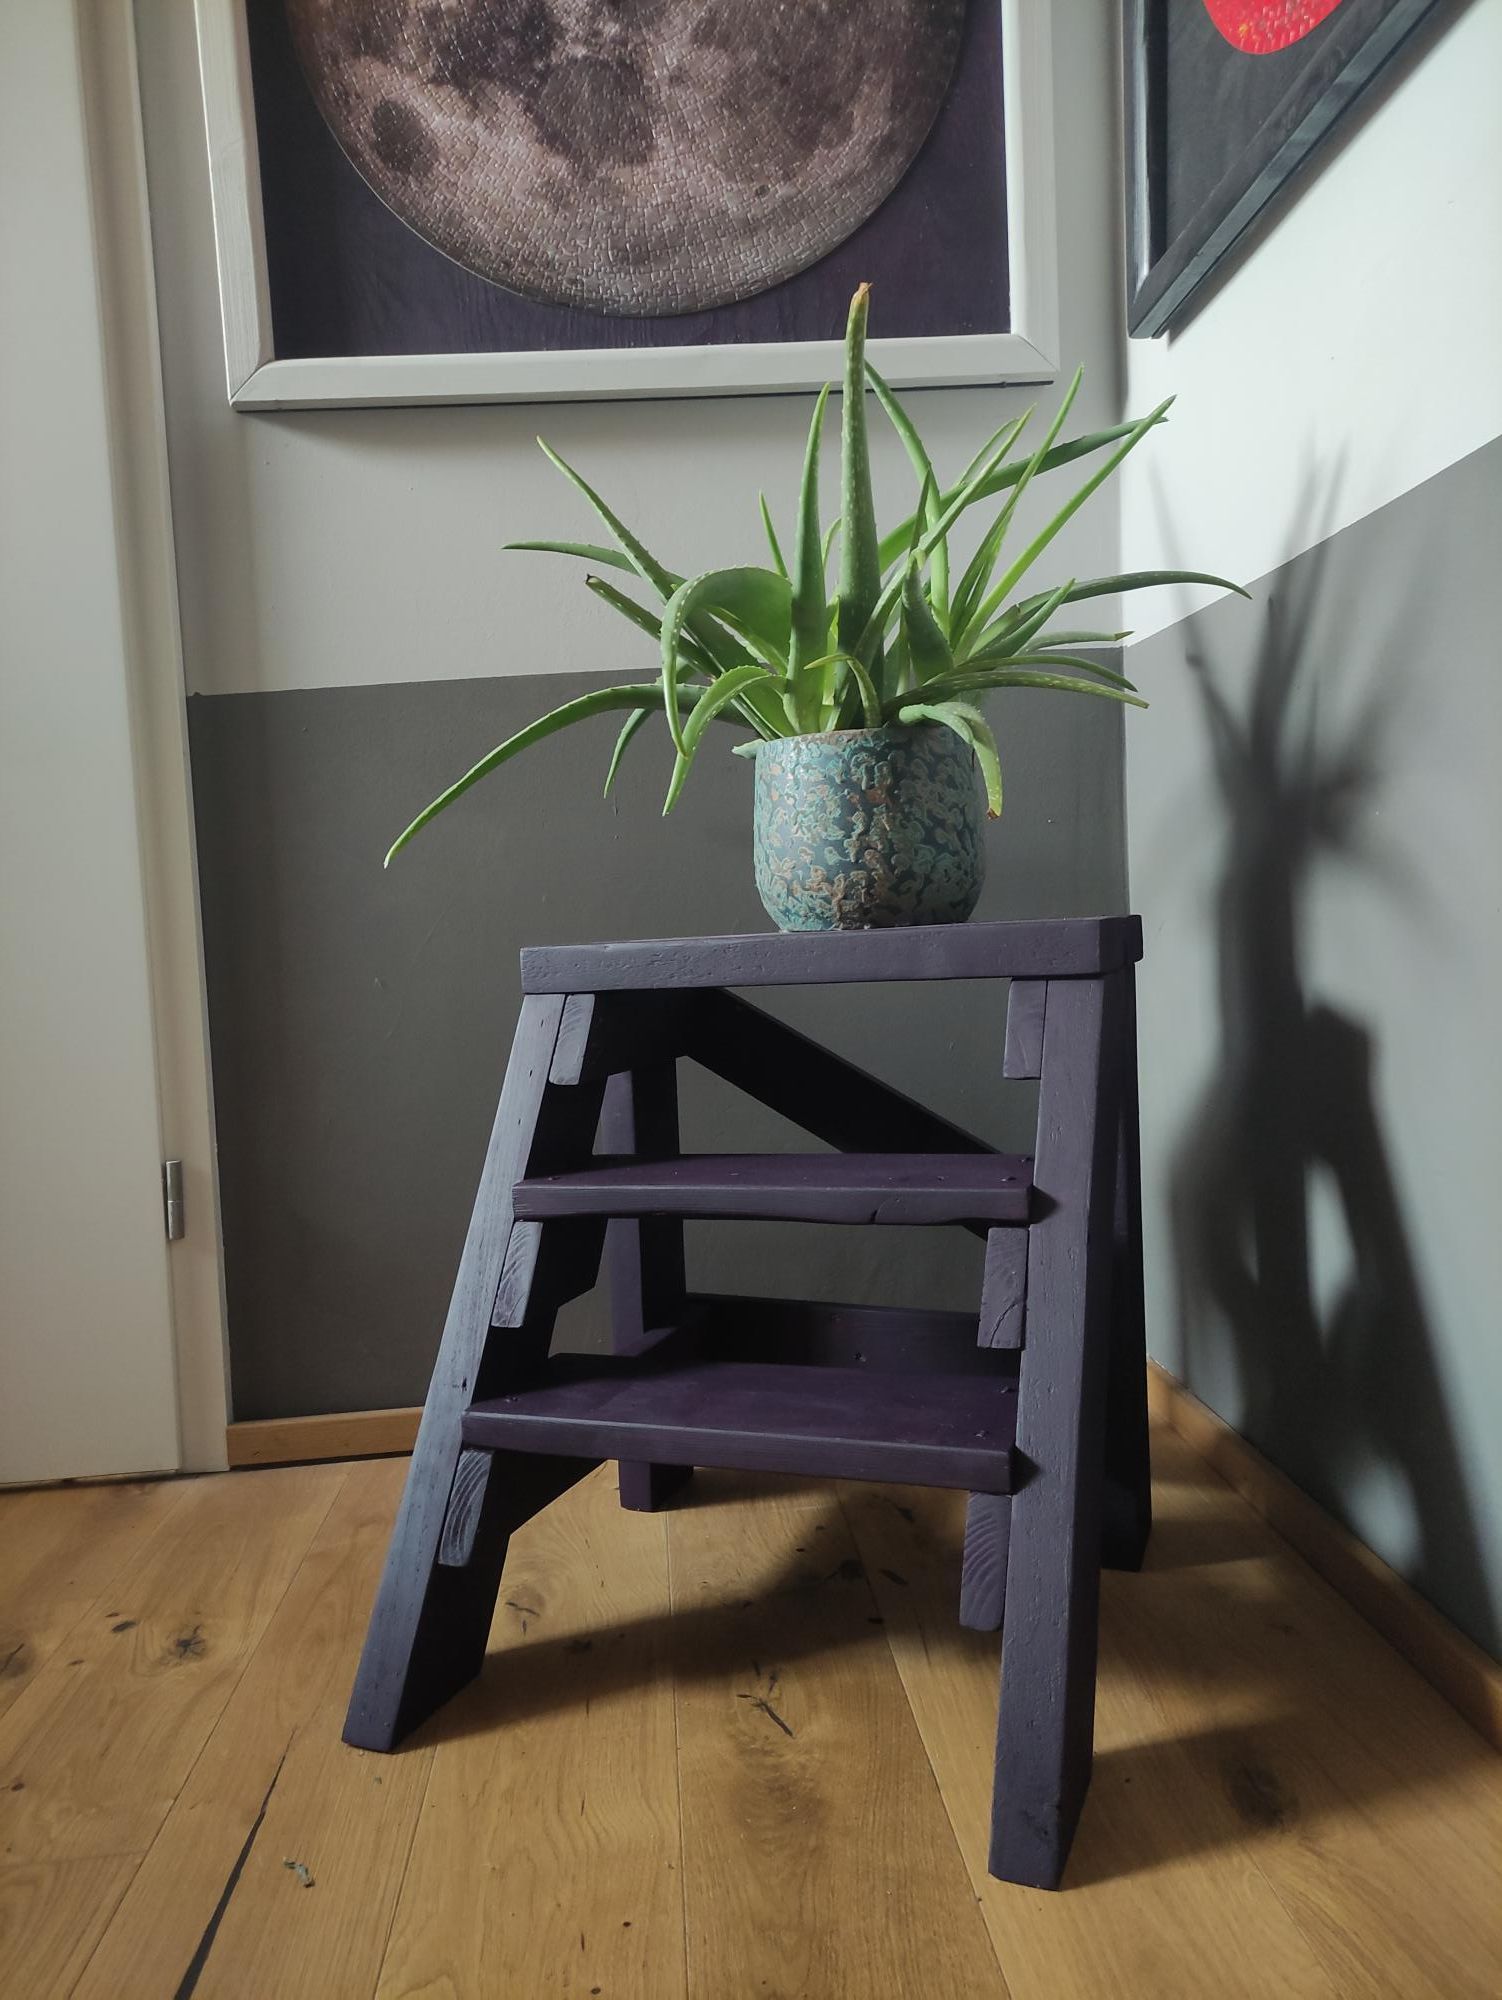
I was looking for a plant table and fell in love with the vintage x plan. And it was perfect to get rid of some of my waste wood from other projects.
I love to work with Ana's plans :-)
Fri, 05/14/2021 - 11:16
Thank you for sharing your build, it looks awesome!
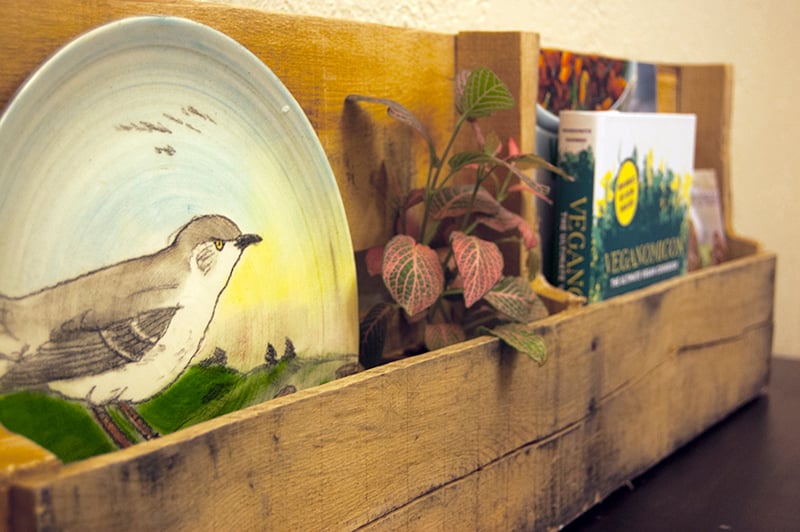
This was my first time using my jigsaw. Easiest project ever, and I love the result!
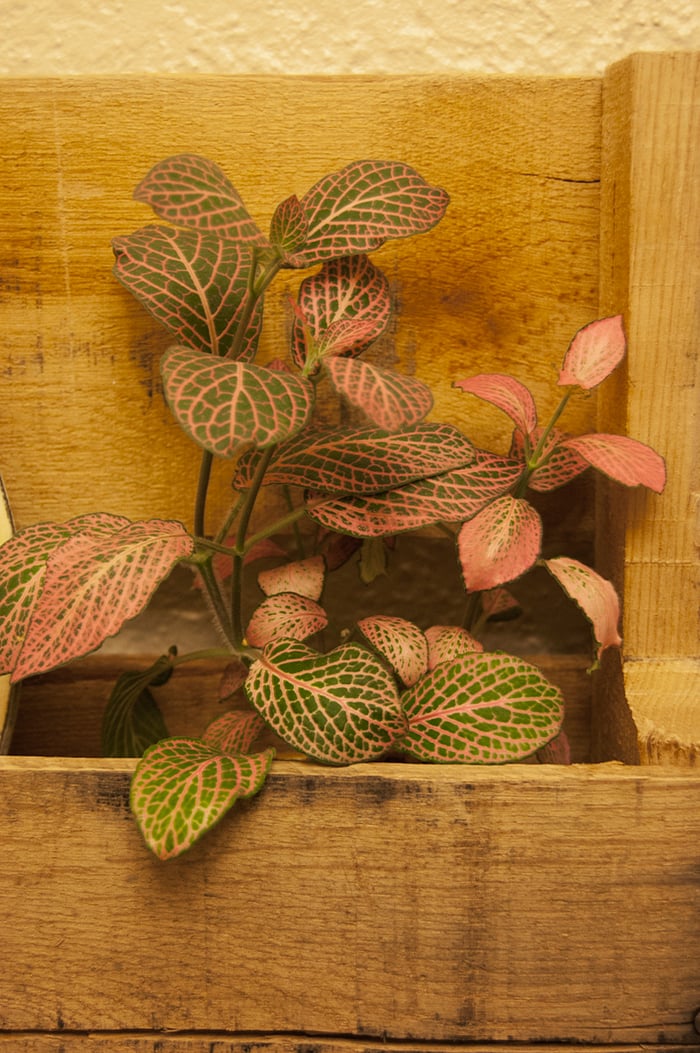
Tue, 04/02/2013 - 21:49
You certainly have a talent when it comes to making a pallet look beautiful!

Built this set of Nightstands to match a bed that I made.
Mon, 02/16/2015 - 13:21
This is cute! I love the colors that you chose...:-))))))
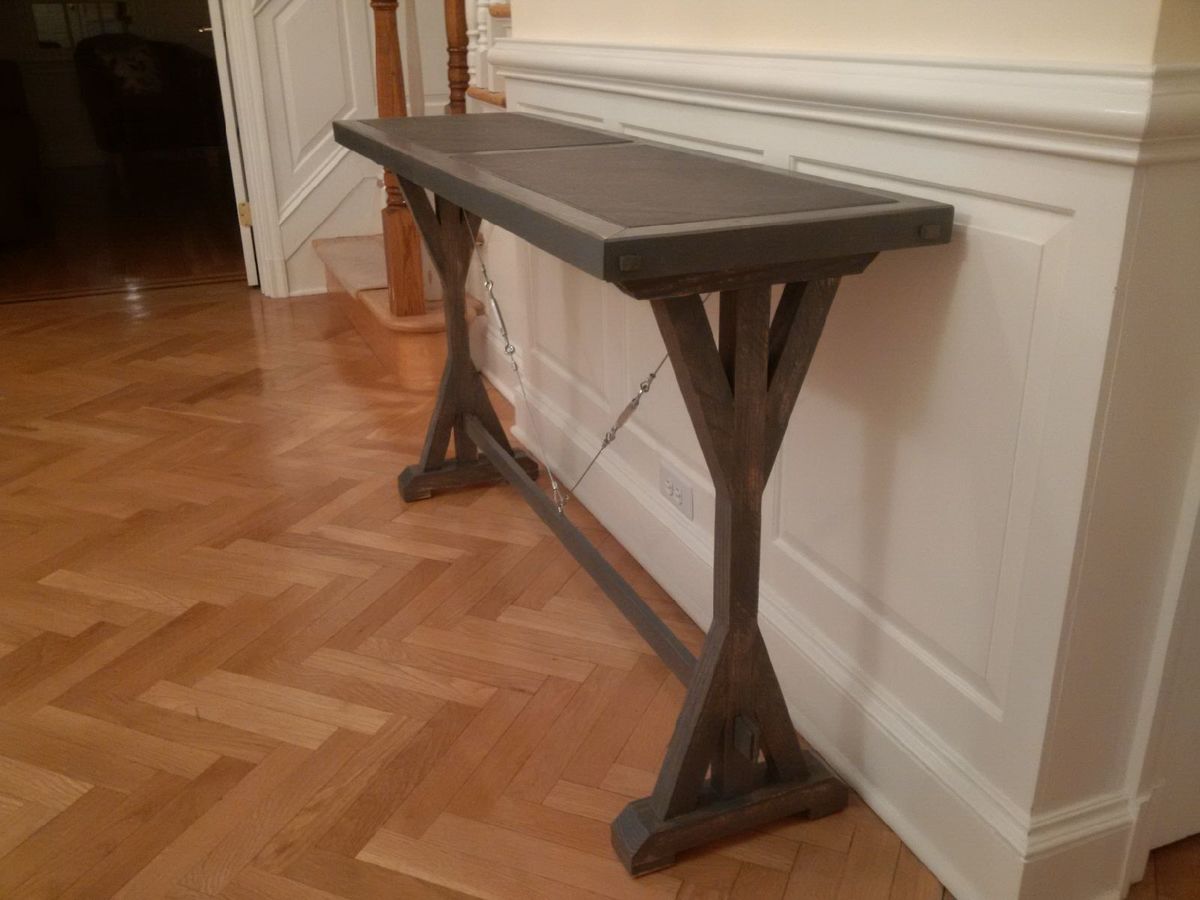
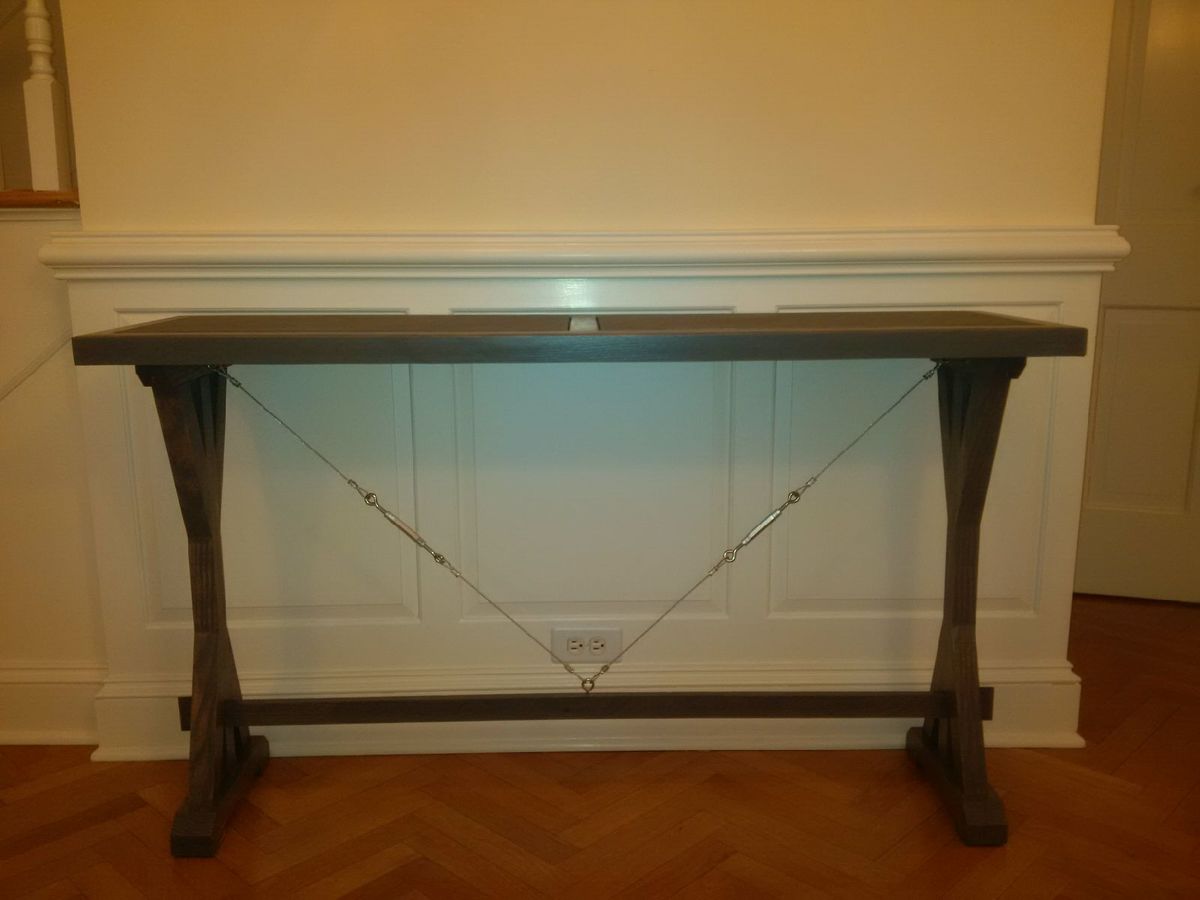
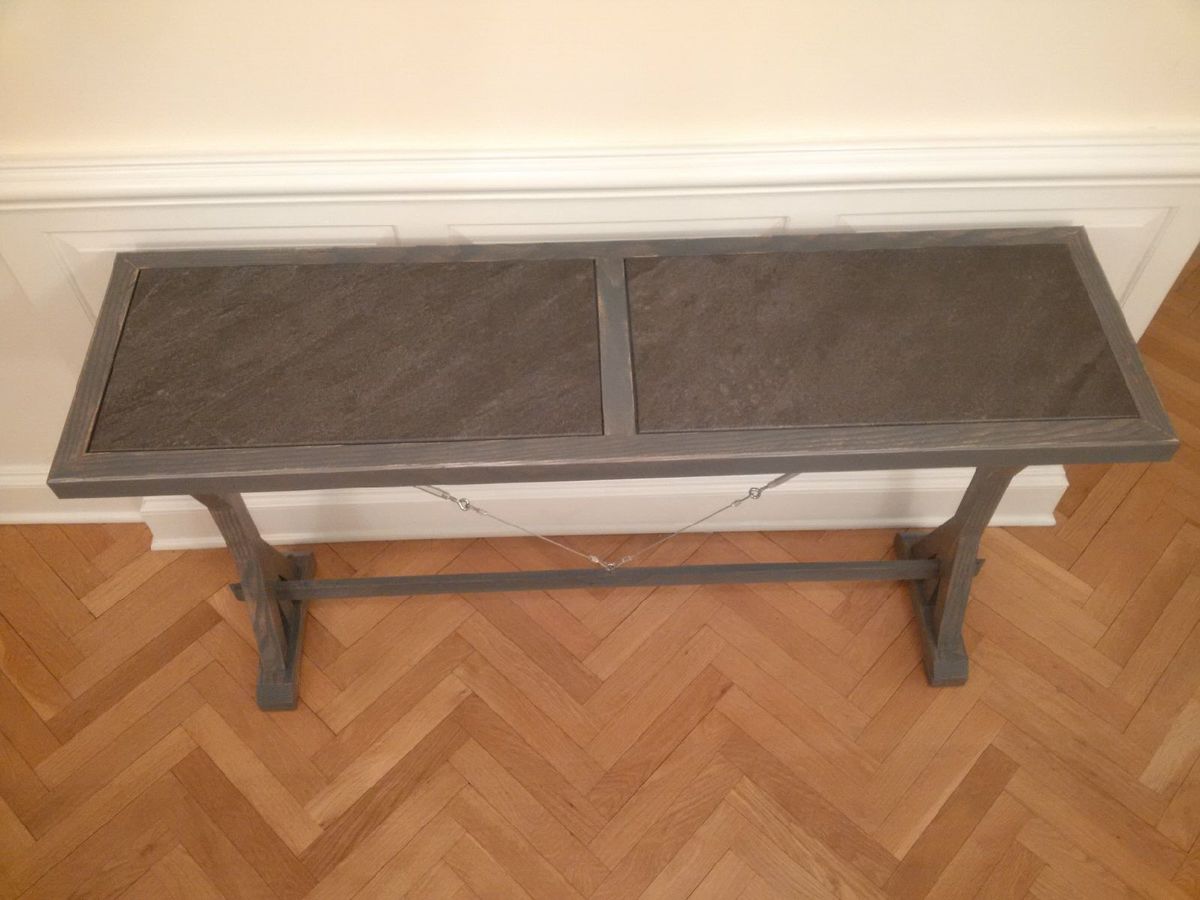
Just finished this for our front hallway.
All made from one ripped down 8ft 2x10 board of fir. (table saw to cut 2 strips at 2.5 inch wide (top rails), and 2 at 1.5inch wide (legs), and one at 3/4 inch (stretcher).
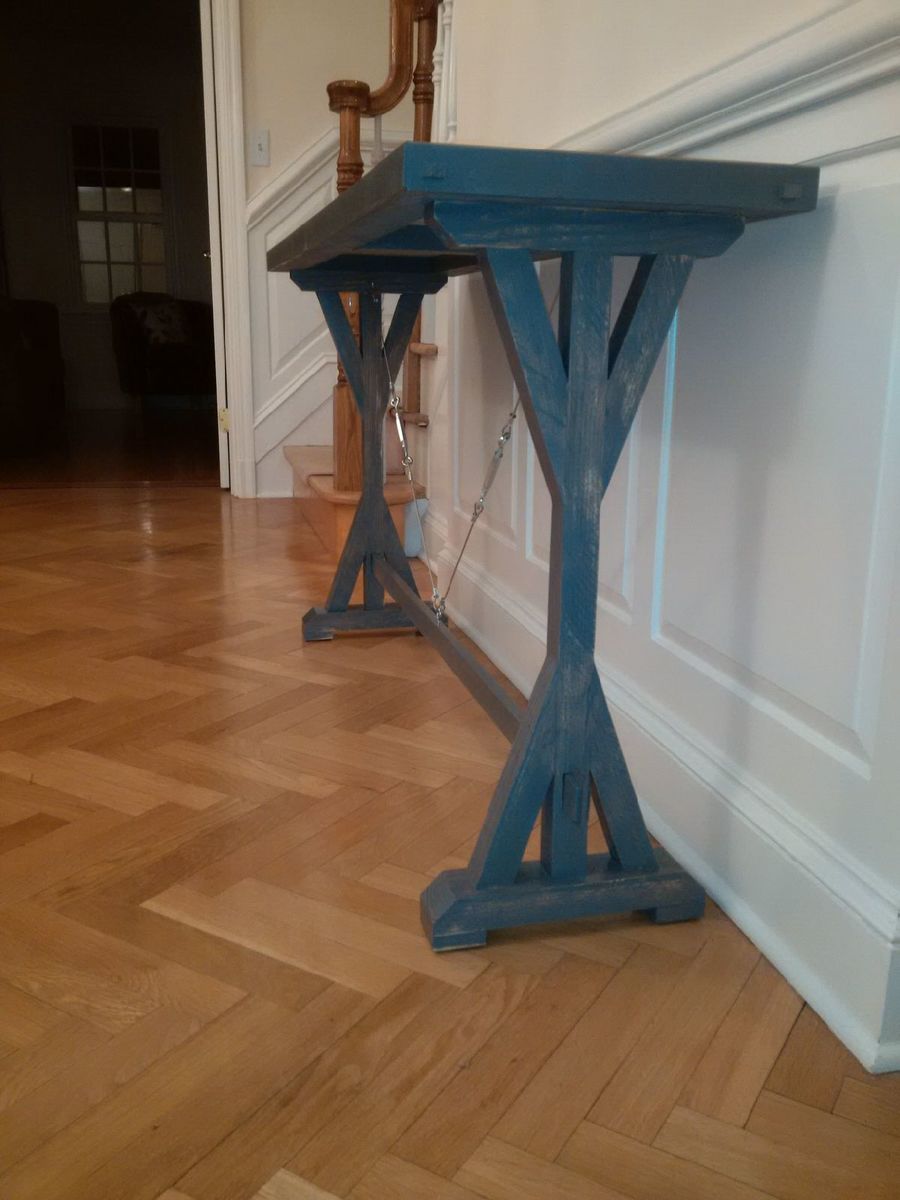
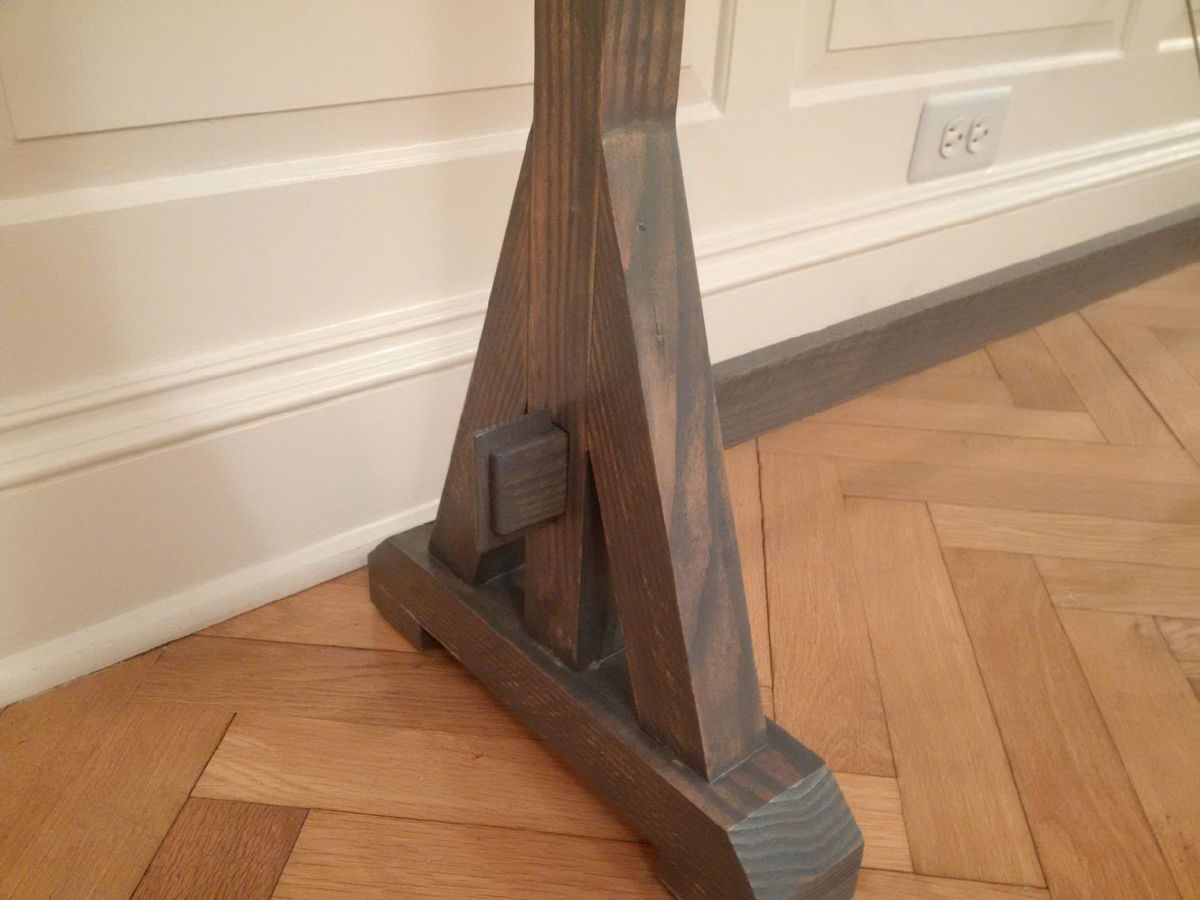
Leg braces are angled 20deg / 70 deg to make them more upright and give a sleek profile.
Stretcher goes through the legs and is held in place by wedged shims.
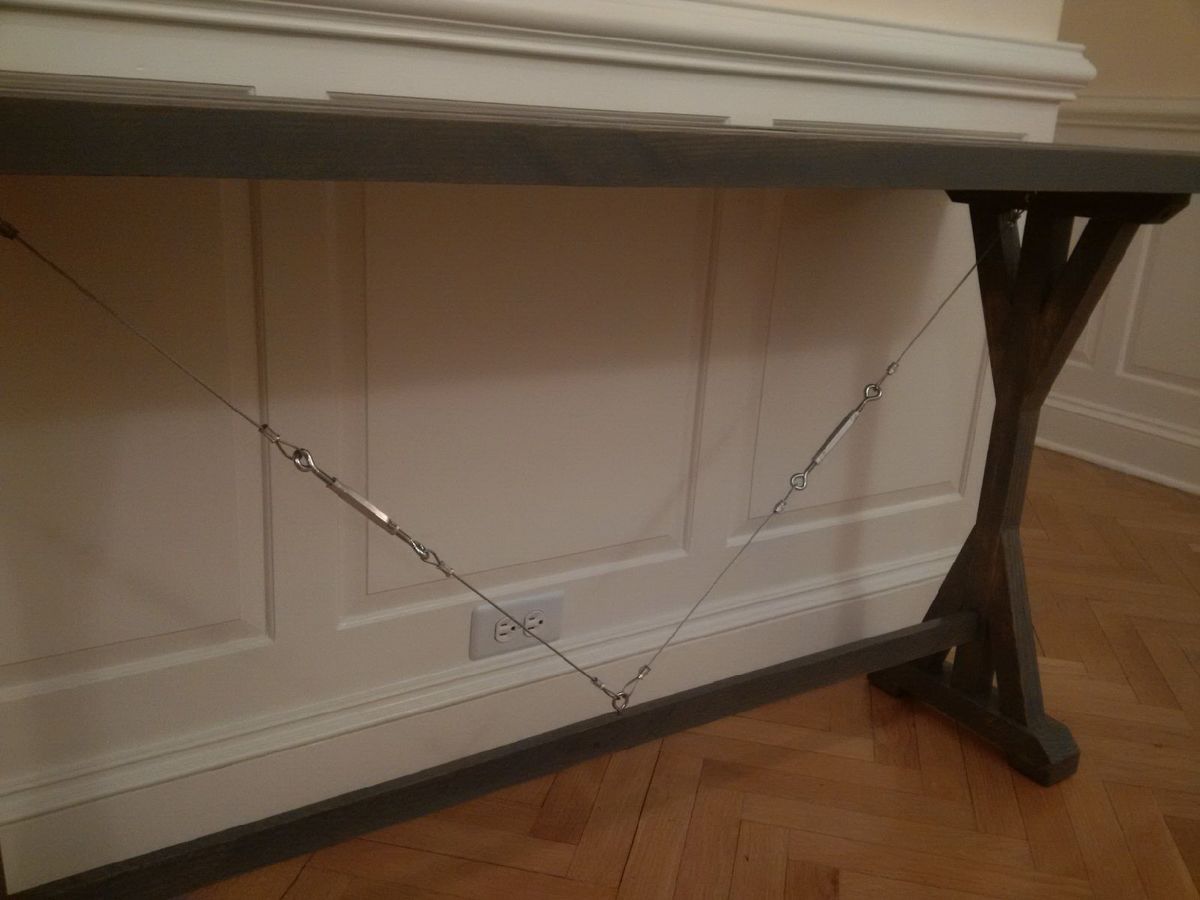
Stainless tension wires and turnbuckles underneath to keep it all tight - and give an industrial look. Need a lot of strength to crush teh ferrules onto the wire.
Top surface is 2 of 12" x 24" bathroom slate tile inlaid into a recess that was cut into the top rails.
finish is 3 coats of minwax glassic grey, and 2 coats polyurethane, sanded deeply in some parts to weather it.
Took me about 8 hours.
I can provide more instructions if anyone is interested.
Austin
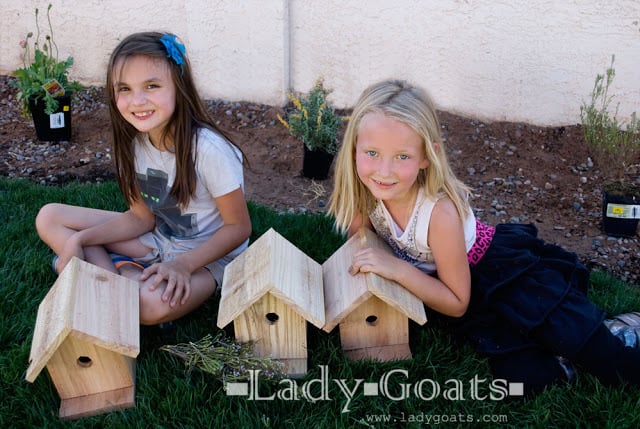
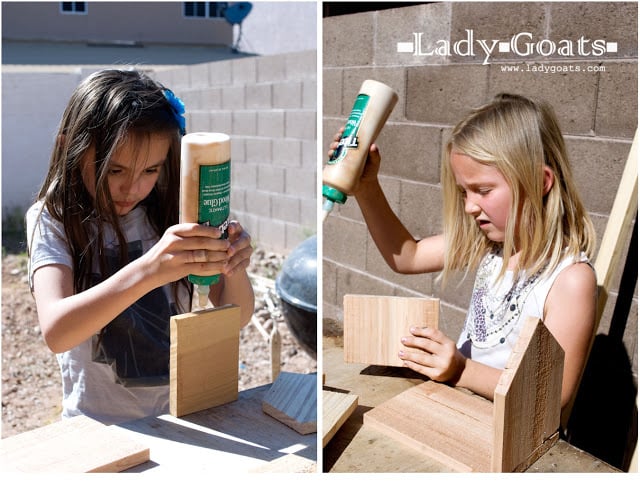
The Big Kid and her friend were standing behind me when I pulled up Ana's birdhouse kit plans and they begged to build one, too. Initially, I wasn't wanting them to use my nail gun, so I predrilled the holes for all the brad nails. Details are on my blog.
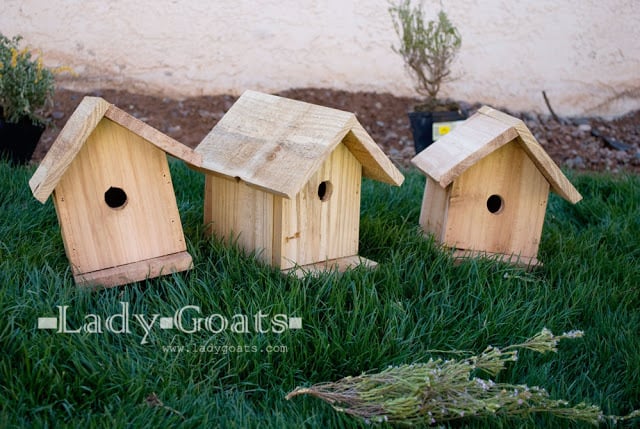
I was able to get three birdhouses from two 6' fence pickets (had to make one about a half inch smaller all around, but it's barely noticeable!)
Thanks, Ana!
Comments
Ana White Admin
Wed, 04/14/2021 - 12:22
Great use of leftover material!
These are very pretty, thanks for sharing!