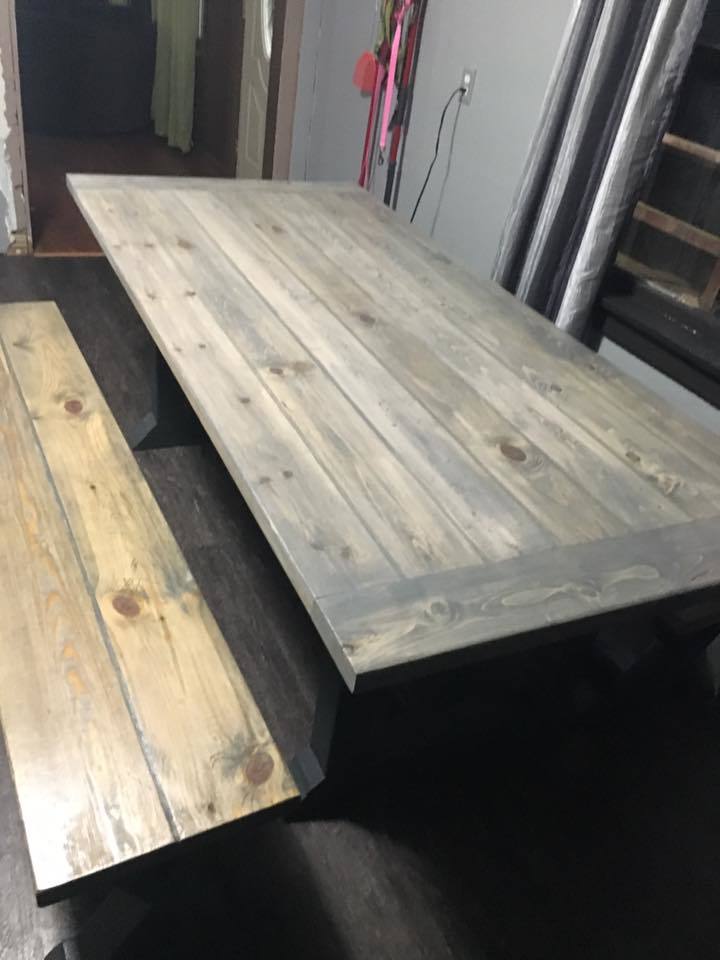
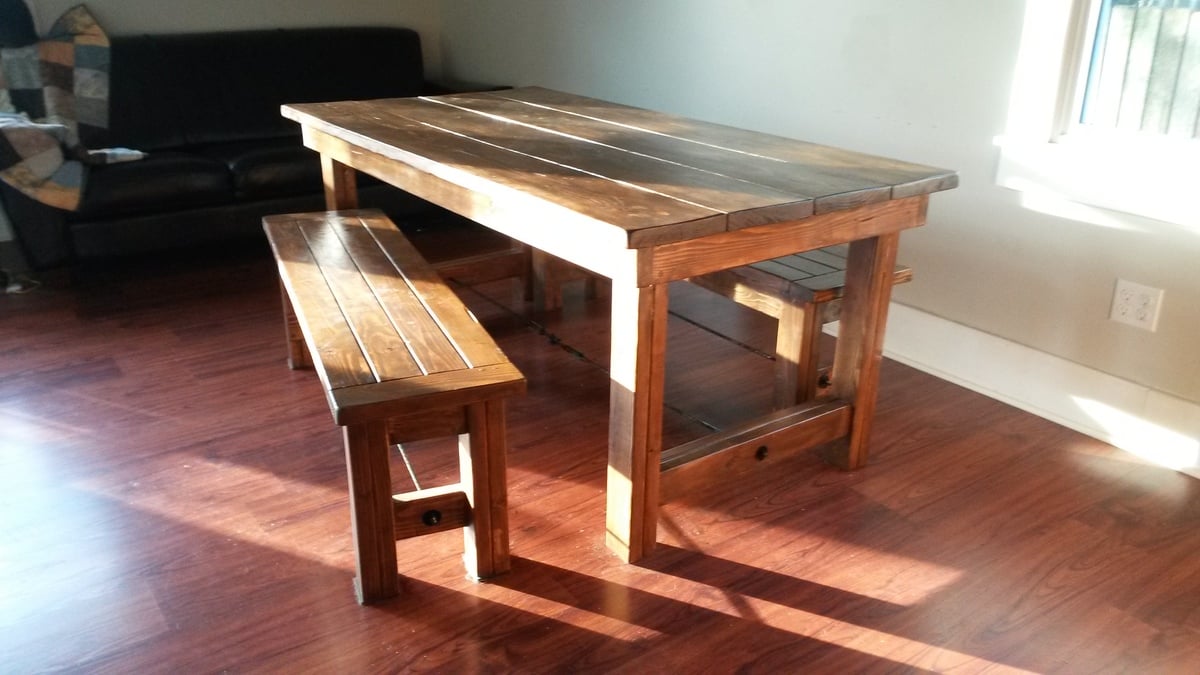
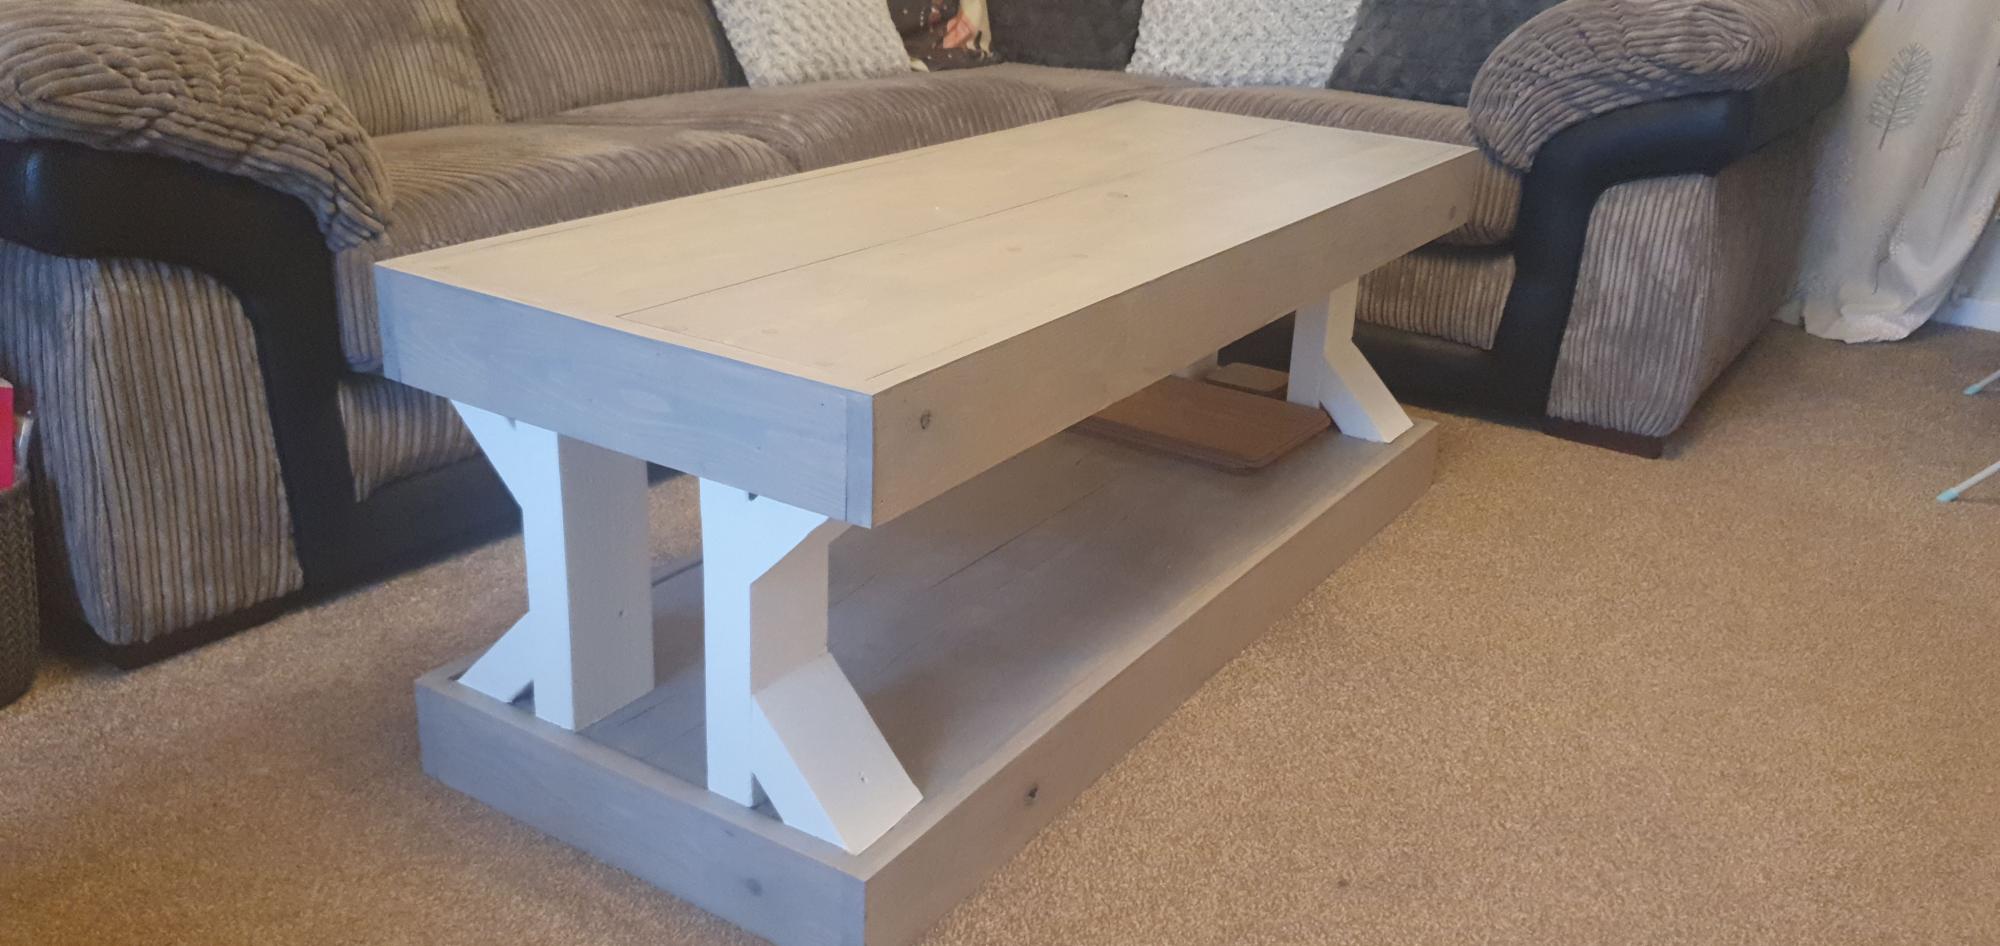
4x4 truss beam table
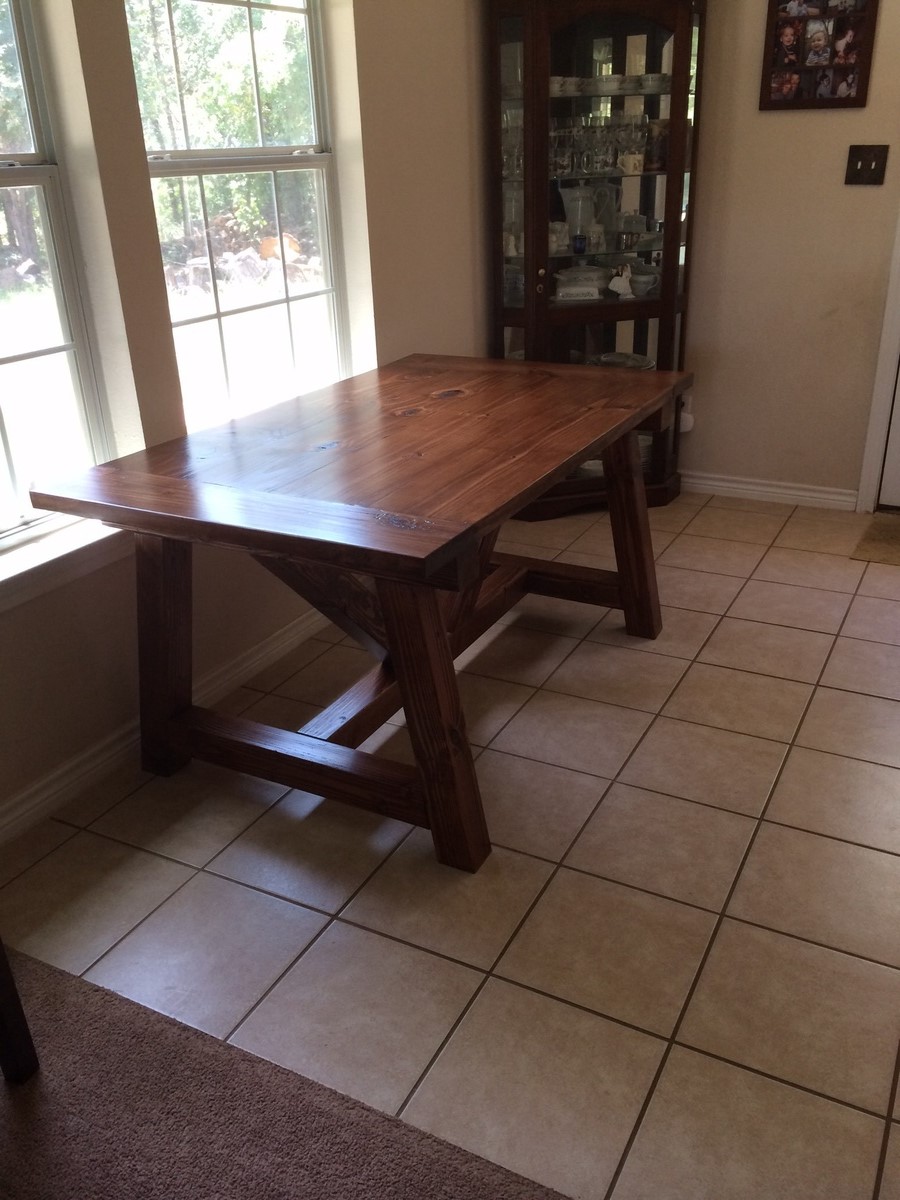
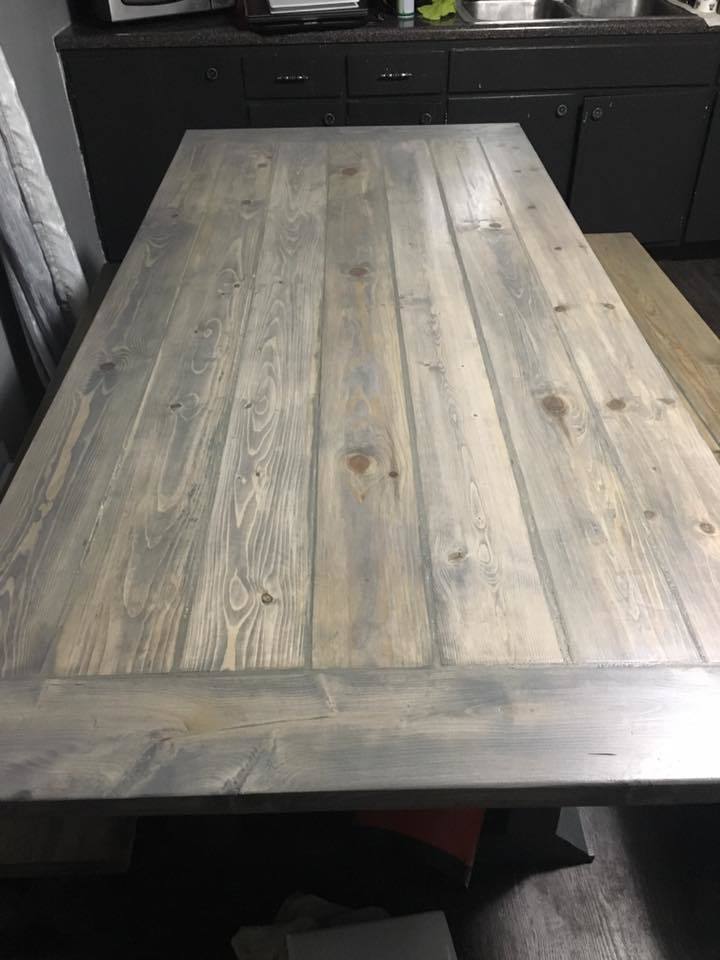
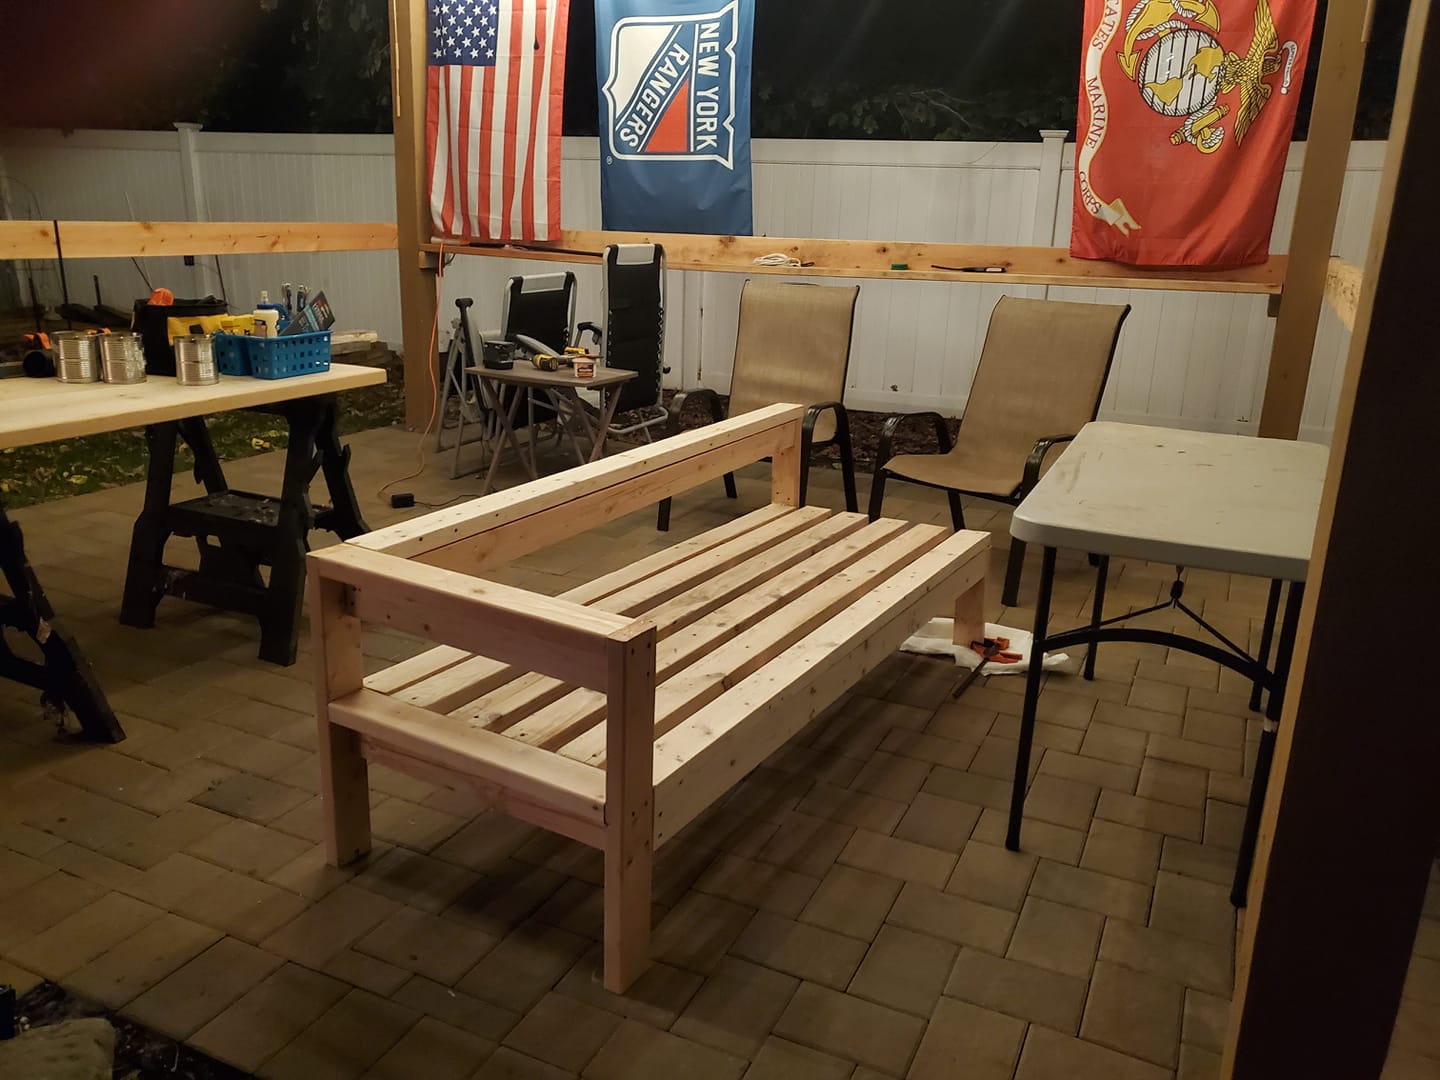
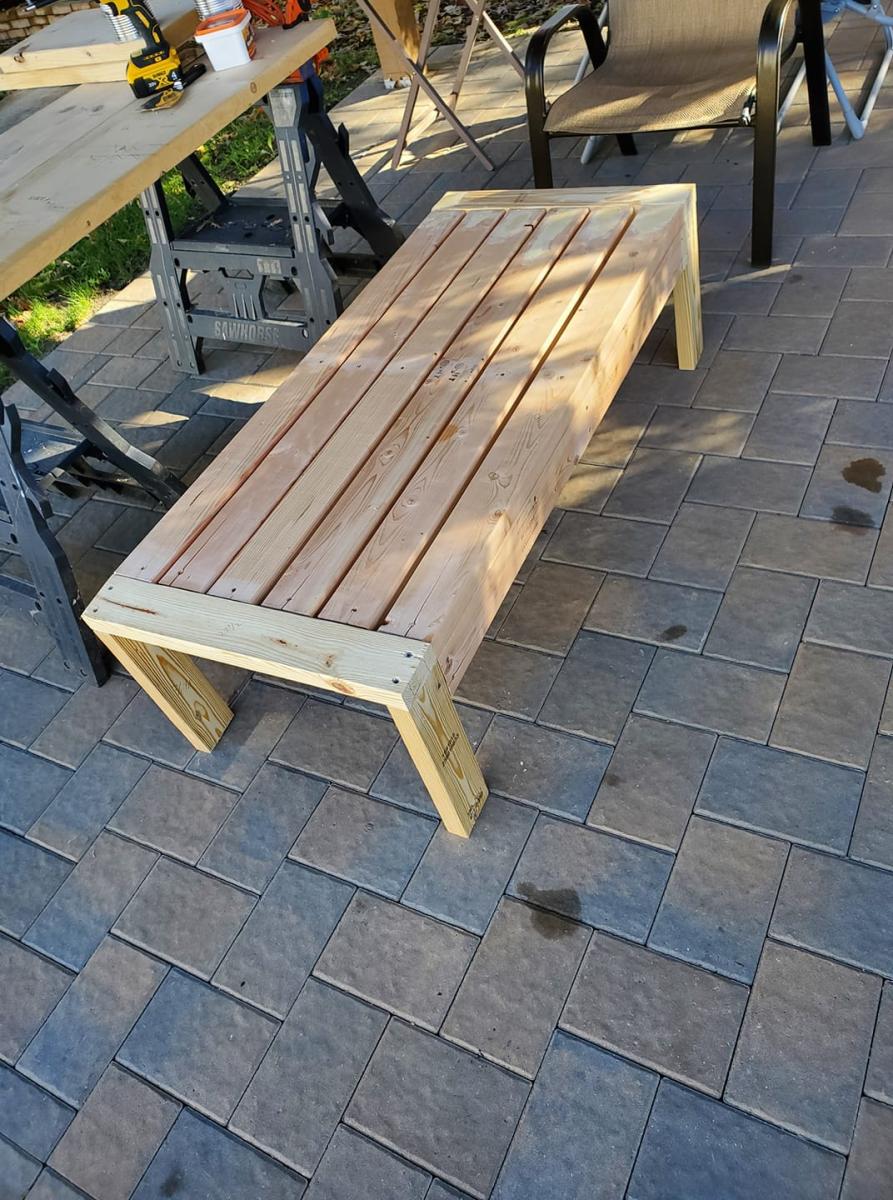
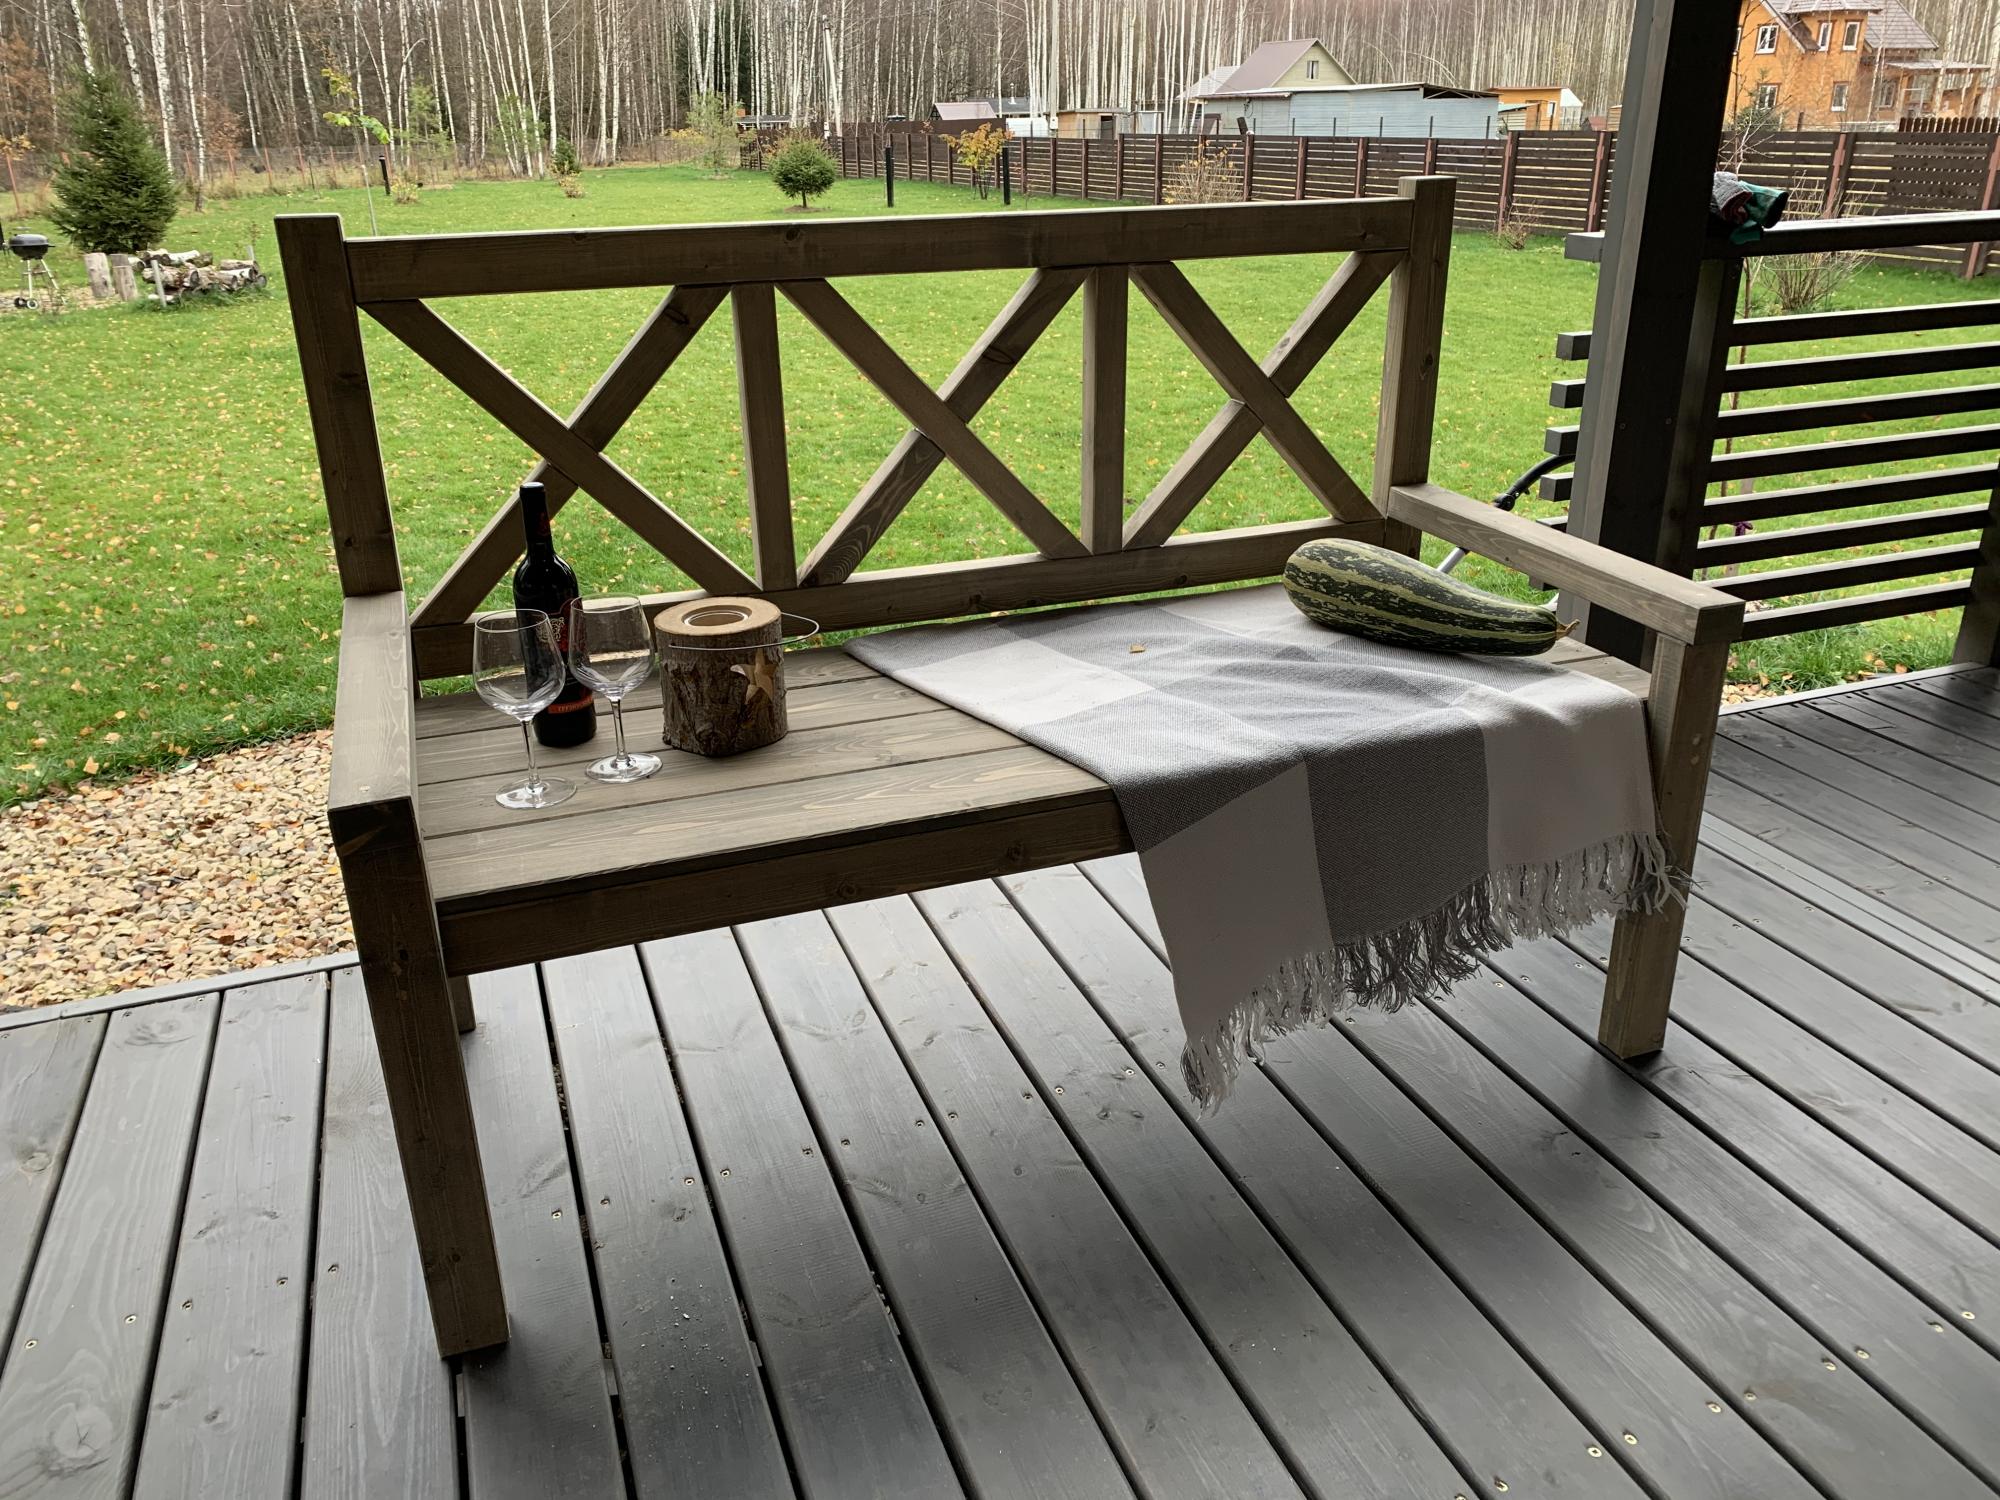
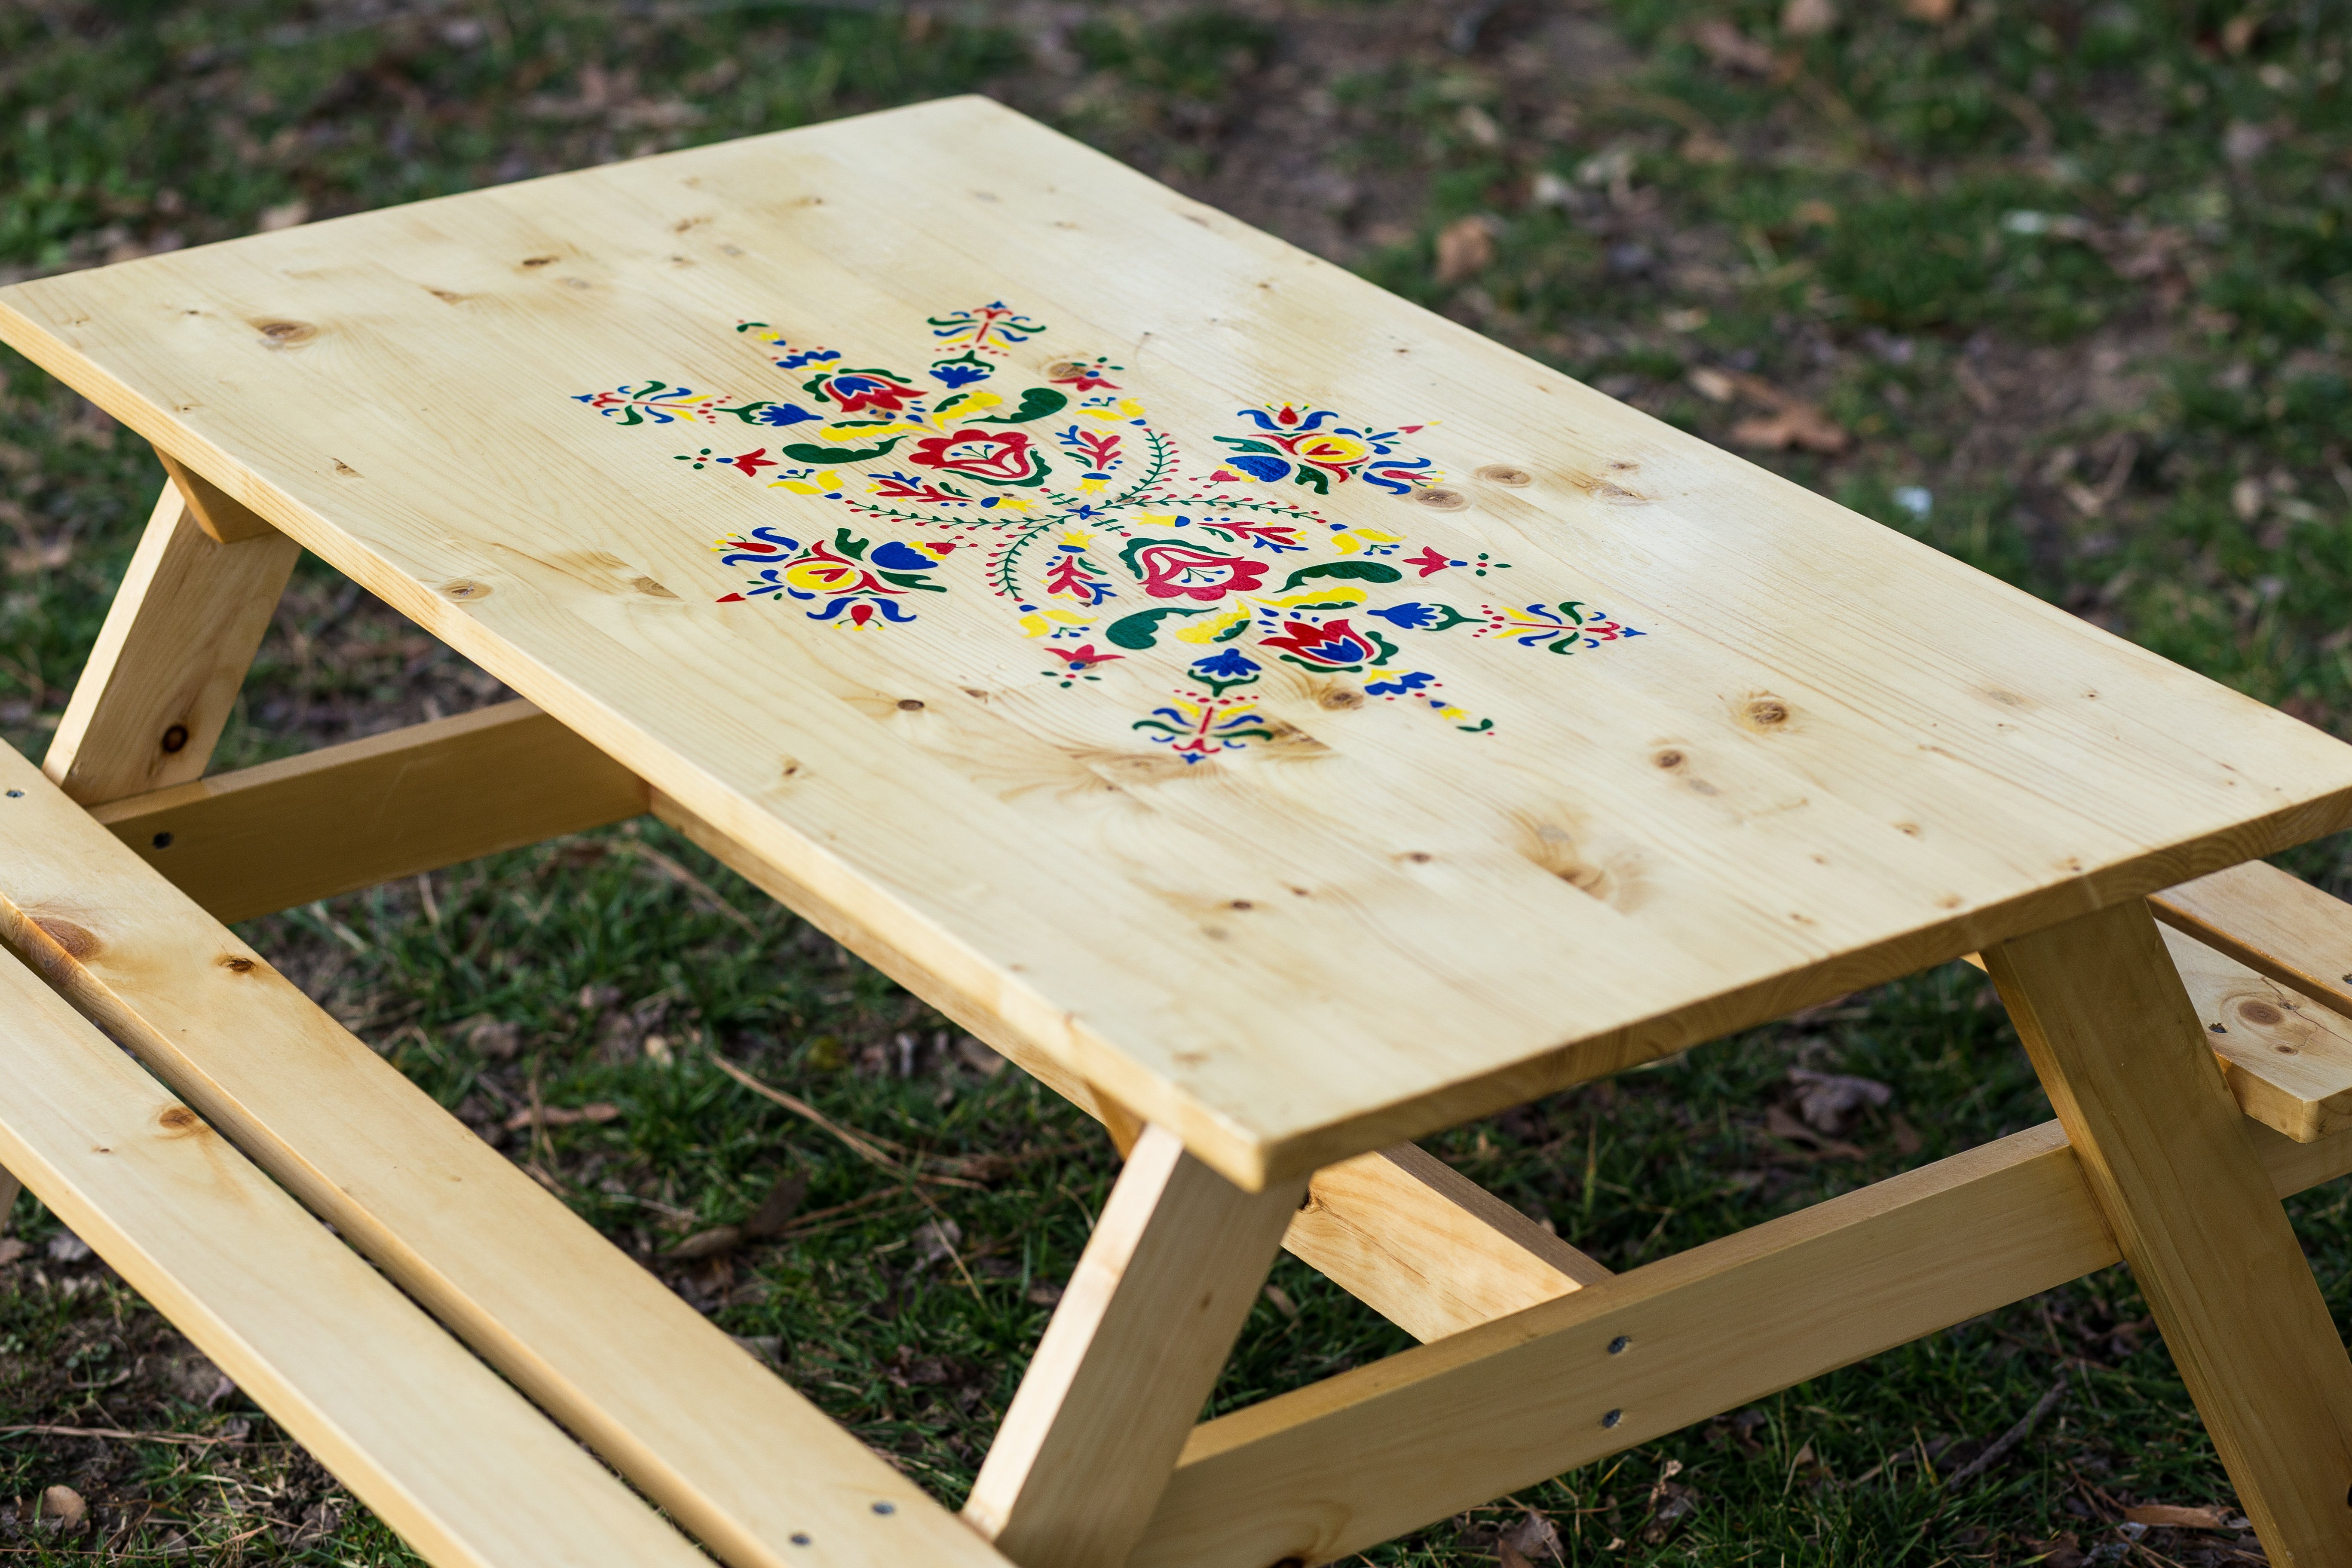
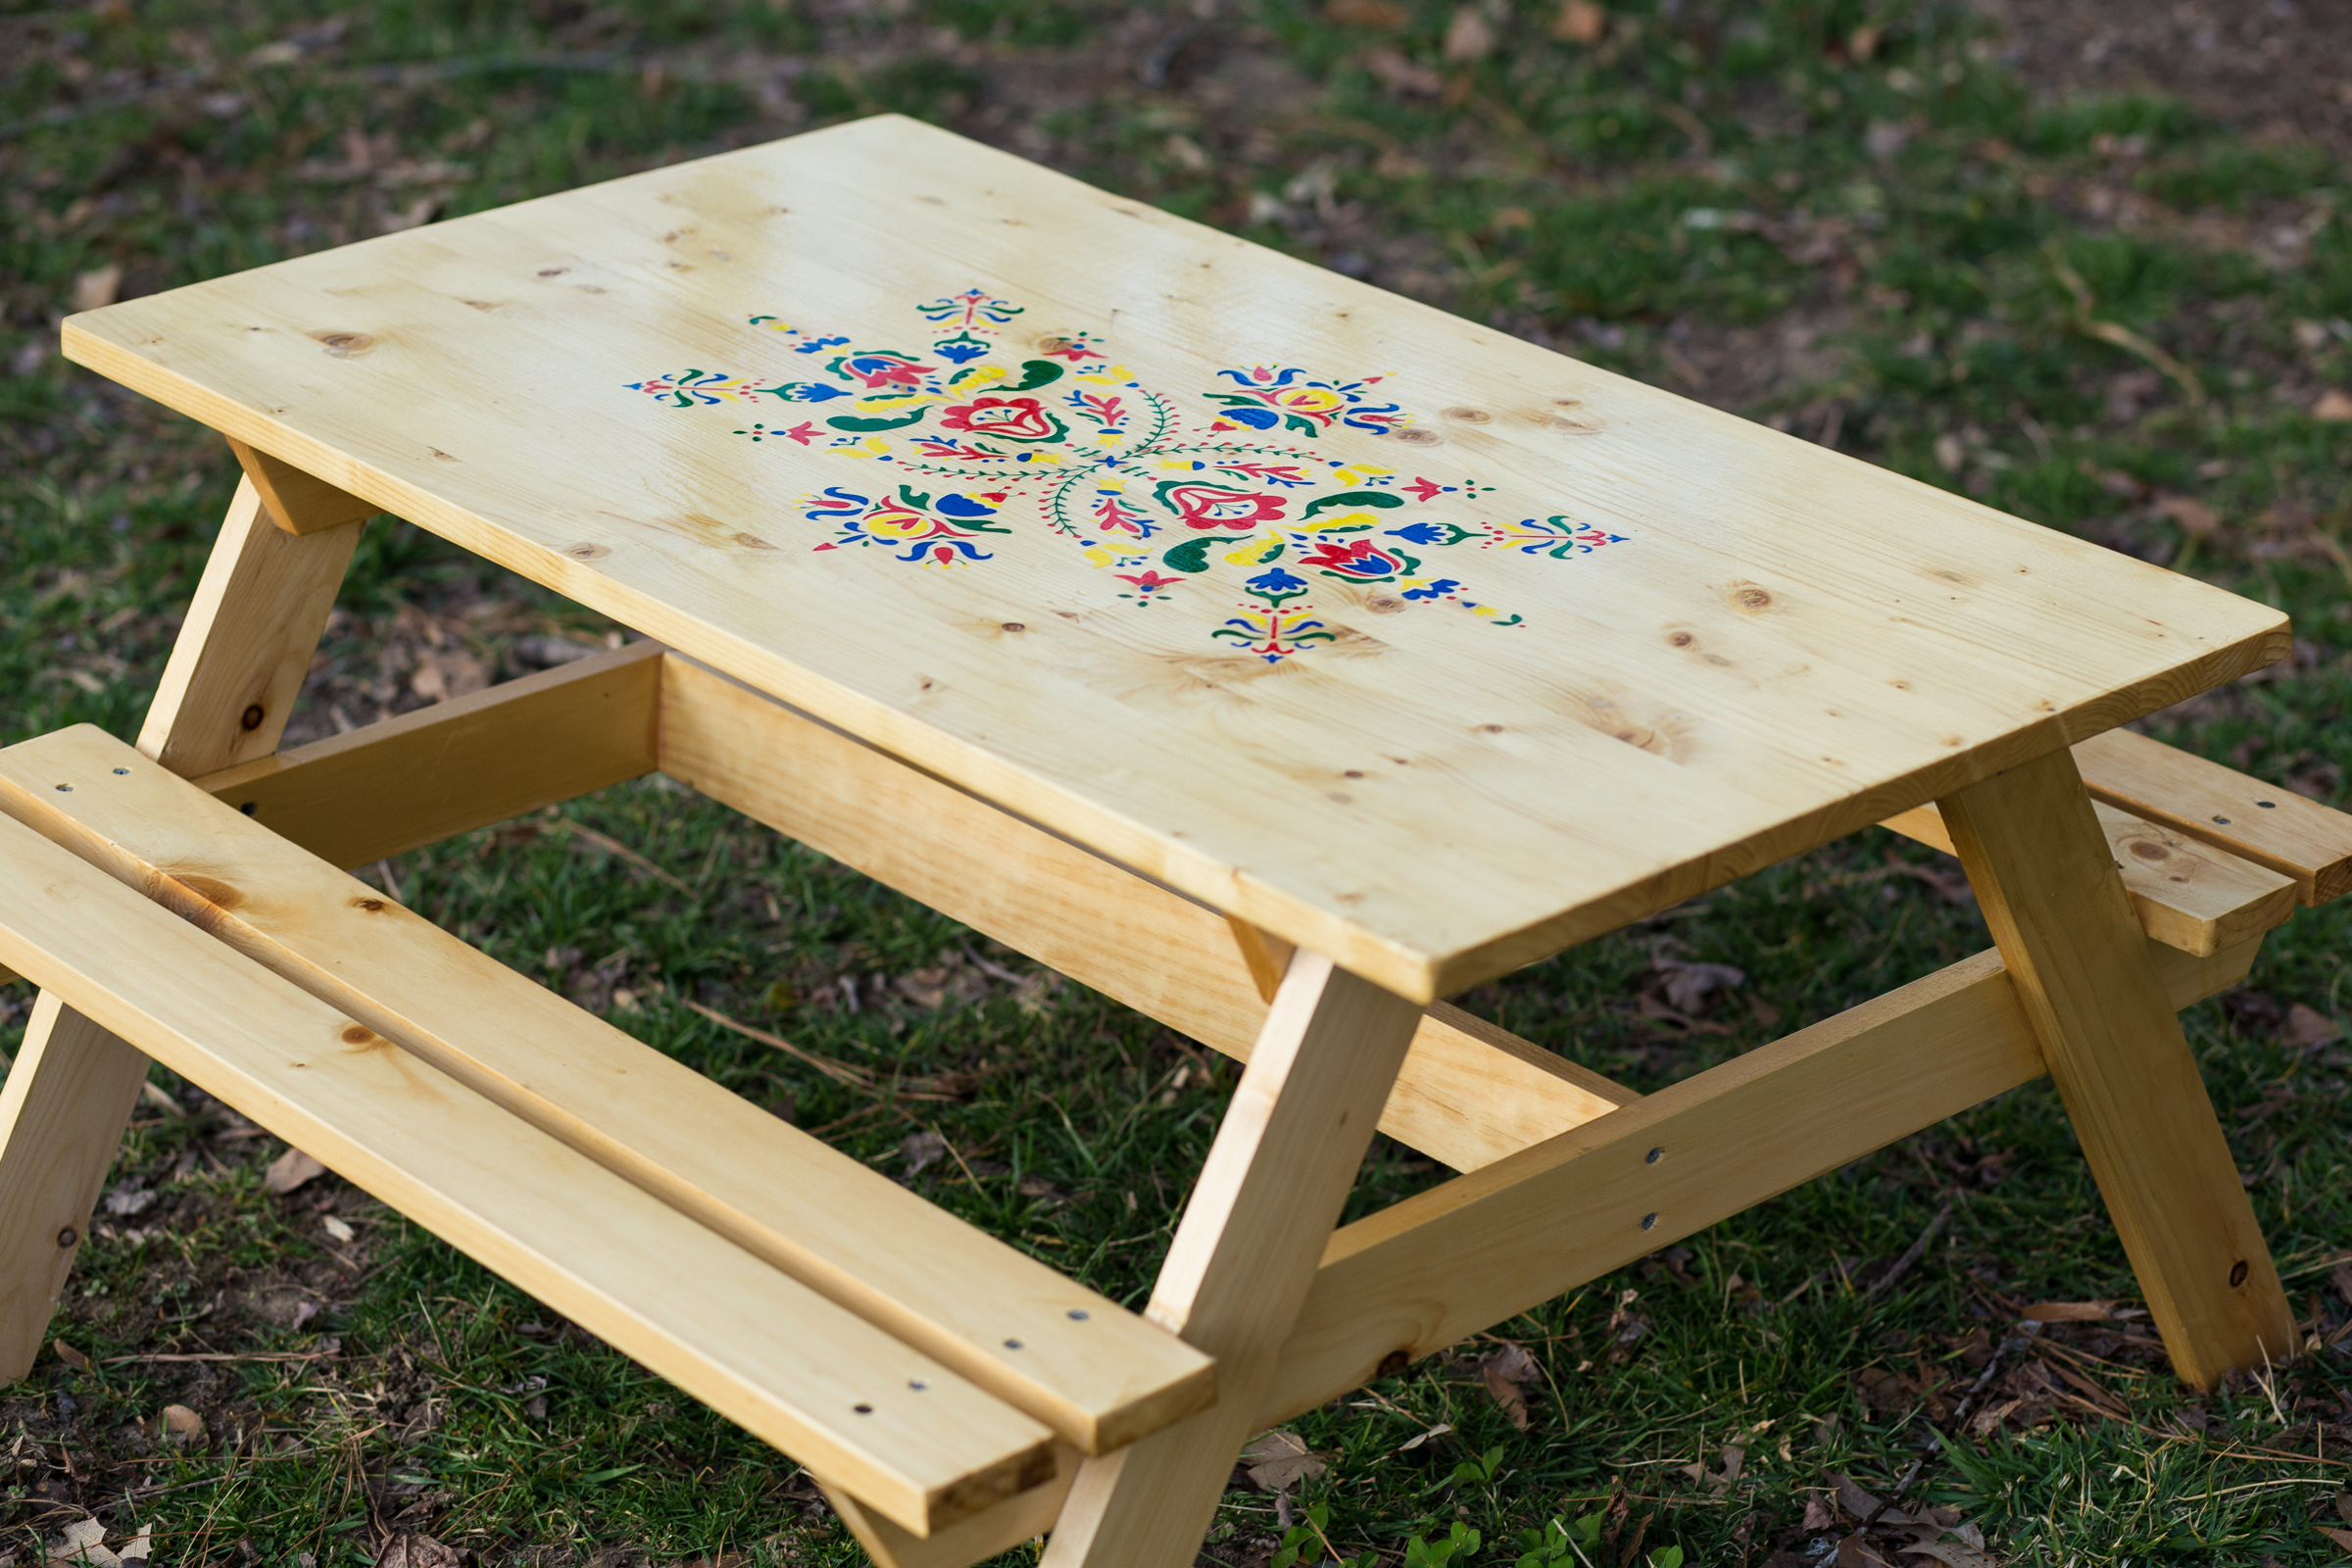
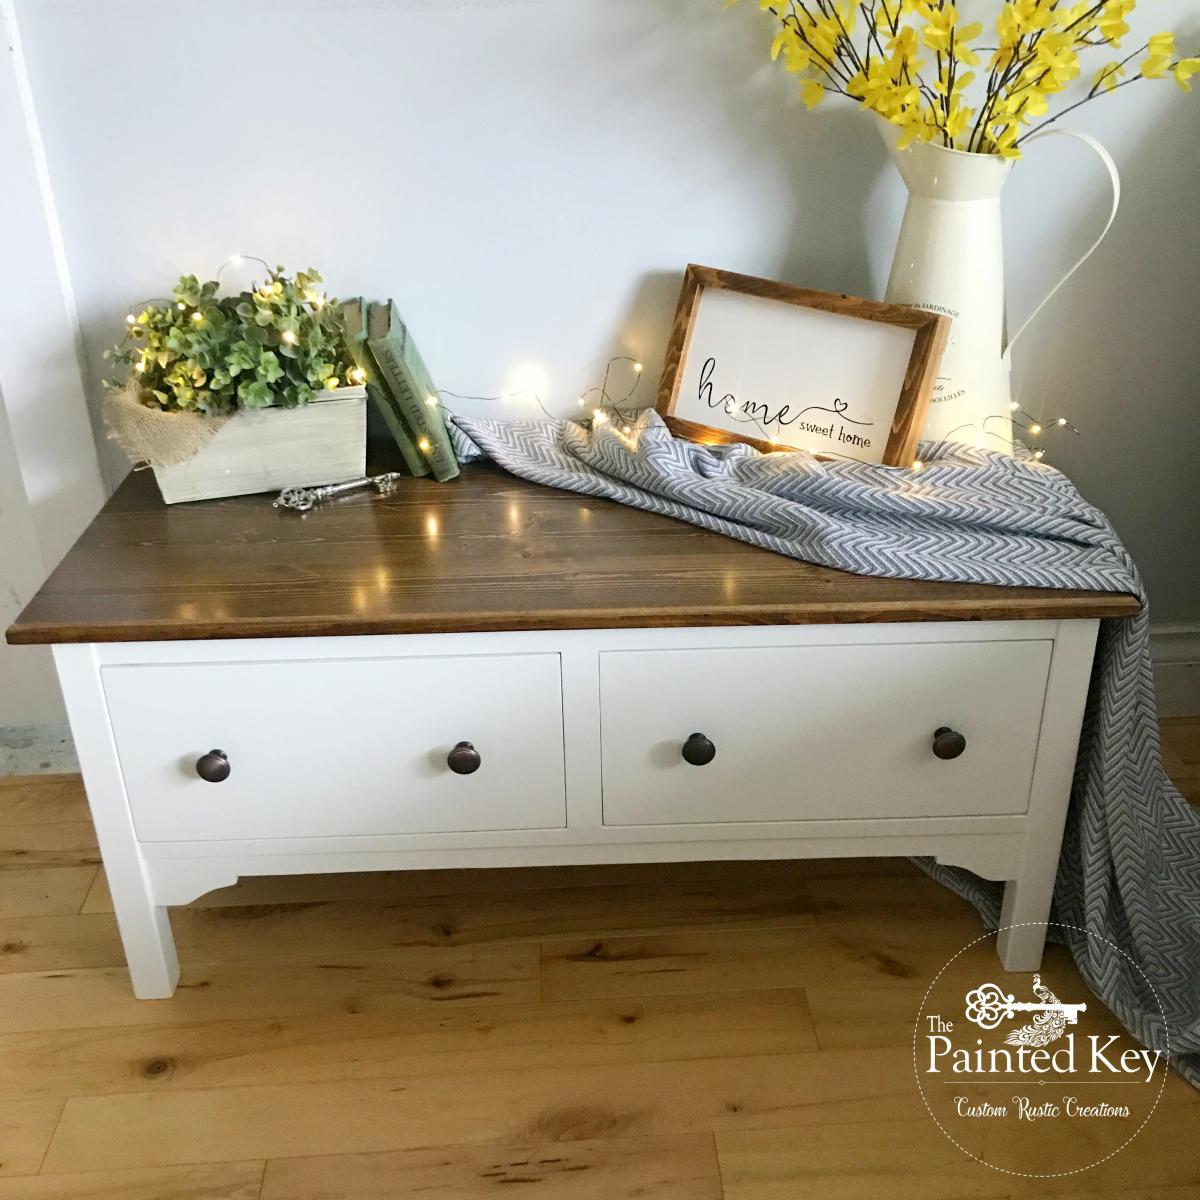
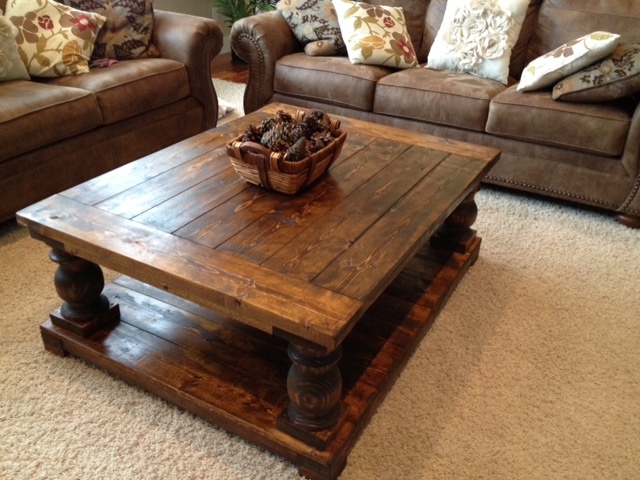
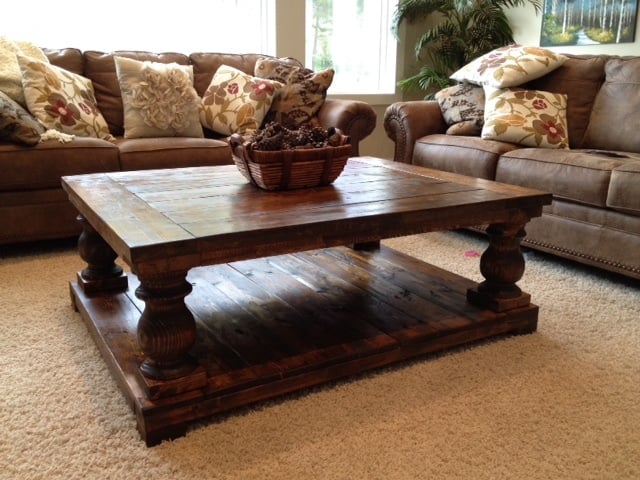
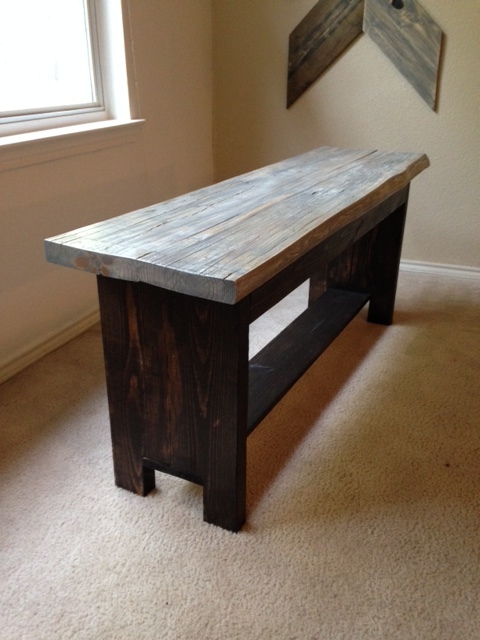
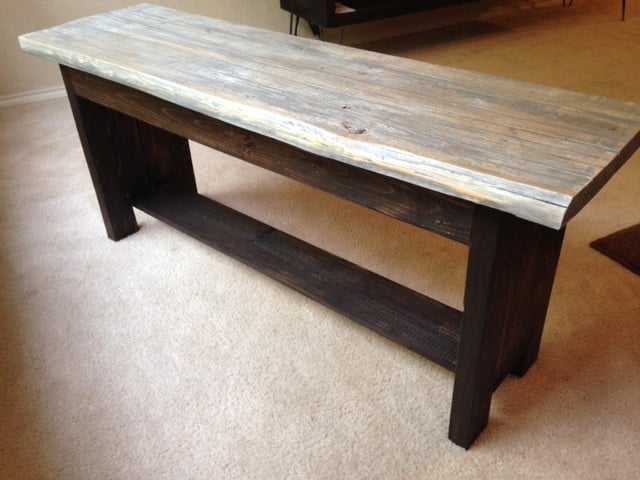
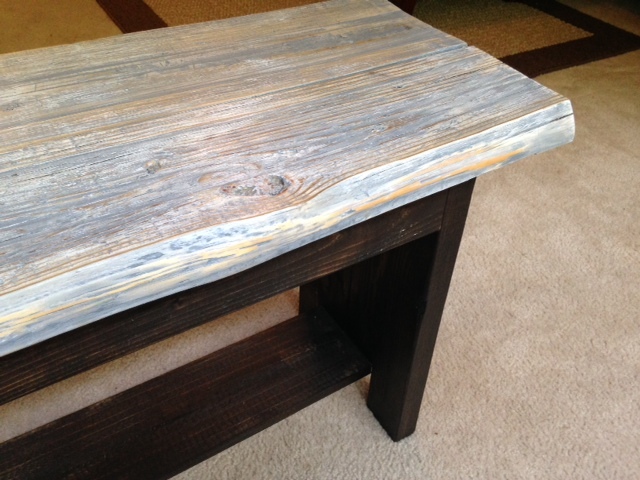
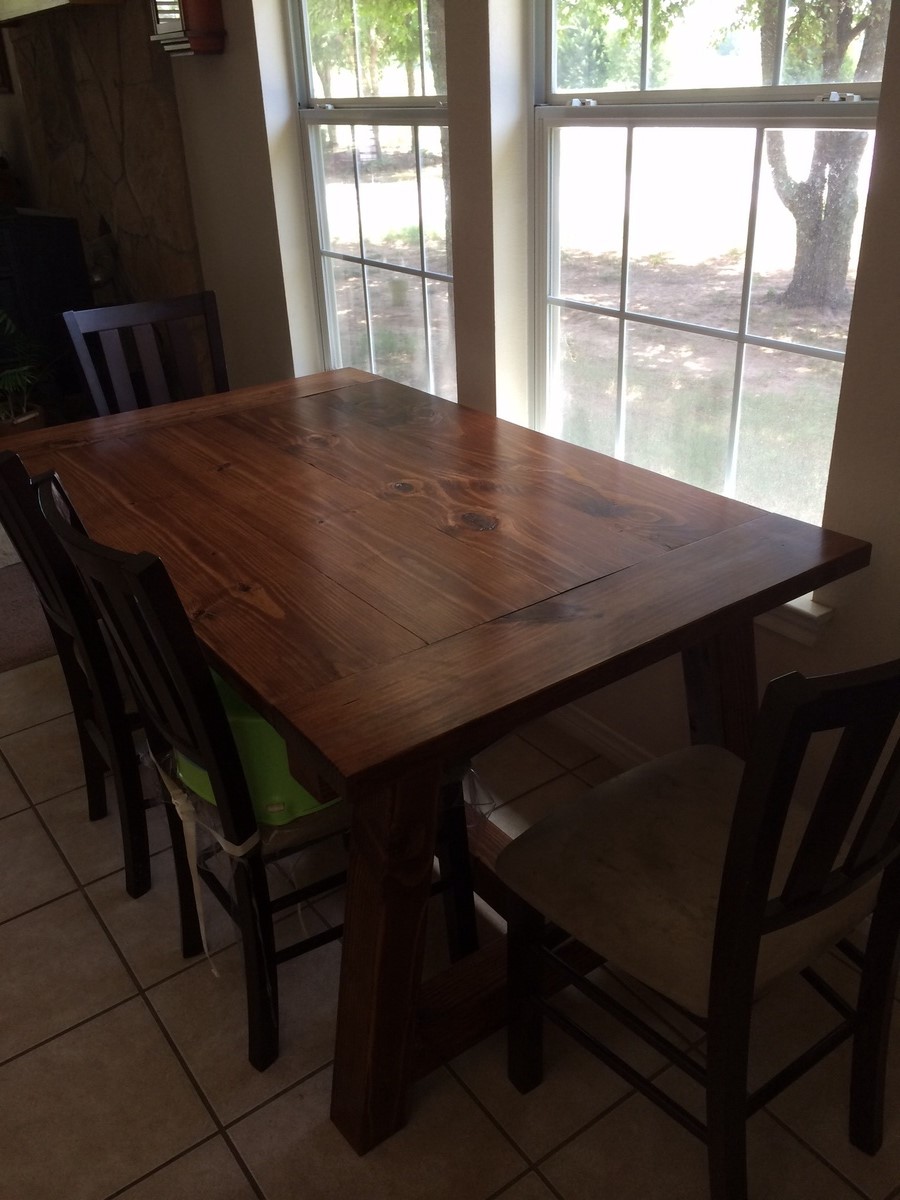
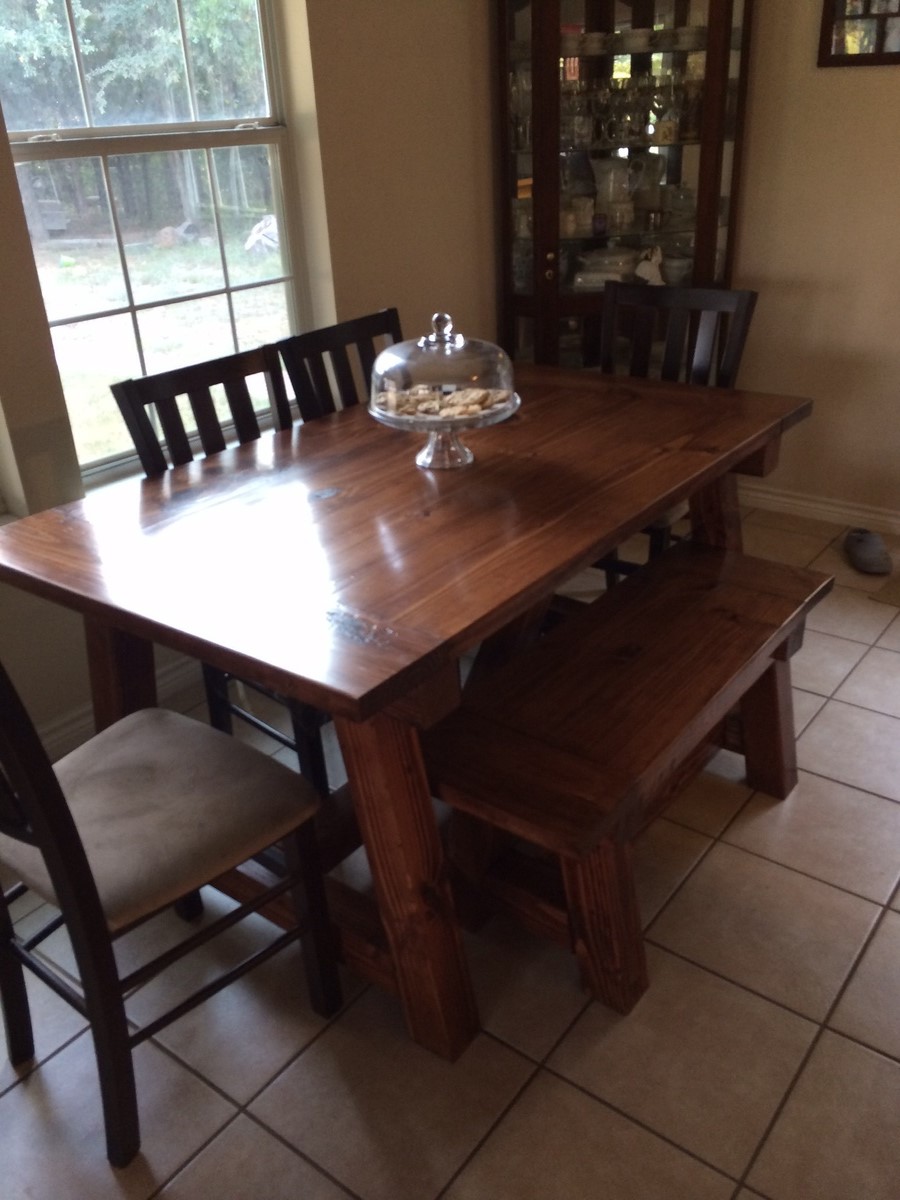
This table was so much fun to make. I couldn't use an 8 foot table so this is 5 ft. My table top has some blemishes that I could have tried to fix but at the time I just wanted to see it done. I think using better than big box store wood would have been a great start. The table is so sturdy. The bench was harder though because it had a wobble that just wouldn't be fixed.
I used pine for the top and Douglas fir for the legs. I used minwax wood conditioner, minwax early american stain, then minwax red oak stain for a couple of minutes then wiped off. Then topped with 4 coats of poly.
Built from Plan(s)
Estimated Cost
$150
Estimated Time Investment
Weekend Project (10-20 Hours)
Finish Used
Minwax early american and red oak. Semi-gloss polyurethane.
Recommended Skill Level
Beginner