Community Brag Posts

Liberty Wall Art

Submitted by kari on Wed, 03/09/2011 - 12:05

When Ana posted plans for this I immediately fell in love with it. I had a friend visiting, and I thought this would be a great project for us to do together.
A lot of time spent on this project was taking apart pallets, not an easy job. My poor friend did that part, she is great! I think the old pallets really made this look as good as it does, they were already so rustic.
The pallets were free and collecting free pallets was an adventure of it's own. I found a large piece of particle board in the depot's scrap bin for 51 cents! Can't beat that.

Estimated Cost
cost of paint
Estimated Time Investment
Day Project (6-9 Hours)
Finish Used
I chose paint samples from the depot and had them mixed in the cheapest paint they had, which was Glidden. I just got the flat.
I used a drybrush technique to let some of the wood texture show through.
I had to cut out my own stencils to get the stars just right, but I love how it turned out.
Recommended Skill Level
Starter Project

My 3rd build off this site

Submitted by psilver on Fri, 04/03/2015 - 08:13

I modified the dimensions slightly and opted to not mount the fold down doors as I figured they would always be open anyway.  I built this mostly from solid red oak save for the bottom panel and the middle panel, which are plywood.  I crafted the top out of 5 pieces tongue and grooved with mitred corners on the front.  I also tongue and grooved the doors with glass insets.  I finished it in Minwax red cedar under poly.

Built from Plan(s)
Estimated Time Investment
Week Long Project (20 Hours or More)
Finish Used
Minwax red cedar
Recommended Skill Level
Intermediate

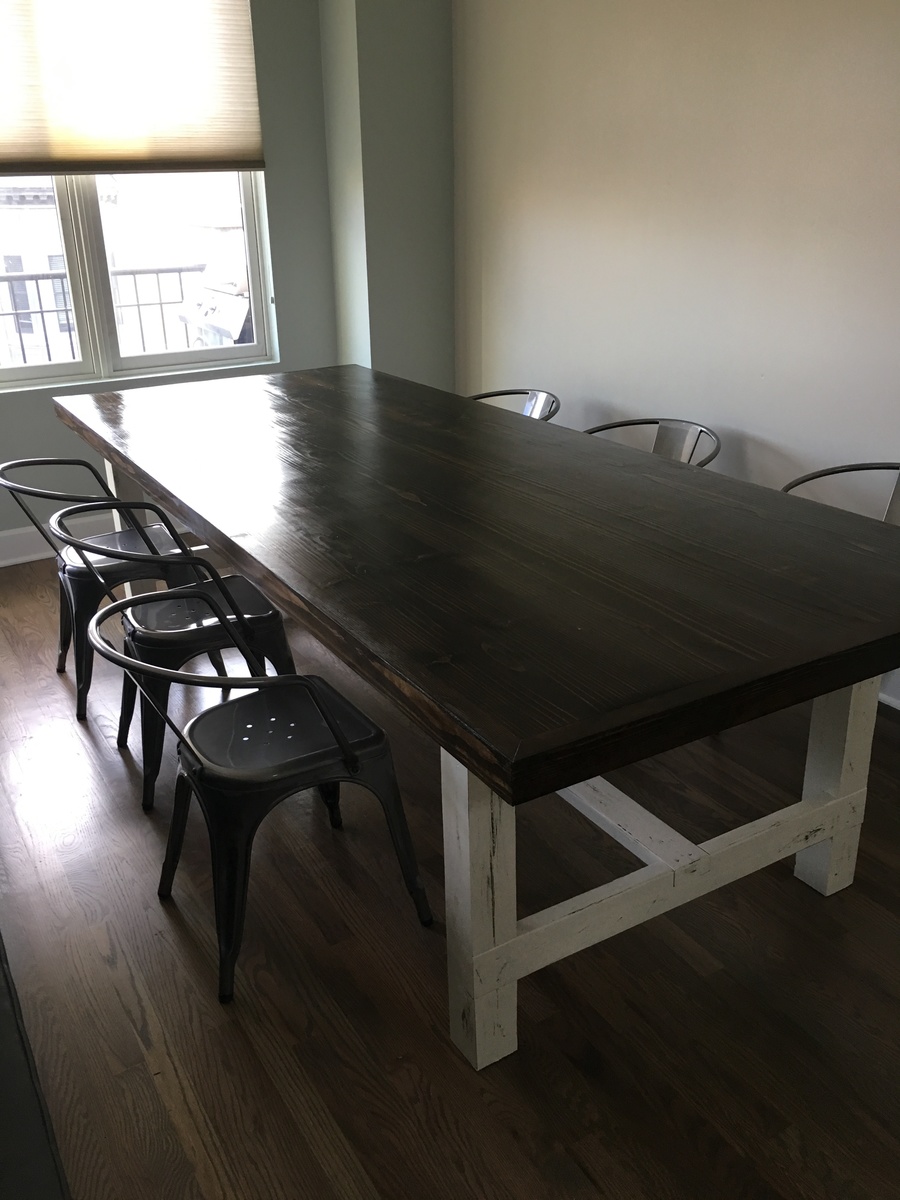
Farmhouse Dining Room Table

Submitted by ceconzett on Fri, 07/14/2017 - 00:28

We needed a large dining room table for our space and couldn't find one we liked that didn't cost a fortune.  We adjusted the plans to make the table 9 feet long.  Also, around the edge of the table we added a 1.5 inch frame.

Estimated Cost
$150
Estimated Time Investment
Weekend Project (10-20 Hours)
Finish Used
Espresso stain on top, Light Navajo White paint on base, and Water based Polyurethane.
Recommended Skill Level
Intermediate

Storage bench/ coffee table

Submitted by DianeS on Wed, 03/09/2011 - 12:59

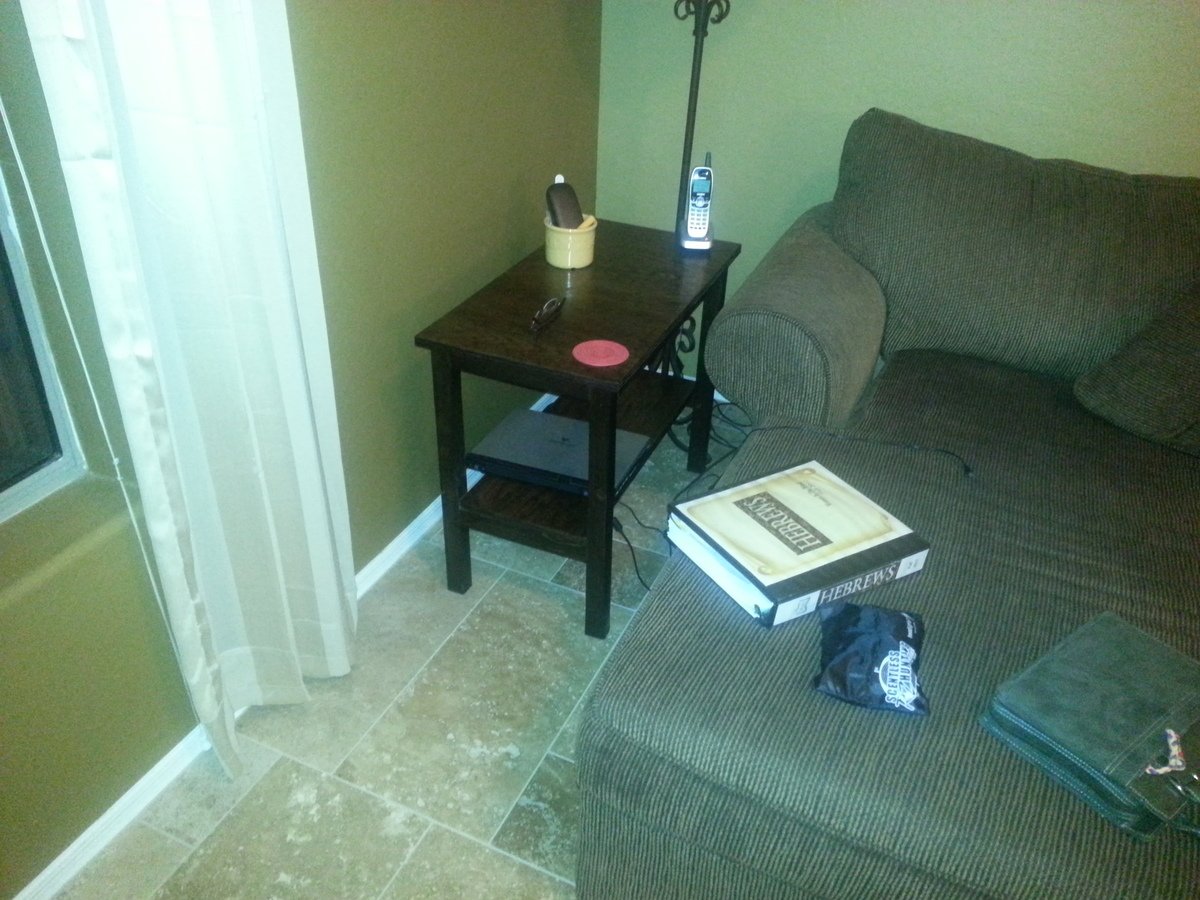
The storage bench/ coffee table, customized for a small room to hold my son's lap top, and game controllers.
I cut it down from 48" to 36" and it worked great!

Estimated Cost
40.00
Estimated Time Investment
Day Project (6-9 Hours)
Finish Used
Minwax goldon oak with 3 coats of poly clear satin.
Recommended Skill Level
Beginner

Bunk Beds with a Maine Cottage twist

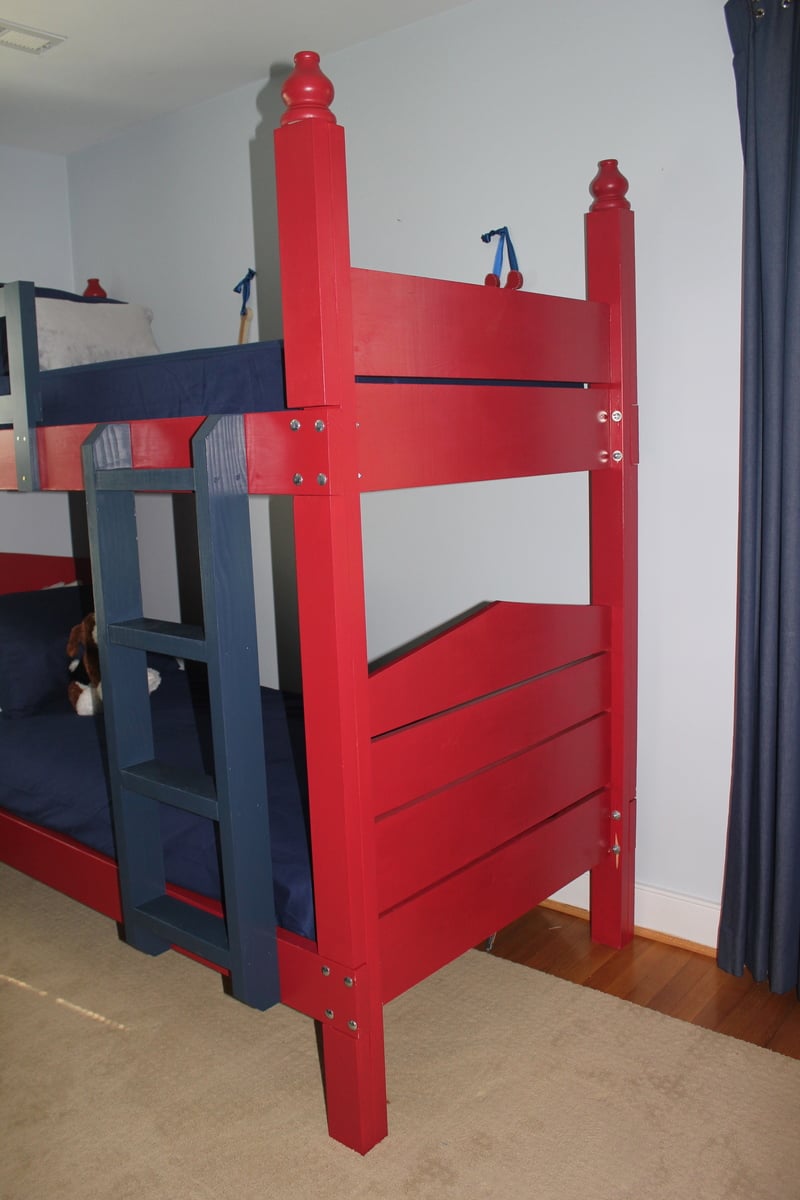
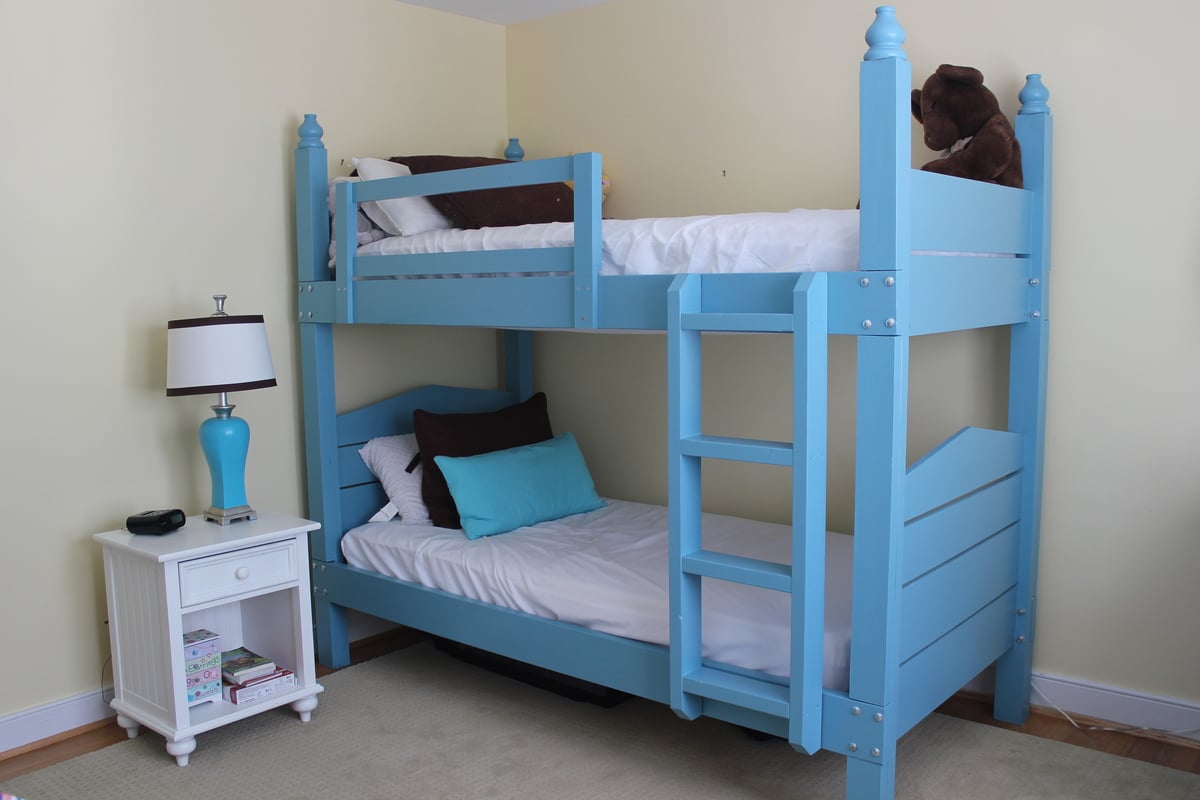
I built these bunk beds for my almost-10 year old twins this spring! These were modified from the Side Street Bunk Bed plans to accommodate the longer Twin XL mattresses. I took inspiration from the Maine Cottage bunk bed collection for the end panels of the beds, and added furniture feet as finials on each post. It was a fun build, but pretty time intensive as I built both sets at the same time. This was my first major build.

Built from Plan(s)
Estimated Time Investment
Week Long Project (20 Hours or More)
Finish Used
Valspar premium paint+primer
Recommended Skill Level
Intermediate

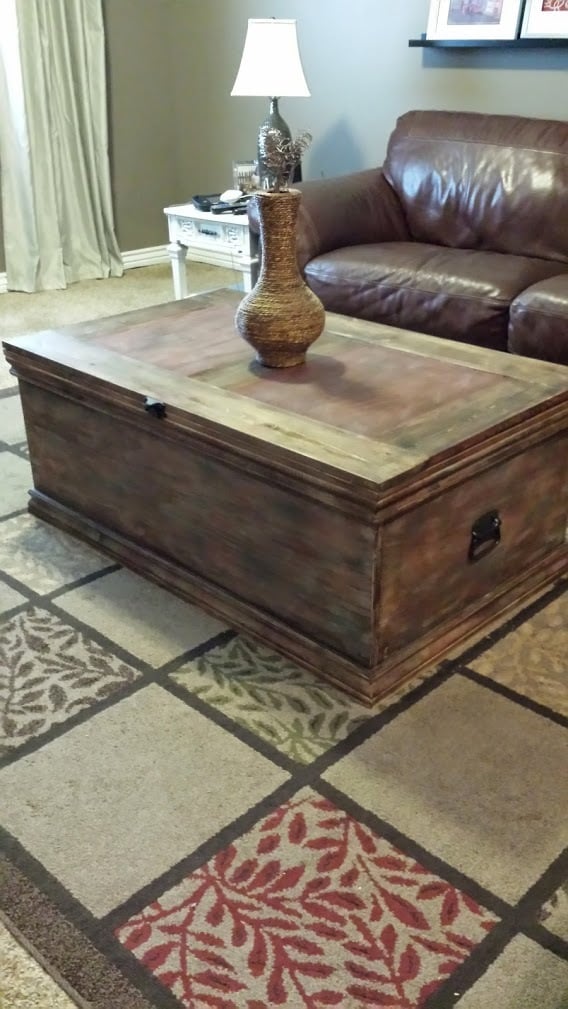
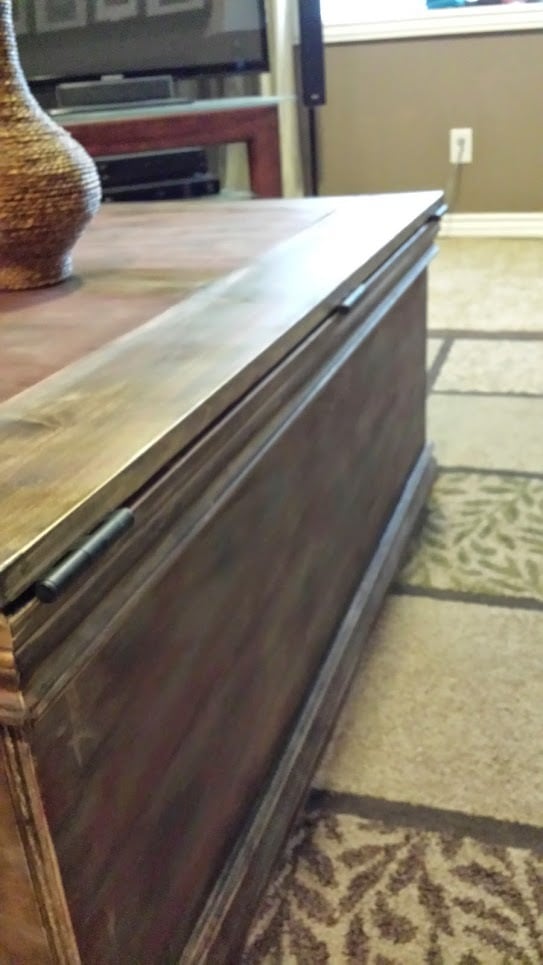
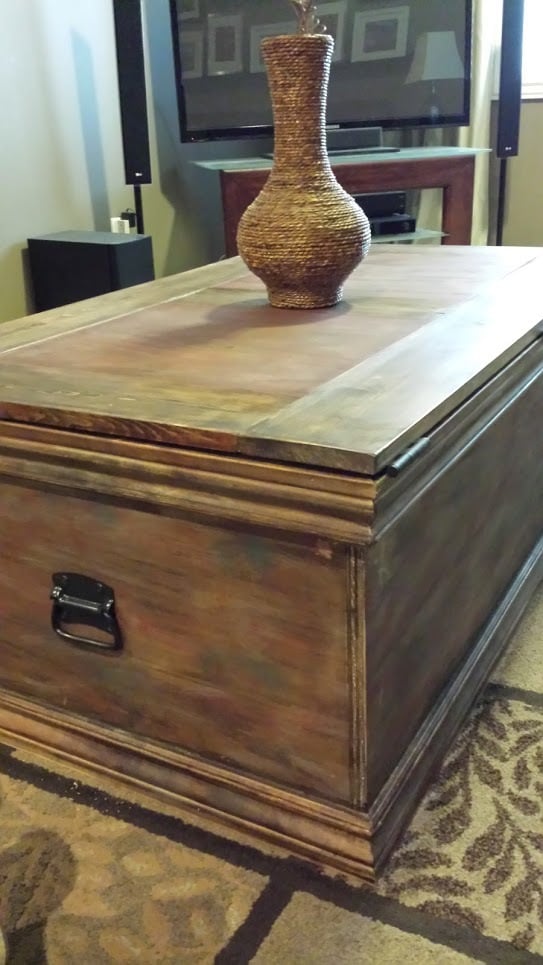
Becca trunk

Submitted by bzhayes on Mon, 04/06/2015 - 06:42

I adjusted the measurements to make it longer and wider. I also looked the original Pottery Barn trunk and tried to copy the multi color finish. I had so much fun building this!

Built from Plan(s)
Estimated Time Investment
Weekend Project (10-20 Hours)
Finish Used
stain and paint
Recommended Skill Level
Beginner

Comments

Linda7

Tue, 04/07/2015 - 21:21

This is indeed beautiful! Would you mind sharing where you found your handles? Any words of wisdom on the finish? Thank you!

In reply to by Linda7

bzhayes

Tue, 04/28/2015 - 12:07

The handles are from Ace hardware--I had to spray them antique bronze since they only had them in silver. I stained the trunk is dark walnut from minwax and then used diluted paint in barn red and teal to spread some color here and there. Finished with some polyurethane in satin (spray). That's it!

Linda7

Wed, 05/06/2015 - 17:39

Hi Beverly,

I just sent you another email, and then found your comments here. (I forgot we had communicated before. Old-timers disease! lol) Just checking on the hinges. Thanks, Linda

saomkinar

Tue, 12/25/2018 - 19:42

I don't know if you will check the comments on this brag post since you posted almost 3 years ago, but I'm also curious about the hinges to use. I have watched some youtube videos that show how to chisel out a space for the hinge, but I know there must be an easier way and an easier hinge to put on this box. 

Thanks so much ,

Apryl

Outdoor Sofa from 2x4s for RYOBI Nation

Submitted by BuilderJ on Thu, 07/13/2017 - 16:45

We've been wanting to tackle some outdoor furniture for a while and finally took advantage of a coupon to get a bunch of outdoor cushions. With a big mound of cushions taking up space, we had to force ourselves to get to it. We spent more time talking about cushion and stain colors then it actually took to cut and screw it together. This is a great solid project to start with. Don't be intimidated by it. We can't wait to start on some chairs to go with it. 

Estimated Cost
The cushions are from atHome. It's hard to say exactly because we bought a lot of them (for some upcoming projects) when we had a 20% off coupon. For these three sets and accent pillows, probably $125. Probably $25-30 for the lumber. $29 for a gallon of Behr deck coating (used maybe 1/4of it). $9 for a box of deckmate screws (used 75% of them).
Estimated Time Investment
Afternoon Project (3-6 Hours)
Finish Used
Behr Deckplus solid color waterproofing wood stain in cordovan brown.
Recommended Skill Level
Starter Project

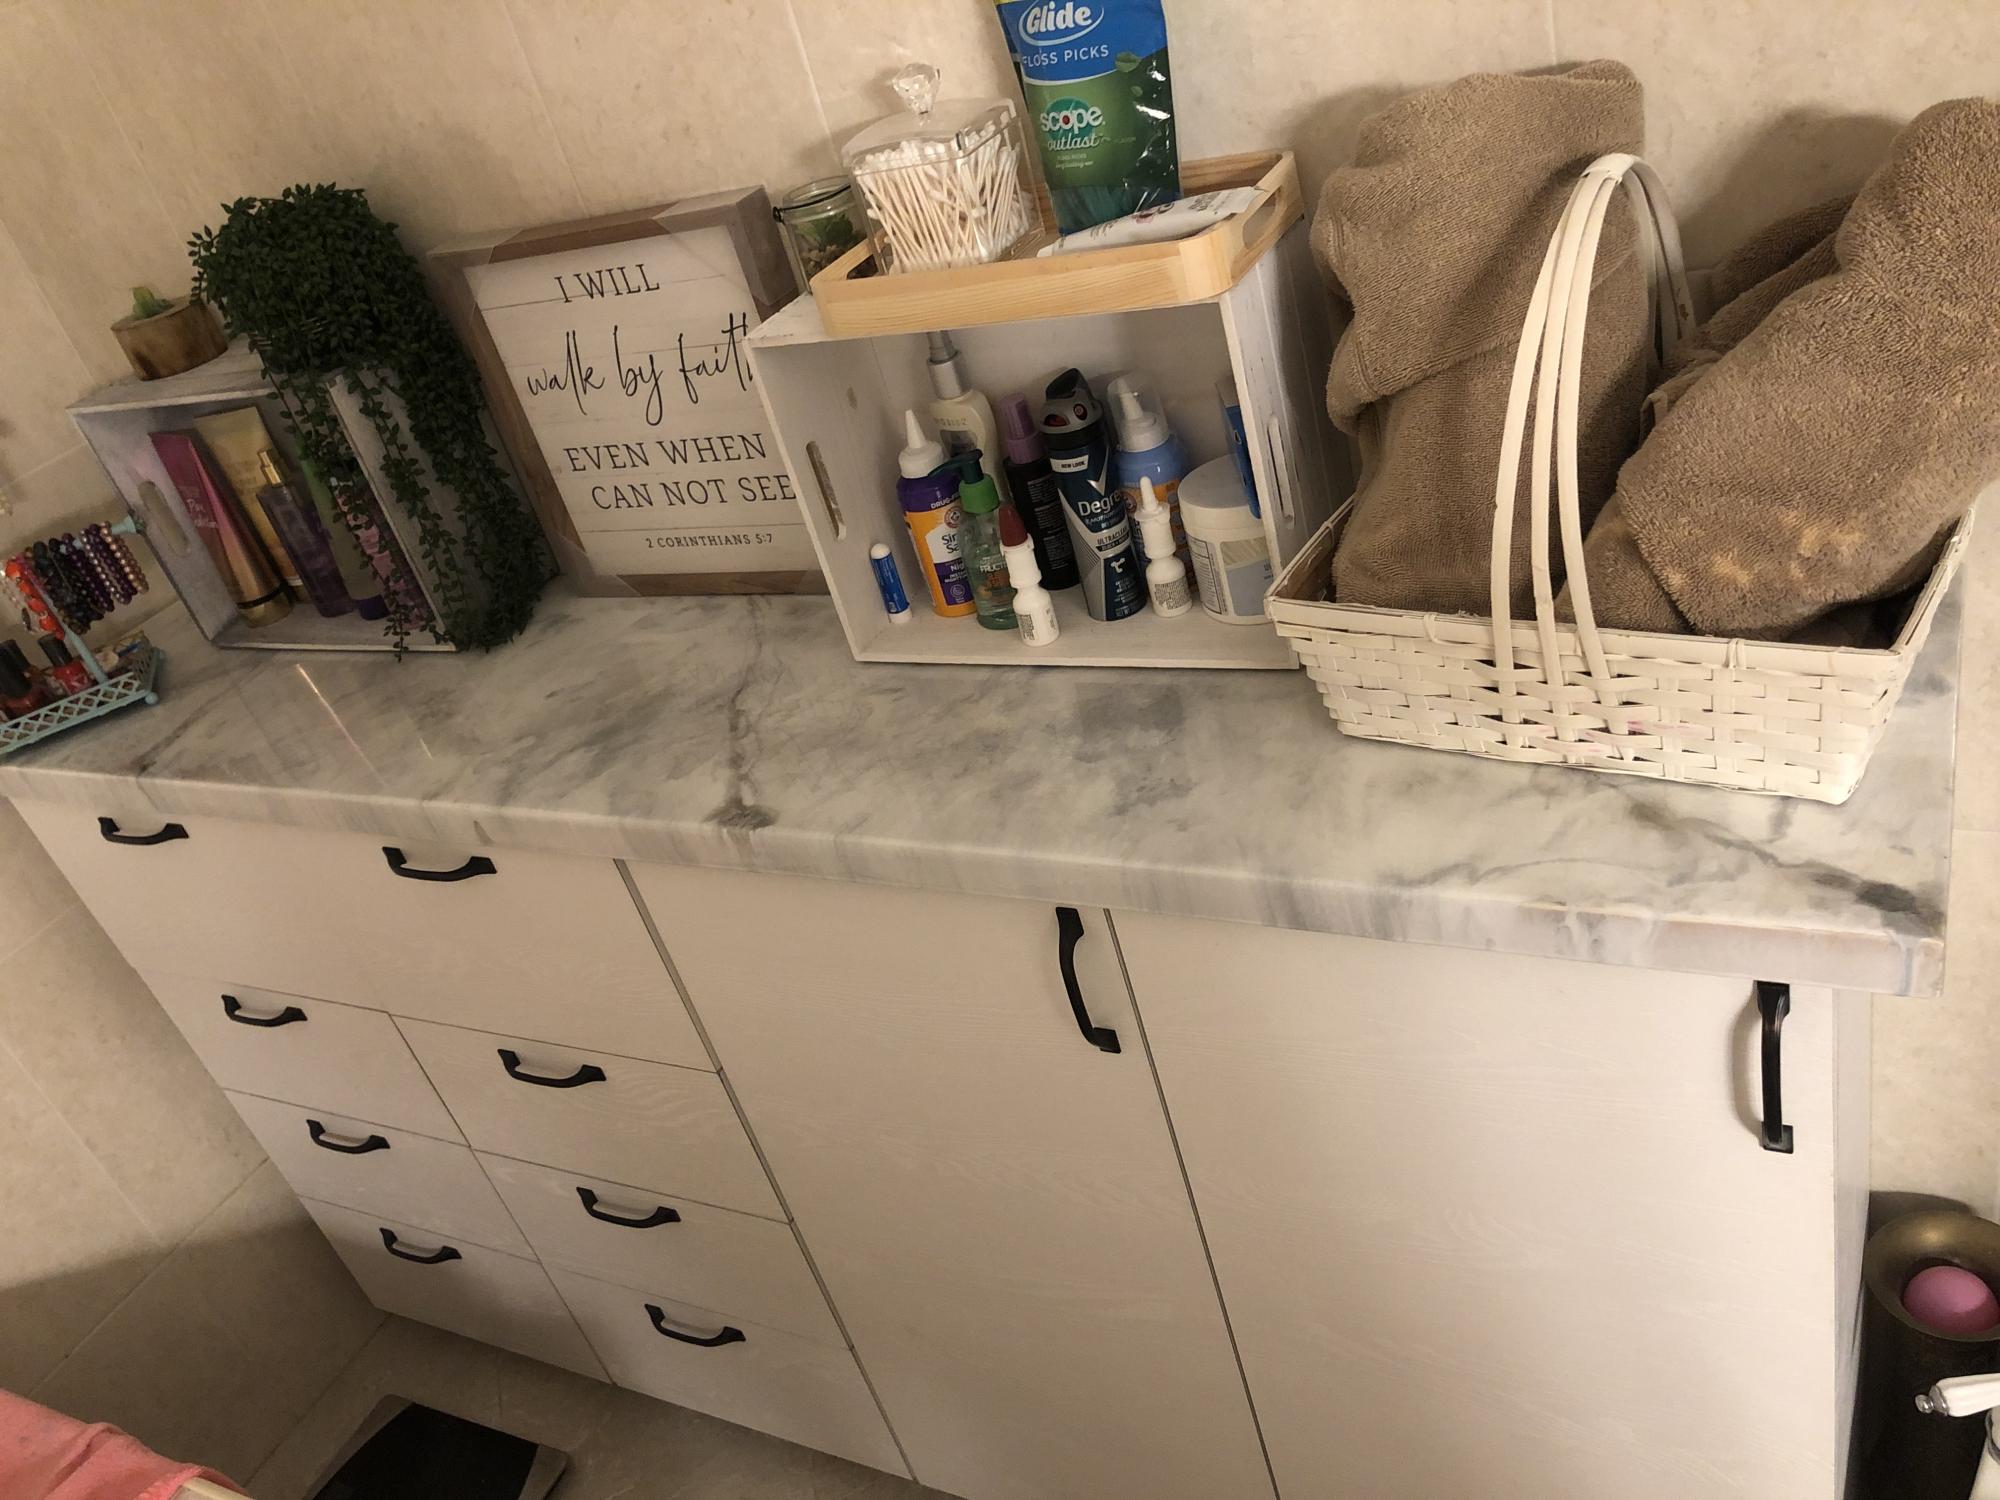
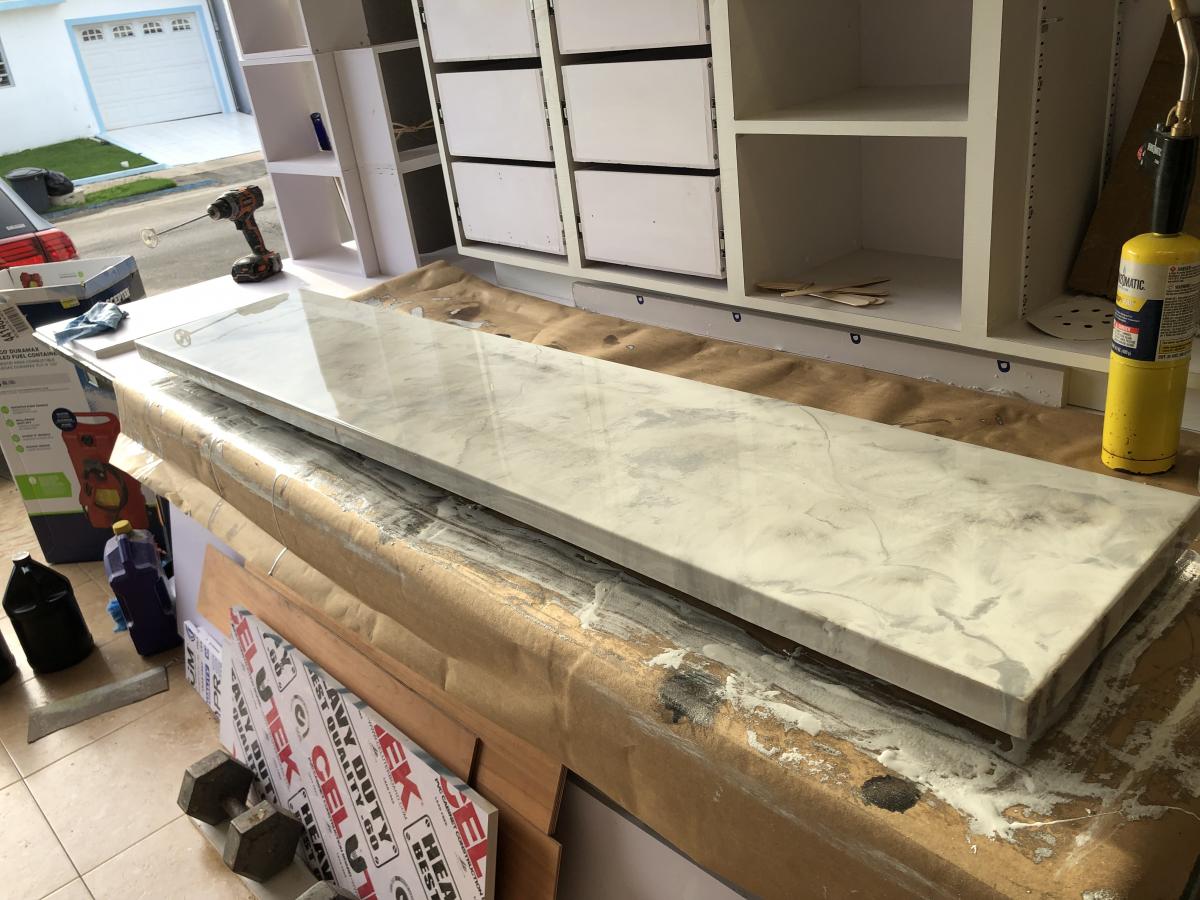
Bathroom cabinet with epoxy counter

Submitted by Anonymous (not verified) on Mon, 10/04/2021 - 15:35

This is my first bathroom cabinet. I'm a beginner in this carpentry thing. And using the plans to create the Cabinet I was able to do it

Comments

Danielle's Shoe Crates

Submitted by zigmommy on Wed, 03/09/2011 - 14:54

We went a little crazy bringing pallets home once I got the idea that we could build something so cool and functional out of only a small amount of new lumber! We've had these about 6 months now and they still look great and serve our family in a very real and functional way! My boys have been WONDERFUL about keeping all their shoes in their crates!

Estimated Cost
About $10 per cart
Estimated Time Investment
An Hour or Two (0-2 Hours)
Finish Used
Just lots of sanding and Mod Podge to seal the customizations!
Recommended Skill Level
Starter Project

Patio Table with Built-in Beer/Wine Coolers

Submitted by ryan_king on Sun, 05/19/2013 - 19:50

I stumbled on this site a while back as I was looking for ideas for an enclosure for my grill. I decided that my current table was fine, but found a TON of great ideas here on this site.

This patio table was first on my list. We enjoy having people over and I really like the built in coolers. We've started using our patio so much more already now that we have a good place to sit.

I modified the plans slightly: Extended the table so that we could fit up to 8 people, used 4x4's for the legs instead of 2x4's, and added a hole in the middle for an umbrella.

I need to build a couple benches (the chairs are a little low). That's the next project on the list!

Estimated Cost
probably about $90 for wood, screws, stain, and planter boxes
Estimated Time Investment
Weekend Project (10-20 Hours)
Finish Used
I finished with BEHR Premium Weatherproofing Wood Stain - Semi-Transparent, Drift Gray.

Two light coats. Used a synthetic brush for the first coat, then I lightly sanded w/220 grit and applied second coat the following day with a pad.

I'm not sure if this was the right way to go. I wanted something that would hold up to the elements, but have read several reviews about peeling etc. after I already applied it. I guess we'll see.
Recommended Skill Level
Beginner

Comments

porqueno

Sun, 05/26/2013 - 09:39

table looks amazing! did you just add a 6x2 to each end? did you feel the table is wide enough? thank you

ryan_king

Tue, 05/28/2013 - 16:57

Yes, I added the 2x6's to each end and extended the skirt a bit on each end to bear the weight.

ryan_king

Tue, 05/28/2013 - 17:02

Yes, I added the extra 2x6's to each end and extended the skirt about 6 inches to help bear the weight.

It's wide enough for us so far. If you were planning on setting the table with a lot of extra food you might want to widen it or you can just keep one side covered.

CapinKnipp

Mon, 06/10/2013 - 14:11

Did you create your own plans for the grill enclosure? I think it's great! We have an old Weber grill and it would be ice to have it as a back-up for foods that we want cooked over charcoal rather than gas. This dresses it up a bit. :)

GOOD JOB!

Pagejoli

Thu, 06/13/2013 - 11:55

I'm loving the idea but am curious about the melting ice....dripping, clean up, etc....Would it be possible to drill a hole and put a plug in?

Goldy272

Sun, 04/20/2014 - 14:03

Any update on how the stain is holding up? I am getting ready to stain mine and trying to figure out which way to go. Thanks so much, the table looks great!

SoCalMatt

Sat, 01/23/2016 - 18:50

Ryan, fantastic job.  I am for sure going to mirror everything you did here.  I also want to make it a bit wider so we can fit a few more folks around it.  Do you have to have the additional measurements that you implemented?

Thanks, Matt

Tryde Coffee Table

I love this site! This is my second build. I started this project one weekend and came back to it to finish. Unfortunately, two of the boards bowed by the time I got back to it the next weekend; so, I added imperfections of mine own and give it a rustic look! 

Built from Plan(s)
Estimated Cost
$60 for lumber
Estimated Time Investment
Weekend Project (10-20 Hours)
Finish Used
I used Varathane weathered grey stain and poly semi-gloss for the top. For the bottom, I used Varathane ebony stain and poly semi-gloss. I went with these because our couches are black on the bottom and grey on top.
Recommended Skill Level
Beginner

Painted Modern Farm Bench

Submitted by rcasbeer on Wed, 03/09/2011 - 18:50

I built this bench the day before Thanksgiving. I used scrap 2x6's left over from building our son's bunk bed. I shortened the plan to 43 1/2" total length to fit my space and accommodate the boards I had. The top of the bench is 4- 2x6 boards instead of a 1x12 board. The legs are 2x4's instead of 2x6's. I wood puttied all screw holes, sanded, painted 2 coats of Behr's decorator white, and applied 3 coats of Polycrylic.
After using it over the last few months I have noticed some of the pine knots have bled a little yellow into my finish. If I were to do it again, I would prime all knots with Zinsser cover all primer.
We really enjoy this bench and are happy with how it turned out. Although unfinished at the time, our Thanksgiving guests were impressed that I could whip out a bench by myself. Thanks Ana!
Estimated Cost
scrap wood, screws on hand, paint on hand, 1 qt. polycrylic on sale $8
Estimated Time Investment
Afternoon Project (3-6 Hours)
Finish Used
2 coats Behr satin paint and primer in one, Decorator White and 3 coats satin Polycrylic.
Recommended Skill Level
Beginner

Porch Swing - I LOVE IT!

Submitted by MelanieG on Sat, 04/11/2015 - 15:38

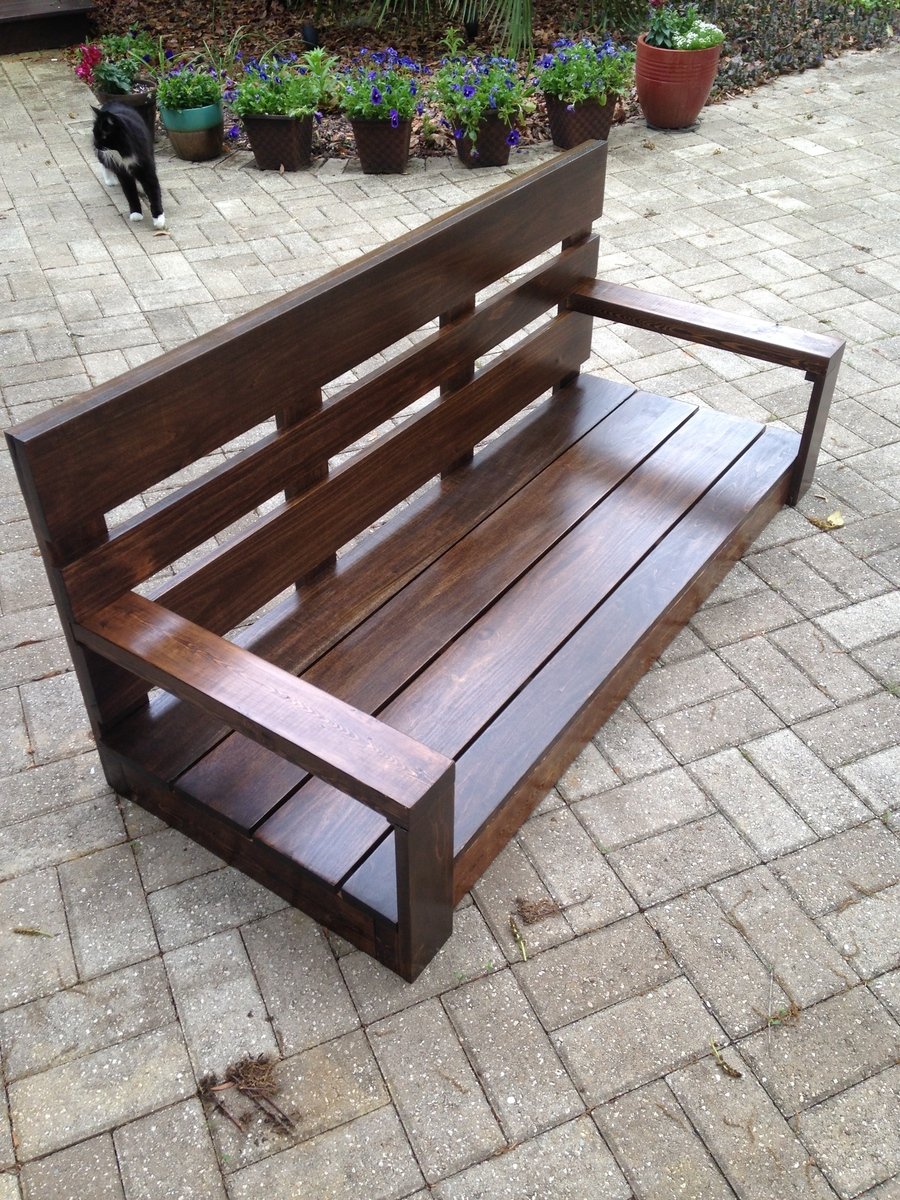
I've been wanting to build this swing for a year now, and finally it's completed.  I LOVE it!  The modern design is perfect for our front porch as our home is more of a contemporary style.  It was the first project I've done using the Kreg Jig Kit, which is AWE-SOME!    

I modified the plan a bit:  I made the swing 52" long, and used 1x4's for the back support instead of 2x4's.  I also upgraded the top and back 1x4's and 1x6's to poplar wood so the grain would be finer.  The plan was simple to build.  Thank you for your blog and providing plans!  There are other things on your site that I look forward to making.


Built from Plan(s)
Estimated Cost
$150
Estimated Time Investment
Weekend Project (10-20 Hours)
Finish Used
Stain and polyurethane
Recommended Skill Level
Beginner

Comments

Michael K

Sun, 04/12/2015 - 06:29

That porch swing looks great! I have to say that its a great addition to an already sweet looking porch area you have there.

Reclaimed wood dining table

Submitted by OWJ3 on Mon, 08/07/2017 - 13:41

Built this for my wife from warehouse floors from the Mare Island Naval Station. 150 plus year old planks. Doug Fir.  Hope it will become a family heirloom!

Estimated Cost
$700
Estimated Time Investment
Week Long Project (20 Hours or More)
Finish Used
Classic Gray and Dark Walnut on the top. White wash on legs.
Recommended Skill Level
Intermediate

Nightstand

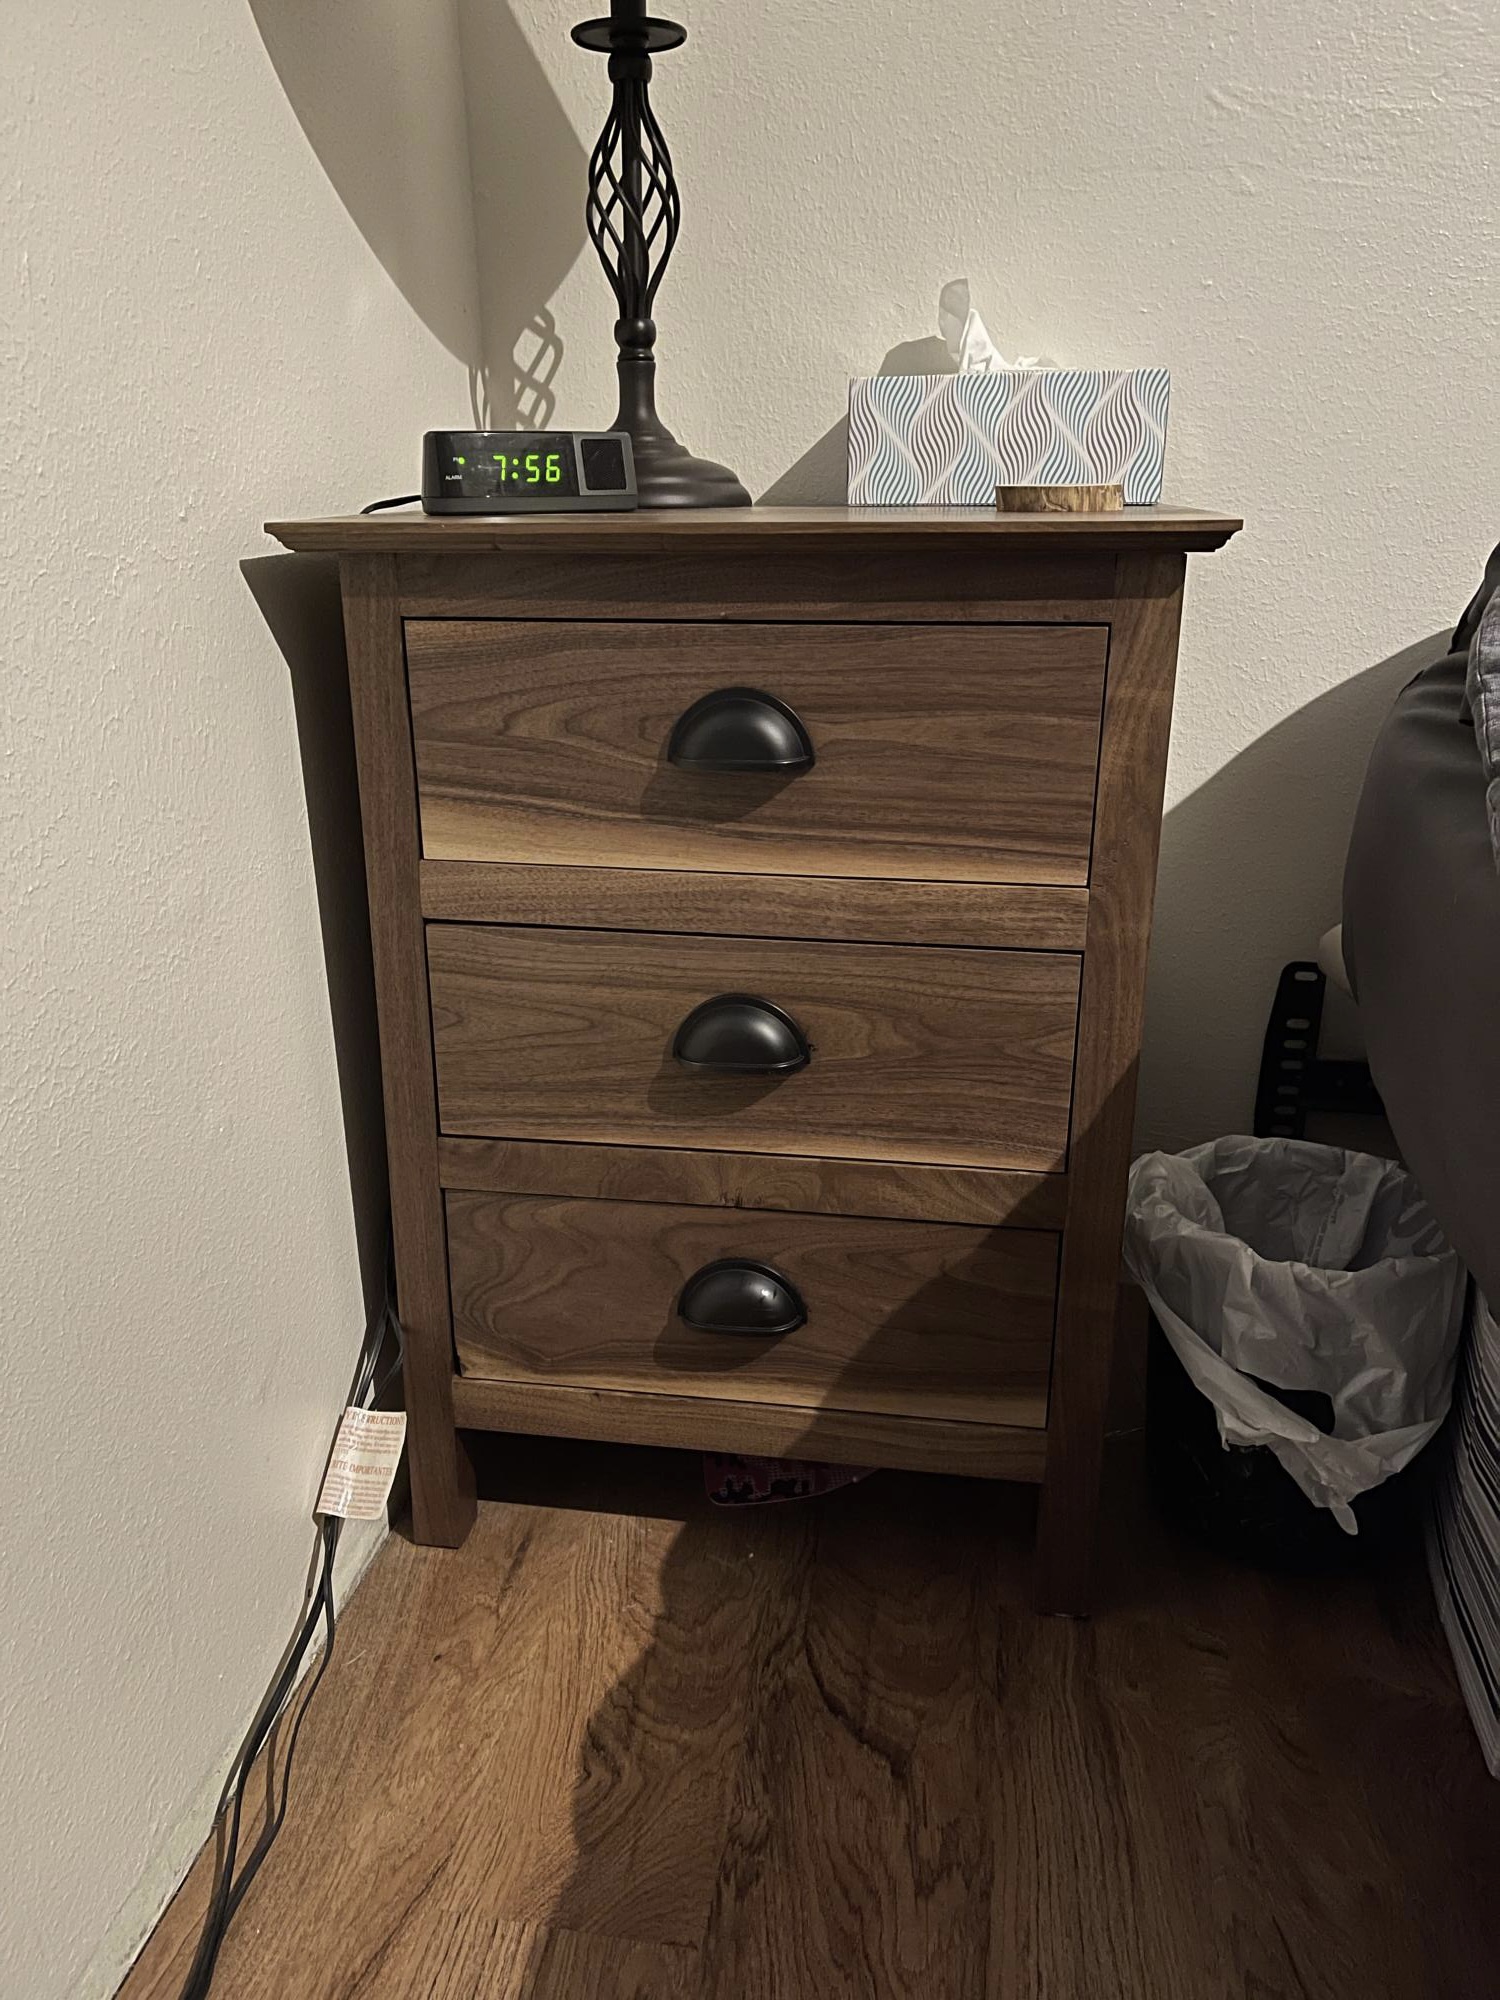
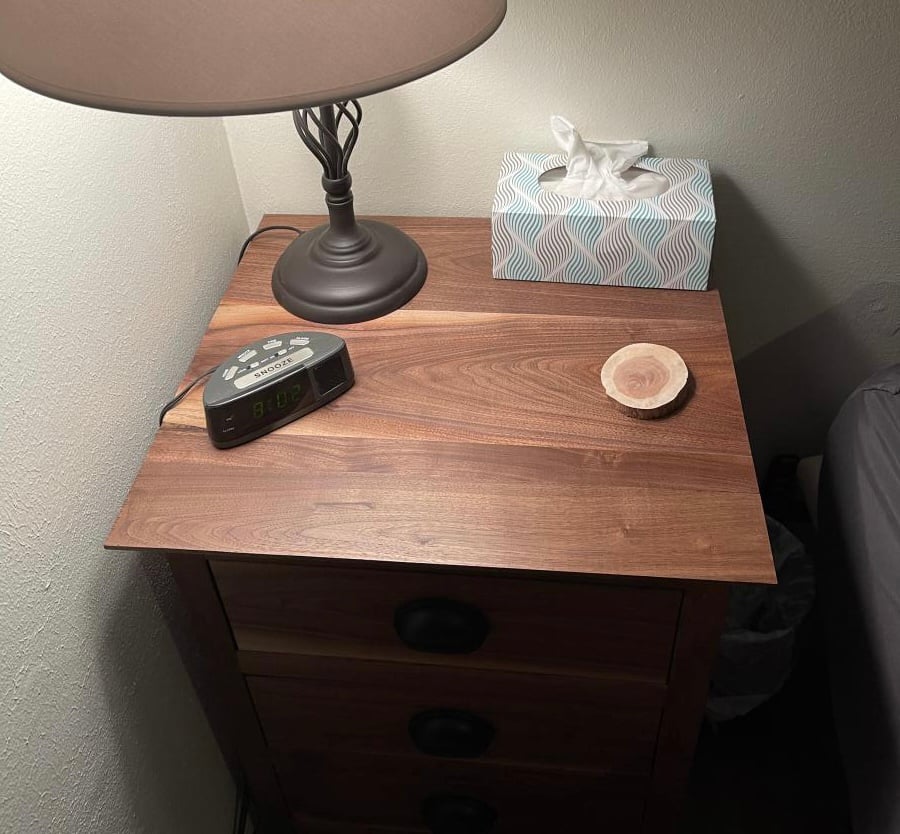
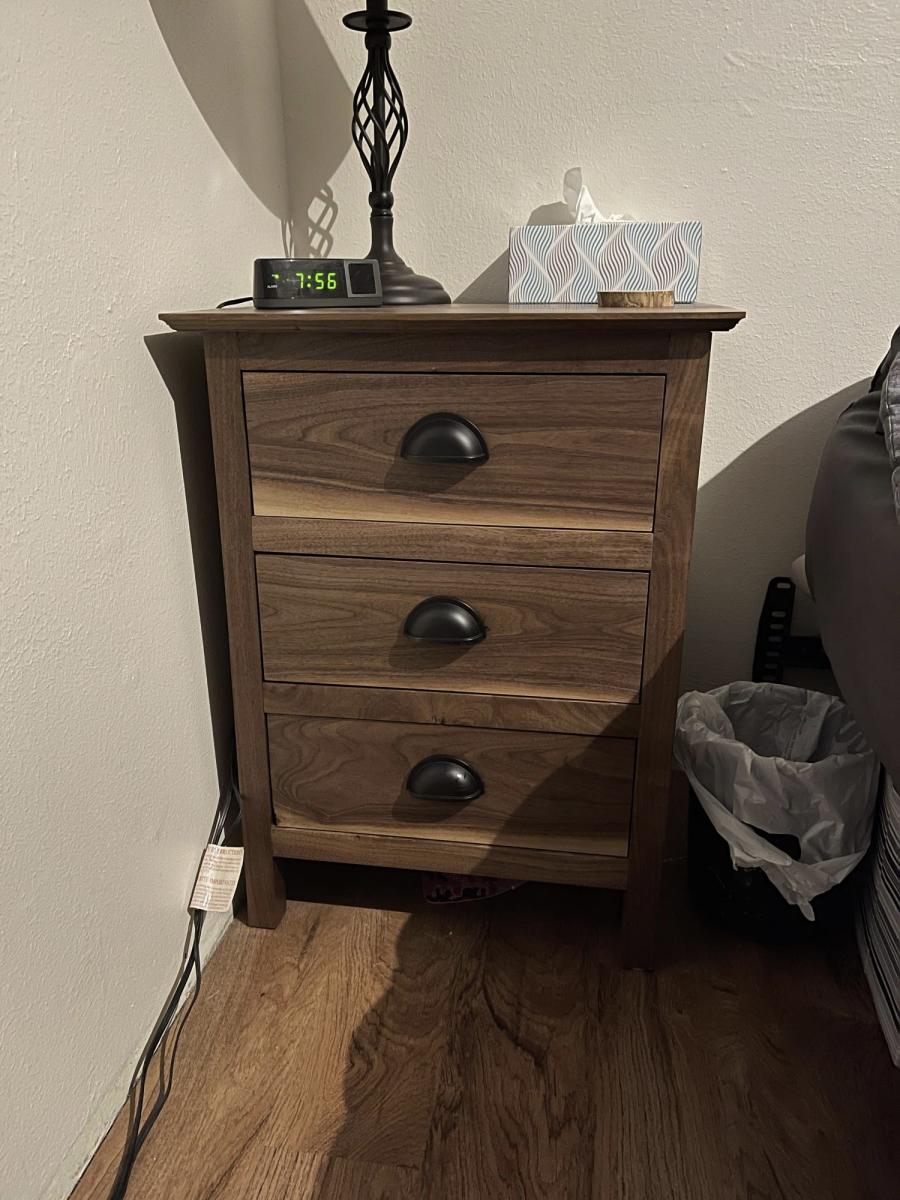
Submitted by Anonymous (not verified) on Mon, 10/04/2021 - 19:42

We made this out of walnut we milled a couple years ago. We didn’t stain just used Dixie Bell Gatorhide to seal it with. Not sure why the pictures turned sideways when they uploaded.

Comments

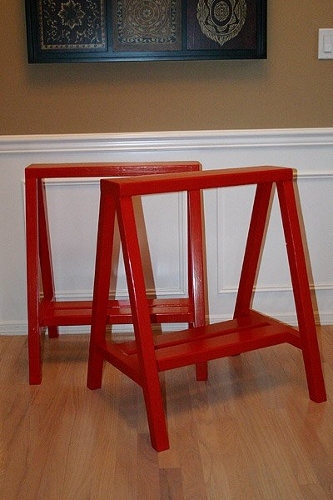
Bright red sawhorses!

Submitted by ferbit on Thu, 03/10/2011 - 08:50

Not too much to say here! We badly needed sturdy sawhorses for our garage. I've used them on almost every Ana White project I've made and they are fabulous! They are covered in drips, spots, nicks and stains from all of my projects, but that's what I love most. Each splotch reminds me of that particular project. Sounds silly, but it gives them character! :)

Built from Plan(s)
Estimated Cost
$20
Estimated Time Investment
An Hour or Two (0-2 Hours)
Finish Used
Red semi-gloss paint that I had on hand.
Recommended Skill Level
Beginner