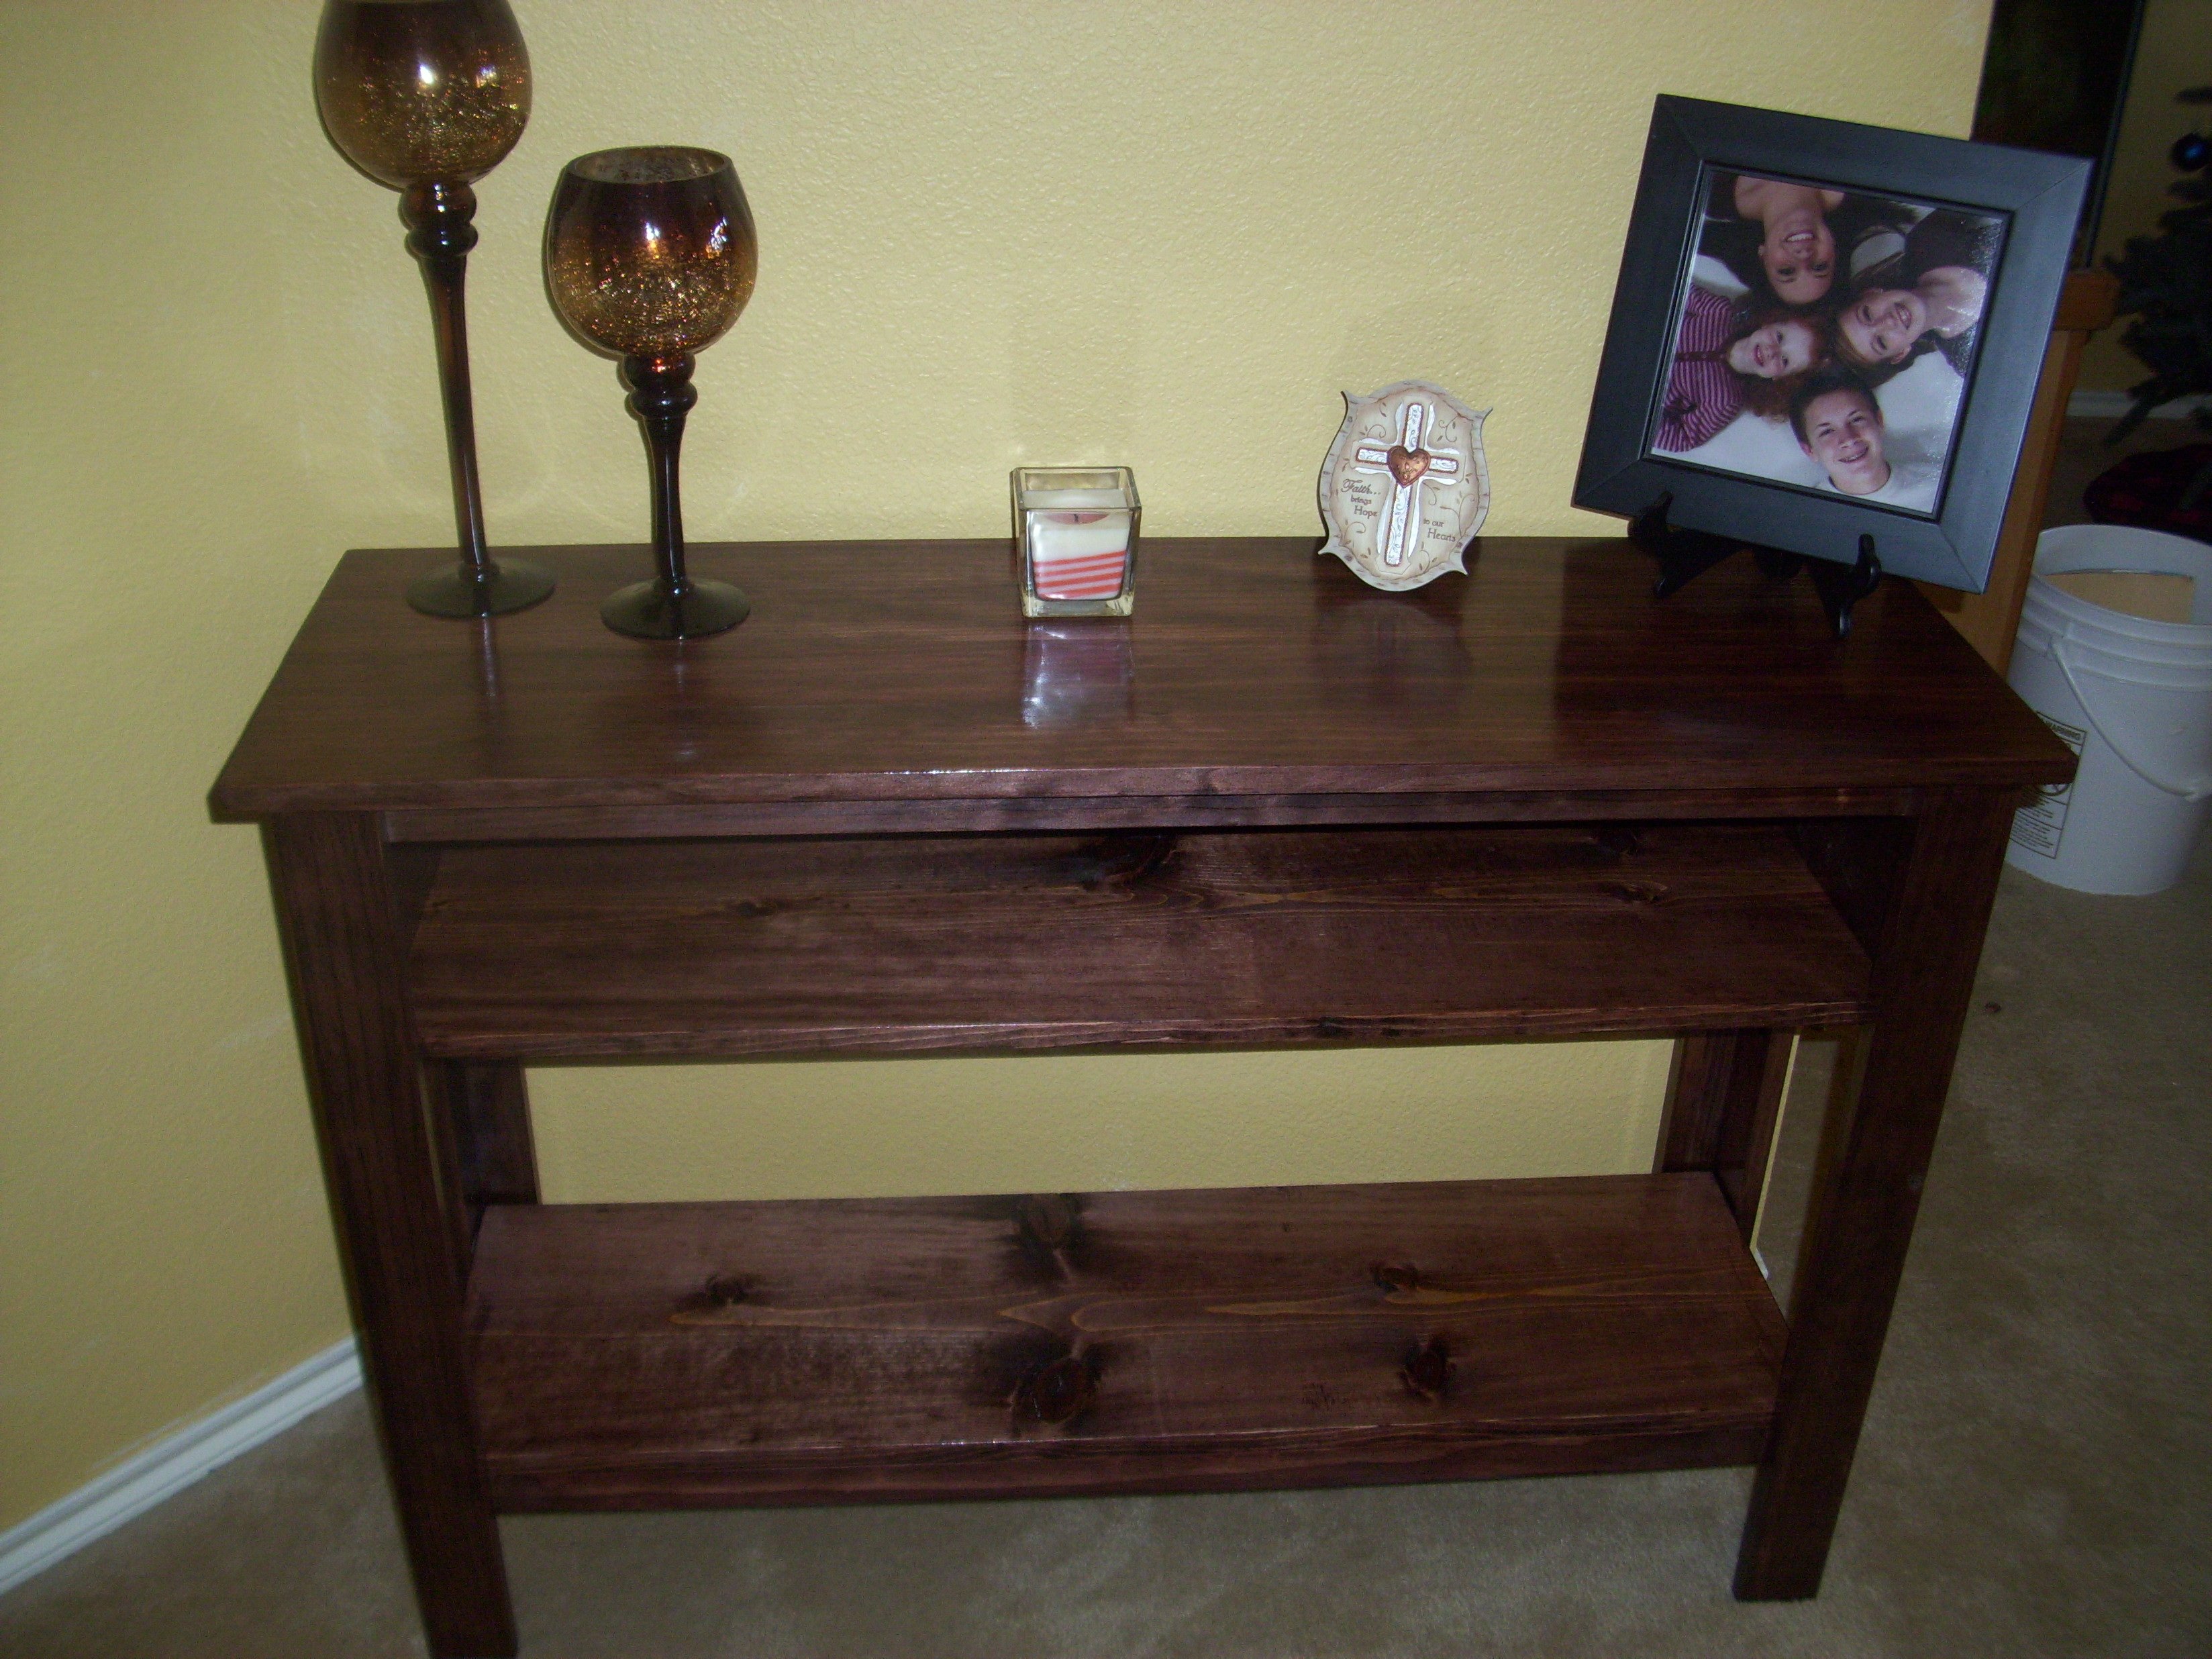
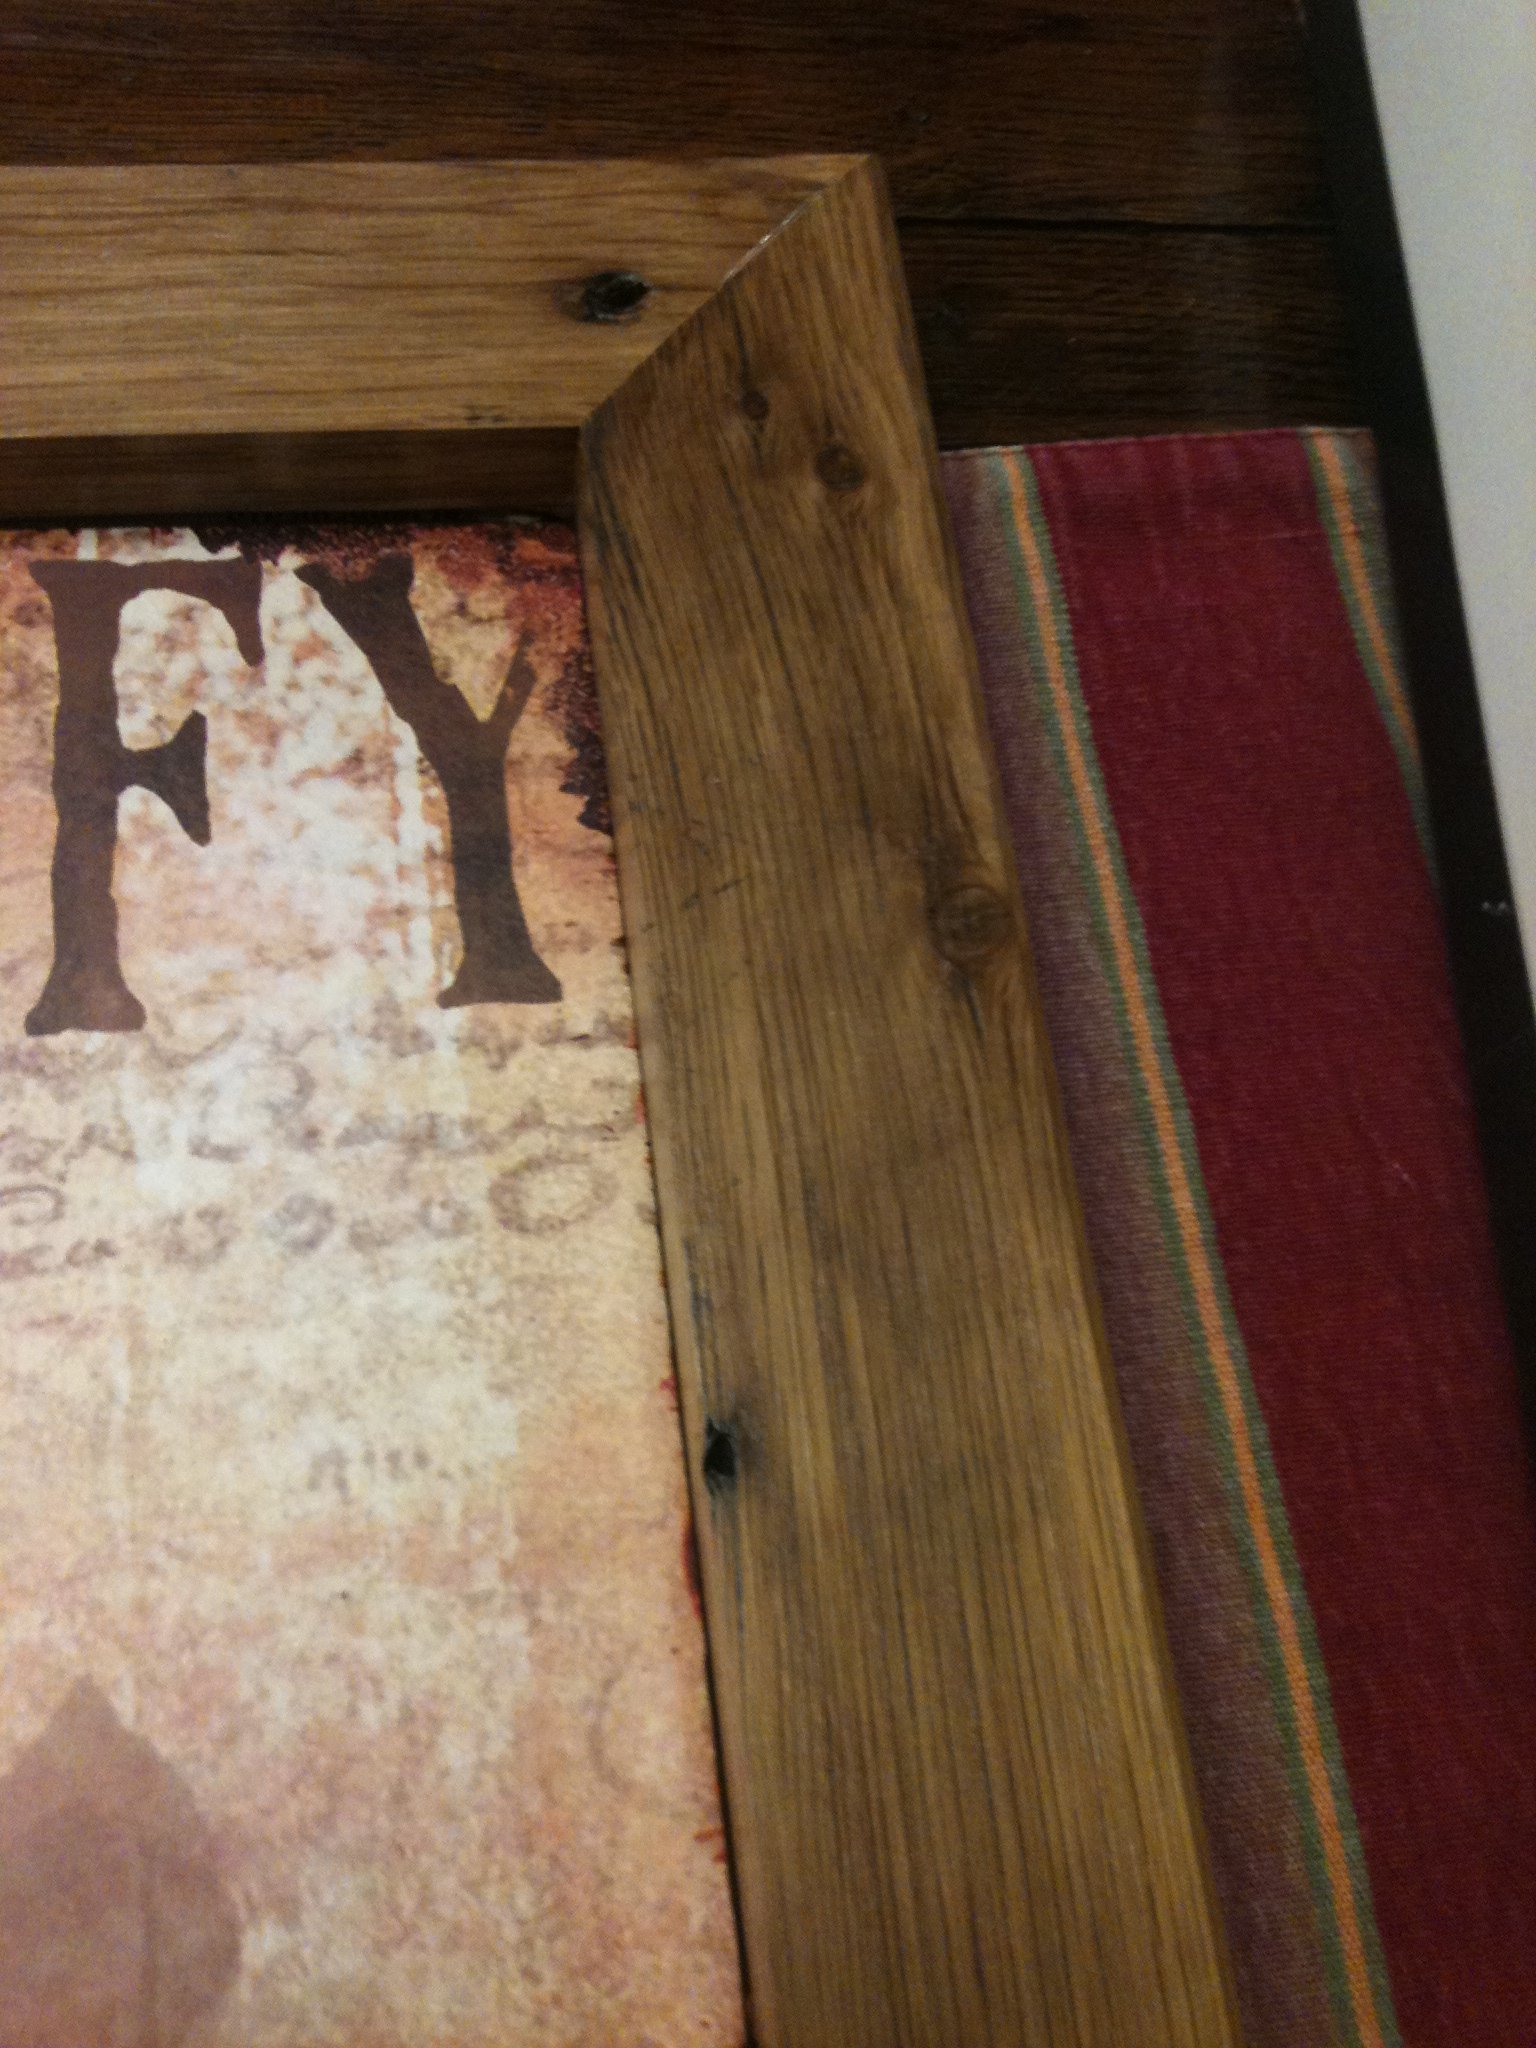
coffee table cedar top and drawer fronts
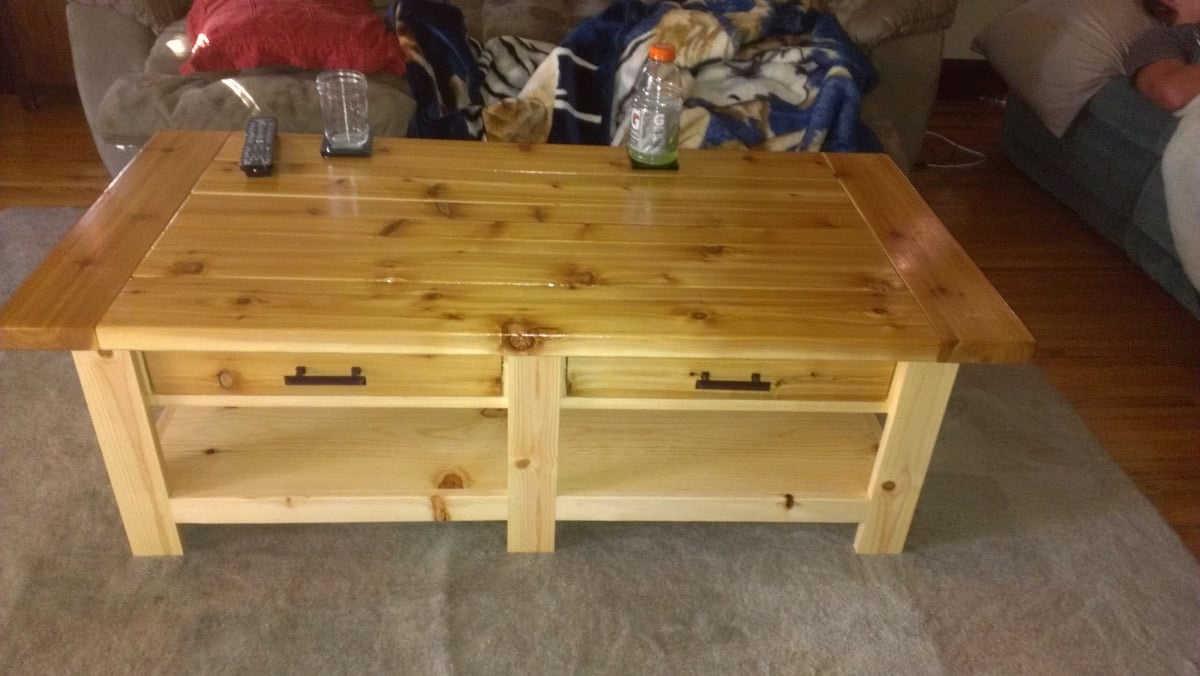
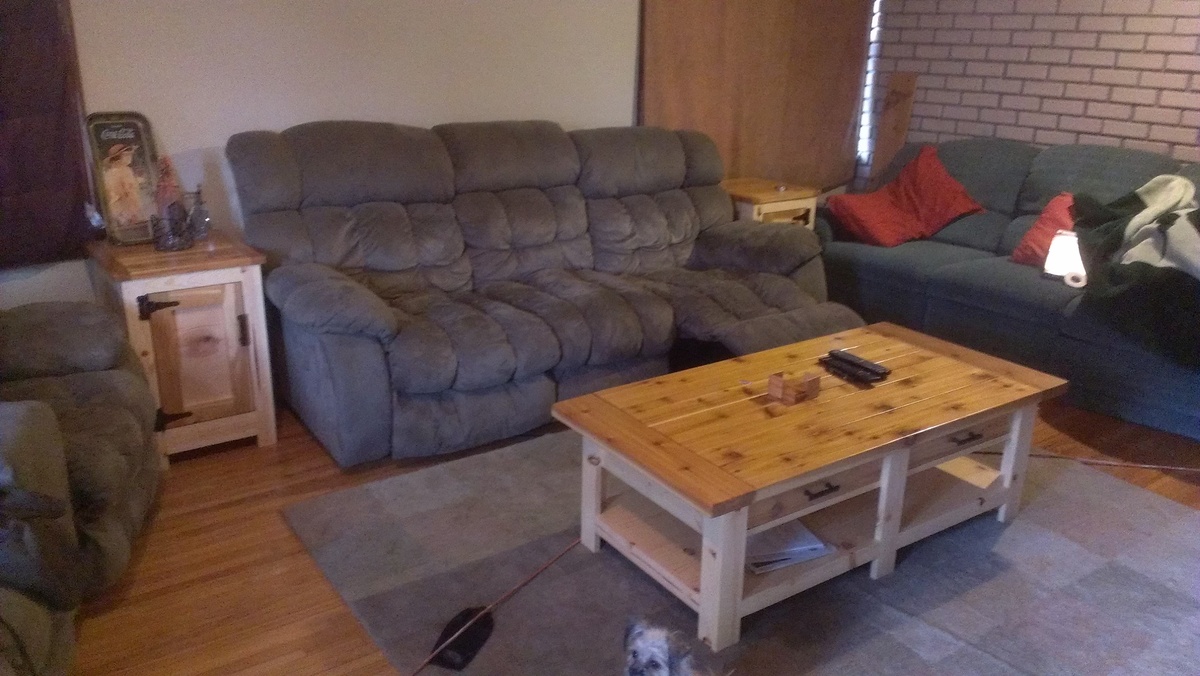
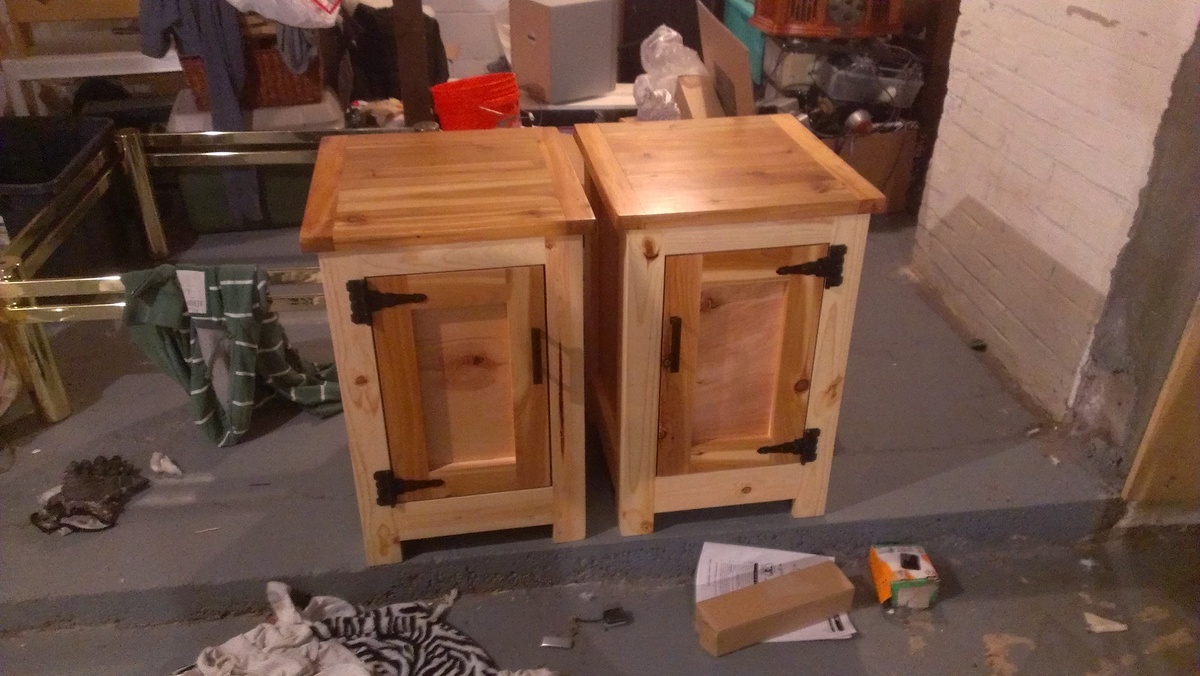
started and made the coffee table first then decided i wanted matching end tables so i looked up some different designs on here and decided on one. made the top and the front of the doors the same to match the top and drawers of the coffee table. next is gonna be the tv stand i think but here are the three all done.
Built from Plan(s)
Estimated Cost
200 for coffee table would have been more on end tables but got alot of scrap from my dad so only spent about 100 or so on those.
Estimated Time Investment
Week Long Project (20 Hours or More)
Finish Used
just varnished it with a waterproof varnish in case anyone sets stuff on it anyways so i shouldnt have to revarnish it for quite a few years. Ignore the messy basement. i want to bend some wooden handles for them now and fit them to the holes that i already have from the handles that are on them now.
Recommended Skill Level
Beginner