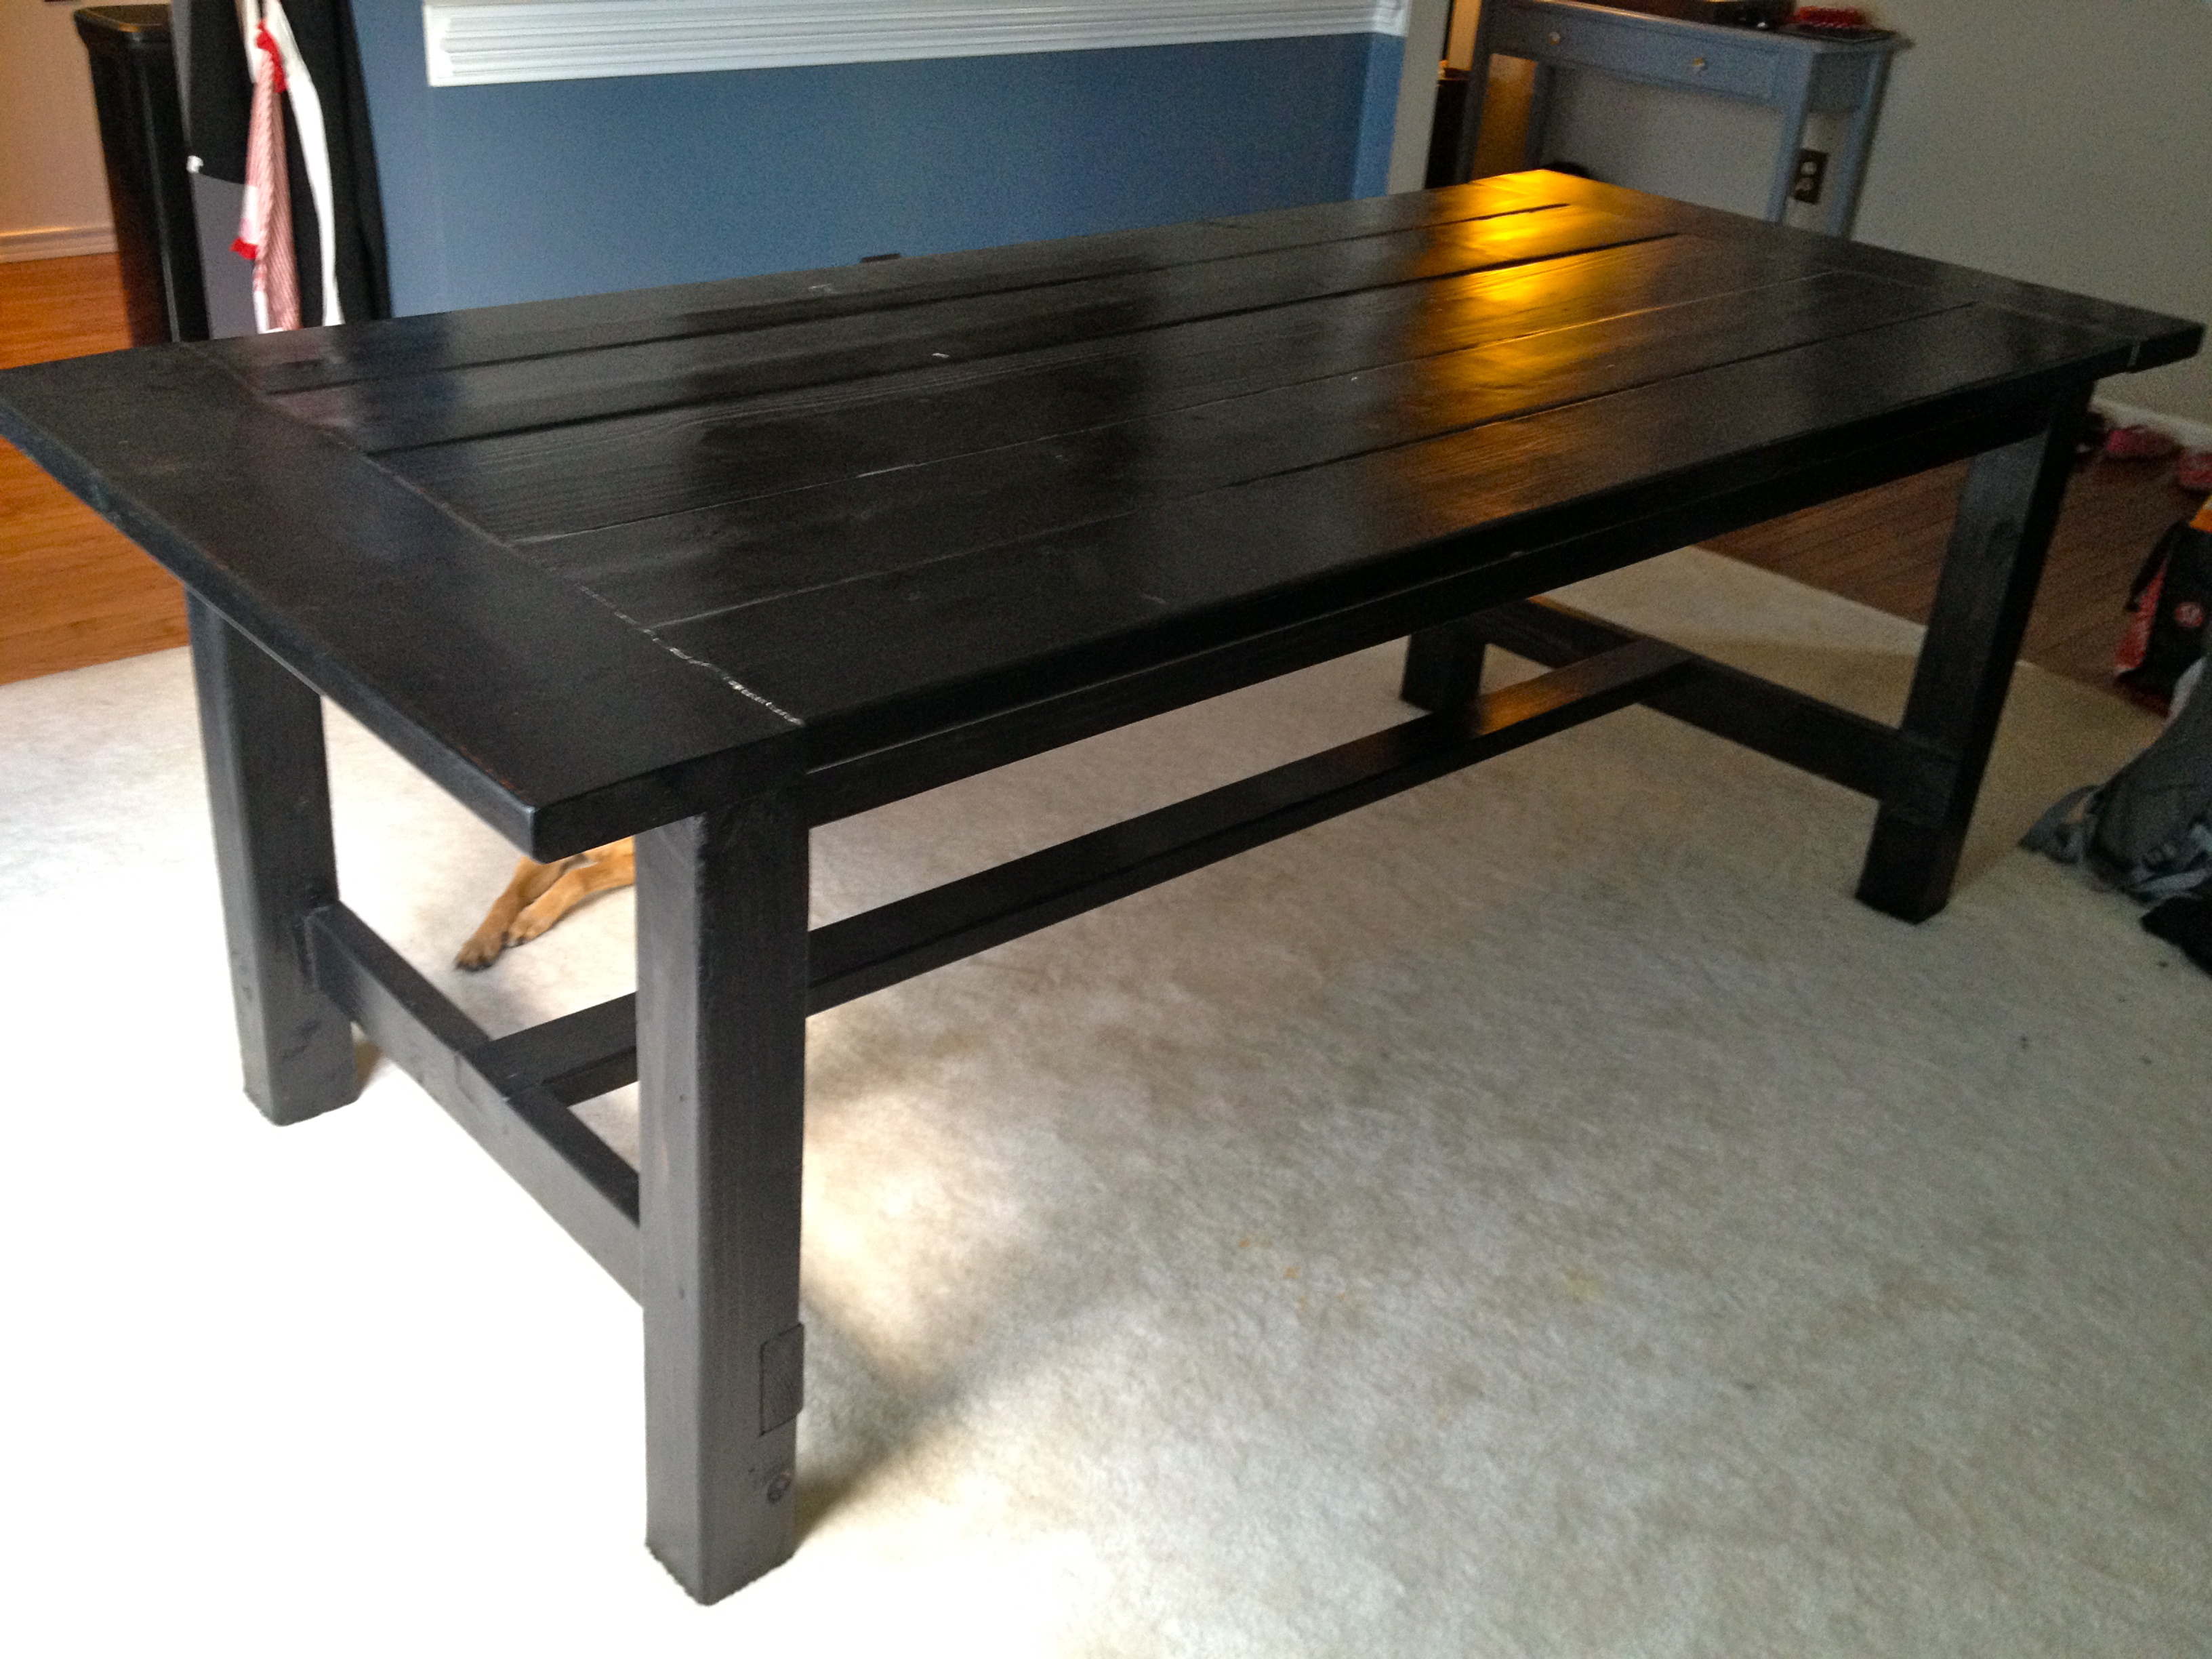
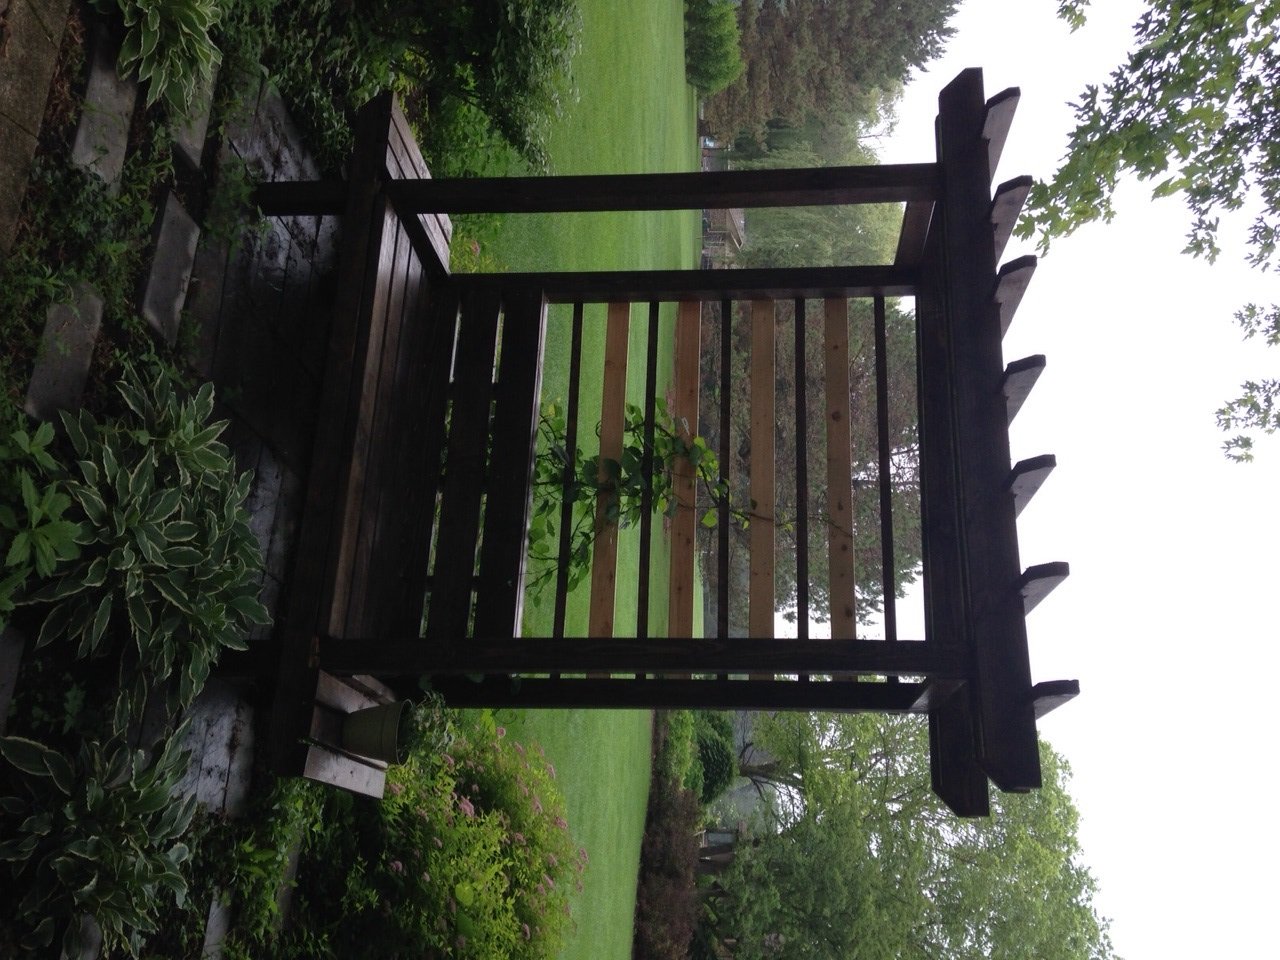
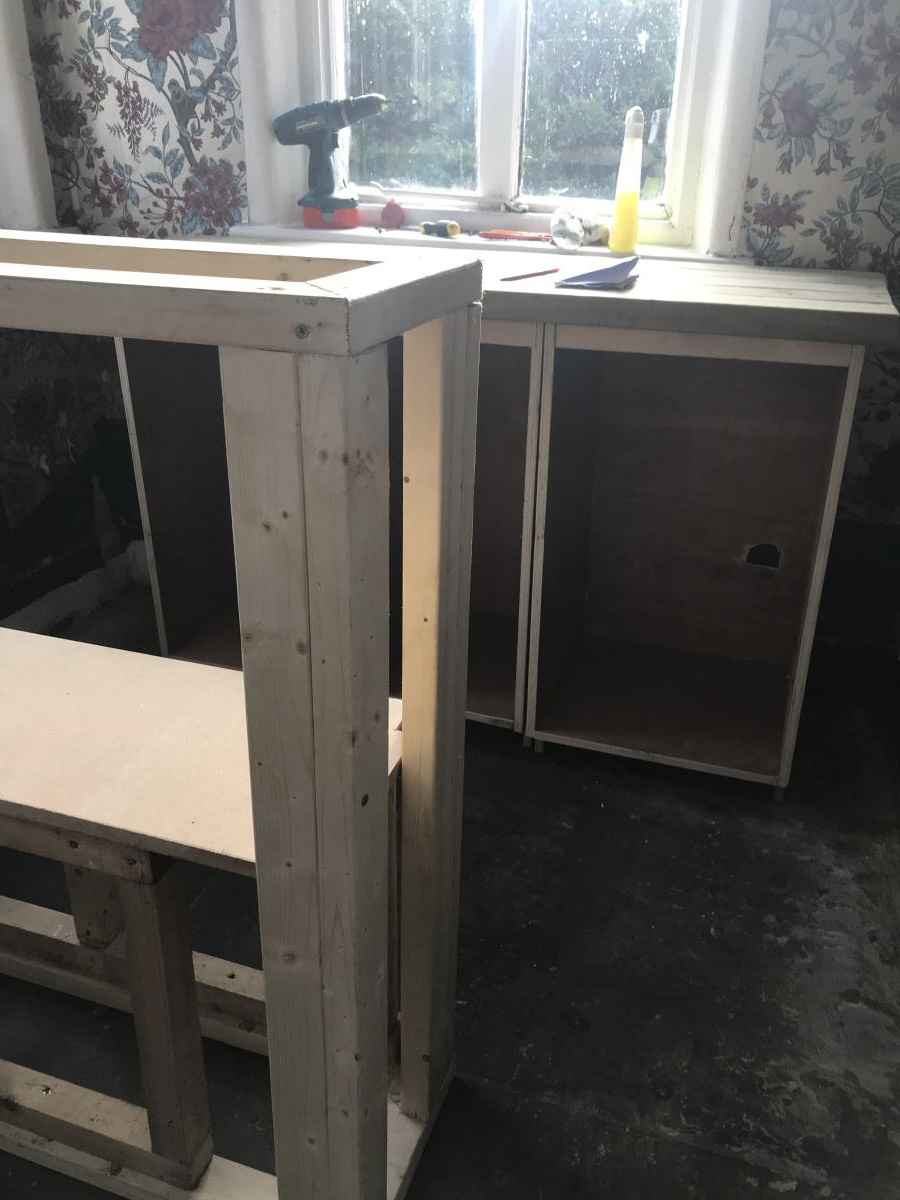
Easy, Inexpensive and Super Strong Movable Work Bench

I needed a nice work bench or table for my new 12" Ridgid miter saw. This thing is a beast so it needed to be super strong and I also wanted it to be moveable so we can optimistically be able to park in the garage some day.
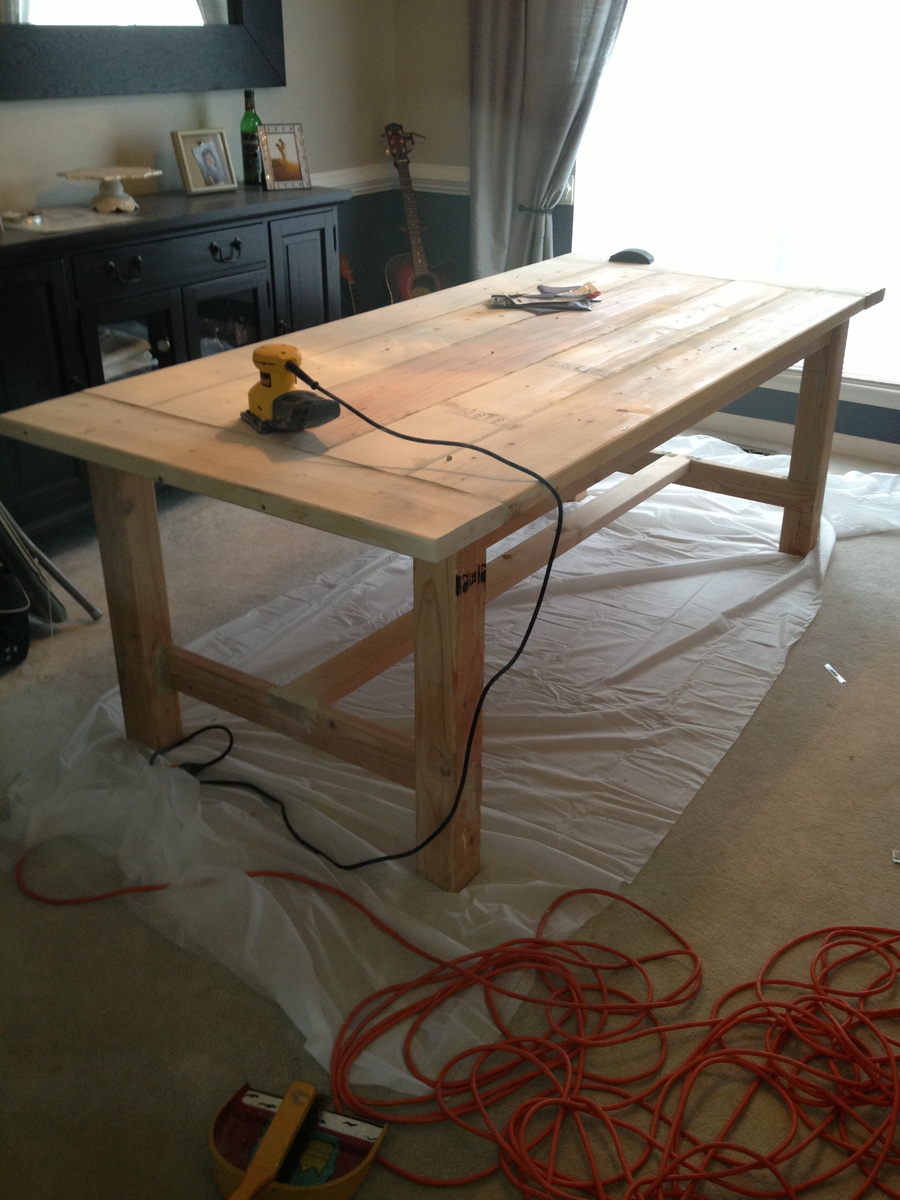
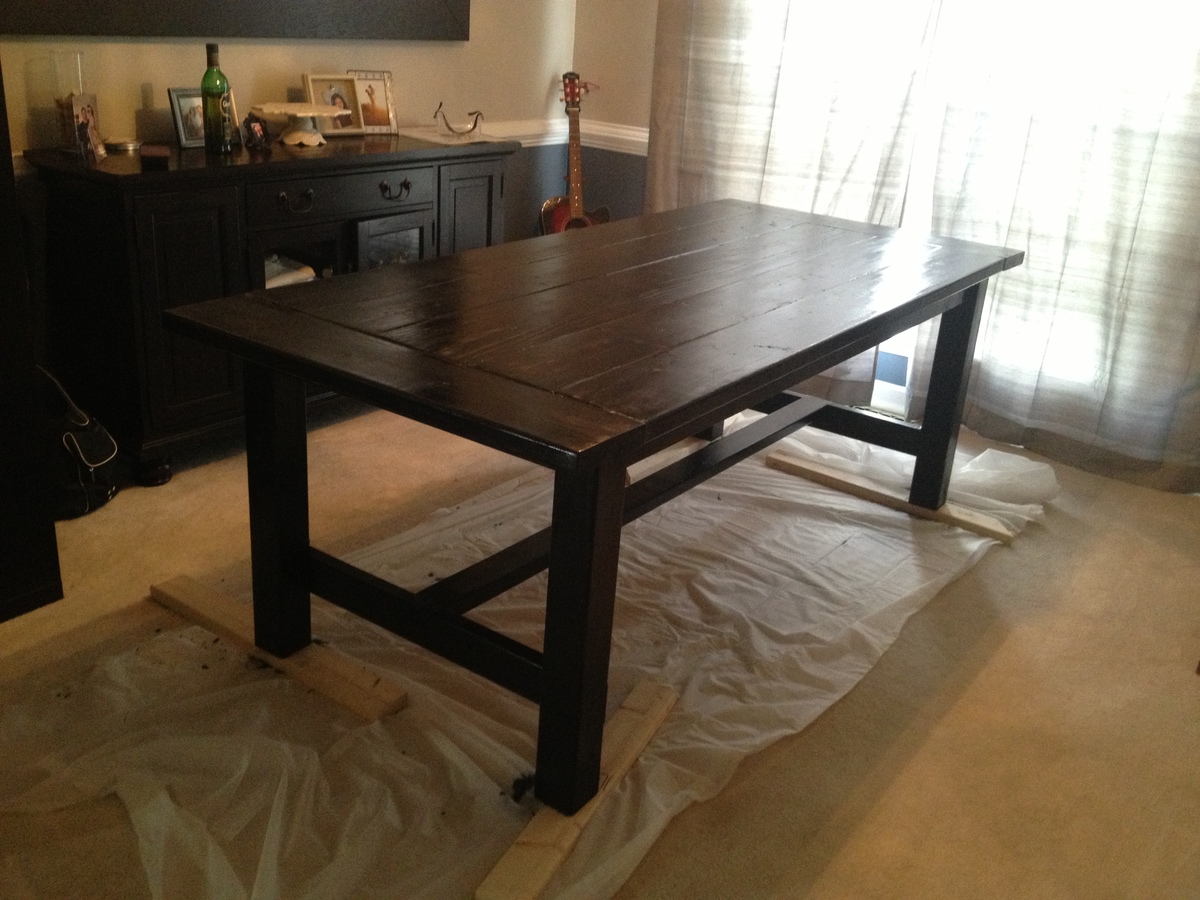
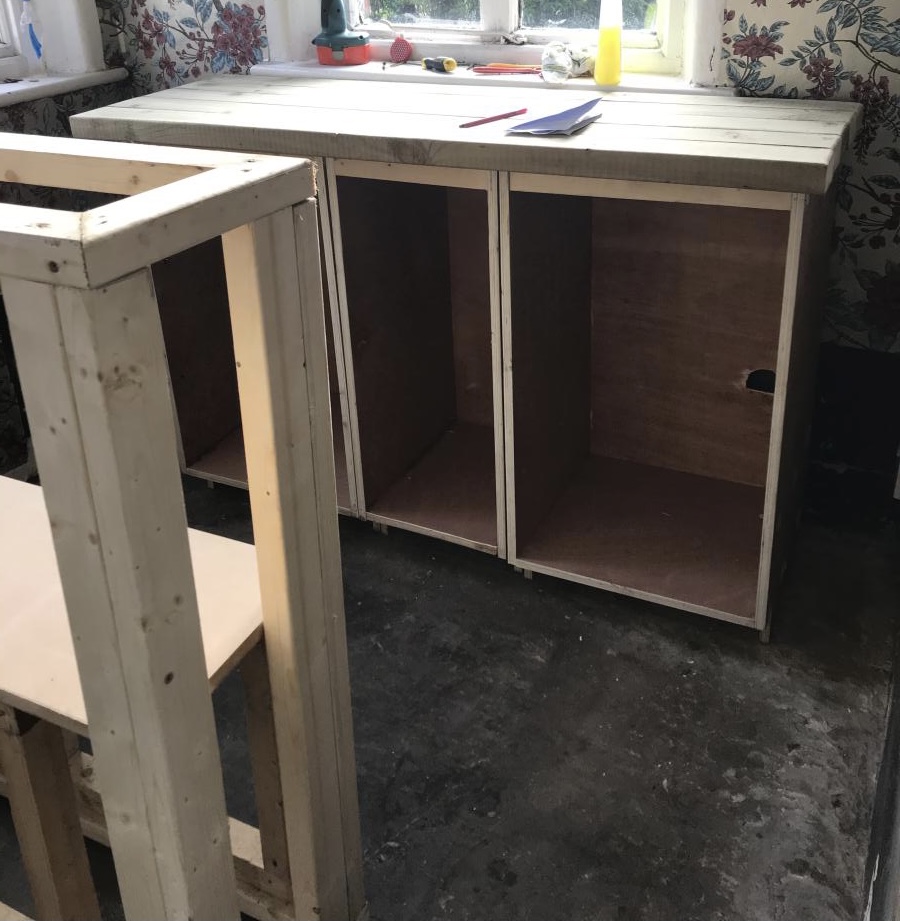
I had a 2 x 4 and a few 4 x 4 posts. I went and bought a sheet of mdf and some lag screws and here is what happened.
It's super strong, moveable and works like a dream. Plus there is plenty of room to add removable boxes on each side to hold up large lumber.
For around $15, you can't beat it!


Estimated Time Investment
An Hour or Two (0-2 Hours)
Finish Used
au naturale
Recommended Skill Level
Beginner