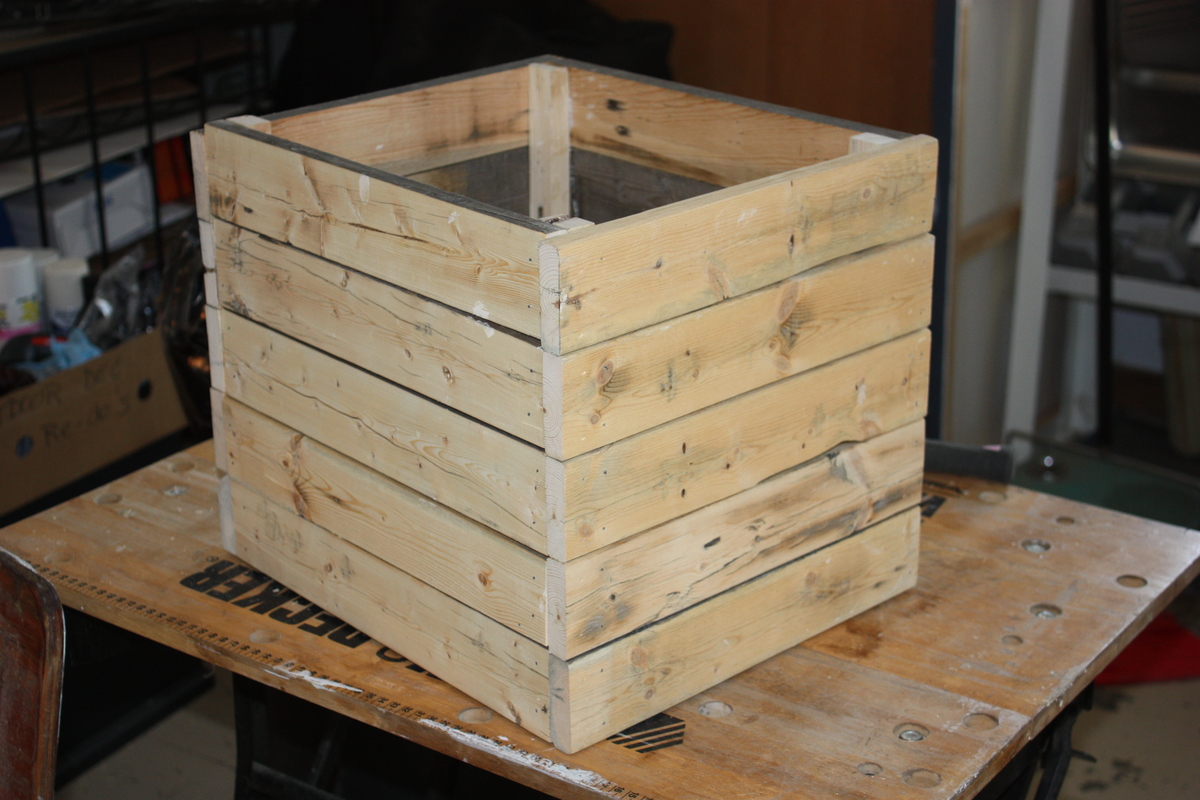
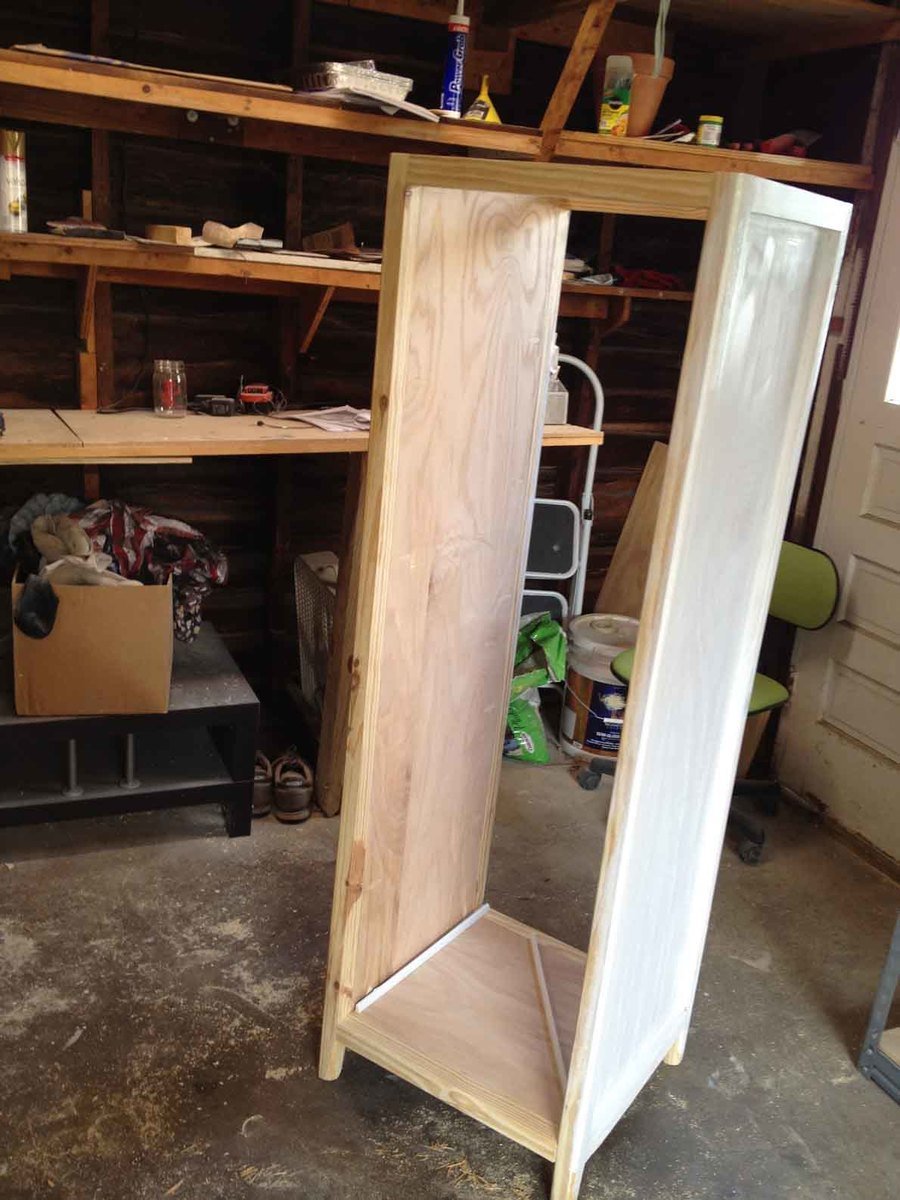
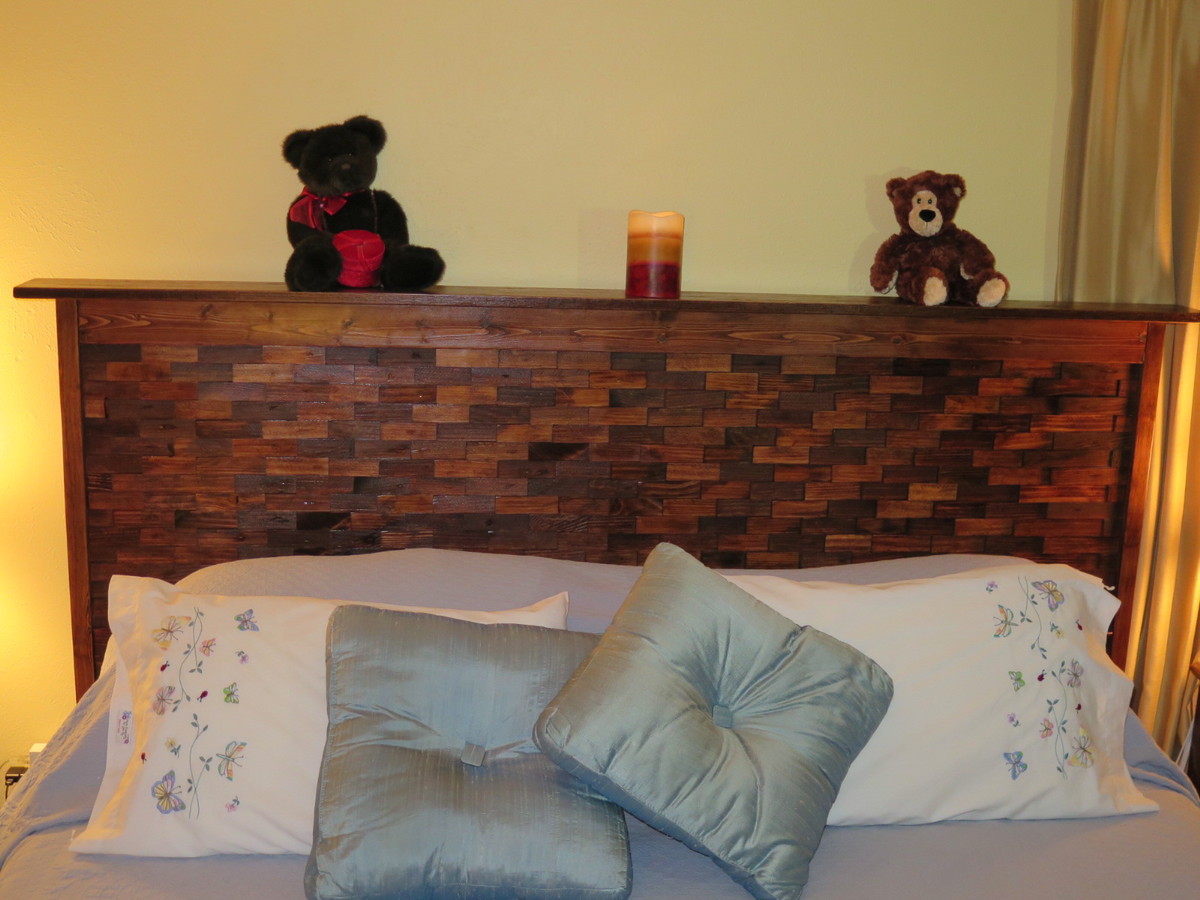
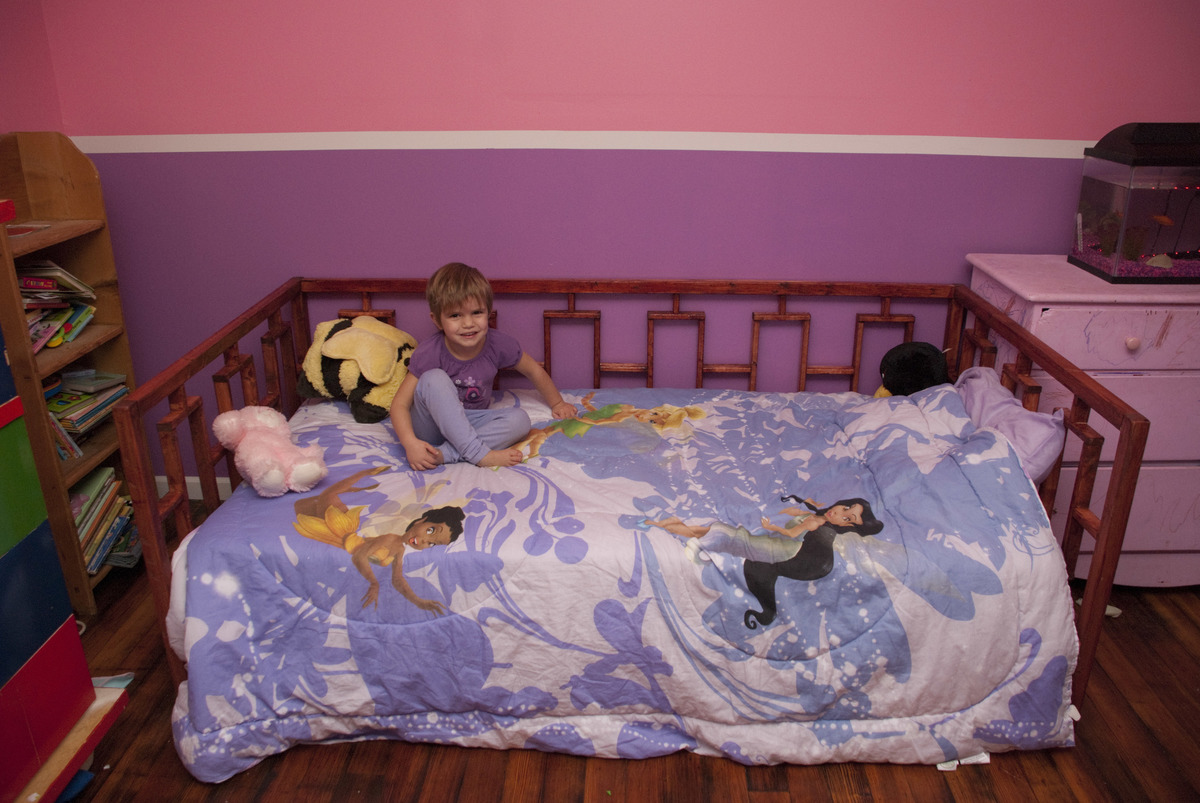
I had inherited some bed frame wood from our local Re-store and have been working it into projects here and there. We needed some actual night stands and I loved the look of the Reclaimed Look Wood Nightstand, but they were a little too tall for our bed. The height of the original plan is 28" and I ended up taking out one drawer for a total height of 20". I also found two sets of drawer slides at the Re-store and decided that an open shelf on the bottom would better suit our needs, so I crossed the reclaimed plan with the farmhouse plan to create a shelf on the bottom. The bottom is built the same way that the sides are, but attached so that the 2x2 is on the underside.
I didn't have enough wood from the bed frame to make two full tables, so I used Douglas fir 2x2's for the legs (the best the local big box home improvement had that day for my price) and white board for the table tops and every other board for the sides and shelves. This was my second real building project, so they were really easy to put together, but it was a lesson in making everything super square because of the drawer slides. The finish I used also goes great with a 130 year old dresser that you can see a bit of next to the finish table. The wood only needed one coat to reach the color closest to that dresser and it hid the fact that I used three different types of wood in this project. Overall they are just what we needed in this space. The bed frame is IKEA, but I am thinking about making the Reclaimed Look Bed Frame to match the tables in the future.







Comments
Pam the Goatherd
Tue, 01/03/2012 - 09:22
That looks so good! What a
That looks so good! What a great way to start the New Year!
Kate (not verified)
Tue, 01/03/2012 - 10:10
Looks great! I've been
Looks great! I've been thinking of doing the same thing myself, I just need to get motivated and convince myself that I won't be "destroying" my kitchen cabinets if I screw in a few drawer slides.
Dolores (not verified)
Tue, 01/03/2012 - 13:58
Not only will you not be
Not only will you not be destroying them - you will be amazed at the increased organization and convenience! Putting away/getting out dishes and pans is so much easier and organizing the pantry is awesome!
claydowling
Tue, 01/03/2012 - 14:20
Great expansion
Just one bit of advice for future projects, concerning drawer construction. It's better to have the sides come out to the front, rather than stop at the drawer front, and run the screws/pins through the side and into the front.
Another option, if you own a router, table saw or rabbet plane, is to cut a rabbet into the fronts and pin or screw through there, so you still show a solid front, but have the security of pinning through the sides.
Cindy from Indiana (not verified)
Tue, 01/03/2012 - 17:02
Great job - so organized!
Great job on organizing! It looks really nice - I'm adding these to my to-do list (which is now a mile long LOL).
dawnkasotia
Wed, 01/11/2012 - 09:22
Awesome!
I have a large pantry cabinet like the one in the photo and I have a cabinet with a foldable door like yours. I've been wanting cabinet drawers for a while. Your photos give me inspiration and motivation to start building.
sarahkirchner
Wed, 01/18/2012 - 11:01
Super! Any chance you have a cost estimate?
I'd love to know the savings by doing it yourself as opposed to buying them somewhere. I'm in the research phase of our home organization project and trying to plan everything out!
Teresa Walker
Fri, 01/20/2012 - 22:24
Plans?
I am so going to do this. But, I need some kind of a plan to go by. None of the links take me to any plans. If anyone knows the link, please post them.
Thanks
claydowling
Sat, 01/21/2012 - 05:00
No Plans
Teresa, there's no way to make useful plans for this, because your cabinets are most likely a different size than the original builder's cabinets. That doesn't mean you can't build these though.
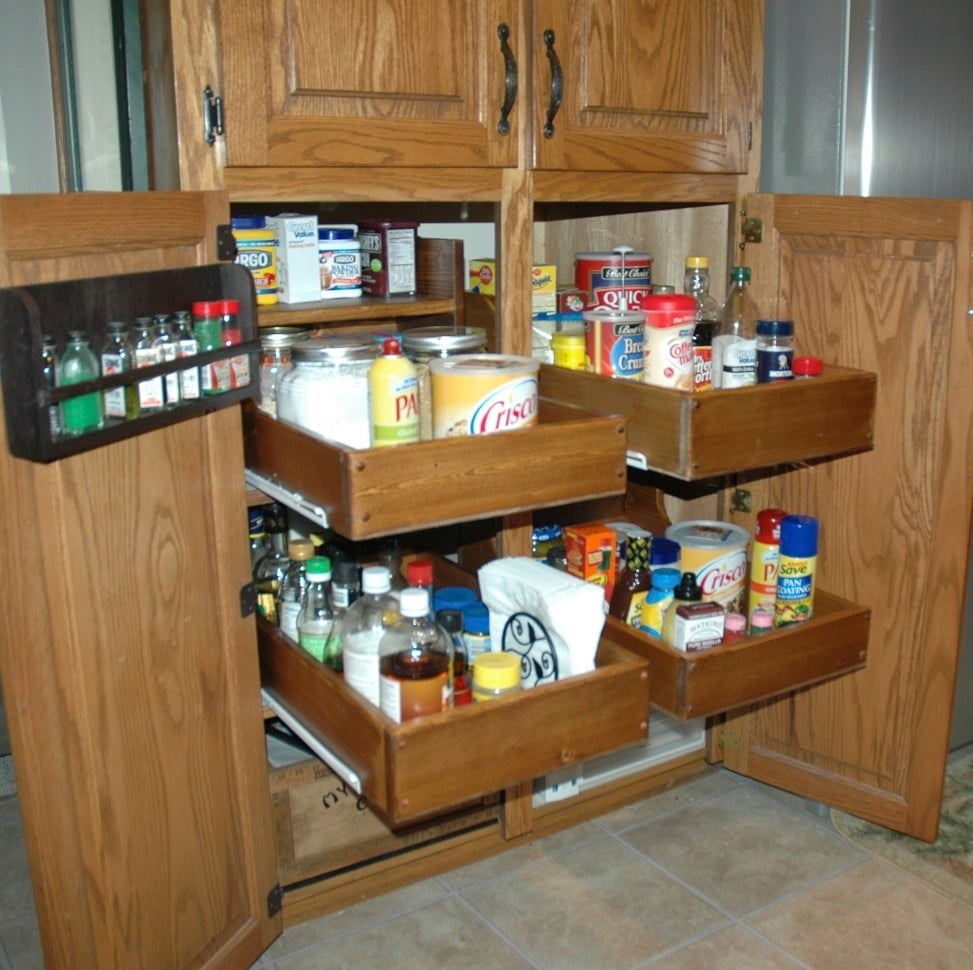
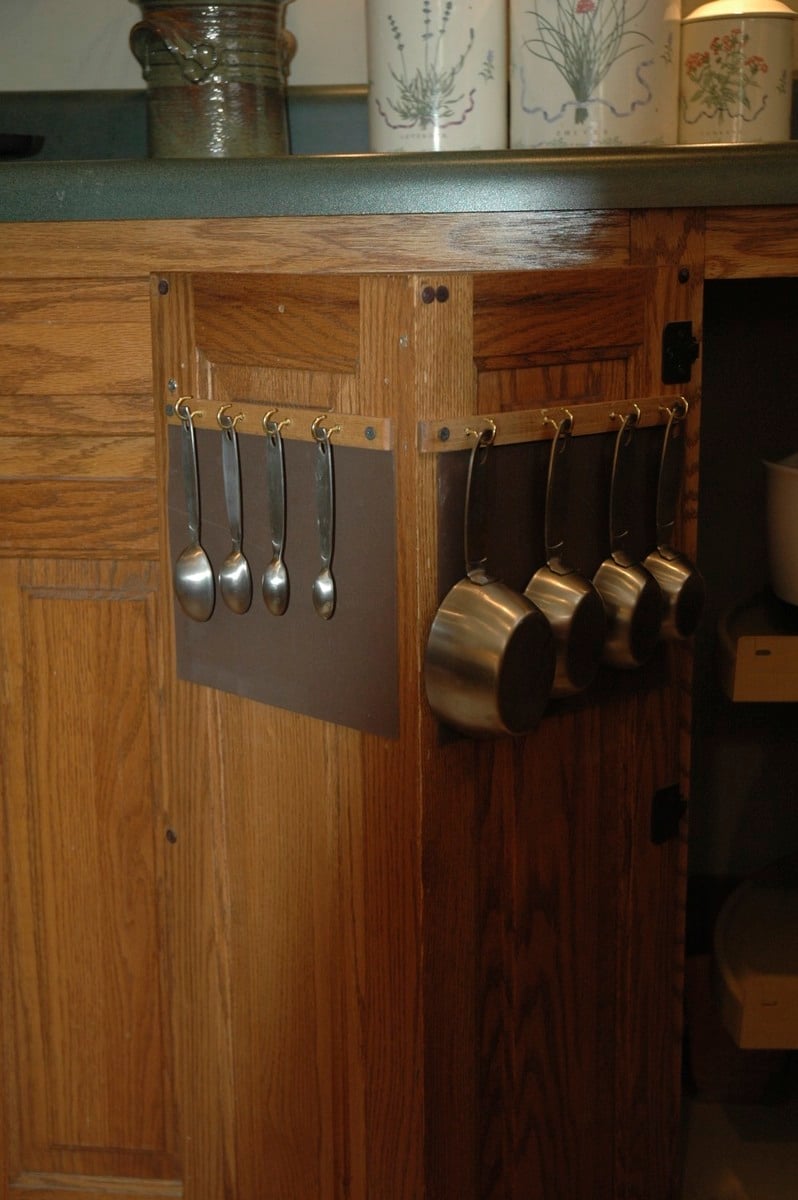
The hanging hook racks are trivial. Cut a strip slightly less than the width of the opening in the cabinet face frame, attach hooks as desired, and then attack to the doors, making sure to mount them level and inside the opening.
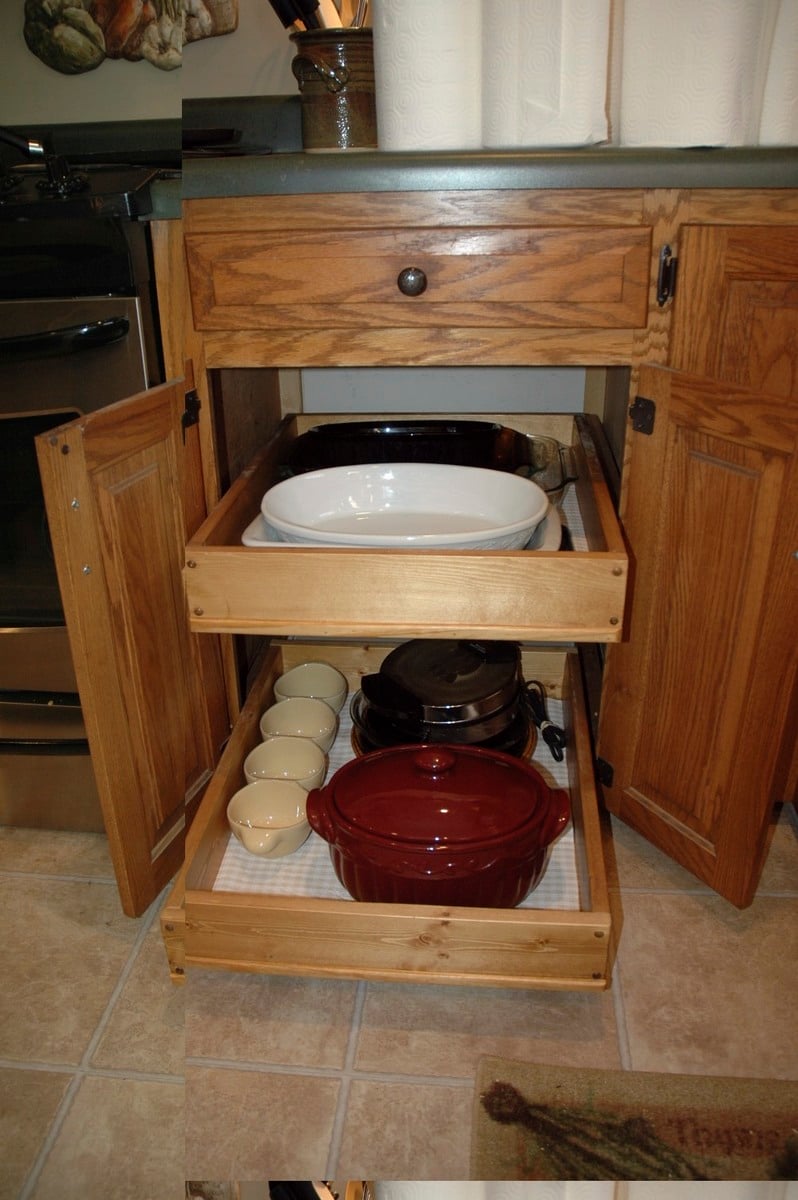
Drawers are slightly more involved, but not much. Buy the drawer slides first, because they will determine how much clearance you need. Typical clearance is 1/2" on each side, for a total of 1", but there's no solid rule.
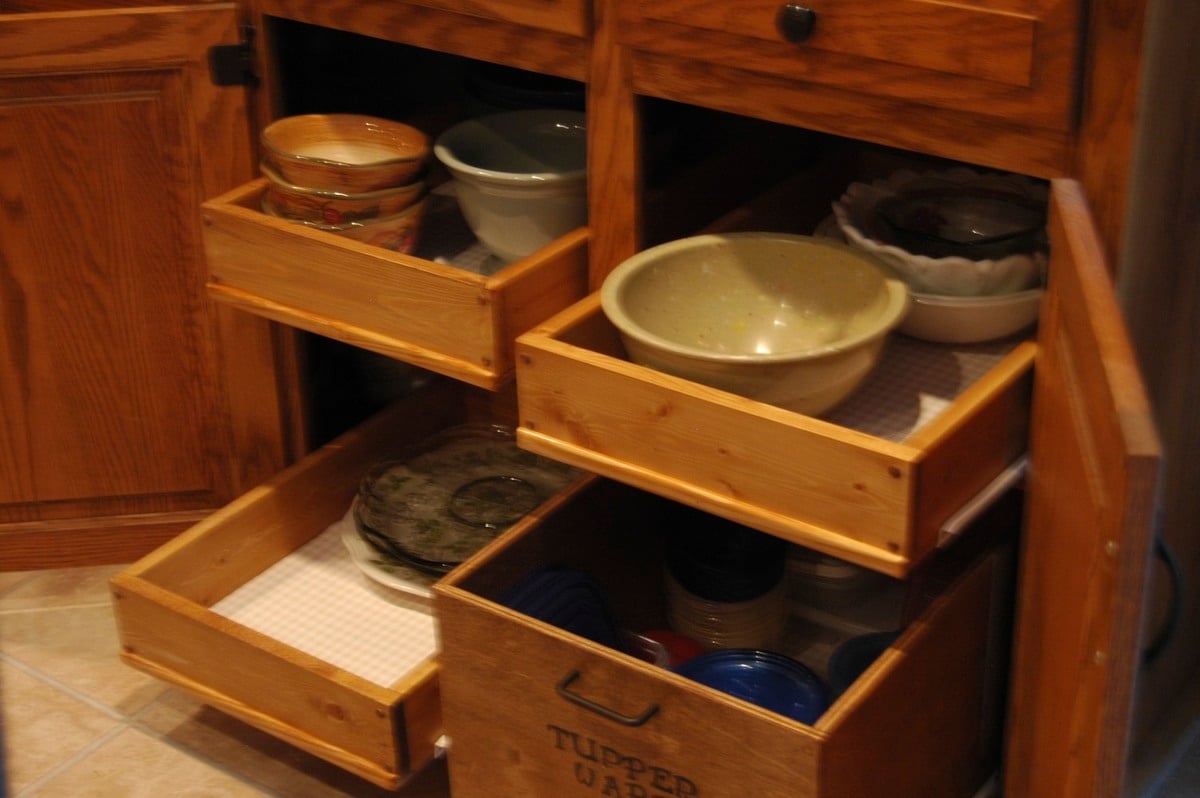
Once you have the slides, build a set of boxes as deep as your cabinets and as wide, minus the necessary clearance. There are plenty of different ways to build drawers. Any good furniture construction book will discuss ways to do it. There is even a whole book on the topic.
You'll mount the slides and then put the drawers in. Kreg makes a nice jig you can use to mount the drawer glides. You can order the jig and the glides from Rockler.
Teresa Walker
Sun, 01/22/2012 - 20:15
Another question.
Thanks for the advice. I have just purchased the Kreg master kit and can hardly wait to get started on this. Although hubby has told me first I had to build him a set of corner shelves for his collection. This will be my first project with drawers so I am a bit apprehensive, but still going to try.
I do have one more question though. My cabinet drawers seem to not have alot of support. You can push down on the center and it gives. Should I take those out and reinforce them before I start?
Thanks to everyone here, as there always seems to be someone willing to help out, and also thanks to Ana for this site.
claydowling
Mon, 01/23/2012 - 04:37
Drawer Bottoms
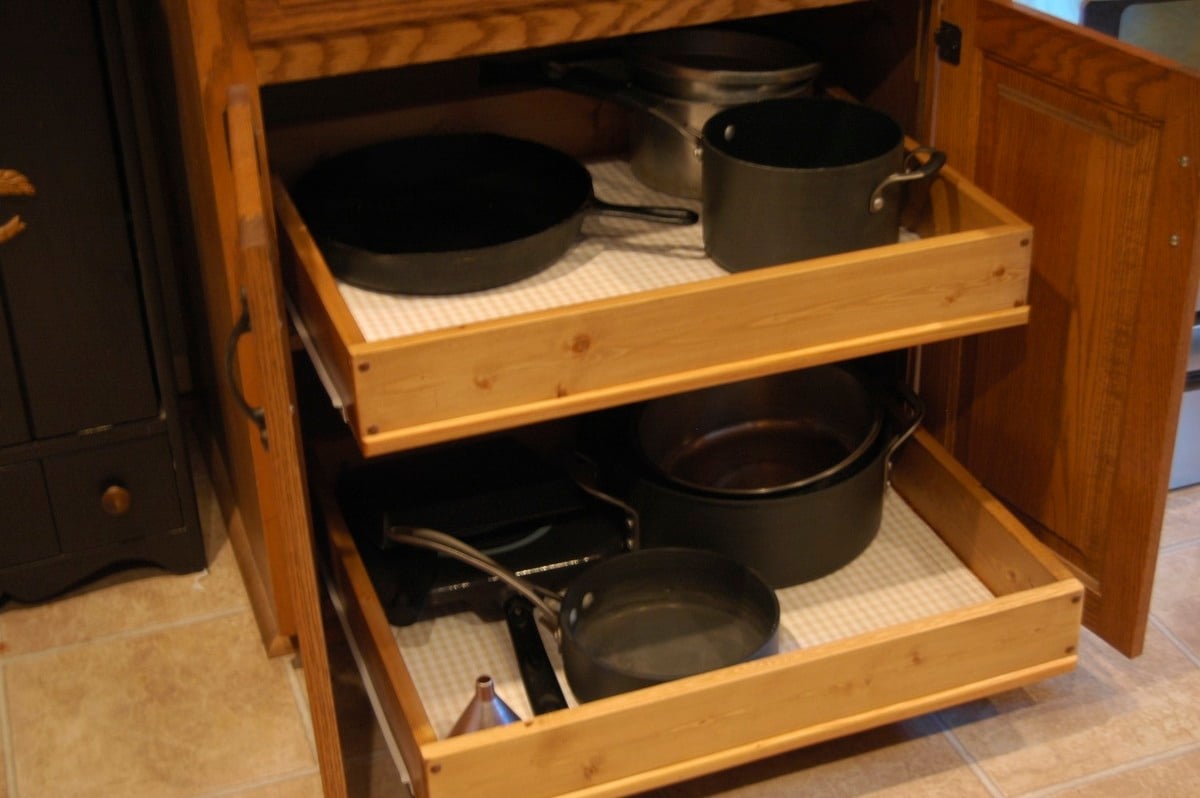
A lot of commercial drawer bottoms are made out of very cheap material. You can make better bottoms out of hardboard or luan, and if the drawers are going to be holding heavier items like pans, you can build bottoms out of 1/4" plywood.
It's very hard to change the bottoms out of an existing drawer. For a strong drawer bottom, it needs to ride in a groove on the sides and front. If the existing bottoms ride in grooves on the three sides, you can probably pull the securing nail out of the back and replace the existing bottom, if you have replacement material that will fit in the existing groove. Otherwise, you'll need to build a new drawer with grooves sized for the bottoms you have.
woodchuck
Mon, 01/23/2012 - 21:09
Plans
Teresa -
I don't know why the link above doesn't work, but if you will go to Ana's home page and do a search for Wood Pullout Cabinet Drawer Organizer, that is the basic plan that I used, just changing the measurements to fit my cabinets. They were very easy to make, the hardest part being sure to get the drawer slides even on both the drawer and the cabinet, but that just takes patience and adjusting. Good luck with it - you can do it!
woodchuck
Tue, 01/24/2012 - 09:30
Price of cabinet drawers
@Sarah - I saw where you had a question about the price of making the cabinet drawers. I have seen them priced anywhere from $35 a drawer on up. Most of mine are made of 1x4's and the pricing is as follows. A 1x4x8 at my local lumber yard is $3.29 and that will make one drawer. A sheet of 4x8 1/4" luan is $11.49 and that will make bottoms for 8 drawers. A 2x2x8 is less than $2.00 and that will make rails for the slides for 2 drawers, so that would be about $6.00 for one drawer plus $6.00 for the slides, total of $12.00. On the drawers for my pots and pans or anything heavy I used 3/8" plywood which would be slightly higher. Hope this helps!
Dolores
gale
Sat, 08/10/2013 - 13:34
love this
We're having a modular built and it will have a pantry 18" wide without sliding shelves. I think I want to add at least a few sliding shelves for it like you did here. thanks for the inspiration!