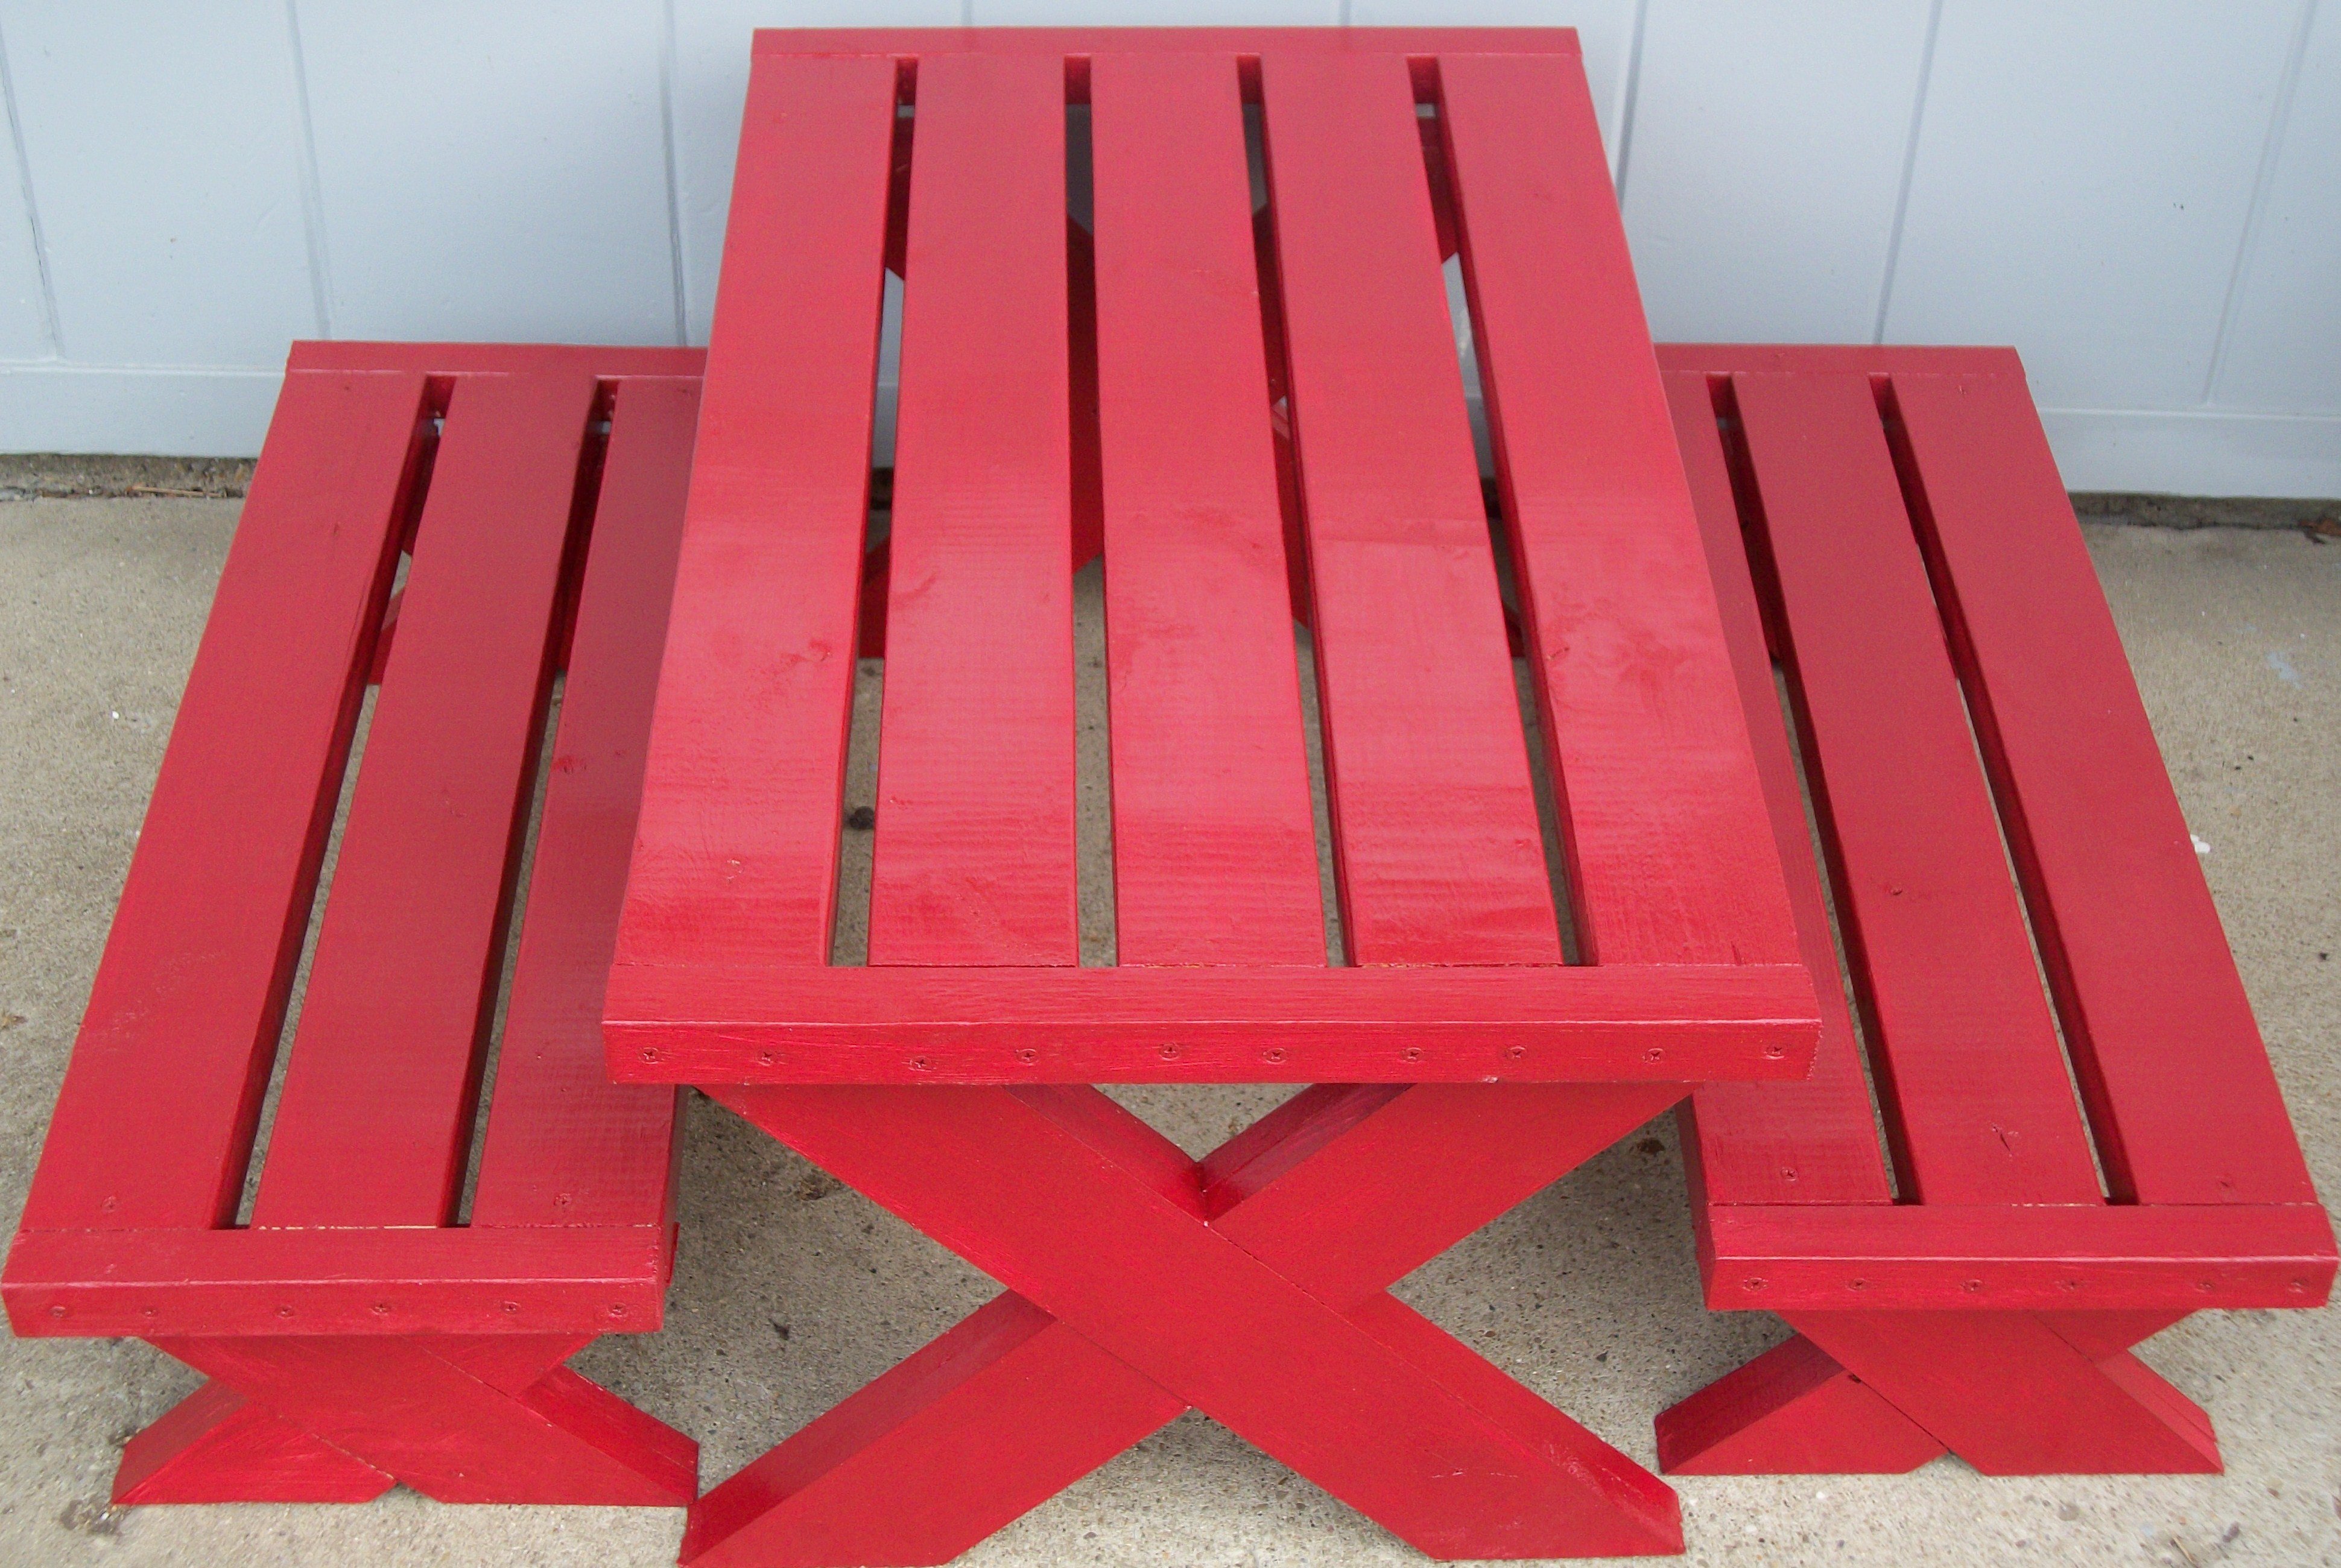
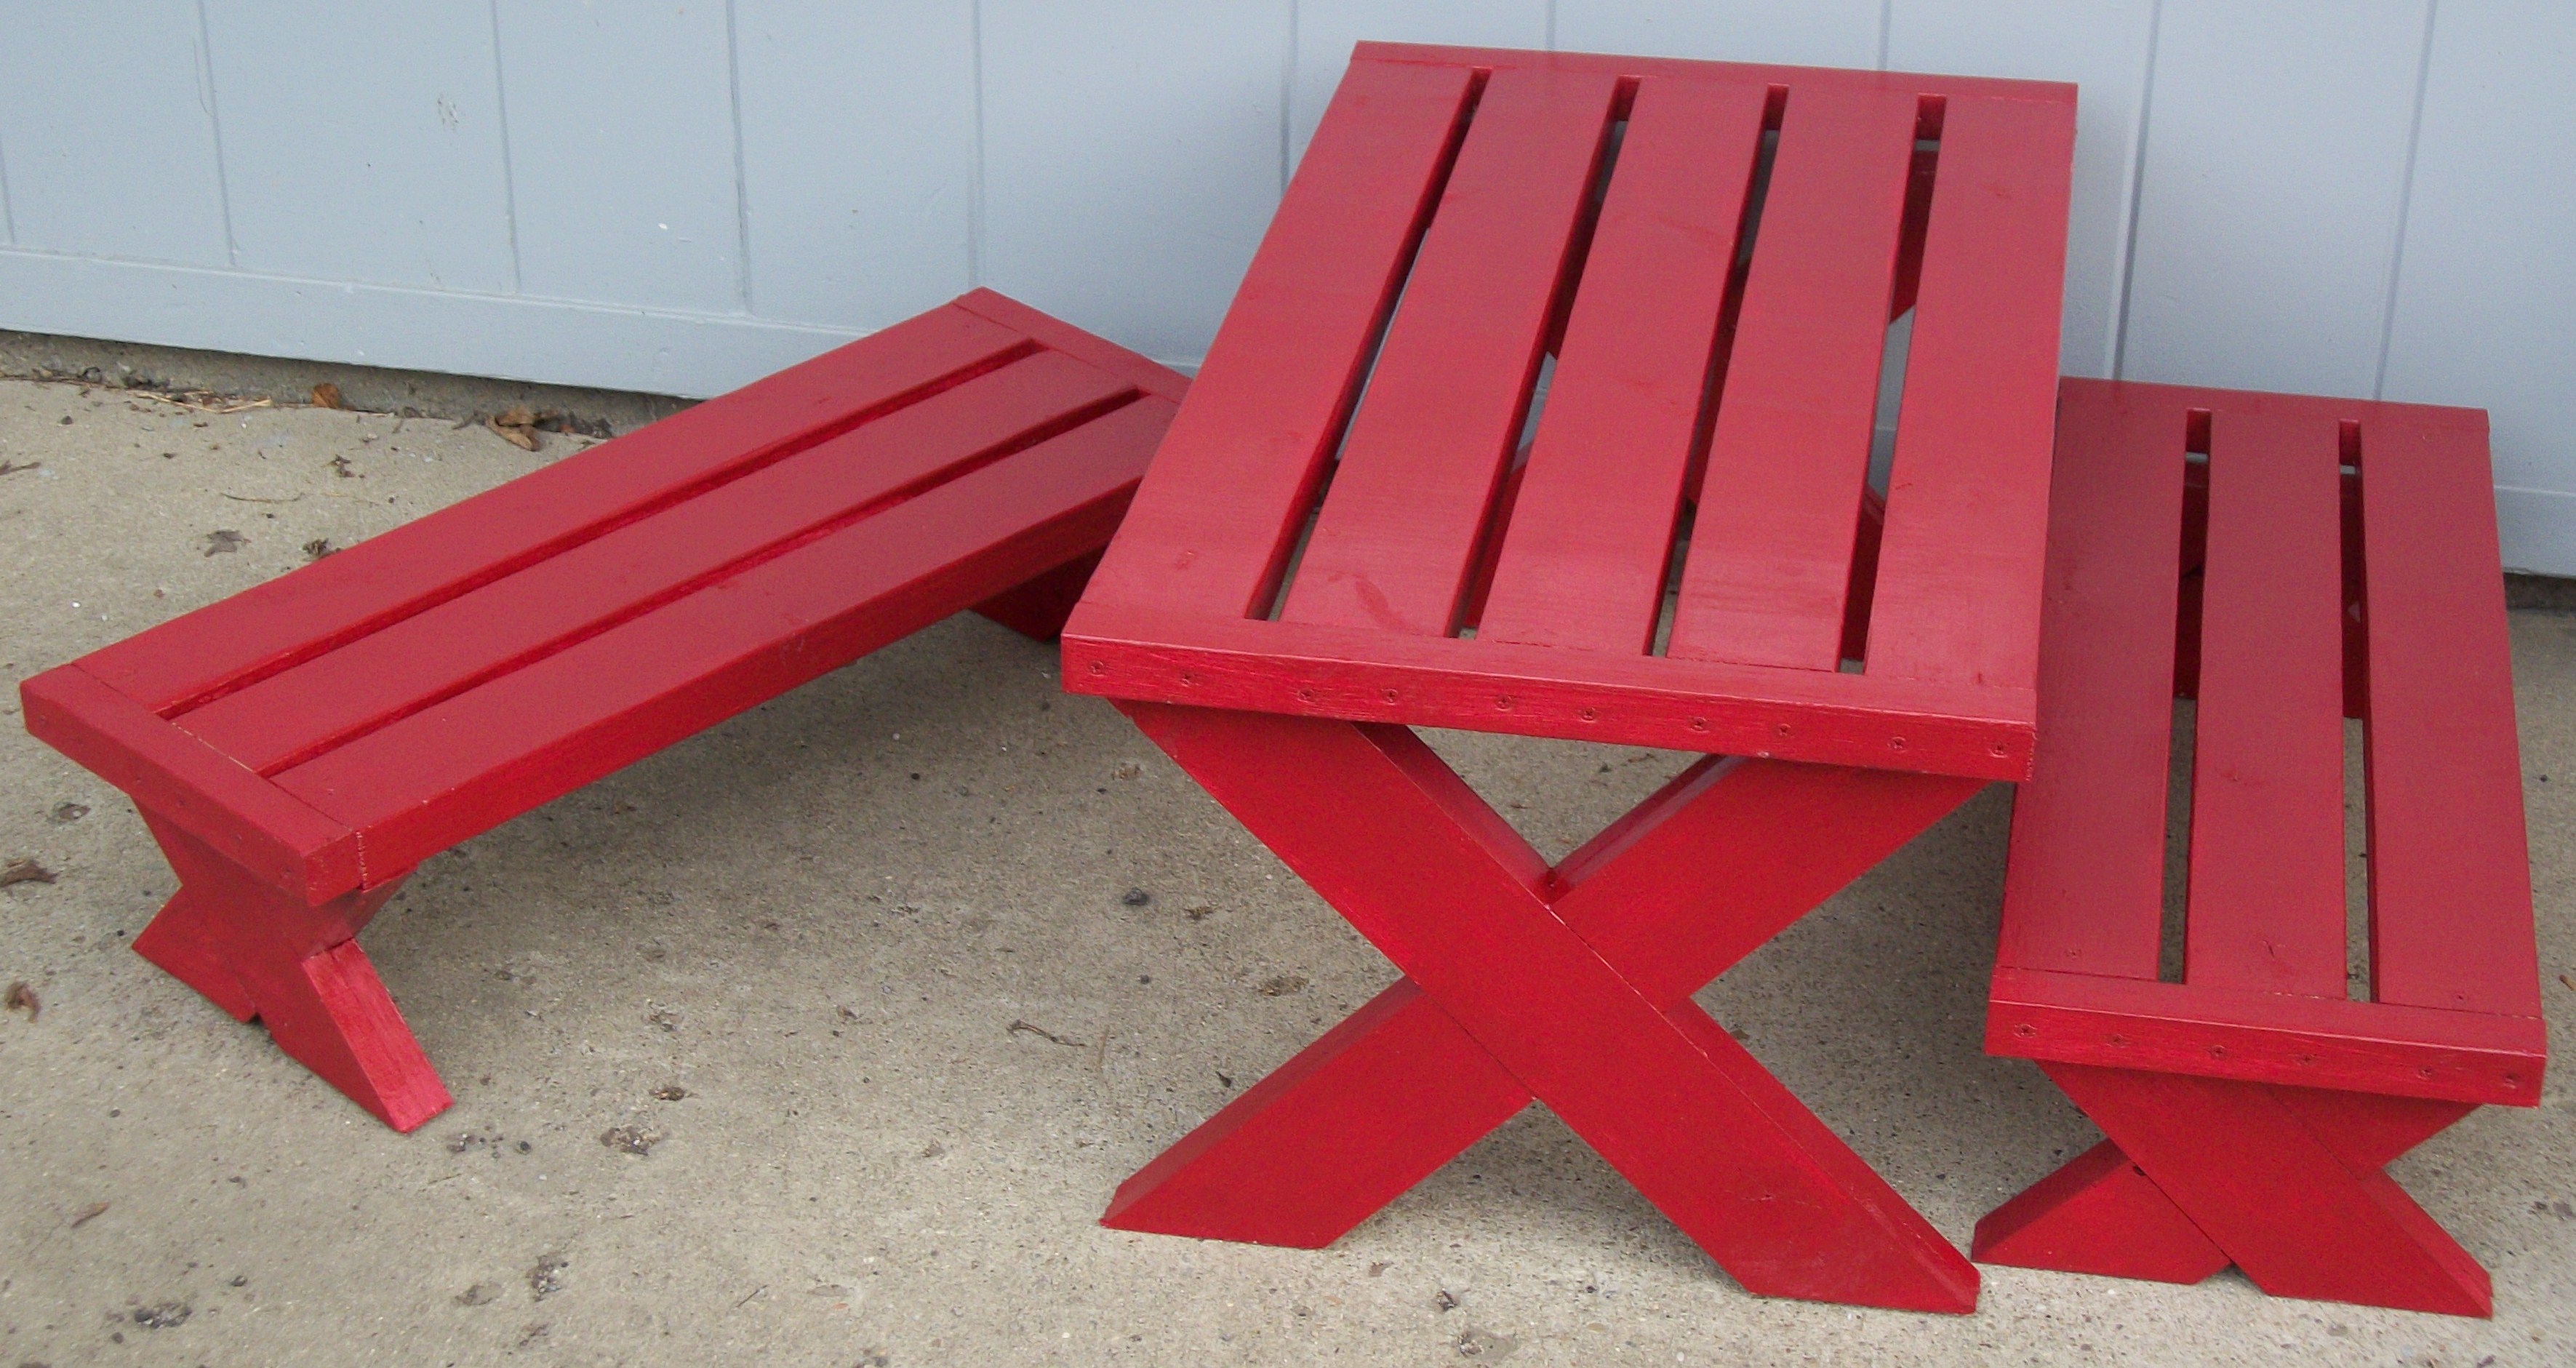
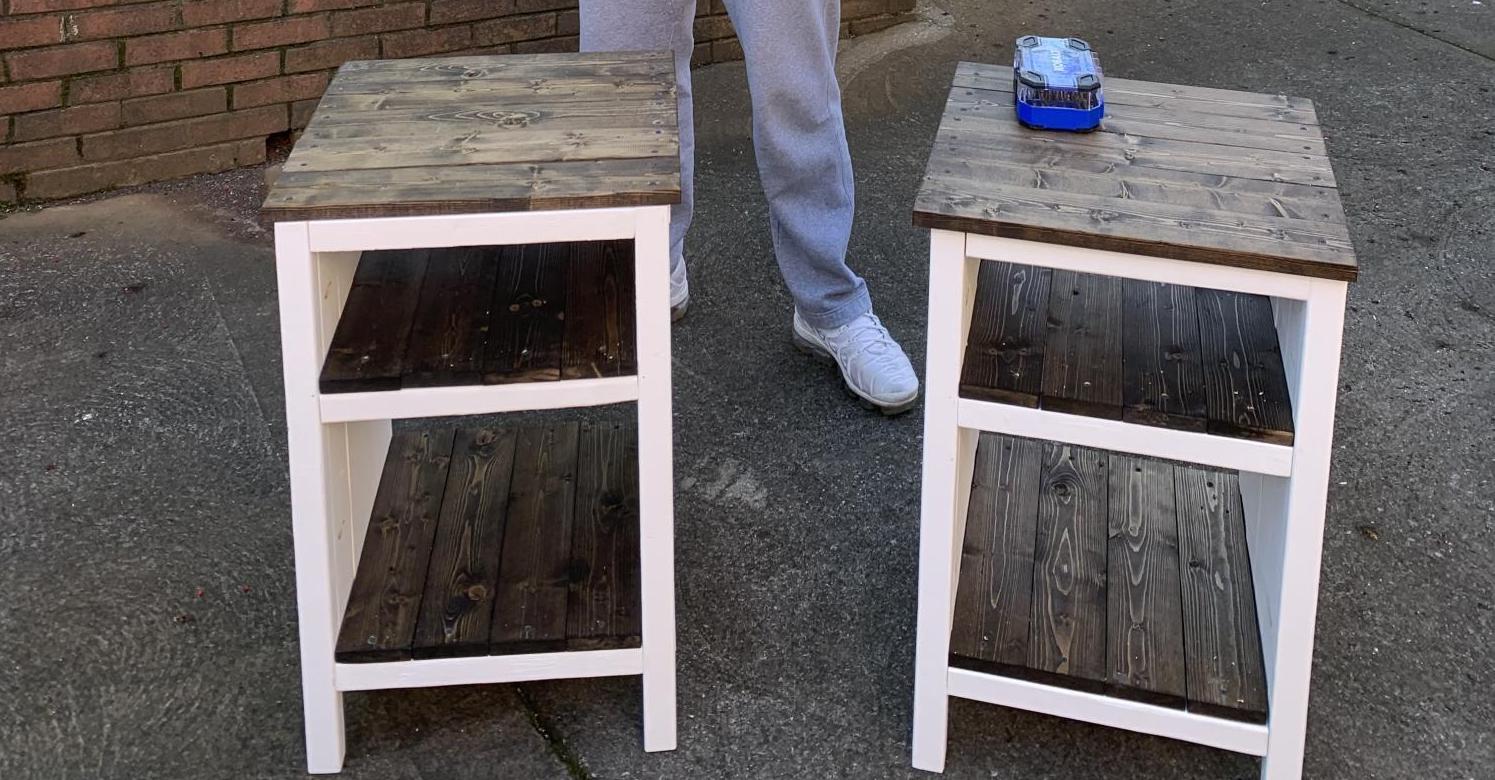
I finally got the chance to share my first couple of projects.
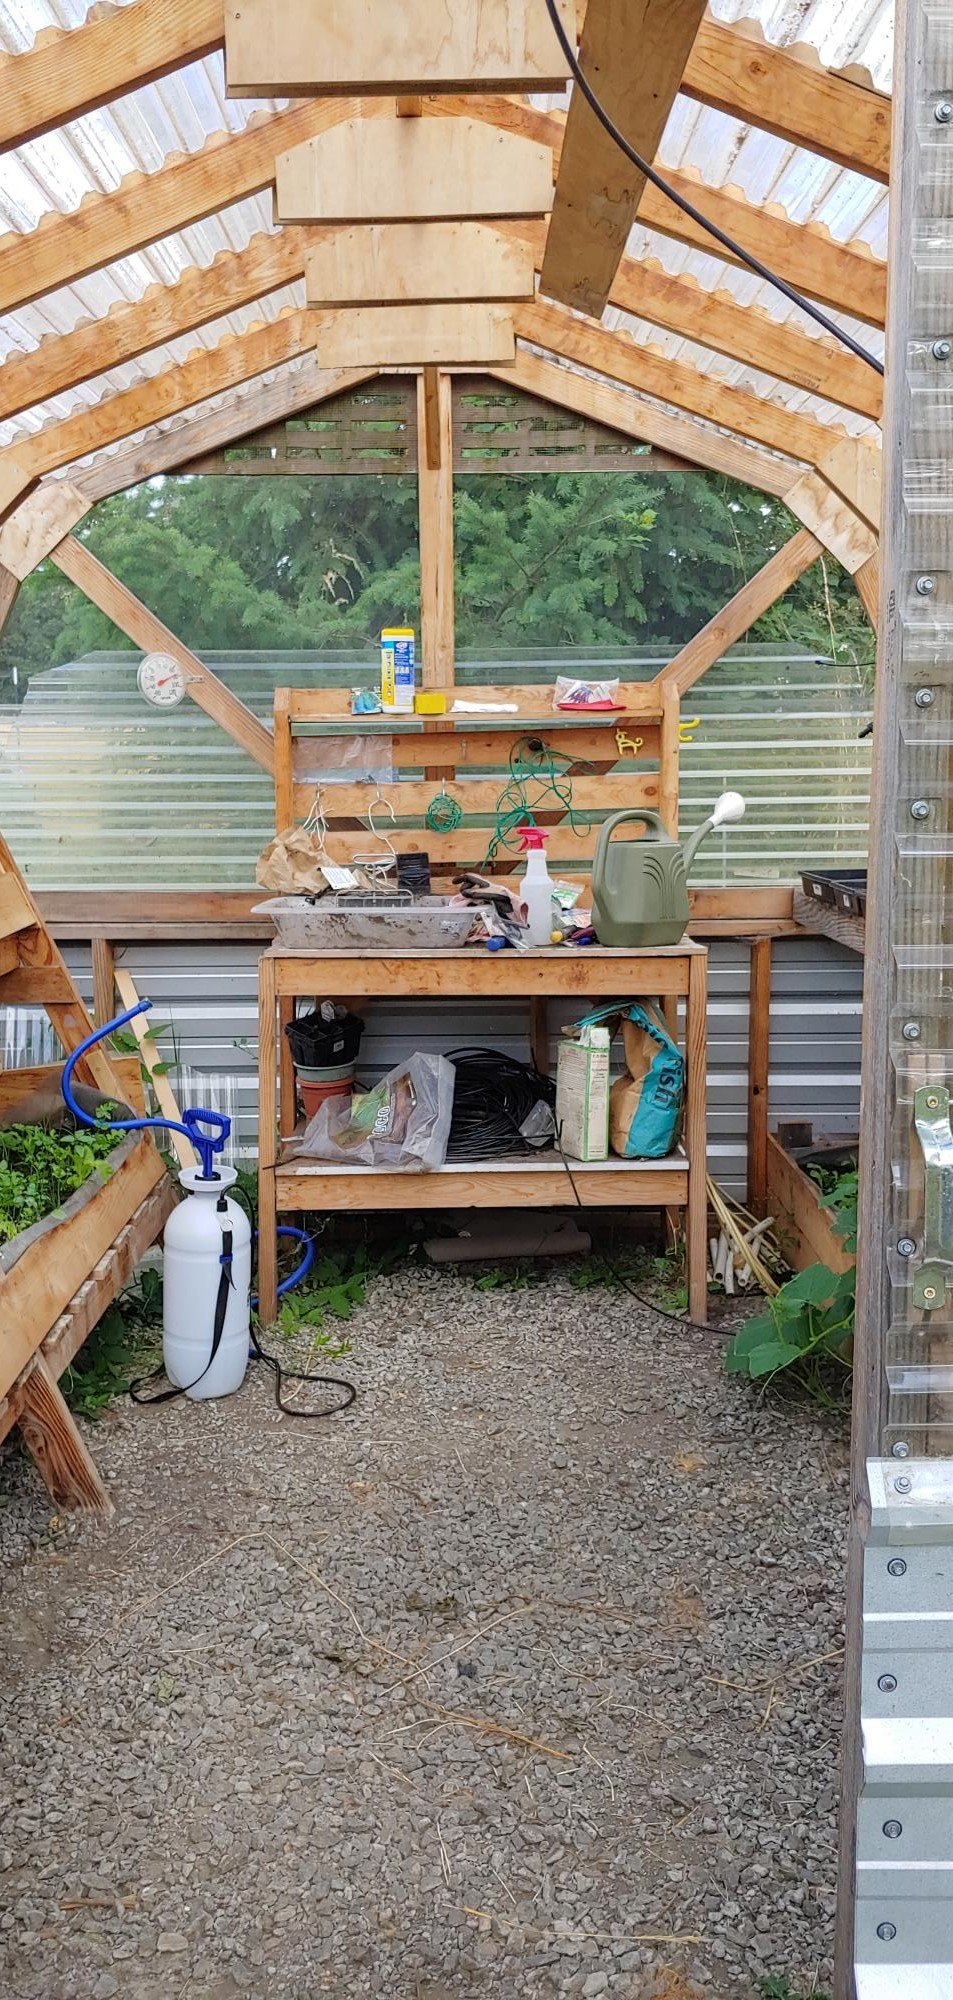
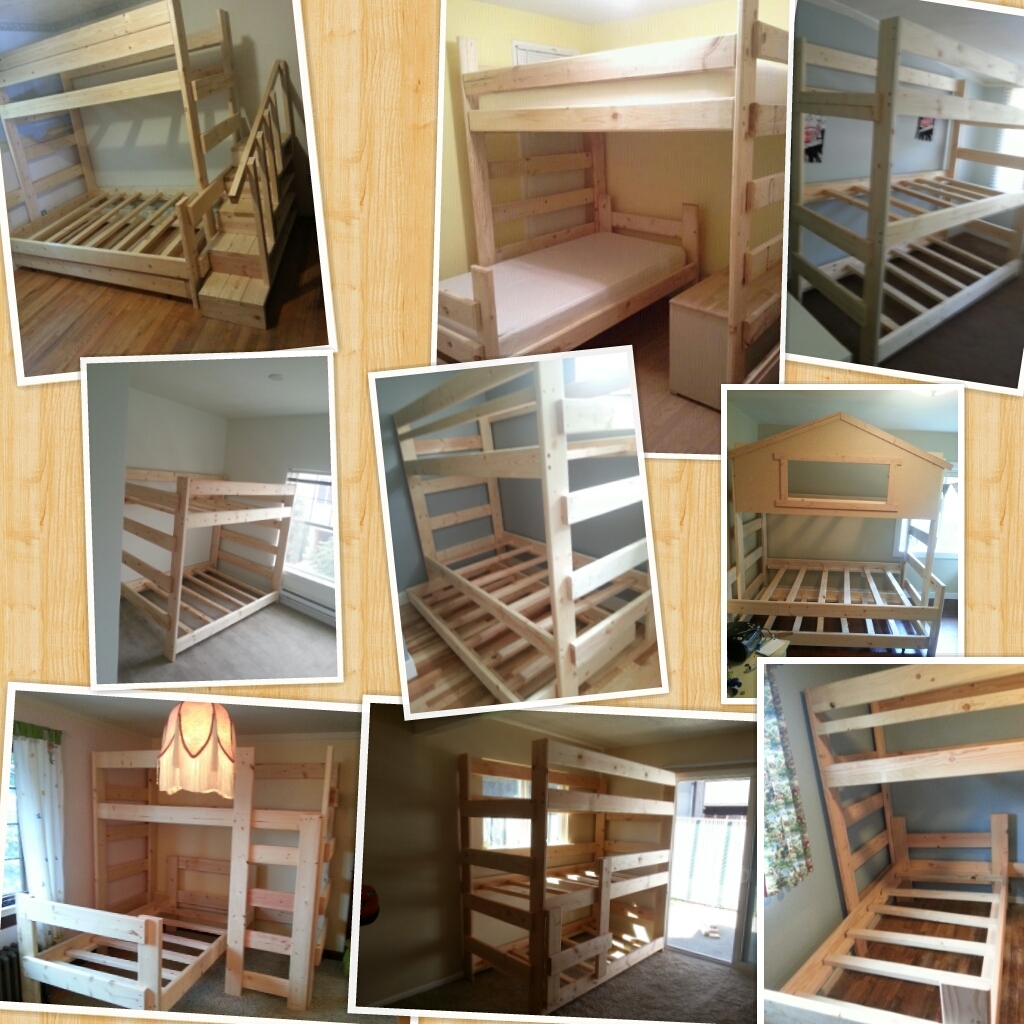
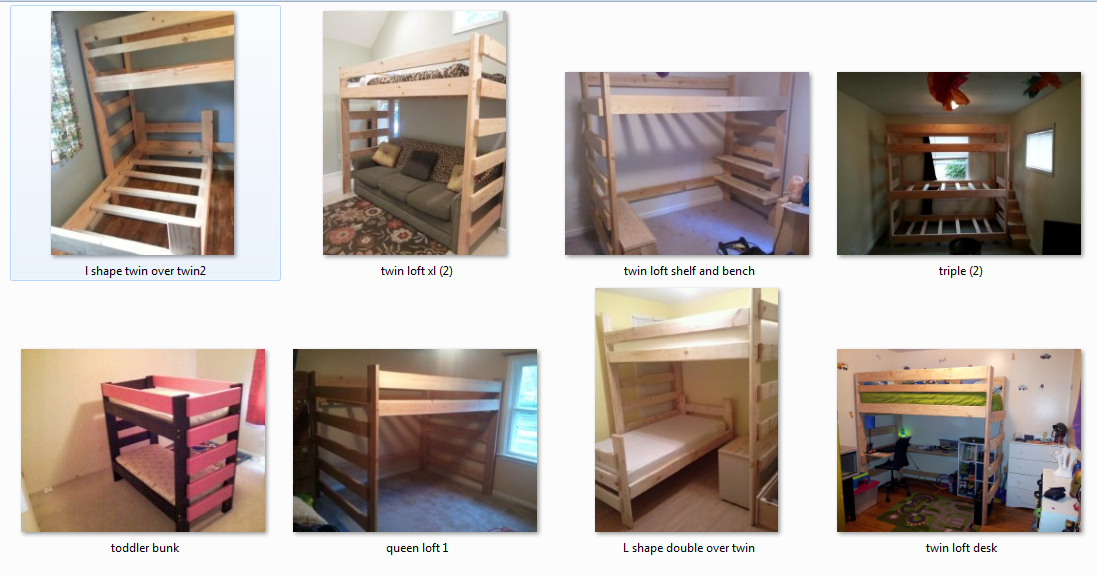
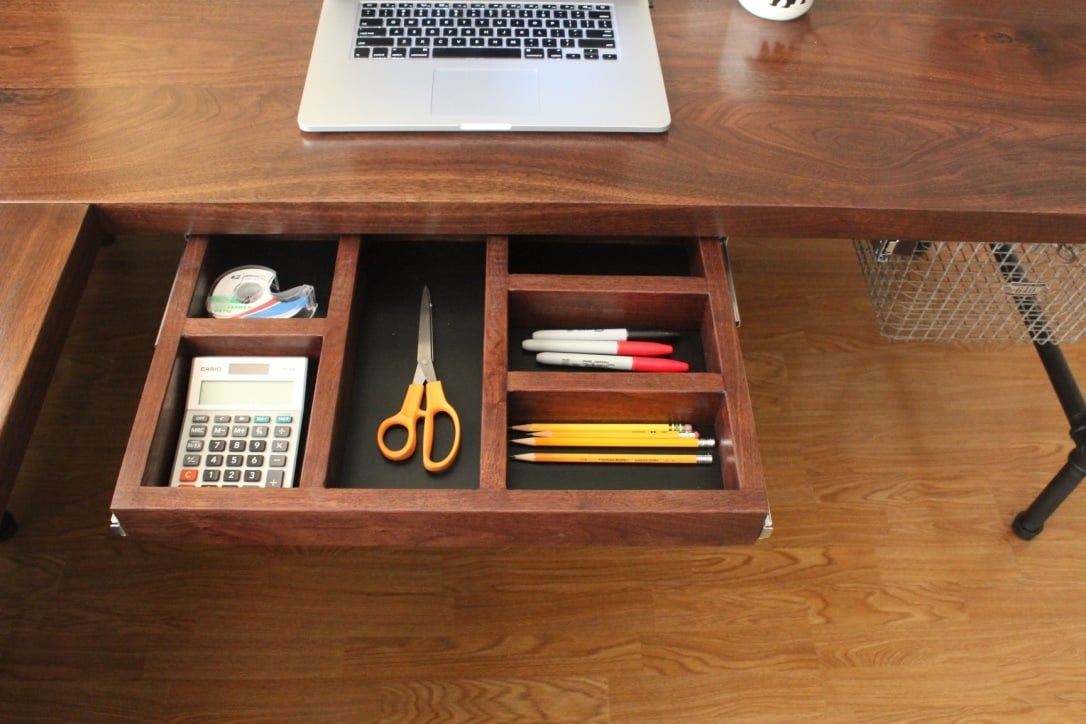
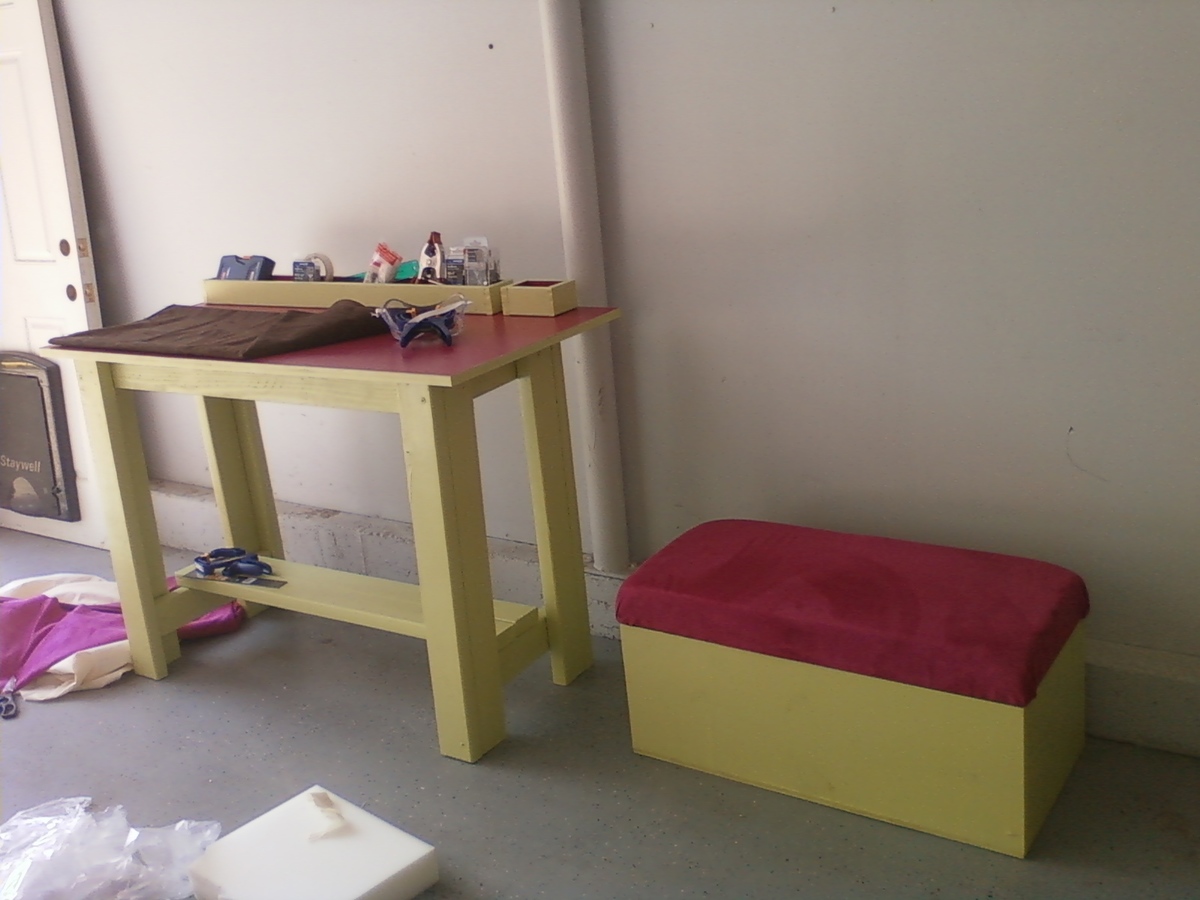
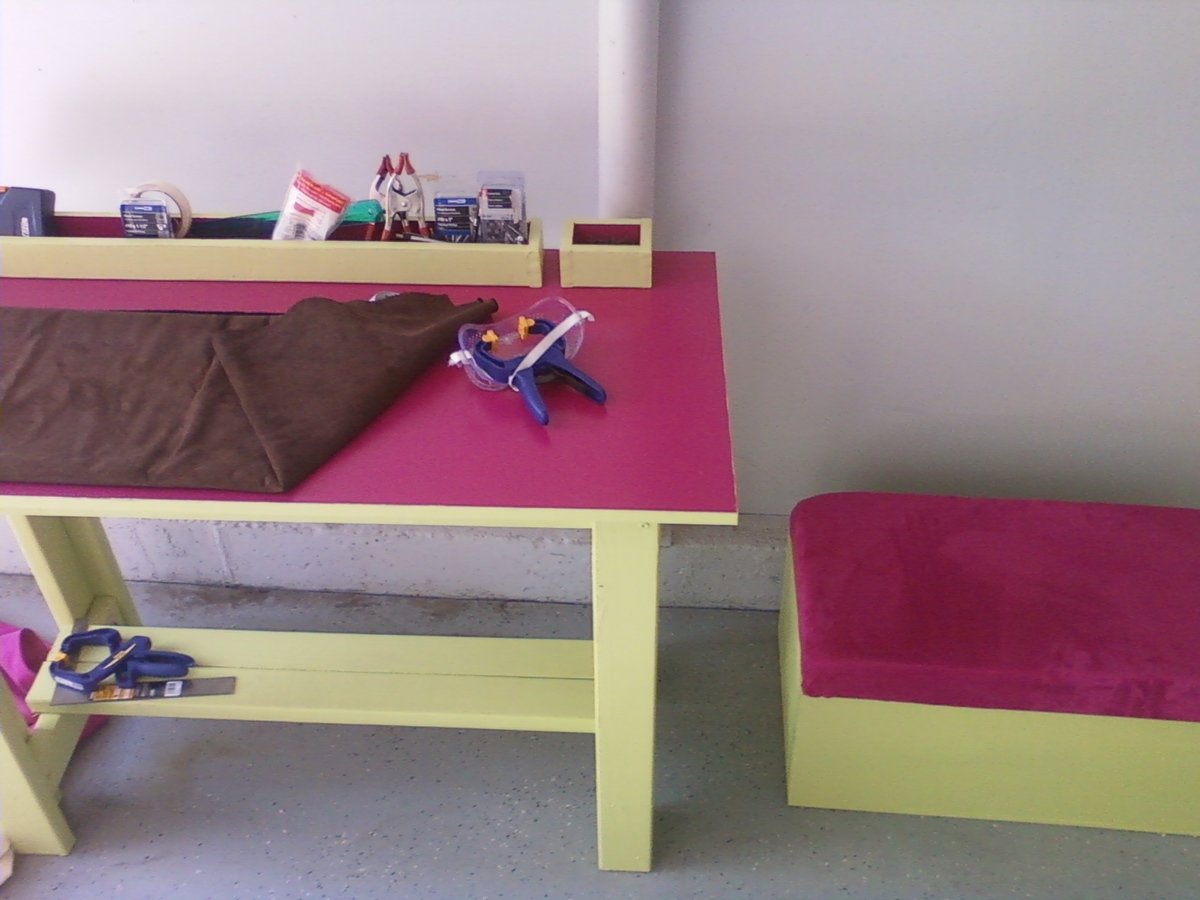
For the work bench I made organizers for tools and screws. I made them with 1x3's and made simple boxes out of them. One longer one at 36" and a couple smaller ones at 6" for easier access to nails. I painted everything with granny smith green and fuchsia pink.
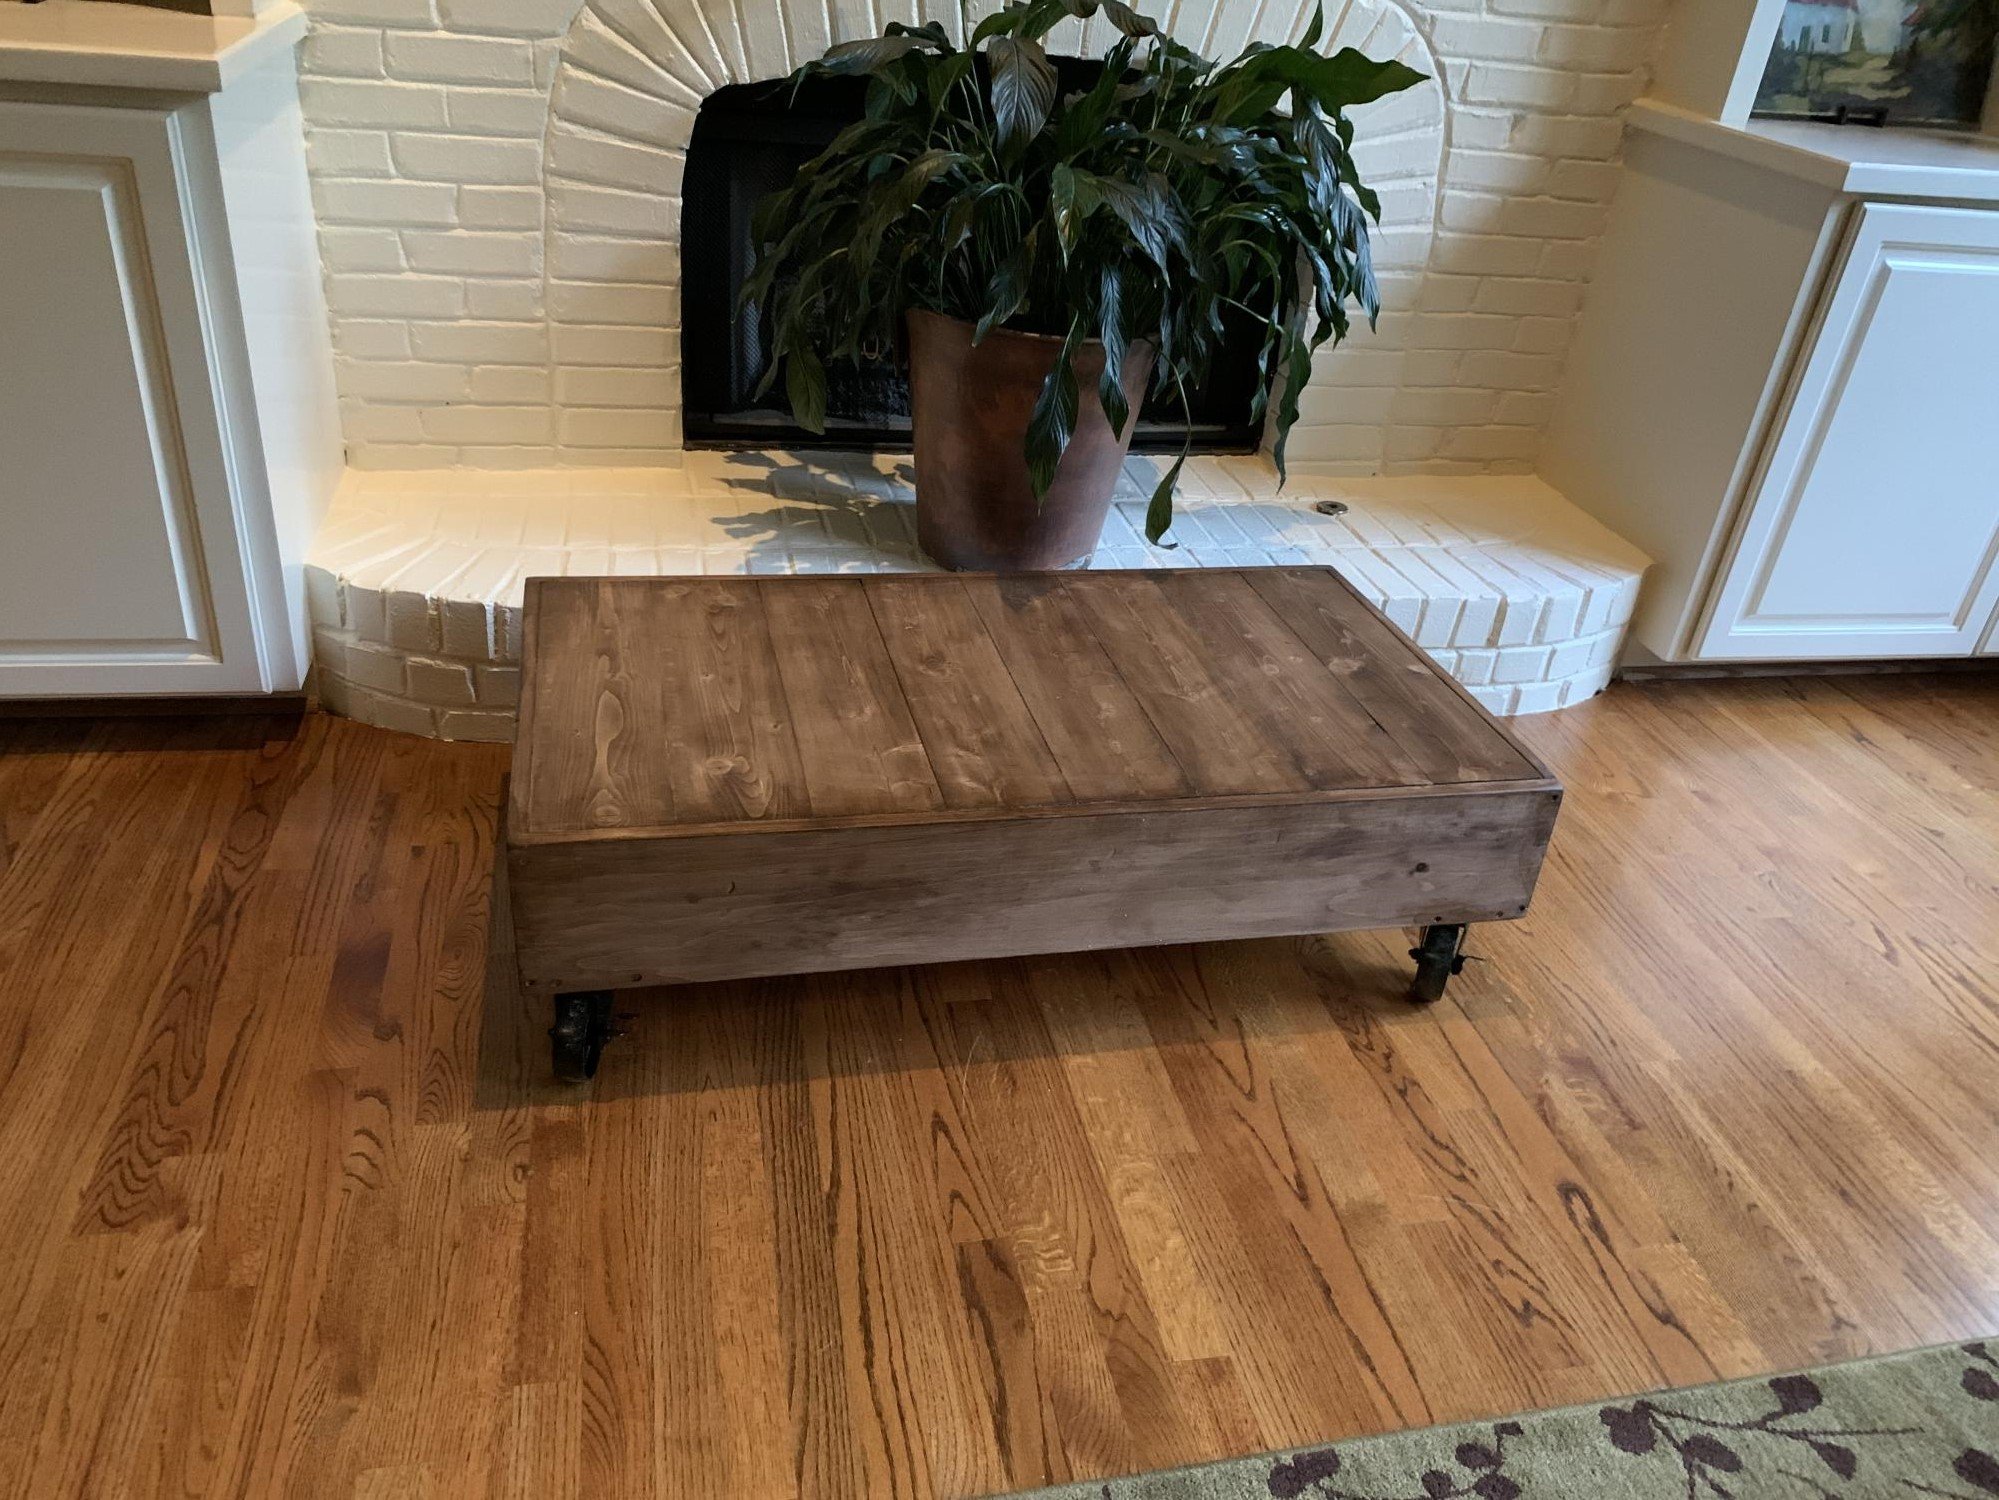
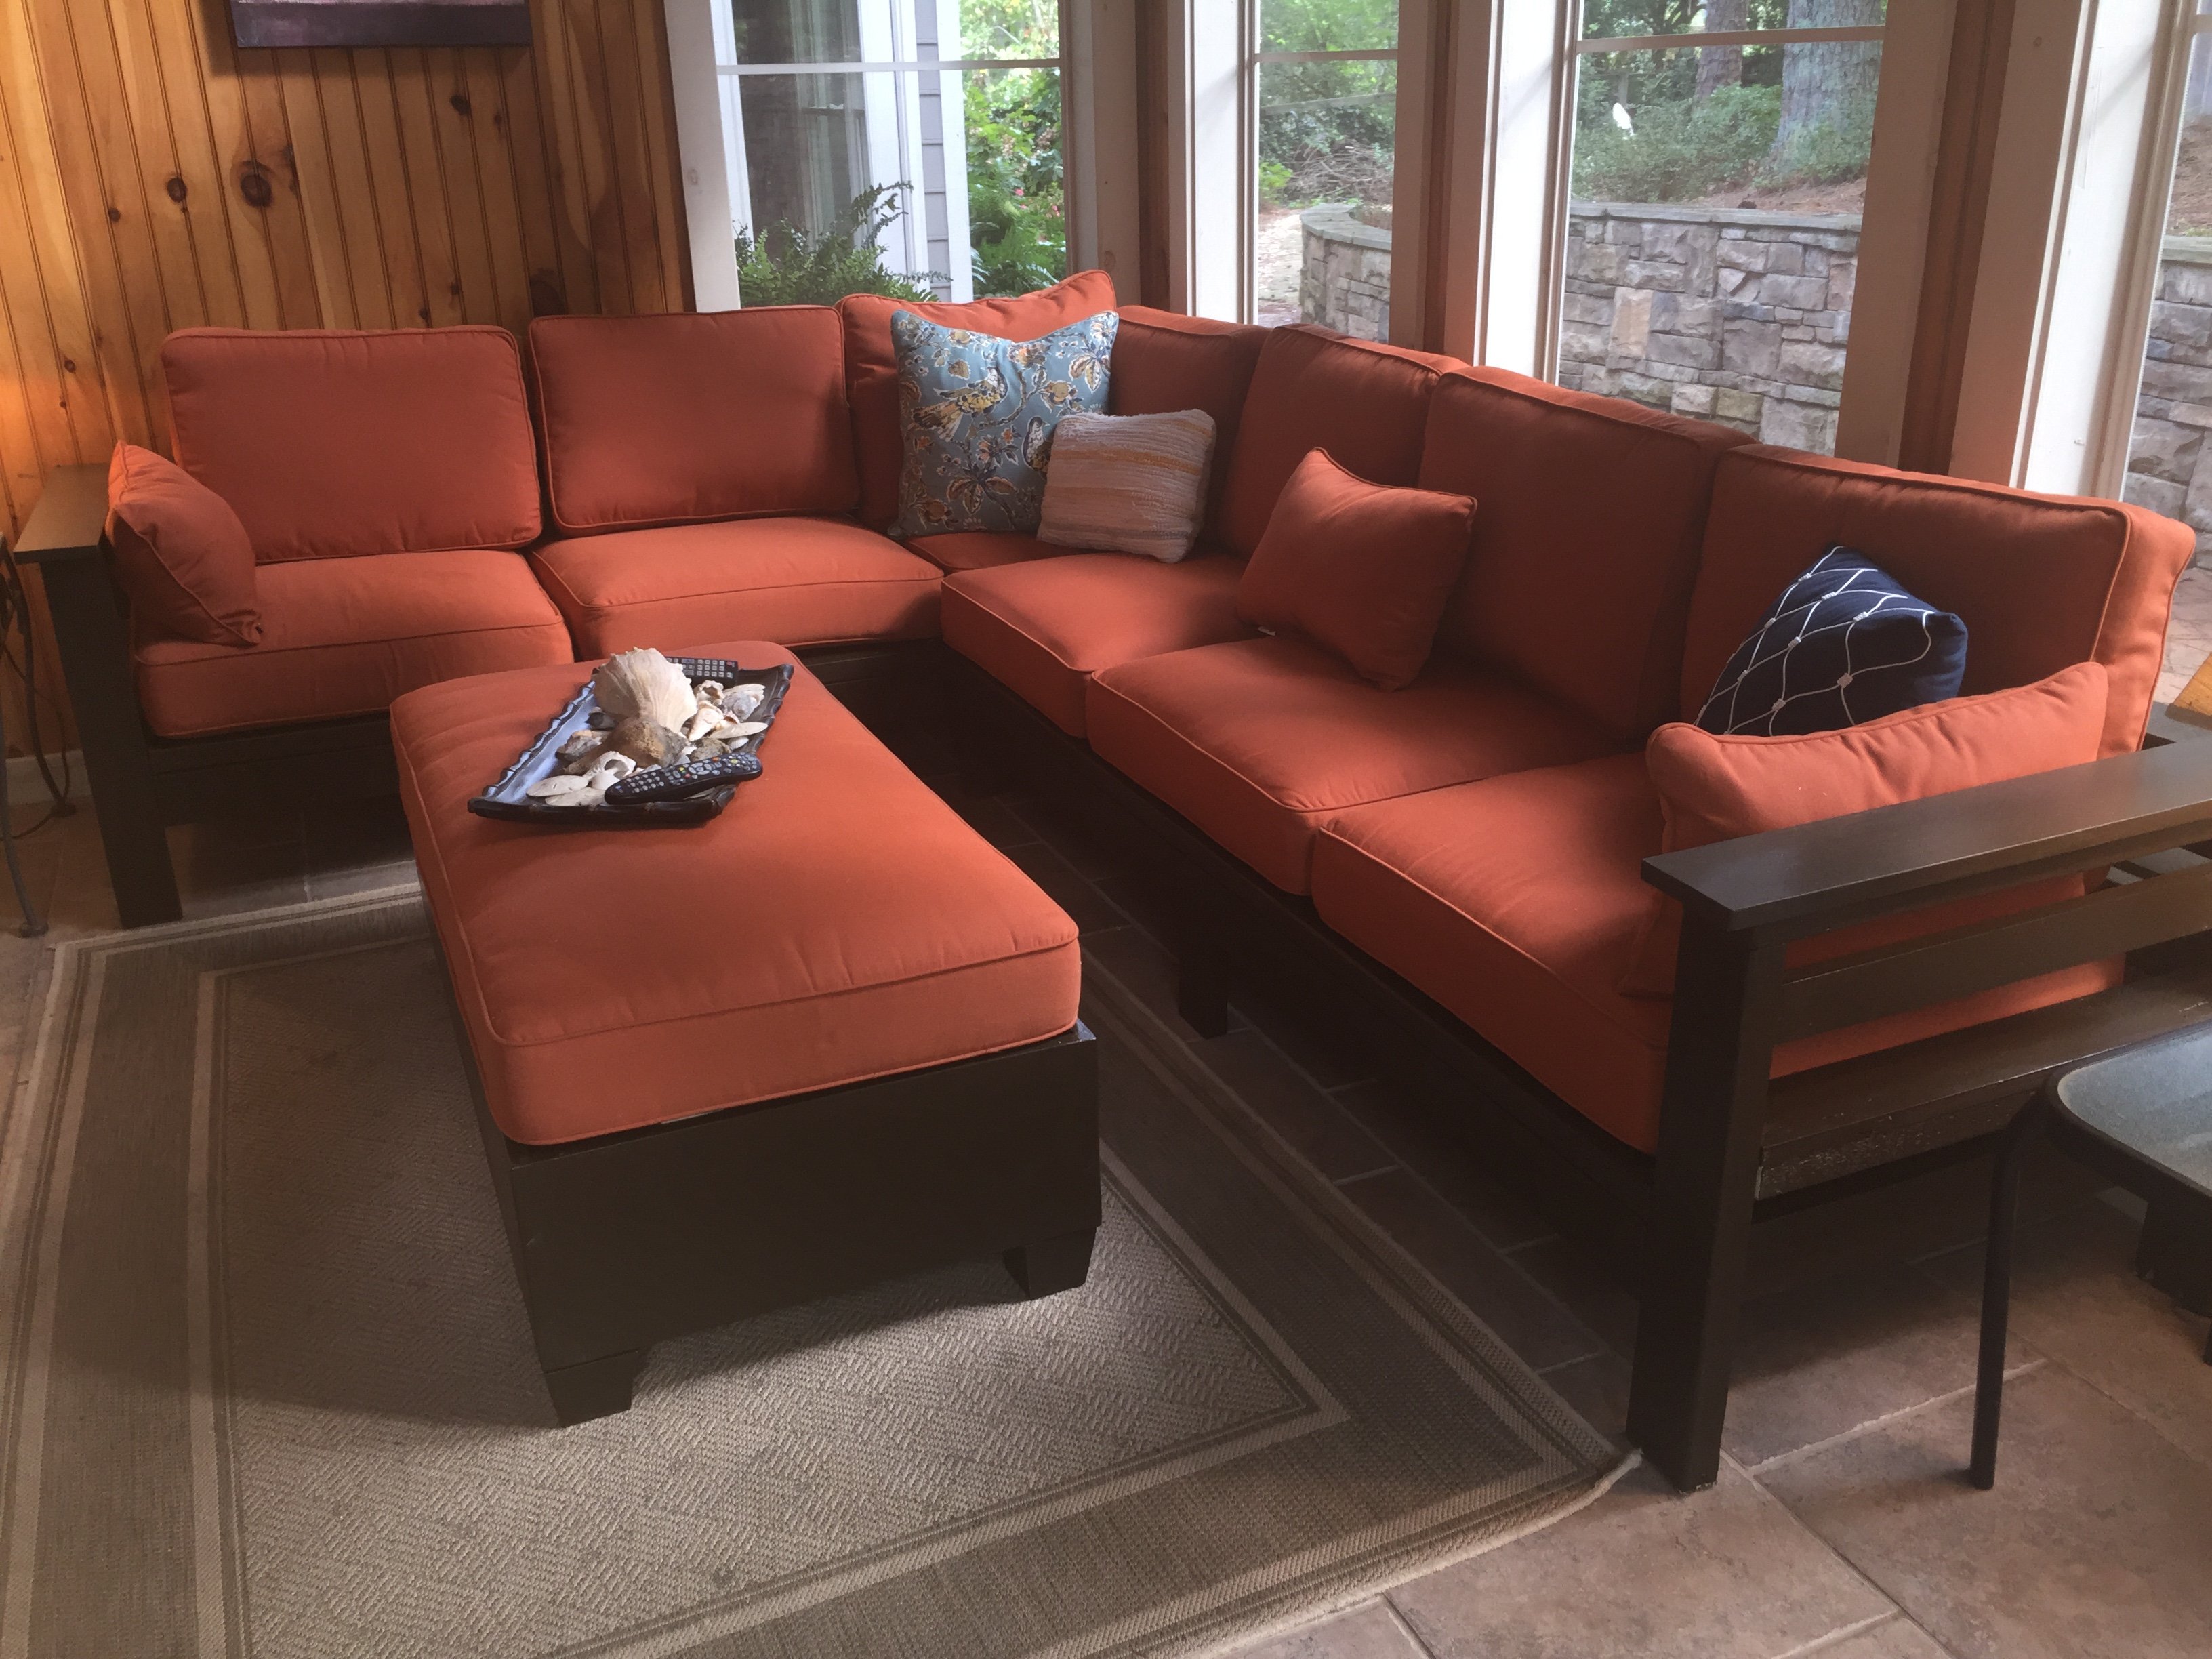
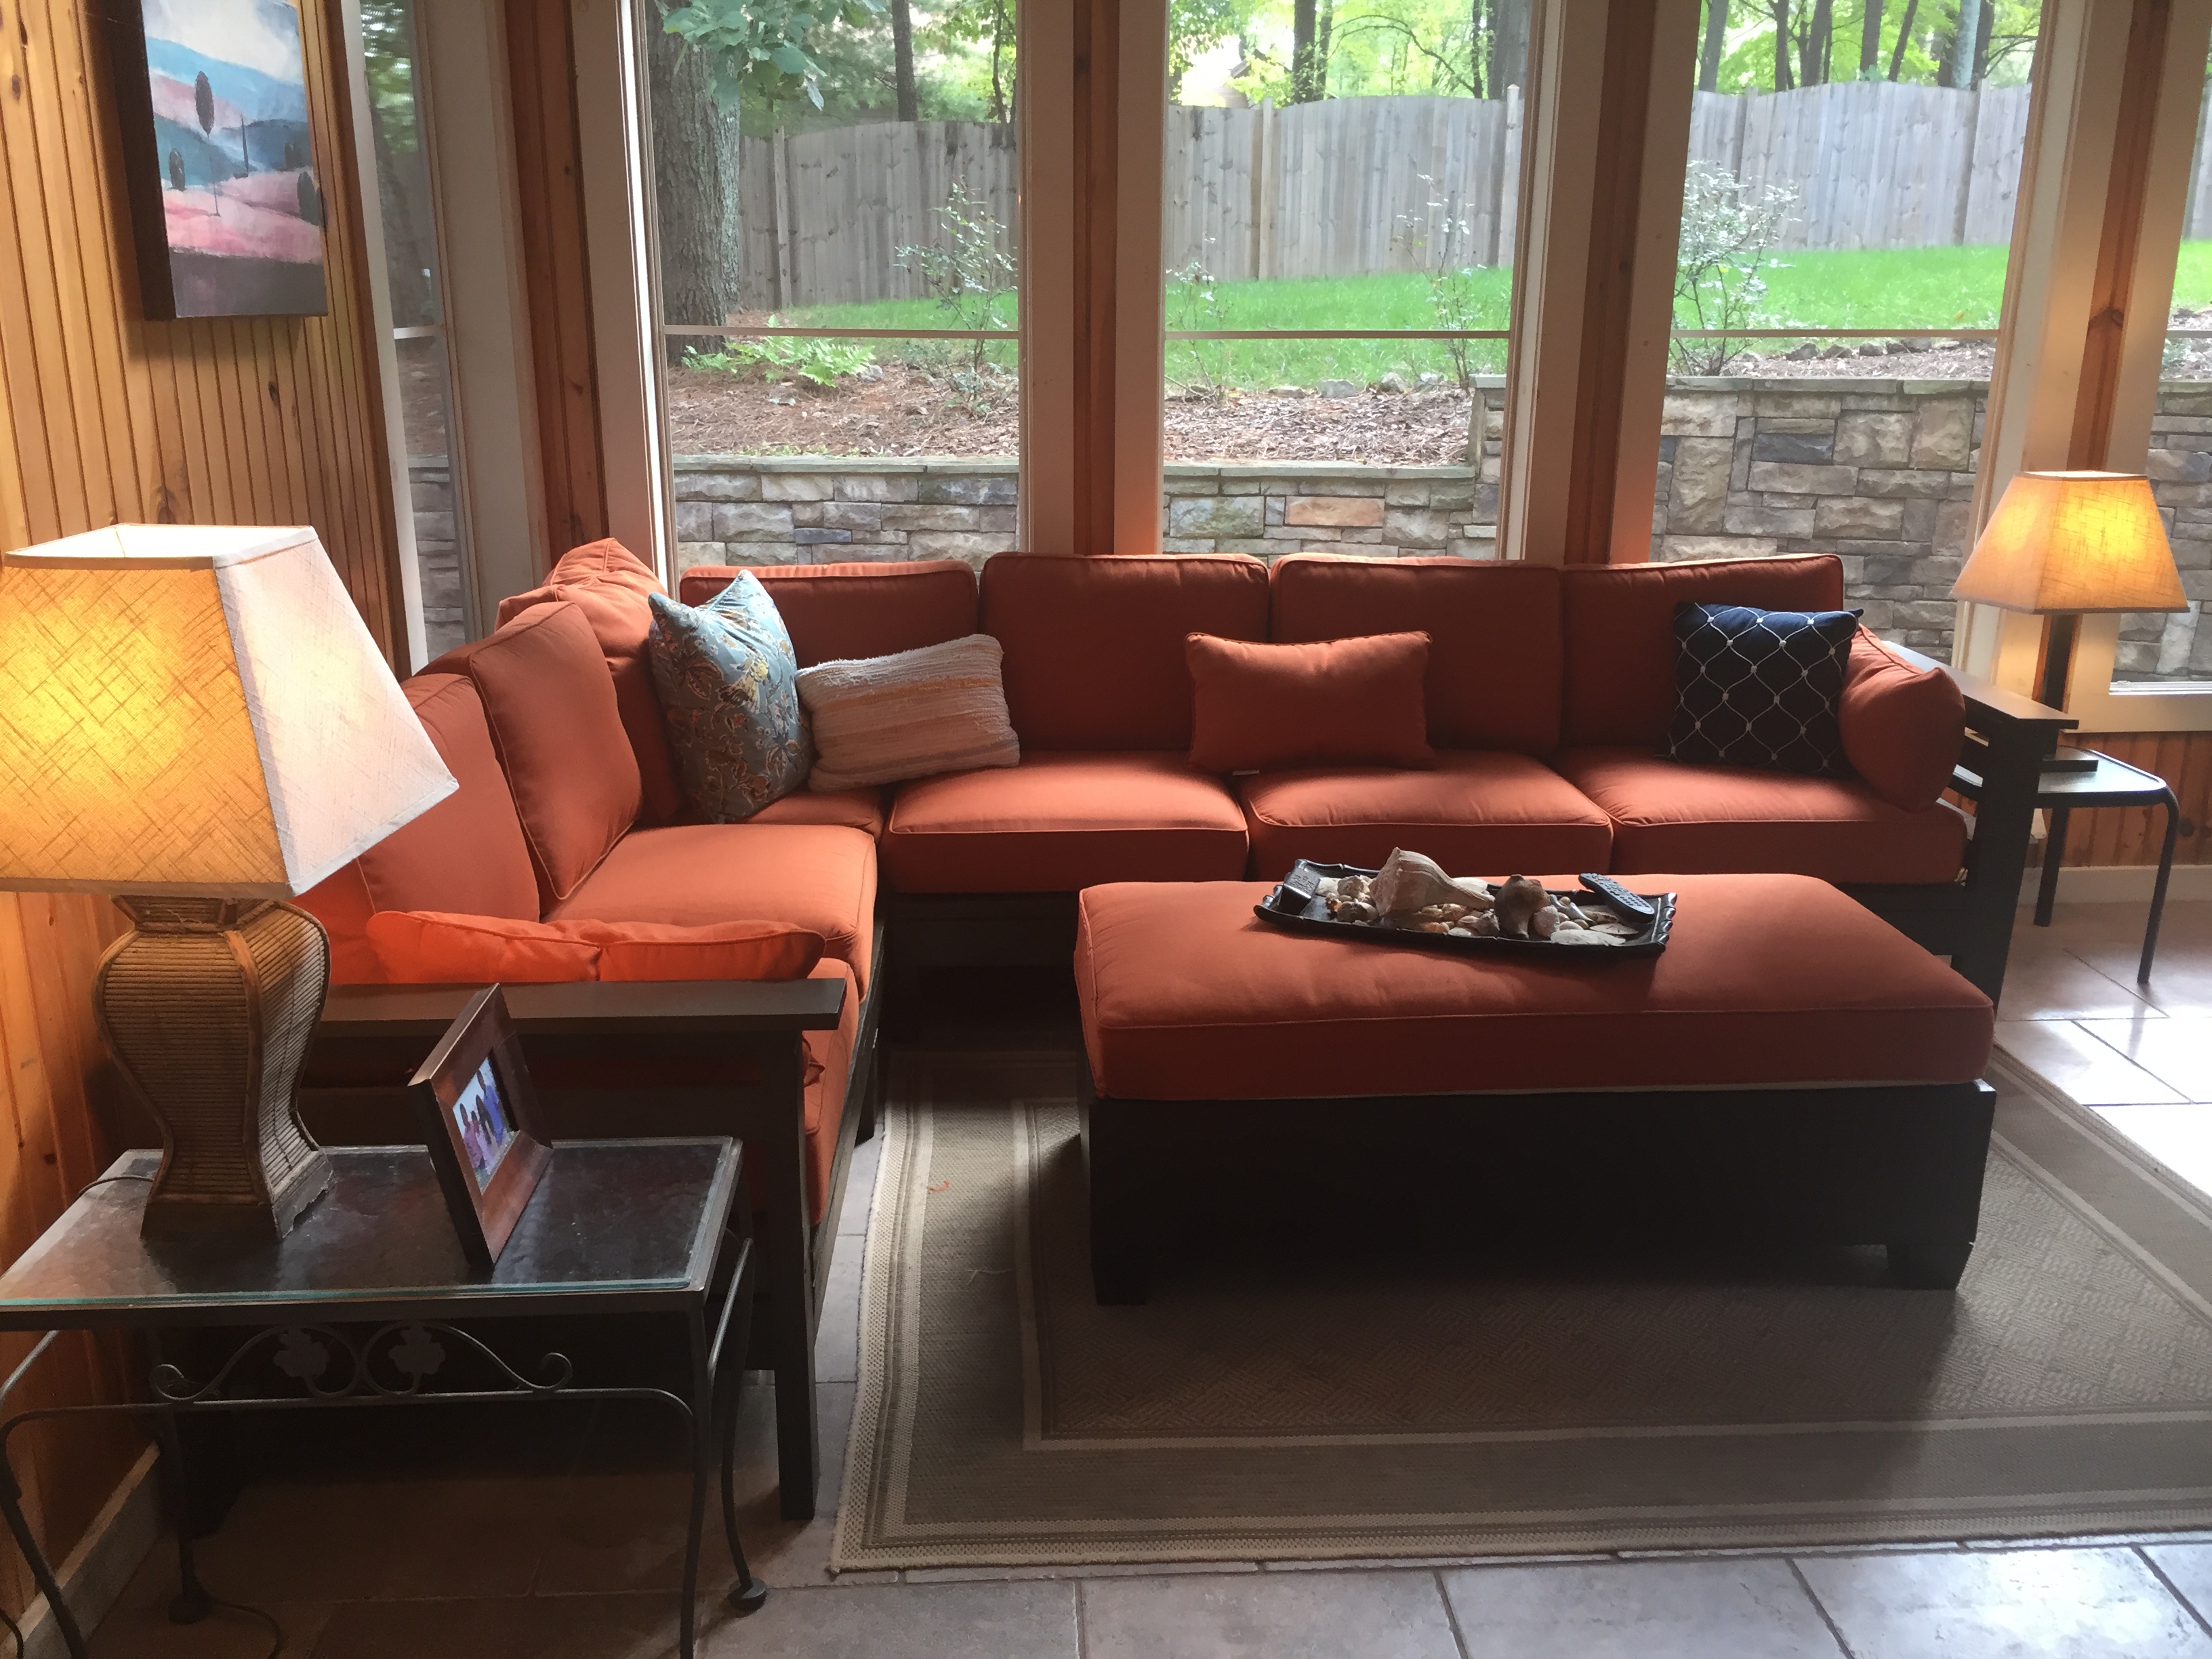
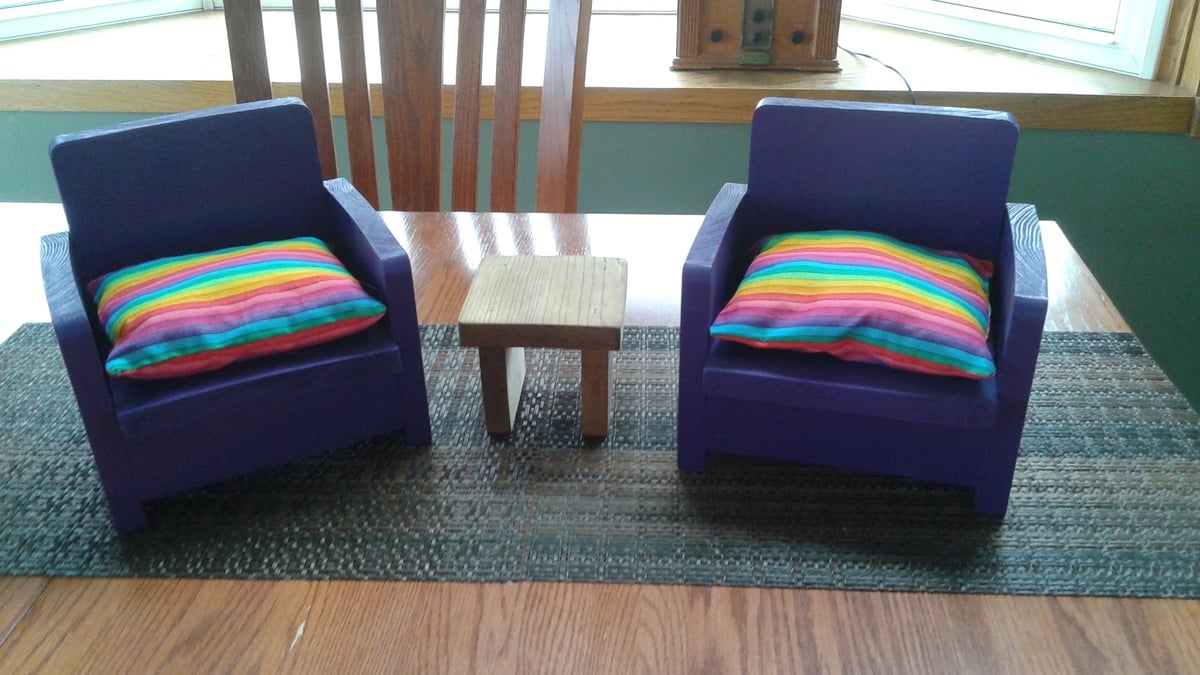
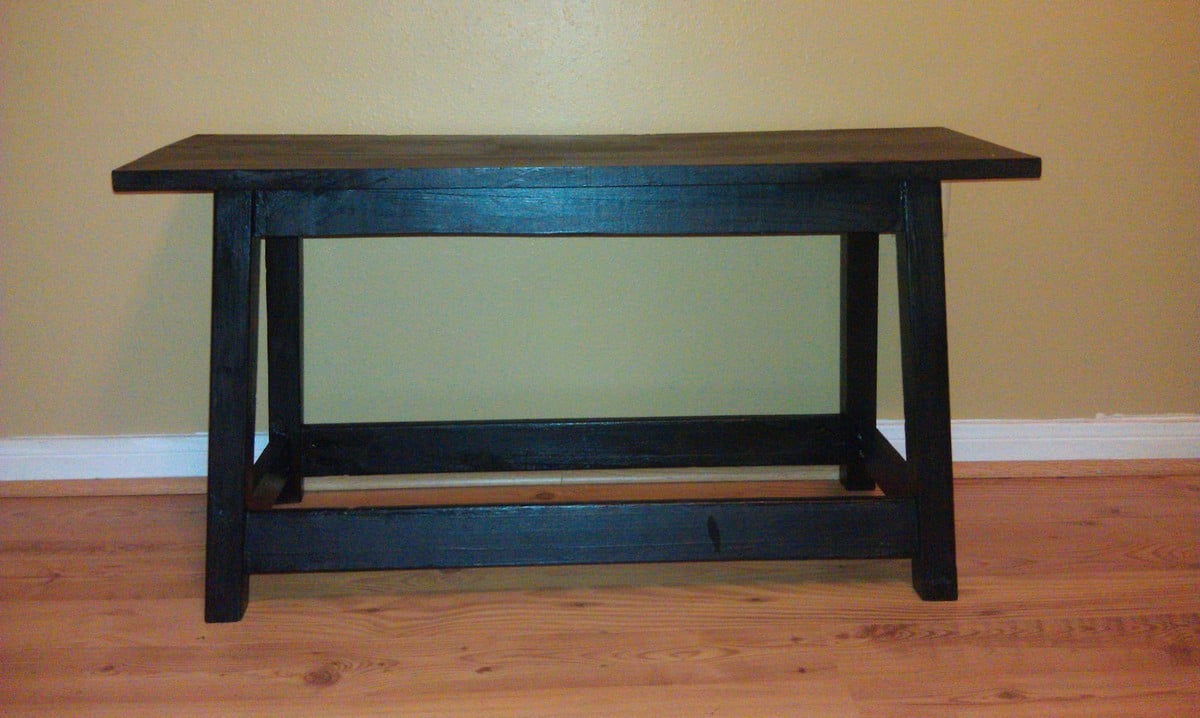
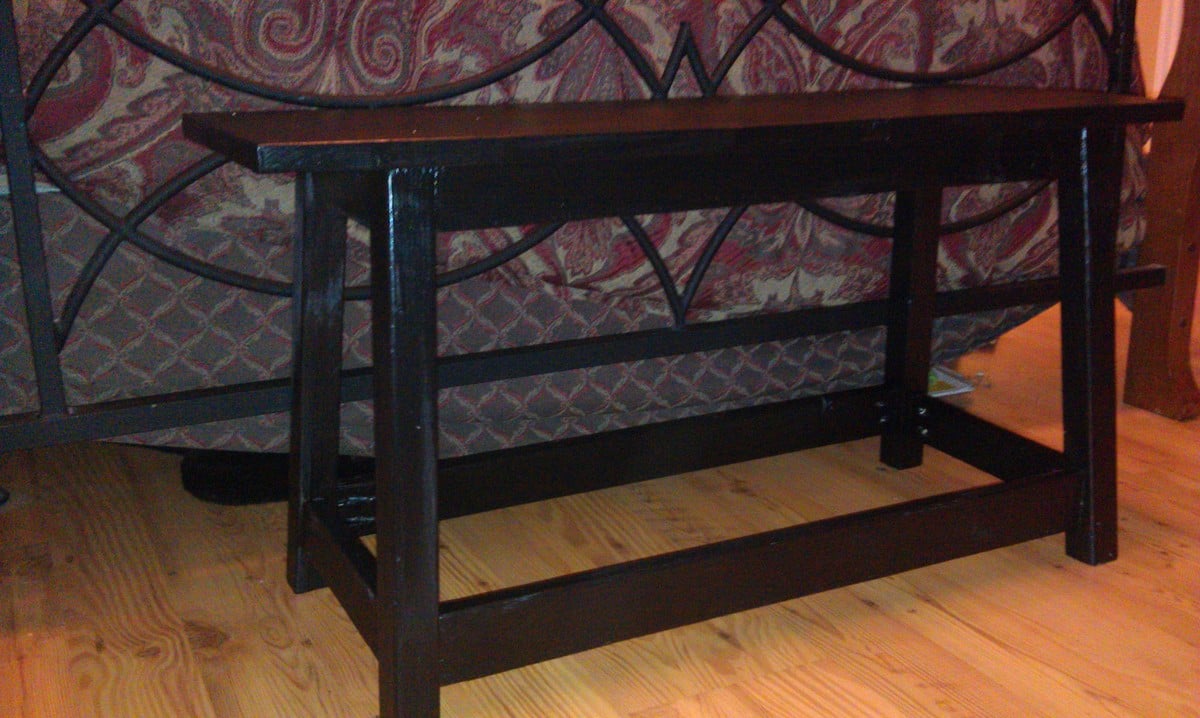
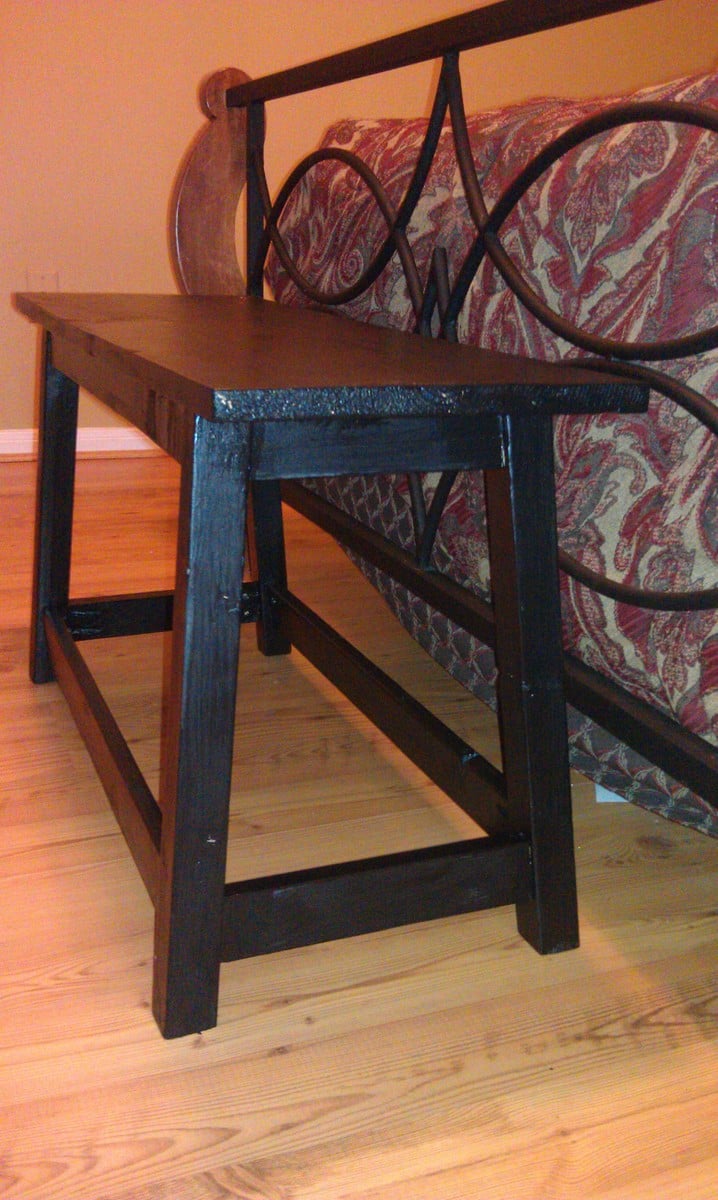
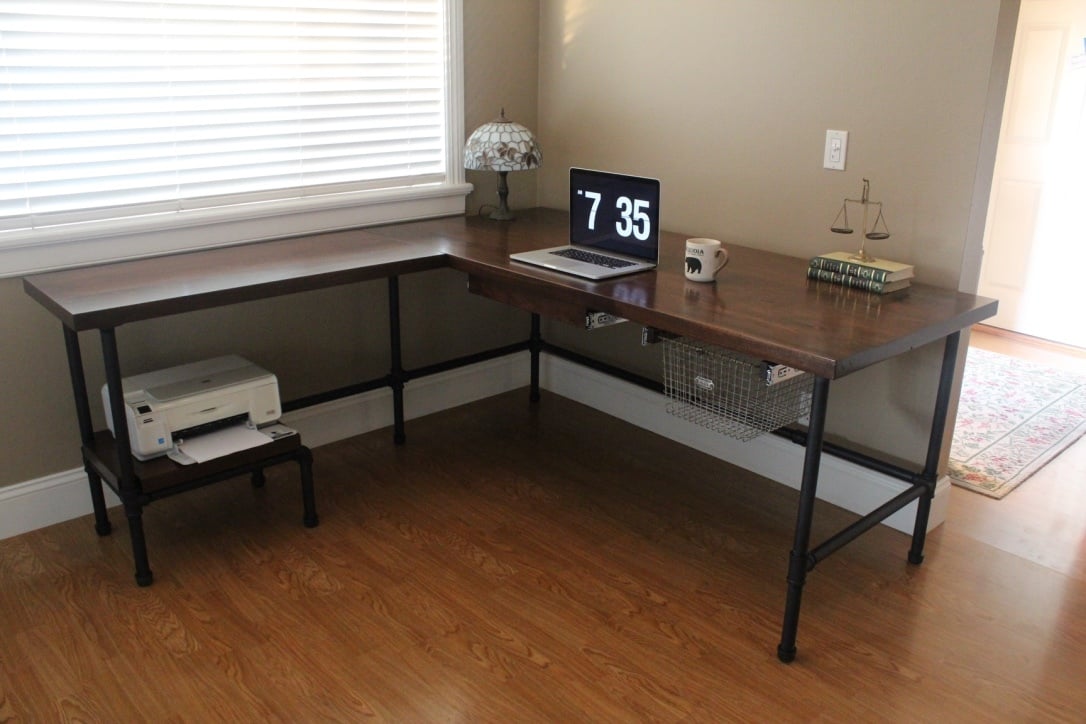
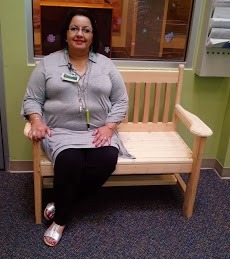
I had originally planned on just making a couple of storage benches to hide my husband's video games in the house, but decided one would be perfect to hold my circular saw, drill, and other power tools while adding a comfortable place to sit. I had ordered the fabric a few months ago and didn't realize that it matched the fuschia pink paint I had bought at orange for my work bench, and I am glad it did.
Though they are in my garage, being a wife to a Staff Sergeant in the Army, we entertain a lot so having something that is useful and looks great is a wonderful thing indeed.
Since I've started building, I've been browsing Ana White's project plans for anything else that could be useful in our house... I can't wait until we move so we can choose a larger house to make way for more projects!
Thank you Ana!!! You've given purpose to my usually uneventful days while the hubs is in Iraq for the third time!


Comments
Lori E (not verified)
Thu, 07/21/2011 - 13:29
Great job! I love your
Great job! I love your finish!
In reply to Great job! I love your by Lori E (not verified)
Falafel and the Bee
Thu, 03/26/2015 - 20:29
thanks!
Thank you Lori!