(Vintage X) Back Step Stool End Table
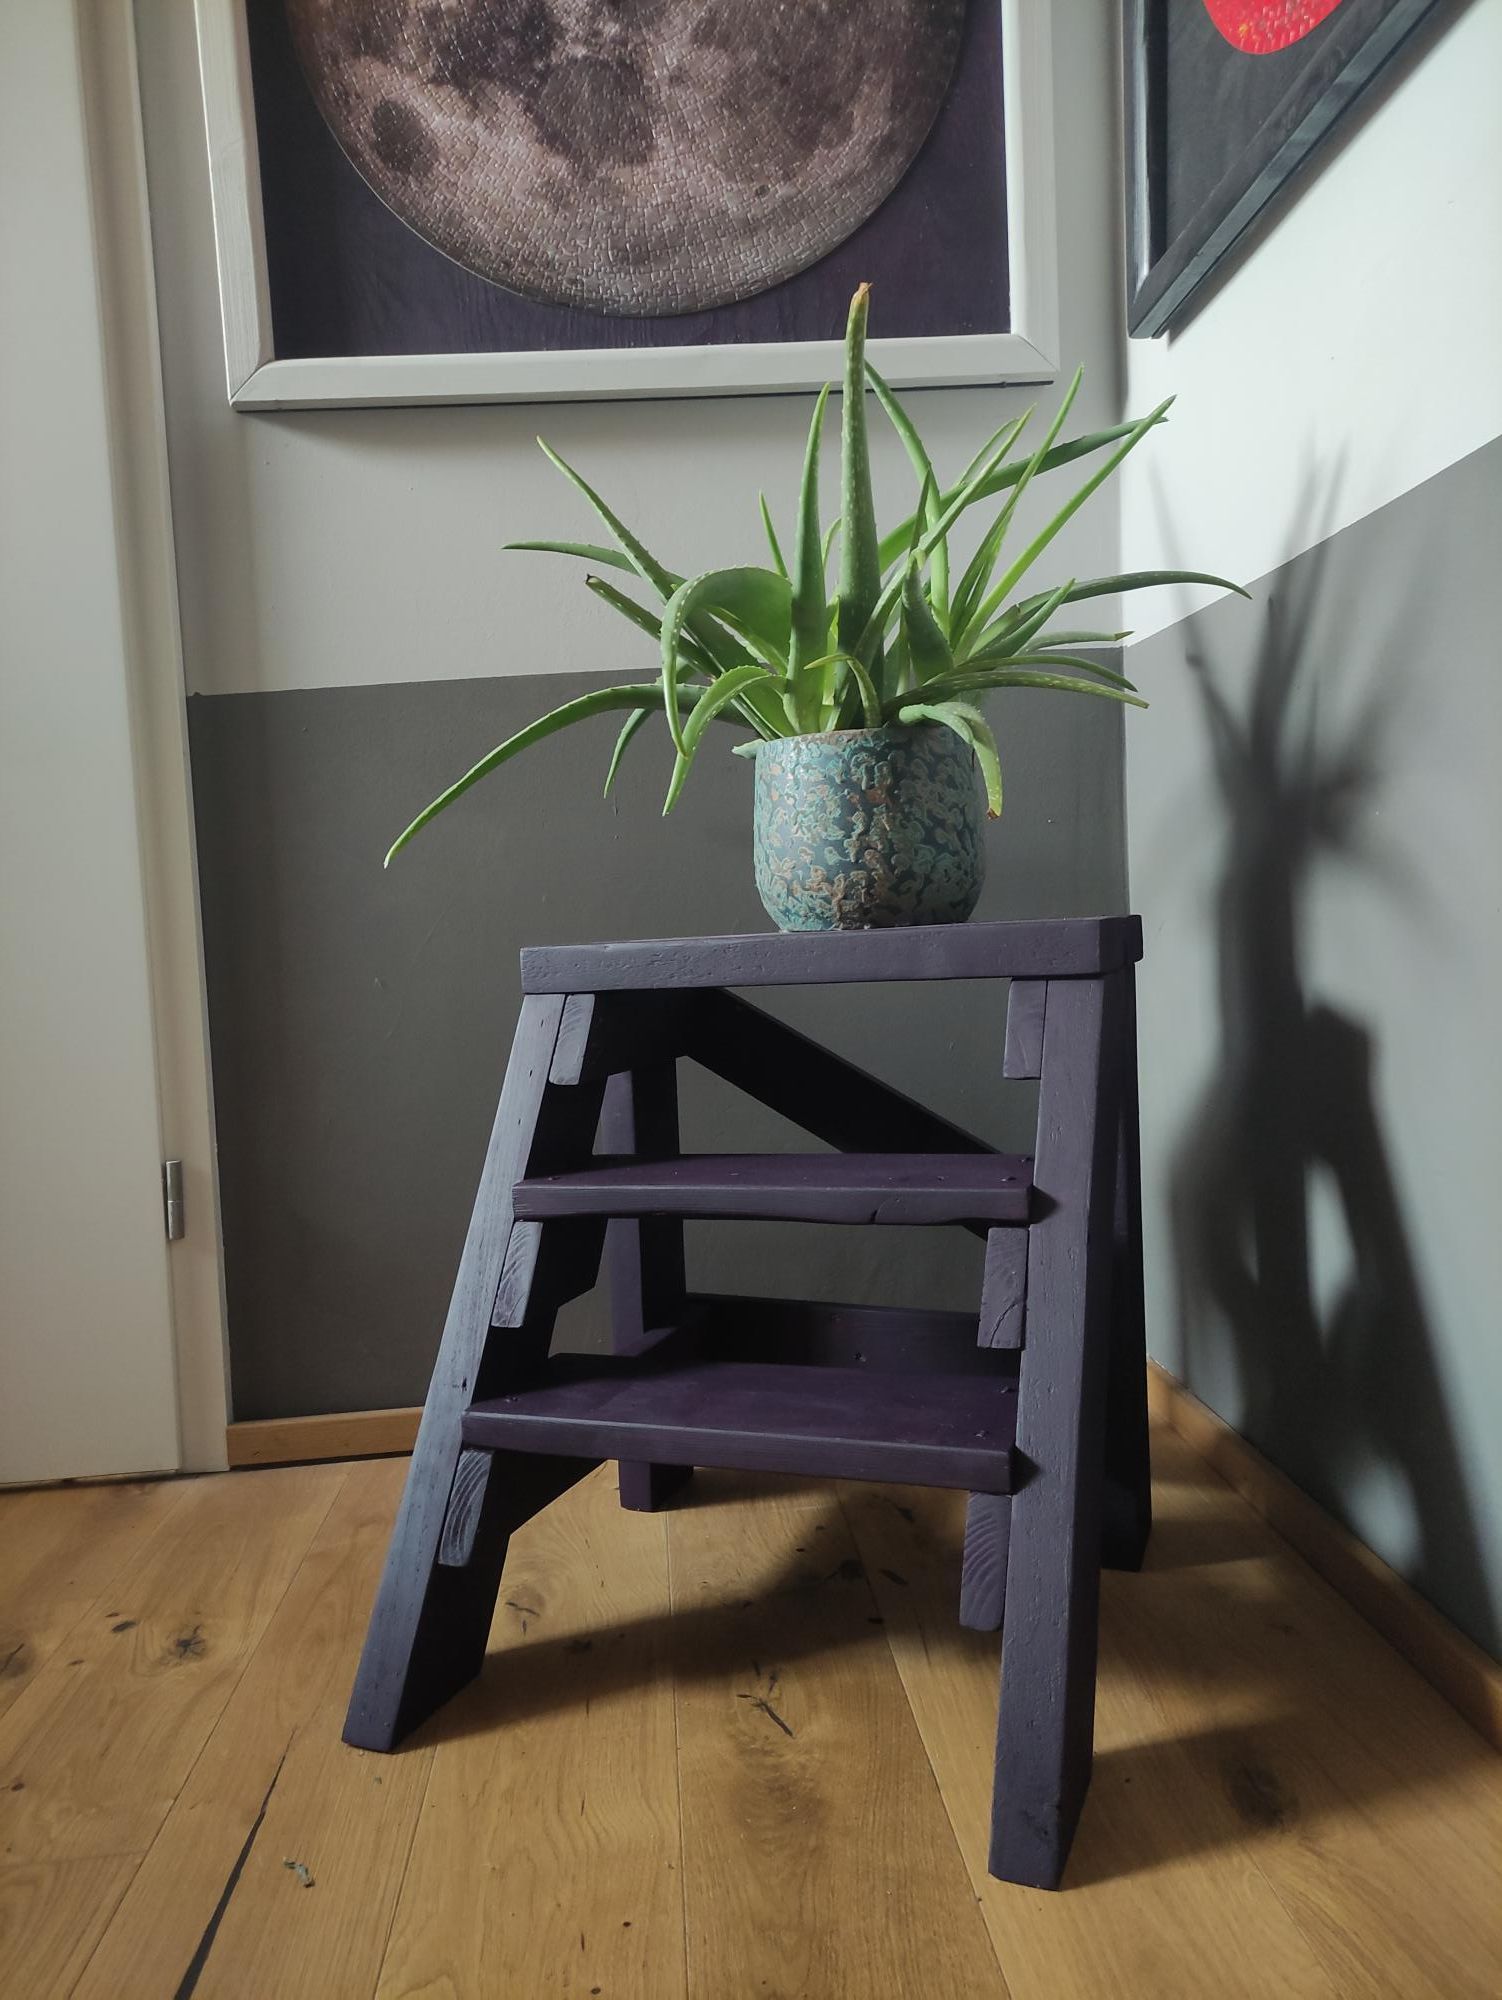
I was looking for a plant table and fell in love with the vintage x plan. And it was perfect to get rid of some of my waste wood from other projects.
I love to work with Ana's plans :-)

I was looking for a plant table and fell in love with the vintage x plan. And it was perfect to get rid of some of my waste wood from other projects.
I love to work with Ana's plans :-)
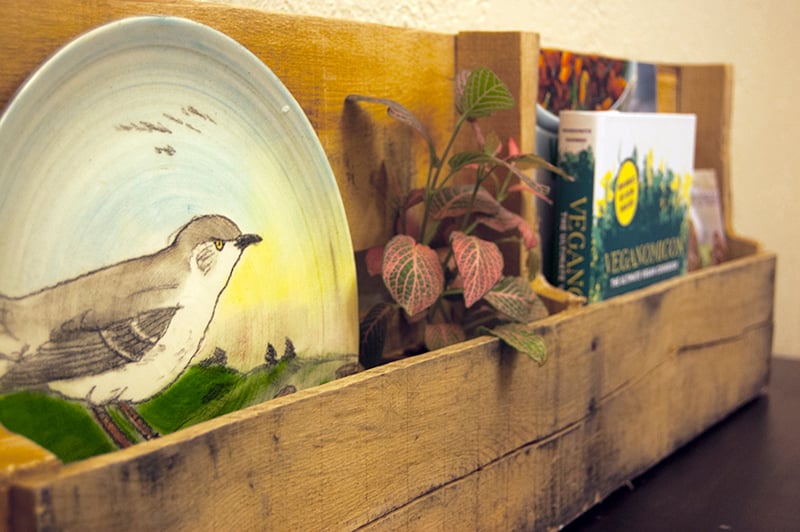
This was my first time using my jigsaw. Easiest project ever, and I love the result!
Tue, 04/02/2013 - 21:49
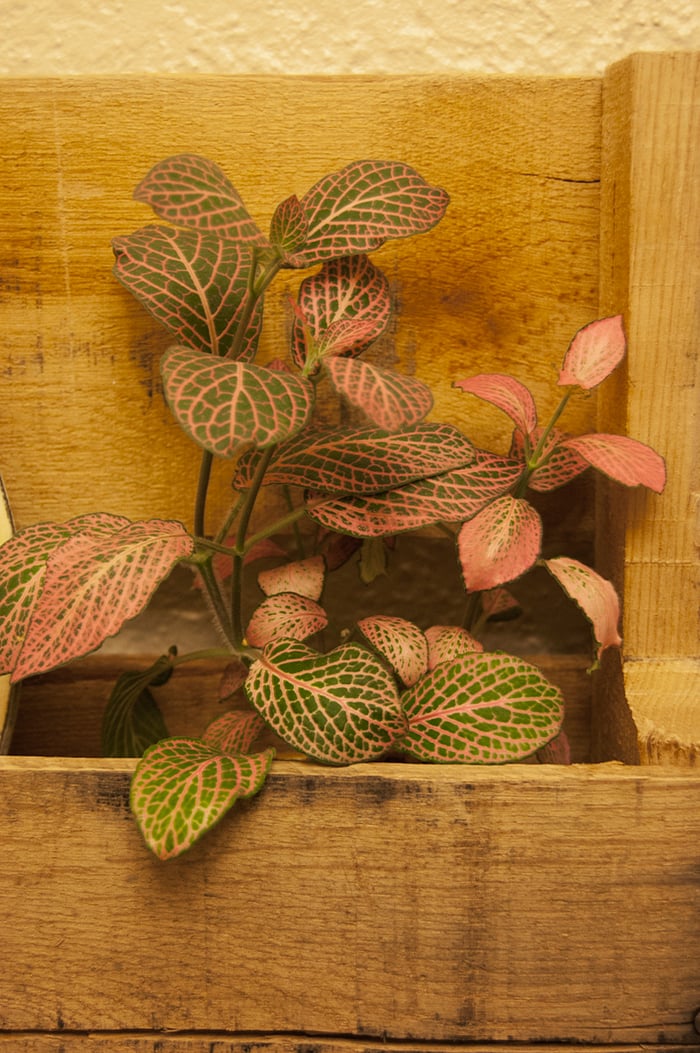
You certainly have a talent when it comes to making a pallet look beautiful!

Built this set of Nightstands to match a bed that I made.
Mon, 02/16/2015 - 13:21
This is cute! I love the colors that you chose...:-))))))
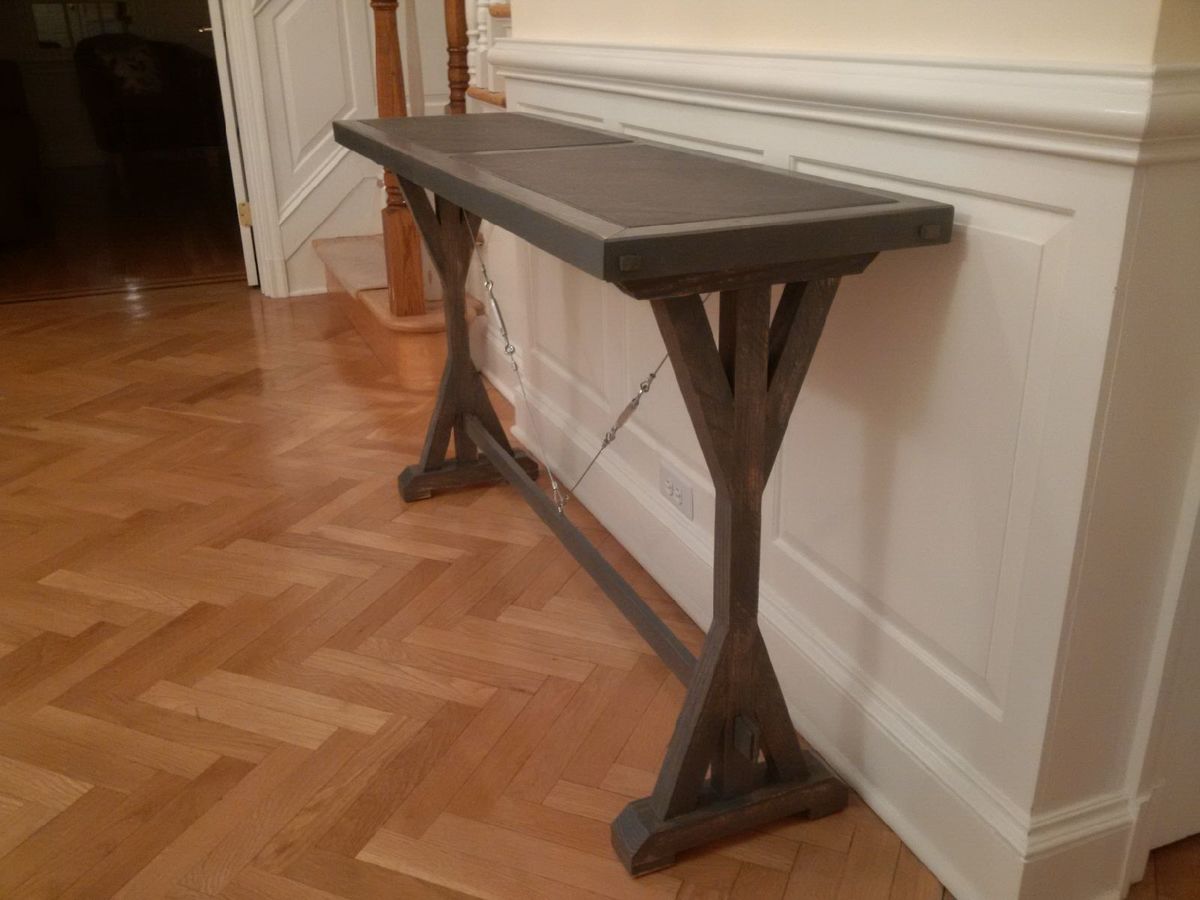
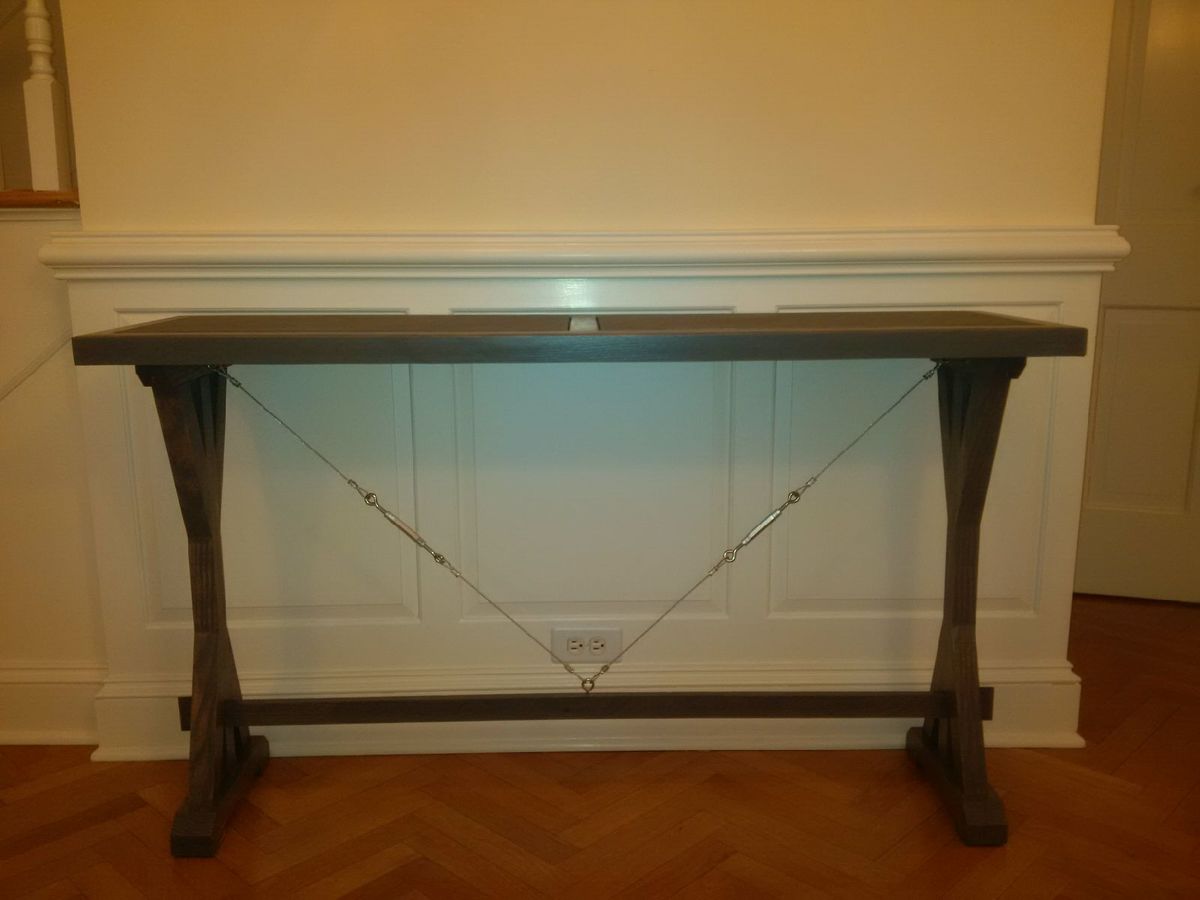
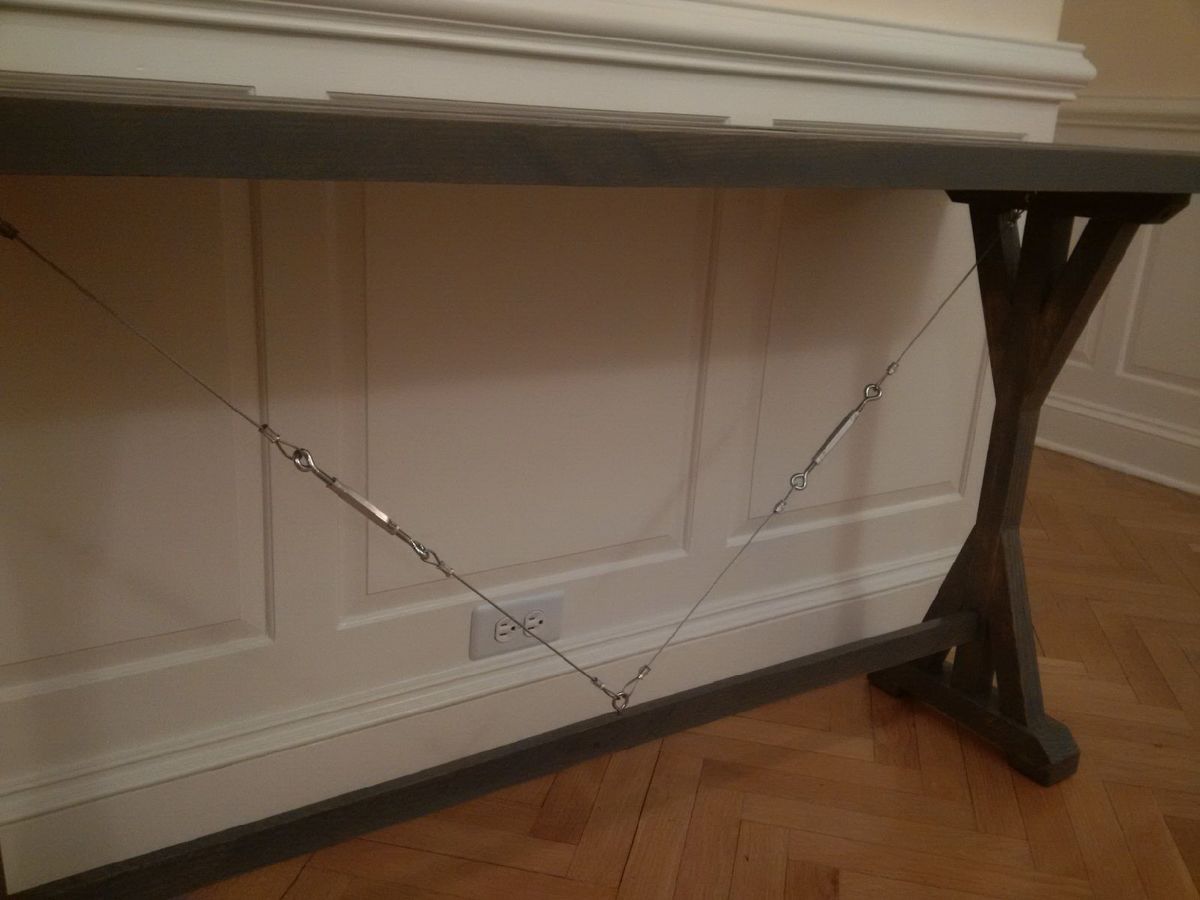
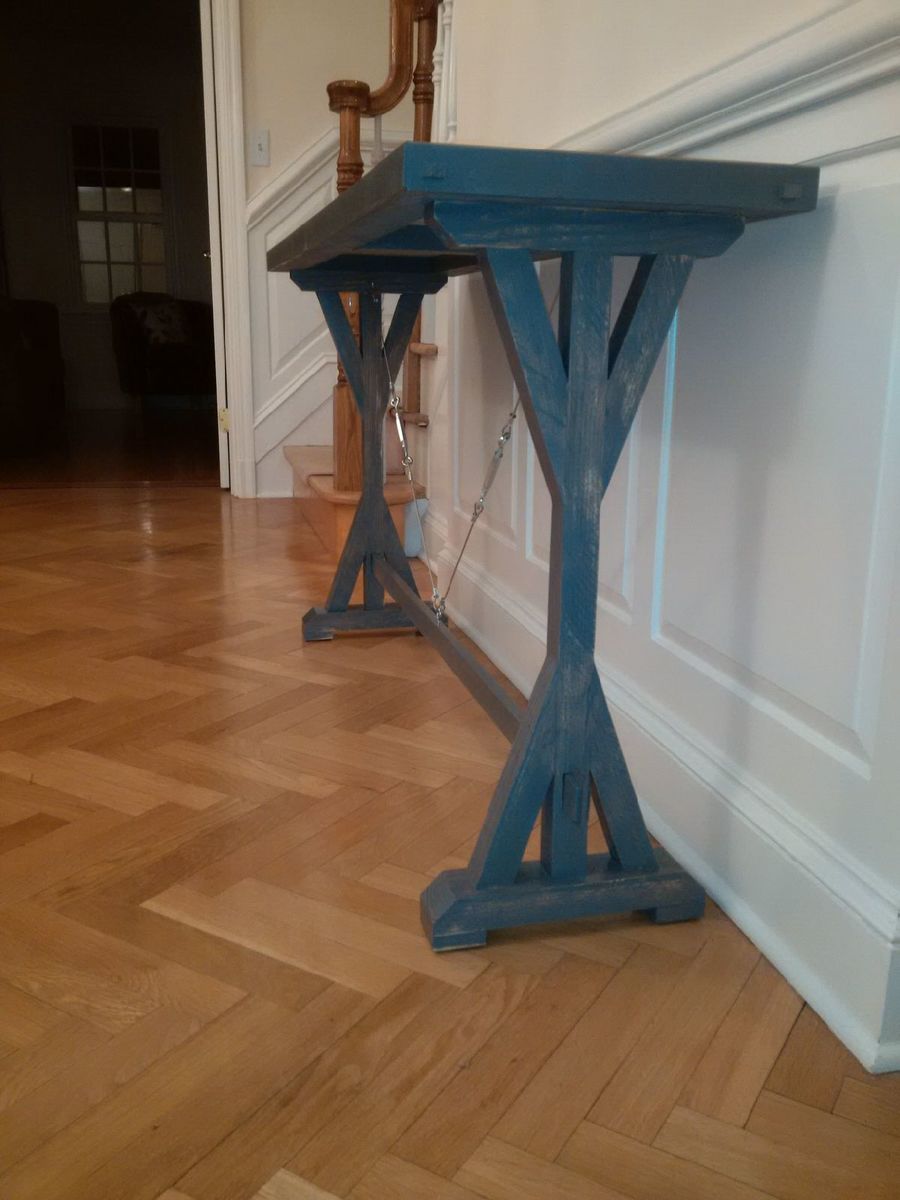
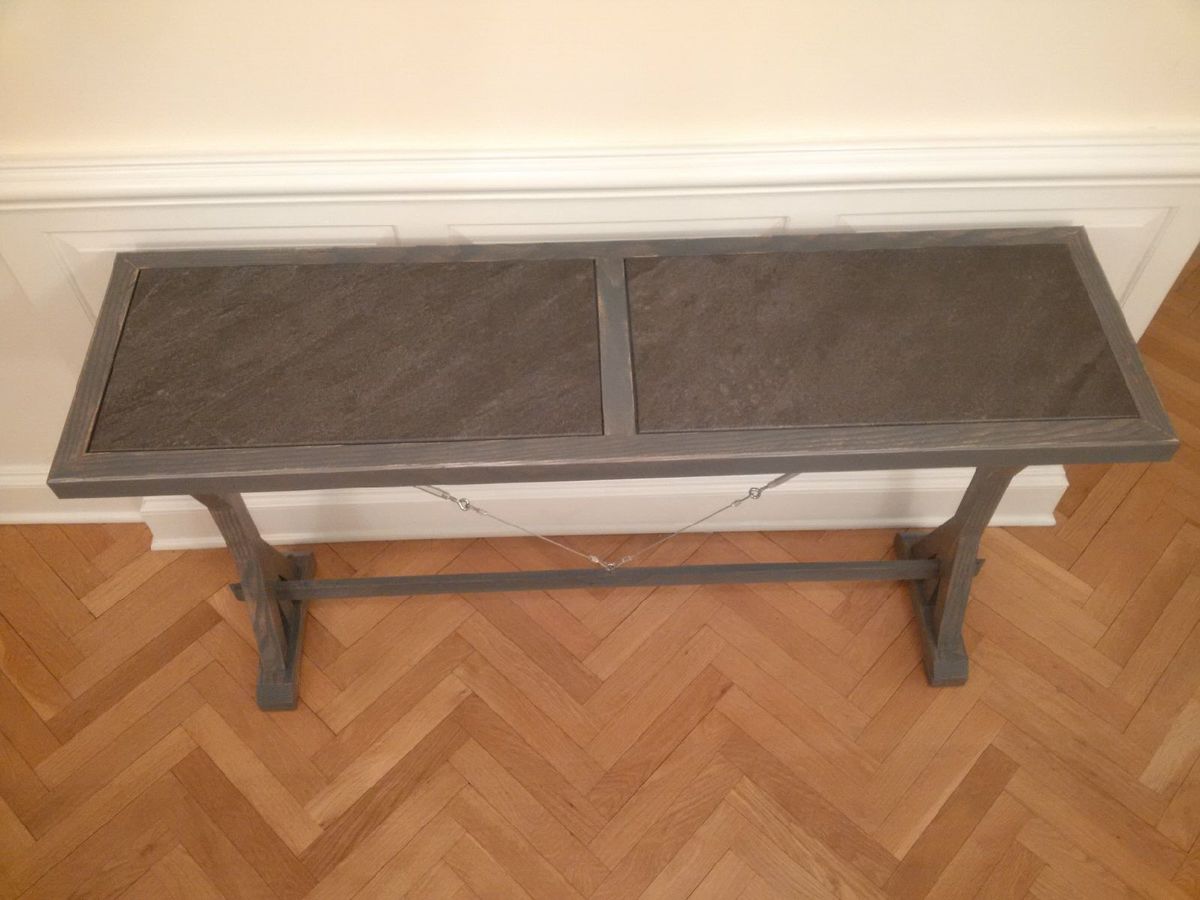
Just finished this for our front hallway.
All made from one ripped down 8ft 2x10 board of fir. (table saw to cut 2 strips at 2.5 inch wide (top rails), and 2 at 1.5inch wide (legs), and one at 3/4 inch (stretcher).
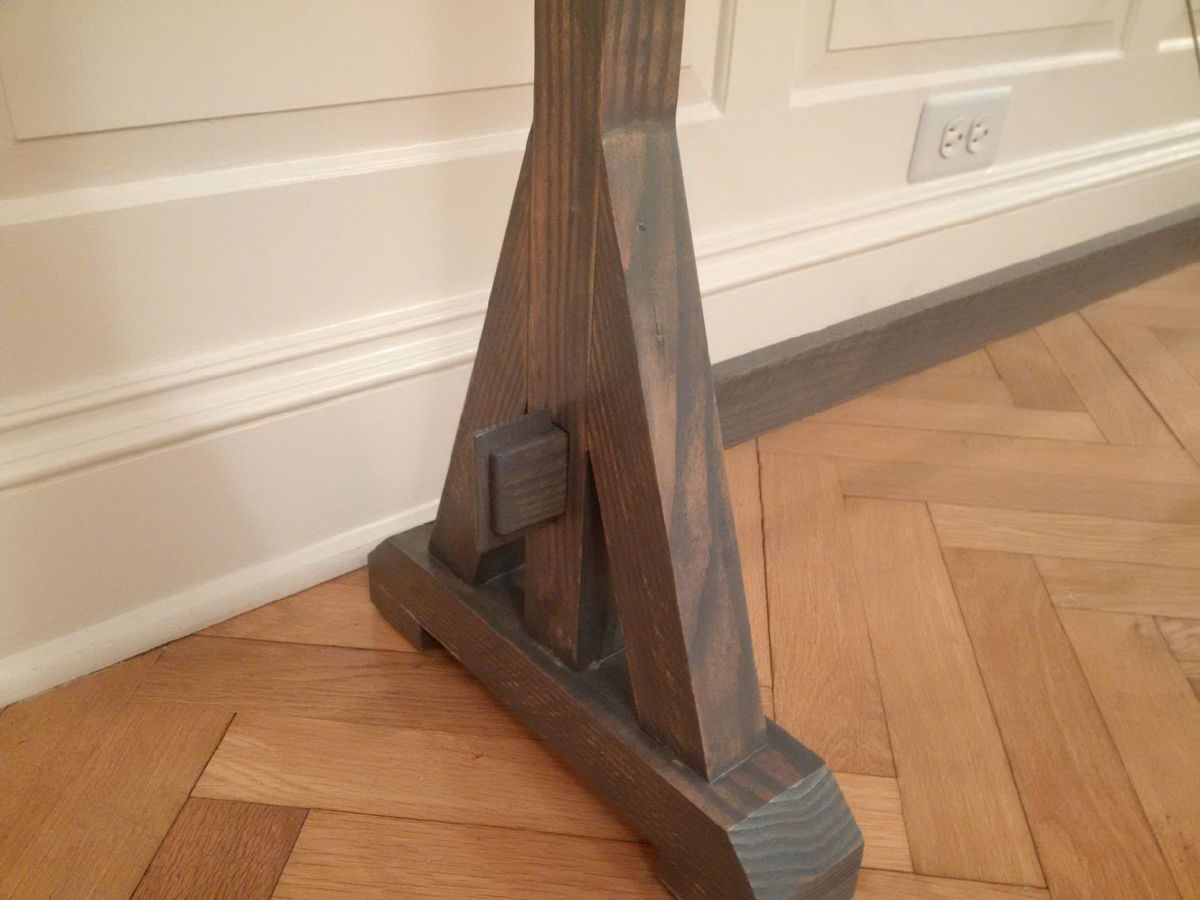
Leg braces are angled 20deg / 70 deg to make them more upright and give a sleek profile.
Stretcher goes through the legs and is held in place by wedged shims.
Stainless tension wires and turnbuckles underneath to keep it all tight - and give an industrial look. Need a lot of strength to crush teh ferrules onto the wire.
Top surface is 2 of 12" x 24" bathroom slate tile inlaid into a recess that was cut into the top rails.
finish is 3 coats of minwax glassic grey, and 2 coats polyurethane, sanded deeply in some parts to weather it.
Took me about 8 hours.
I can provide more instructions if anyone is interested.
Austin
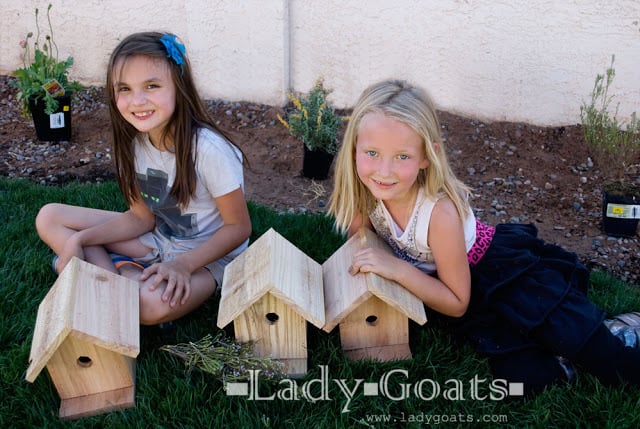
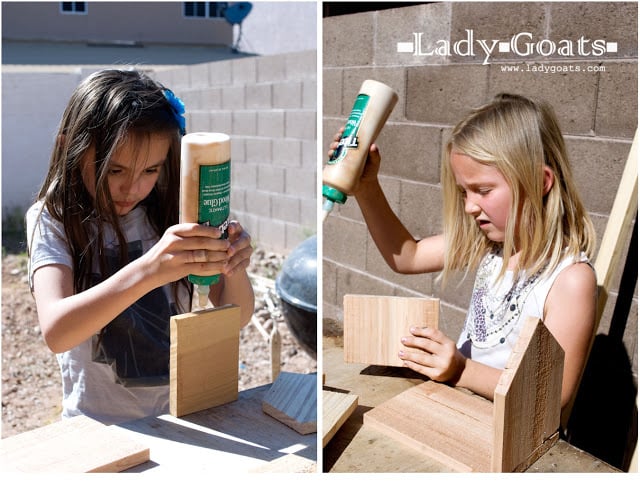
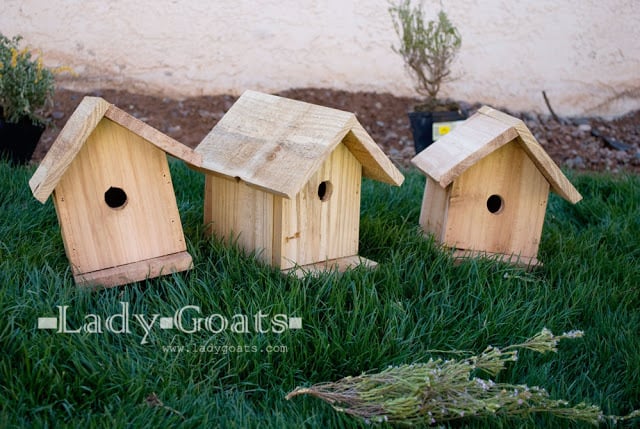
The Big Kid and her friend were standing behind me when I pulled up Ana's birdhouse kit plans and they begged to build one, too. Initially, I wasn't wanting them to use my nail gun, so I predrilled the holes for all the brad nails. Details are on my blog.
I was able to get three birdhouses from two 6' fence pickets (had to make one about a half inch smaller all around, but it's barely noticeable!)
Thanks, Ana!
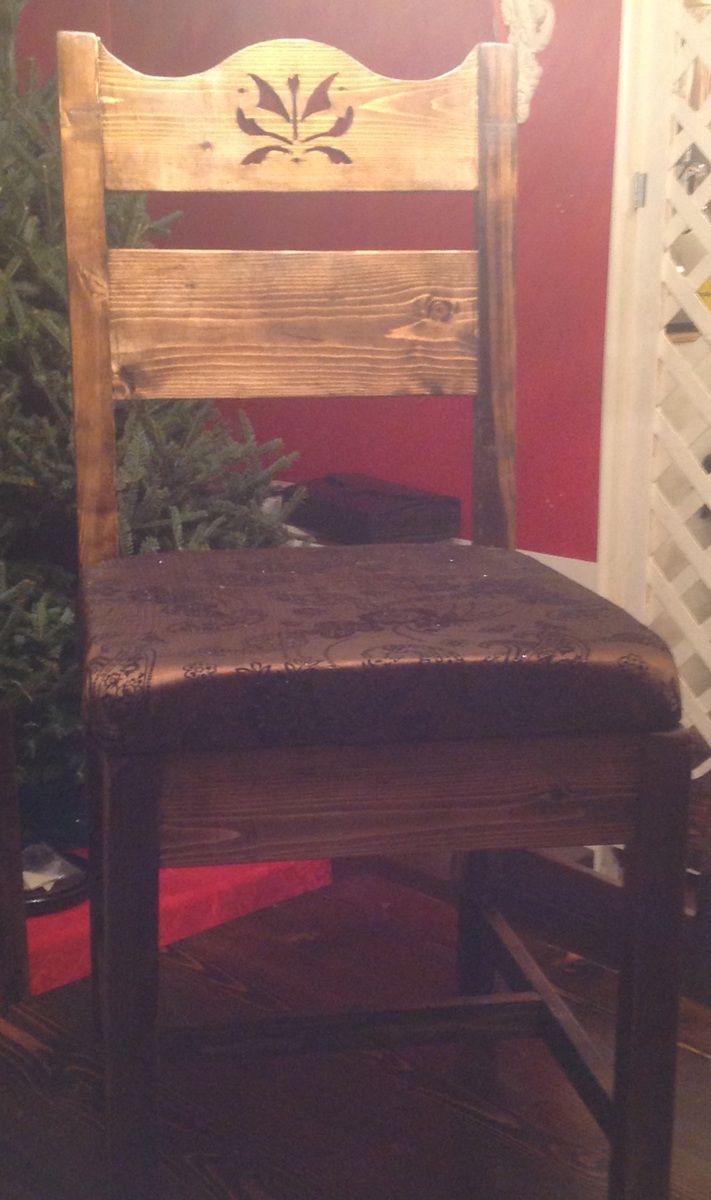
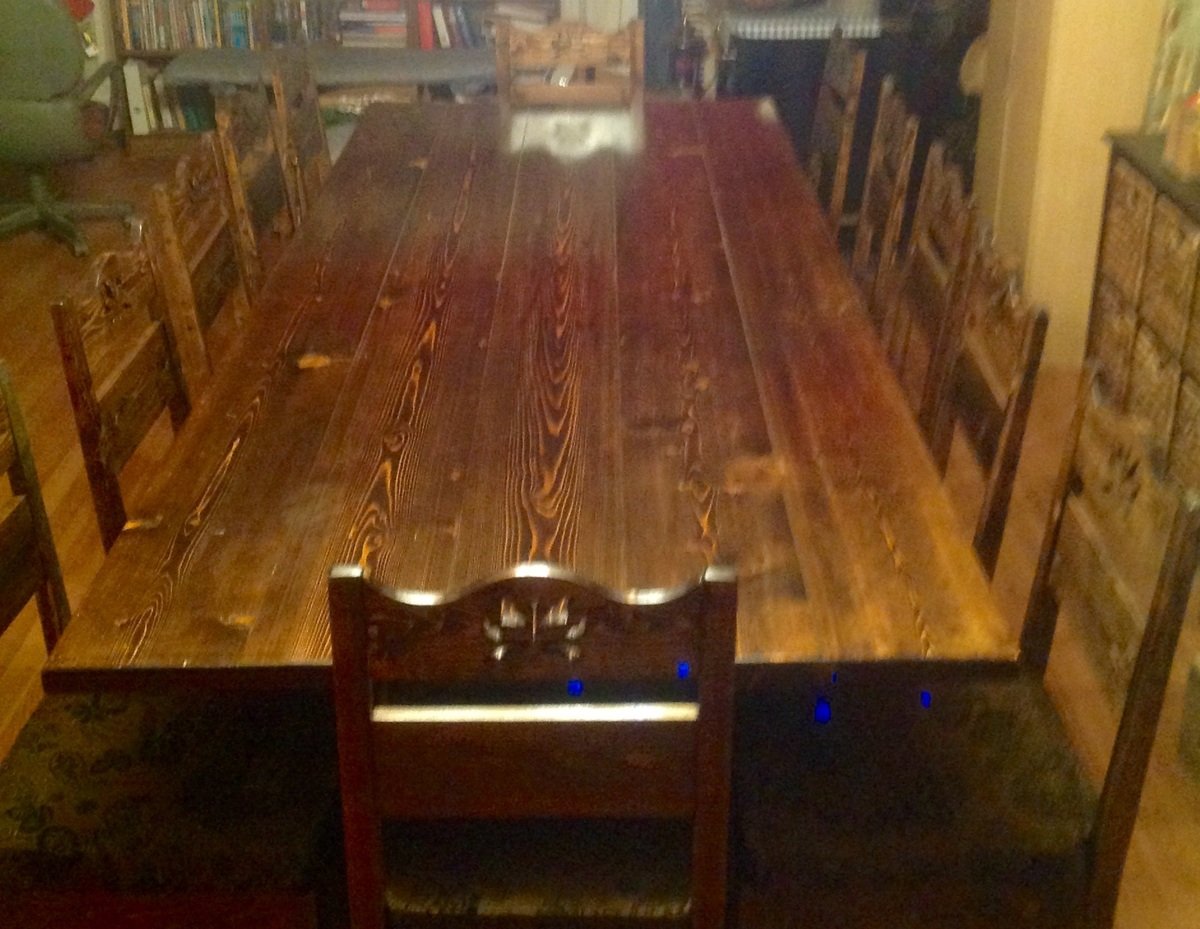
I needed chairs to go with the table I built the previous year. Thank you so much for sharing these plans. The plans are easy to follow and adaptable to any need.
I narrowed the seats to 17" wide and adjusted all measurements accordingly. I used a scroll saw for the backs, dark walnut stain and poly to finish. I was in a hurry so I managed to get all 12 chairs made, with off and on work, approx. 1 month.
Tue, 02/24/2015 - 14:44
Beautiful. I really like the detailed back. Nice job!
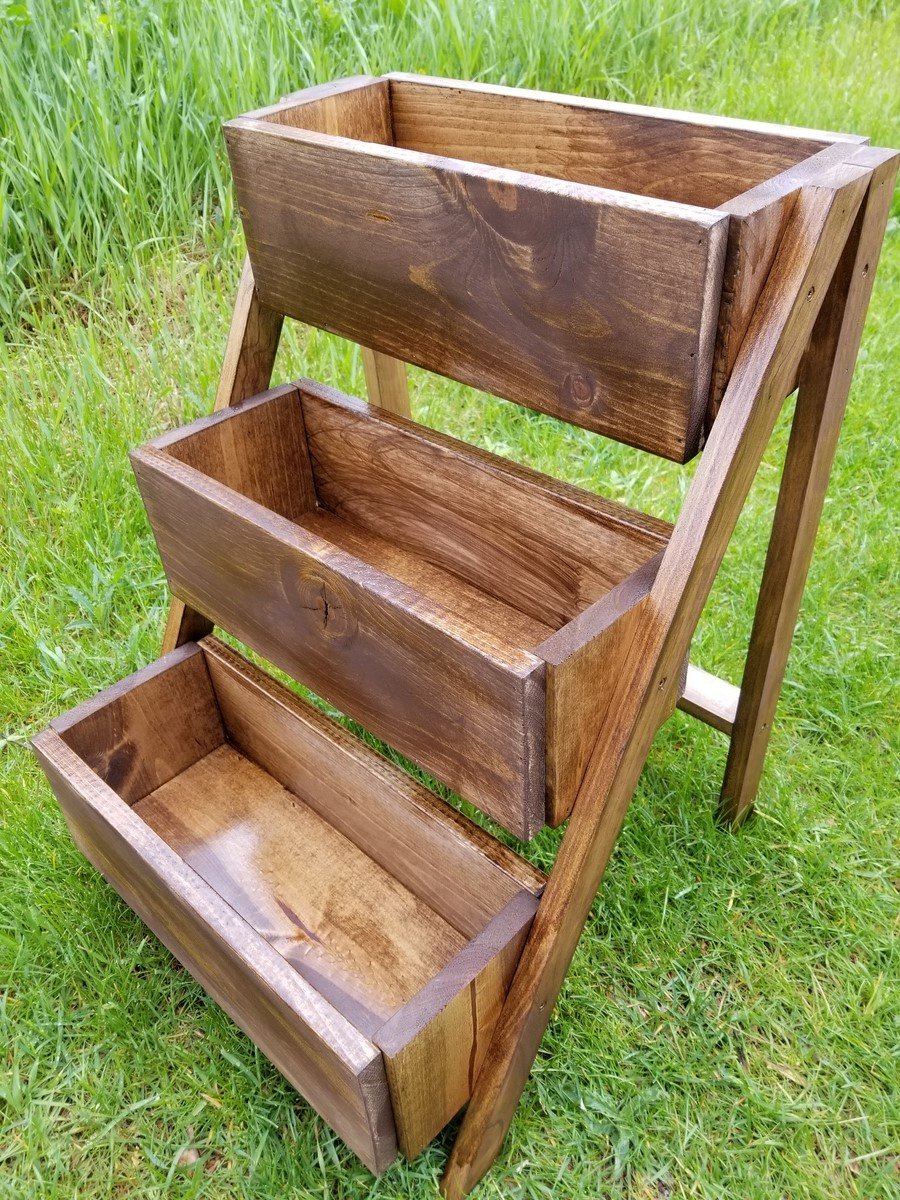
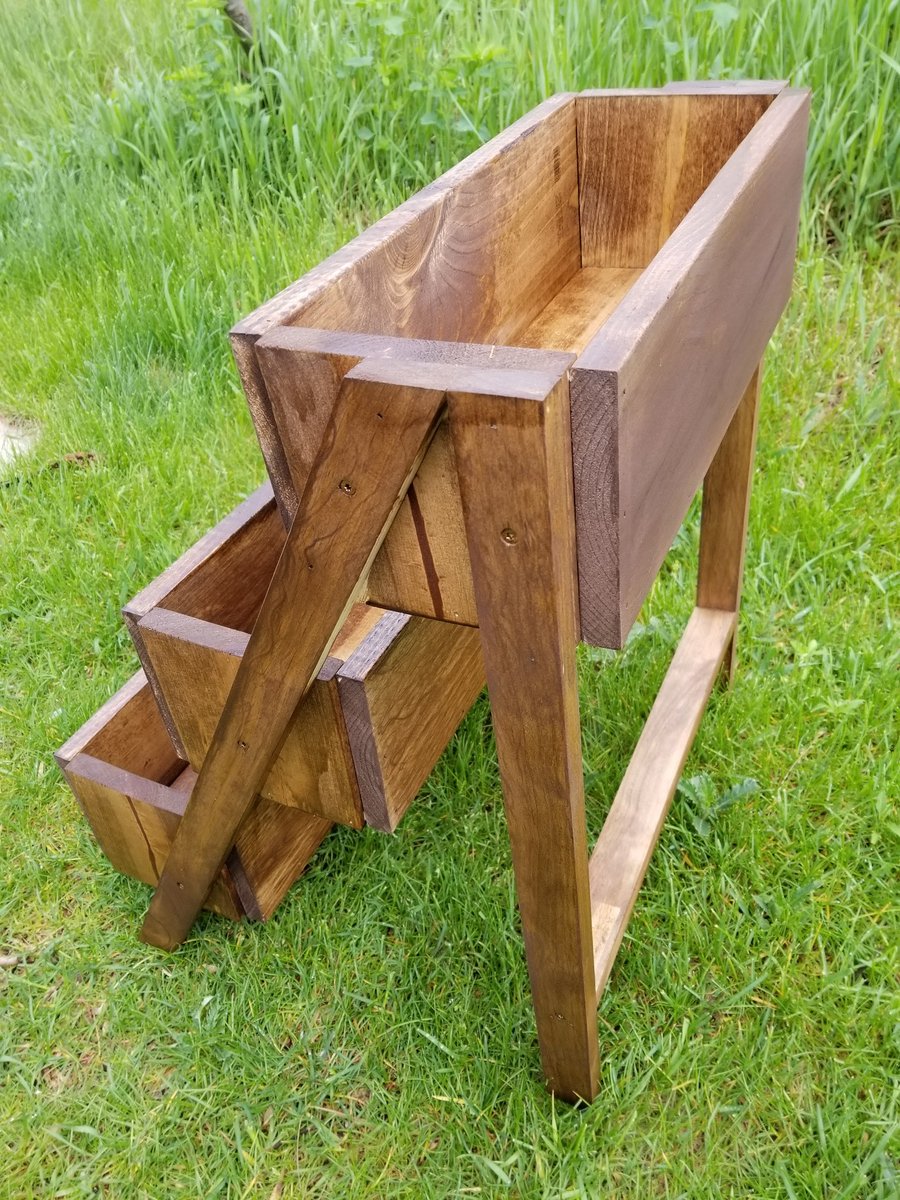
Love this planter. Used quality pine. Perfect size for the balcony! I use it for fresh herbs... i have have other people wanting one too!

We have a frosty faced blind girl and an aging tri-pawed that we wanted to be able to continue snuggling with us so we adapted the Farmhouse Bed with Storage to make it a king size. We made the drawer boxes deeper which allowed us to get rid of our dresser to create more space in our room. And we added a flight of stairs for the pups.


Fri, 12/30/2022 - 07:53
This is exactly what I’m looking for! Perfect for our dogs. Although, I wonder if a ramp would work or if it would be too steep? Hmmm
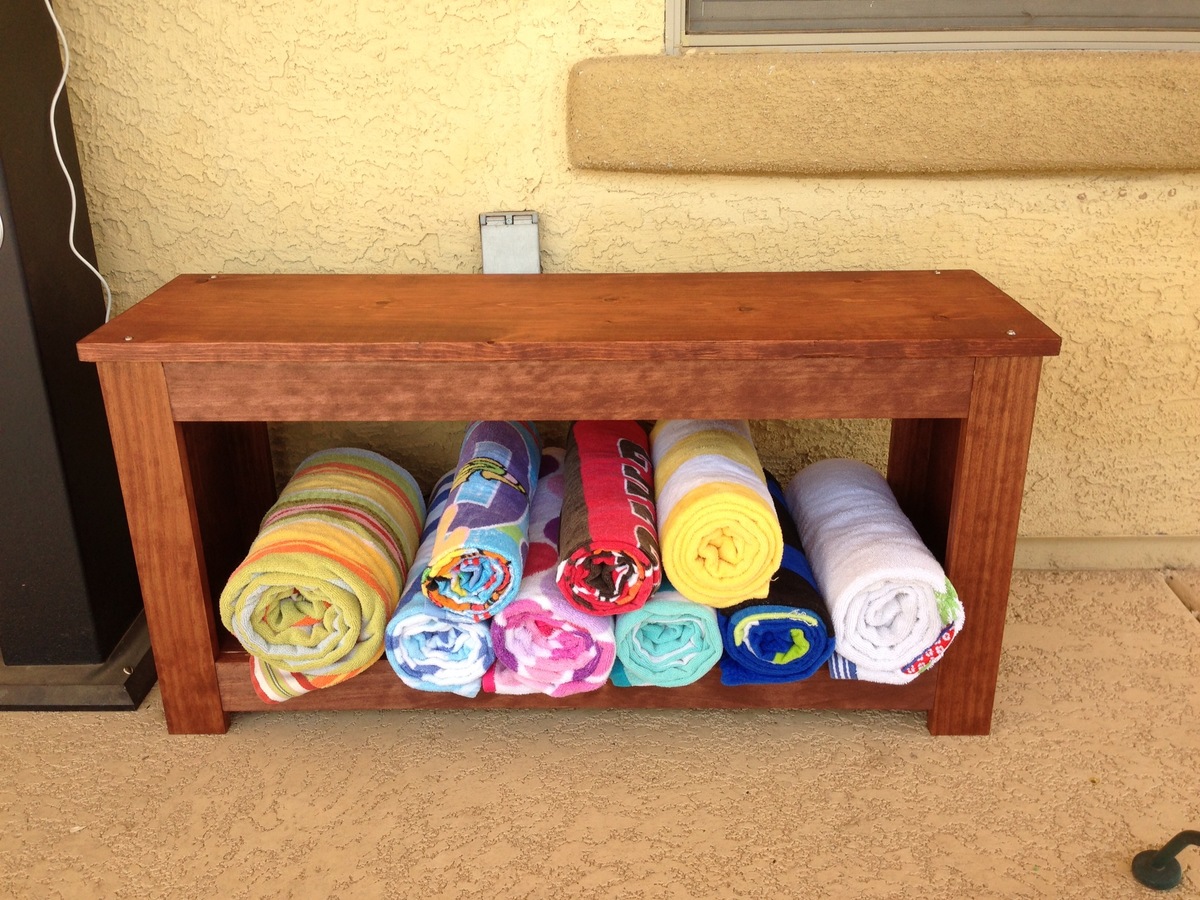
My first attempt at this type of project. We needed a good place to store the pool towels. My wife asked me where I bought it from!
This was very easy but was still one of my favorite builds. I used oak for the bench top and poplar for the rest. I used the pocket hole jig and gorilla wood glue and it is incredibly rigid and sturdy. I changed the height to 24 inches so I could raise the shelf platform up to 10 inches from the floor. This allowed me to place shoes under and on the shelf. I stained with polyshades mission oak and added an additional coat of satin polyurethane.
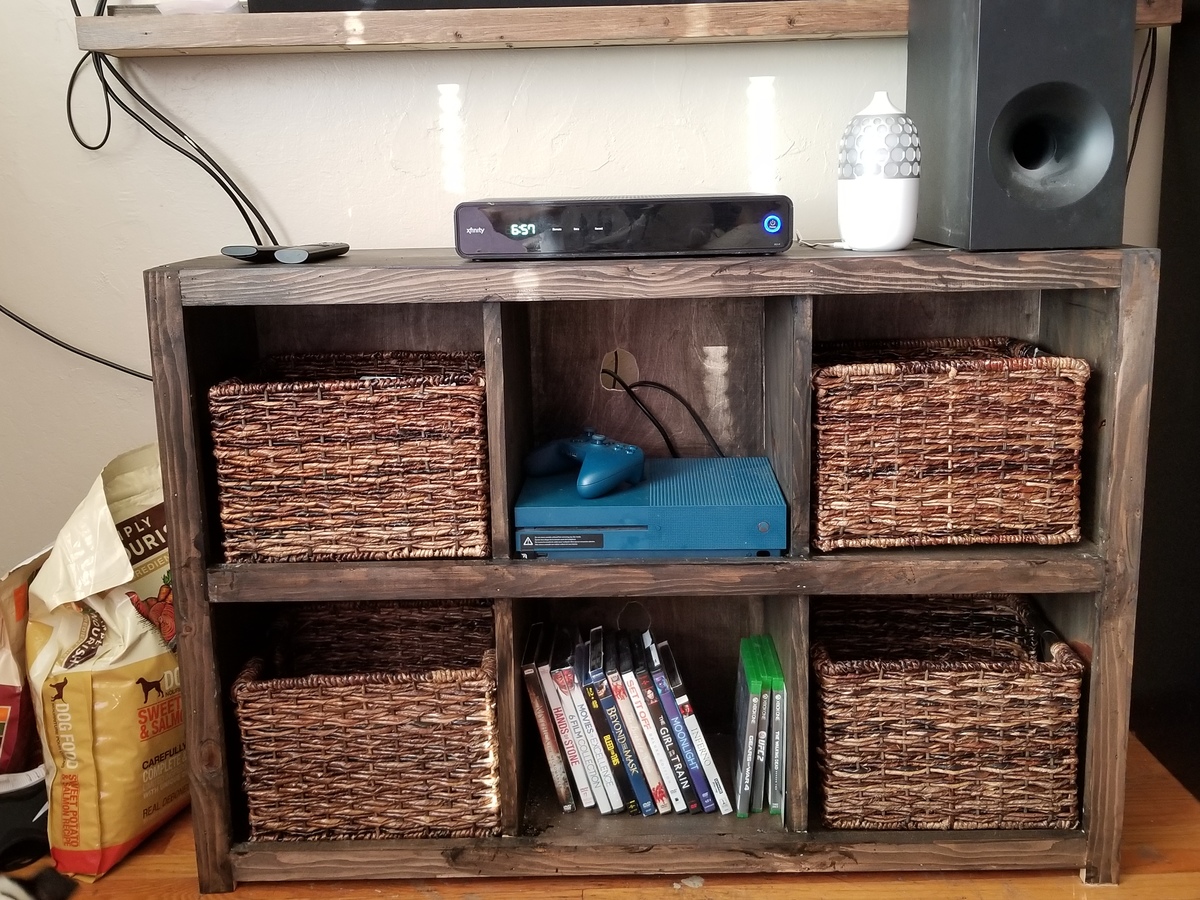
I have a good size bedroom, but things kept cluttering. I needed somthing small where i could store a few thing's like, movies, x-box, and cable box. So decided on the bookshelf. It's the perfect addition to my bedroom set. Thanks Anna for your awesome projects.

Hey Ana! I just want to start by saying thank you for the great plans!! We are by no means builders but your EASY step-by-step instructions and photos enable us to fake it really well. I needed a laundry dresser for my very small laundry area and bigger bins (teenage twin boys). The round tubs on the floor were NOT working and were becoming a hazard. I have no access to pallets so we used 1x4's and furring strips. I also painted it the same color as my walls so it would blend a little better. SO very happy with it!! Thank you, thank you!!

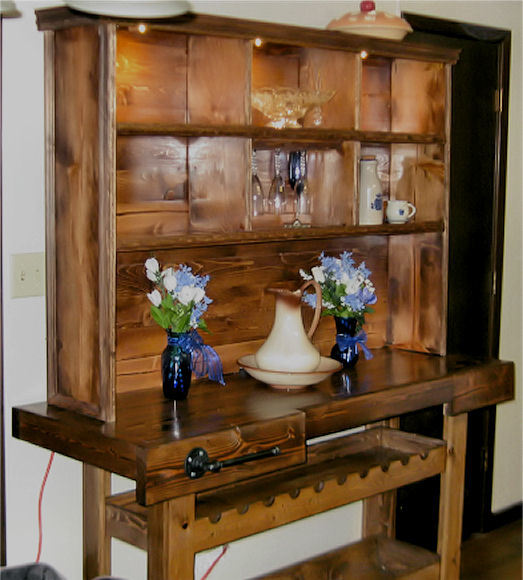
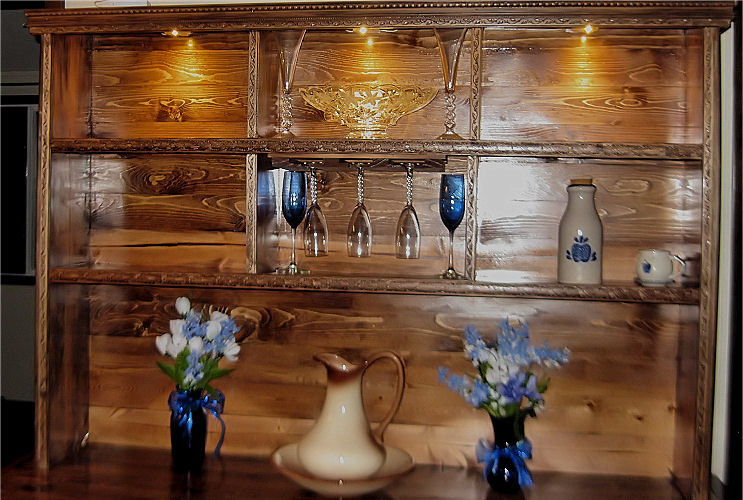
When I first saw this and showed it to my wife it became number one on my Honey Dew list. I did not like the open space between the bottom shelf and top, saw on this site where someone put a wine rack of shorts as a second shelf. So I did the same I used 1x4 instead of the 1x10 used on bottom shelf. I also used 1x4 for the top to help eliminate the gaps between the boards that the 2x4’s would cause. To help give something for the 2x4’s and the 2x6’s to attach to I screwed 2x2’s to the 1x4’s around the edge. Gives the illusion of 2x4’s and makes for a very smooth and flat surface for the top. The Hutch I made it taller to be able to put taller things under the first shelf. I also installed lights on the top shelf and trim.
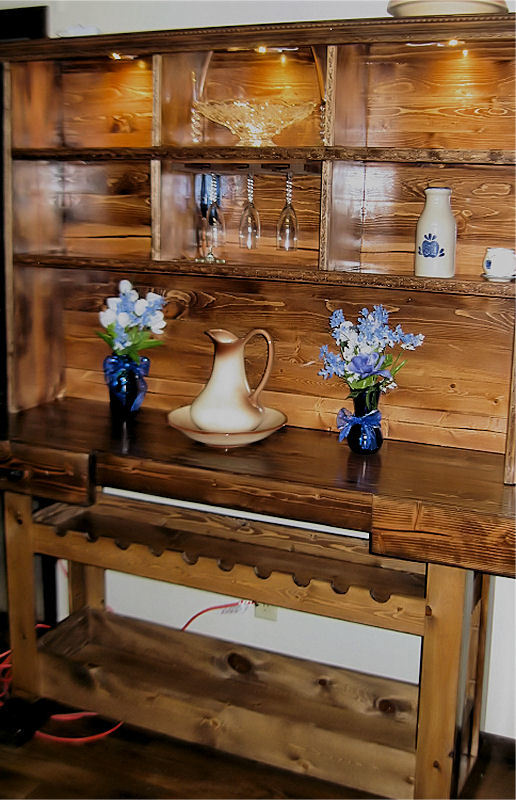
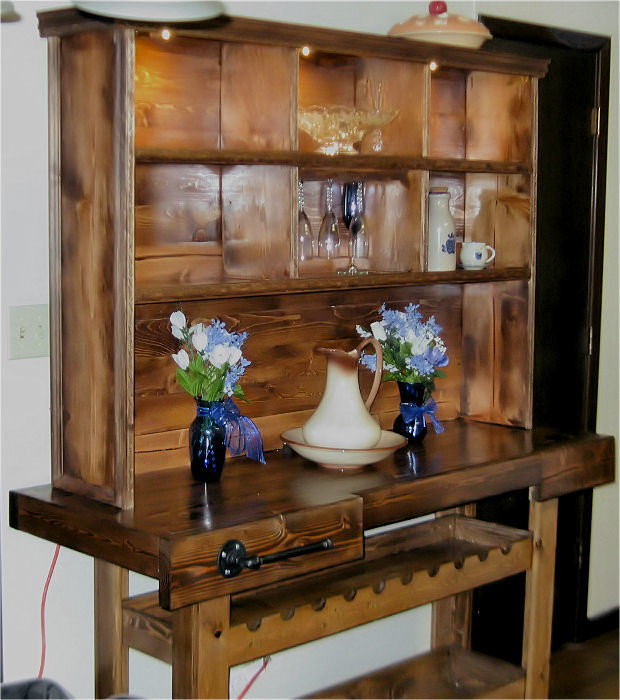
Sun, 05/05/2013 - 23:25
This looks amazing. You did a great job. I like the look of the smoother top and the lights are a nice add on.
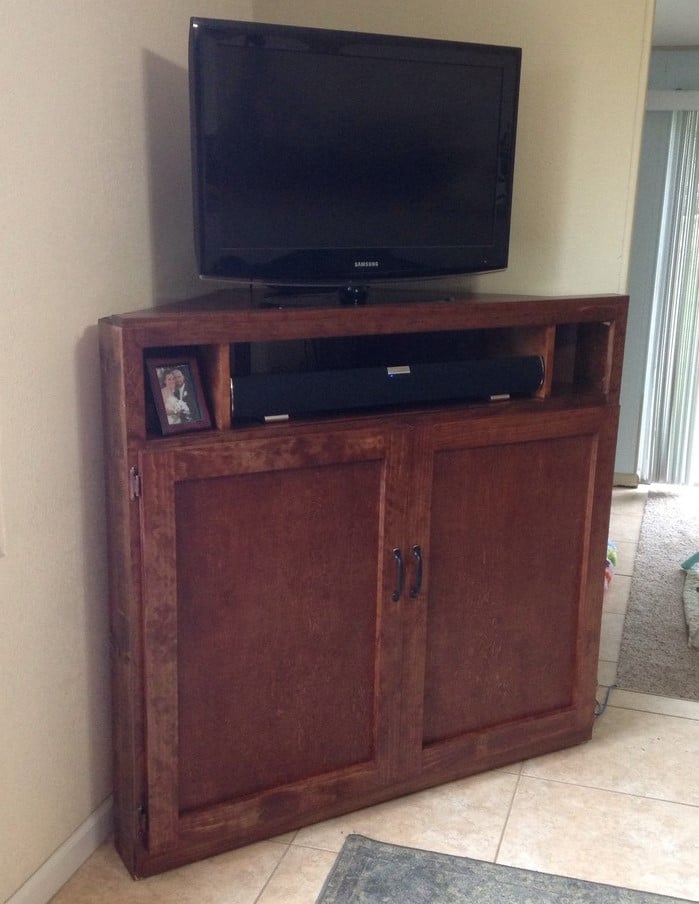
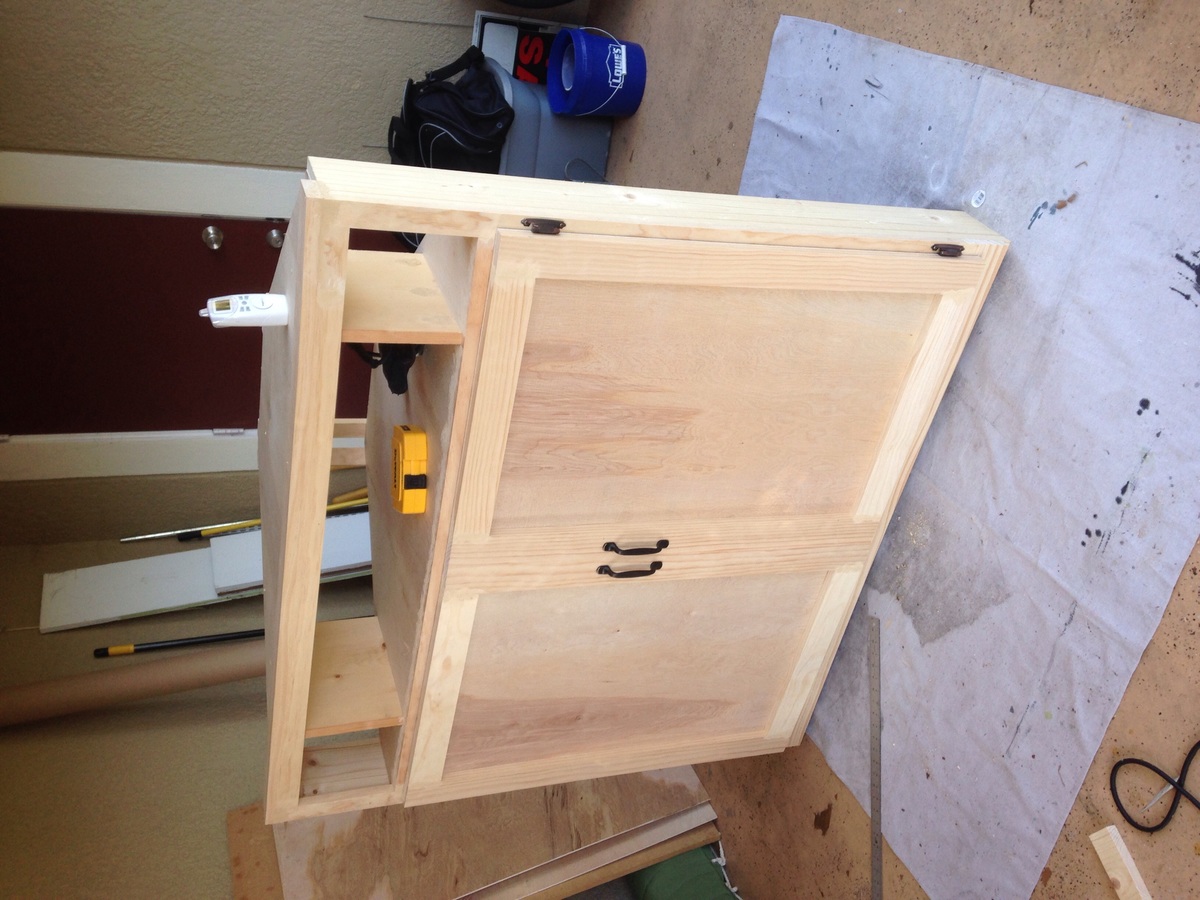
We just recently had our first child and decided we needed to protect our electronics a little better from the soon to be mobile baby. Turned out great! I highly recommend leaving the back off until the piece is completely stained or painted. It takes up less floor space and the tv is totally out of reach of little hands. We customized the shelf heights to fit the sound bar and computer perfectly. I was so excited when I stumbled across these plans looking for a new tv stand. Everything I found either wouldn't fit my computer Or didn't have doors. Love it!
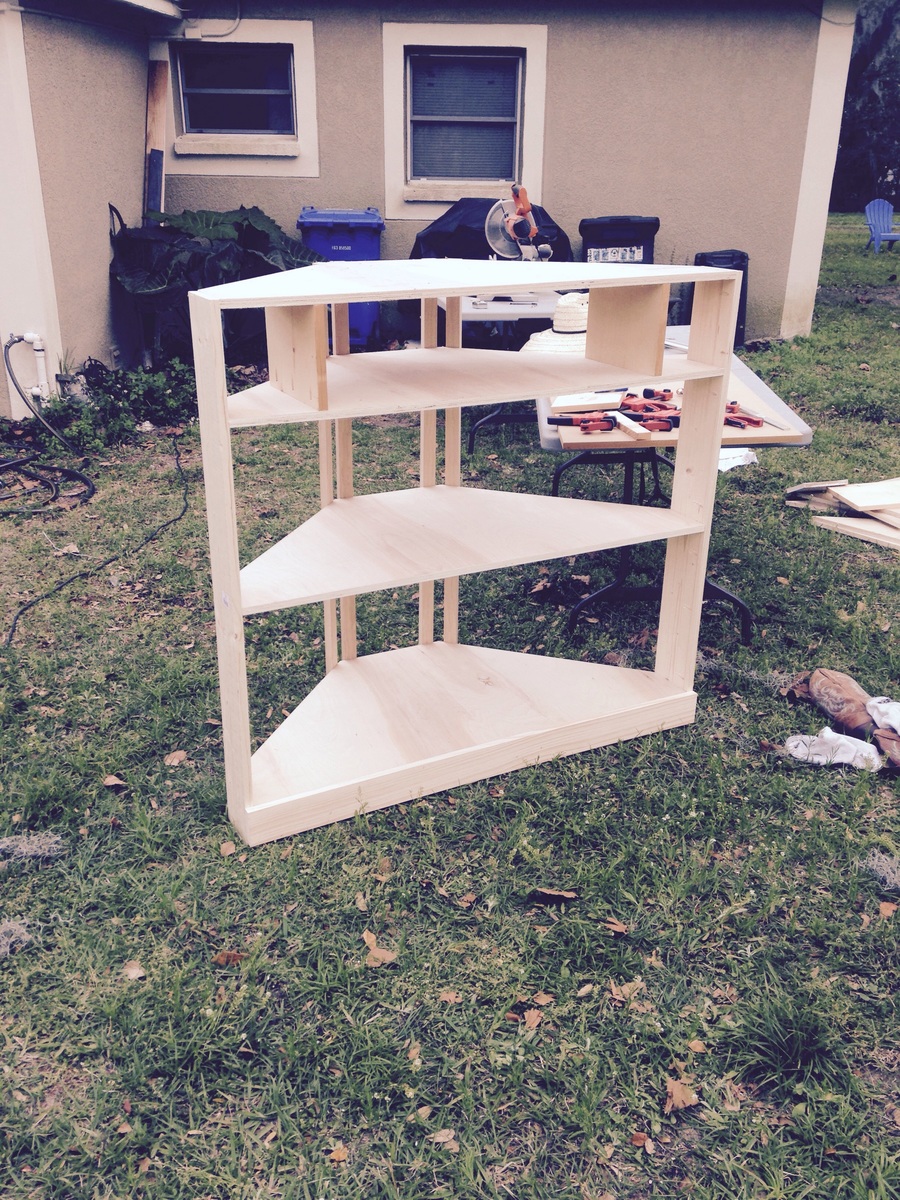

My husband and I love this bed design. The instructions were incredibly simple to follow and quite fun. Finished the whole bed in two days. Thank you for the tutorial!!!
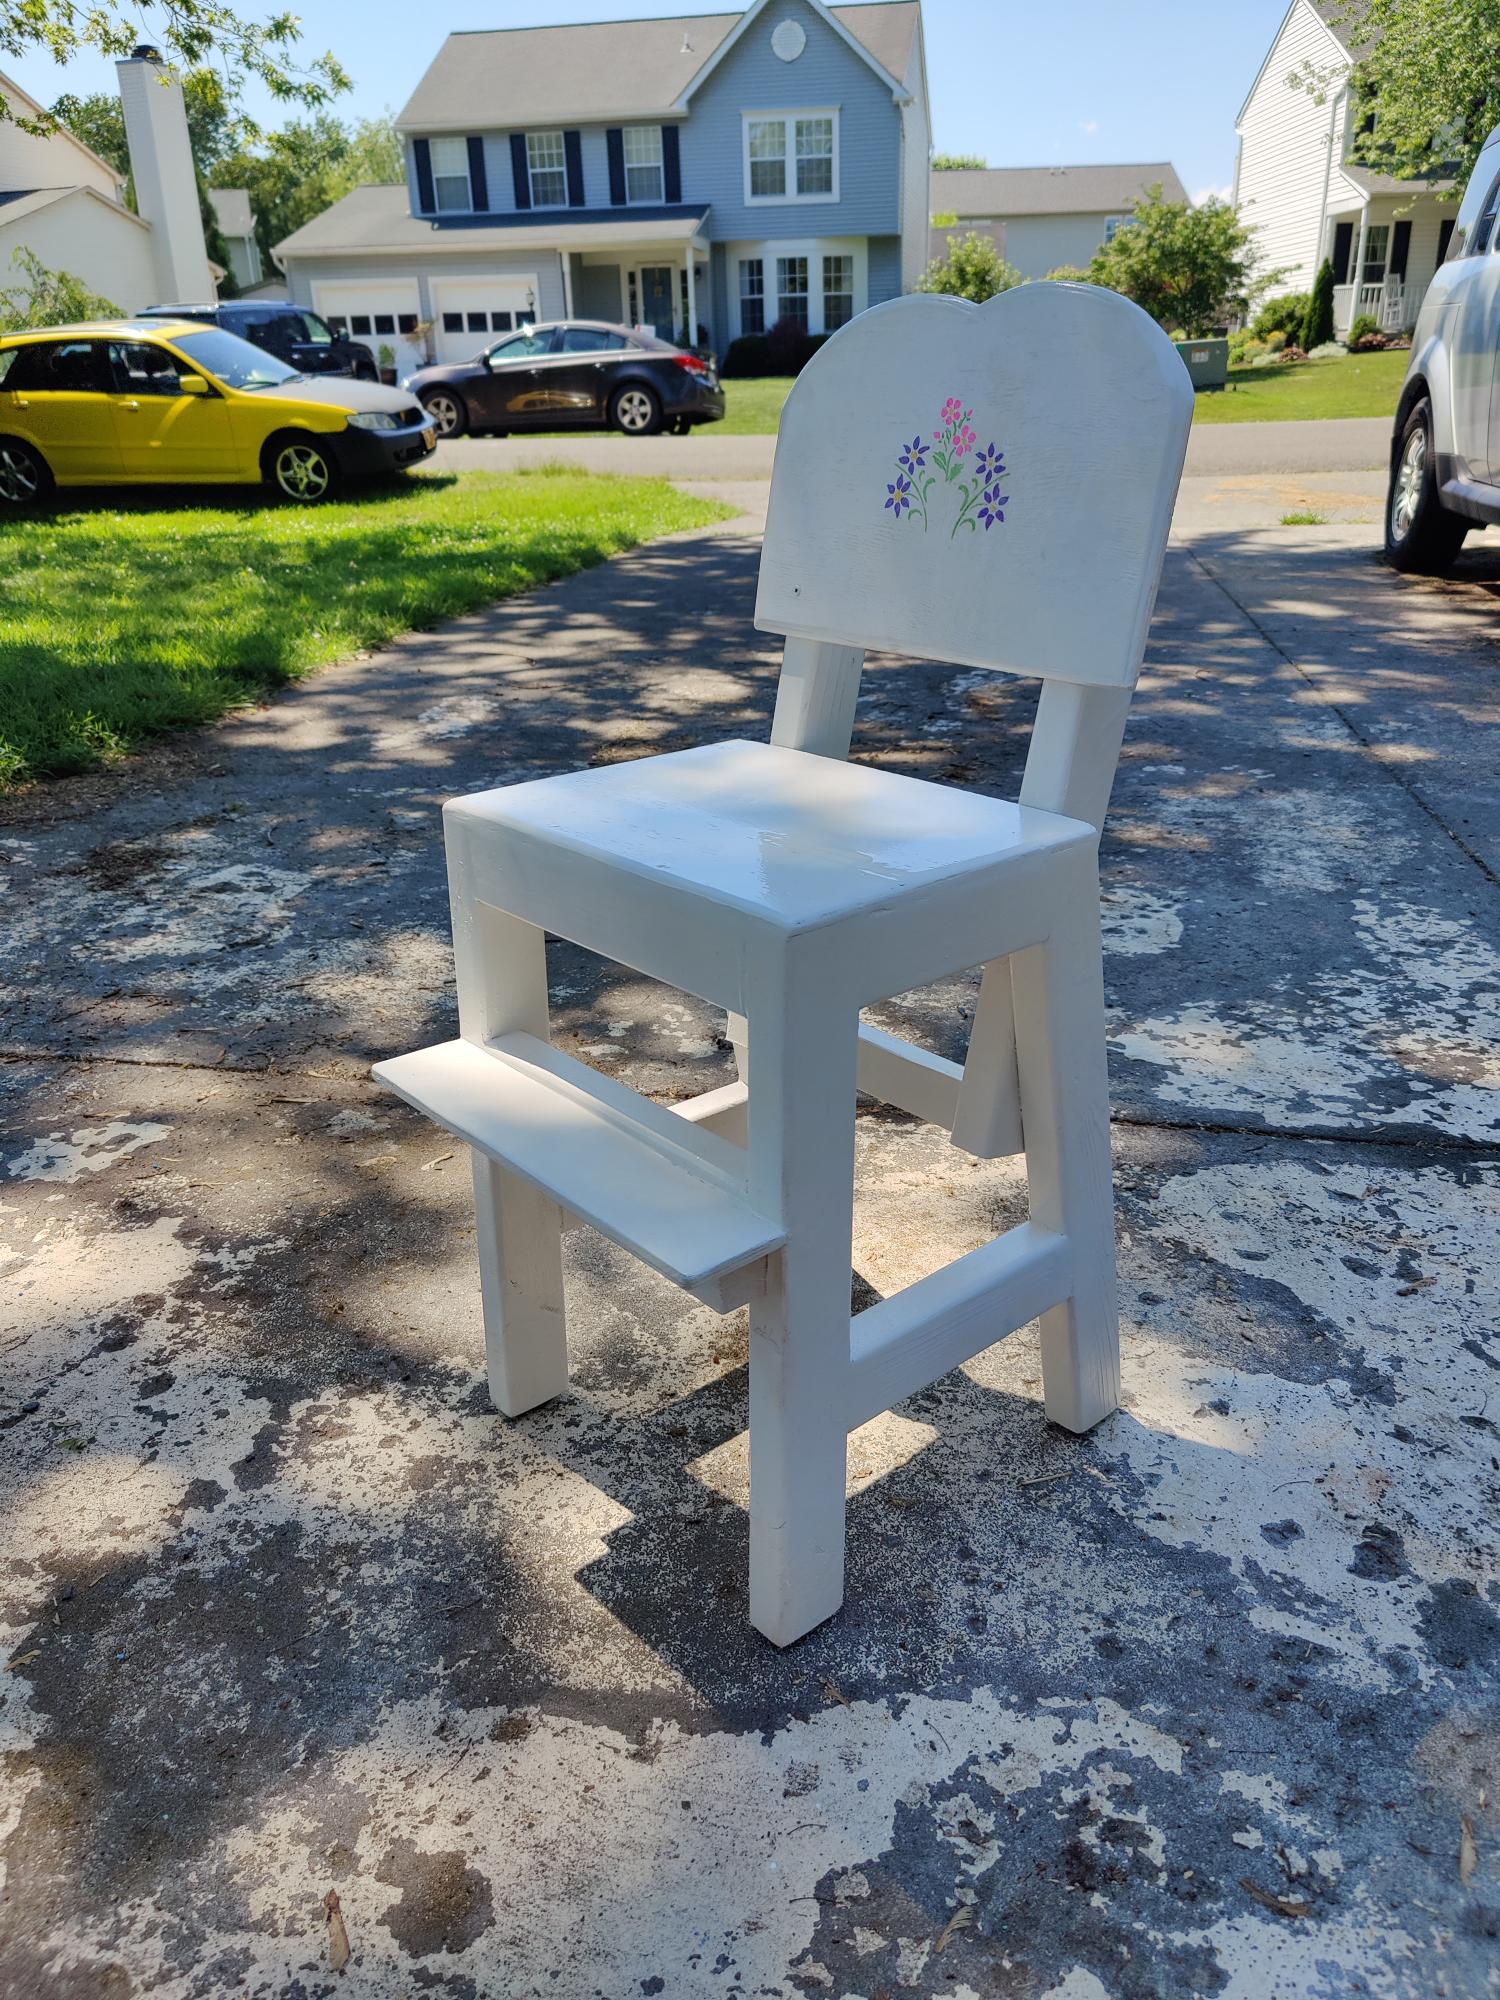
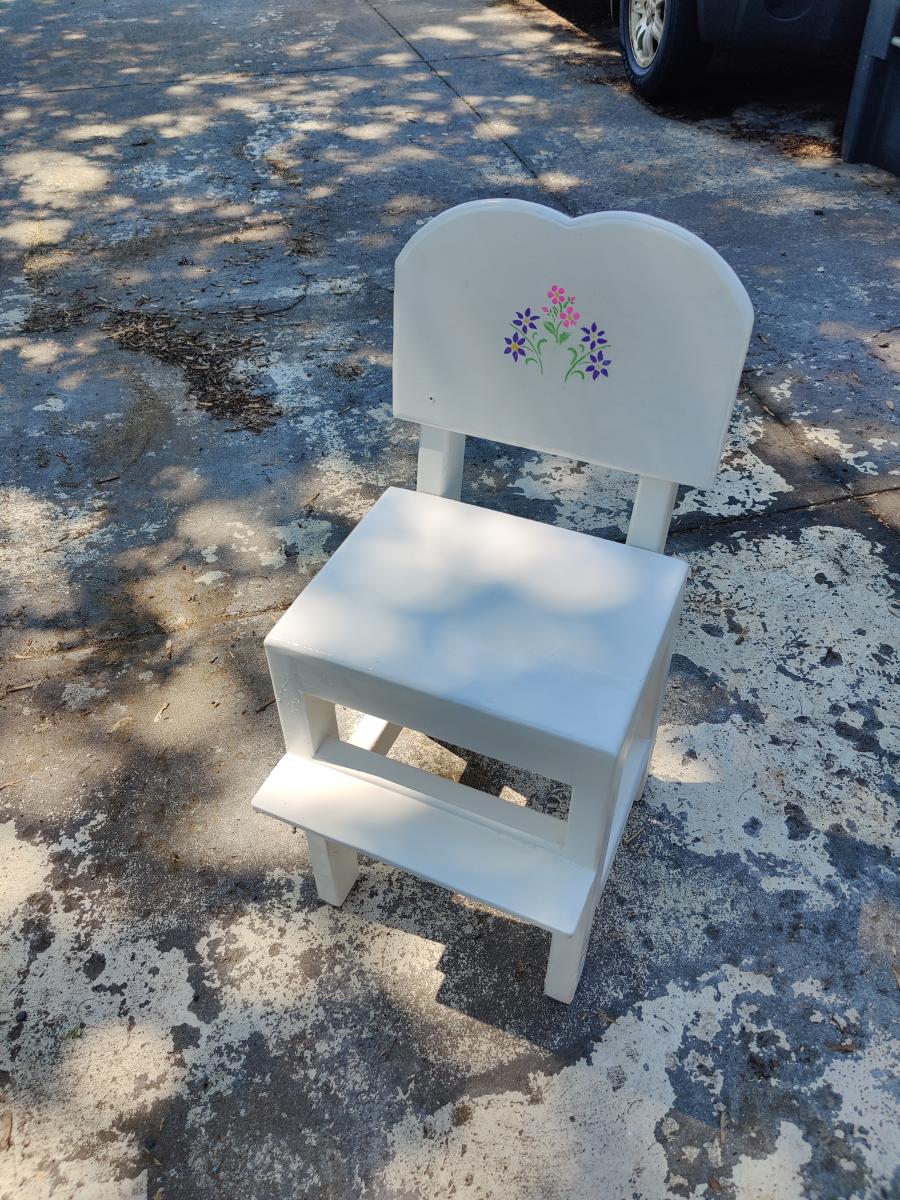
This is Harriet's higher chair, rejiggered with 2x3s because lumber is expensive and that's what I could find in straight lengths. Seat and back are made with plywood from a project panel. Tried to fill all my gaps and hide all my screws that would be visible from the outside and added a foot rest. Finish started out okay, but as I tried to tweak it and re-cover some things, I became less and less happy with how it came out. Note to self, "stenciling is hard". Next time we will most likely transfer pre-done graphics from the printer.
Most of the time in this is in the finish. Some of the dry times were 24 hours others were 15 minutes.
Edit: Roundover bit for trim router used on edge of seat and around the edge of the back. I found this a necessary addition, but it would have come out better on edge laminated 1x4s instead of the plywood I used.
As an aside, Ana's page was instrumental in my buying decision of an incredible lineup of Ryobi tools (2 drills, impact driver, circular saws, oscillating multi-tool, powered caulking gun, inflator, trim router, Evercharge hand vac, And a EZ-Clean... But there are more I want/need... :-D ), and a Kreg K4. They are worth every penny. A lot of Milwaukee tech is getting integrated into some of the latest Ryobi tools. Even more worth it is upgrading the clamp on the K4 to an auto adjuster. ;) Makes life so easy. Thanks for the inspiration, Ana!
For any beginners wondering: Glue AND screw things together. Screws hold better than nails, but are not enough especially when building something that is supposed to take weight, and kids like to wiggle in chairs. Modern wood glue makes a bond that is stronger than most wood. if you try to pry apart a glued joint, you will notice that the wood will split and break before the glue gives way. I'm 275 lbs and this chair I made for my toddler doesn't groan or squeak when *I* sit on it.

I followed the instructions at 517 creations to make this: http://517creations.blogspot.com/2011/04/ruler-growth-chart-pottery-bar…. It was relatively quick and easy project that I made to chart my daughter's growth on her second birthday (and our little ones' future birthdays). I printed the numbers off my computer, made an indent with ball point-pen and then traced with a paint marker. It took a little patience and concentration, but I drew the lines and numbers without barely making a smudge.


I was looking to purchase a new coffe table when I found your tutuorial to build this Rustic X Coffee Table. I feel that I have a much nicer table than I could've purchased at a store. Or if I did find this table at a store, I'd imange it would cost around $400. So, thanks for taking the time to create and share these with us. I think it turned out nice. Also, this is the first time I've ever used a pocket jig, and I'm in love.

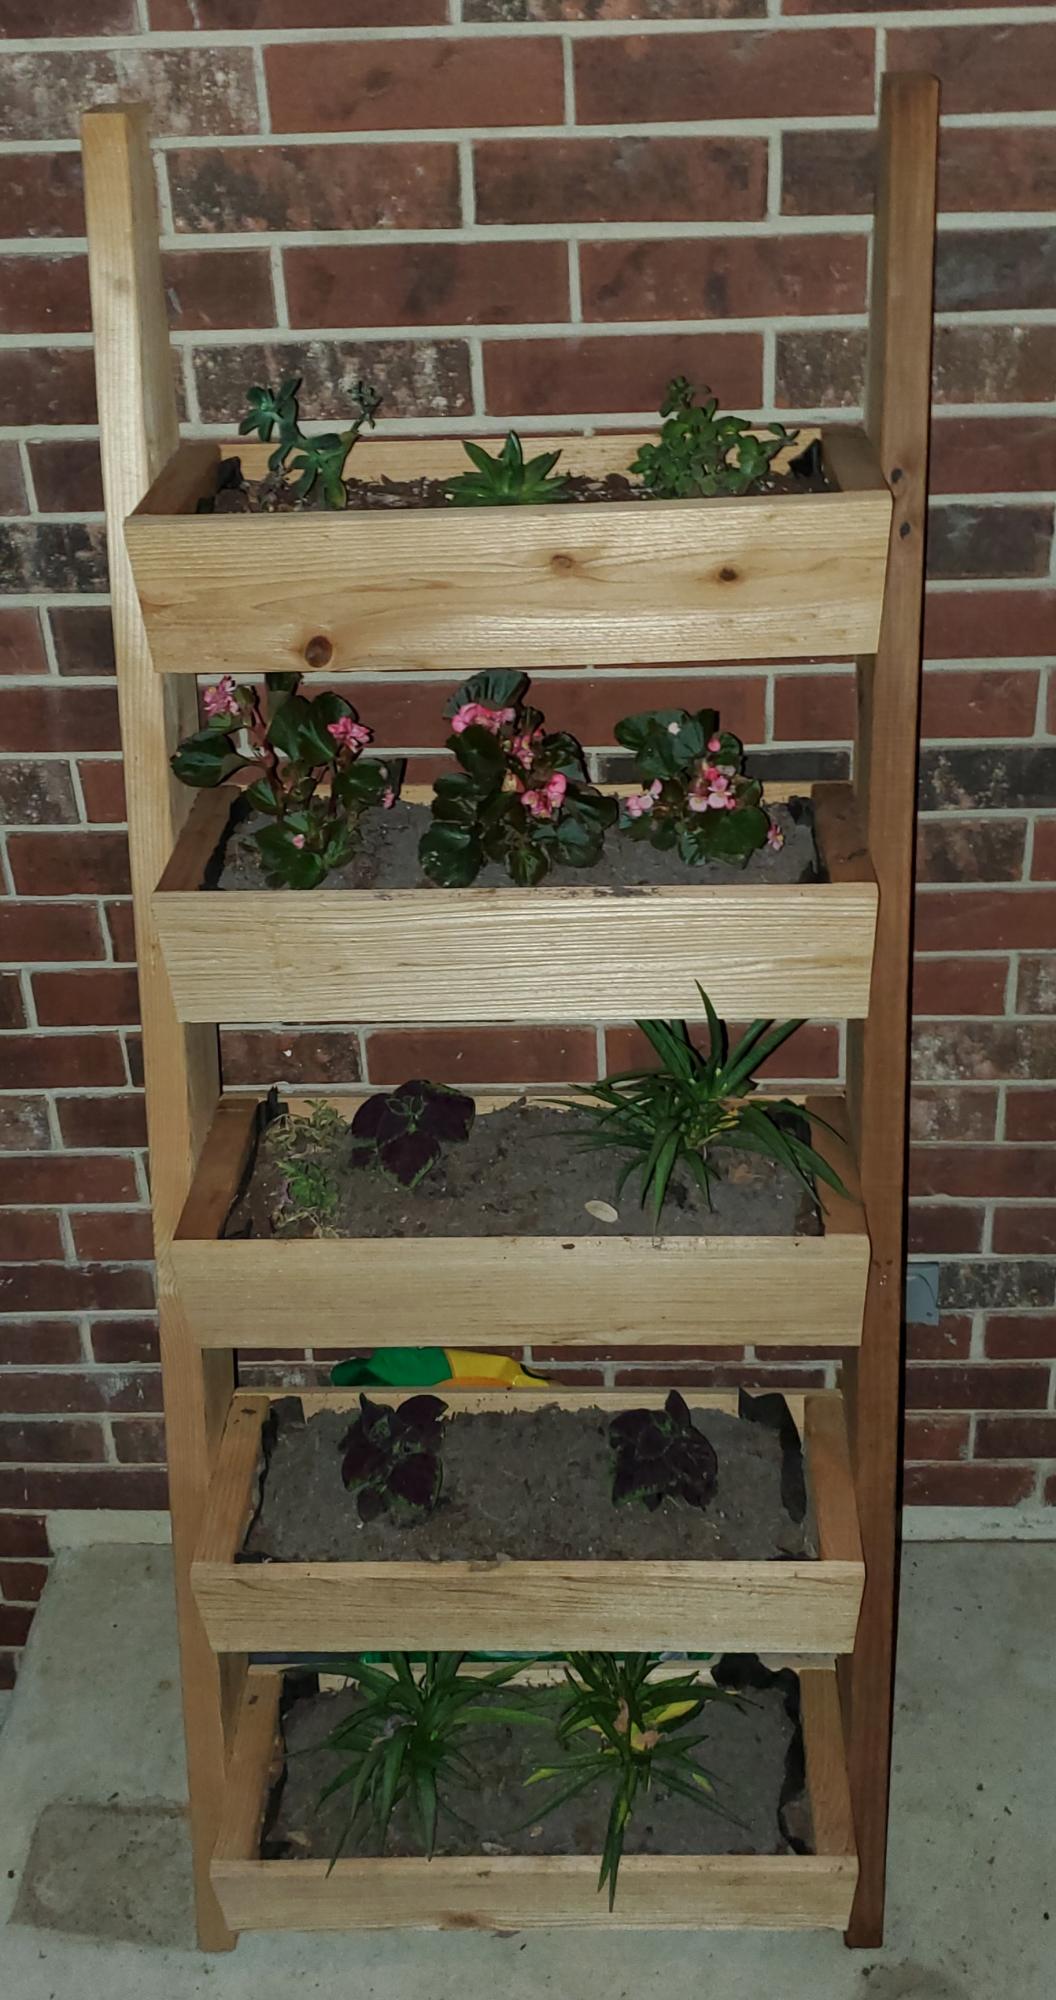
This year for Valentines Day, I wanted to do something special for my wife...
Rather than buying some THING, I decided to build a cedar ladder planter for her. I've built a few things now from Ana's collection of plans (a farmhouse bed for my daughter, a potting bench that I use for an outside cooking surface at our remote property in the woods, and outdoor chair and sofa from 2x4s)
I followed Ana's plan to the T and it came out beautifully! (Just like the other projects)
Obviously with the whole COVID craziness and subsequent wood prices lunacy it cost more than $20, but it was still EXTREMELY reasonable. A family friend said they'd seen similar ones (to not nearly as pretty) costing WAY MORE than what I paid for materials.
I've been meaning to put pics up here for a long time but, life, army, COVID craziness...
For the gift, I filled out with raised bed type potting soil and put "chocolate roses" and a gift card for the local nursery to buy whatever plants or flowers she wanted...
I think she was a little irritated with me the days leading up to it because I was spending all my time outside in my shed and not letting her come in... but the end result blew her away (and made her feel a tad guilty for thinking I was just trying to not spend time with her hehehe)!
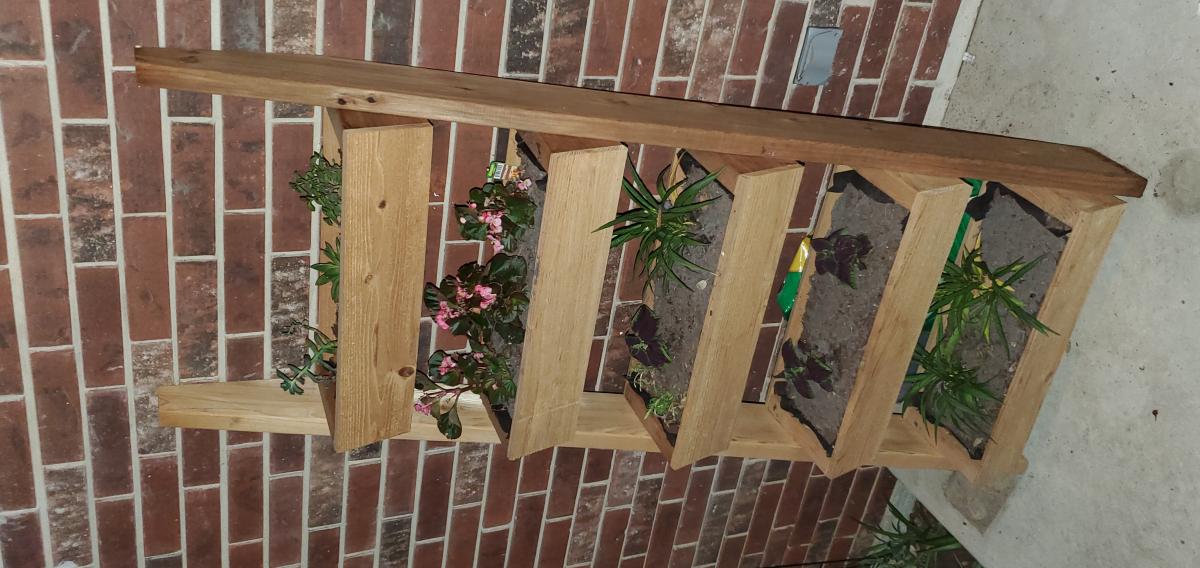
Mon, 06/21/2021 - 09:09
It looks fabulous and it's hard to beat a handmade gift, well done!
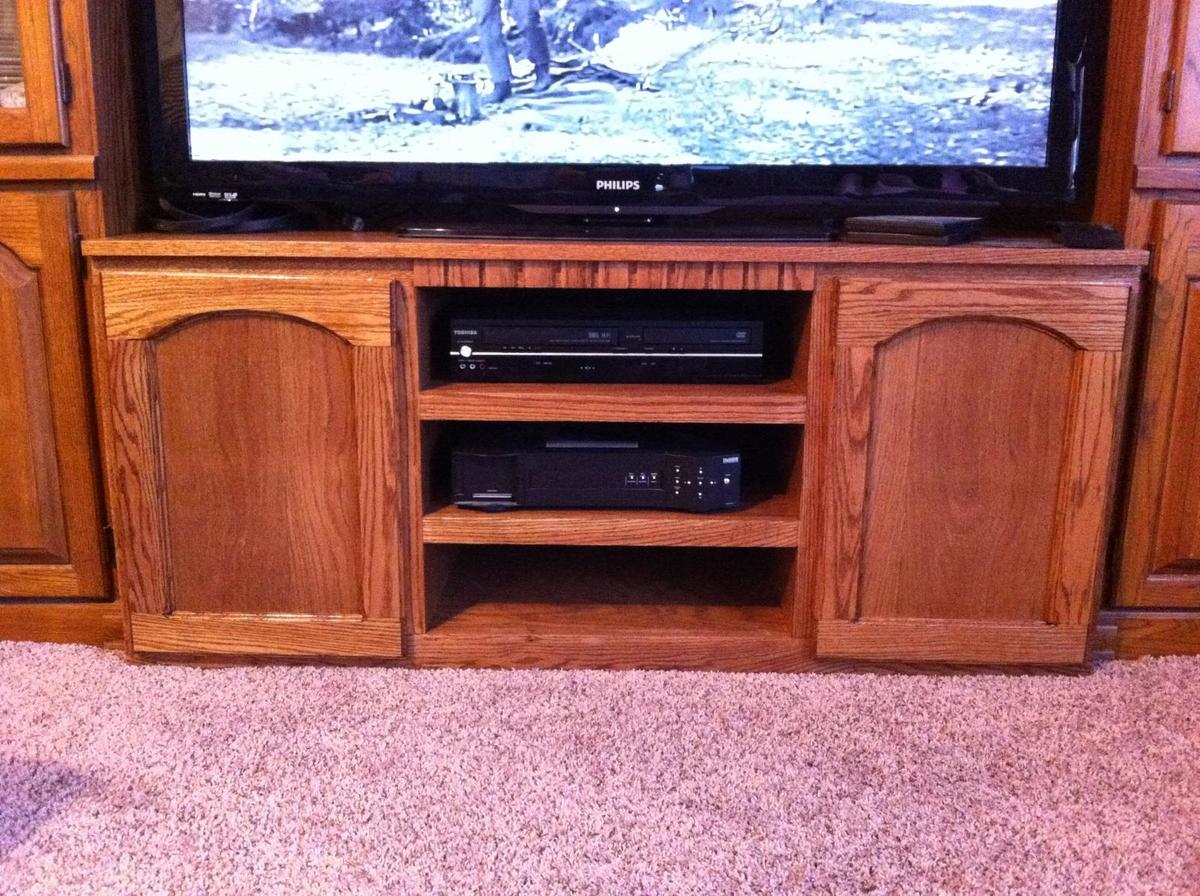
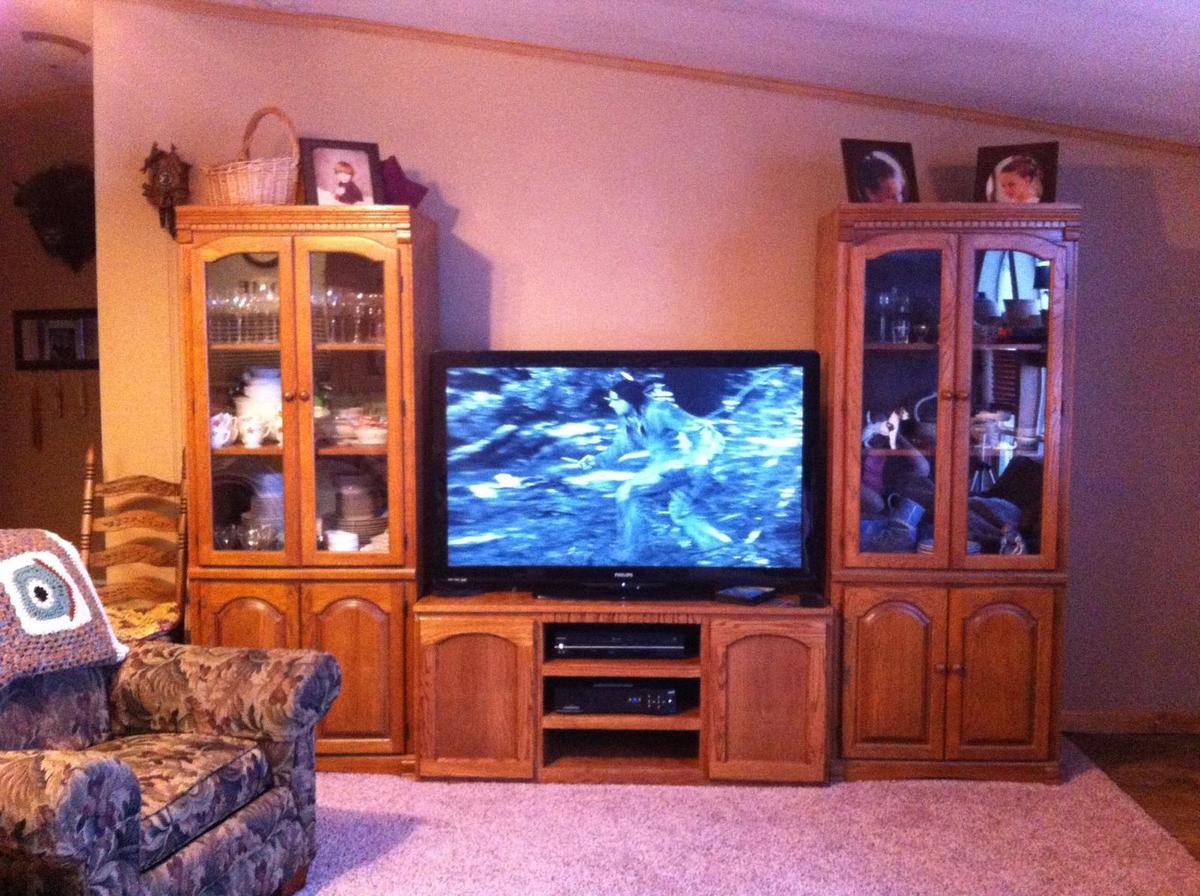
My in-laws were in need of a place for their new tv. They choose the plan and I got to work.
I really wanted it to look similar to the furniture that They already had so I used oak and provincial stain.
I surprised them by adding one pull out drawer to each side for easier location of the movie collection.
I was happy with the results!
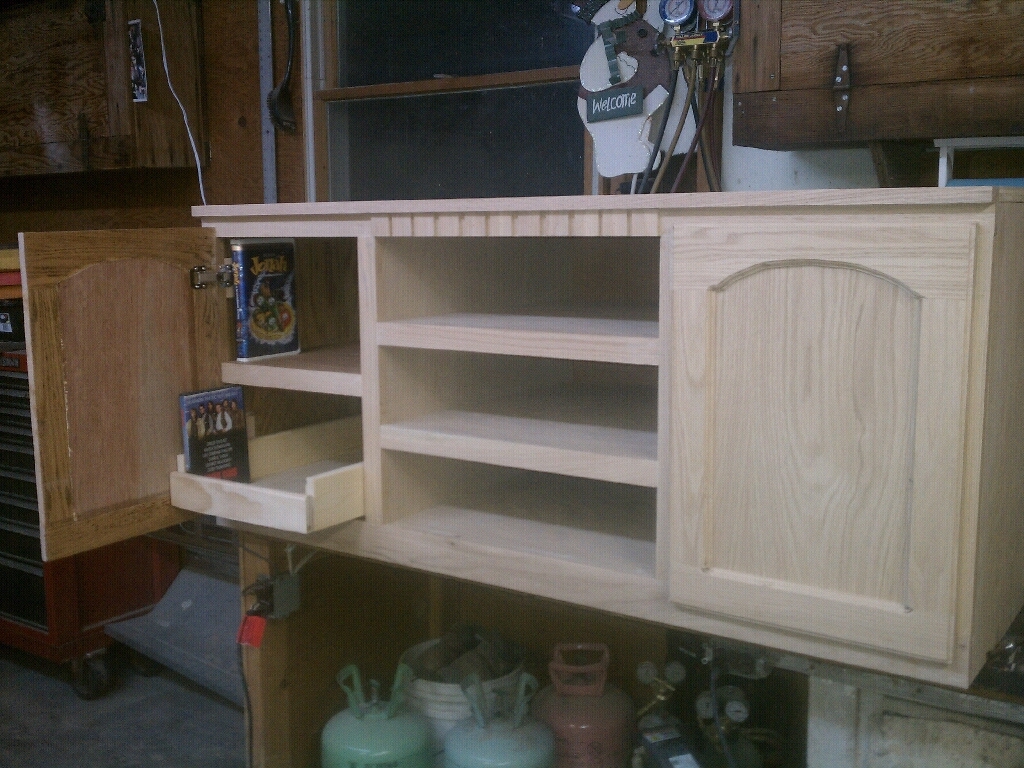
Sun, 04/14/2013 - 19:25
Wow -- you did an unbelievable job of coming up with something that looks like it should have been there all along. The stain matching looks flawless. Really nice job.
Sun, 04/14/2013 - 20:34
Thank you, that is great to hear! I really enjoyed the challenge and wanted the best for them!
Thu, 07/07/2016 - 08:54
Did you make the top and shelves out of oak plywood with edge banding?
Is that commercially available trim at the top, or did you make that?
This Firetruck bed was made from the plans from Ana white !
We did some little modifications to it.
All sizes where changes to cm instead of inches (we live in the Netherlands, so no American sizes will do here, since all sizes are different.)
Al the electric is 12 volt, and everything works with the key.
Put away the key, and there will be no electricity... :)
it was a hard work (about 1,5 week) but its worth it.
The bed is made out of MDF. The structur inside is pine (so it can keep a big time of weigh)
Comments
Ana White Admin
Fri, 05/14/2021 - 11:16
I love this little stool/end table!
Thank you for sharing your build, it looks awesome!