Community Brag Posts
Cabin Loft Bed, OSU Design

As a Notre Dame fan, this was a tough one, so I charged extra for having to stomach the OSU red. It was a long build, and by far my most ambitious piece of furniture since the customer wanted it to be full size (as opposed to twin). They were very happy with the finished product (especially the desk top w/logo, which was a surprise).
Most of the joinery was done with a Kreg jig, I used dimensional lumber for the support & cabinet grade plywood for the shelves. Thanks for looking.


Estimated Time Investment
Week Long Project (20 Hours or More)
Finish Used
High Quality Latex Paint, high gloss wipe on poly
Recommended Skill Level
Advanced
Comments

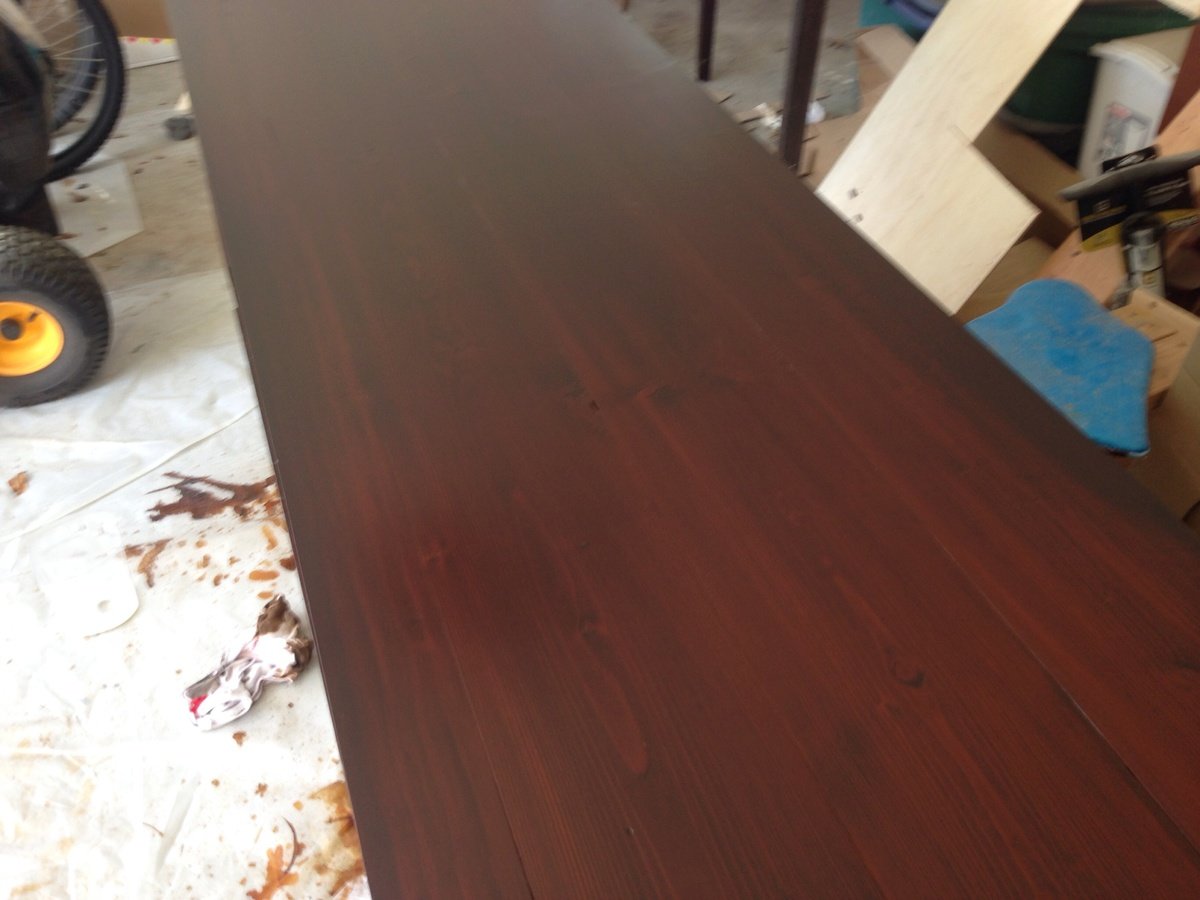
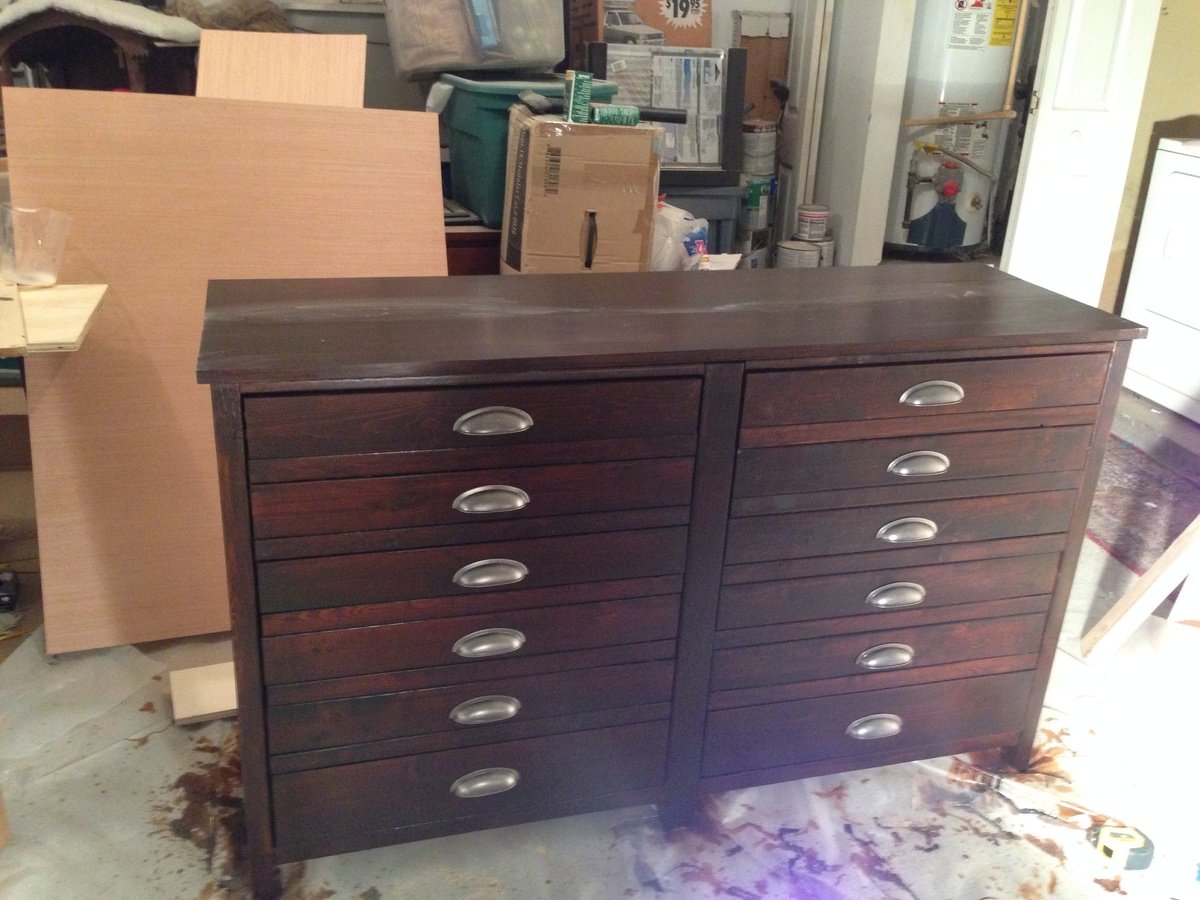
Printer's console
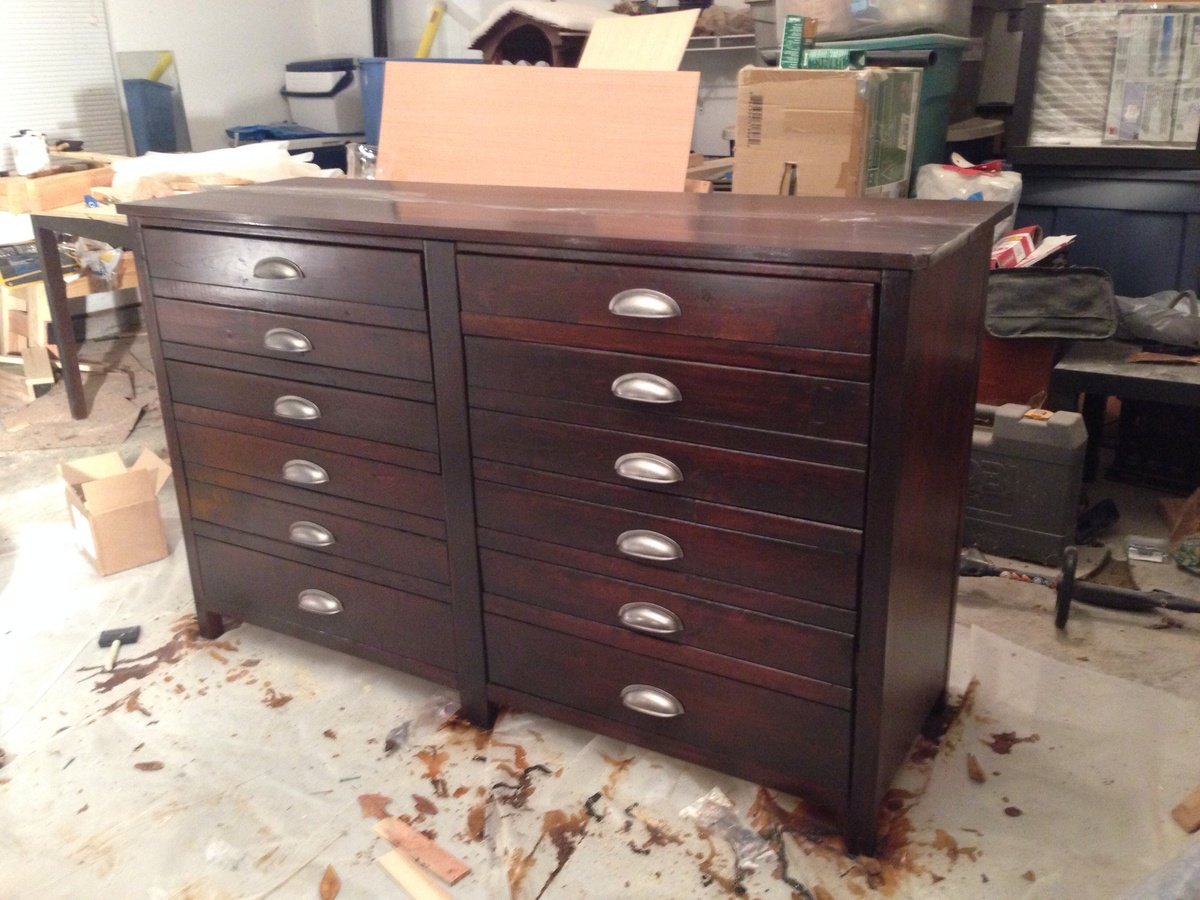
Printers console

Built from Plan(s)
Estimated Cost
$85
Estimated Time Investment
Weekend Project (10-20 Hours)
Finish Used
Mahogany stain with a satin finish polyurethane.
Recommended Skill Level
Intermediate
Comments

Fri, 11/21/2014 - 09:23
Only for $85 that is awesome!
Only for $85 that is awesome! This is great work!
Farmhouse bench

My husband and I built this for a wedding gift. We love the plans, so easy to follow and alter measurements. This one is white washed with monogram design.

Estimated Time Investment
Afternoon Project (3-6 Hours)
Finish Used
Dark walnut stain with white wash on top. The white wash is one scoop of white chalk paint with a bit of water add. Brush on top on dark stain and wipe off with clean damp towel. Top with at least 3 layers of polyurethane.
Recommended Skill Level
Beginner
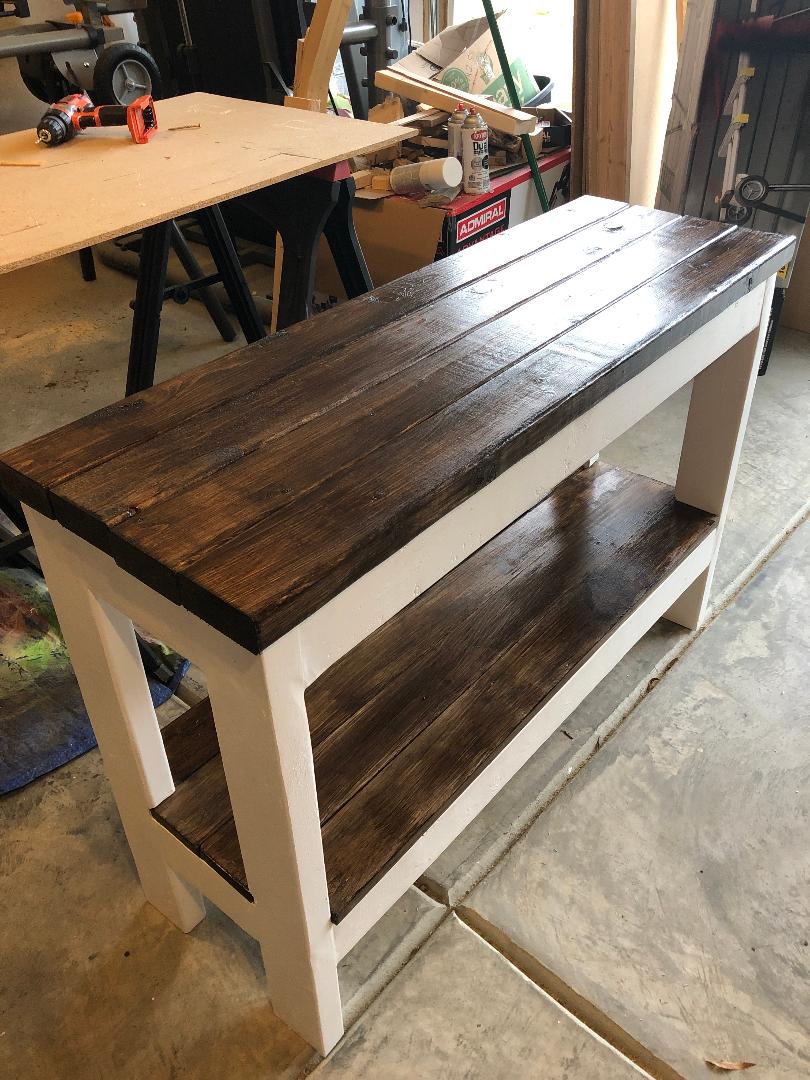
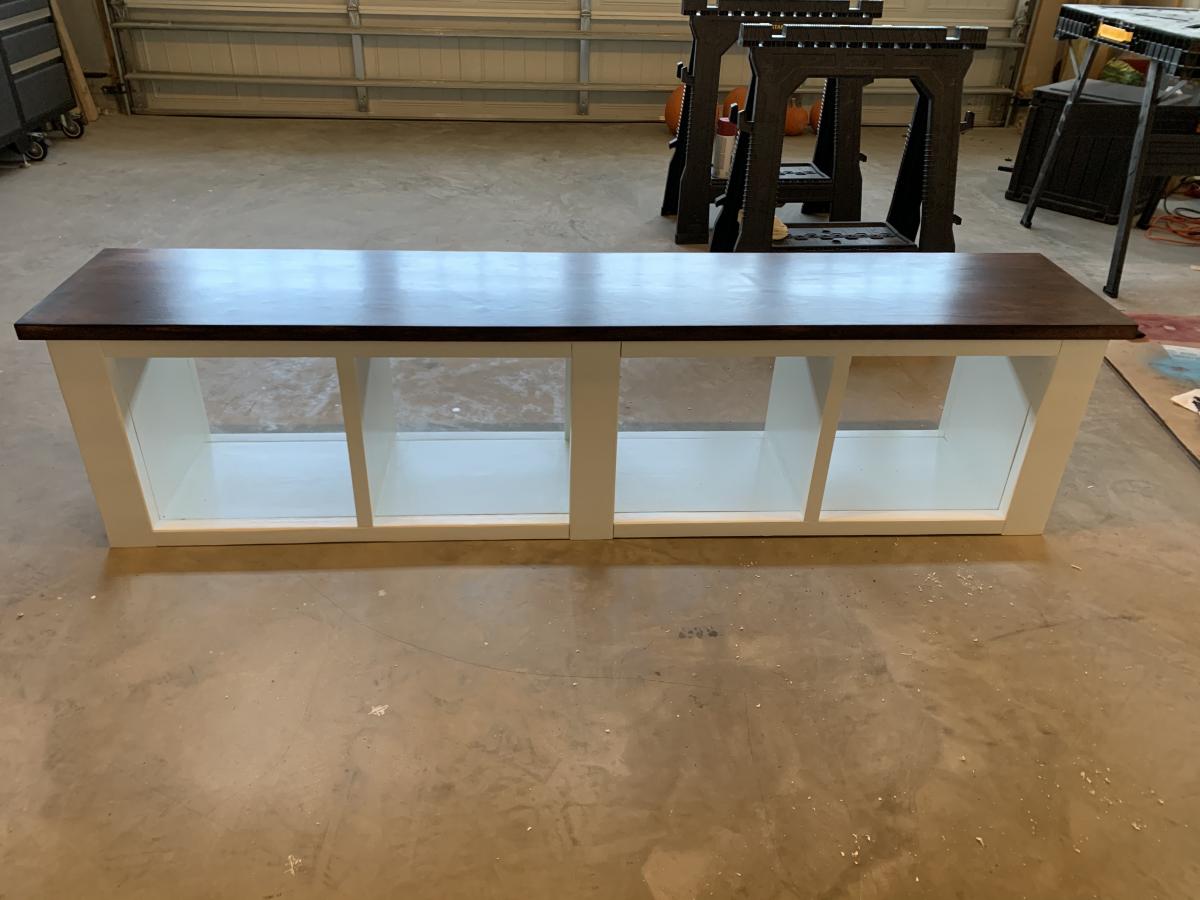
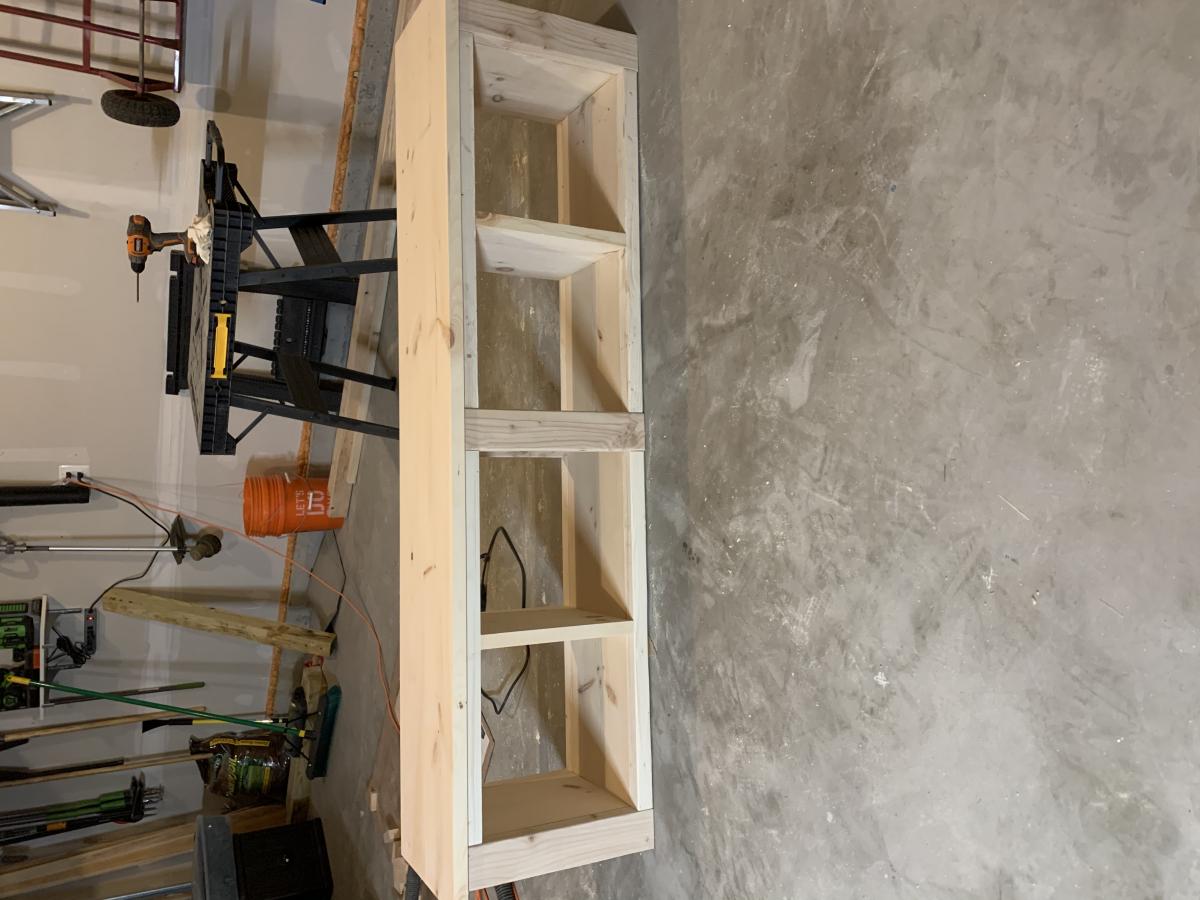
Entryway bench
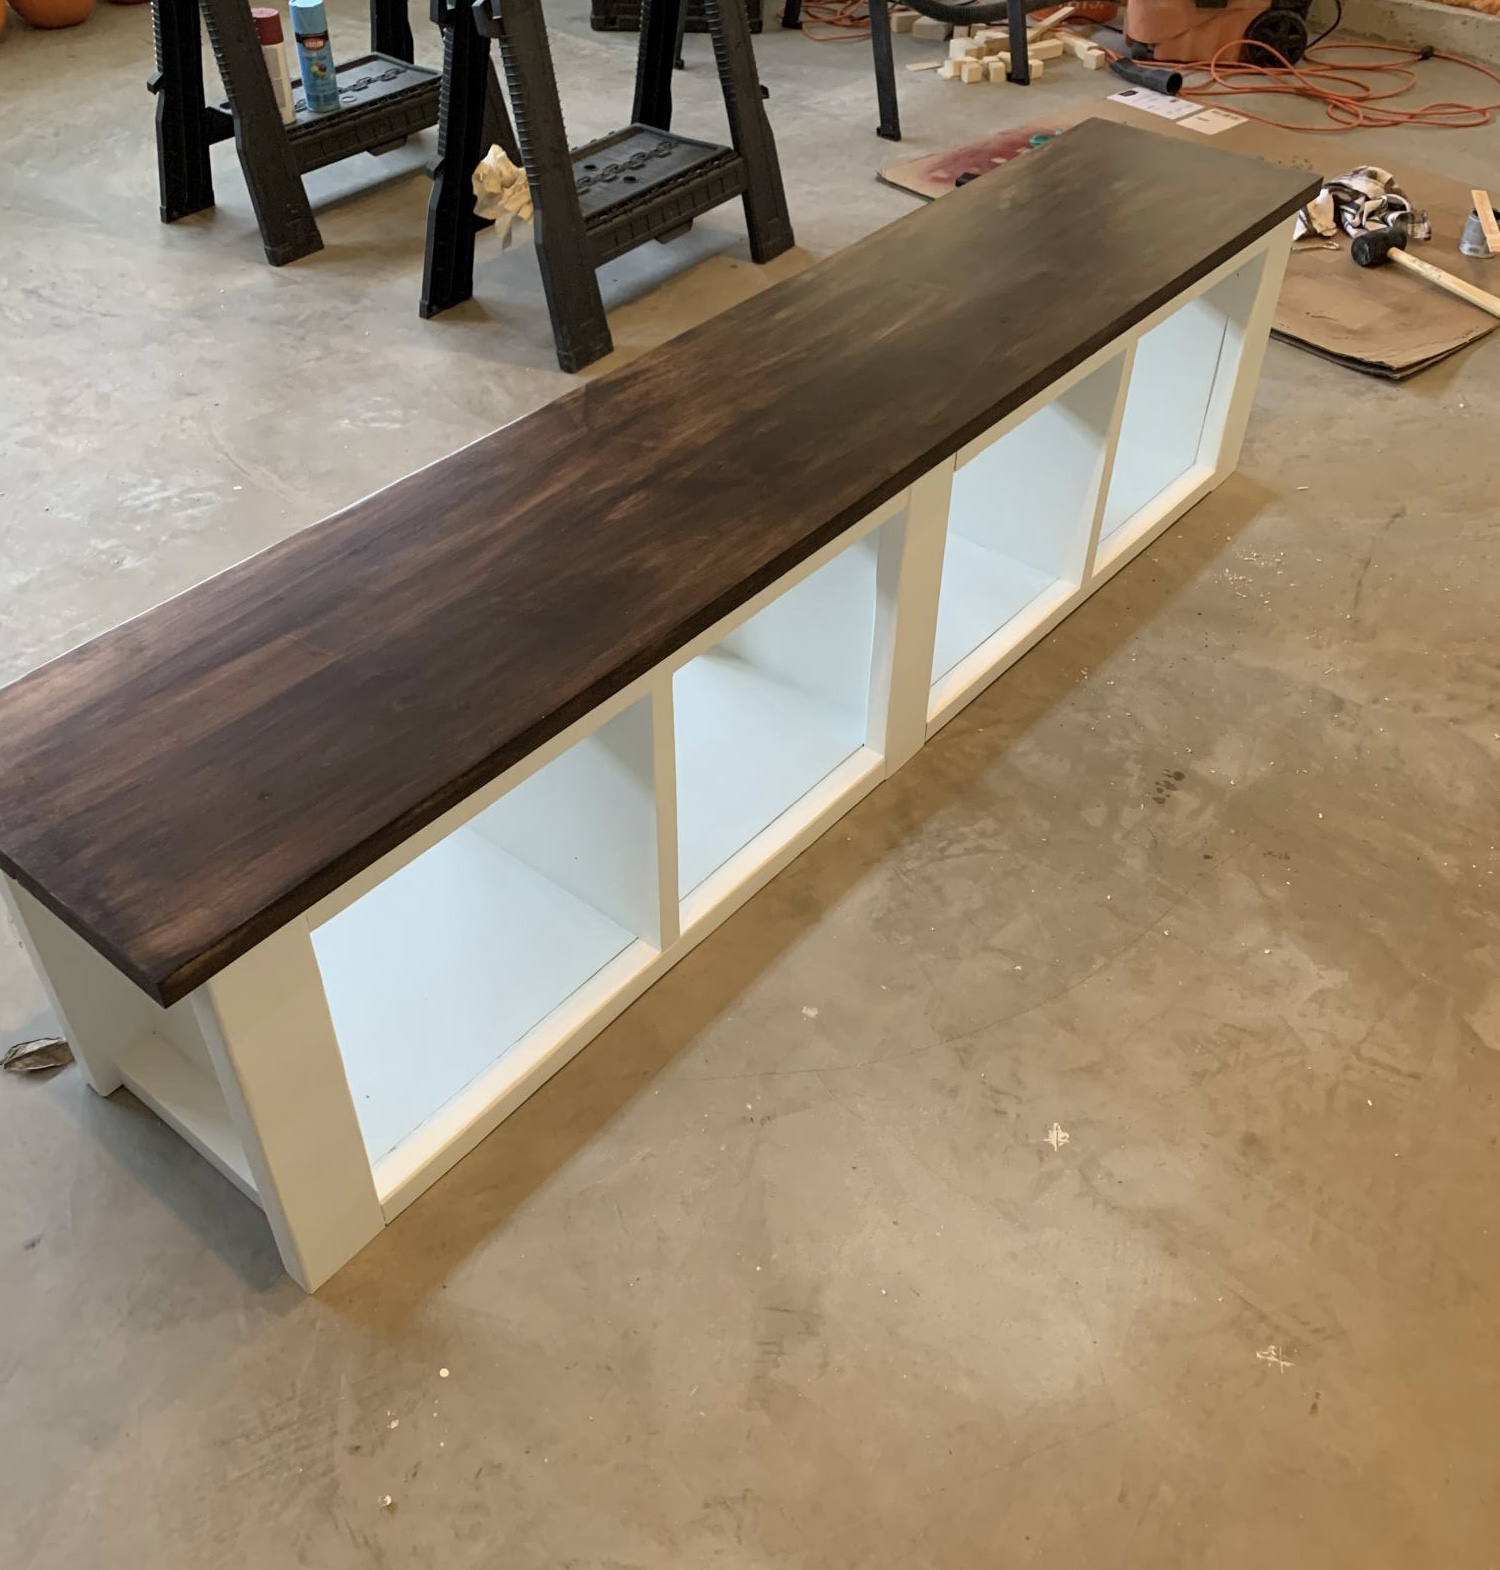
Thanks Ana for all you do to help us find our inner wood worker. I took one of your designs and modified it slightly to build this entryway bench for my daughter as a Christmas gift and hopefully future keepsake for the grandkids.
Estimated Cost
>$100
Estimated Time Investment
Weekend Project (10-20 Hours)
Finish Used
White paint and Espresso stain.
Recommended Skill Level
Beginner
Extra tall bar stool

I built a breakfast bar into an existing wall shared between our kitchen and living room. I built it on the taller side of average since I wanted to have room to install new electrical outlets above the counter on the kitchen side. After the project was done we went to buy bar stools to use with the new bar and found that even the "tall" stools were too short to work. Research into extra tall stools showed that what we needed was going to $400-600 each! Luckily my wife found these stools on your site and we were able to make three of them for around $115. Also, they are much sturdier than anything we looked at to buy.
Built from Plan(s)
Estimated Cost
$115
Estimated Time Investment
Day Project (6-9 Hours)
Finish Used
Painted frames with Valspar paint + primer (black). Padded and covered seats with a canvas material.
Recommended Skill Level
Beginner
Comments


Mon, 01/28/2013 - 20:40
I really like the crisp black
I really like the crisp black and white. Looks great!
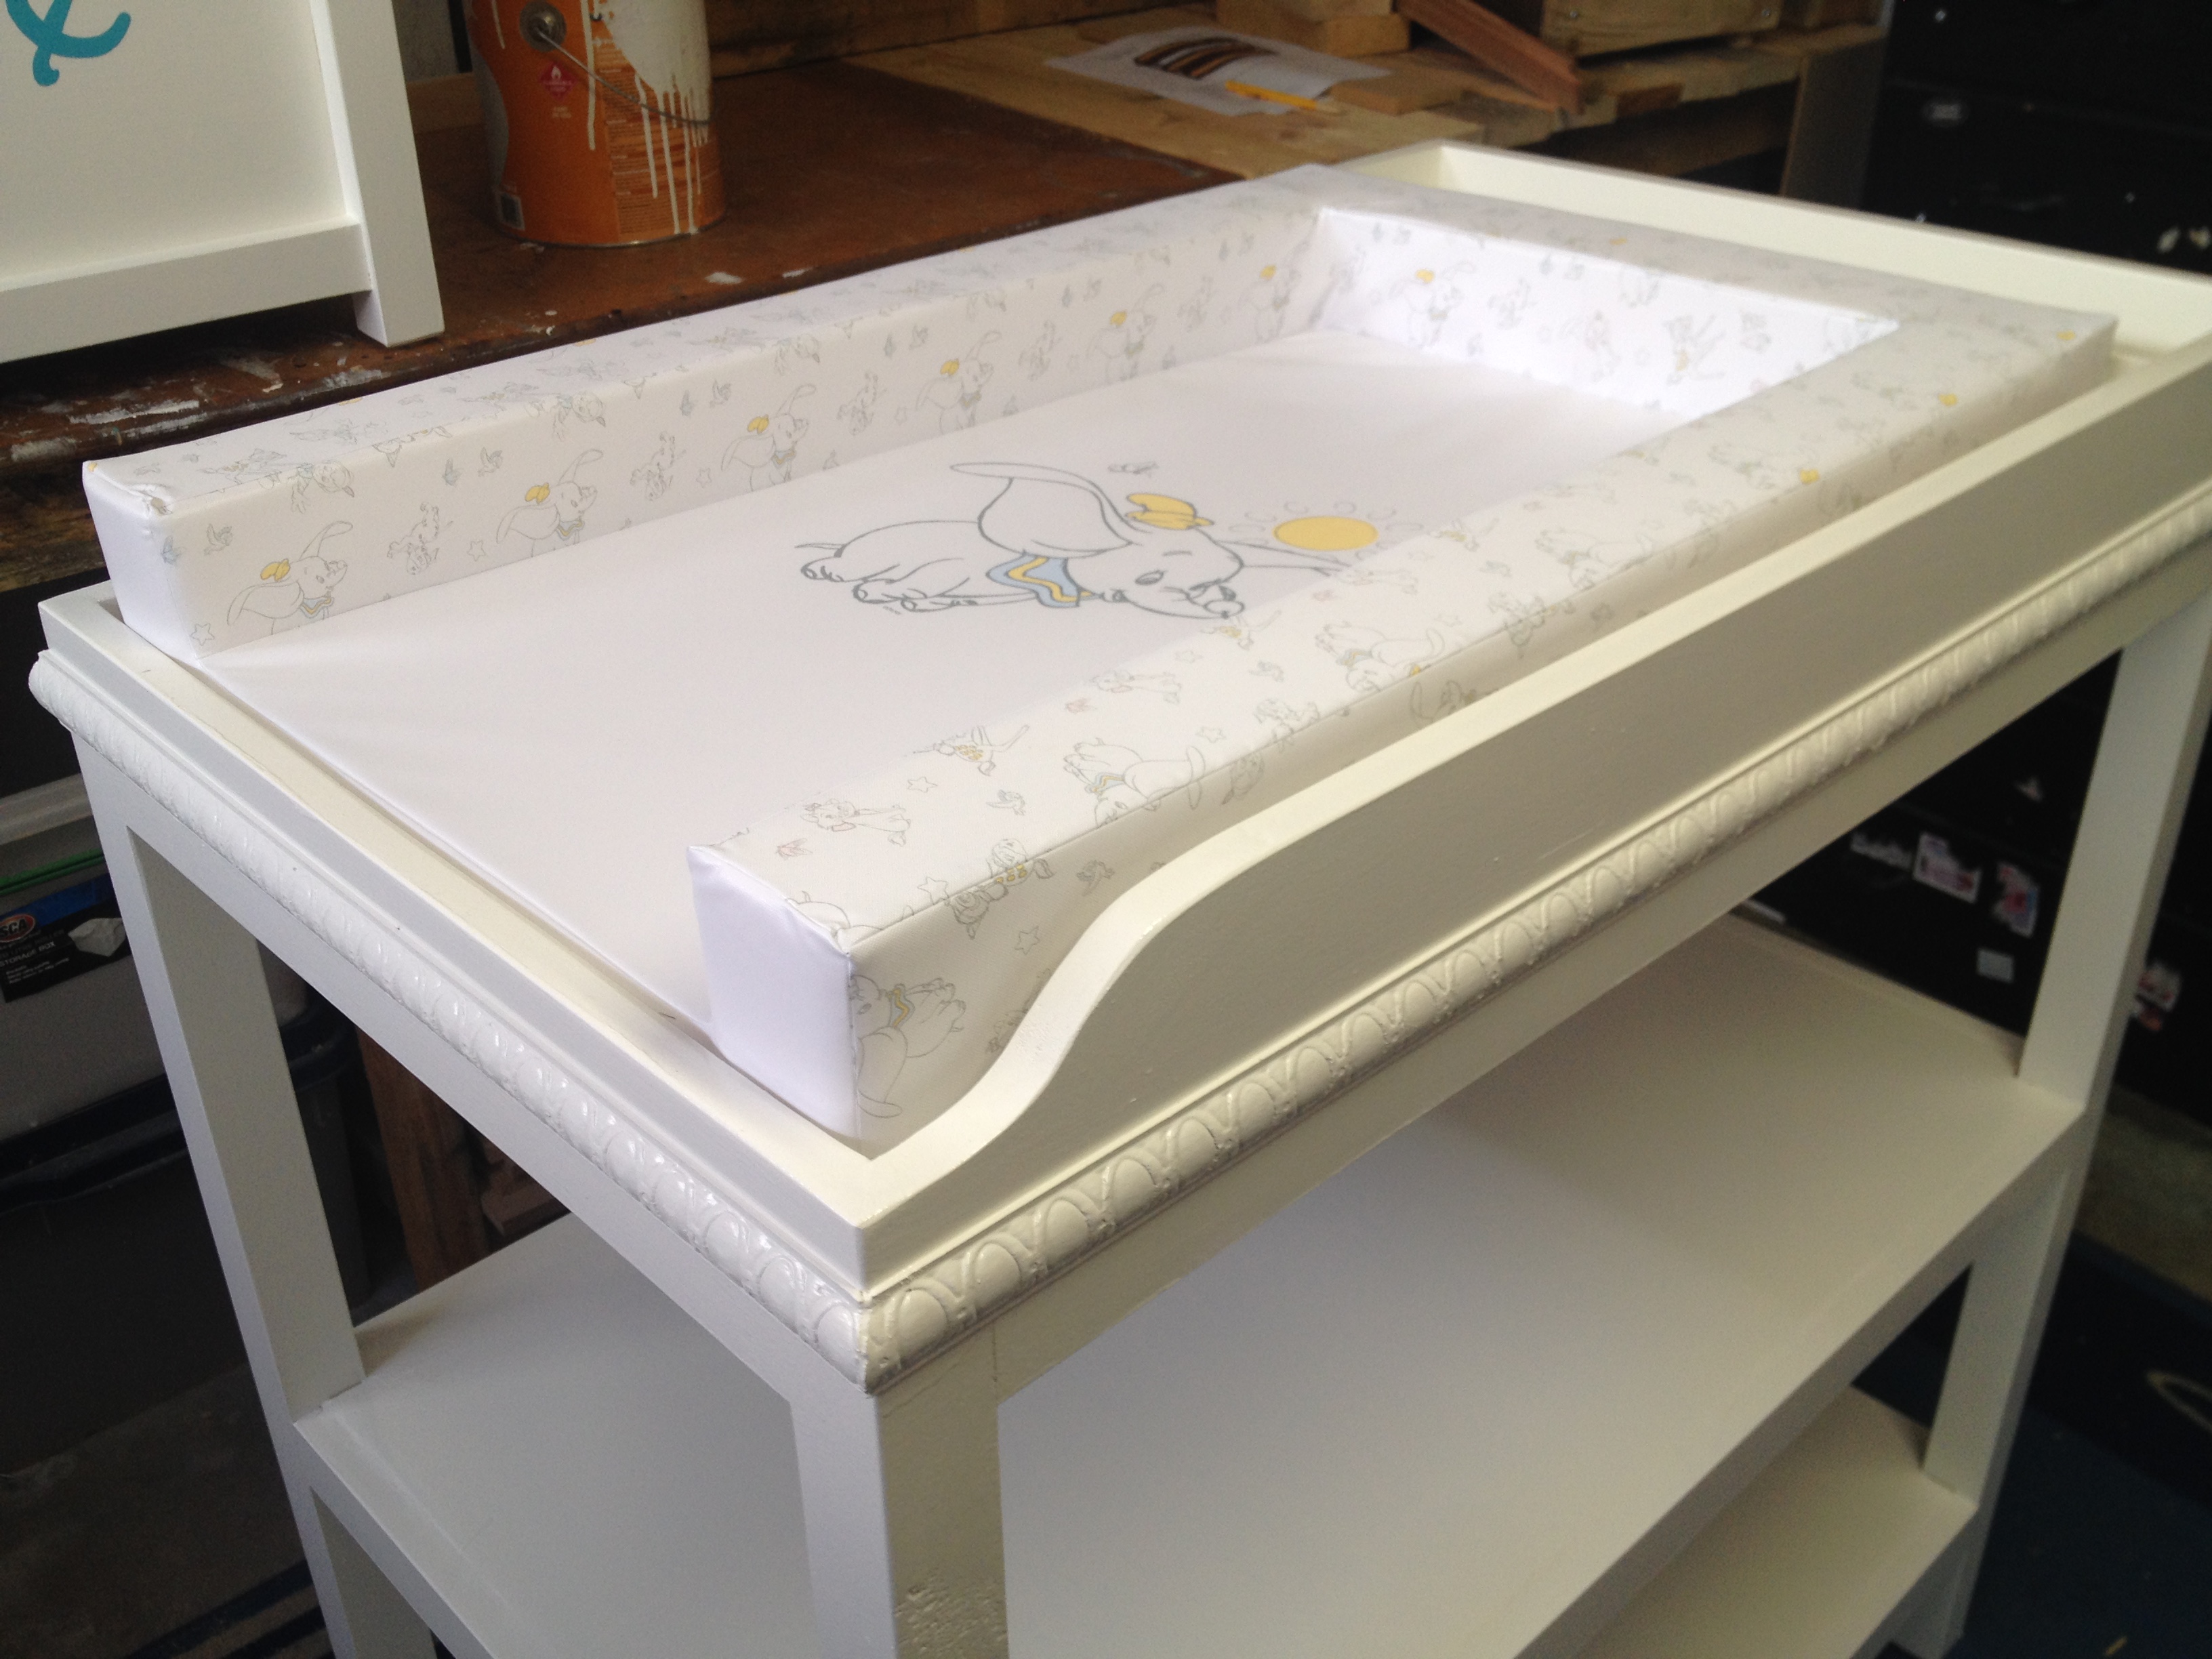
Simple Changing Table
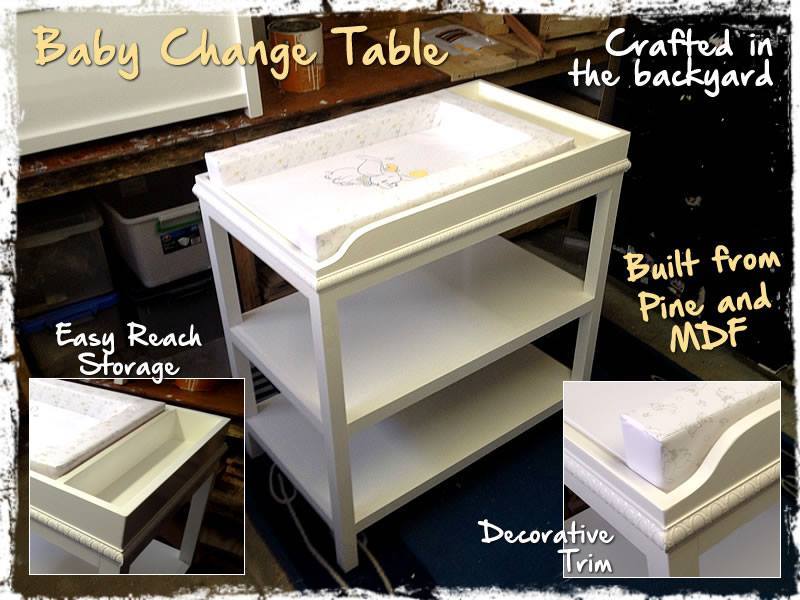
I used MDF and Pine for the build. It's a simple 3 tiered design with a small easy access storage section on top. One end of the top tier has been shaped so that the baby doesn't hurt it's feet when kicking around. The change table also has a decorative trim to jazz it up a bit.
Built from Plan(s)
Estimated Cost
$140
Estimated Time Investment
Weekend Project (10-20 Hours)
Finish Used
Enamel paint
Recommended Skill Level
Beginner
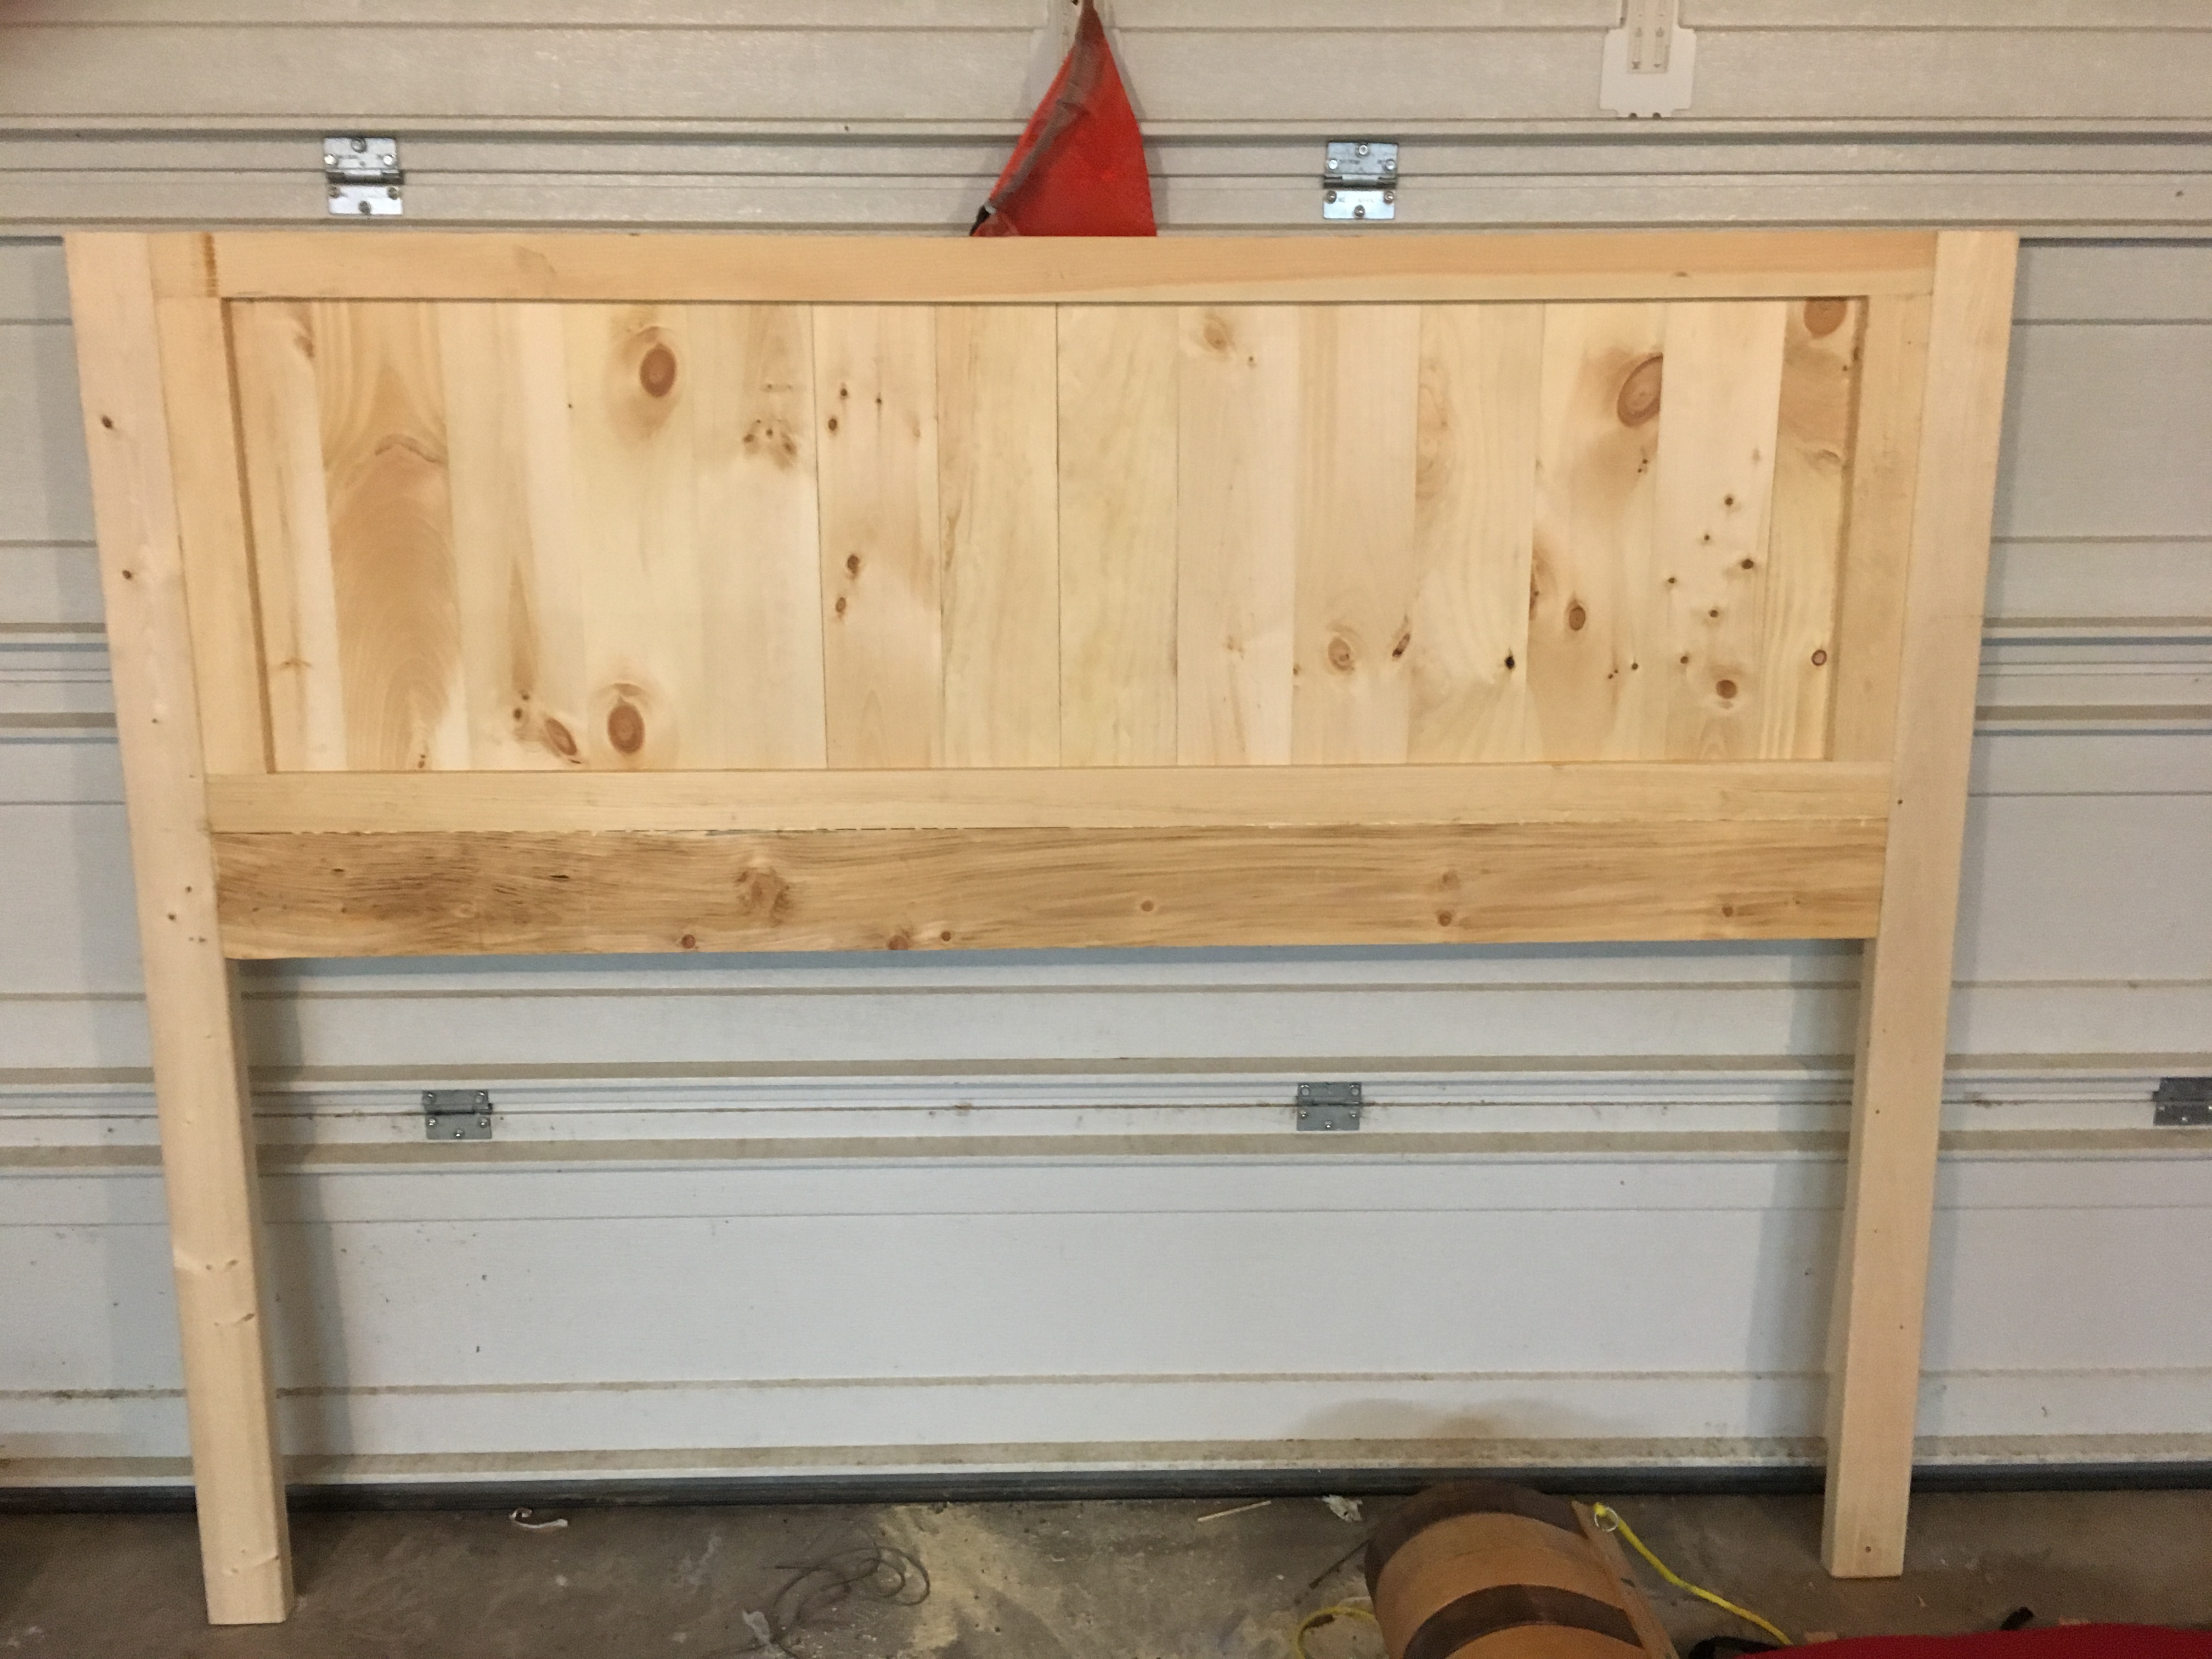
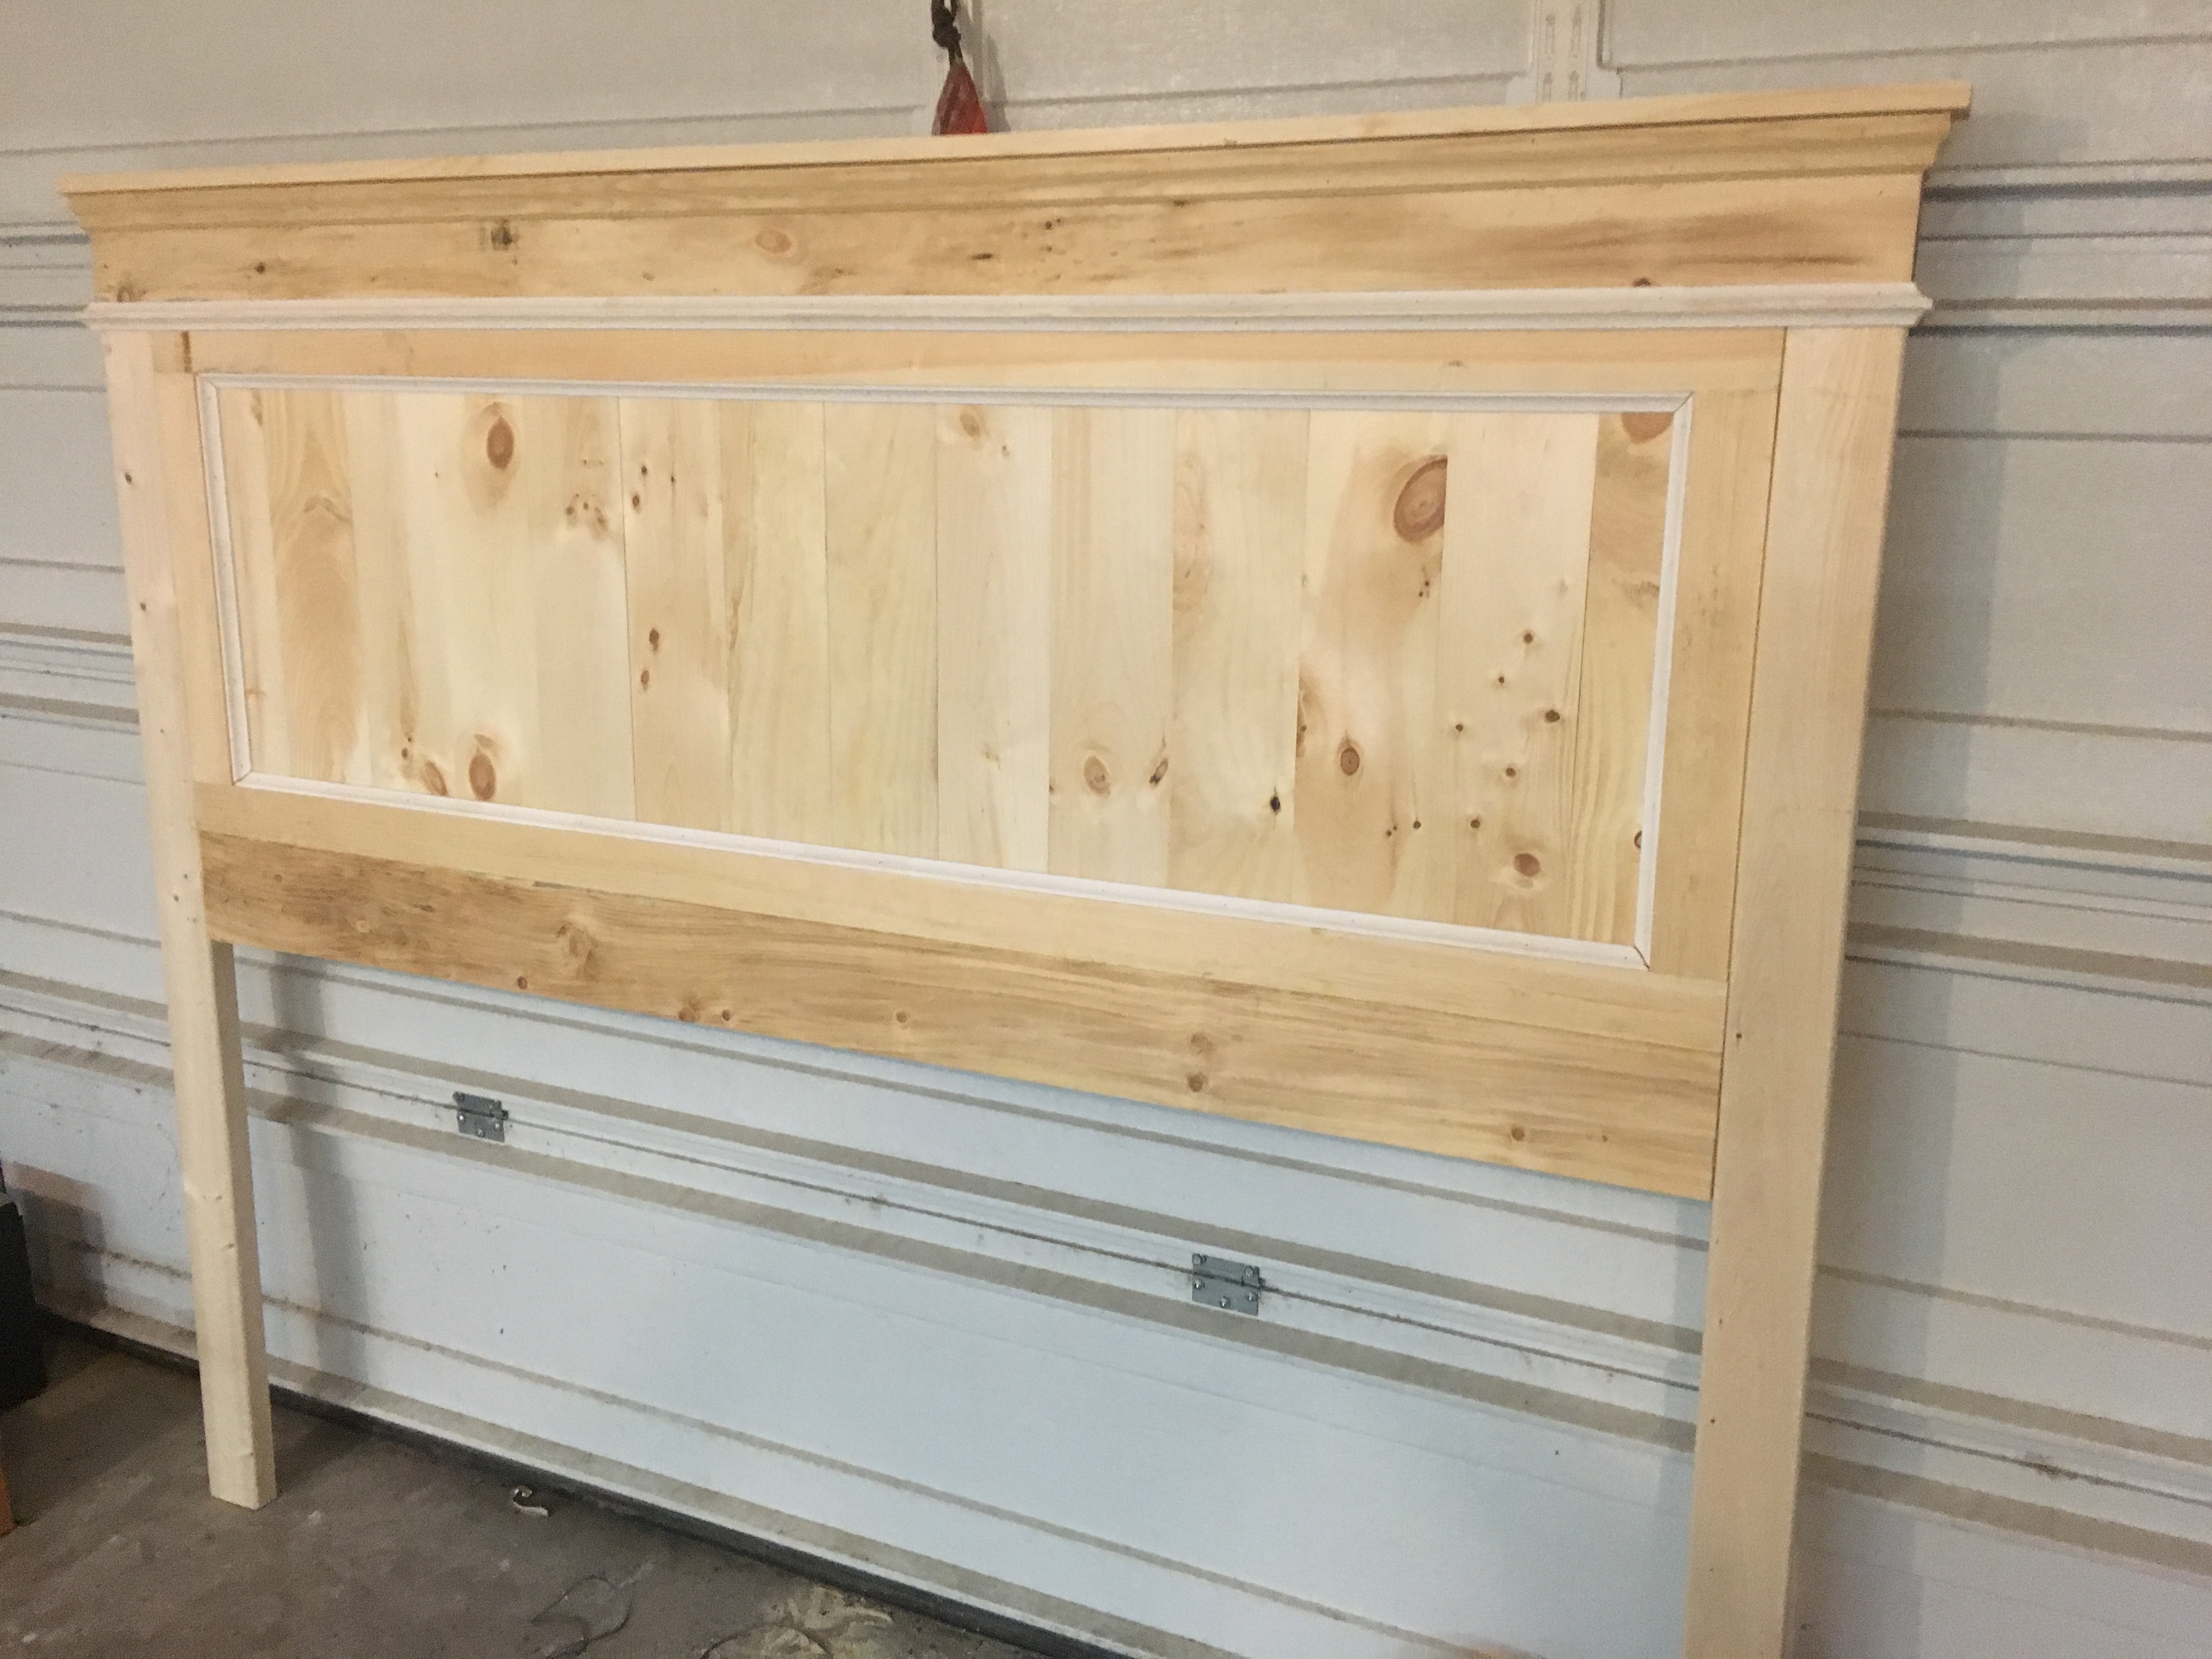
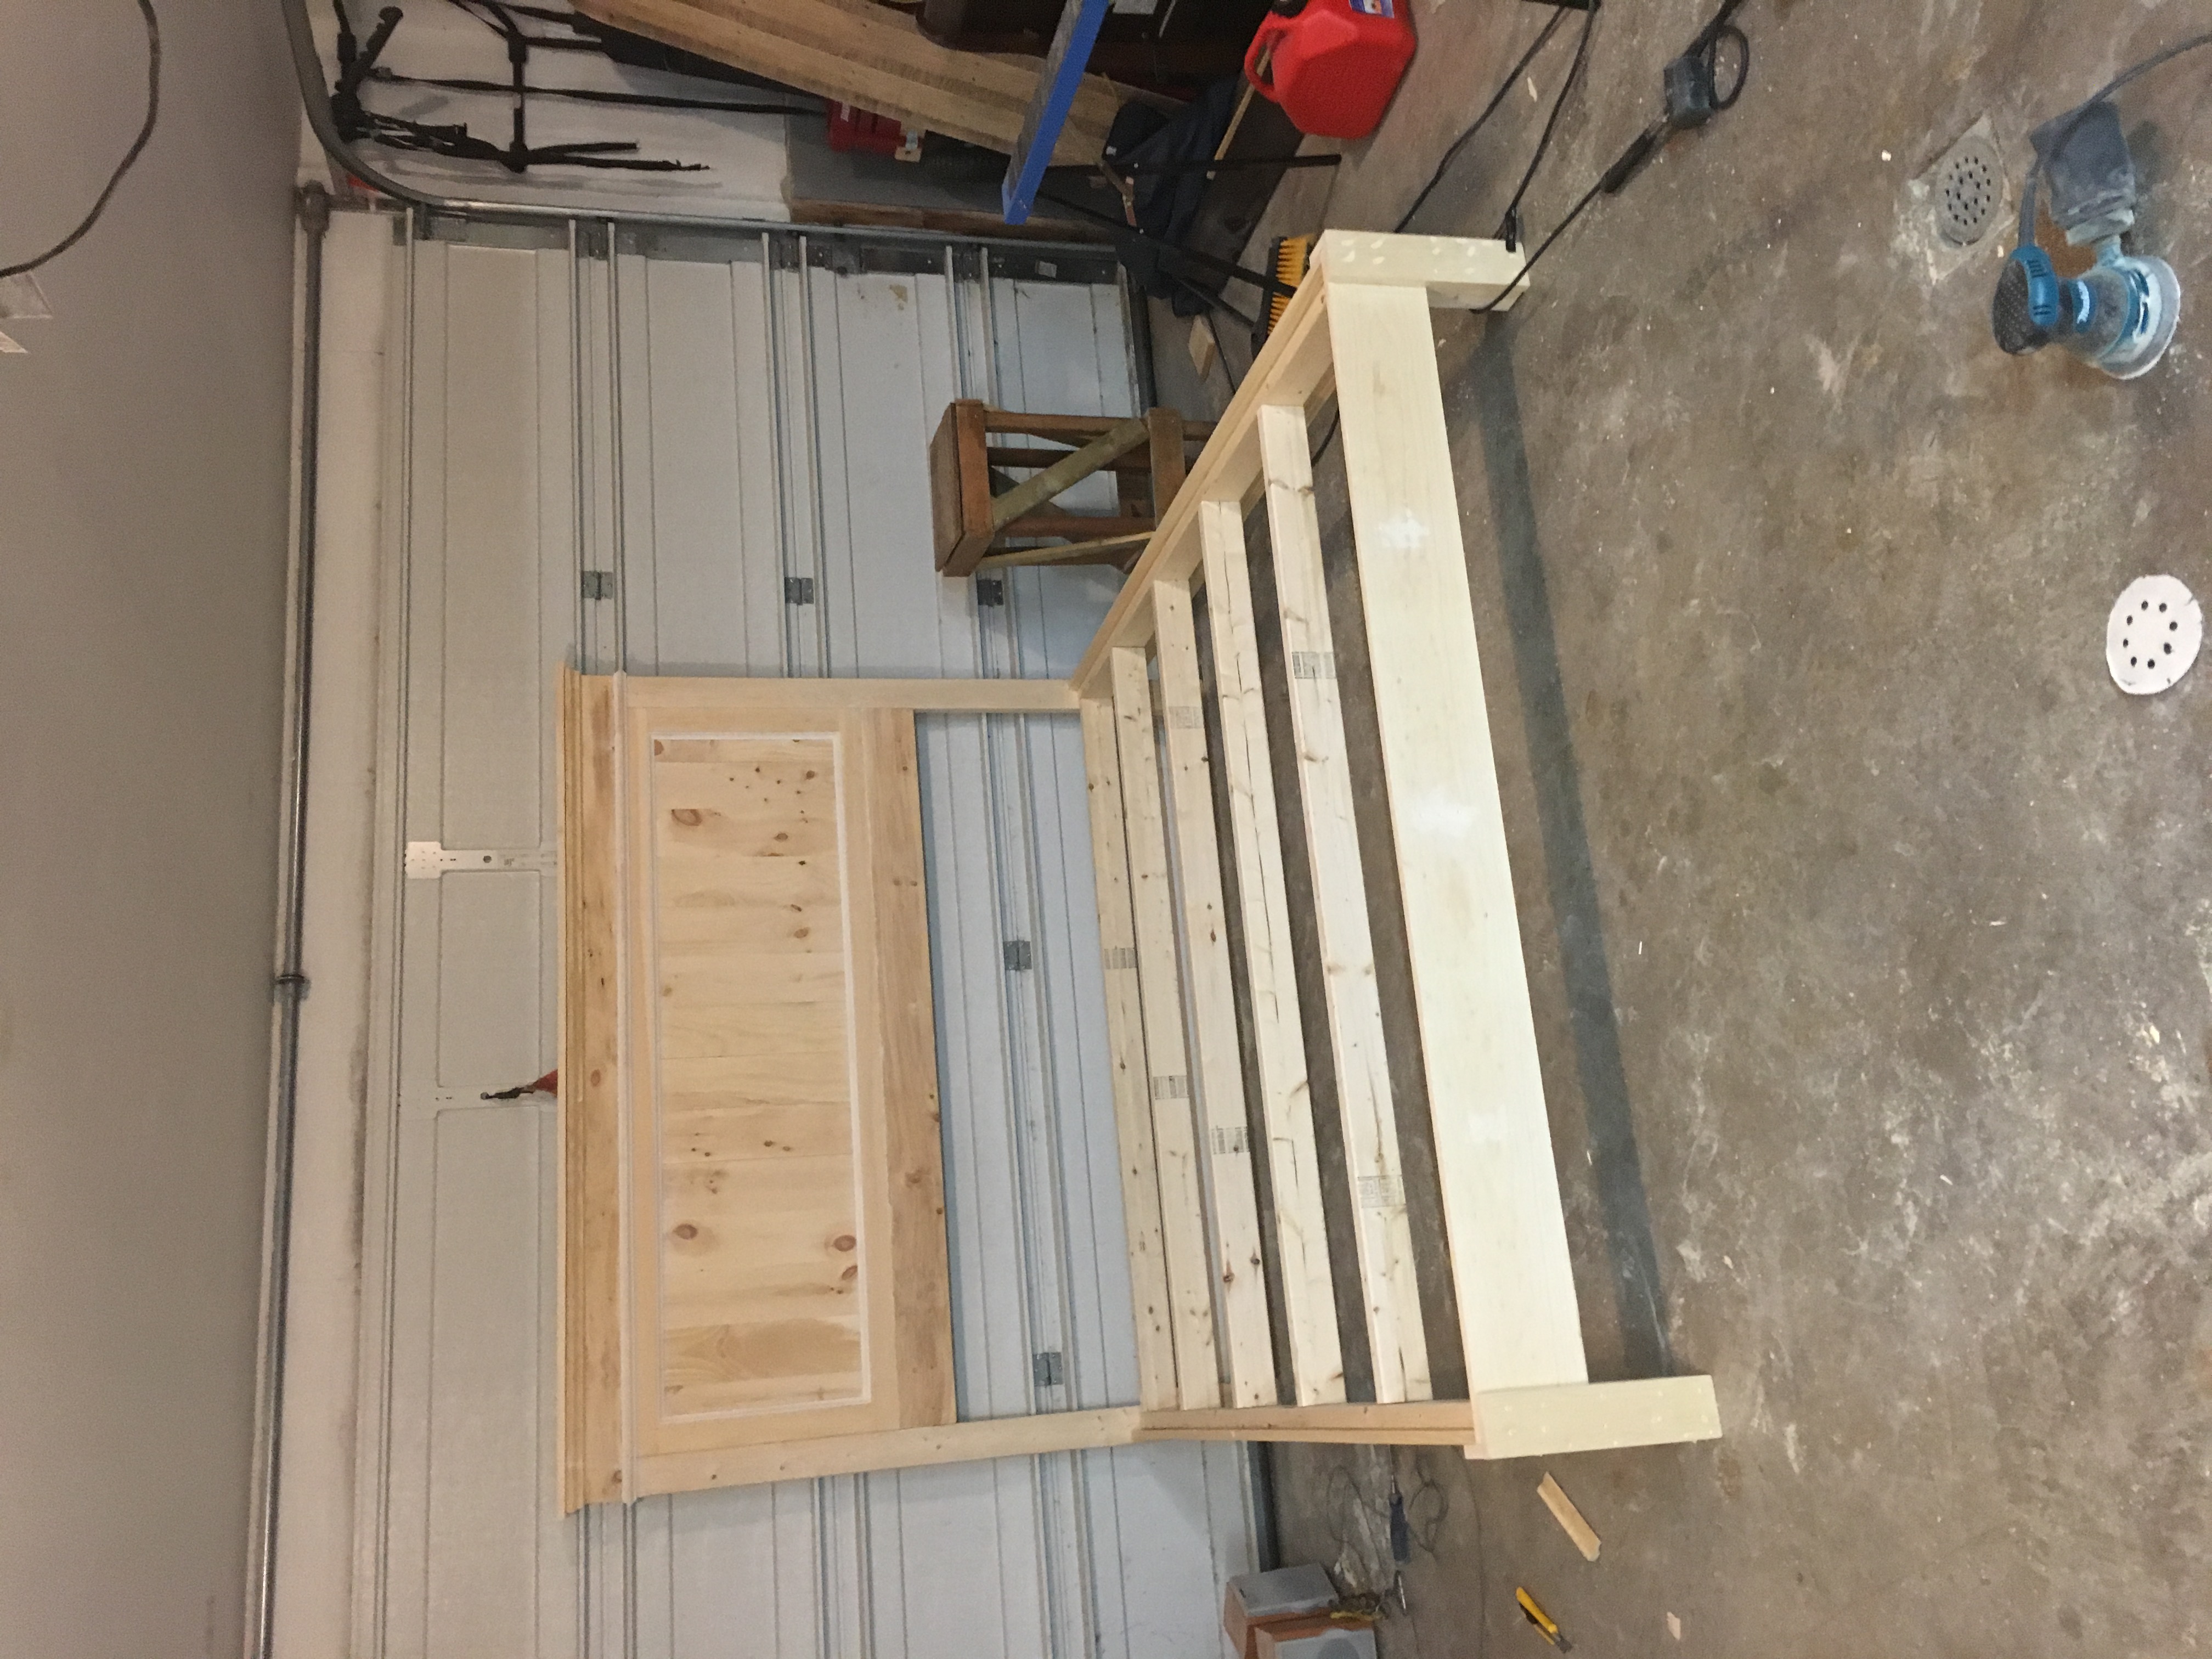
My king size farmhouse bed

This was first major woodworking project. I used mostly select pine, a little knotty pine and some spruce studs from a local hardware. For the headboard panels I used tongue and groove pine boards. I used Benjamin Moore primer and paint for finish.
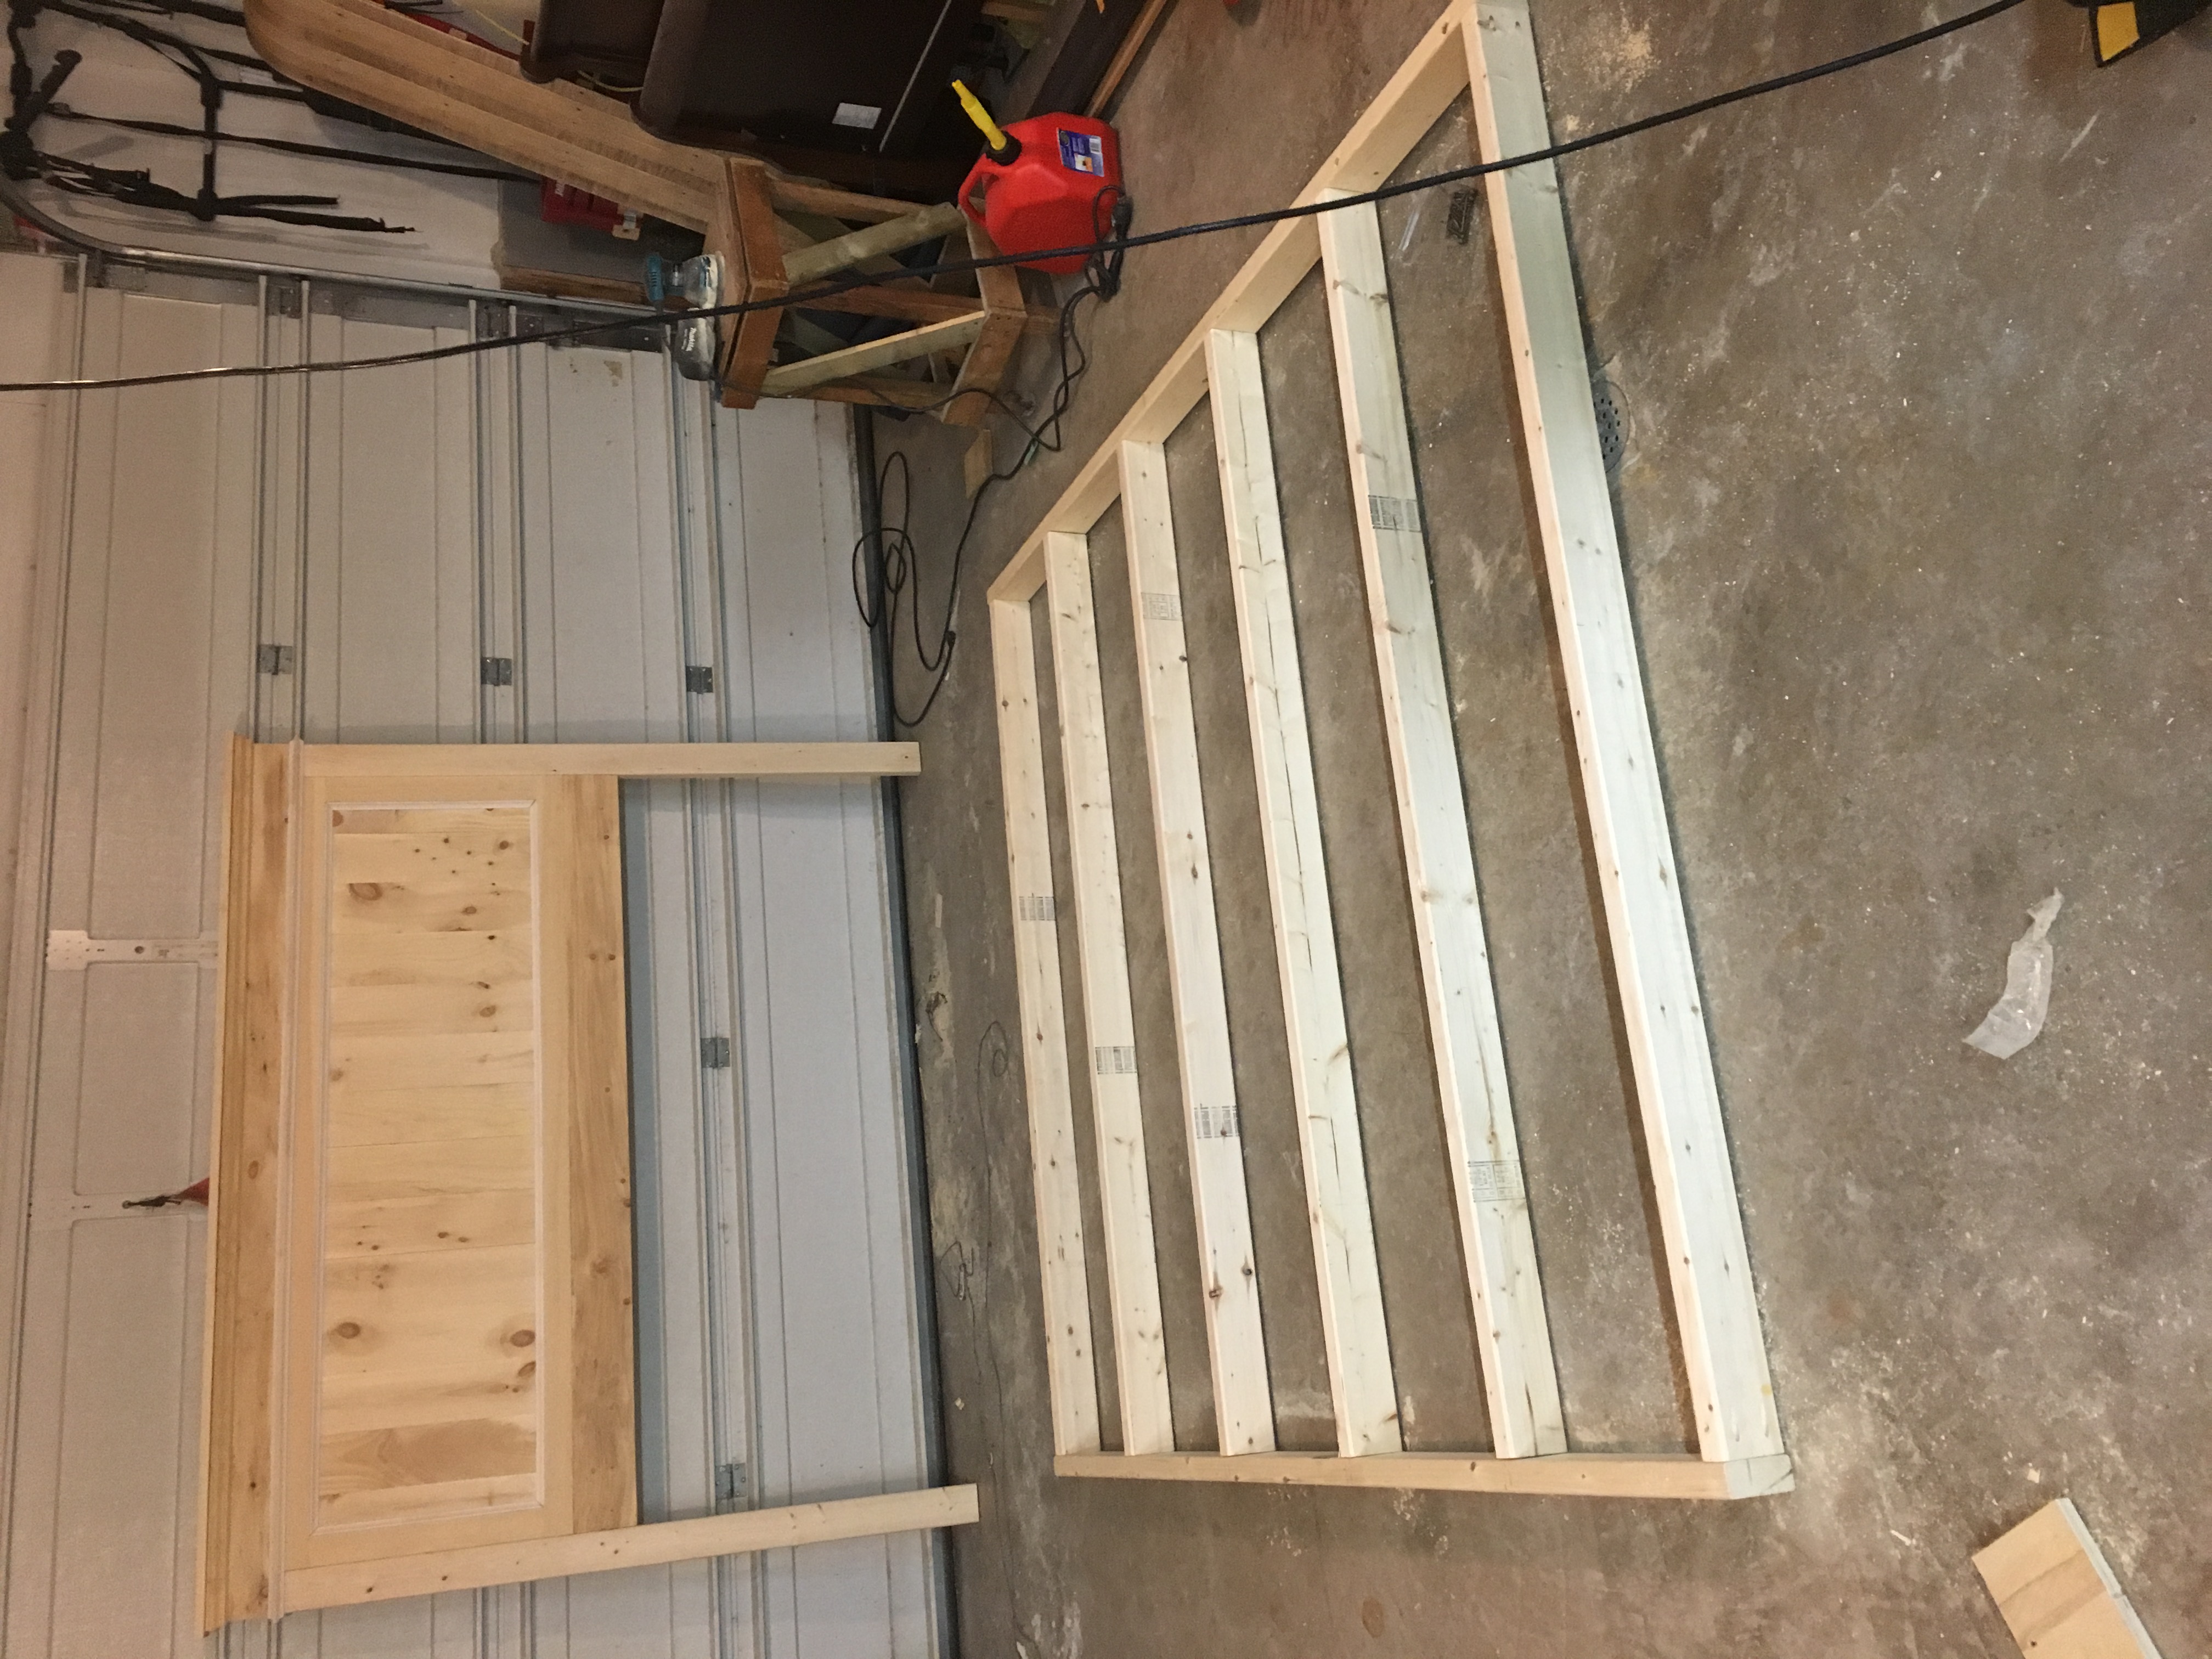
Tip 1: make sure to measure your hallway and doors before trying to bring this from the shop or garage into the house. If building in the bedroom, make sure to plan for the day you want to move it. I ended up taking mine apart to get it through the bedroom door and ruined the finish on all my legs.
Tip 2: I added blocks behind the legs because I didn't feel like the legs would be sufficient support. I also created by own rear legs similar to the front for more support.
Tip 3: the instructions on how to mount the headboard to the bed aren't really clear / don't work. I had to add some extra 2x4 material to the rear legs (on the inside) in order to have something for the bolts to go through. Once your headboard and bed are built, you'll have to be creative and come up with something.
Tip 4: I added support legs under the cross supports to hold the weight of the mattresses better.
Built from Plan(s)
Estimated Cost
$250-$300
Estimated Time Investment
Weekend Project (10-20 Hours)
Finish Used
Benjamin Moore advanced primer x 2 coats, and B.M. white paint (gloss level: pearl) x 2 coats.
Recommended Skill Level
Beginner
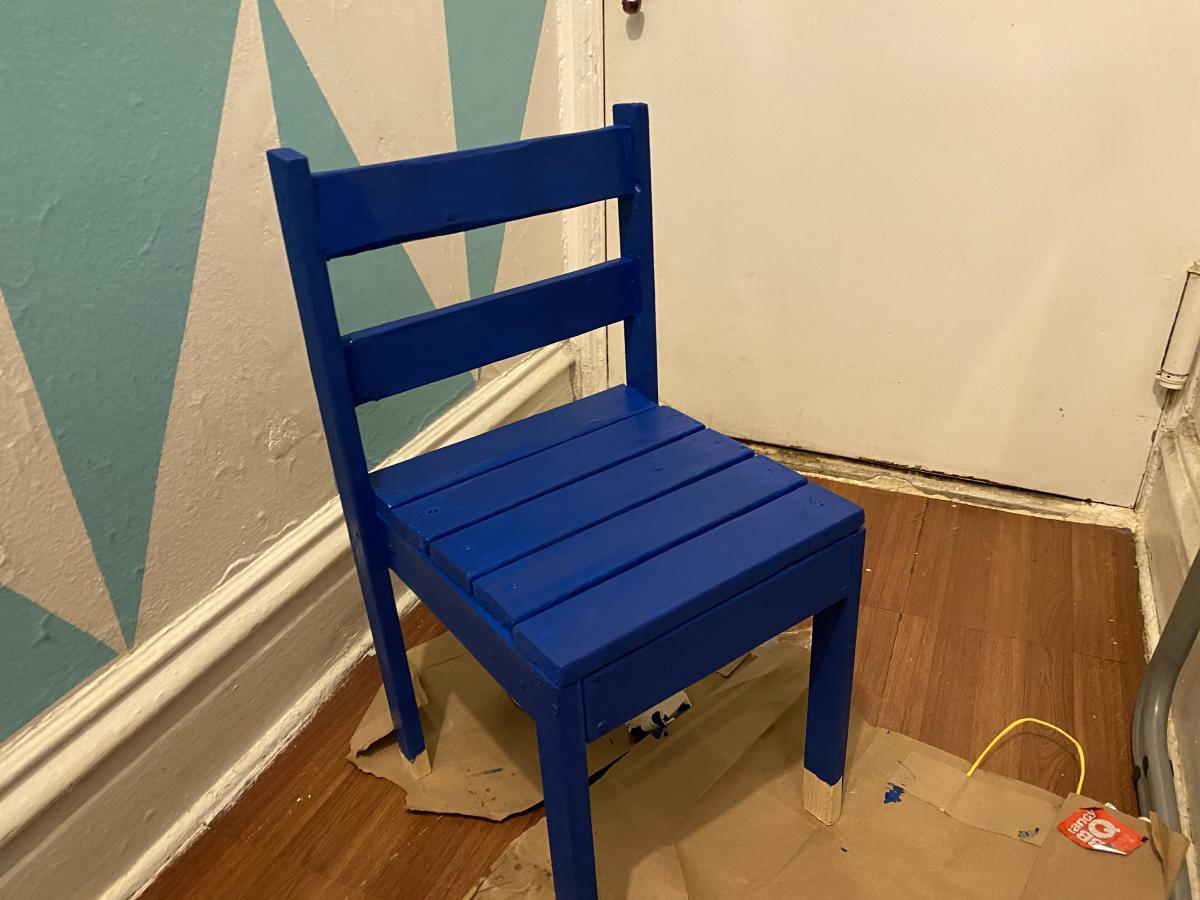
My first Build
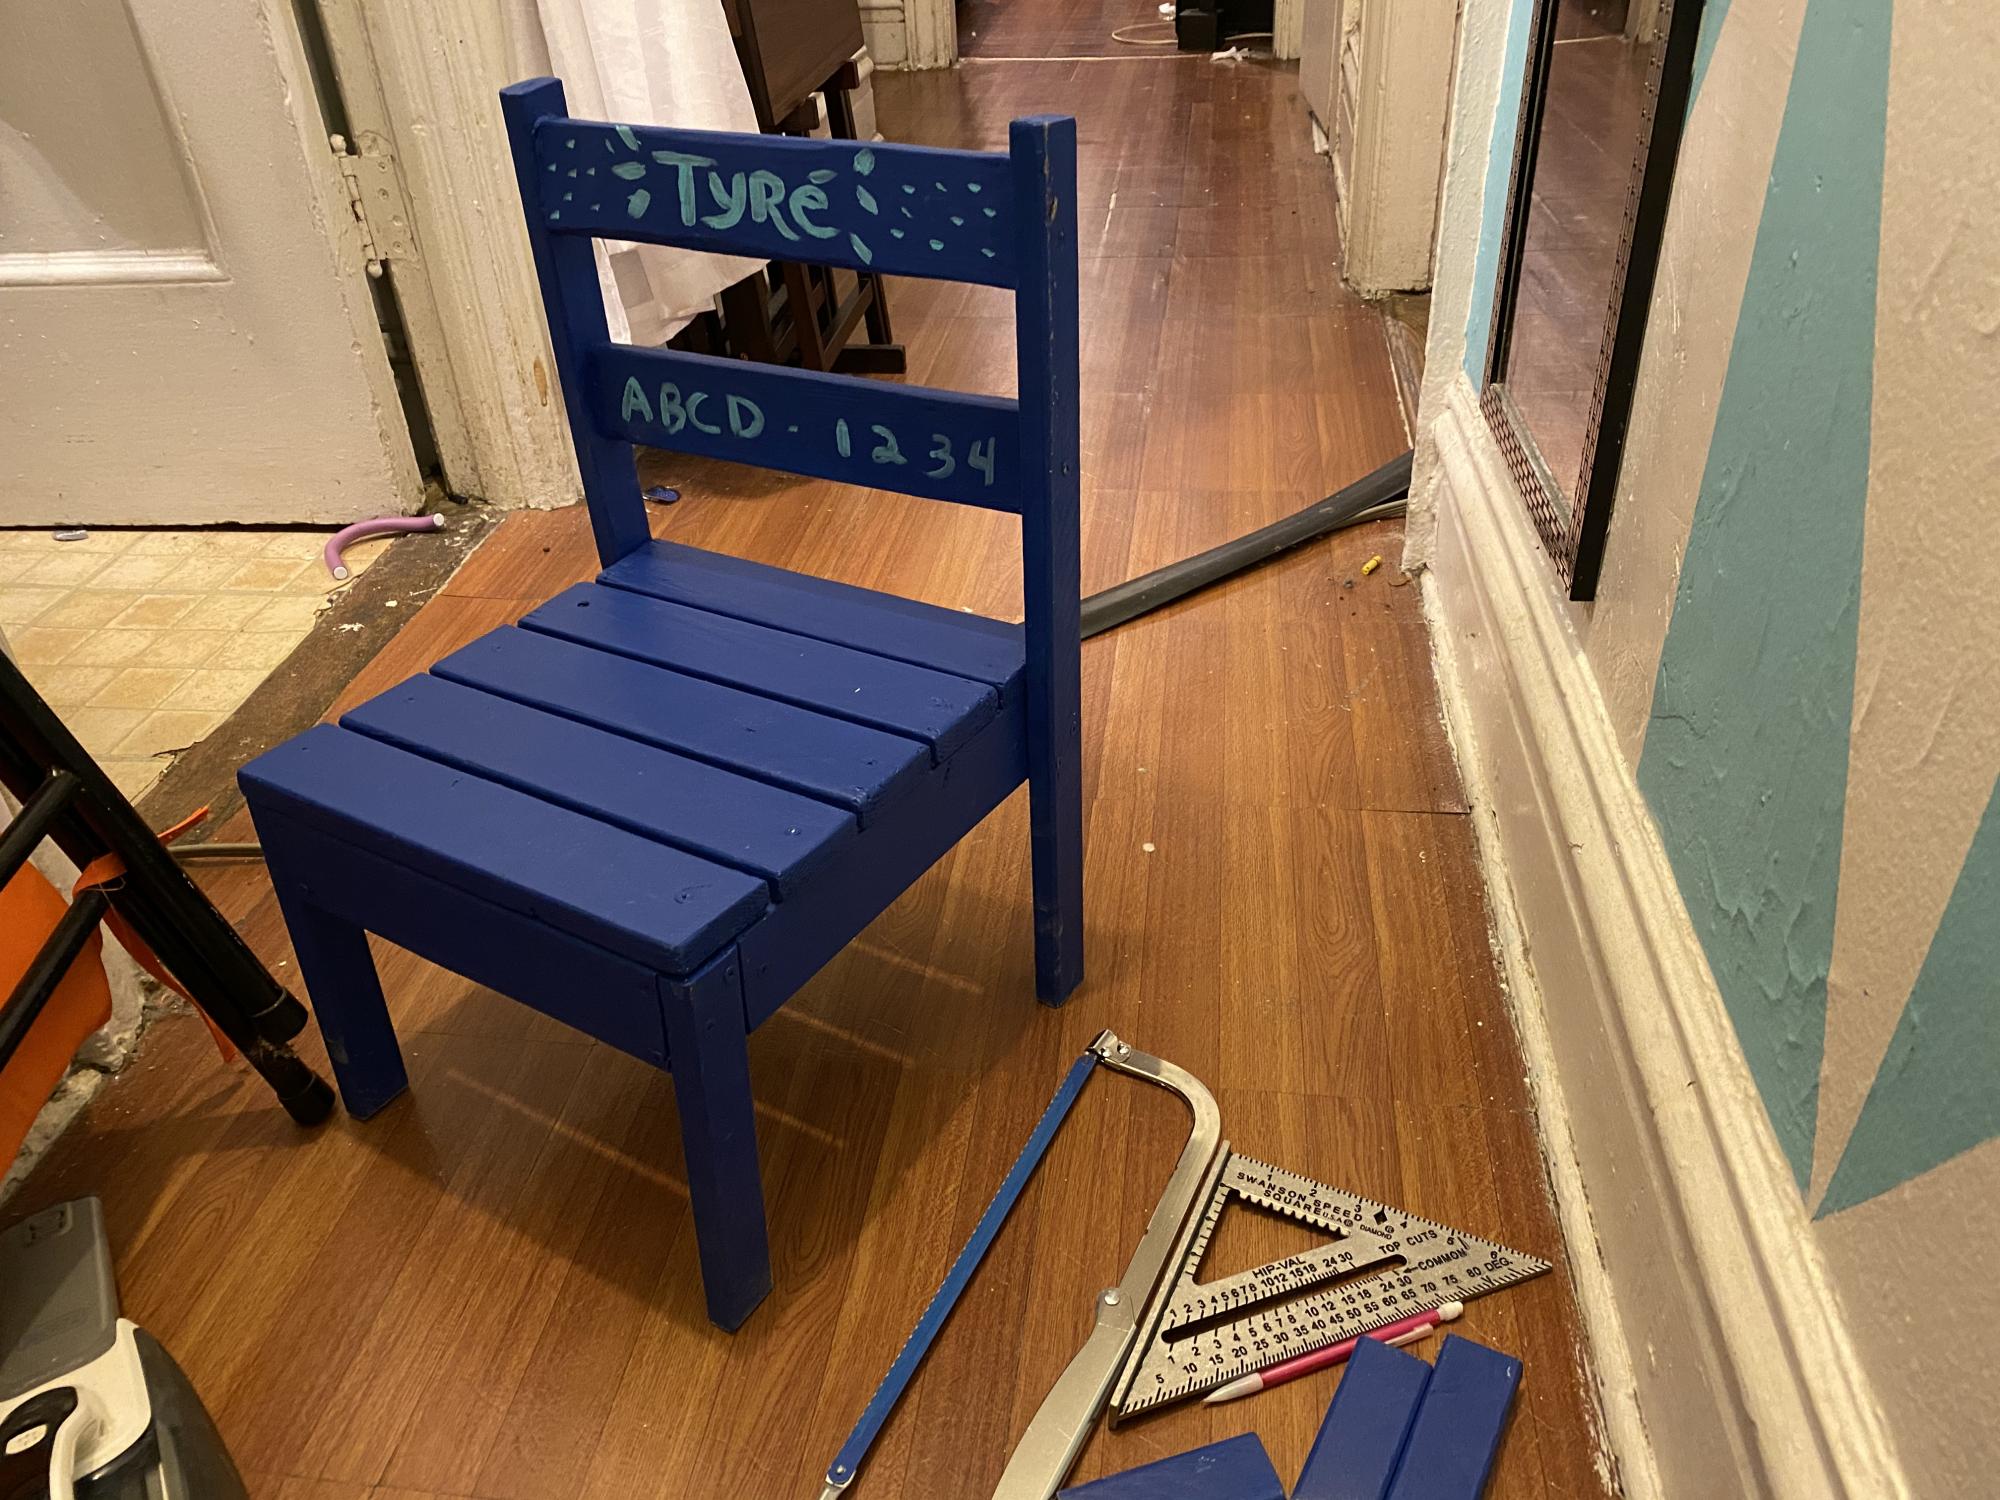
My first build. Toddler chair. Had to cut the legs from the original plans since my 2 year old nephew’s legs dangled and it was hard for him to climb on to. Loved it. Thanks Ana for the plans.
Built from Plan(s)
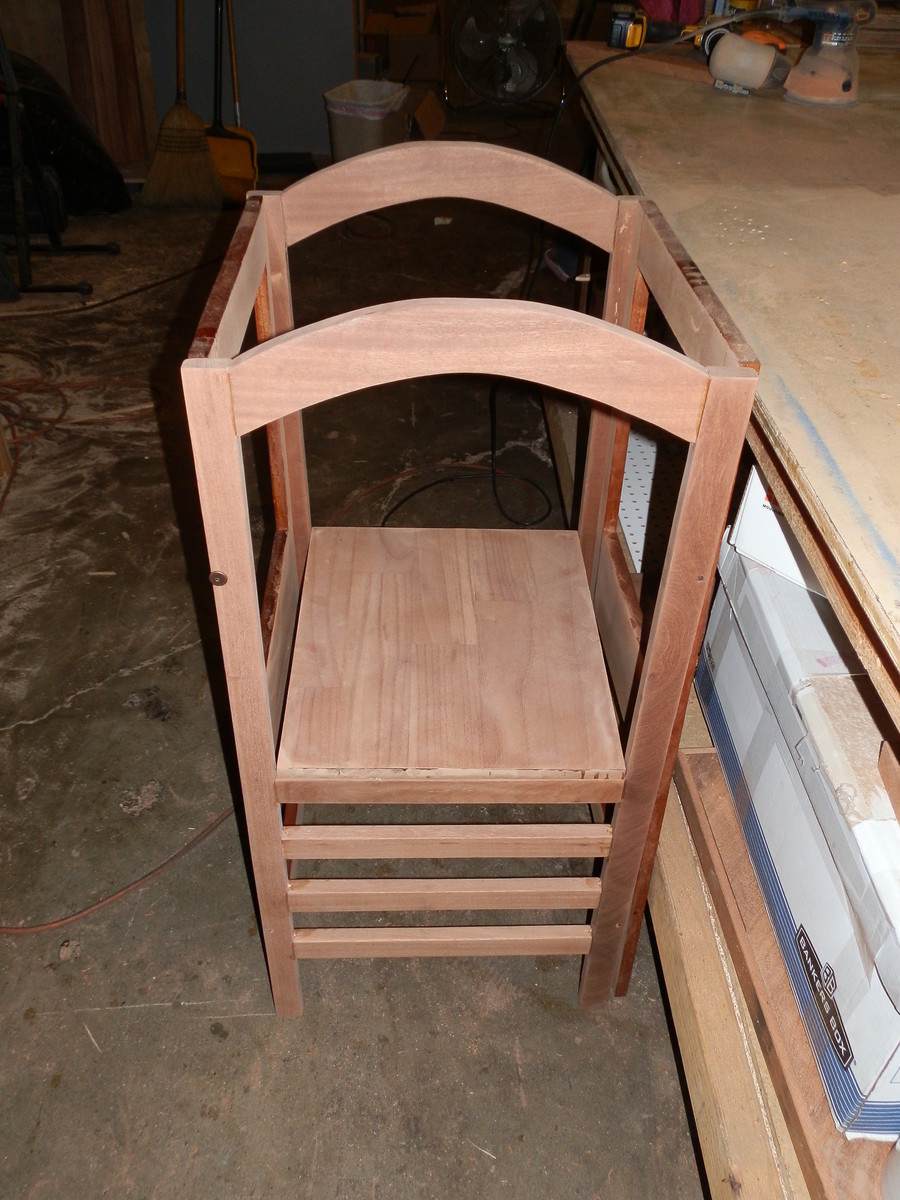
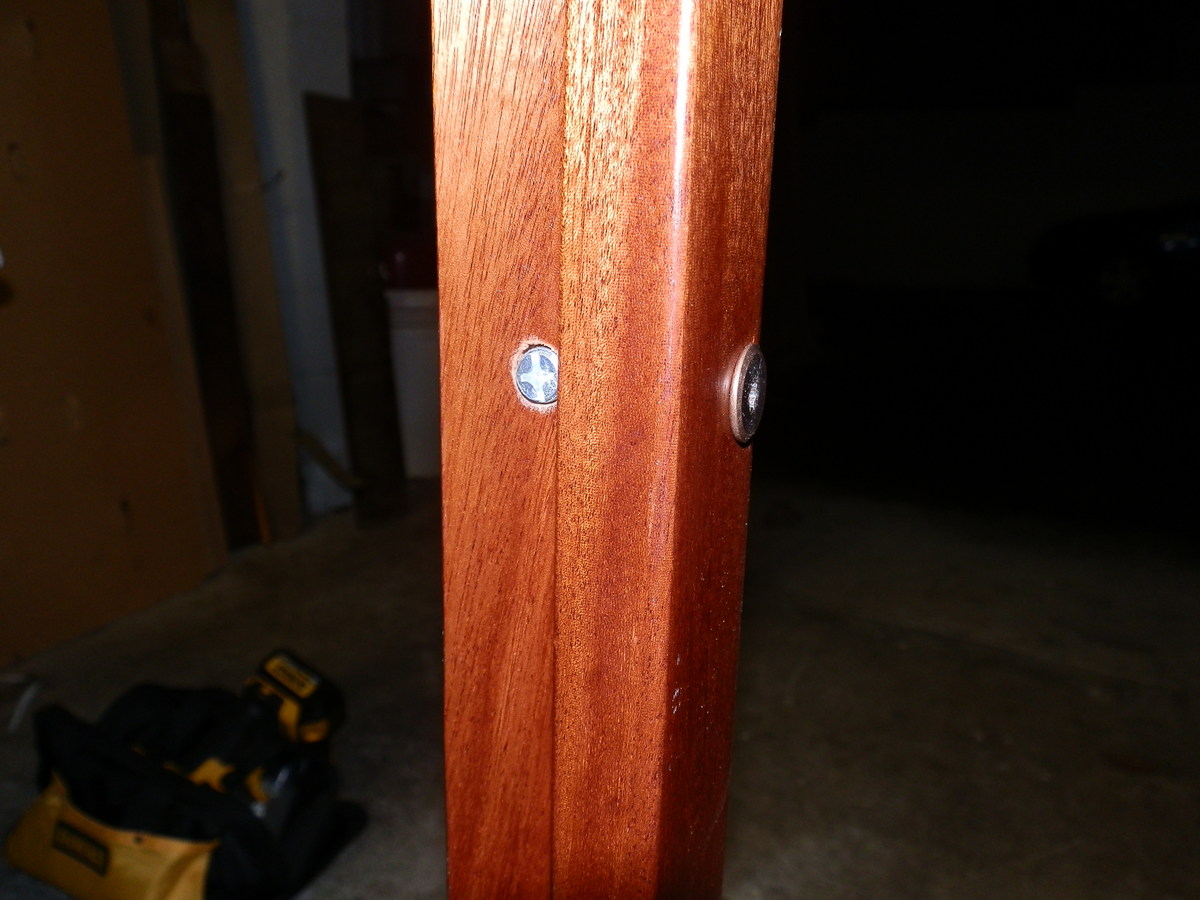
Little Helper Tower, my modification
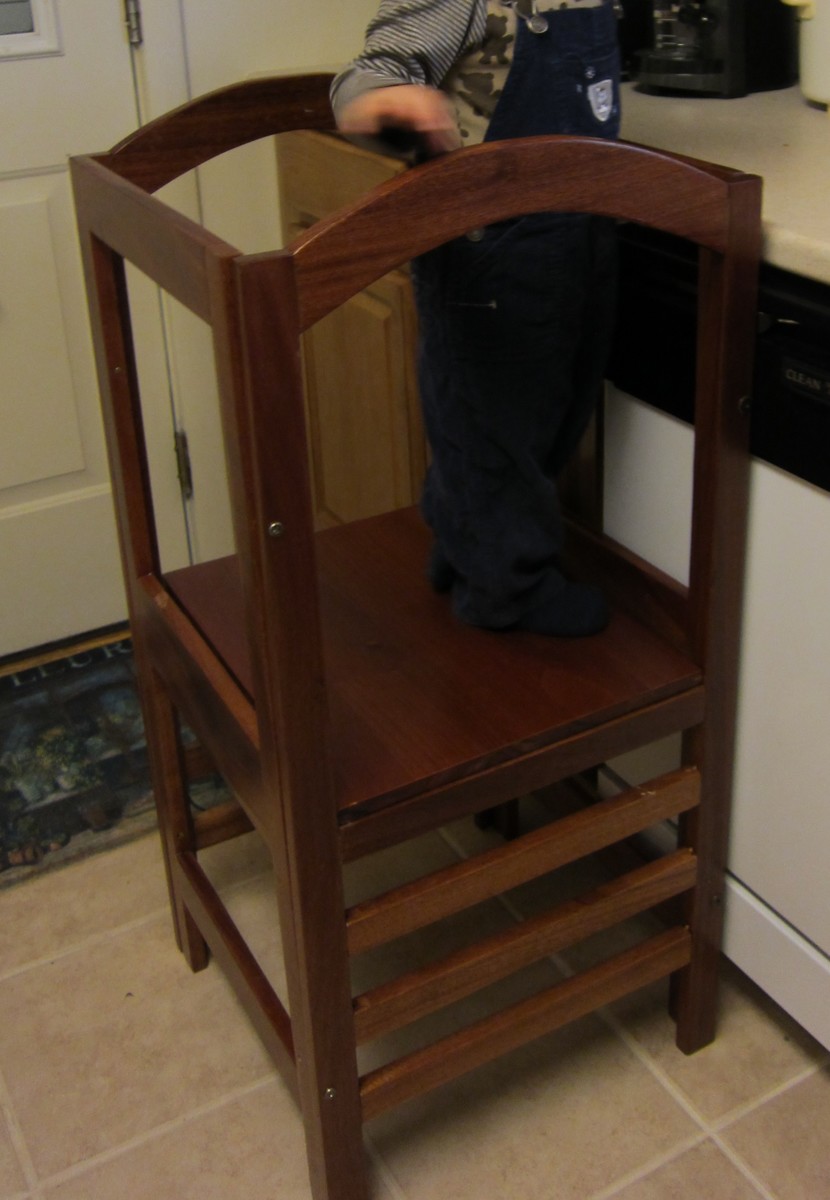
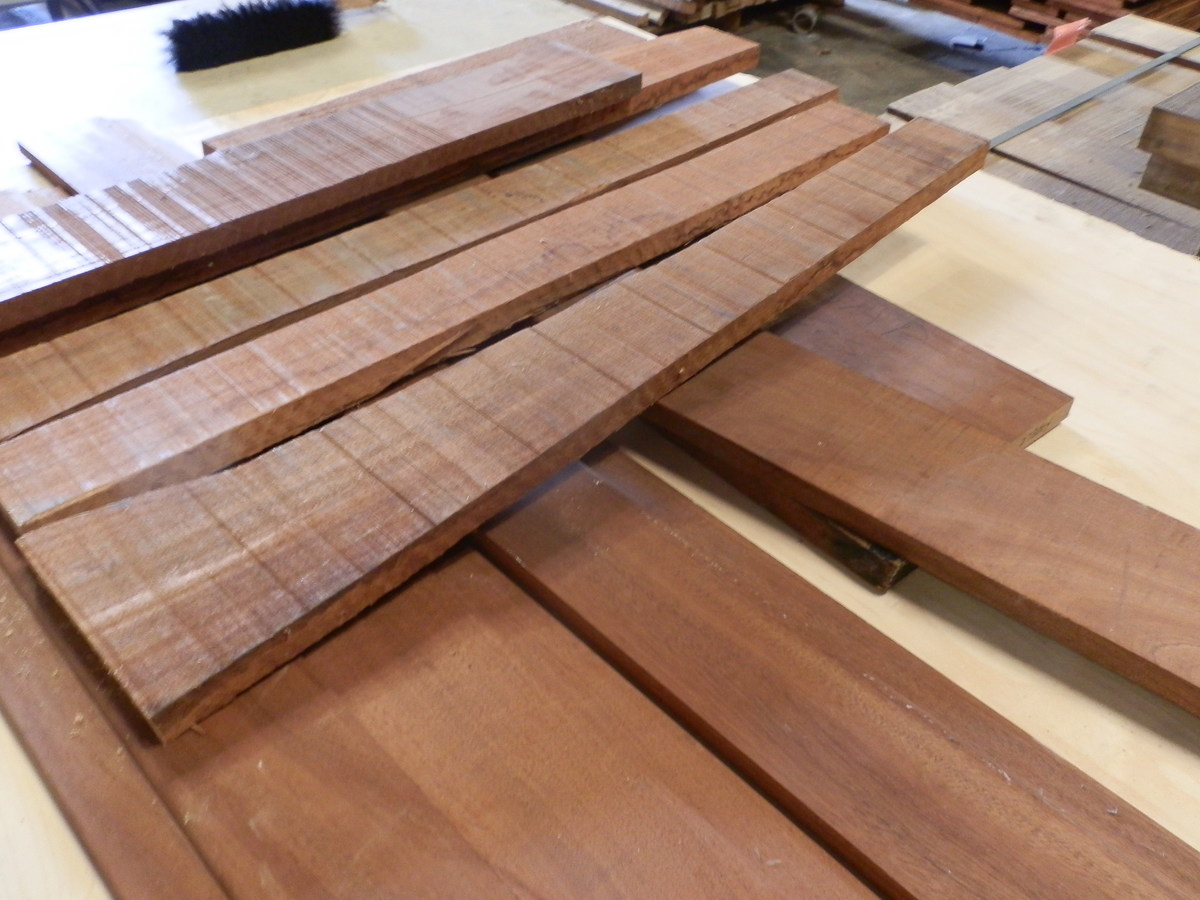
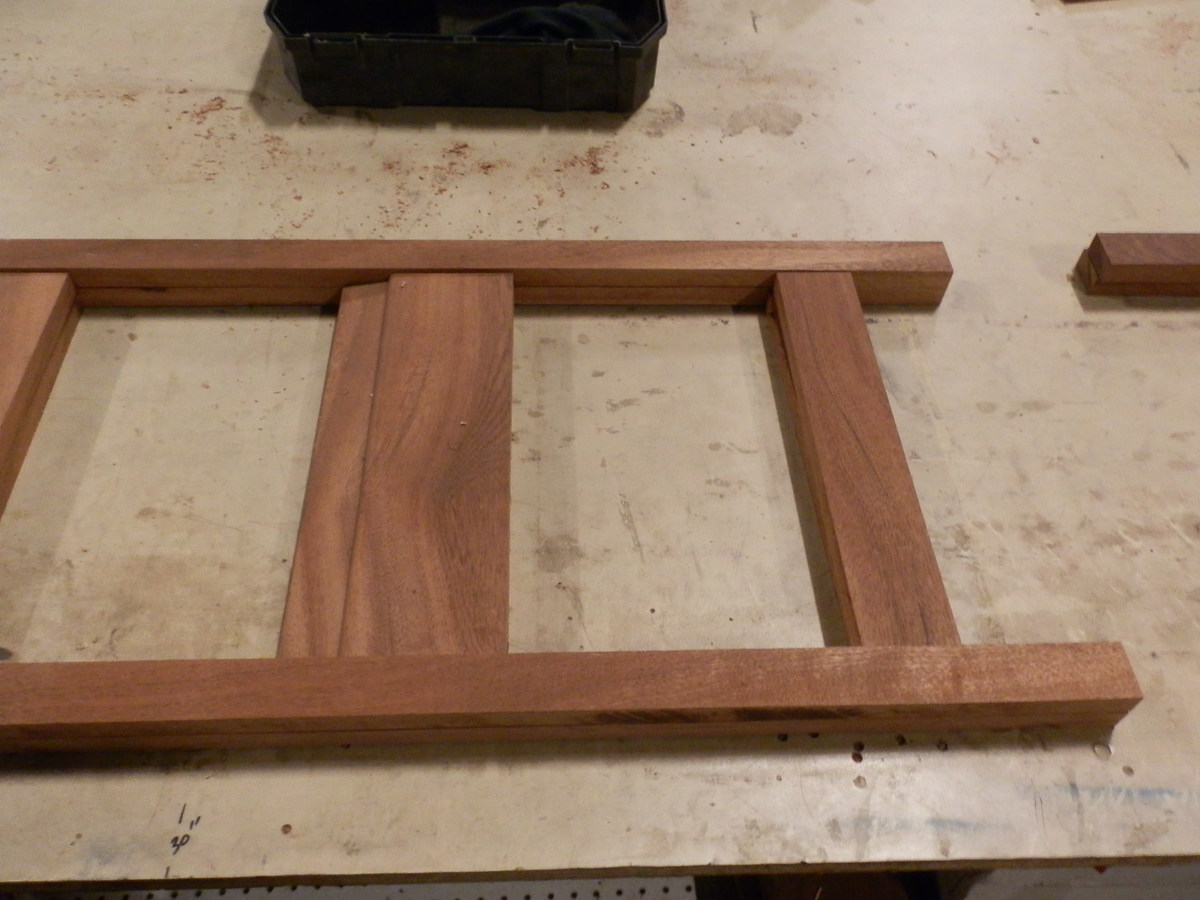
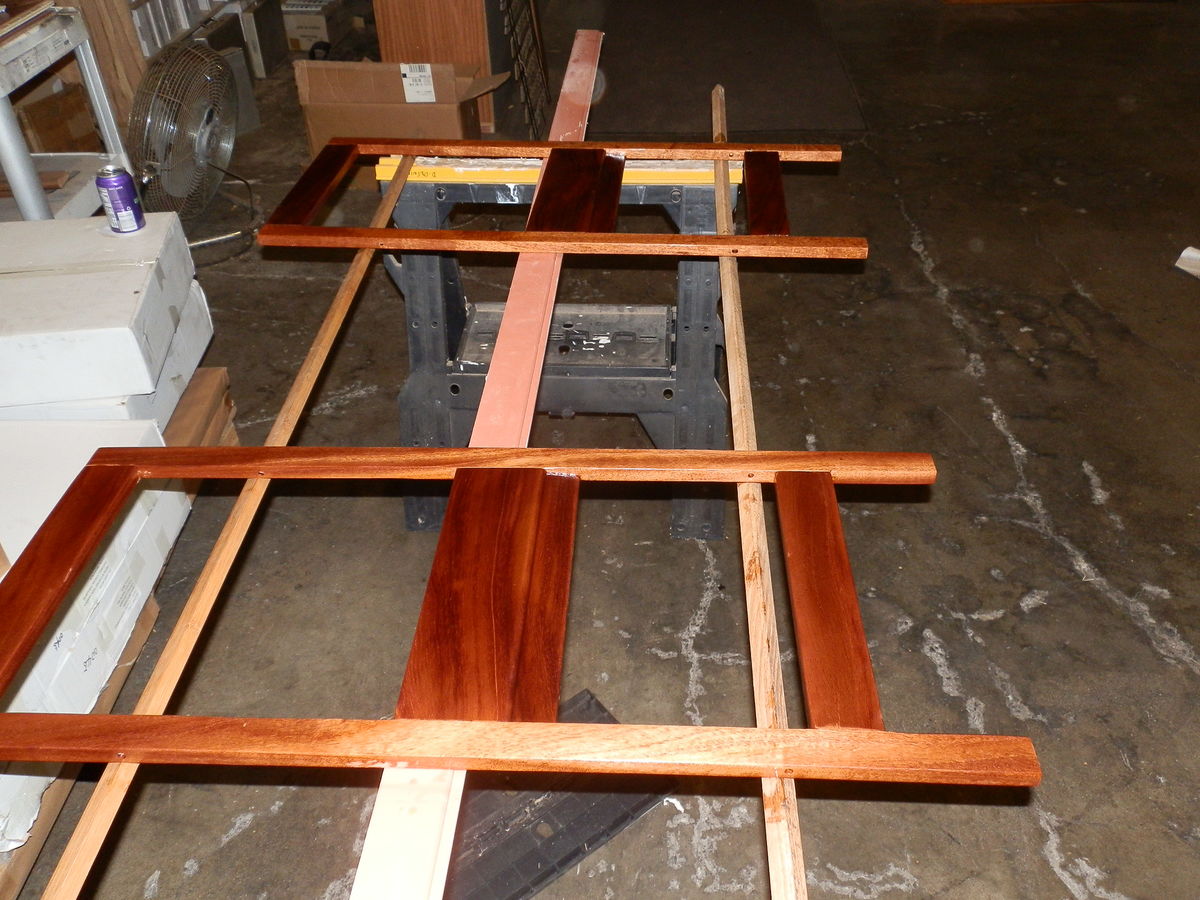
My daughter sent me a copy of your plans for the Little Helper Tower with the question, "can you make this?", to which I said a hesitant "yes. I decided to modify the plans so that instead of just making two ladders and holding them together with 6 sticks of wood, to make the sides also with vertical 1x2s, then use barrel nuts and furniture bolts to hold it all together. This gives you four pieces and a platform once it is disassembled should you ever need to take it apart.
I took some rough African Mahogany and Sapele and planed it to thickness (3/4") then cut to the required dimensions (1x2, 1x3, etc). I used a biscuit joiner to make slots and then glued the horizontal pieces, using the wooden biscuits, to the vertical pieces. I could not get myself to attempt lining up dowel holes, which would be a stronger attachment. I know this is not the best for a vertical application, but I used Titebond II wood glue and am confident it can take the weight of my grandson.
Finish Used
Glitsa Infinity 2 floor finish.
Recommended Skill Level
Intermediate
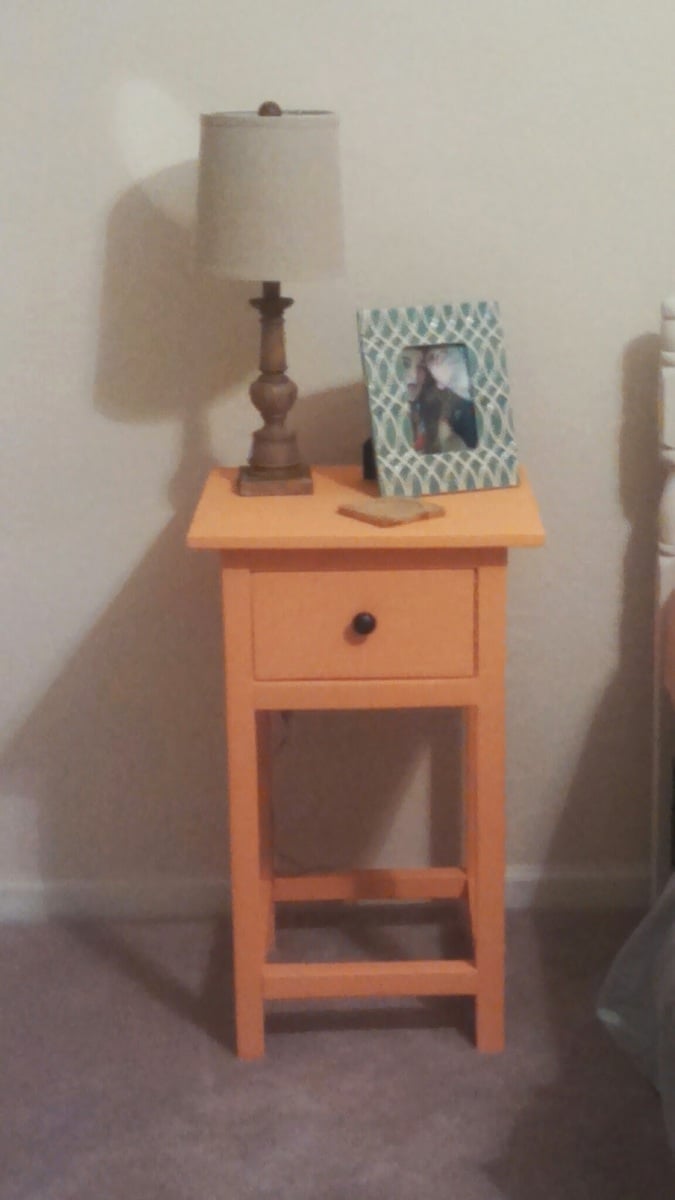
Daughter's Mini Farmhouse Bedside Table Plans
This project made from http://ana-white.com/2013/05/plans/mini-farmhouse-bedside-table-plans was a birthday gift for our daughter who was moving into her own apartment and preparing for an approaching marriage. This is exactly what she requested. While I did use Ana’s posted plans you may see some slight modifications.

Built from Plan(s)
Estimated Cost
Plan estimate is around $75.00
Estimated Time Investment
Weekend Project (10-20 Hours)
Finish Used
Sanded and painted as requested.
Recommended Skill Level
Beginner
Comments
tweaked X console

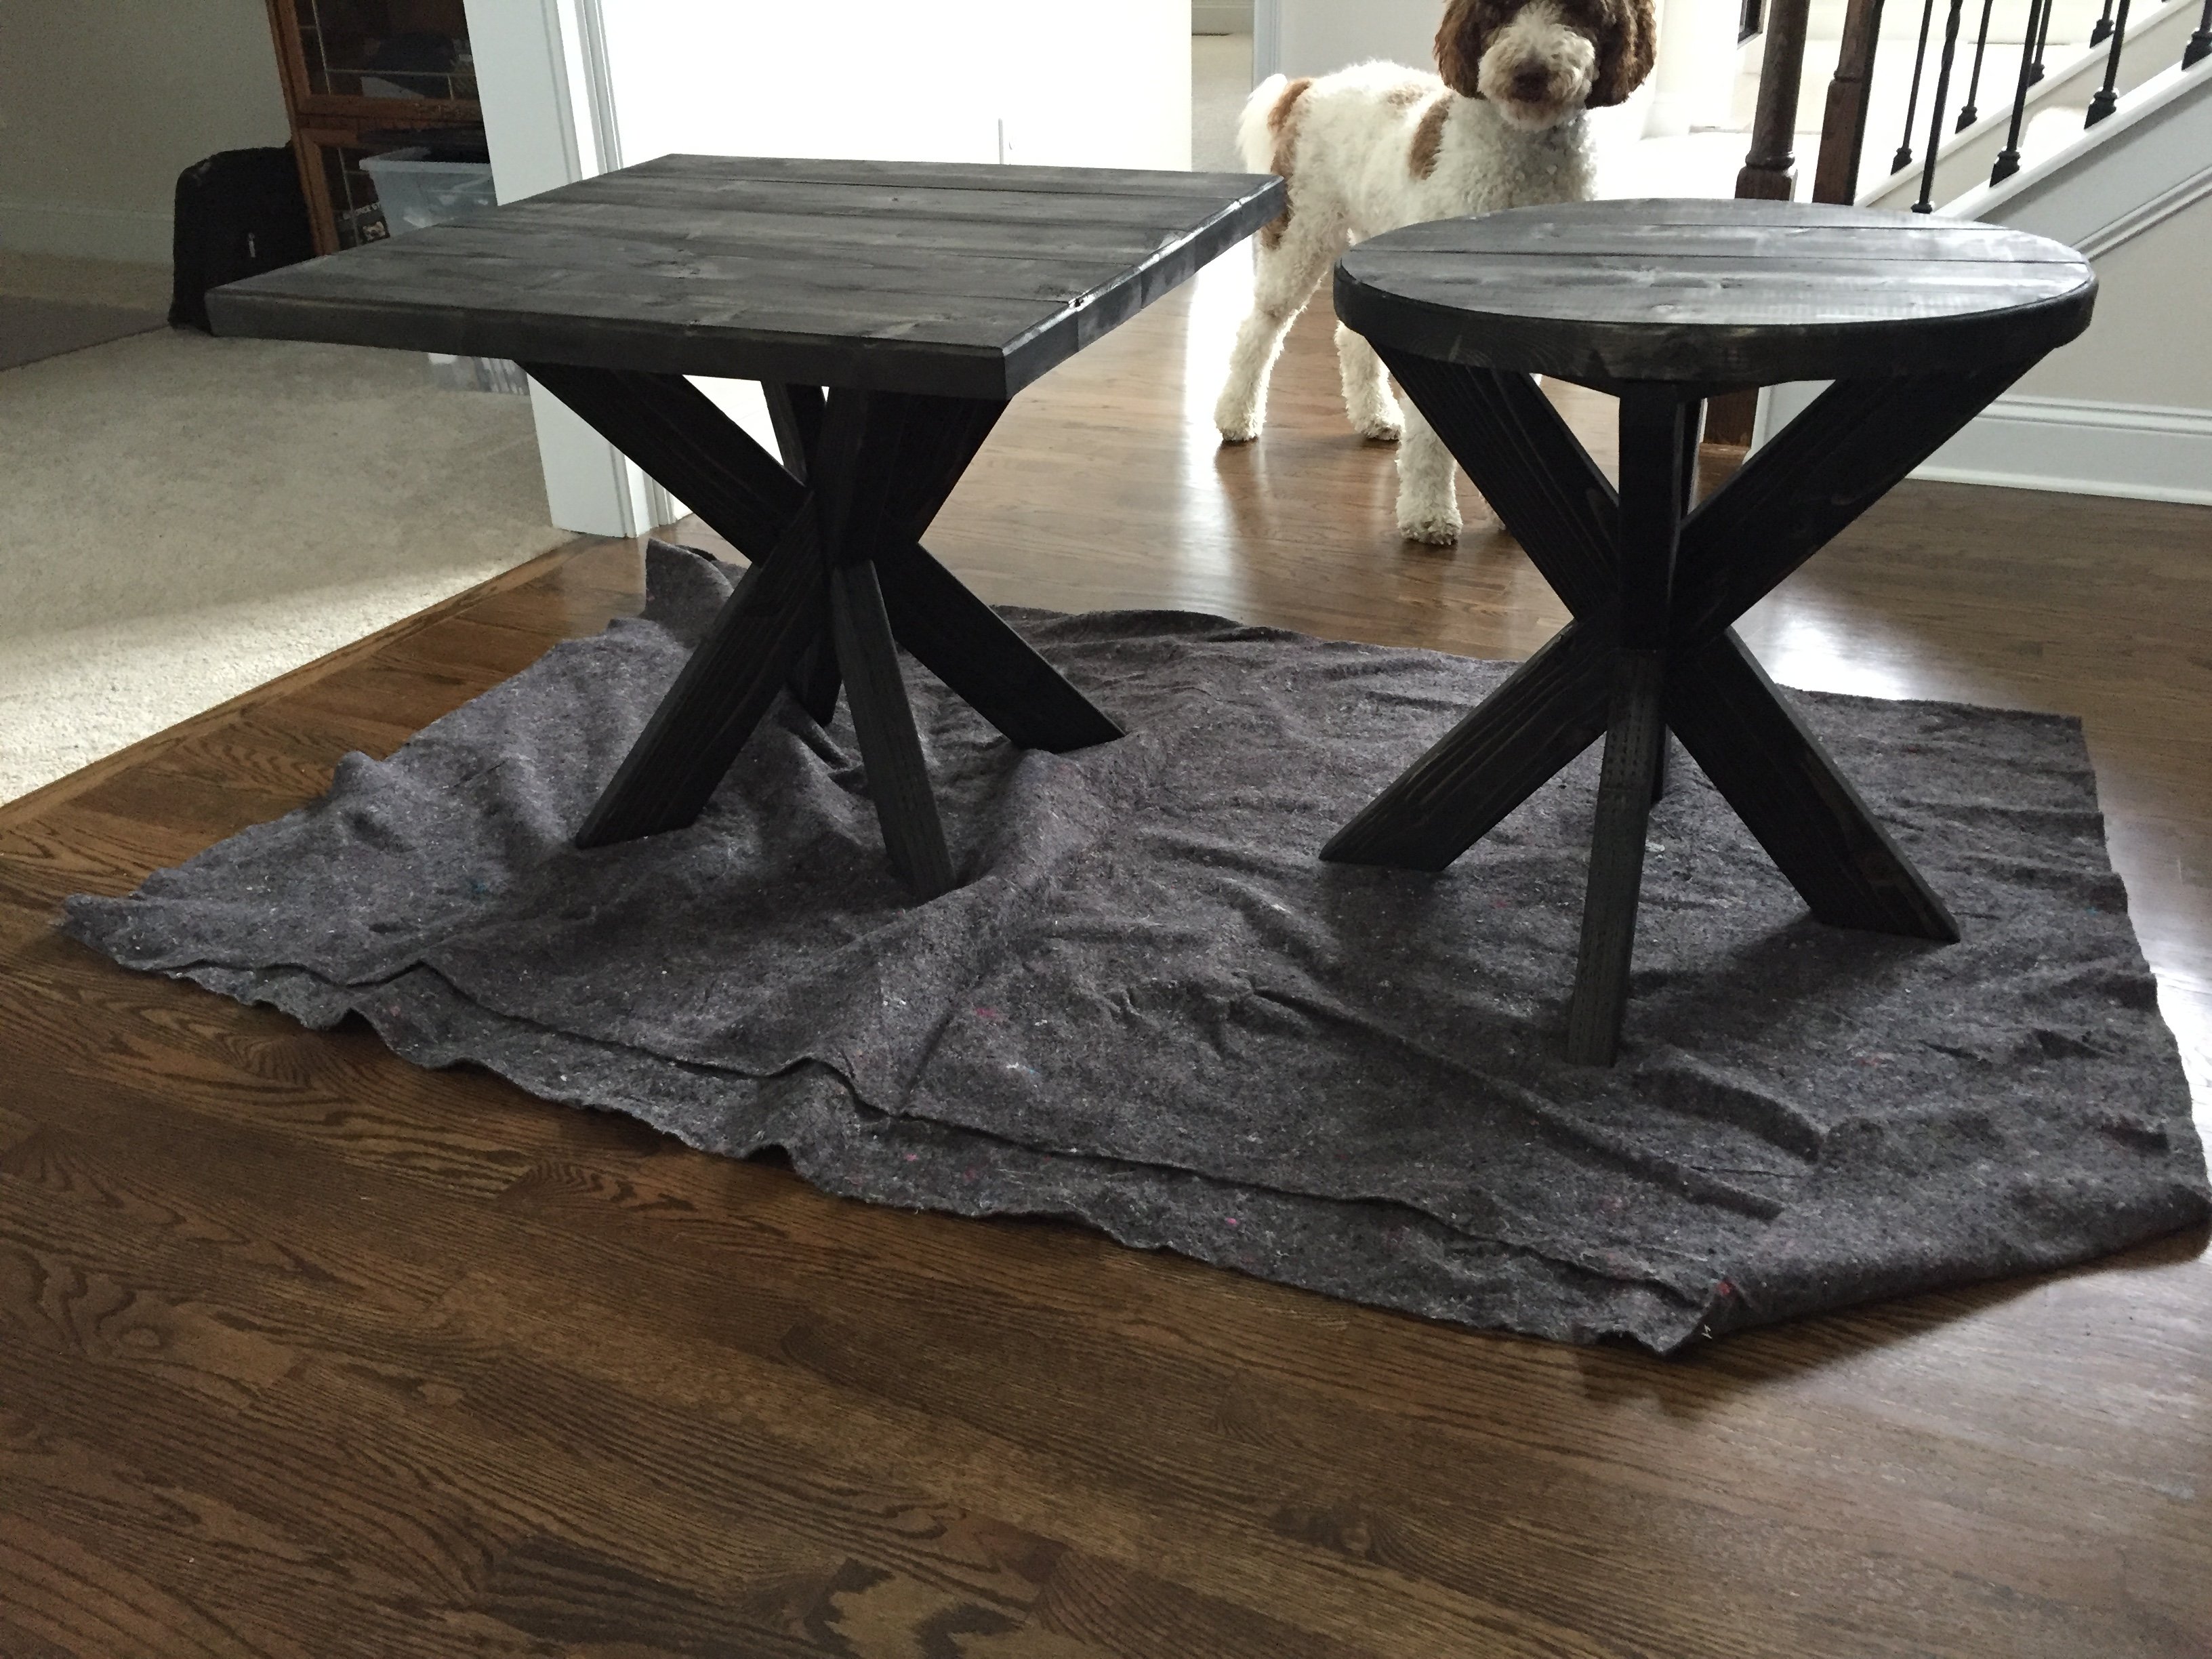
Slimmed down version of the original plan. 60" x 11" x 35". Super happy with how it turned out!

Built from Plan(s)
Estimated Time Investment
Weekend Project (10-20 Hours)
Finish Used
Burnished Clay by Behr & a custom stain color I made by mixing an espresso with a honey.
Recommended Skill Level
Intermediate
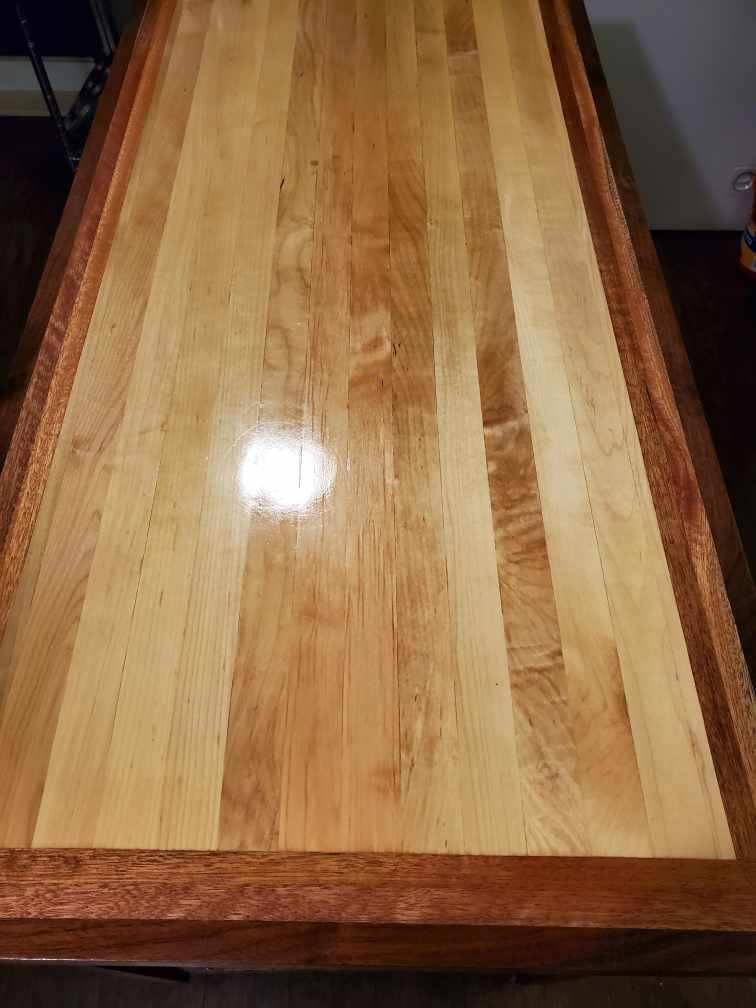
Kitchen Island
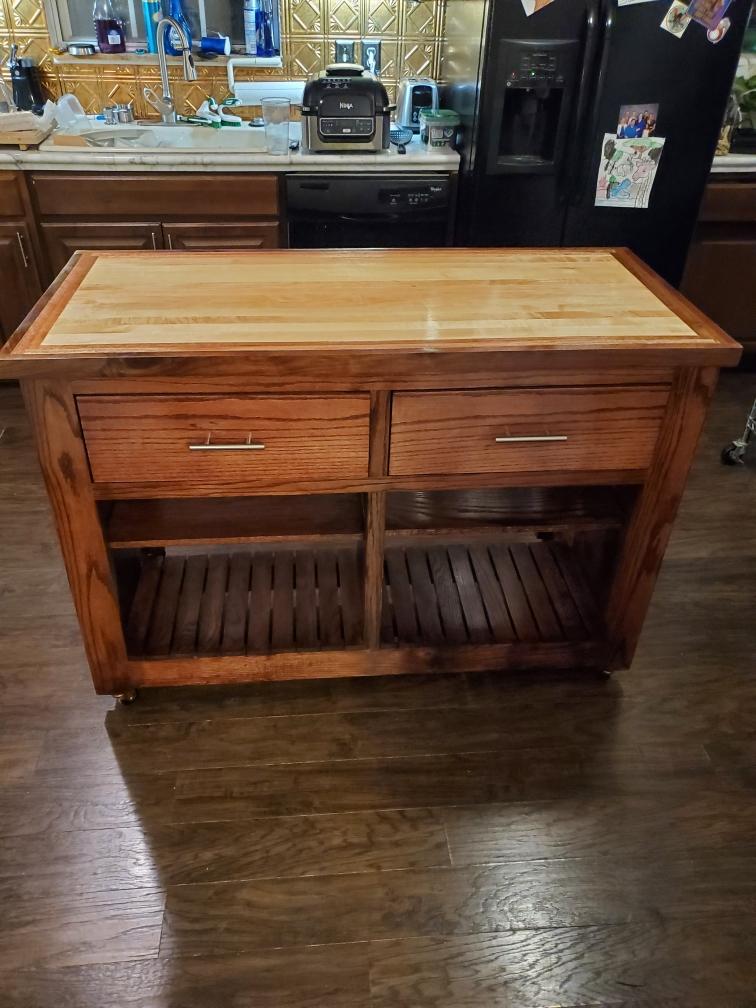
Built with Red oak had to glue to get 2 by 4, then minwax stain with red mahogany, top is maple center with mahogany and walnut strips around.
Built from Plan(s)
Estimated Cost
$500
Estimated Time Investment
Week Long Project (20 Hours or More)
Finish Used
Mimwax red mahogany and high gloss poly
Recommended Skill Level
Intermediate
Comments
Twin Farmhouse Bed - MDF Instead

This is my first attempt at a furniture project. I customized the Twin Farmhouse Bed plan to use leftover v-groove paneling for the planks and pre-primed MDF for the trim and headboard/footboard caps. I used pine 4x4s for the posts, cheap 1x4s for the rail supports, and 1/4 in white paneling ($10) under the mattress. Trim was nailed using standard 16 and 18 ga nailer. Used Spax screws for attaching the posts to the 2x6s behind the paneling and trim. Spray painted using Krylon paint primer and gloss finish. Spent a little extra on multiple coats of spray paint, but the finish was well worth it. The v-groove paneling required hand painting in the grooves for better white covereage on the final coat, but MDF soaks in the paint so it required more coats than the pre-primed trim needed.

Built from Plan(s)
Estimated Cost
150
Estimated Time Investment
Weekend Project (10-20 Hours)
Finish Used
White Krylon Spray Paint
Recommended Skill Level
Beginner
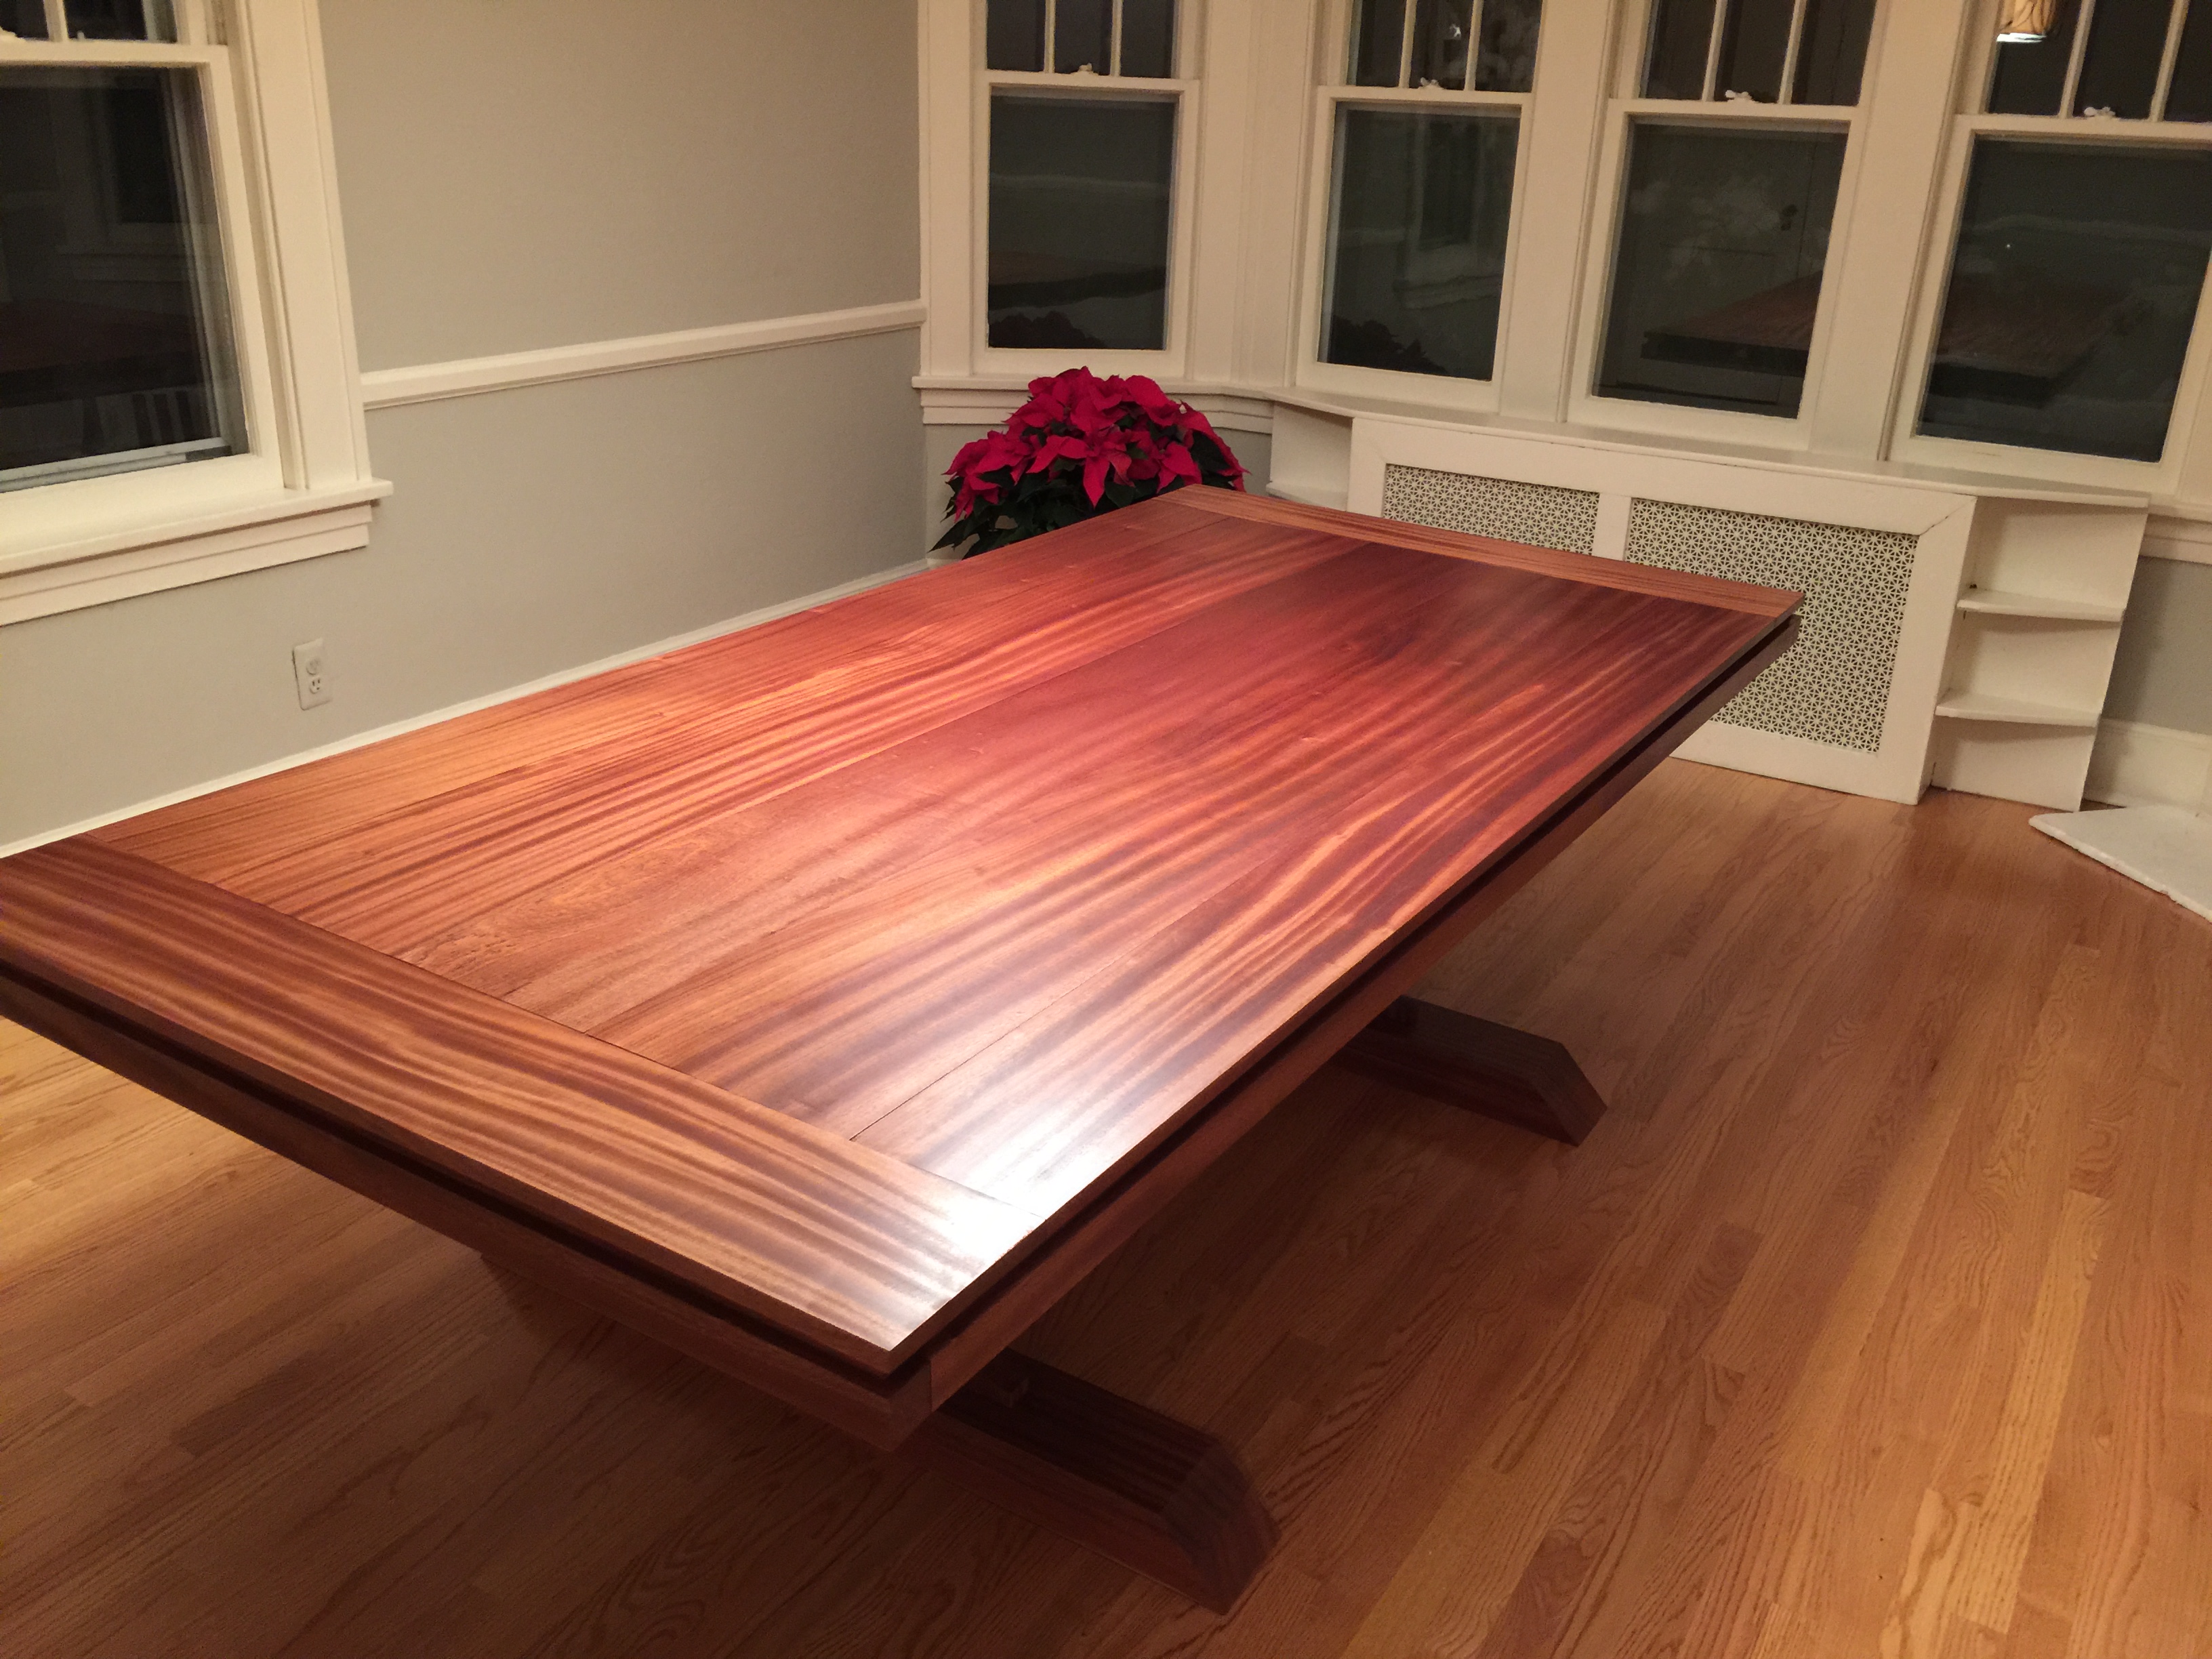
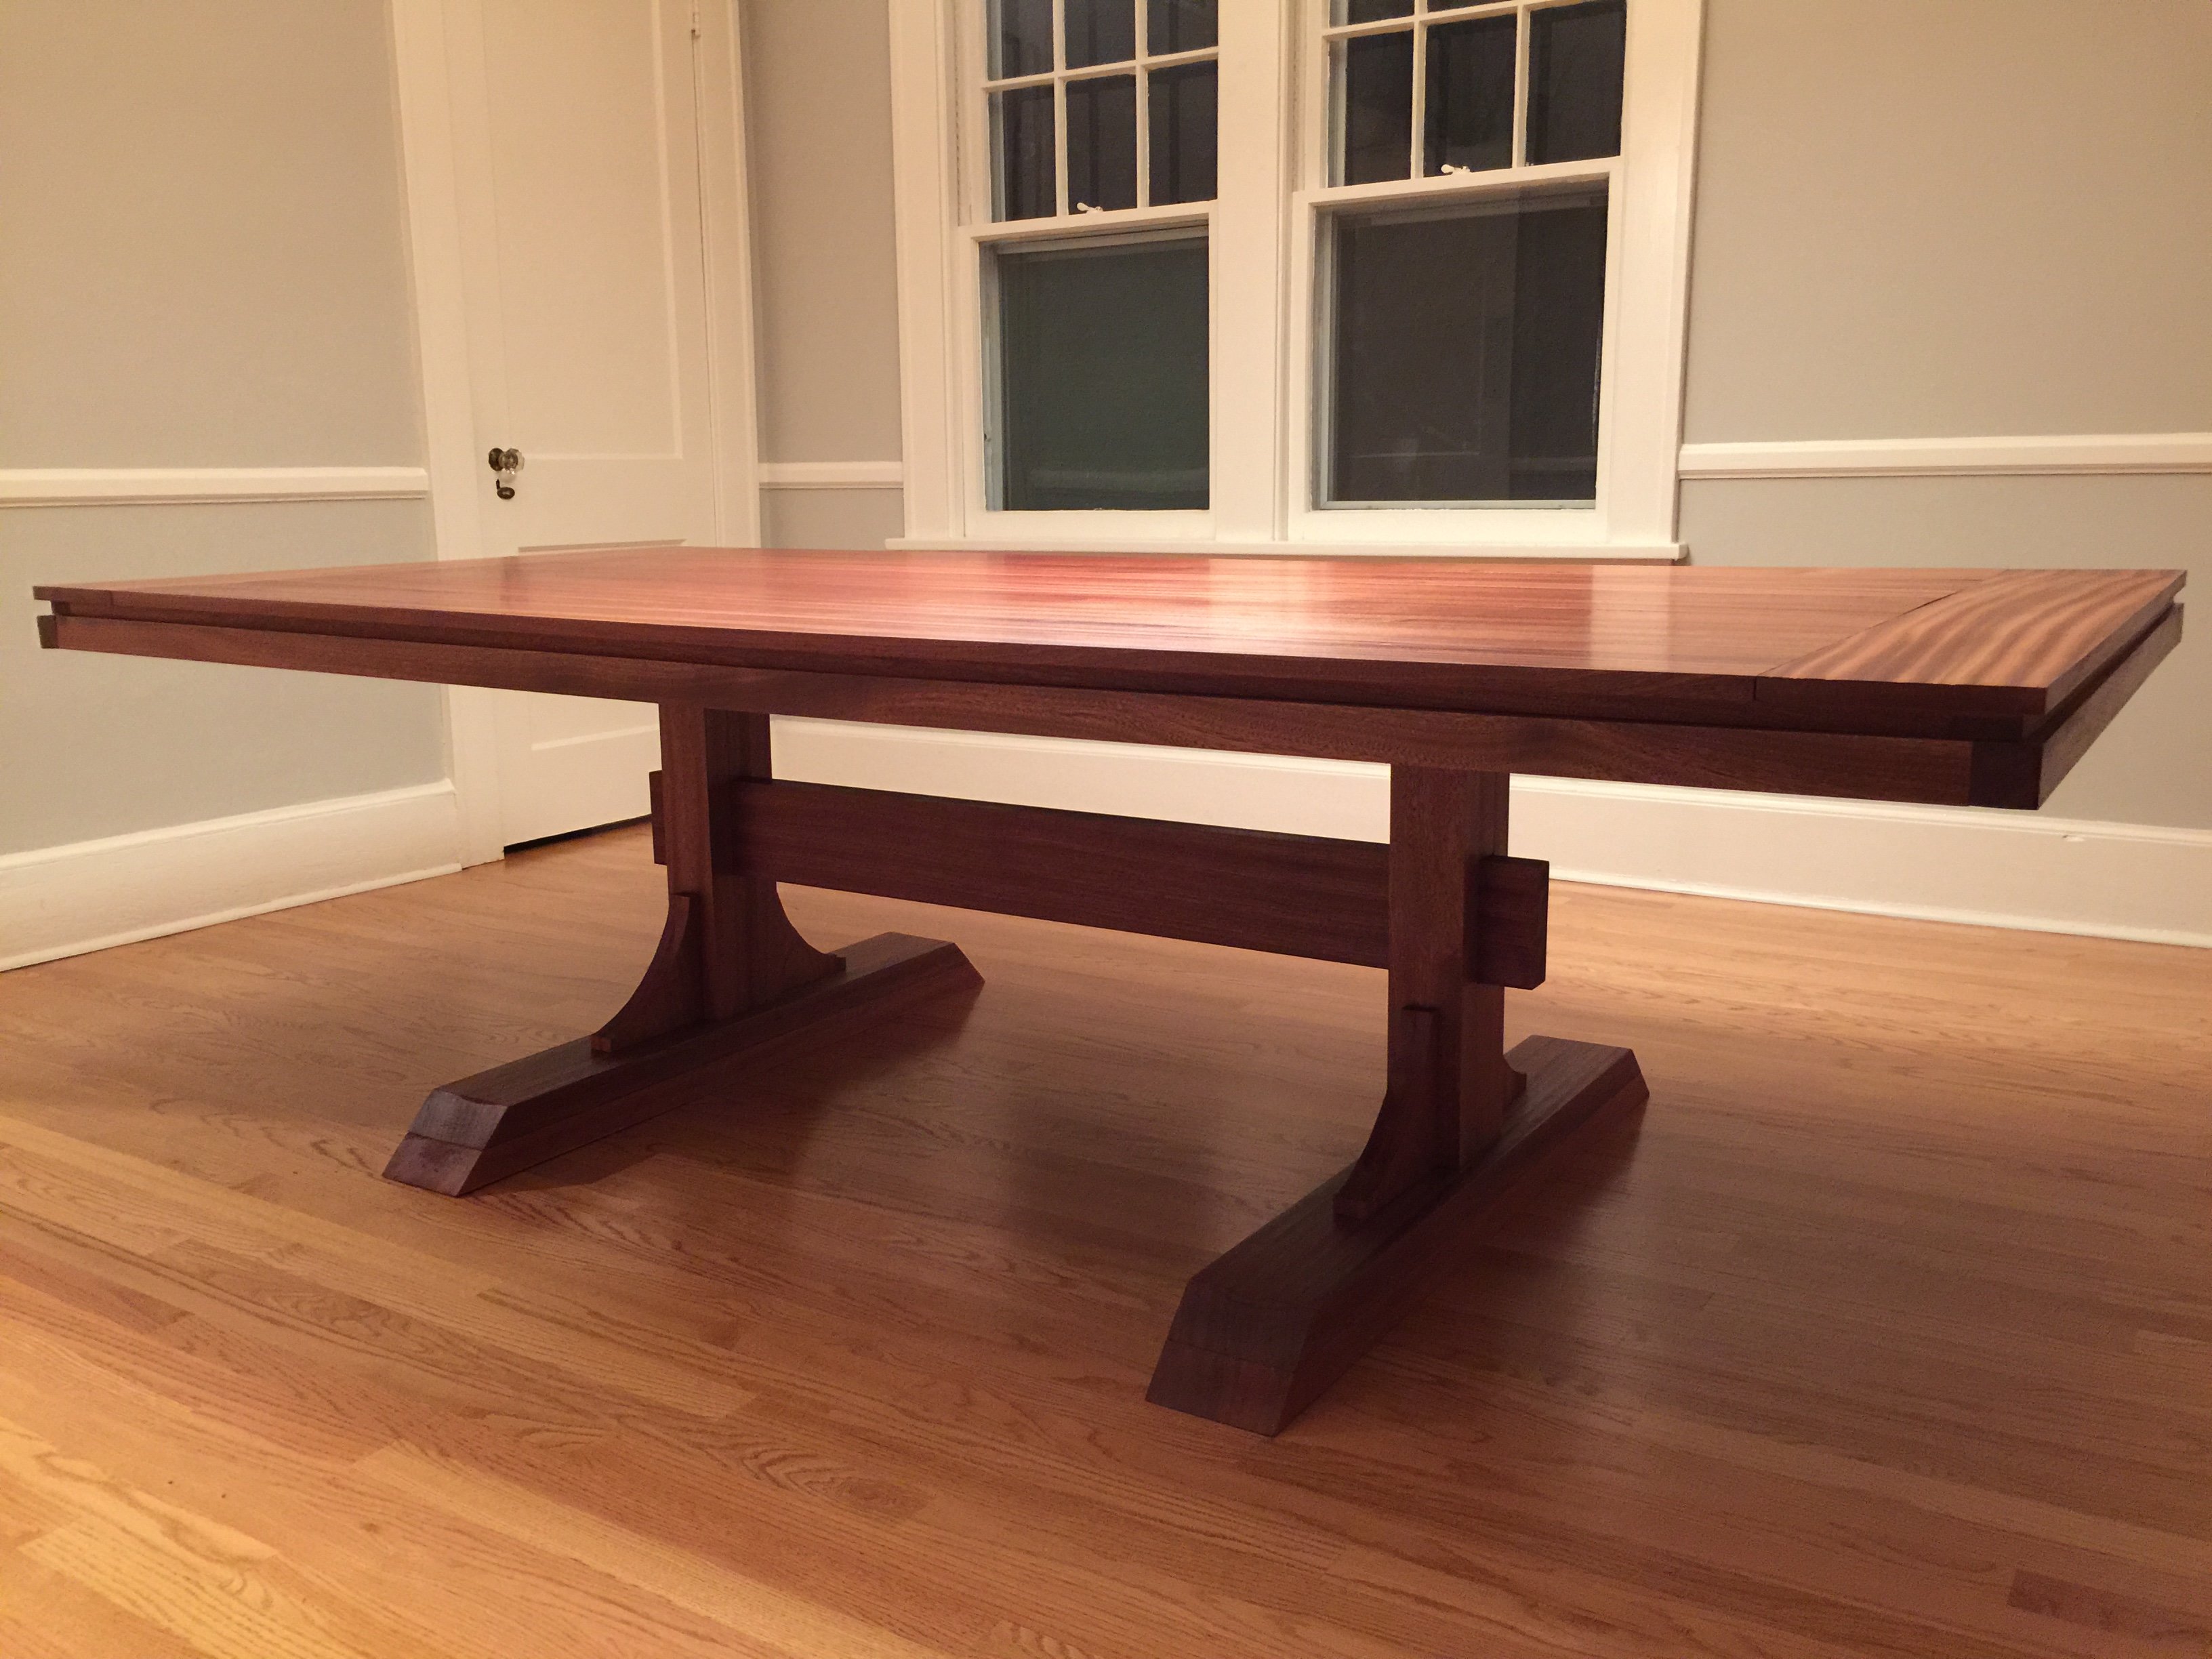
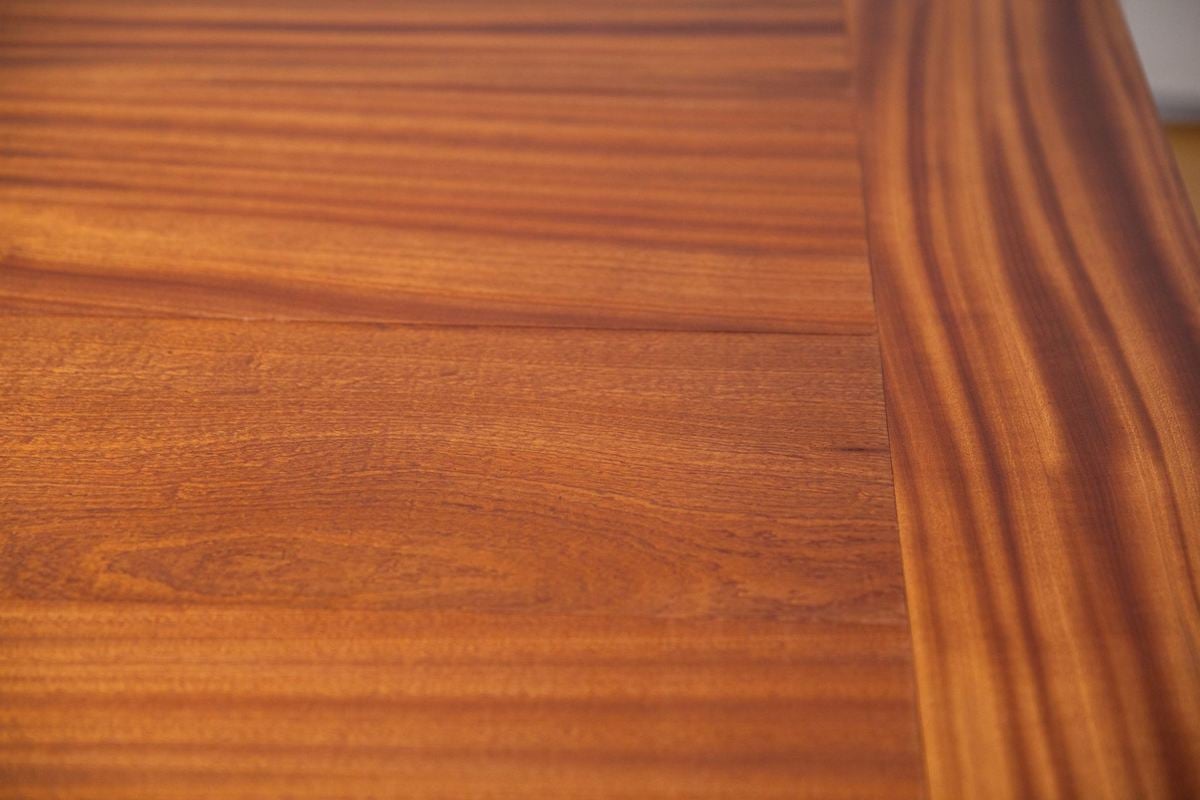
Mahogany Double Pedestal Farmhouse Dining Table
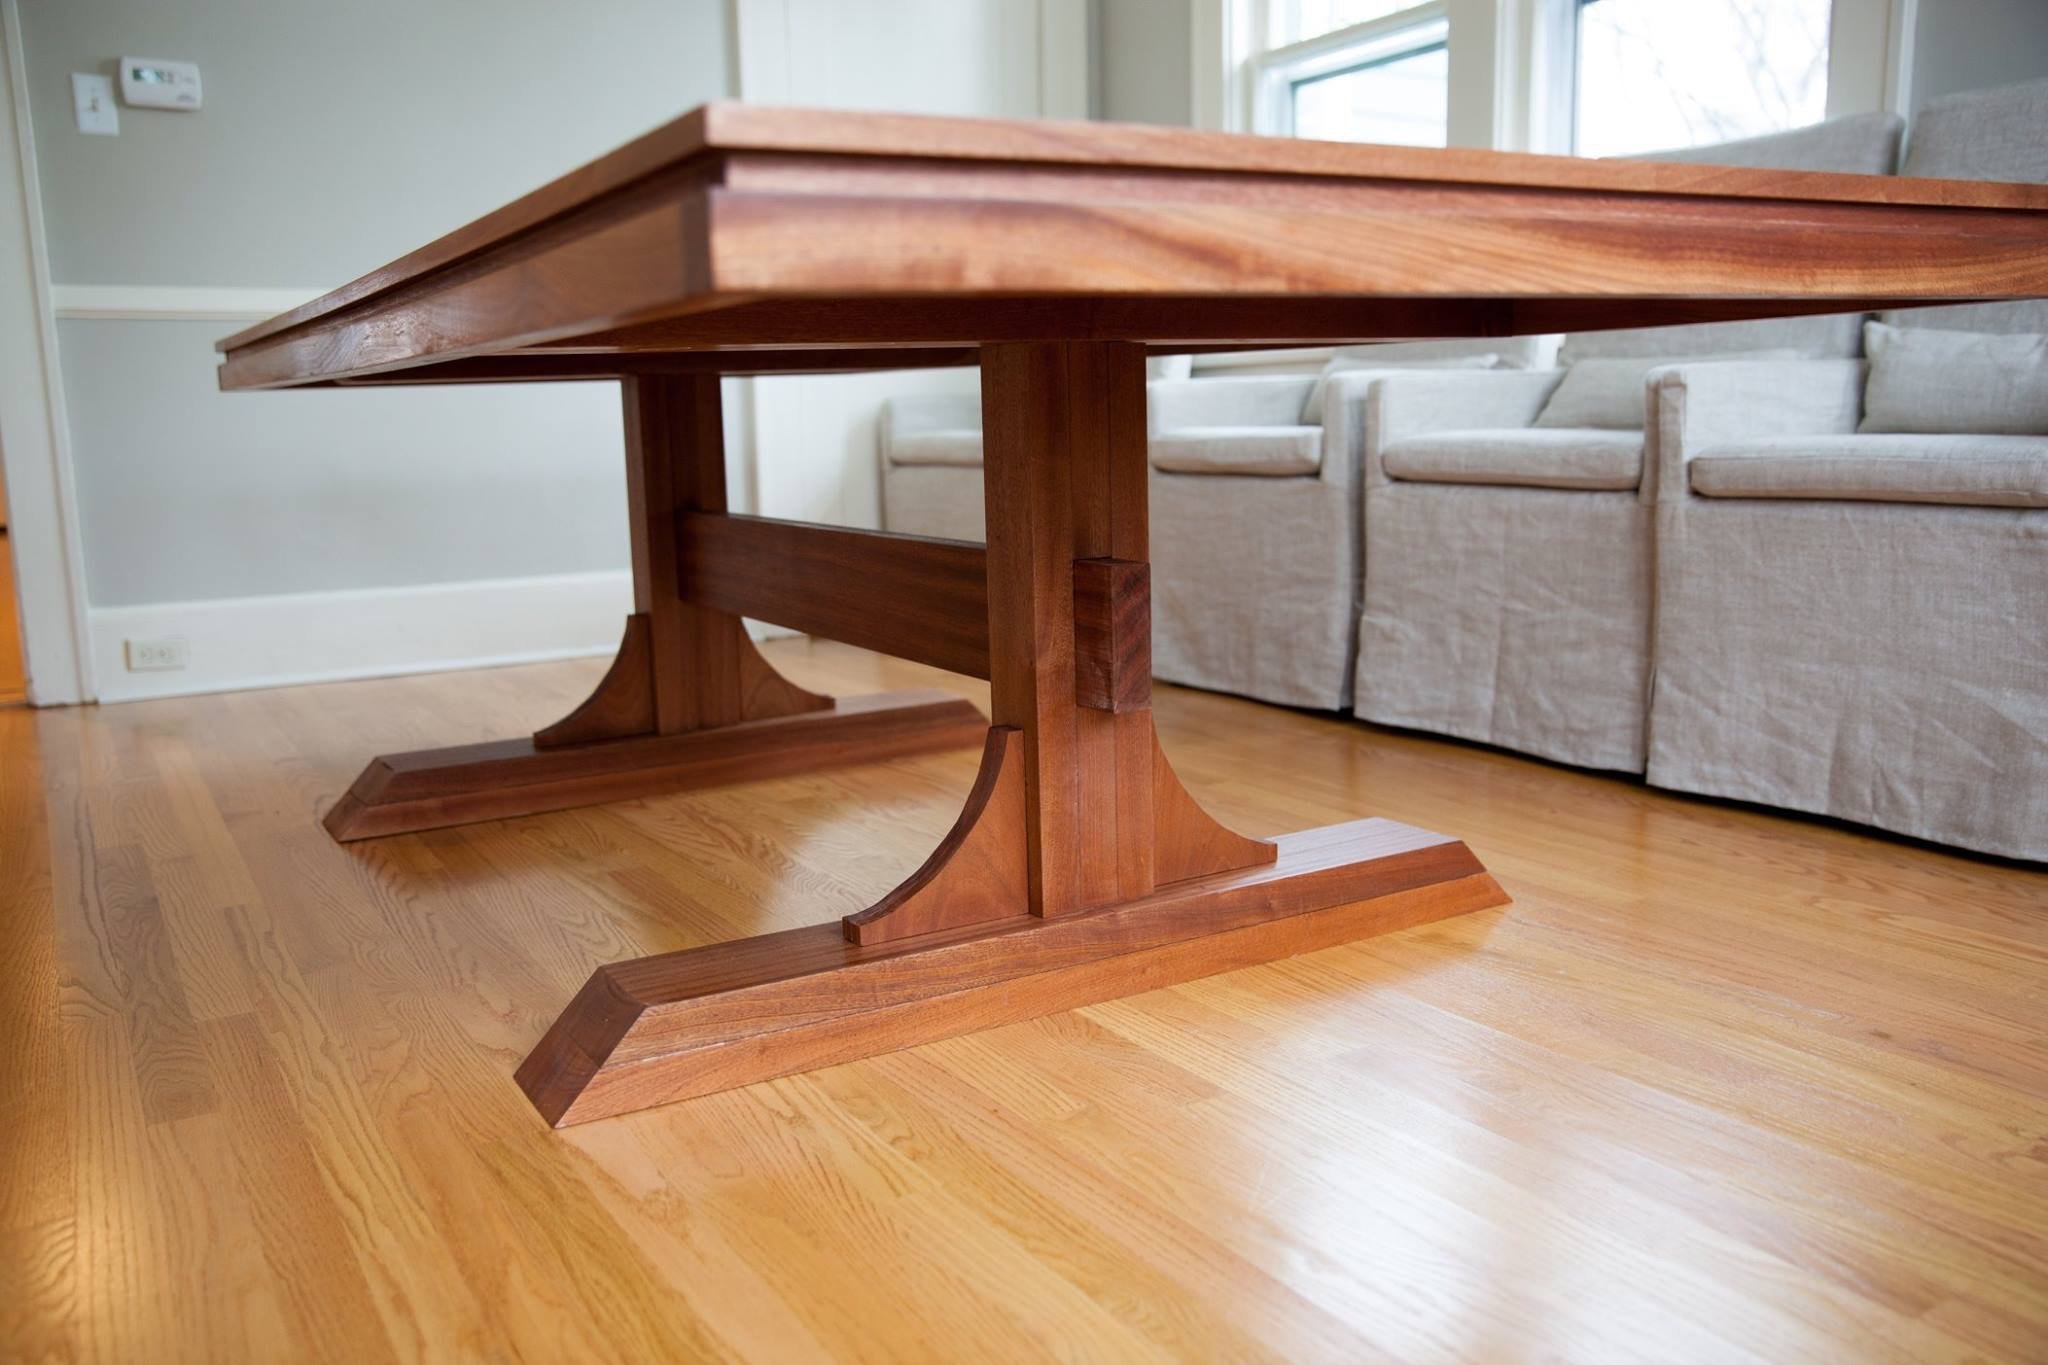
I decided to build a dining table after finding Ana's site and being encouraged from the straight forward plans and great brag posts. Thank you for the encouragement, Ana!
This project took much longer than anticipated since we changed around the plans, used mahogany which is unforgiving, and I'm a bit of a perfectionist so we spent a lot of time on each step to make sure things were correct. In terms of modifications, we used 1x12, 1x10 and 1x8s on the table top. We only made two pedestal legs so we could fit chairs on the end. The overall dimensions are 96.5" x 46.5" x 29". We kind of fell into those dimensions after having to change things to make sure the breadboards fit properly.
I'm happy to share any additional plans/information with folks who want to build a similar table. We didn't use a stain but rather just 3 coats of MinWax Wipe-On Poly. It really brought out the beauty of the grain and color of the wood!
Thank you again, Ana! I hope future generations will keep this table and think it's cool that their family made it. I'm planning to have a plaque engraved with our names and the date to attach to the table as well.

Built from Plan(s)
Estimated Cost
Since we used mahogany it was much more expensive. We spent ~$1700 on the wood alone, nevermind the tools etc.
Estimated Time Investment
Week Long Project (20 Hours or More)
Finish Used
MinWax Wipe-On Poly
Recommended Skill Level
Intermediate
Comments
Fri, 05/22/2015 - 20:41
Wow
Out of all the pedestal table plan variations yours is my favourite. Not only because of the beautiful wood but I like your modification of the base the best. Can you tell me what is the inner width between the two pedestal legs? Also how many people can you comfortably fit around that table and how many can you squish around? If you have a moment to answer my questions, thanks so much.
Annabel's Step Stool
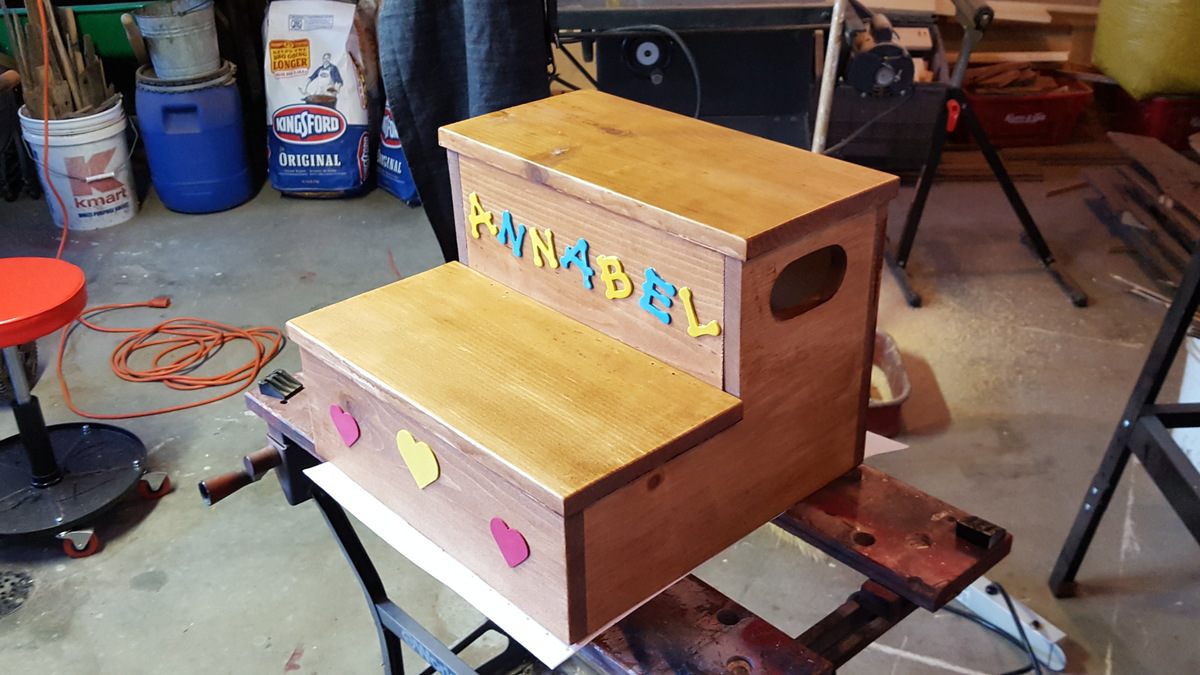
I built this step stool for my granddaughter after looking at quite a few different plans on the internet and not really finding exactly what I wanted.
Estimated Cost
$30.00
Estimated Time Investment
Weekend Project (10-20 Hours)
Finish Used
Minwax Polyshades
Recommended Skill Level
Beginner
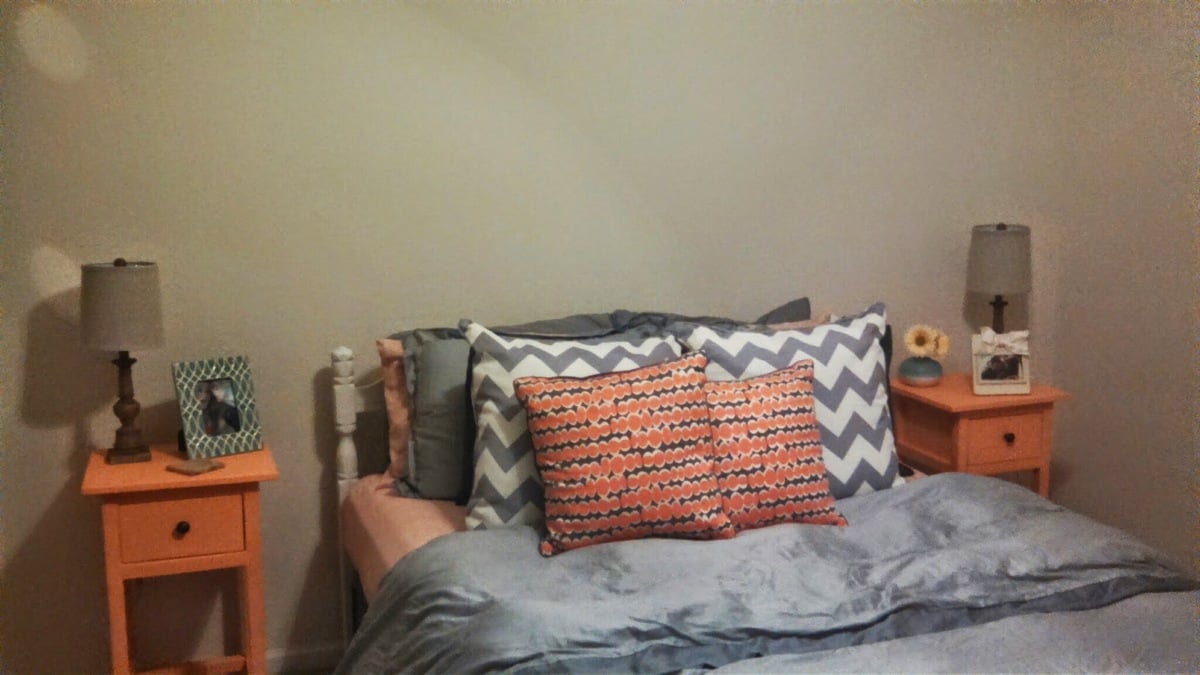
Farmhouse Bed
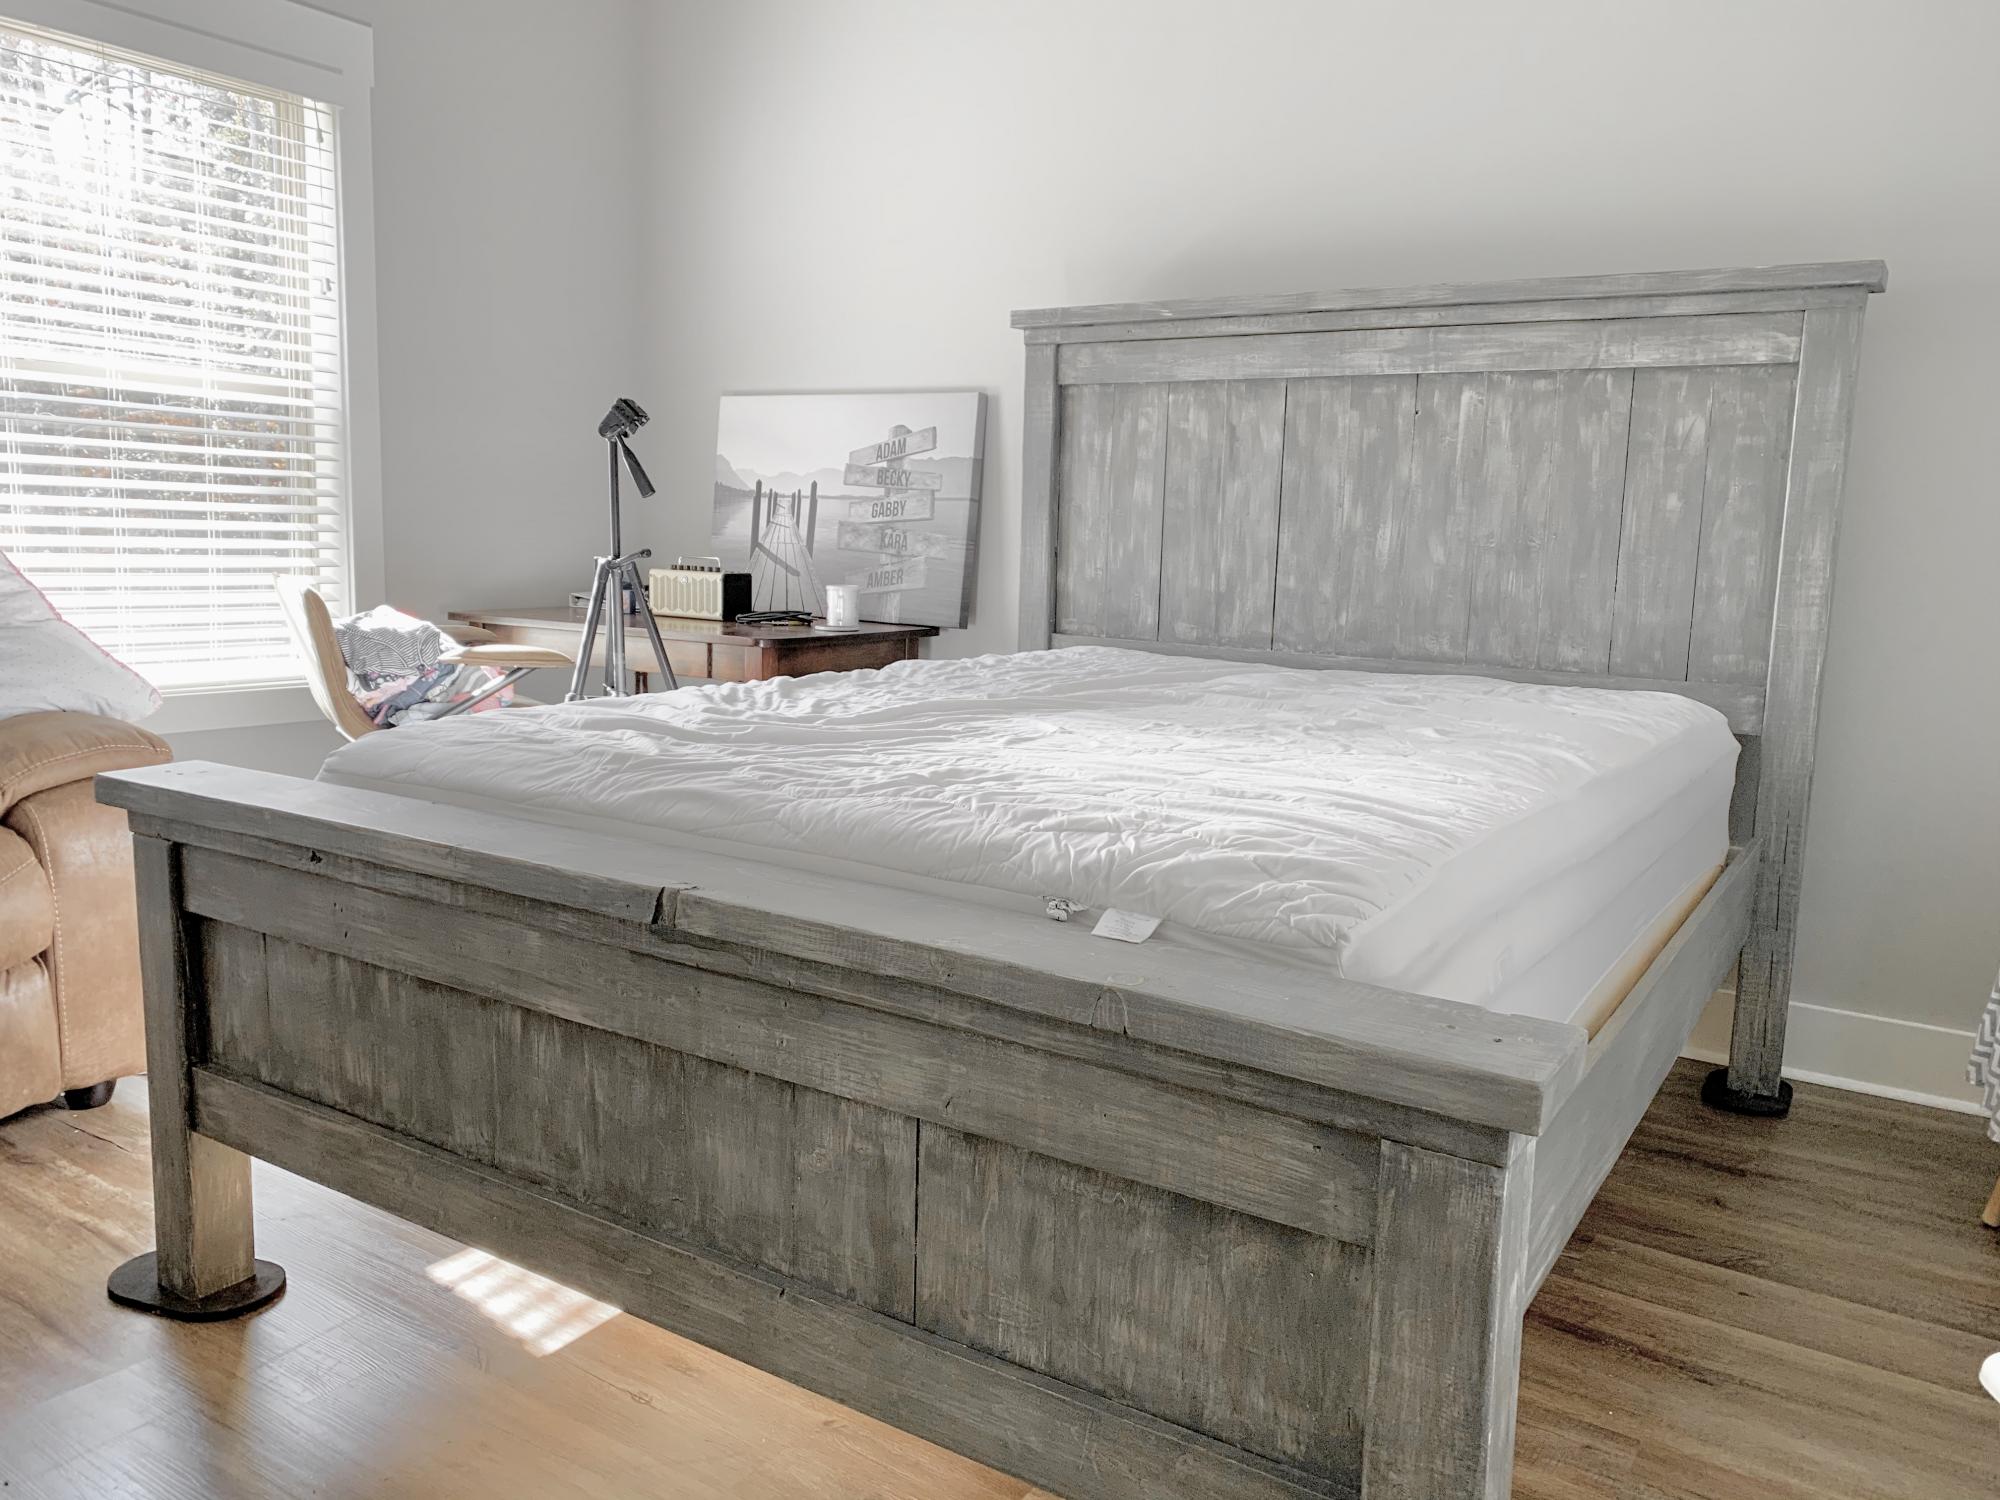
Did the farmhouse bed and modified it just a bit to create 12” of space between the floor and bed to give us a bit of storage underneath.
Estimated Cost
$20”
Estimated Time Investment
Weekend Project (10-20 Hours)
Finish Used
2 coats Grey water based semi solid stain, white dry brush, 2 more coats of water based grey to blend the white in. Finished with 2 coats polycrylic matte water based.
Recommended Skill Level
Beginner
Comments
My Wife's Christmas Present
This project was tough using pine since, from the big box store it's hit or miss on getting long boards that are straight. But clamps and sanding worked affectively. There were a few little nuances but for the most part it turned out great! It took me a while since it's cold here and the stain/polyurethane took a little longer than I would have liked.
Estimated Cost
$200
Estimated Time Investment
Week Long Project (20 Hours or More)
Finish Used
Red Mahogany
Recommended Skill Level
Intermediate
Comments

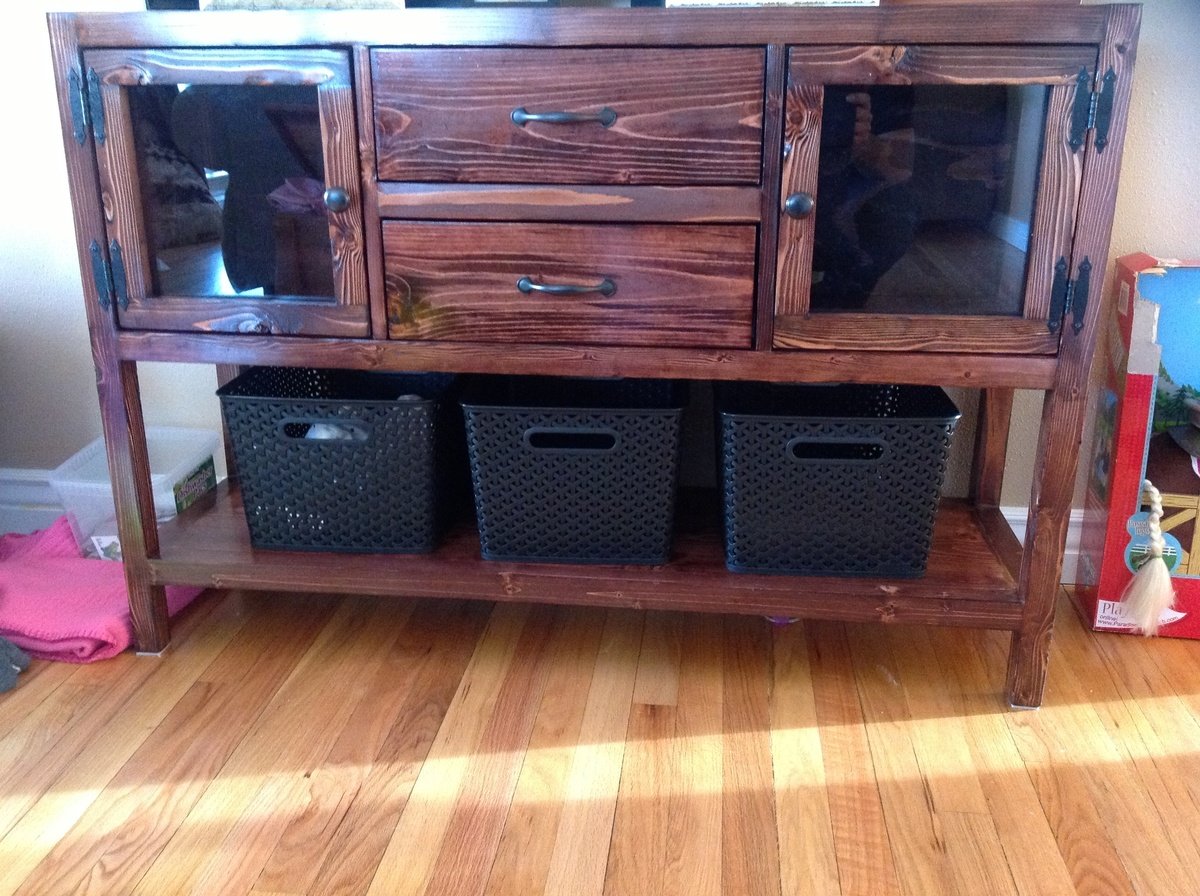
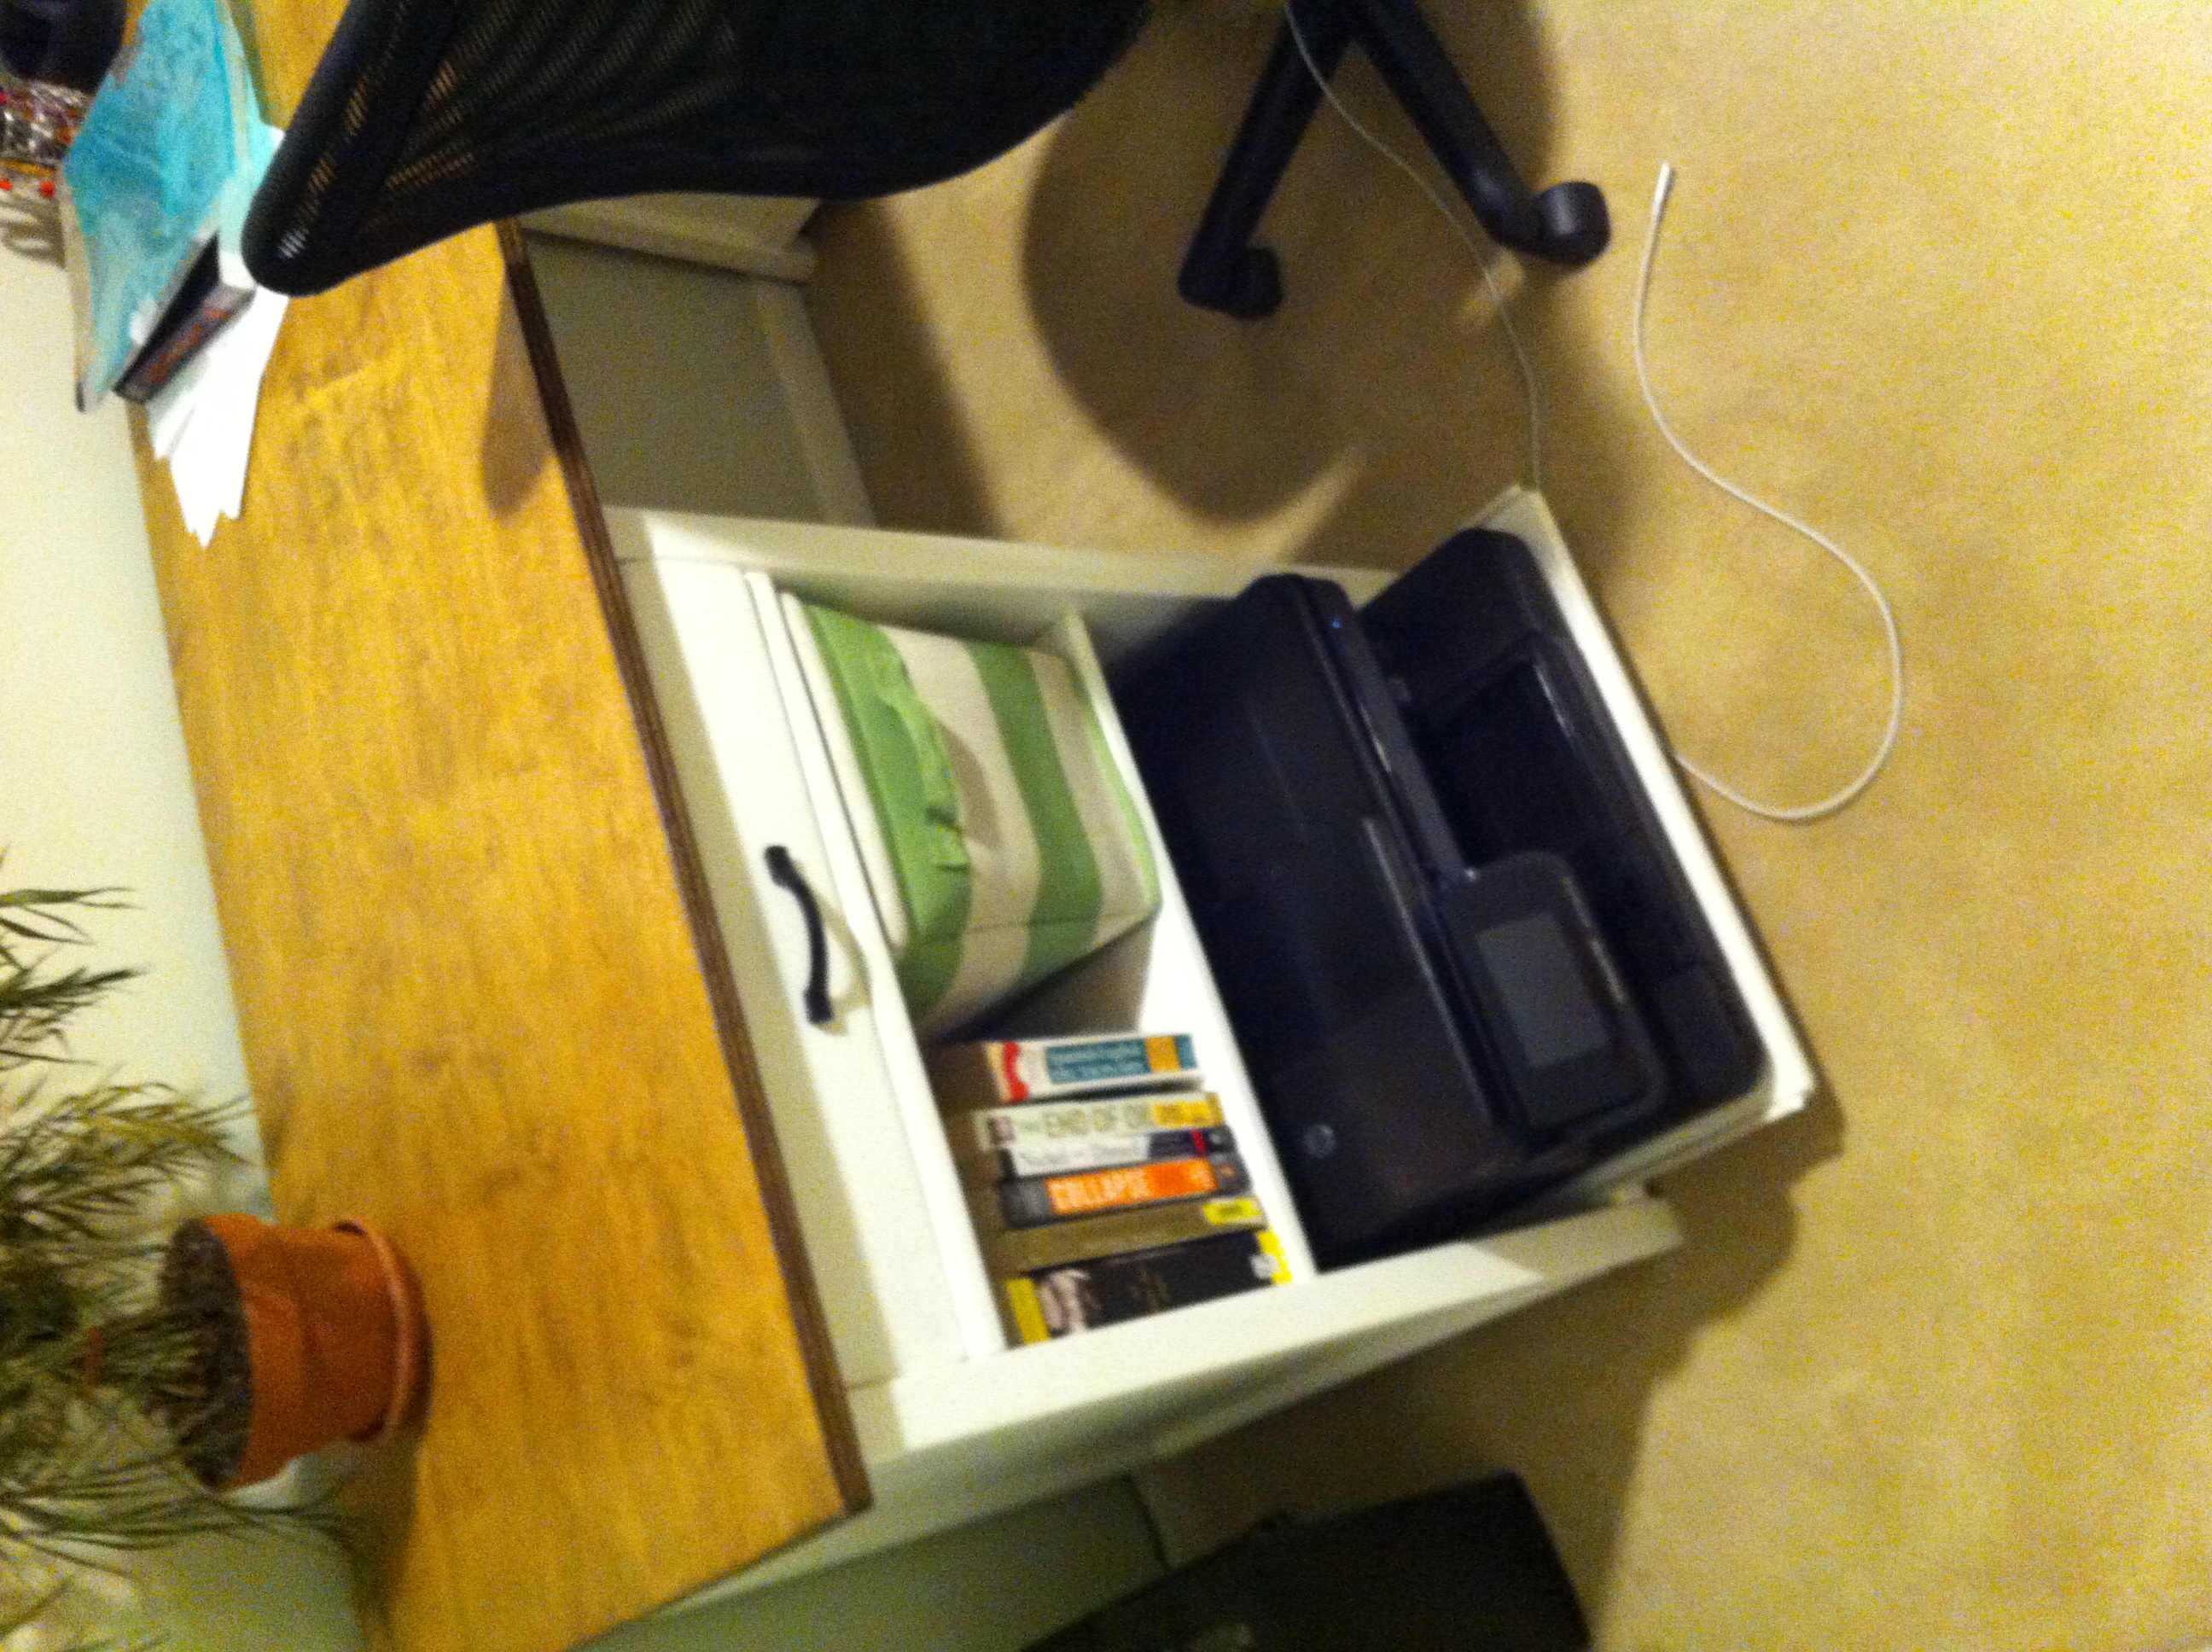
Office Desk
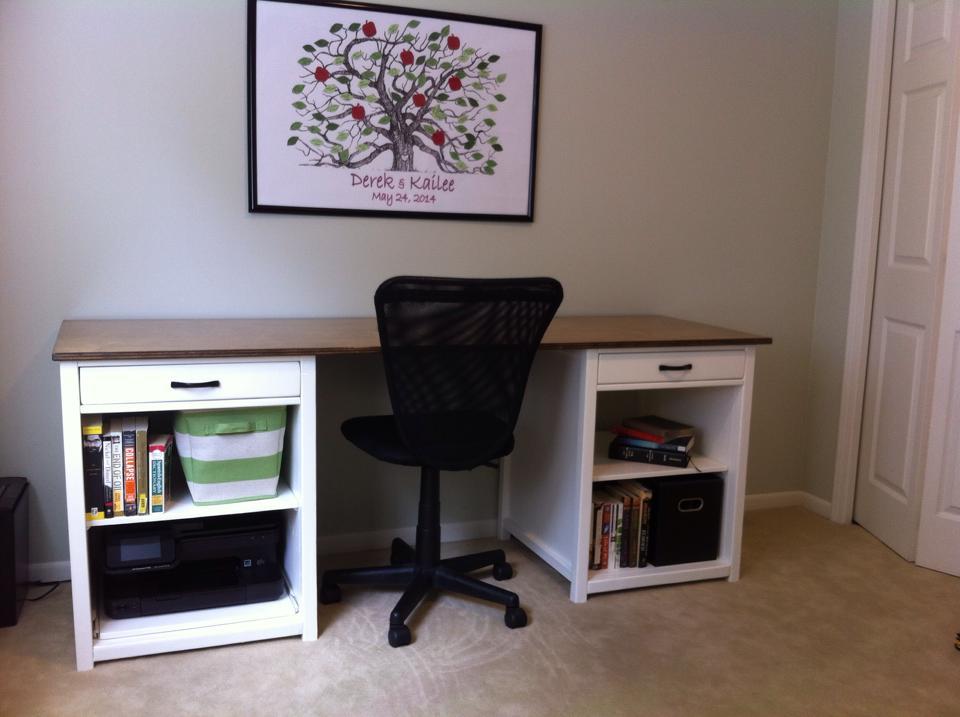
My husband is finishing up his last year of graduate school and needed a big desk for all of his engineering homework.
We changed the plans a bit by making the shelving unit a bit narrower (just wide enough to fit our printer), adding a second shelving unit (which then made the whole desk longer) and making the desk deeper so it would be easier to fit more stuff on top. We also added a sliding shelf so we could pull out our printer.
It ended up being about 72" long, 24" deep, and each shelving unit was about 20" wide.
This desk ended up driving up crazy. Drawers are SO difficult to get exactly square and perfectly lined up. The left one turned out a little bit crooked but we gave up on it and left it like that. This is the major reason I ranked this project as intermediate. In my opinion paint is more difficult than stain, because it filled in some of the gaps between the wood pieces but not all of them.
Our maple plywood for the desk top took our stain kind of funny so I spent a lot of time trying to sand out the messy parts. The polyurethane also went on funny, but when I finally had the third coat perfect and ready to go, someone left a paint can on top of the desktop before the poly was completely dry. I had to sand out the mark and start all over again with the poly. Argh.
Even with all the frustrations, we ended up very happy with this desk. If you look super close you can see the little mistakes, but from a normal distance the desk looks great! My husband can spread out with all of his homework!
Built from Plan(s)
Estimated Cost
About $115 with all of the paint, stain, poly, etc.
Estimated Time Investment
Week Long Project (20 Hours or More)
Finish Used
I used an off white colored oil based paint for the base of the desk. For the desk top I used MinWax Prestain and then two layers of Minwax Provincial stain. I ended up doing a total of four layers of Polyurethane on the desk top because of a mistake I made partway through.
Recommended Skill Level
Intermediate
Comments
X-base side table, round, all wood

Used wood top instead of concrete.
Built from Plan(s)
Estimated Cost
$20
Estimated Time Investment
Afternoon Project (3-6 Hours)
Recommended Skill Level
Intermediate
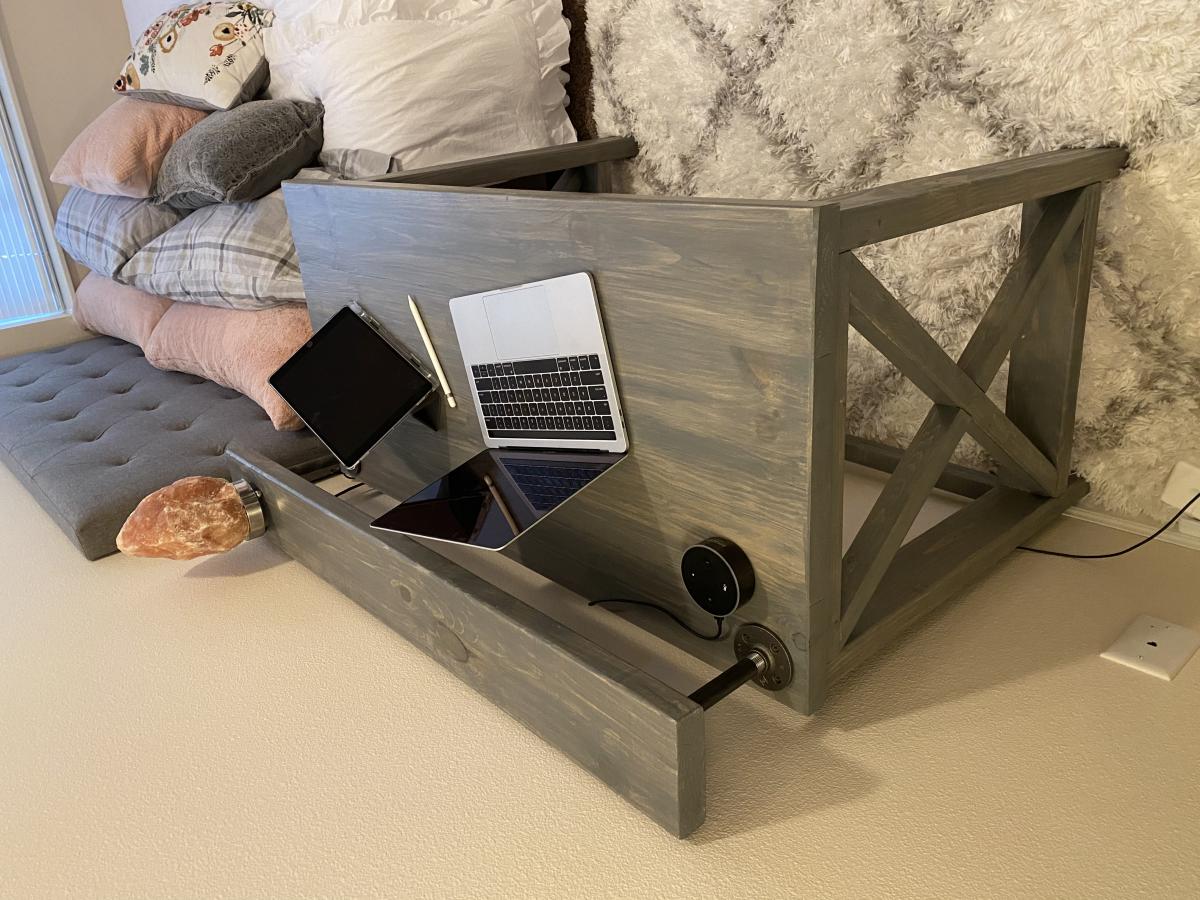
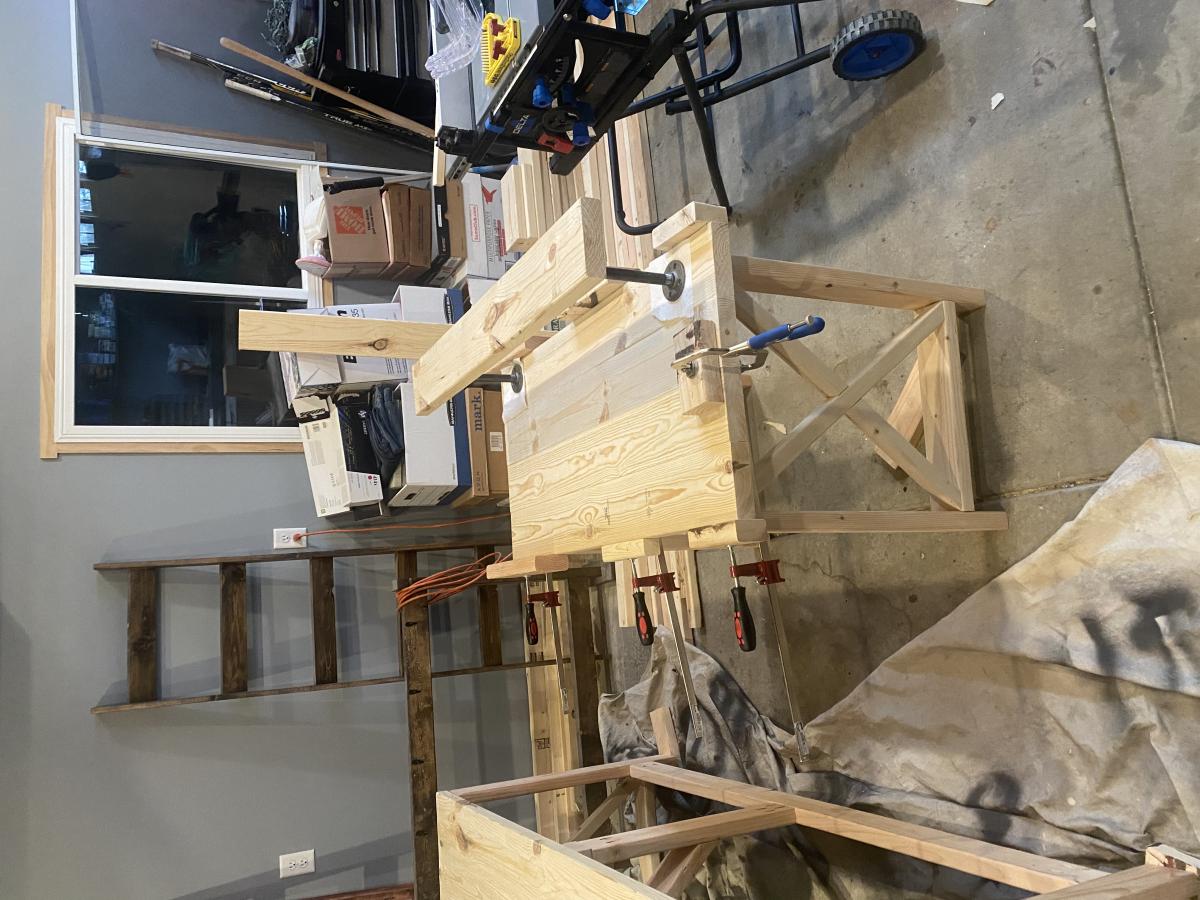
Rustic X desk
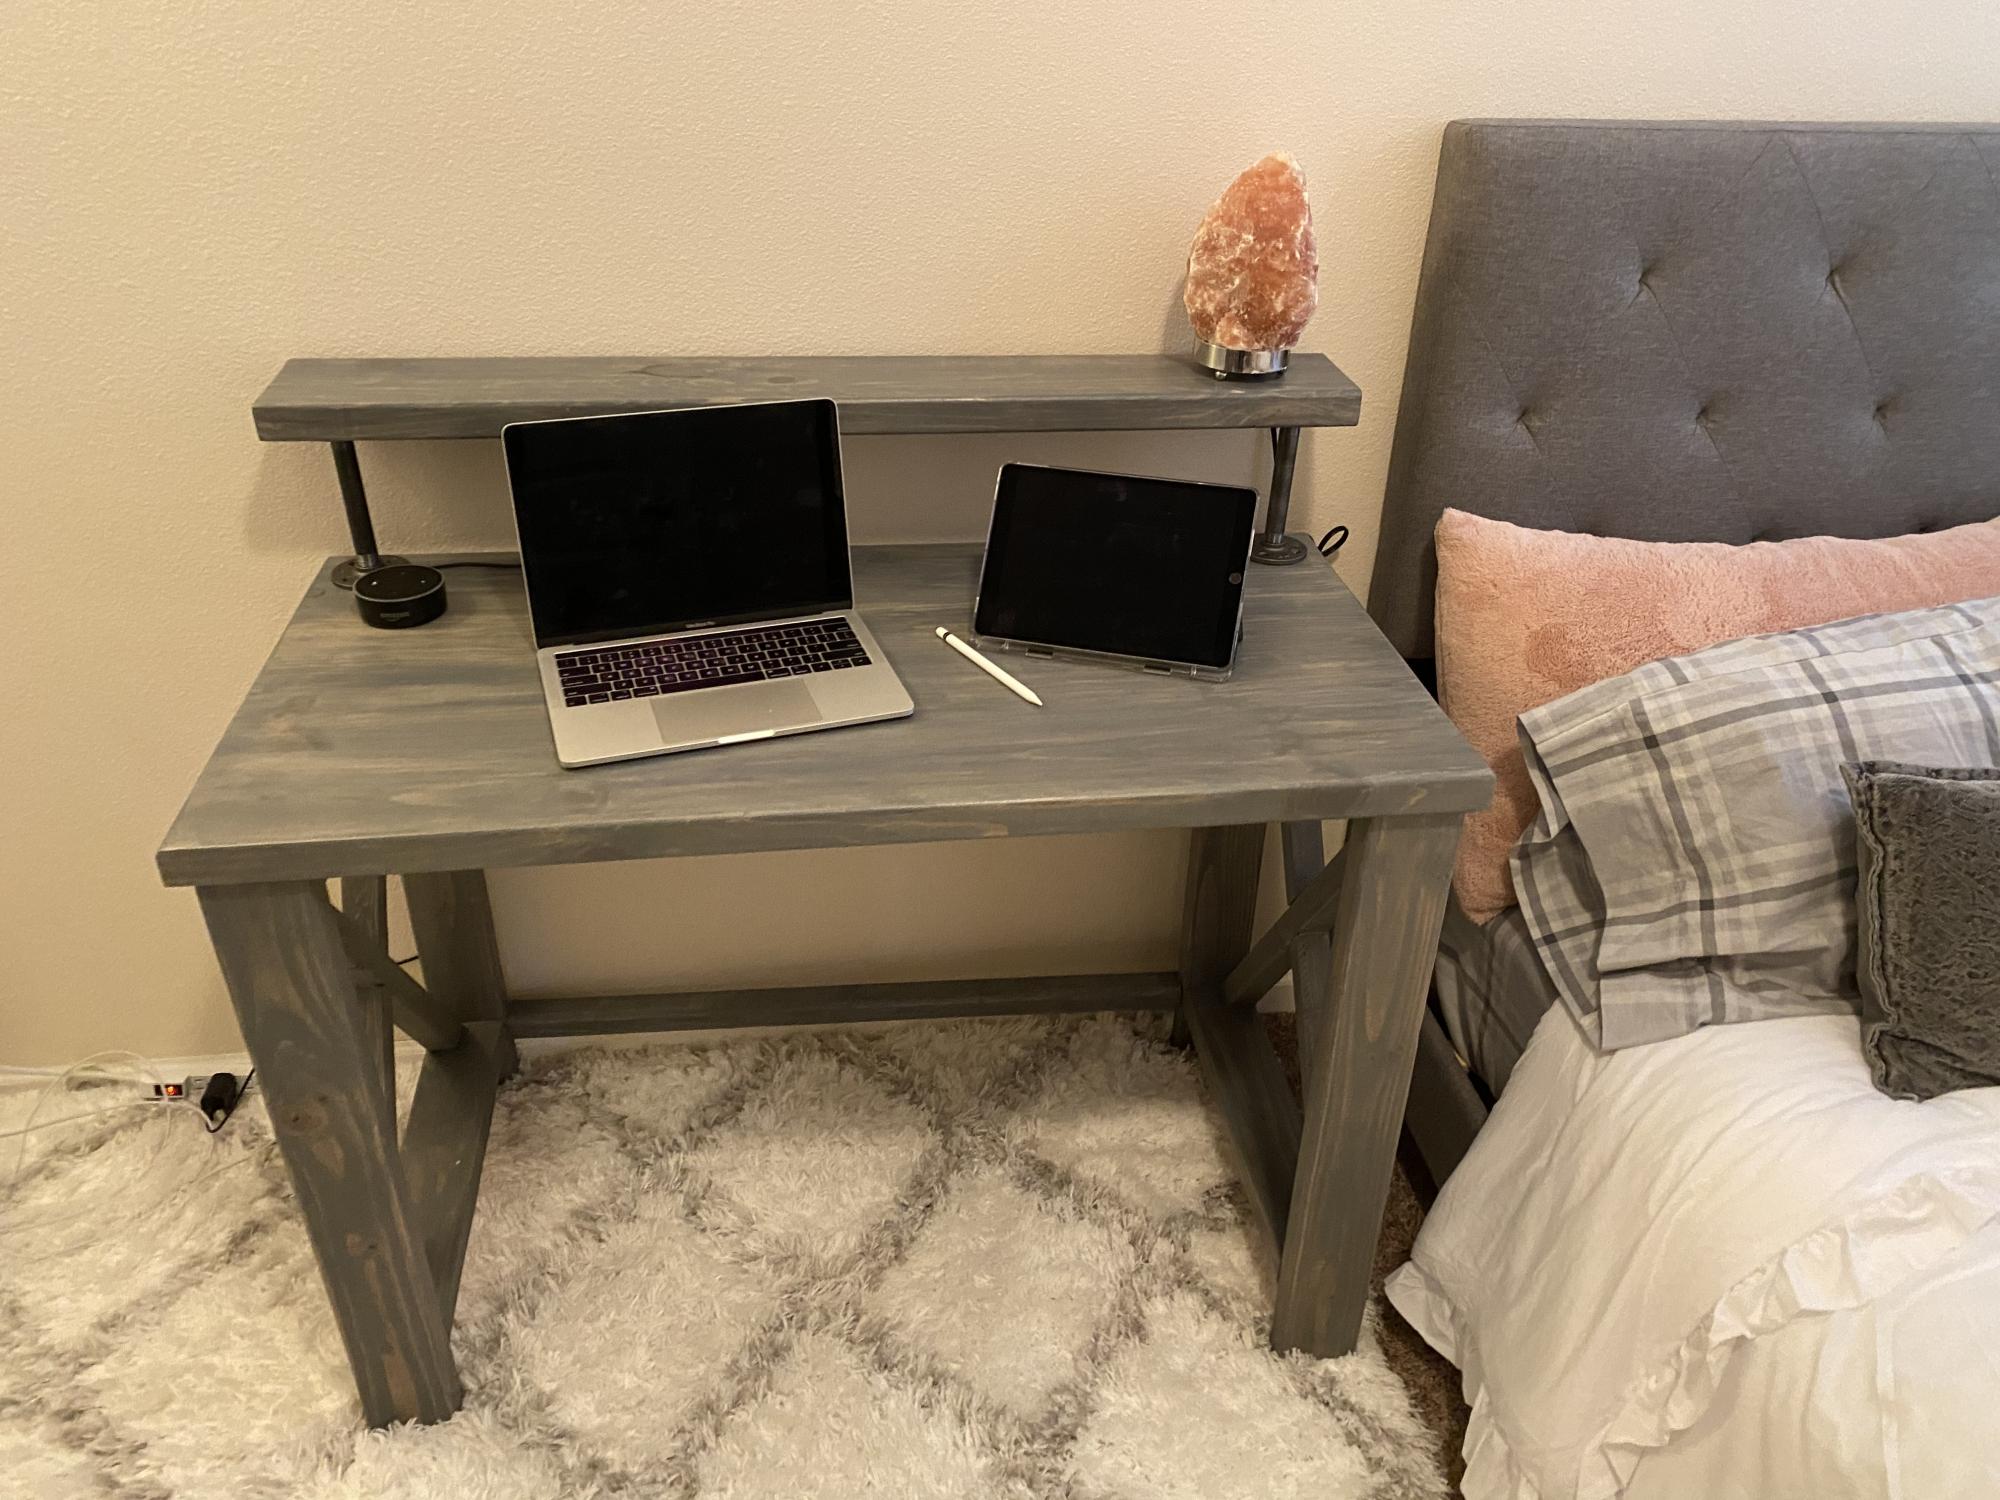
Xmas gift fir my daughter at college. Modified the standard Rustic X desk. Made this at 42 inches long , no lower shelves and added a small upper monitor shelf.
Built from Plan(s)
Estimated Cost
$100
Estimated Time Investment
Weekend Project (10-20 Hours)
Finish Used
Varathane Weathered gray
Minwax polyurethane
Minwax polyurethane
Recommended Skill Level
Intermediate