Community Brag Posts

Modern Slat Top Outdoor Bench

Submitted by TxDork76 on Wed, 04/23/2014 - 20:59

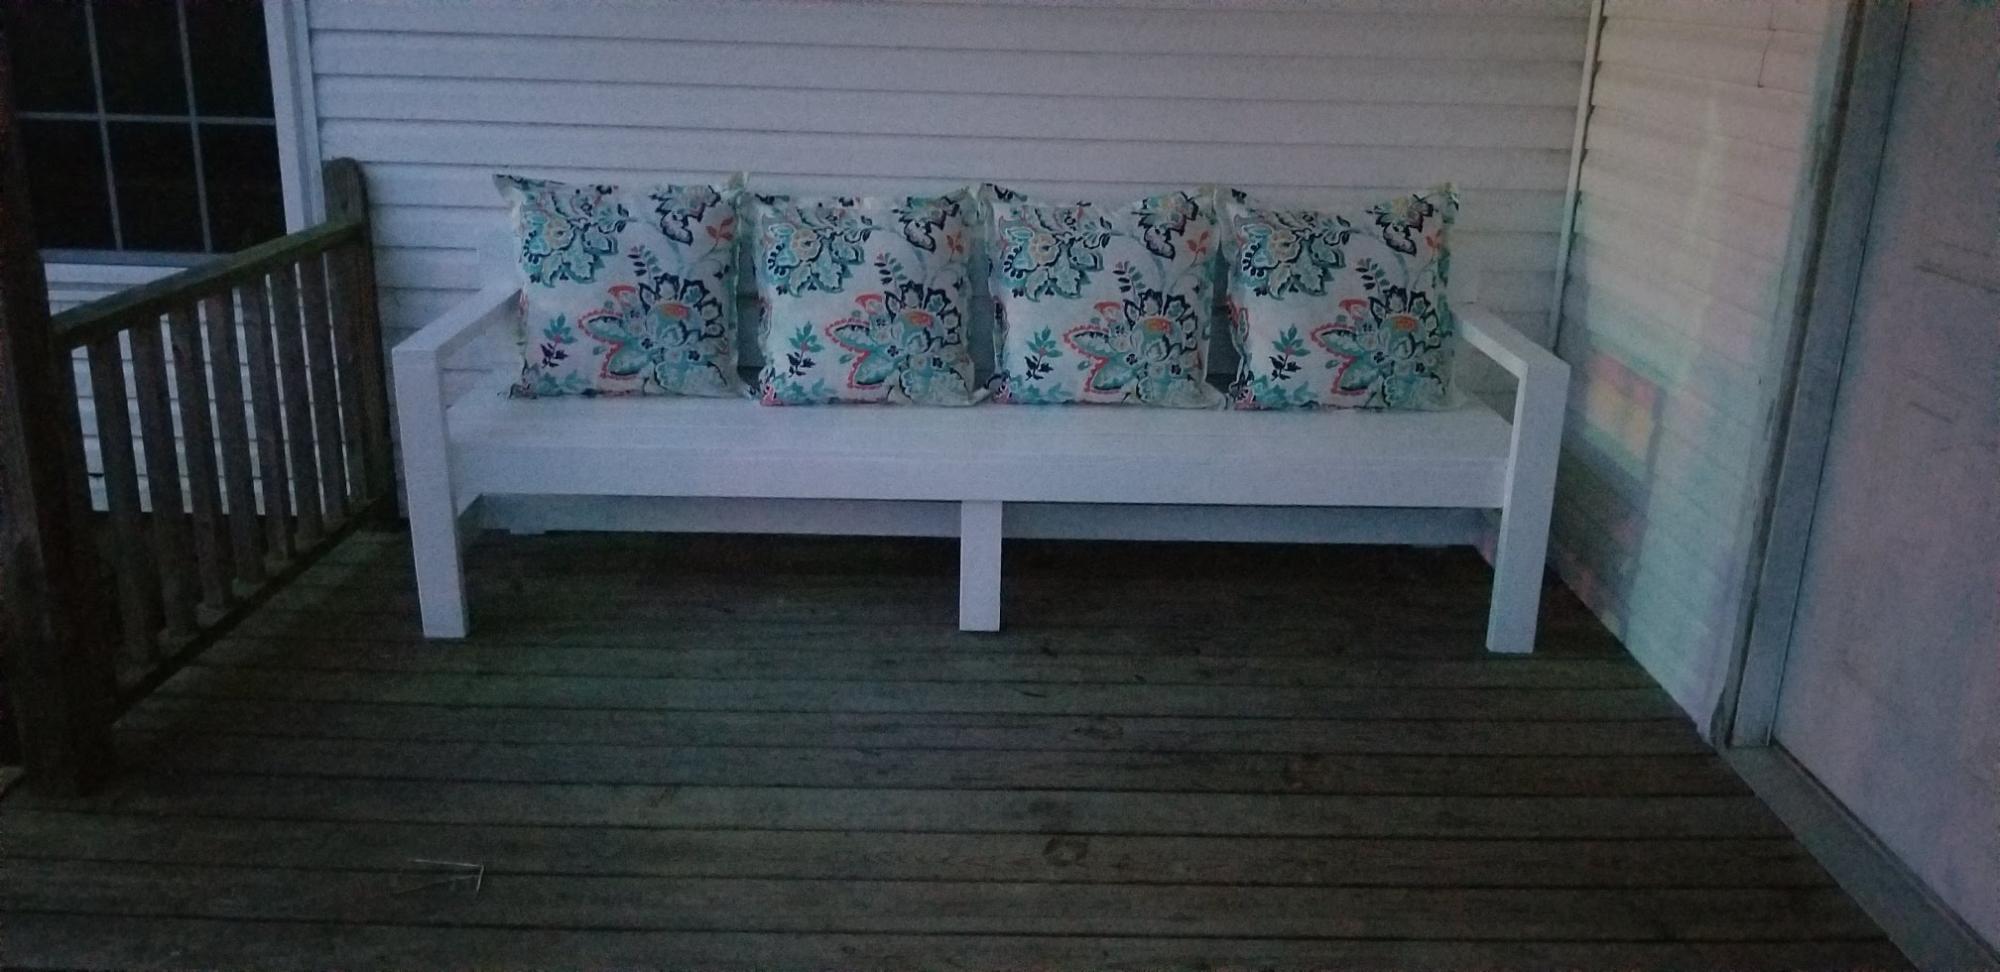
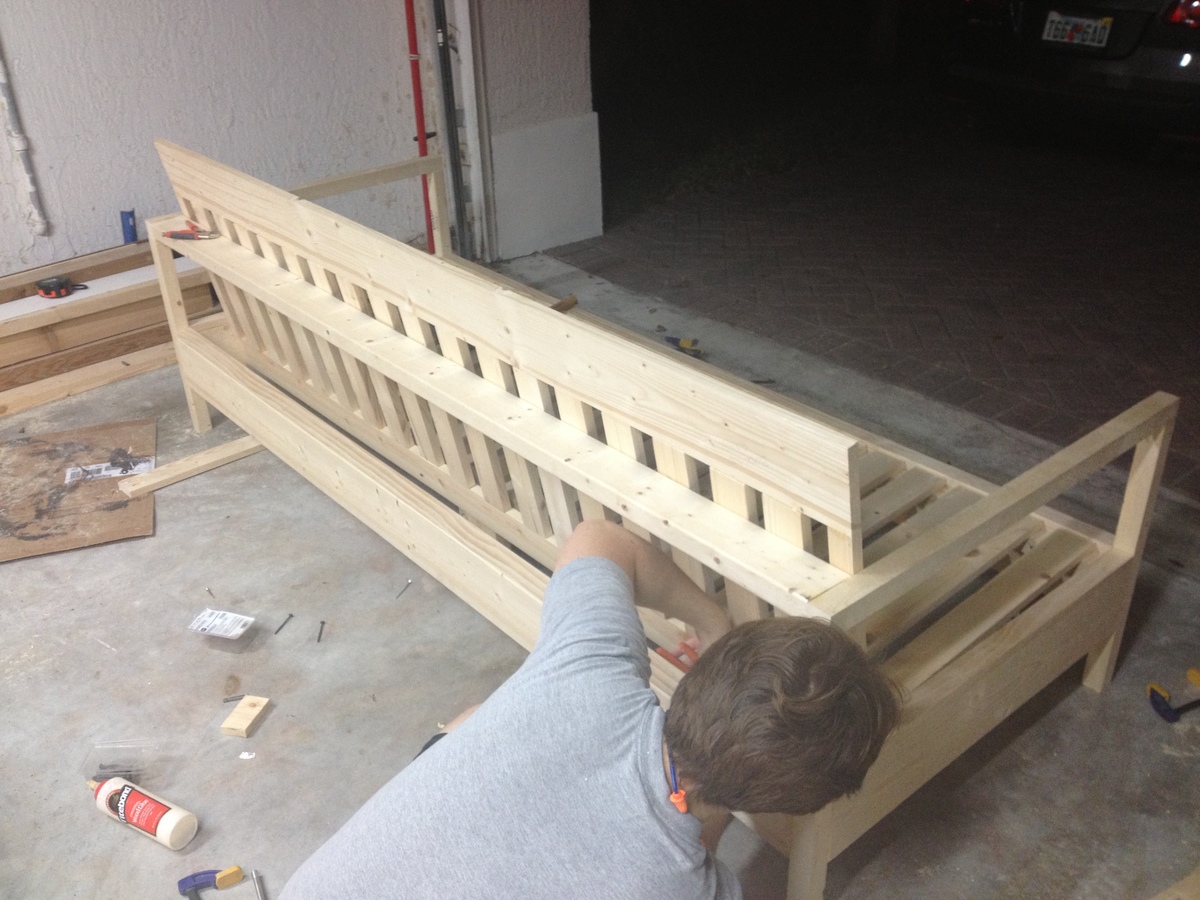
This was a super easy and fun bench to make.

I ended up having enough 2x4 and 1x4 scraps for the legs and only had to pick up a a couple of 2x4s.

TIP: Others pointed said that you should paint slats before assembly... I highly recommend it as well. It was a bit of a pain trying to get between the slats to prime and paint though would likely be easier w/ a sprayer..

Finished it with some oops paint in a nice color and a 3 coats of spray urethane.

Great beginner project for sure. It may take a couple of days to finish but most of that time is spent waiting for paint/urethane to dry between coats :)

Estimated Time Investment
Day Project (6-9 Hours)
Finish Used
2 coats primer, 3 coats Exterior latex paint, 3 coats spray urathane
Recommended Skill Level
Starter Project

Our Pacific Northwest Privy

Submitted by Anonymous (not verified) on Mon, 07/25/2016 - 11:25

We have a small rustic cabin that needed a clean, functional outhouse.  We followed Ana's plans, but with a few modifications to include a Solar gray polycarbonate roof to let in light.  We also decided on cedar board & batten for the siding.   We look forward to many years of use. 

Built from Plan(s)
Estimated Cost
$800
Estimated Time Investment
Week Long Project (20 Hours or More)
Finish Used
Behr - Cedar naturaltone Weatherproofing. All boards were cut to size and then stained with 3 coats.
Recommended Skill Level
Advanced

a little taller, a little less wide and used work holed spruce t & g for insert

Submitted by Anonymous (not verified) on Sat, 05/16/2020 - 08:05

I used discarded lumber from when they built our house a few years ago for the support structure. I only needed the headboard for our new split king adjustable bed. There posts are 2 2x6s sistered together. The top shelf is a 2x6 and the insert is 1x6 tongue and groove (got the idea from the fancy farmhouse bed and loved it!) blue spruce flooring with worm holes. I love it, now to do a mashup of the two nightstands with a drawer and a door 😁Thanks Ana!!!
Ps, my hubby also bought me the Kreg electric pocket hole machine for mother's day for upcoming projects. I didn't even know that was a thing until i saw your video... It's awesome!!

Estimated Time Investment
Weekend Project (10-20 Hours)
Finish Used
Sherwin Williams urbane bronze sample paint with a Annie Sloan wax finish. I love the depth of the wax finish and we won't be leaning against it since it's an adjustable bed so not a lot of wear and tear.
Recommended Skill Level
Intermediate

Farmhouse Bed

Submitted by tylerdr on Mon, 07/09/2012 - 00:26

The only thing I did different was I pocket hole screwed each slat together before attaching the top and bottom trim. Took a little bit longer but that's just the way I did it. Not sure if it made it easier or sturdier or just took more time.

Built from Plan(s)
Estimated Cost
$100
Estimated Time Investment
Weekend Project (10-20 Hours)
Finish Used
Minwax Polyshades Mission Oaks Gloss 2x and Poly 2x.
Recommended Skill Level
Beginner

PLANKED WOOD SIDEBOARD

Submitted by tejendra on Sun, 04/27/2014 - 11:39

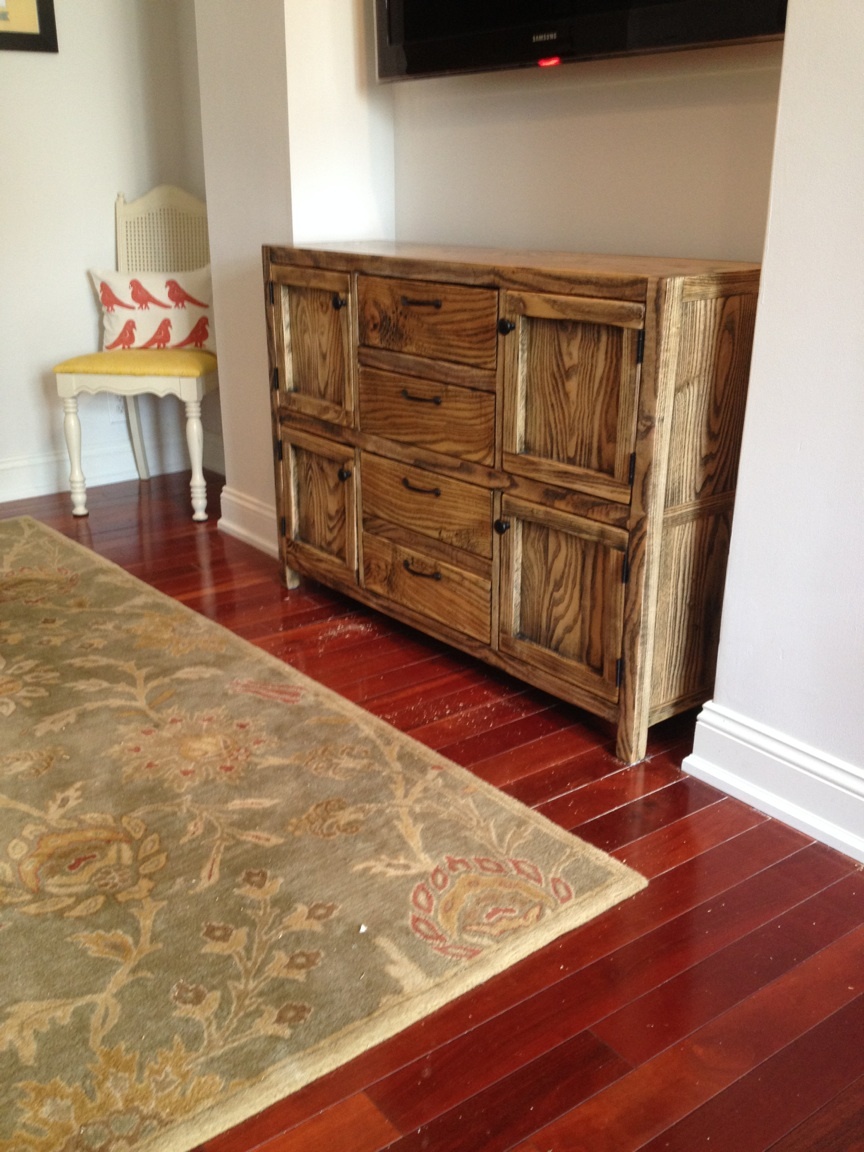
First of all , a big Thank you to Ana for her website and plans. This has become our favorite site since we discovered it a few weeks ago.It took us about a week to build this sideboard.

We had to modify the plans a little bit. We reduced the length from 84 inches to 60. It made us change all the sections, drawers etc. The width and height of the sideboard were kept the same as the plan.

One good thing we did was to cut the pieces on a miter saw. I guess this is the most important part of the project(after cutting them to correct dimensions). If your pieces are cut square and accurate, half of the battle is won. During assembly, we focused on keeping the joints square (Thanks to many brag posts mentioning its importance.). After that it kept building on little by little. Every evening we would advance a little.

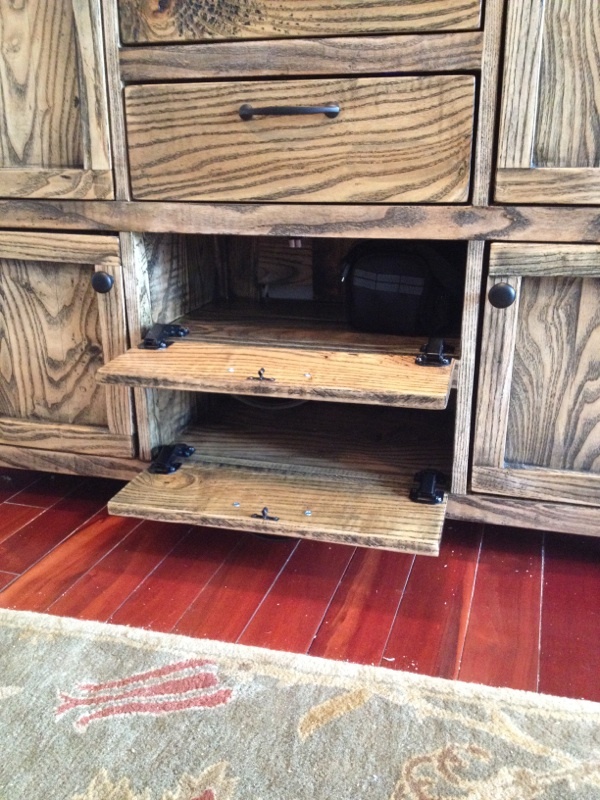
The drawers and the doors were made as per the dimension and fit OK. We got stuck on the hinge installation. We did not know how and did not want to cut mortises etc. After about an hour of browsing the web and videos we discovered non-mortise hinges and that hurdles was crossed also.

We used pine for 1x2, 1x4, 2x4,and 2x6s. for bases and shelves , we used 3/4" plywood as given in the plan. for door paneling and the back of the sideboard we used 1/4 plywood.

We used minwax prestain and minwax oil based Red Mahogany stain. We had to apply three coats of the stain to bring somewhat uniformity across the whole sideboard. For topcoat, we used oil based polyurethane.

Final thoughts: Do your homework well. Go though your plans to build a correct mental image. You will build a beautiful piece of furniture which will be better than your imagination and hold a different meaning. Cant wait to build another beautiful piece.

Built from Plan(s)
Estimated Cost
$250
Estimated Time Investment
Week Long Project (20 Hours or More)
Finish Used
Pre stain: Minwax prestain. Stain: Minwax Oil Based Red Mahogany. Finish: Minwax oil based Polyurethane

We used one coat of the pre-stain. While staining we noticed that the stain was absorbed in varying strengths at different sections because of variation in wood quality. We did three coats of the stain to make it somewhat uniform.

After staining we did two coats of oil based Polyurethane.
Recommended Skill Level
Beginner

Comments

Triple Pedestal Farmhouse Table

Submitted by Anonymous (not verified) on Wed, 07/27/2016 - 13:07

First, this table came out amazing because I started with amazing plans.  I went off the plans for a few minor tweaks and also added some accents that are not part of the original plans.


Our table is 100" long due to the size of the room.  This allowed me to keep the three pedestals and still have the table look appeasing to the eye.  Kept it at 40" wide and 30" high give or take a 1/4".


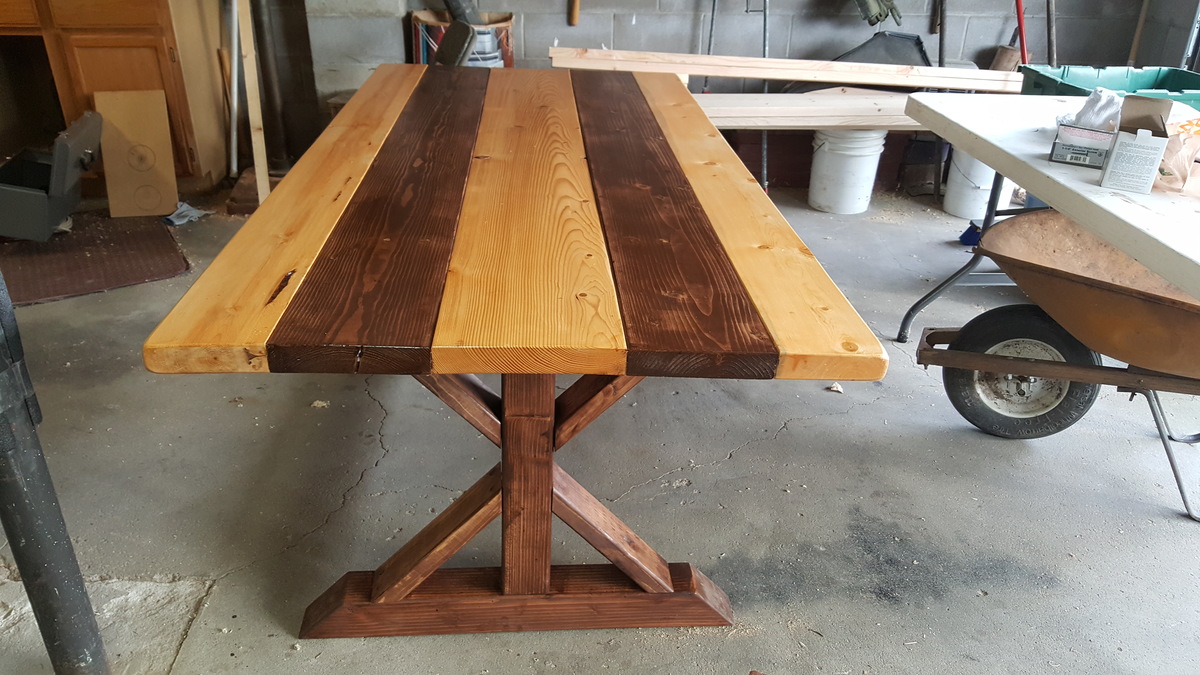
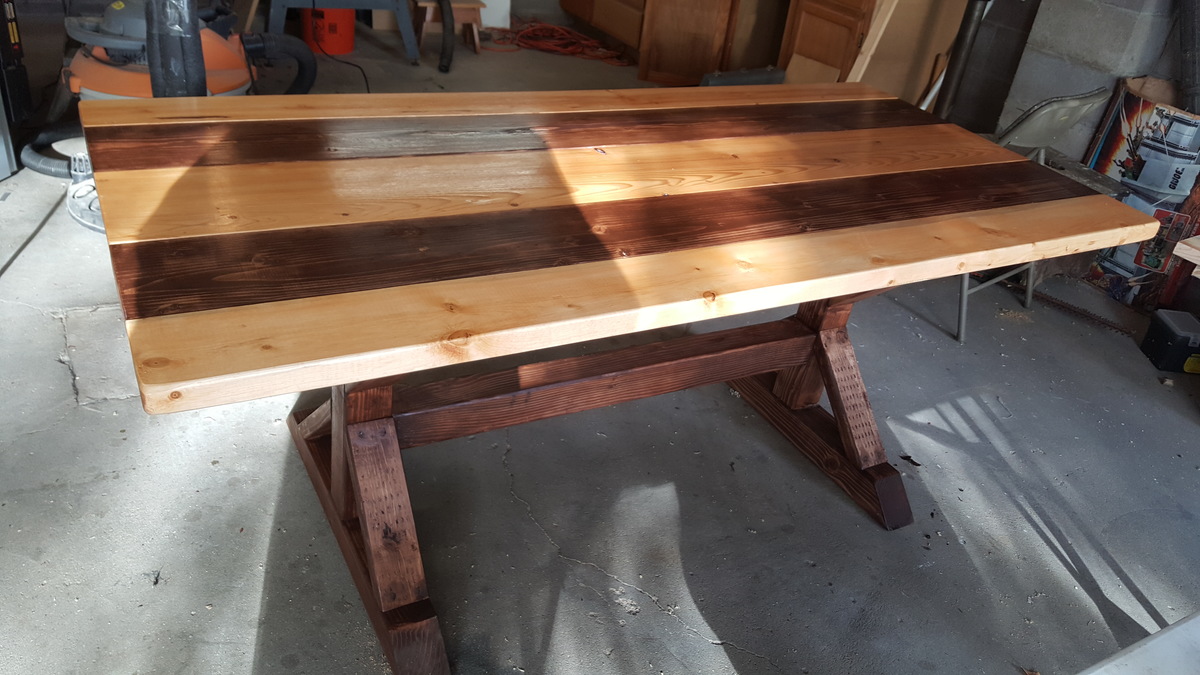
The two tweaks from the plans I can remember at this point are my long rails at the sides of the table do not extend the length of the table.  The two end pieces are 40" instead.  This is because I didn't buy long enough 2x4s and only realized this once I got to those cuts.  Not a big deal, I'm actually happy with the result.  The second tweak is no inner rounded edges.  2x4 lumber is rounded on all four edges.  Within the interior of the table, I wanted flush contact with all pieces.  Since cutting one edge off of a standard 2x4 would bring it to about 3.25" wide thus effecting the overall width of the table, I decided to rip down and plane a 4x4 then route the out edges to get that round edge back, but on one side.  


As for the the add-ons that the plans didn't call for...  For one, I added accent lag bolts spray painted to a similar color of the table at the four corners of the top and two on each leg kicker.  These bolts are for esthetics only.  The six bolts going through the legs into the 2x6 lock the 2x6 and the legs into place so they can't slide apart.


Lastly, I created wide wire wheel using a lag bolt and 5 5" brass fine wire wheels to give the table a distressed weathered look.  This is difficult to see in photos but in person looks really nice.  My favorite feature of the table.


Lastly, I stained the table with White Wash Pickling.  As soon as I finished spraying and wiping, I went to the briarsmoke then vigorously wiped it away to bring out the white underneath, especially on the knotted areas.  


Overall, I couldn't be happier with the table.  I want to thank everyone who posted photos of their tables.  They were all an inspiration me and my build.  If you have any questions, please feel free to contact me any time!


Thank you,

Jerry

Estimated Cost
$200-250 not including tools and time
Estimated Time Investment
Weekend Project (10-20 Hours)
Finish Used
White Wash Pickling, Briarsmoke, Satin Poly
Recommended Skill Level
Beginner

Posted on Facebook, now have requests to build for others

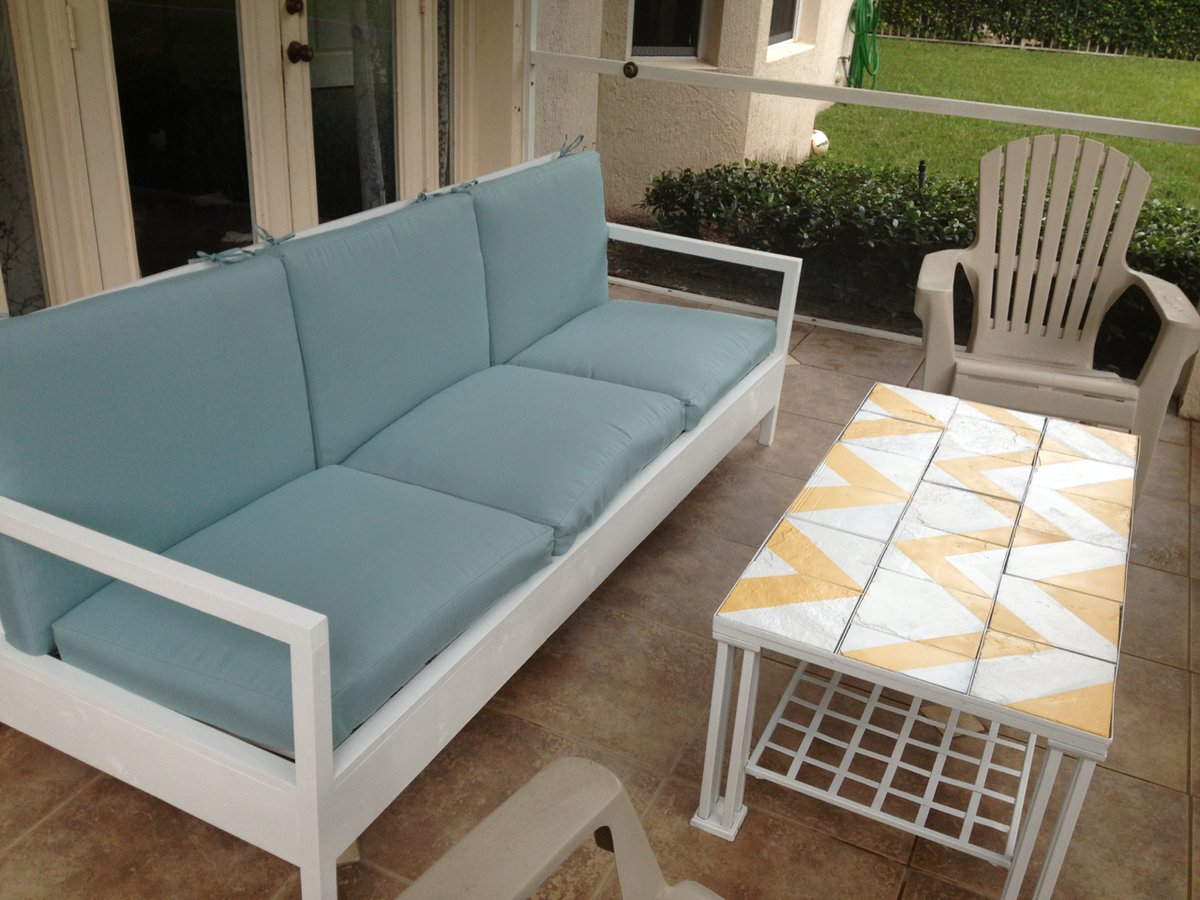
Submitted by Doig on Mon, 05/18/2020 - 20:28

started with outdoor sofa, and ending making 4 chairs, loveseat, and 2 coffee tables

Estimated Time Investment
An Hour or Two (0-2 Hours)
Finish Used
Austrailian Timber Oil (Jarrah Brown)

Comments

Doig

Mon, 05/18/2020 - 20:29

Love the look, posted on Facebook and had requests to build for others. Made my Mother - in-law 2 chairs and a coffee table for her birthday.

rustic coffee table

I wanted a coffee table with a rustic look...without the weight of 2x boards, so I modified this plan a bit and used 1x's instead. It makes it much easier to move around when I need to vacuum up dog hair or anything tracked in on the kiddos' shoes! lol

Built from Plan(s)
Estimated Time Investment
An Hour or Two (0-2 Hours)
Recommended Skill Level
Beginner

Custom Adirondack Stools

Submitted by Tiny Abode on Mon, 04/28/2014 - 23:48

I customised the Anirondack stools so they are 600 high to fit under a 900 high desk in my Tiny Home.
Used a kreg jig - all up took about 2 hours on each stool. First ever piece of furniture I've made. Very happy with the outcome. Now to fill and oil them.
(I cannot recommend Ana White designs and Kreg Jig's enough to everyone who asks).

Estimated Cost
$40
Estimated Time Investment
Afternoon Project (3-6 Hours)
Recommended Skill Level
Starter Project

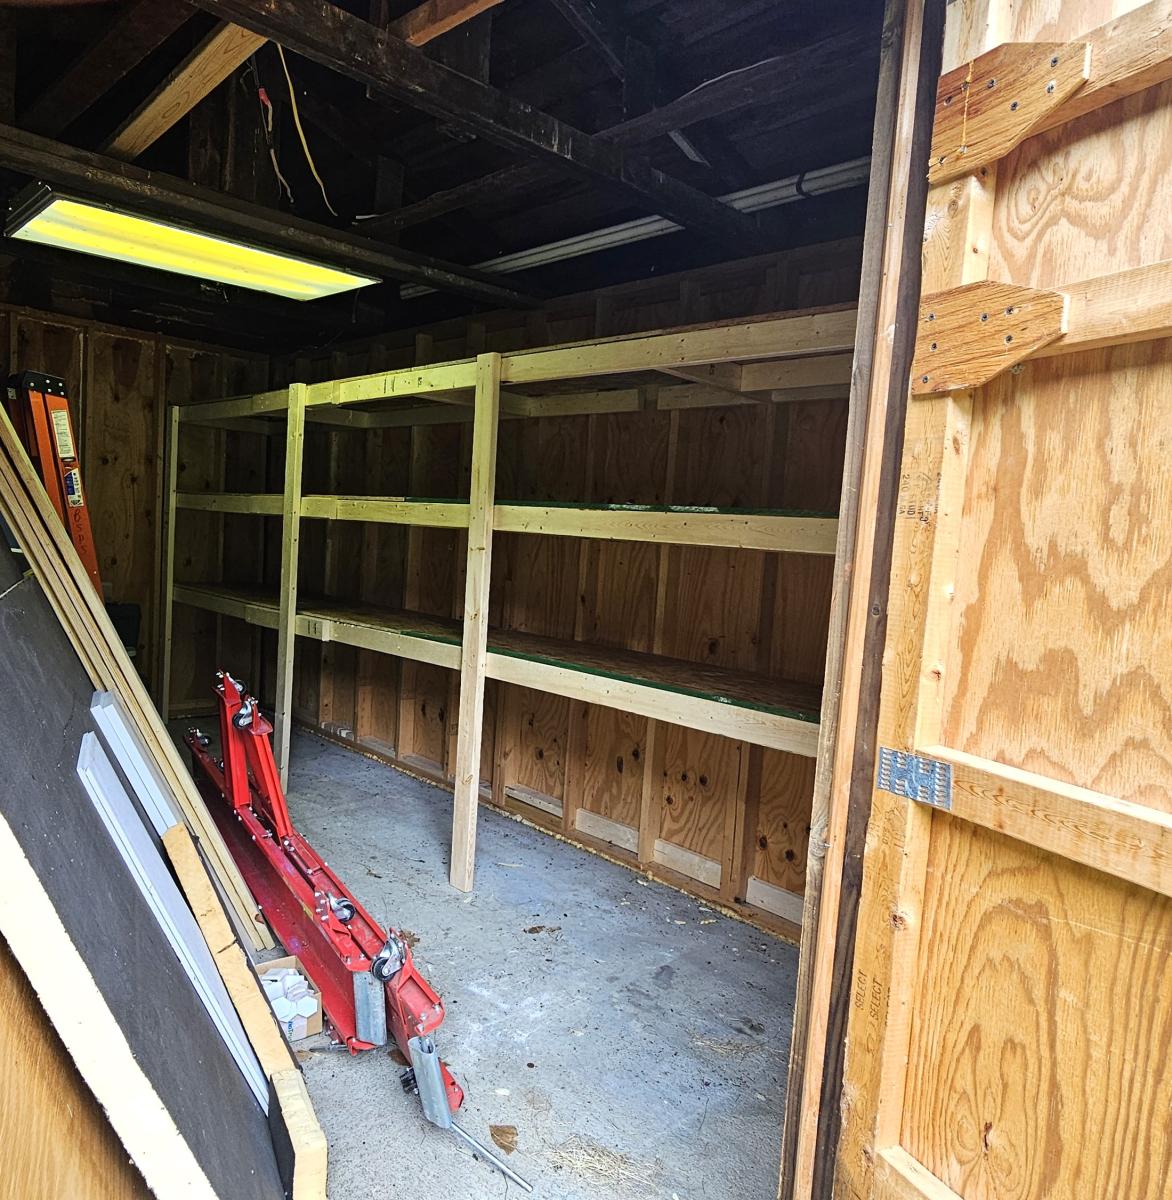
Storage Room

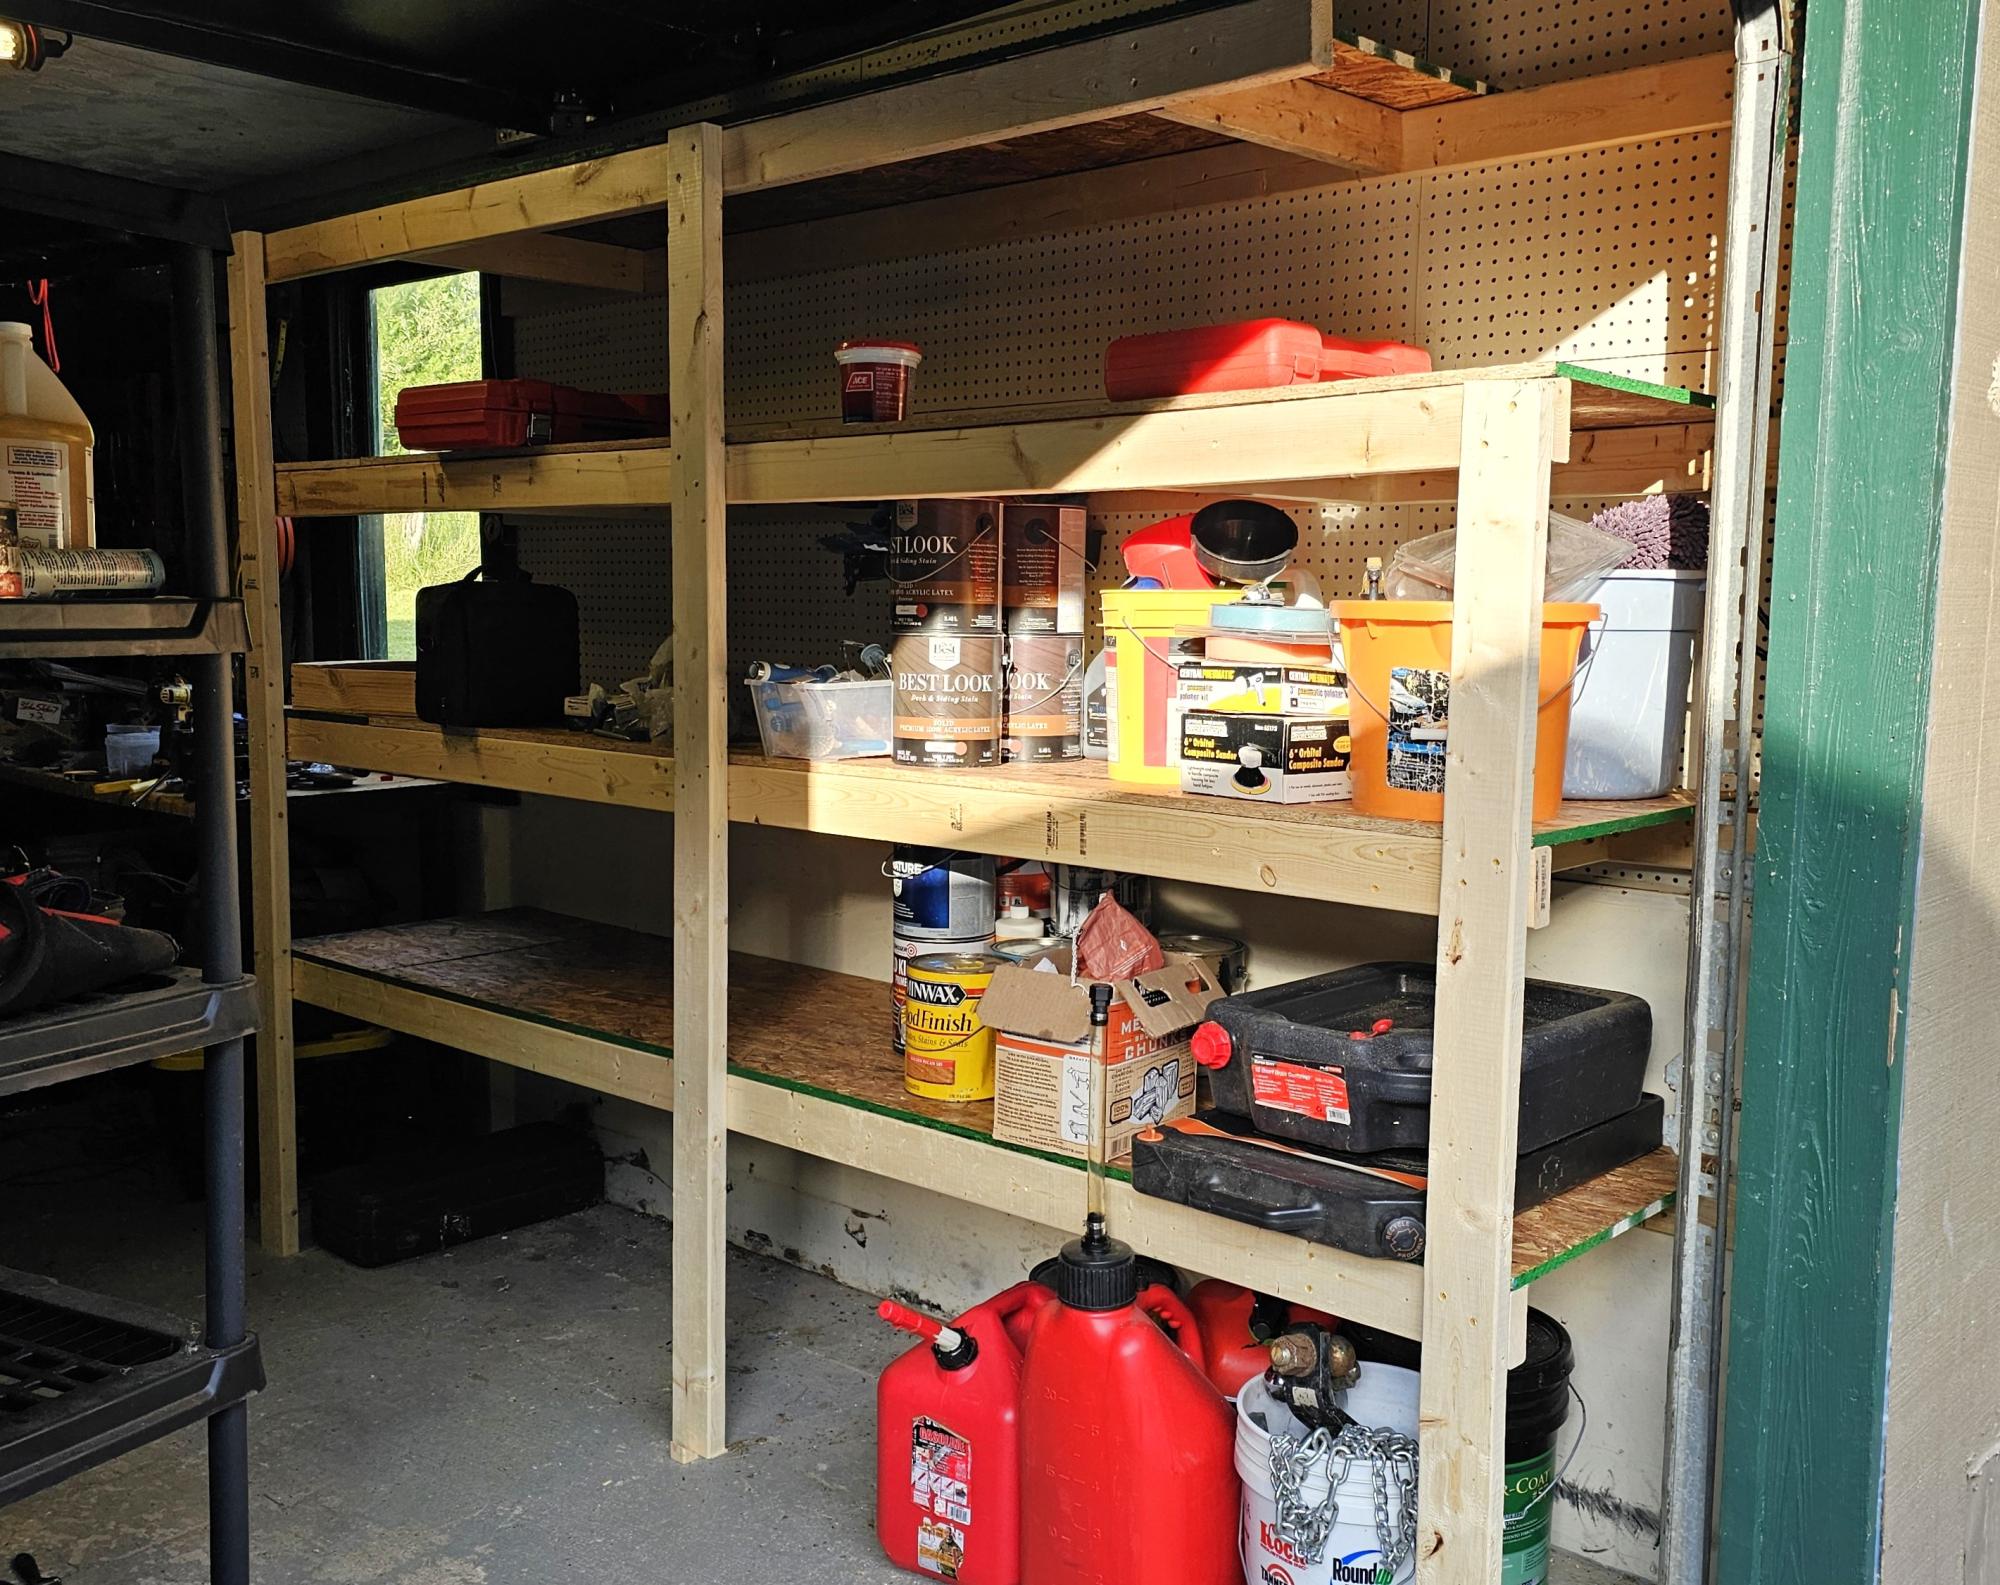
This basement storage room was packed with 10 years of junk and smelled like funk! Divided into 3 piles, burn, donate and keep. Now with sealed and painted walls and epoxy'd floors we hope to use this as a storage/craft room. Next on the list is a craft/storage/wrapping station for the other corner. I also built a small stand that the artificial tree is sitting on. Due to condensation (humid Michigan summers) we don't want anything to sit on the concrete.

Estimated Cost
$90 for 22 10' 2x4's and a box of deck screws.
Estimated Time Investment
An Hour or Two (0-2 Hours)
Recommended Skill Level
Beginner

Hidden desk apothecary

Submitted by BrookR on Thu, 05/21/2020 - 17:44

Loved this project, it has been on my wish list forever. It was my first time building drawers. We used red-oak wood for the hardwood legs and also for the little trim piece right above the leg. I stained the entire piece with golden oak stain and used red oak stain on top of that for everything except the faux drawer fronts and hardwood. This brought the pine 1x2s to a matching shade with the real red oak. If I did it over again, I would stain the drawer front and chair back pieces prior to assembly because I taped them all off when I applied the different colors, which was a pain. I bought the apothecary drawer pulls on amazon. I am beyond happy at the way it turned out. I even modified the top center drawer so I could put my printer in it. I cut a hole in the drawer box and put the bottom drawer front piece on a hinge so my printer paper could come out. I added a latch to the inside of the drawer to keep that flap shut when not in use. Thanks so much, Ana, for another amazing plan!

There were a few errors to the plan, as follows:

Plan calls for 7 -2x2 @ 8' but you actually need 9.

As for additional cuts, you will need:

4- 2x2 @ 20-1/4, not 2.
4-2x2 @ 23-1/4, not 2.
8 -2x2 @ 14-1/2, not 2.
8- 2x2 @12-3/4, not 2.

Built from Plan(s)
Estimated Time Investment
Weekend Project (10-20 Hours)
Finish Used
See description above.
Recommended Skill Level
Intermediate

Comments

Harriet Chairs

Submitted by JoanneS on Sun, 07/15/2012 - 07:44

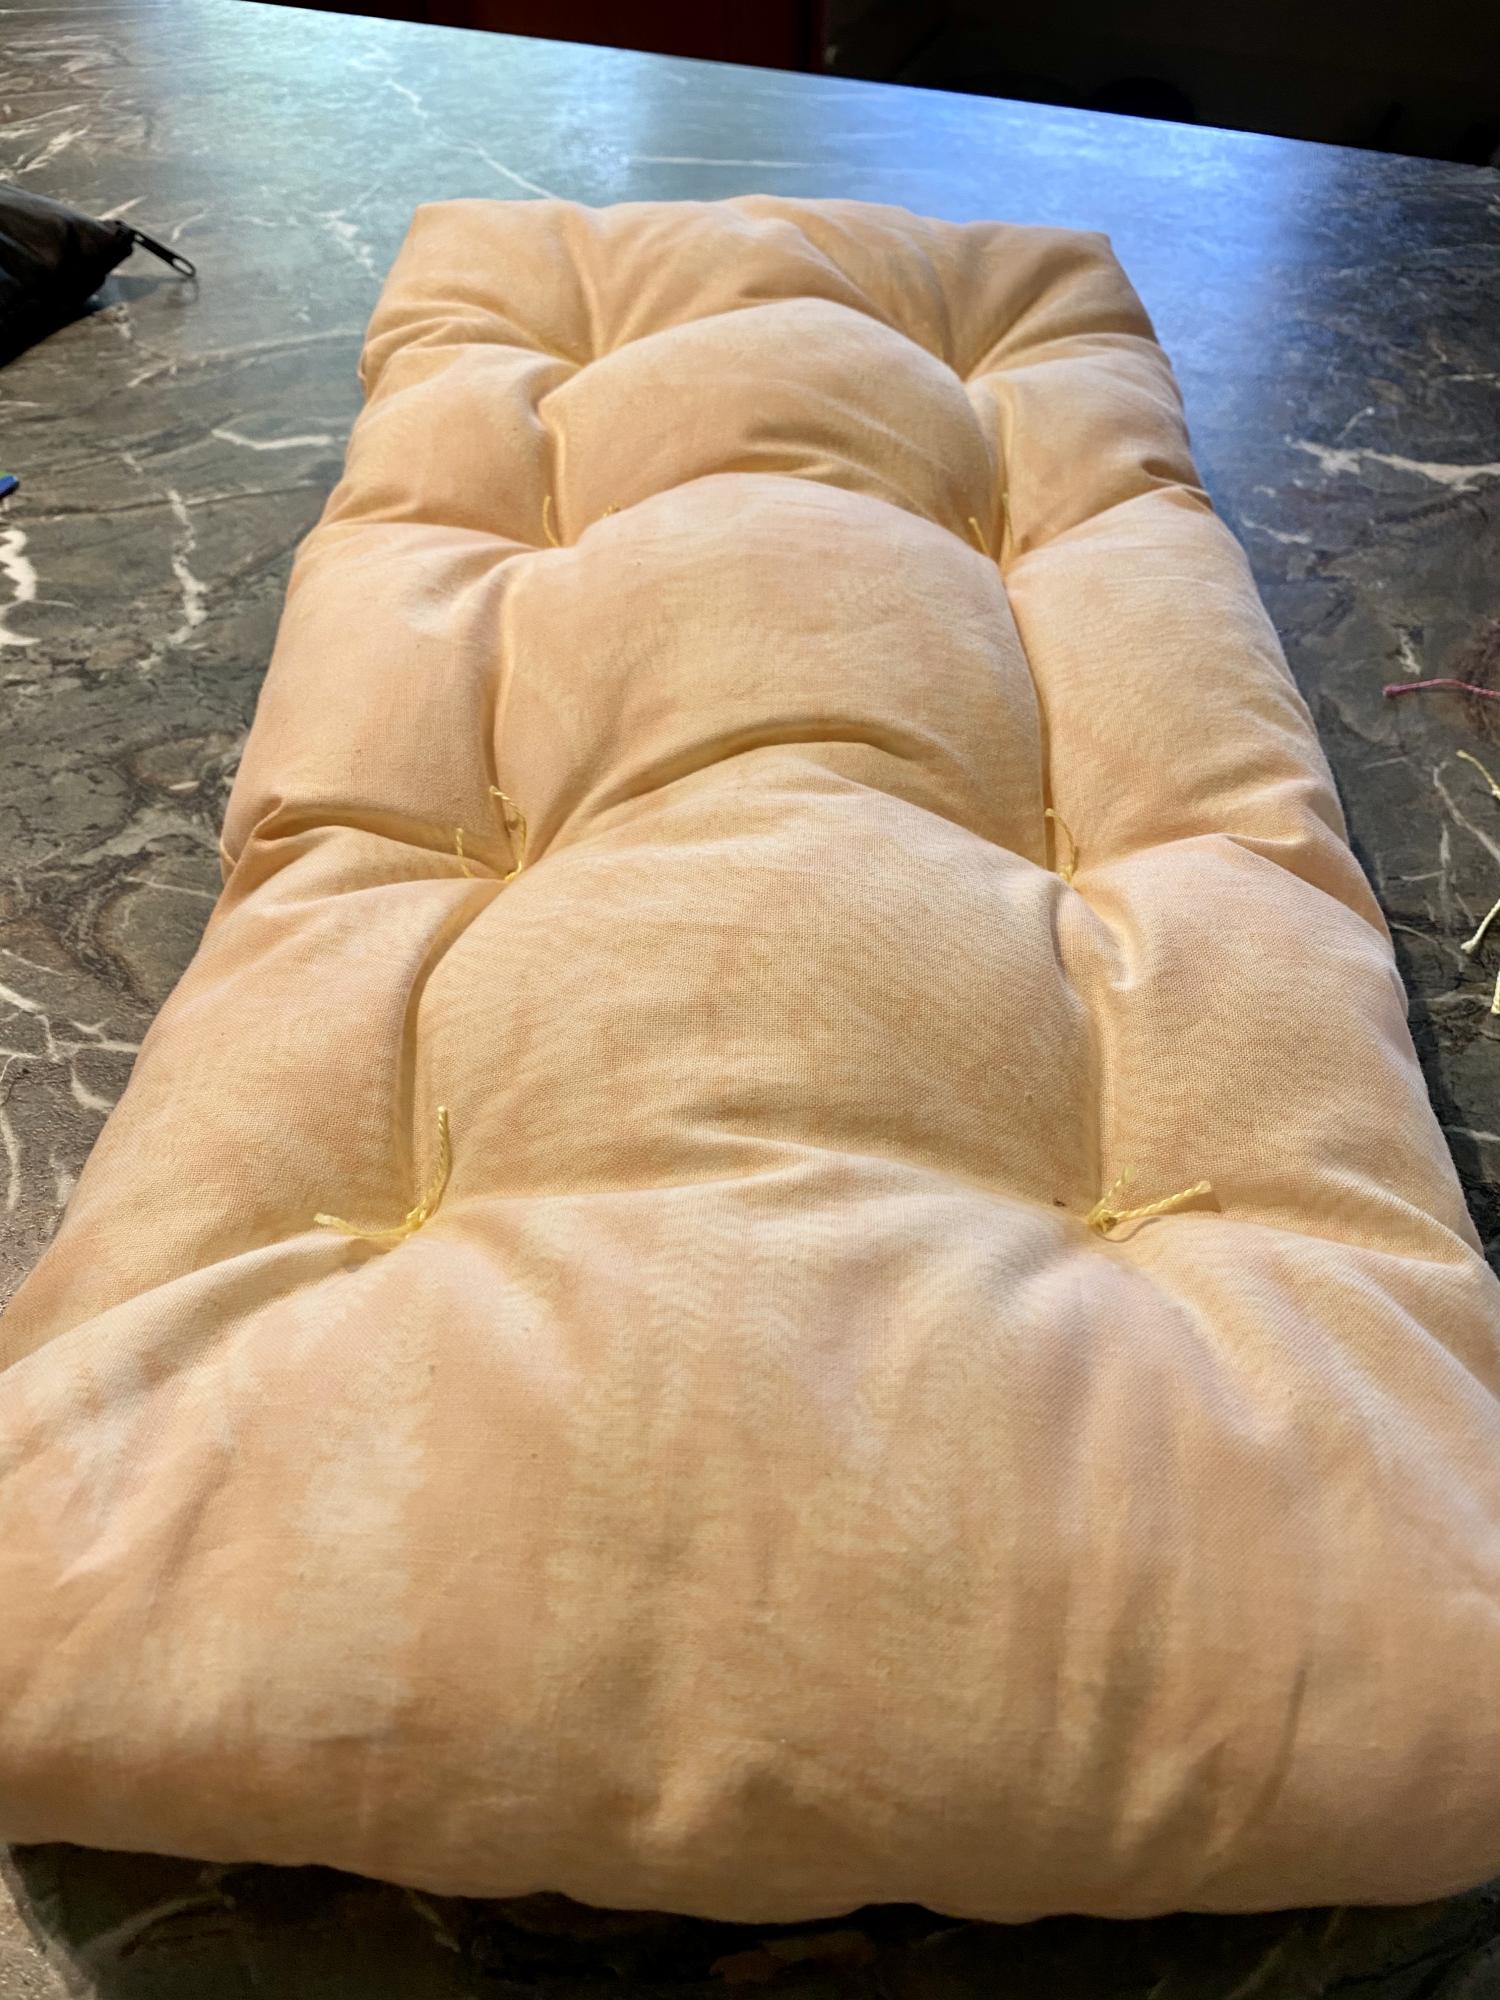
Finally I was able to replace my wobbly little dining chairs with solid wood chairs, thanks to Ana’s Harriet Chair plan. For this build, I made a few mods from Ana’s plan: added a padded seat, made the chair 2” wider, and substituted a slatted back. Used select pine 1x2 instead of 2x2 (really liked that look in the inspiration chair) and used 1x3 for the 2 inner slats on the backs. Also added a few more cross supports. Instead of predrilling pocket holes and hiding the screws, I chose to use the round washer head self-tapping screws and left them visible. This saved time on having to pre-drill and fill screw holes, but also thought the exposed screw heads made a nice decorative element. The seats are covered with 1” thick high density foam, batting, and outdoor fabric. The first of the 4 chairs took longest to make (I made and corrected all my mistakes on that one). The remaining 3 went a lot faster (took about 11 hours total for building the 4 chairs, and 12 hrs total for finishing them). The changes/steps I used are documented in a .pdf file in the second plan post linked above. Ana, thank you for all your wonderful plans. You rock!!!

Estimated Cost
Cost: $230 for 4 chairs, which came to about $58 per chair. For 4 chairs: $127 for lumber & screws, $28 for paint, and $70 for chair fabric and foam. (fasteners, glue and sandpaper not included in cost, those were already on hand). I was able to build all 4 chairs for the price it would have cost for just one from the furniture store.
Estimated Time Investment
Week Long Project (20 Hours or More)
Finish Used
Finished with Benjamin Moore Aura satin, in Wenge, 3 coats . Rubbed down all the chairs with Pledge after the paint dried. (I had attempted waxing one of them, but that took way too long for me!) The seat is covered in outdoor fabric (all the fabric and the foam were on sale for half-price @ Joann fabrics – score!!!).
Recommended Skill Level
Intermediate

Comments

JoanneS

Sun, 07/15/2012 - 17:26

Thank you so much! I just posted a plan of the modifications, which includes a .pdf file of the full plan with the steps and photos (still haven't learned sketchup yet). I sure hope it worked! The .pdf file is located about 2/3 of the way down through the plan post, right below General Instructions. Let me know if the .pdf opens for you? :)

JoanneS

Wed, 07/10/2013 - 02:31

Thank you! We still love them and they are holding up great! I made a storage bench to go with these, but it still needs a few tweaks before blogging that one.

JoanneS

Mon, 11/11/2013 - 10:58

Hi AdamR, Thank you very much for the nice comment! Yes, we did the table also. Here's the brag post:

http://ana-white.com/2011/05/my-new-almost-farmhouse-table

This was done under my original username JES. I had locked myself out of that username and had to create a new one ;)

We used our existing table and painted the legs, and added a new top. The tabletop finished dimensions are 56" long x 38 1/2" wide.

Joanne

AdamR

Mon, 11/11/2013 - 19:38

This is what I have been looking for. I know my wife doesn't want any indents or grooves but it seems like everyone build tables out of boards. I don't have a jointer or planer to even the boards out.

Question 1 - the 1x2 trim...to be clear you attached the 1 inch side to the table right?
Question 2 - how has the 3/4 thickness working out? Thick enough?
Question 3 - anything you would have done differently?

Thank you so much for your help. I build some small custom shelves for my son's room, found this site and now got a major bug to build stuff we have been looking for. I actually joined the site just to ask you about the table so thanks again!

Adam

JoanneS

Tue, 11/12/2013 - 07:07

Thanks again for the nice comments, Adam!

On the 1x2 for trim, I attached with the 2" side to the edges of the plywood (the 1x2's were actually 1 1/2" wide and 3/4" thick). This gives the illusion that the table is 1 1/2" thick. On this one I used finish nails and glue to attach the trim. If I had it to do over again, I'd have attached the trim boards to the plywood edges with pocket holes from under the table, so there would be no nail holes to fill.

3/4" thickness for the table top works fine. Our original table had a top thinner than 3/4", so we attached this new top directly on top of it. I didn't think I could get the leg assembly off that old table without damaging it.

If you wanted a more 'beefy' feel to the whole table top, you could stack 2 pieces of plywood, glued and fastened together from the bottom with screws. The 1x2 for the edges would still cover it.

Once you catch the wood working bug, you'll want to build everything you see! :) I hope you post a brag picture when you build this. I'd love to see pictures! :)

Joanne

AdamR

Wed, 11/13/2013 - 06:02

First off thank you for all the info! I see now why you picked the larger trim, I didn't catch it the first time around that you put the new wood right on top of the old table. My kitchen table has the exact opposite problem the legs are weak (plus my wife hates the top too) hence why I will be doing both top and legs. Still debating on one 3/4, two 1/2 or two 3/4 inches for table thickness.

I am going to build the kids trestle table this weekend first. Just the get a project under my belt besides some book shelves. lol

http://ana-white.com/2011/09/kids-trestle-style-play-table

My Kreg Jig will be here Friday, picking up wood on Sat....hopefully I will have a unfinished kids craft table ready to roll by Sunday then the Kitchen table will be my Thanksgiving weekend project.

Thanks again for all of your help.

Adam

DIY Planters/Easter Baskets

This was a super fun and simple project, and the planters can be used for anything!! Thank you Ana! I followed Ana's plans and used mine as an Easter Basket gift that could then be used as a planter. I also modified the plans to be the size I wanted for a smaller planter that I also gifted as an Easter Basket. I believe I made the smaller one measuring each side out to be 2 or 3 inches. Next, I measured the bottom opening and made a custom fitting removable piece for it. Like Ana mentions, I also did not attach the bottom piece as it already allows some room for drainage and simplicity for changing out soils. To attach the pieces together, it was not as quick of a project as it was for Ana because I currently don't own a nail gun. Owning one would definitely make this project a breeze! For the finish, I did sand the cedar posts with 80 grit as I didn't want anyone to get splinters (also because I was applying stain with a sponge and rough wood makes it sort of difficult). The stain is Rustoleum's Dark Walnut. I did not leave the stain on very long as the wood is very porous. This is one of my favorite projects thus far because it made gift giving and our Easter Baskets much more unique!

Estimated Time Investment
An Hour or Two (0-2 Hours)
Finish Used
Sanded with 80 grit
Rustoleum Dark Walnut
Recommended Skill Level
Starter Project

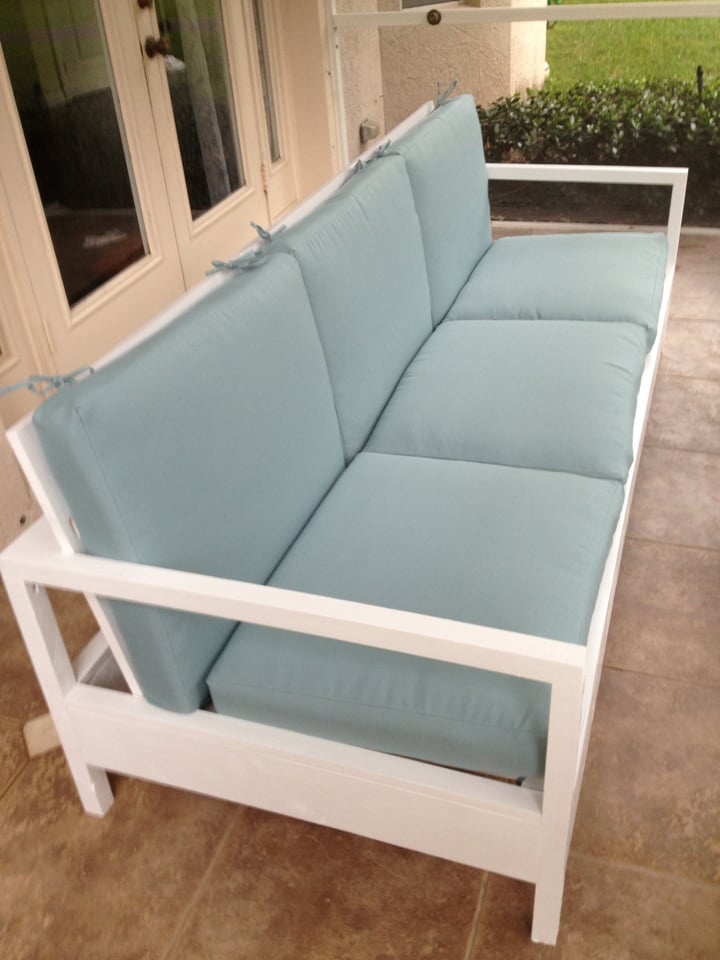
Redwood 2x4 outdoor sofa

Submitted by Anonymous (not verified) on Wed, 08/03/2016 - 09:16

This is my attempt at the 2x4 outdoor sofa.  The entire sofa is made out of 2x4 Redwood, so the cost was a little high at $150 for the wood.  I'm still waiting on cushions, but I went overboard and bought them custom made so the total for those came out to $520.  Overall, I could have easily bought a complete set online but hey, this is more fun!


My one concern is the back support.  I'm thinking of building something angled in, but haven't thought of the best approach yet, that will still look good.  


Estimated Cost
$670
Estimated Time Investment
Afternoon Project (3-6 Hours)
Finish Used
Redwood stain (still need to finish with a gloss sealer).
Recommended Skill Level
Beginner

Grandy Barn Door Console

Submitted by RGWood on Sun, 05/24/2020 - 07:48

I built this unit based on the Grandy Barn Door Console plans. I adjusted it down to 66”. The top is Dark Walnut with Satin Poly. All lumber was purchased at Menards.

Built from Plan(s)
Estimated Cost
$350.00
Estimated Time Investment
Week Long Project (20 Hours or More)
Finish Used
Satin oil based polyurethane
Dark Walnut Stain
White paint
Recommended Skill Level
Intermediate

Playhouse Loft Bed

So living in Japan makes some of these projects interesting. 1) The largest pieces of plywood are 36"x48". 2) Paint is only sold in pre-mixed colors, so choices are limited. 3) Everything is expensive. 4) Packaging is impossible for me to read. That being said, I set out to make a playhouse loft bed for my daughter's birthday. My wife and daughters were in the states so I had nothing else to do in the weekends and evenings. I modified the plan for a full size bed and did not follow the sizes of windows and doors exactly since I was actually piecing it together since the plywood is not the full size.

That is not exactly true, I did climb Mt. Fuji one Saturday. Also found some interesting Wasabi Kit Kat at the store.

So this took a little over a week to complete, working whenever I could. I painted the inside pink, and the best color they had at Homes was basically pepto bismol. My daughter won't mind, but I did not want to see that on the outside everyday. The outside is purple and trim is white. The purple was an oil-based paint that smelled worse than any paint I have ever used before. I decided to make cubby storage stairs so that my daughter could get to them from the inside. I just finished this last night, and my family returns today for the surprise.

Estimated Cost
$300
Estimated Time Investment
Week Long Project (20 Hours or More)
Finish Used
Hapio Select water-based pink and white paint, Different Japanese brand awful smelling oil-based purple paint
Recommended Skill Level
Intermediate

Farmhouse Queen Bed

Submitted by Byanrabeu on Tue, 05/06/2014 - 10:50

I began looking for creative ways to combine storage with a bed for our new guest room. My old office used to take up this room, we needed a Cat free guest room.

I have never really built anything. I figured why not start with something large to give me to confidence to try other projects. My rationale was; the bigger the project, the larger room for error without it being too noticeable. I assumed I would have some trial and error periods throughout this project. I was right.

I have a table saw I inherited from my grandfather. I quickly realized how many more tools were required to build a bed frame. I need a hobby so I bit the bullet. I purchased a brad nailer, circular saw and sander.

I decided to make this project during the spring time, I don't have a garage to work with so I was moving a lot of tools outside for cutting and sanding and then back into the basement for paint. It was a lengthy process and took me a good month with my free time (an hour or two every couple days) to get this project complete.

I followed the original Farmhouse Queen Plans and also a post from another helpful member BirdsandSoap which was labeled Farmhouse storage bed with hinged footboard.

The boxes that rest on the floor were actually my biggest challenge. It was not easy cutting the plywood to size by yourself without the proper instruction. I figured it out and made it work. The main issue I found was when I put on the side panels and middle inserts, the wood was not completely level... again perhaps I should have been a little more patient and careful with my construction but I had no assistance so keeping everything exactly where I needed it to stay was difficult. You cannot tell in the photo but the box bows up a little on either end... maybe a quarter inch at most.

The headboard and footboard where a breeze. After my box issues, I made sure to pick out some of the best Pine wood I could find. I bracketed the headboard and footboard to the boxes with no issues.

The most time consuming part was the sanding and painting. My wife wanted it white, I would have probably preferred to have it stained. Either way, for my first project, I believe it came out well (enough).

I think for my second project I will pick something smaller in order to give my self a second shot at leveling and being a little more precise with my cuts.

Built from Plan(s)
Estimated Cost
$200
Estimated Time Investment
Week Long Project (20 Hours or More)
Finish Used
Primmer and Medium Gloss White Paint
Recommended Skill Level
Intermediate

Comments

Shoe Dresser (smaller to fit our hall)

Submitted by Anonymous (not verified) on Sun, 08/07/2016 - 13:02

Loved a shoe cabinet at Mobler Furniture, but hated the 300 dollar price.

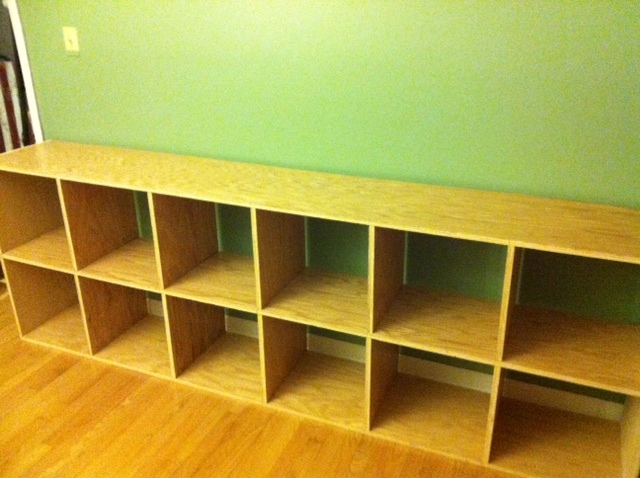
Figured Ana would have a plan: She Did. We used the Shoe Dresser plans but I built the gables in one piece to eliminate the need for separate feet. The overall length is only 38 inches. I built it counter height.

Because we used wood that we had laying around from previous projects, the drawers, and the unit are made of pine, while the top is made of oak. Total cost for the wood was 30 canadian dollars.

Rather than buy catches, I ran an extra support rail under the top, which made attaching the top easy, but also served as a "bump" for the closing door - it adds a satisfying clunk when closing the doors. I did the same for the second door too.

The handles were purchased for a project in our previous house and used here instead.

We used paintbrushable Tremclad matte black for the interior (23 bucks - used less than half the tin.)

We used 1.5 cans of spray Tremclad red enamel for the exterior (8 bucks a tin)

We hit it all with two coats of Zinsser sealer first  - 14 bucks, used half. 

Total hit was well under a hundred bucks.

Took me a couple days to work out the details, a day to construct, and about three days to paint, one for the undercoat, one for the black, one for the red.


Built from Plan(s)
Estimated Cost
Under a 100 canadian dollars - hard to be precise because we used stuff from other projects.
Estimated Time Investment
Week Long Project (20 Hours or More)
Finish Used
I always hand sand my stuff. I use 80 grit wrapped around a block of oak and sand til i'm happy. then i go to 120, then jump to 220. i hit it with zinnser sealer, sanded with 220, and did another coat of sealer. more 220 sanding. the inside was brush painted, two coats of Tremclad Matte Black rust enamel. The outside was sprayed with two cans of Tremclad Red Rust enamel.
Recommended Skill Level
Beginner
Back