Greenhouse
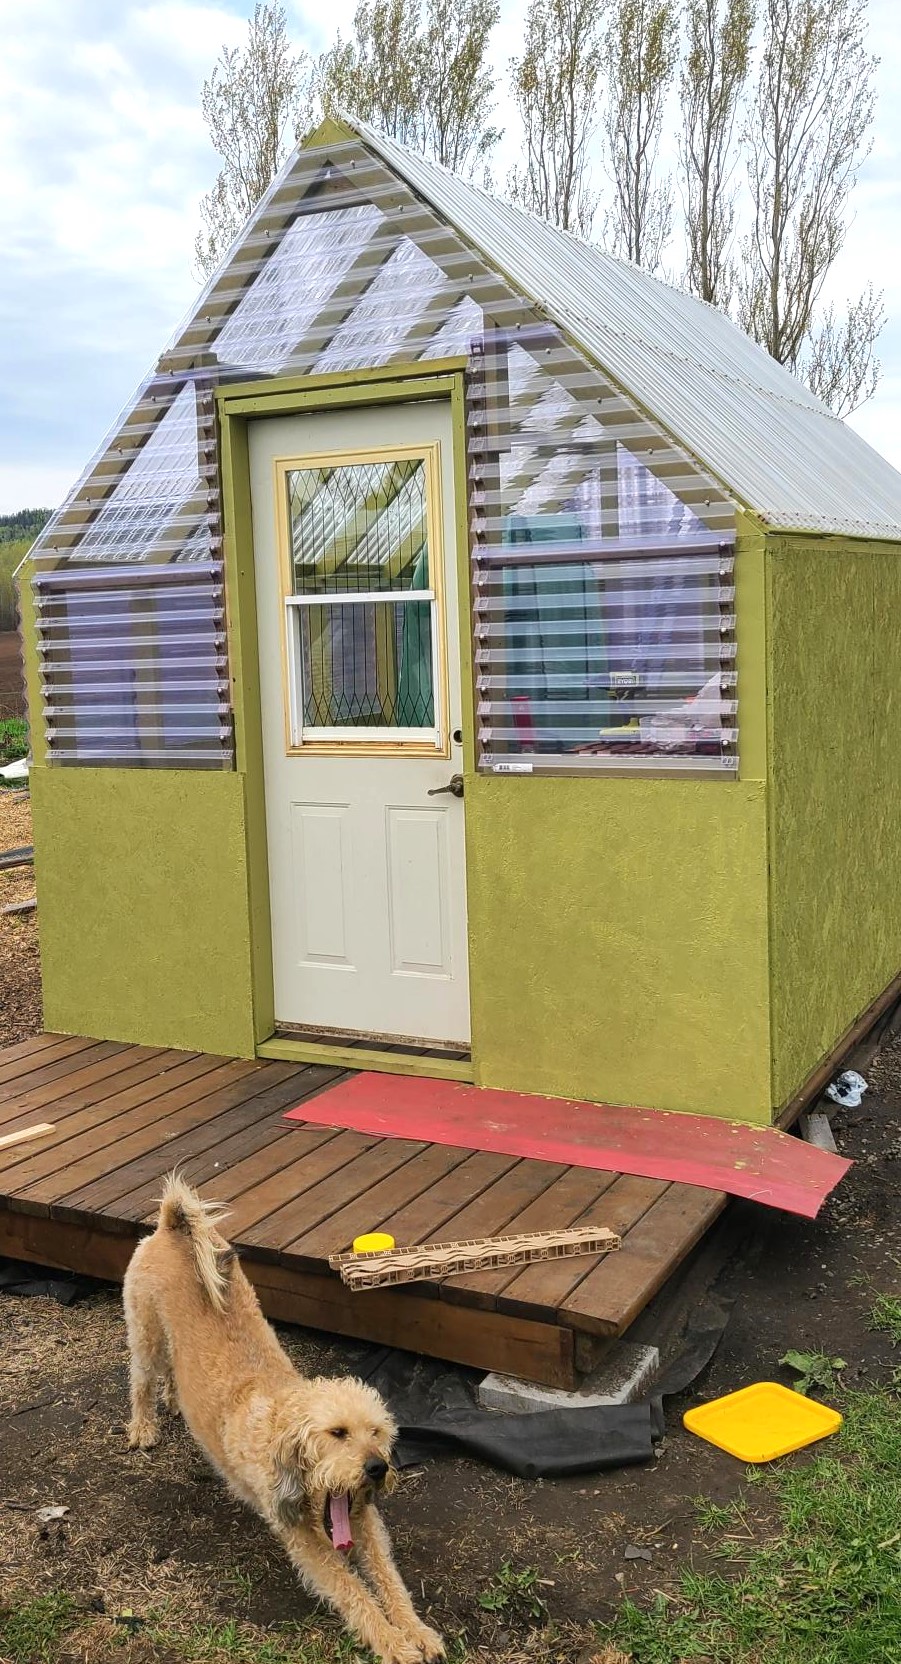
We followed Ana's plans but went 1 ft taller on the pony walls to increase the height. We are so impressed with how it turned out. I'm excited to grow plants in Northwestern Ontario.
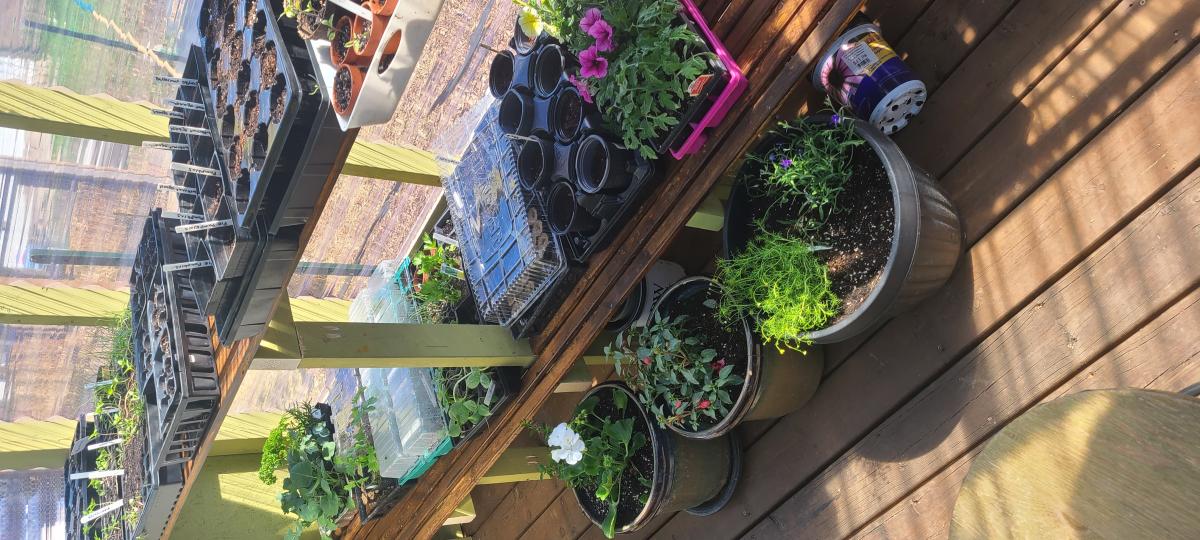
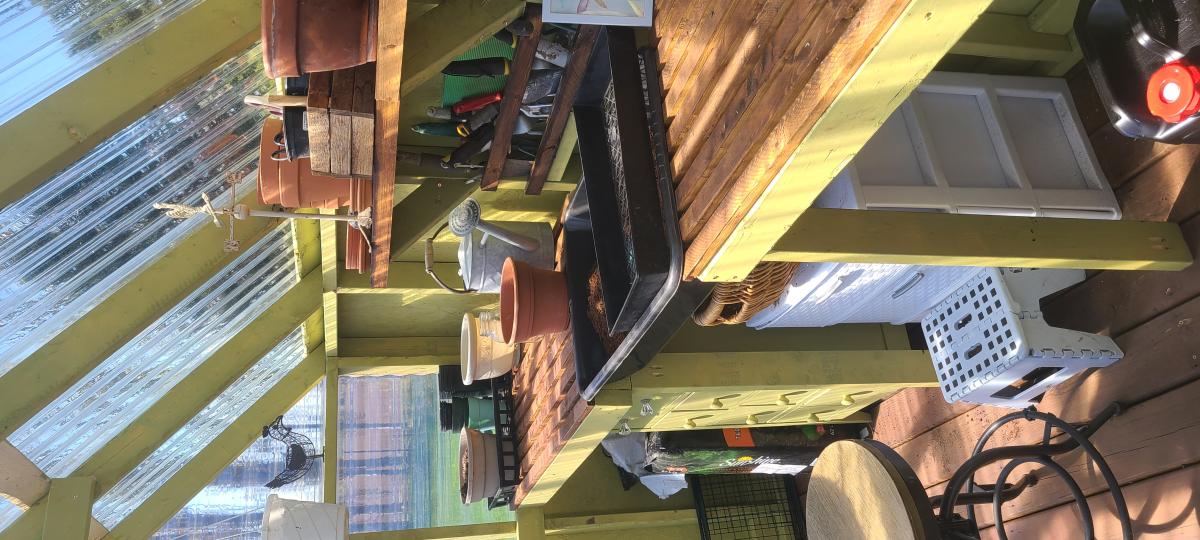

We followed Ana's plans but went 1 ft taller on the pony walls to increase the height. We are so impressed with how it turned out. I'm excited to grow plants in Northwestern Ontario.


This is my first DIY furniture project inspired by Martha Inspired Craft Space Table posted by Ry. I built it for my combination of console table and craft space. I will be using the shelves in the middle to put my wicker baskets(that is why it was not nicely stained:-)) for quicker access of some of my craft stuff. Thanks for the plan!
Sun, 01/15/2012 - 15:21
The plan that you linked to was actually posted by Ry at The Design Confidential! I'm sure she would LOVE it if you would hop on over to her site and post a brag blog there!
Great Job!
In reply to Wow - Amazing piece! by Lady Goats
Sun, 01/15/2012 - 18:21
Thanks Lady Goats for pointing that out. I am editing..
Sun, 01/15/2012 - 18:21
Leave it here! I'm sure everyone here would LOVE to see this (it's amazing!). AND the plans were posted here. I just know that Ry loves to see, too! :-)
Mon, 03/26/2012 - 15:11
Could you please post the modifications/measurements you made to this plan? I love your changes and would love to make something similar for my foyer.
Sun, 04/01/2012 - 11:13
Console measures 43" long X 13-1/2"depth X 33" tall. The decorative sides were made from 1/4" x 1-1/2" x 8' Stain Grade Pine Lattice I got from lowes.
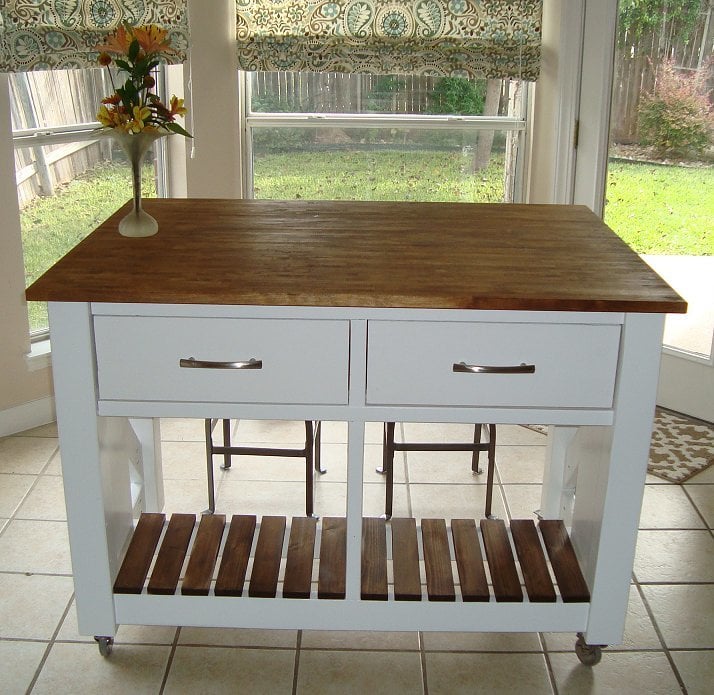
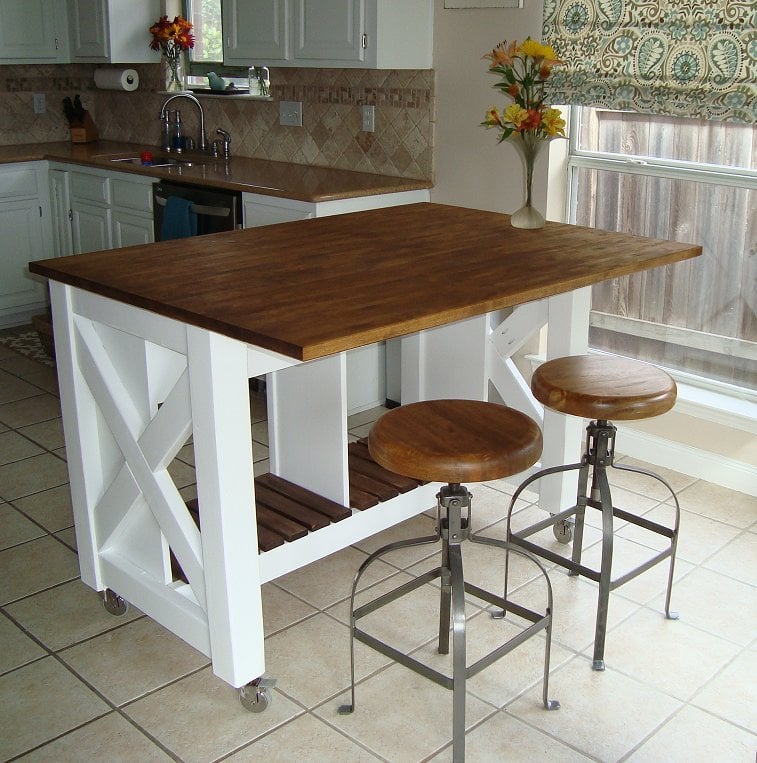
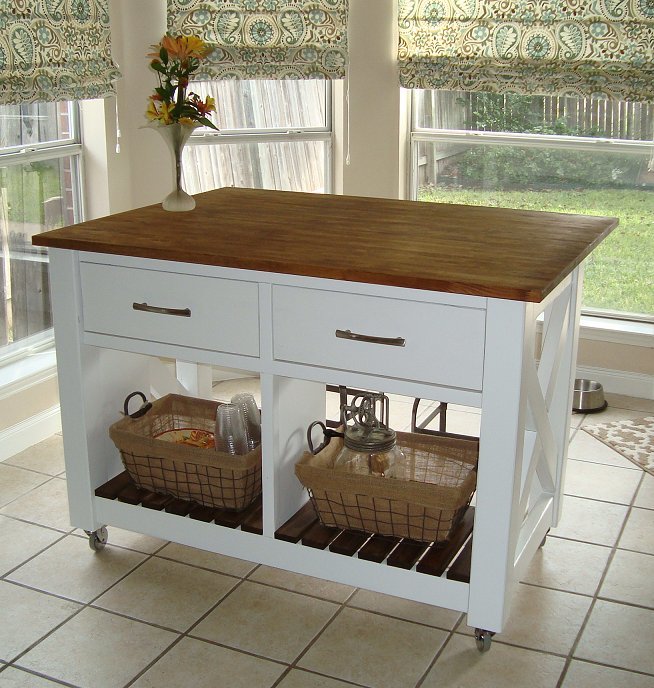
I had always wanted a kitchen island and saw this project. Seeing that the plans were well written I decided to tackle it. In addition I made a few small modifications to enhance the style of the island. These included using 4x4's on the corners and a IKEA butcher block top. The top allows for a larger surface area to work with and more space to sit under. The stools in the picture are from World Market and they were the perfect pair for the island. The island is great for family gatherings or just sitting with your morning coffee. I had family over for Thanksgiving and received lots of compliments. Thank you Ana!
Mon, 12/02/2013 - 21:39
Marvelous job on the island! The baskets are the perfect finishing touch!
Val
artsybuildinglady.blogspot.ca
Tue, 12/03/2013 - 17:43
I love how this looks. This is actually next on my list of projects, thanks for the inspiration!
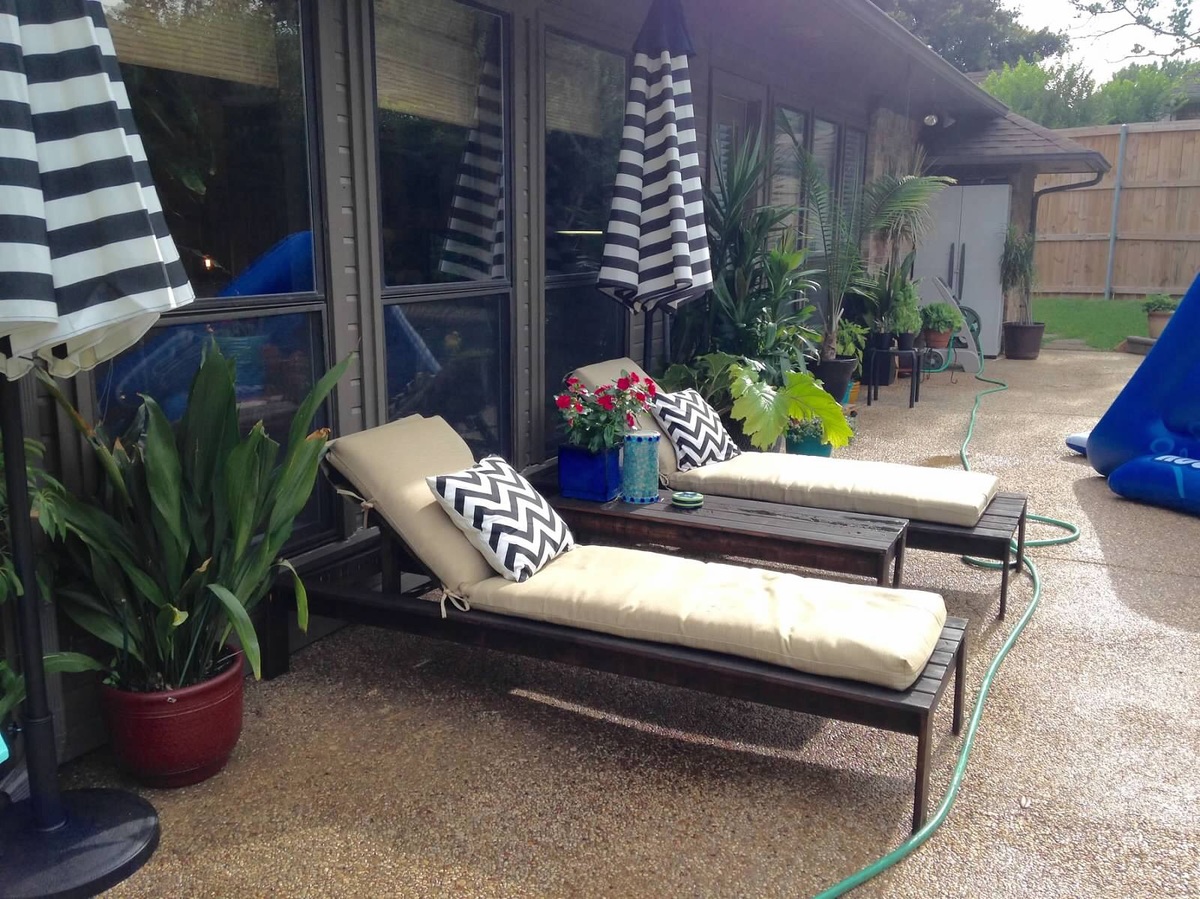
I loved the simple look and have admired similar loungers at Pottery Barn. Even if I had the money I feel it's a waste to pay for what they charge. I knew there were plans somewhere to make something similar for a fraction of the cost. So happy I found this site!
I have many tools at home so I needed to purchase the lumber, hardware (screws, hinges, etc.), stain, and sealer. I would say it was about roughly $100/chair (rounding up) - not including the cushions. Those I found at Lowe's for about $60/each.
I haven't made anything like this before so I made the first one and took my time. I really enjoyed the process and thought the instructions were simple to follow. I have some skills and basic knowledge so I didn't feel like this was too difficult. I love the way they turned out! I did the 2nd chair the following Saturday. It took most of the day including the finishing. I only took a few hours to put one together. If I had help, would have been less, no doubt. I plan to make a double lounger to match these soon.
I will agree with some of the other posts that the legs seem a little "flimsy." I went ahead with the orginal plan and they've held up with no problem for a year in the Texas summer heat with lots of activity and use - including our dogs! So, I guess it's just fine. I may use something sturdier for the double lounger since it would hold more weight.
I highly recommend these loungers to cut costs! Also, the plan is not too difficult for anyone with little experience.


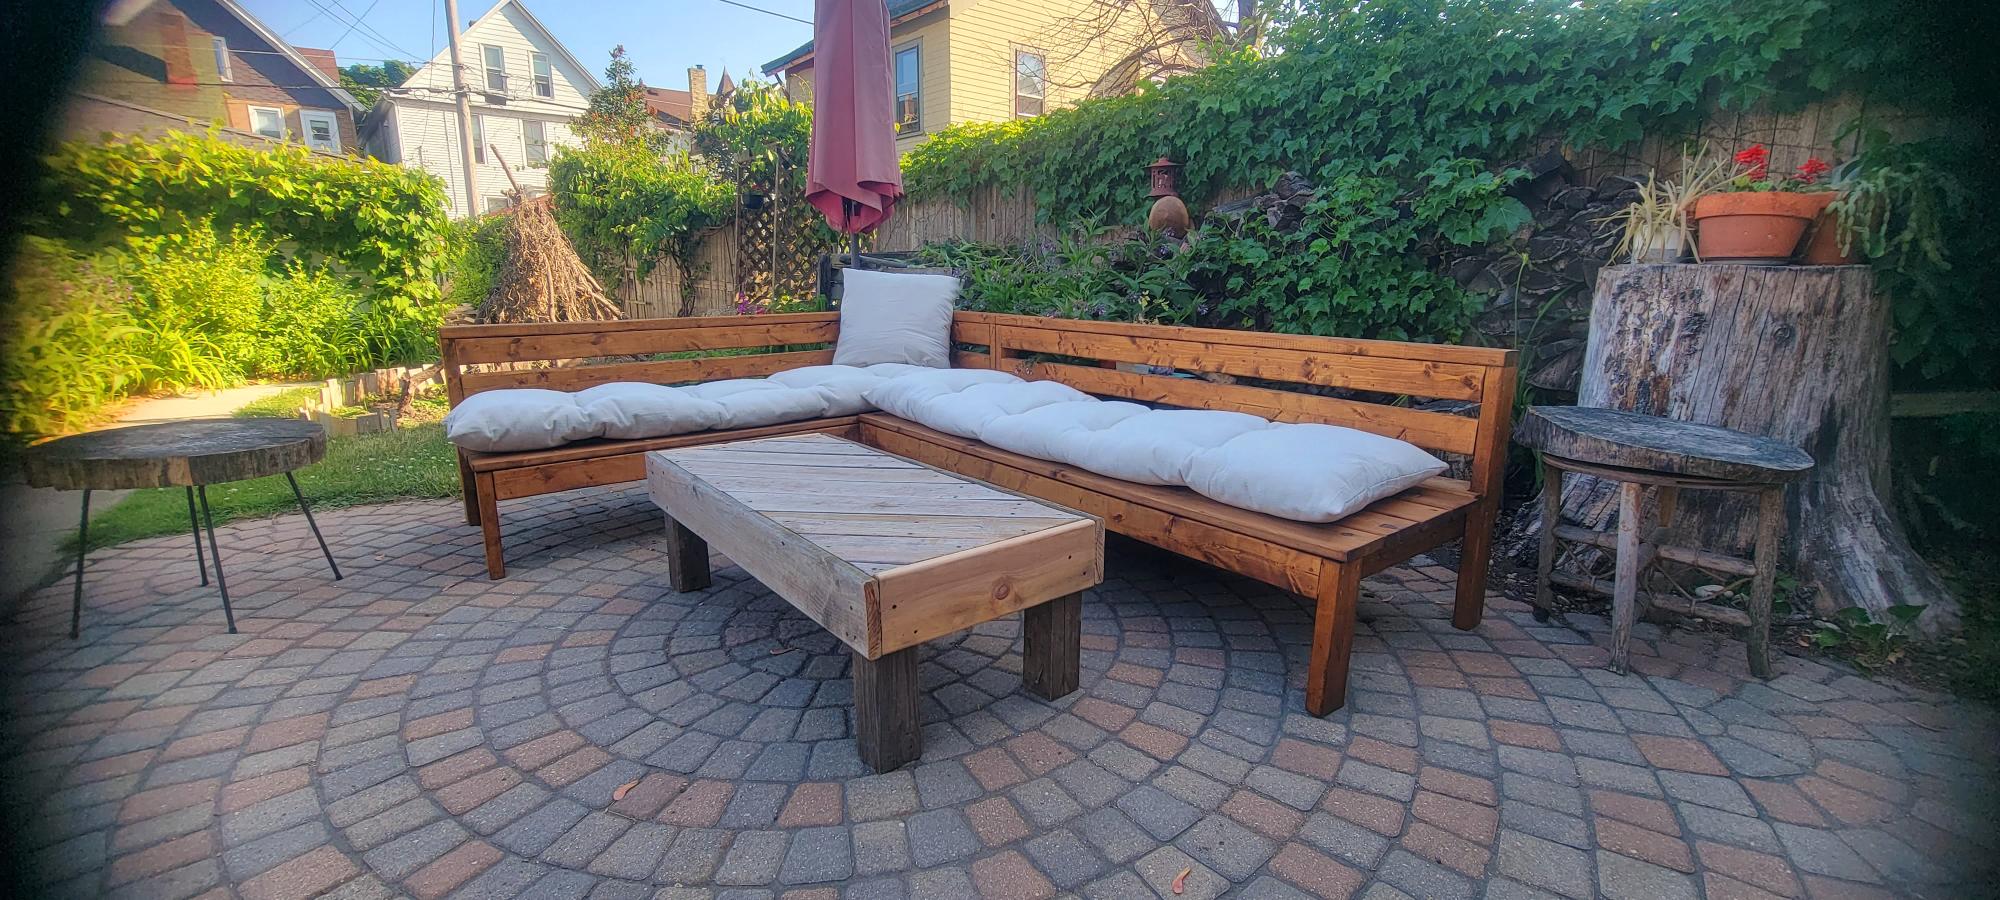
Made the outdoor sectional. The coffee table was made out of left over pieces!
Wed, 10/02/2019 - 09:54
So smart to make the coffee table out of the spare pieces.
Looks amazing!
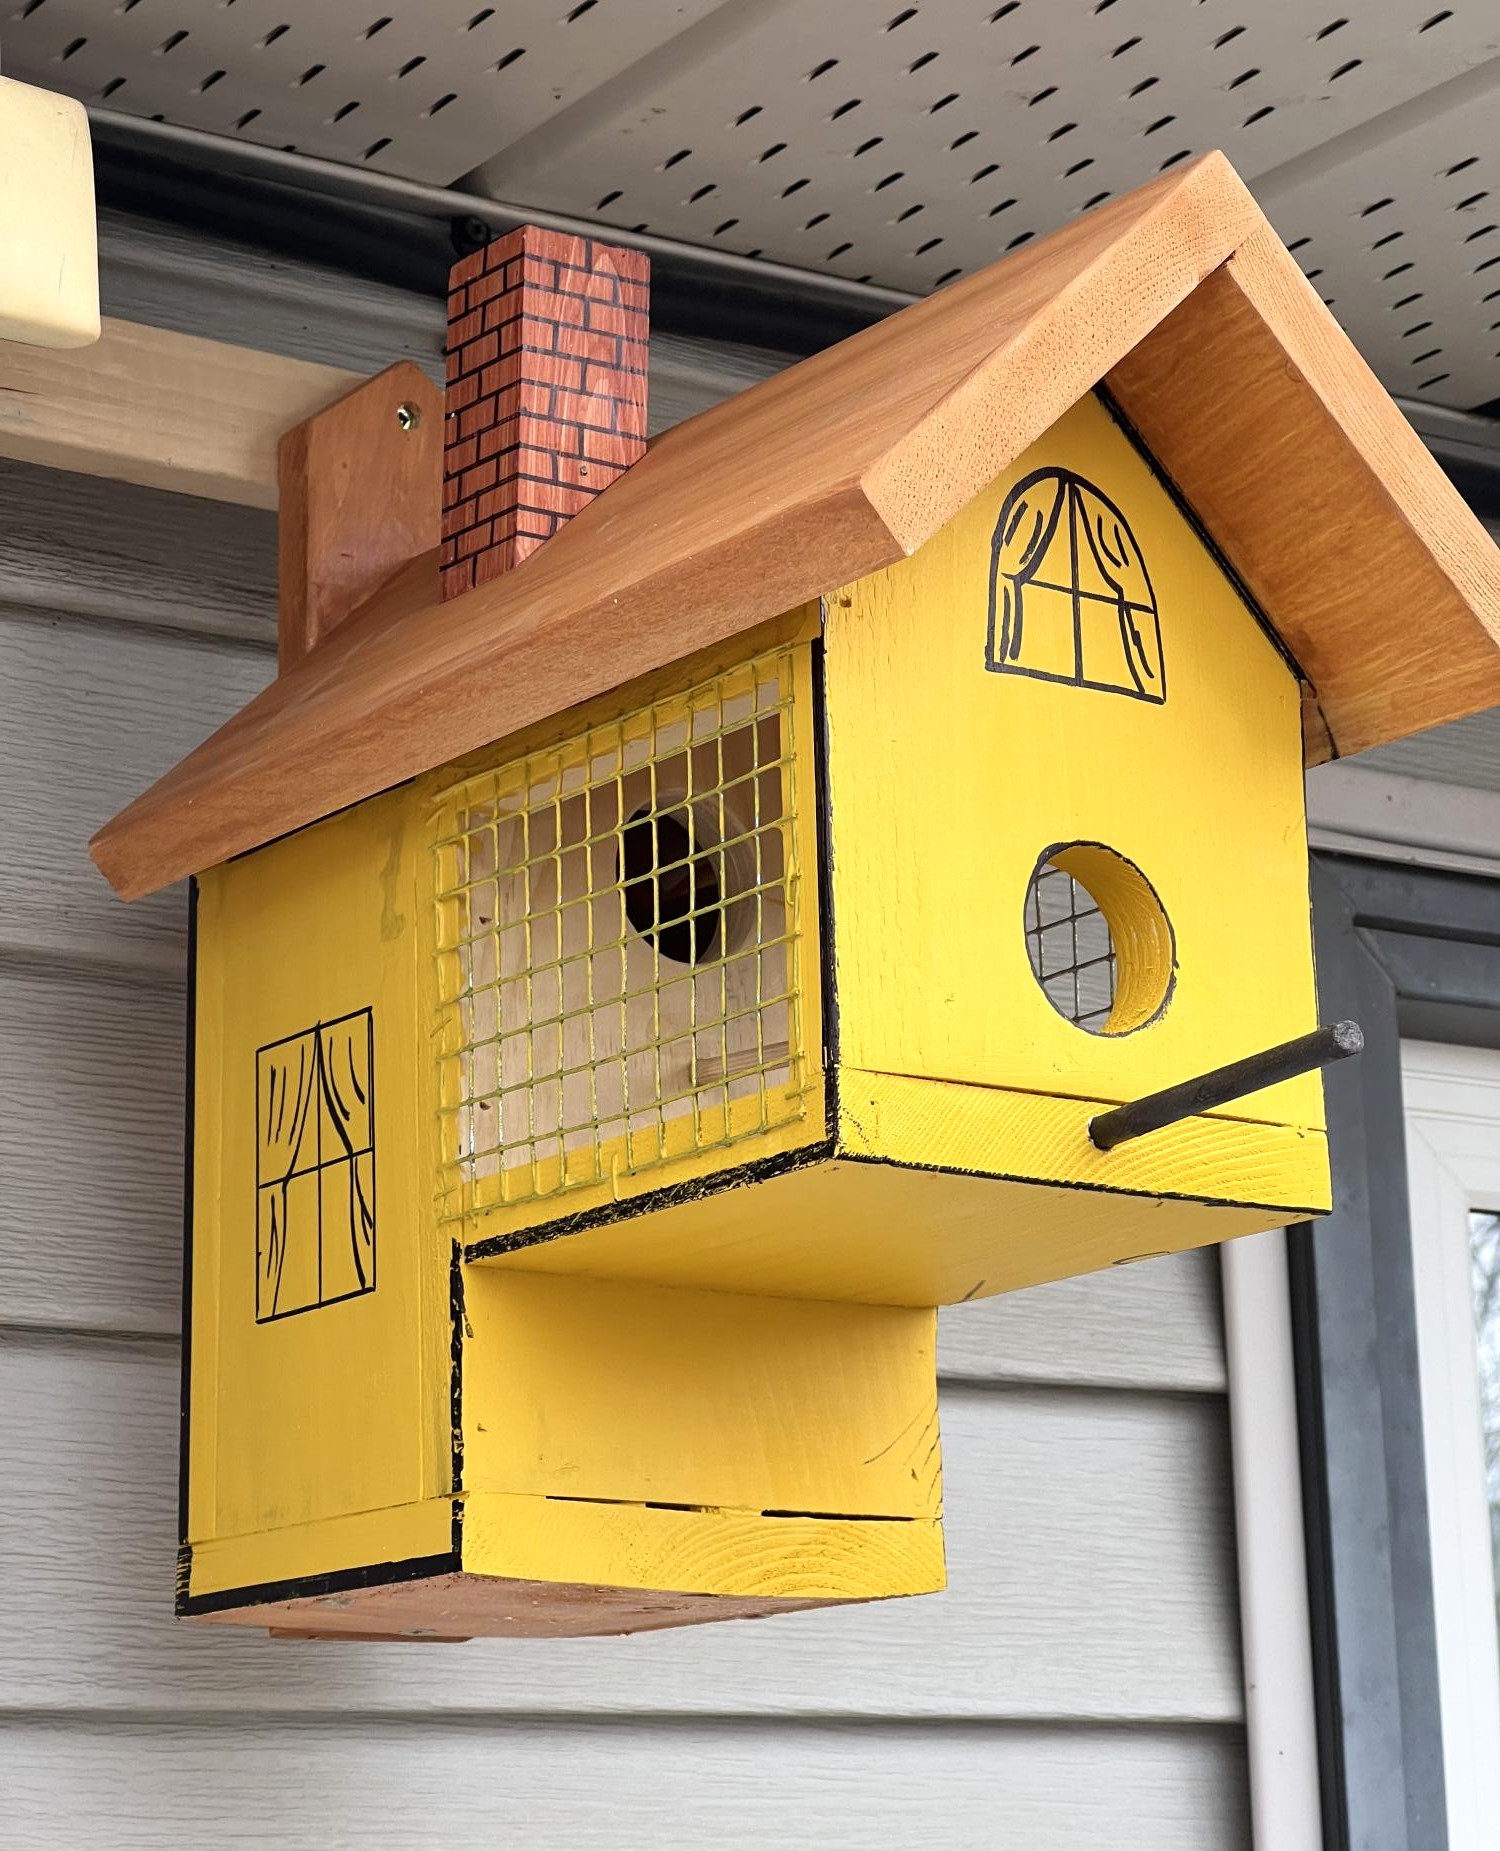
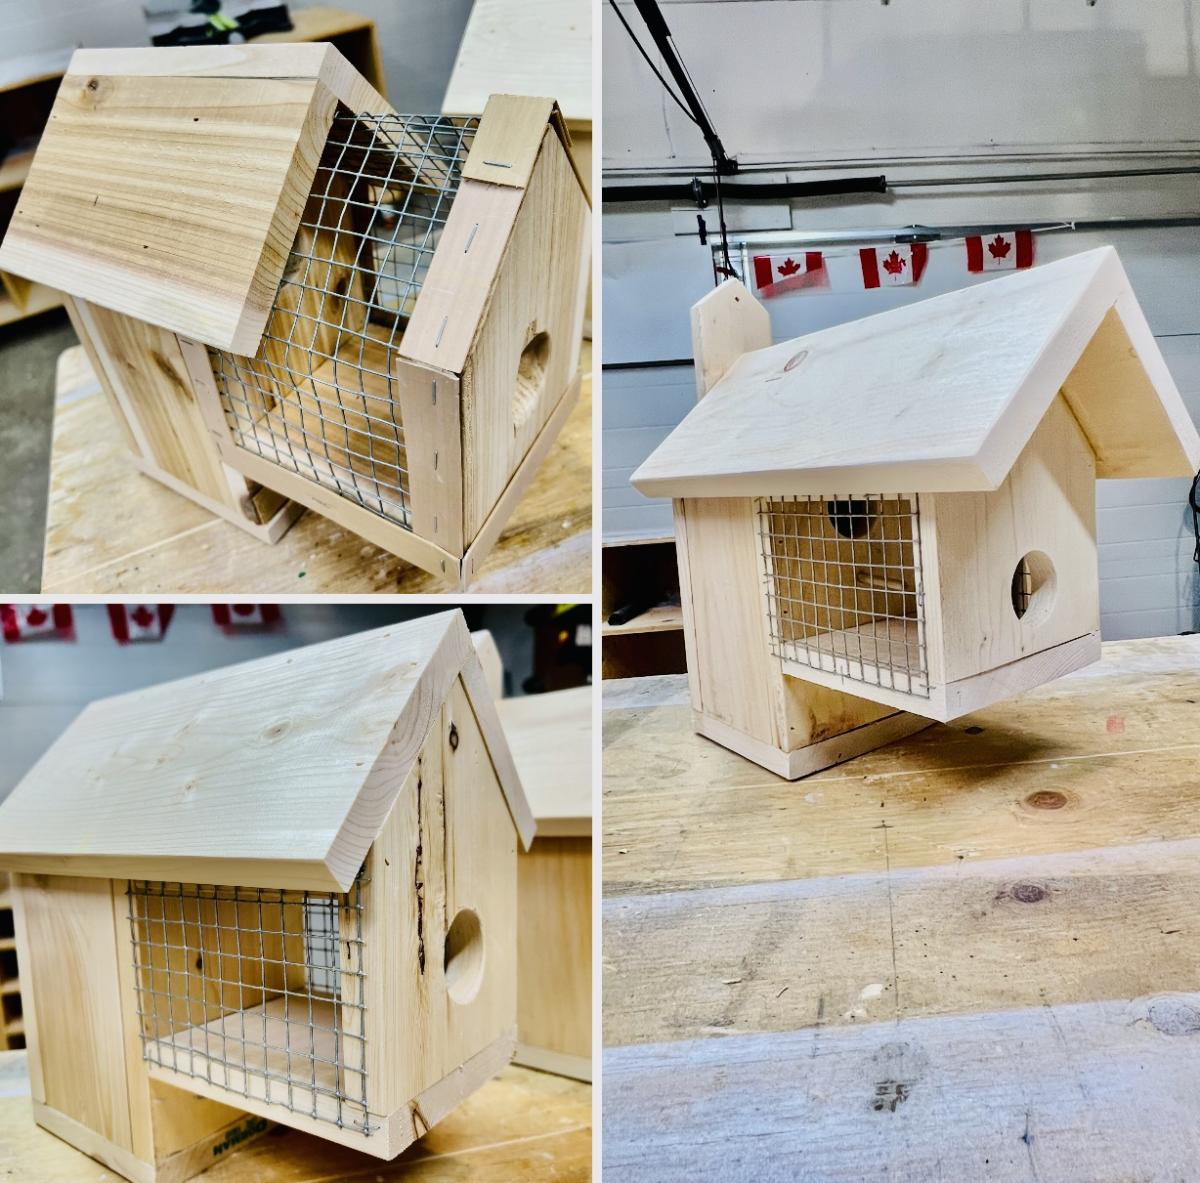
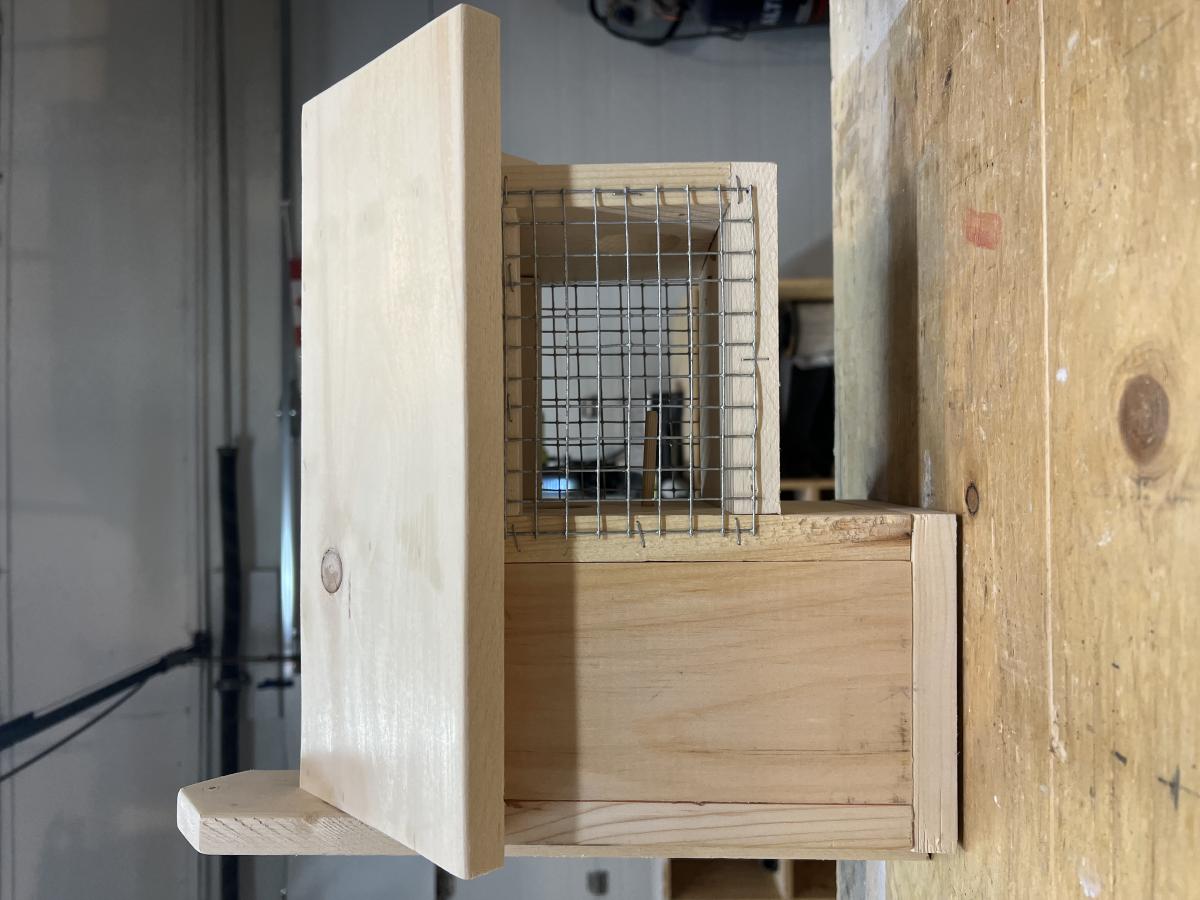
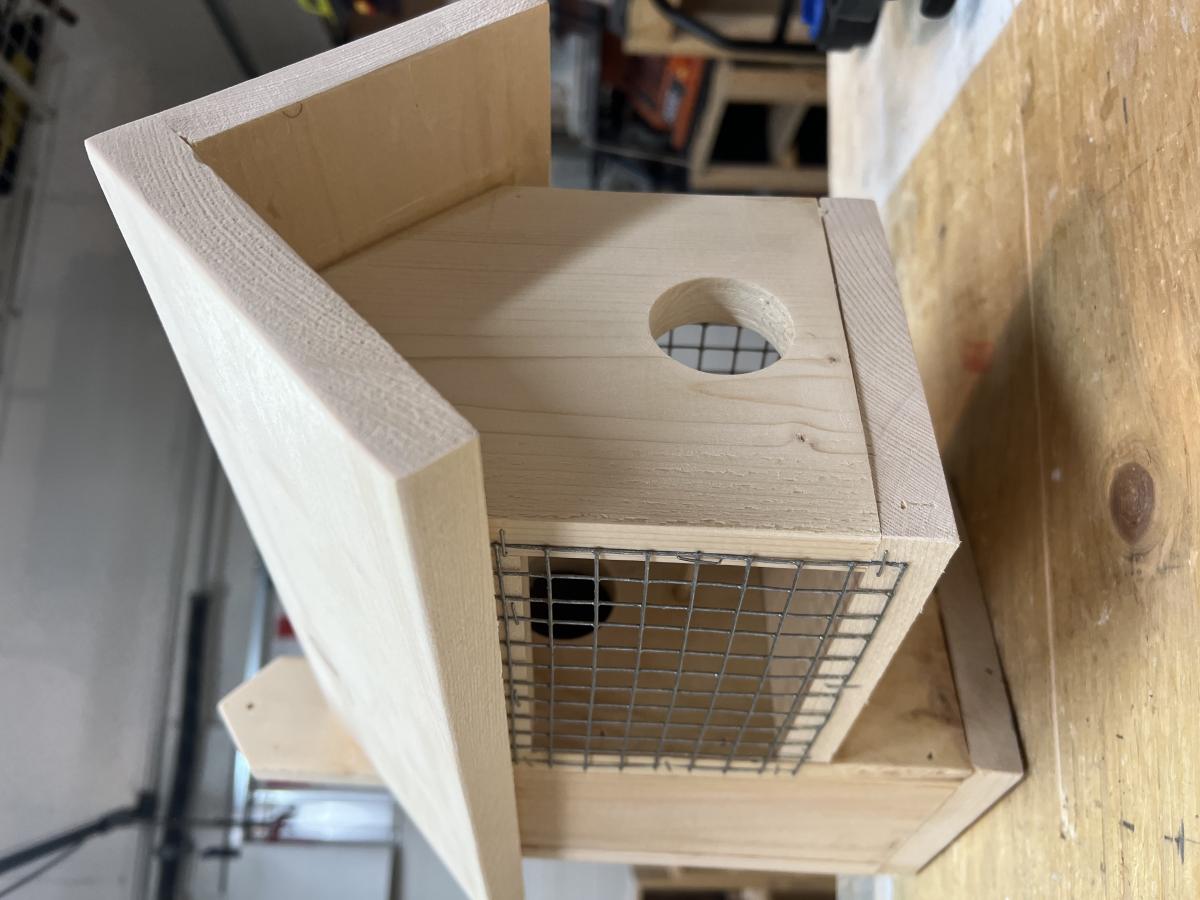
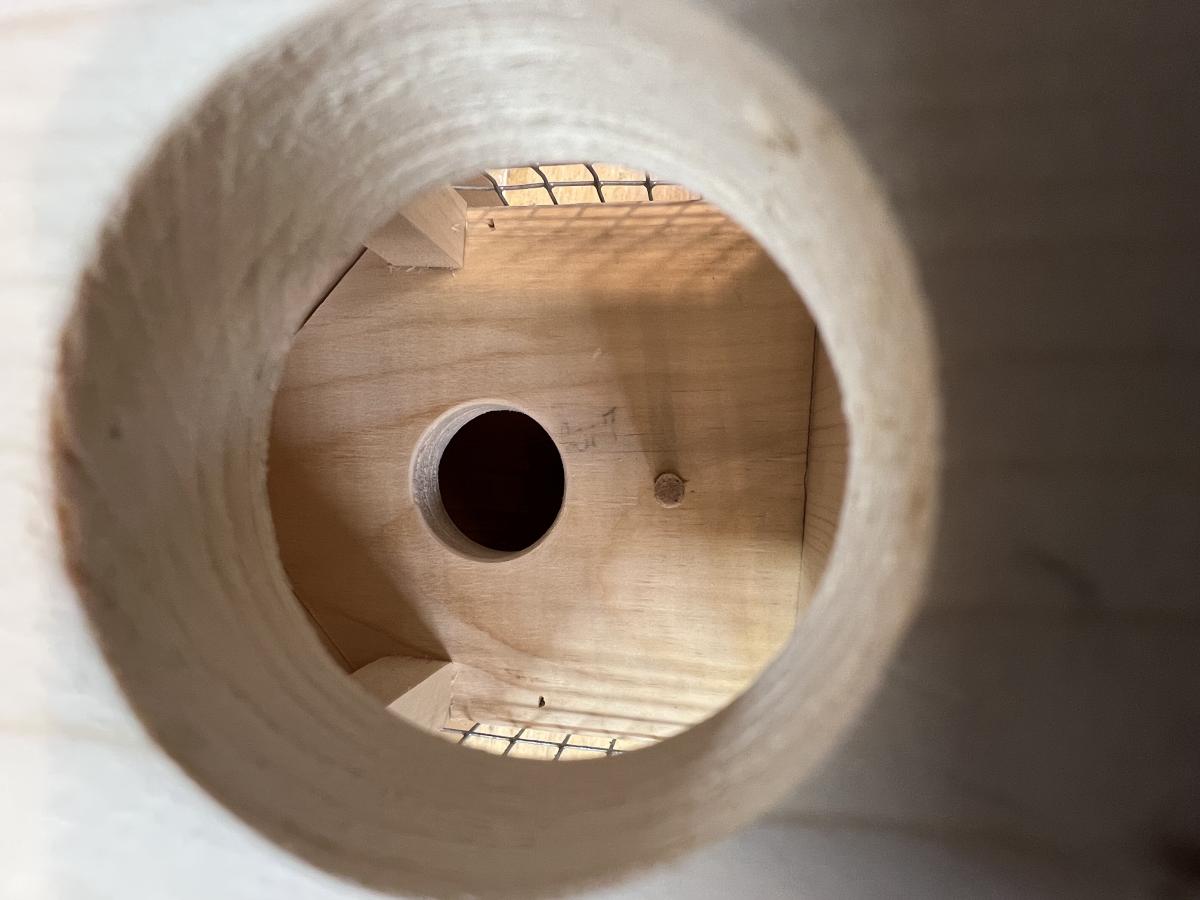
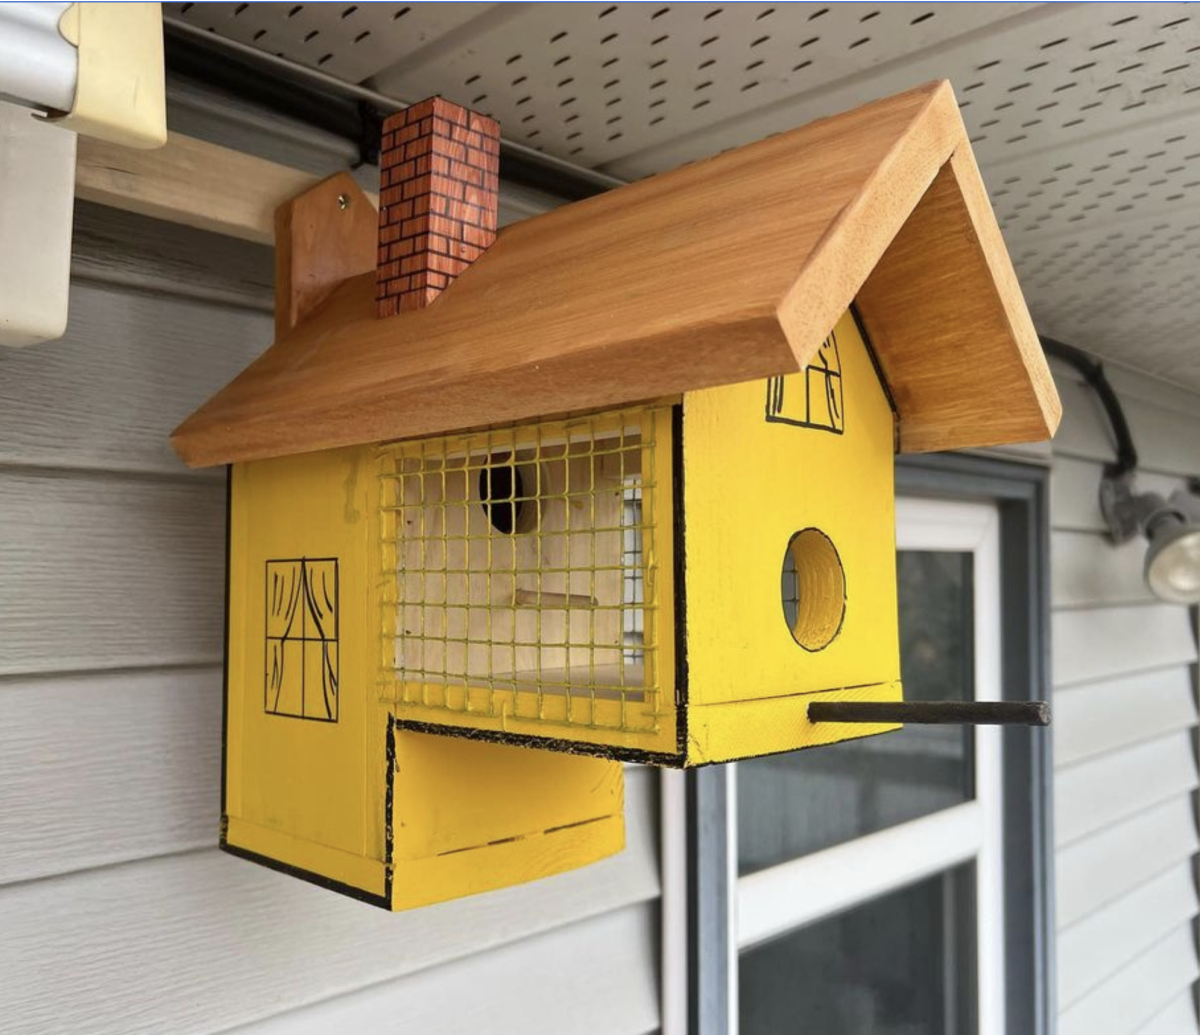
Hi I was tired to see the magpies and flickers destroying the nest and kill the sparrows After days of research i came up with this model that i tested last summer and believe me, it was successfully accepted by sparrows This year i made bunch of them, some different models till i get to the yellow one style that is perfect I really loved it and i'm here sharing it with you guys I will share plan for this bird house in my Instagram next week (June 12)
I designed this off of the laundry basket holder.
Thu, 05/03/2012 - 06:38
Great option & smart. Now, after seeing your changes to the original, I am thinking of making one similar to yours but build it to hold all my craft storage bins.
Sun, 05/20/2012 - 11:44
I was wondering if you had the plans for the project. I would like to make one of those. So what are the project plans? ( Wood used and the cutting measurements. )
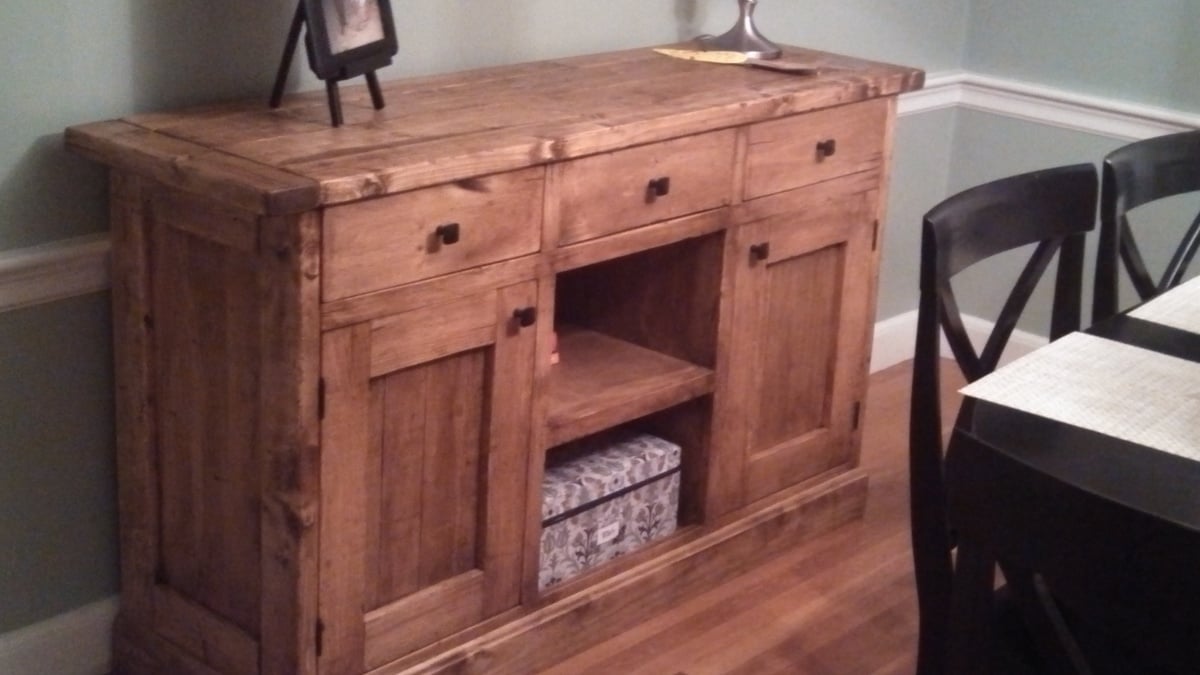
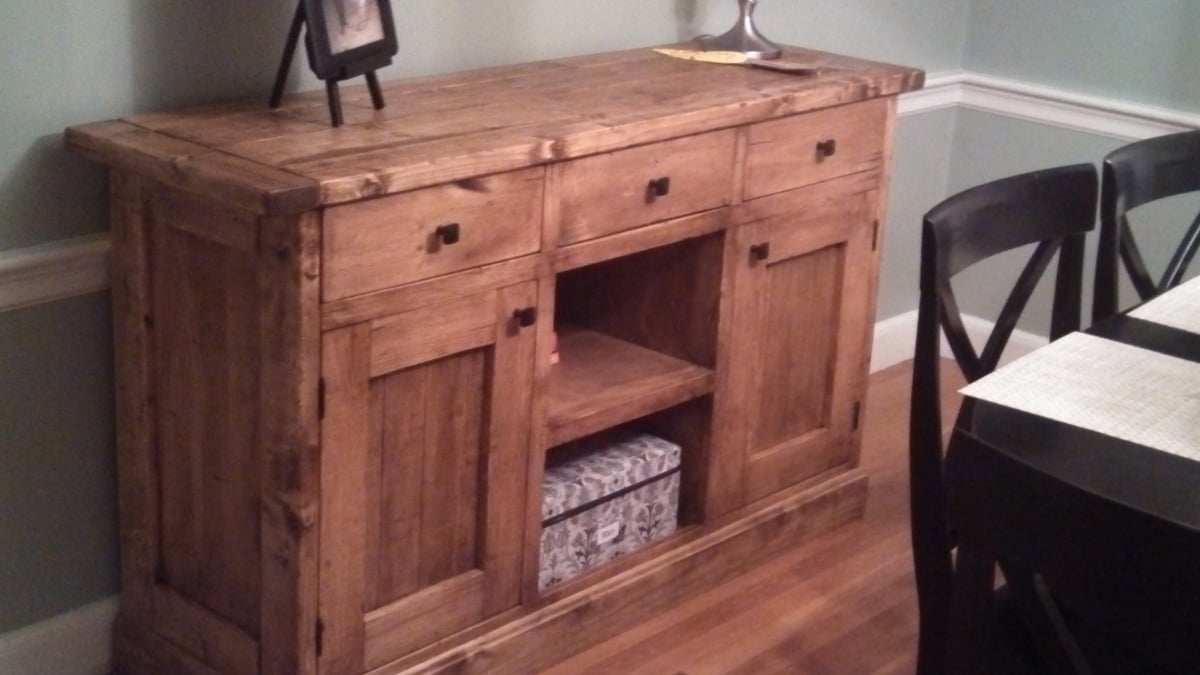
Had to resize length to 64" so it could fit in the room. Took me a little longer than 20 hours. Also distressed the wood to make it look rustic. Plans were great! Thank you!
Thu, 05/22/2014 - 07:29
I love your version of this sideboard! The weathered-looking finish looks great.
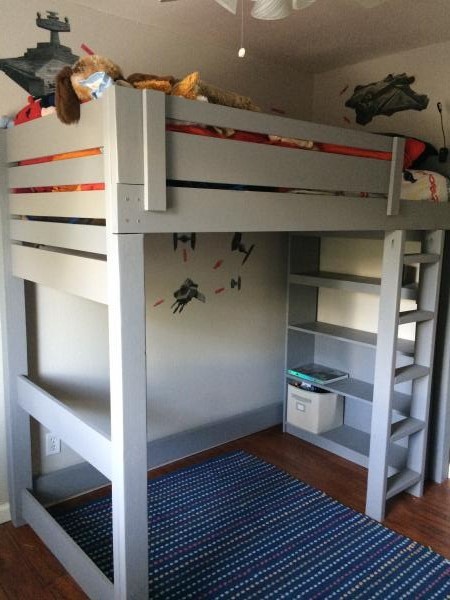
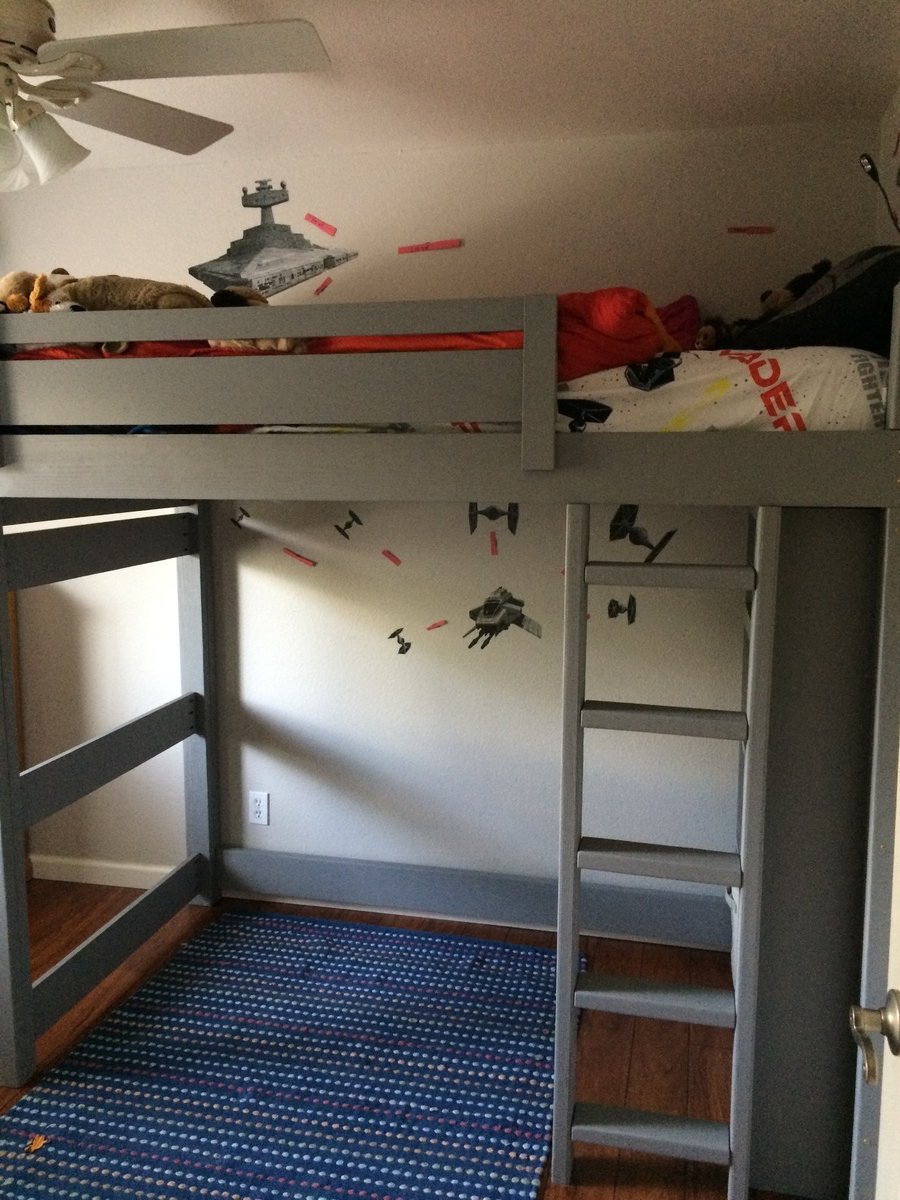
This is a mix the "Side-Street bunkbed" plan and the "How to Build a Loft Bed." I used "Spax" 3 inch wood screws to attach the side rails instead of bolts used in Side Street plan. I used KregJig pocket holes for everything else.
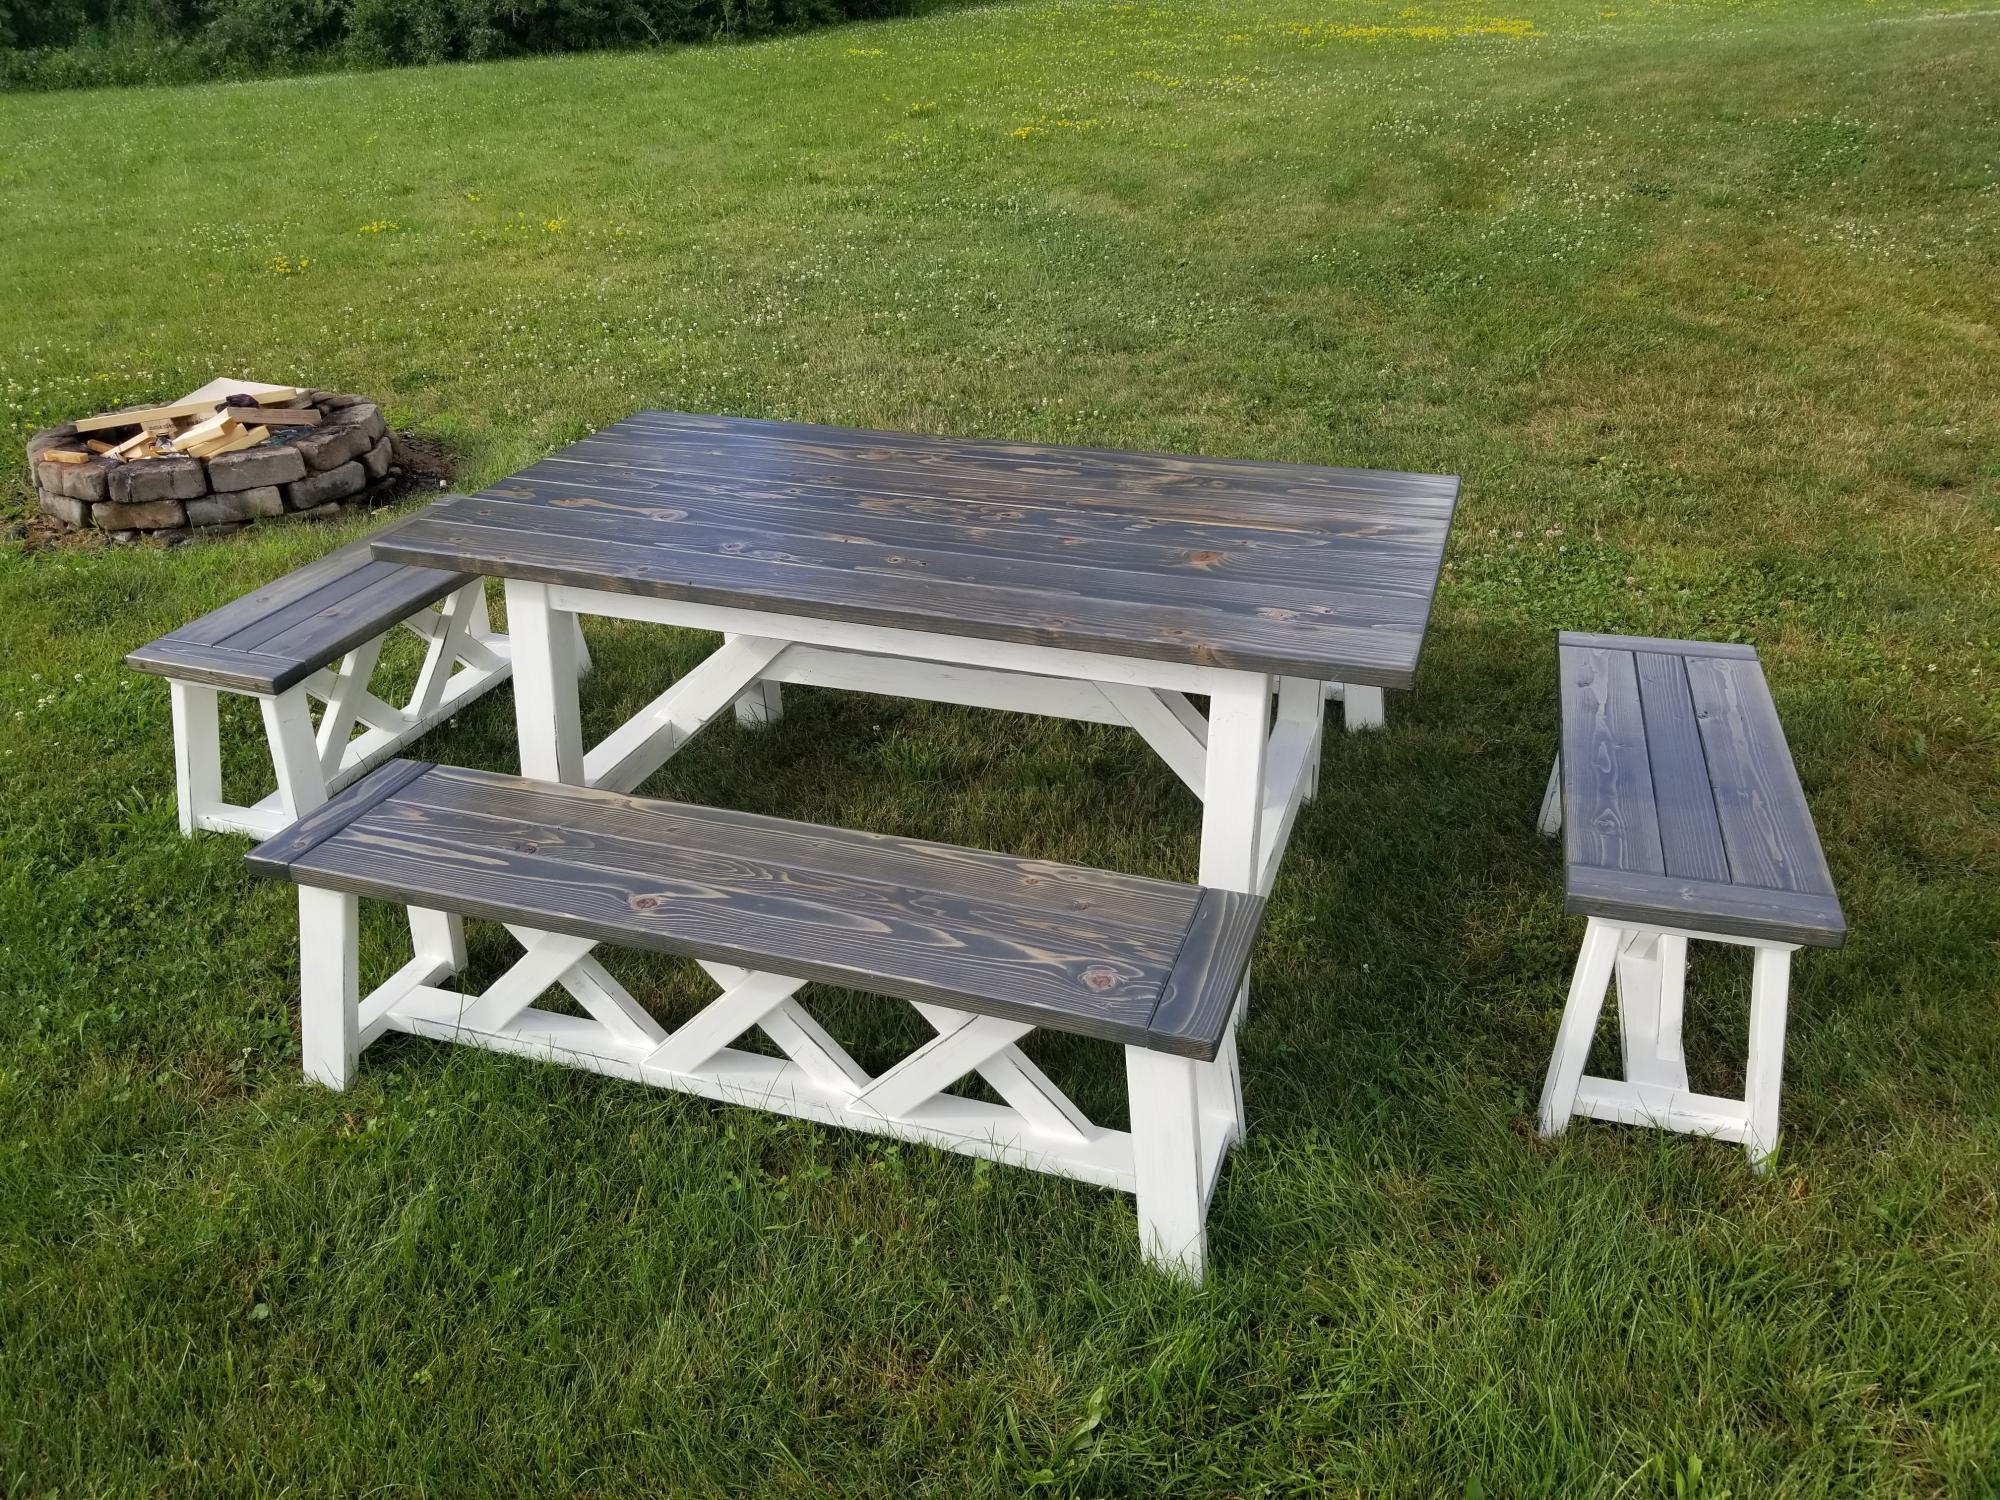
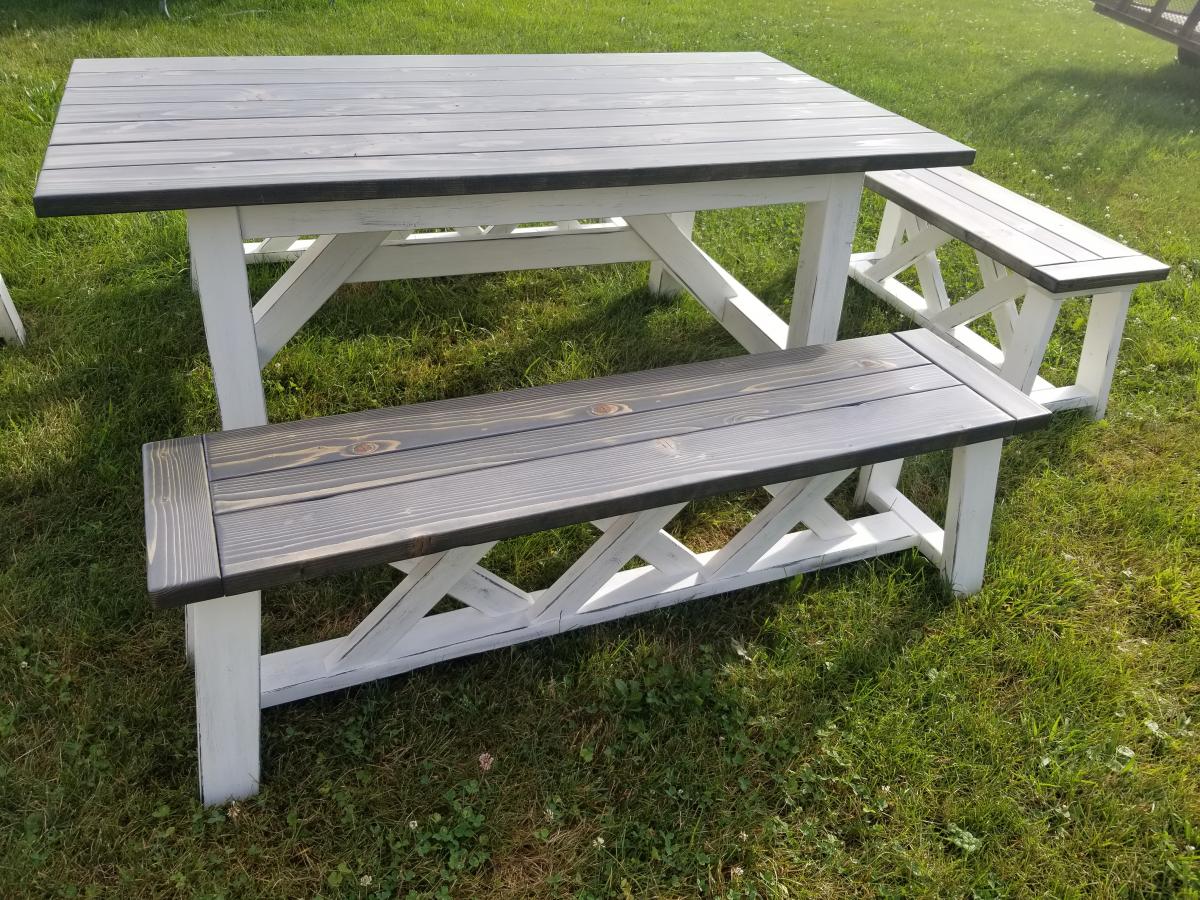
My spin on the 4x4 truss beam table. Fun and rewarding project. I received many compliments on this build.
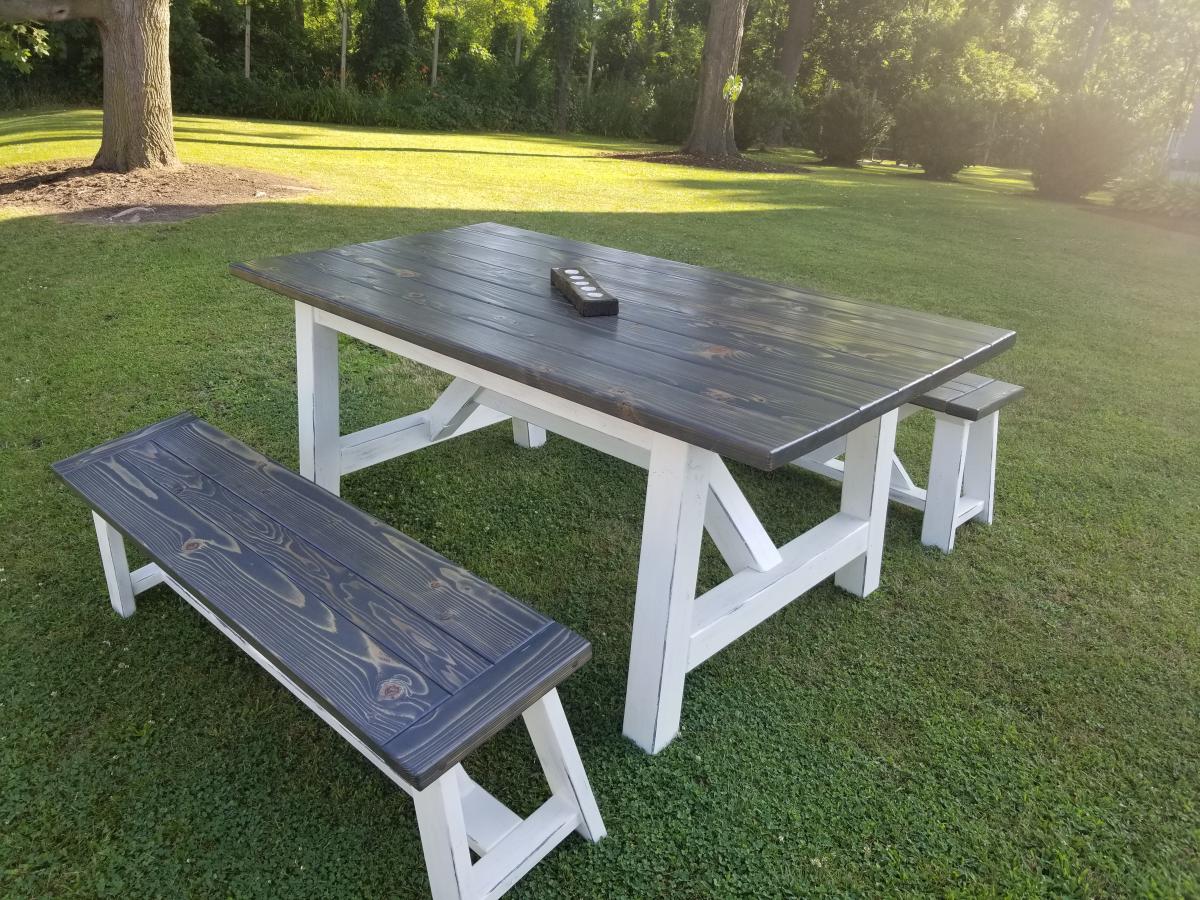
Slight mod, table added from wood picnic table that the sectional replaced.
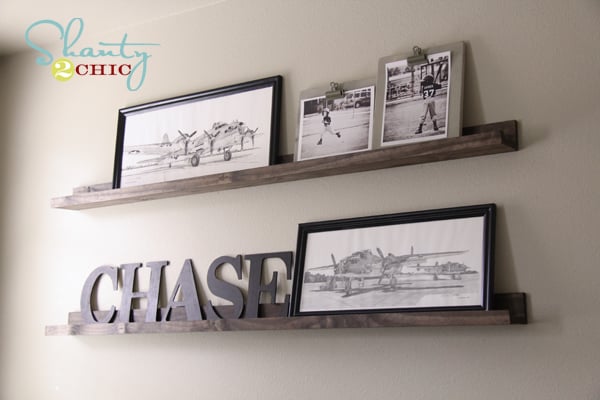
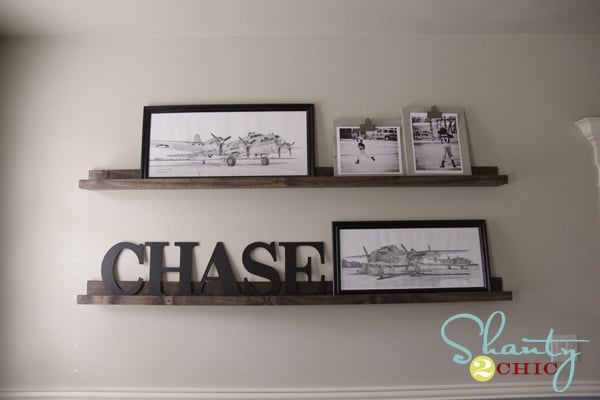
I love how these turned out! I did use my Kreg Jig to attach my back and bottom boards, but you could easily pre-drill and use regular screws. You can see a full tutorial at http://www.shanty-2-chic.com/2012/01/20-shelves-anyone-can-build.html !!
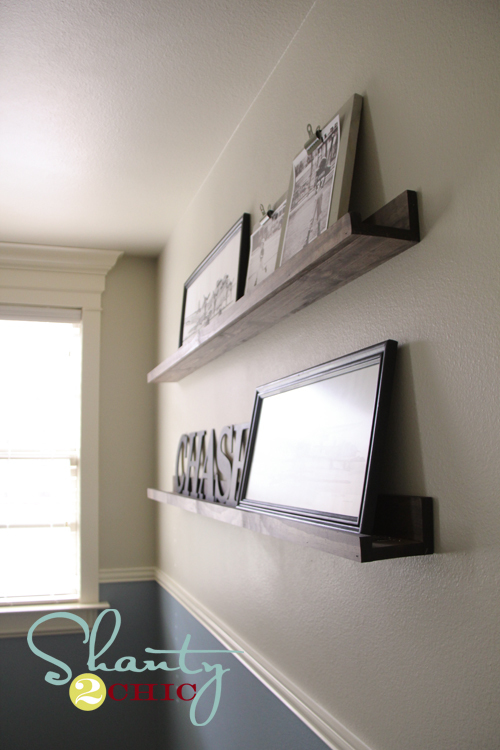
Tue, 01/24/2012 - 18:44
Whitney these shelves are so beautiful! Th stain is amazing, and I love the art!
In reply to Whitney these shelves are so by Ana White
Wed, 01/25/2012 - 04:31
I love them... One of my very favorite projects!
I used the plans for the fire station loft bed (http://ana-white.com/2011/11/fire-station-loft-bed), but added the stairs from the camp loft bed (http://ana-white.com/2012/07/plans/camp-loft-bed-stair-junior-height) since my son is young. I was afraid of him climbing down the ladder at night if he wakes up. The stairs are not attached and can be removed when he is older. They were designed so he can climb through the space where the lower rungs of the ladder were and use underneath the stairs as a fort, etc. The project took quite a bit of time and cost about $500 (not including the Kreg Jig or mattress).
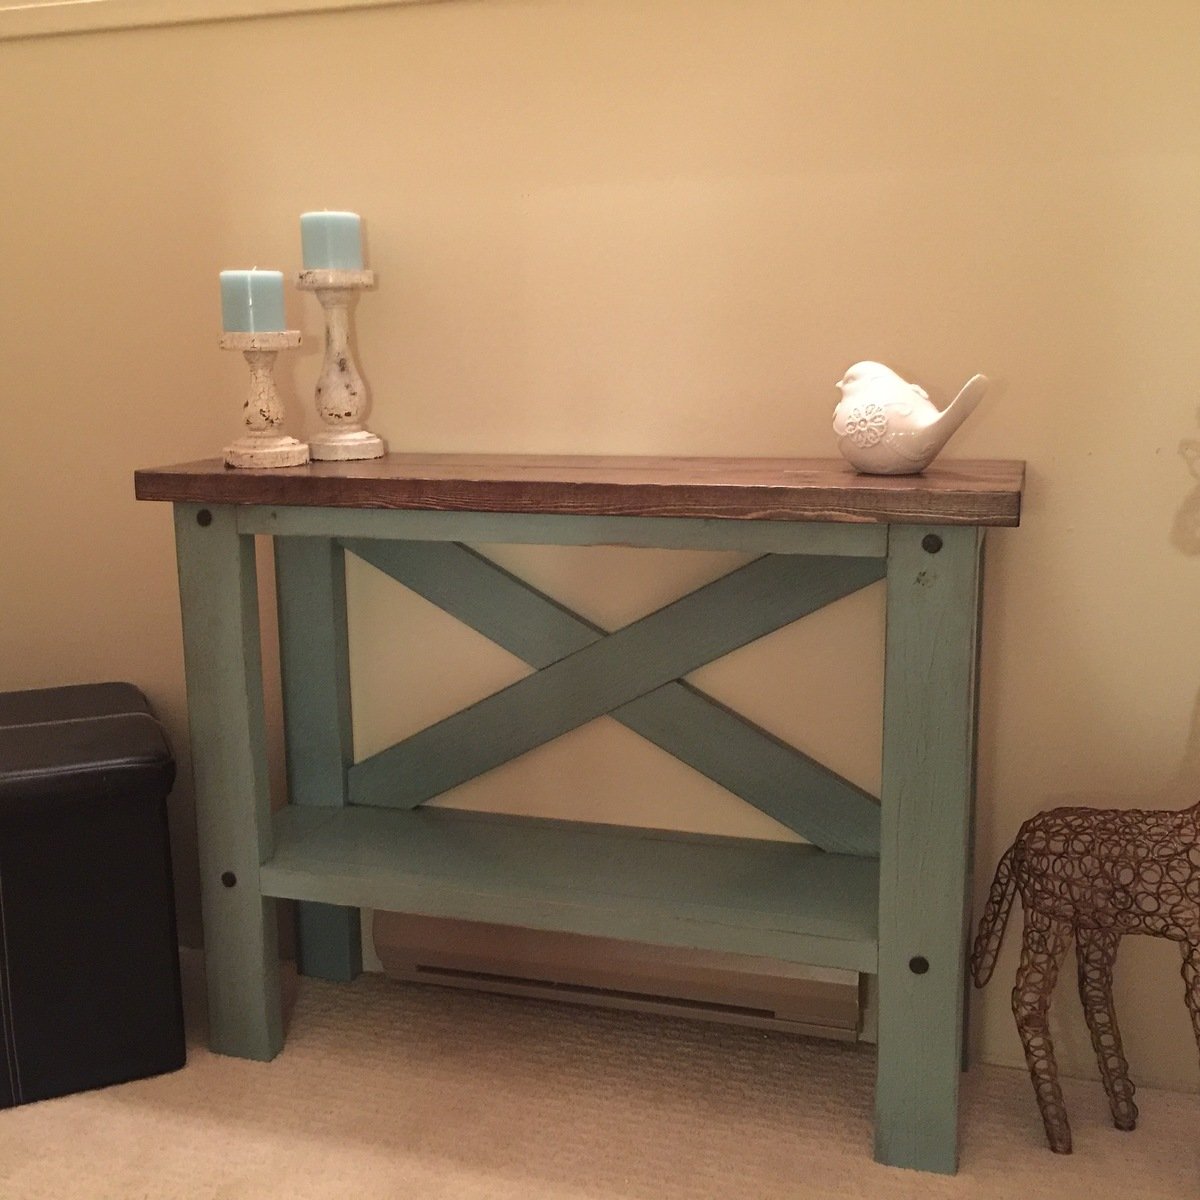
First table built by us. I think it turned out pretty good! Custom built to avoid baseboard heater.
Sun, 01/15/2017 - 21:24
I need the table that is green/gray/blue whatever on the bottom and stained brown on the top
Tue, 01/17/2017 - 12:35
i plan on making this next week, so i can update you with the plans, the only thing i am doing different is the way i am doing my cross in the back.
stay tuned
Tue, 01/17/2017 - 12:35
i plan on making this next week, so i can update you with the plans, the only thing i am doing different is the way i am doing my cross in the back.
stay tuned
Sat, 02/04/2017 - 13:12
This is beautiful and simple! Great job!
You costum built it to fit the baseboard, were the original plans Ana White's? Can you link it or tell me the name to find it?
I'm new to the site and not navigating very well. I'm trying to save plans for a console similar to this to my profile/account and looking for the little "save to plans" to easily find this again
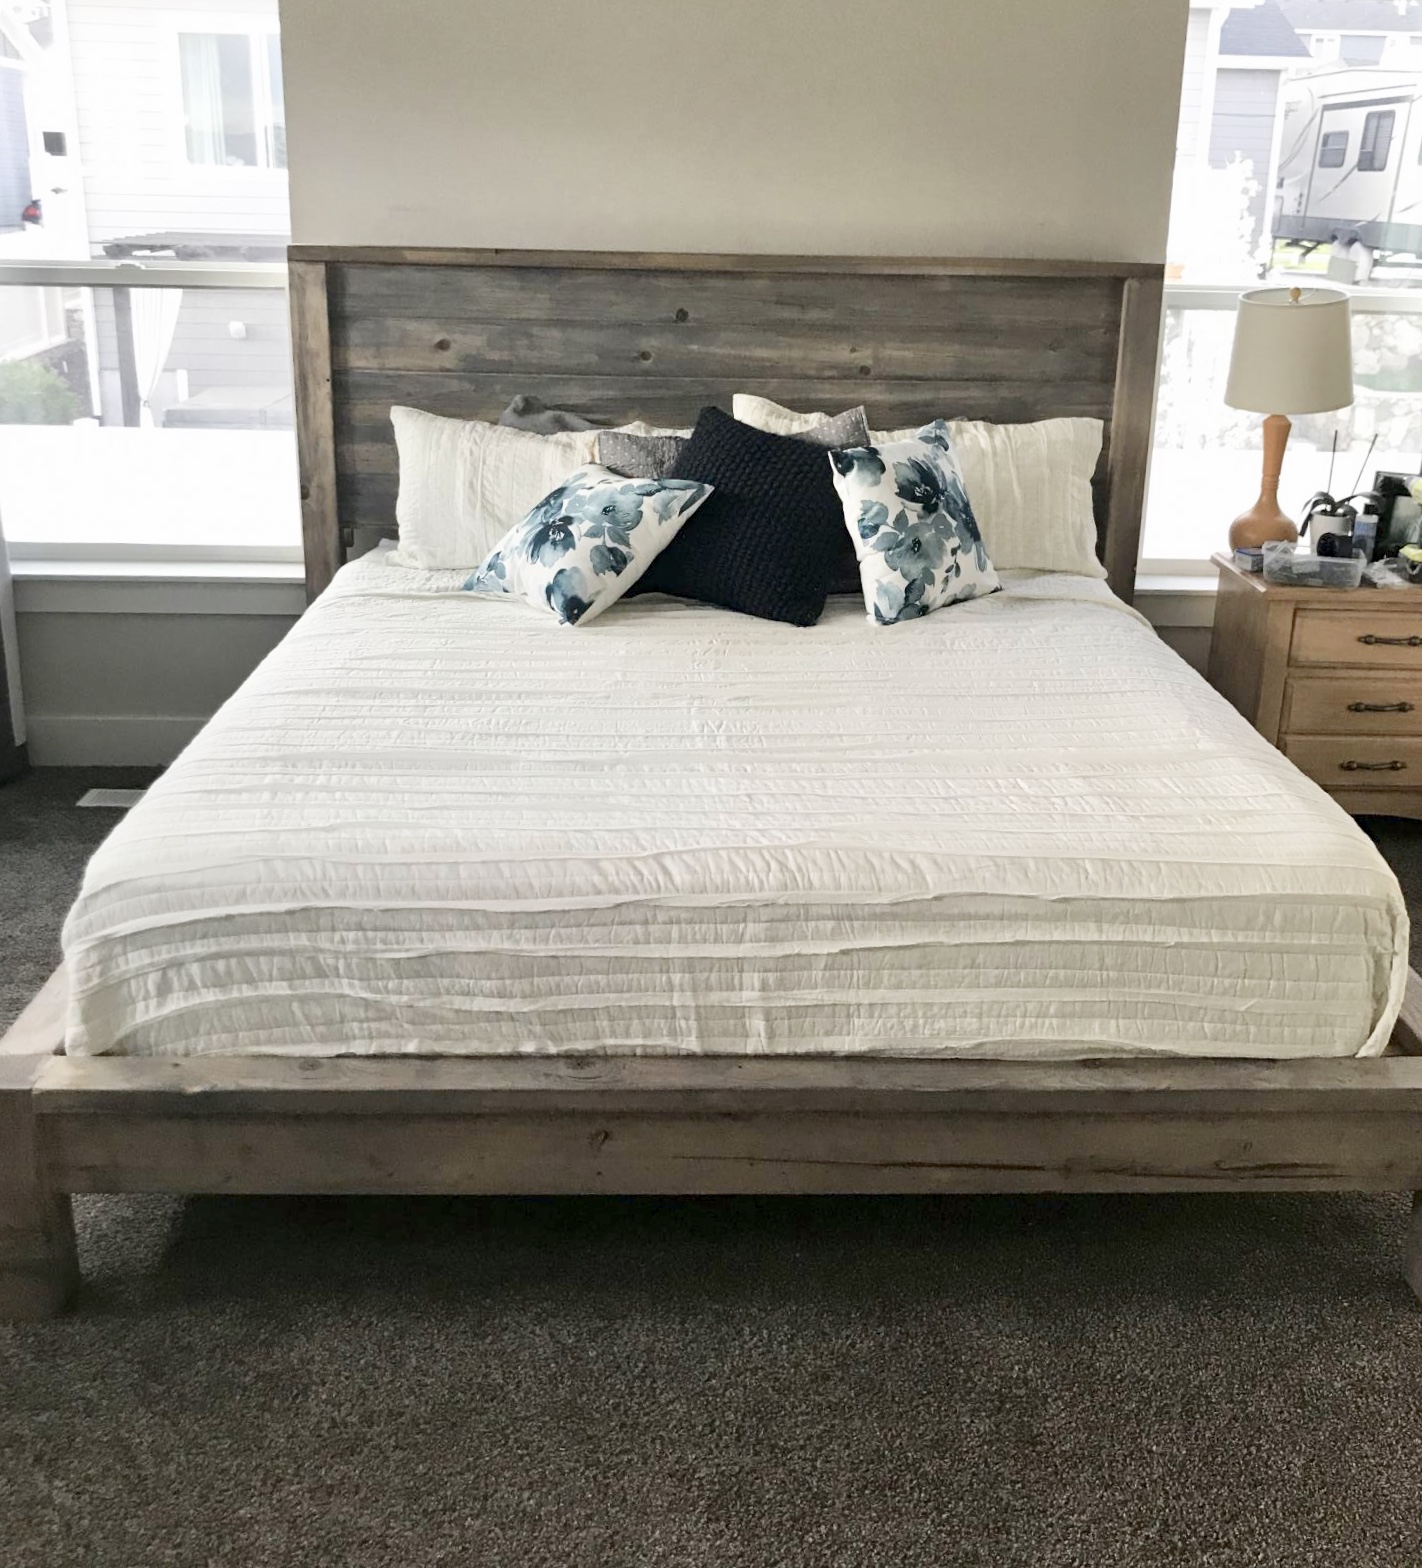
My husband and I have been married for 14 years and have never had a new bed. In fact we have been sleeping on hand me downs our whole lives. I completely fell in love with this bed plan and it was in our very tight budget! We are in heaven. We now have a beautiful farmhouse bed and even a new mattress. We couldn’t be happier with how it turned out.
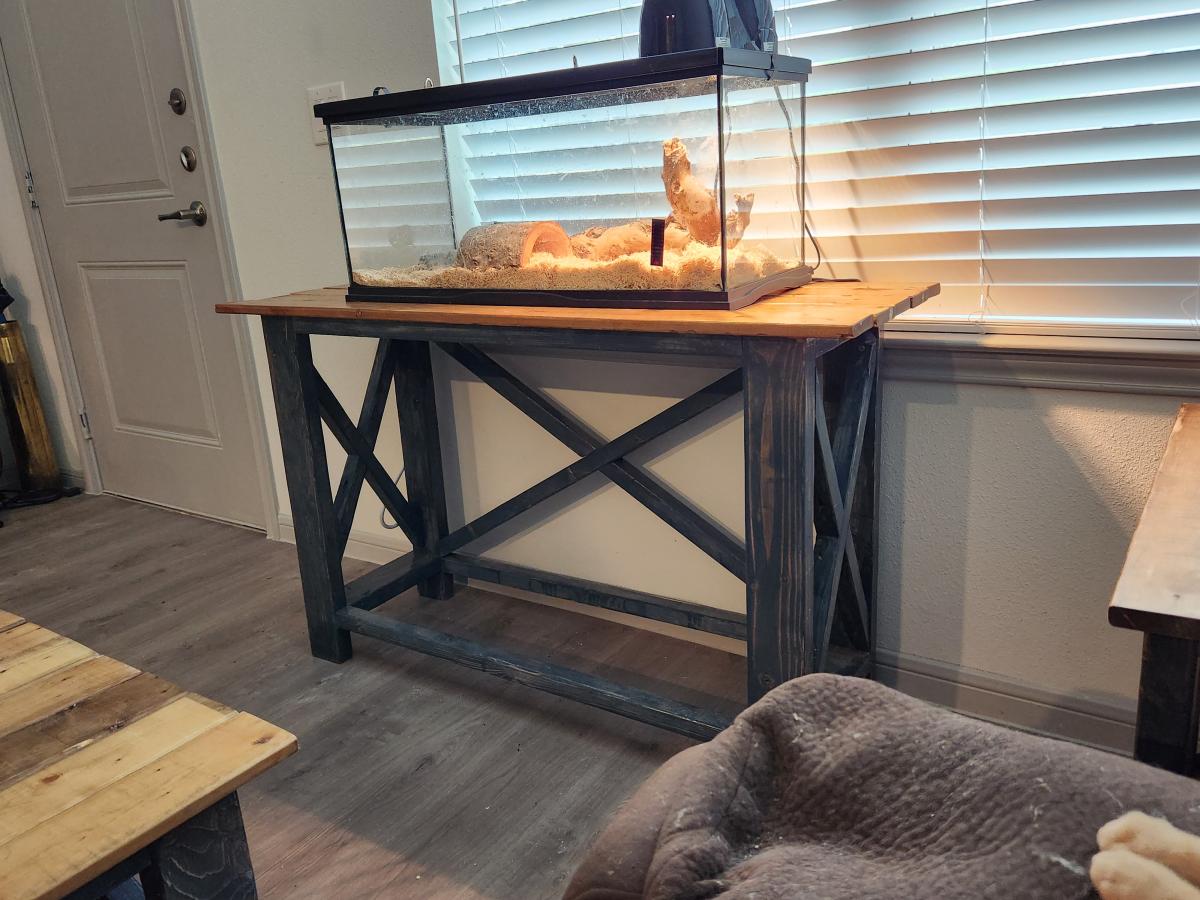
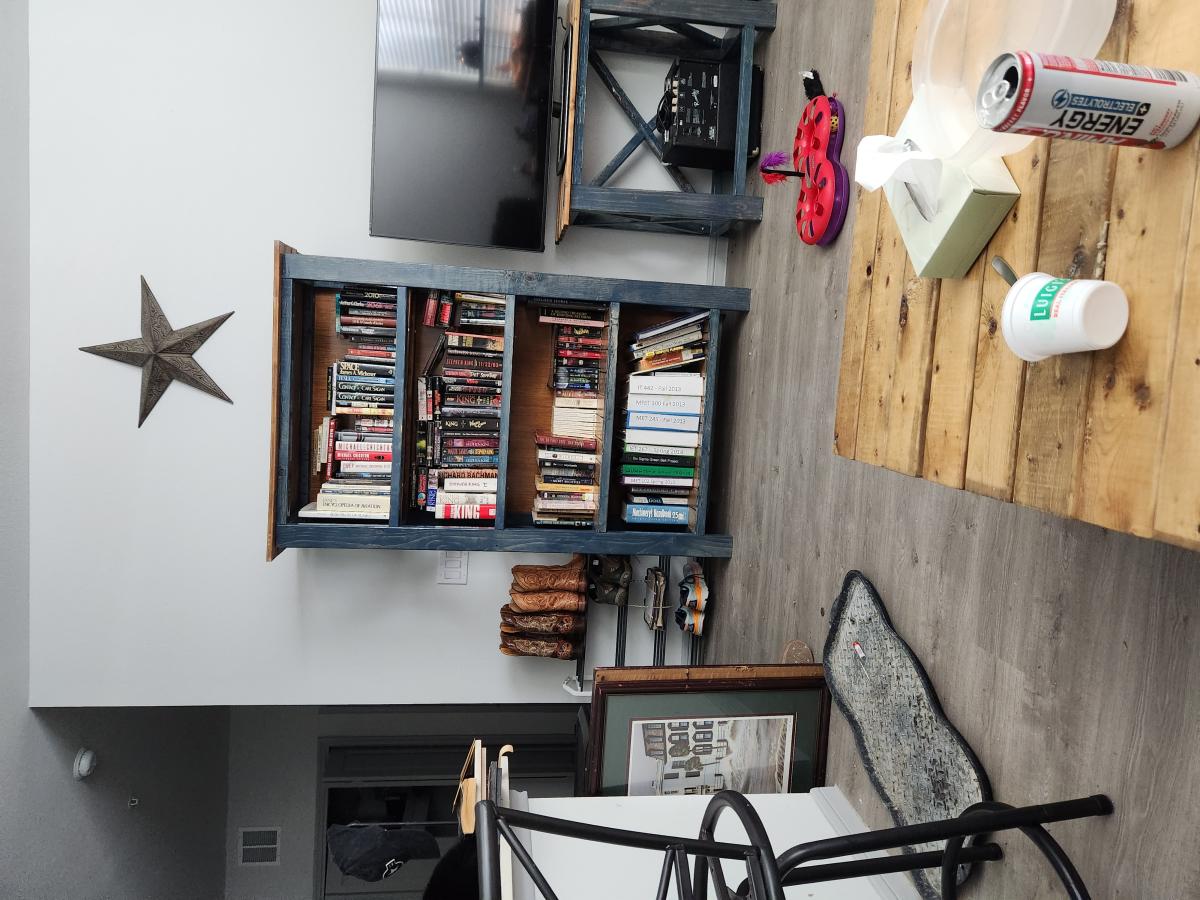
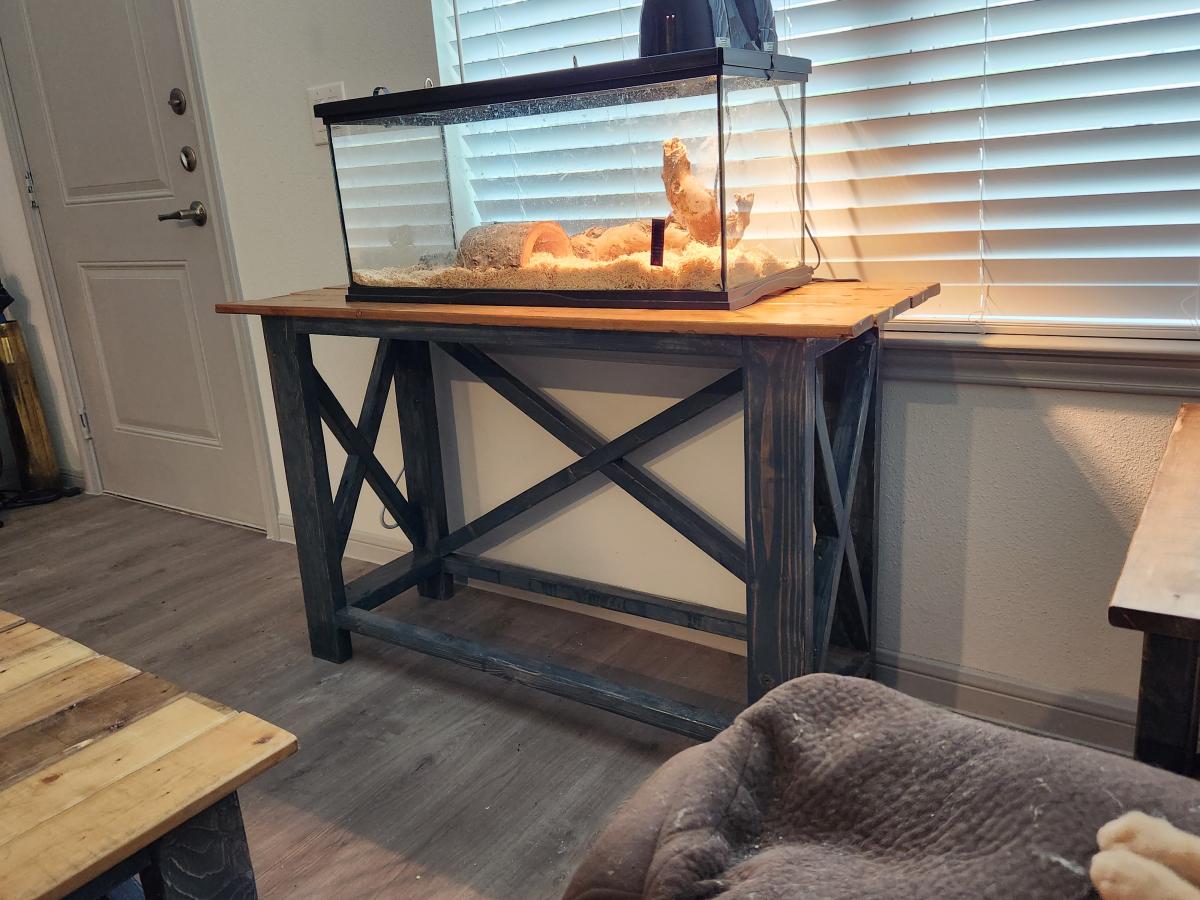
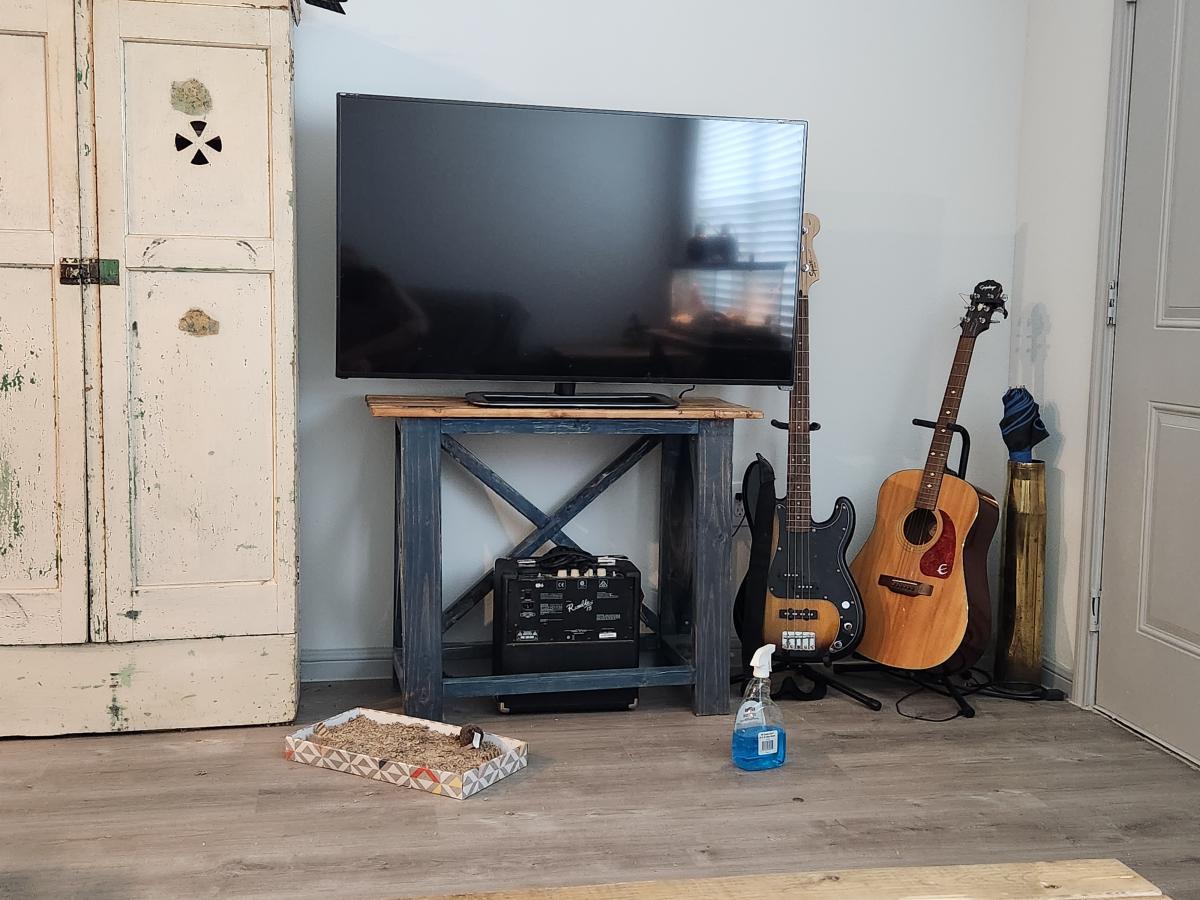
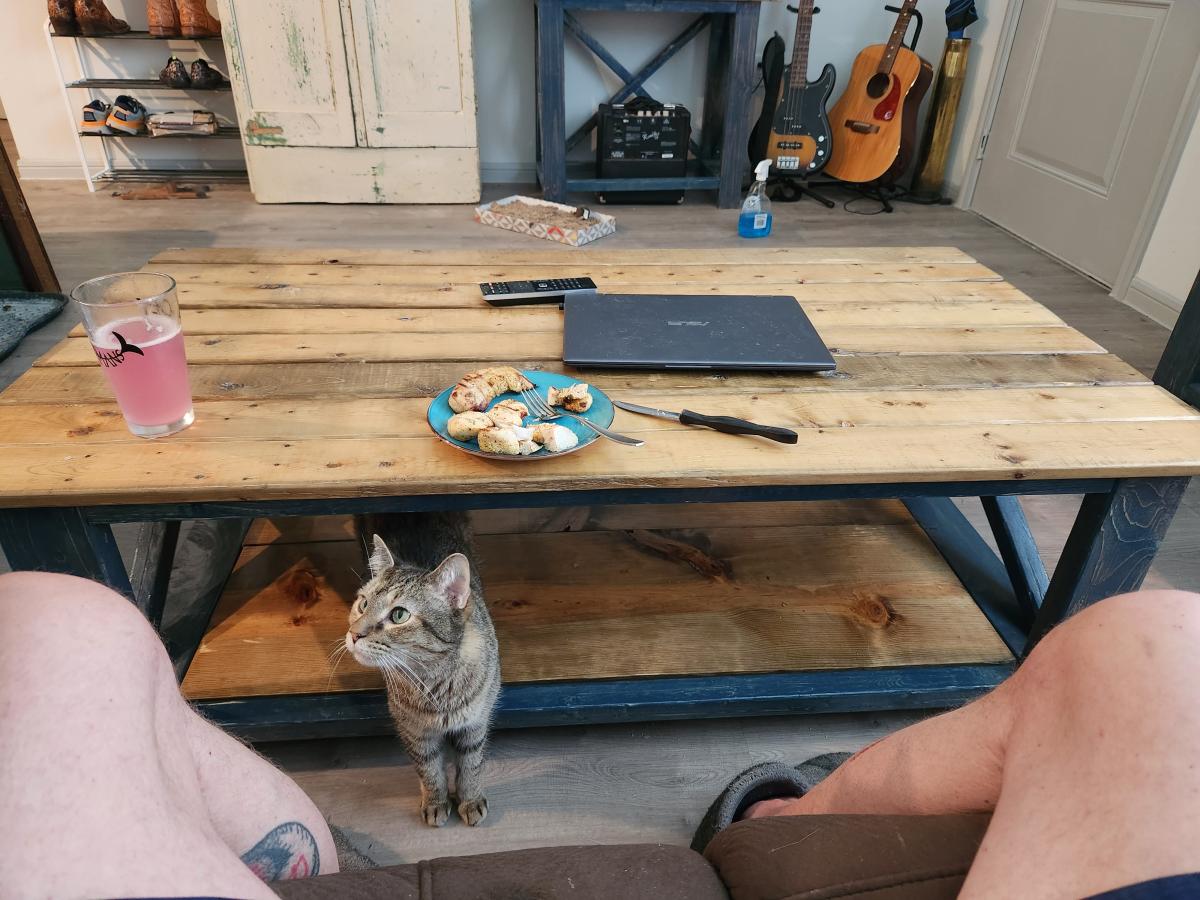
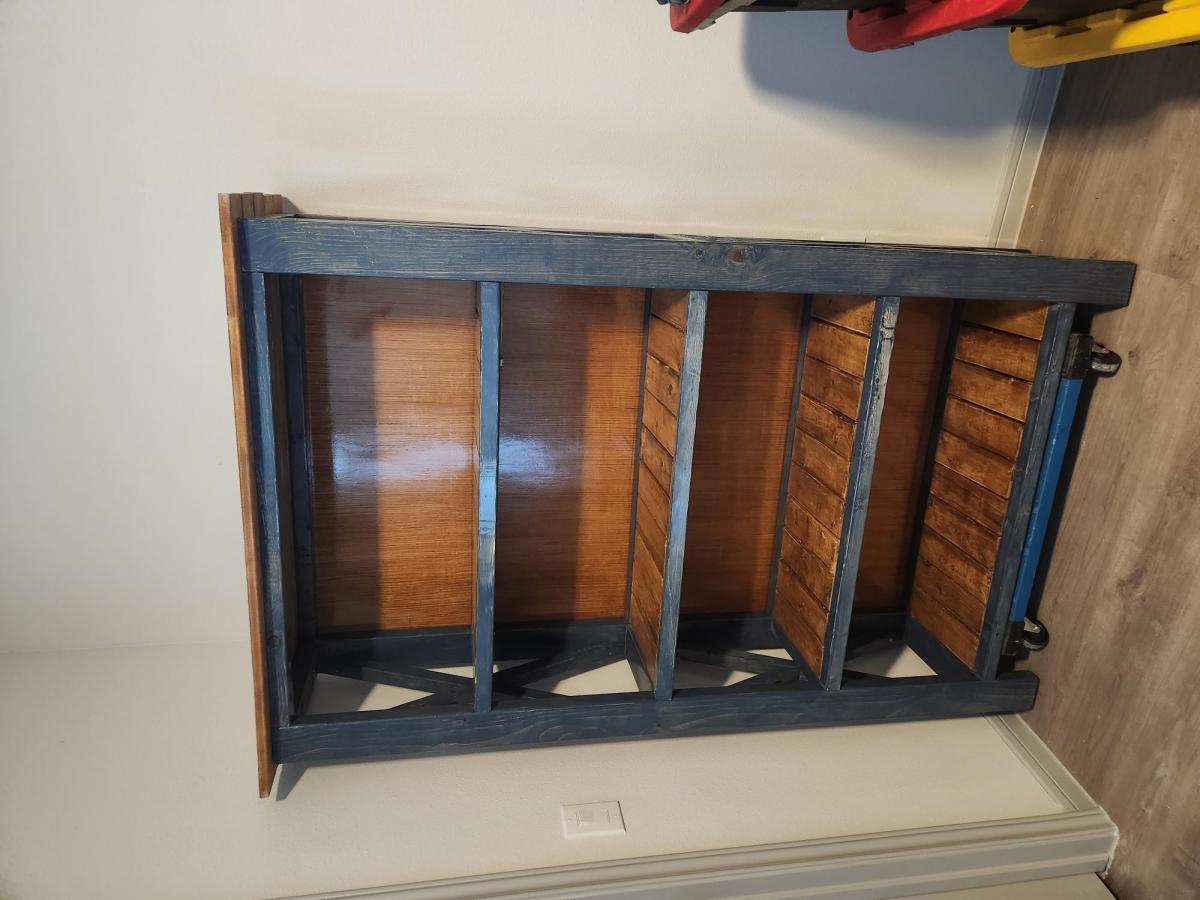
Lots of fun building all of this - very easy to do as well. Built a coffee table, 2 end tables, 2 console tables, and the book case. I changed a couple things up like doing 1x4 instead of 2x6 for the tops, and used the advice on aging/oxidizing the boards as well.
Wed, 06/14/2023 - 10:21
These look amazing and I love your finish choice! Thanks for sharing.
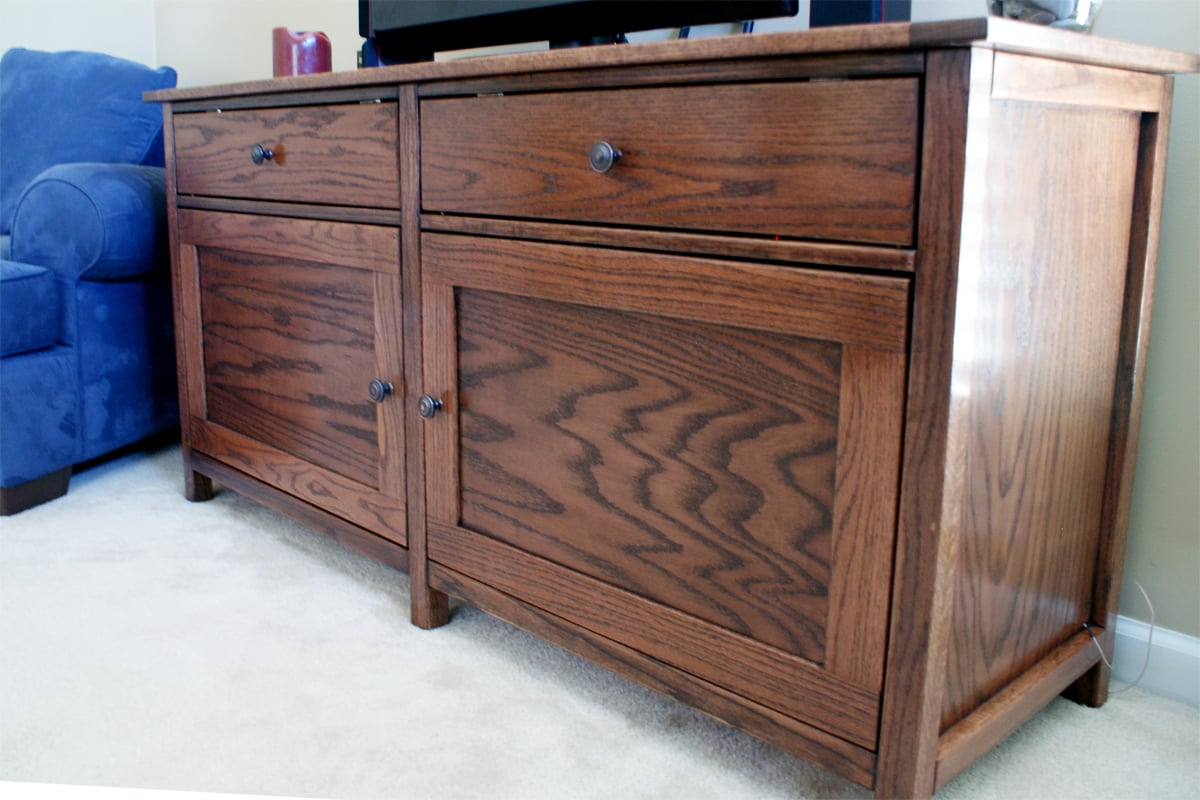
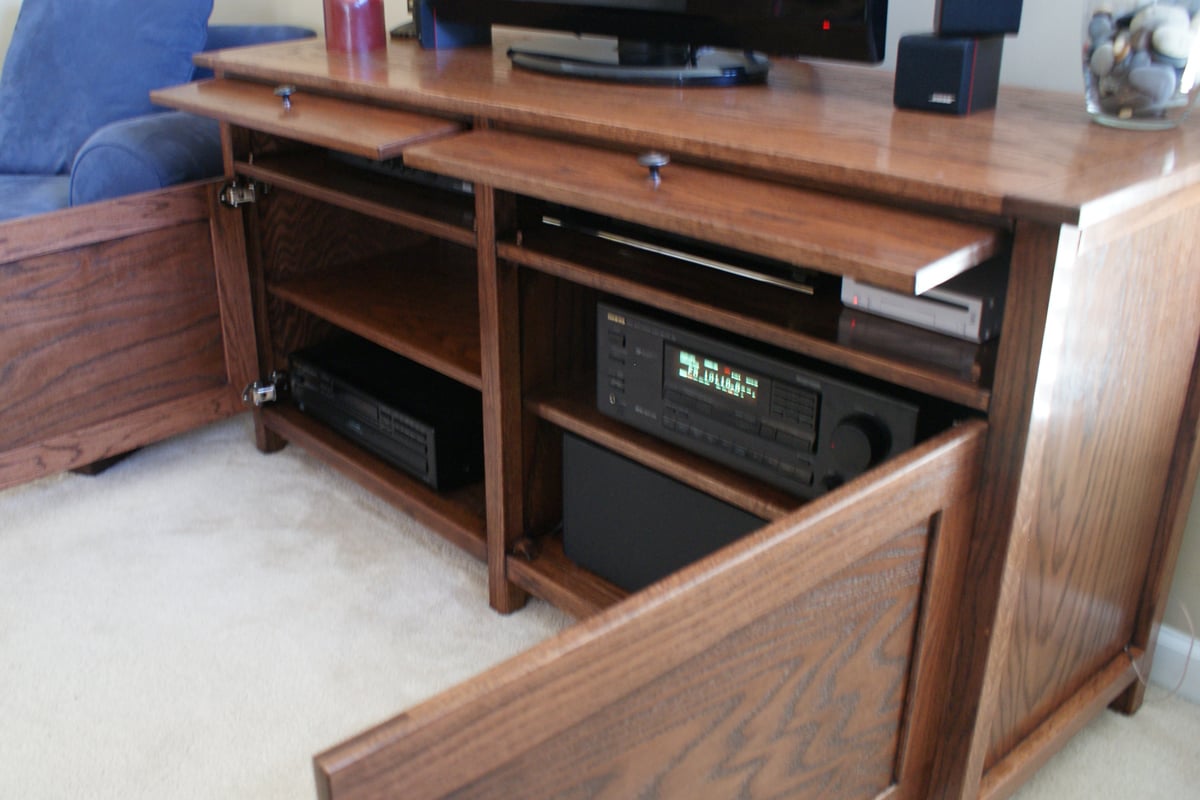
This is my FIRST ana-white project and the first furniture I have ever built.
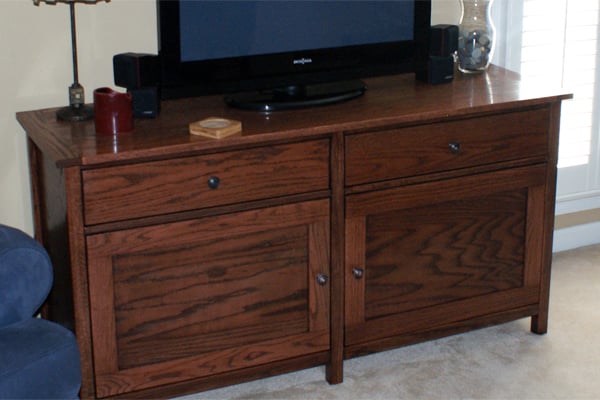
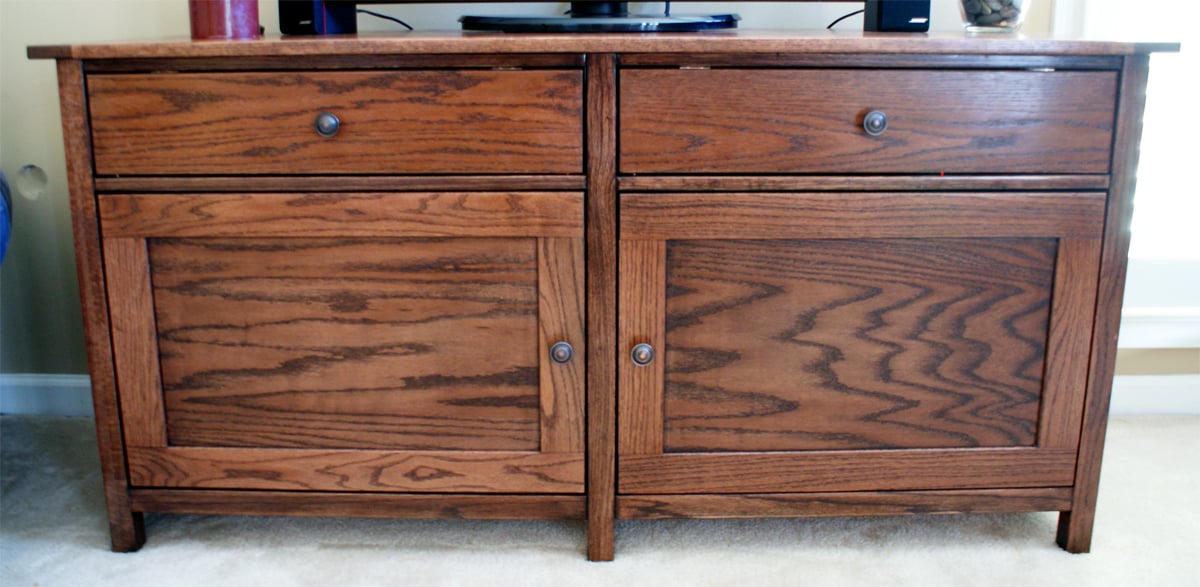
I made a few modifications to the original plan. Rather than using plexi-glass for the doors, I chose to use plywood panels to hide the electronics (Then I will use a rf repeater so the remotes still work). The doors are assembled using half-lap joints cut using a tenoning jig and a slot bit using a router with 1/4" plywood set into the slot during assembly.
I also chose to put a 1/8" roundover to most of the edges with the router to add a little interest and mounted the top doors from the top so they "flip up" rather than down.
Finishing was my biggest challenge but after fixing many mistakes, I finally am satisfied with the result. I used 4 coats of oil-varnish blend on top of a water borne stain.
I really enjoyed this project and it definitely gave me the addiction. I'm pleased with the final product and it's a huge step up from the IKEA thing we had before. I just bought a new table saw and can't wait to start my next one.
Thanks for looking!
Tue, 01/31/2012 - 08:04
I really love how you attached the top doors! And the doors in general look great!
Tue, 01/31/2012 - 08:43
This is absolutely beautiful. What a timeless piece, your hard work has certainly paid off.
Tue, 01/31/2012 - 09:39
Very very nice - especially love that this is your first project!
Tue, 01/31/2012 - 10:05
Thank you sooo much for the comments. This website truly was my sole inspiration for getting into woodworking. I've learned a lot and am humbled by the talent in this community. Thank you.
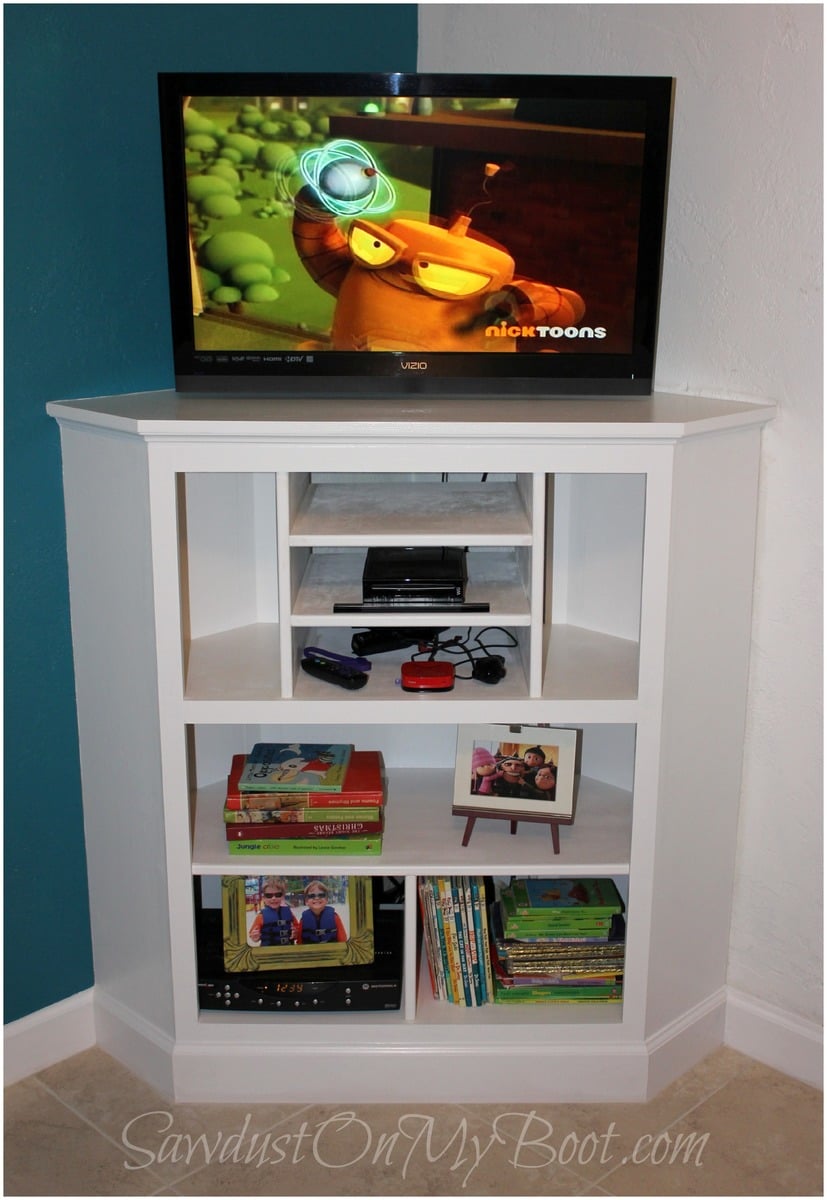
This was a particularly fun build for me since it was for my little guys' room! Hope Santa fills it with tech goodies on Christmas!! Please check out the details on my website! Happy Holidays!!! :D
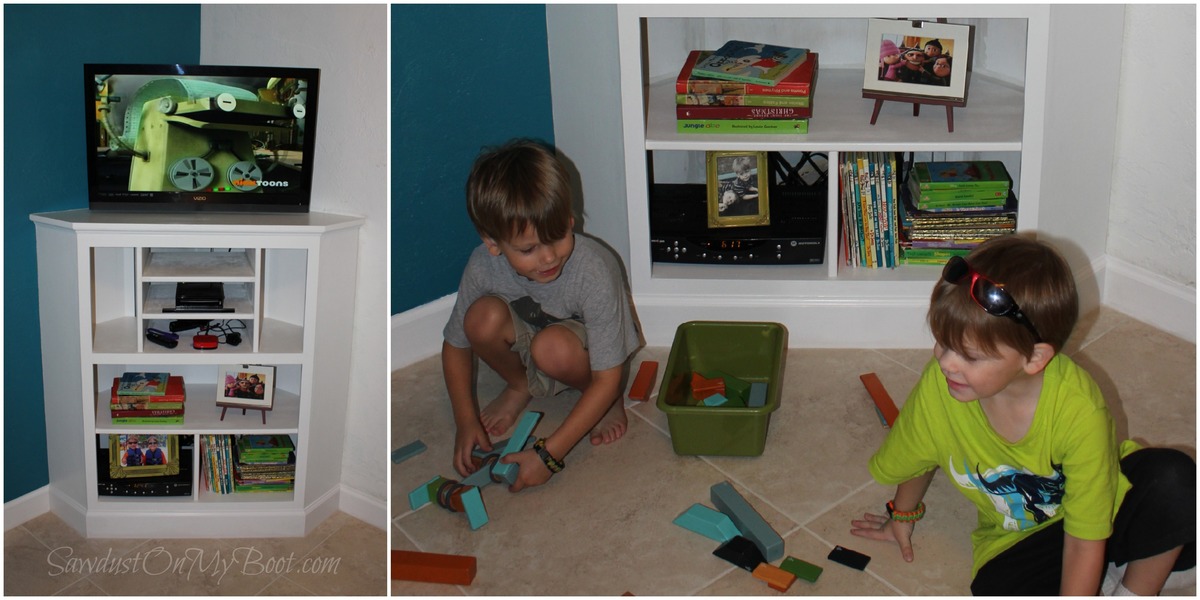
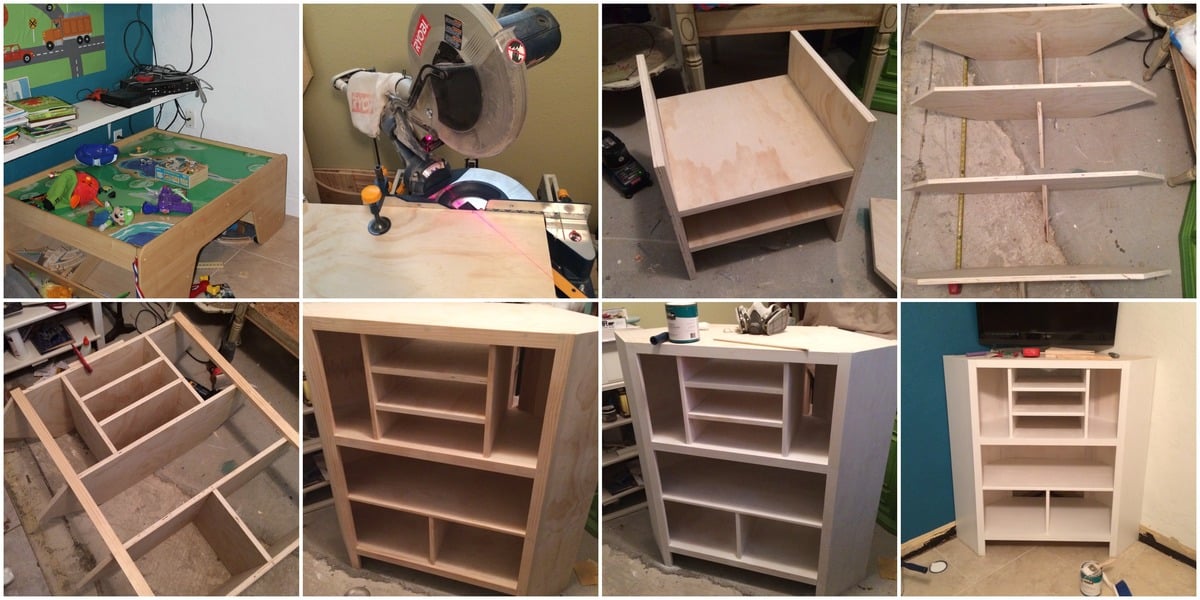
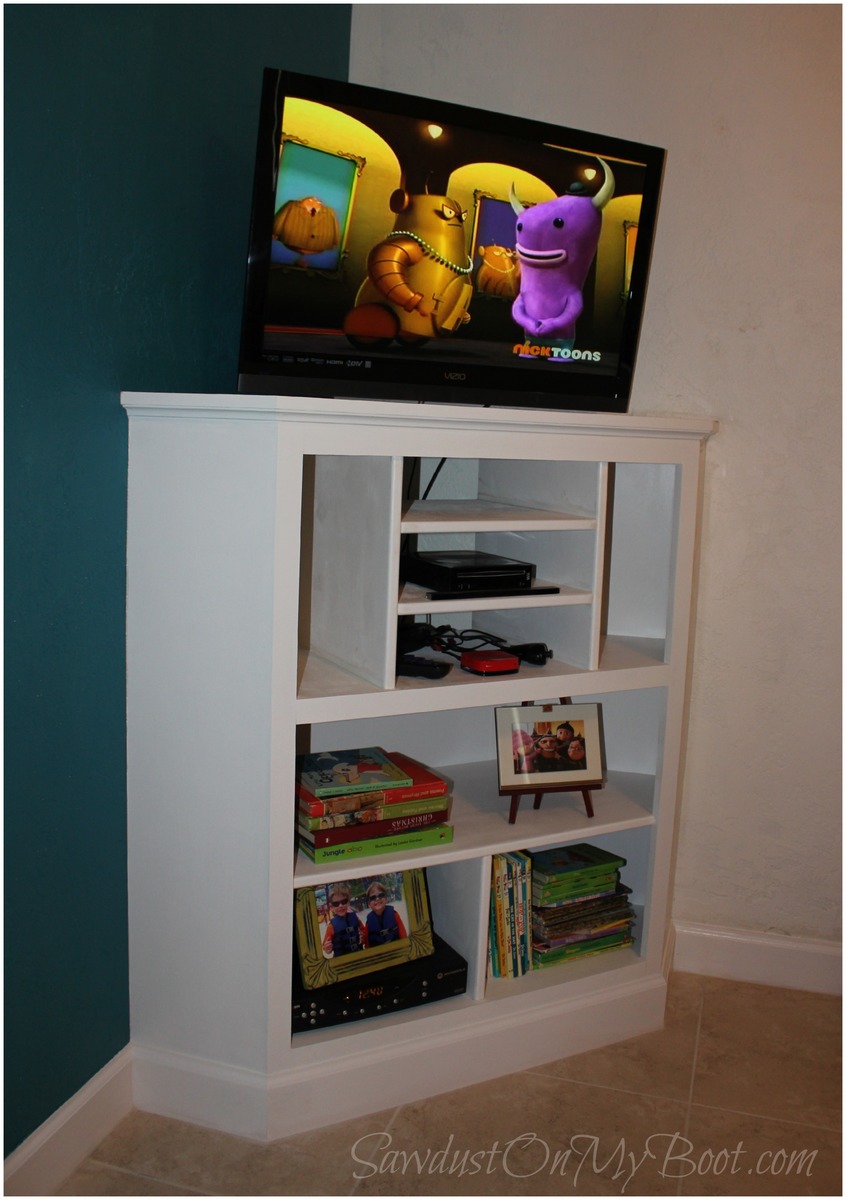
Fri, 12/13/2013 - 05:38
Great job. The molding looks perfect too!! I love the name of your site. I live on an island and when I'm working on stuff I like to wear my cowgirl boots :) my friends all tease me for them...but I love getting 'sawdust on my boots'! Again, great job!!
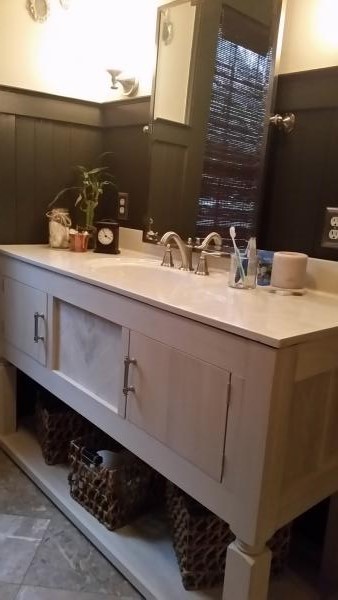
After contacting two cabinetry carpenters to do this project for me, I came upon Ana's plan for the Momplex. I made some adjustments for my home abd surprised myself.
My motto "what's the worse that can happen? I have to call someone! "
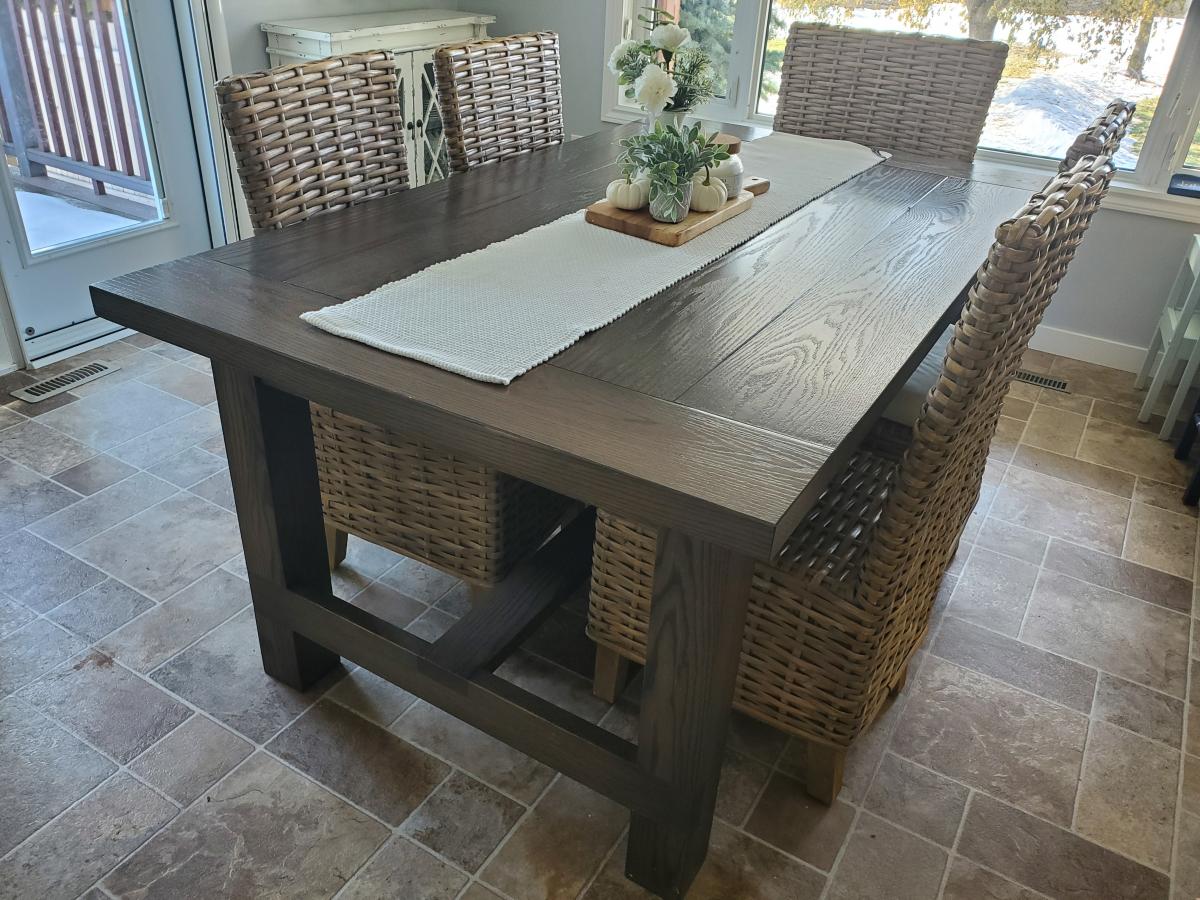
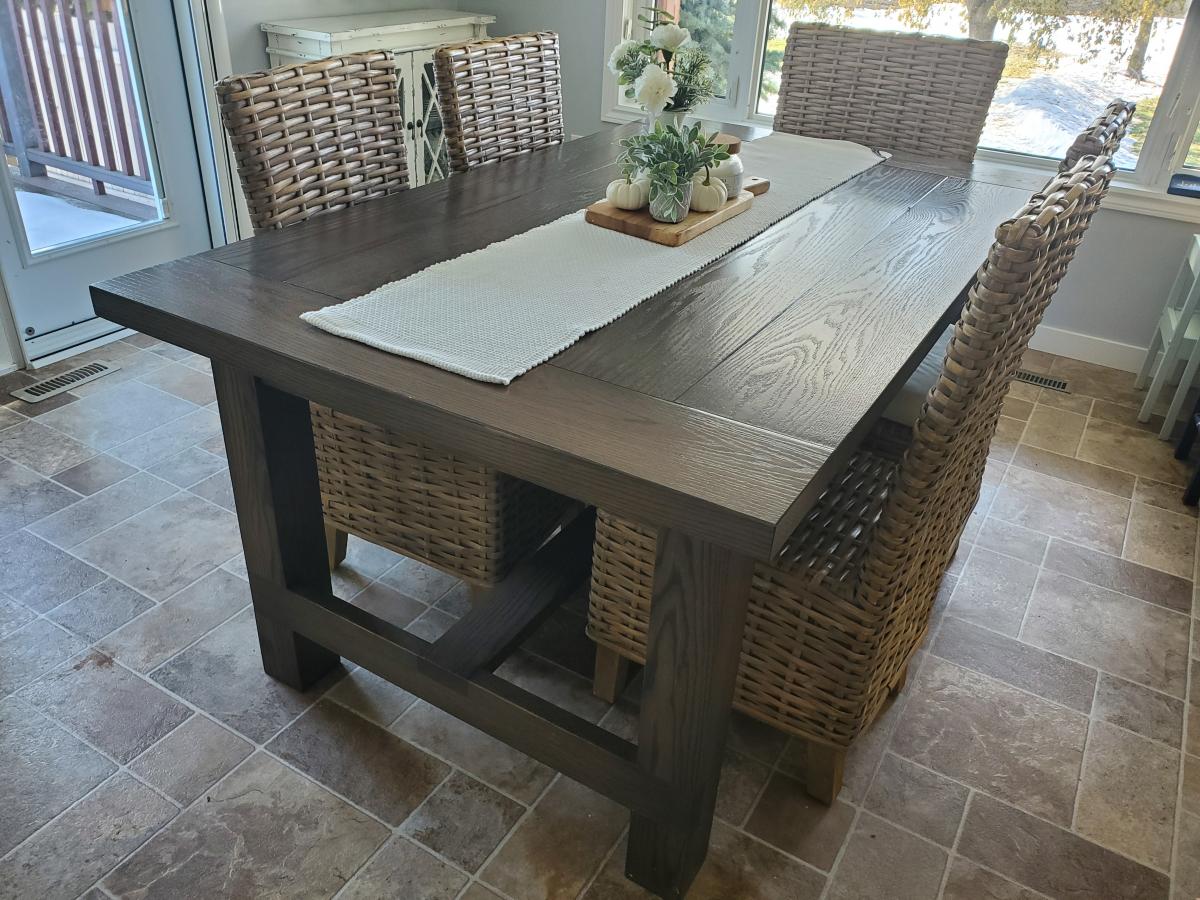
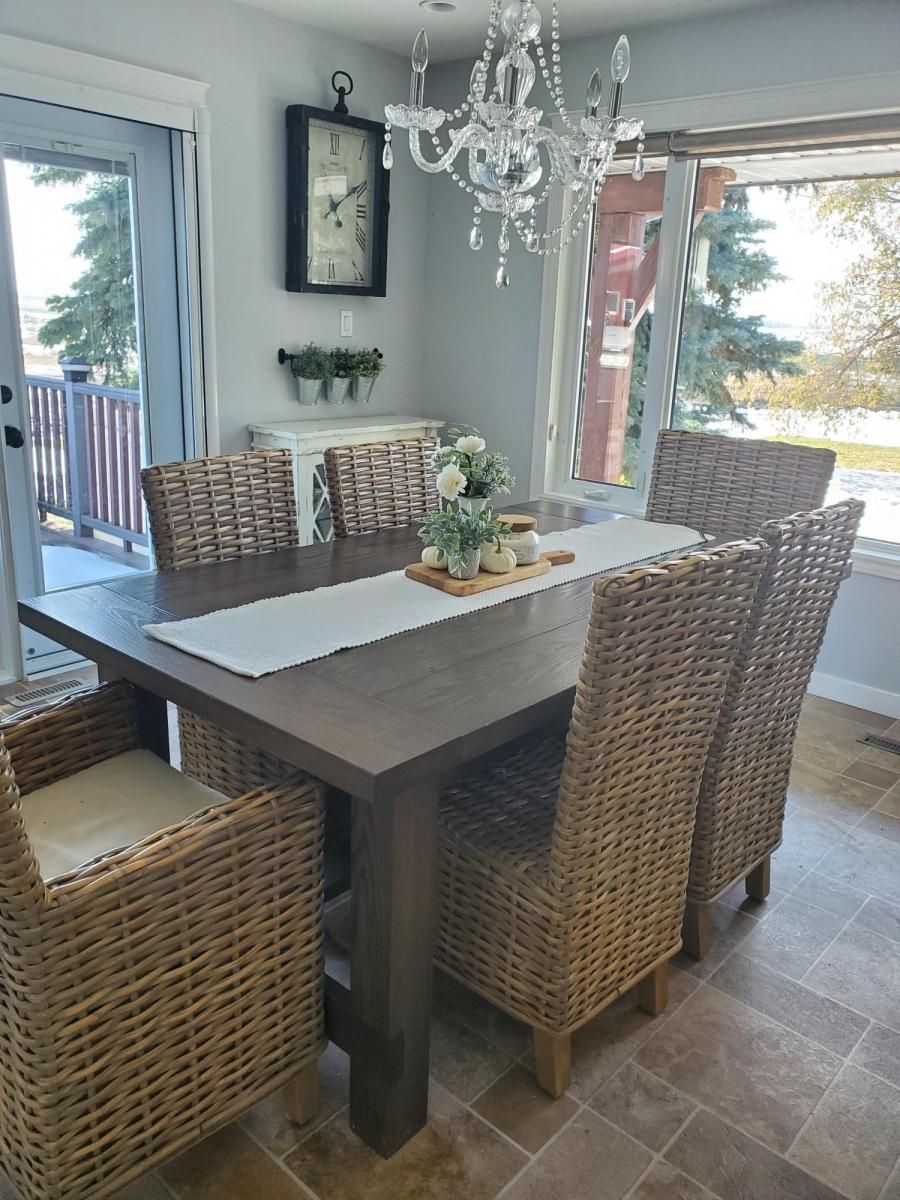
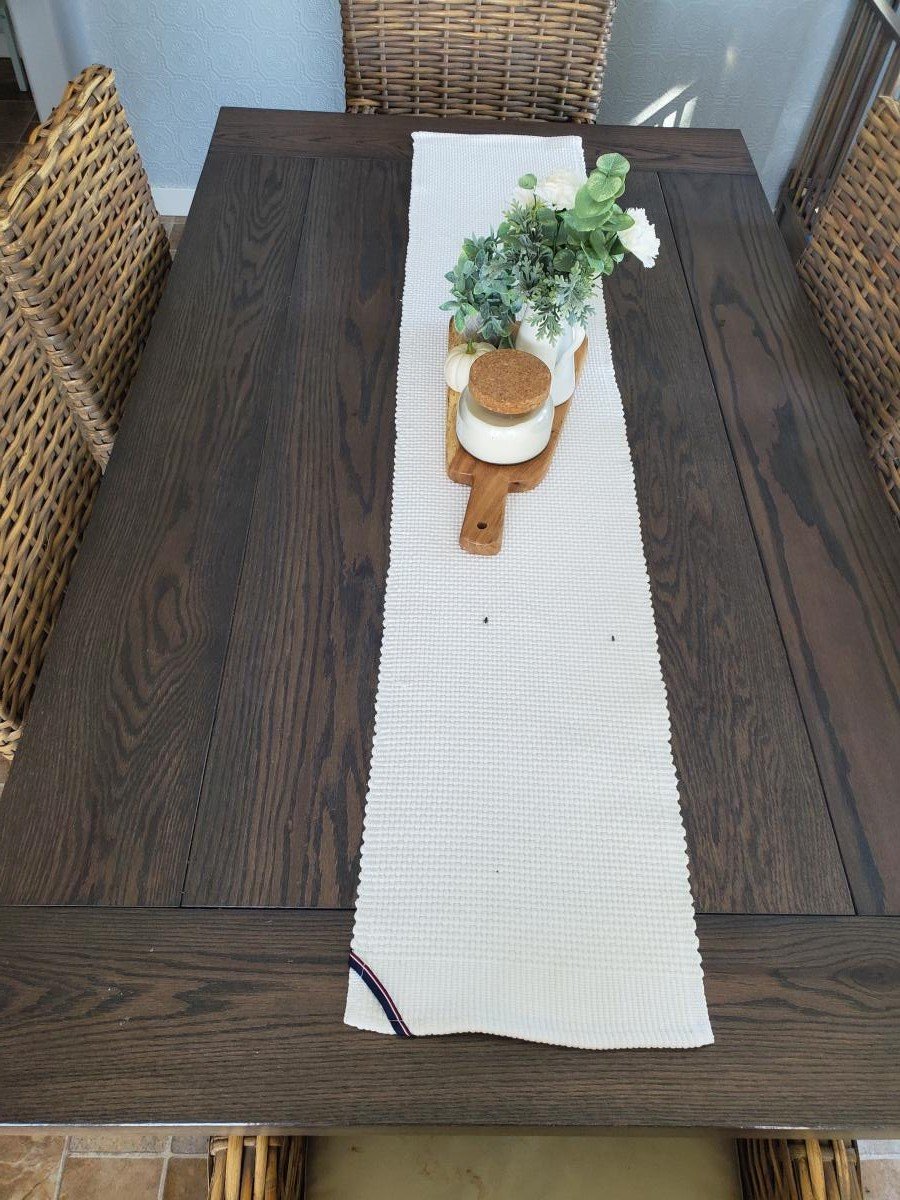
I built this table a few years back when I was just starting off with my woodworking hobbies. It turned out beautiful thanks to the easy-to-follow plan from Ana! This is a gorgeous, sturdy farmhouse table that can look good in any finish, and in any home!
Comments
Ana White Admin
Fri, 05/26/2023 - 19:43
Superb Greenhouse!
It looks awesome and love your pup! Thank you so much for sharing.