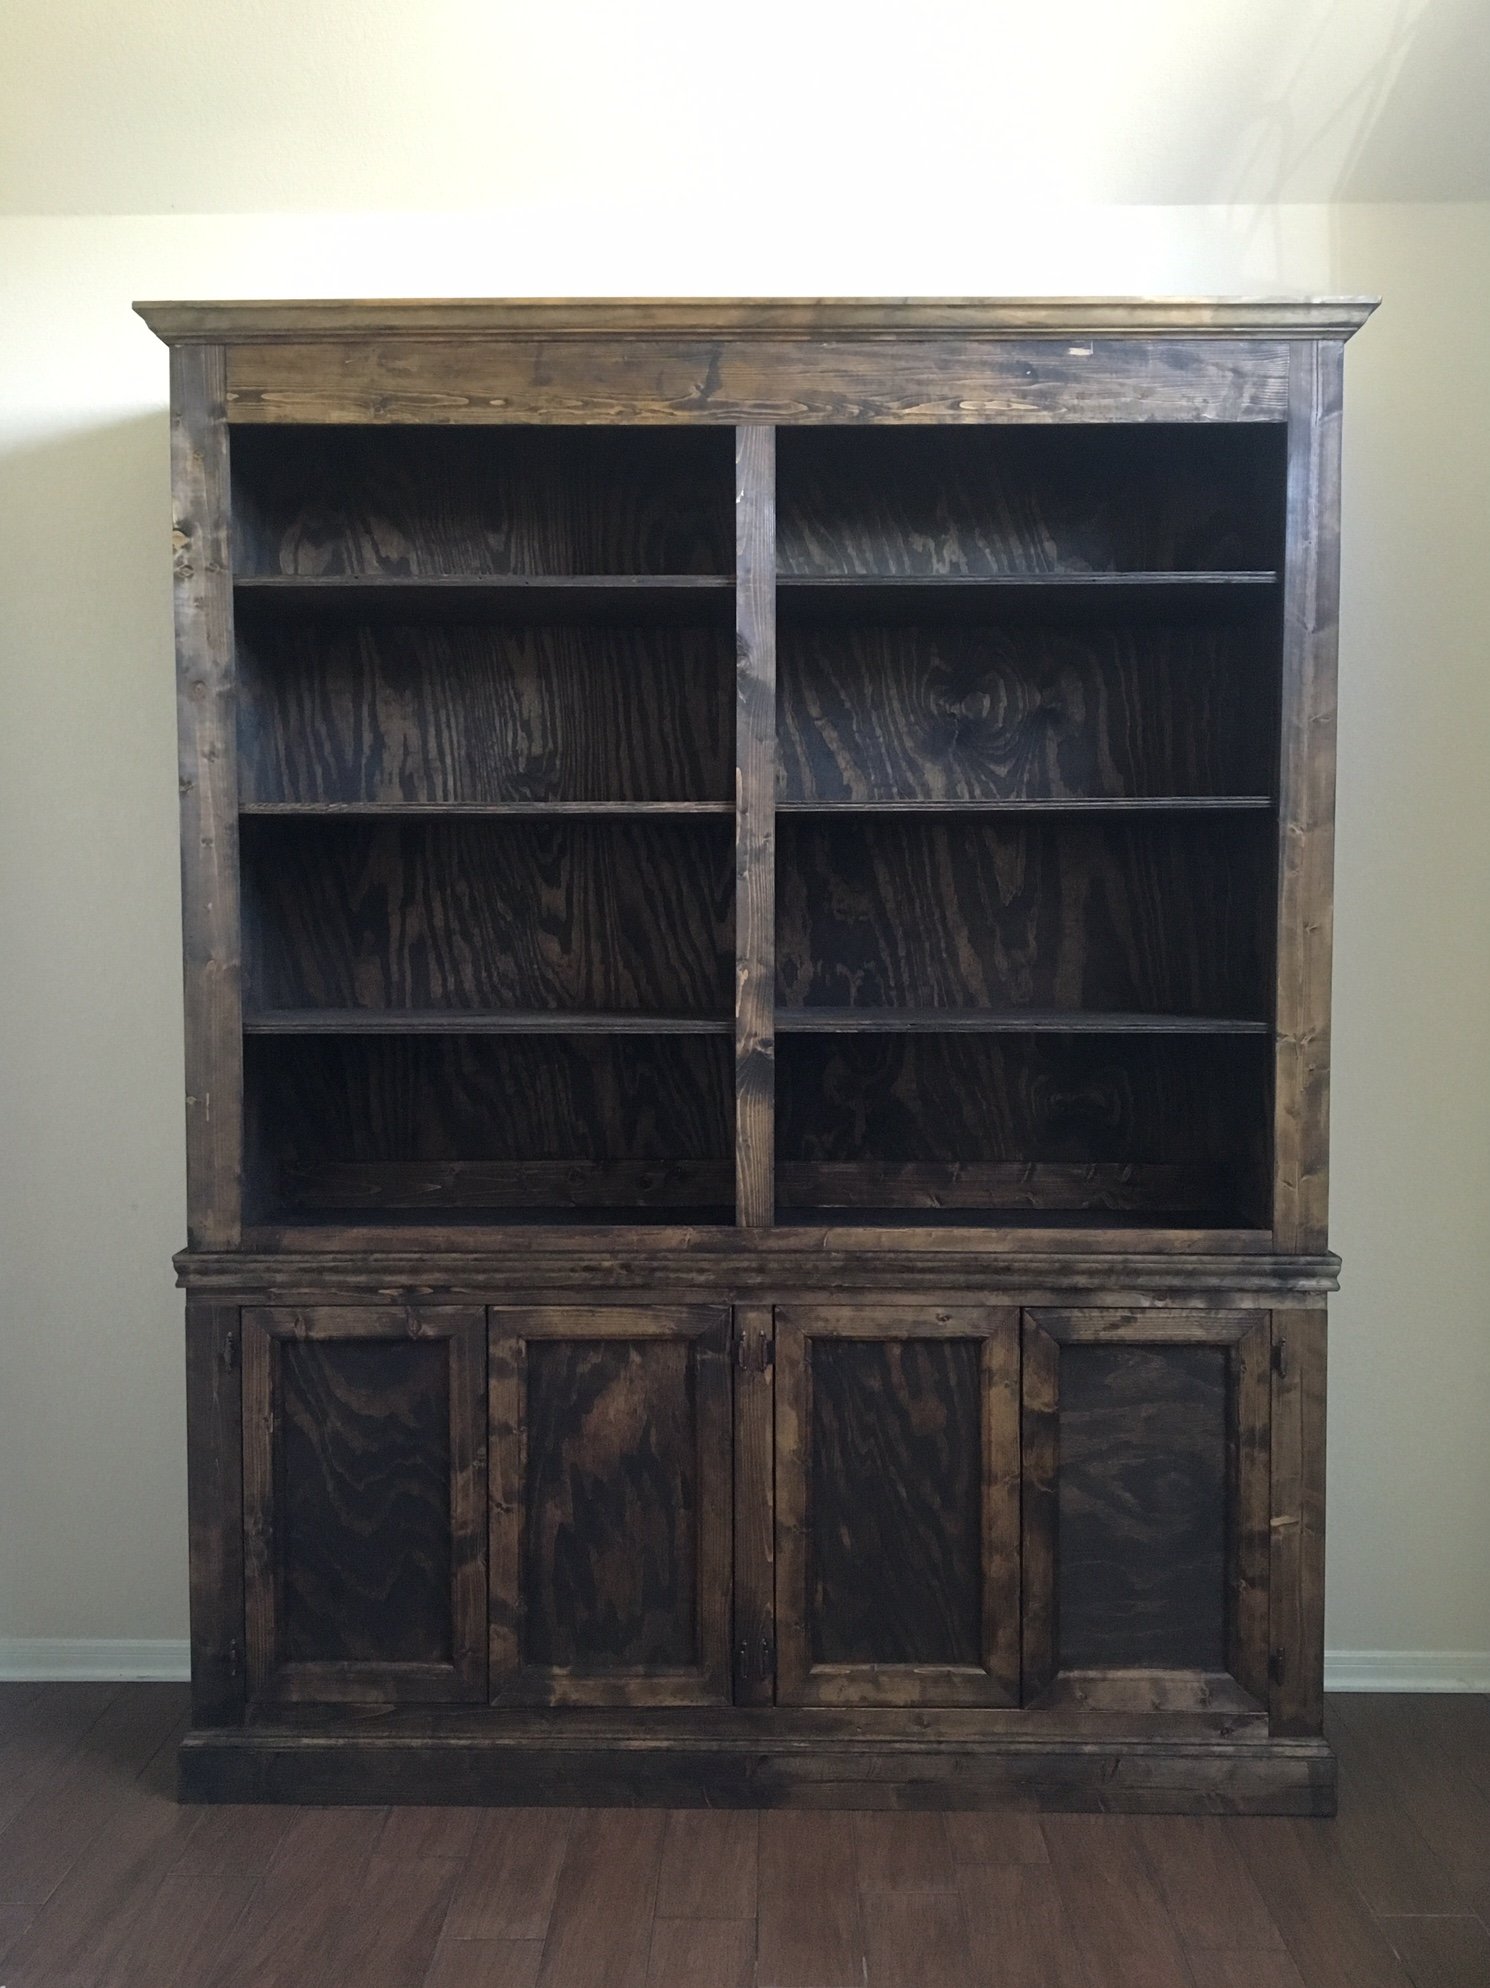
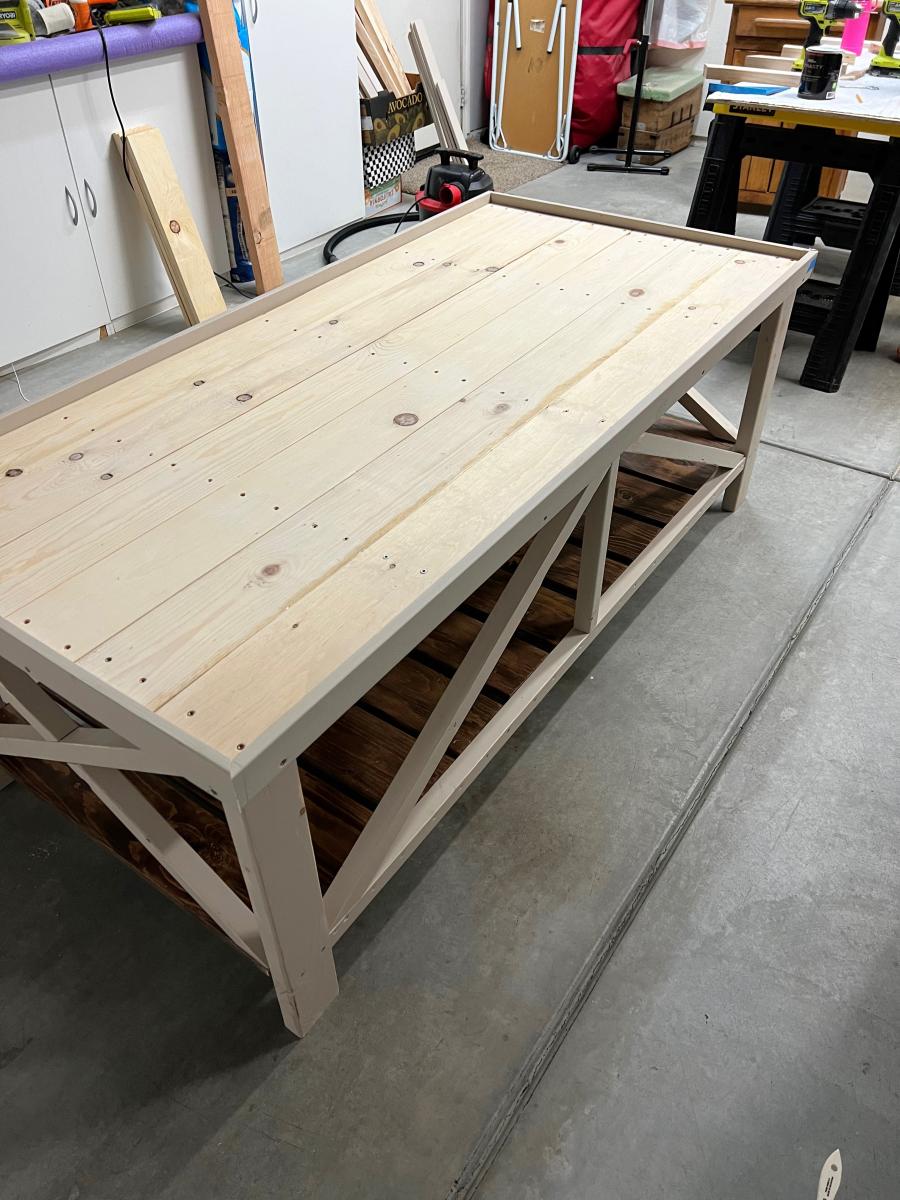
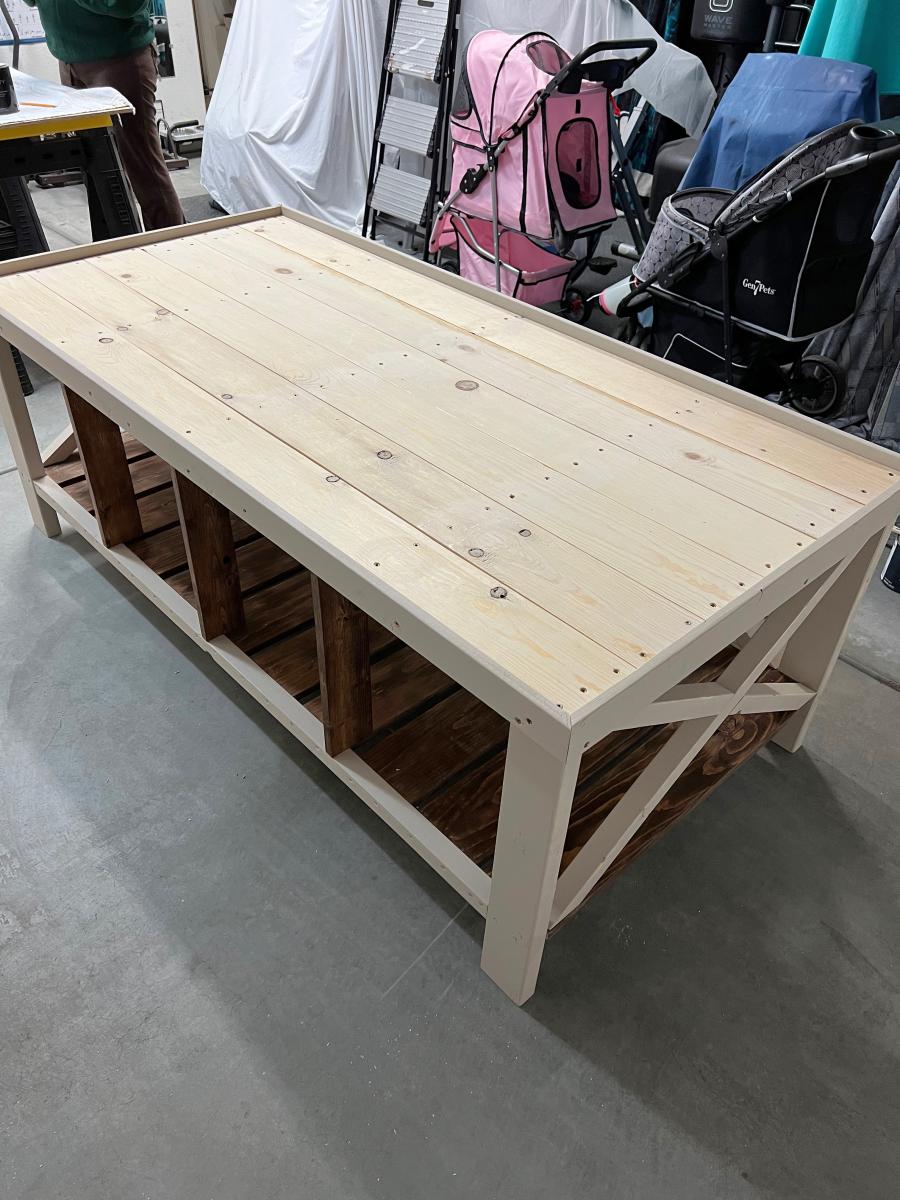
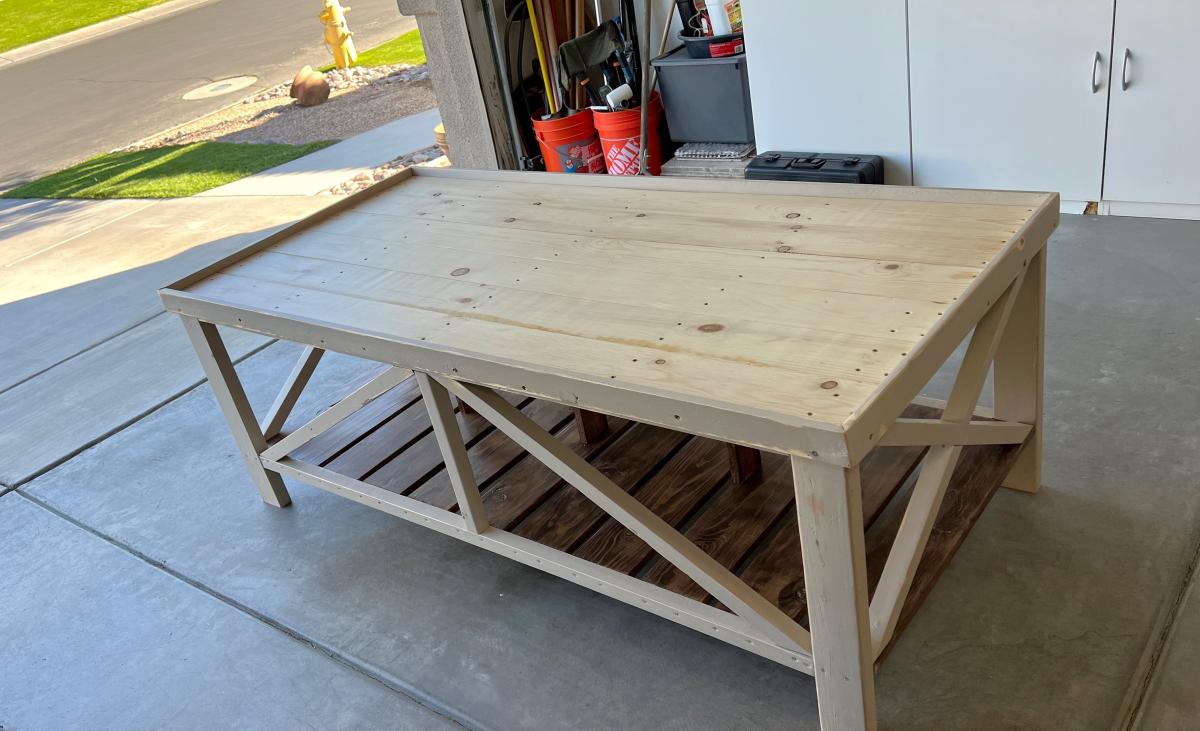
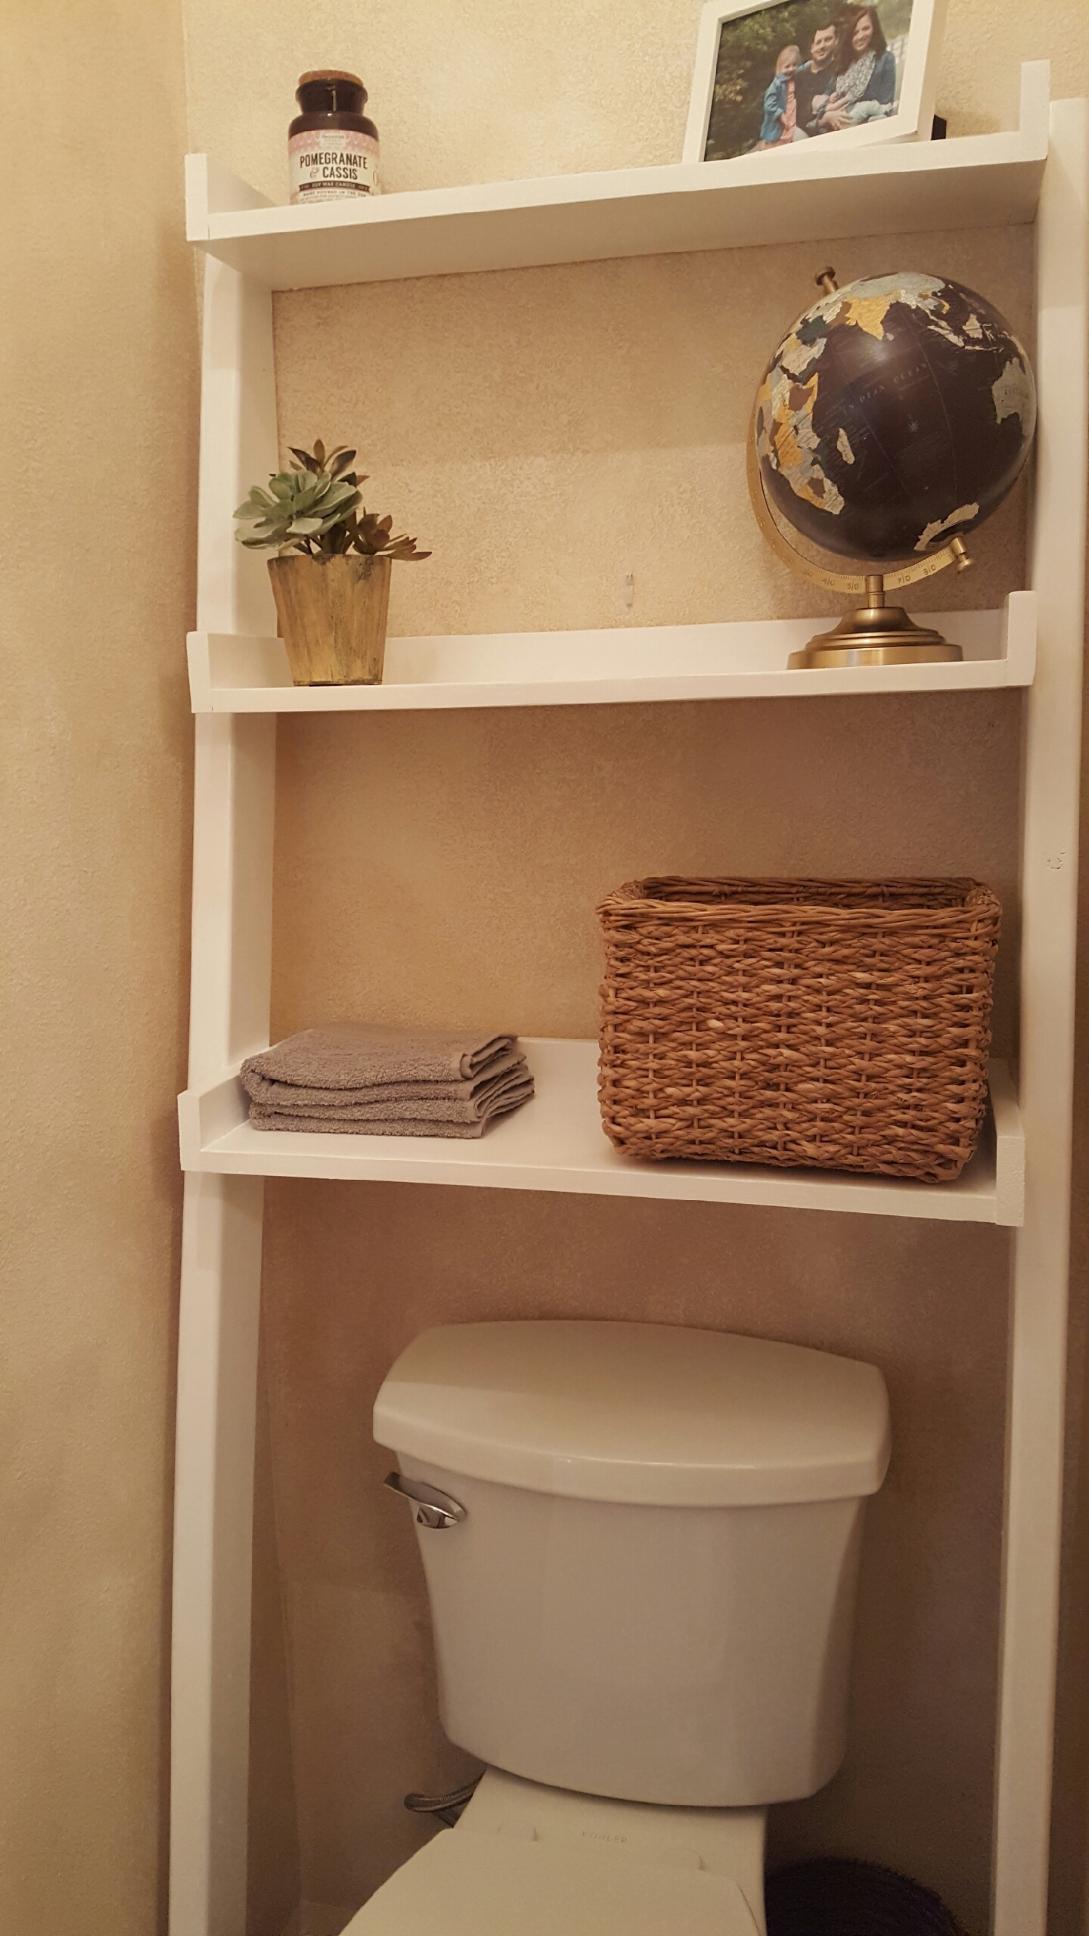
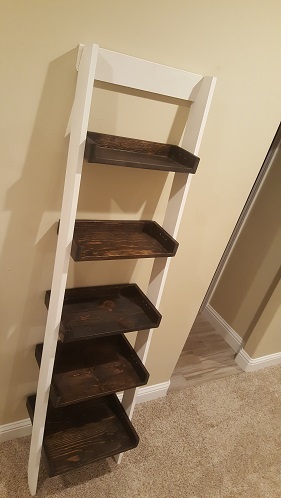
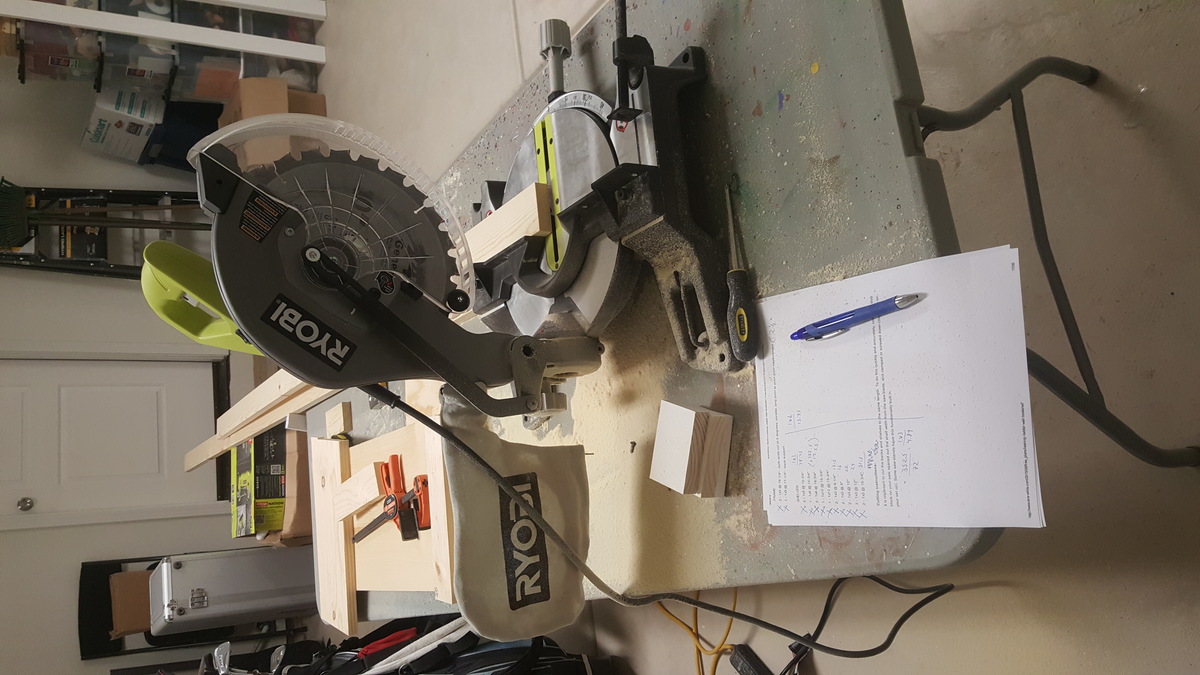
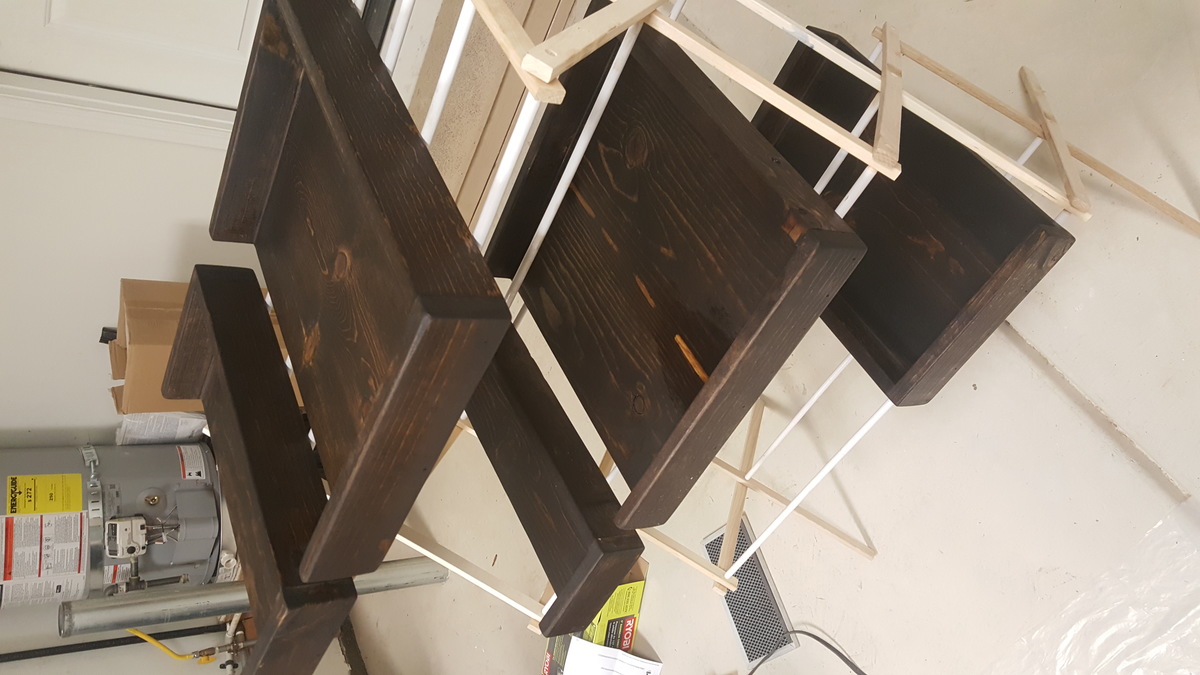
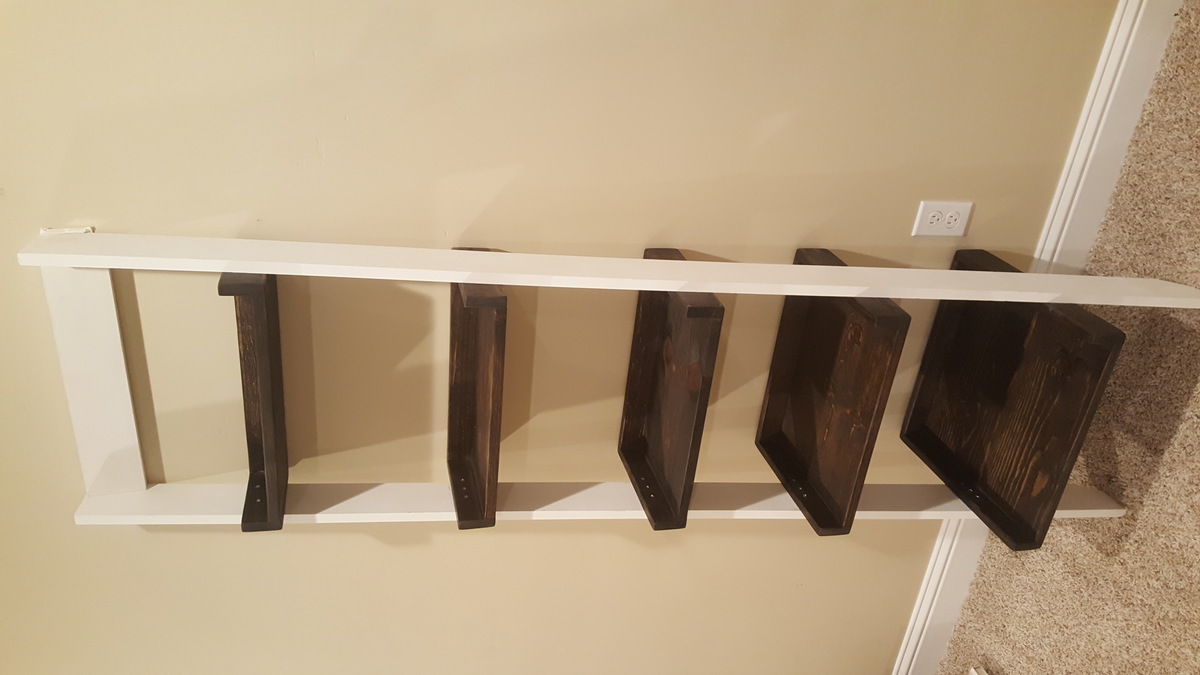
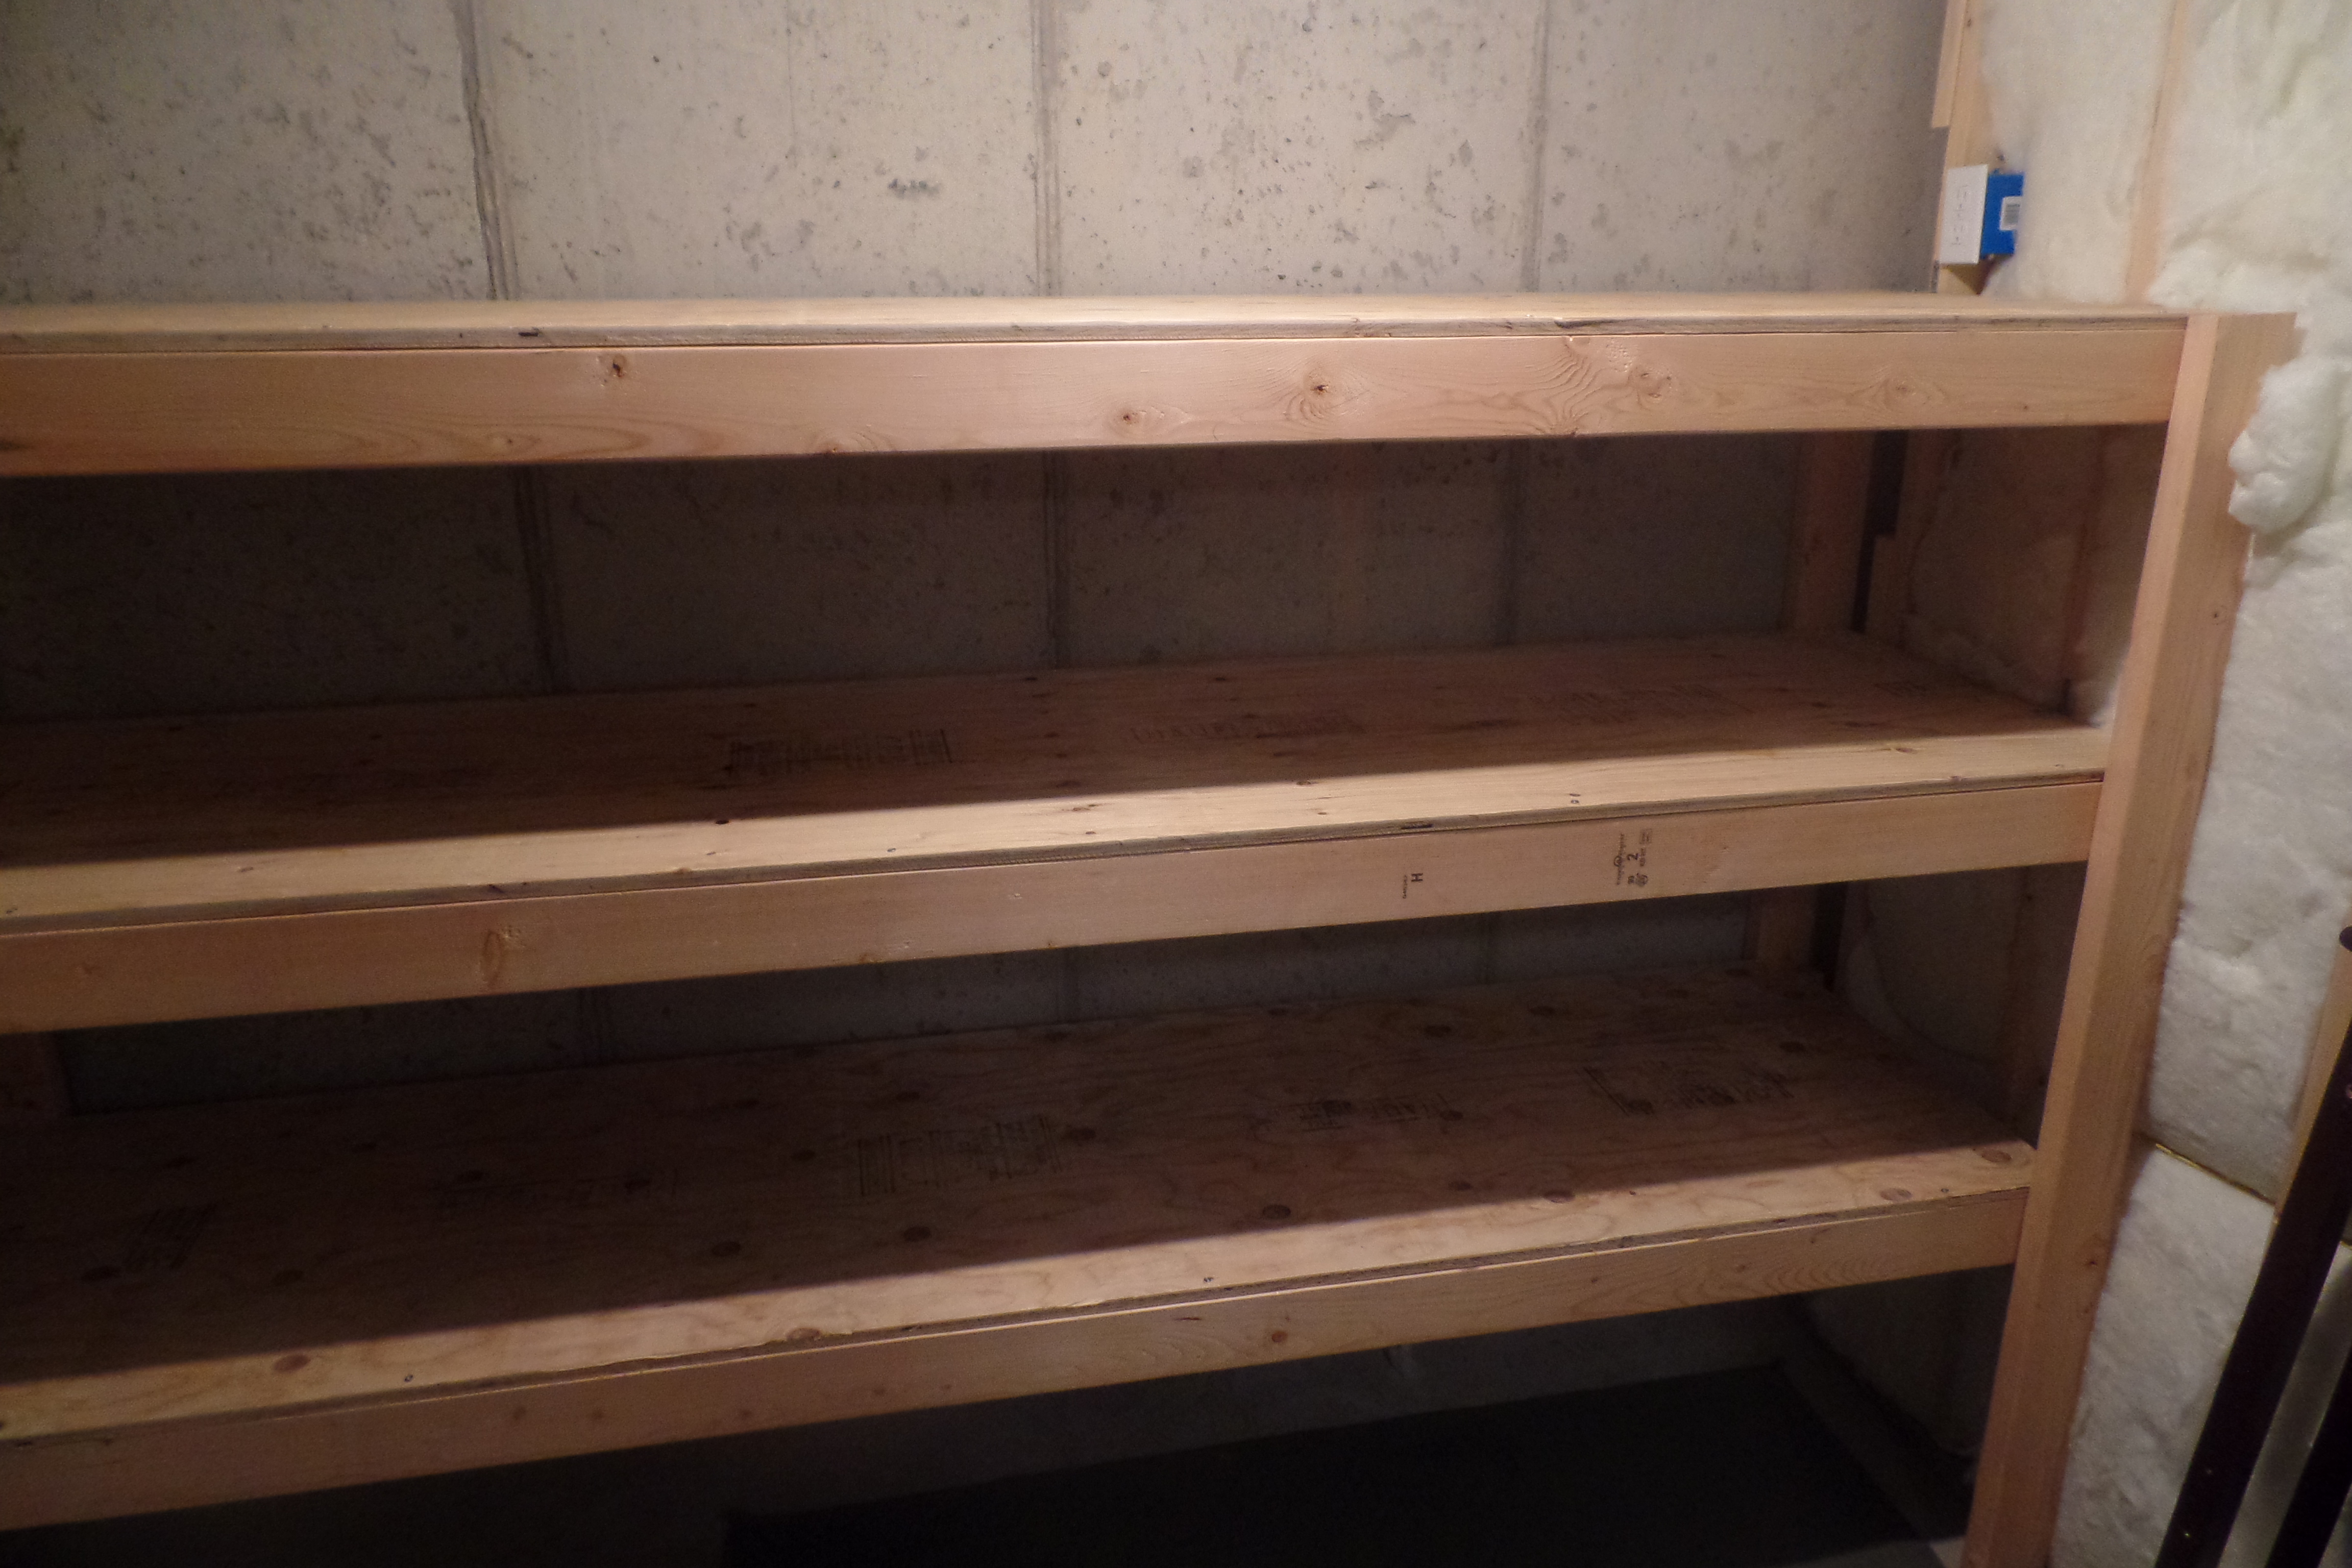
This was my first attempt at the leaning bookshelf project. I decided upon a modern-contemporary look by using white laminated 1x4s and opted for dark wood staining to give the shelves contrast. It was my first time using a compound miter saw, as well as intensive wood sanding and staining. I struggled with cutting the white support beams into the directed 5 degrees, and just made my best guess with a hand saw (however, I will try to improve upon this for our next set, since the additional cost of a second bookshelf is only about $50.)
I also learned about the trick of a 5-point shelf leveling (one for each corner, and the center point) in order to get a truly level shelf. Creating the jig in order to space out the distance between each shelf is a really good idea to help implement all of the setup.
Overall, I really enjoyed this project and wanted to thank Ana for her inspiration and plan details.
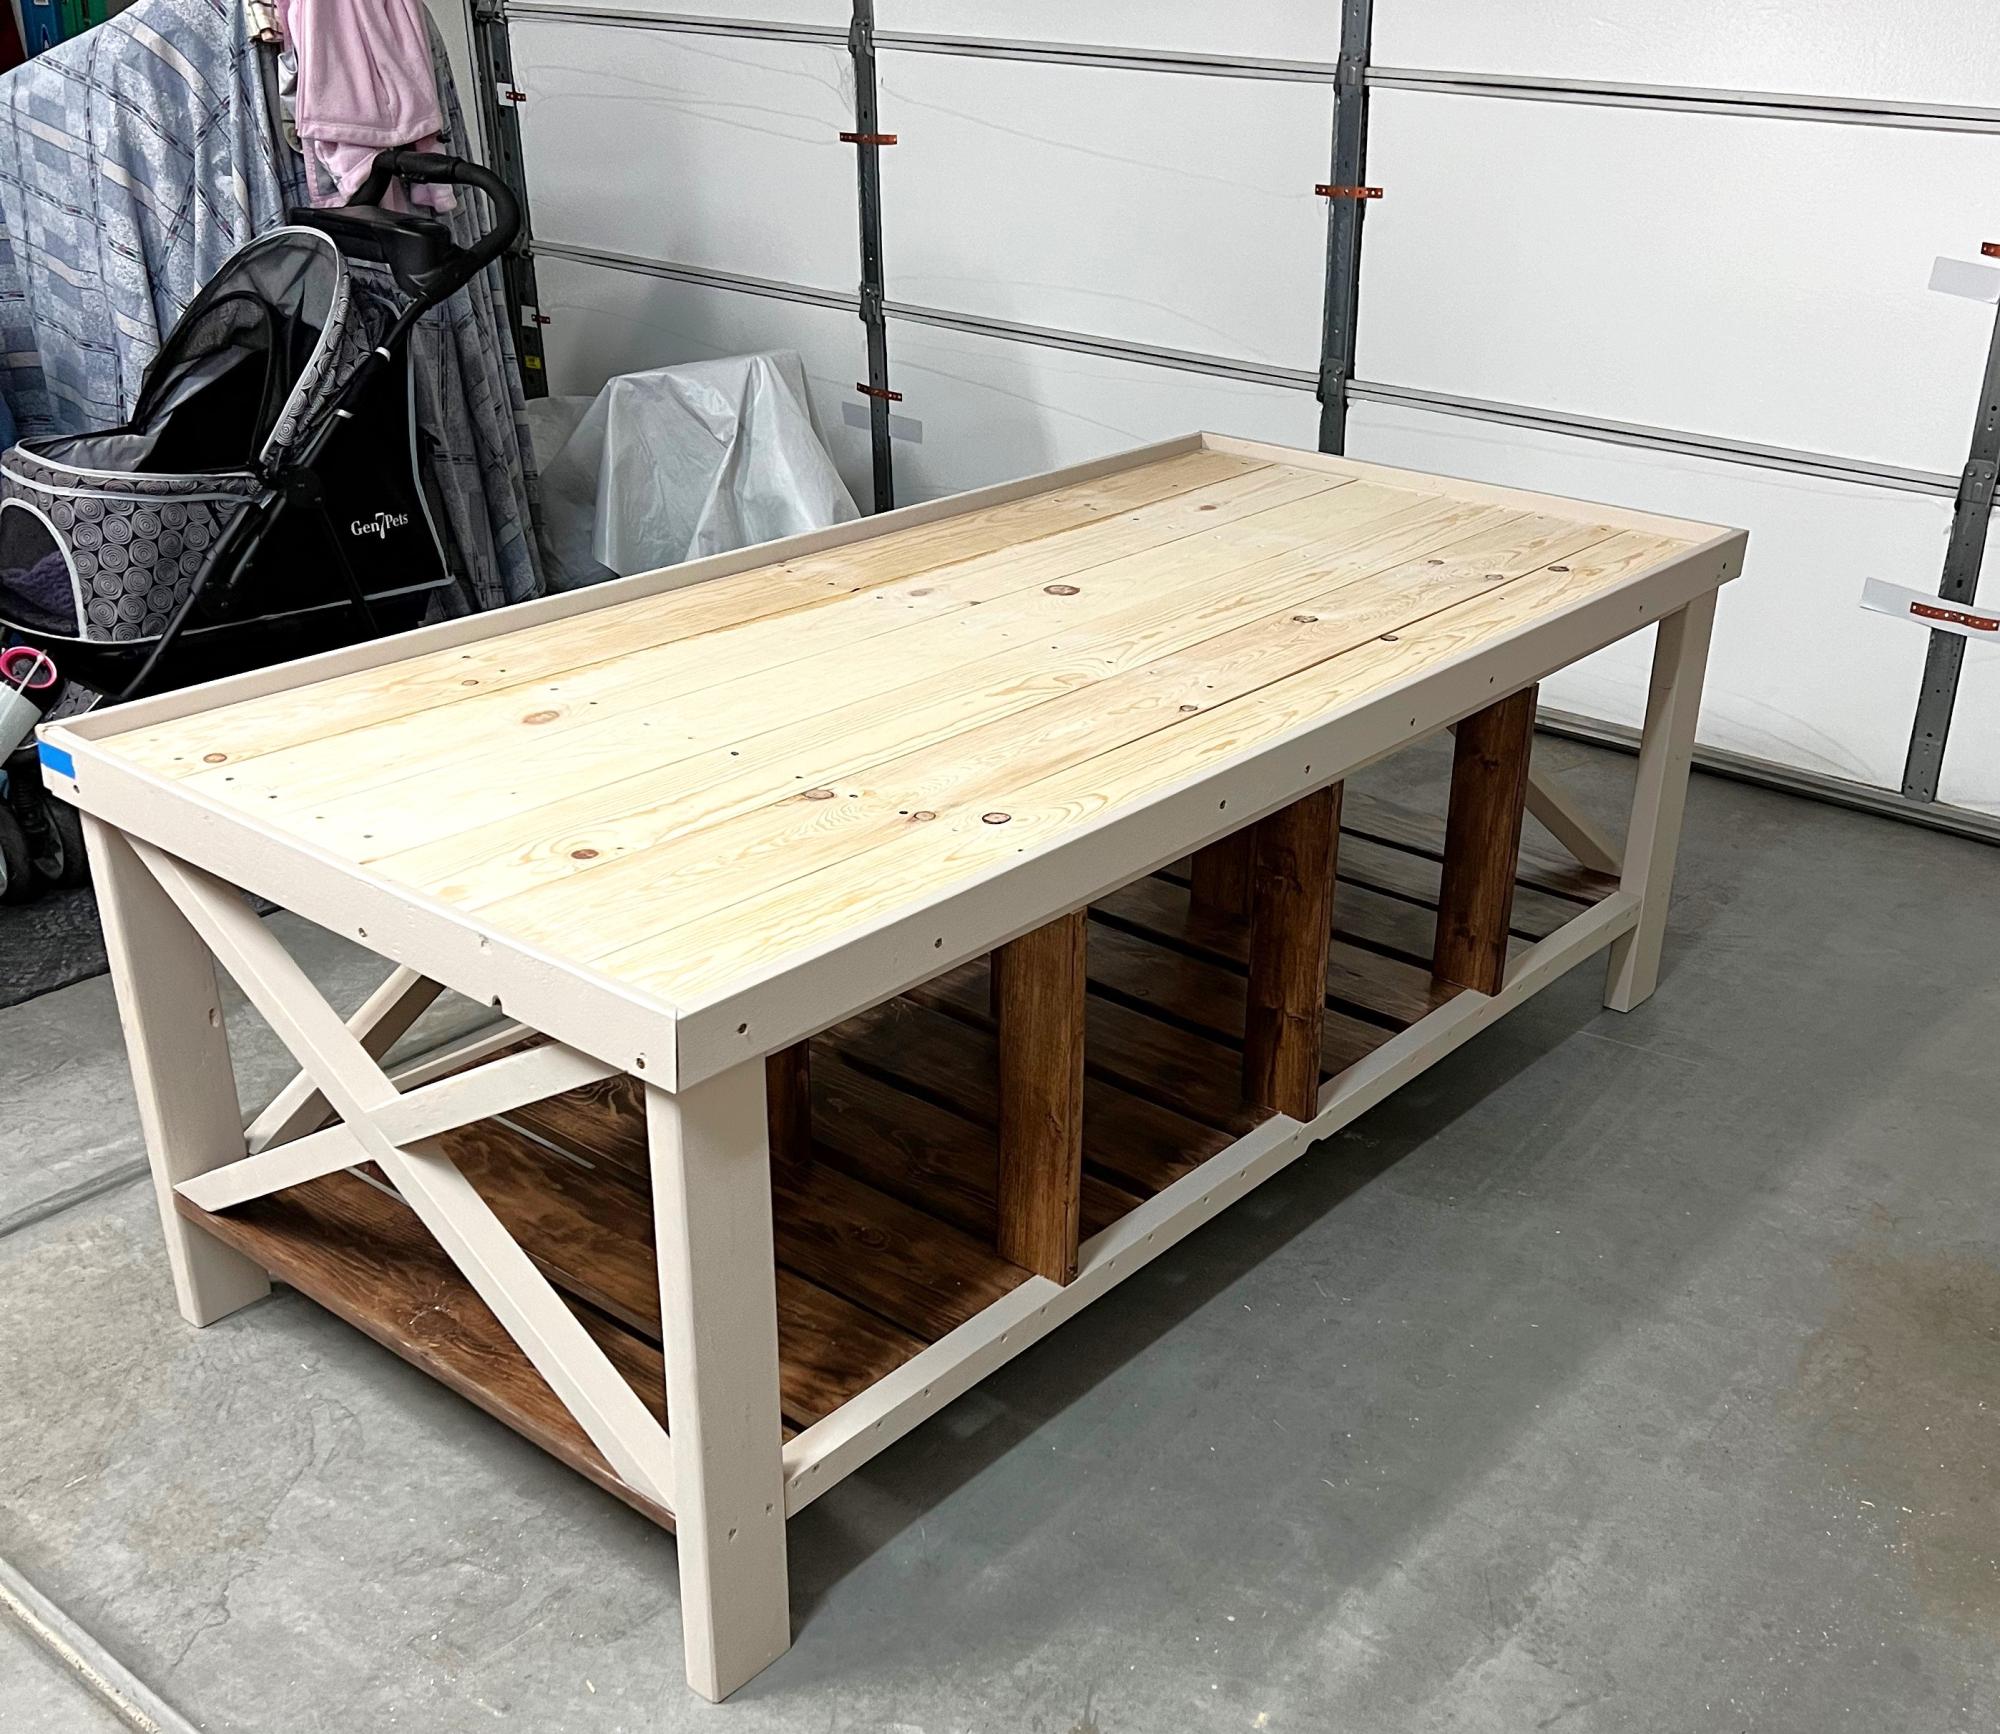
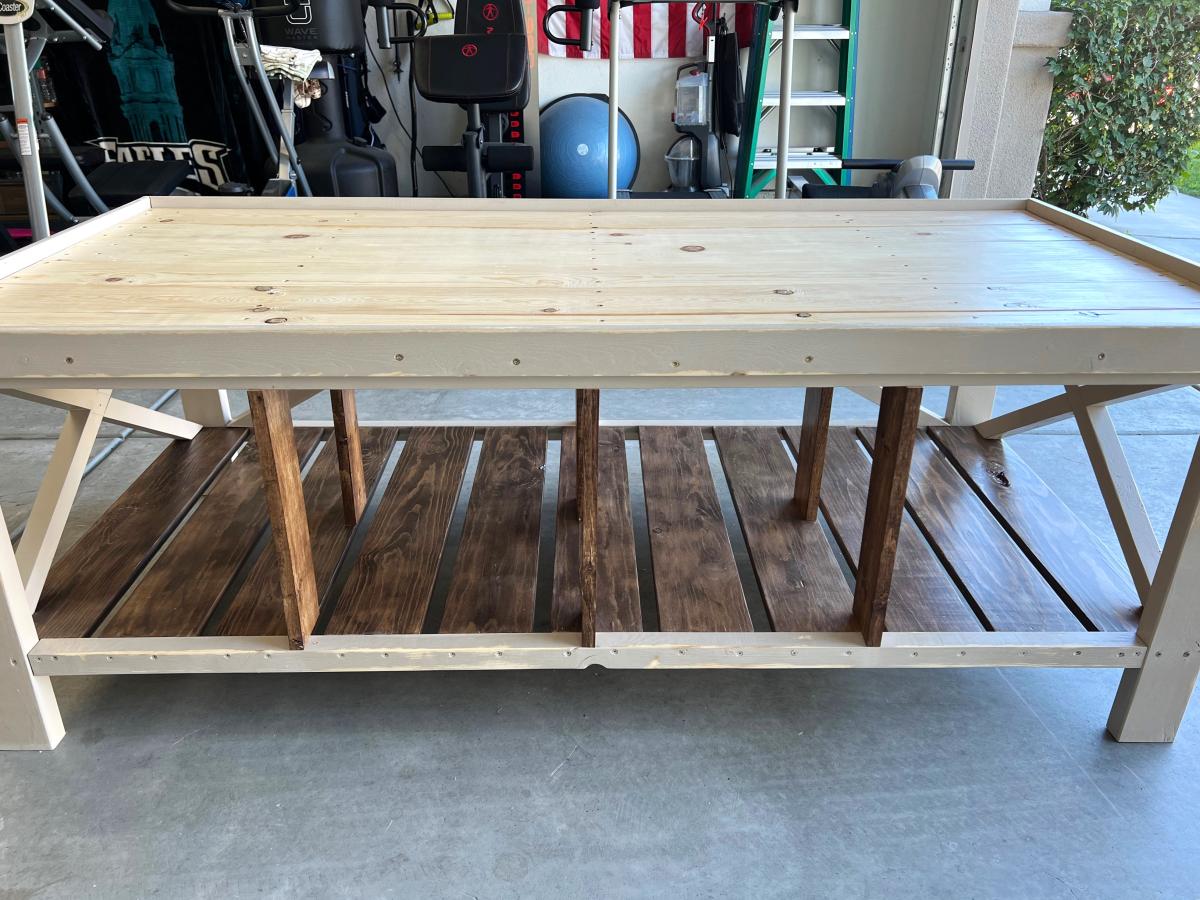
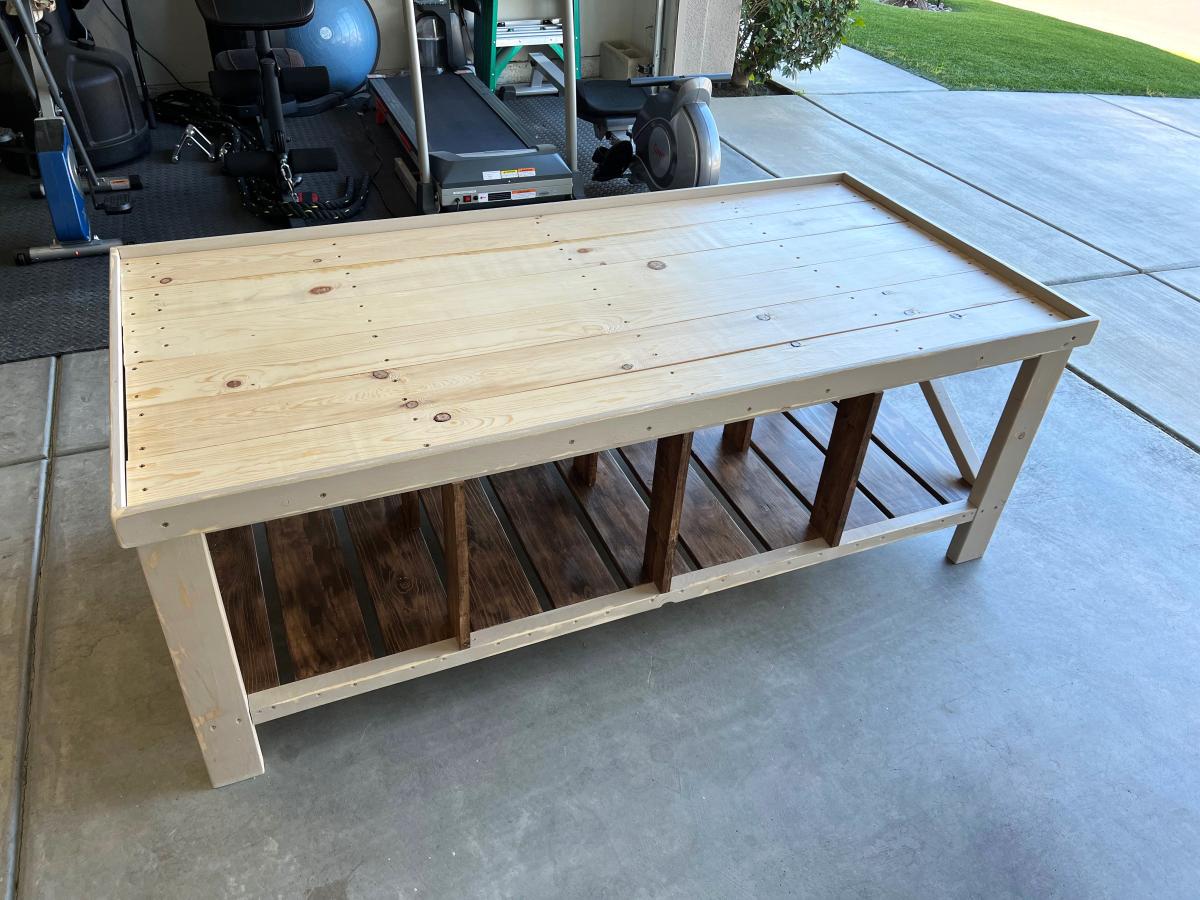
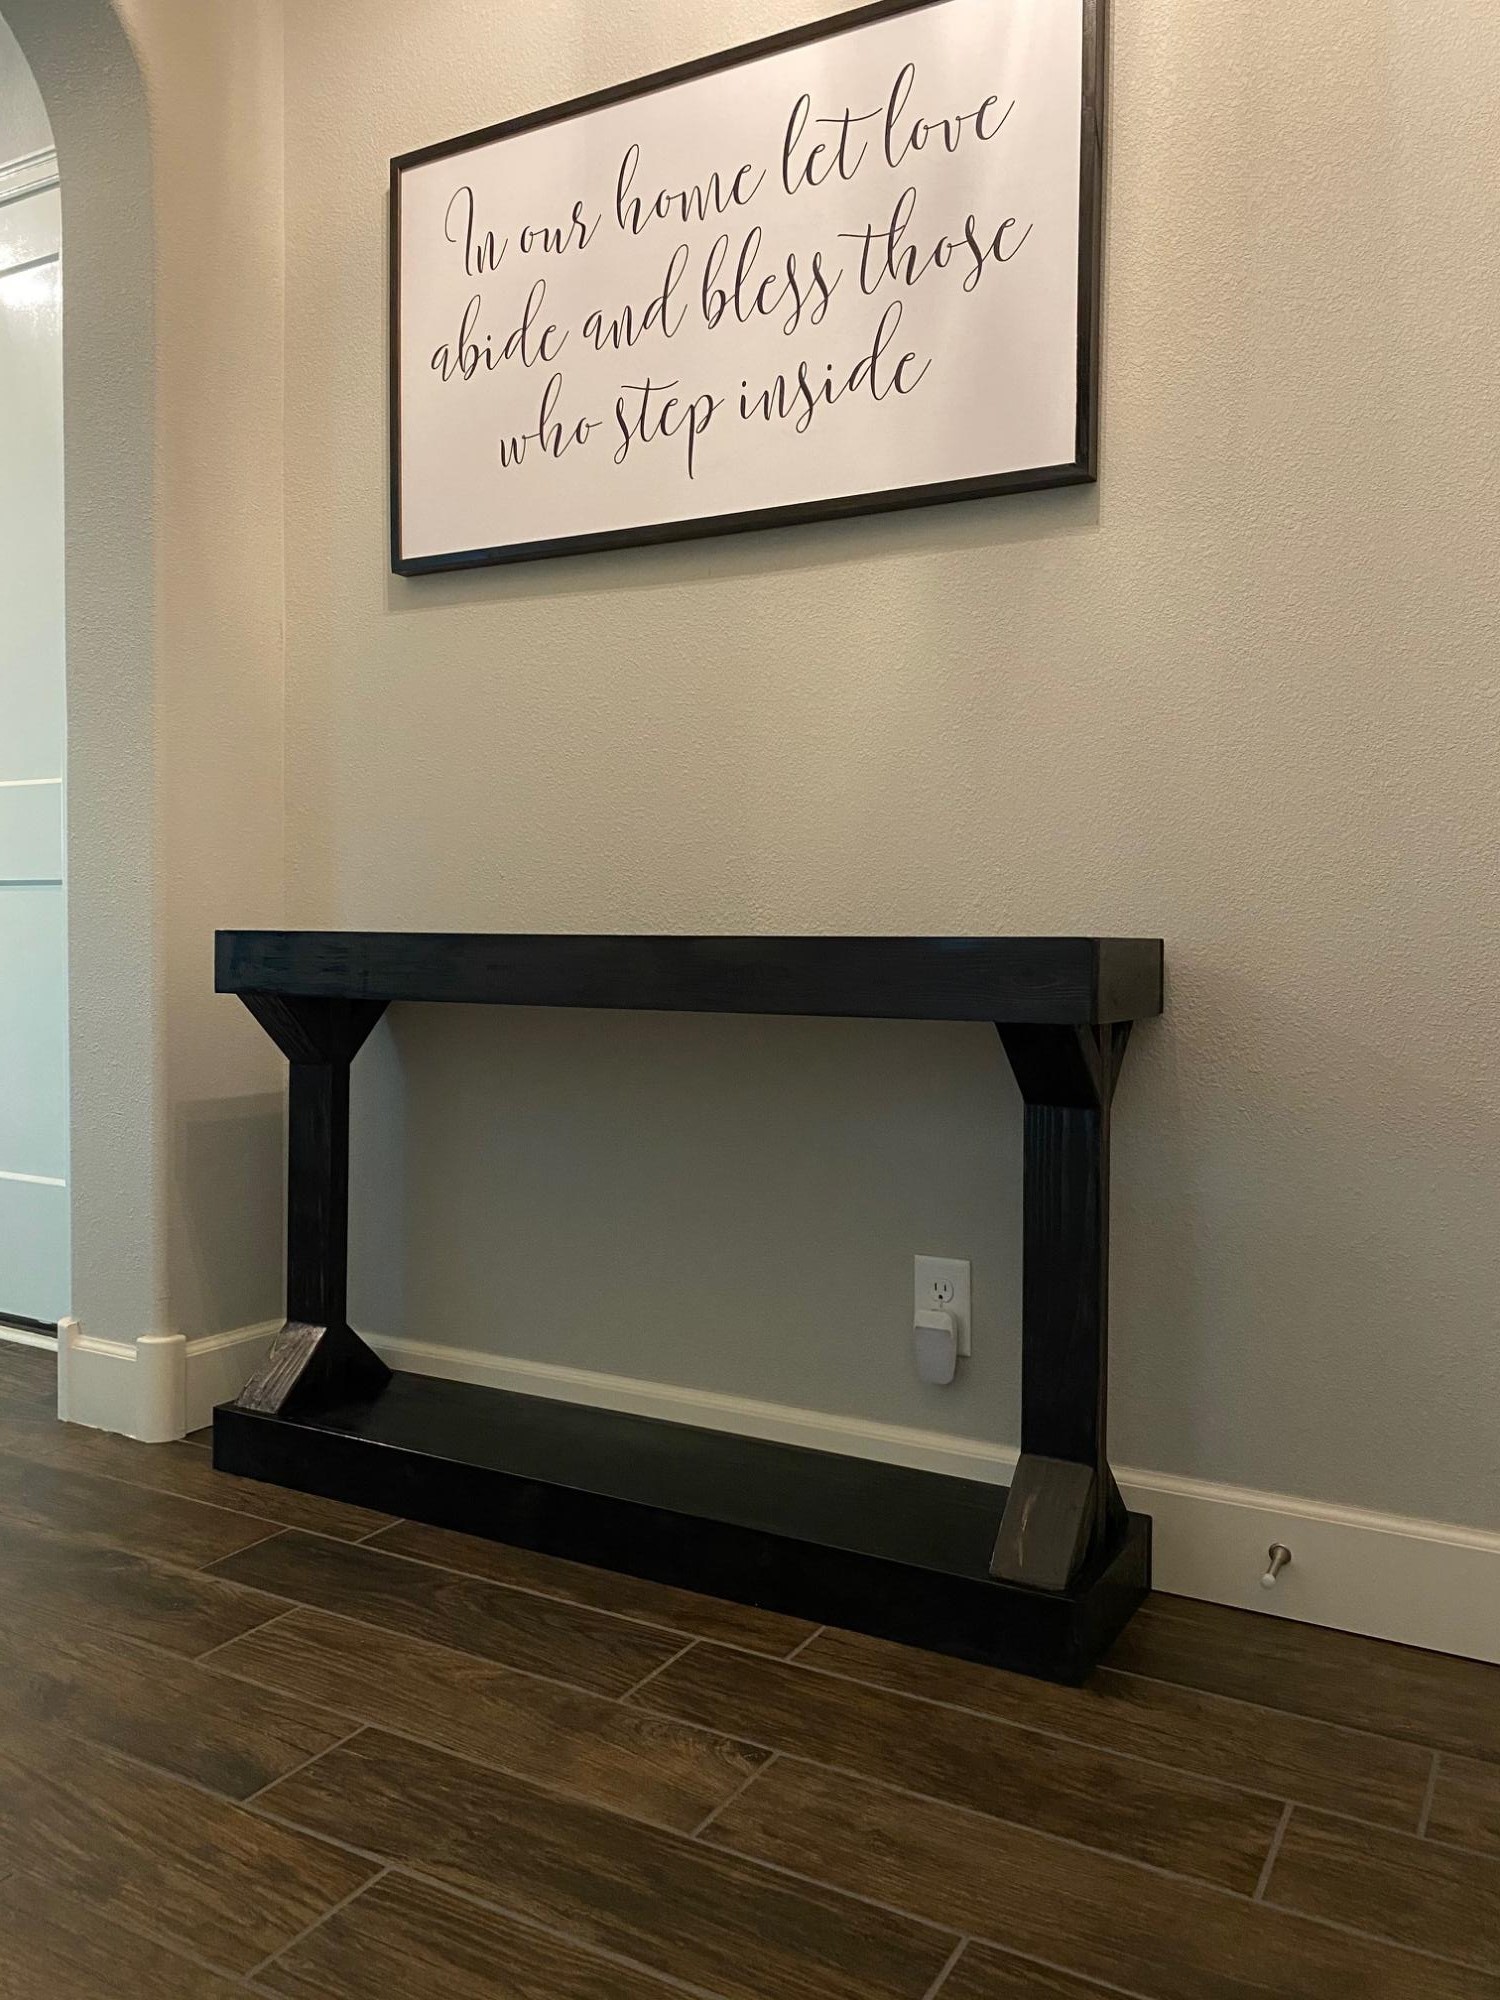
I look forward to reporting yet another success on our second bookshelf (and following writing desk) soon!
Estimated Cost
Initial equipment cost: Approximately $600 (to be used in other projects.) Actual hardware costs: Approximately $150.
Estimated Time Investment
Weekend Project (10-20 Hours)
Finish Used
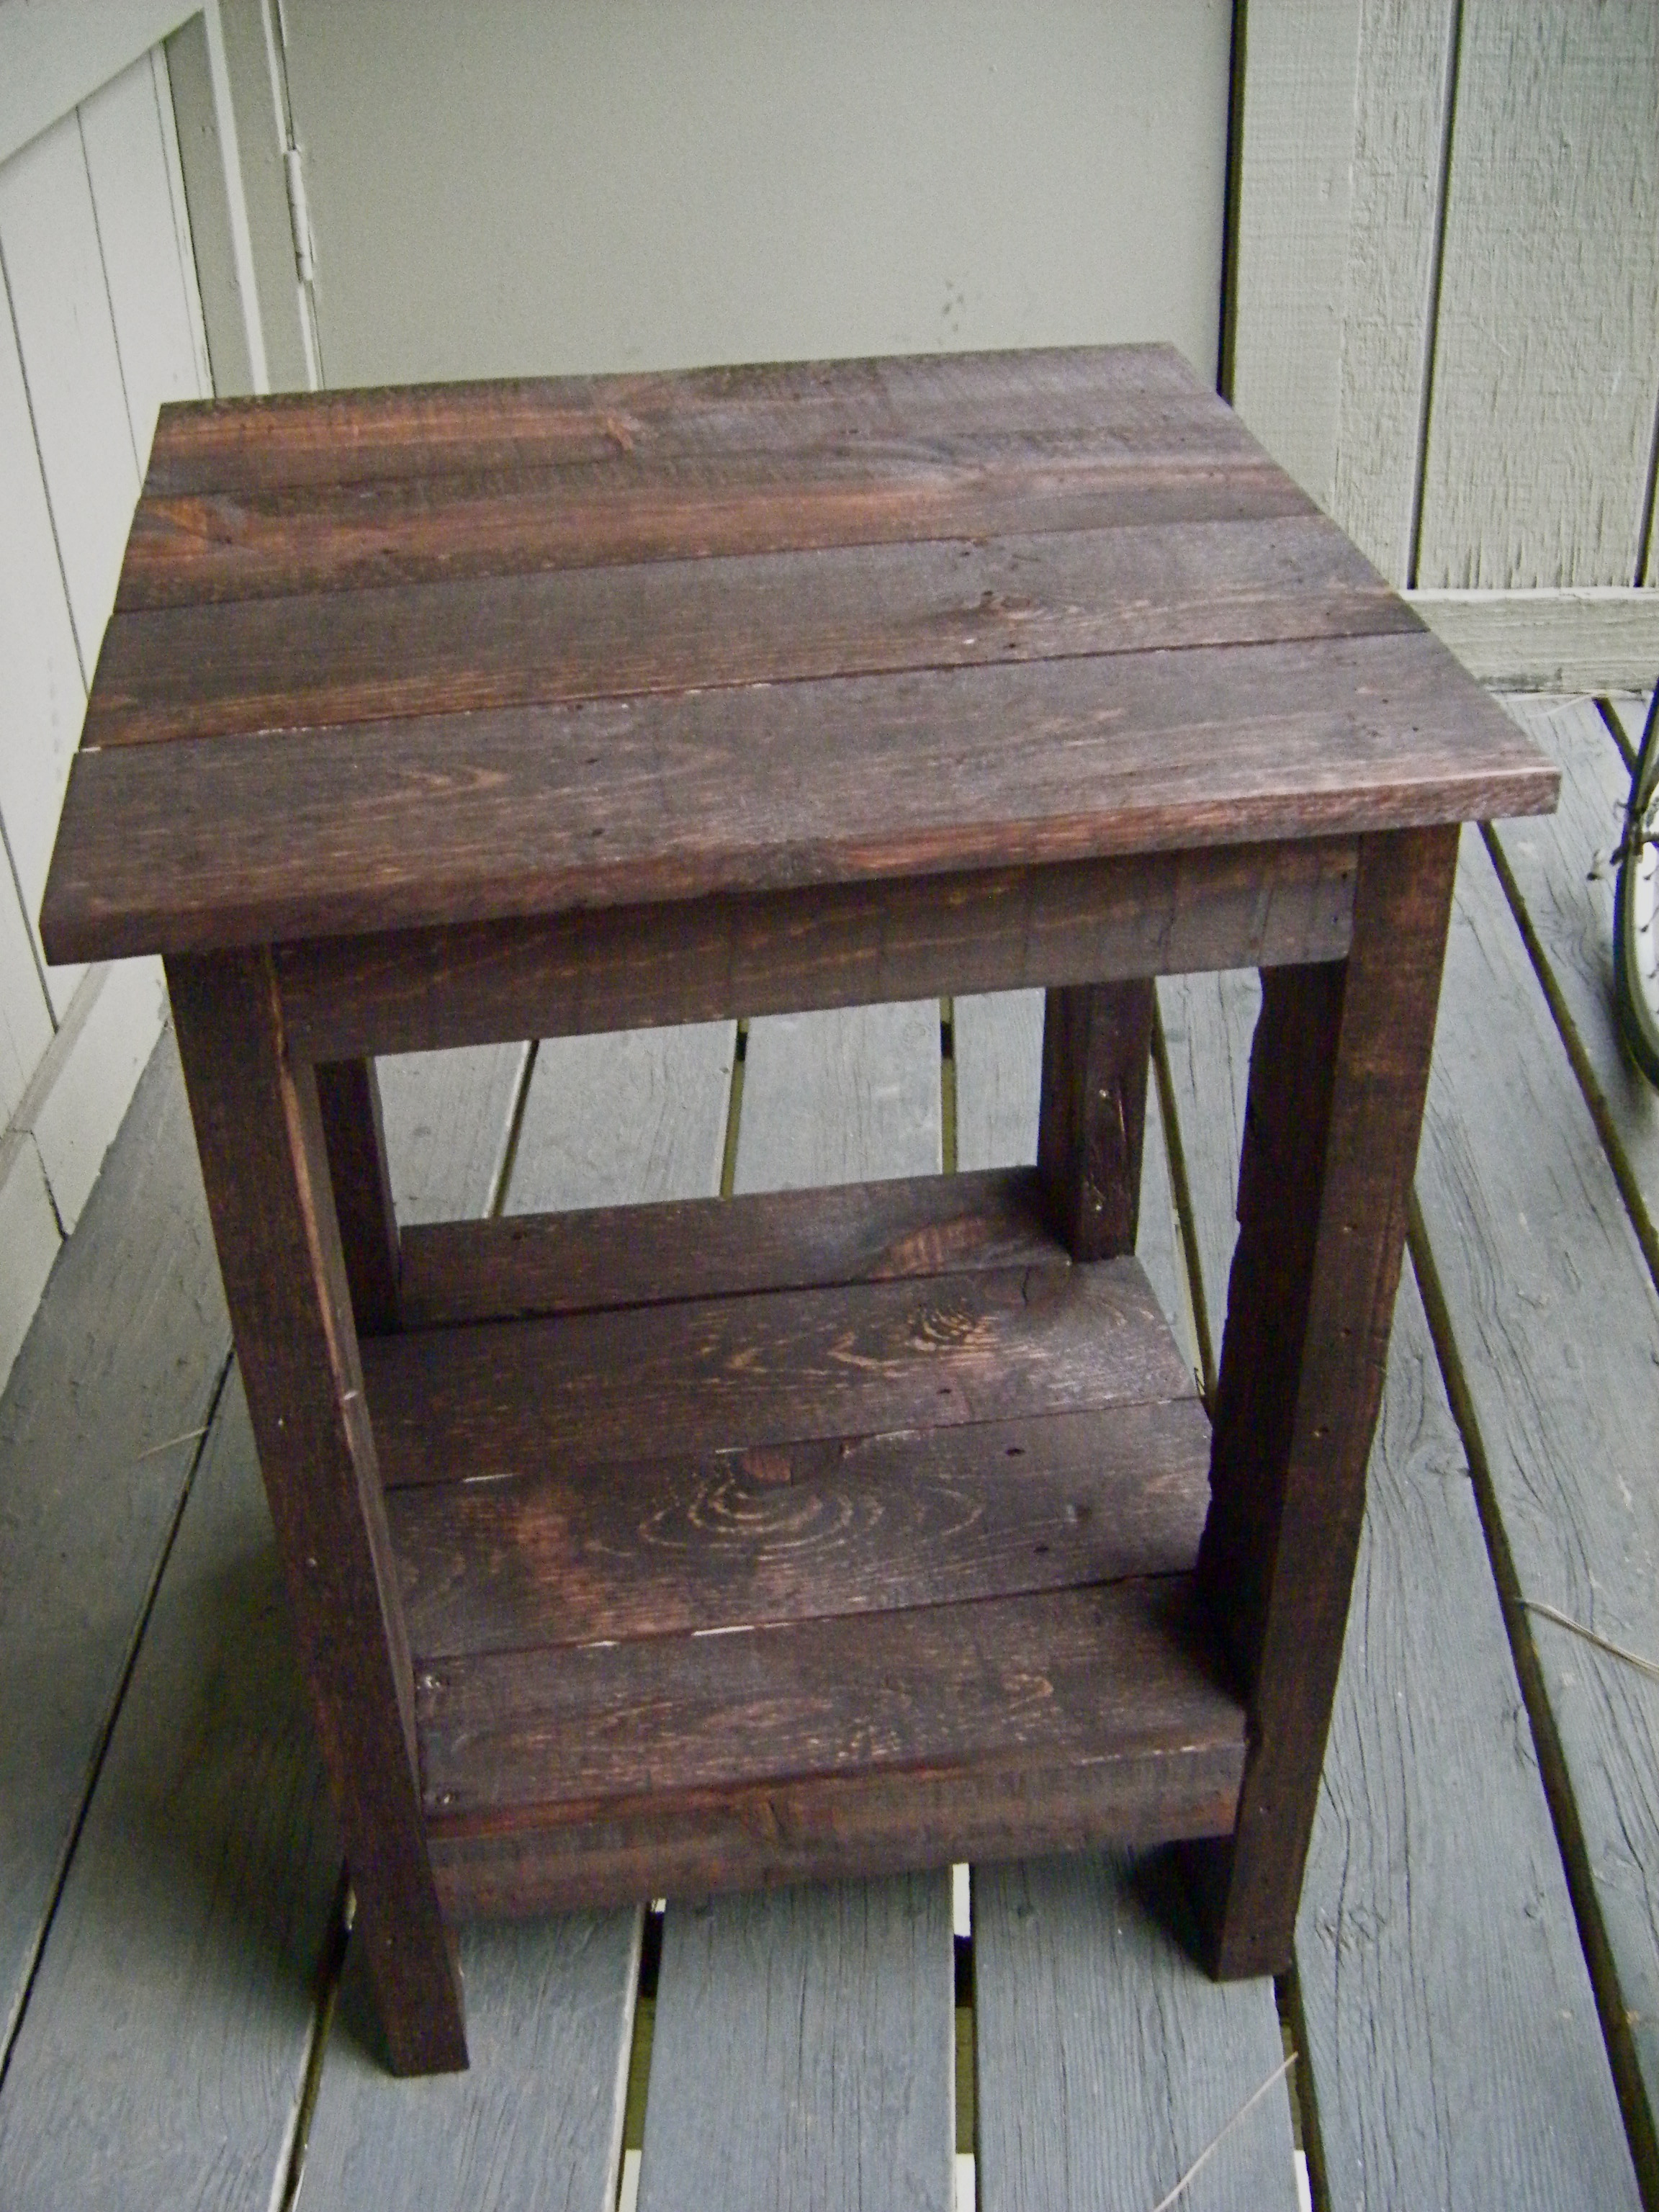
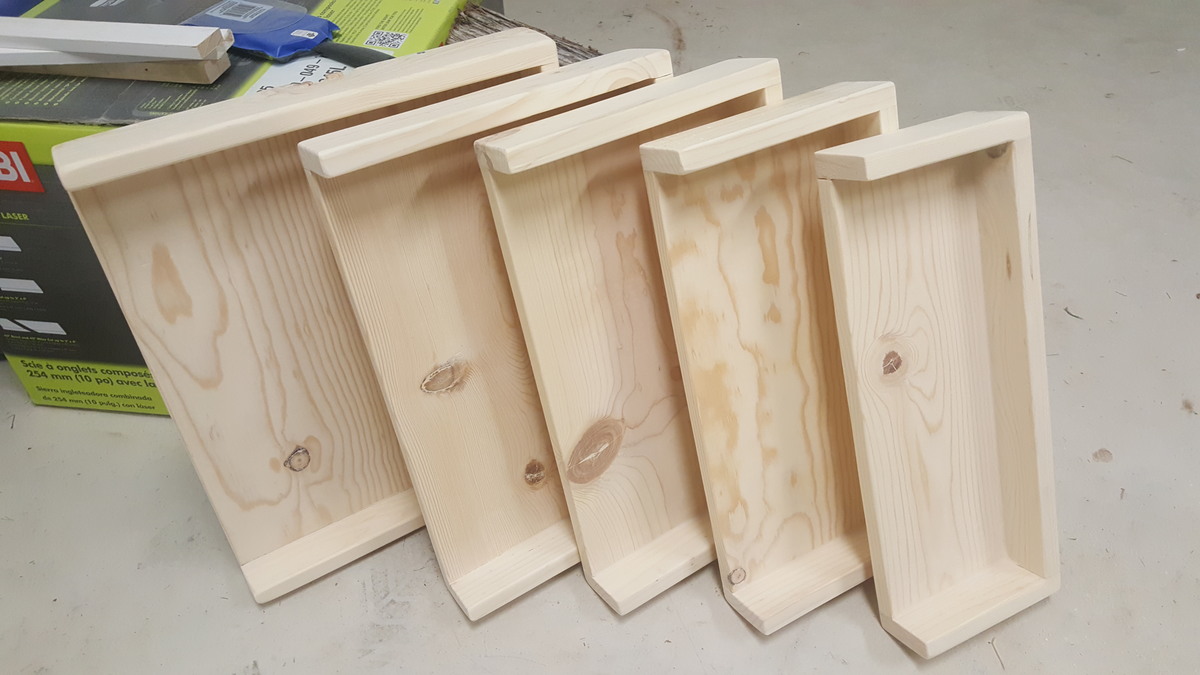
Minwax walnut stain, with semi-gloss clear sealant. Instead of doing the small cross-cuts as described in Ana's plans, I opted for a slightly rounded / beveled edge on all of the shelves, in order to give me a very soft and touchable feel. It was definitely extra sanding, but I believe it was worth it!
Recommended Skill Level
Beginner