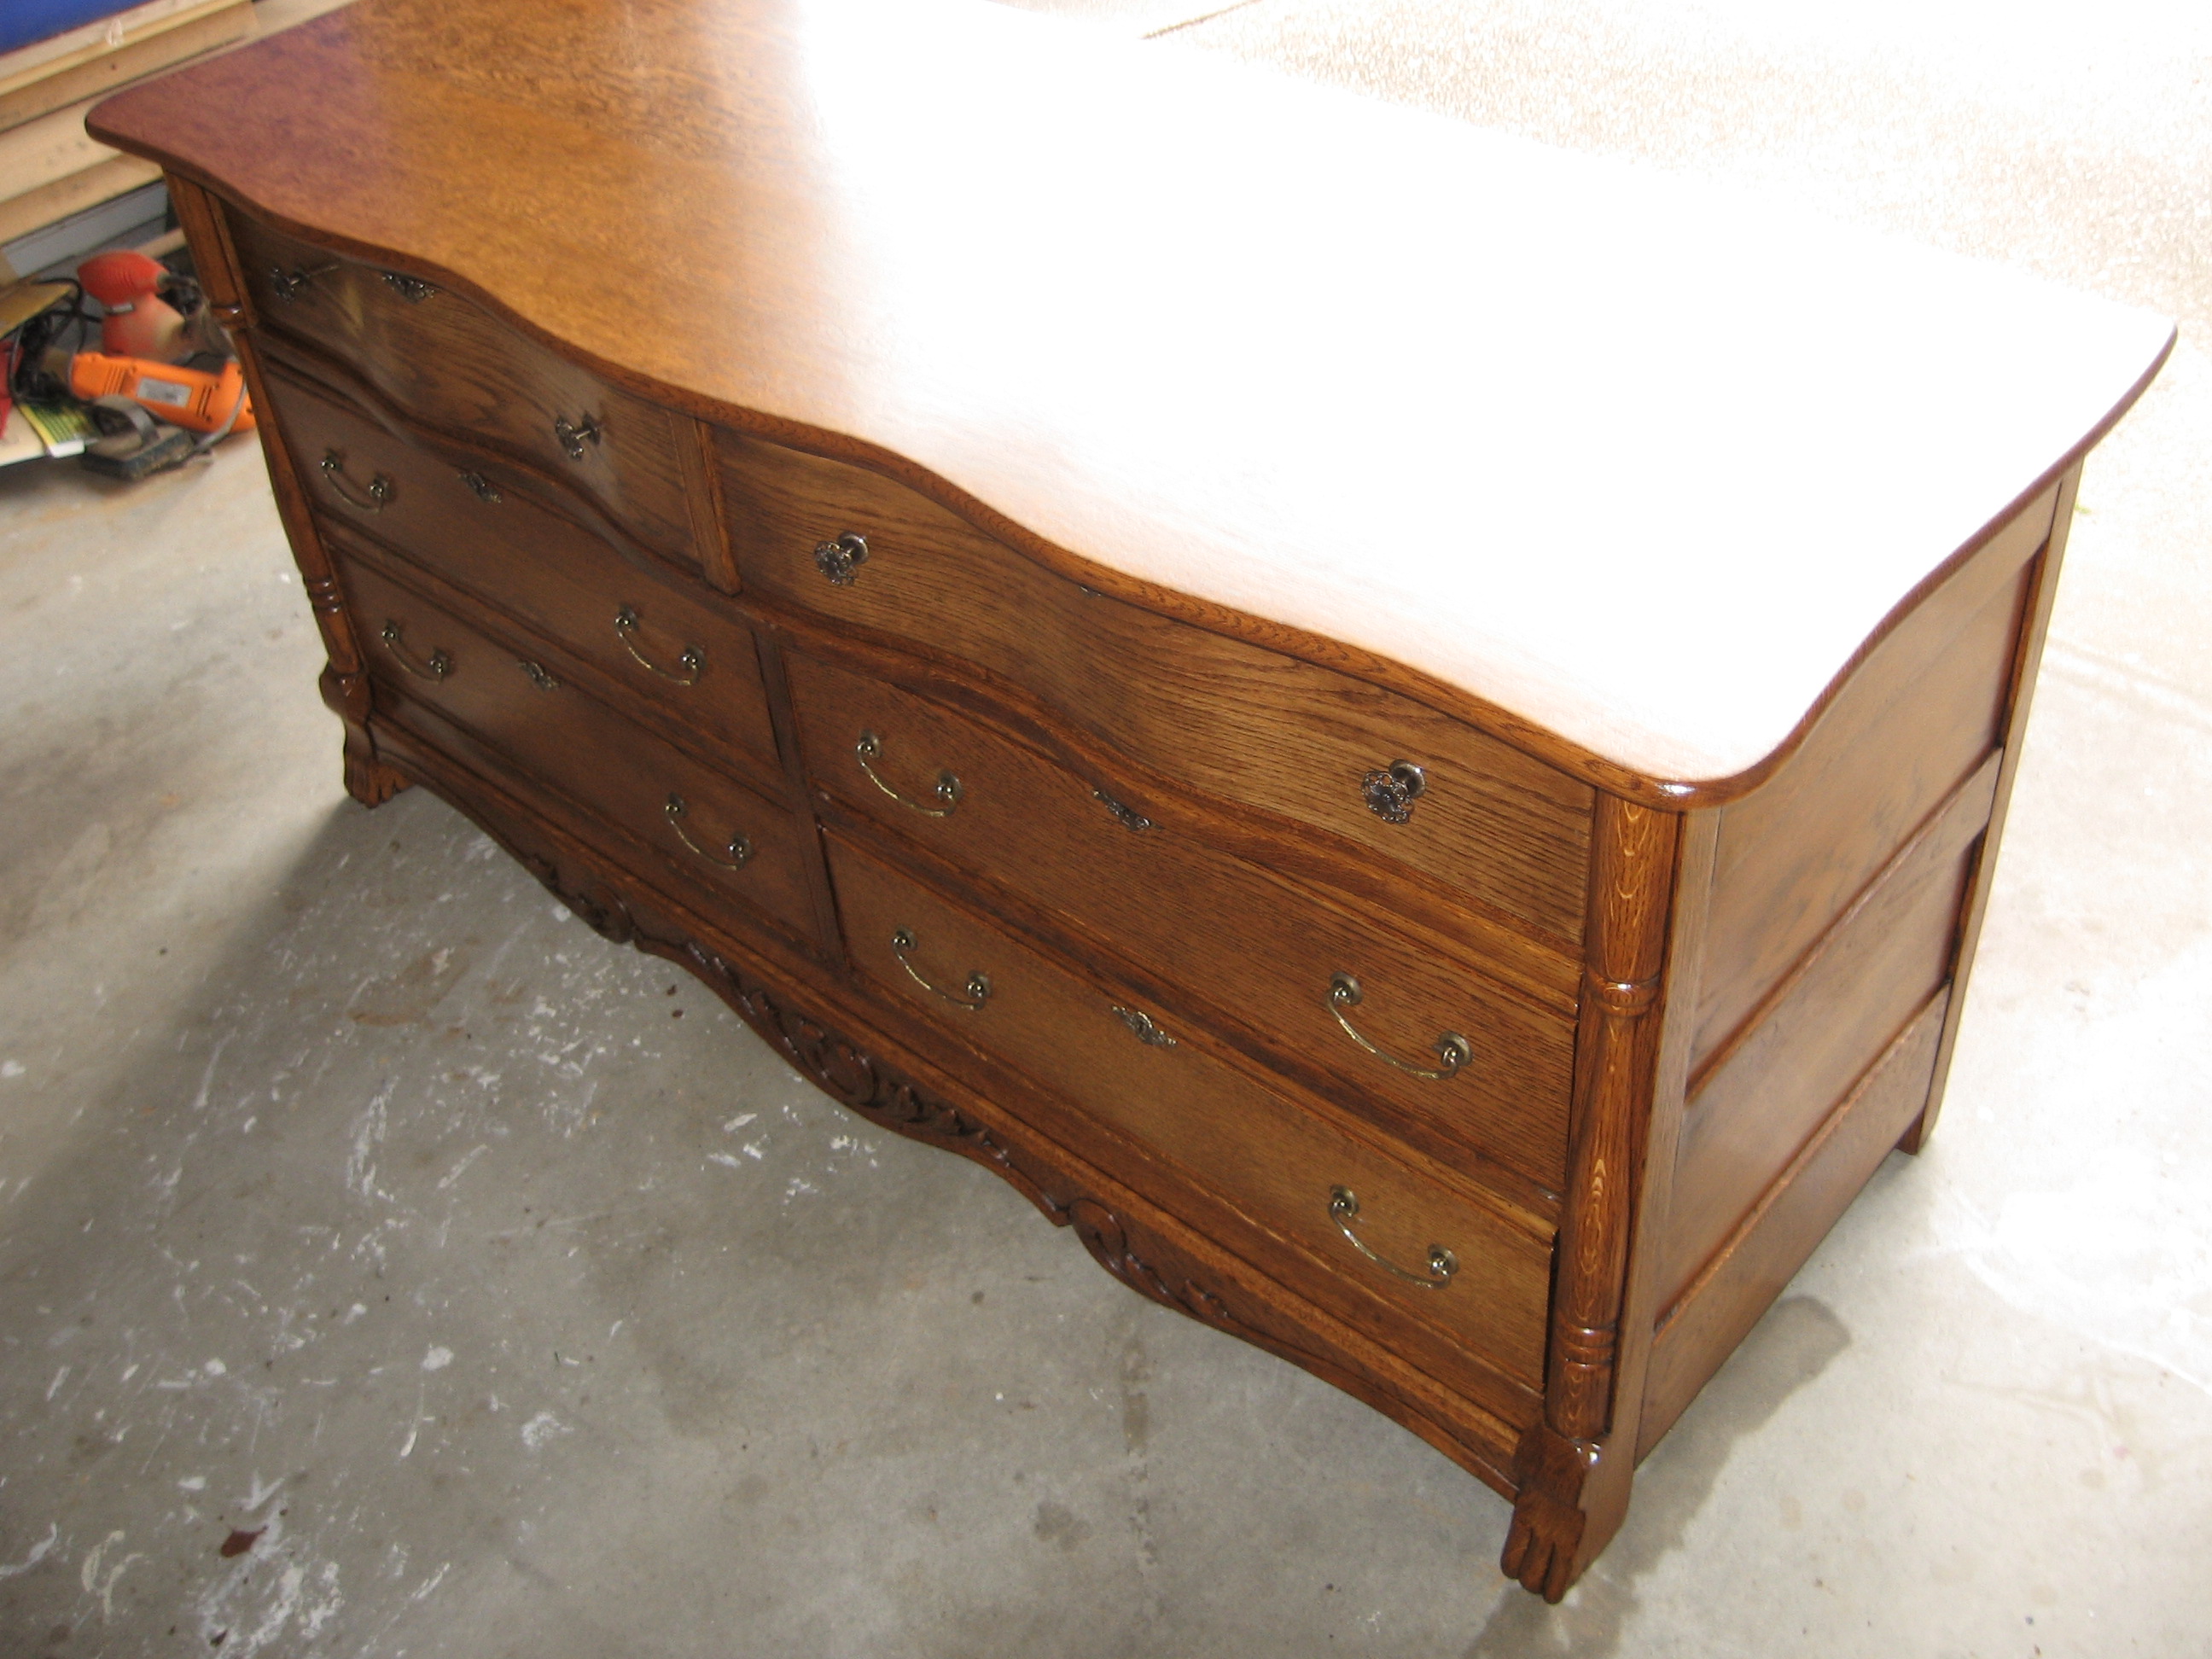
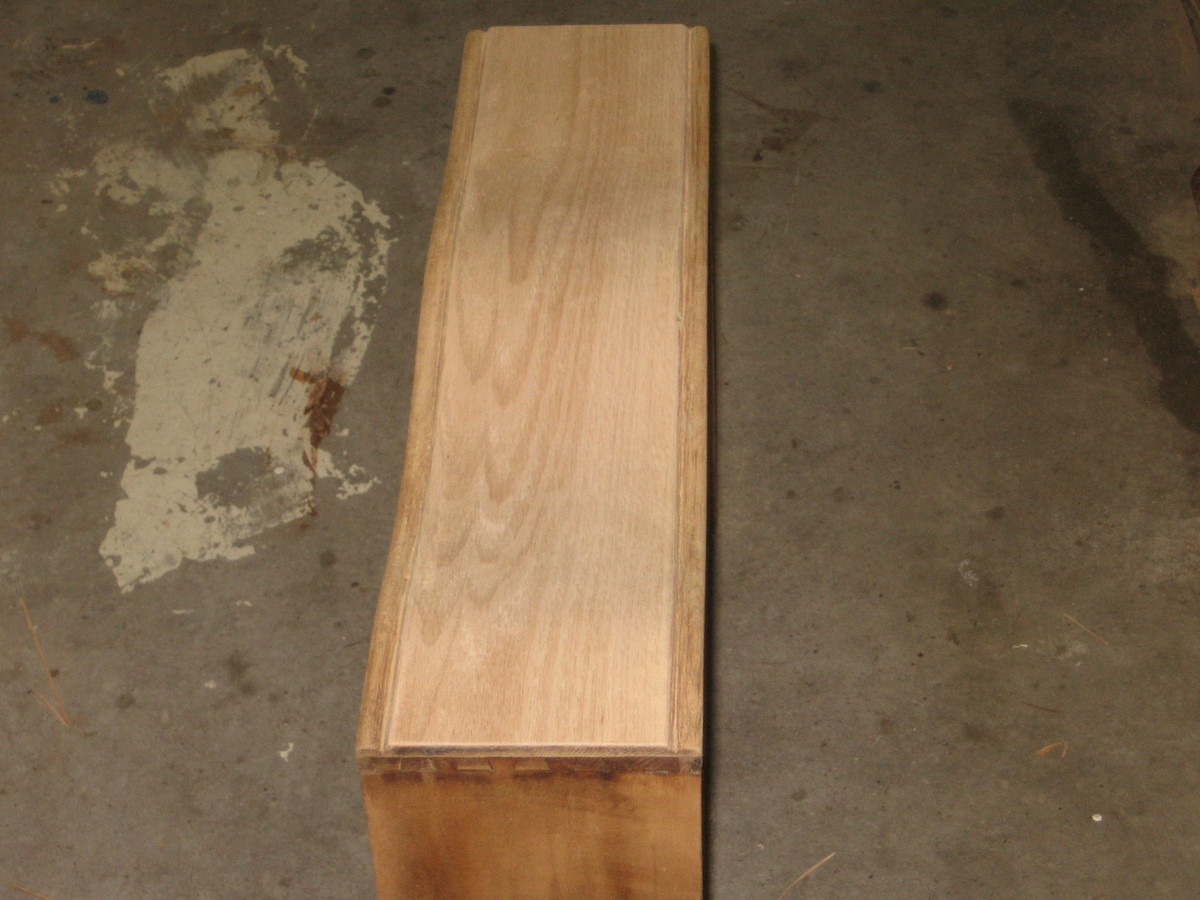
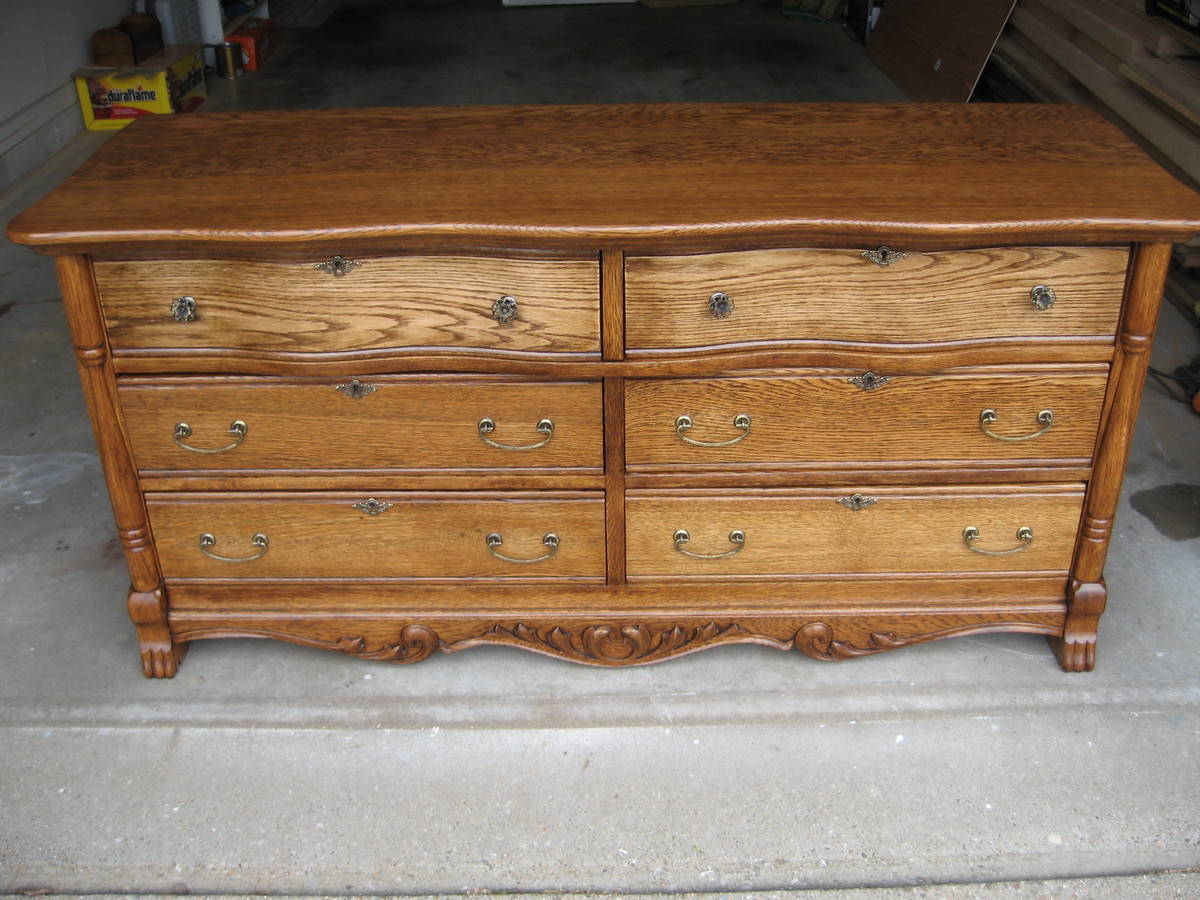
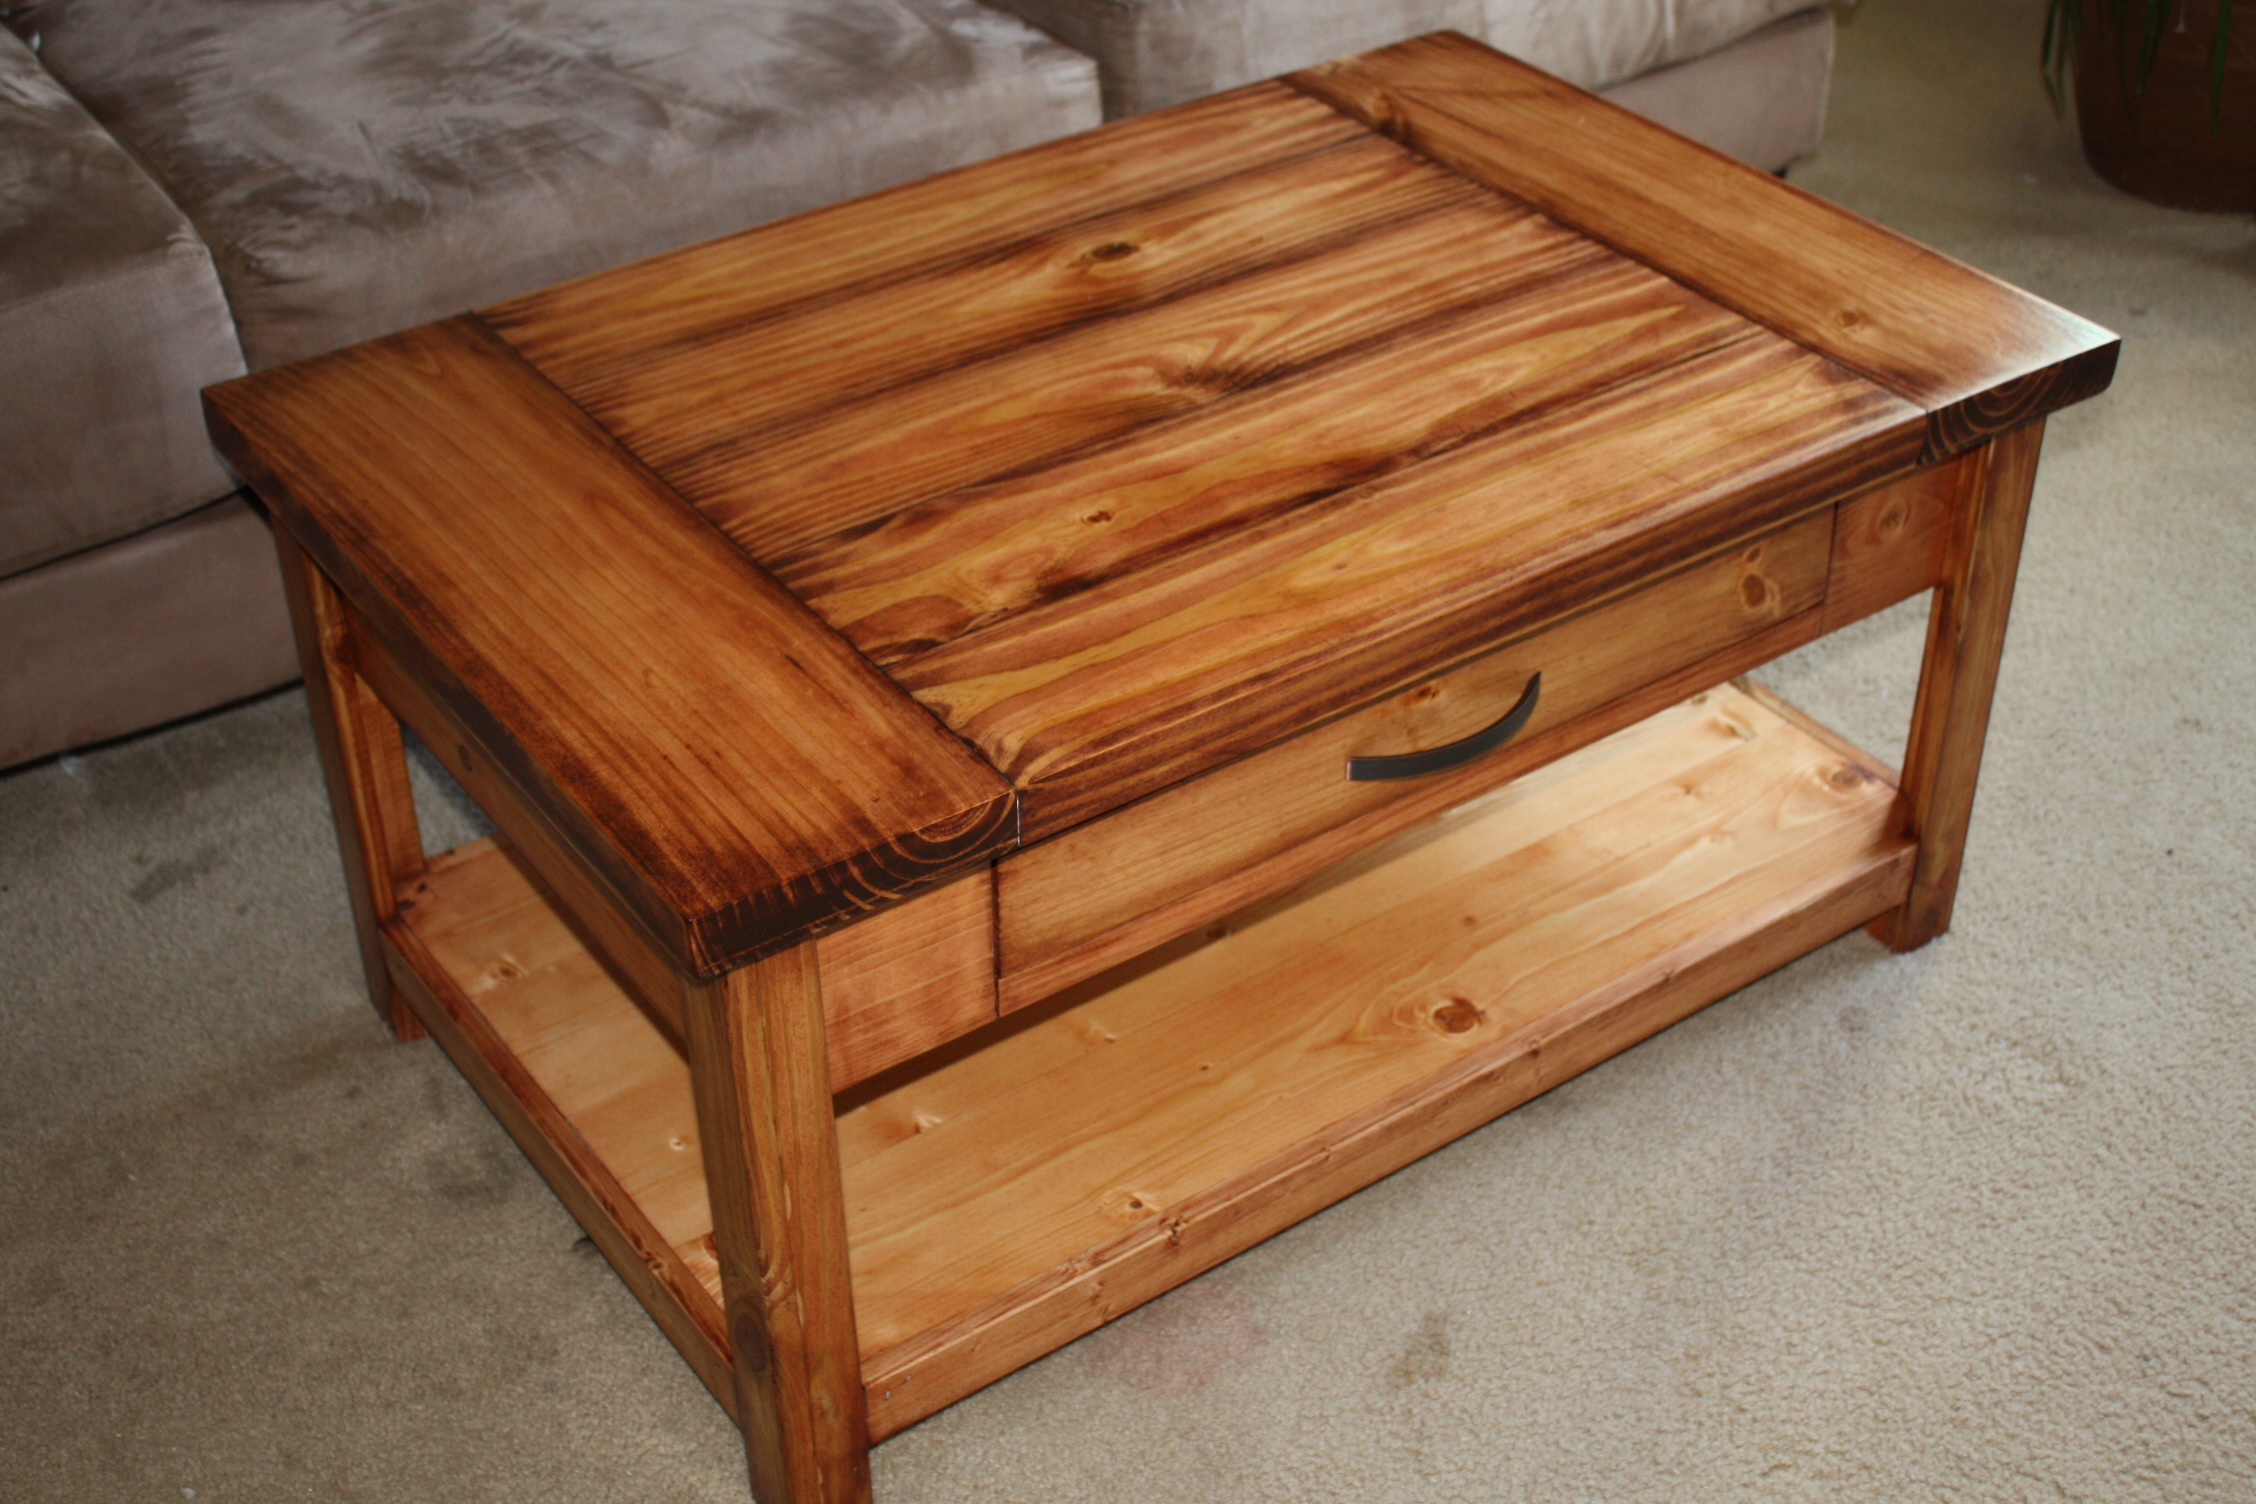
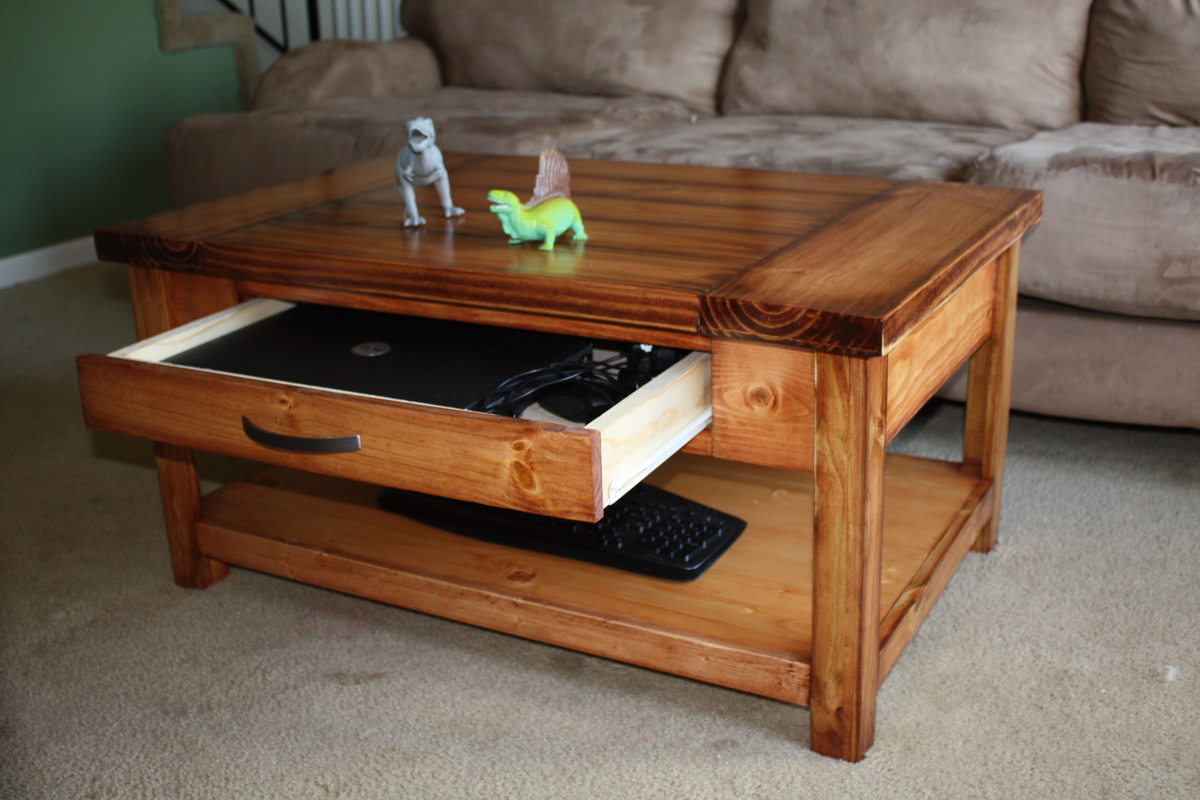
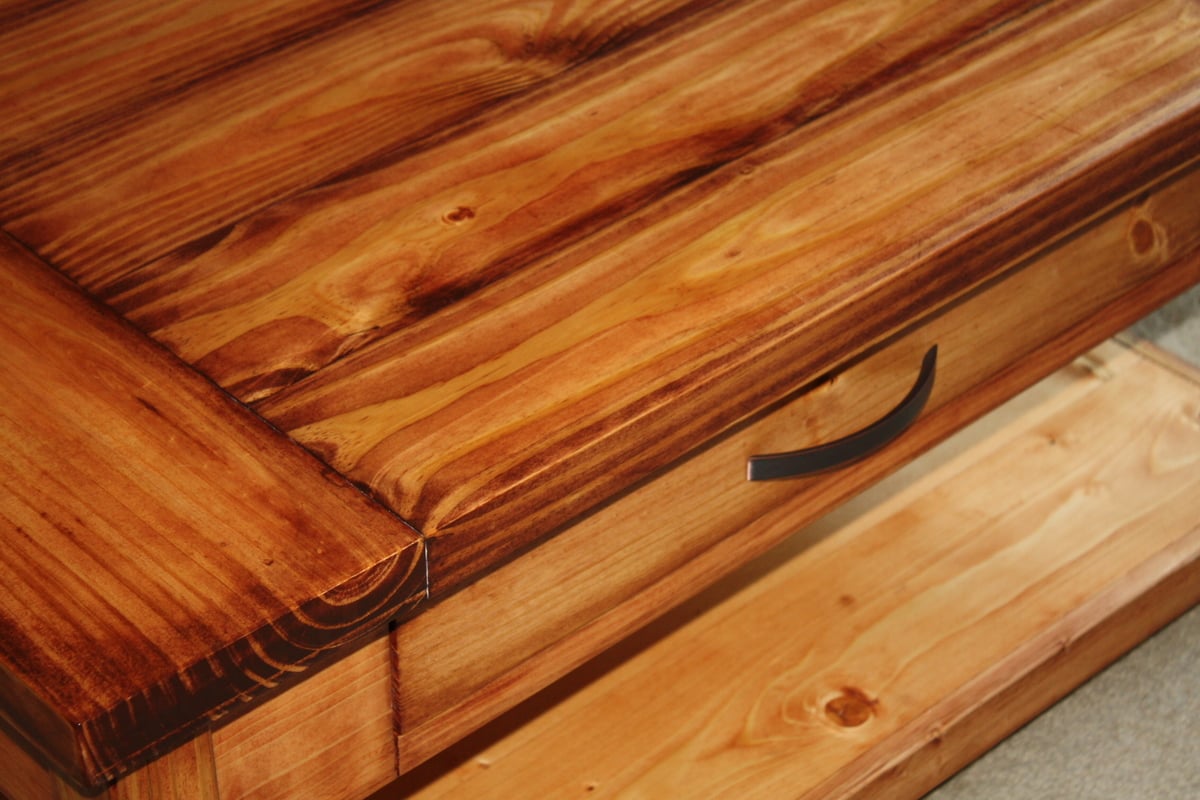
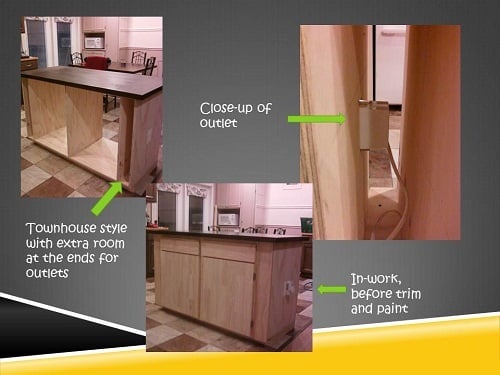
This is my second build. I used the Benchright plan but had to modify it for one drawer. The Dimensions are 39 long, 25 wide, and 19 tall. I have heard others comment on how difficult drawers are. I thought I would just jump in head first with the kind of drawer that closes flush with the rest of the table - really had some trouble with making it square. I ended up shimming the face onto to the drawer because even though it opens and closes smoothly, it isn't square with the rest of the table...
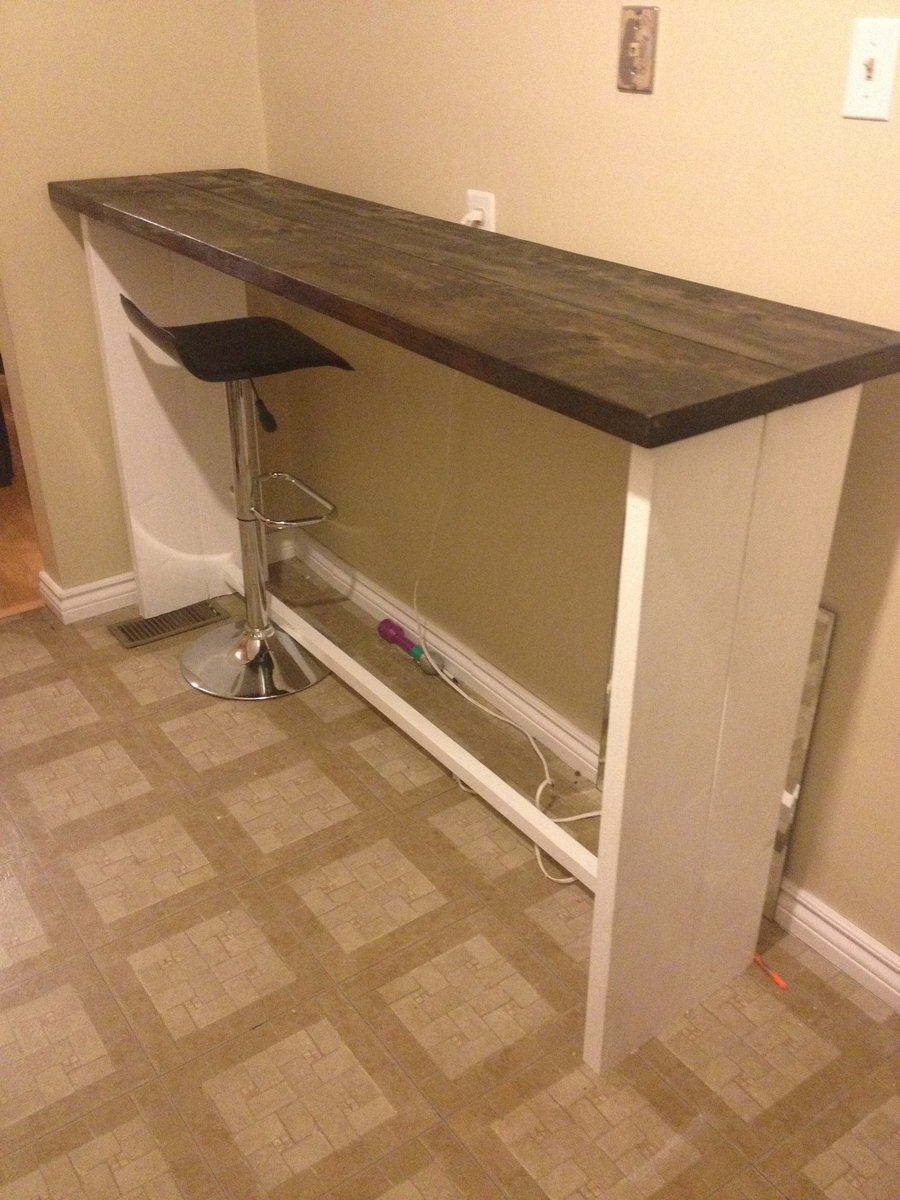
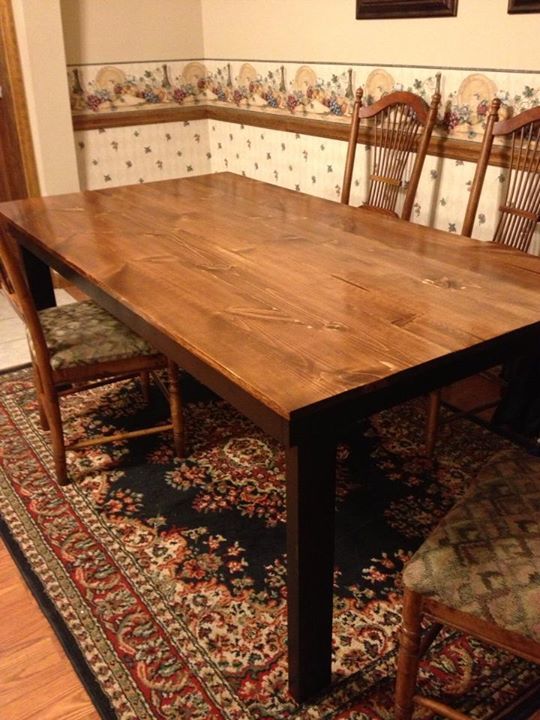
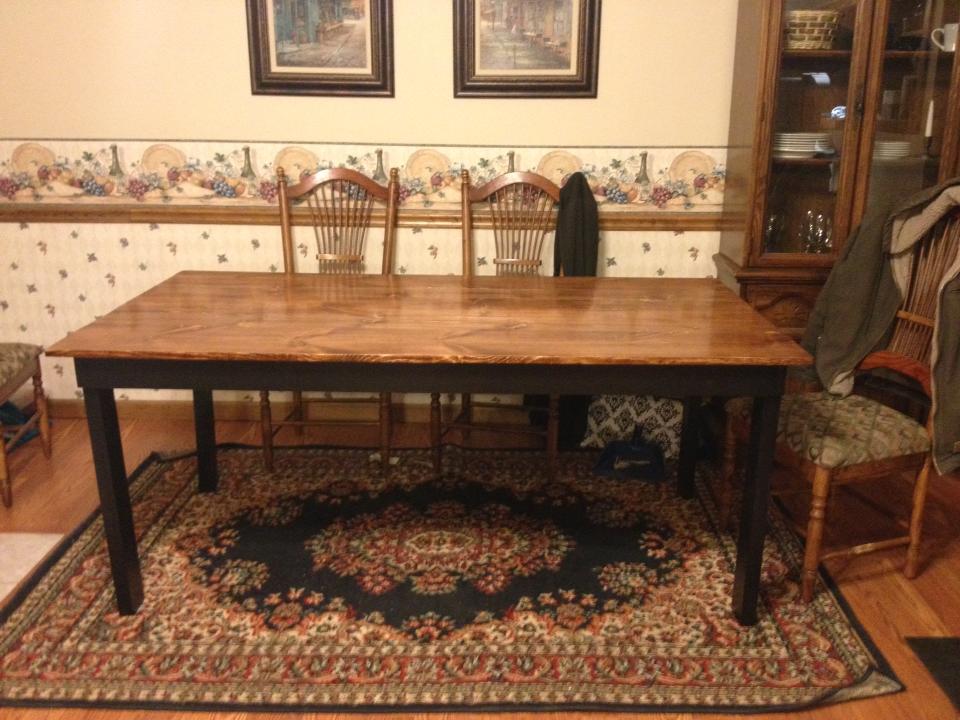
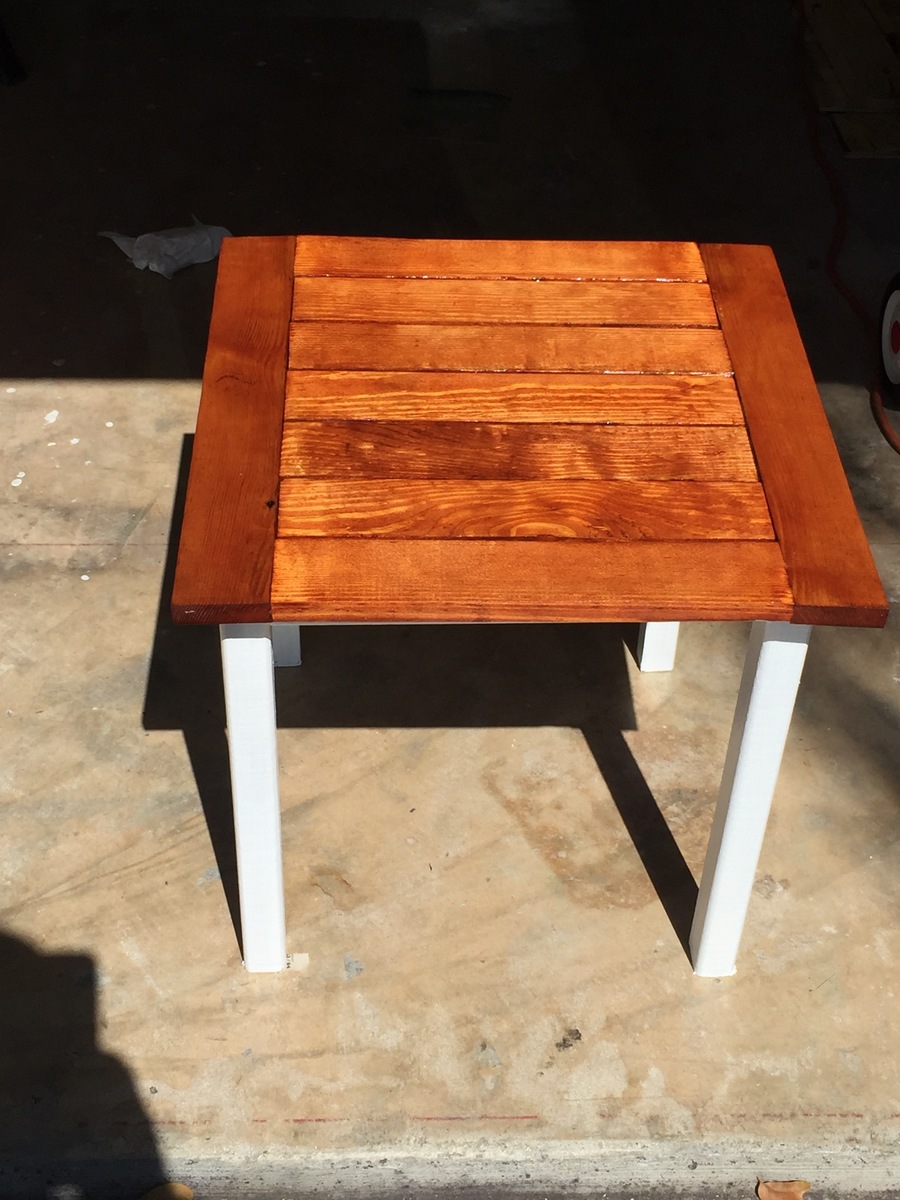
I had originally planned to make the 20 second tidy up table for my living room and begun purchasing materials. However, I was let go from my job last Sunday, so changed my plans. I took inventory of all the supplies and materials I had on hand and tried to find a plan that would not require any more spending to build... to sell... to pay rent.... and thus the new table was born. And I love it. And I hate to sell it.
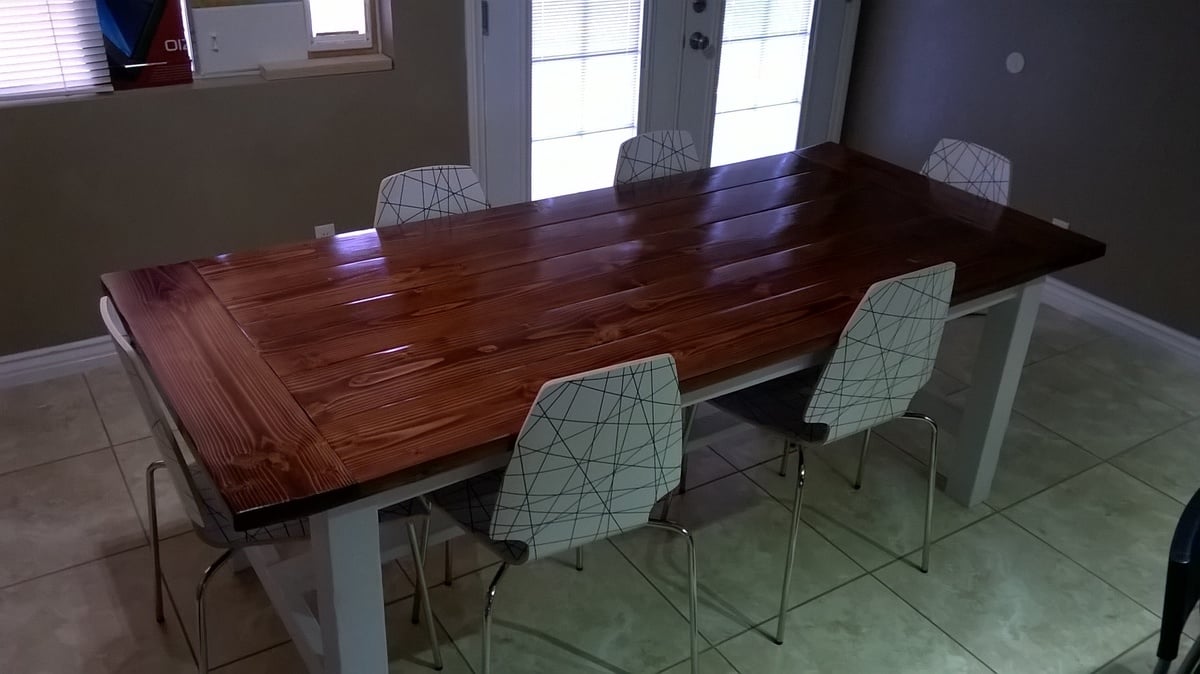
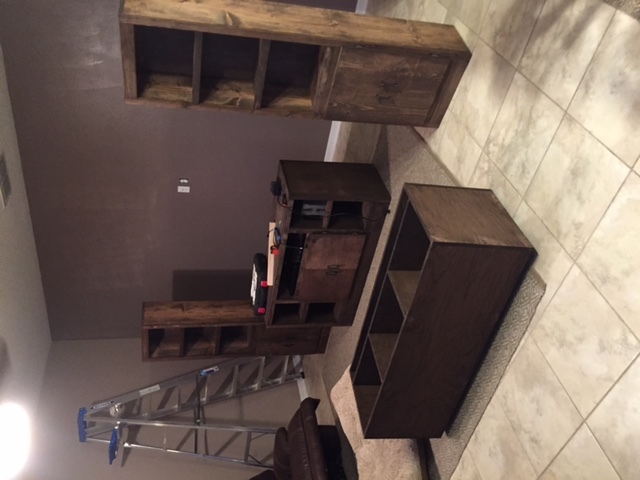
I tried to copy the finish on the 20 second tidy up table, and this is how it ended up. I used Minwax Golden Pecan for the base color and Red Oak for the accent color. The colors got a little blended together through the staining process. I really love how it turned out though because it's a nice warm color. The only thing I don't like is the grain in the pine didn't take much if any color, so it's still a bit yellow, which seems slightly out of place when I look at it. I think it will darken with age and look a little better. Otherwise, this was a super fun project!!


Comments
rjbarthel
Sat, 02/13/2021 - 06:51
Hi Anna I have enjoyed…
Hi Anna I have enjoyed coming to your page and have made many things from your plans but your page is so over run with pop up adds that it is jumping all over the place and give me a headace from all the movement sorry to say I must leave