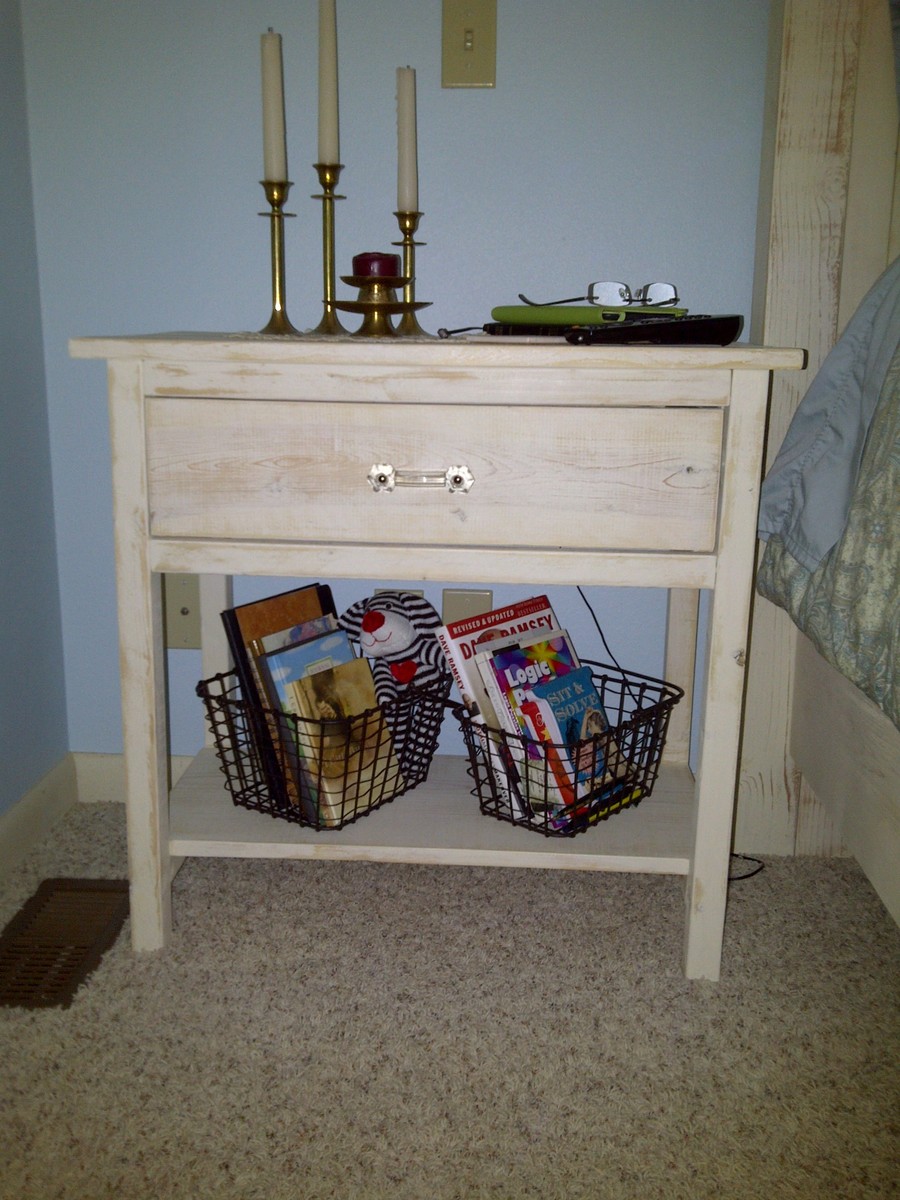
Classic Gray Nightstand
Beautiful bedside table build by Heather Kirk
Beautiful bedside table build by Heather Kirk
Built this table over the weekend with the intention of selling it. My wife isnt so sure she wants to let it go now though! I used a 2 in 1 stain and poly that i am not happy with the results of. From now on im going to stick with the tried and true method of doing the stain and finish seperatly. Overall, i like the plans and will probably build a few more of these to sell.
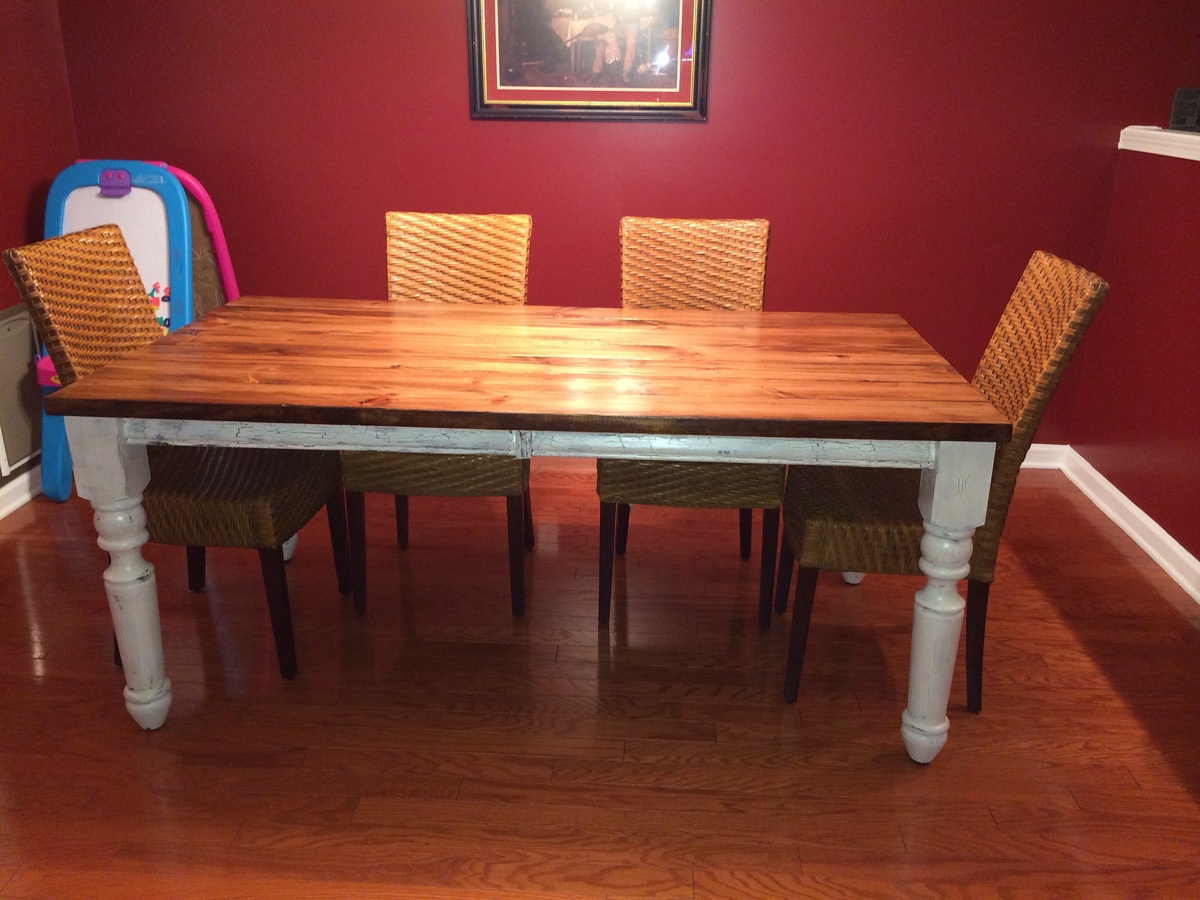
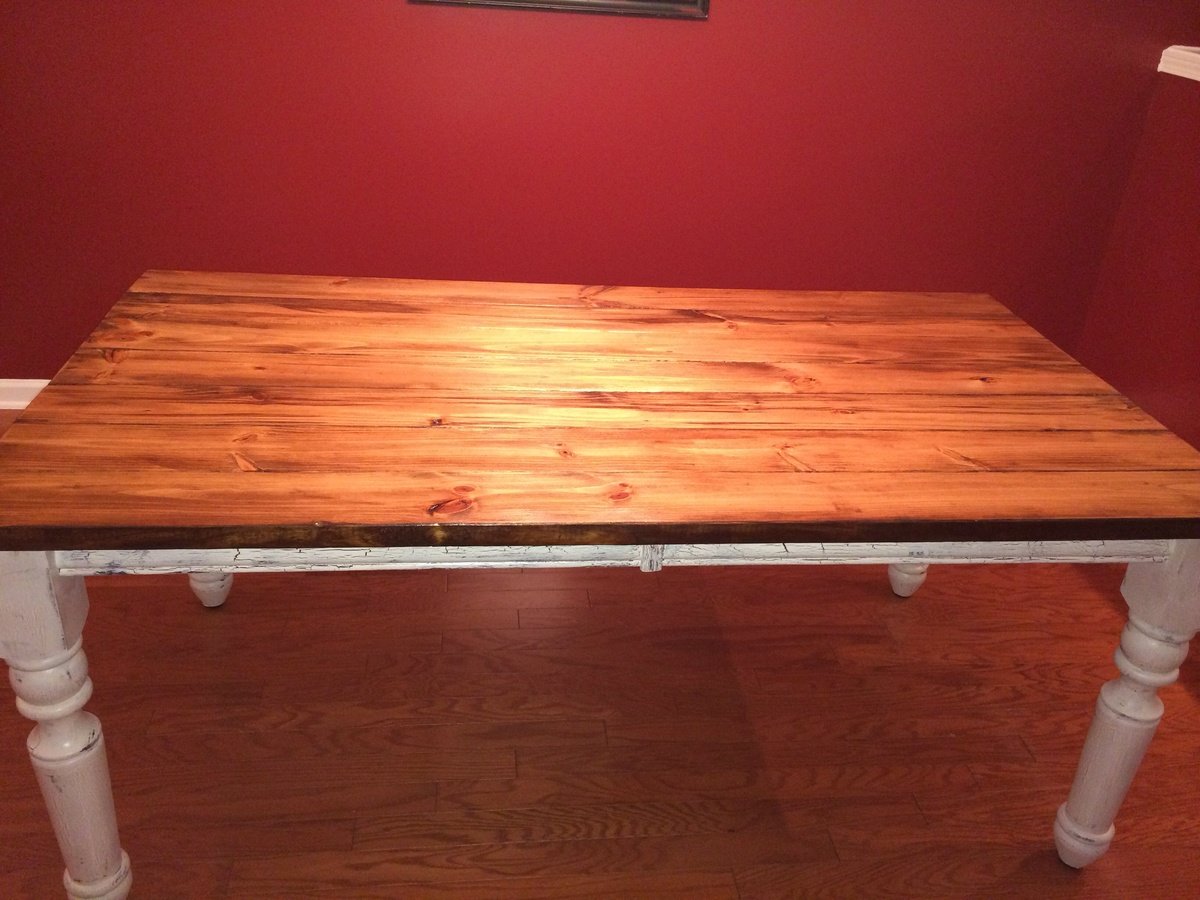
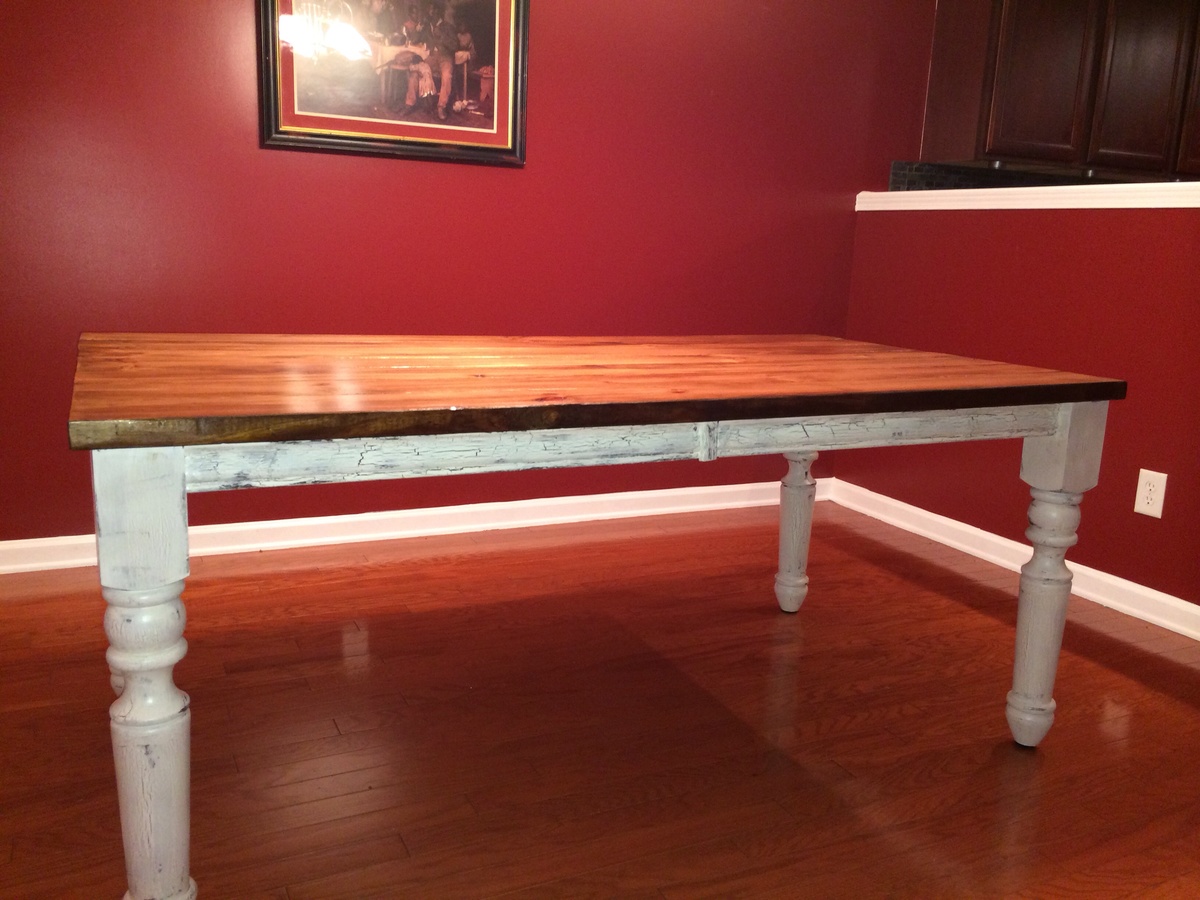
DIY farmhouse table built by my wonderful husband. We used legs from Osborne wood and the apron and legs were stained and antiqued using a crackle glaze and antique white paint. Love it. The plans were great. Our cost was high because we had to purchase a kreg jig. But it will get a lot if use. Next project will be the corona coffee table-square
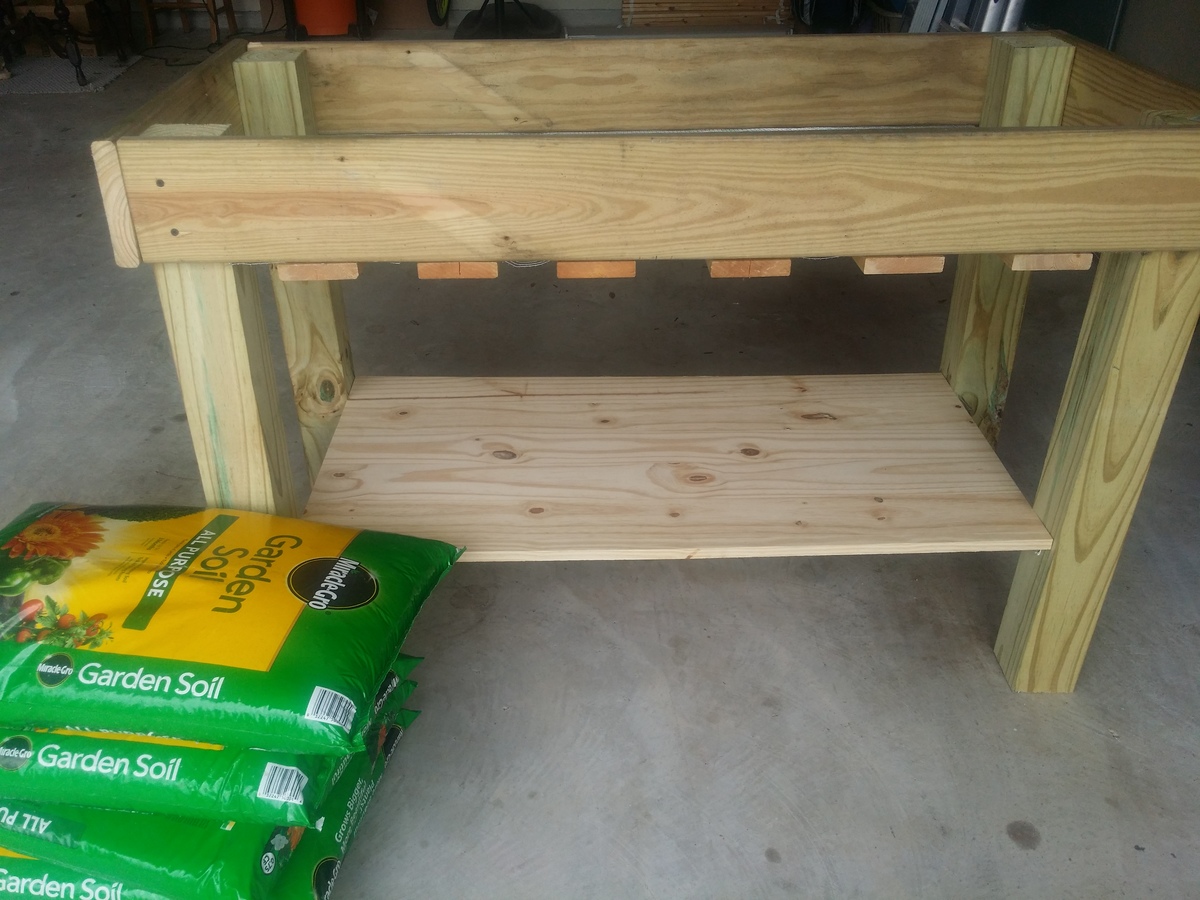
I always wanted a raised planter box, but never took the time to try building 1 and certainly didn't want to buy 1. My hubbie saw these plans and decided to make it for me. He used wood from our deck that we just pulled up, so the only cost was for the 4x4s and the plywood used for the bottom shelf.
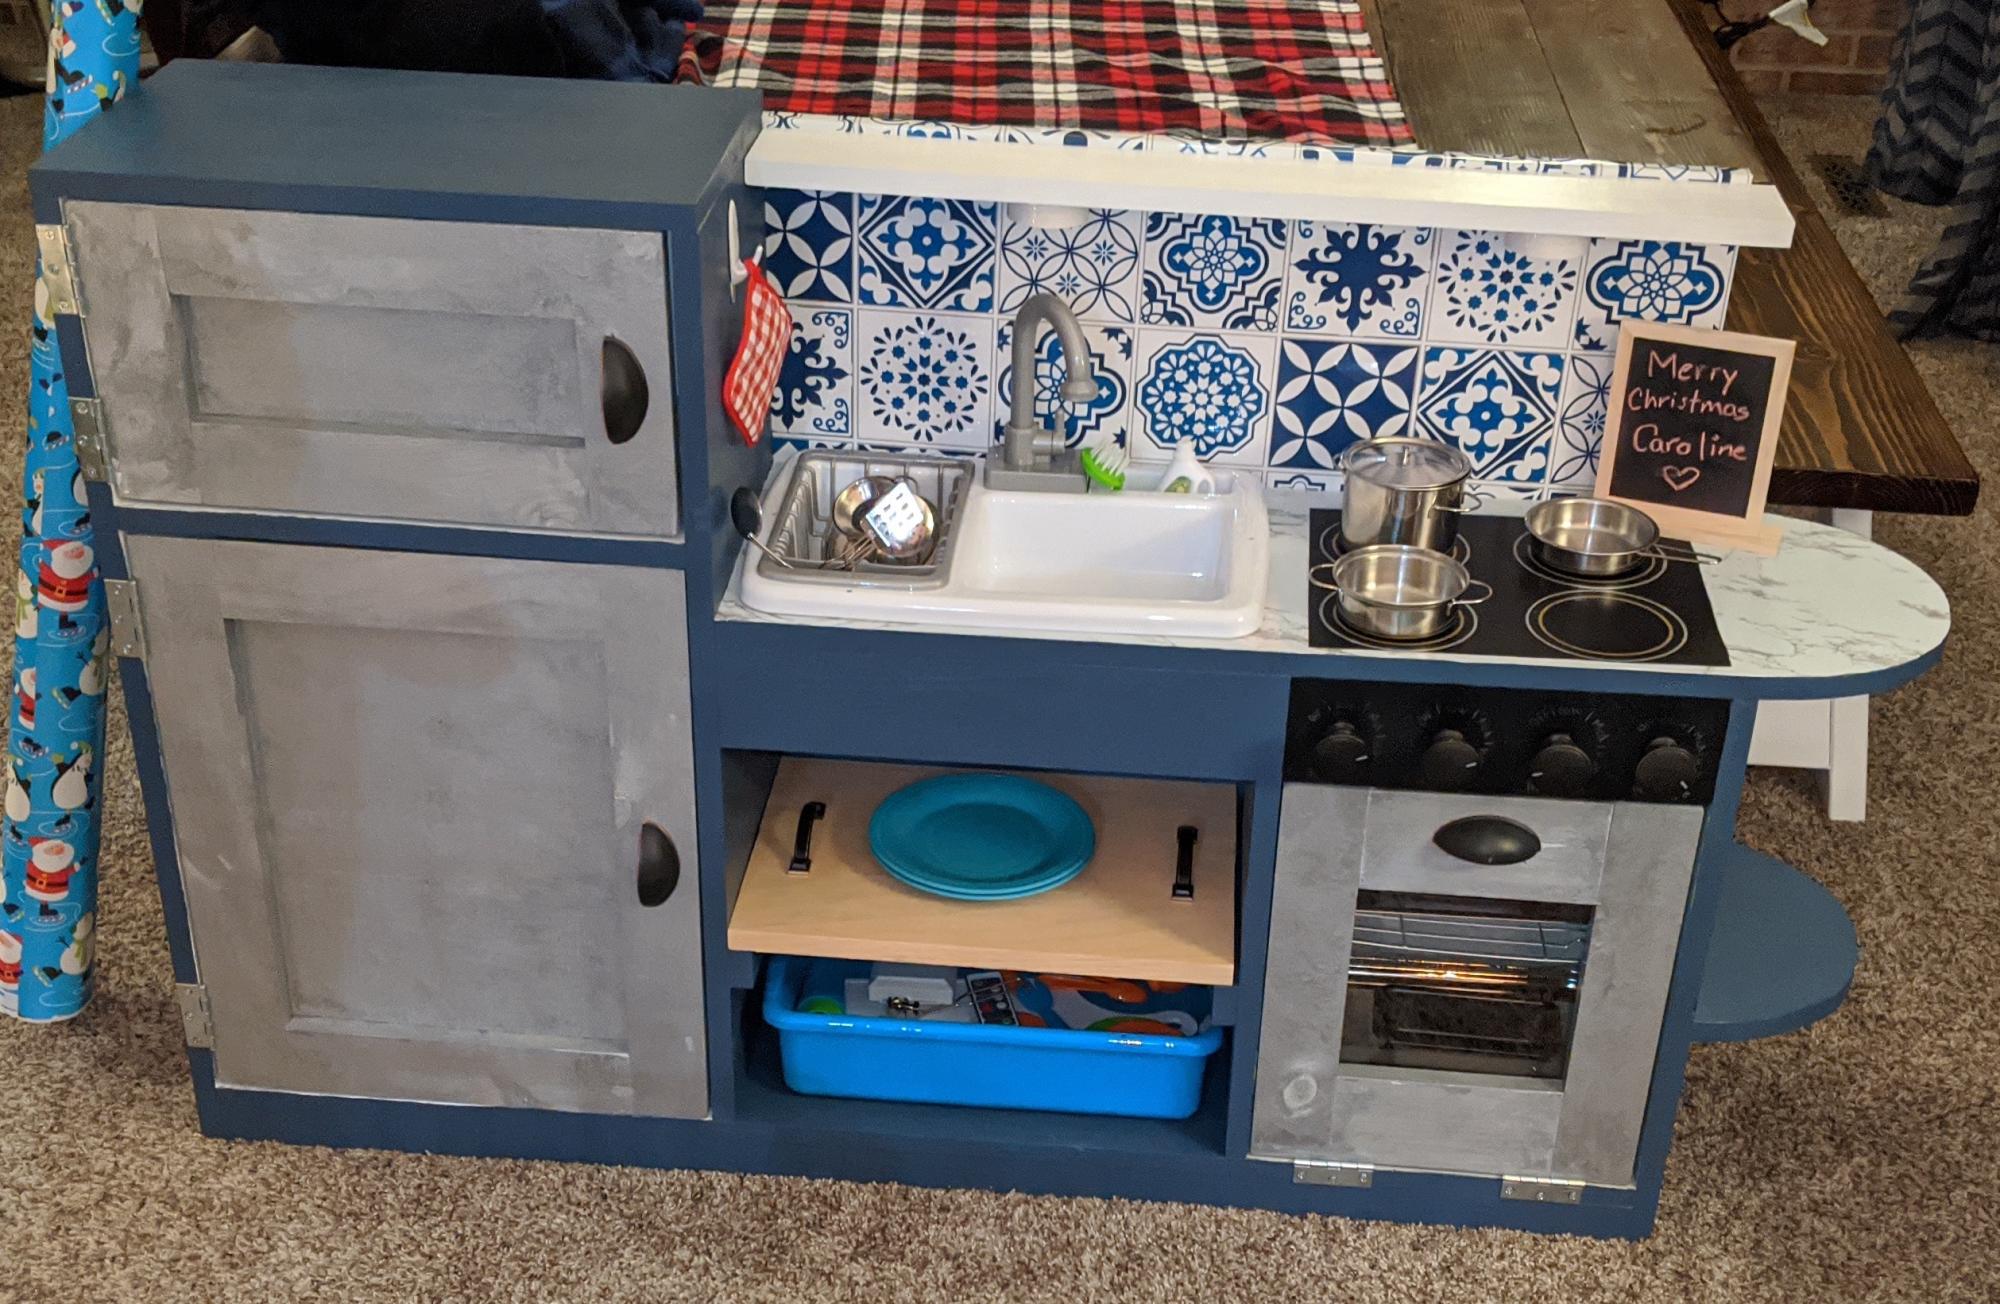
I made this play kitchen for my 2 year old for Christmas. She had been talking about wanting a kitchen and I found the plans and showed them to her and she said "Mommy build it?" and so that's what I did. The look on her face Christmas morning was absolutely priceless!
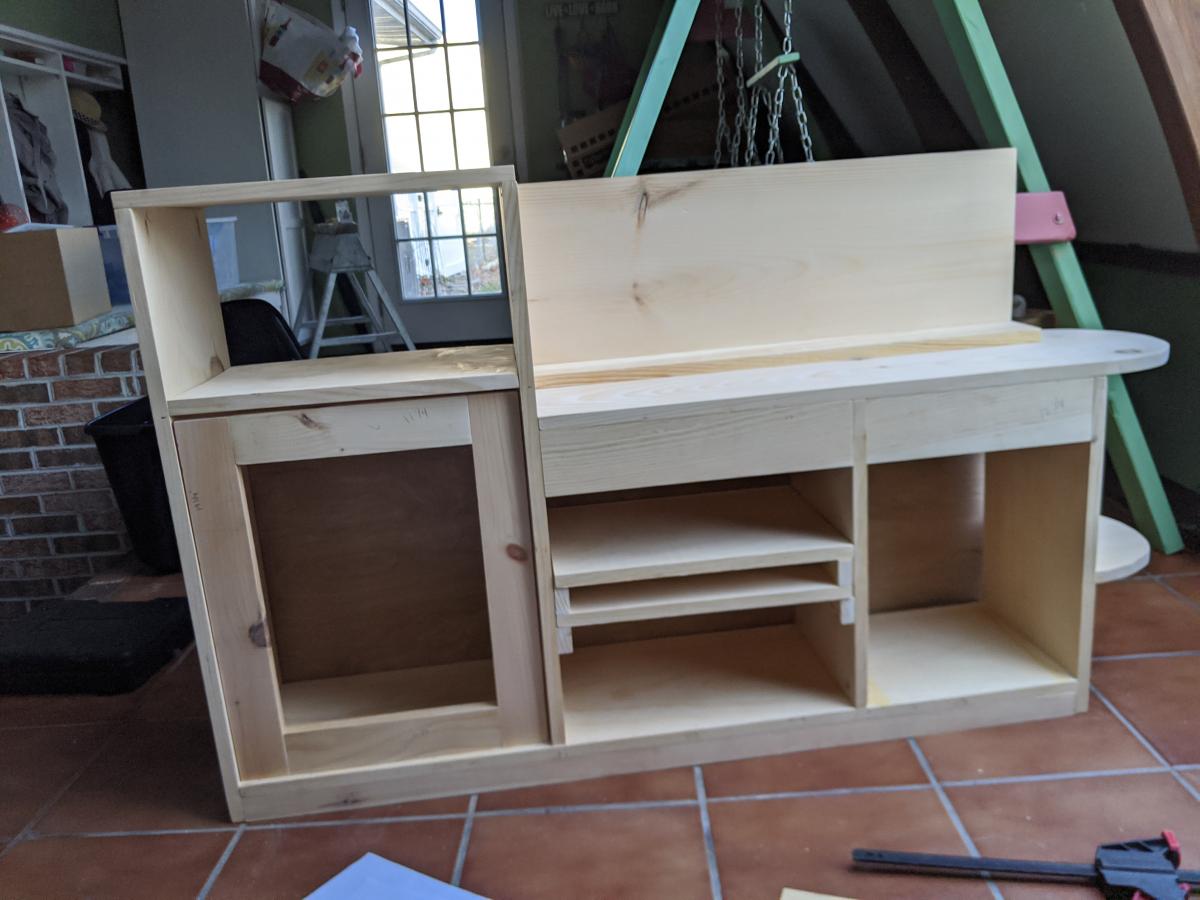
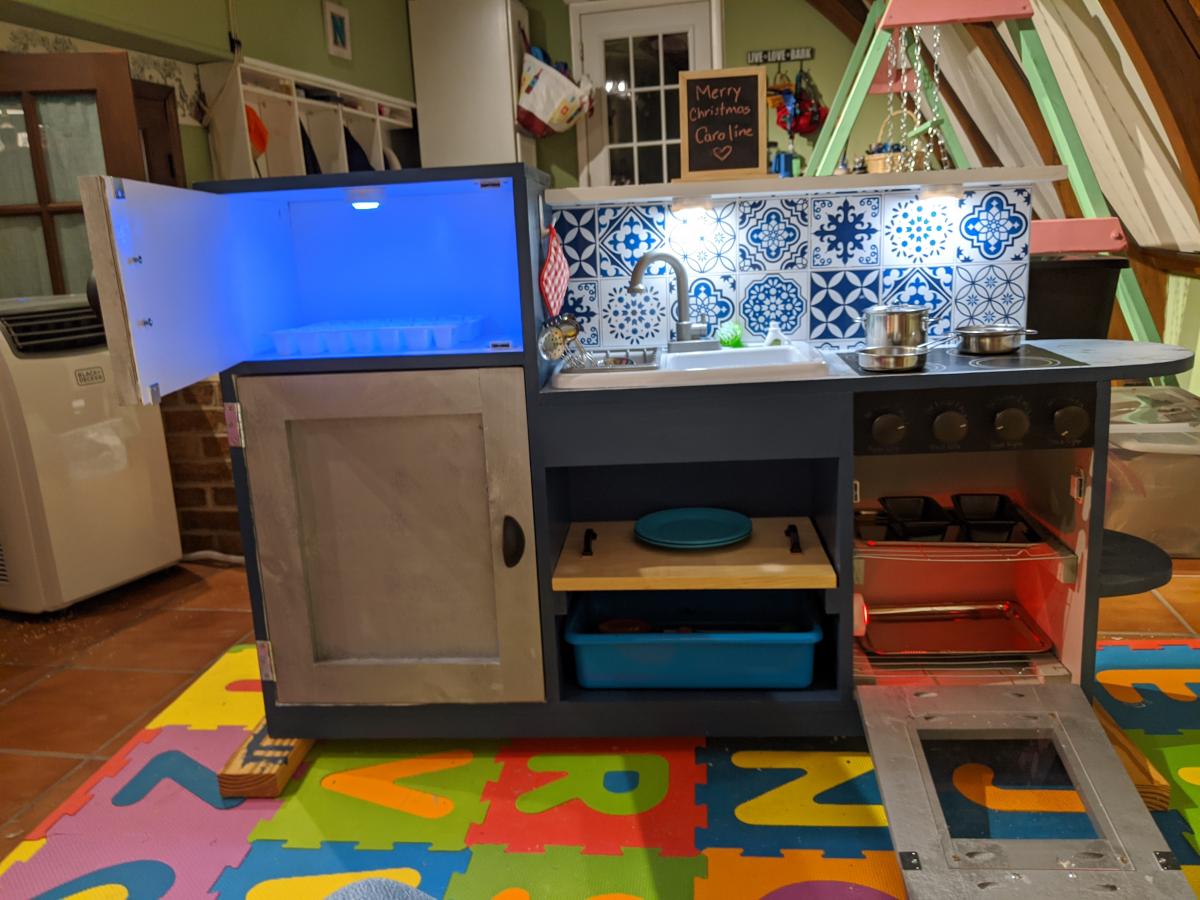
I followed the one piece play kitchen plans, but left off the supports for the shelves to have a more modern look. I used contact paper for the backsplash and counter top areas that I found on amazon. I put matte modge podge over the counter top to protect it. The stove top is painted on with acrylic black paint and some gold and silver paint pens that I traced circles. The sink was purchased at walmart (Spark. Create. Imagine. Kitchen Sink Play Set )for $14 and came with a bunch of different play items. And I turned the "shelf" under the sink in the original plans into a tray by adding handles so that it could be more interactive. I put a motion detector light in the refrigerator so that when the door is opened it turns on and some color changing lights push lights in the freezer (blue), oven (red) and below the top shelf (white). The oven has 2 wire racks that are made from wire cookie cooling racks from the dollar store. I used the longer screws for the knobs on the stove area so that they can be pulled out and twisted. I added a shelf to the refrigerator as well, just a piece of 1x8 for more storage space.
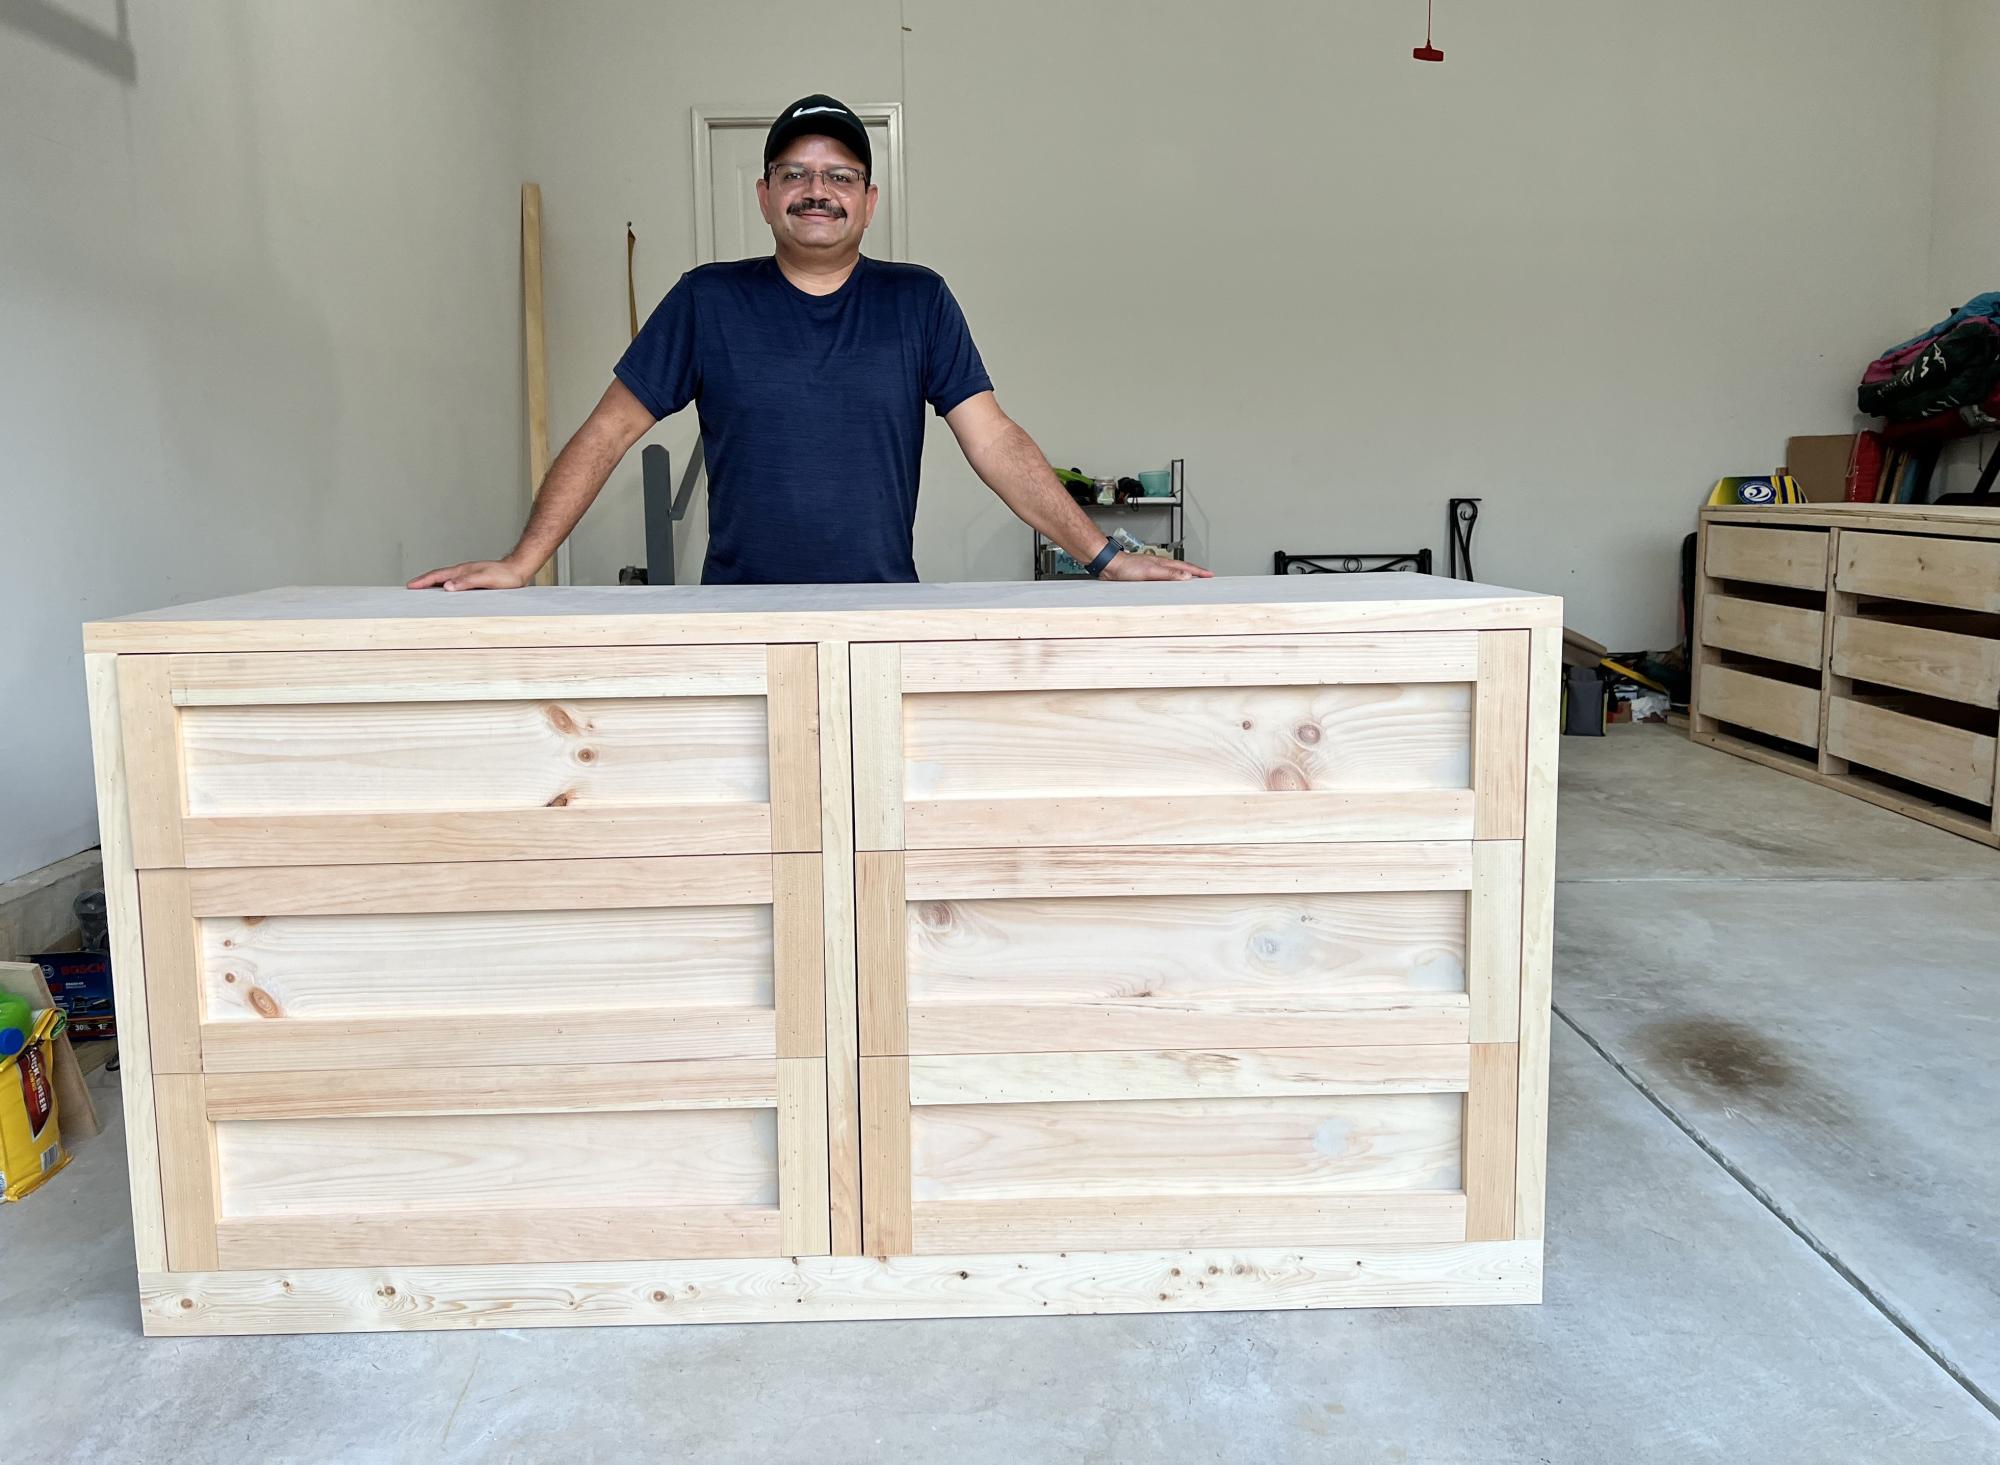
Built two jumbo sized dressers 72 by 36 3/4 by 24 3/4. Painting is still pending. One can see playlist here
Rasik
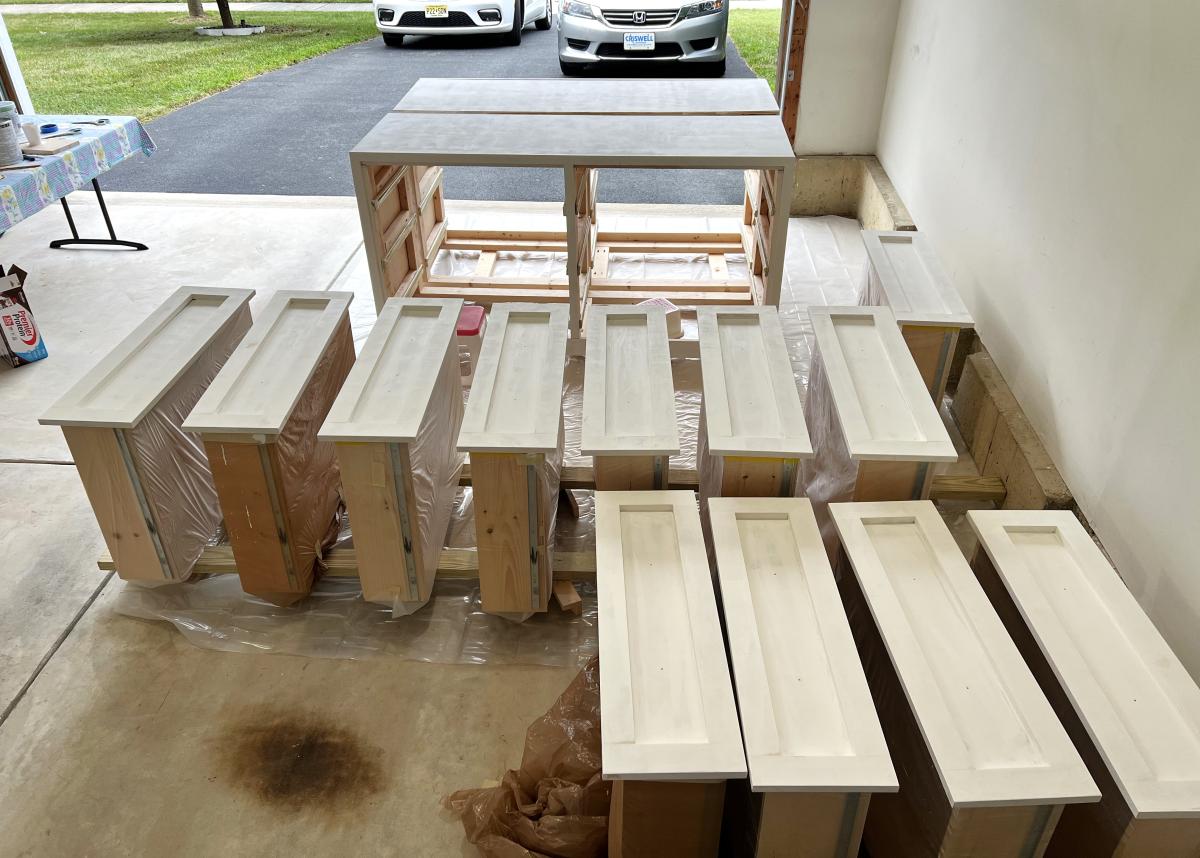
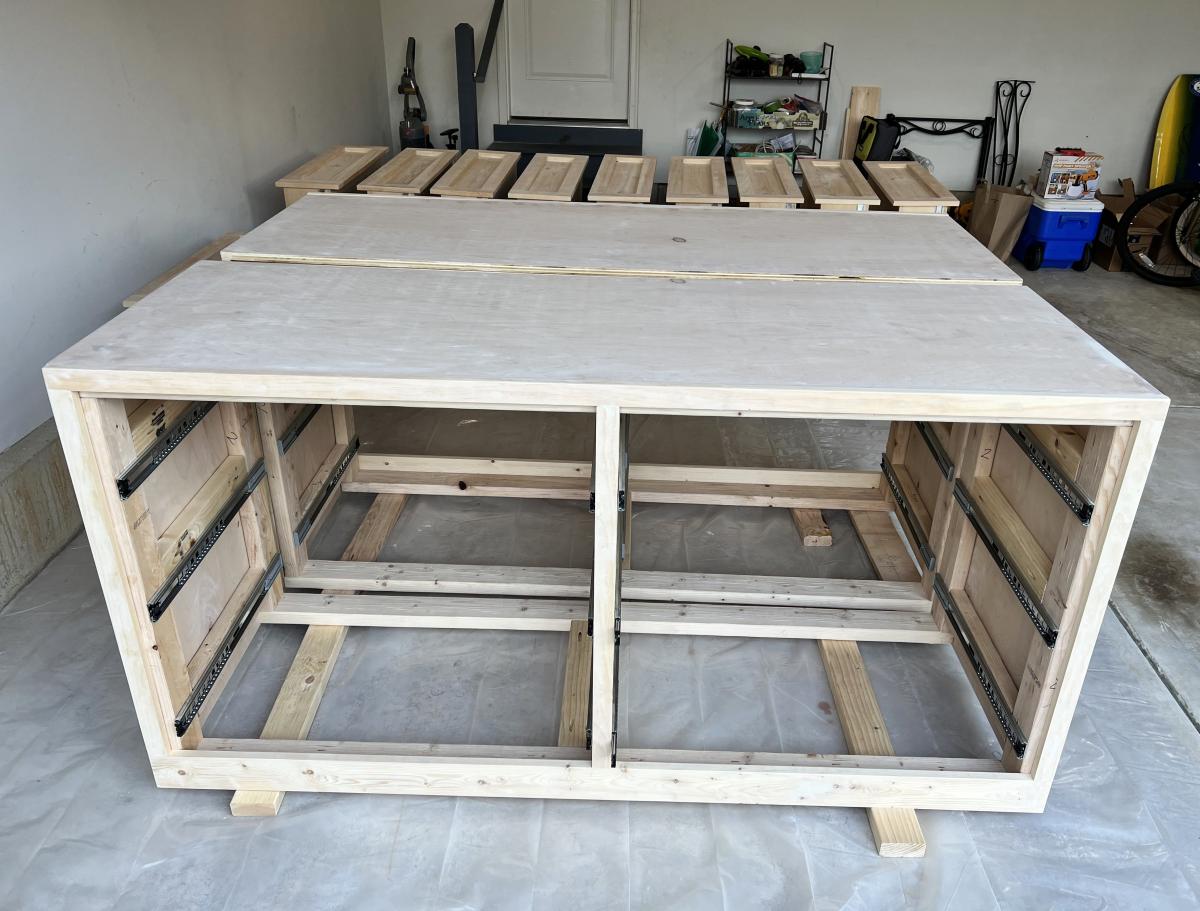
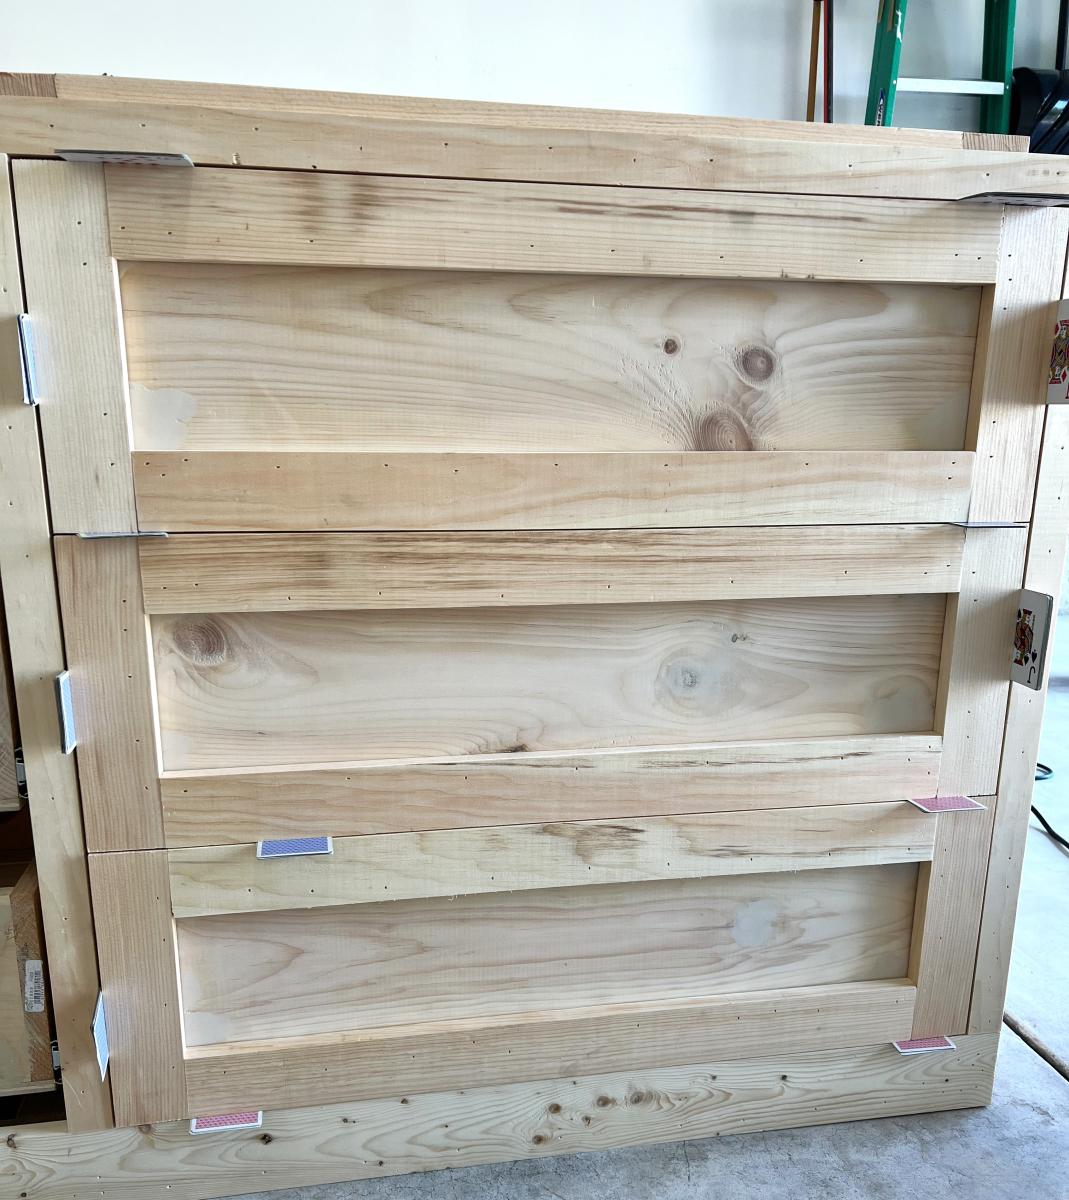
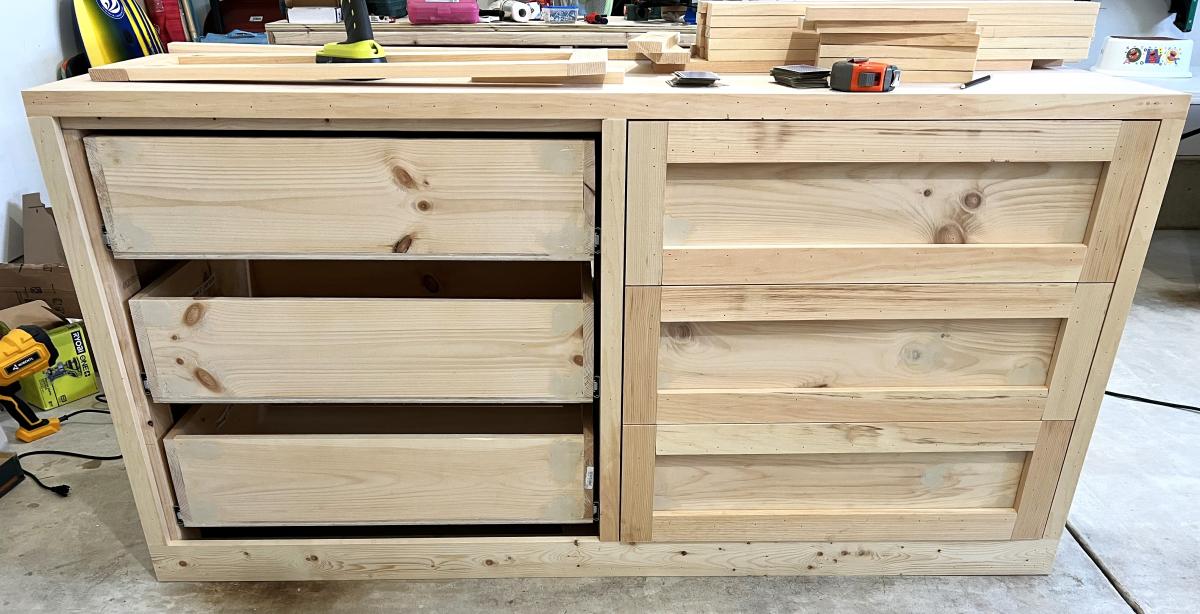
Easy!
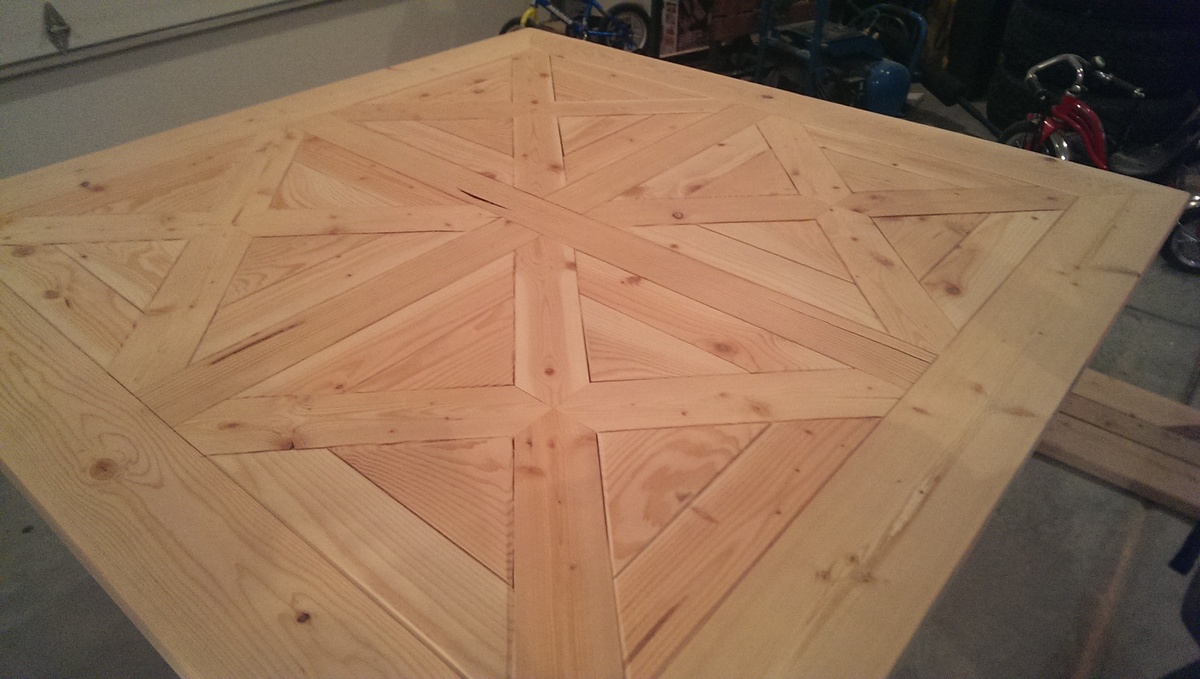
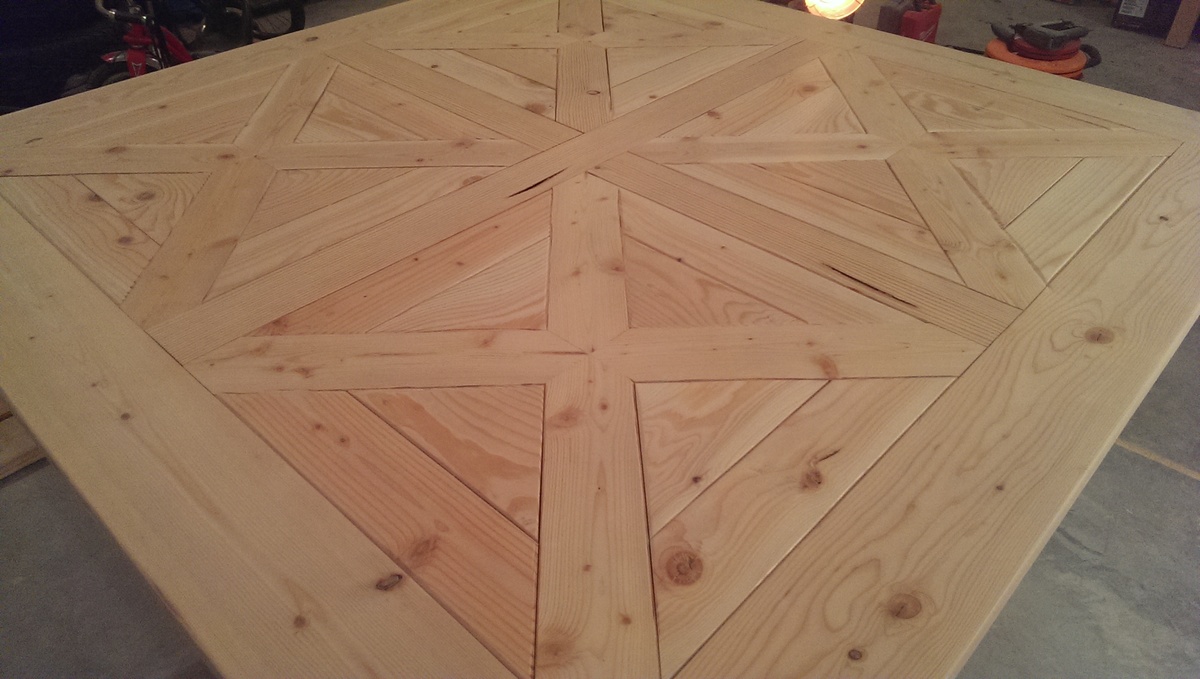
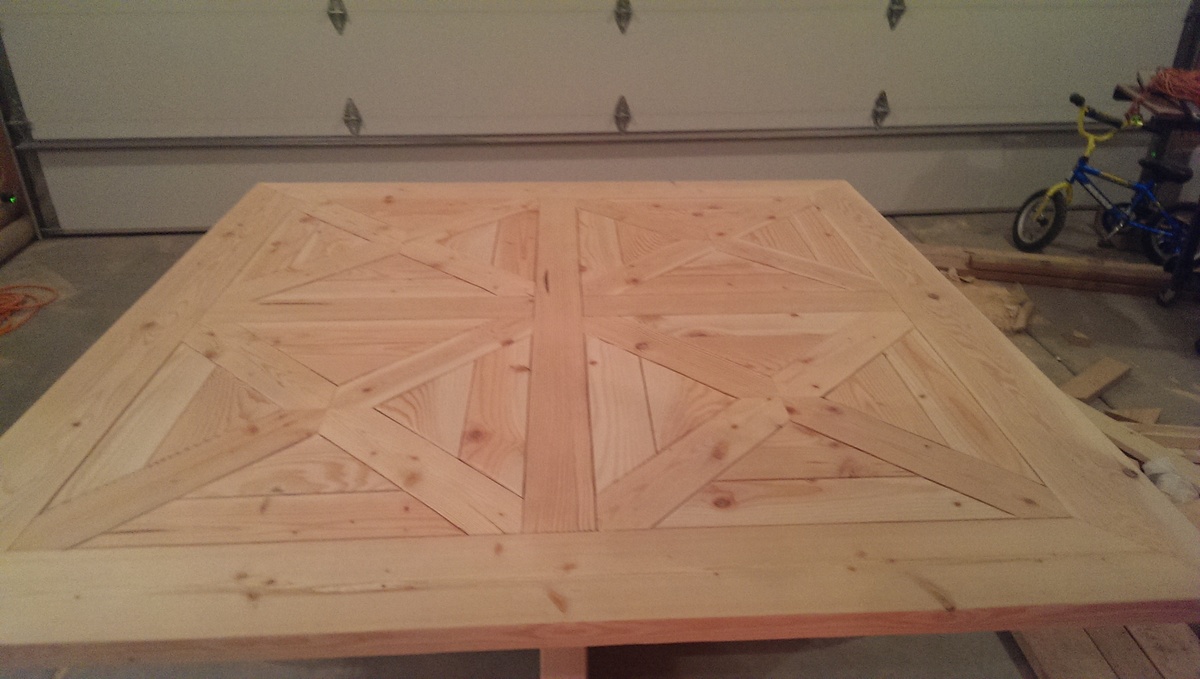
Haven't quite finished this, but here it is all put together. I started with her plans then changed then dramatically. I wanted a 60x60. So I added 17" to the sides. Required me to buy 10' boards instead of 8' boards. When building the base I added 17" to the lengths since that is what I did for the top. I left the center post the same height since I wanted a regular height table.
When it came to the top, I didn't want to do the 1x4, instead I have 2x4 and 2x6 in there. Making the crosses in the squares added lots of time, but it was well worth it. Not sure how many hours I have into this, but its a lot. Materials is right now about $130.
I'll update more when finished.
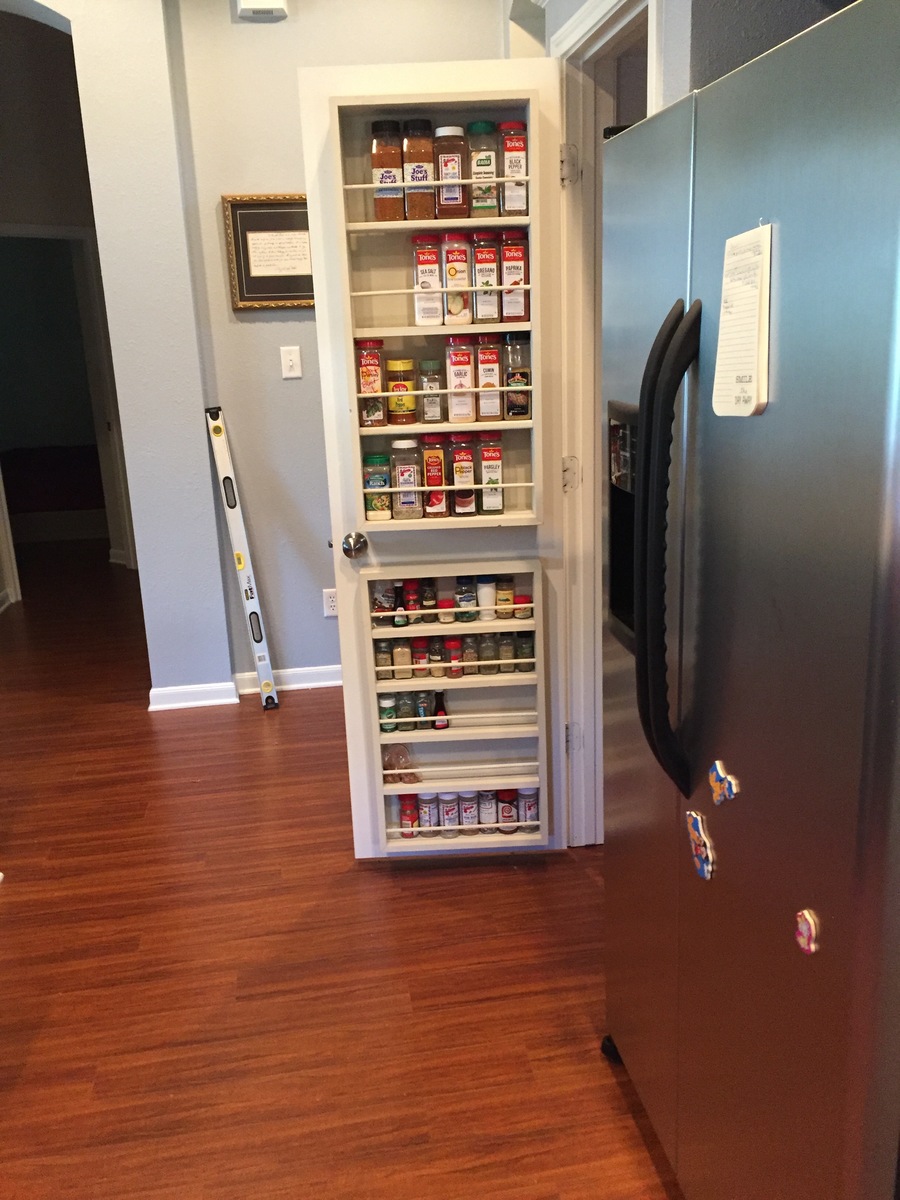
I made some modifications for bigger spice containers. The big ones you get at Sams/Costco are too big for the original design. The top portion was made with 1x6 sides to take care of the bigger containers.
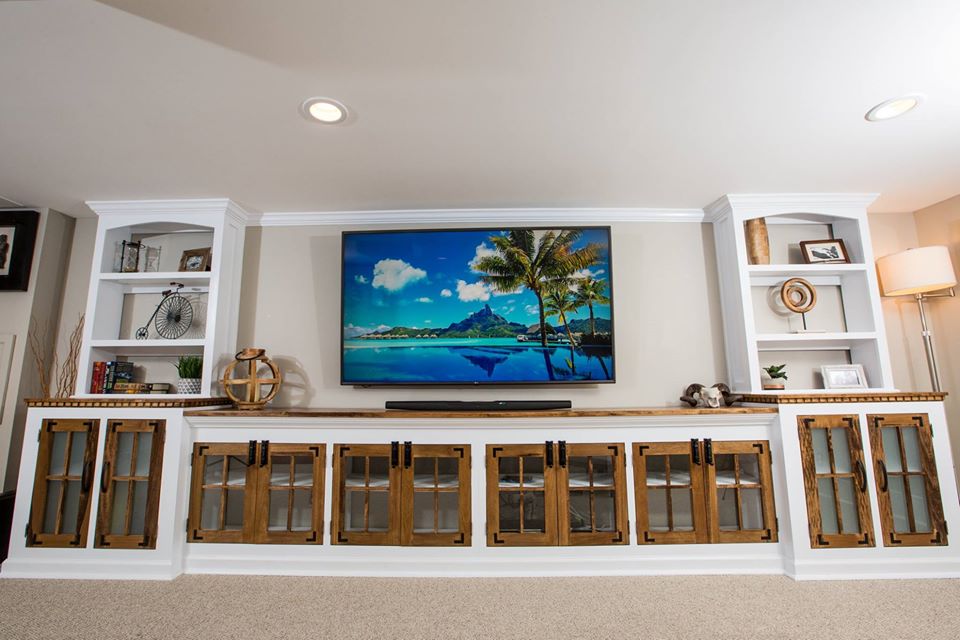
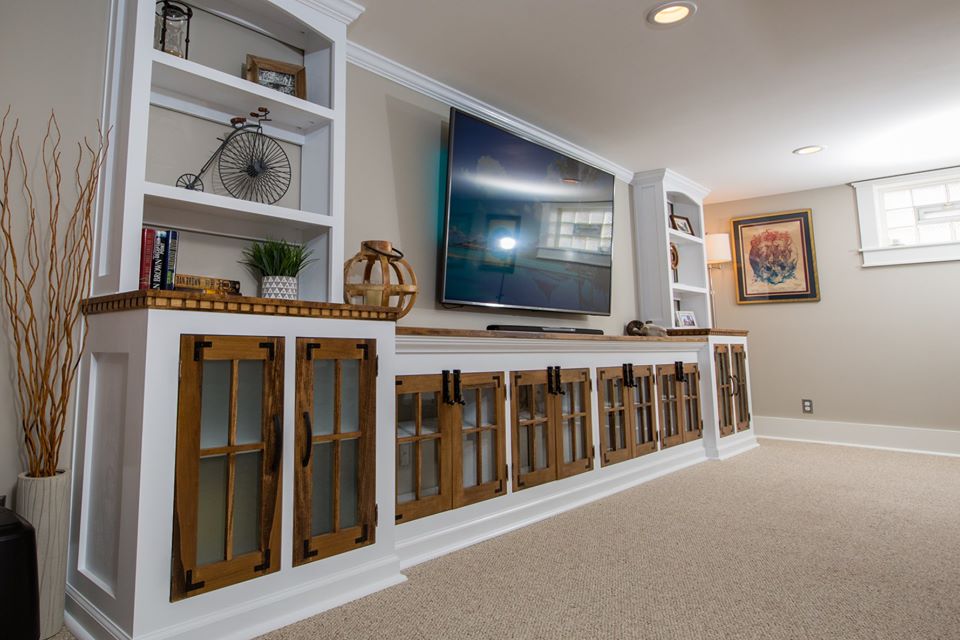
This project started as an idea to build a single Farmhouse Media Cabinet with a "42 tv mounted above it. I quickly realized that this space deserved so much more. Fast forward through weeks of debate and scouring the internet for inspiration, before finally settling on what you see pictured above. The first decision we made was to buy a monstrous 75", then everything else fell in to place from there. The tight stairwell leading to the basement forced me to build this unit in 6 sections (2 farmhouse media cabinets, 2 flanking cabinets, and 2 bookshelves.) It ended up sprawling 17' long when it was all said and done, but it fills the space so beautifully. It was by far the largest project I've ever tackled, but it was totally worth the hard work. Big shout out to Ana White for the inspiration!!
This is such a cute countertop organizer ! The possibilities for this are endless - maybe a tea / coffee bar or a hot chocolate bar - a breakfast bar or a snack bar ..... I may need to make another one...and definitely one for the bathroom !
.
The shelves slide to change the width or turn one and it becomes a corner piece!
Tue, 09/12/2023 - 12:30
So great to see you made this and it turned out awesome! Thank you so much for taking time to share photos.
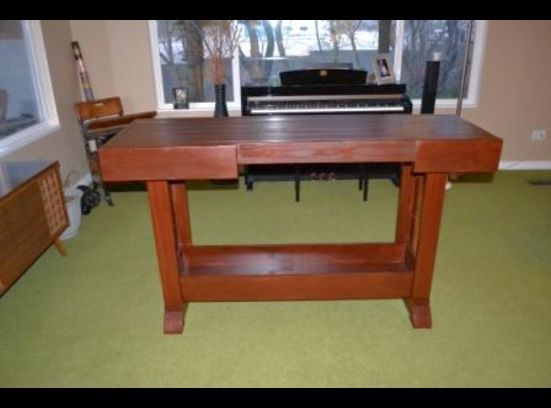
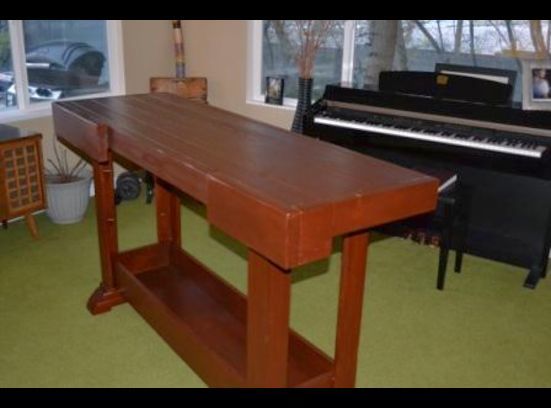
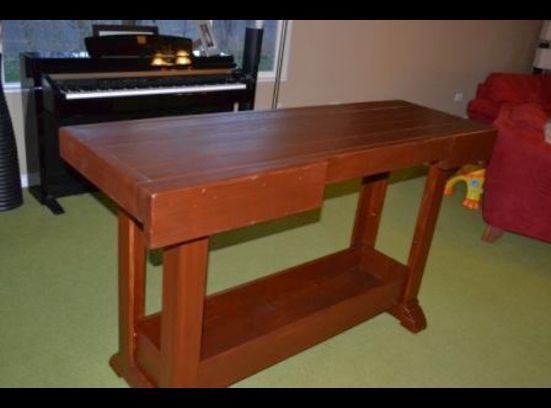
I followed the directions to a "T" from the originial post, but some of the cut list specifications were off. I purchased an already finished sheet of wood for the top and ended up making a full shelf for the bottom.
Super excited to start on my list of projects now that I have a work bench.
Tue, 04/17/2012 - 08:50
Woot Woot! So excited! This was my first project :)
Fri, 06/15/2012 - 23:04
Super excited to start on my list of projects now that I have a work bench. www.ahappydeal.com/product-67365.html
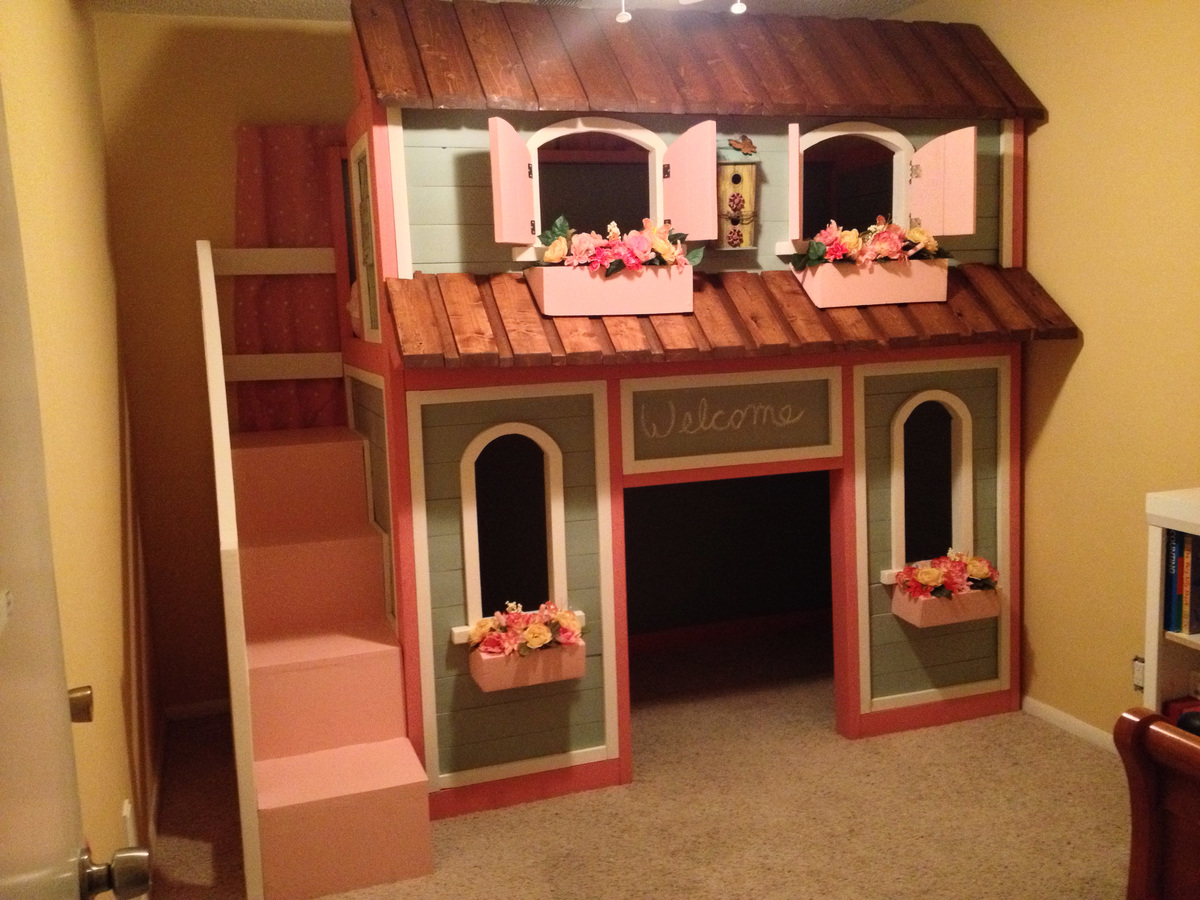
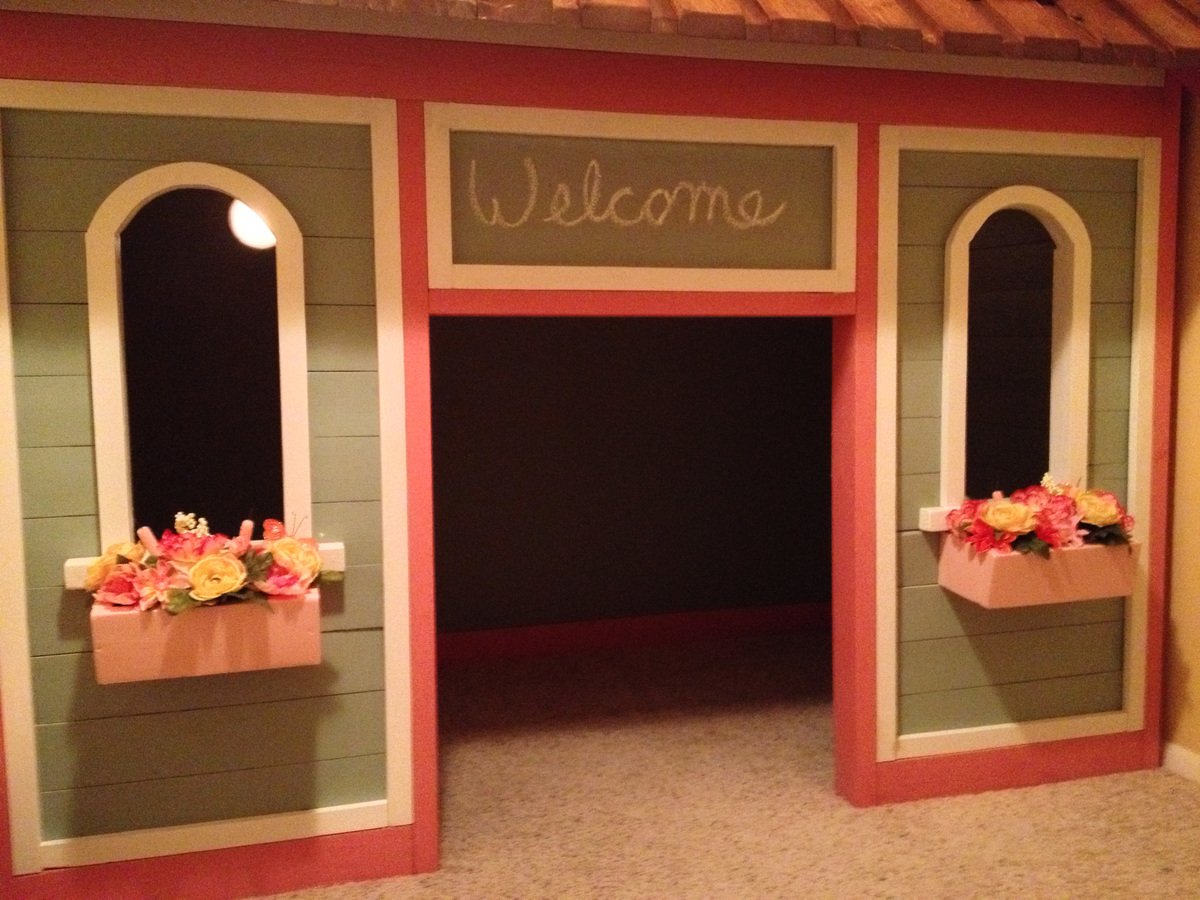
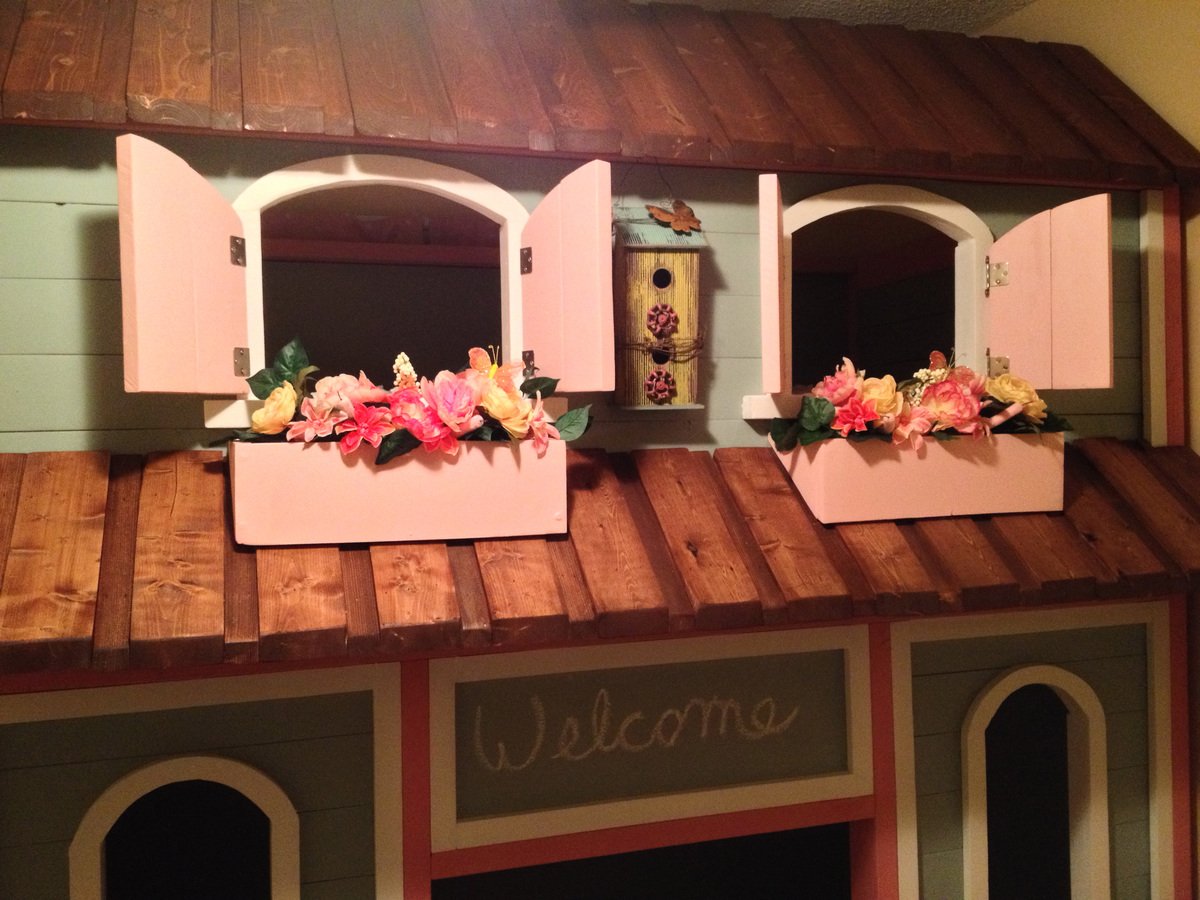
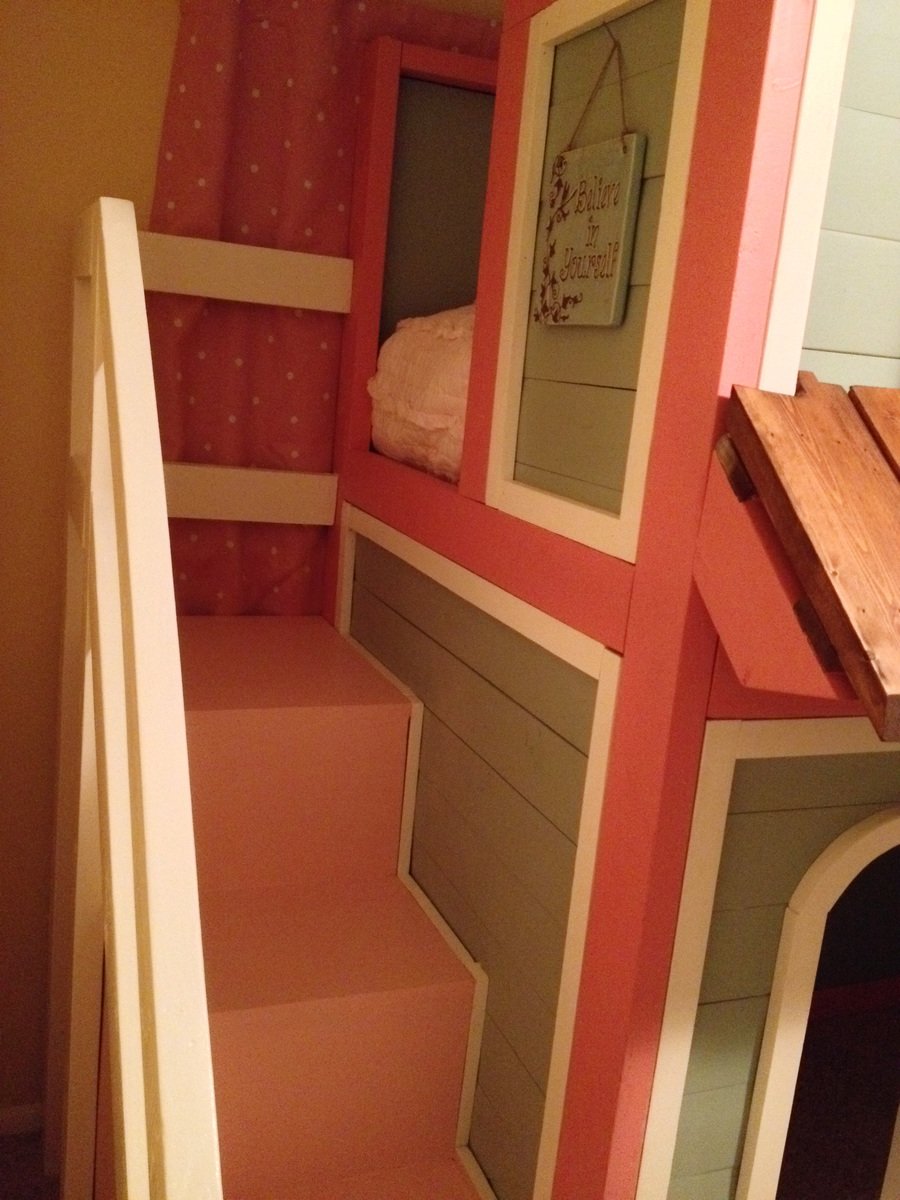
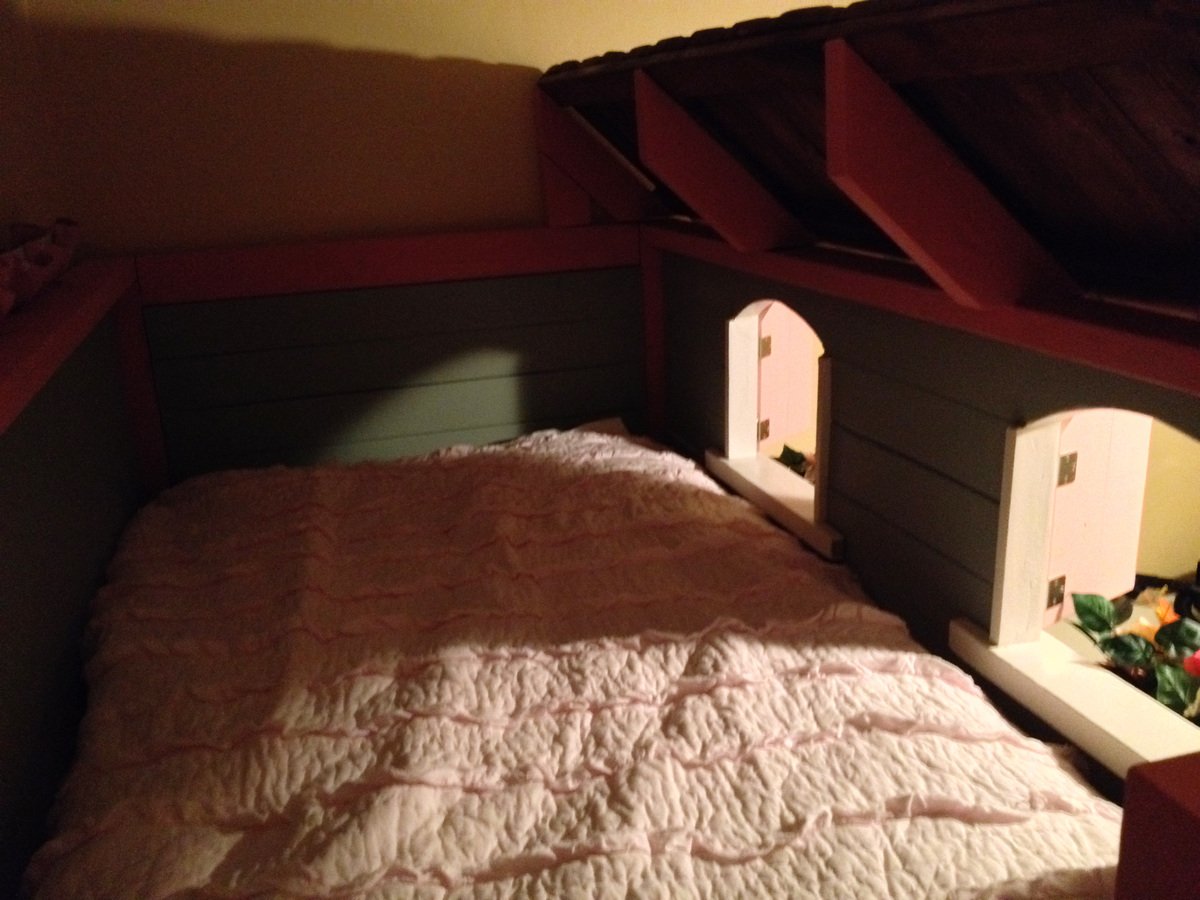
We loved the Sweet Pea plans so much but we didn't need bunk beds. We turned it into a loft bed with a playhouse underneath. We also inverted the shelves on the stairs to be inside the playhouse due to her room size. Added a second roof and window boxes. This project was fun and took us 10 days to complete. Thank You so very much for sharing these AWESOME plans!!
Fri, 01/31/2014 - 20:41
Ah! I love it! I love the roof on the lower level, this turned out adorable!
Sun, 02/02/2014 - 22:11
I am looking at making this for my daughter and I also want to do a playhouse on the bottom as she is a single child. Did you just extend the opening to the bottom bunk to the floor and then extend the bottom windows down some to let in more light? Also, I love the idea of switching the storage from the stairs to inside the playhouse. If possible could you elaborate on how you did this. Thank you.
Tue, 02/04/2014 - 15:46
We omitted the bottom bunk and took it straight to the floor. We left the side panel clear but the frame until we built the stairs then added trim & side boards around the cubbies.
Sat, 05/24/2014 - 07:51
First of all, what an amazing job on your build! I was looking for ideas for a playhouse and I will be modifying the plans for Sweet Pea Bunk beds and your build let's me know how get it can be. But what colors did you use? The look great together!
Sun, 07/17/2016 - 14:49
I love the changes on this! I had a question. What did you use for the roof and is the lower roof section built to the same specifications as the upper roof?
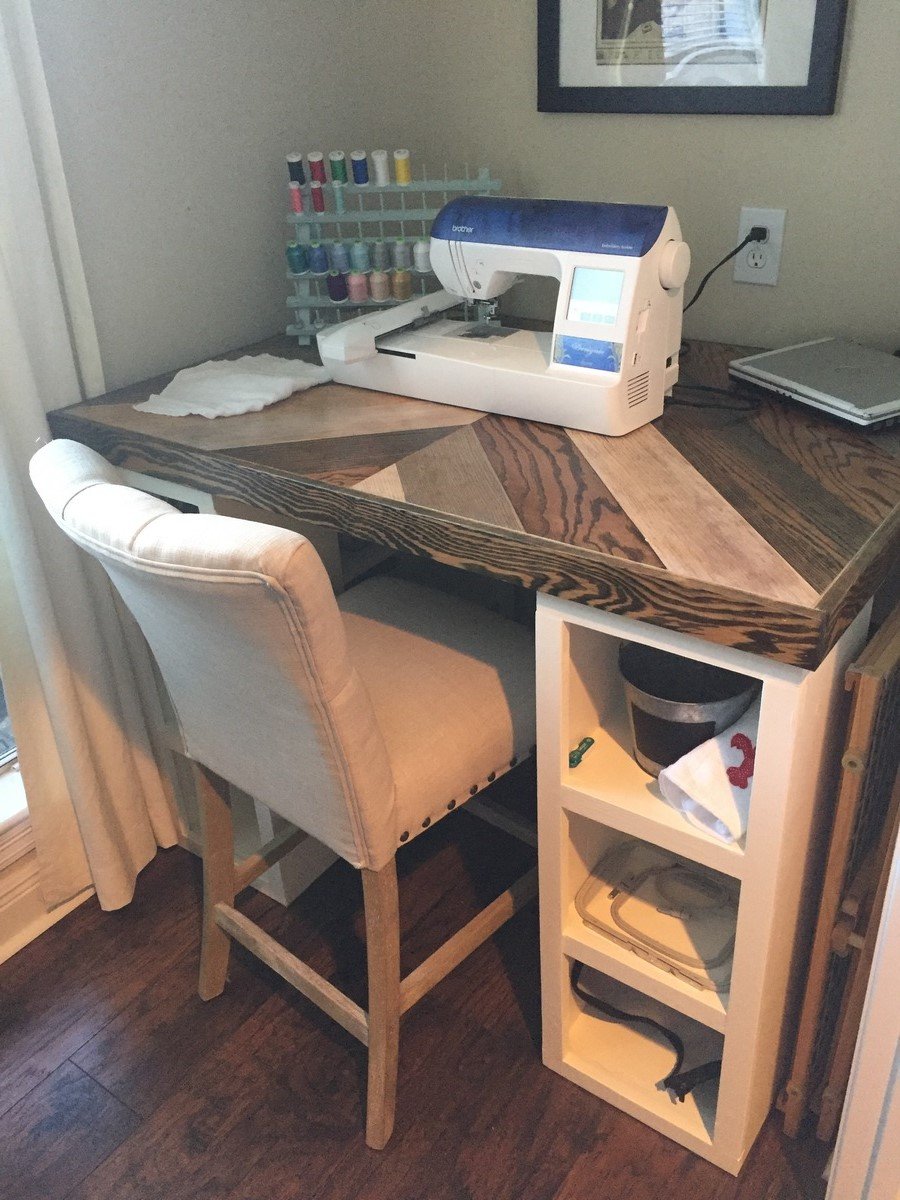
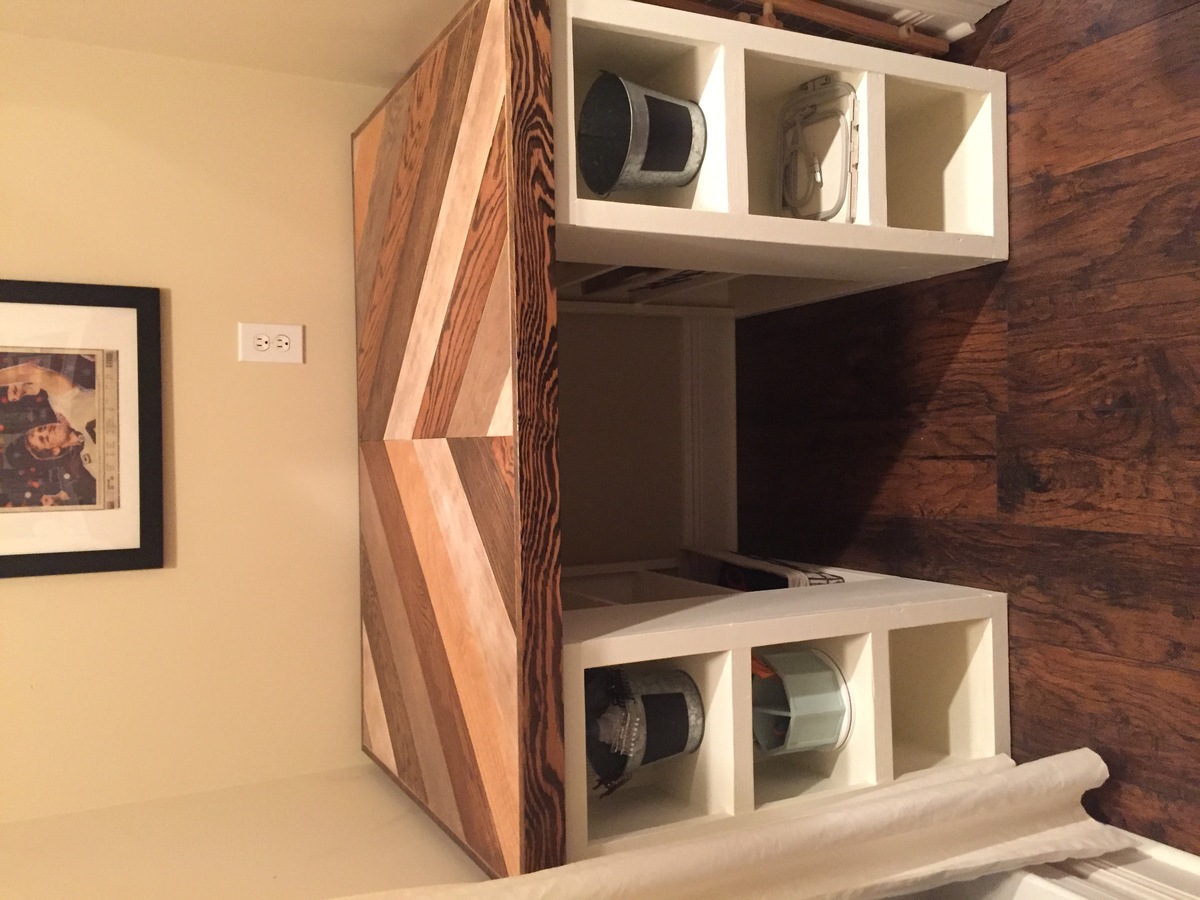
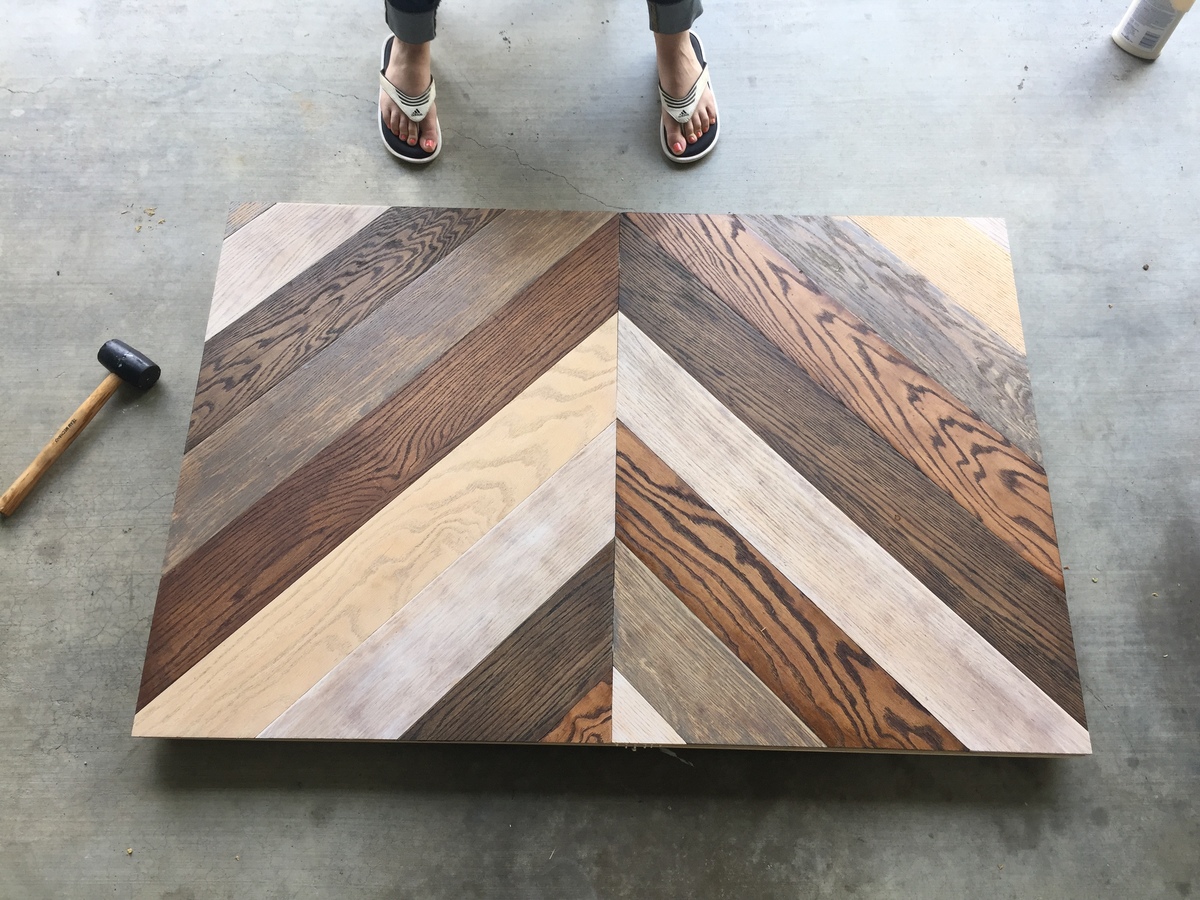
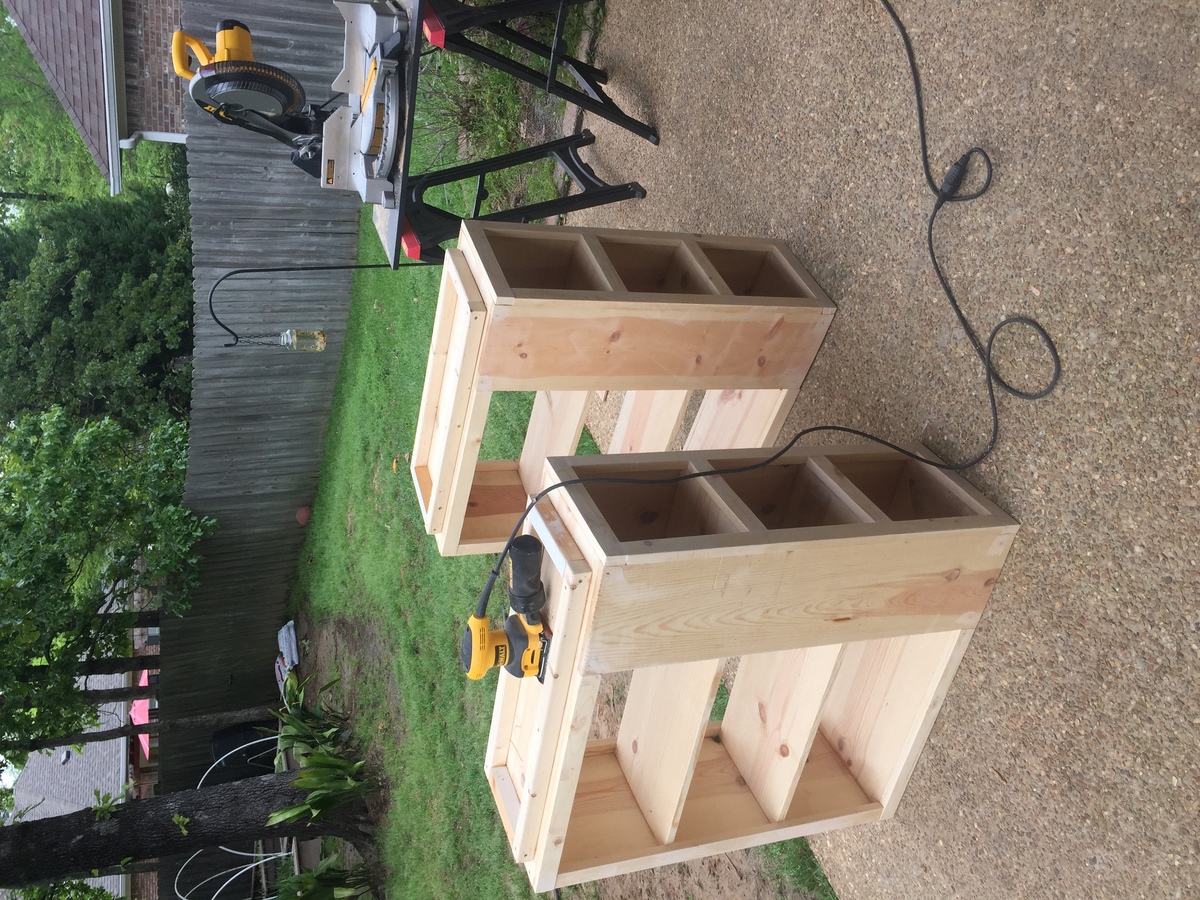
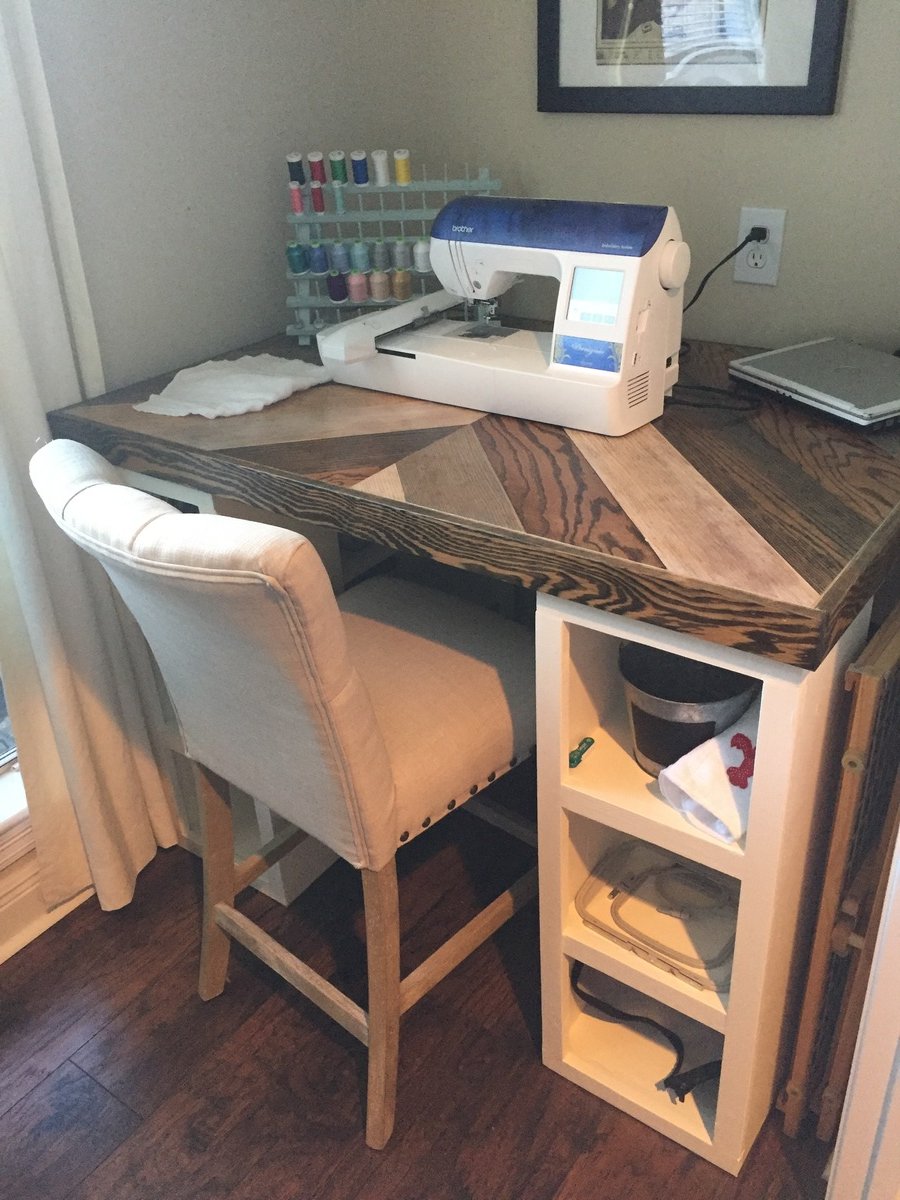
Only change in the plans was decreasing the width by 6 inches to fit our room, turned out to be 48x32in. I used old wood floor we tore up to make the table top. Glued it over plywood.
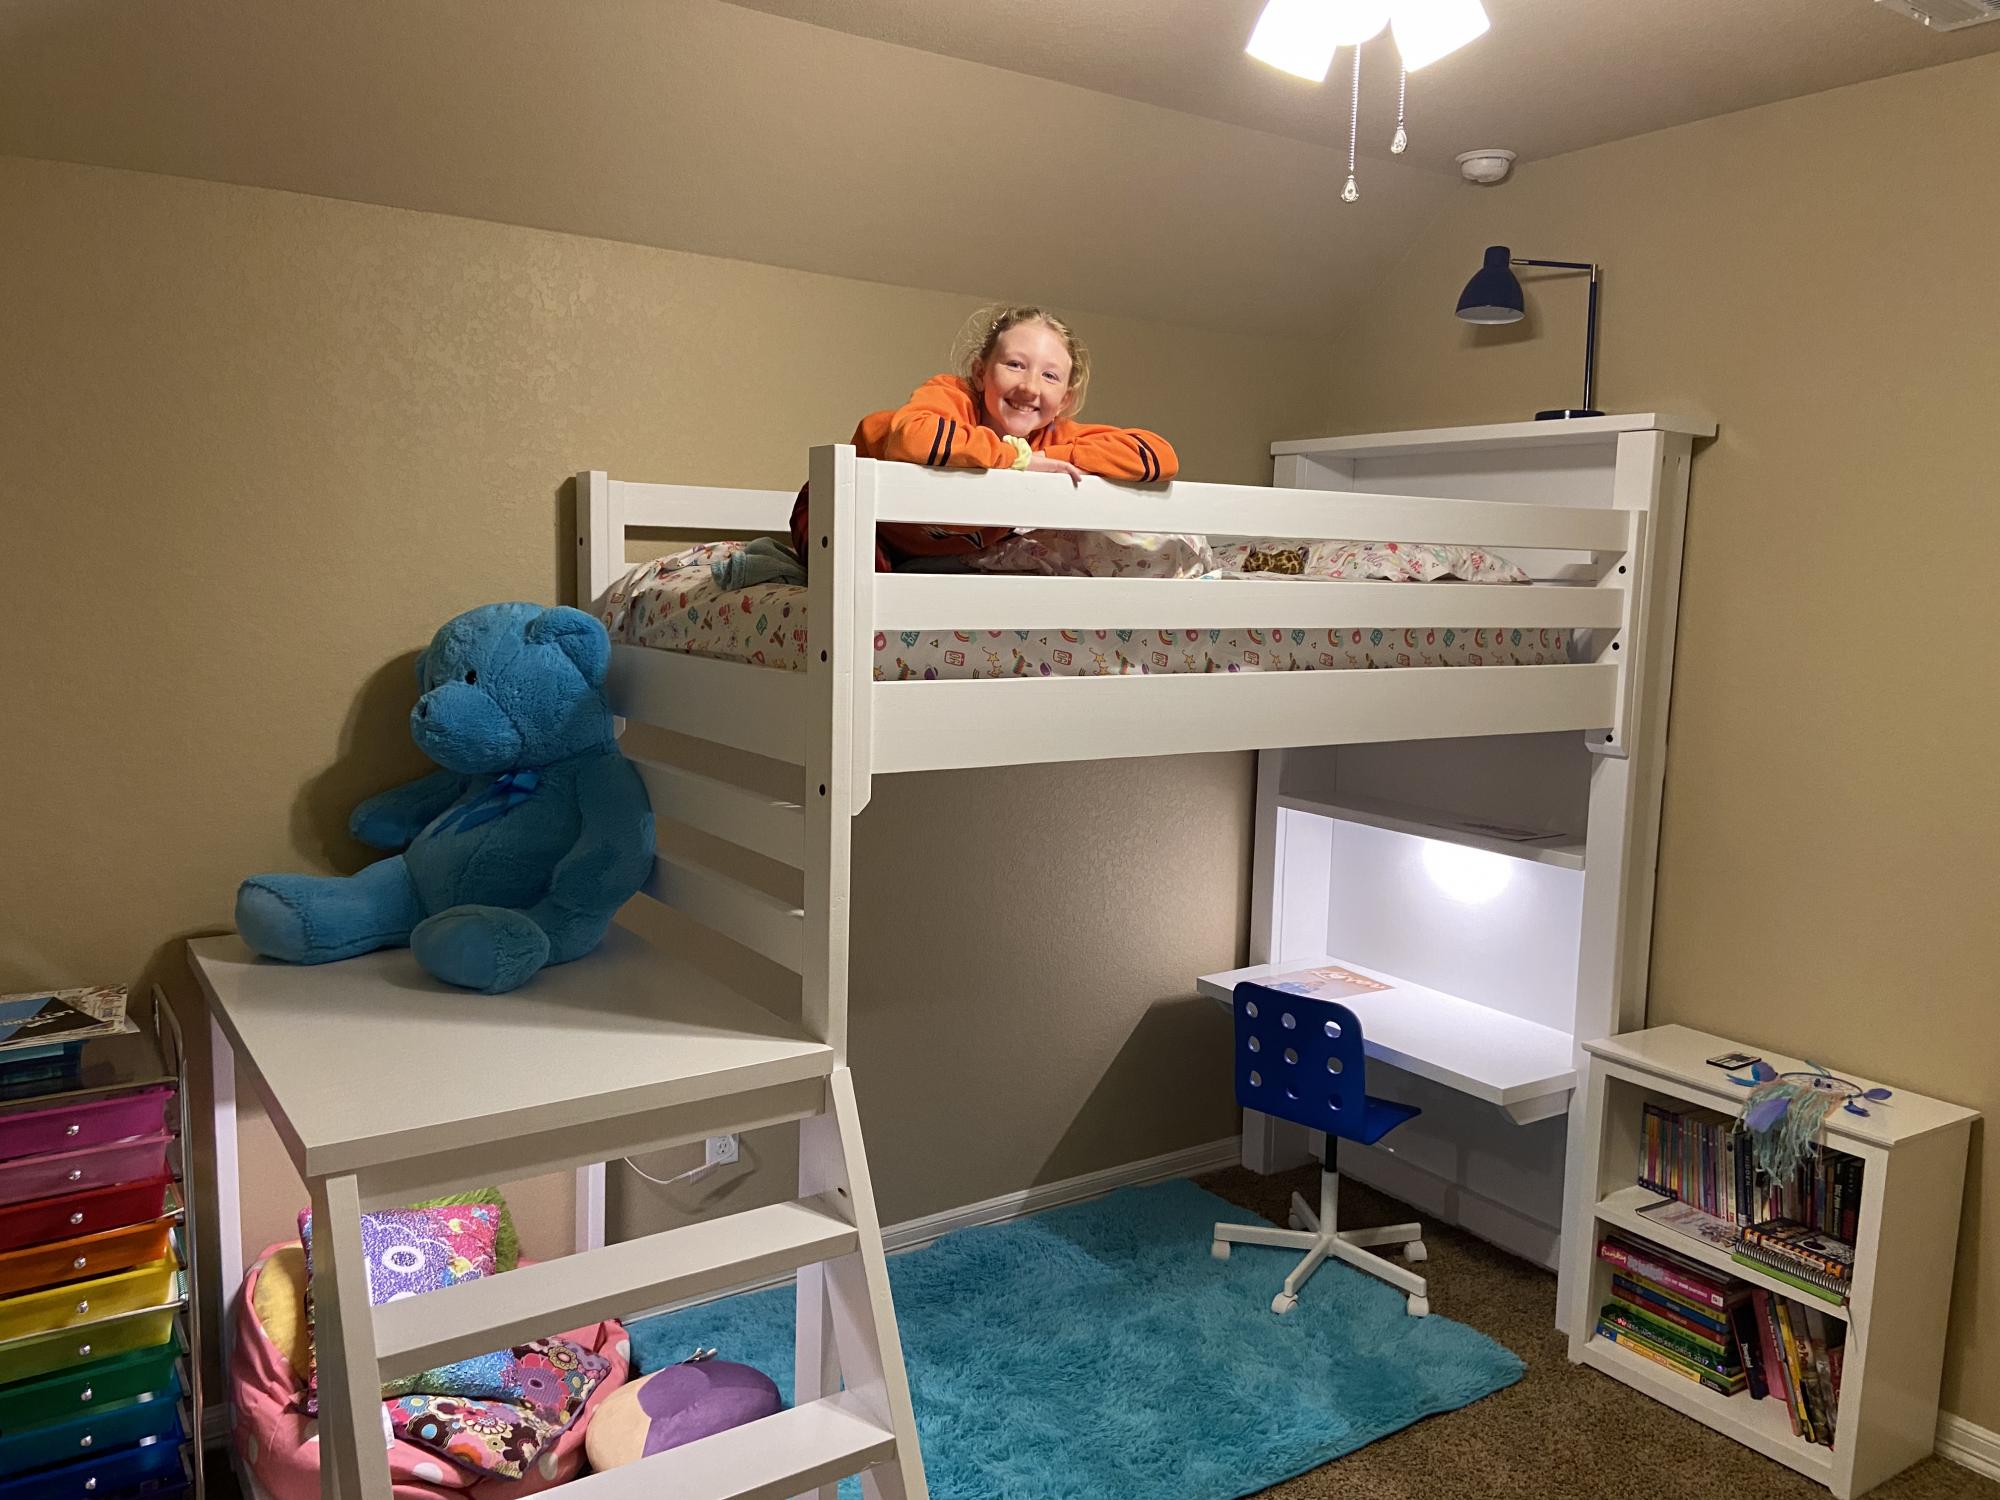
Camp loft bed plan with added headboard/bookcase with built in desk.
Sat, 01/23/2021 - 11:47
ANY SPECIFICS ON THE PLAN MODIFICATIONS?
THIS IS EXACTLY WHAT MY DAUGHTER WANTS!
THANKS,
DAN

Each grandchild gets a bed made by Grandpa. Our granddaughter wanted a "cow bed." It has a fence to keep her tucked in, a happy cow staring at her, a cow jumping over the moon, drawers that are three feet deep, and more black spots than I could have imagined when I started painting. By the end I was so delirious that one of the spots on the back side is the USS Enterprise!
Dave Lund, @r10geico


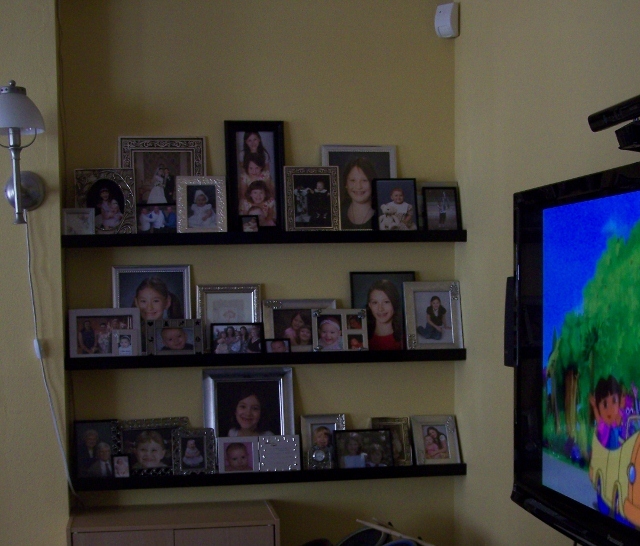
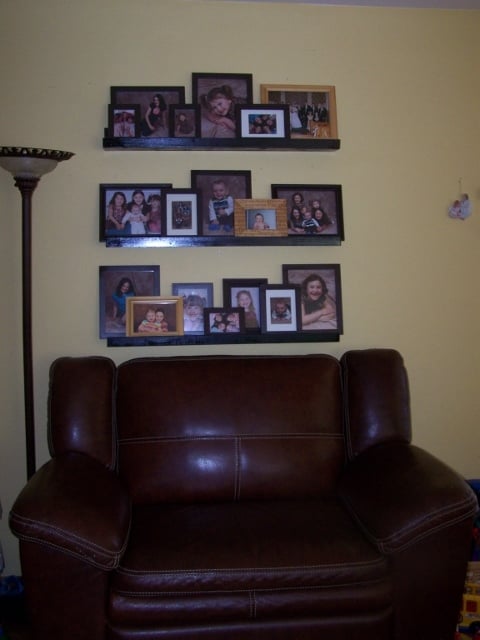
I know there are a hundred brag posts of the $10 ledges, and I have used them before (and posted them) but I am so happy with how these turned out!
Its too bad I don't have a good before picture, because the things I love most about these are the colors and the interchangability and it would be easier to explain with the before picture!
I have had pictures in cute matching frames on the one wall for years, but the frames were too light for the wall color, and the floor and furniture, so I needed to darken them up. Additionally, we got a black tv stand even though the floor and couches are dark brown. (TV is black, so it works) So I made the shelves black to pull that in. Then on the shelves closer to the tv, I used black and silver frames, and on the ones above the brown couch I painted all my light wood frames darker.
As for the interchangability, its a lot easier to pull the frames down and change the picture when you don't have to worry about how they look together - I can just move them around on the shelf. I've always had a hard time getting a "gallery" look just right - something will always hang lower than I want or whatever. So I finally got it perfect with one 10x13 of the kids together in the middle of 4 8x10s (one of each) and a few little ones to mix in. Then we had to go and have #5 and mess my whole system up! :)
So he's 16 months now and his picture is finally on the wall, and was taken last May - so sad..
But my other set of shelves has pictures of everybody - even me, yikes! I decided they look better full so I used all the frames I had, and got some cheap ones and thrift store frames and put them all together. "controlled chaos" just like the rest of the house/life!
Thanks Ana for giving me the confidence to know that I can make it myself, I never would have gone out and spent the money to buy matching frames, but knowing I could just do it myself I was able to get it done for cheap!
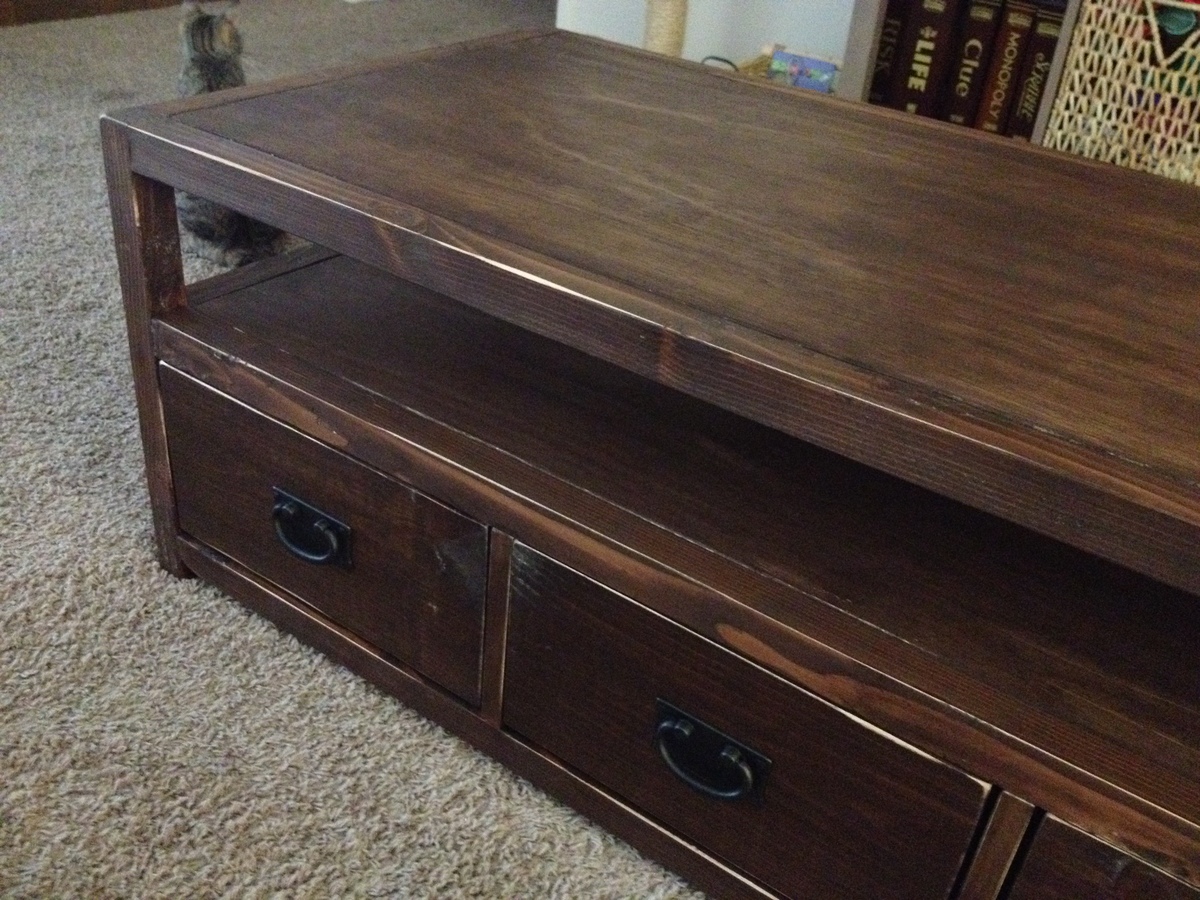
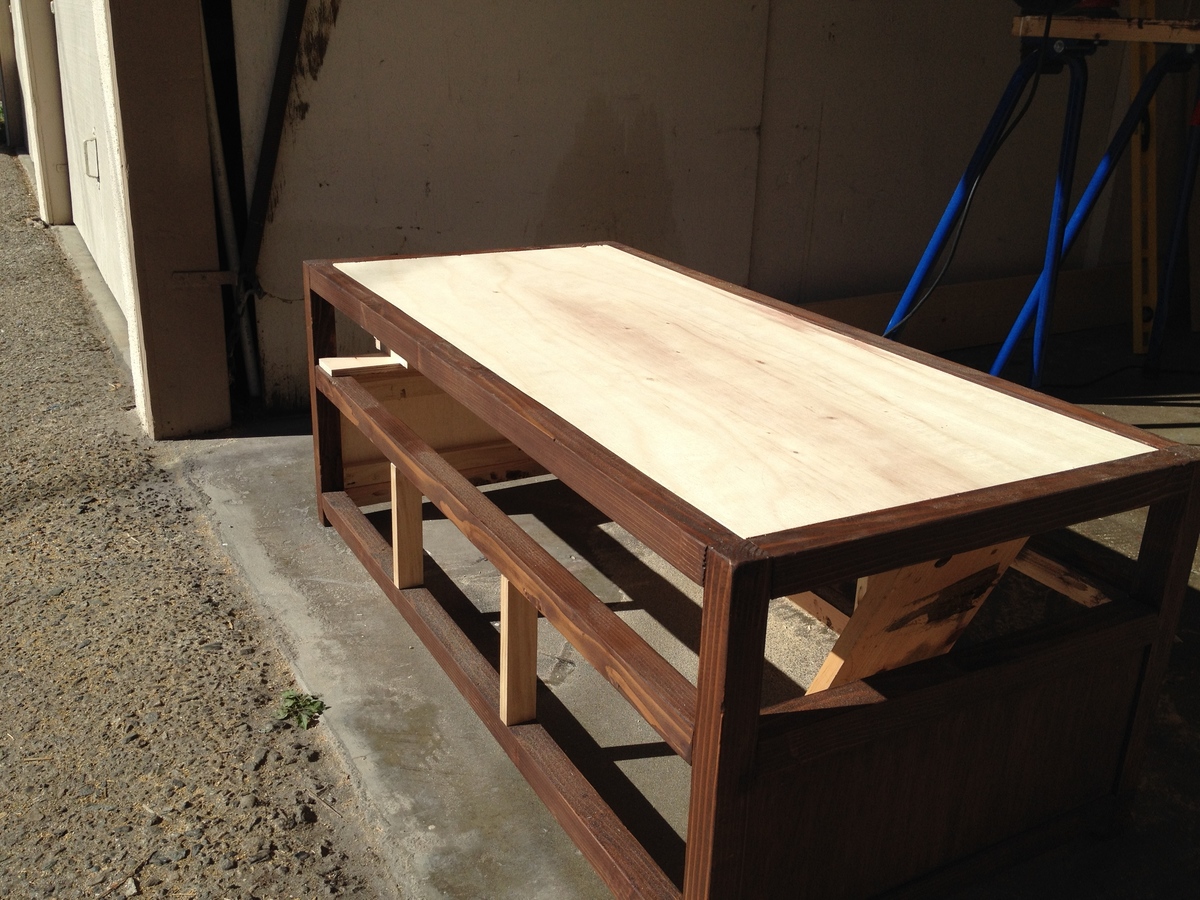
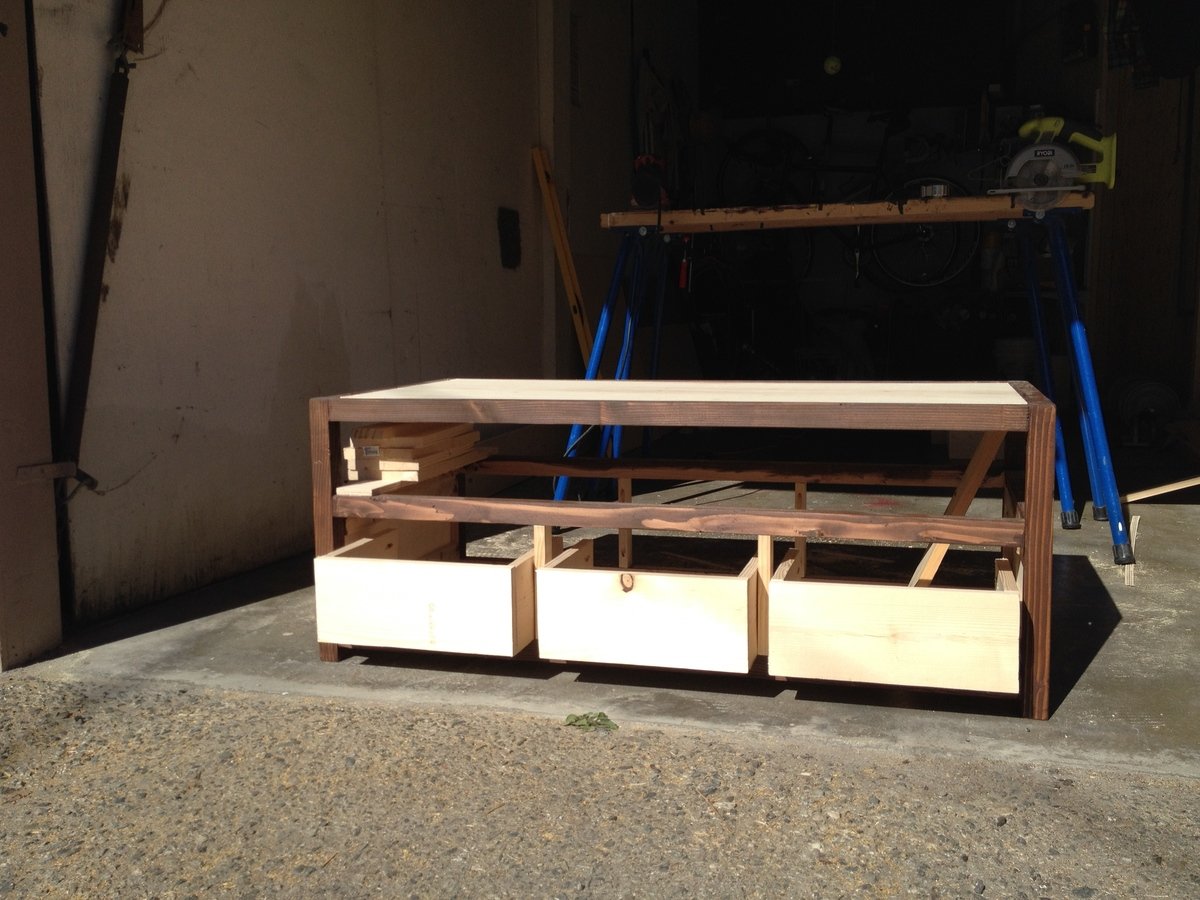
We completed this project over several weekends, but that was mostly because we only worked on it for an hour or two. I was THIS close to purchasing a $499 coffee table from Crate and Barrel, when I saw these plans. I wasn't sure how the drawers would work, since we couldn't find short enough drawer slides, so we kind of had to improvise by making our own. This way, we avoided the extra weight from a third piece of plywood on the bottom-most level. We had the sanded plywood cut at Home Depot, and amazingly it fit perfectly! We used the Kregg Jig on almost everything, except for the plywood, because our screws were just a touch too long for 1/2". We definitely had to measure each drawer individually, because they were not the same! (Can you tell? I hope not). It's a good thing I was going for the rustic look, because every time I had a bad spot, I could just hammer it around a bit and make it look worn. We finished this project with a stain and sanded off the edges to keep it from looking too perfect.
We had a great time with this project, and are trying to refrain from starting on the console table!!
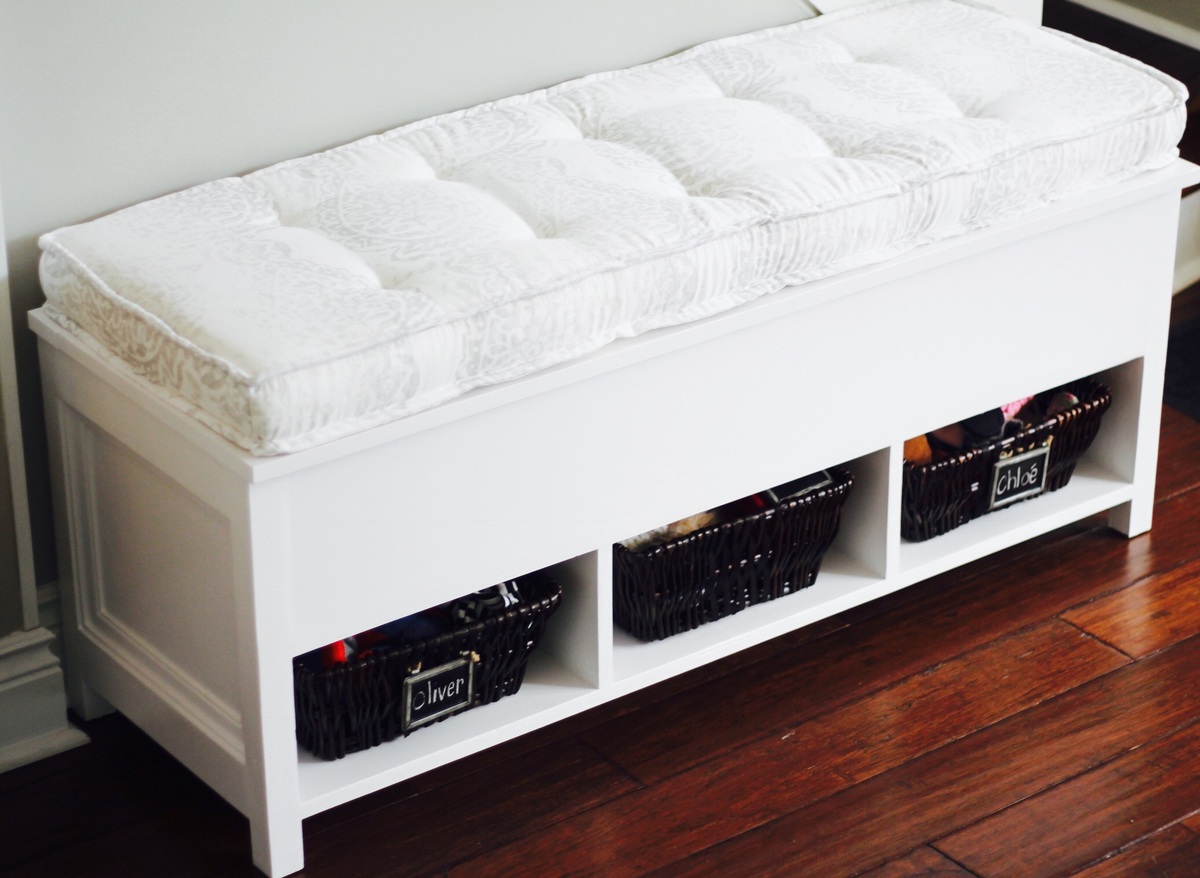
This storage bench is perfect for our entryway. It has both hidden storage and easily accessible cubbies that we use for the kids' outdoor accessories. We modified the dimensions to fit the space, added moulding on the ends and made the French tufted cushion from http://anoregoncottage.com/diy-tufted-french-mattress-cushion/.
Thanks for the pattern Ana.
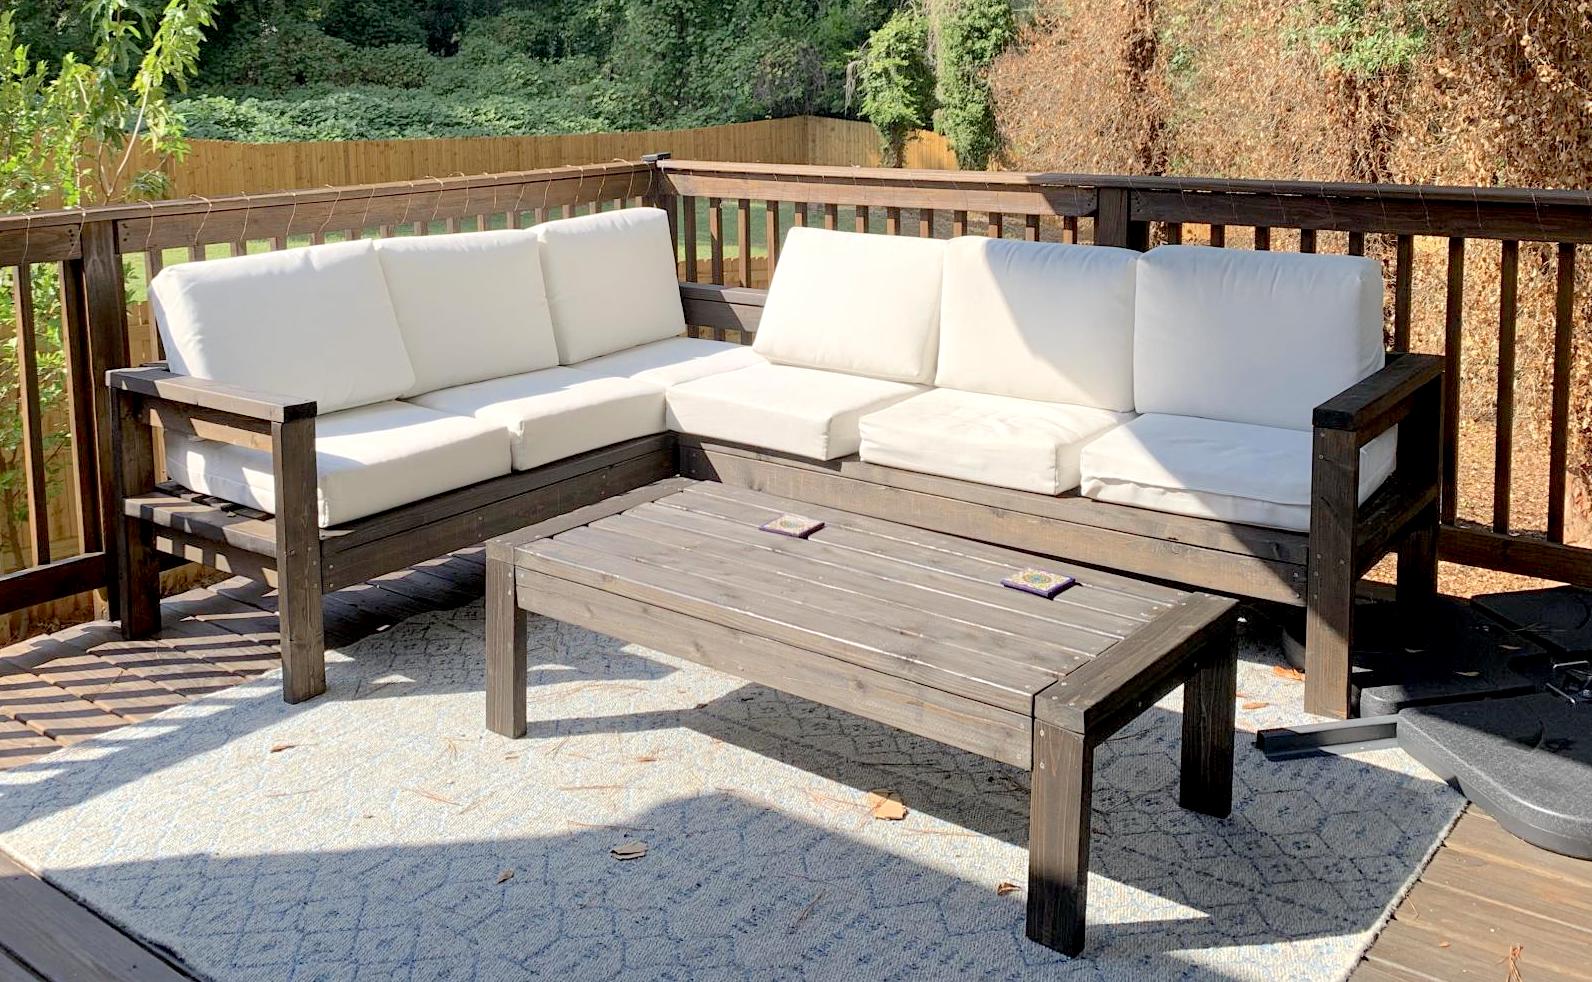
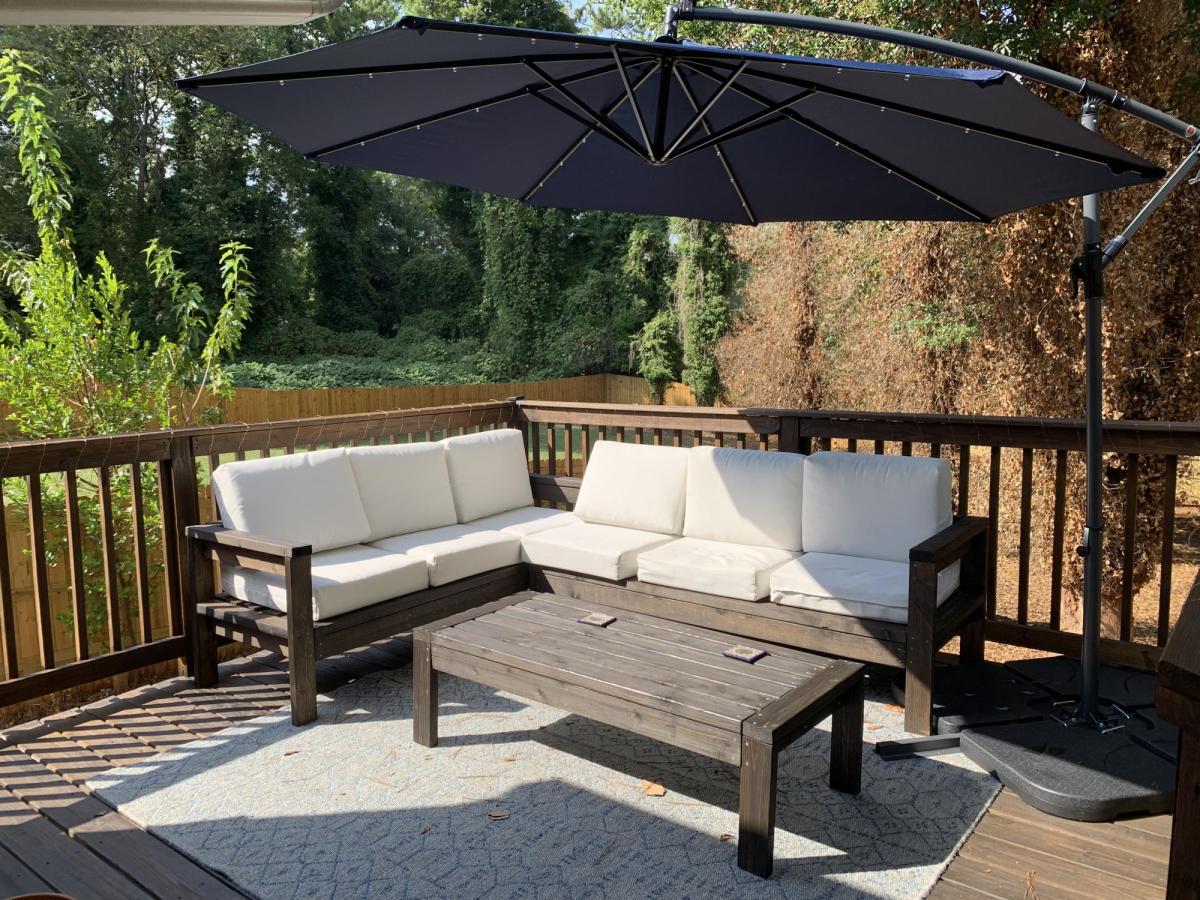
This was my first real woodworking project and was so much fun! I use my deck much more now and am excited to build more!
