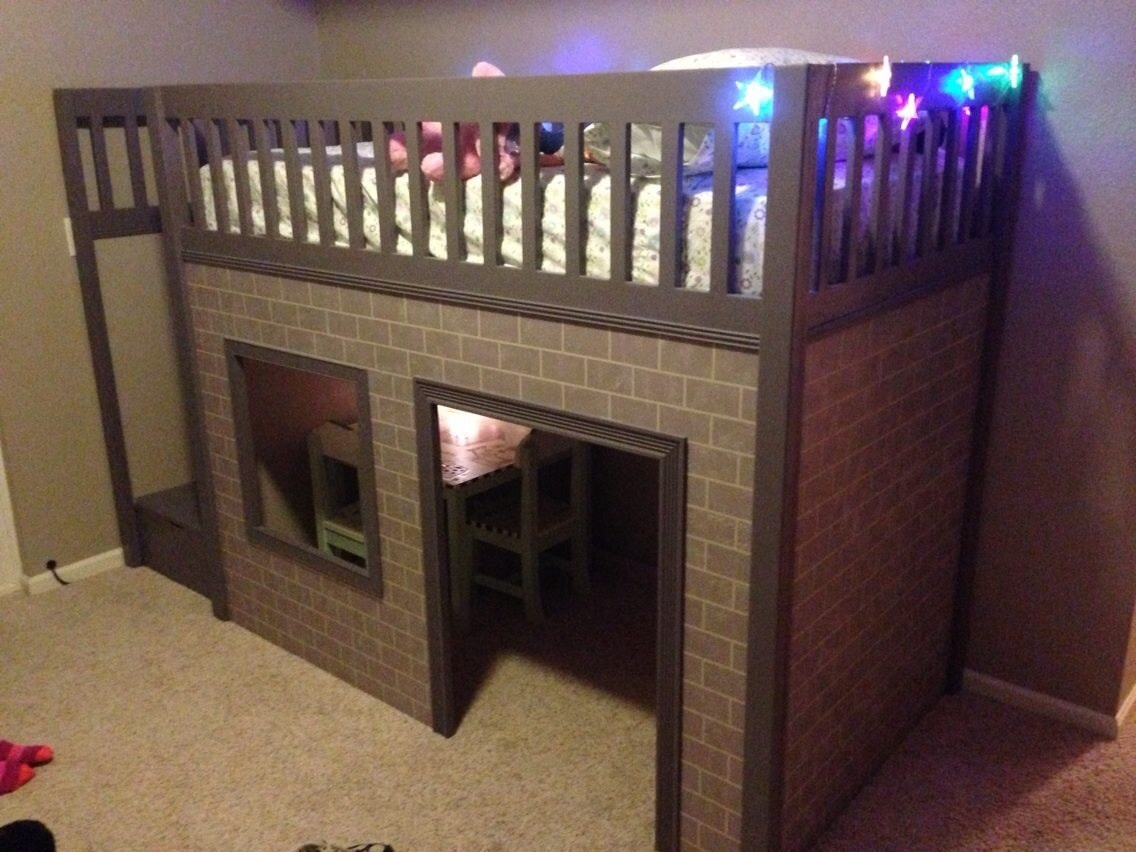
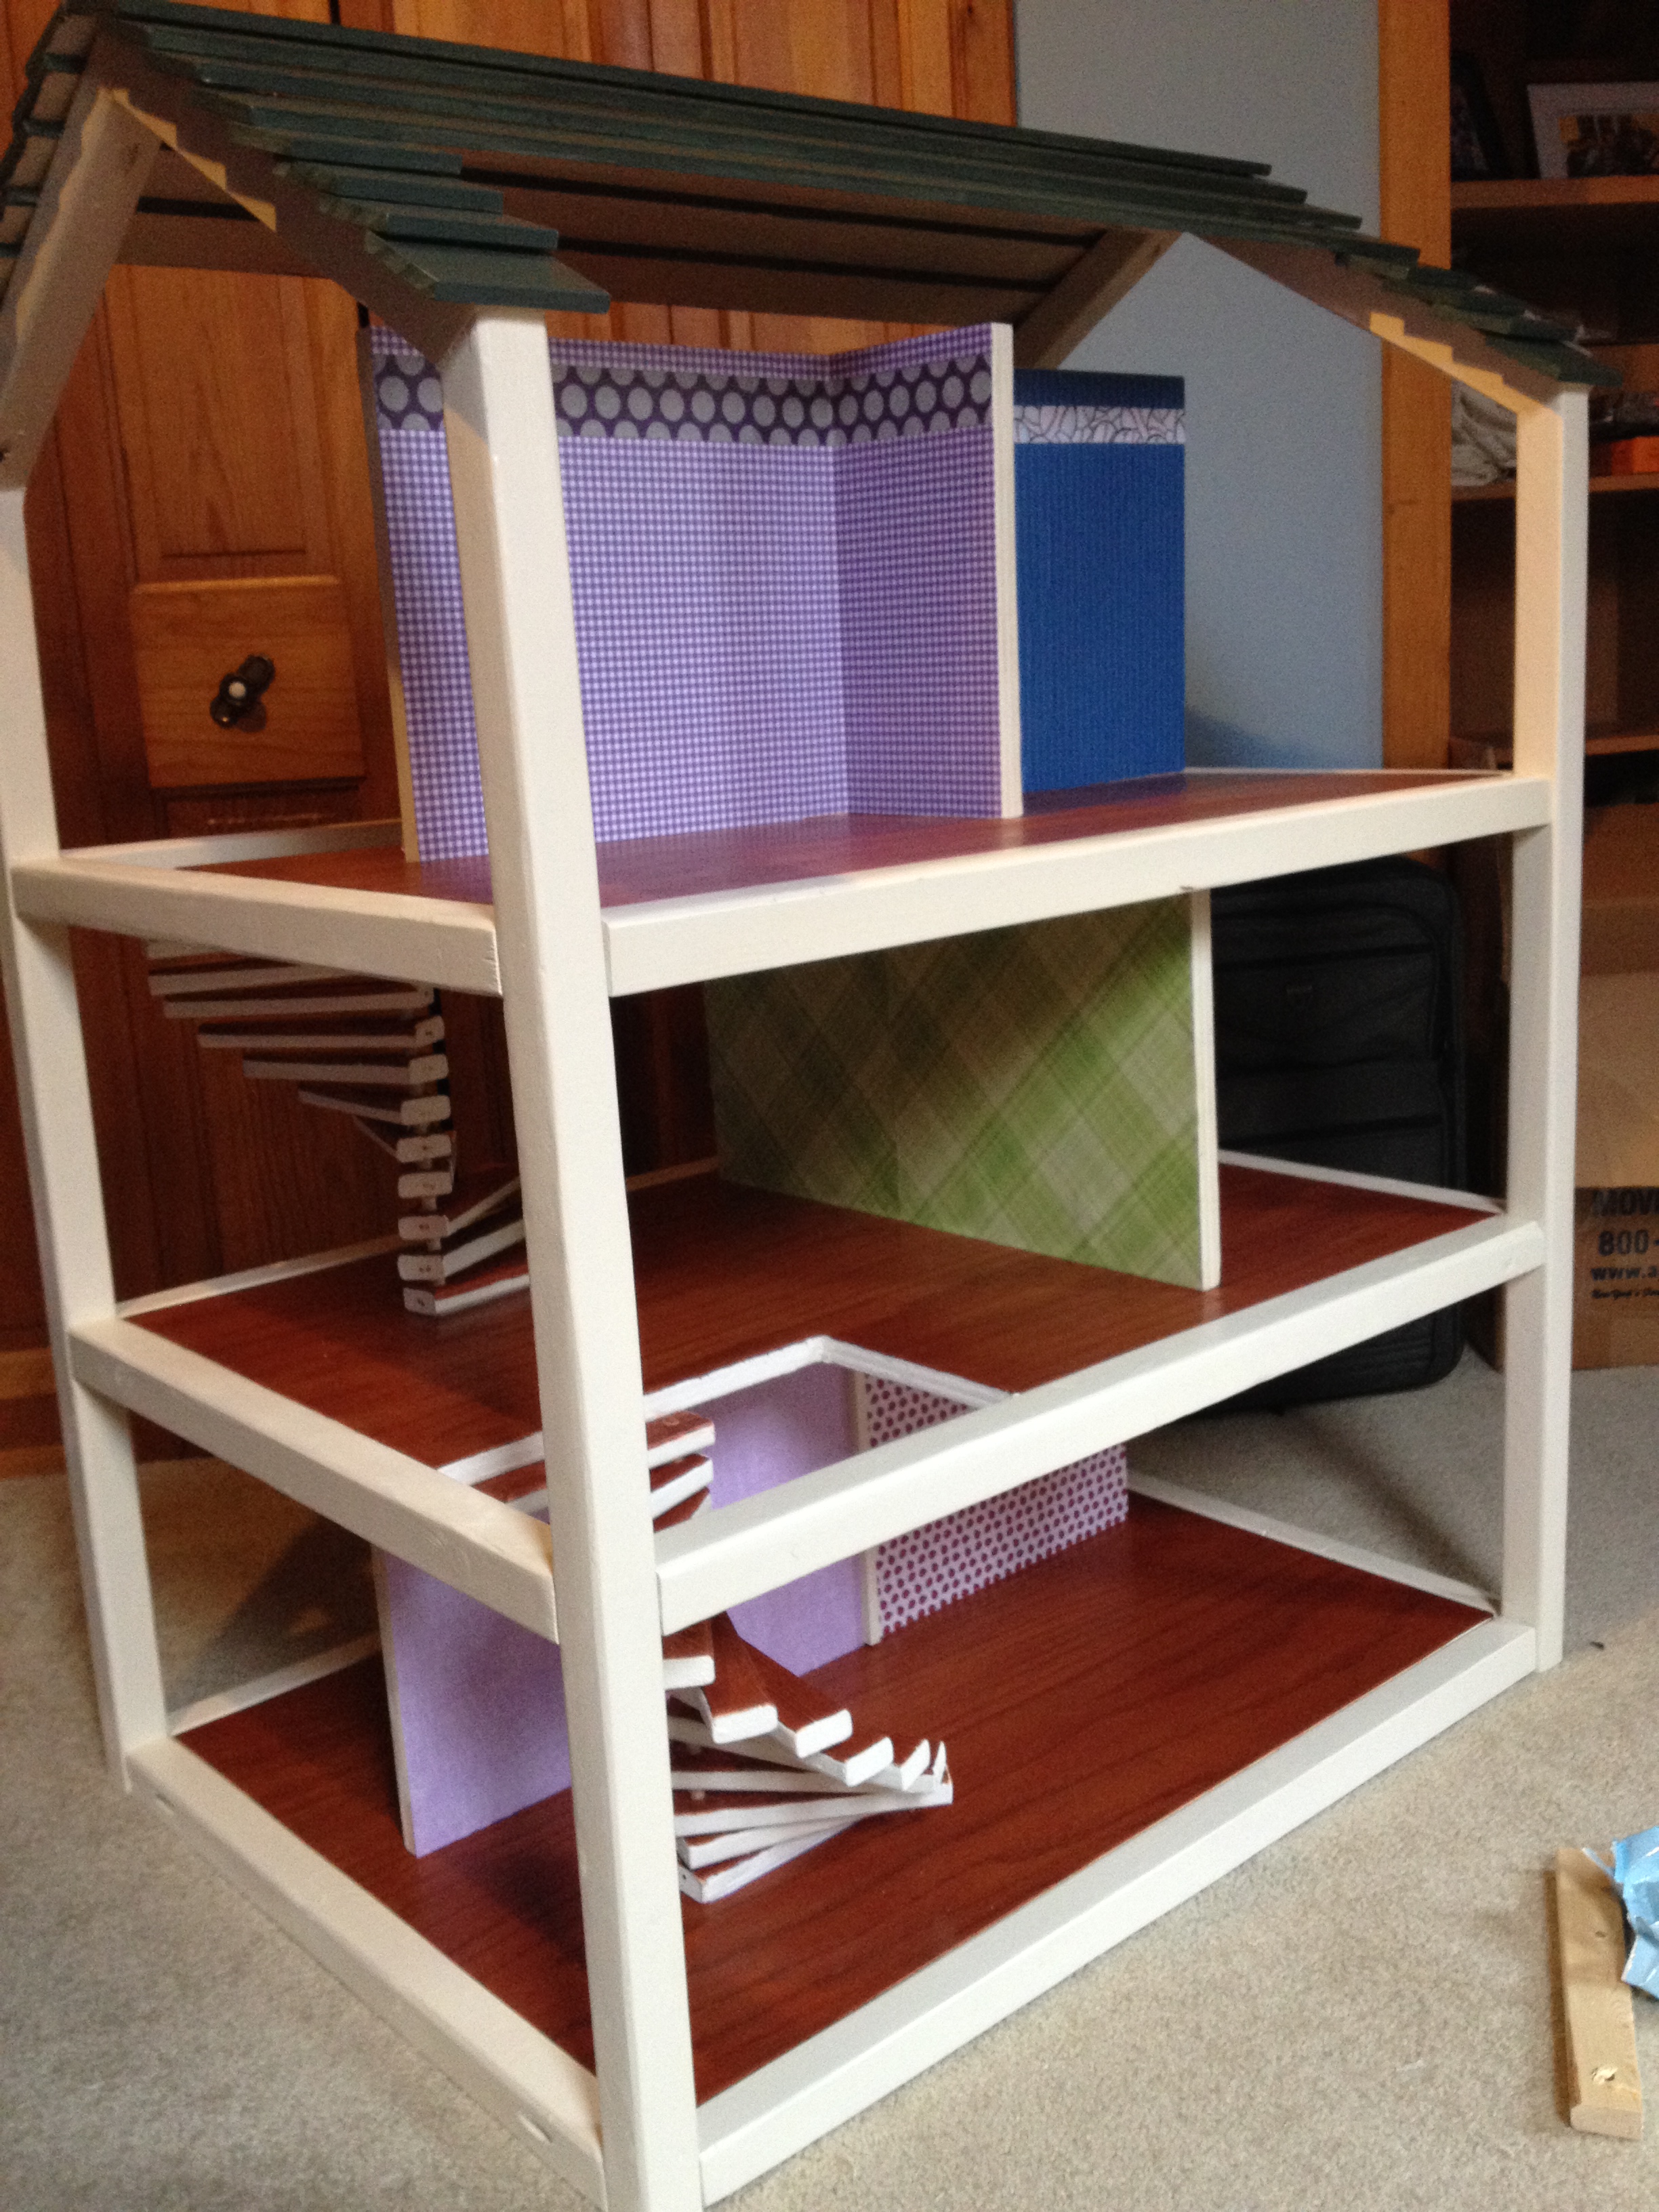
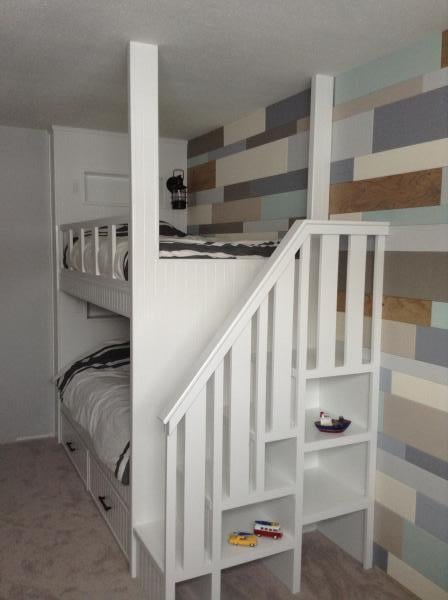
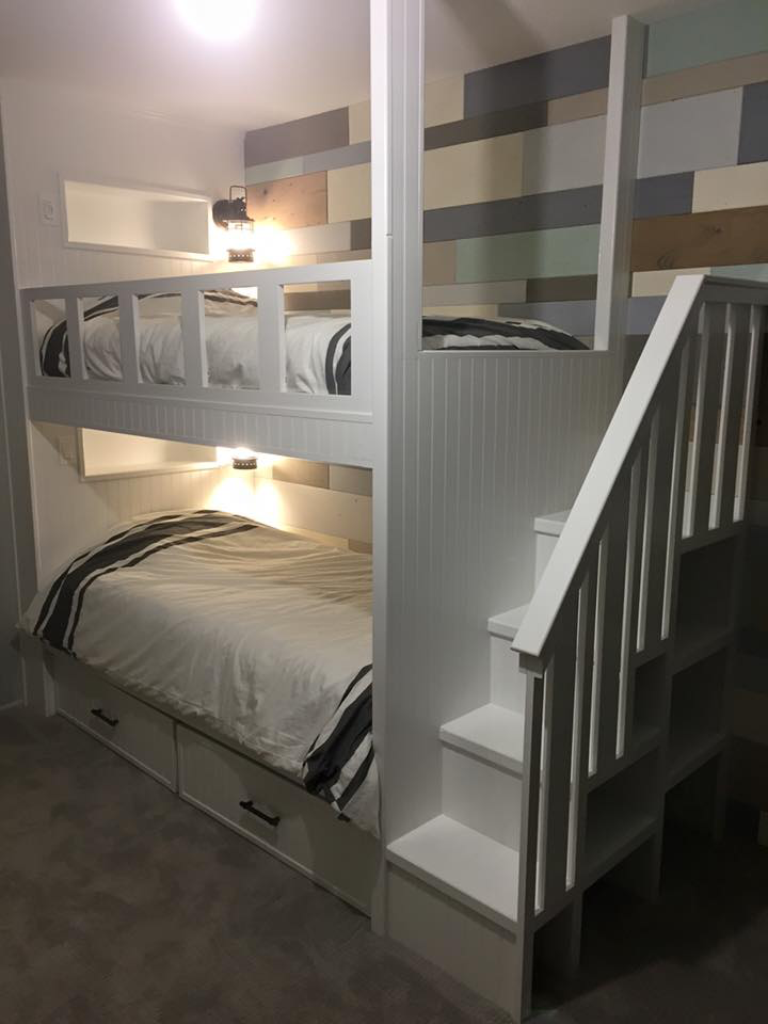
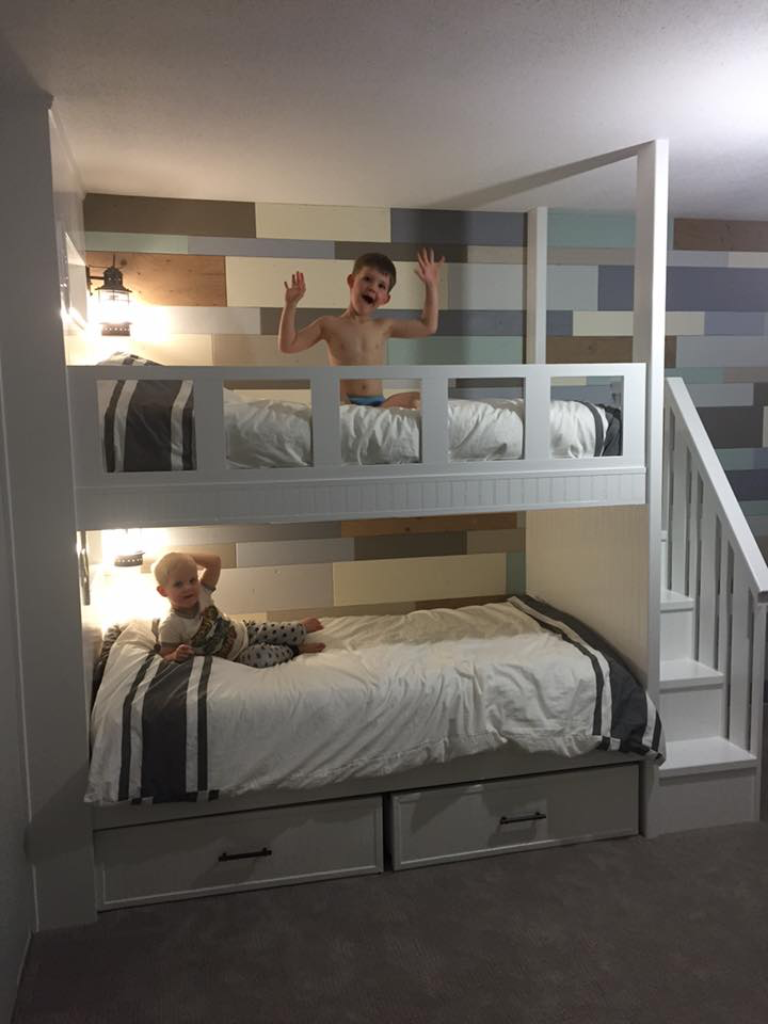
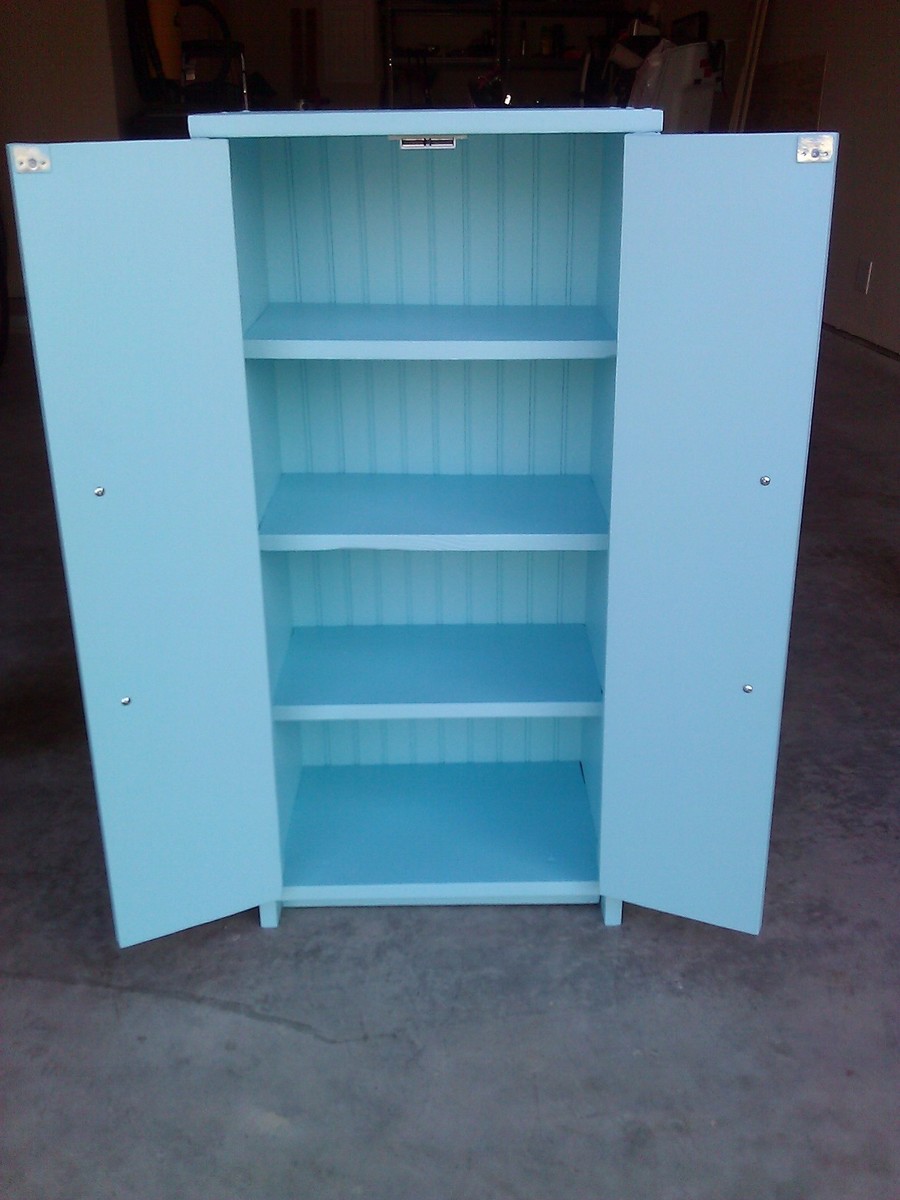
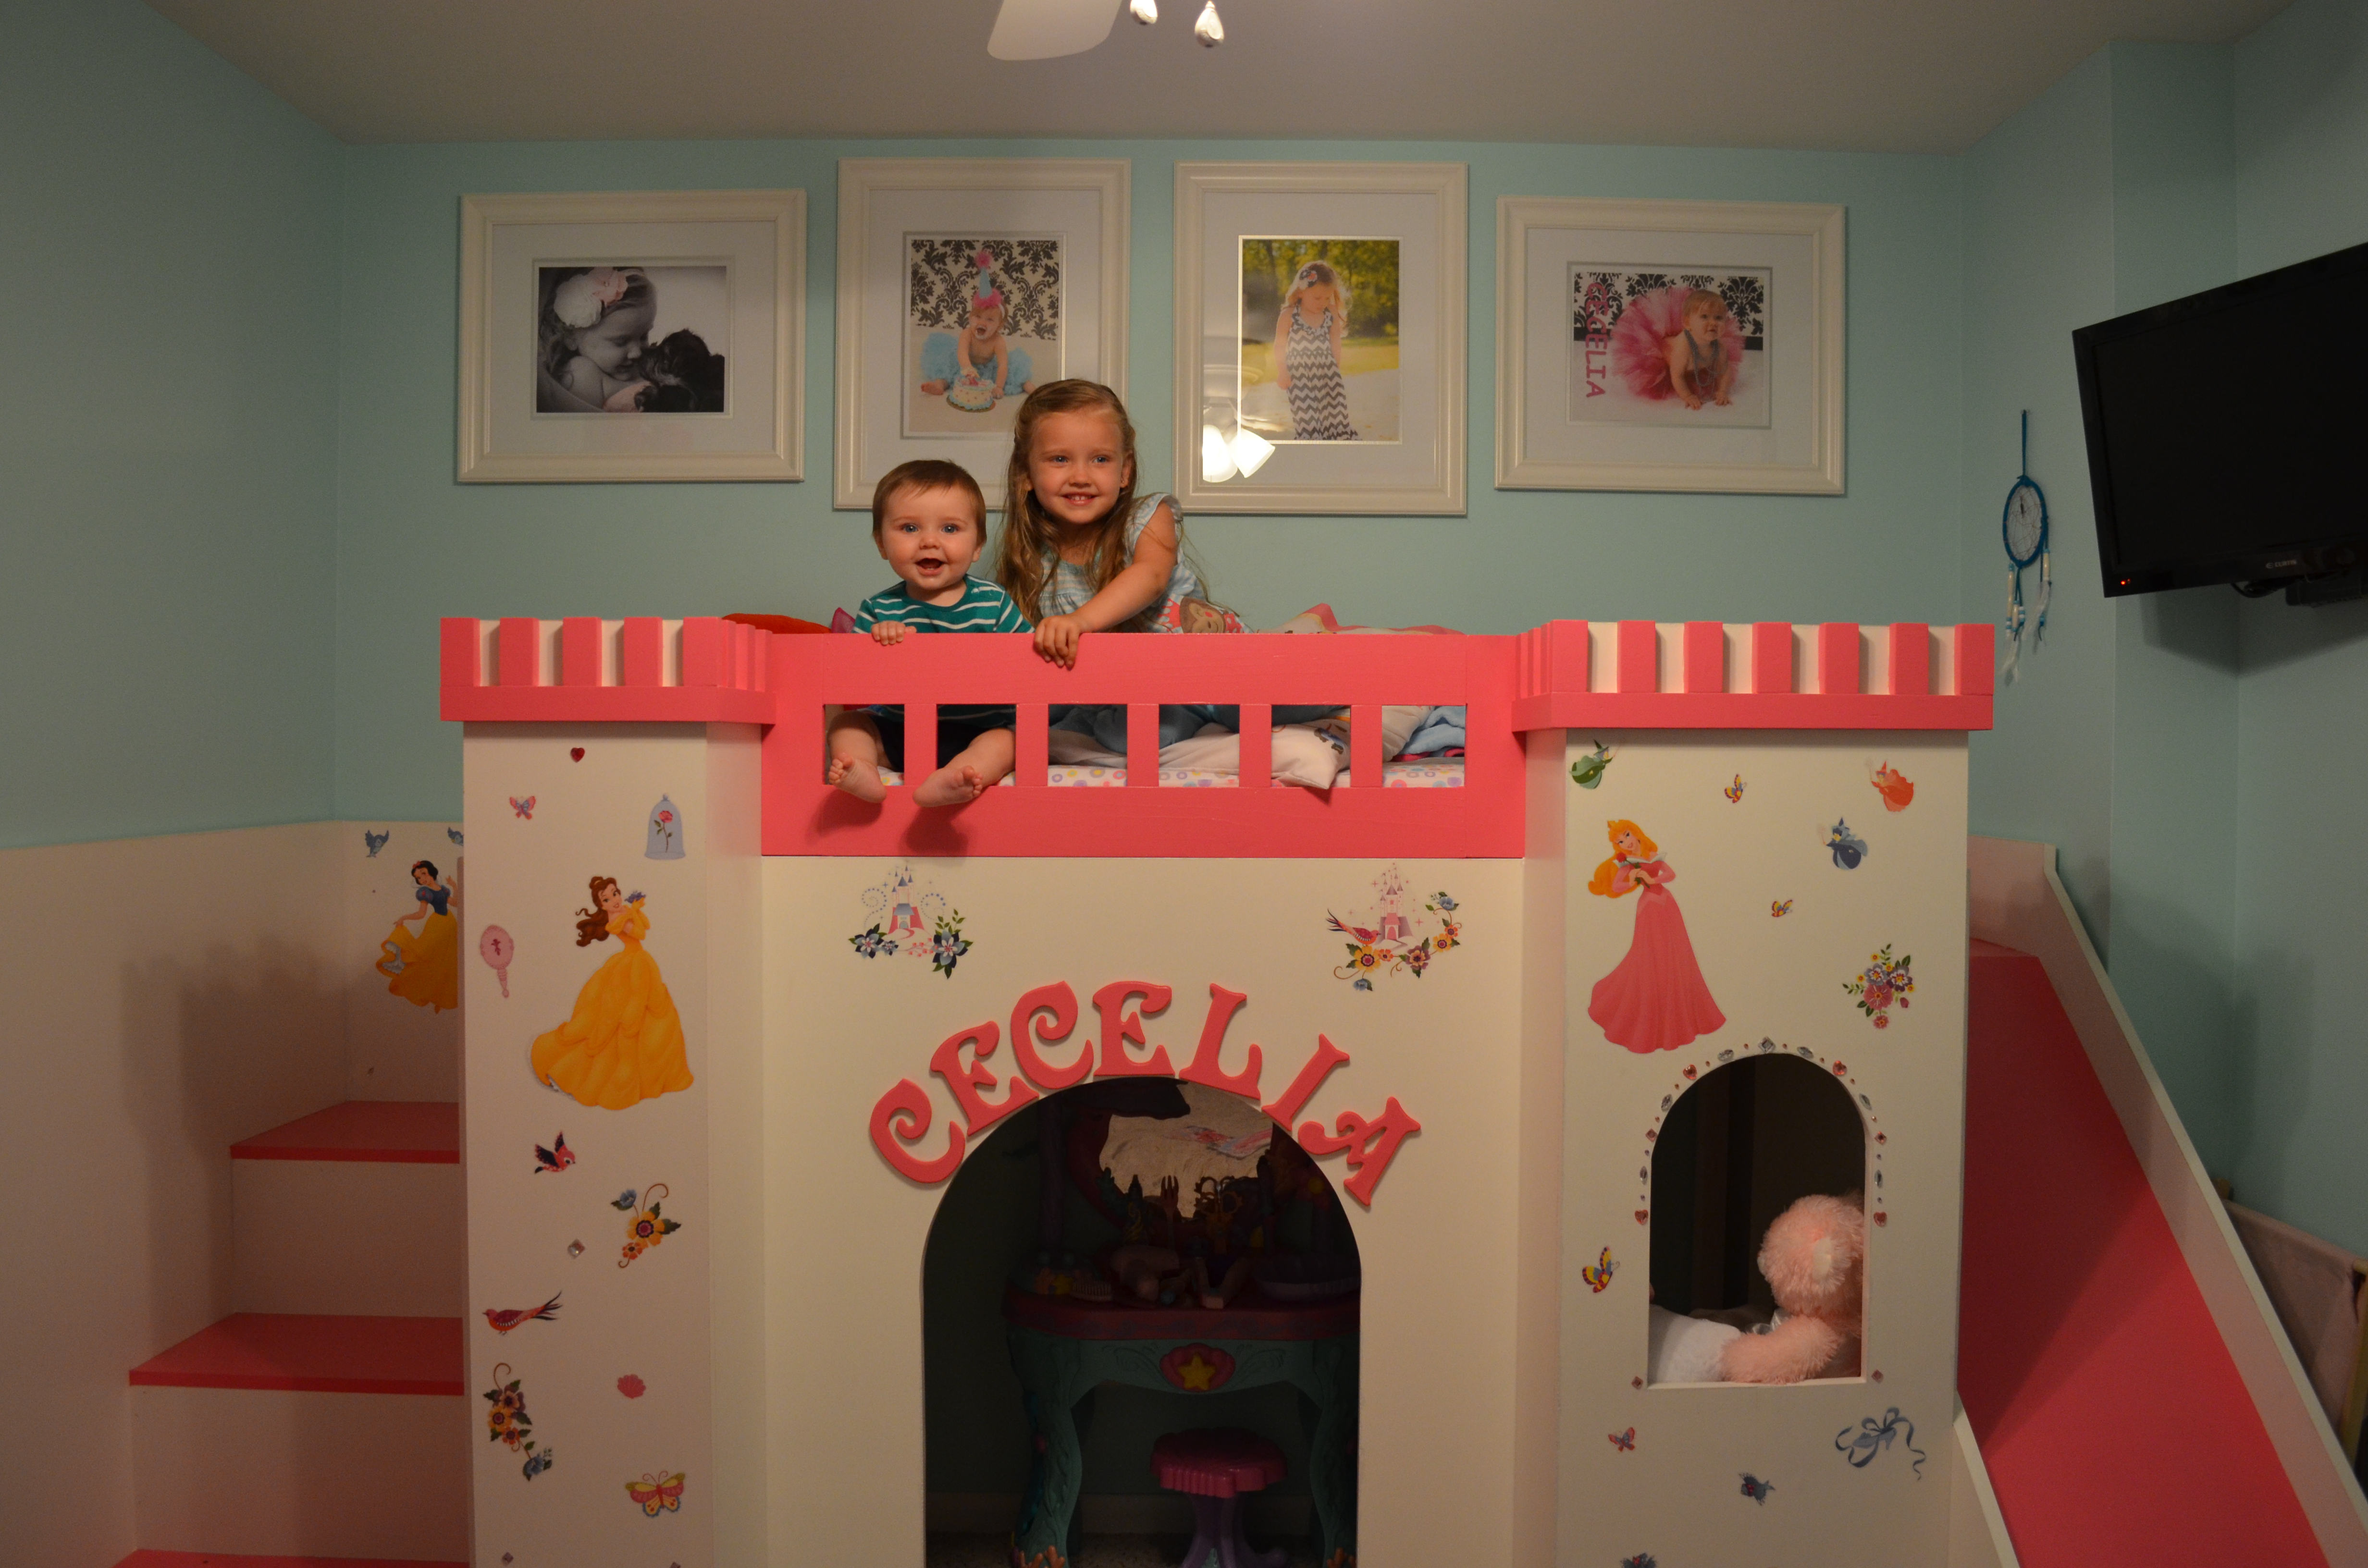
Finished the amazing playhouse loft bed
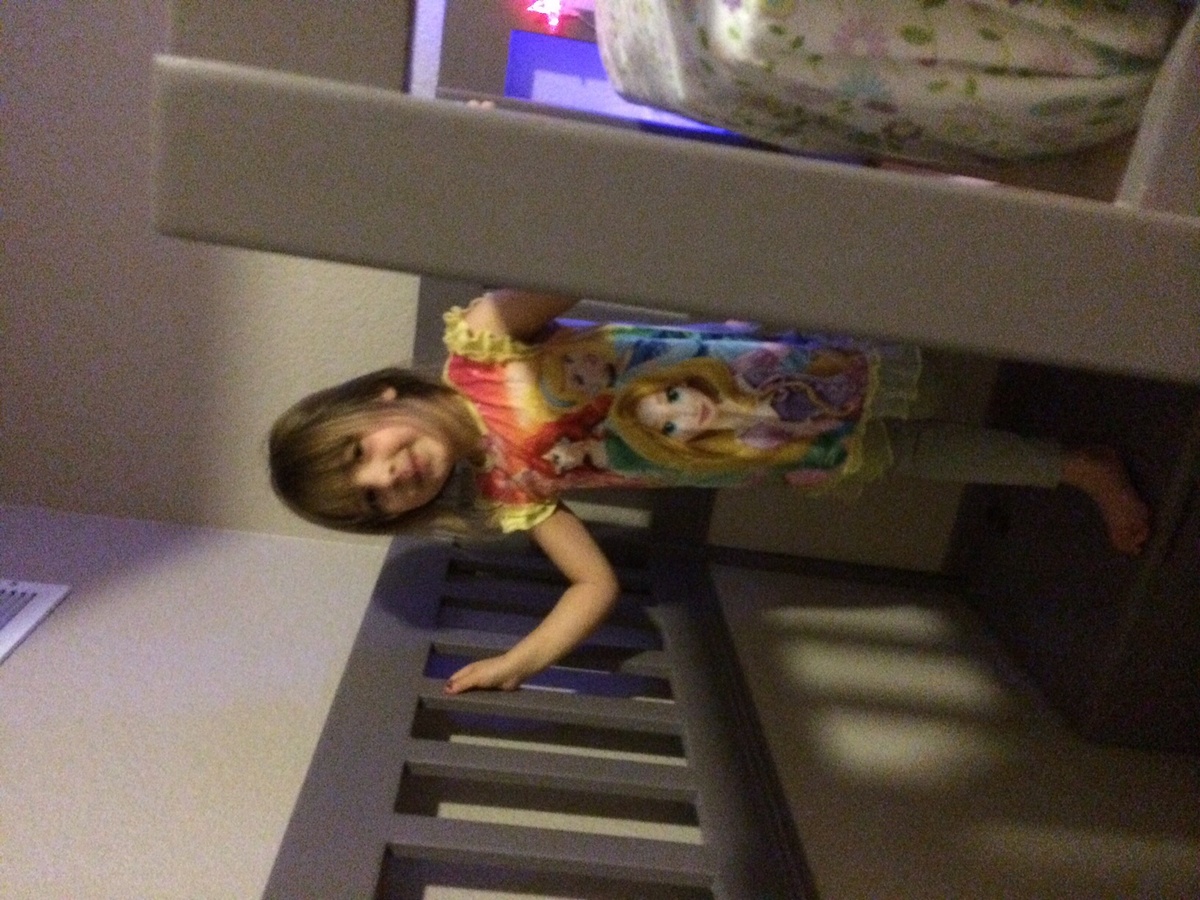
My granddaughter is so in love with her loft bed! She feels so special, and she is! Thanks for such wonderful plans.

Estimated Time Investment
Week Long Project (20 Hours or More)
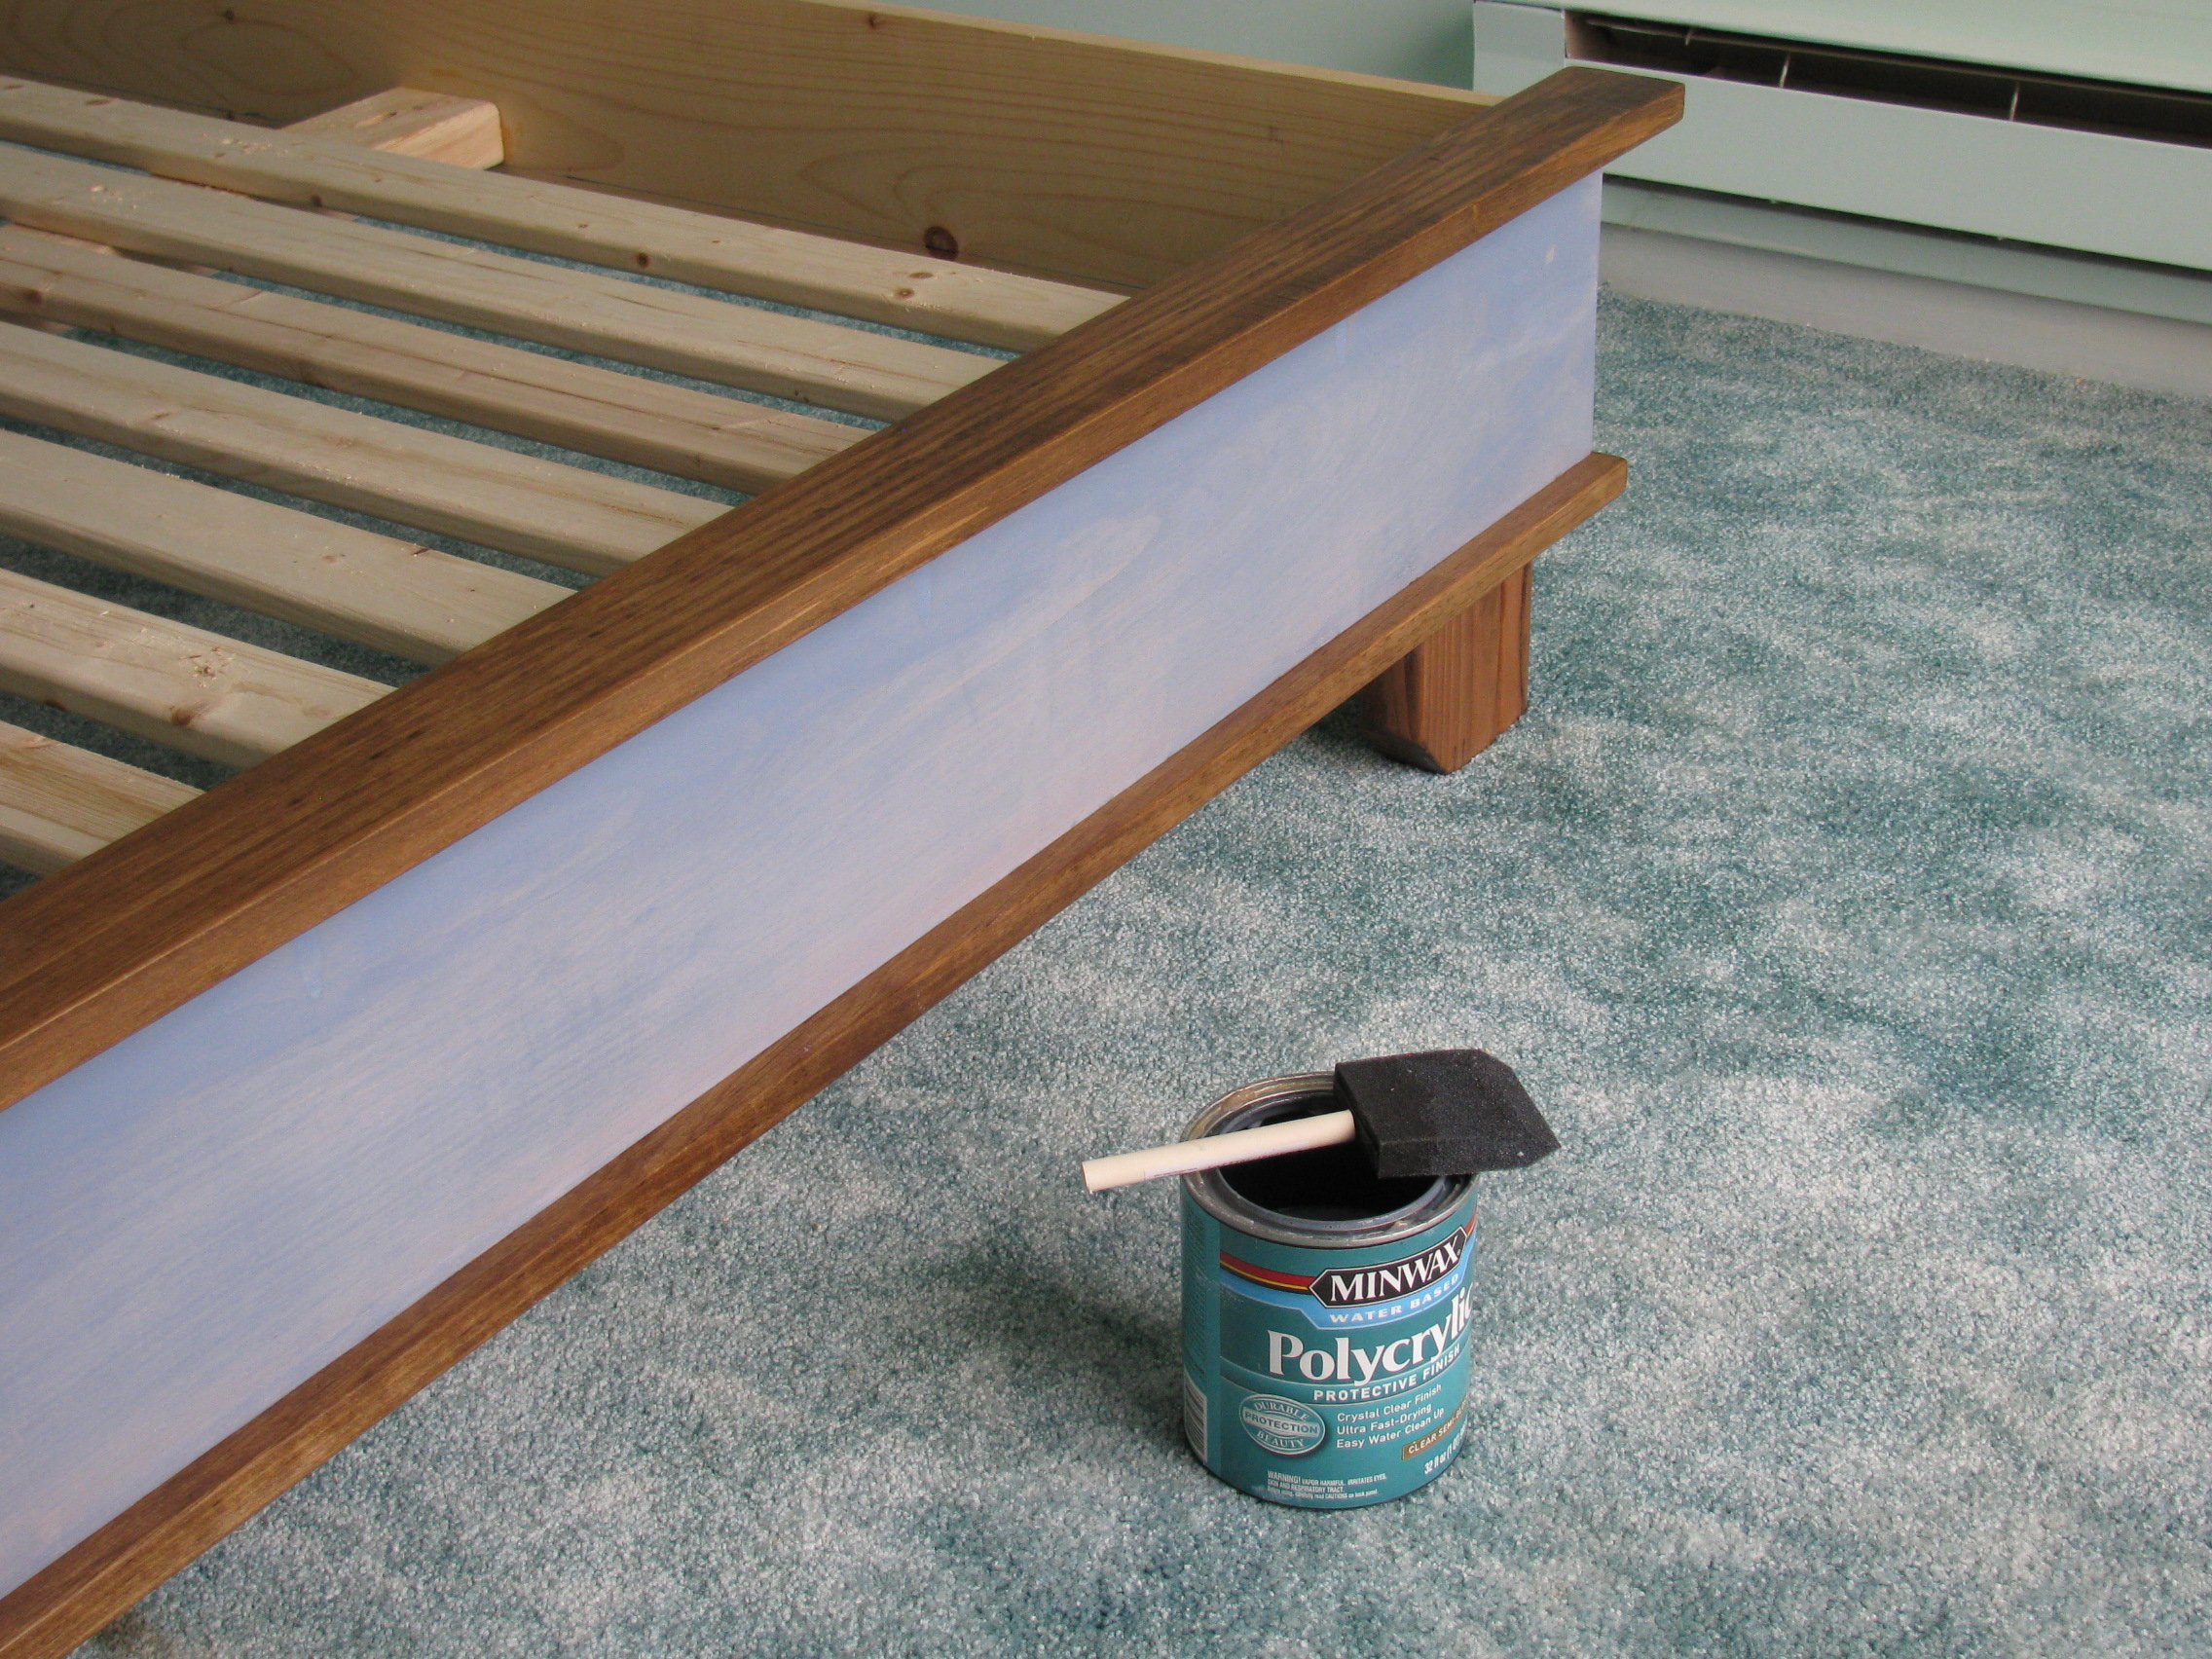
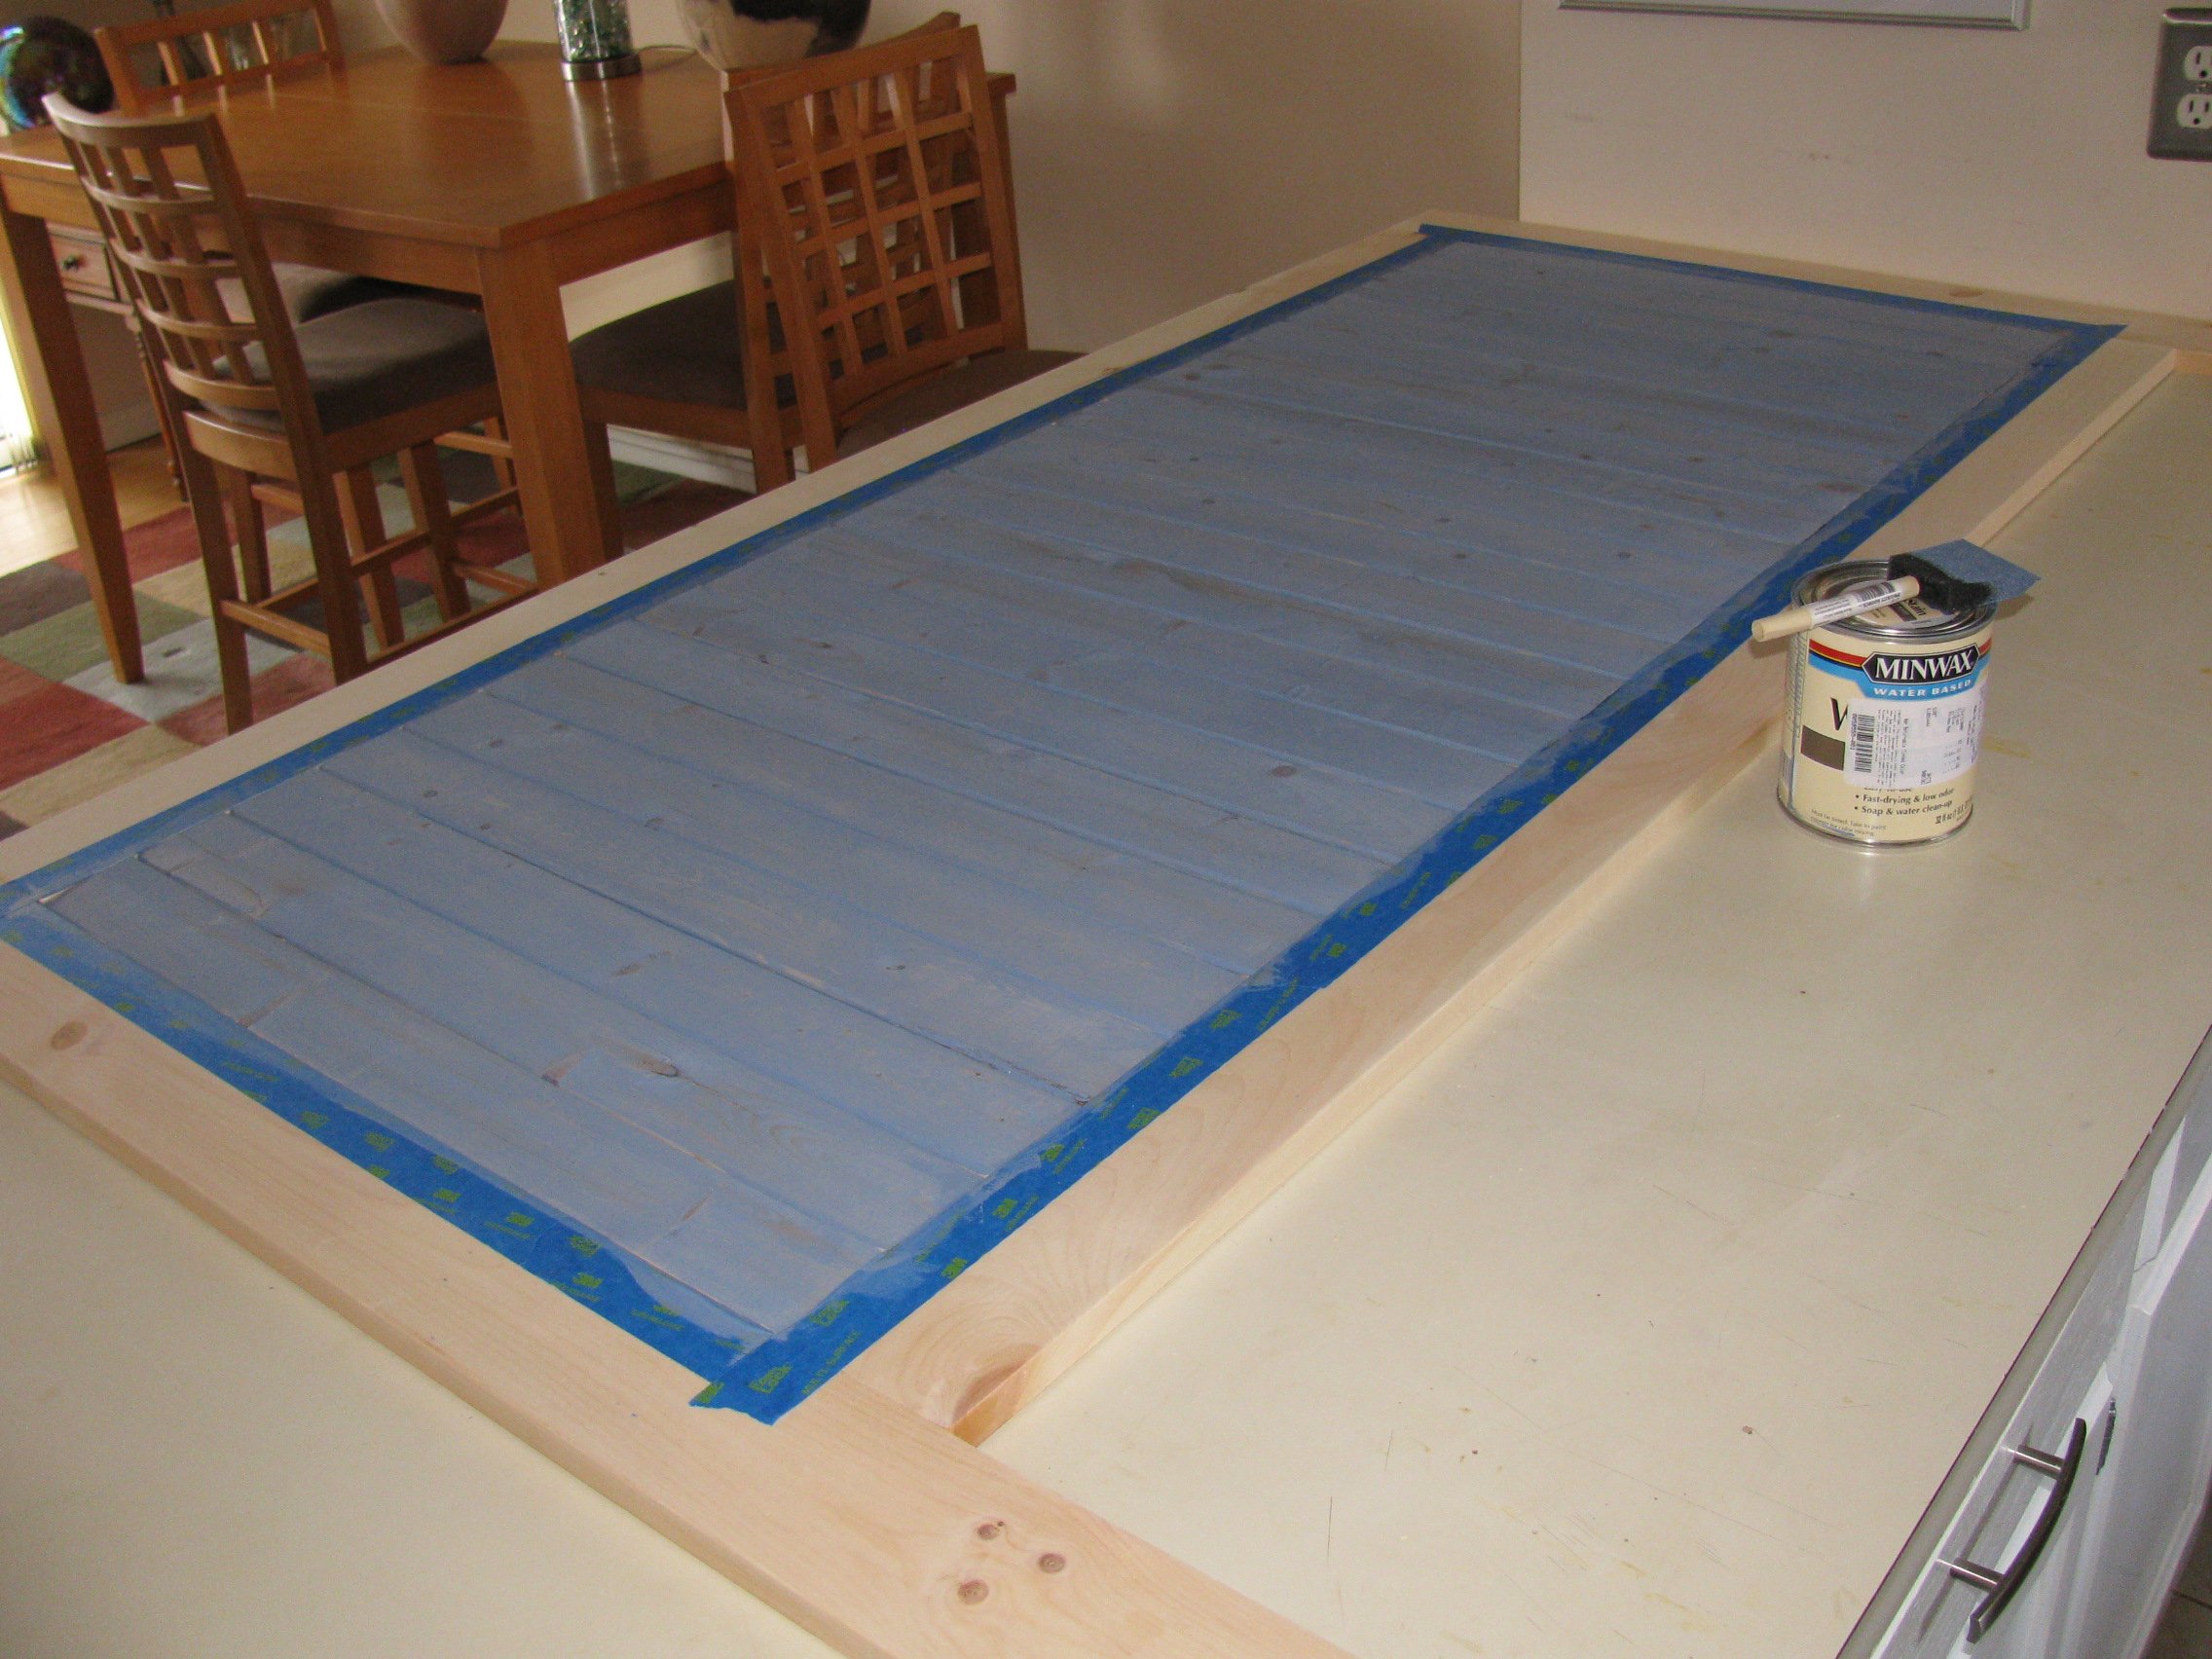
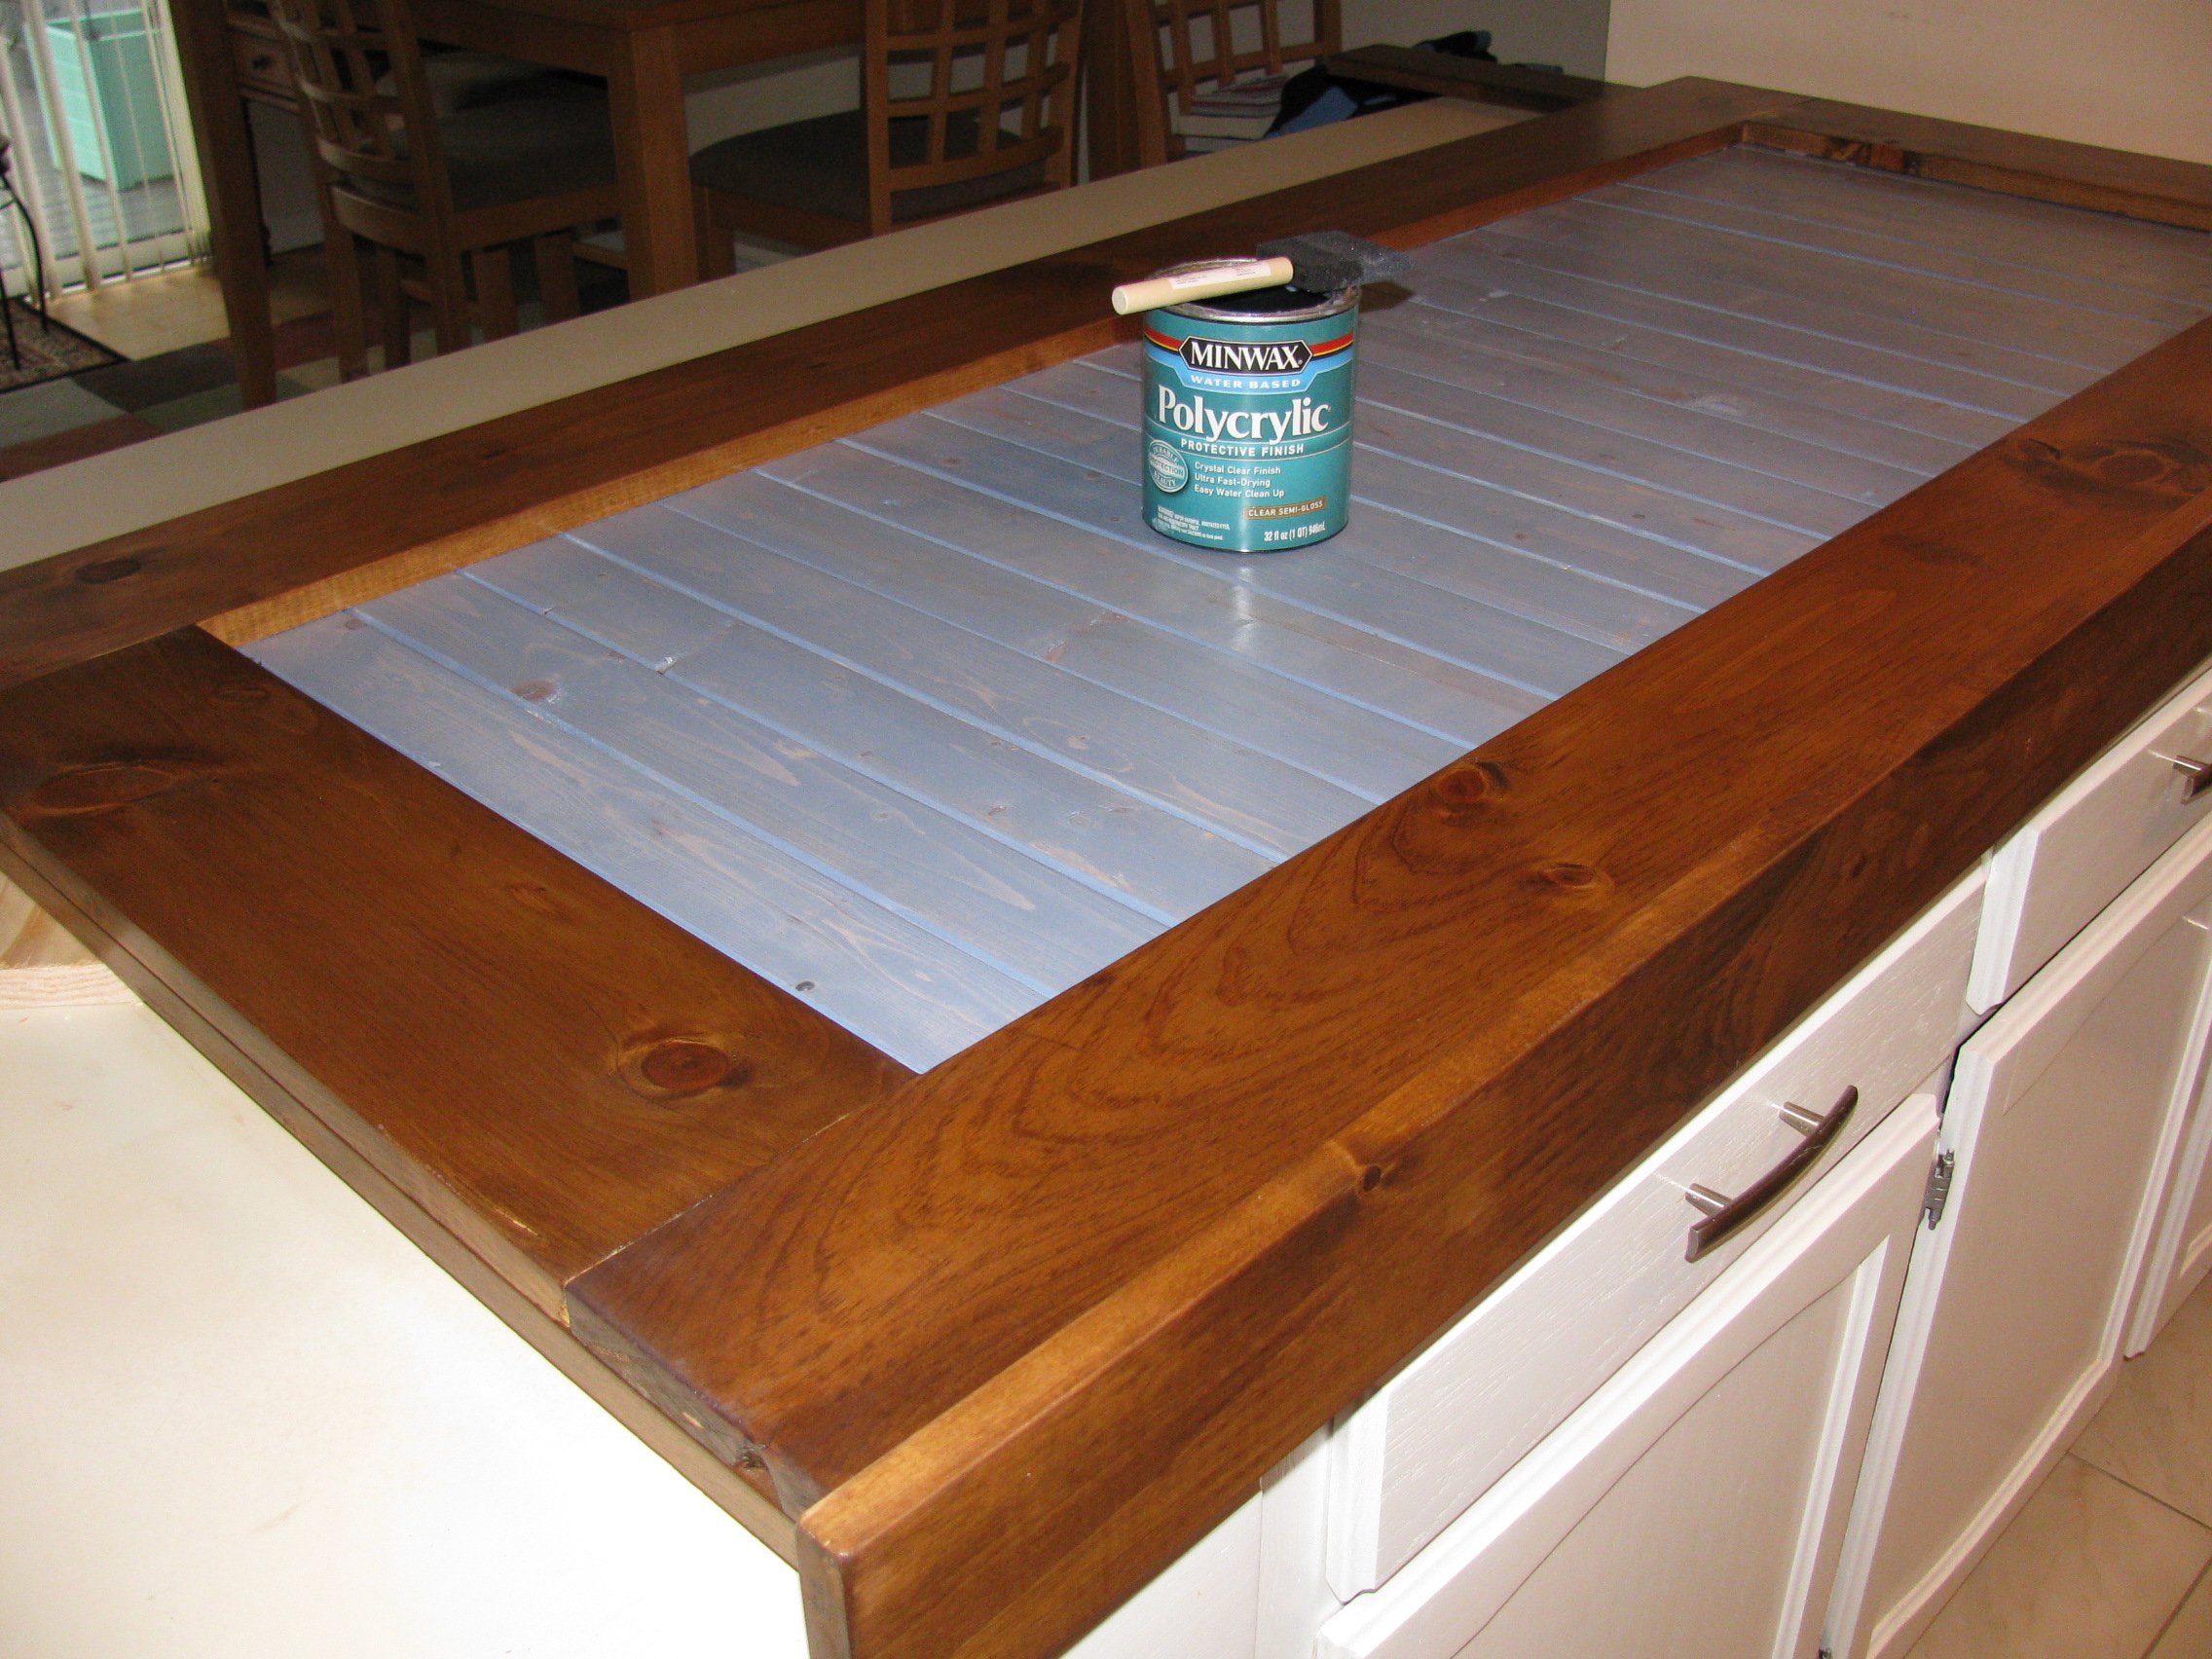
Finish Used
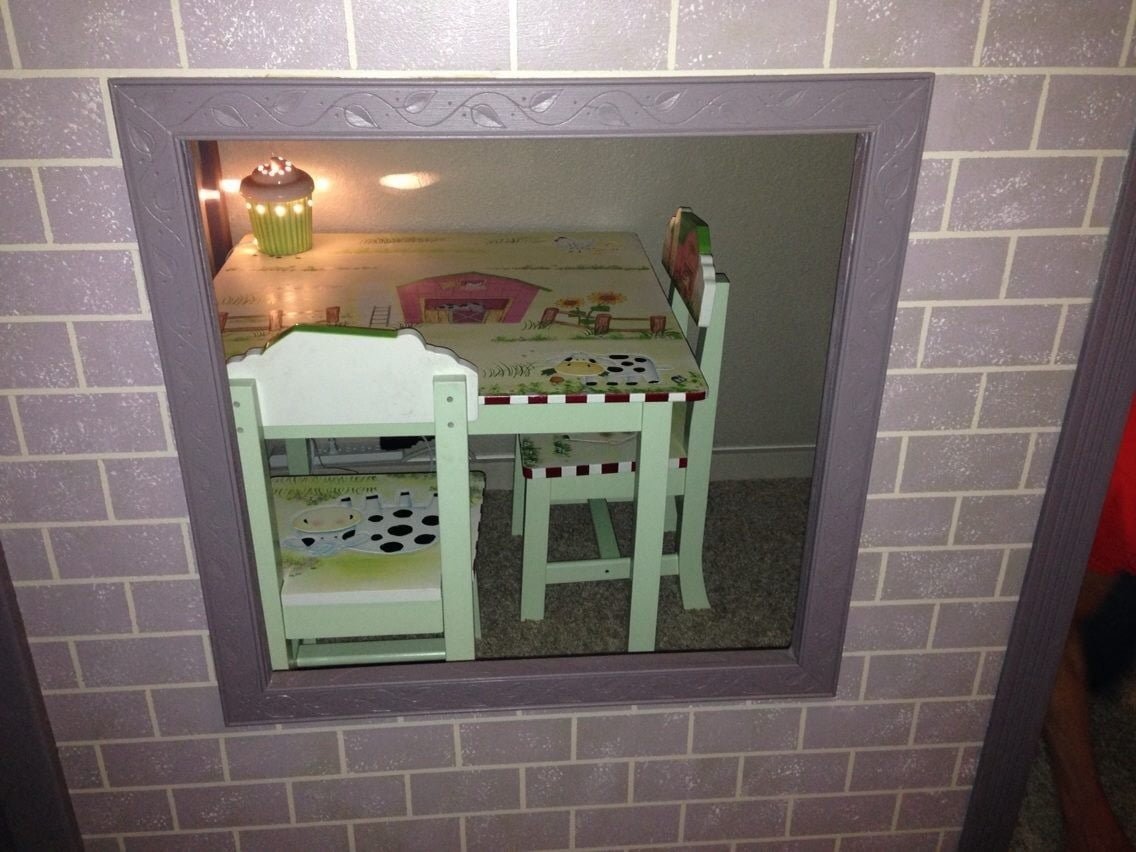
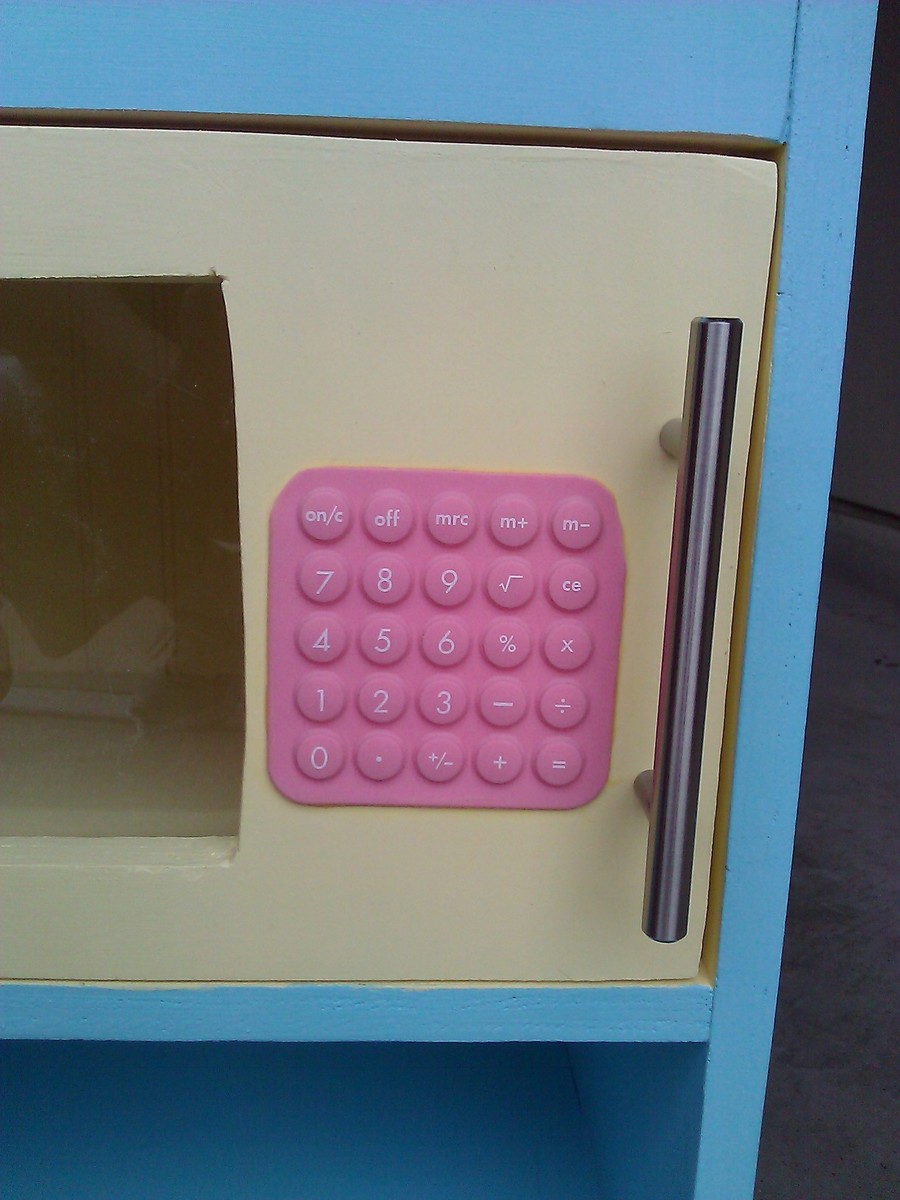
I created the brickwork by using 1/4 " tape 3 colors of paint sponged on to create 3 dimensional looking "bricks". Added trim at seams, mitered corners around window and door. Fabulous house!,,
Recommended Skill Level
Intermediate


Comments
JoanneS
Tue, 11/05/2013 - 14:05
Fabulous!
Love this project! It is absolutely beautiful! Your paint details and trim work make it a castle! :)
Pam the Goatherd
Wed, 11/06/2013 - 10:30
LOVE the brickwork look!
LOVE the brickwork look!