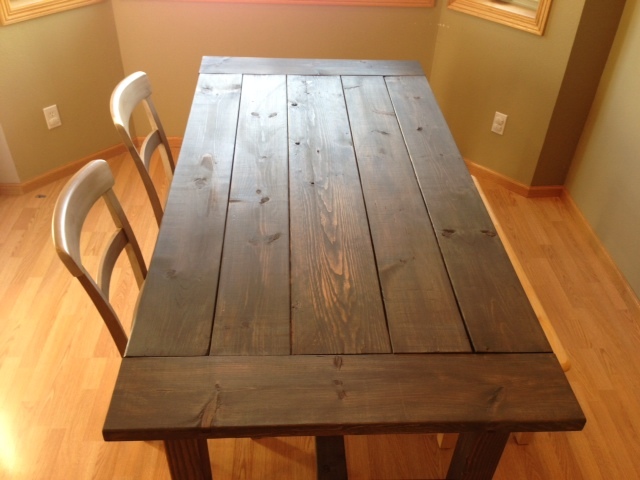
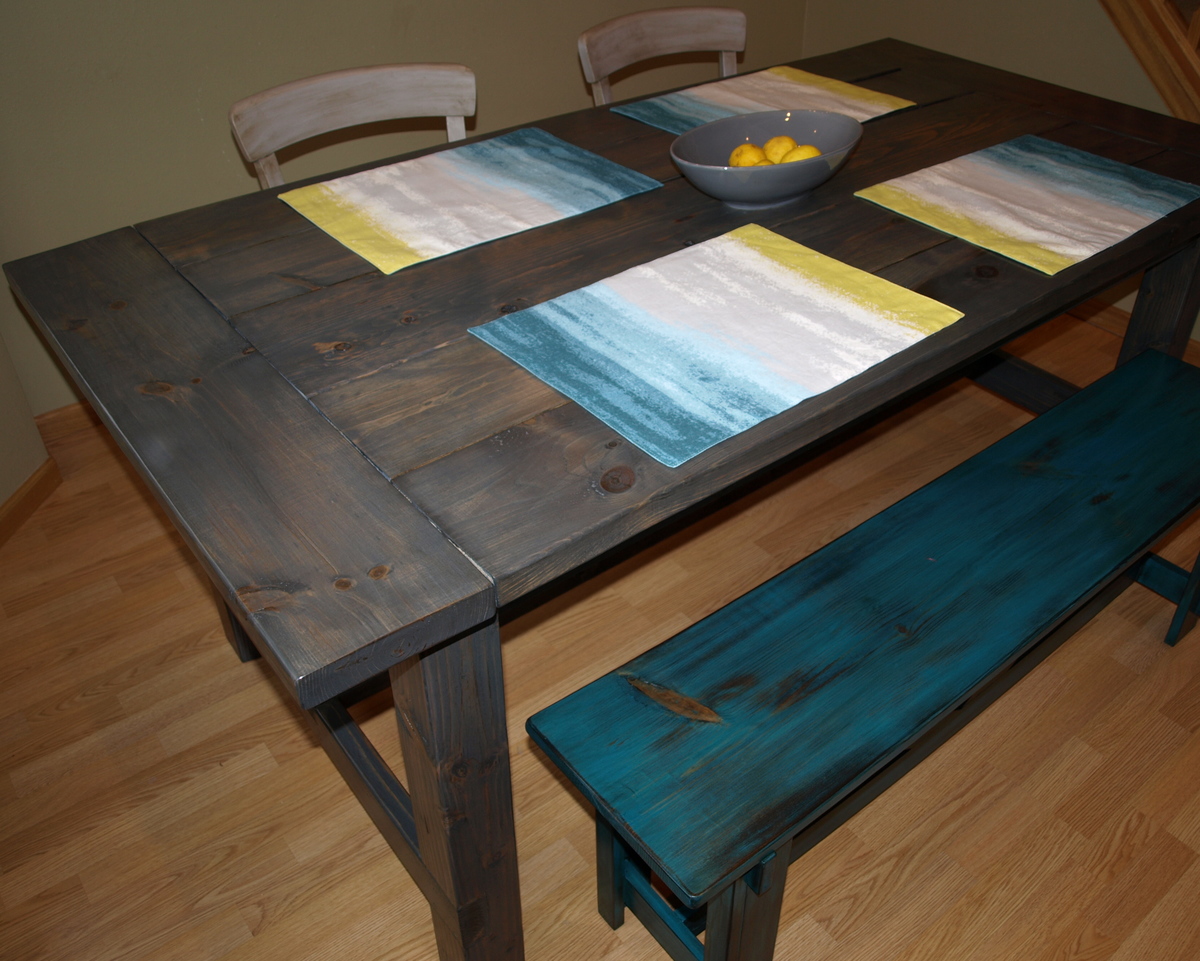
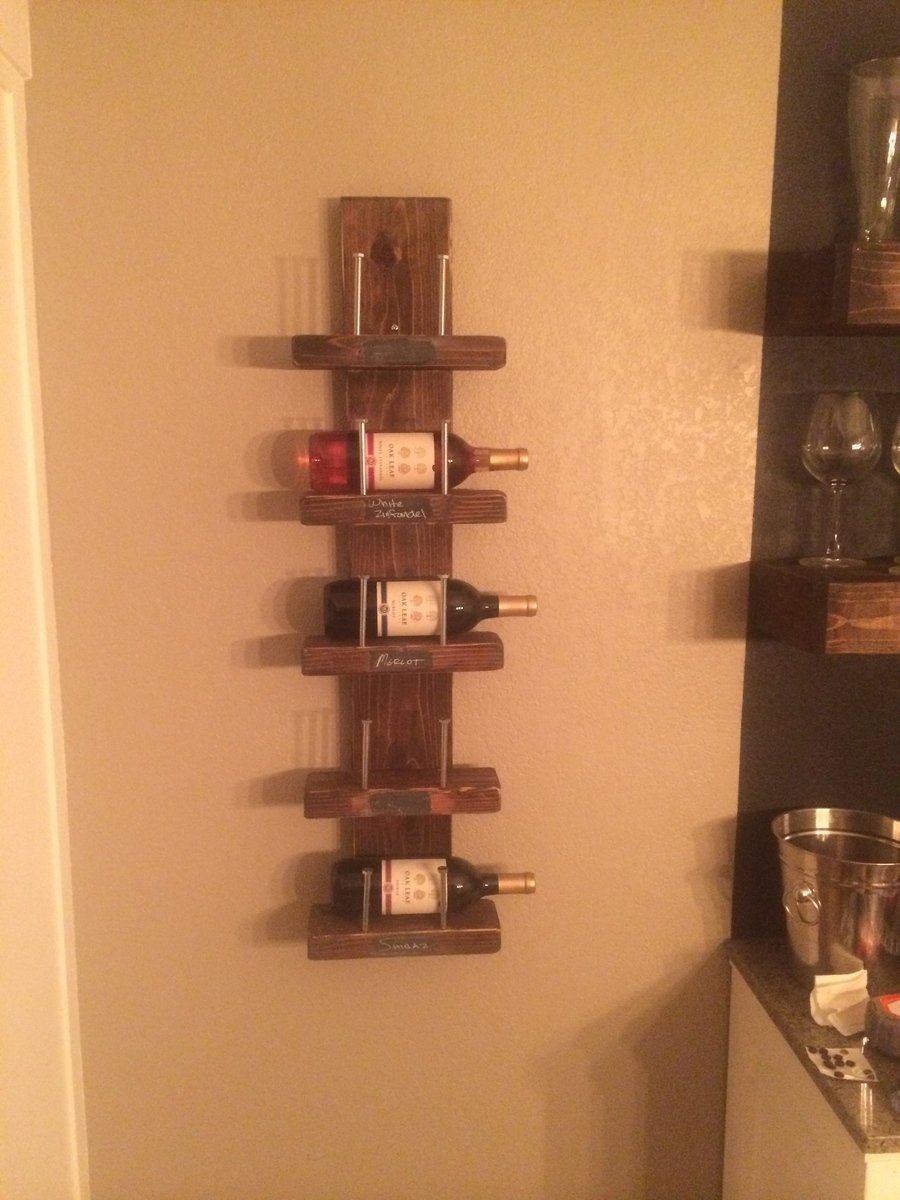
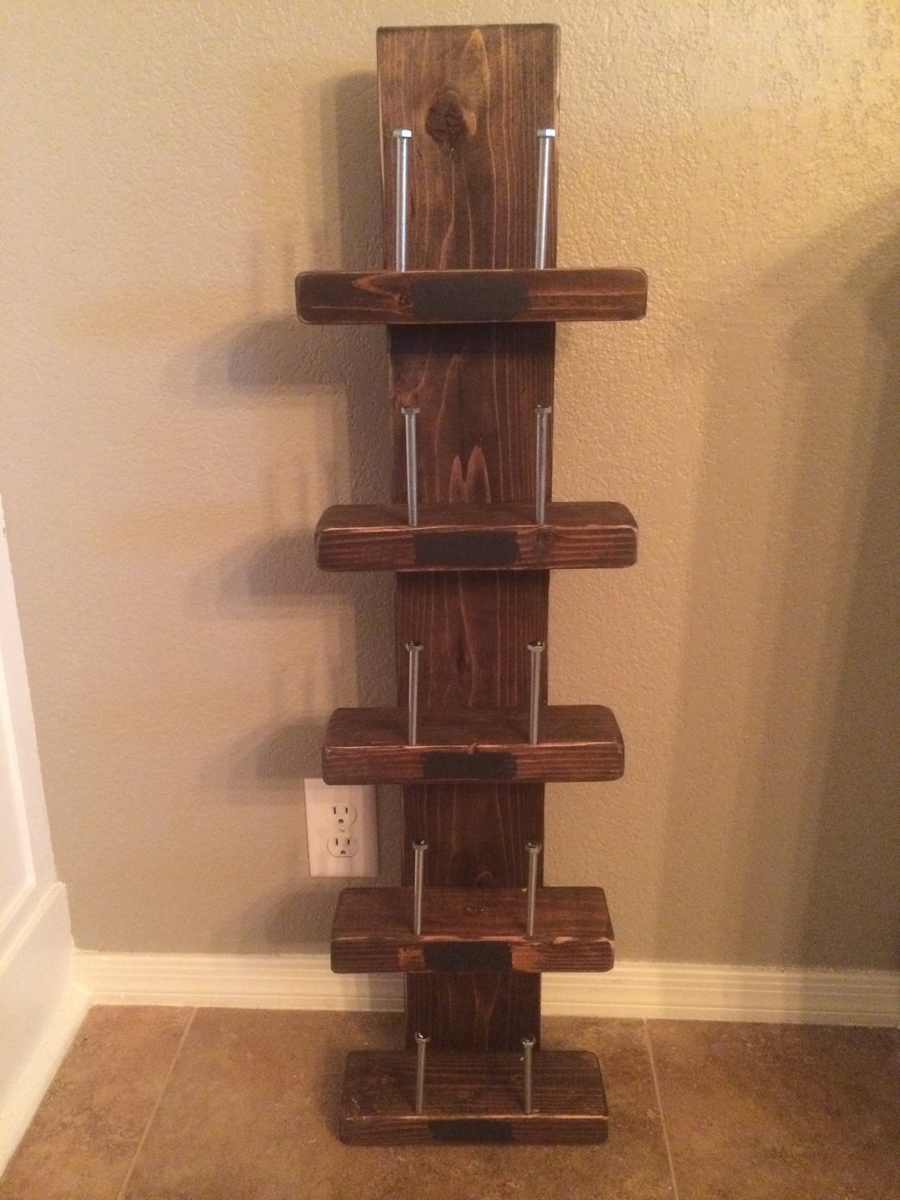
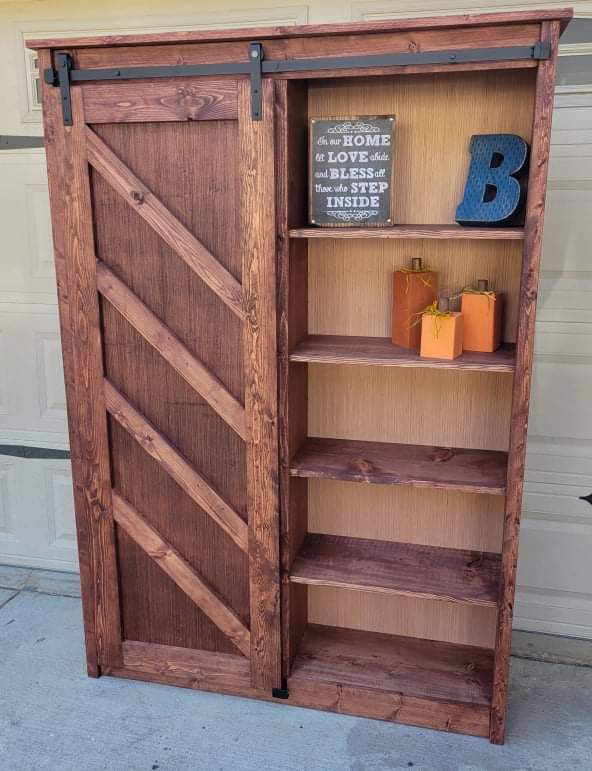
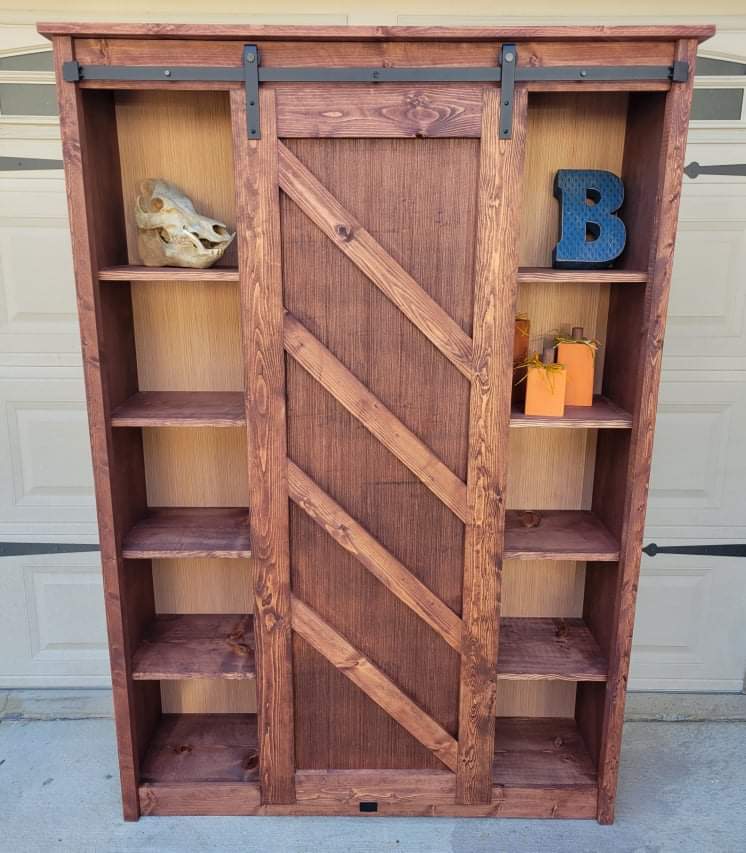
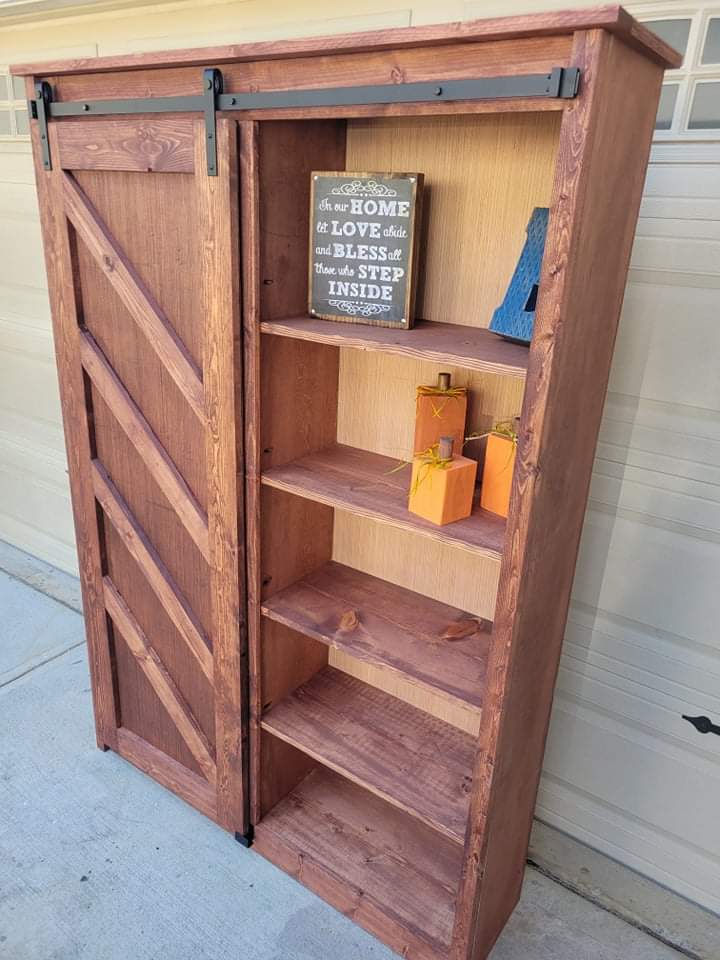
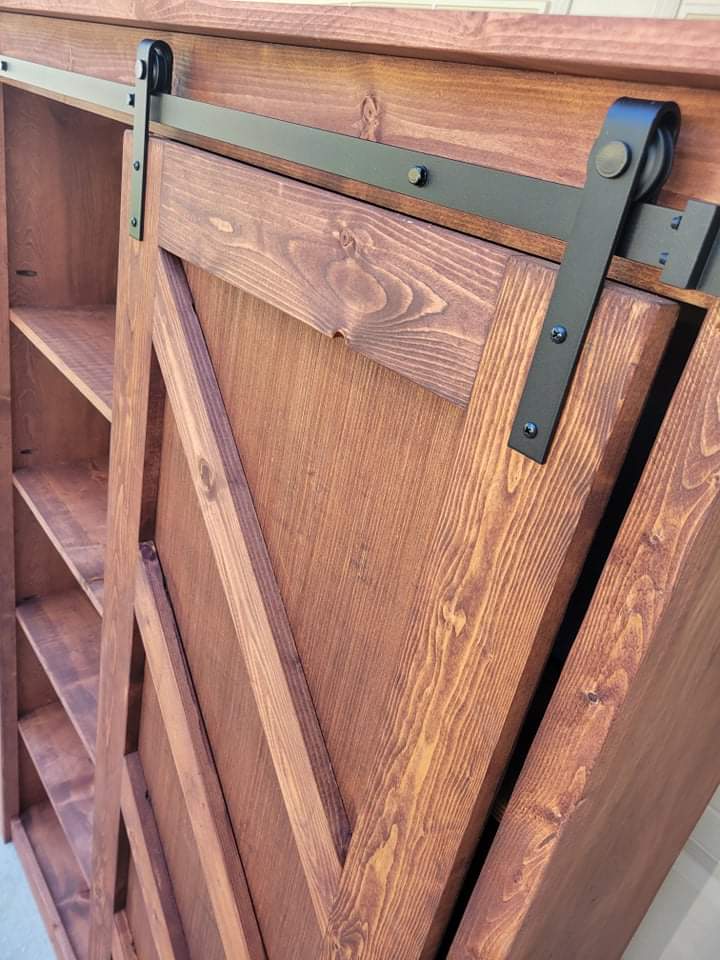
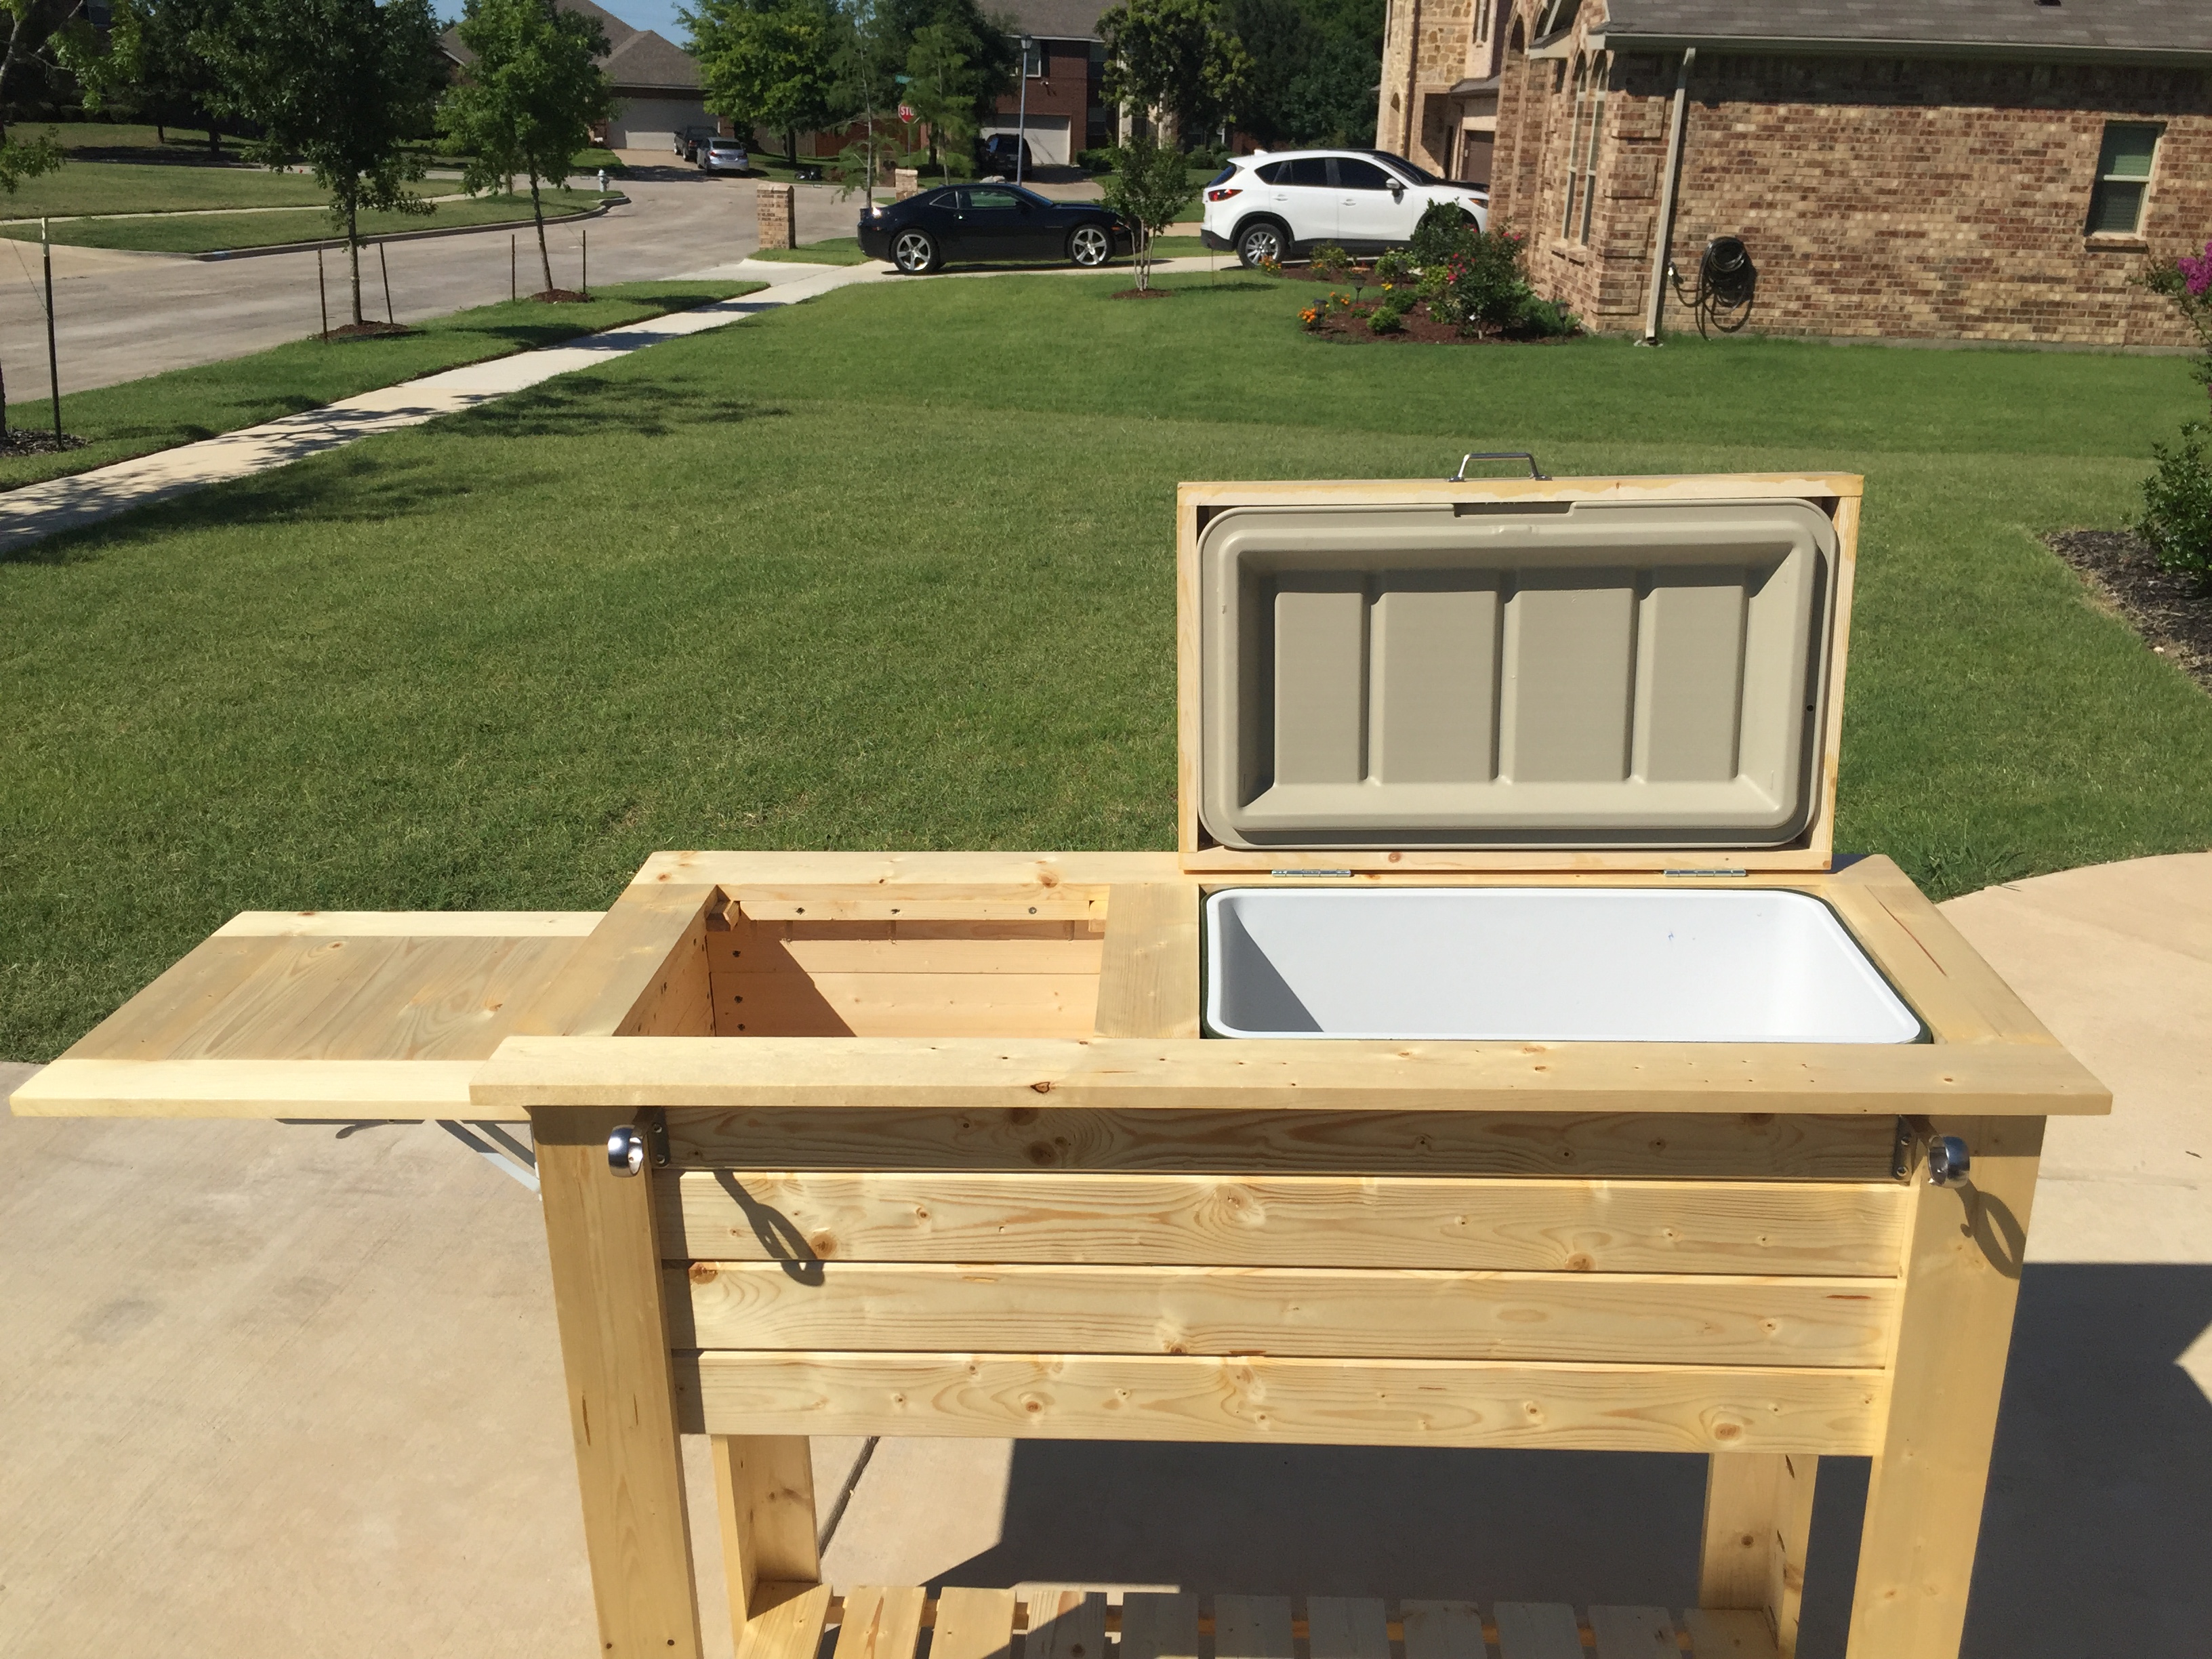
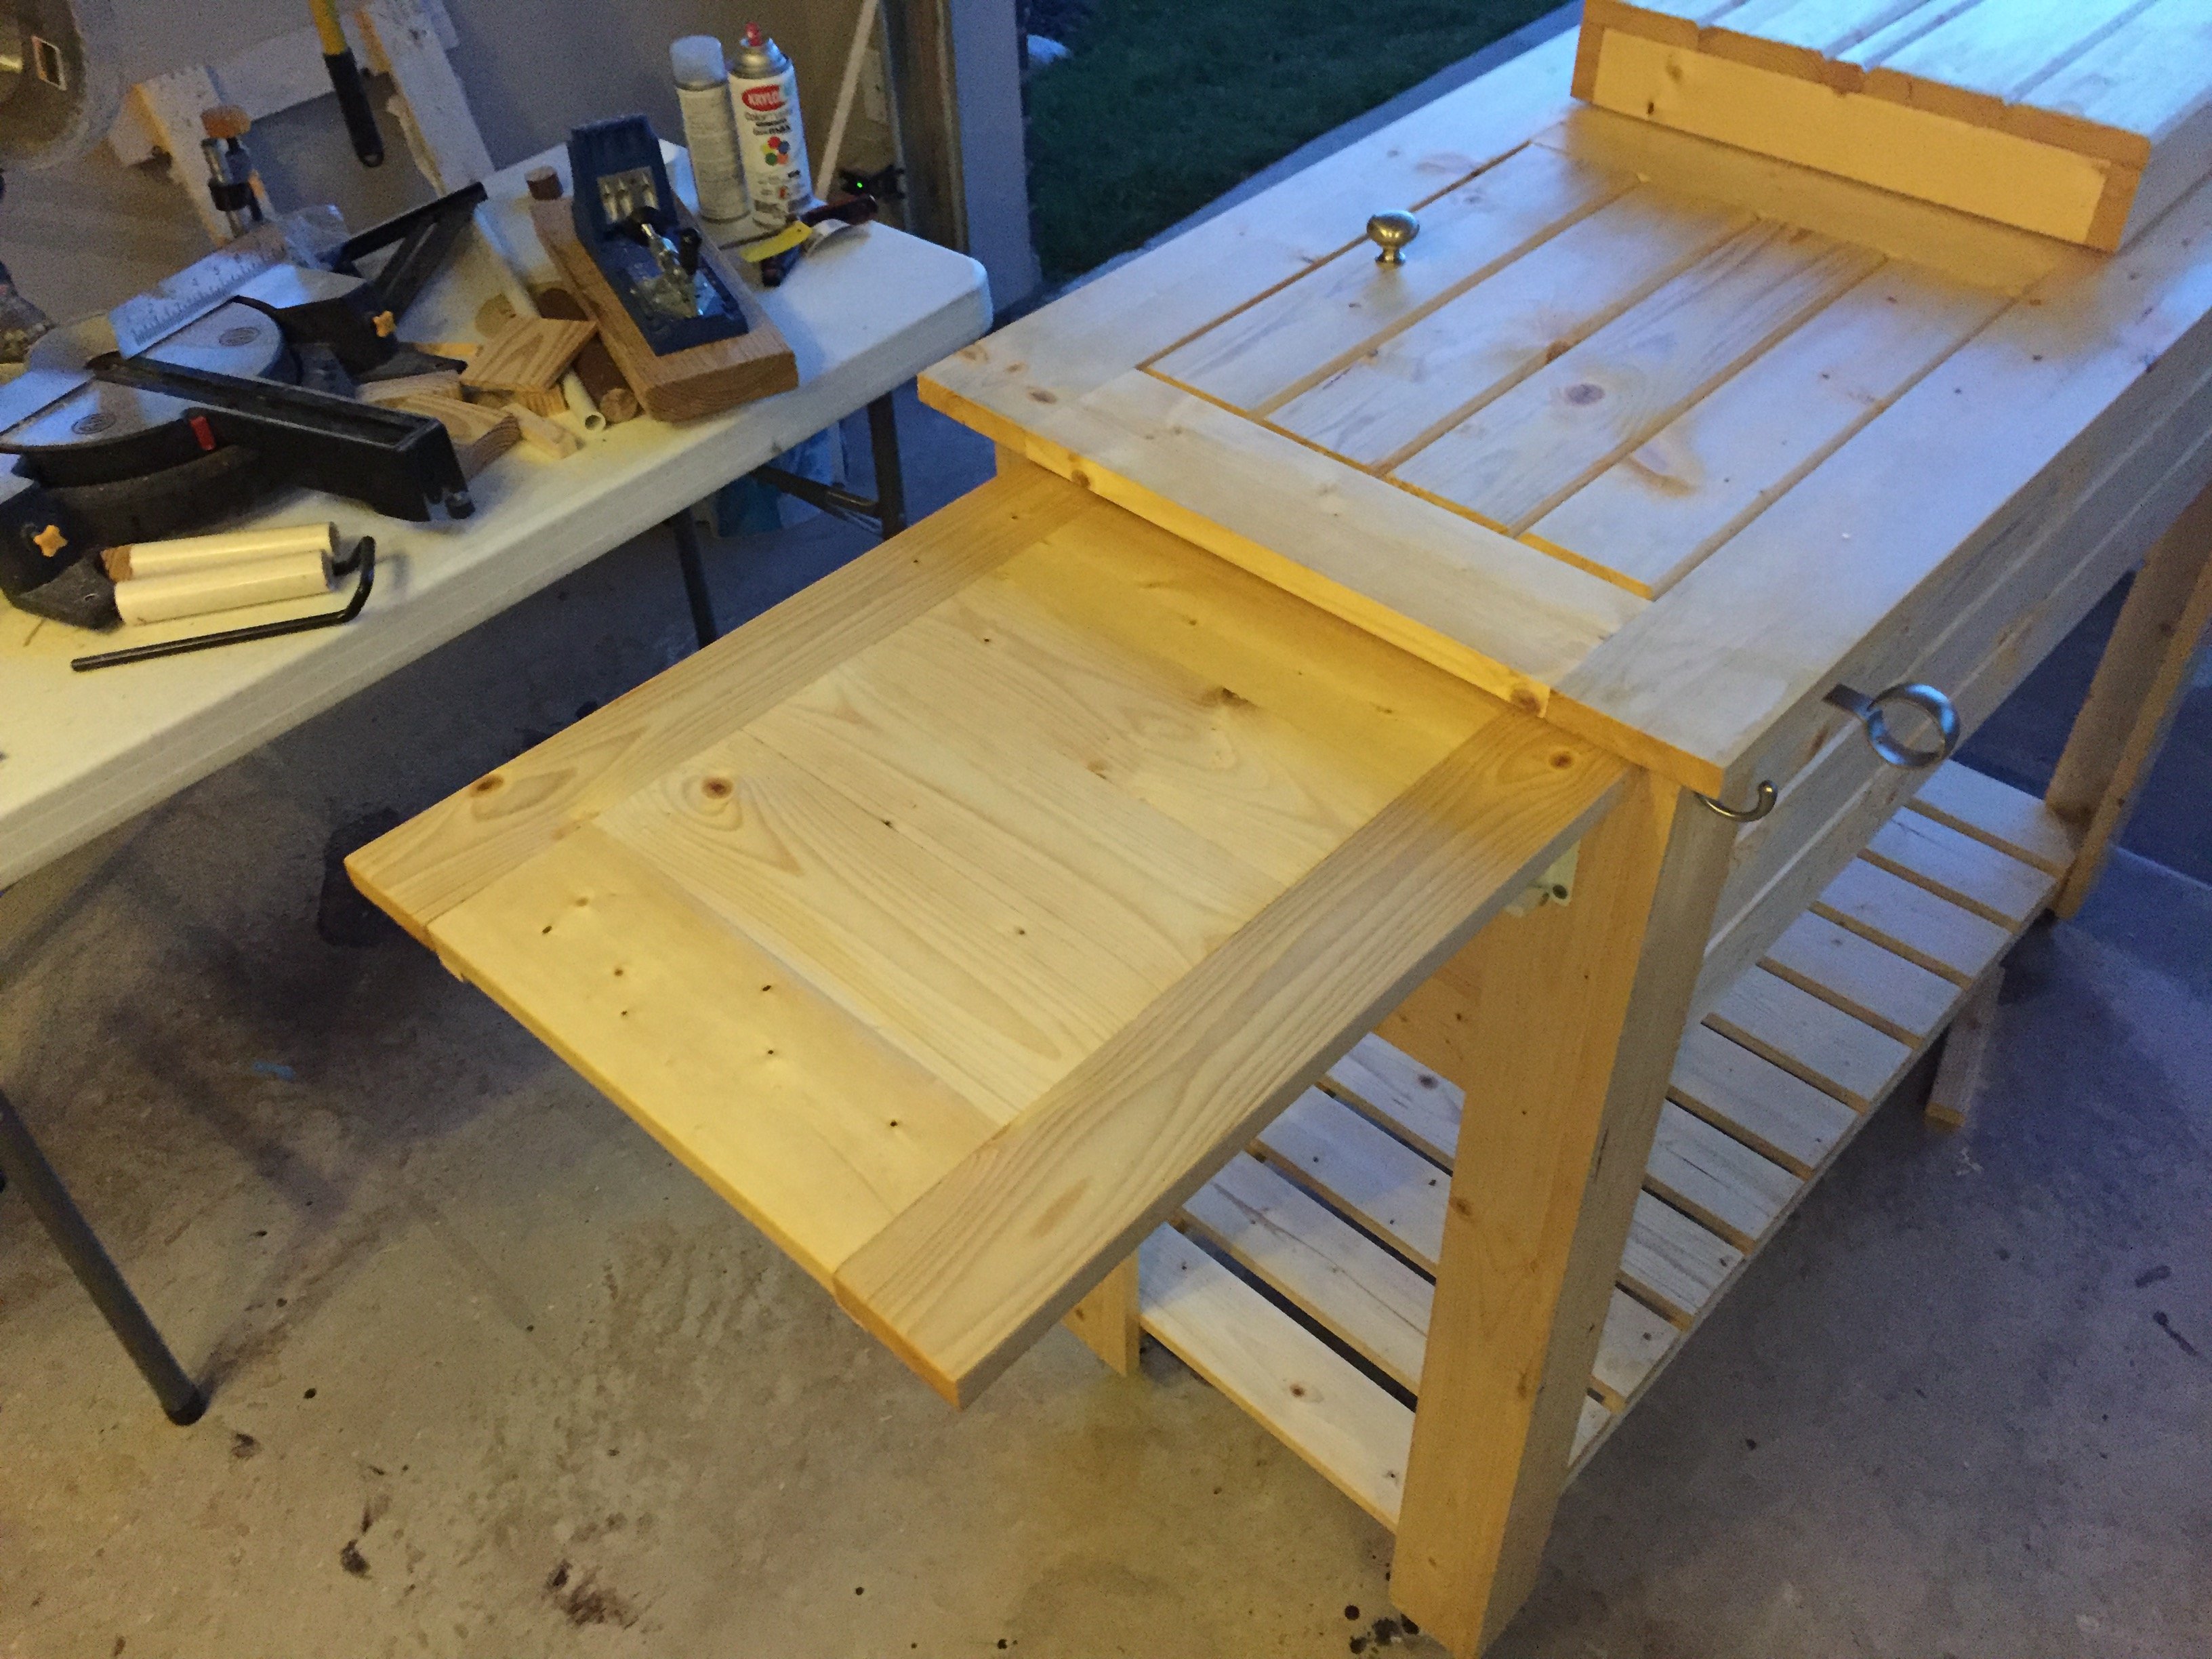
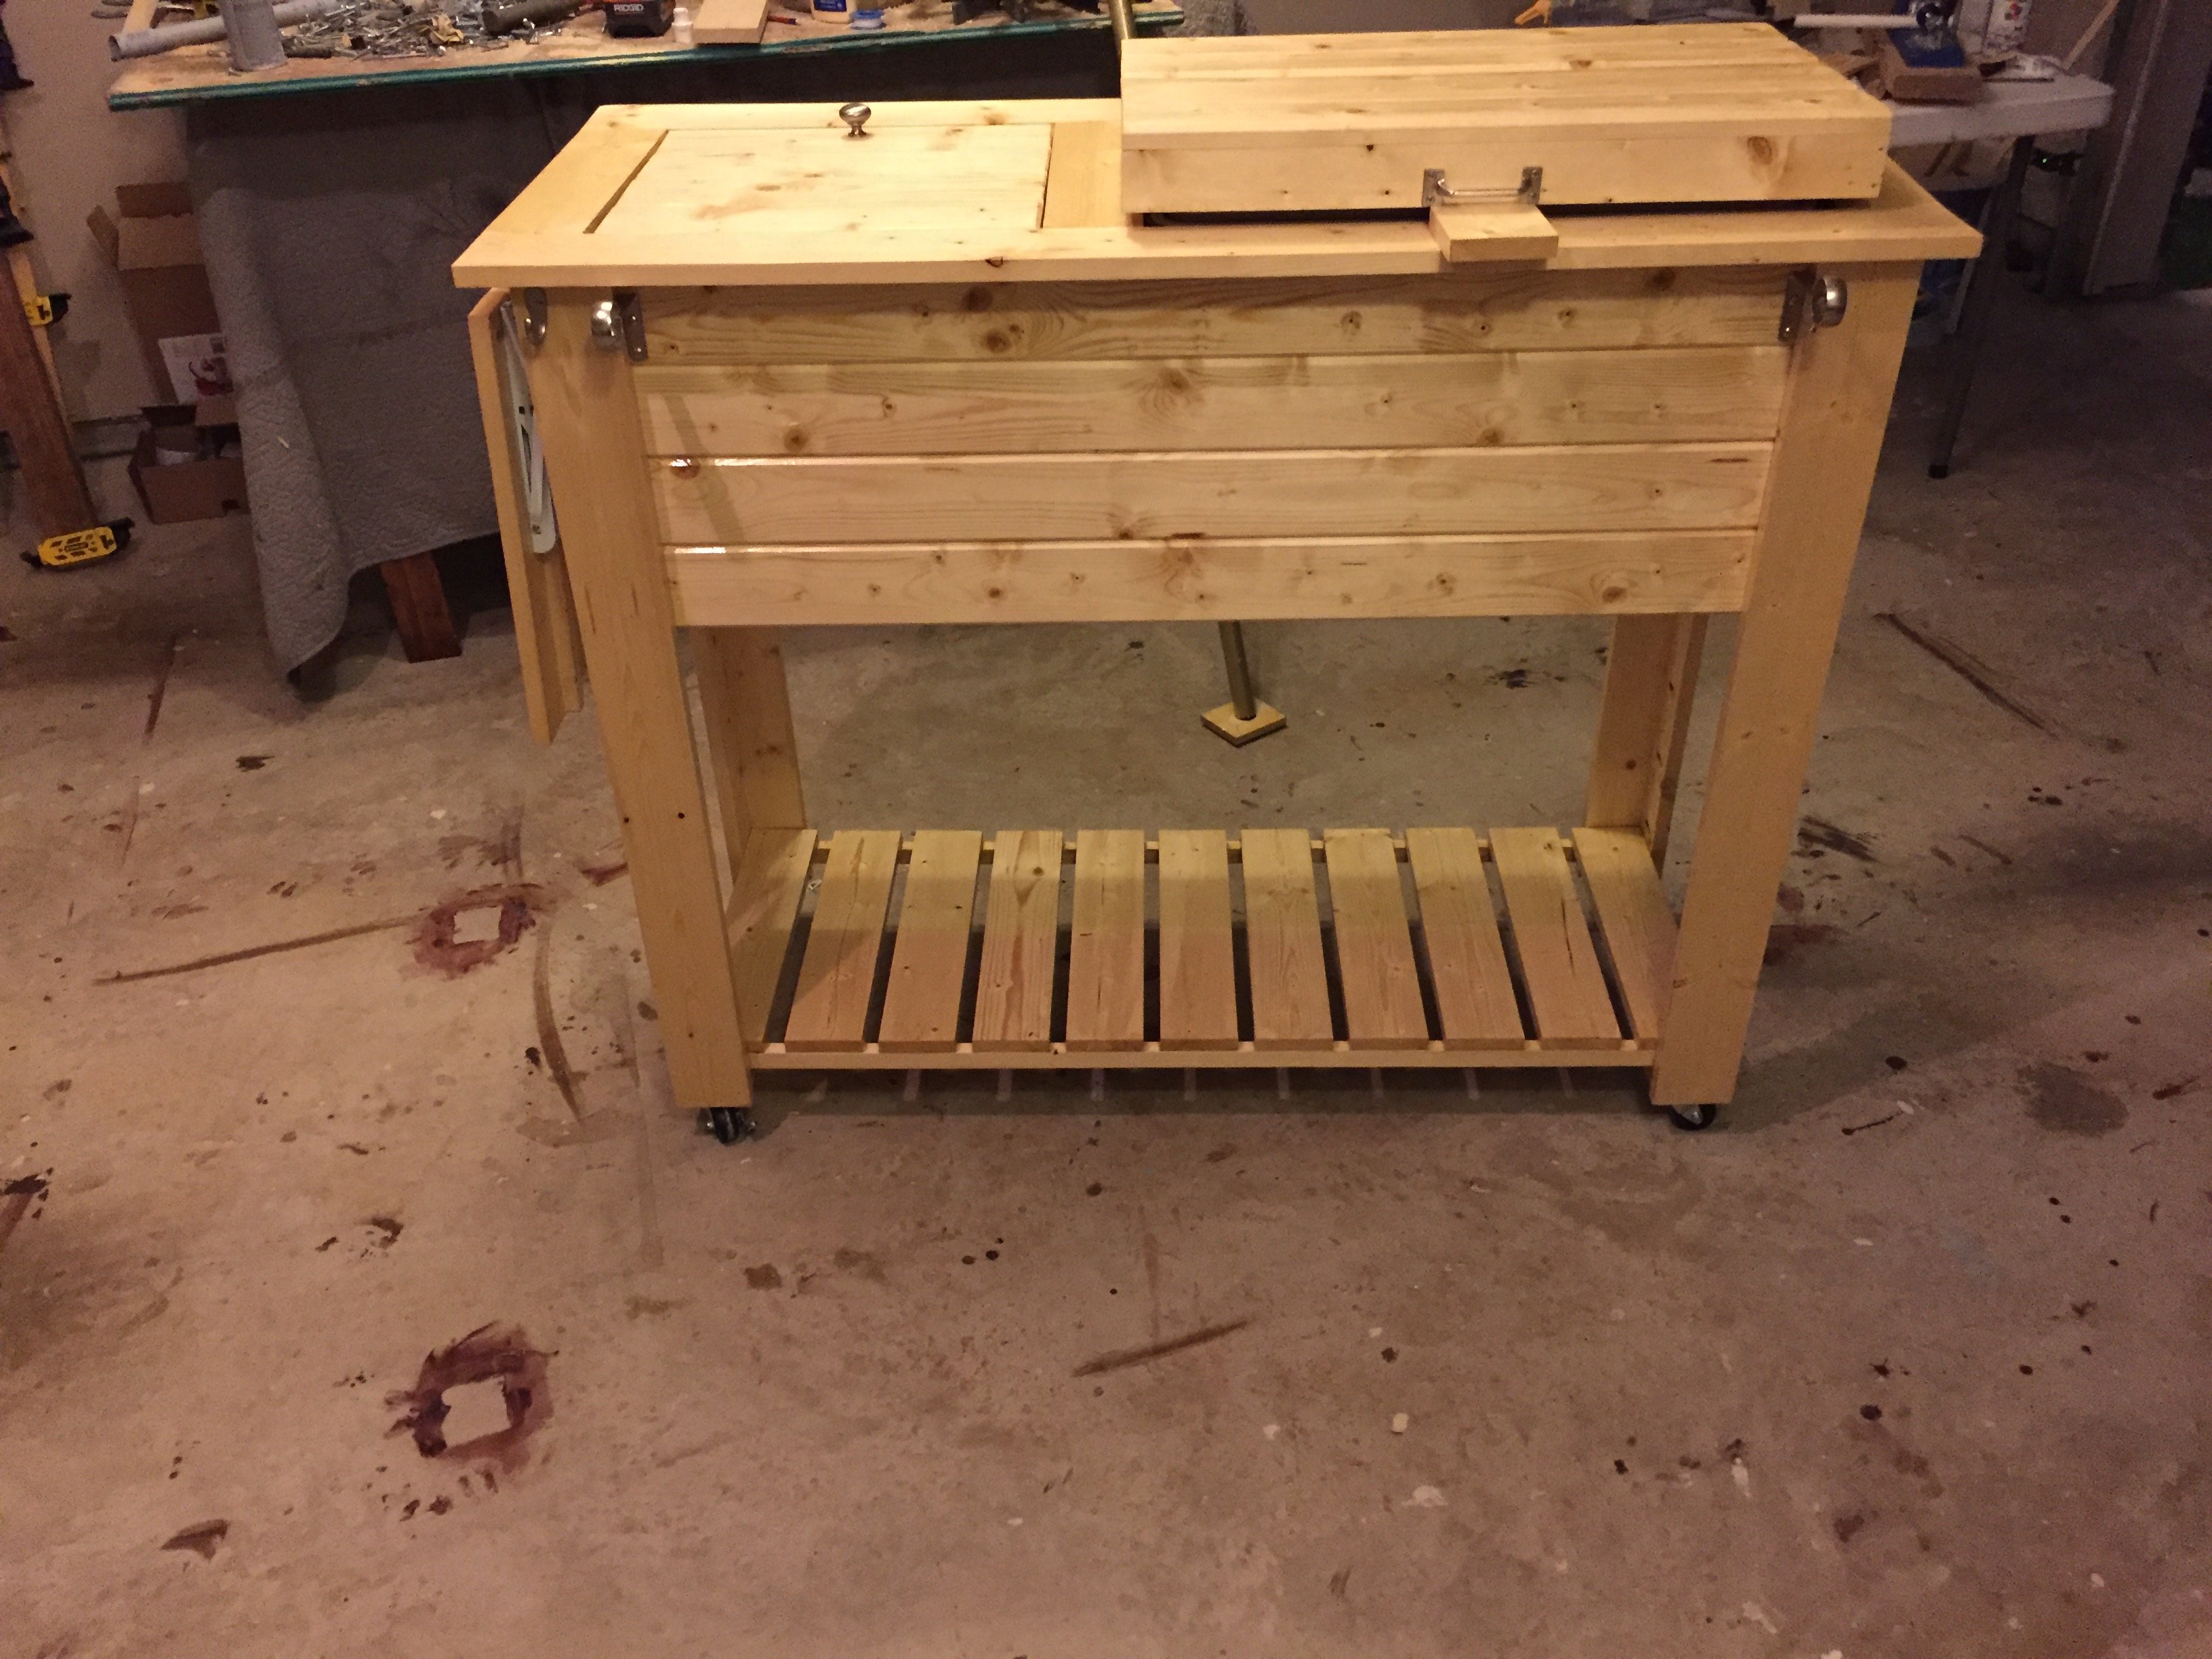
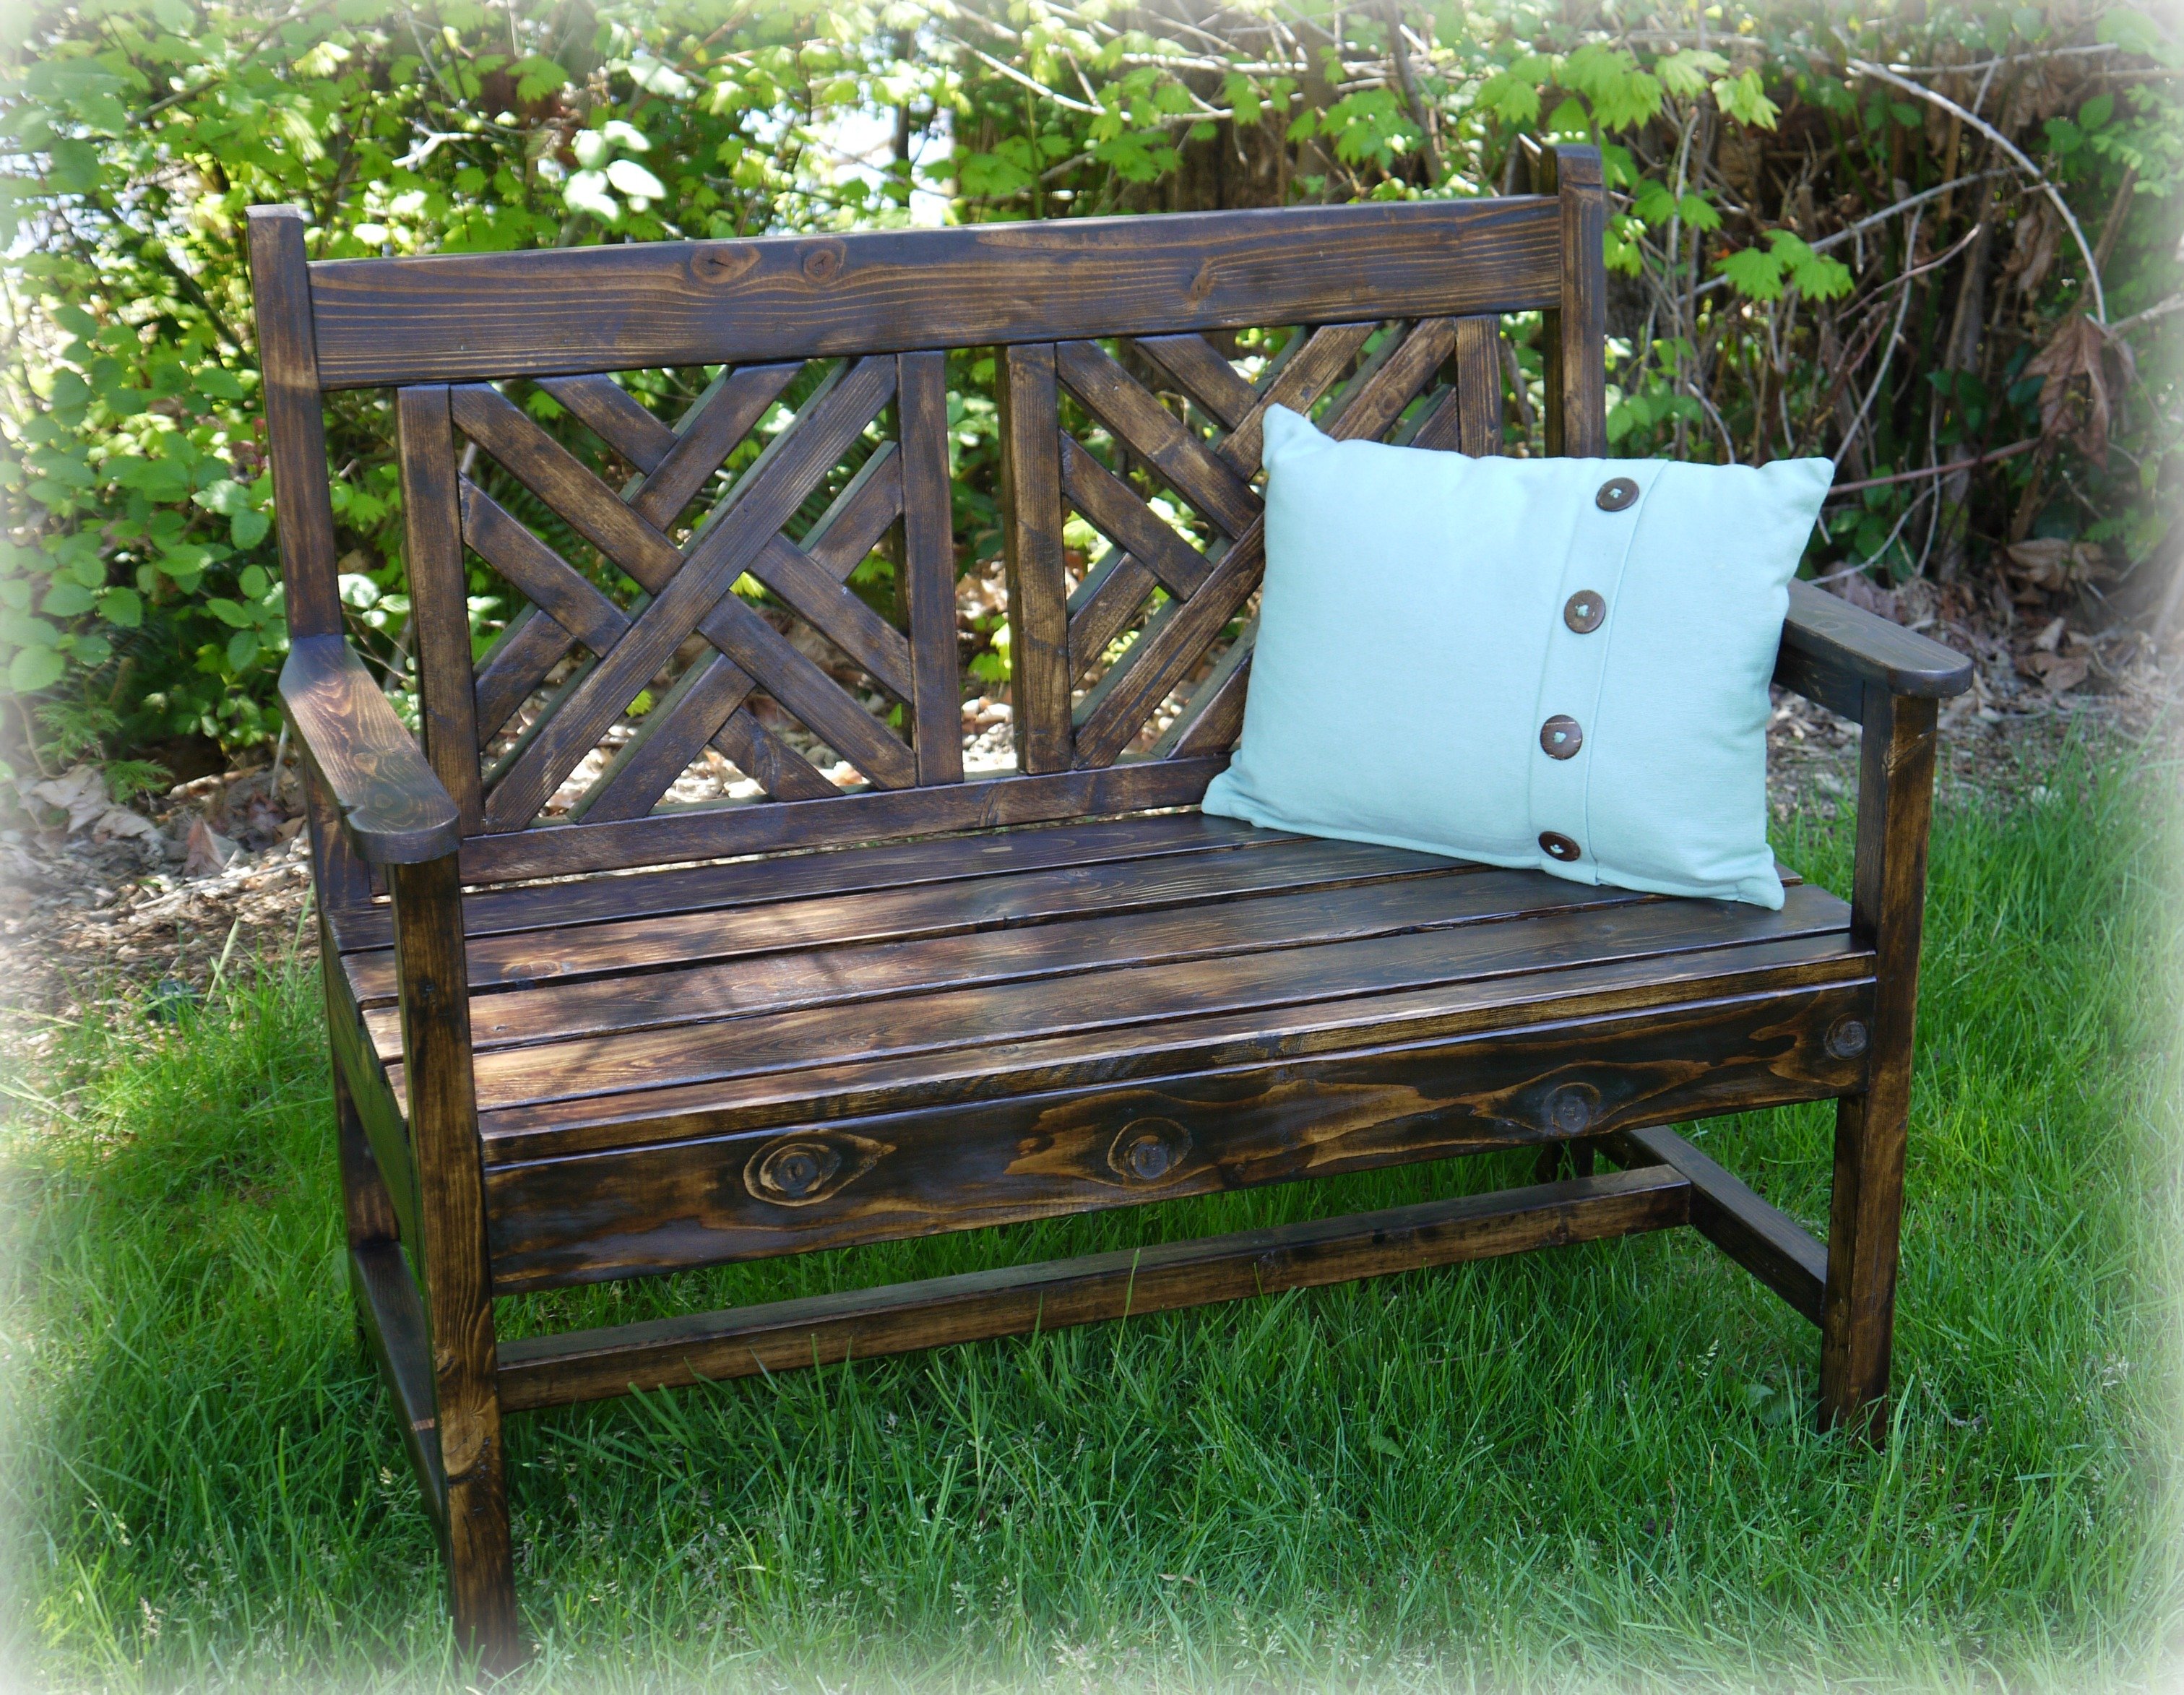
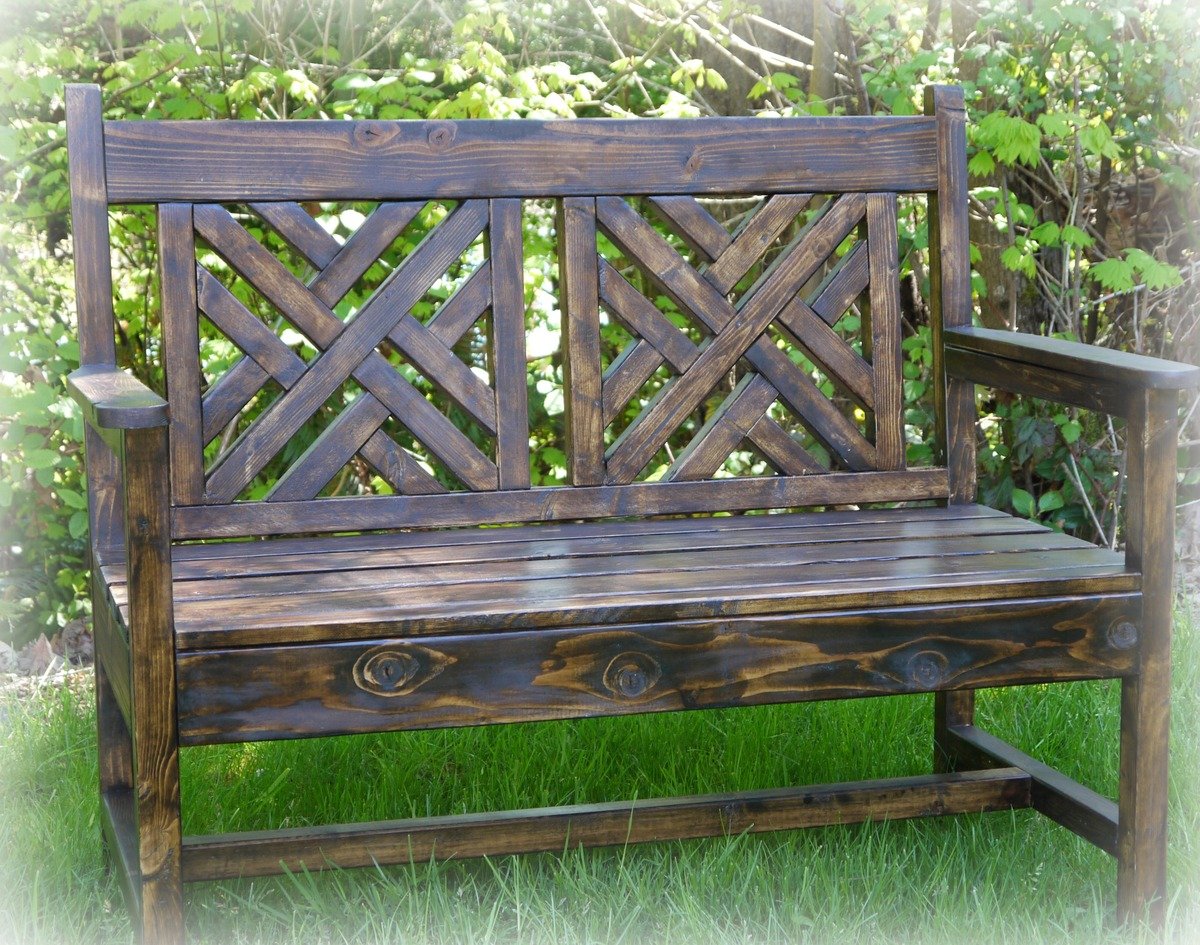
Emmerson Buffet or Console
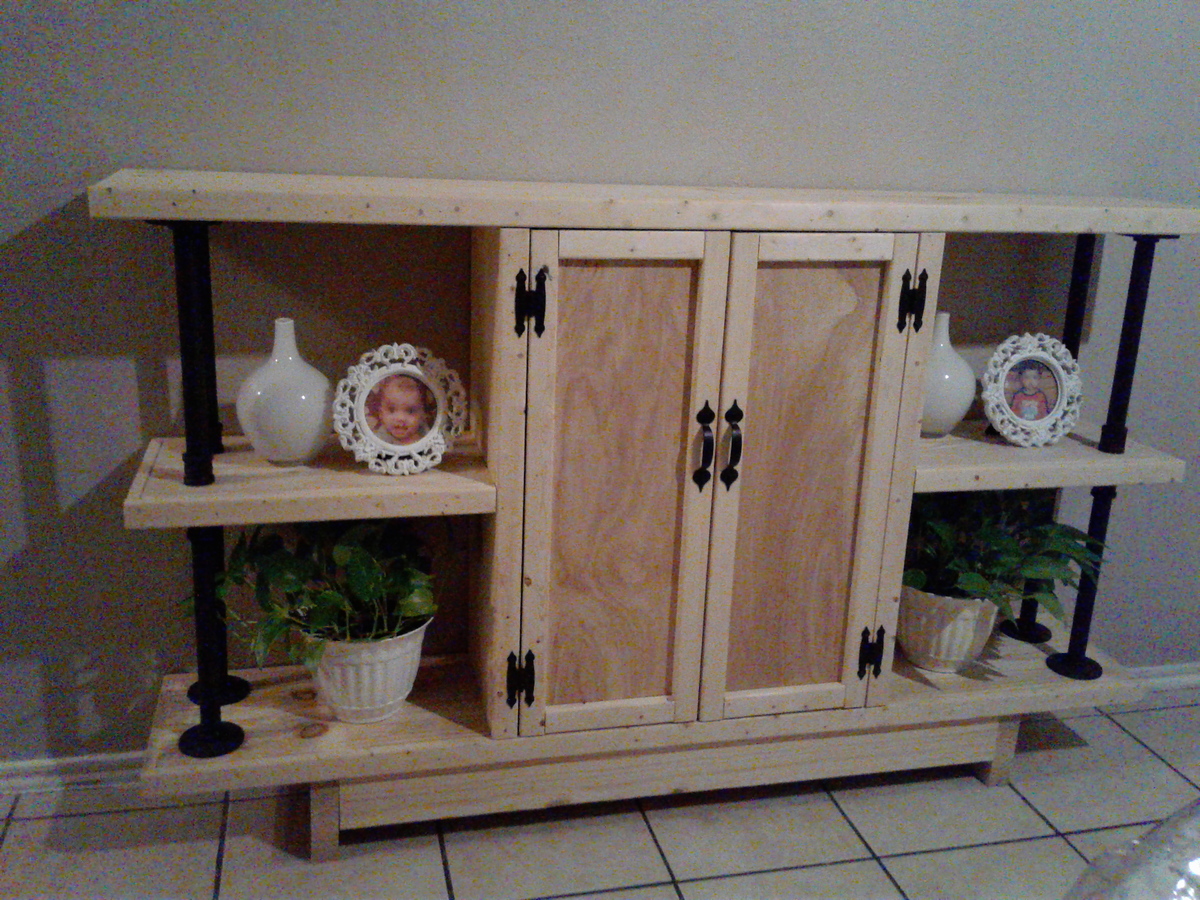
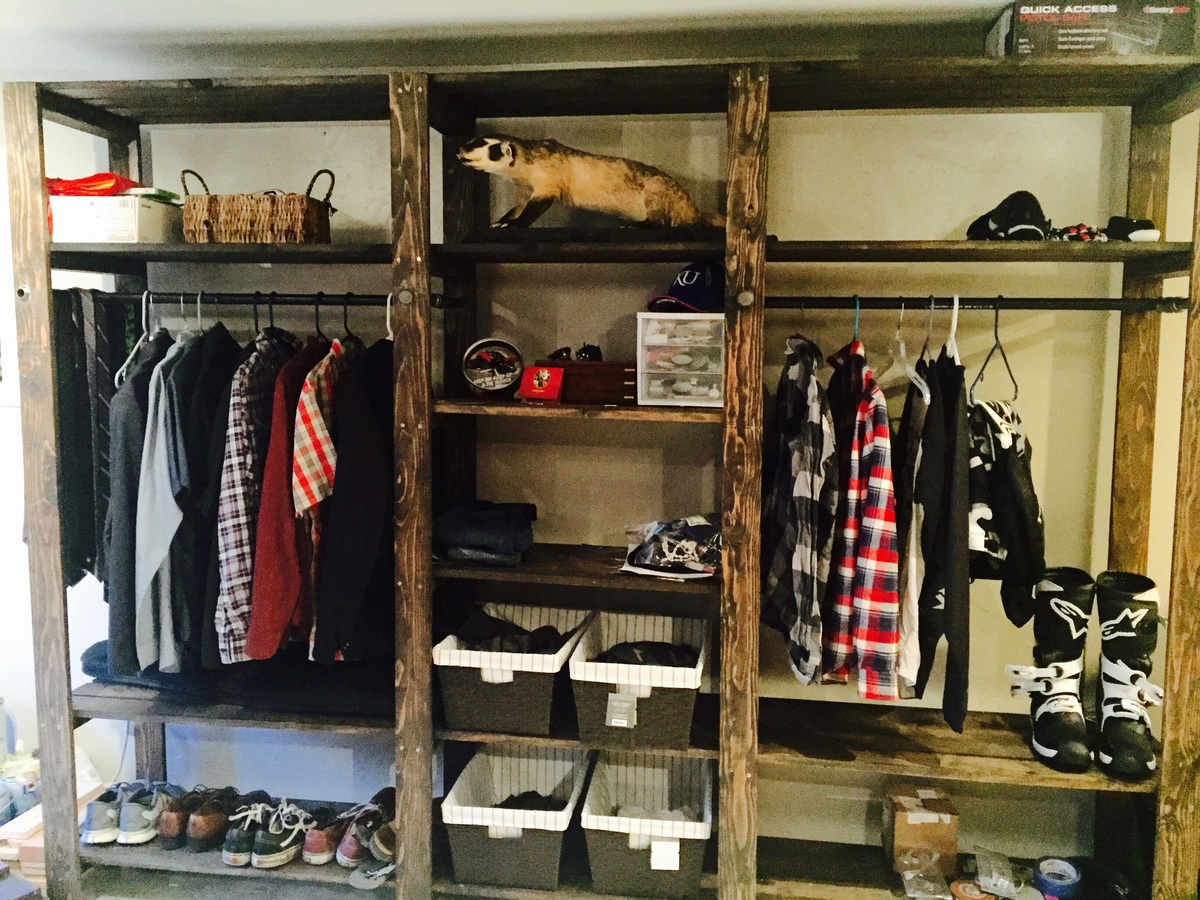
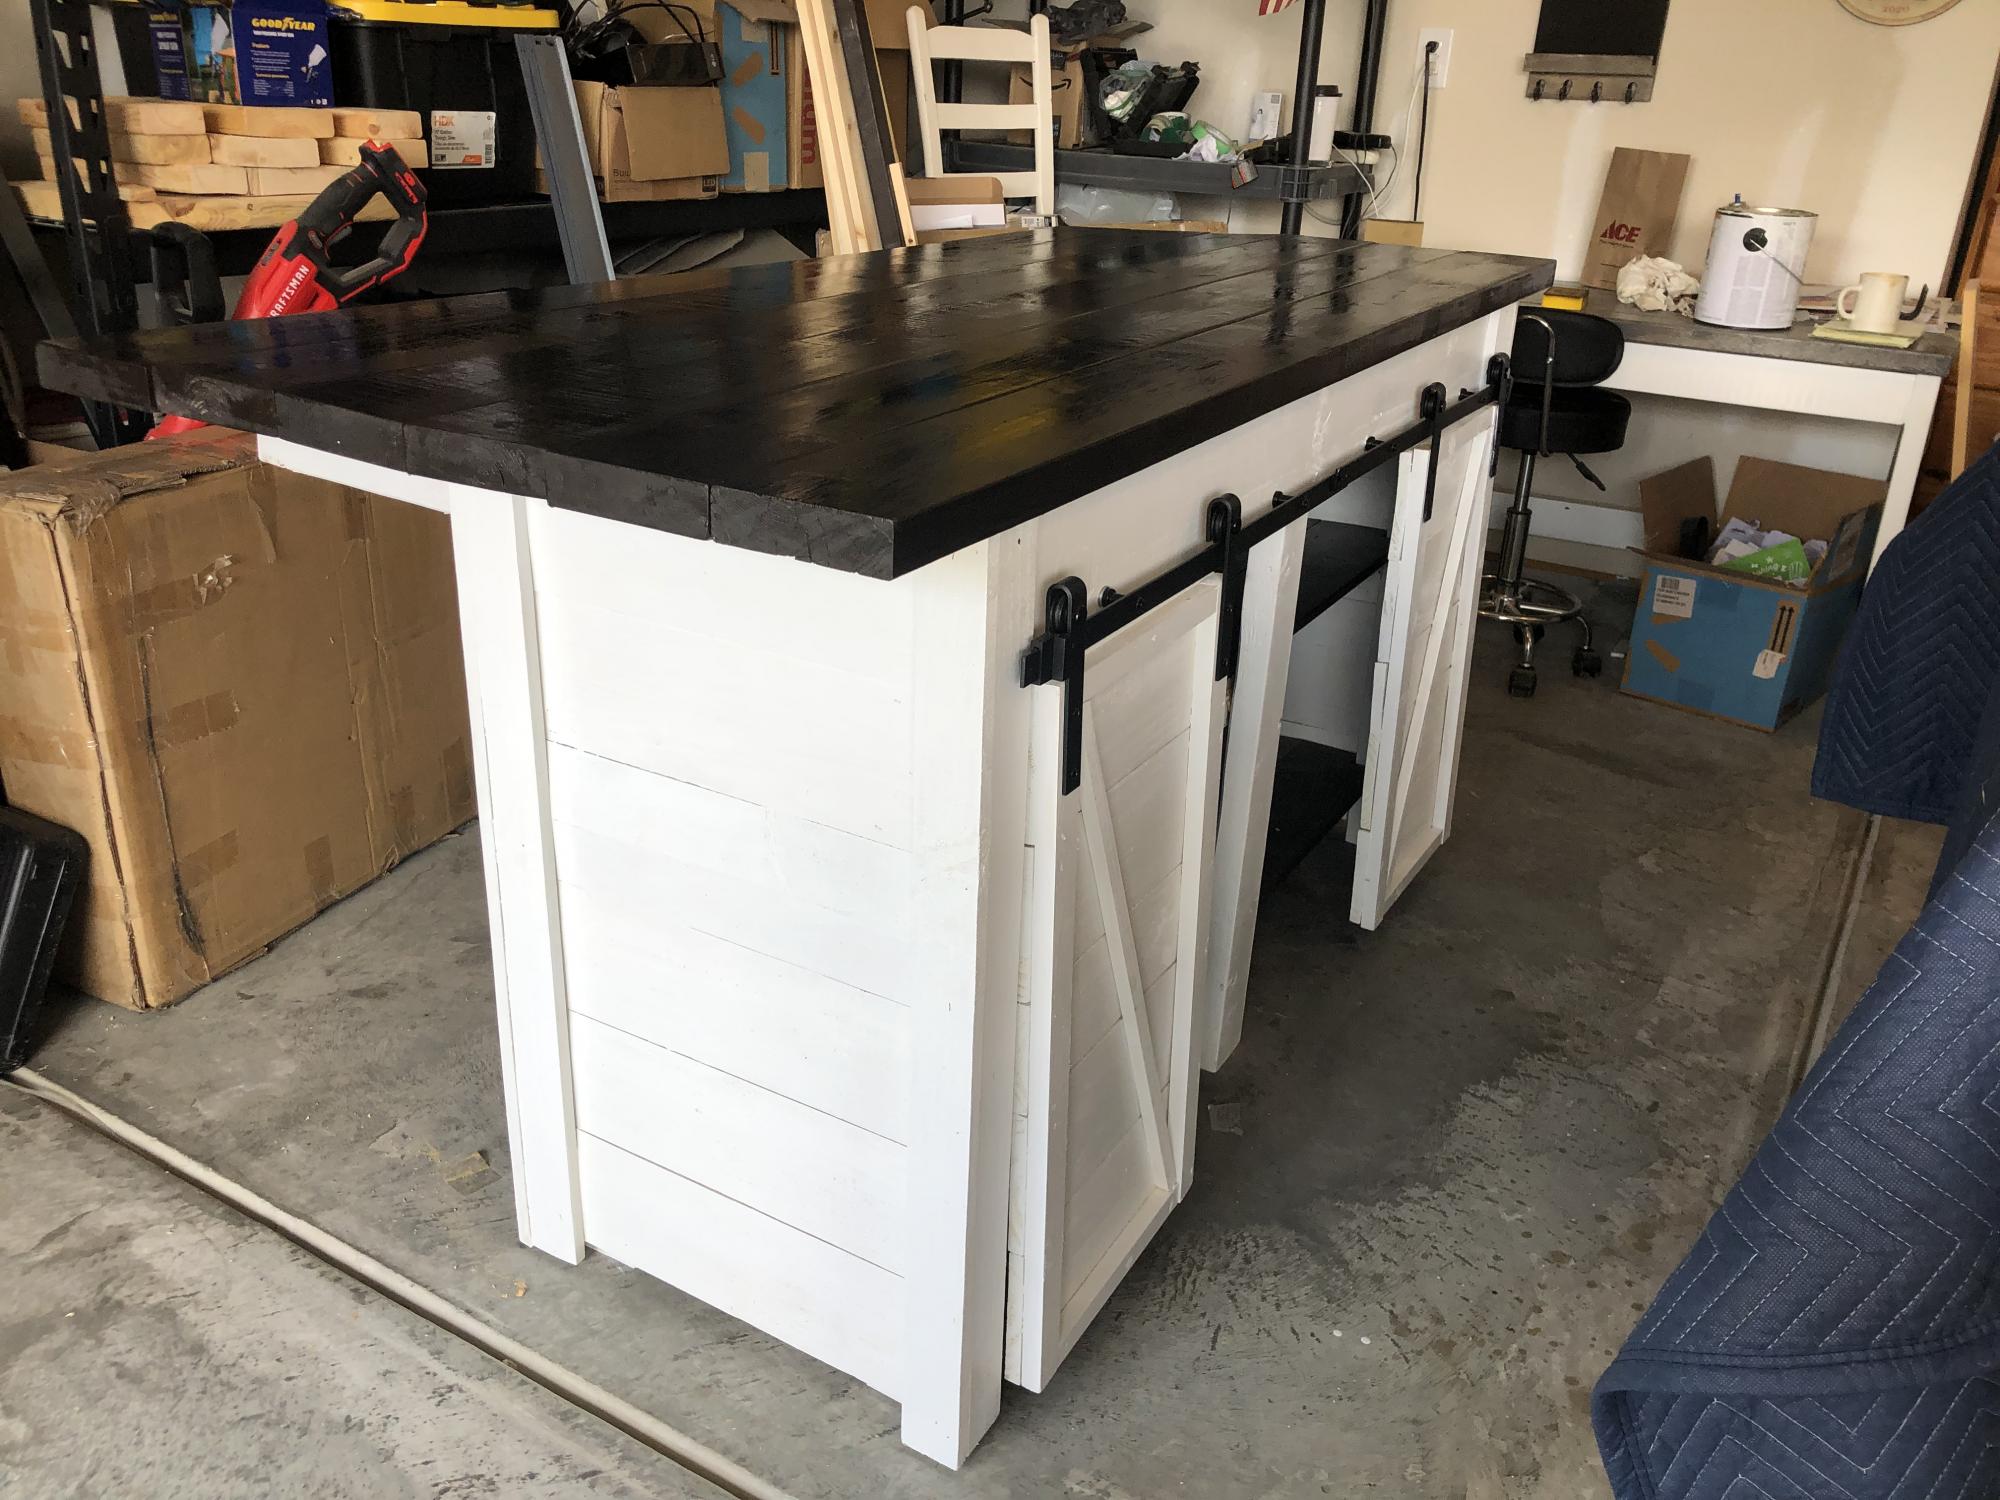
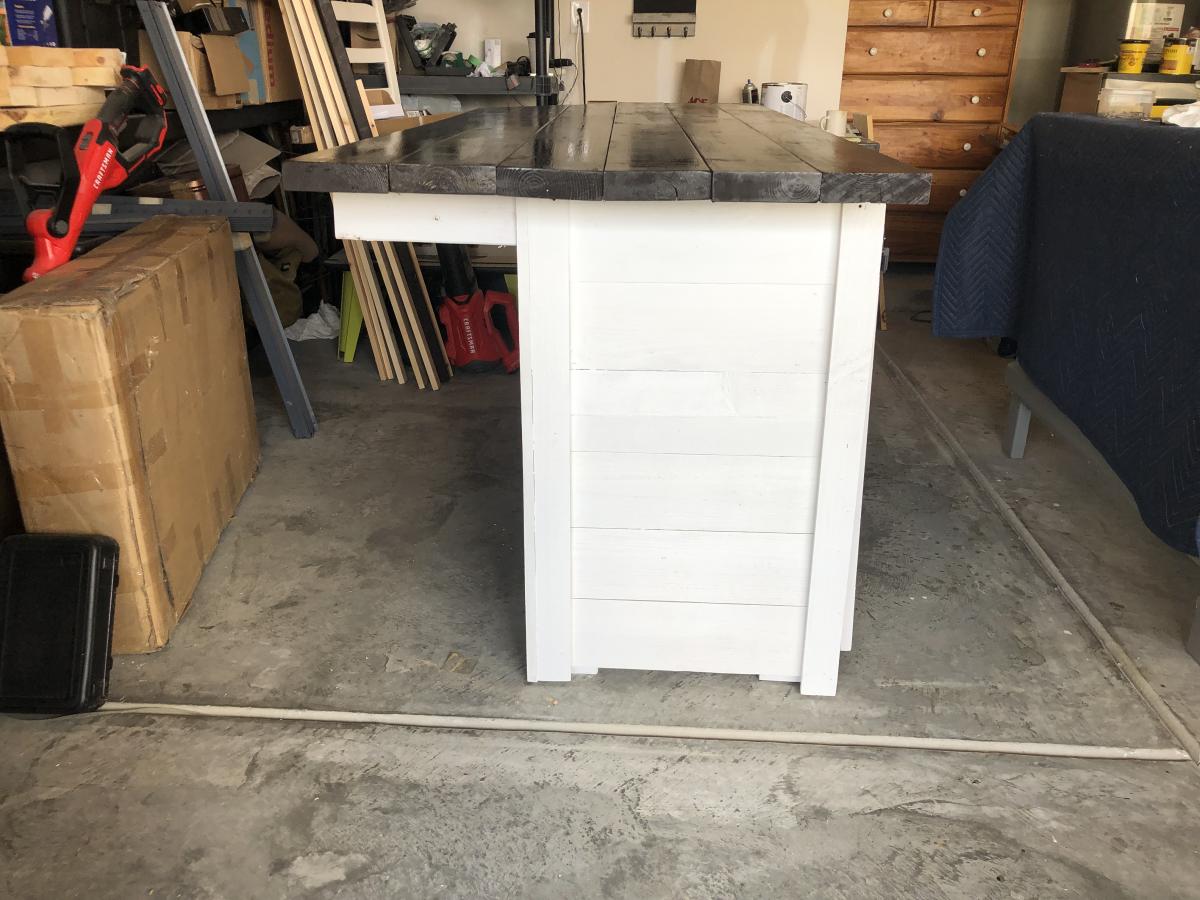
I had a console (or three tiered shelf) that I made with 2x10 and black pipe. At first I was happy with that but when I saw this console and another one on the blog of "Shades of Blue's", I decided to change the designe of my three tiered consol to Emmerson console. I love the console. In new console, I did not use any side pieces. I didn't want to throw away the black pipes because it cost money. So I ended up with this designe. I haven't put any stain or paint. I am not sure what paint or stain to put. So I leave it as it is.
Built from Plan(s)
Estimated Time Investment
Weekend Project (10-20 Hours)
Finish Used
Unfinished
Recommended Skill Level
Intermediate