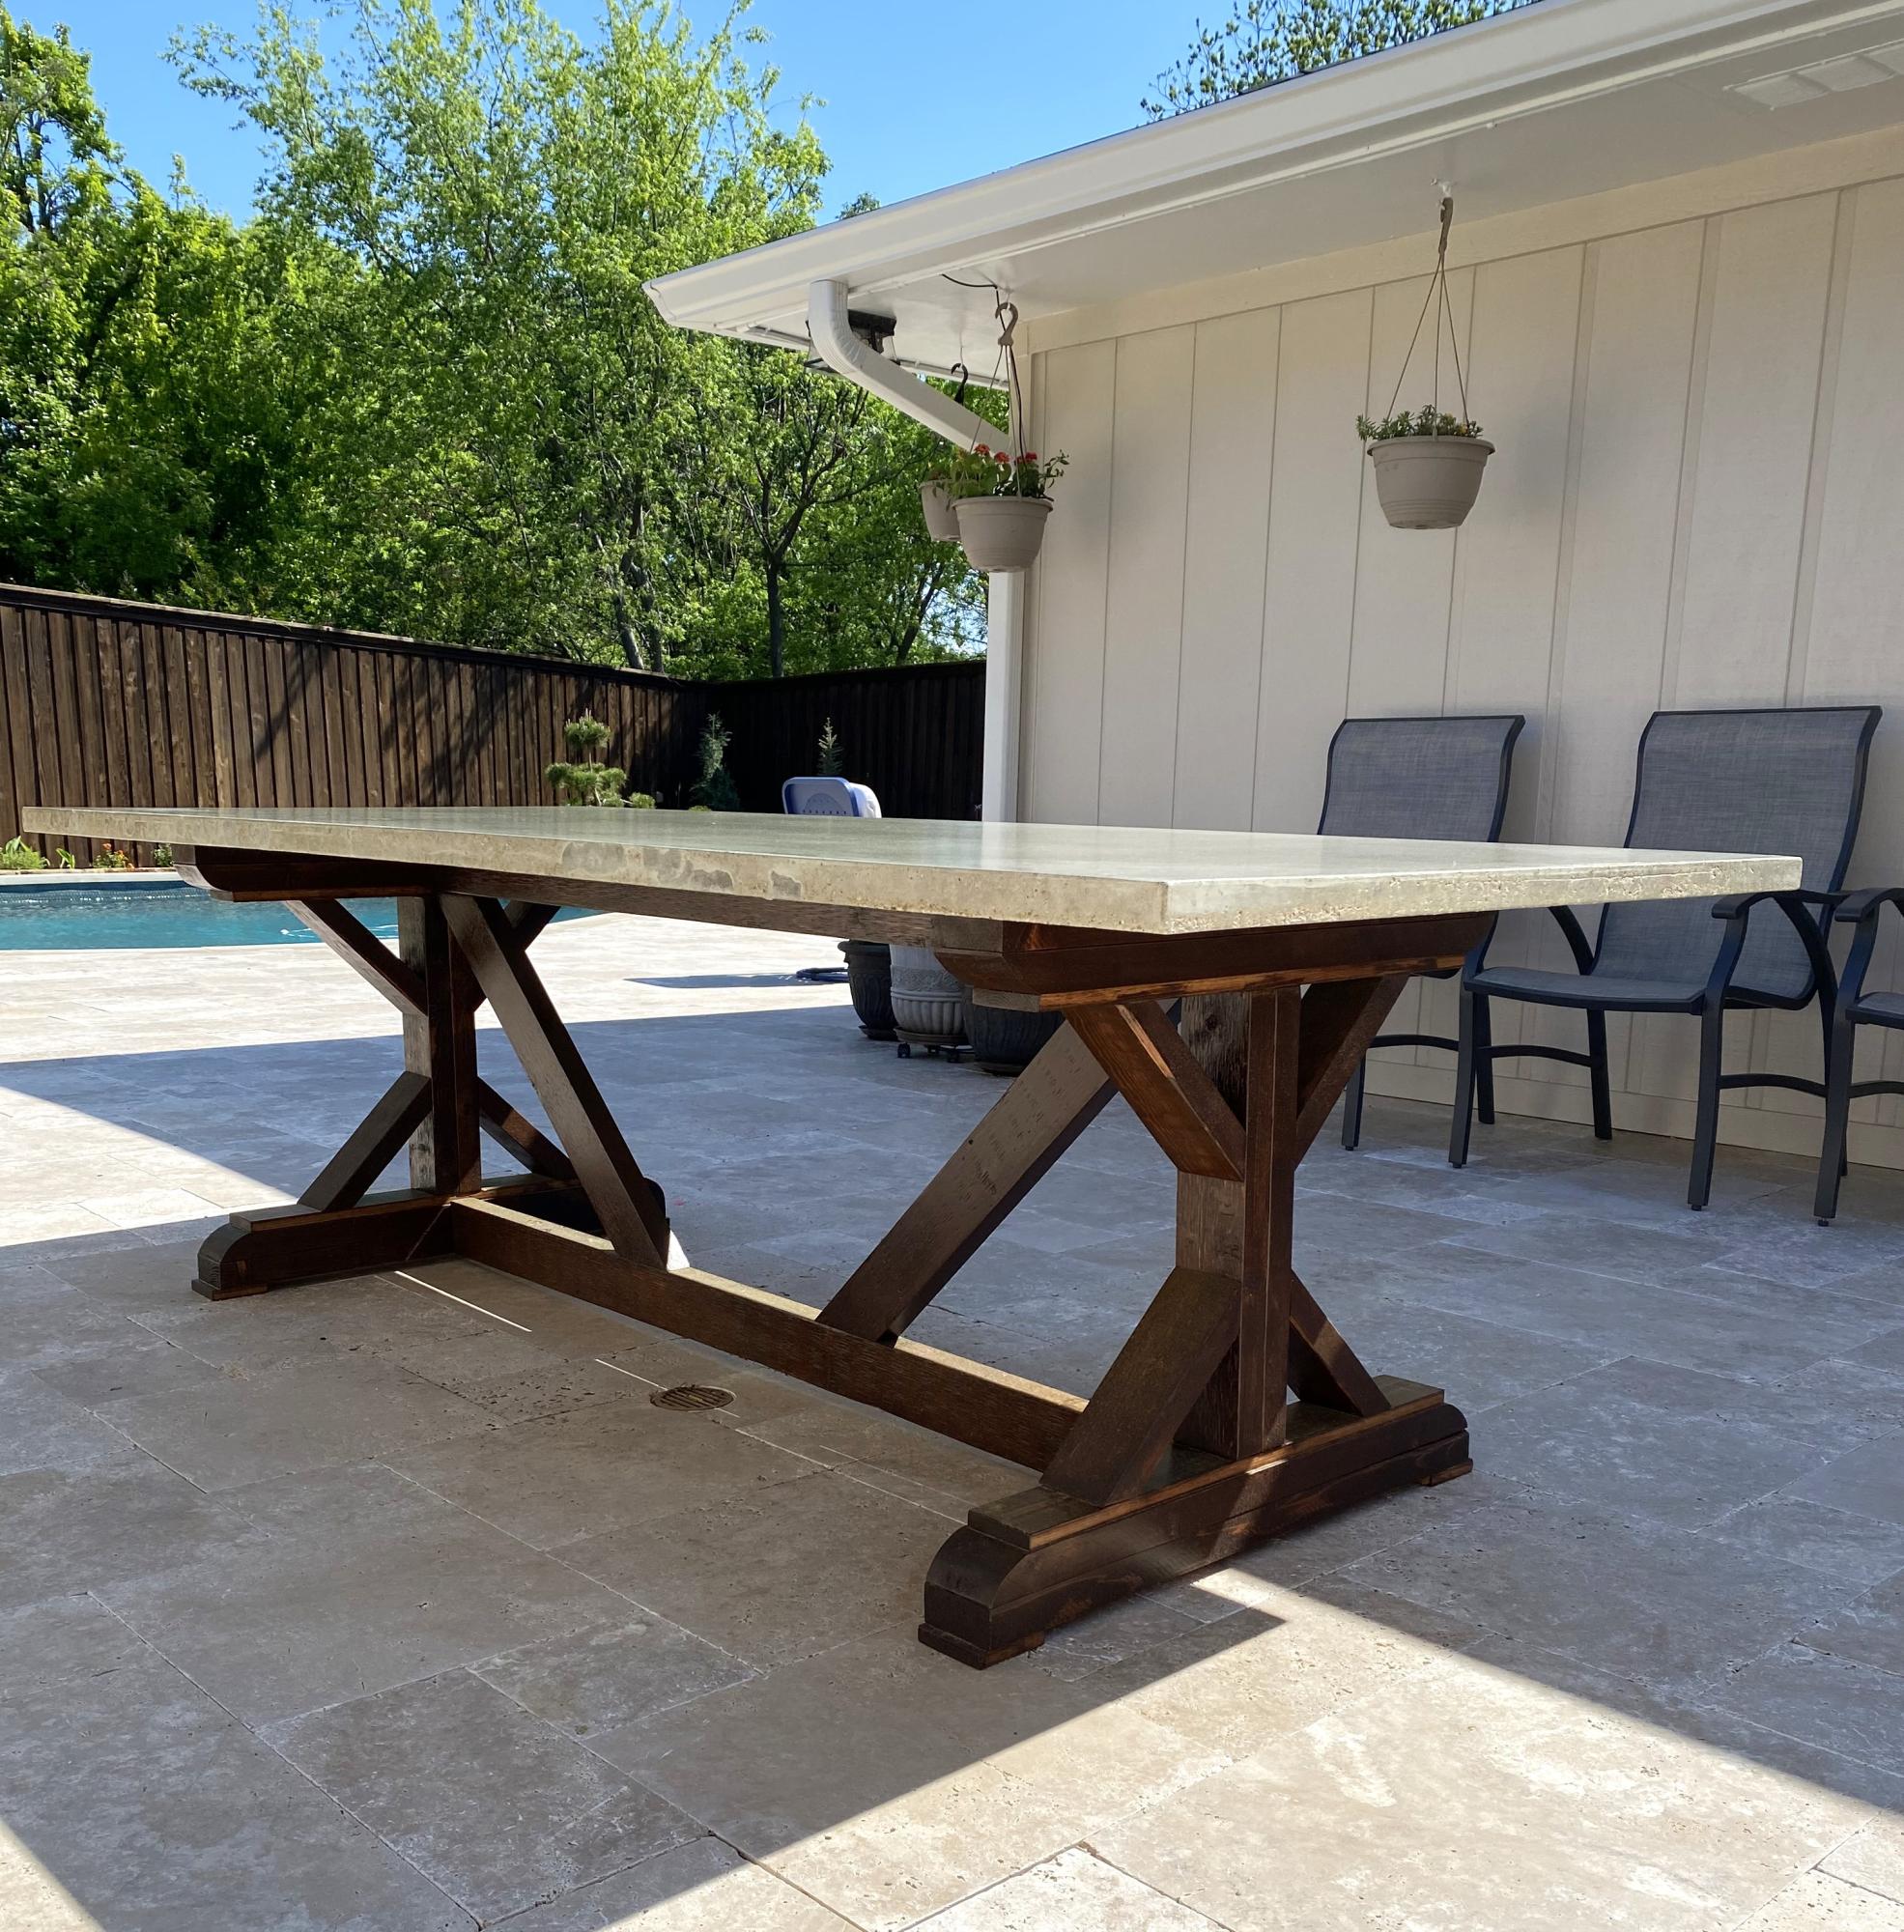
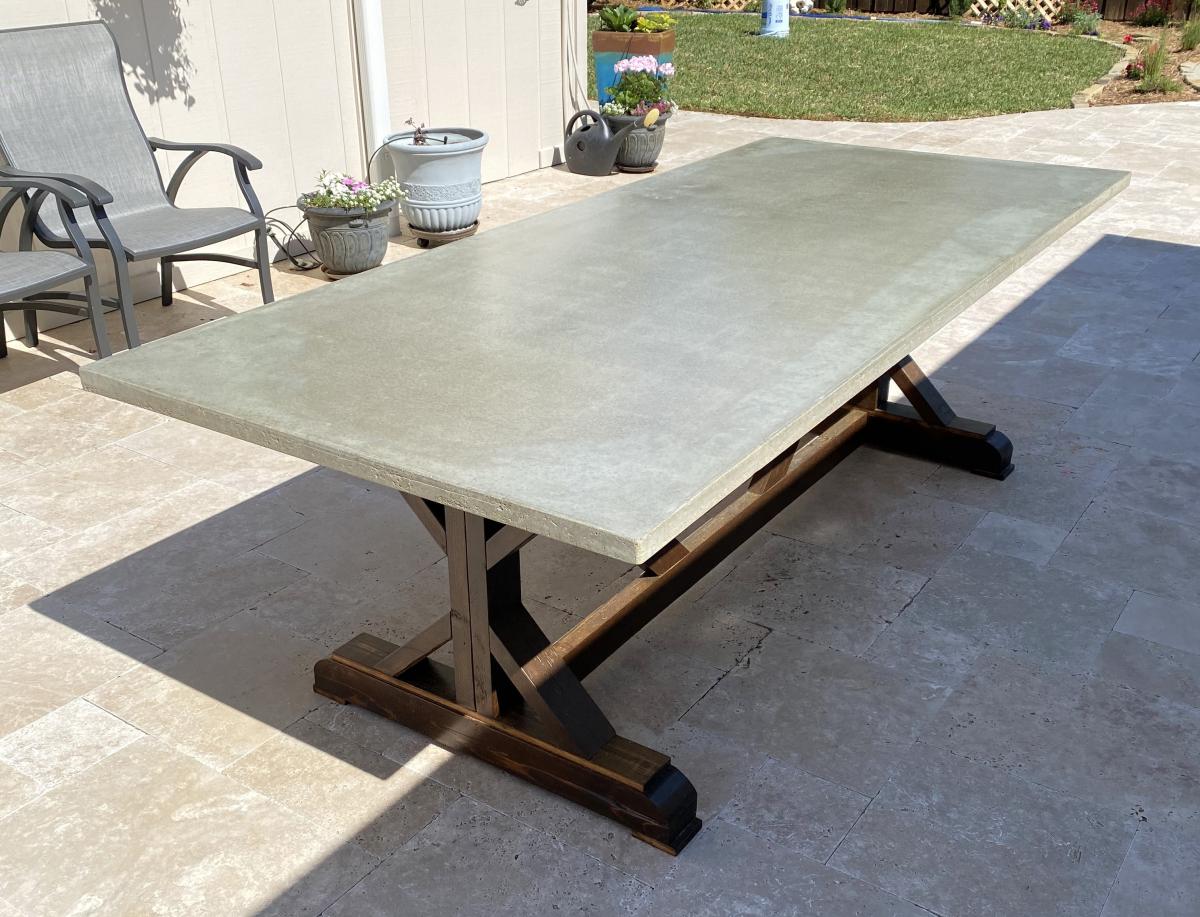
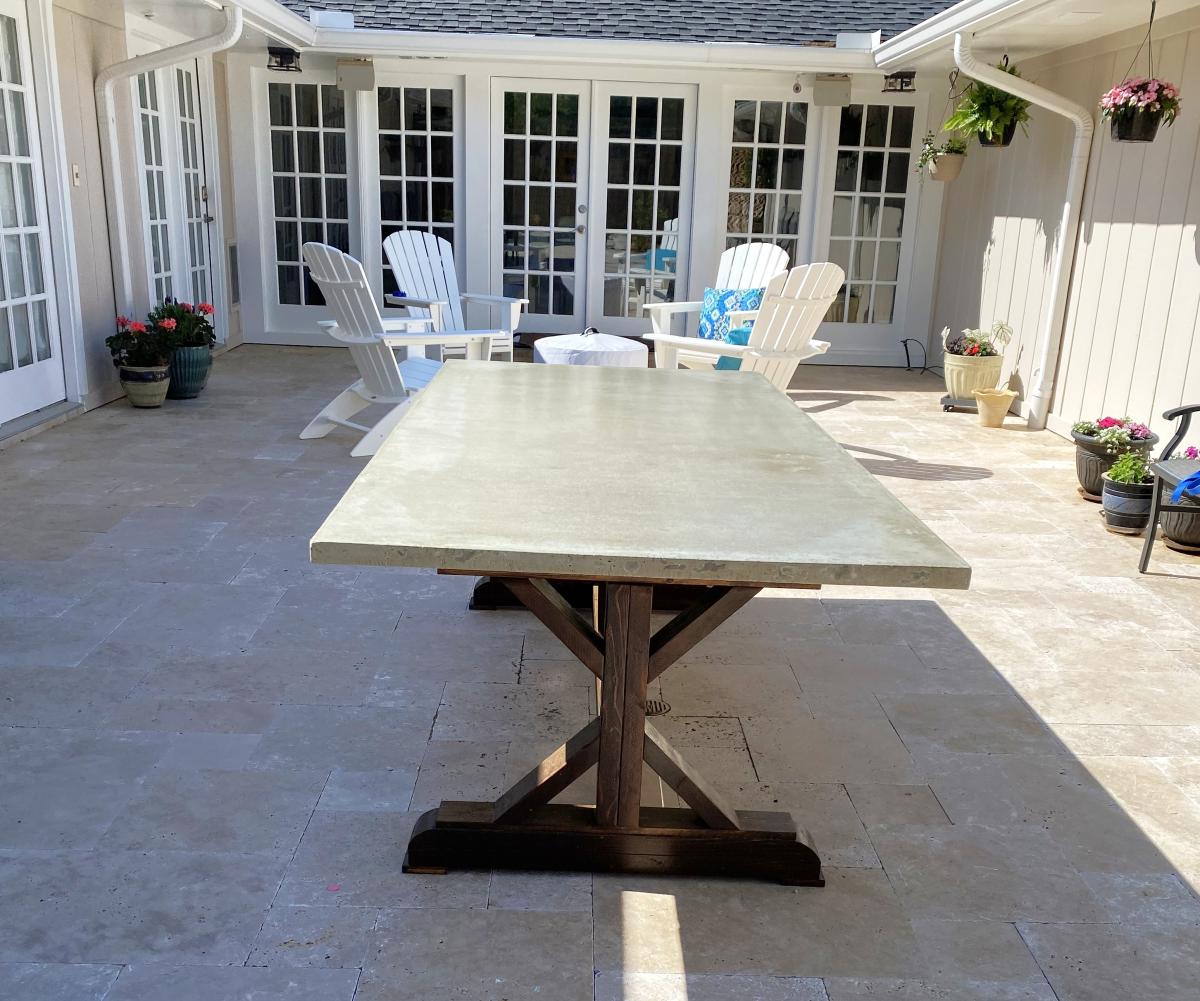
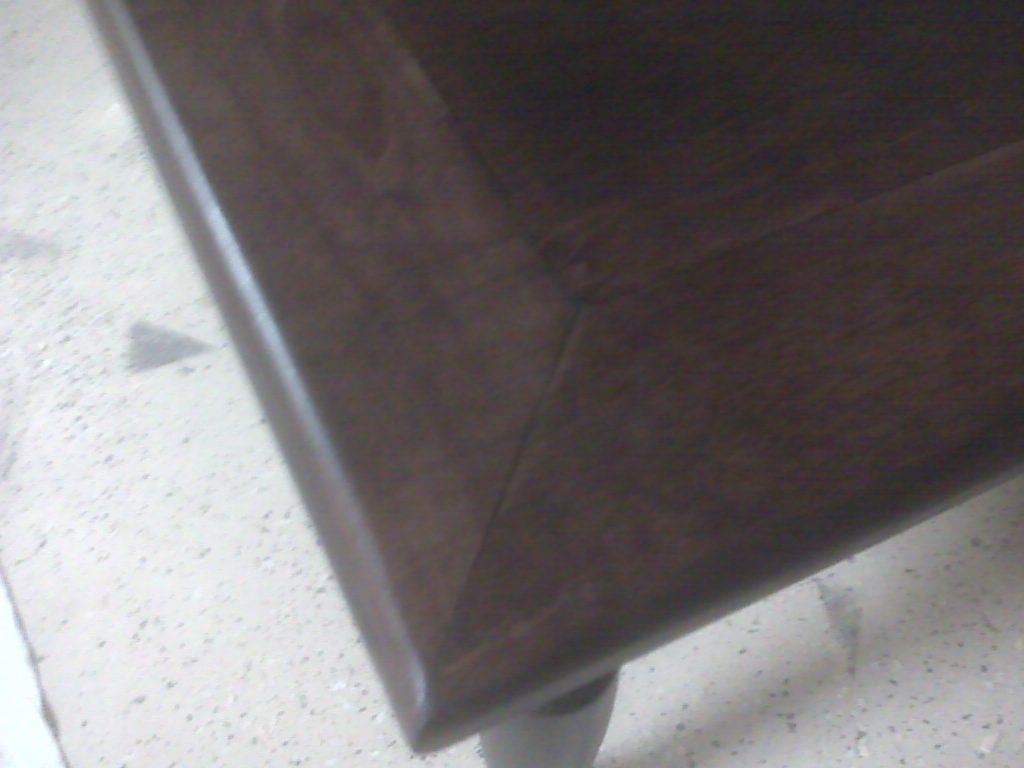
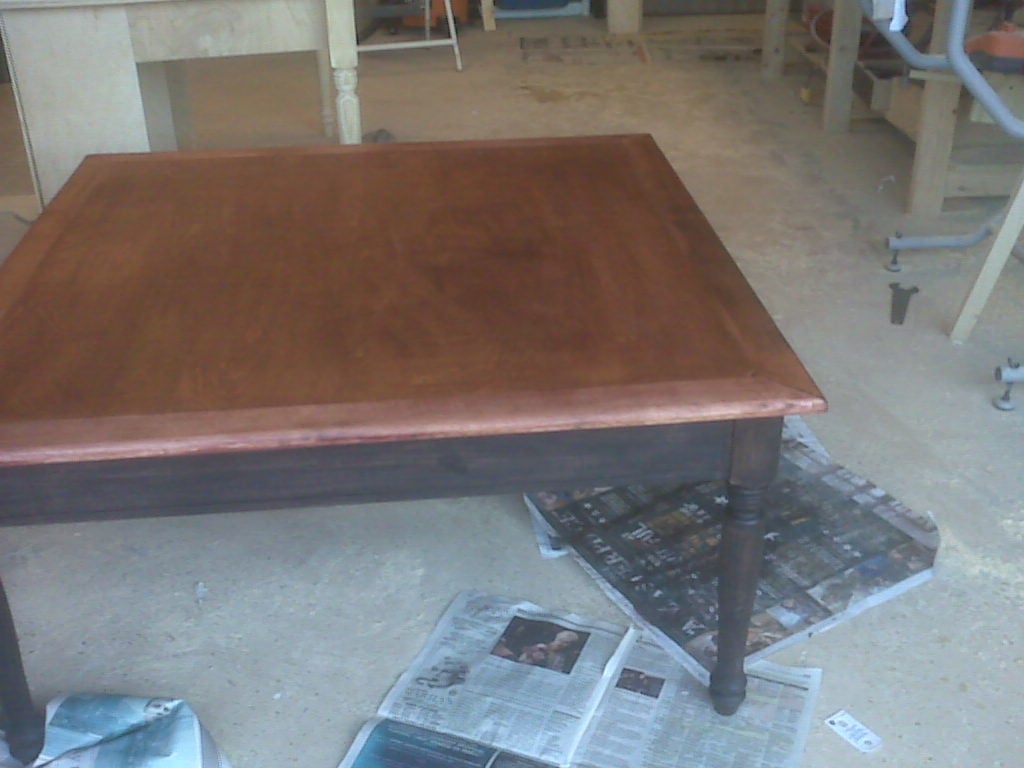
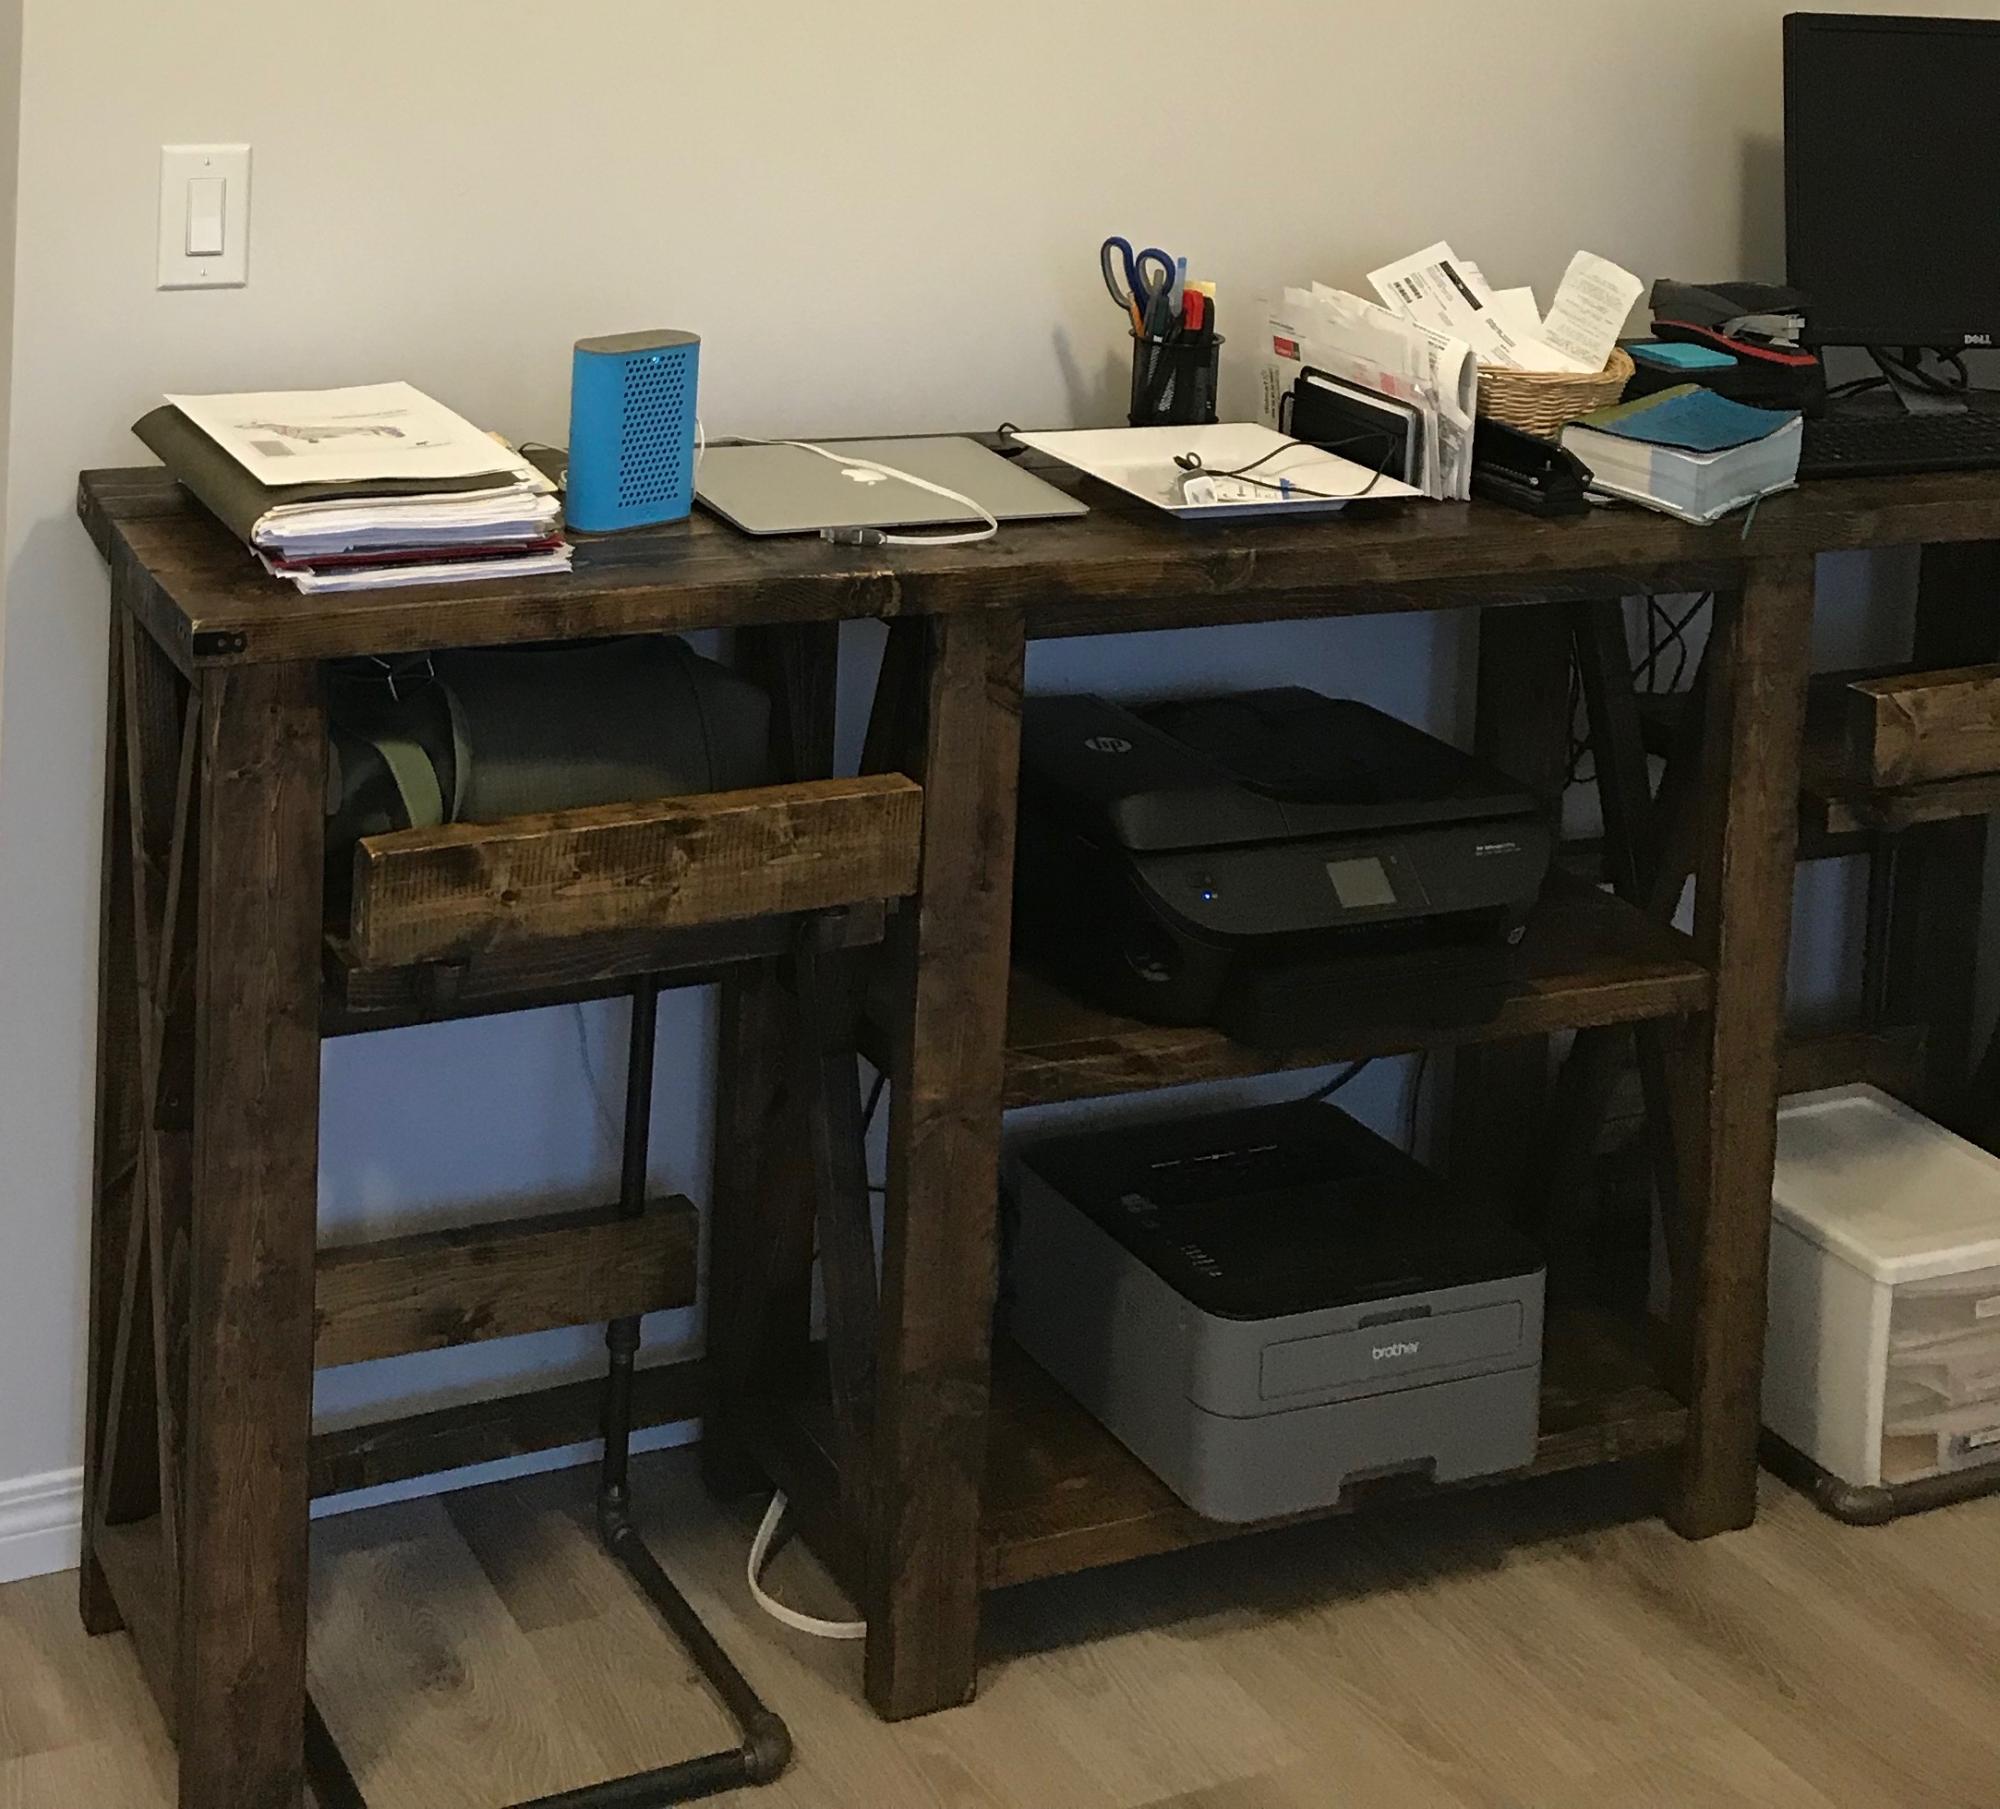
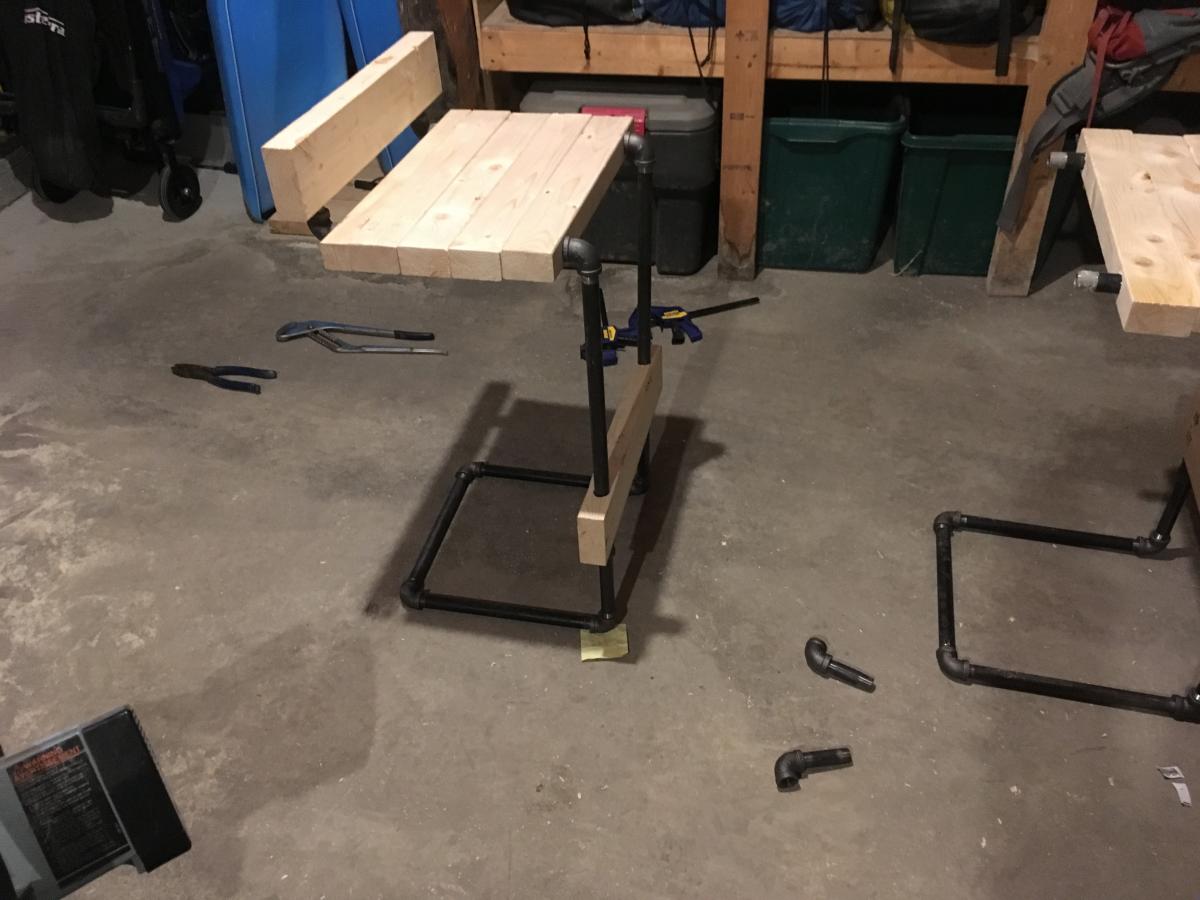
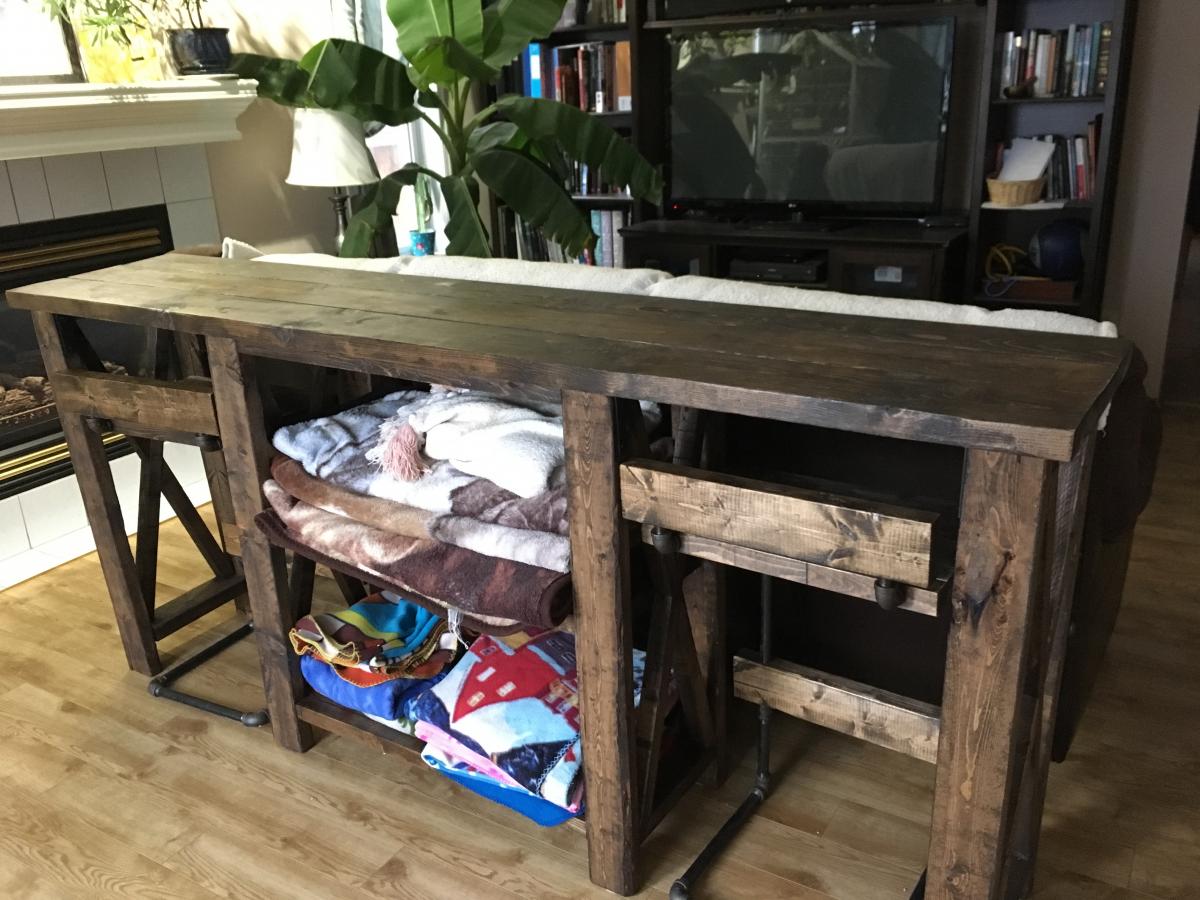
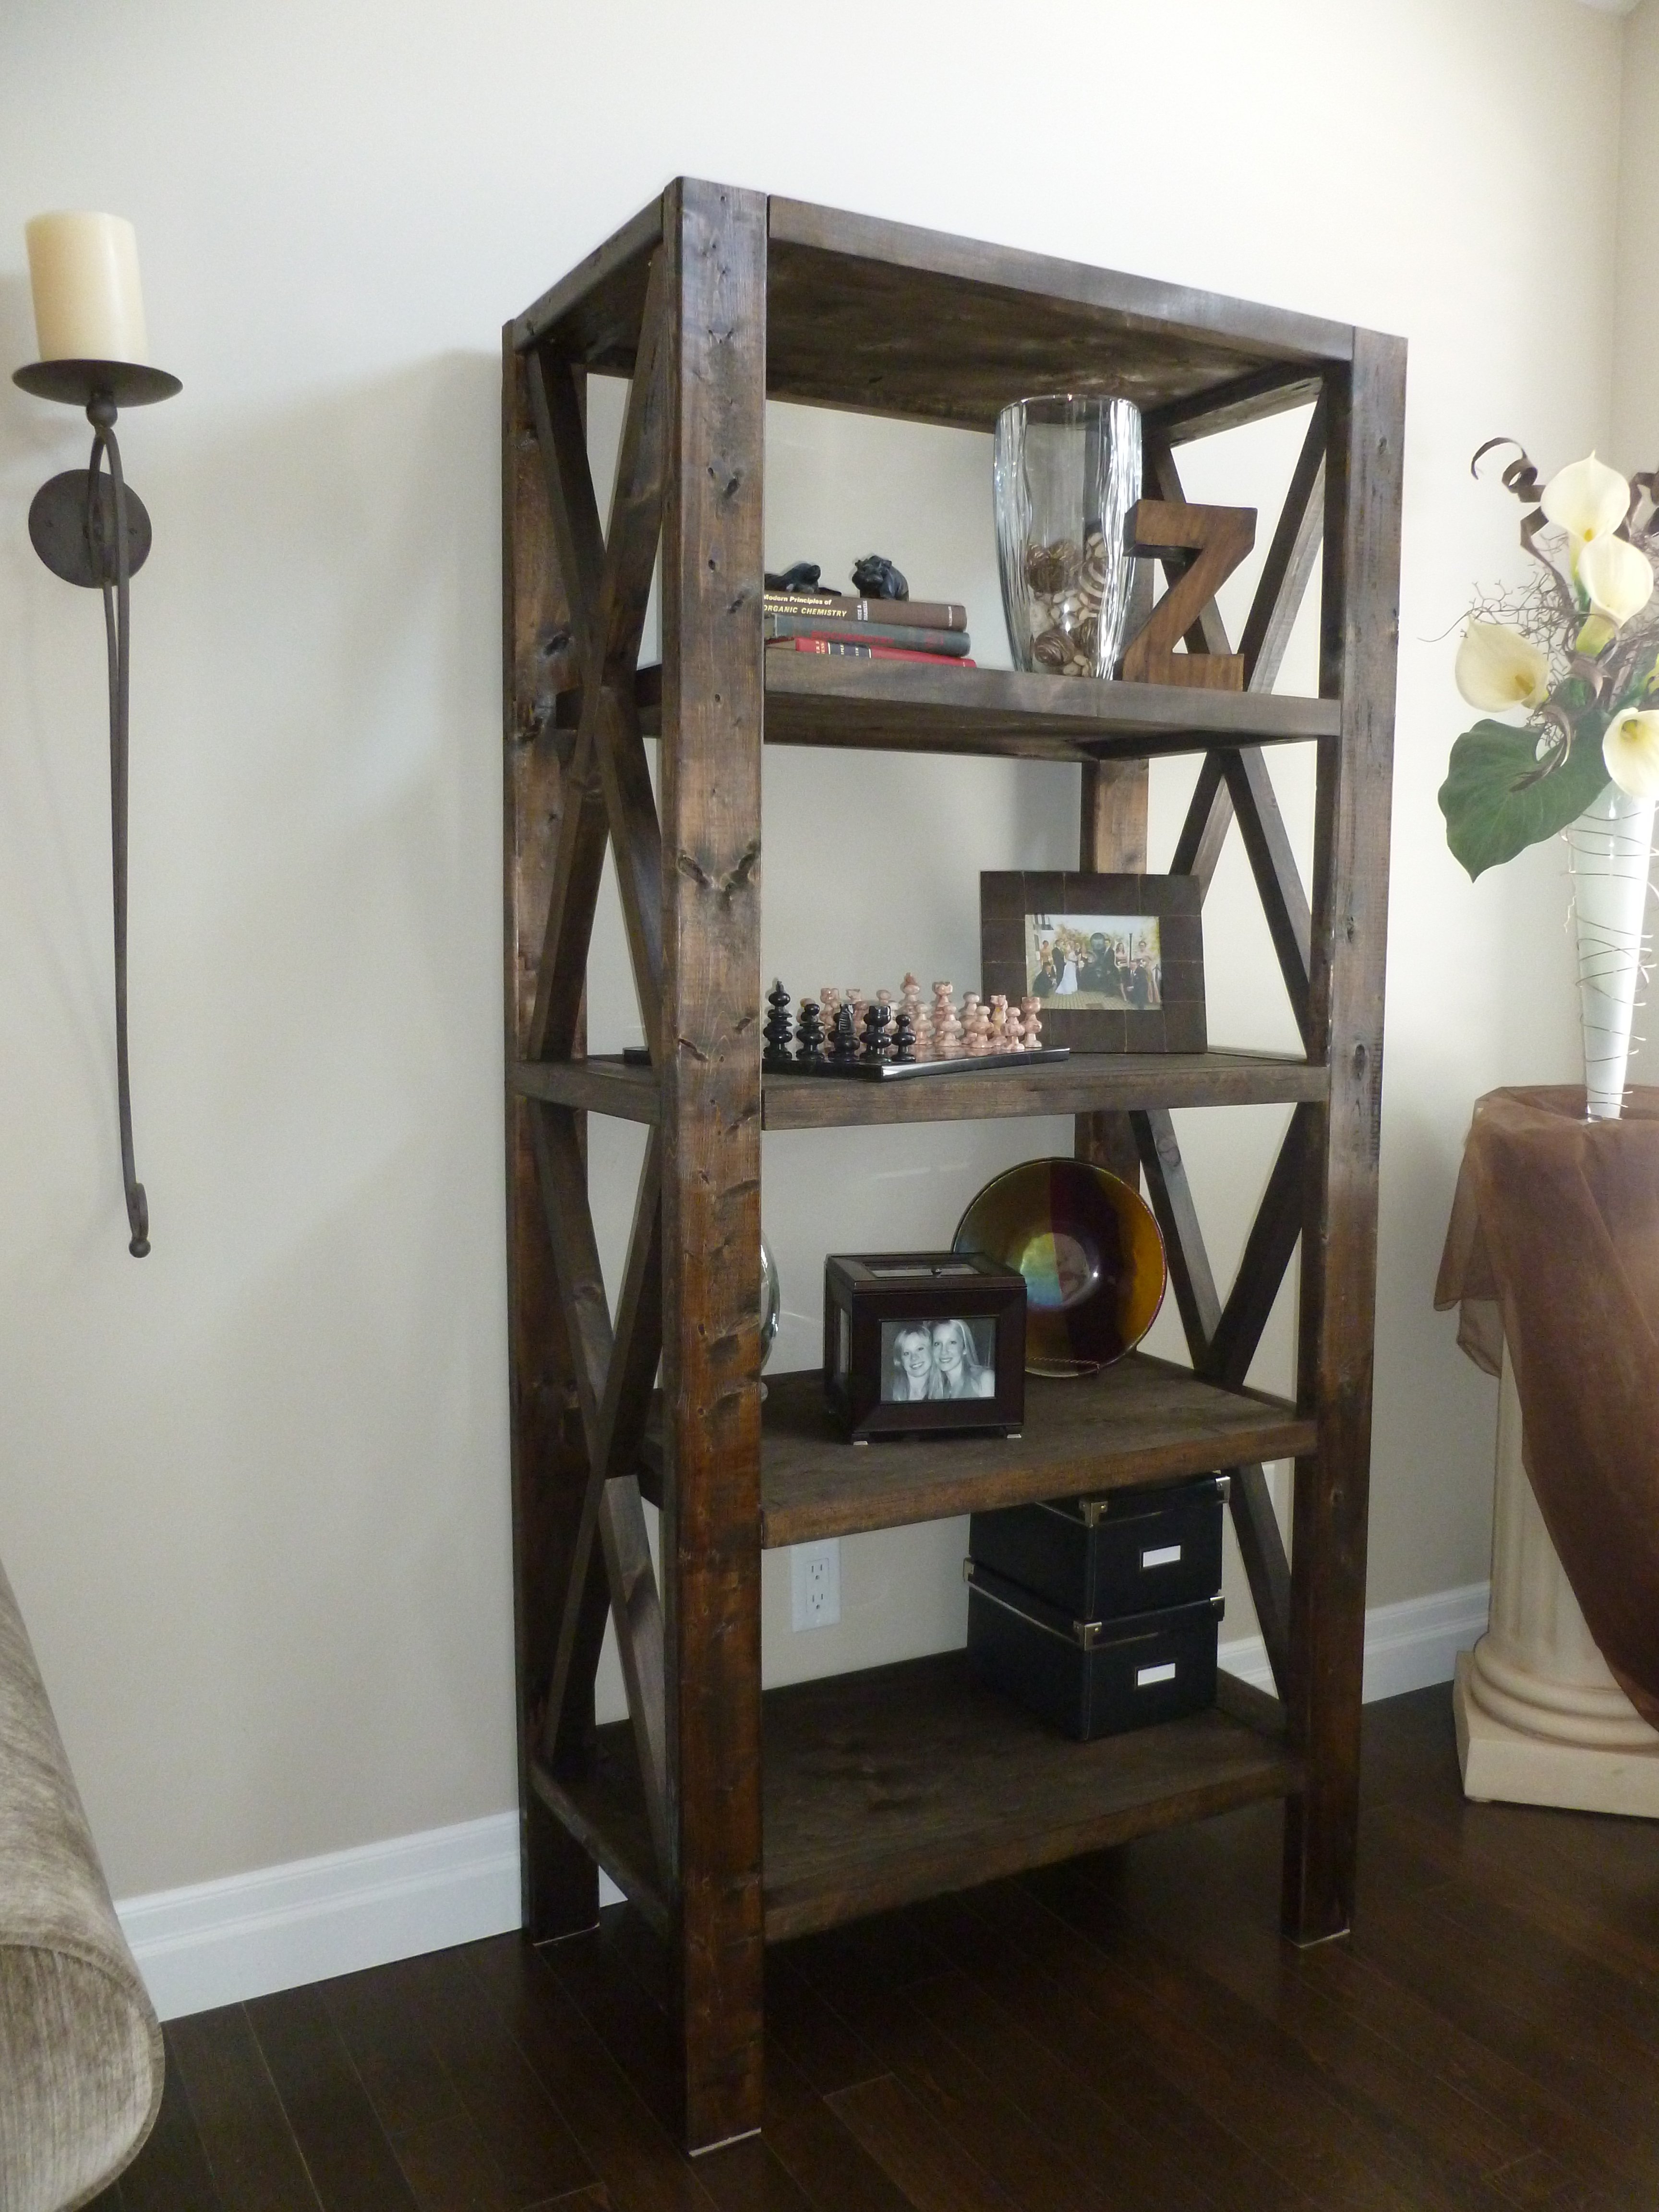
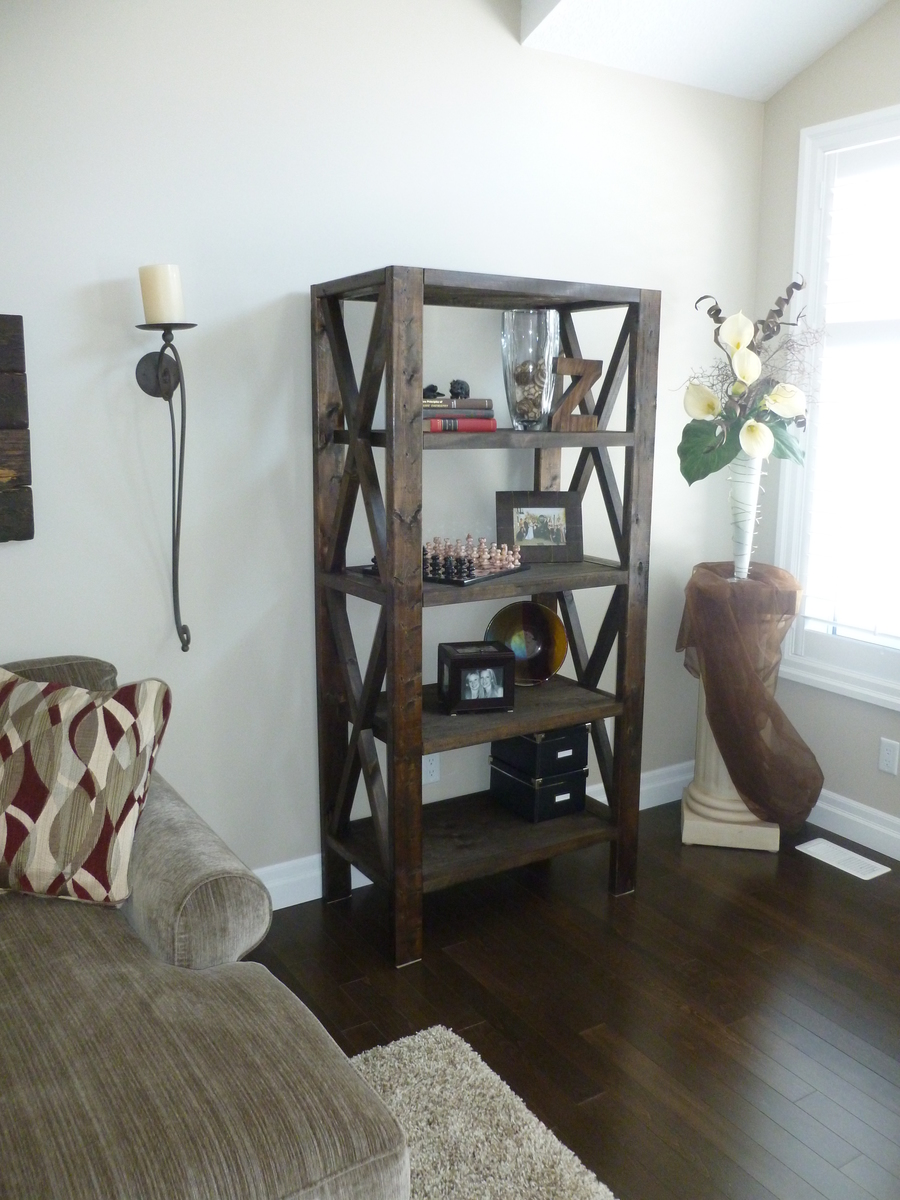
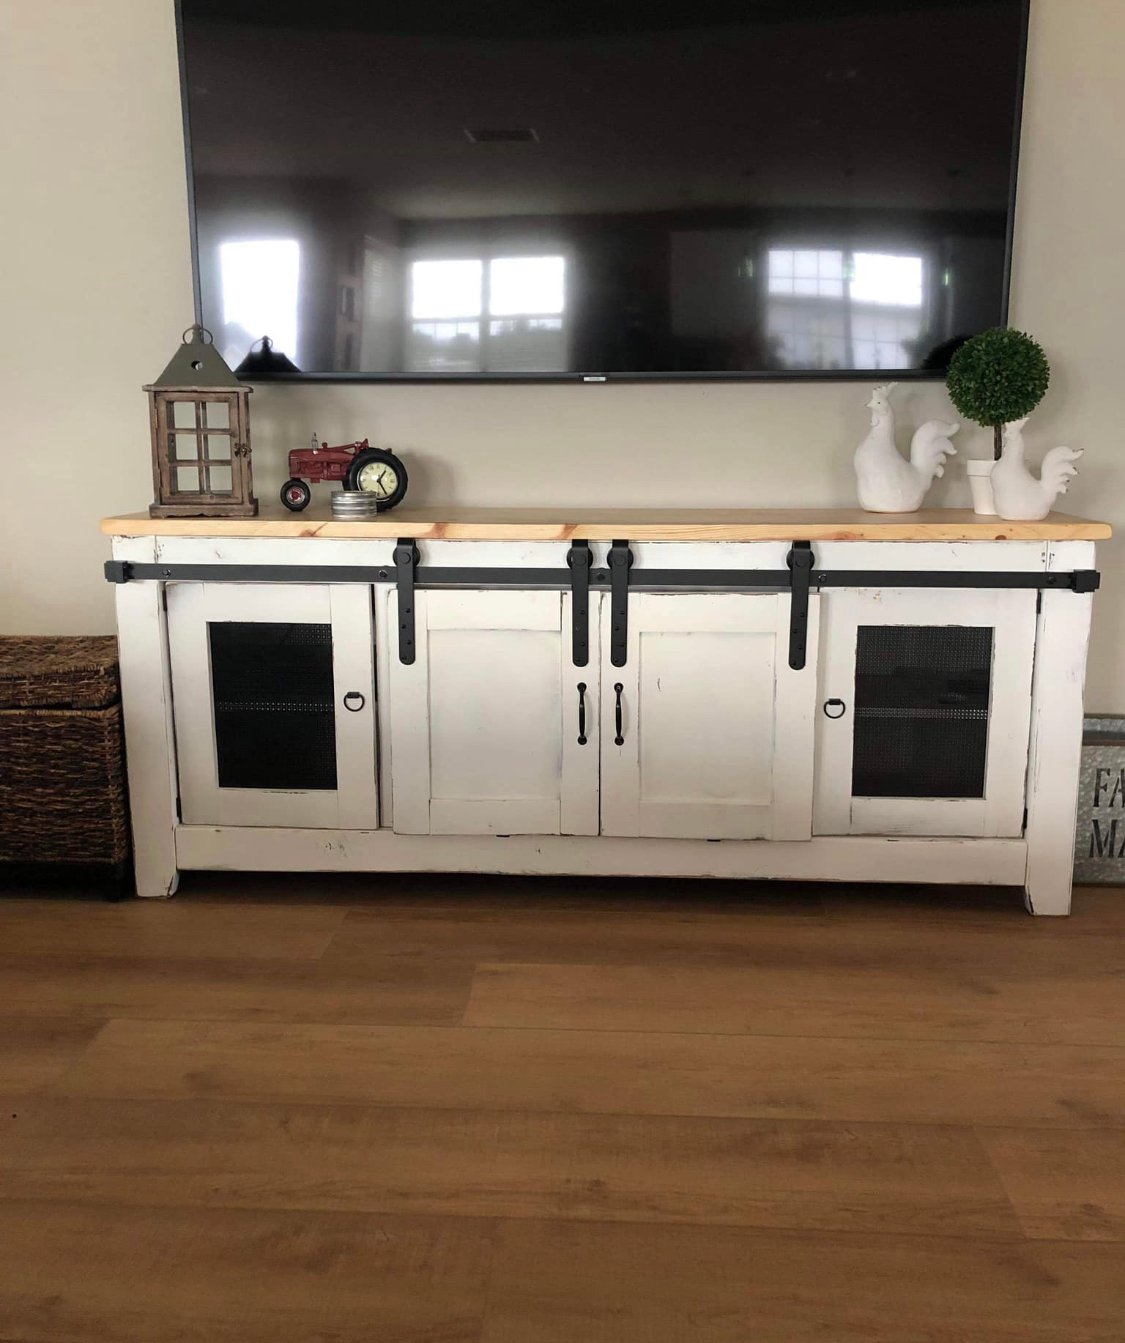
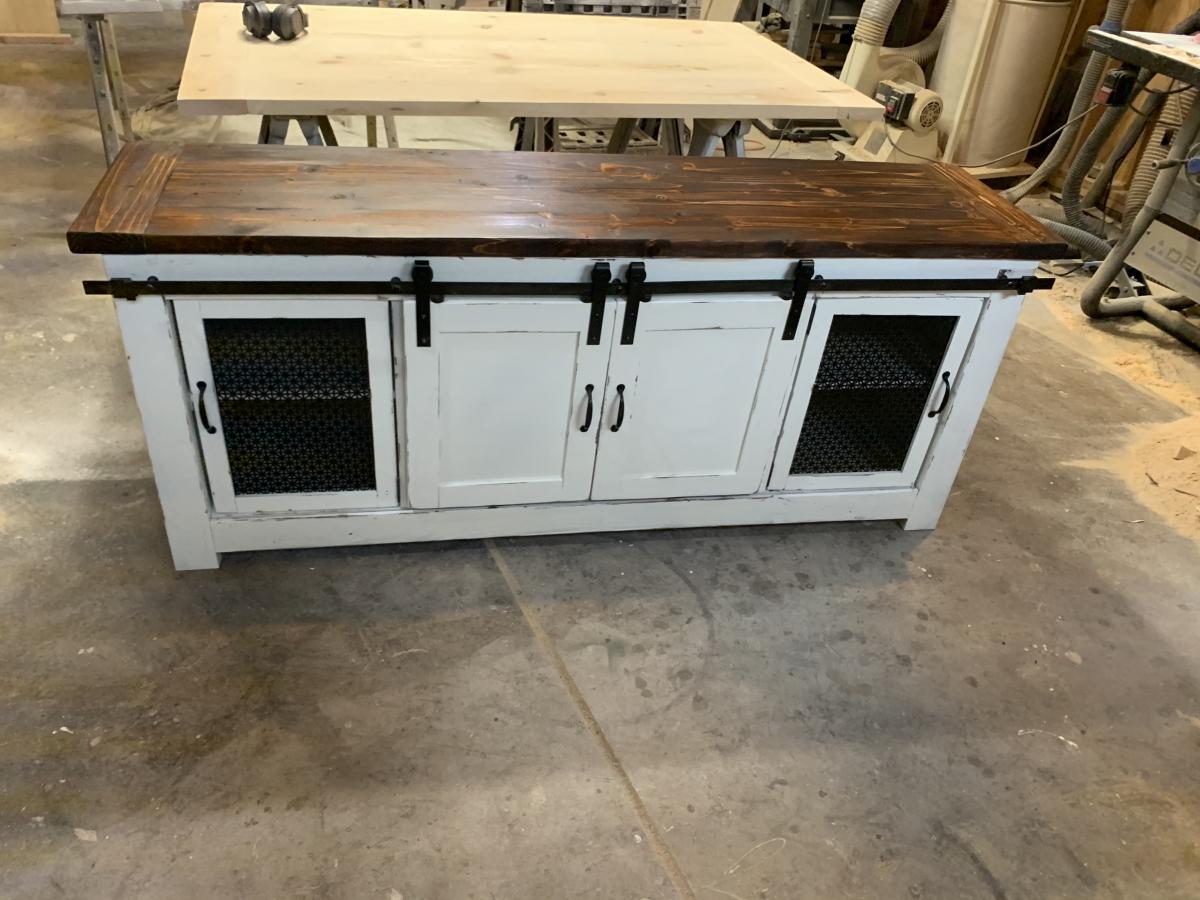
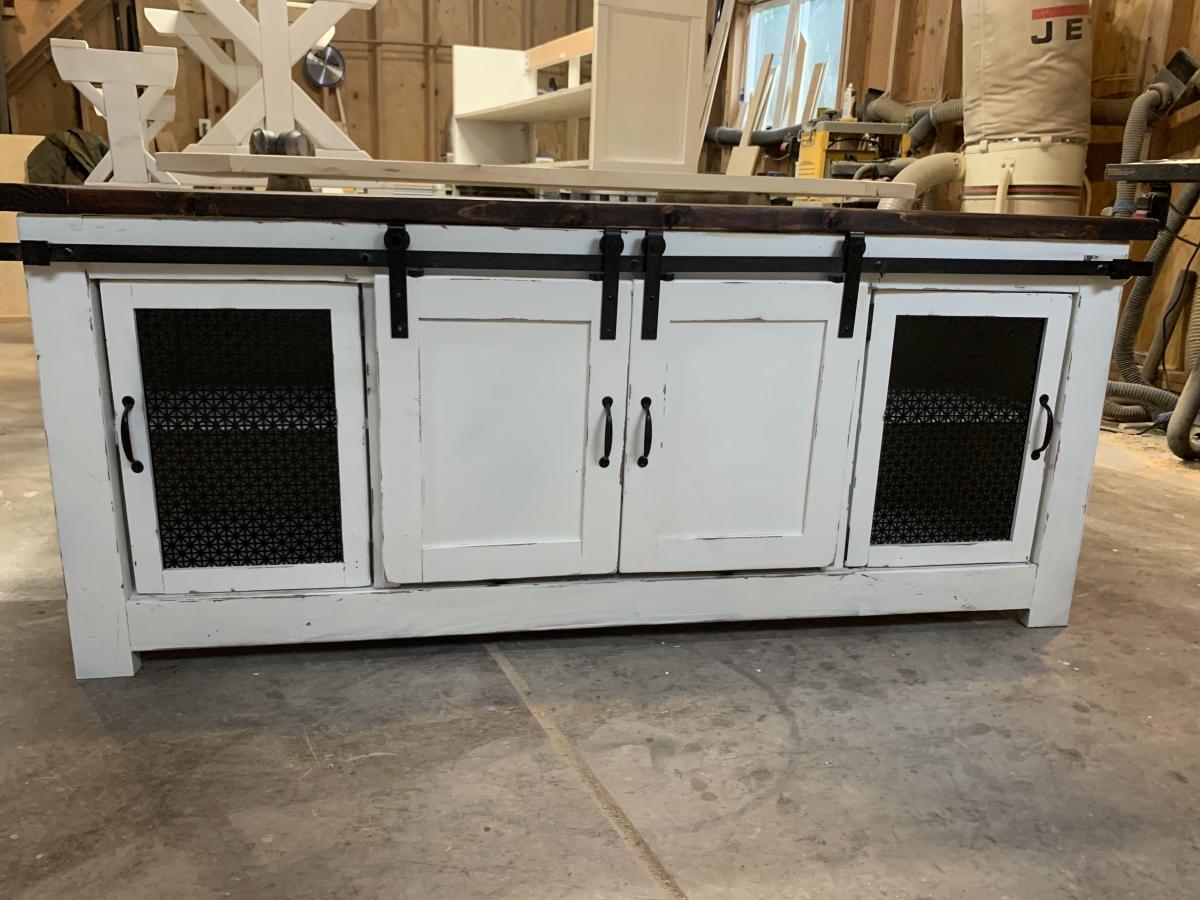
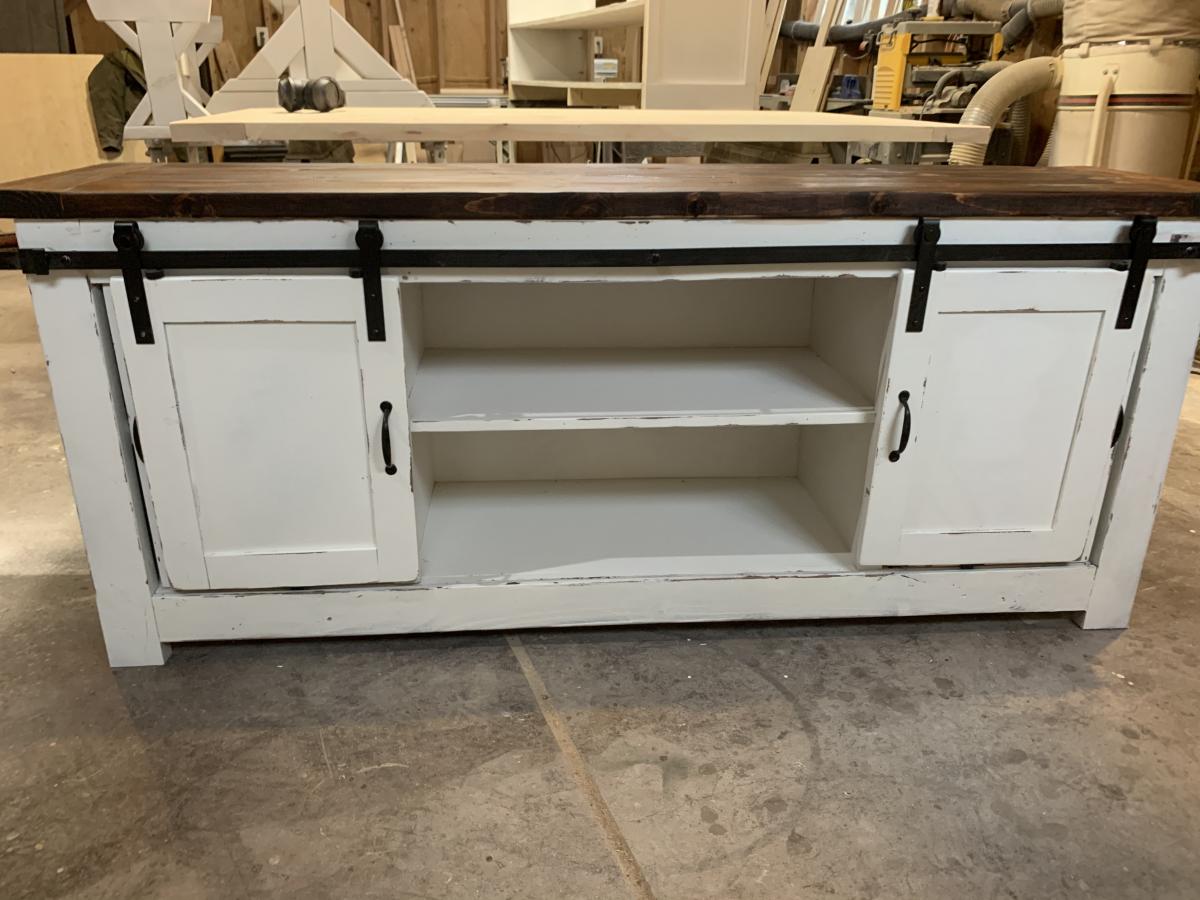
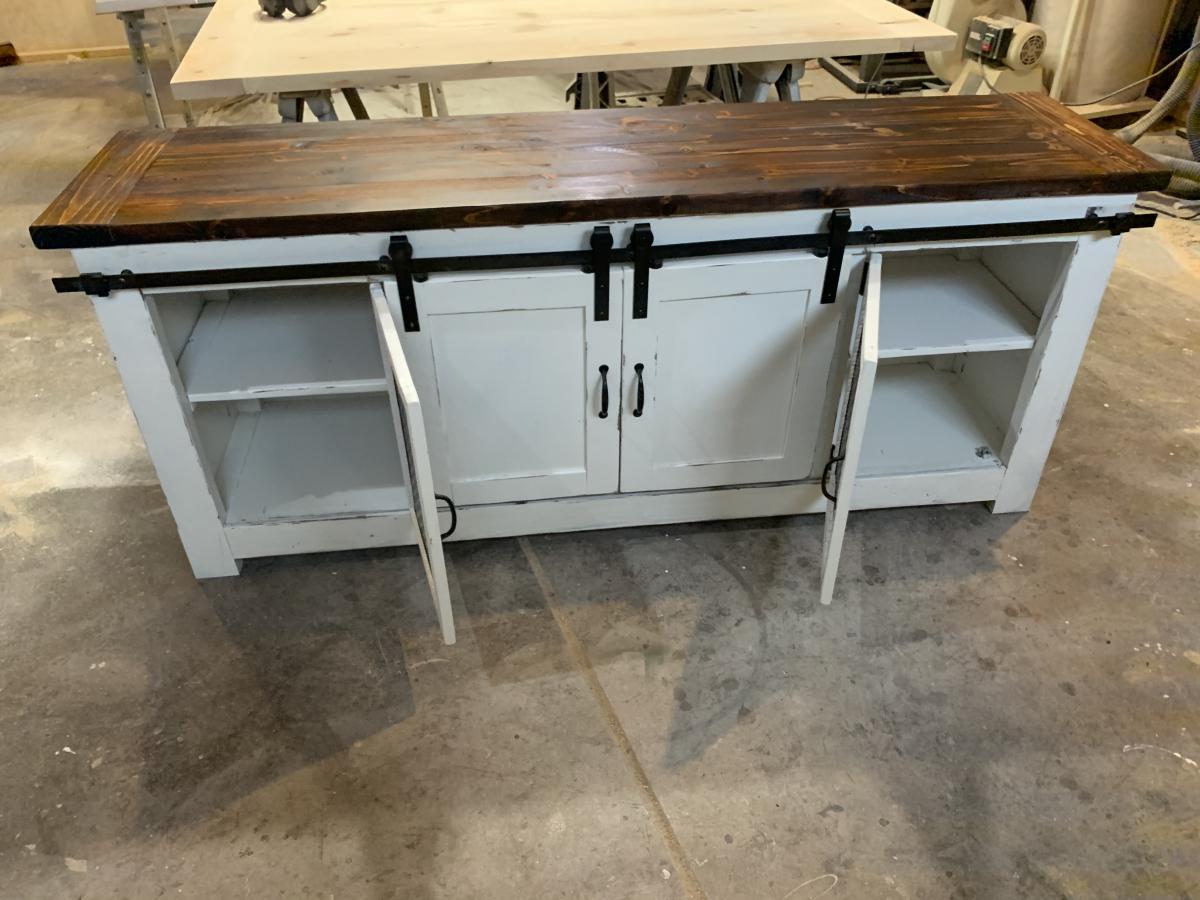
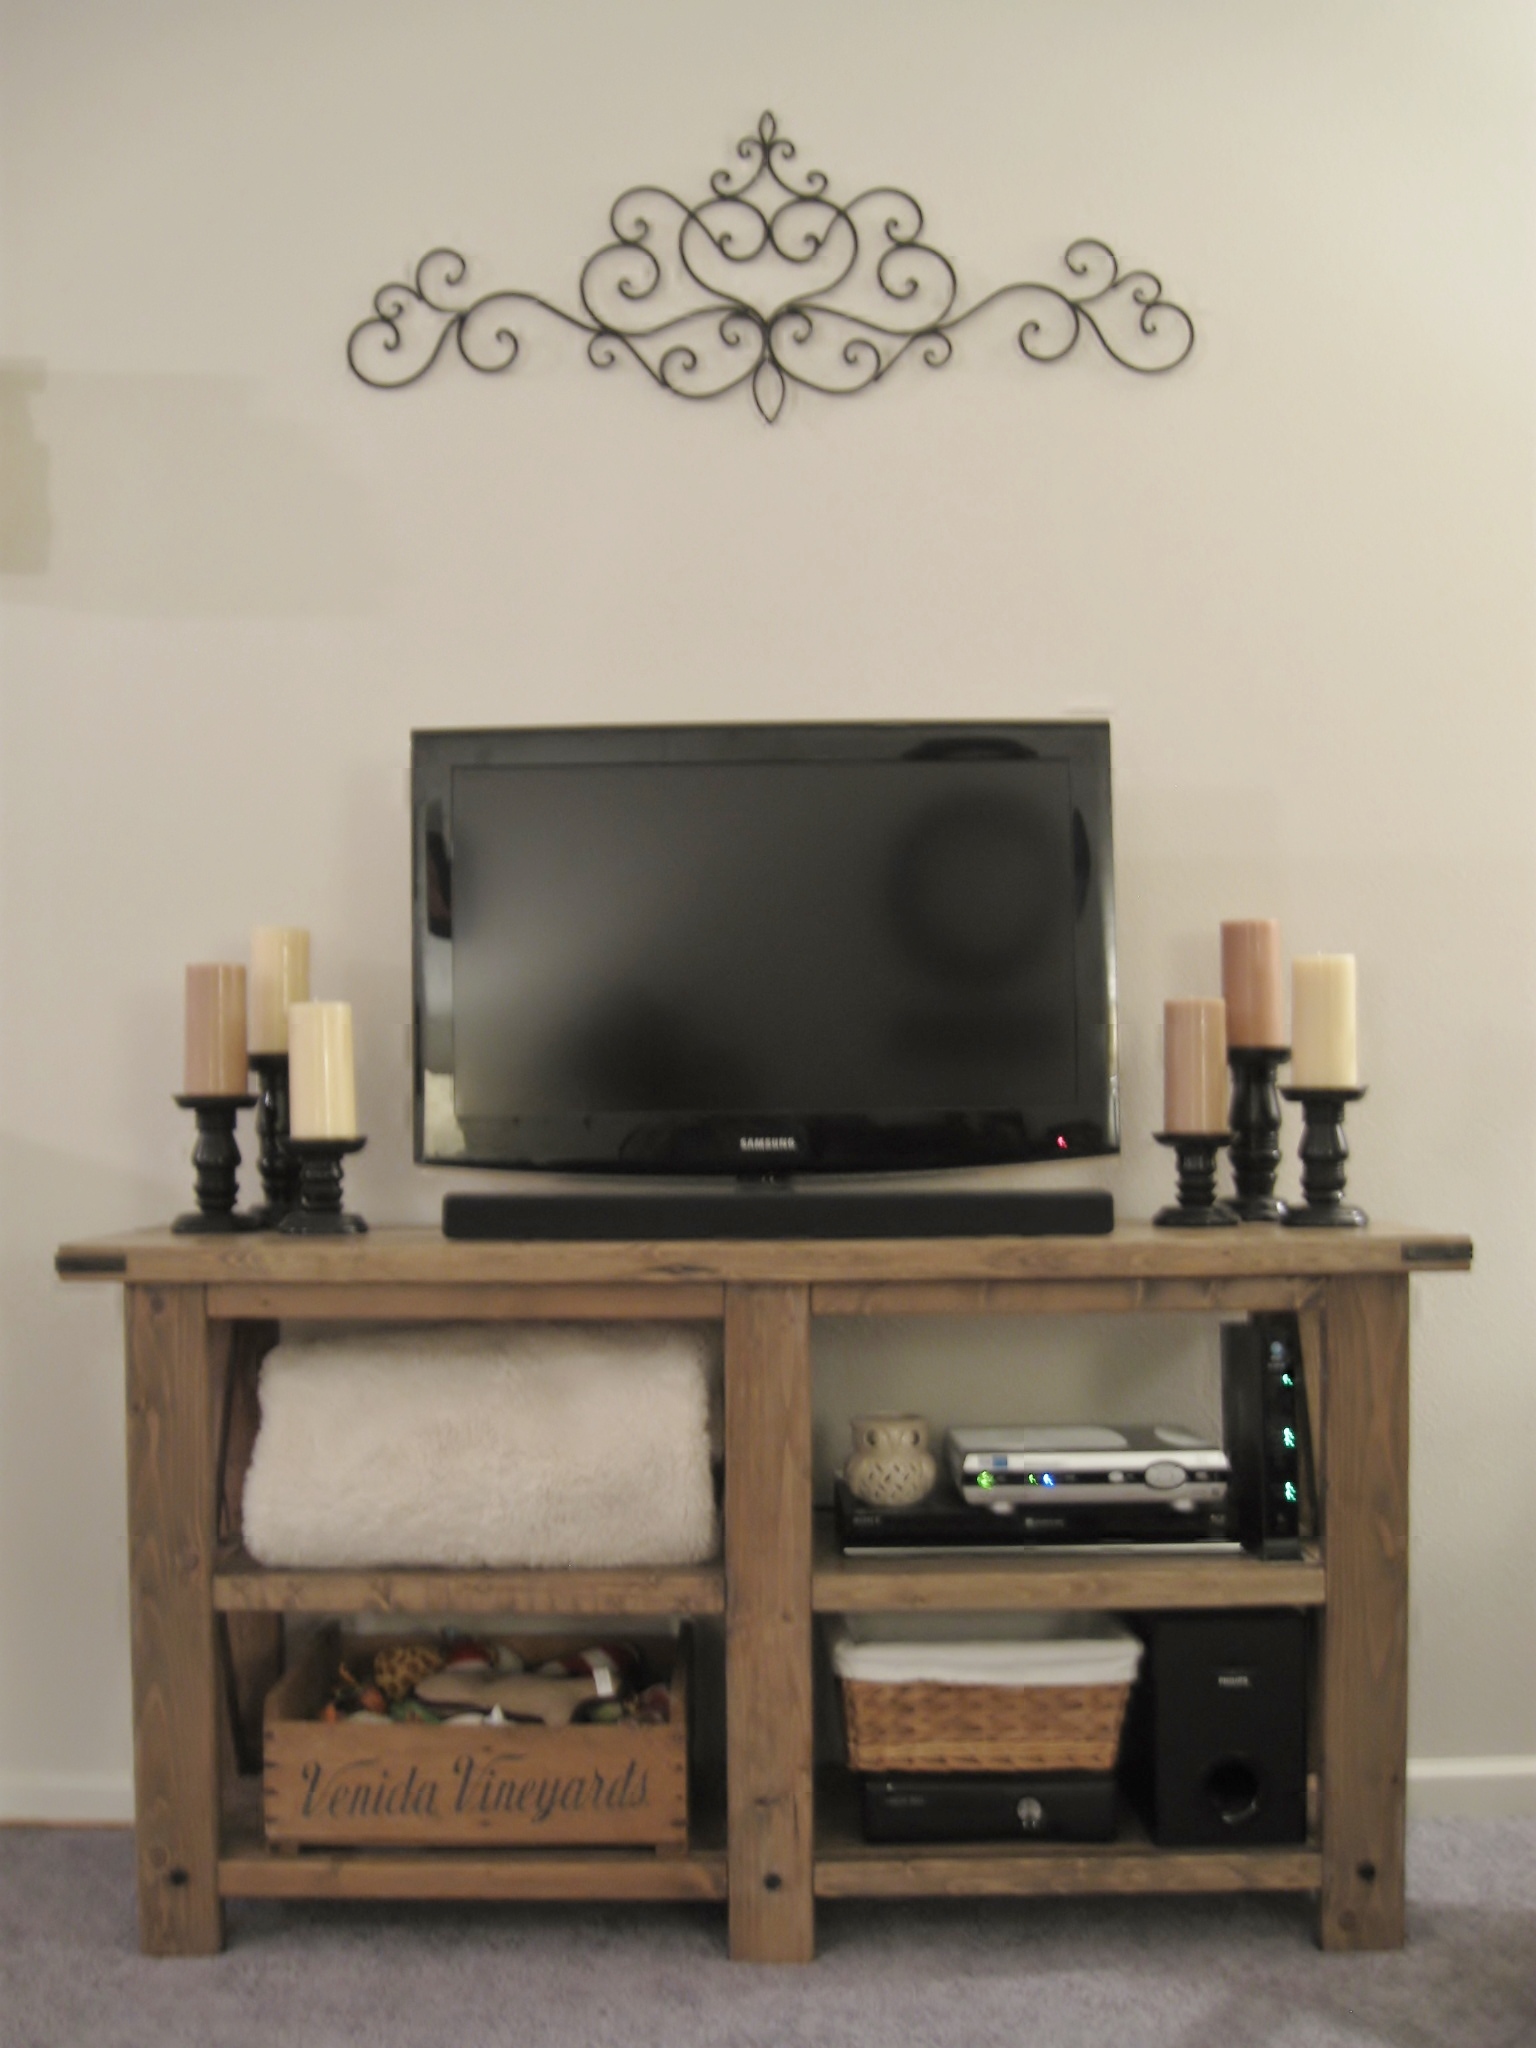
This is a modified version of the Rustic X Console, it isn't as long as the original.
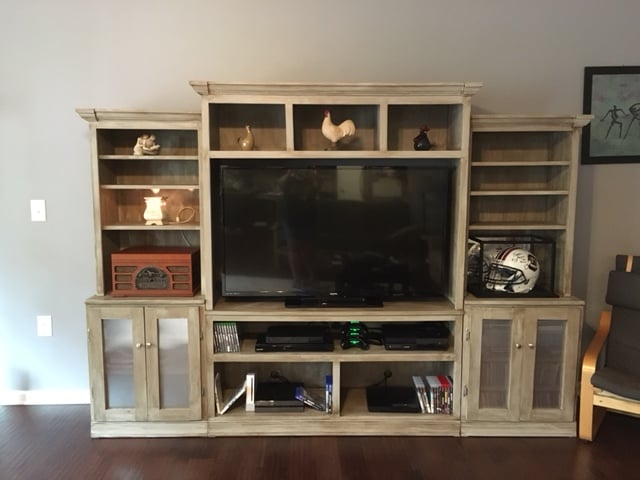
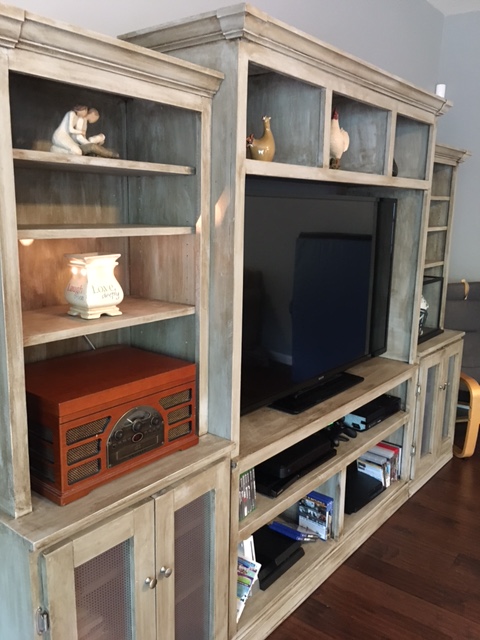
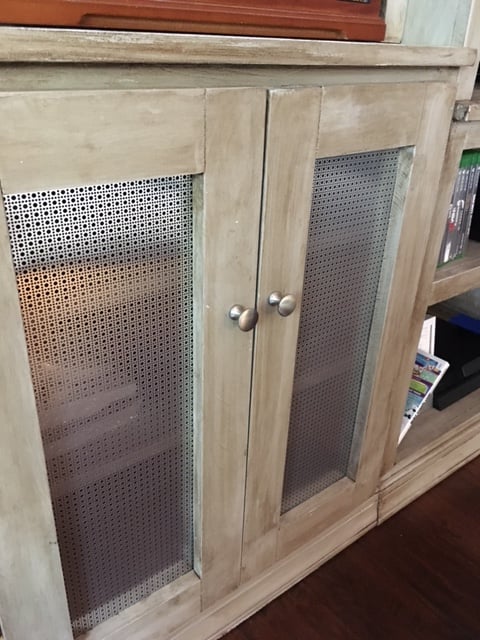
I created this, with a little help from my Fiance, as a TV console. We have made furniture in the past, with plans from Ana White, but this is my favorite piece so far.
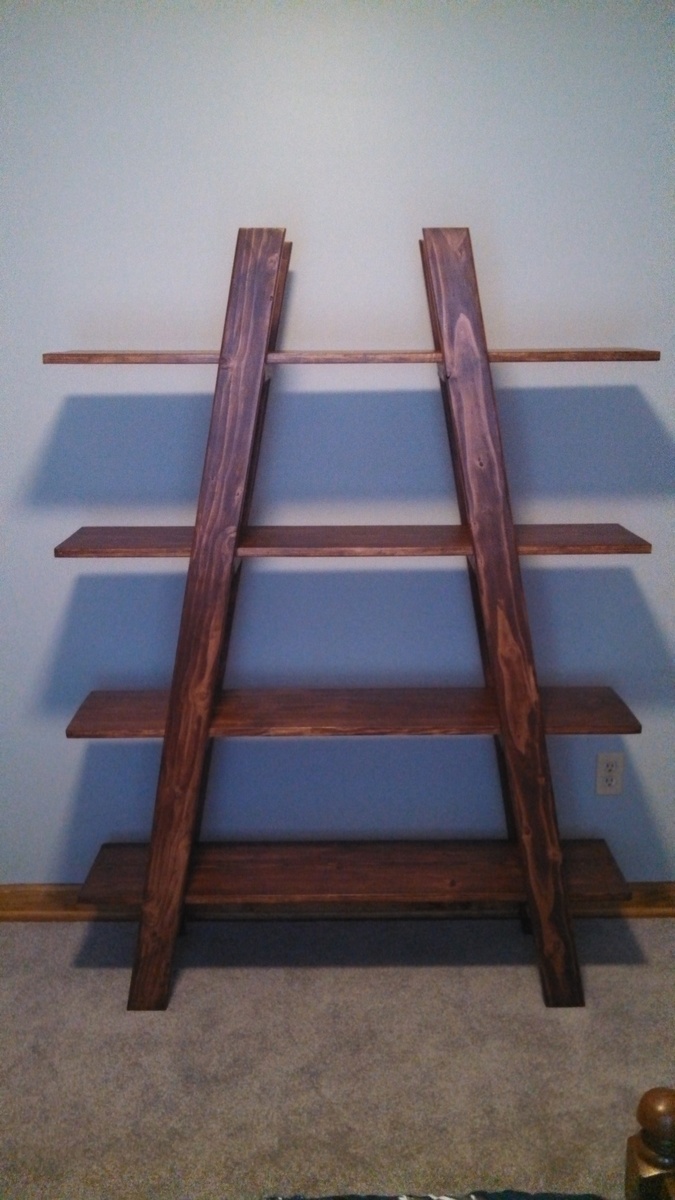
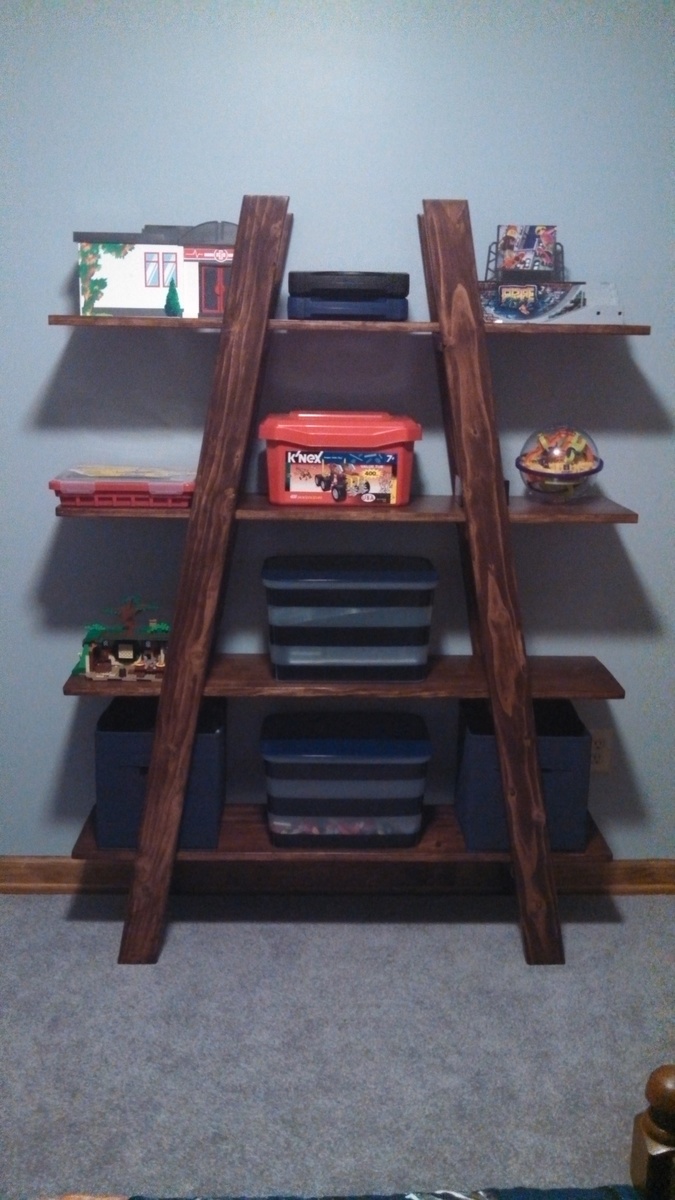
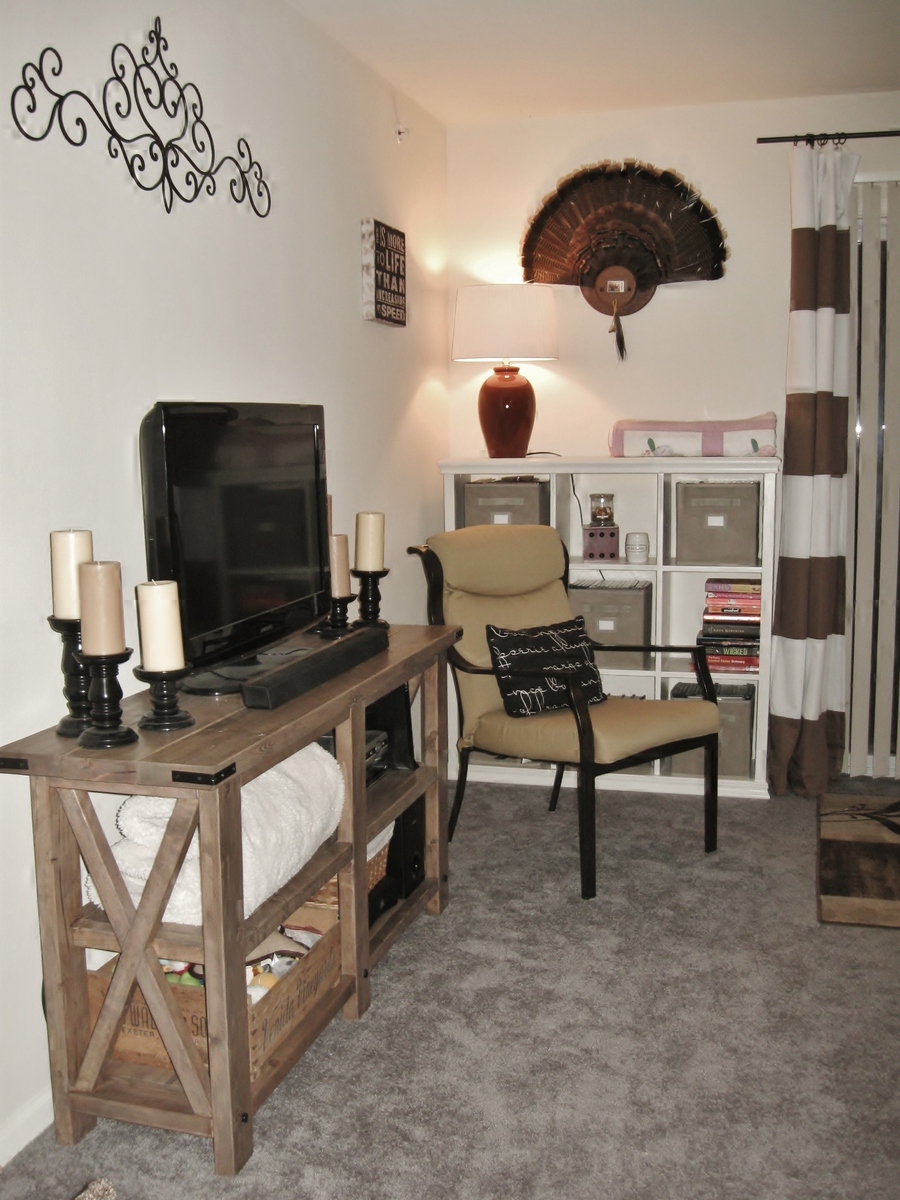
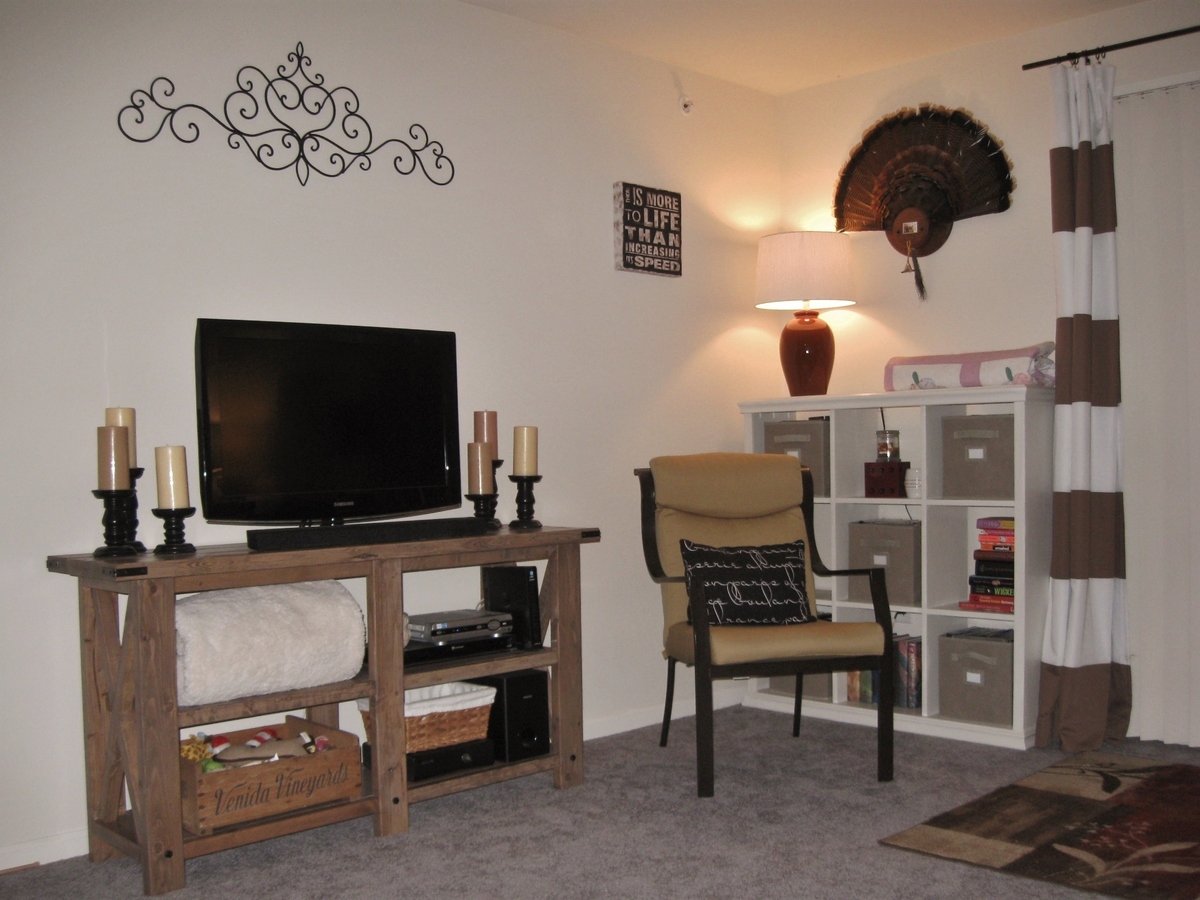
We looked for months for the right piece of furniture that wasn't extremely expensive or made of cardboard. Instead we found the plans for the Rustic X Console and thought it would be the perfect fit. I also created a cubby bookshelf at the same time to store my hundreds of movies.
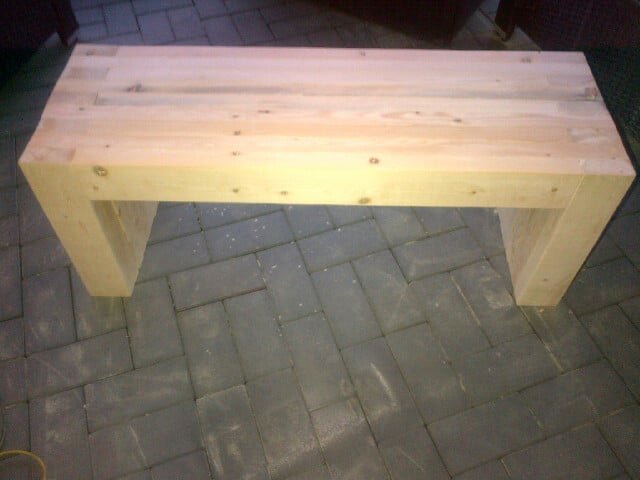
Eventually our entire living room will be homemade, the next project on our list is the matching coffee table!