Community Brag Posts

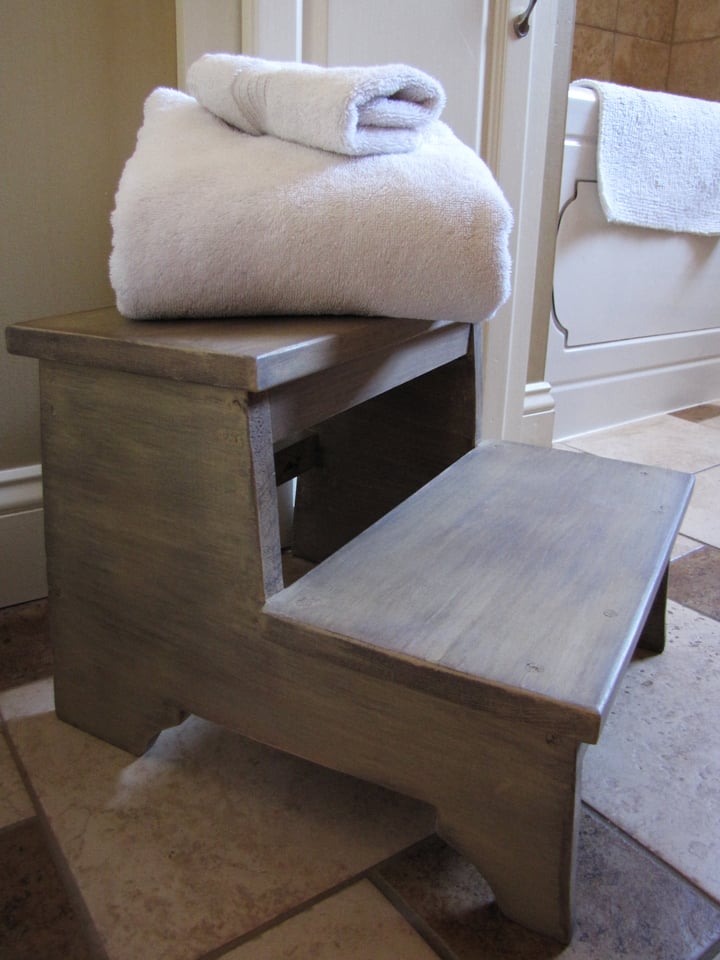
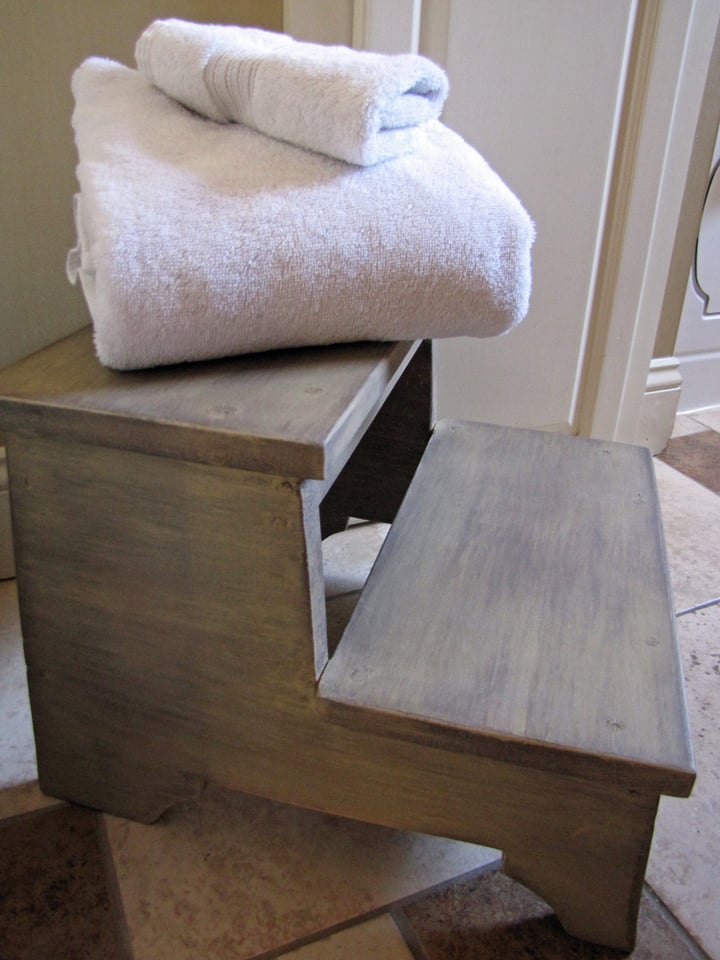
Vintage Step Stool

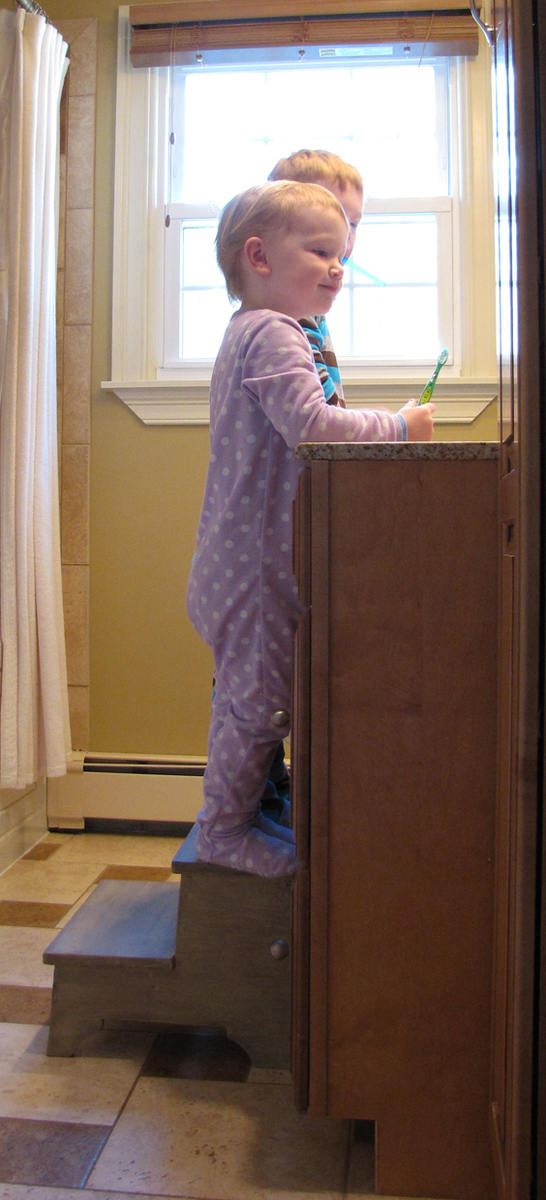
I loved making this! The depth and width of the treads are great. It is sturdy, safe and roomy. My little guy loves it!

Estimated Time Investment
Afternoon Project (3-6 Hours)
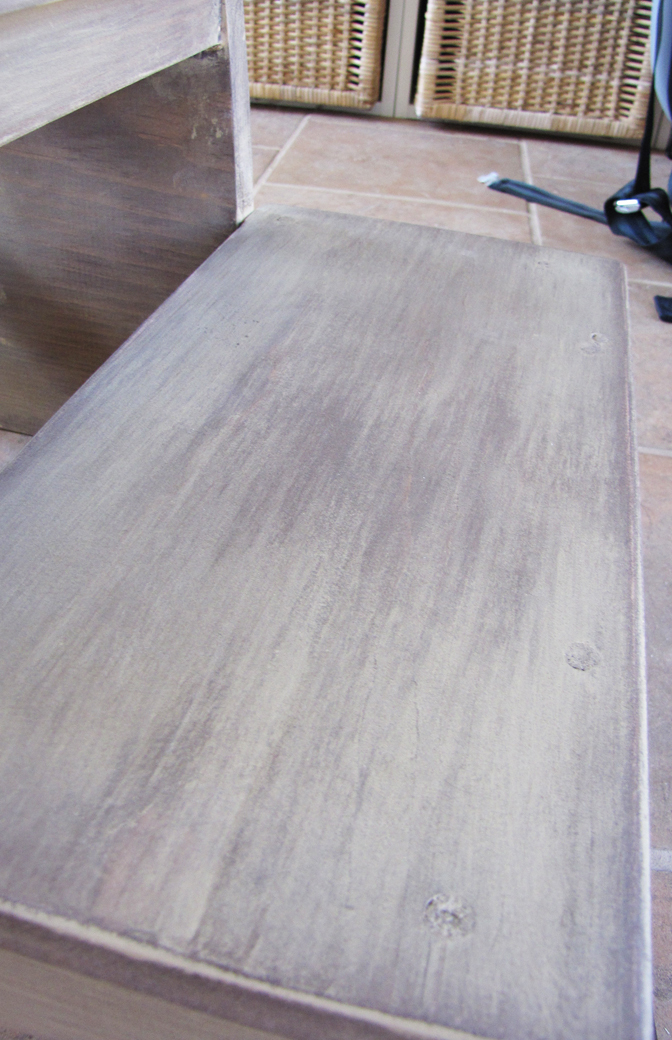
Finish Used
Wood Primer,can of mistinted paint that I scored for $5.
Recommended Skill Level
Starter Project

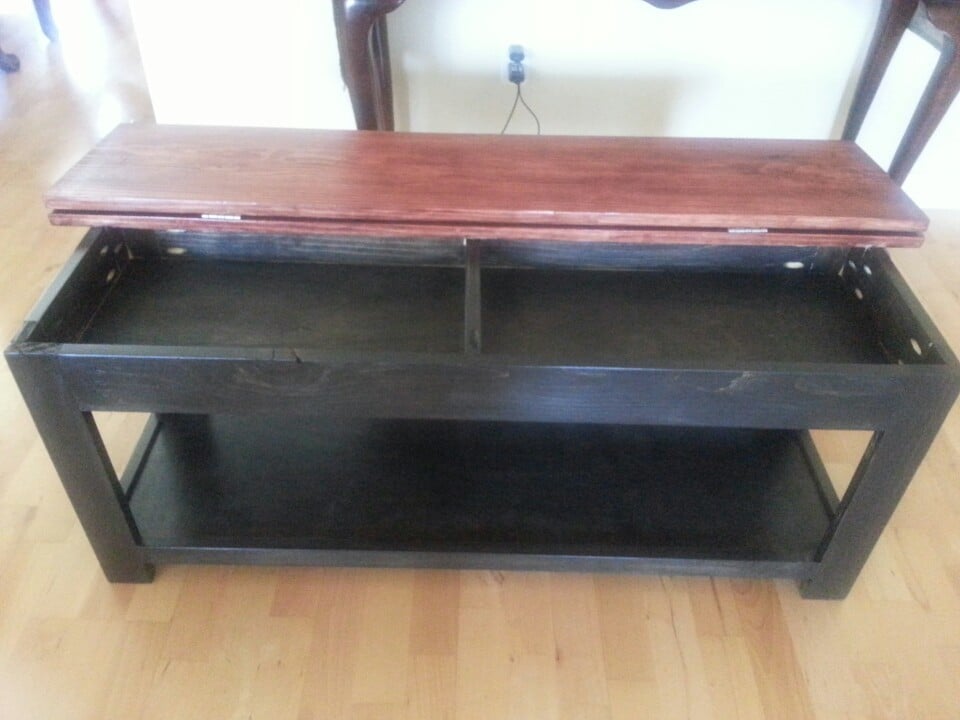
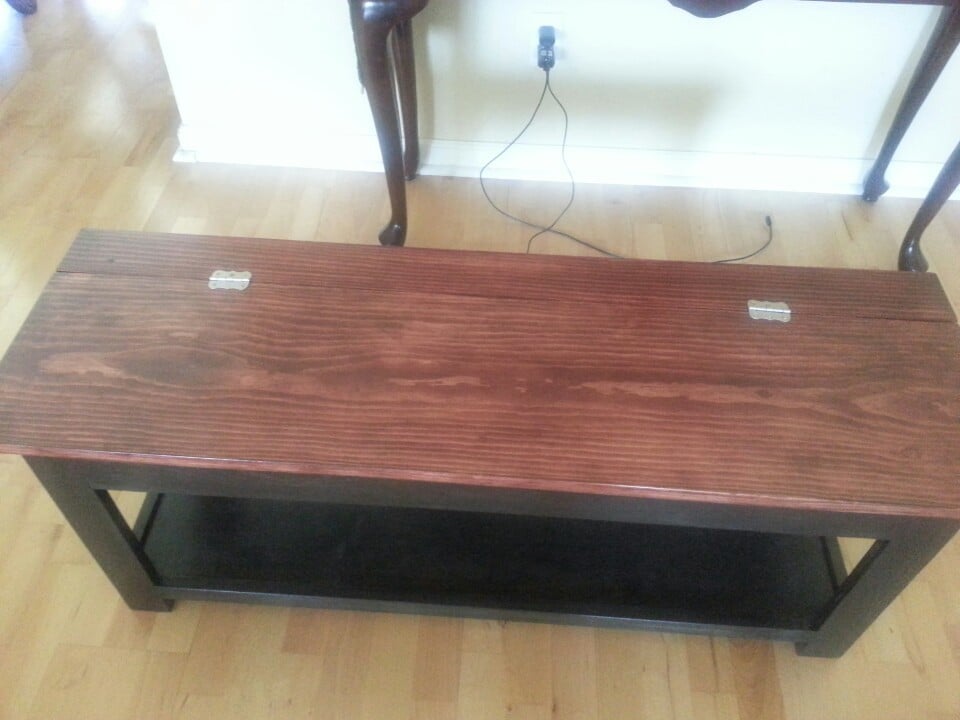
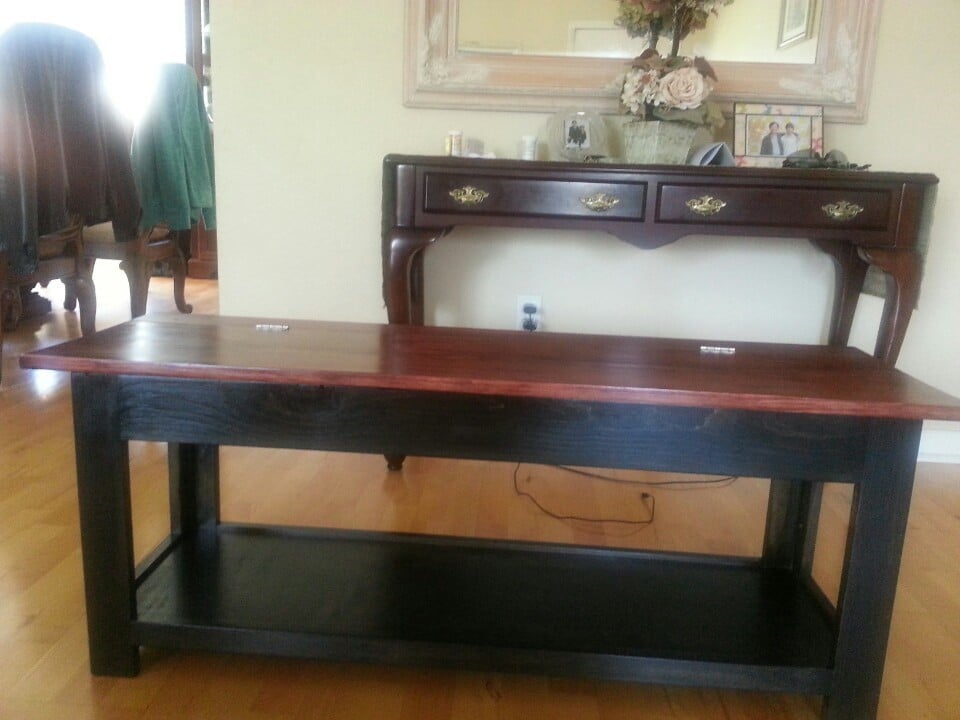
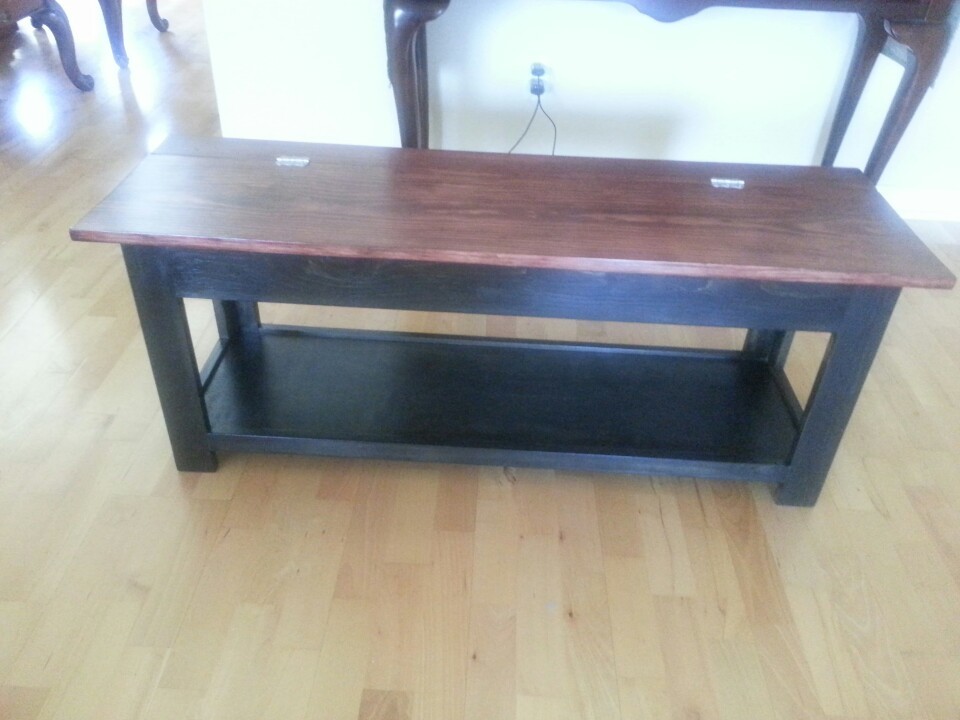
Larger, square version of the tryde coffee table

Submitted by bh2469 on Sat, 07/13/2013 - 13:29

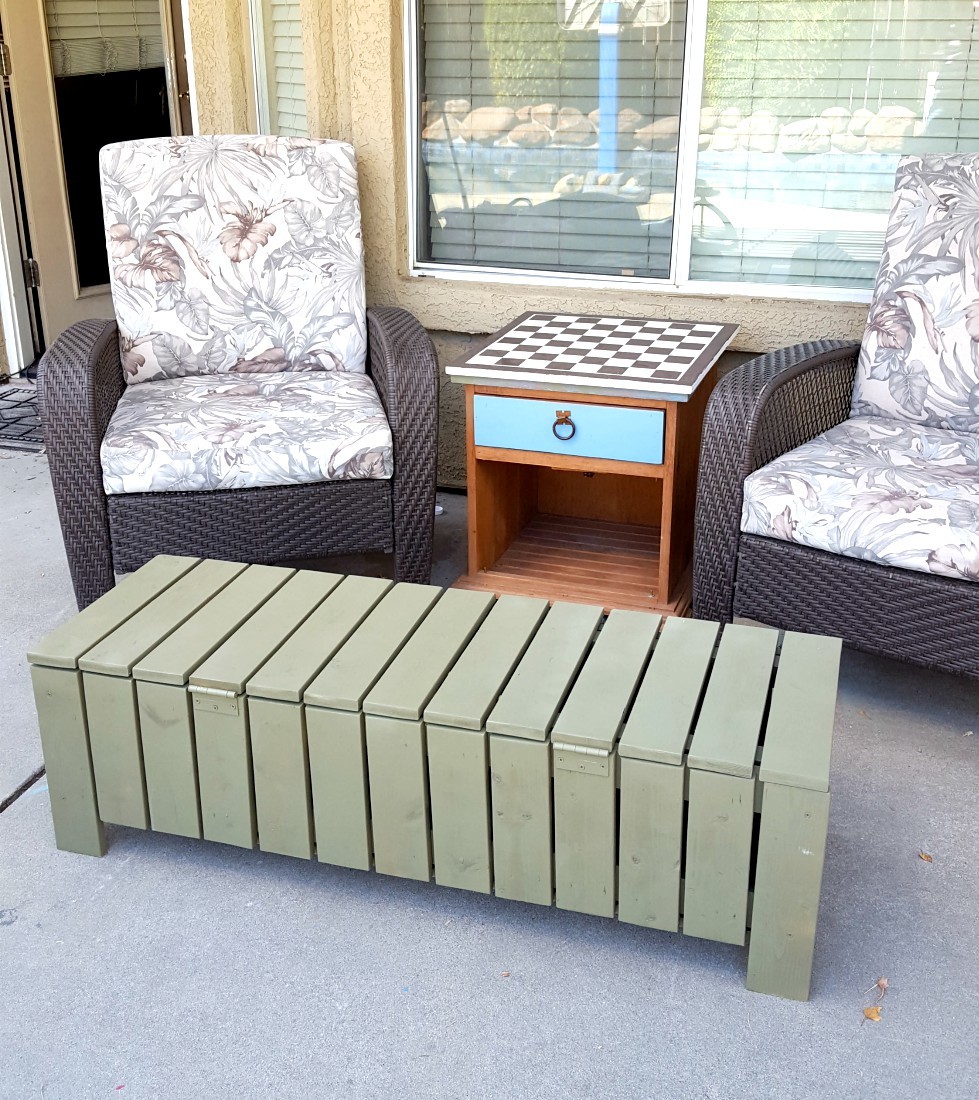
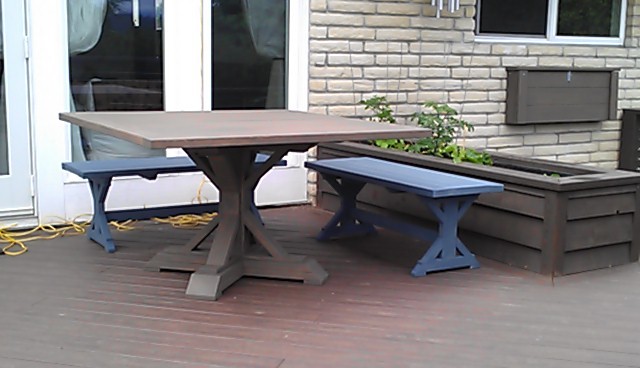
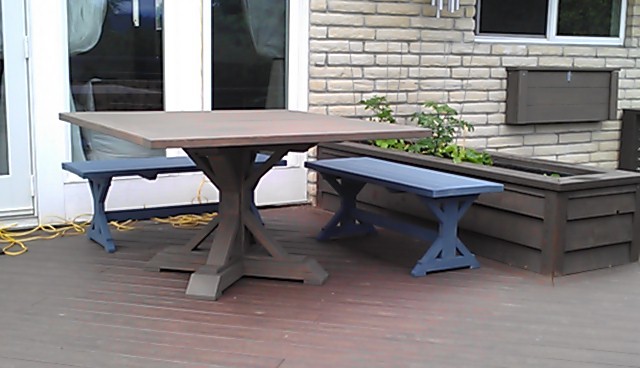
When we bought new couches for our new house, we realized our existing rectangular coffee table would no longer work. We searched for larger, rectangular shaped tables in all the major furniture stores. We became disappointed in the limited selection as well as the high prices. The ones we found that could work were typically in the $800 to $900 range. I suggested to my wife that I could make something better and less expensive, which took her by surprise since I had never made anything before. That's when I stumbled unto Ana-White.com and found the tryde coffee table plans. After searching the brag post, I found where a few had modified the plans to the size and shape we were looking for. The plans and build were very straight forward and much simpler than I expected. The table came out great and fits in well in our new den with our new couches.

Built from Plan(s)
Estimated Cost
$200
Estimated Time Investment
Weekend Project (10-20 Hours)
Finish Used
Dark Walnut stain
Recommended Skill Level
Starter Project

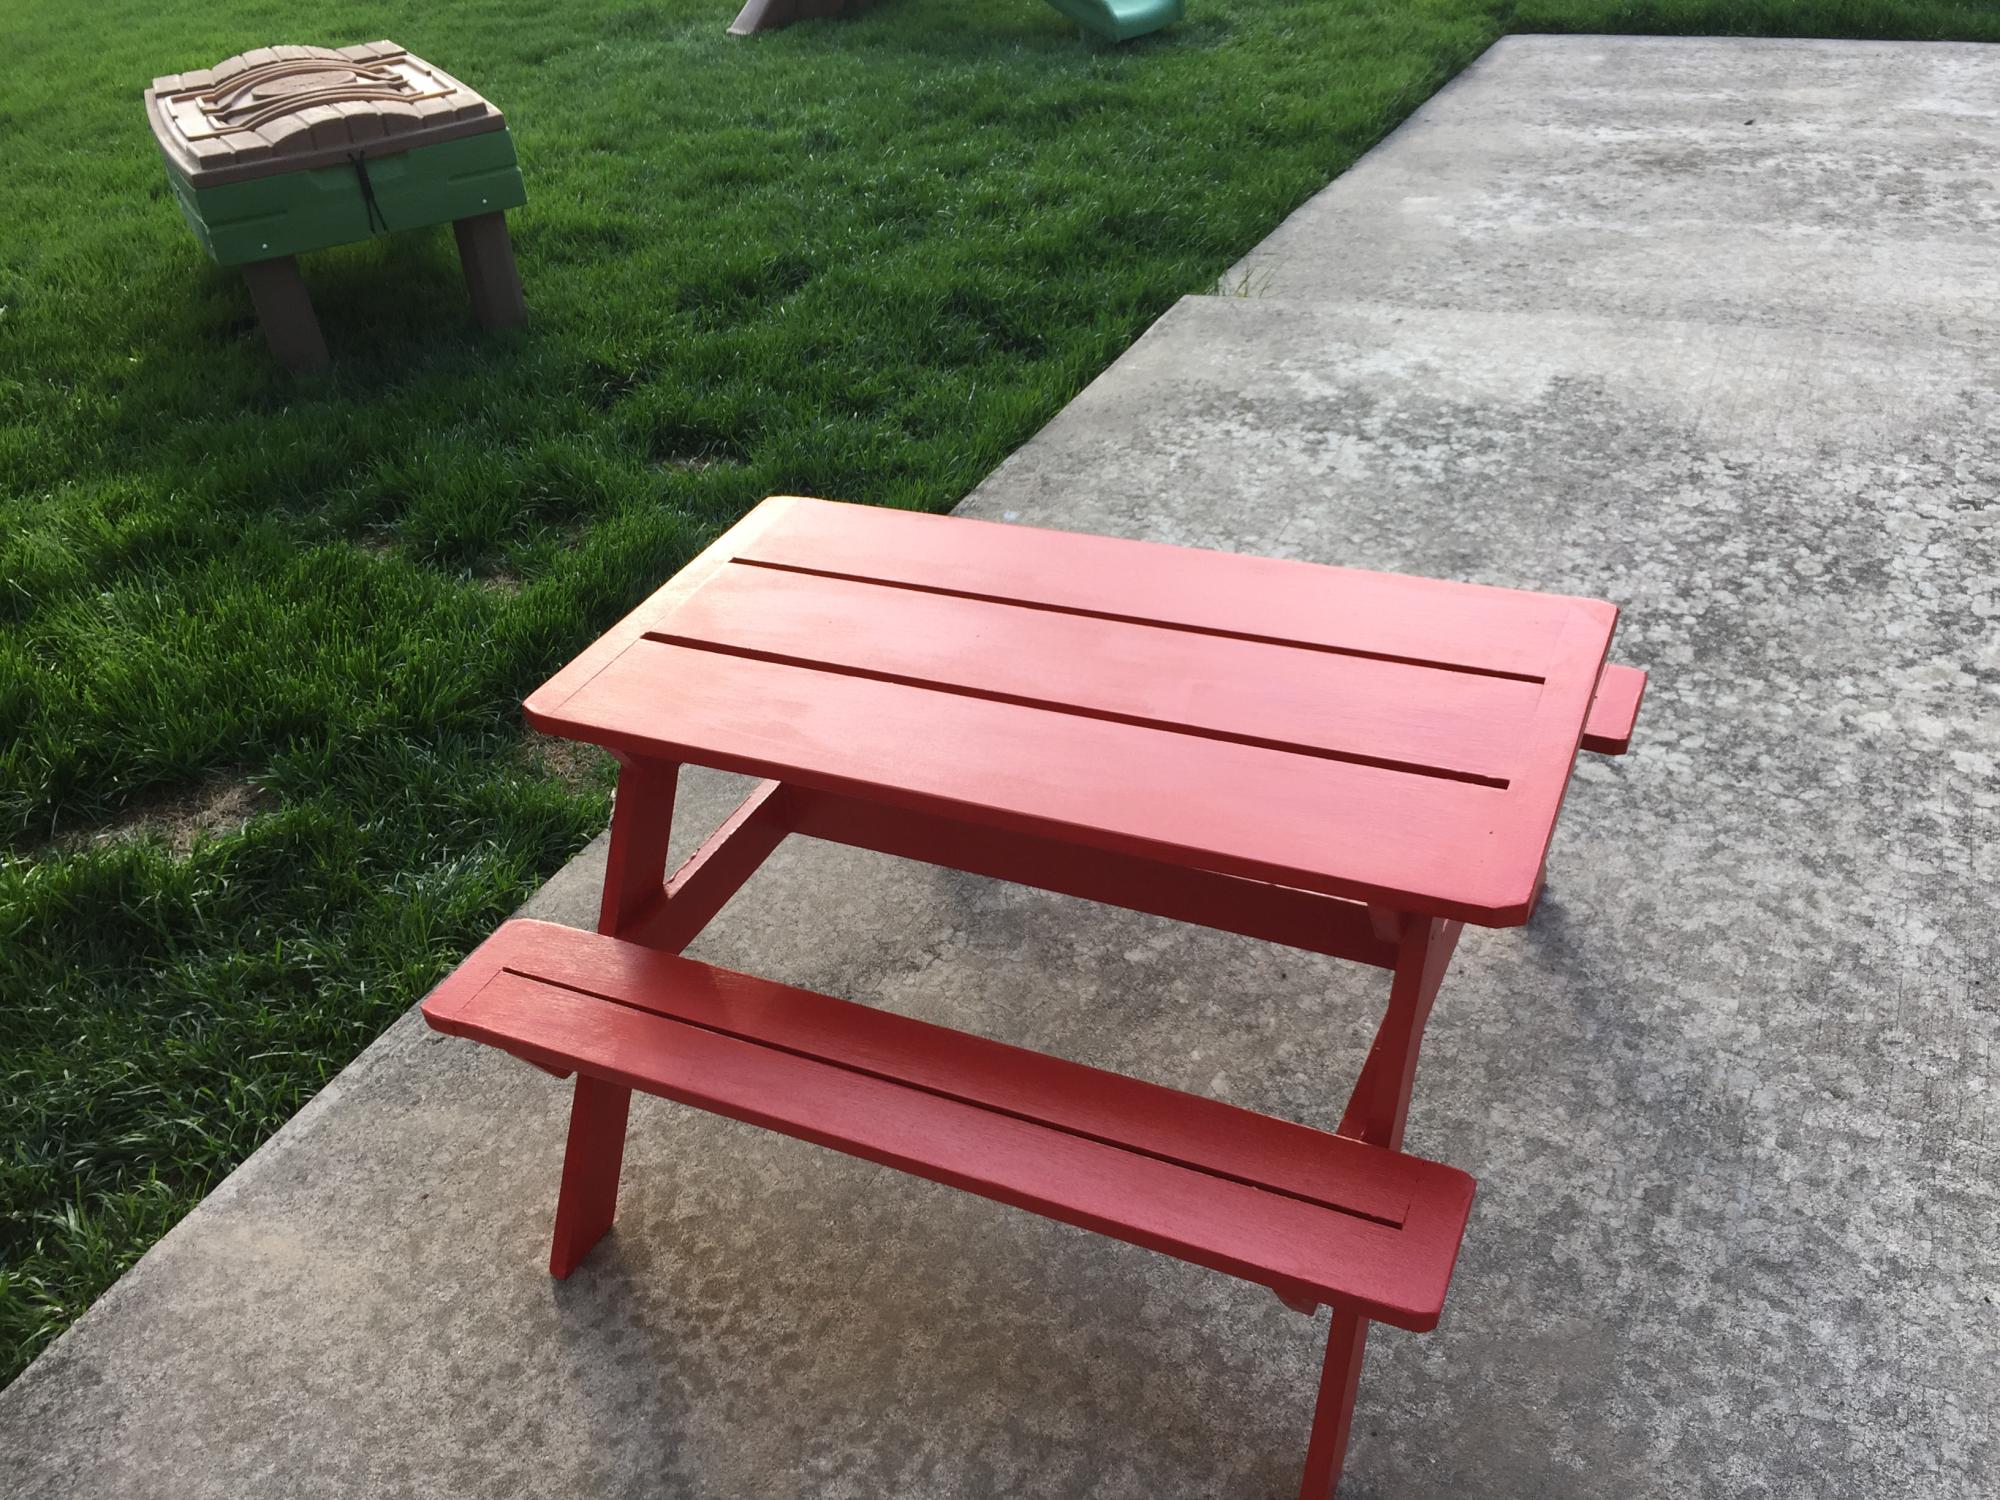
sandbox with benches

Submitted by nananana on Fri, 07/10/2015 - 13:18

This sandbox has been around for some time BUT it is still a great project to build The plans were simple to follow and would be an excellent project for beginners. We built this for our grandson and future grandbaby. Was easy to complete in one day, including painting

Built from Plan(s)
Estimated Cost
Estimated cost was $75.00 including the wood, hinges and paint.
Estimated Time Investment
Day Project (6-9 Hours)
Finish Used
We used a flat exterior paint. paint color was Cool Bamboo. We put on two coats to preserve the wood.
Recommended Skill Level
Beginner

Comments

Seasonal And Holiday

Close to standard plan

Submitted by woodje12 on Tue, 01/30/2018 - 04:04

This is fairly close to standard other than I raised up the sides and footboard 2" from the plans. I also used a plywood platform in place of slats and a standard box spring (there are 3 2x4 supports under the plywood). This saved some money since we just bought a king size Casper mattress and we prefer the look.

The other modification is that I purchased "bed rail fasteners" from Amazon. These "clips" enable us to easily disconnect the side rails from the headboard and footboard (like you might find on a purchased bed frame) for when we decide to move or redo our floors or whatever. I thought that was better than having a semi-permanent connection with screws. 

Built from Plan(s)
Estimated Cost
~$200 not including new DeWalt drill and Kreg jig set!
Estimated Time Investment
Weekend Project (10-20 Hours)
Finish Used
The stain is two parts as we thought that the special Varathane product that Anna used had a blue or purple tint to it once we tested it (look into it, others had the same comments on Home Depot/Lowes sites). So instead we used the regular Varathane Weathered Gray stain as the base (we tested which looked better going on first) with a light top coating of Minwax Special Walnut brown stain to give it depth. Good luck and thanks Ana! 
Recommended Skill Level
Beginner

Comments

woodje12

Tue, 01/30/2018 - 04:12

I went back and added another modification I forgot. I bought bed rail fasteners from Amazon in order to be able to quickly disconnect the rails from the headboard and footboard. I prefer this versus having to disassemble the whole thing when we move/redo the floors/whatever. I'm happy with that decision even though it made the alignment a little trickier.

canuck

Tue, 01/30/2018 - 09:42

I love how you raised it.  What height does your mattress sit at?  I'm thinking of raising the rails by 2 or 3 inches as you did, but using 1x10 or 1x8 for the rails instead of 1x6s.  In your opinion, would this look good?  Or make the clean lines look too heavy?

woodje12

Fri, 02/02/2018 - 08:25

Sorry @canuck I tried to reply to your other post but it never posted apparently? I was going to do the same thing with 1x10's but then I lifted one at Lowe's and thought it would just be too heavy and cumbersome. As it is, the bed feels like it could take a direct mortar hit! Then I looked for 1x8's and they weren't in stock so I ended up just using the stock 1x6's. 

I think you could raise the rails/footboard another inch or two easily (I did 2" higher so 16.5" for the footboard posts because my wife wouldn't let me go higher) and still be fine aesthetically. The plywood platform sits a tad below the top of the sides of course and then the mattress is 10" tall so I think the final result is just above 25" from top of mattress to floor which was close to other beds in our house (our last bed was slightly higher [with a full box spring], at 26.5"). 

Thanks for the compliment and good luck!

emcgill05

Fri, 10/15/2021 - 06:10

We too have used the same modifications as you. However the bed fasteners I have bought seem to be too wide for the male connector ends on the 4x4.

Can you provide a link to the fasteners you bought?! I thought I was going to get this together today but doesn’t look like it.

Thanks,
Liz

nellerzicious

Thu, 06/18/2020 - 09:31

I also purchased bed rail fittings for the bed. How did you line everything up? Did you attach it to the cleats or the 2x6's on the side rails? I really wish that they came with instructions for installation, but they didn't, do you have any advice for me? Thanks!

My Boys Playhouse!

Submitted by Anonymous (not verified) on Fri, 01/28/2022 - 03:18

We made a few changes to fit our needs but love the design. Way better than any kit you can buy!

Comments

weatherly sofa

Love this sofa! Shown primed and in the process of painting a chocolate brown now. Super easy to make!

Built from Plan(s)
Estimated Cost
$35
Estimated Time Investment
Weekend Project (10-20 Hours)
Recommended Skill Level
Beginner

Printmaker Sideboard

I purchased the Restoration Hardware Printmaker Sideboard but unfortunately we had issues with the delivered product so returned it. We then came across your plans online and my husband decided to build it for me instead. Our sideboard is all simple pine from Lowes, basic drawer slides and antique brass handles from Lee Valley. My husband adjusted Anna's plans and created 12 drawers more like the Restoration Hardware piece as we really like drawers for storage. We built it over about 5 weekends. It was a very ambitious project for our first but my husband was truly the brains and Braun of the process.

Built from Plan(s)
Estimated Cost
$450
Estimated Time Investment
Week Long Project (20 Hours or More)
Finish Used
Light sanding (wanted a rough finish), 80 grit then 120 grit, only enough to smooth splinters etc.
1 coat Old Masters Provincial Gel Stain applied with sponge brush
Saman Dead Flat Clearcoat
Recommended Skill Level
Intermediate

Comments

dmcarwin

Mon, 07/15/2013 - 10:45

I am super impressed!! Way to go! I have always love this piece!

MWarder

Wed, 10/02/2013 - 14:43

LOVE LOVE LOVE this console! You did an amazing job! I'm going to have my husband help build us something similar. Wondering what size antique brass handles you used? Thanks:)

An heirloom for the youngest grandson

I used 5 inch wheels  as I wanted the wagon to sit a little higher. http://www.harborfreight.com/5-in-polyurethane-heavy-duty-swivel-caster-69852.html and http://www.harborfreight.com/5-in-polyurethane-heavy-duty-rigid-caster-61757.html    We bought these metal pieces for the straps http://www.lowes.com/pd_44138-37672-11662    Our Lowes didn't have snow blower parts in July. But we were able to find a shear pin  in the draawers where much of their specialty hardware connectors are located.  . I opted to screw everything together and not use nails.  Thanks so much for plans that include a seperate shopping list and cutting list and easy to follow directions.  The wagon was a huge hit with the birthday boy.

Built from Plan(s)
Estimated Cost
$69
Estimated Time Investment
Day Project (6-9 Hours)
Finish Used
The body of the wagon was finished with homemade chalk paint. The metal pieces were spray painted in black satin.
Recommended Skill Level
Beginner

Comments

Trestle Desk

Submitted by JenM on Sat, 02/03/2018 - 08:29

I made this for my son; he loves it!  I don't have the tools to bevel edges so I did my angles with a cheap jigsaw and I think they turned out just fine.  Thinking of adding a narrow shelf on the bottom.

Super easy and inexpensive build!

Built from Plan(s)
Estimated Cost
$20
Estimated Time Investment
Afternoon Project (3-6 Hours)
Finish Used
Dark Blue paint for the legs; Minwax Golden Oak stain for the tabletop.
Recommended Skill Level
Beginner

Ayla Cabinet

Submitted by srodge1 on Wed, 02/16/2022 - 20:56

OMGSH ... I'm in love with this project!! My brother had given me some left over lattice that he had, and I was wondering what project I could use it on. This turned out so precious. However, I must say that drawers aren't for the faint of heart. Feeling defeated, I took the cabinet over to my brother's workshop and he helped me (or maybe he just did it for me). Anyway, as with all of my projects, it's going in the annual church auction and I can't wait to see how high it goes!!

Again, thanks Ana for your blog ... you're such an encouragement!!!

Built from Plan(s)

Comments

Planked headboard

I love how the stain turned out on this one. Super simple project!

Estimated Time Investment
An Hour or Two (0-2 Hours)
Finish Used
I stained it dark walnut and then sealed it with three coats of matte polyurethane.
Recommended Skill Level
Starter Project

Comments

yurra-bazain

Wed, 07/17/2013 - 09:56

I just clicked over to your blog, Autumn. I wanted to comment on your "Never ever" post, as I never thought I'd be building furniture and blogging about it, either. I live in Hawai'i as well, although I was born and raised here. =D I've added you to my bloglovin' list to keep track of your posts. Malama pono!

New Chicken nesting appartments under construction

Submitted by DrSnuggles on Sat, 07/18/2015 - 18:56

Quick and fun Saturday working on building these cool new nesting boxes for my friends farm. Yes, the alterior motiv is that I keep getting free eggs LOL guilty!!!


Built from Plan(s)
Estimated Cost
Maybe $10 and used a bunch of scrap wood.
Estimated Time Investment
An Hour or Two (0-2 Hours)
Finish Used
none
Recommended Skill Level
Beginner

Channing Desks

Submitted by tomlin-t on Tue, 02/06/2018 - 04:20

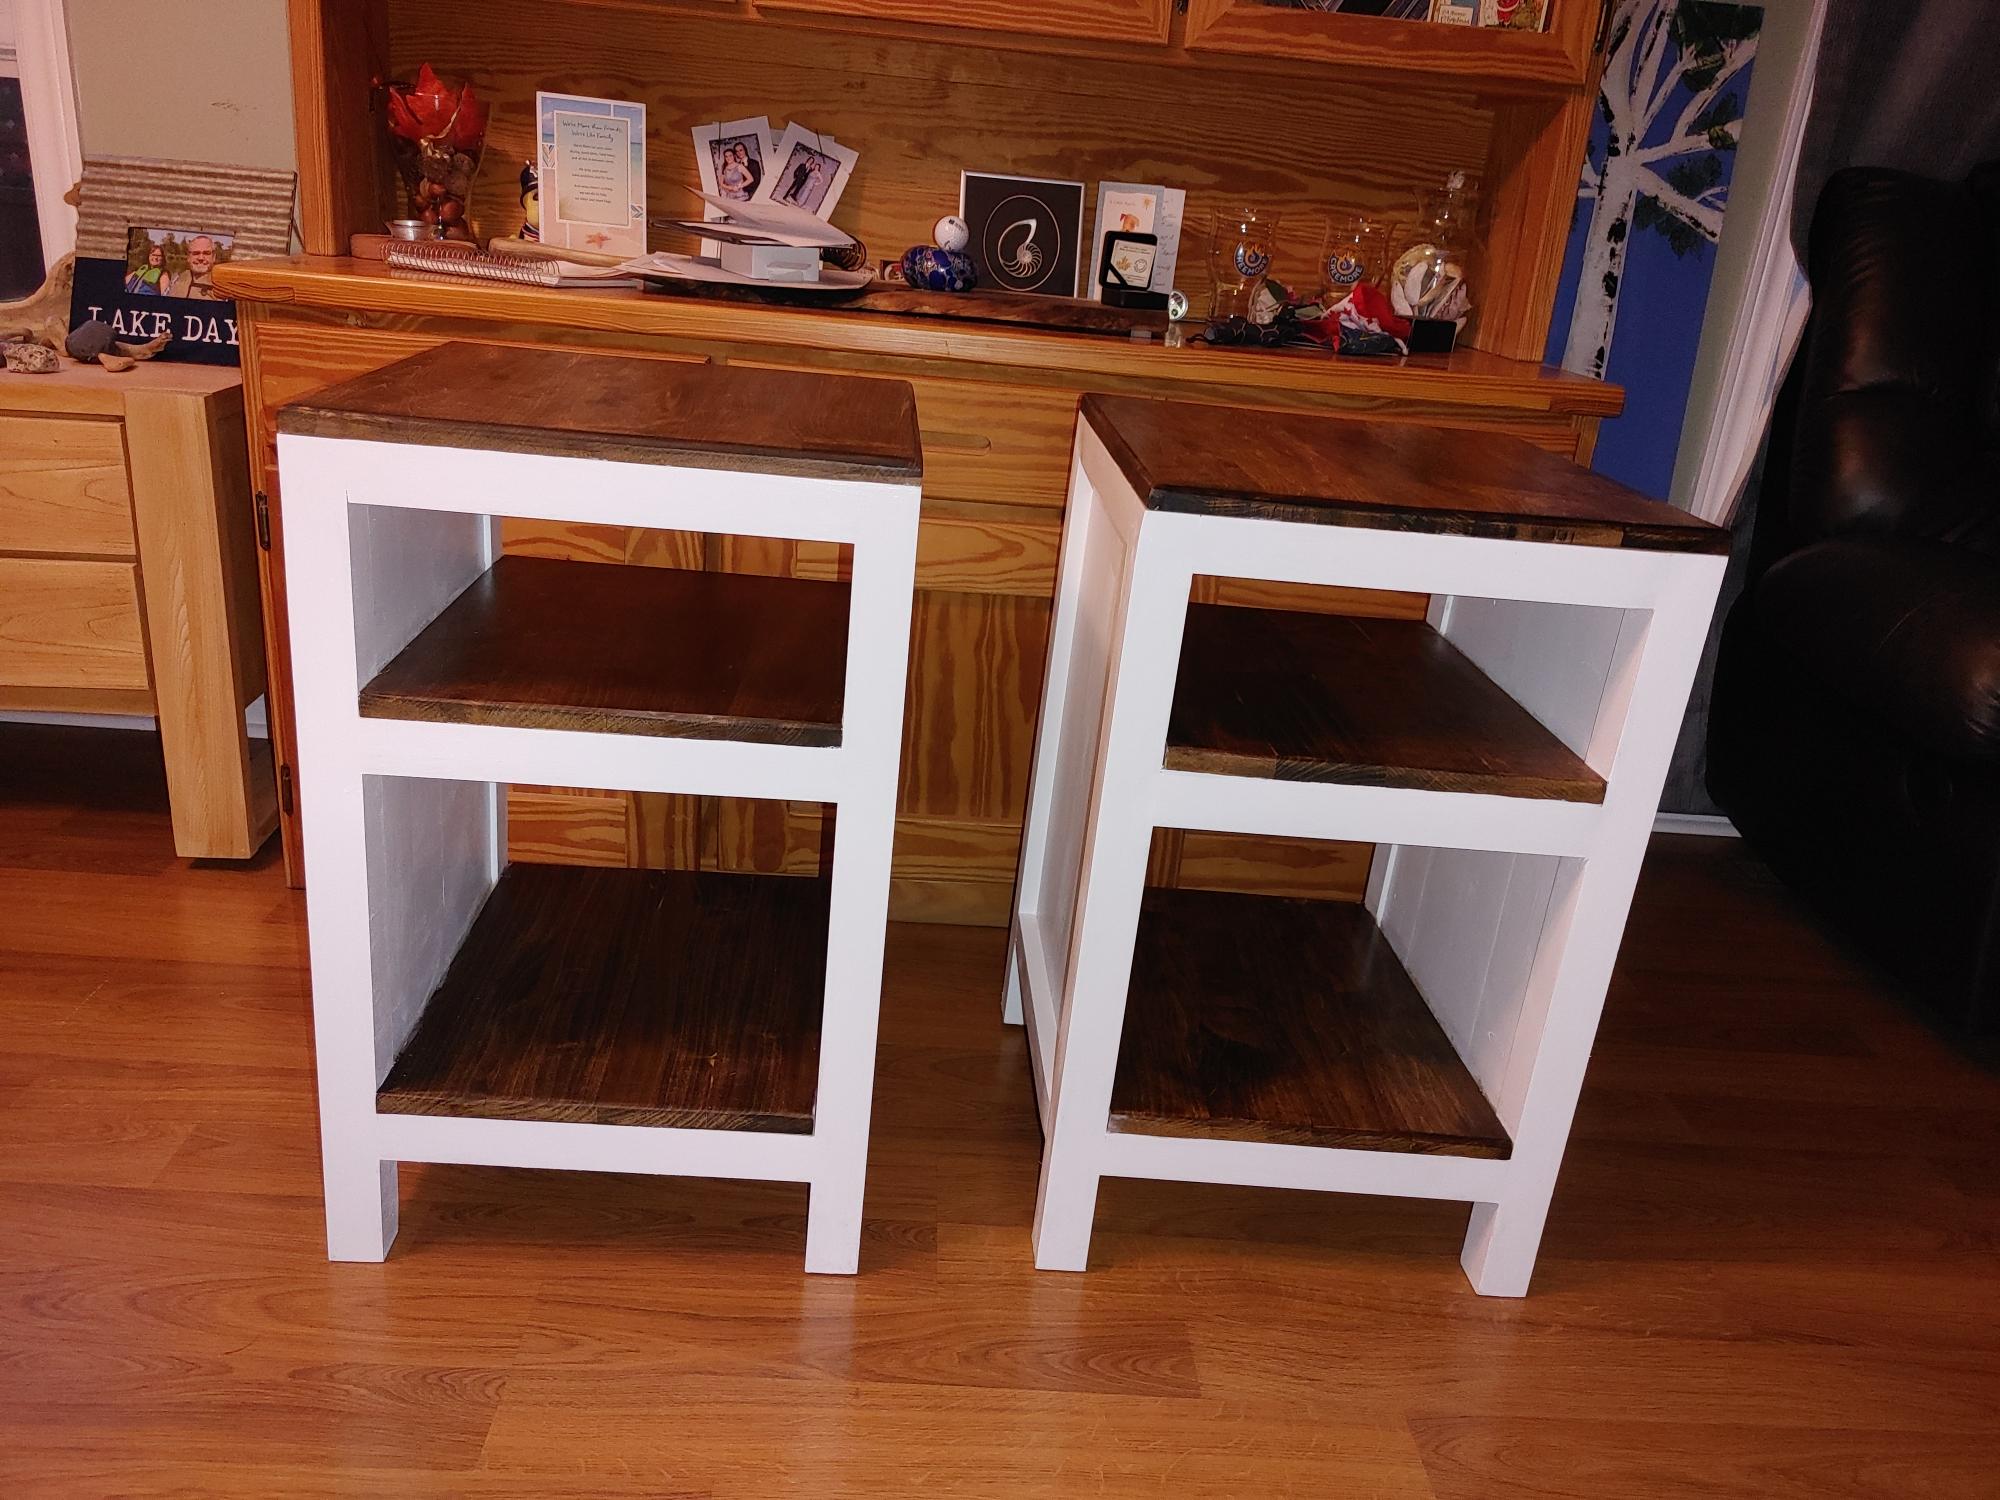
I made a pair of Channing desks, one for each son to match the Channing Bookcases I'd made previously using another one of Ana's plans!   I followed the directions pretty much exactly, except for a couple of minor changes.  On the tops, I wanted to router the edges to add detail, and to make it neat I covered the ply end-grain with some pine 2x1's.  At the end (step 15) of the build I added the extra support. 2x1 at the front to match the rail above the drawer, and 2x2 at back to make the RHS legs properly sturdy.  

Overall, the project was not particularly difficult, the building took about 3 days to complete both desks. As usual the finishing always takes longer than the building, and in this case it took 4 days. This was mostly due to the 6 hrs between coats for the varnish. 

I sprayed the white desk (masking the top) with satin door trim paint I had available, and I used clear satin varnish on the top as a contrast.

The other desk has 1 coat of sealer and 3 coats of chocolate walnut satin stain/varnish.  

I'm very happy with the results - but I'm not really sure which one is my favourite!

Built from Plan(s)
Estimated Cost
$300 for both desks
Estimated Time Investment
Weekend Project (10-20 Hours)
Finish Used
Satin white paint, satin clear varnish, and chocolate walnut stain/varnish
Recommended Skill Level
Intermediate

American Girl Doll Closet

Submitted by Anonymous (not verified) on Sat, 03/12/2022 - 13:23

Thank you so much for the plans! My Granddaughter loved it❤️

Comments

Sewing Table for small spaces

I loaded this project months ago, but somehow it was removed I believe during one of the websit updates. So far in my wife's crafting life she generally cuts things out on the floor. It's not so good. Our dining room table is usually covered in food or playdough so she generally just spreads things out on the floor. I realized how much she needed a table, and armed with new power tools from Christmas and my birthday, I set out to make me a crafting table. This was my first project.

Built from Plan(s)
Estimated Cost
$40
Estimated Time Investment
Afternoon Project (3-6 Hours)
Finish Used
Minwax blue rub on stain and sealer
Recommended Skill Level
Starter Project

Comments

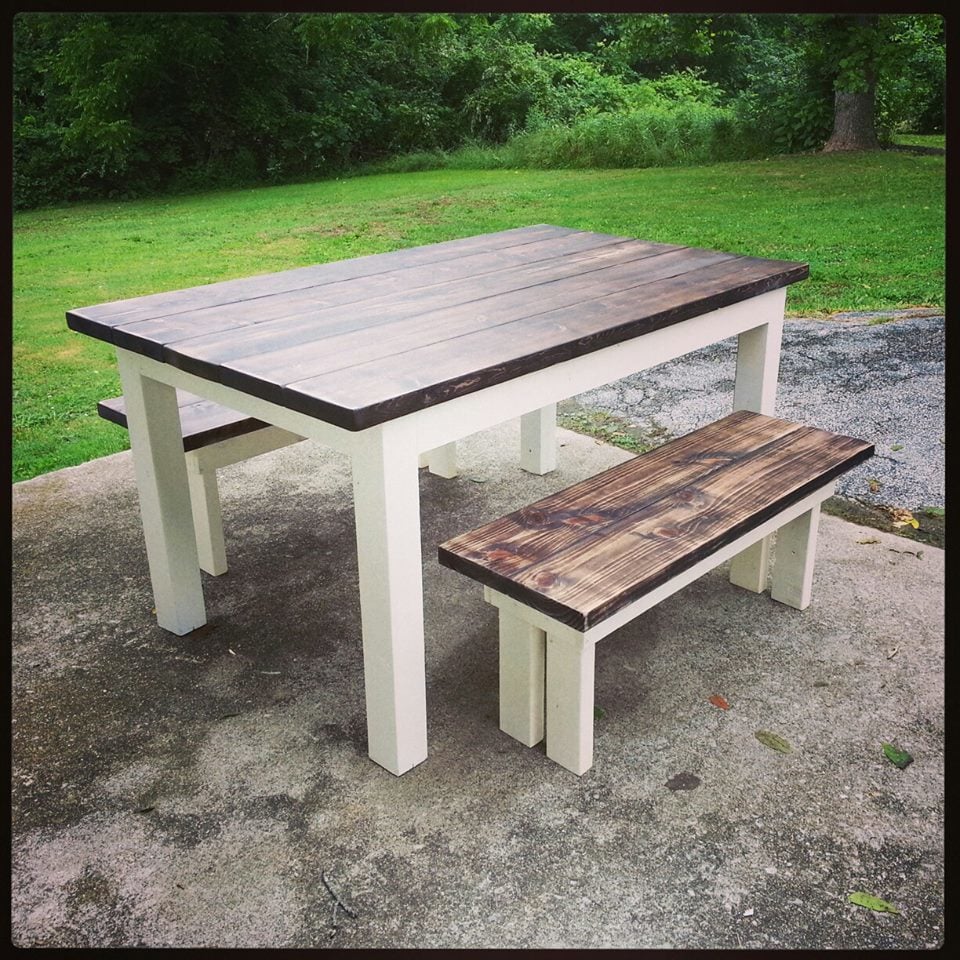
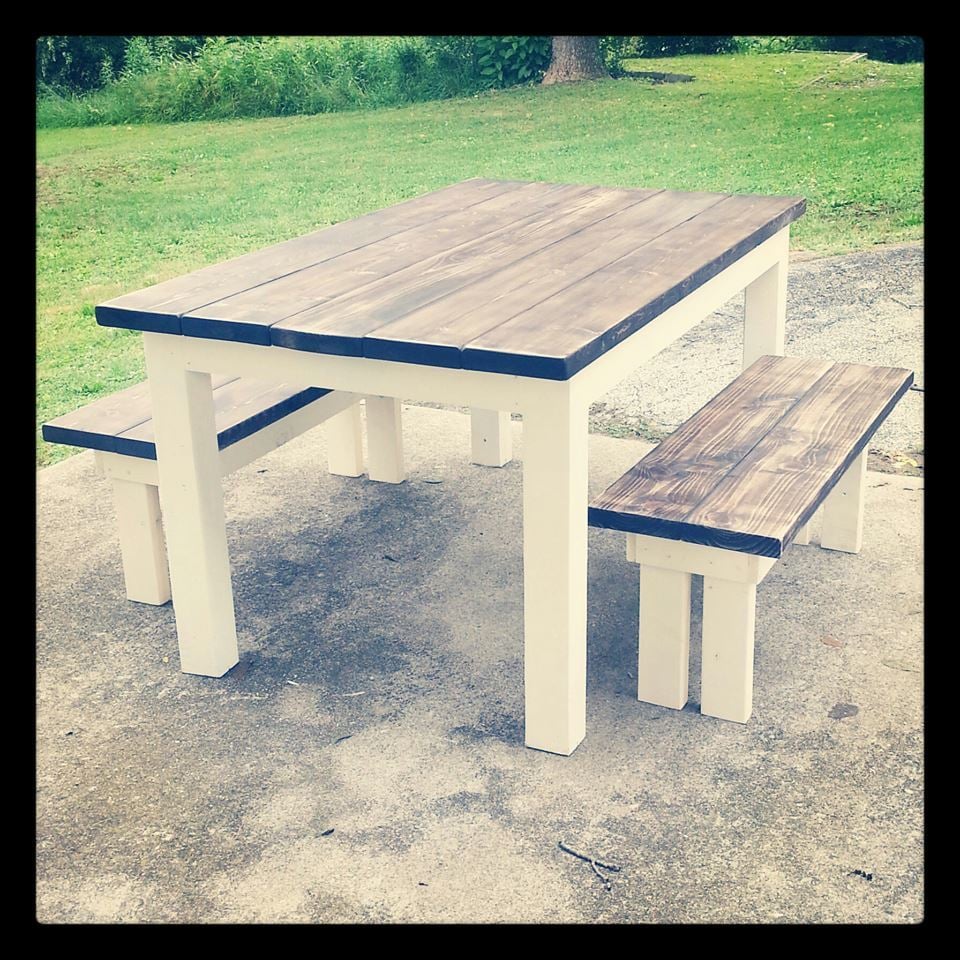
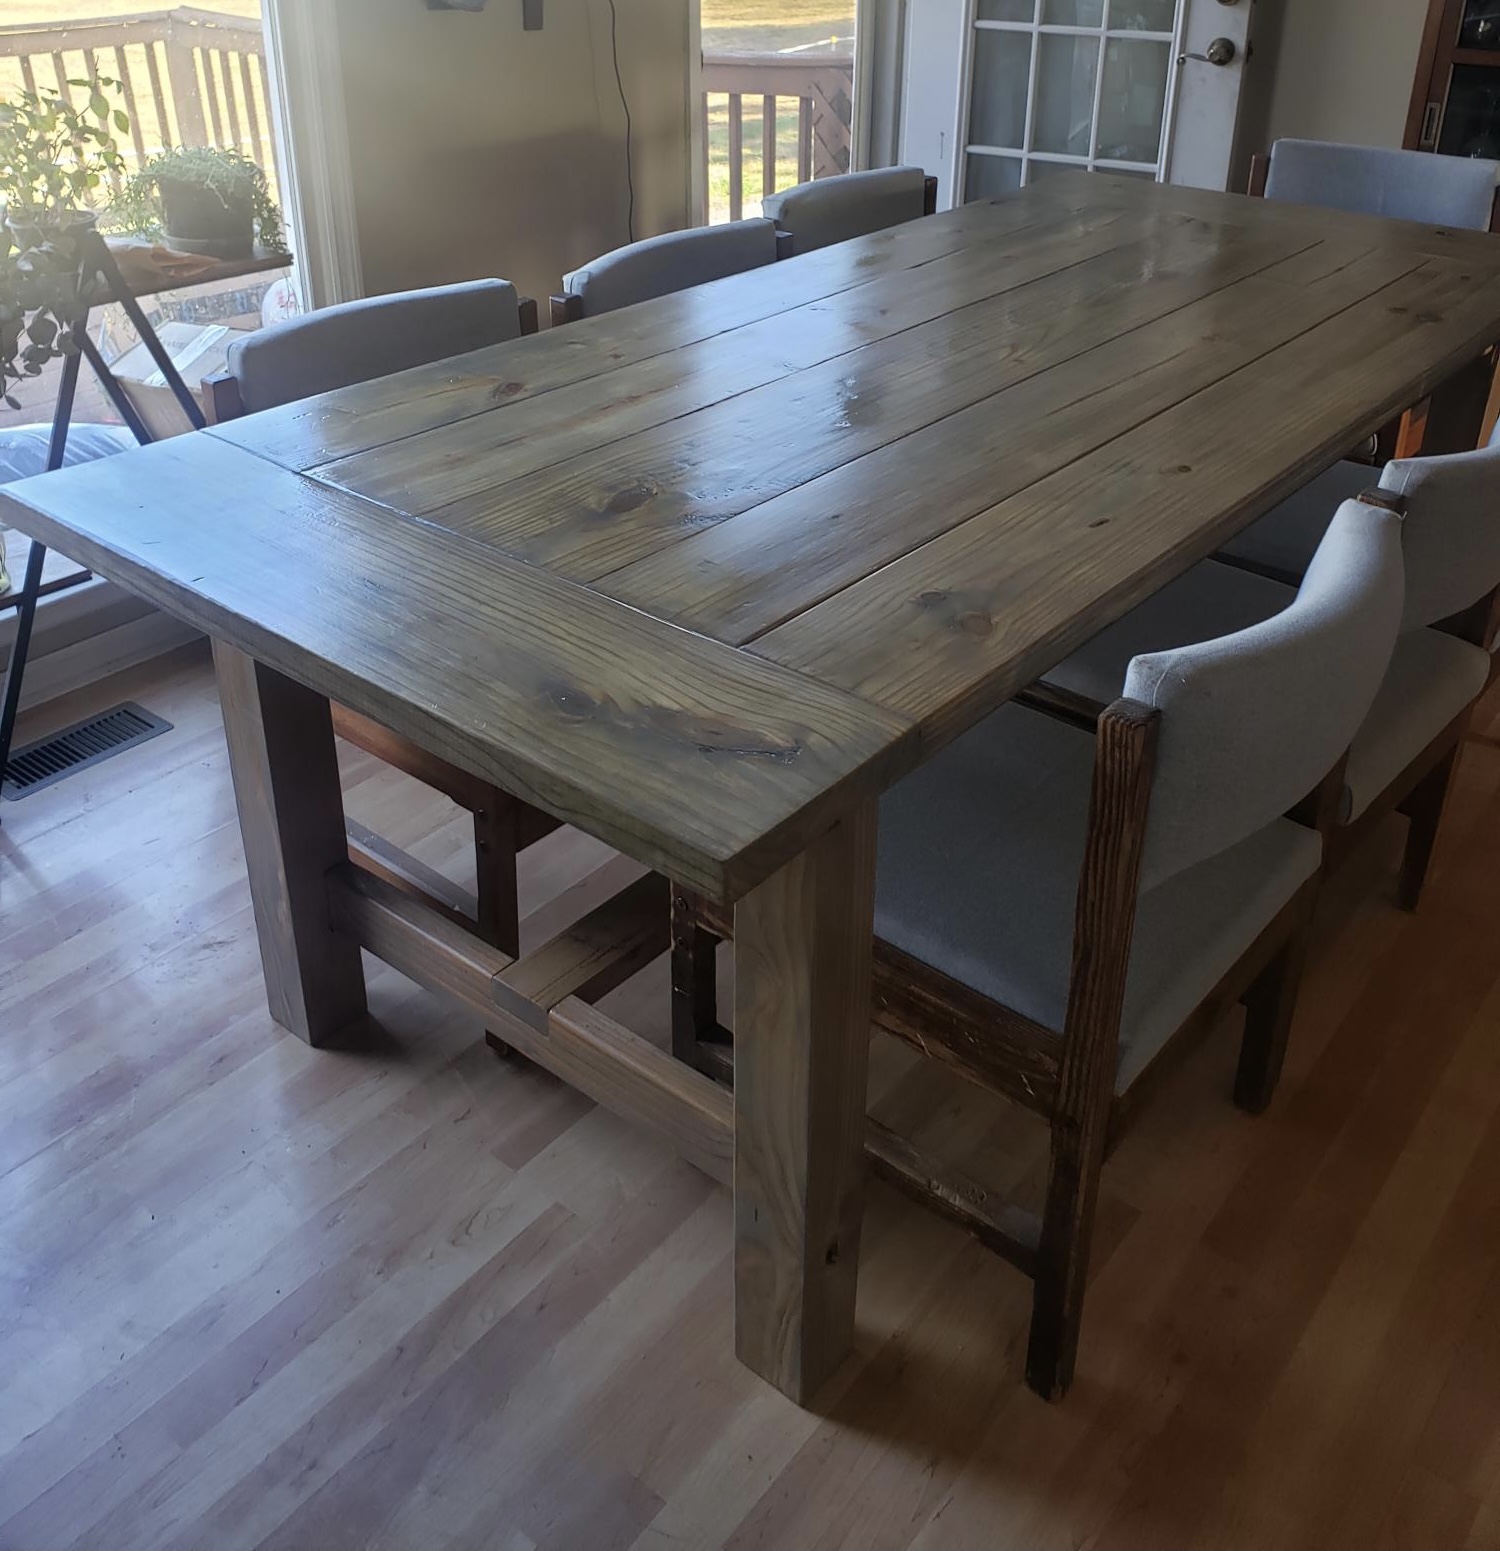
Farmhouse Table

Submitted by camilton on Thu, 07/18/2013 - 12:07

First attempt at a project and I have to say I am pretty proud! It may not be perfect but I think the imperfections give it some character. I used a dark walnut stain and finished with poly two coats.

Estimated Cost
125
Estimated Time Investment
Weekend Project (10-20 Hours)
Finish Used
Minwax Dark Walnut stain
Recommended Skill Level
Beginner

Camp Loft Bed

Submitted by Just Jill on Tue, 07/21/2015 - 13:39

I followed the plan and it was way easier than I expected.  This thing is sturdy as a rock!  Shake it all you want, it's not going anywhere.  I'm doing my son's full bed next.

Estimated Cost
With smart shopping and price match, I spent less that $70.
Estimated Time Investment
Weekend Project (10-20 Hours)
Finish Used
Black Rustoleum satin paint. Many thin coats. I used up some left over paint as base/primer.
Recommended Skill Level
Intermediate

Toy Box

Submitted by JustJ on Sun, 02/18/2018 - 07:13

I used your basic plans,  but modified it to use some scrap wood I had from another project. I used blue stain pine,  tongue and groove. 

I made this toy box for my niece who is expecting her first baby (it's a boy).  I know she likes things clean and uncluttered,  so I added a lid, and then added some corner pieces to make it a little more juvenile. 

It was so much fun. 

Estimated Cost
If you have to buy everything, it's around $75.

I really only had to buy some hardware and rope, so it was minimal for me.
Estimated Time Investment
Afternoon Project (3-6 Hours)
Finish Used
Satin finish, poly coat.
Recommended Skill Level
Beginner

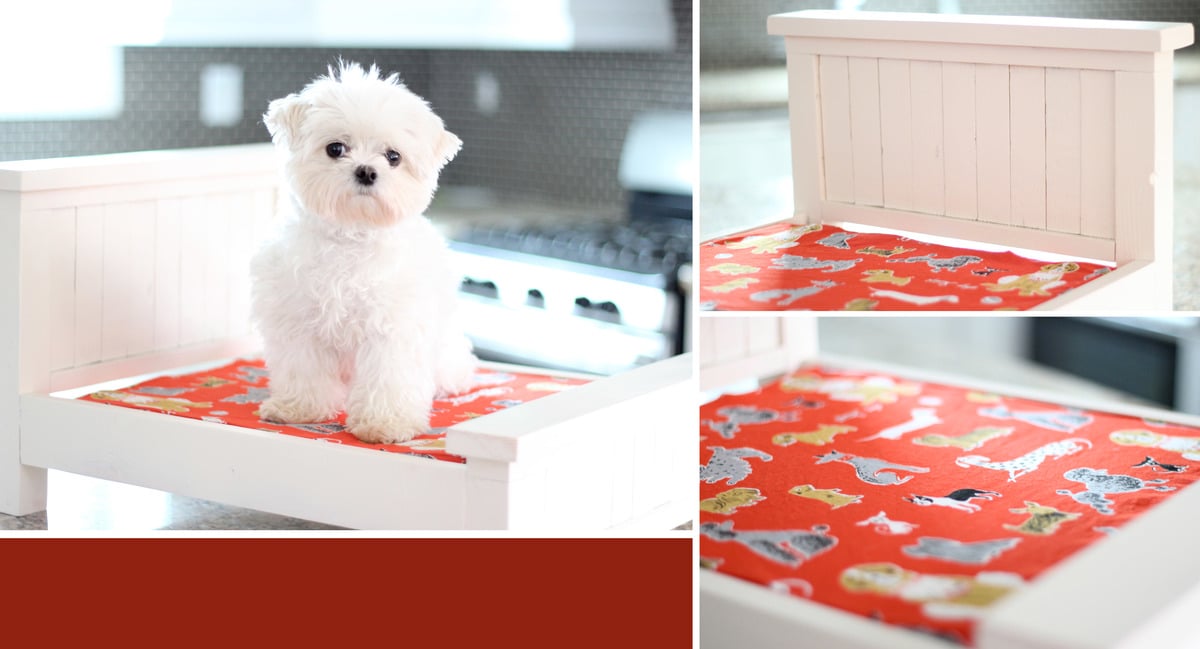
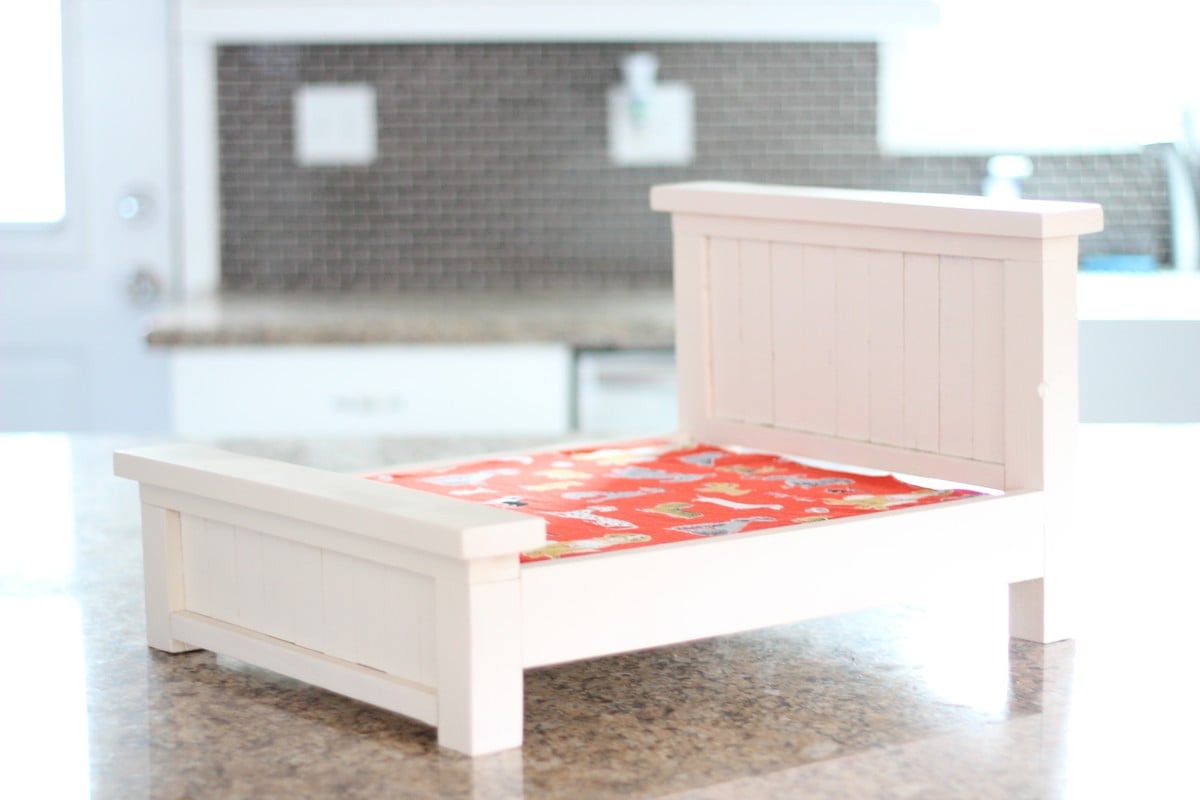
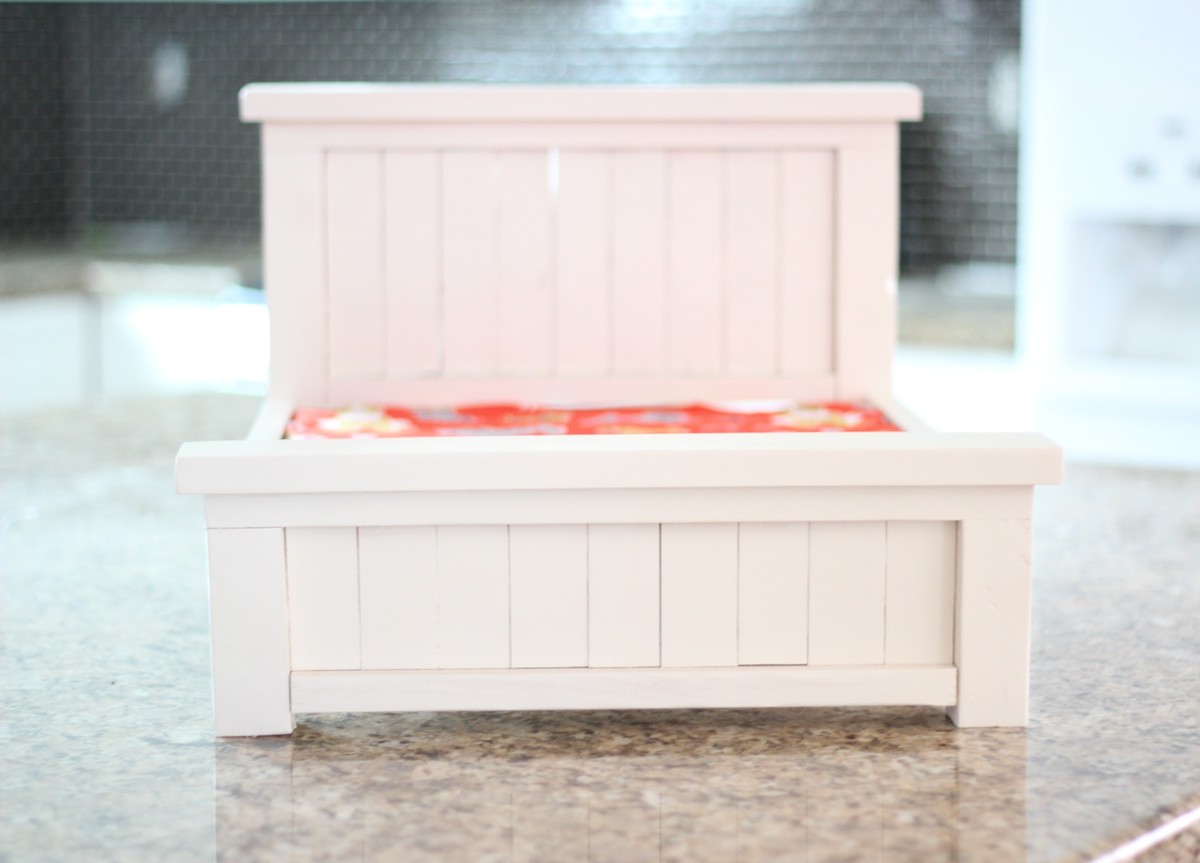
Doll Farmhouse Bed

Submitted by rcoulth on Thu, 03/31/2022 - 02:20

I made this for my granddaughter’s birthday. It was super easy, but it’s really big. I’d reduce size if I made it again. She said she can fit 2 dolls in it.
Comments

Hooray for the $10 ledge!

Submitted by kaleidiehl on Tue, 05/31/2011 - 20:05

This project was so EASY and it is just what I wanted over the entertainment area. We had some So excited that it came out so well and looks great! Thank you for such easy to follow instructions!

Estimated Cost
$8 (had some supplies on hand)
Estimated Time Investment
An Hour or Two (0-2 Hours)
Finish Used
Paint Brand: Ace Hardware
Color: Ace of Spades
Finish: Satin
Recommended Skill Level
Starter Project