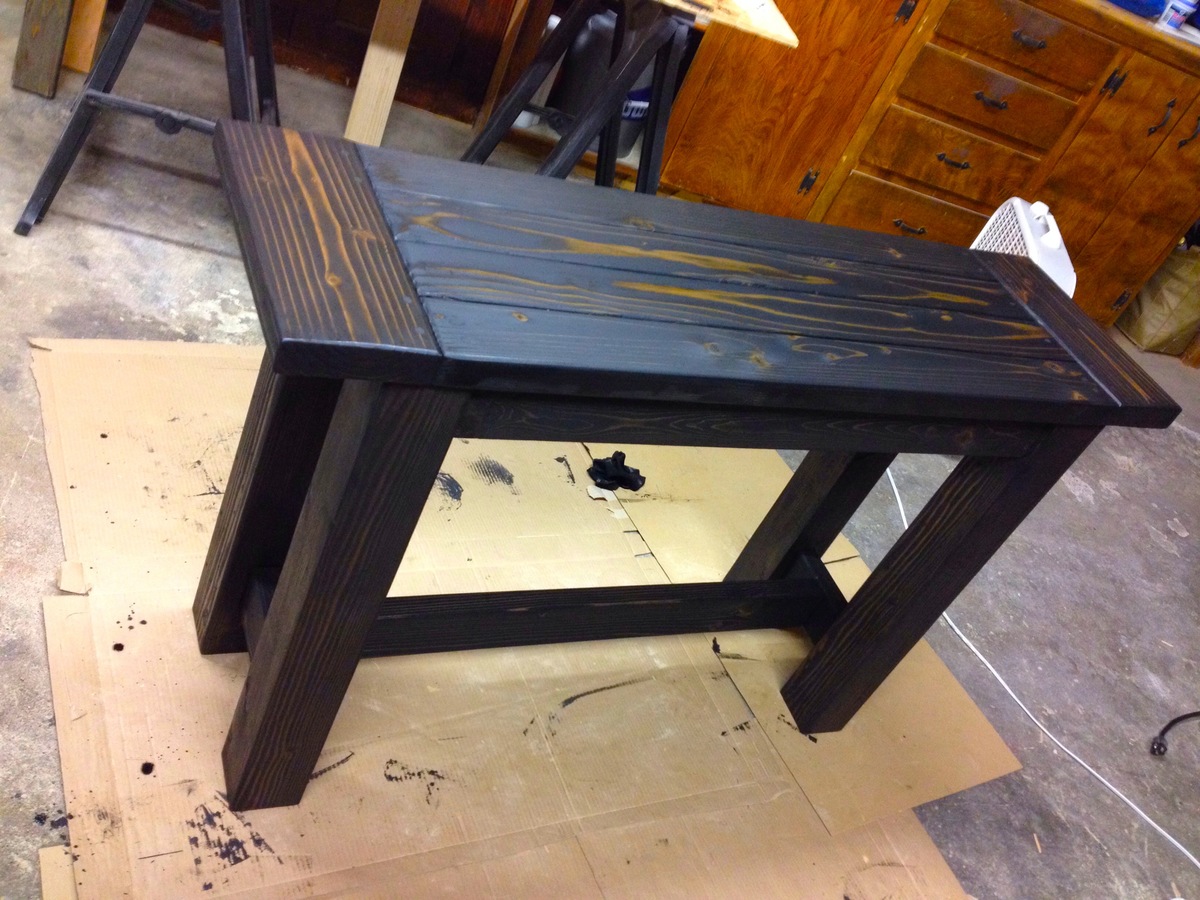
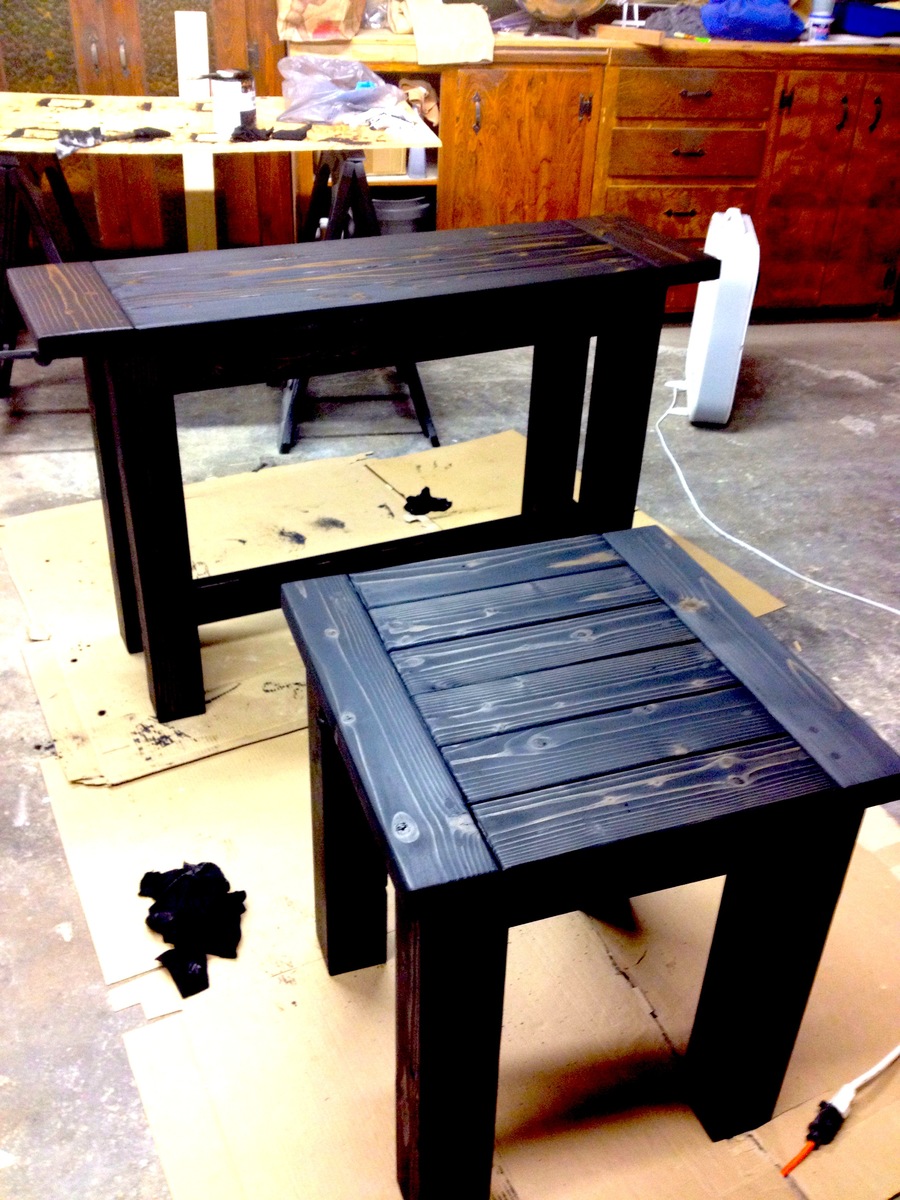
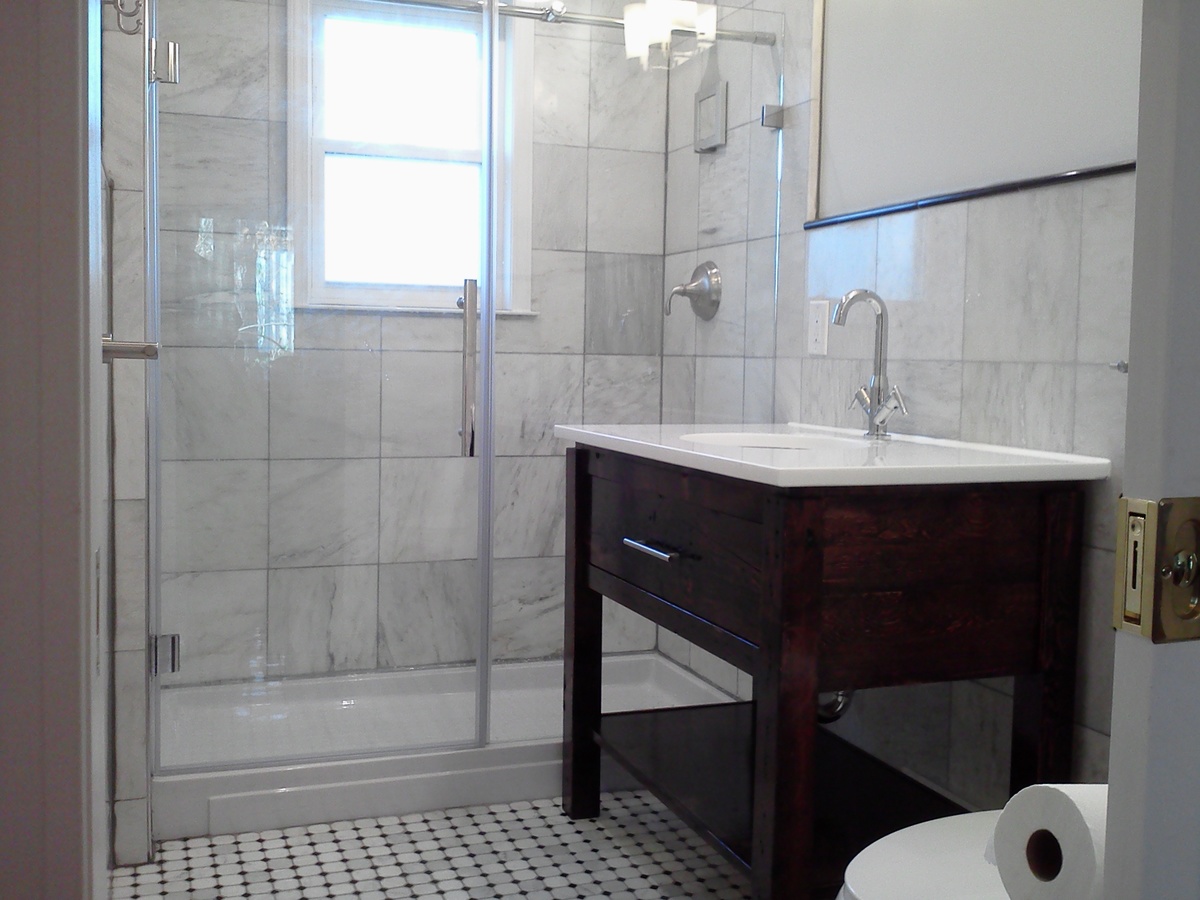
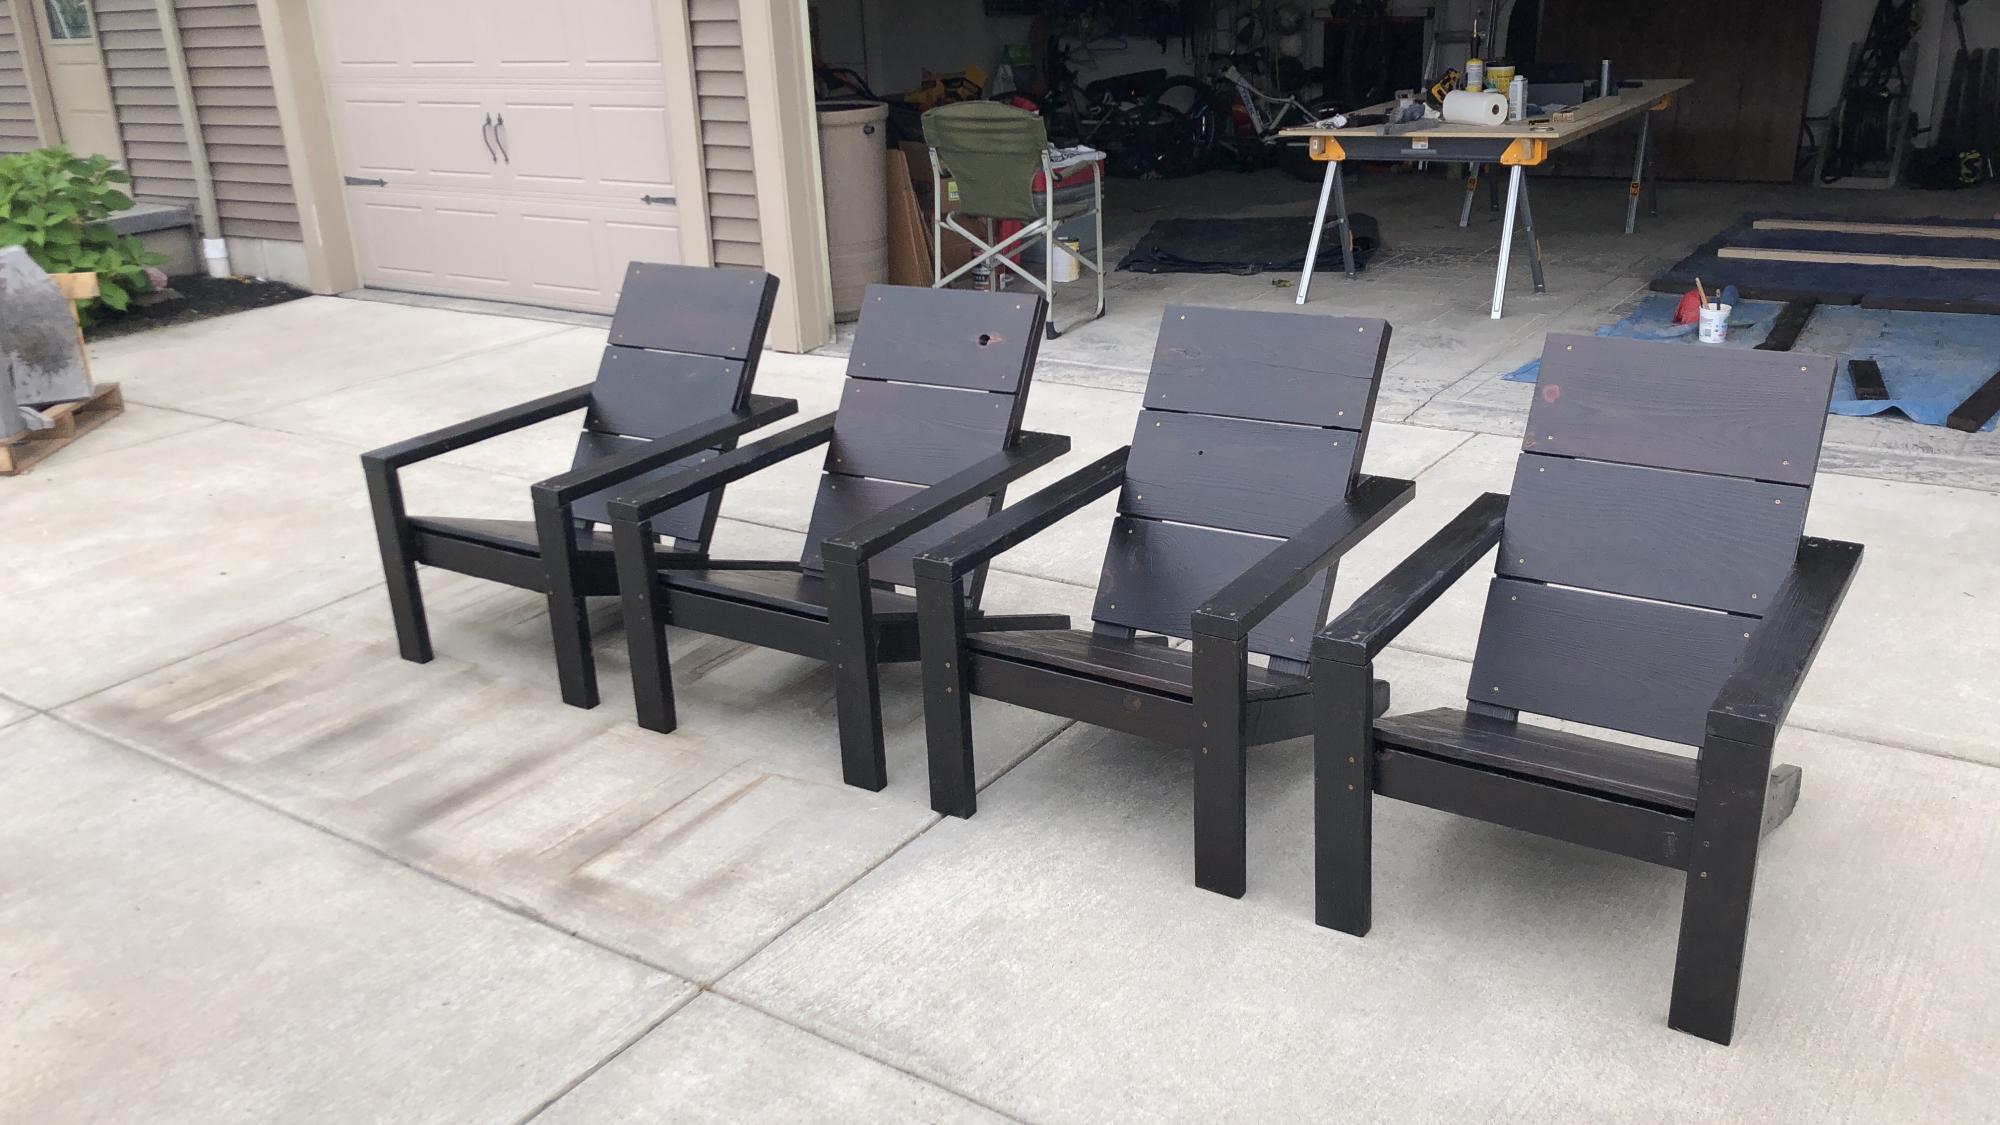
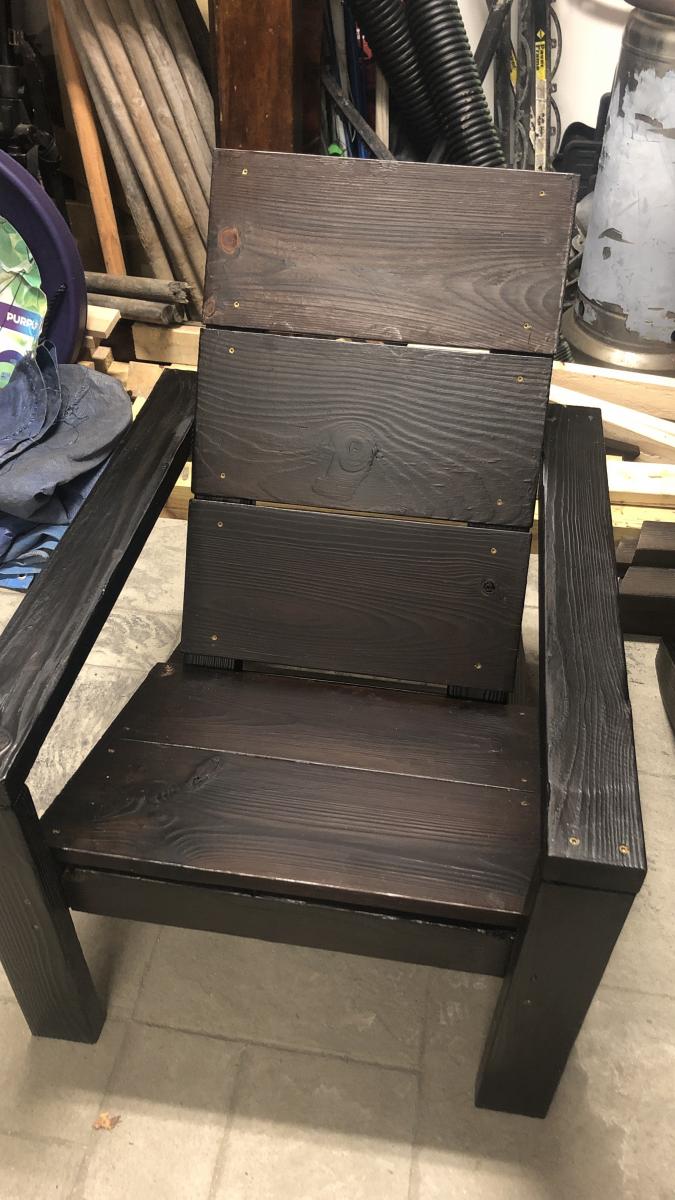
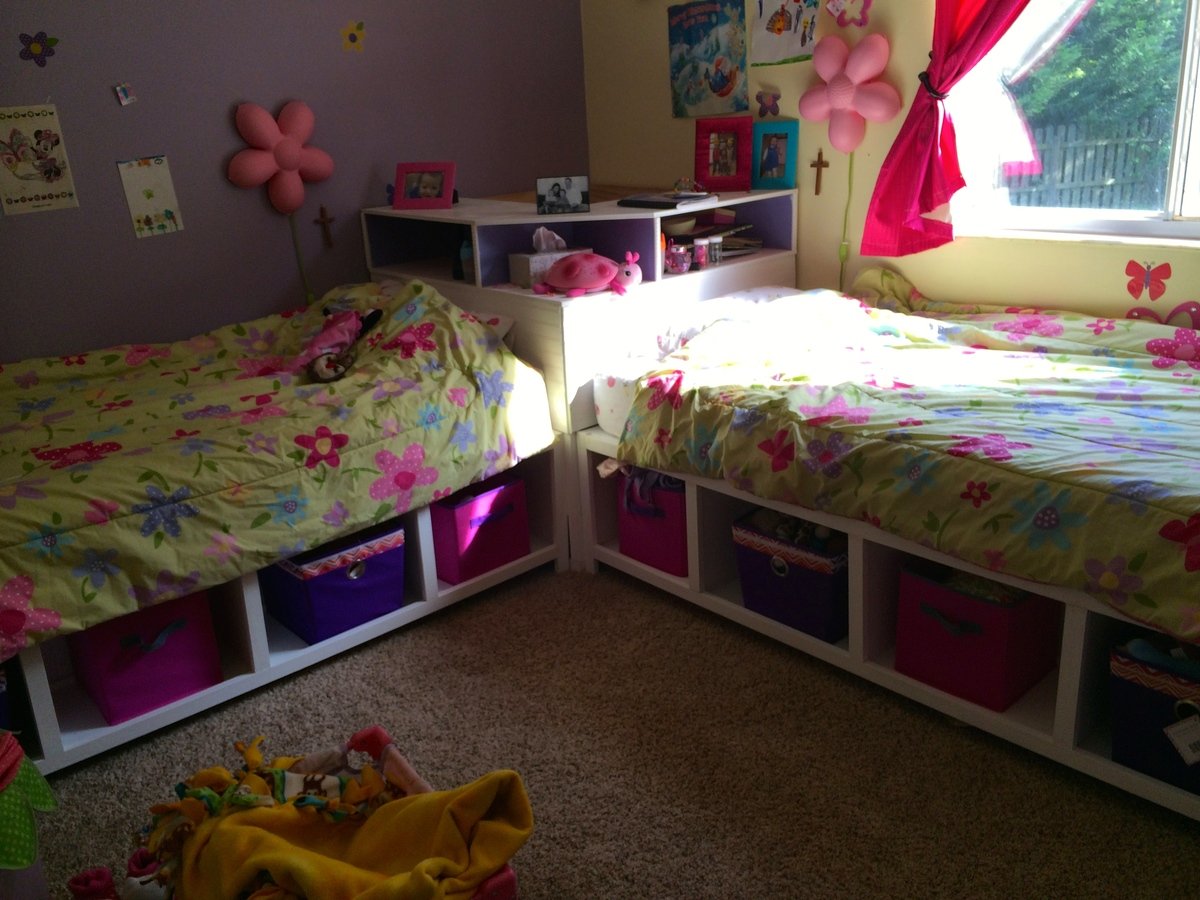
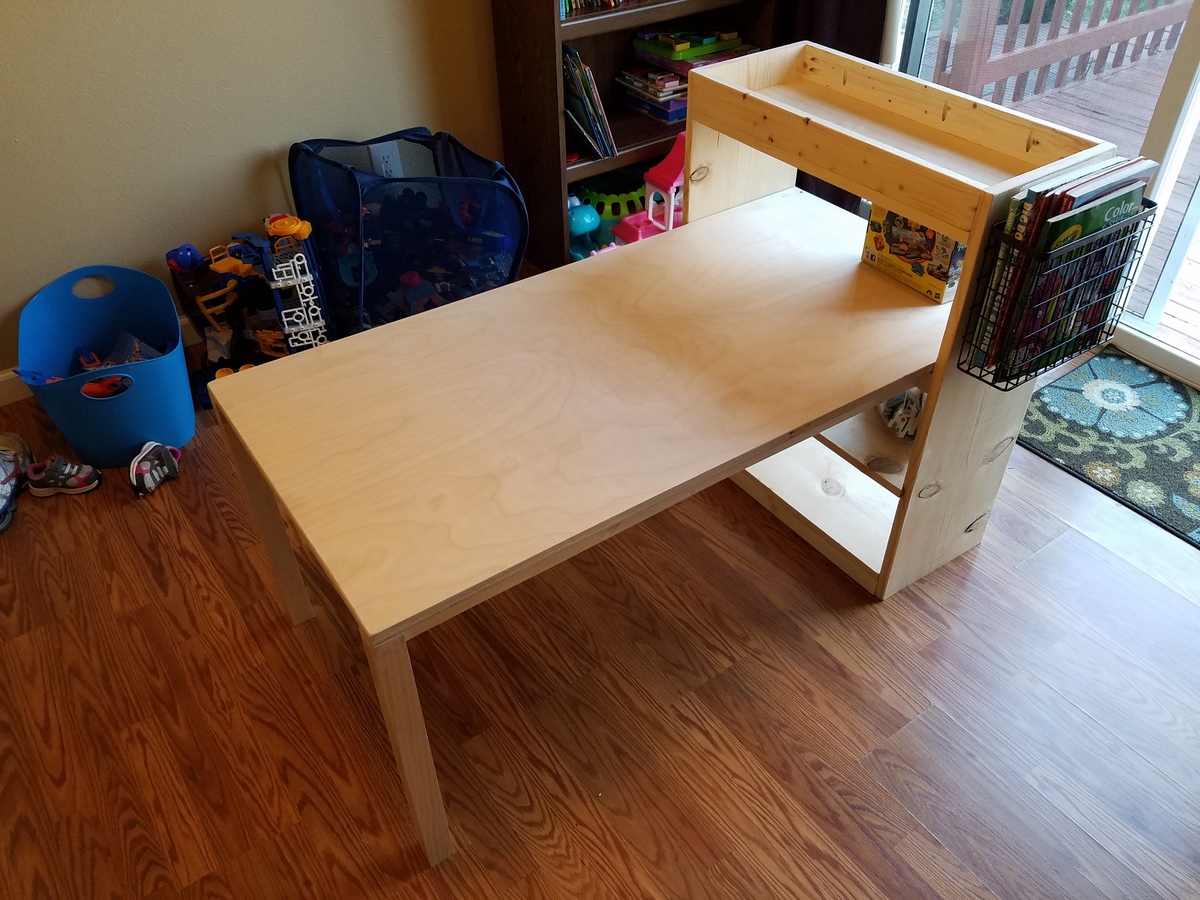
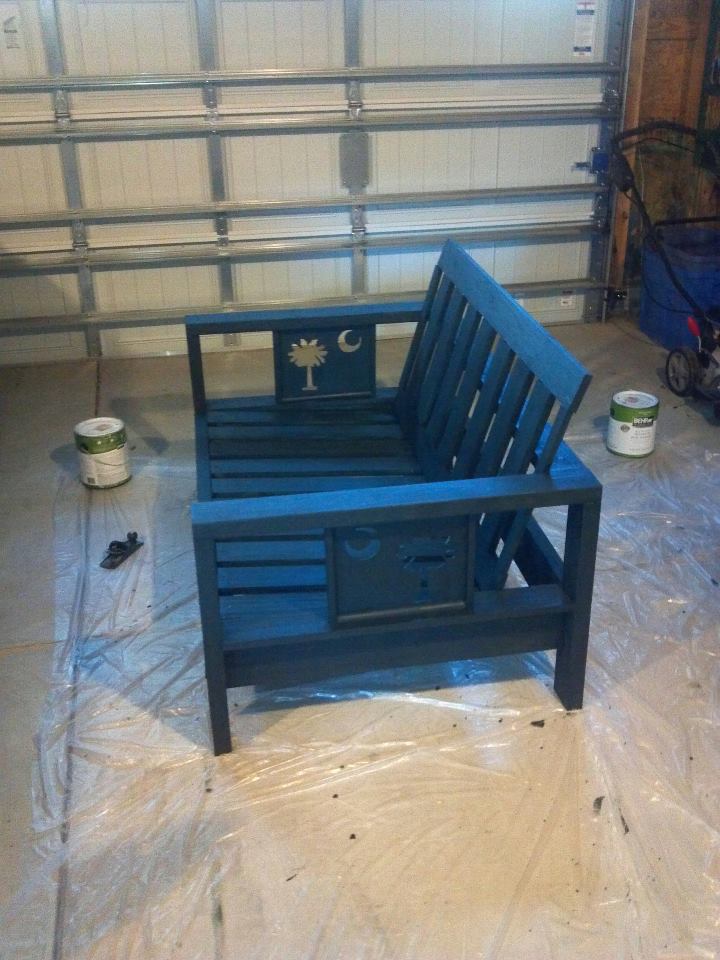
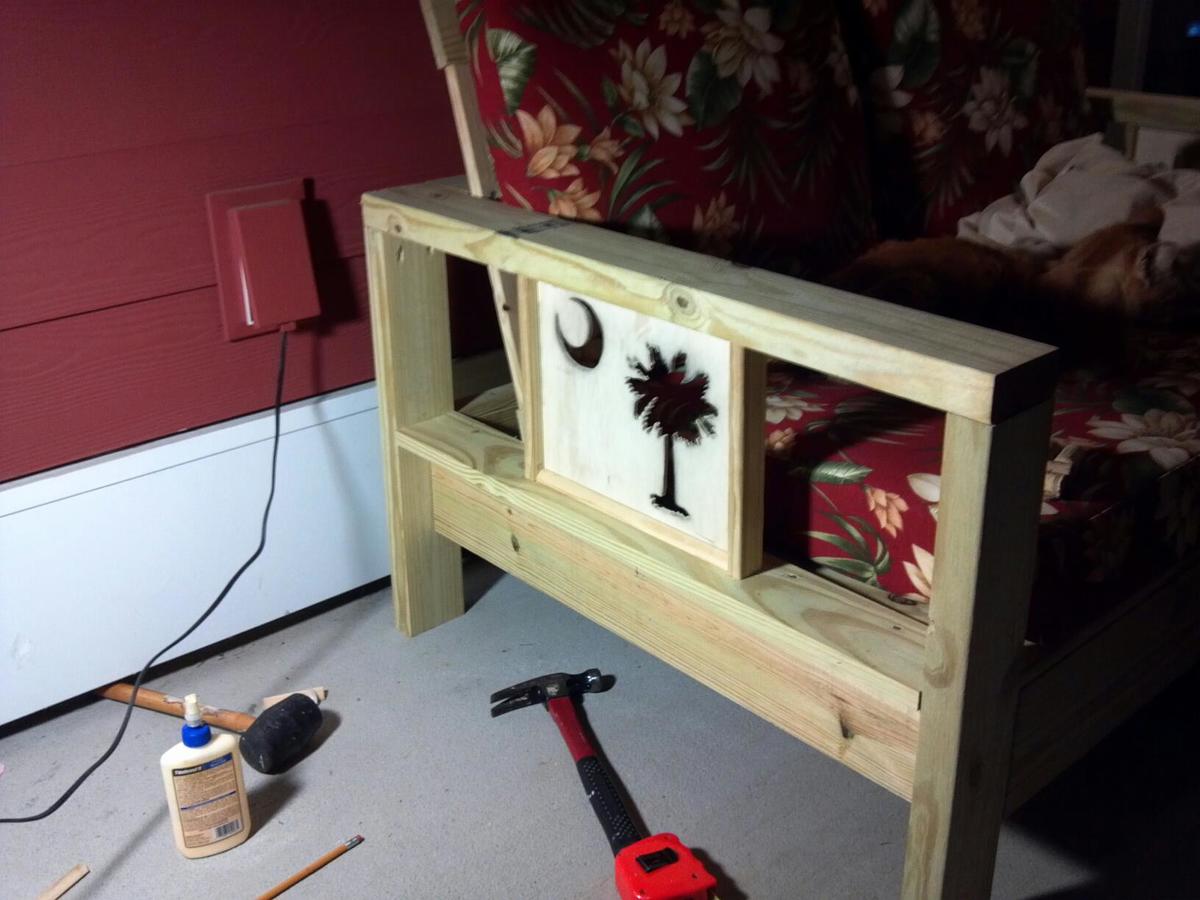
Community Brag Posts

Providence Bench

Submitted by vickitee on Wed, 09/03/2014 - 10:25

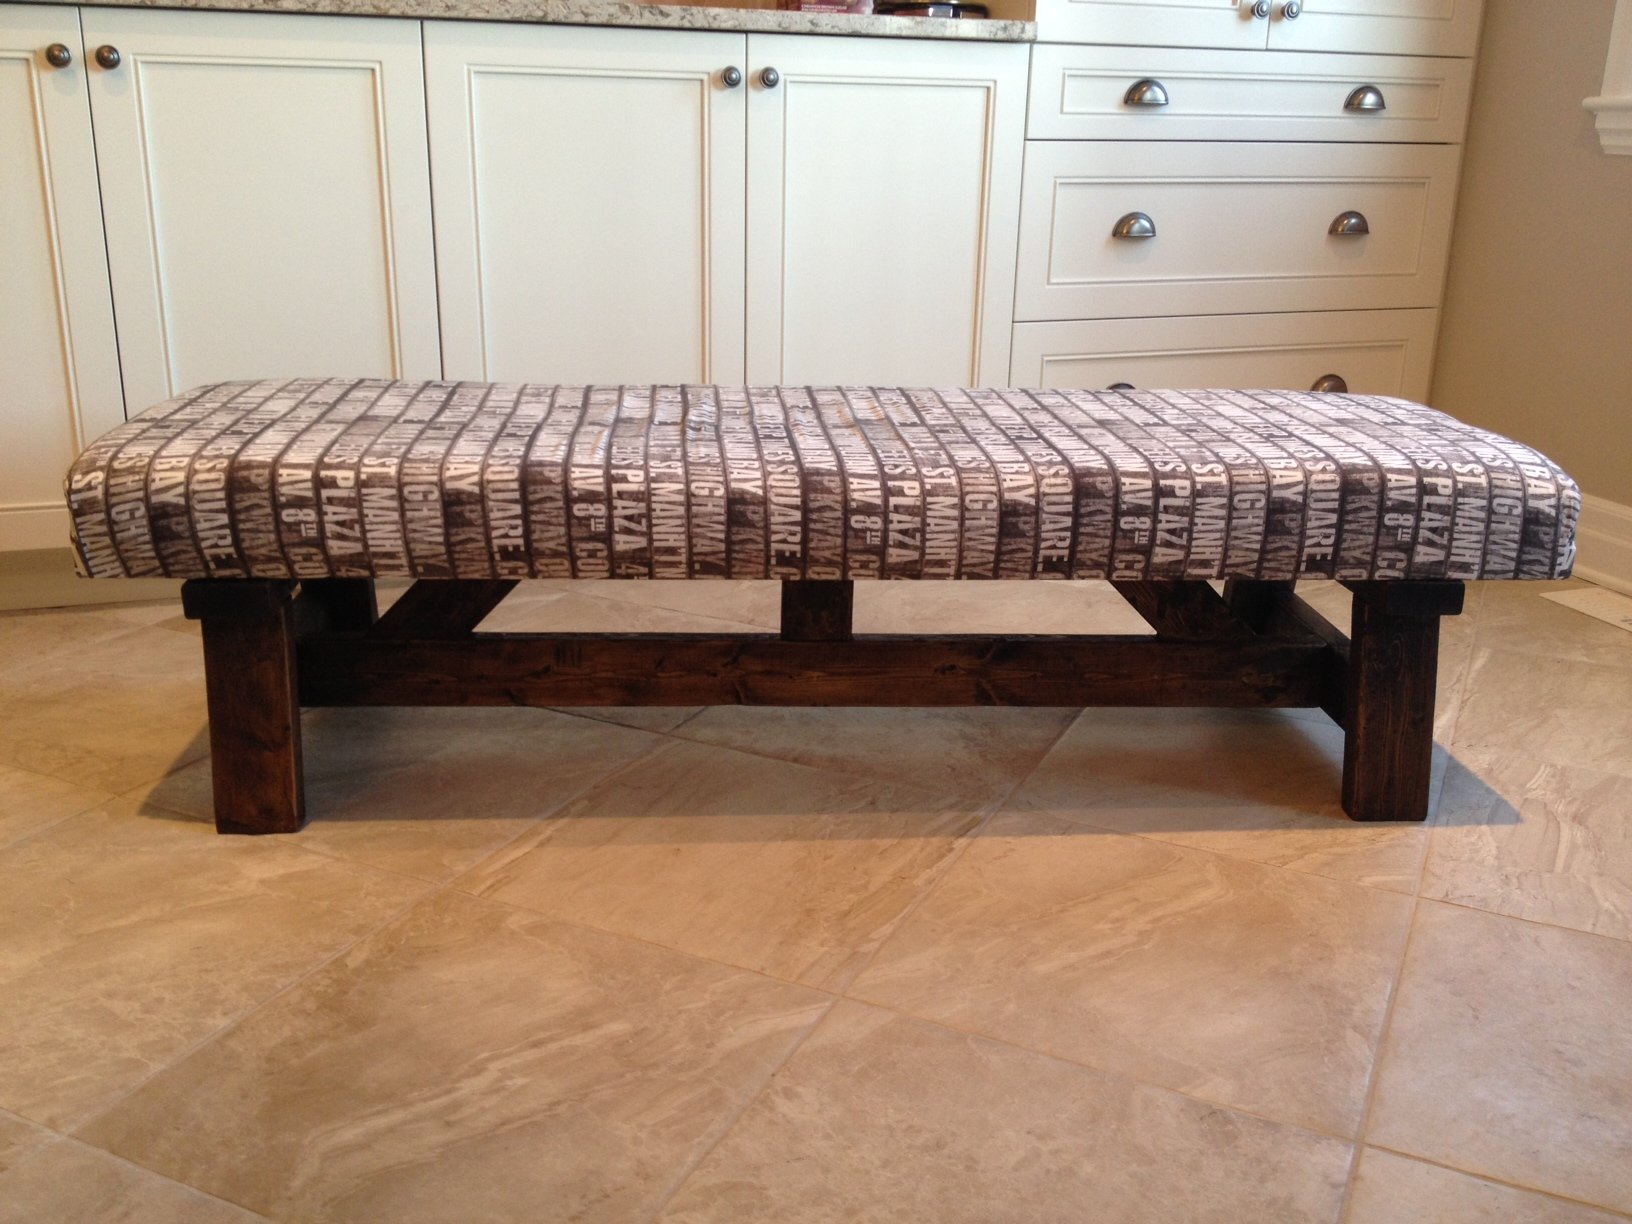
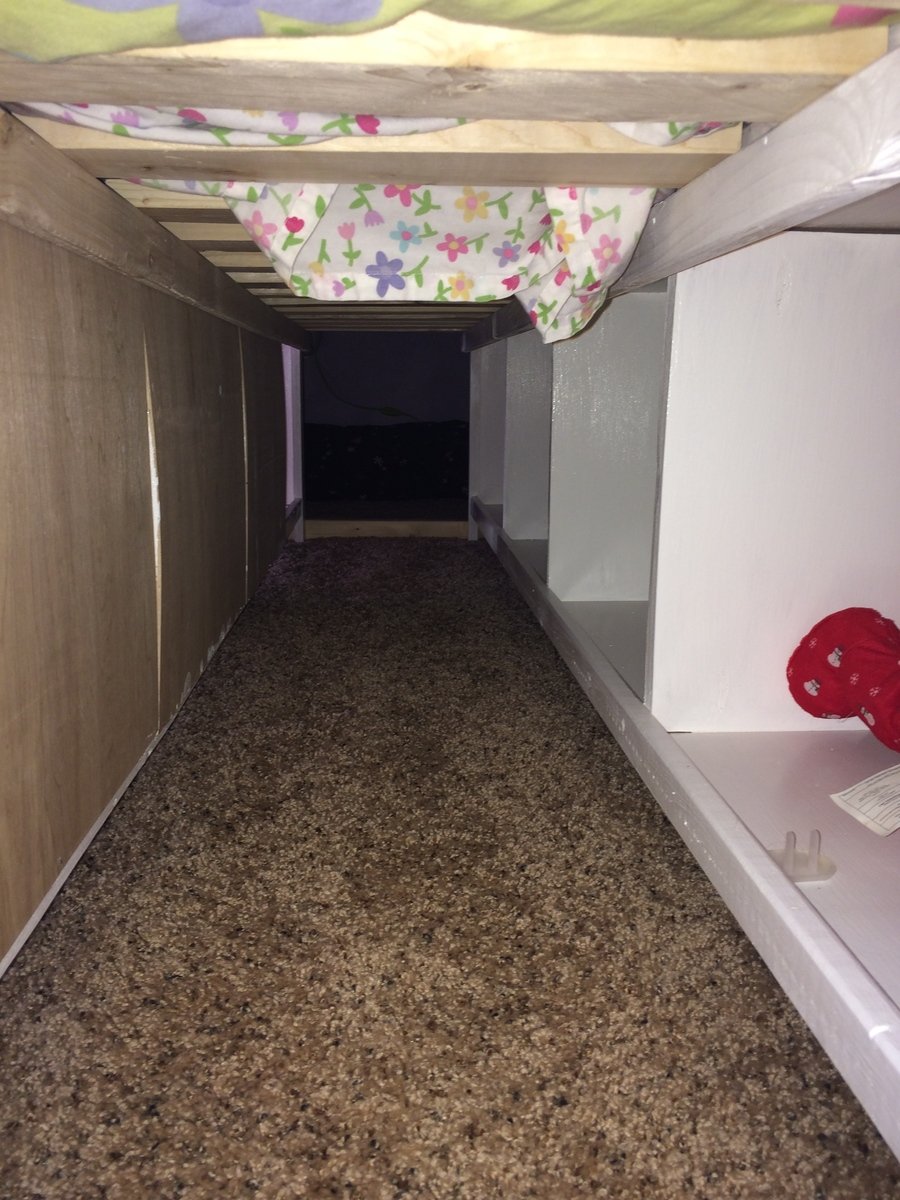
I built this bench to fit a foam matress that I had (kids are sleeping on it in my bedroom when they wake up at night).
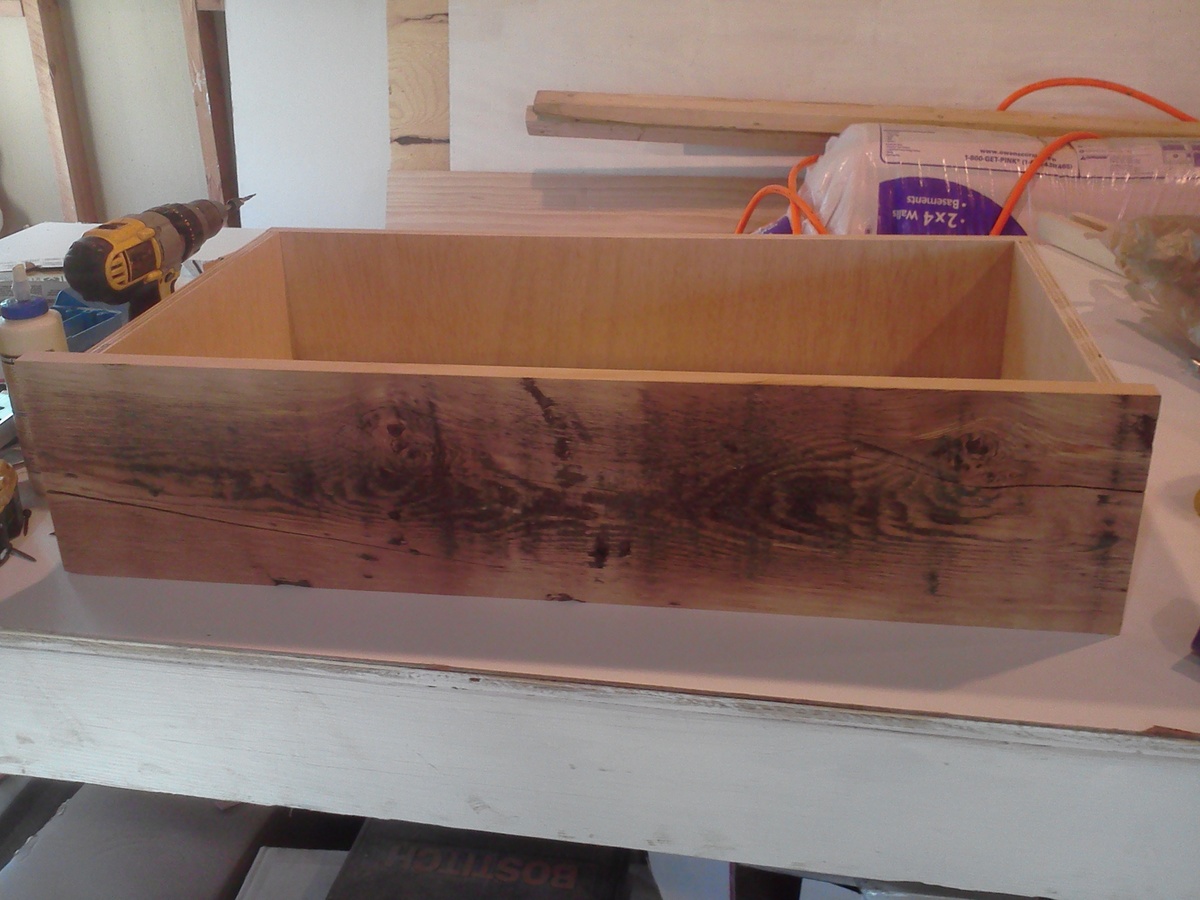
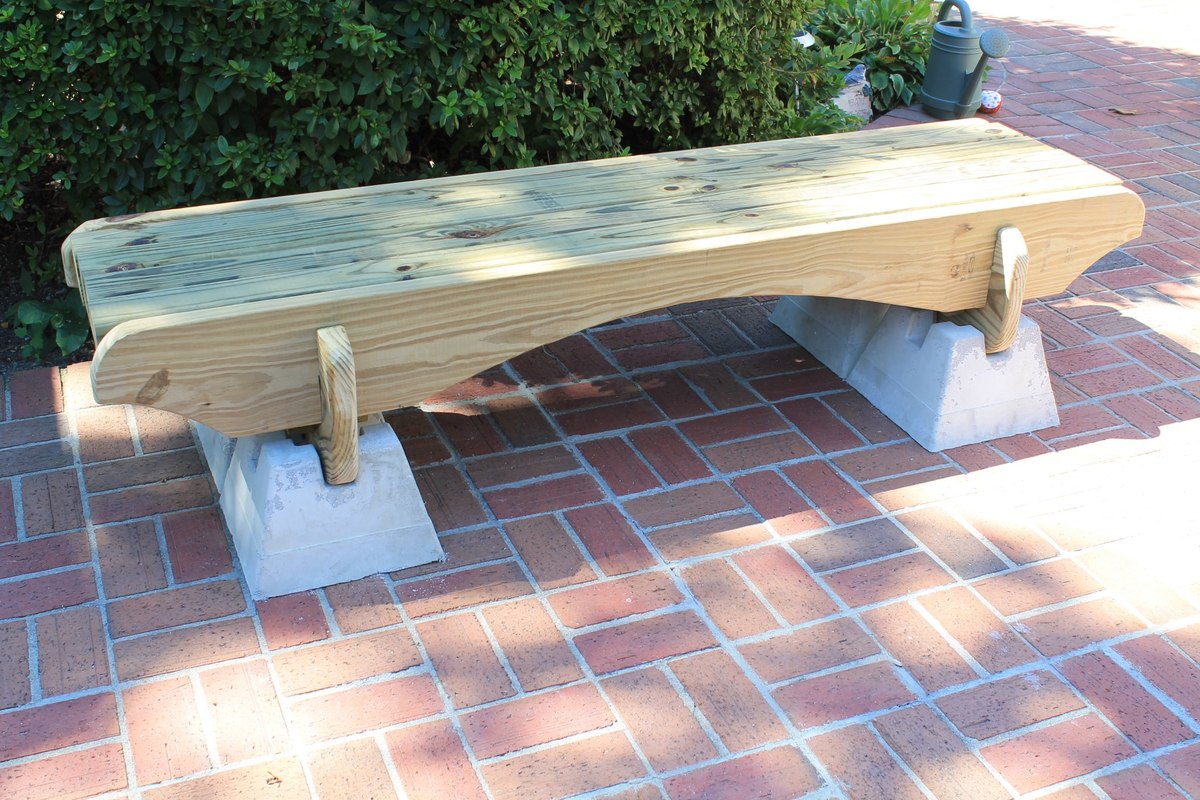
The matress is 63 inches by 20 inches and the foam is 4 inched thick.
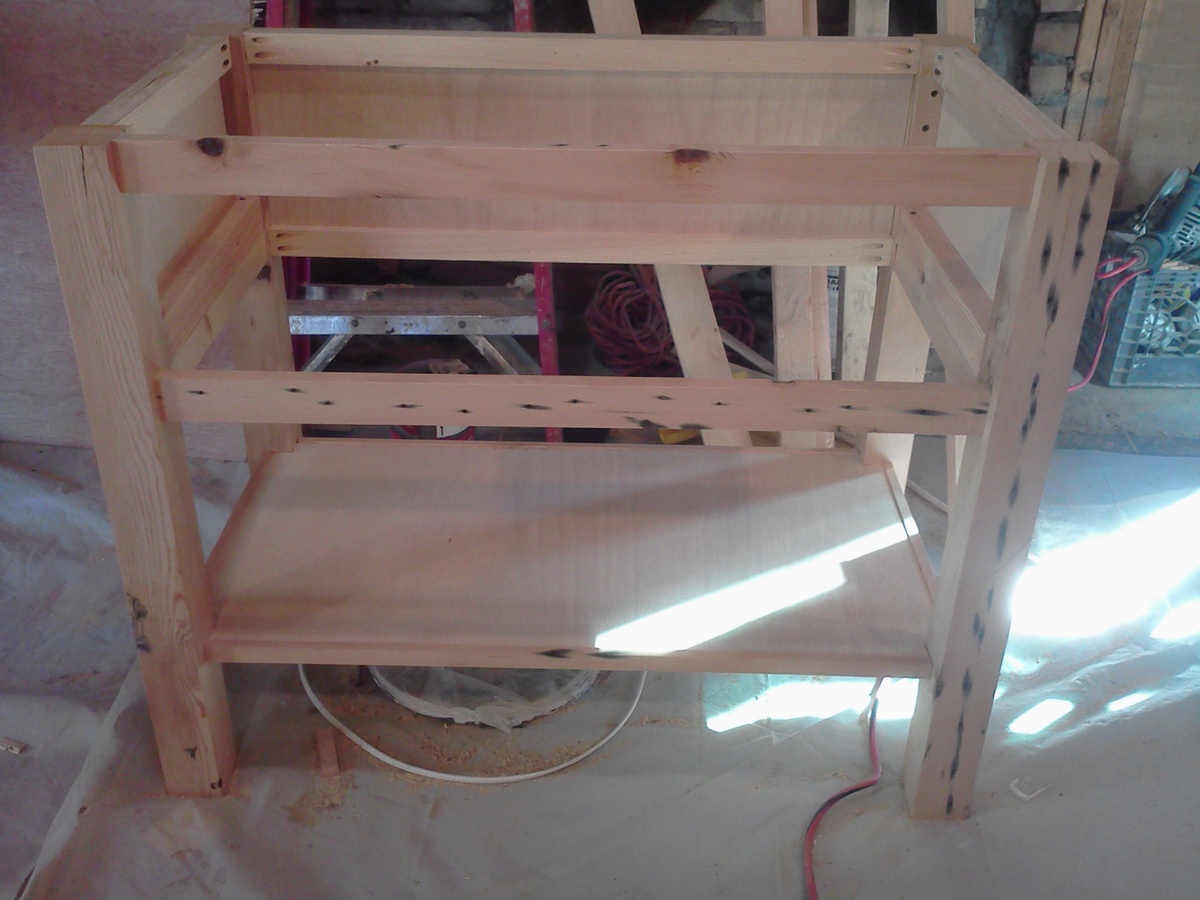
The bench is only 15 inches off the groung in height.
1 - 2x6
7 - 2x4
fabric
foam
staple gun
Kreg Jig
Glue
Mitre Saw
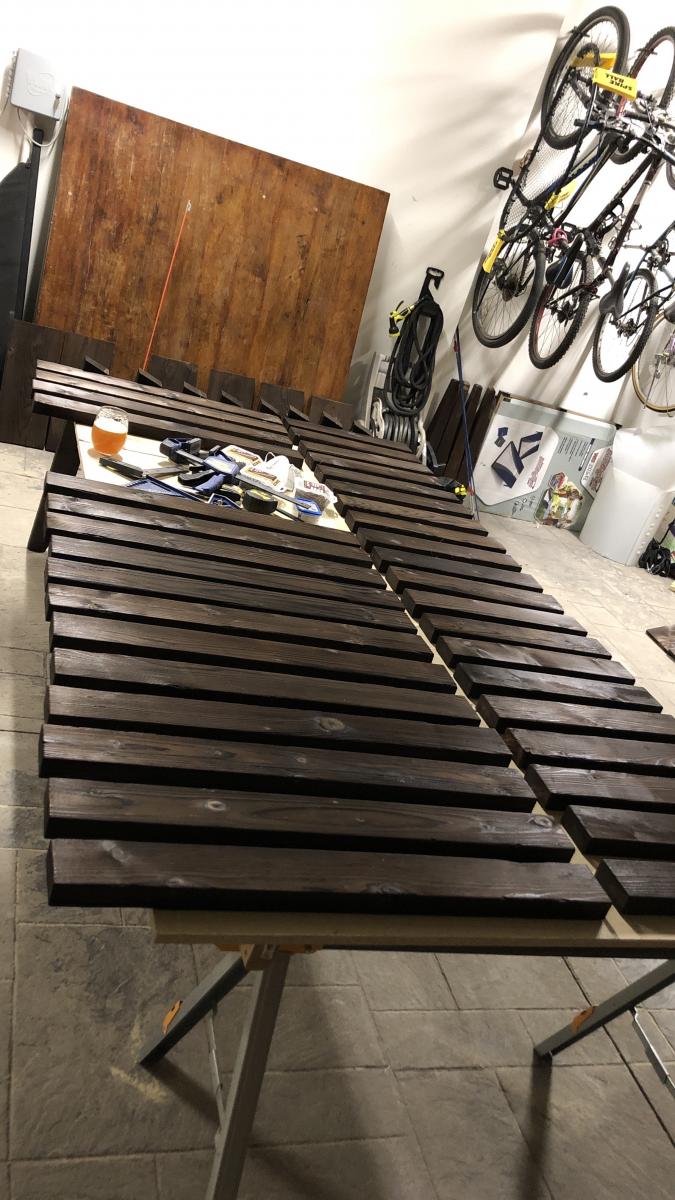
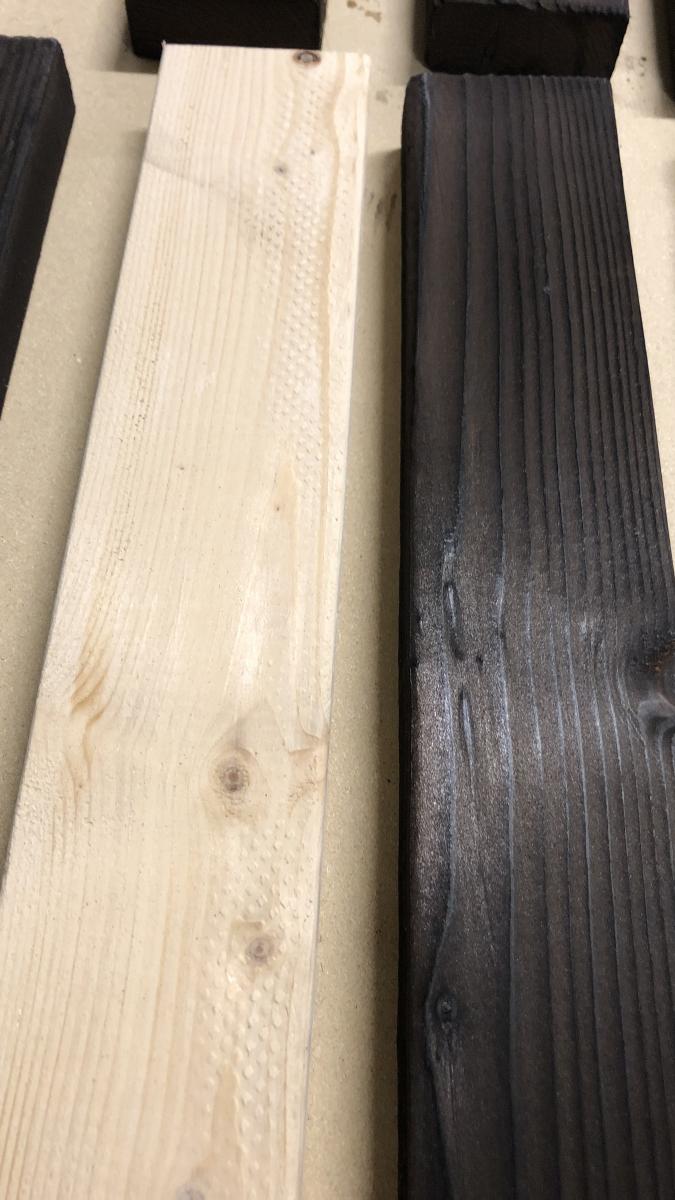
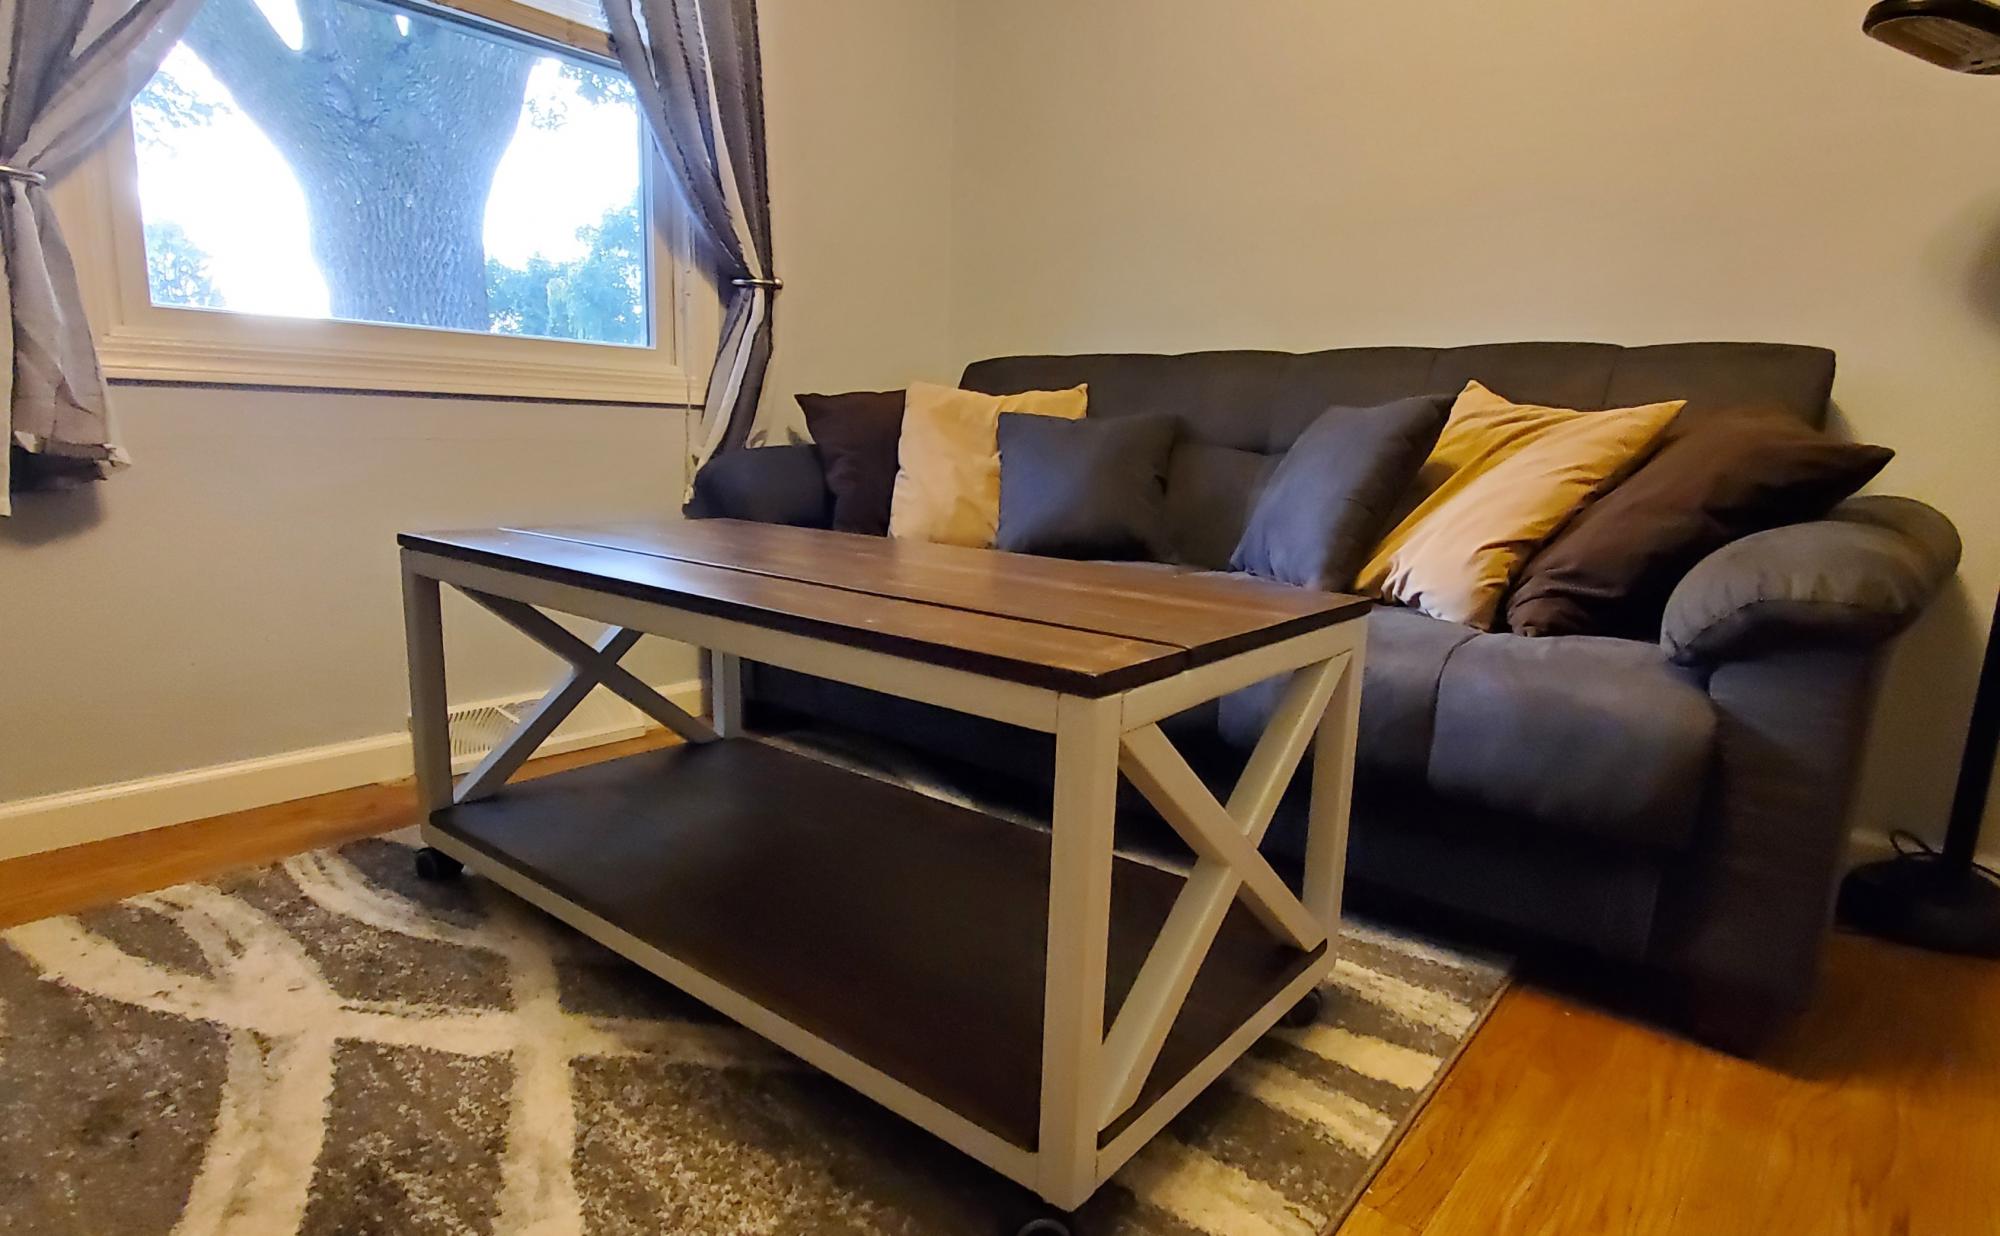
Miniwax Jacobean stain

Built from Plan(s)
Estimated Cost
60
Estimated Time Investment
Weekend Project (10-20 Hours)
Finish Used
miniwax Jacobean stain
rubbed on with a rag/cloth
Recommended Skill Level
Beginner

Boot Rack

Submitted by Anonymous (not verified) on Fri, 12/23/2016 - 21:34

Loved the version Ana shared and then added a belt holder at each end. Also routed the edges each end to add something more. Used Mission Oak stain.

Estimated Cost
$25
Estimated Time Investment
Afternoon Project (3-6 Hours)
Finish Used
Sanded, stained with Mission Oak, sanded again and one final stain.
Recommended Skill Level
Beginner

Farmhouse Kingsize Bed

Here is the Farmhouse king size bed I built. We went by your plans and finished with 3 coats of Minwax "Simply White. My wife helped with the sanding and staining. We ended up using 2x10s for the sideboard instead of the 1x10s to better match the thickness of the rest of the bed. My wife wants 2 night stands next! So off to the lumber yard we go.

Estimated Cost
$275
Estimated Time Investment
Weekend Project (10-20 Hours)

Ten Dollar Ledges

Submitted by solomonson on Wed, 11/21/2012 - 21:42

After a floating shelf fail, I threw this one together with scraps. Time investment below includes waiting for paint to dry and hanging it up.

Built from Plan(s)
Estimated Cost
scraps
Estimated Time Investment
Day Project (6-9 Hours)
Finish Used
Valspar Antique White, latex.
Recommended Skill Level
Beginner

Tryde Coffee & Sofa Tables

Easy to build! Some woodworking experience is definitely a plus when completing it over the weekend.

Estimated Cost
<$100 total
Estimated Time Investment
Weekend Project (10-20 Hours)
Finish Used
Rust-Oleum Wood Stain (Ebony)
Rust-Oleum Polyurethane (interior, matte)
Recommended Skill Level
Intermediate

Dollhouse

Submitted by Anonymous (not verified) on Tue, 12/27/2016 - 02:19

Thanks for the plans!  This dollhouse is great, my daughter loves it. I changed the plans slightly to make an 'open floor plan on the bottom and added a column in the front for support. 

Estimated Time Investment
Weekend Project (10-20 Hours)
Recommended Skill Level
Intermediate

Night stands

Submitted by balbright on Sun, 09/06/2020 - 10:24

Great nightstands on a slim budget. We used “mid tint” paint but it ended up PERFECT with the room.

Estimated Time Investment
Weekend Project (10-20 Hours)
Finish Used
Mia-tiny paint
Recommended Skill Level
Beginner

Custom size bathroom vanity

Submitted by Eliyahu on Sun, 11/25/2012 - 13:02

Hello, this is my first post and i wanted to thank Ana for this great website. my wife and i bought a new house and we renovated one of the bathrooms. i looked all around for a bathroom vanity and i could not find anything that was simple yet classic and elegant that would fit the place and compliment the space. so i started by ripping down a 4 x 12 beam that i bought from a salvage yard and turned it to the vanity. the vanity measures 38" x 24 "x 34.5" and it has a full size pull out shelve and a soft close hinges and it has an open bottom shelf. the finish is dark walnut and high gloss polyurethane. if you have any questions feel free to ask. Thank you.

ana white bathroom vanity

Built from Plan(s)
Estimated Cost
materials about $200
Estimated Time Investment
Week Long Project (20 Hours or More)
Finish Used
dark walnut
Recommended Skill Level
Intermediate

Comments

Carra (not verified)

Tue, 11/27/2012 - 08:51

The vanity is very nice but I LOVE the shower!

Wood Cooler

Submitted by jayheedan on Mon, 09/08/2014 - 11:41

I had an old aluminum Pepsi cooler that had been sitting around collecting dust for years on the back porch, after seeing these cooler plans I was inspired to create a cooler stand the would show off the cooler and make it useful again.  I built the whole thing using scrap lumber I had.  Took two days to complete, Thanks for the post!

Built from Plan(s)
Recommended Skill Level
Intermediate

Comments

Linda7

Mon, 09/08/2014 - 22:23

This is beautiful. I like the color with the contrasting trim and shelf, but most of all, I really like how you left the inset to show off the old Pepsi logo and aluminum side. Well done!

Haley storage bed

Submitted by Chernandez on Wed, 12/28/2016 - 15:26

Made this for my daughter. Took two days to make and four days to paint. Great weekend project. 

Built from Plan(s)
Estimated Cost
250.00
Estimated Time Investment
Weekend Project (10-20 Hours)
Finish Used
Enamel
Recommended Skill Level
Beginner

Adirondack Chair Project WNY Sept 2020

Submitted by Anonymous (not verified) on Mon, 09/07/2020 - 19:06

My daughter and I completed 4 chairs per Ana's design over Labor day w/e 2020. It took a little longer because we did a Shou Sugi Ban burn/brush finish with 2 coats of clear Urethane, including cleaning/drying time. We may add another after light sanding. Love the modern look - super easy plans to follow with video. Thanks Ana for making this available - a great way to spend the holiday weekend during Covid!

Estimated Cost
$60 per chair
Estimated Time Investment
Weekend Project (10-20 Hours)
Finish Used
Shou Sugi Ban deep burn and brush on all pieces
2 Coats of clear urethane .... possibly another still to come
Recommended Skill Level
Intermediate

Storage twin beds with Corner unit and secret hideout!

Submitted by stacie_b on Thu, 09/11/2014 - 11:48

This is my biggest build yet! I combined plans from this site and then modified them slightly to create two twin storage beds, a corner headboard unit with cubbies, and a secret hideout underneath!

The beds are two benches - I left off the headboard and footboards to allow for a secret passageway for my girls to access the space under the headboard unit. I also left the backing off of the benches on the wall side of each bed so that they can be used for storage. (I also left the backing off of one of the cubbies on the room-side bench to allow additional access/exit points for the hideout.)

For the hideout, I followed the Corner Unit plans, except I stopped the headboard pieces at the level of the beds rather than making them go all the way to the floor. 

I added trim on the edges of the headboard unit - partly to cover imperfections, but I love the look of it! 

Now the girls have a secret hideout (complete with a light and pillows for lounging and reading), the space under the headboard unit is not wasted, and MOM did it all! :) I'm so proud of this project and I love the example it sets for my girls that powertools are for everyone! 

Estimated Cost
$150 for everything!
Estimated Time Investment
Week Long Project (20 Hours or More)
Finish Used
White high gloss enamel
Recommended Skill Level
Intermediate

Comments

Kids art center

Submitted by Anonymous (not verified) on Sat, 12/31/2016 - 08:41

This kids art center went together very well! The kids haven't stopped playing on it.  

Estimated Cost
$120
Estimated Time Investment
Day Project (6-9 Hours)
Finish Used
None but will be adding a finish to the play surface for easier cleanup
Recommended Skill Level
Beginner

Box Frame Coffee Table with Lift Top

Submitted by idotaz on Thu, 09/10/2020 - 17:06

It took me 4 days to build and finish. I went to the store the very same day I received an email with these plans in it! I love the results! I'm typing this post up on my laptop sitting at my new coffee table!! Work days will be a little more comfortable from here on out LOL! Thank you Ana for sharing your talents in designing amazing build plans.

I did the modifications and added the bottom shelf and the x braces. I did a half lap to join the x braces. I also added small casters so it is easy to roll the table out of my way to get up without having to always close the table top. The finish is dark walnut stain and latex paint in the color Tinsel.

Estimated Cost
$40-$50
Estimated Time Investment
Weekend Project (10-20 Hours)
Finish Used
Dark Walnut stain
Latex Paint in the color Tinsel
Recommended Skill Level
Beginner

Love Seat

We wanted a simple loveseat that used standard-sized cushions (that I found at target.com) that we could put on our narrow screened-in porch. The cushions were about twice the cost of the lumber! I modified the plan by changing the outsides from 2x3's to 2x4's and I made decorative panels of our State's flag using a stencil I created from an image on the Internet. I then cut the stencil out, marked it and cut it out using a scroll saw. The pattern is on 1/4' plywood framed in with 1 x 2's on the sides and 1/2" quarter round on the tops and bottoms of the patterns on both sides. This was fun and quick to build and it met our needs perfectly! I'm even designing some matching end tables for it! Since we're in Charleston, SC we used a color called "Charleston Green", it's nearly black but in bright sun you can see a little green. We barely get to use it though as the cat has taken it over! Thanks for a great plan!

Estimated Cost
$65
Estimated Time Investment
Day Project (6-9 Hours)
Finish Used
Olympic 2 in 1 Waterproof/strain Charleston Green
Recommended Skill Level
Intermediate

Asian inspired outdoor bench (no screws!)

Submitted by jennibee on Sat, 09/13/2014 - 14:47

This is made by using treated lumber and concrete deck piers. The genius of this bench is that there are no screws. It fits together like a puzzle and sits on concrete deck piers. I left it untreated for a bit and decided to let the piers stay gray. The original plans called for the piers to be stained black and a stain to be applied to the wood. I wanted to post this as inspiration but will add the link to the template for the wood pieces at a later time. 

Estimated Time Investment
Afternoon Project (3-6 Hours)
Finish Used
I have future plans to use simple decking stain in a cherry color for the wood part and black concrete stain for the concrete deck piers.
Recommended Skill Level
Beginner

Whitewashed Farmhouse Table

I used these plans to build our lovely new dining table. For more details, please see my post: http://thetarragonahouse.com/2016/12/31/our-new-whitewashed-farmhouse-t… .

Estimated Cost
$100
Estimated Time Investment
Afternoon Project (3-6 Hours)
Recommended Skill Level
Beginner

Rustic X Coffee Table

This project took several months of off and on work but I am very happy with the results. Followed the plans on this website to the T and they were great. Got the wood from the local lowes and the hardware from Ace Hardware. Used the Kreg Jig pocket hole system to hide the fasteners which makes a big difference. I also used flat black spray paint for the hardware.

I loved the rustic look that this project was finished with so I did the same. The stain was great, really easy to make and stains really well. I covered the stain with the recommended wax which gives it a really nice shine and is very smooth.

Huge thanks to this website!

Estimated Cost
100.00
Estimated Time Investment
Week Long Project (20 Hours or More)
Finish Used
"Hillary's oxidized finish"
Recommended Skill Level
Beginner

Comments

Rolling Cart - Home Depot Project - Modified

I built this at the Home Depot "Do it Herself" class last month.  I have been trying to figure out something for a large ironing board (for yardage of fabric for quilting) for quite some time now.  I decided this was PERFECT!  I removed the top tray, and added a 2' X 4' craft board on top, covered it with insulbright and canvas and it's a perfect Ironging station!!  I keep the ironing supplies underneath, and I have tons of extra storage space, it's WONDERFUL!


Estimated Cost
$35 (since I won the project from the free class, no cost on that material) spent $15 for the craft board, $20 on the Insulbright and I had the canvas material for the cover!
Estimated Time Investment
Afternoon Project (3-6 Hours)
Finish Used
First, i removed the top tray (it would have been useless with the board on top). Then i screwed in the craft board to the side poles. (2 screws in each post) Then, I glued down the Insulbright (special batting for ironing on) and stapled that to the bottom. then put the canvas down on top and stapled that nice and tight.
Recommended Skill Level
Beginner

Wife's Farmhouse Table

Submitted by DrOriginal on Thu, 01/05/2017 - 16:50

Built my wife a farmhouse table. We kind of took 3 different plans and made 1 table. We used the table top from one set of plans, the legs from another, and the X design from a 3rd. We built it on our week off for Christmas. Building wise it took 10-20 hours, but there was a lot of drying time with all the stain and poly. Two coats of Early American stain and 3 coats of poly on the table top. It's about 7' long, and the only problem now is we don't have enough chairs. 

Estimated Cost
$150 in lumber and screws. Quart of stain, poly and paint. Which we had on hand.
Estimated Time Investment
Weekend Project (10-20 Hours)
Finish Used
Minwax Early American
Recommended Skill Level
Beginner