Community Brag Posts

Masculine upholstered bench
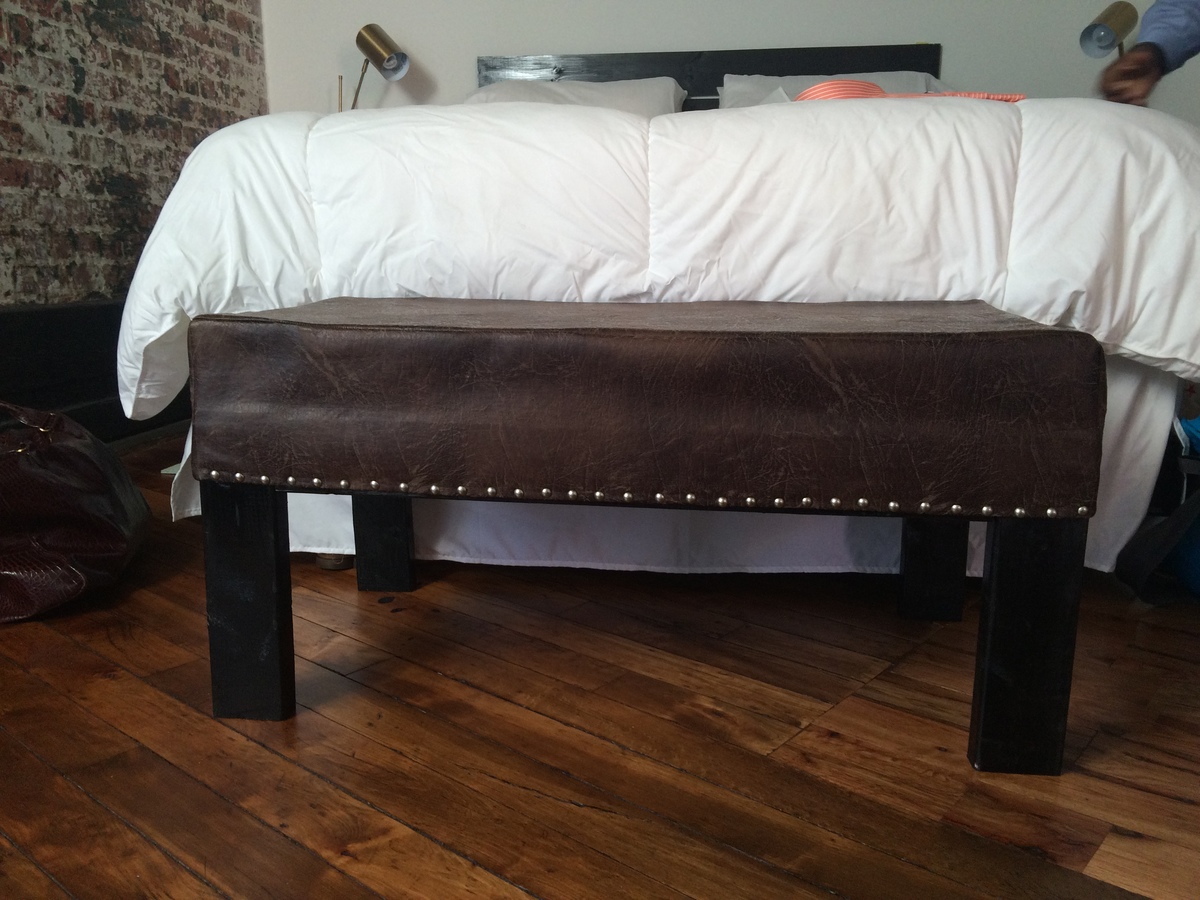
This is the second bench made from these plans. For this bench, I altered the plans, decreasing the length from 55" to 36". I'm a little uneasy about using the jigsaw so I did not taper the legs. I love this bench it fits very nicely into our warehouse loft apartment.
Built from Plan(s)
Estimated Cost
$65
Estimated Time Investment
Afternoon Project (3-6 Hours)
Finish Used
Bedroom bench
Recommended Skill Level
Beginner
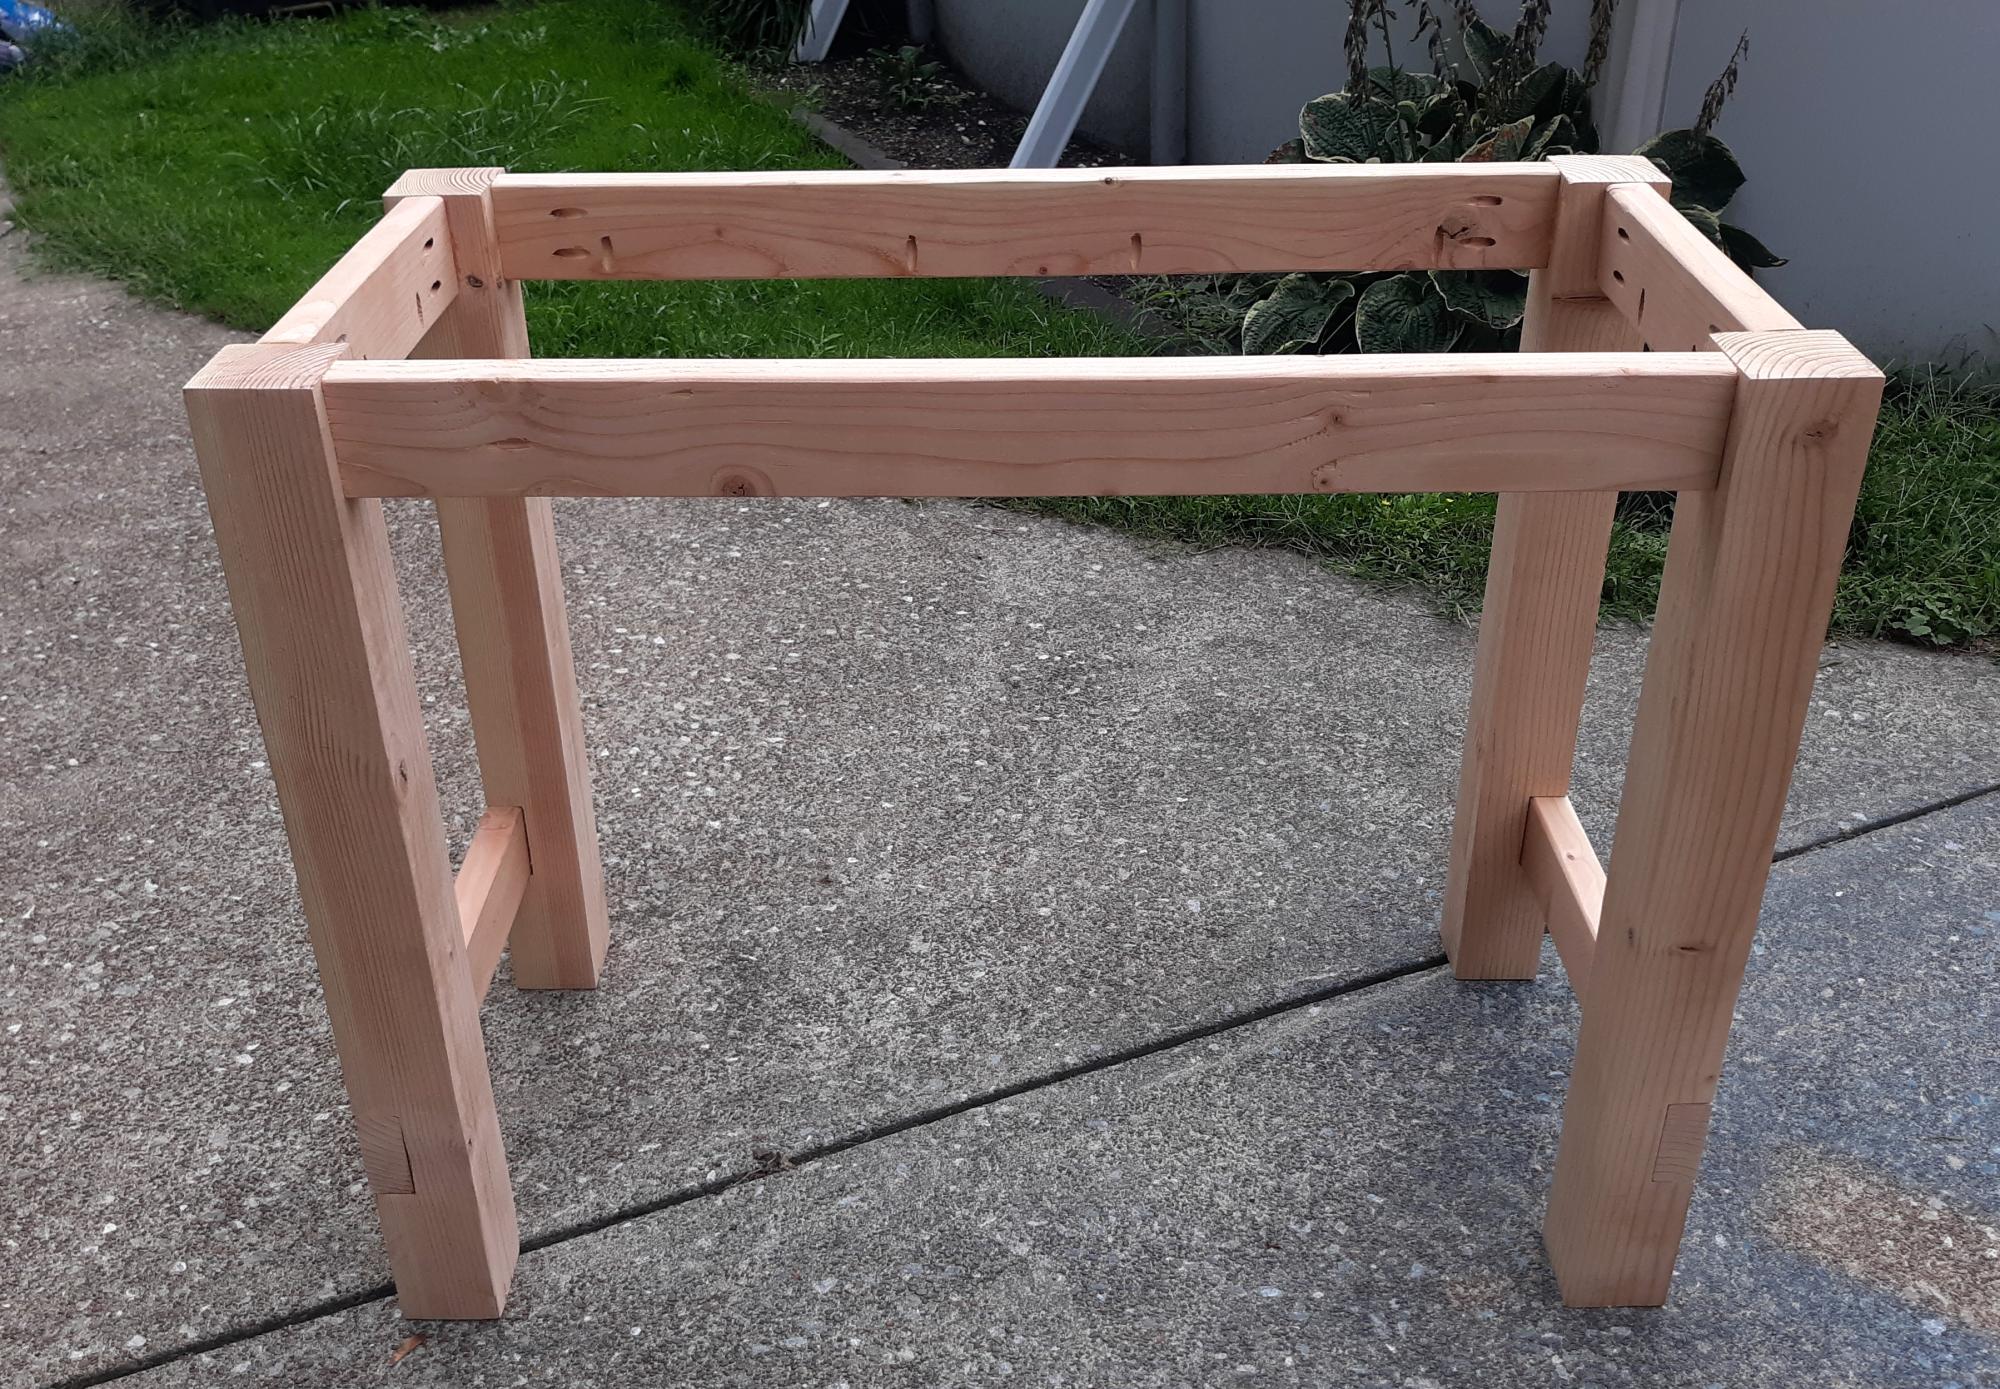
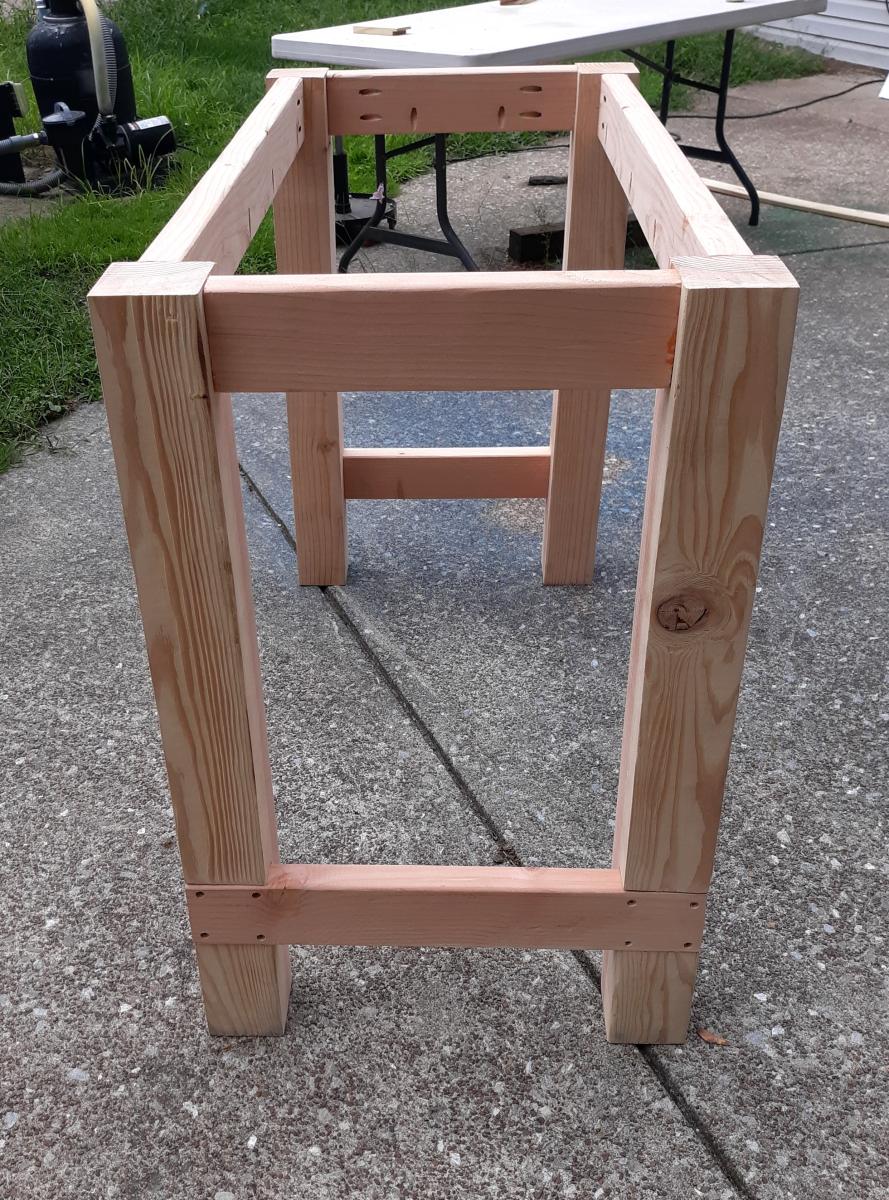
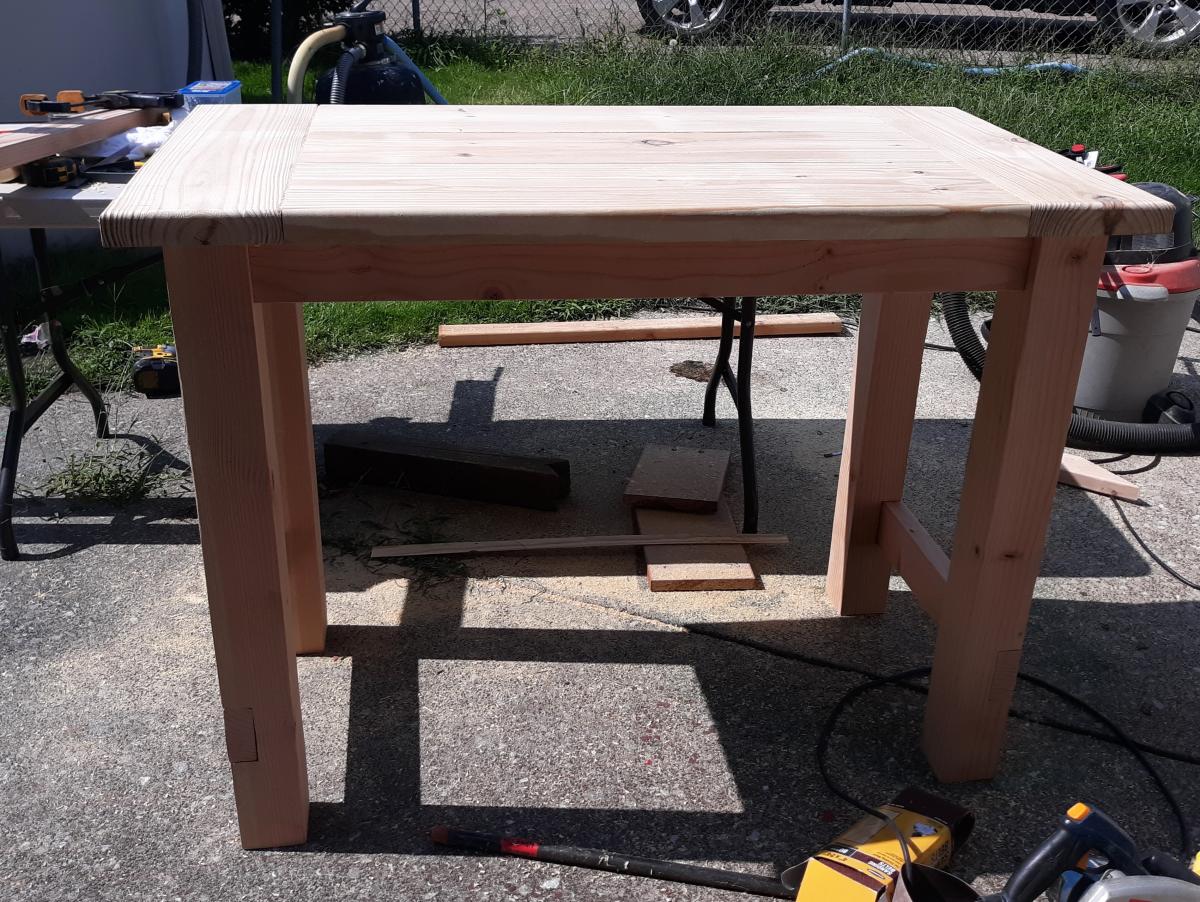
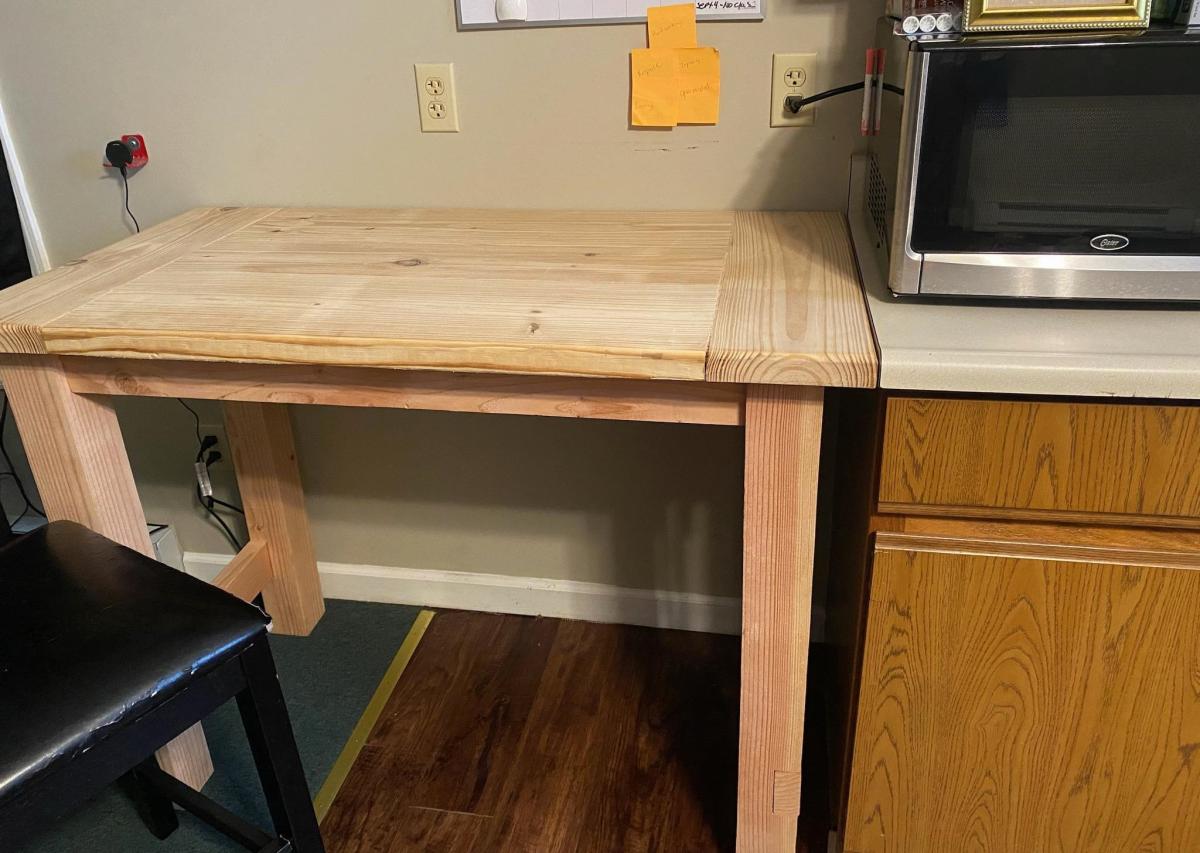
Wifes desk

Wife loves her desk. She works from home and loves the simple look

Built from Plan(s)
Estimated Cost
60.00
Finish Used
Oil stain and polyurethane
Recommended Skill Level
Beginner
Scrap Wood Headboard
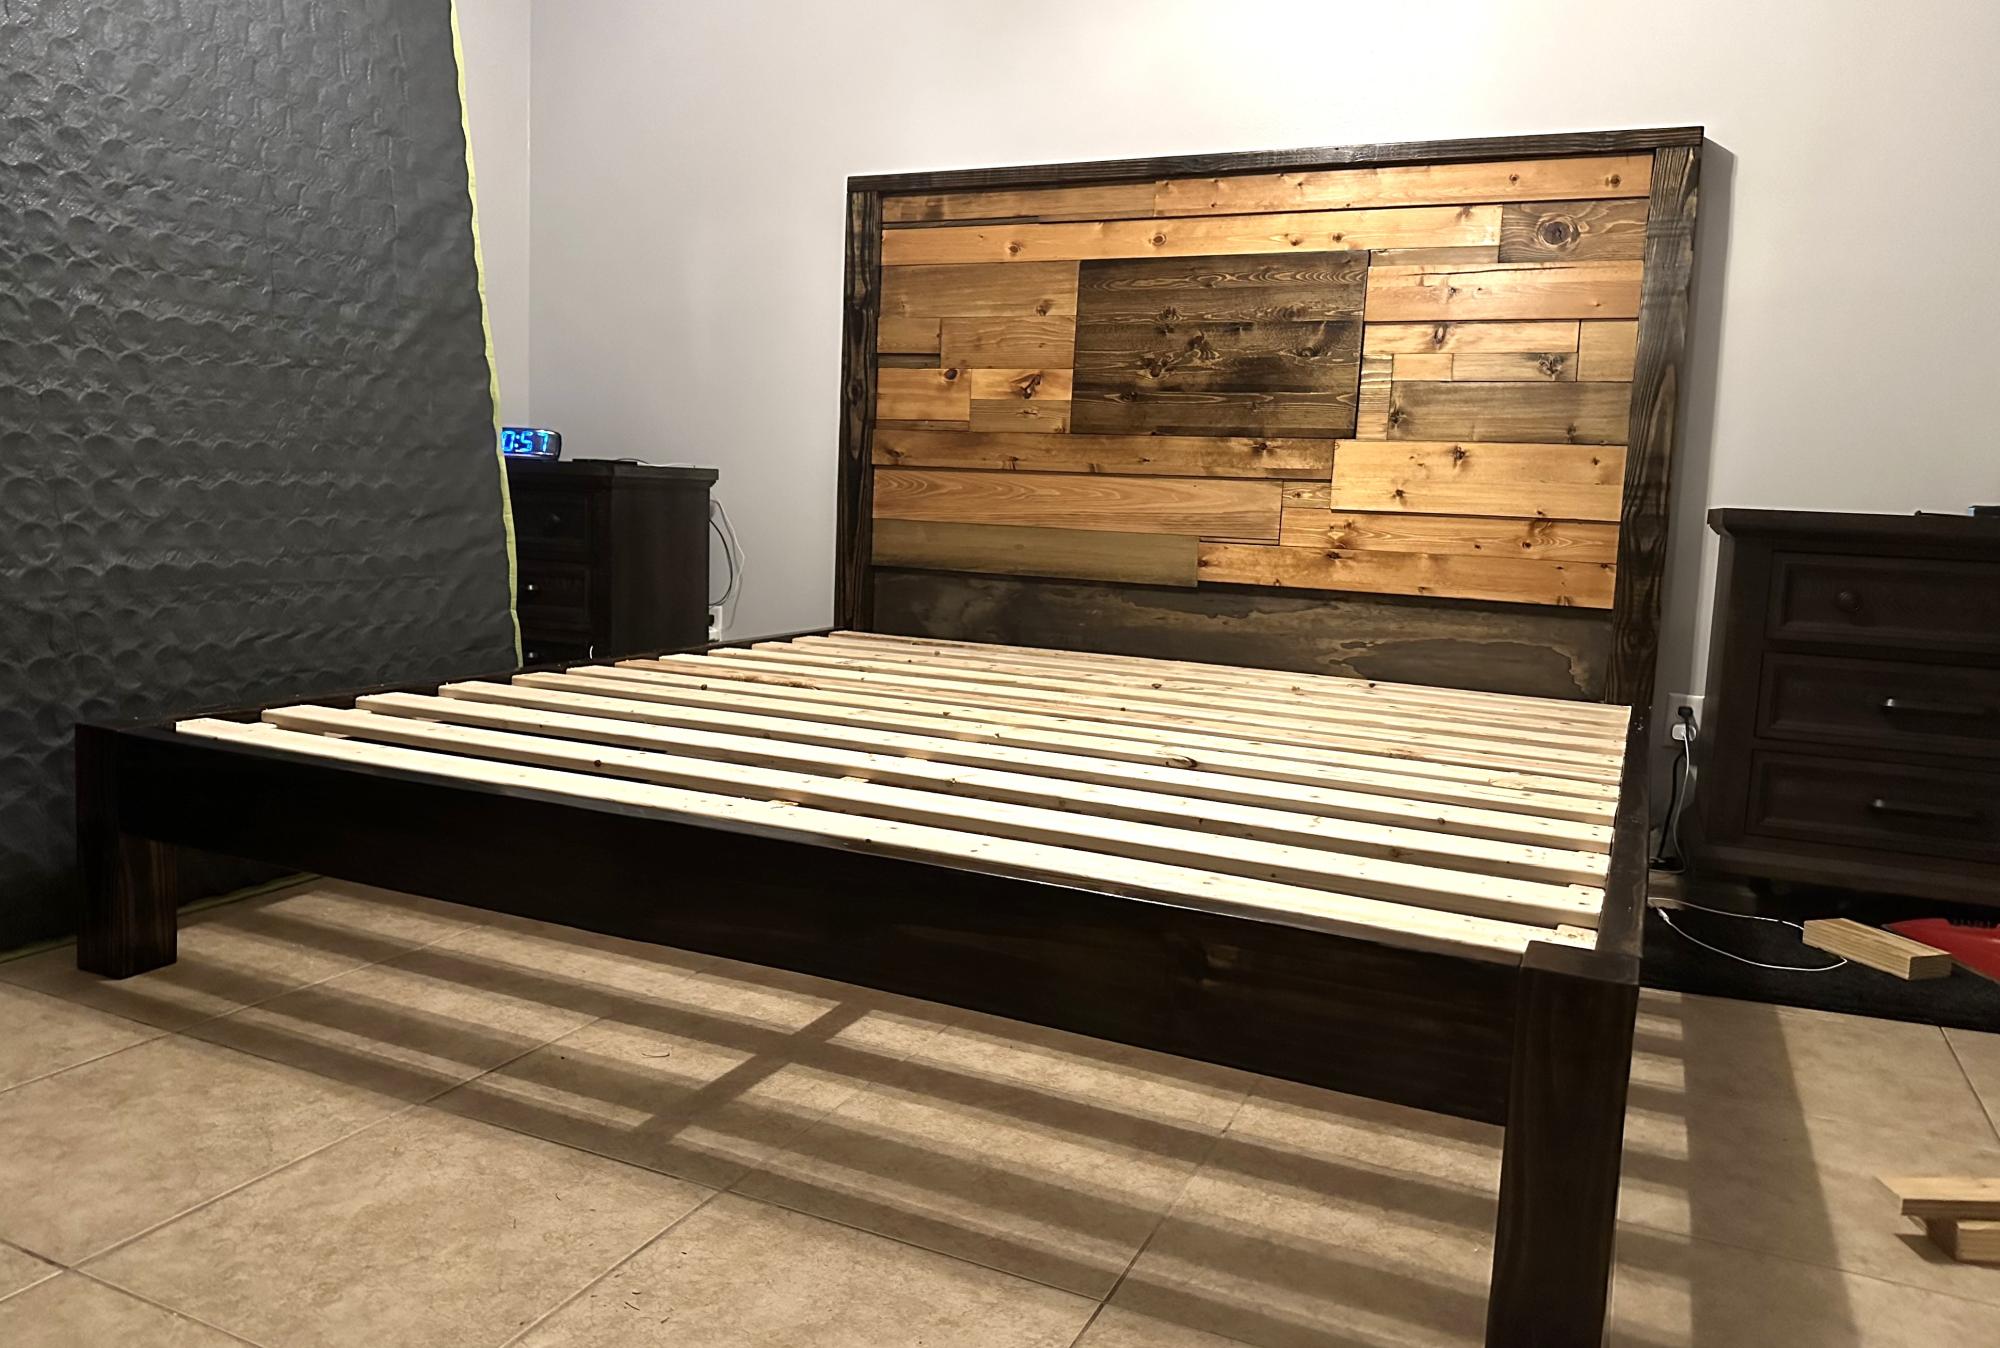
This was definitely a project, but totally doable for anyone.
We had a bunch of scrap wood so we decided to do a different style for the headboard, everything else is to the plans.
Absolutely in love with it! Thanks to Ana for the plans!
Different style headboard

Built from Plan(s)
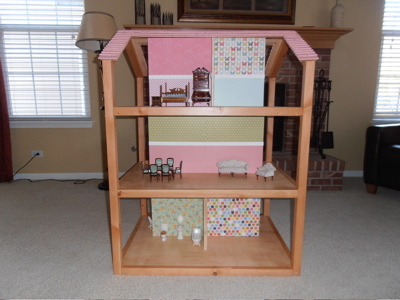
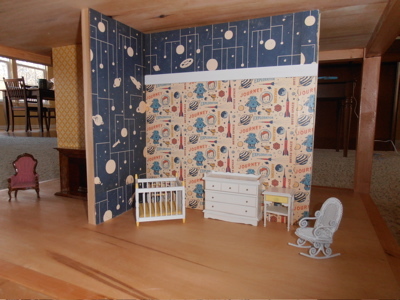
So Chic Dream Dollhouse
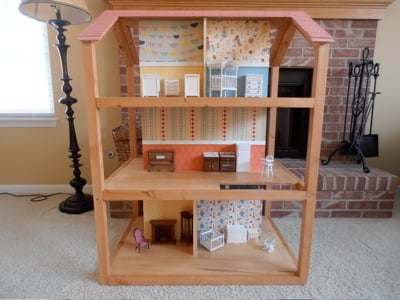
My first attempt at a woodworking project. I LOVED IT!! But I'm not sure which I loved more...the building or the decorating. I can't wait to build more!
Built from Plan(s)
Estimated Cost
$60
Estimated Time Investment
Weekend Project (10-20 Hours)
Finish Used
Minwax natural cherry.
Recommended Skill Level
Beginner
Comments
Sun, 07/22/2012 - 01:51
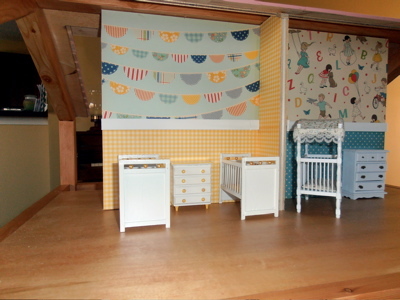
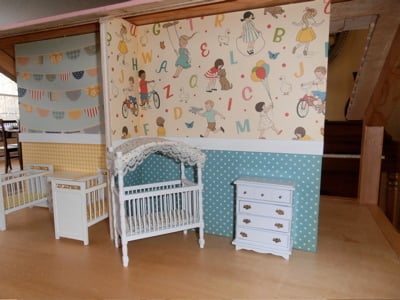
I love the print on your
I love the print on your scrapbook paper. Timeless.
Mon, 09/24/2012 - 20:31
scrapbook paper
I'm curious about the scrapbook paper, do you know which paper she used? Thanks!
Mon, 09/24/2012 - 20:30
Hi! can you tell me about
Hi! can you tell me about your decorating supplies? Did you use scrap book paper for the walls? I am really interested in the wall with letters and children playing! Also, what furniture did you use?
Thanks!!
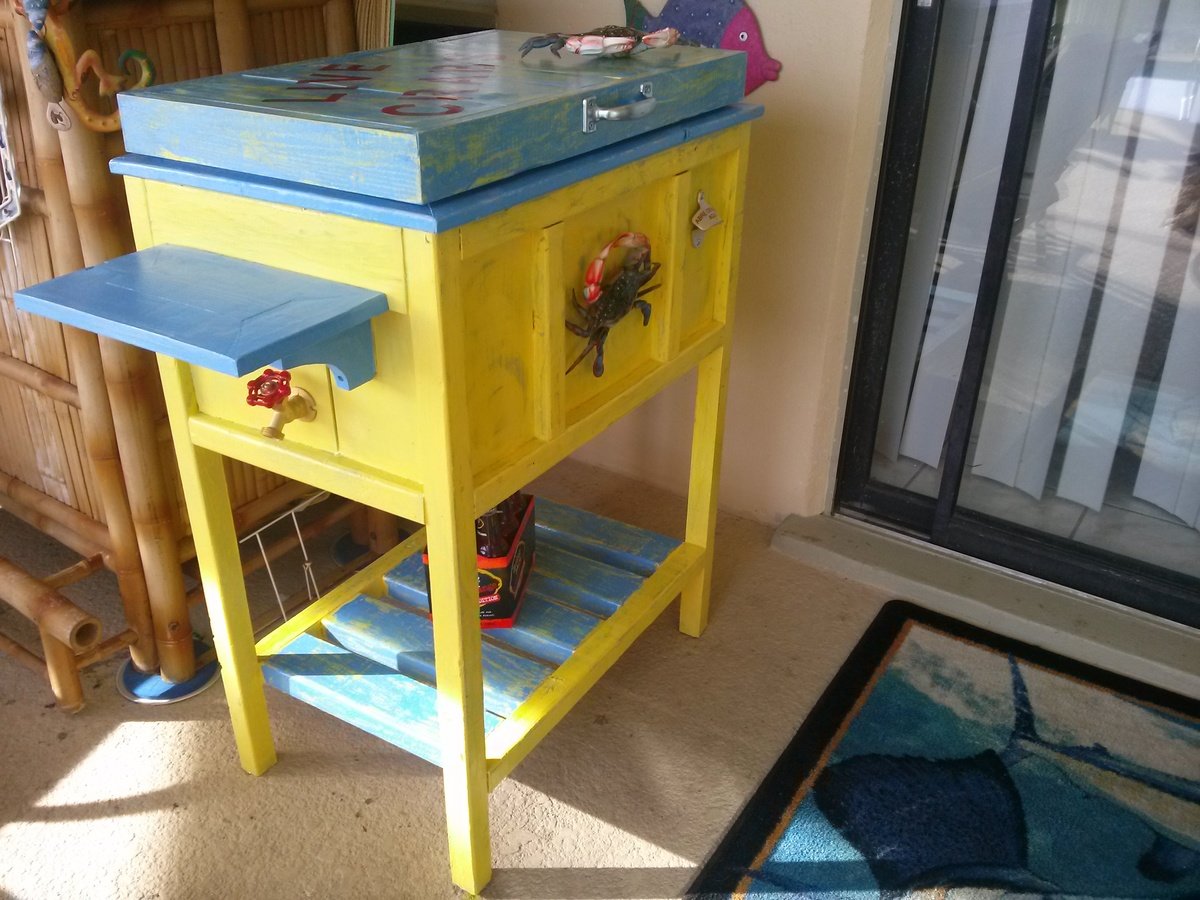
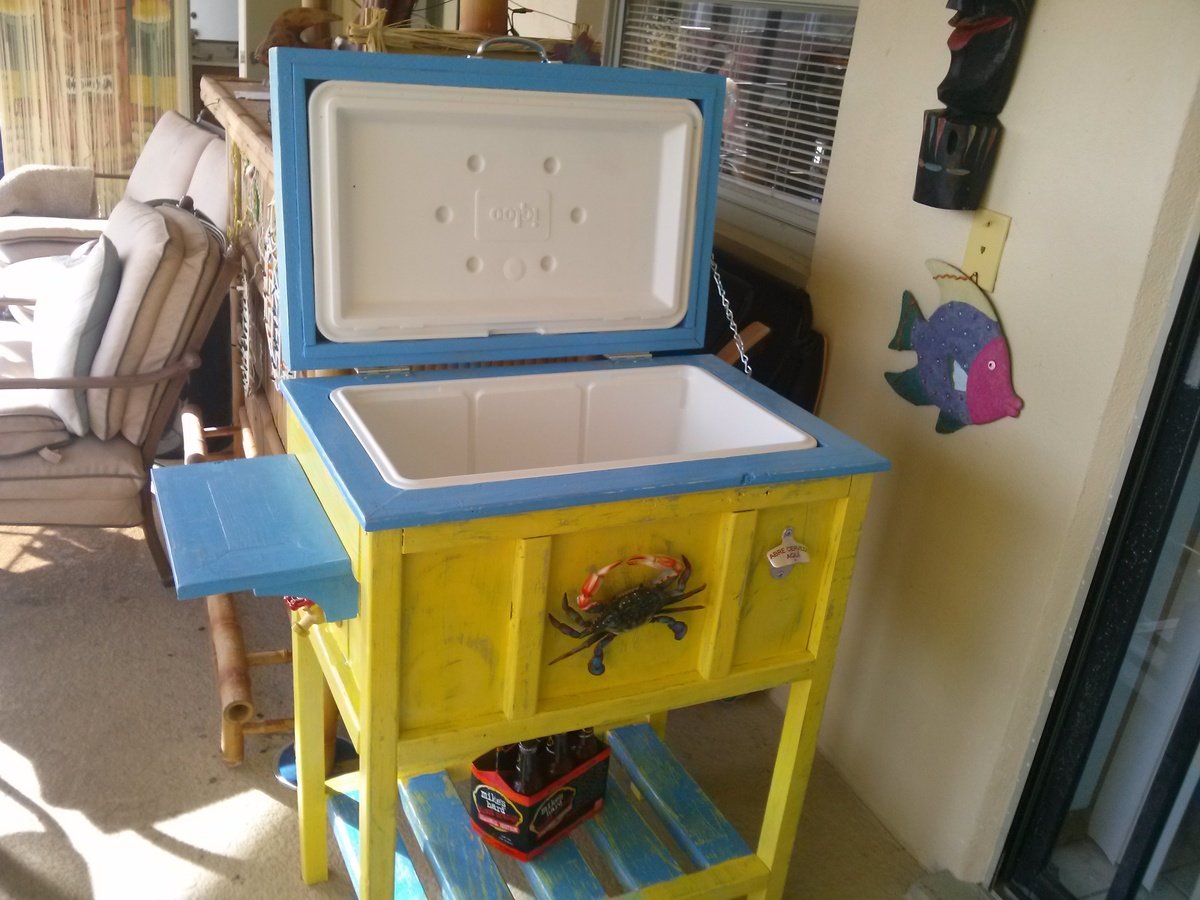
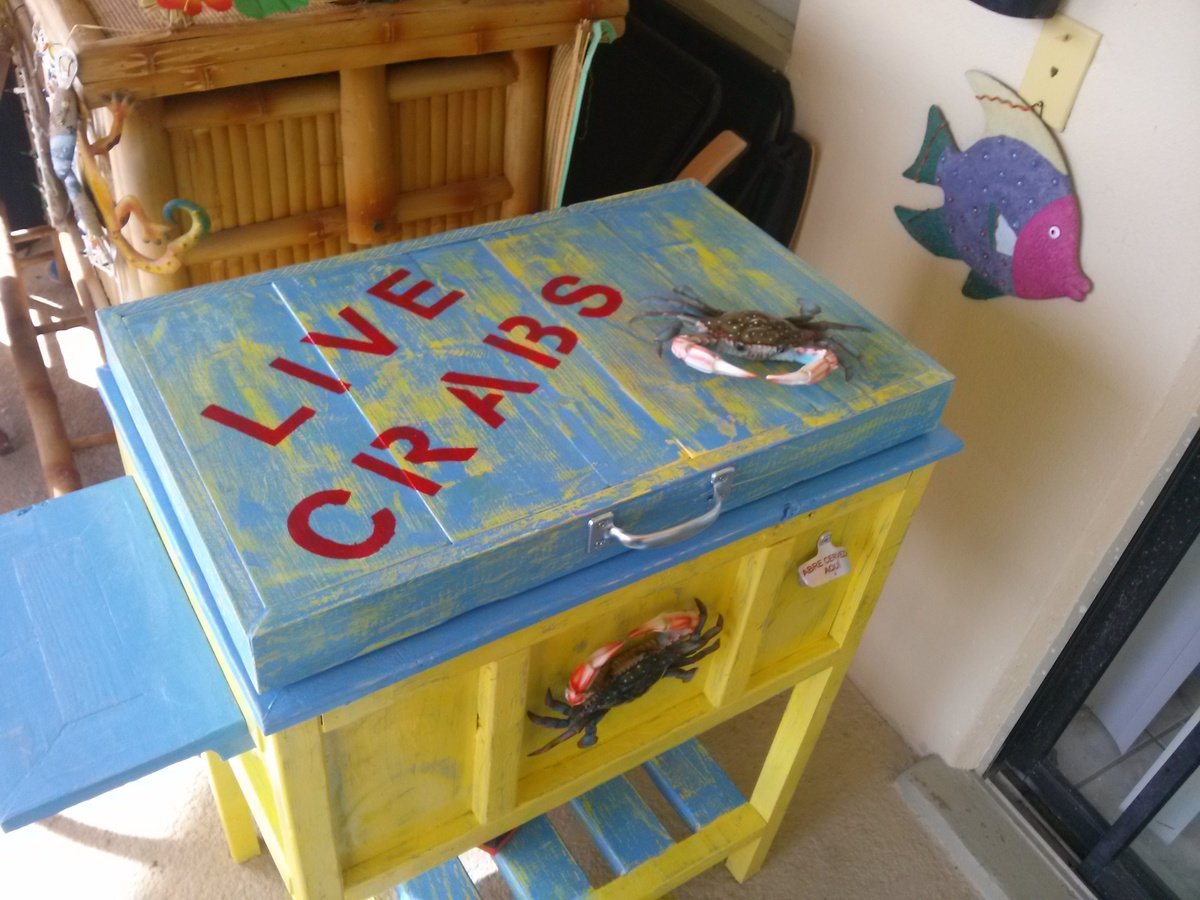
Tropical Wood Cooler Built From Ana & Birds & Soap Plans
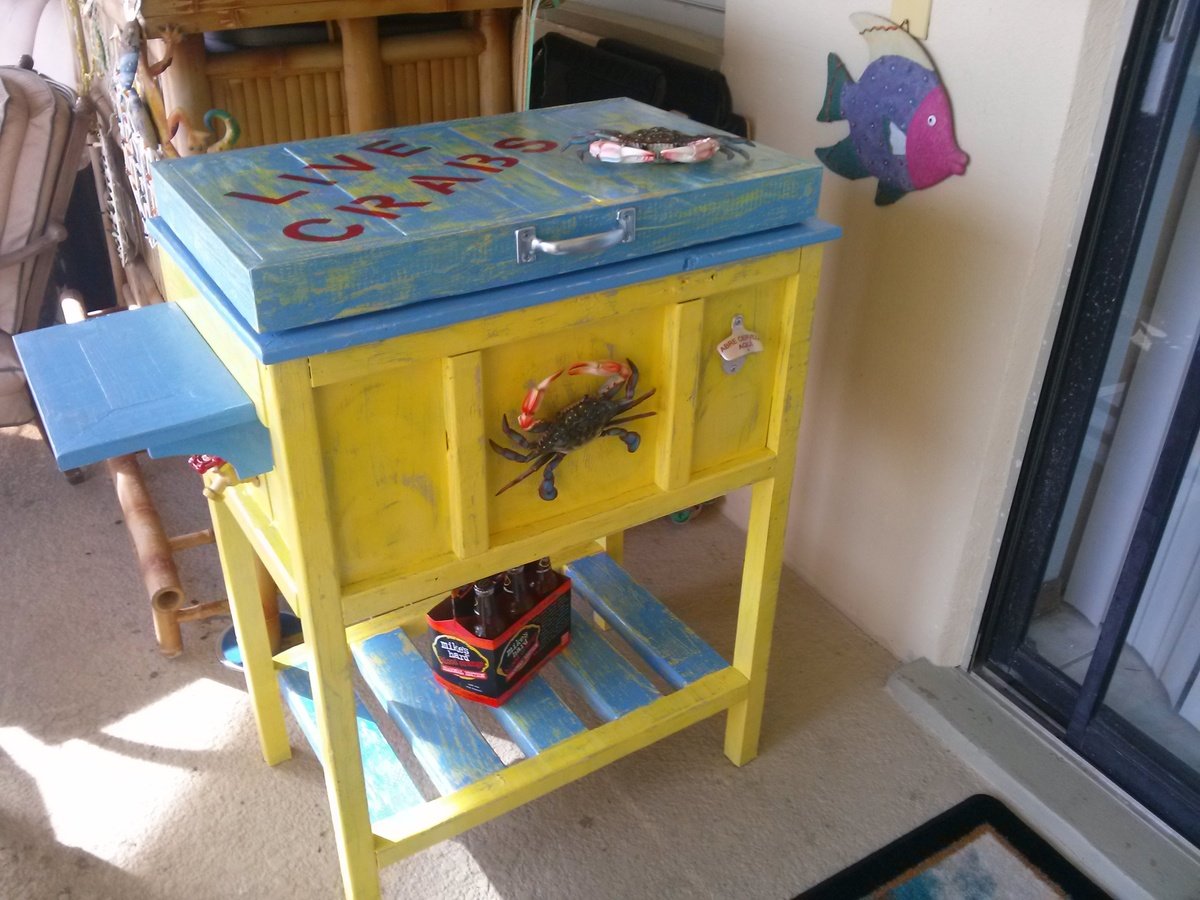
My wife and I saw the wood cooler plans here and decided that would be a great project and great addition to our outdoor tiki patio area. The build wasn't that bad. I could not find the exact cooler as listed so I got a different one and the dimensions were different, but I accommodated for it. We went with a tropical rustic look and decorated like a live blue crab crate. Really came out amazing.We had slated to paint it yellow with blue trim, but yellow was too bright so then started painting lid blue over the yellow to see what it looked like and decided to sand it down and do something different. That's when the magic happened. When I started sanding, blue and yellow came out and look faded and rustic, and it looked amazing. So we went with that as our scheme. Sanded up areas to look distressed!!! We put the shelf and spout on the opposite side to fit our area better. All in all was a great project and love the results. Going to break it in for the superbowl in 2 weeks!!!! My wife was a great help doing the painting and my 11 yr old daughter pitched in on the wood work. Thanks girls!! Contact me with any questions. So what you think of it?????

Built from Plan(s)
Estimated Cost
$100
Estimated Time Investment
Weekend Project (10-20 Hours)
Finish Used
gray primer, exterior paint, clear coat
Recommended Skill Level
Beginner
Comments


Mon, 01/20/2014 - 21:29
looks great! I love the
looks great! I love the finish, it's really fun. Nice job.
Simple White Outdoor End Table
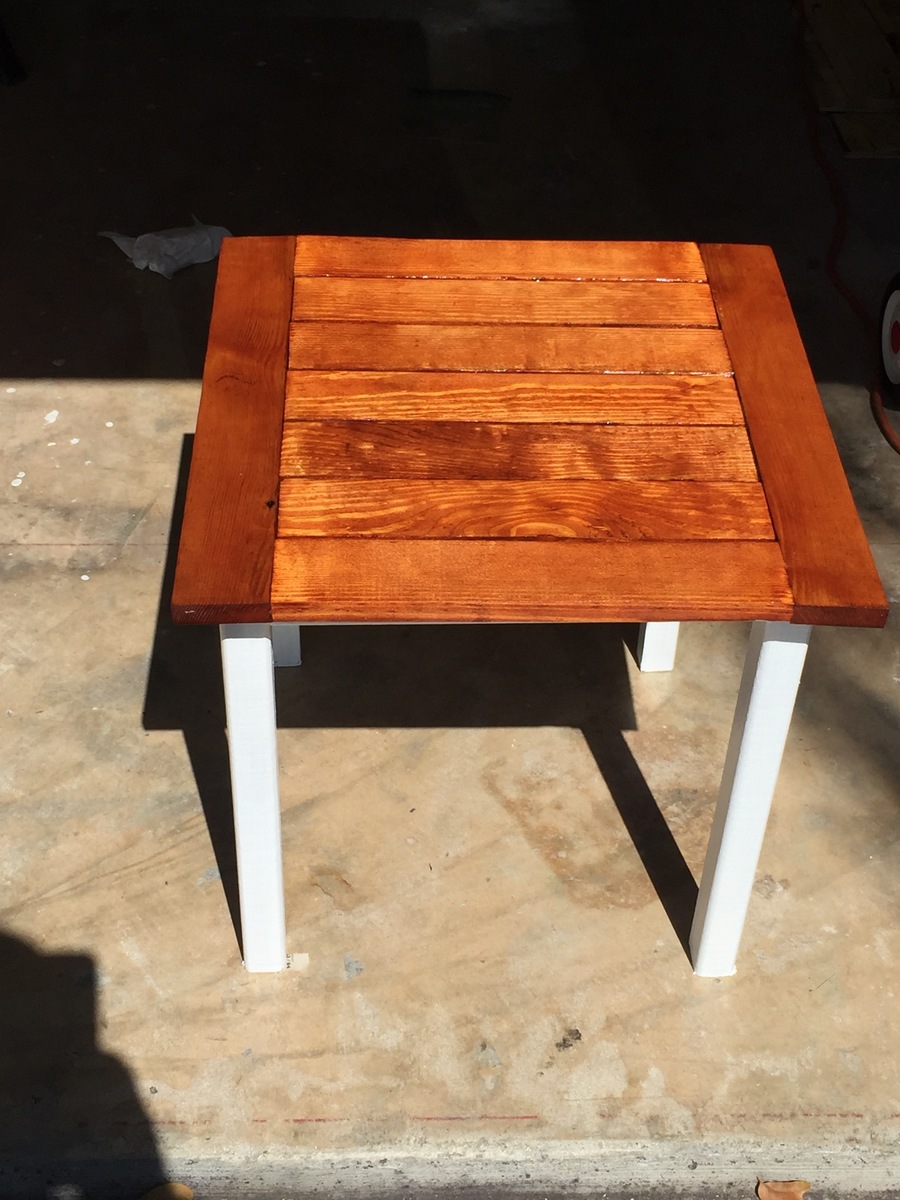
Great plan, taught me a few things about glue and stain! Corrected by sanding again and re-staining the spots.
Estimated Time Investment
Day Project (6-9 Hours)
Finish Used
Minwax prestain, Minwax gun stock stain and three coats of Minwax Helmsman, Behr exterior paint and primer on legs
Recommended Skill Level
Beginner
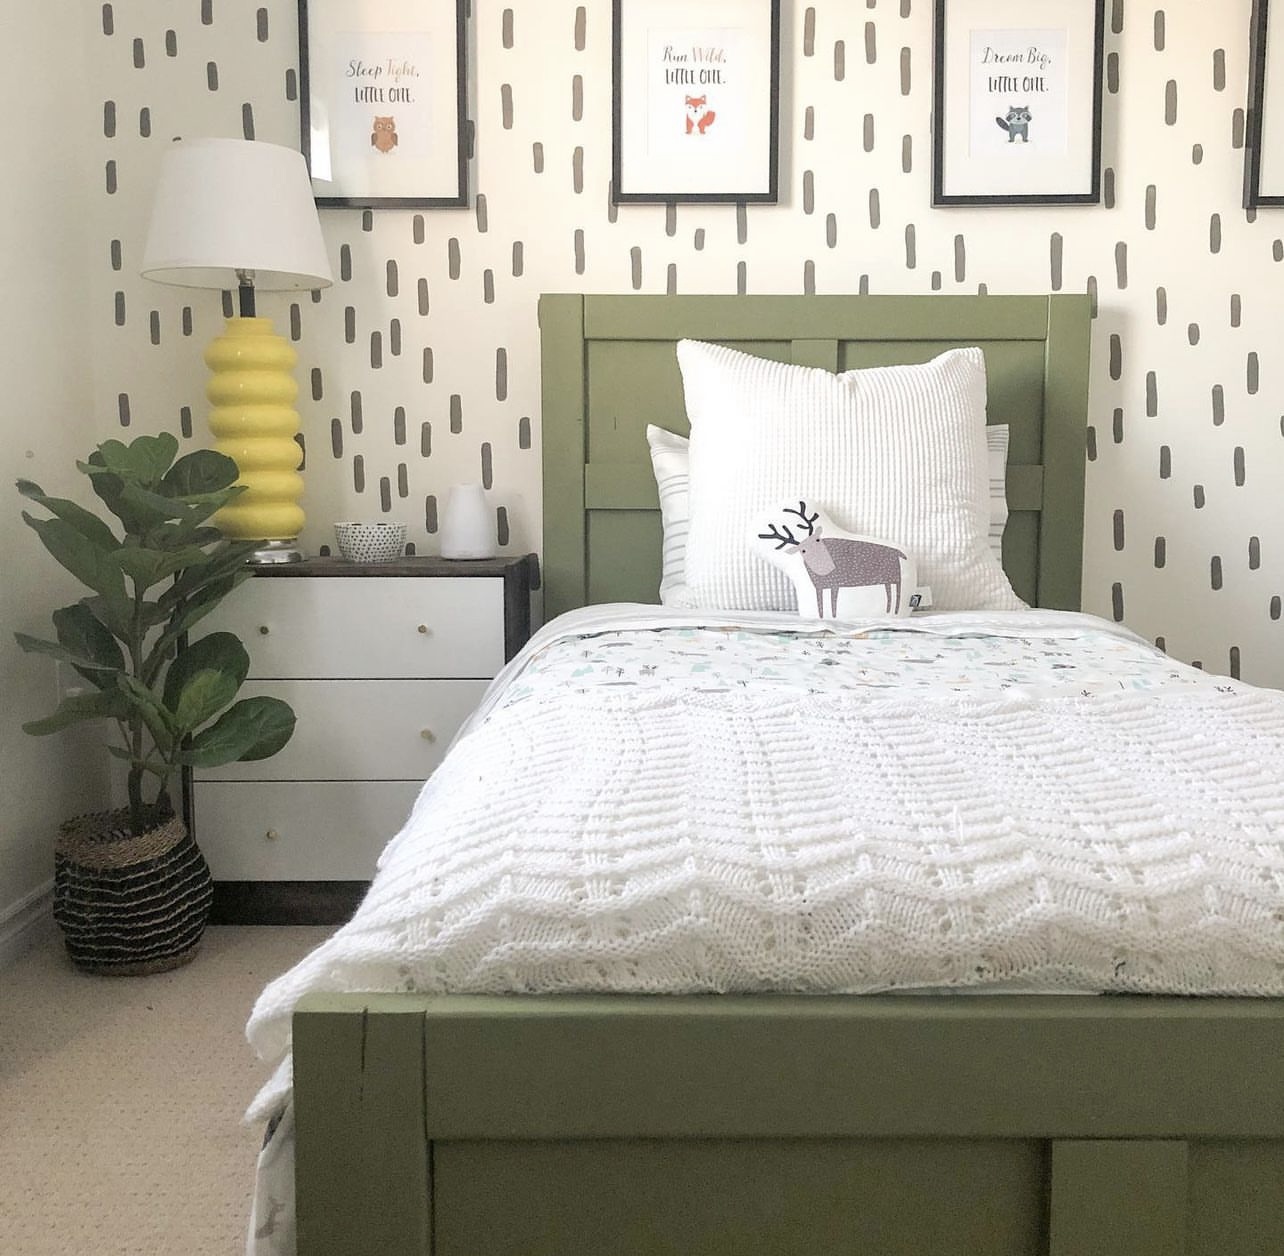
DIY Twin Bed by Home on the Bluff
Vertical Herb Garden
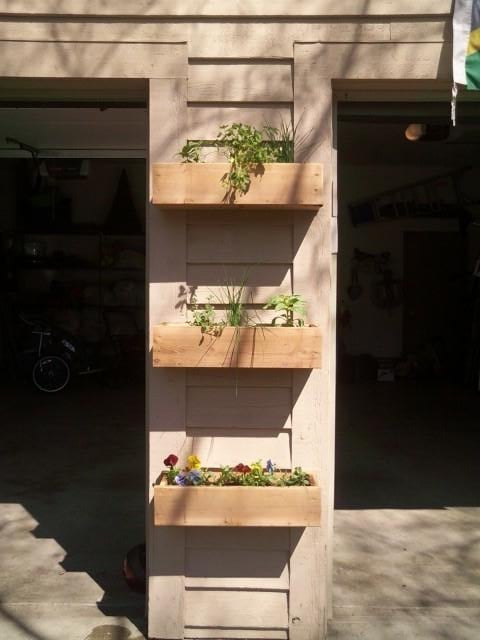
Decided to build a vertical herb garden after seeing a brag post. I used 3 six foot cedar fence pickets cut to 22 inches to fit between our garage doors. I used 2 inch nails and wood glue to keep everything together.
The best part was ripping th left over pieces of cedar at a 45 degree angle to use as hangers. I have not seen this described yet on this site yet. After you rip the boards you attach the one side to the back of the box so that the short side is flush. The other portion you attach to the wall so that the pieces will slide together to form a full board again. Its a great way to get the boxes flush against the wall and avoid expensive hanging accessories. It also allows you to do all your gardeining at your potting bench and then hang them when you are done.
Built from Plan(s)
Estimated Cost
7.50
Estimated Time Investment
An Hour or Two (0-2 Hours)
Finish Used
None.
Recommended Skill Level
Beginner
Comments
Tue, 04/03/2012 - 11:27
looks great, and the french
looks great, and the french cleat idea is brilliant for planter boxes. Strength and mobility.
Thu, 11/01/2012 - 10:24
FRENCH CLEATS
That technique you used is called a French Cleat system. I had three parallel rails installed on the walls in my garage, and, so far, have built two cabinets that hang on the walls (I have many more to go!).
Anything to which you can attach a cleat on the backside can be hung on a corresponding cleat on the wall! Pencil boxes, pegboard sheets (I have pegboard hanging on cleats), swivel lights, paper towel holders, an old bookcase (makes for instant shelving), etc.
Hugs!
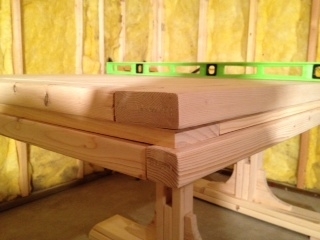
Oliver Couldn't Wait!
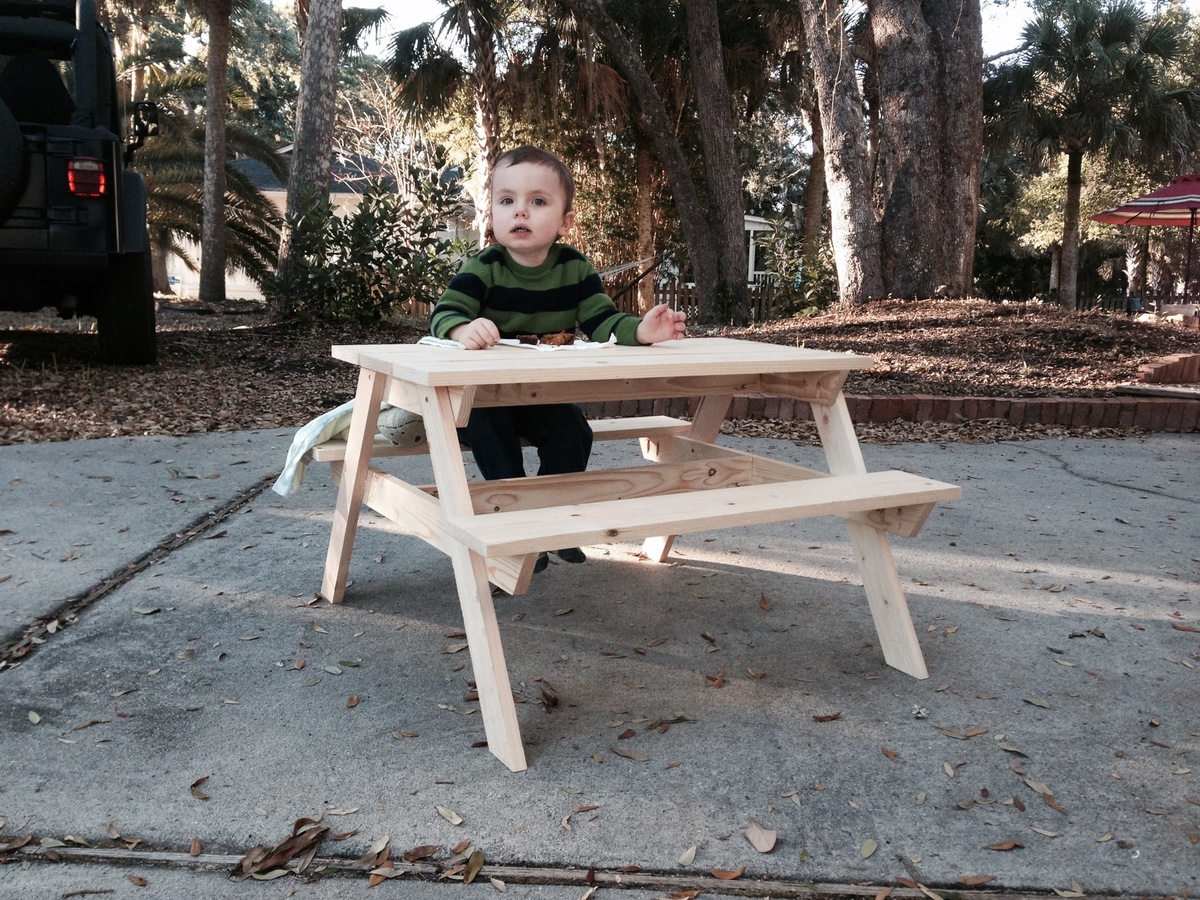
This was a fun, easy project. The main modification I made was to use 1 x 6 boards for the bench tops.
I also used my Kreg Jig extensively for this project. There are no visible screws on the tabletop or bench tops.
My grandson Oliver couldn't wait for me to put a finish on it. He had to try it out while snacking on his great-grandmother's pumpkin bread.
Built from Plan(s)
Estimated Cost
$35 but I already had screws and glue.
Estimated Time Investment
Afternoon Project (3-6 Hours)
Finish Used
TBD
Recommended Skill Level
Beginner
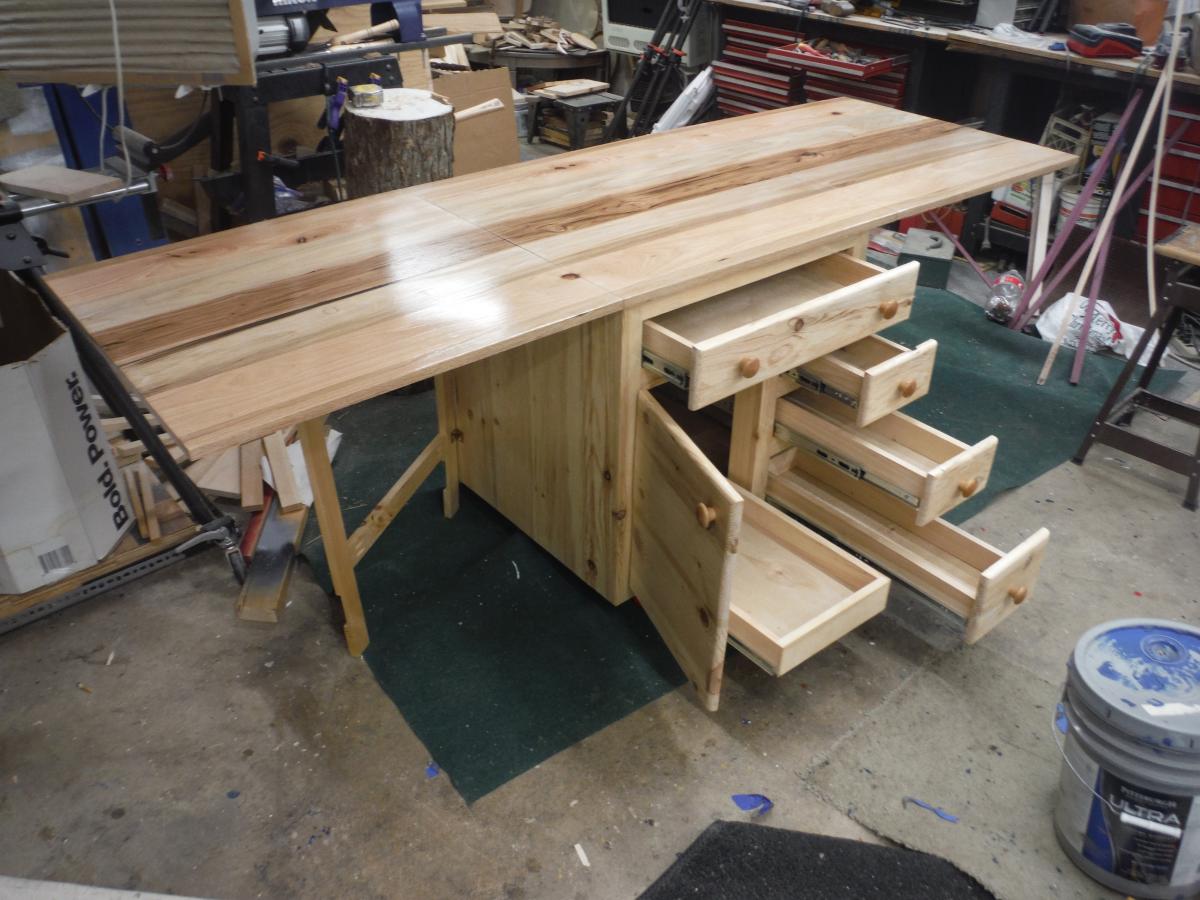
Mary's sewing table
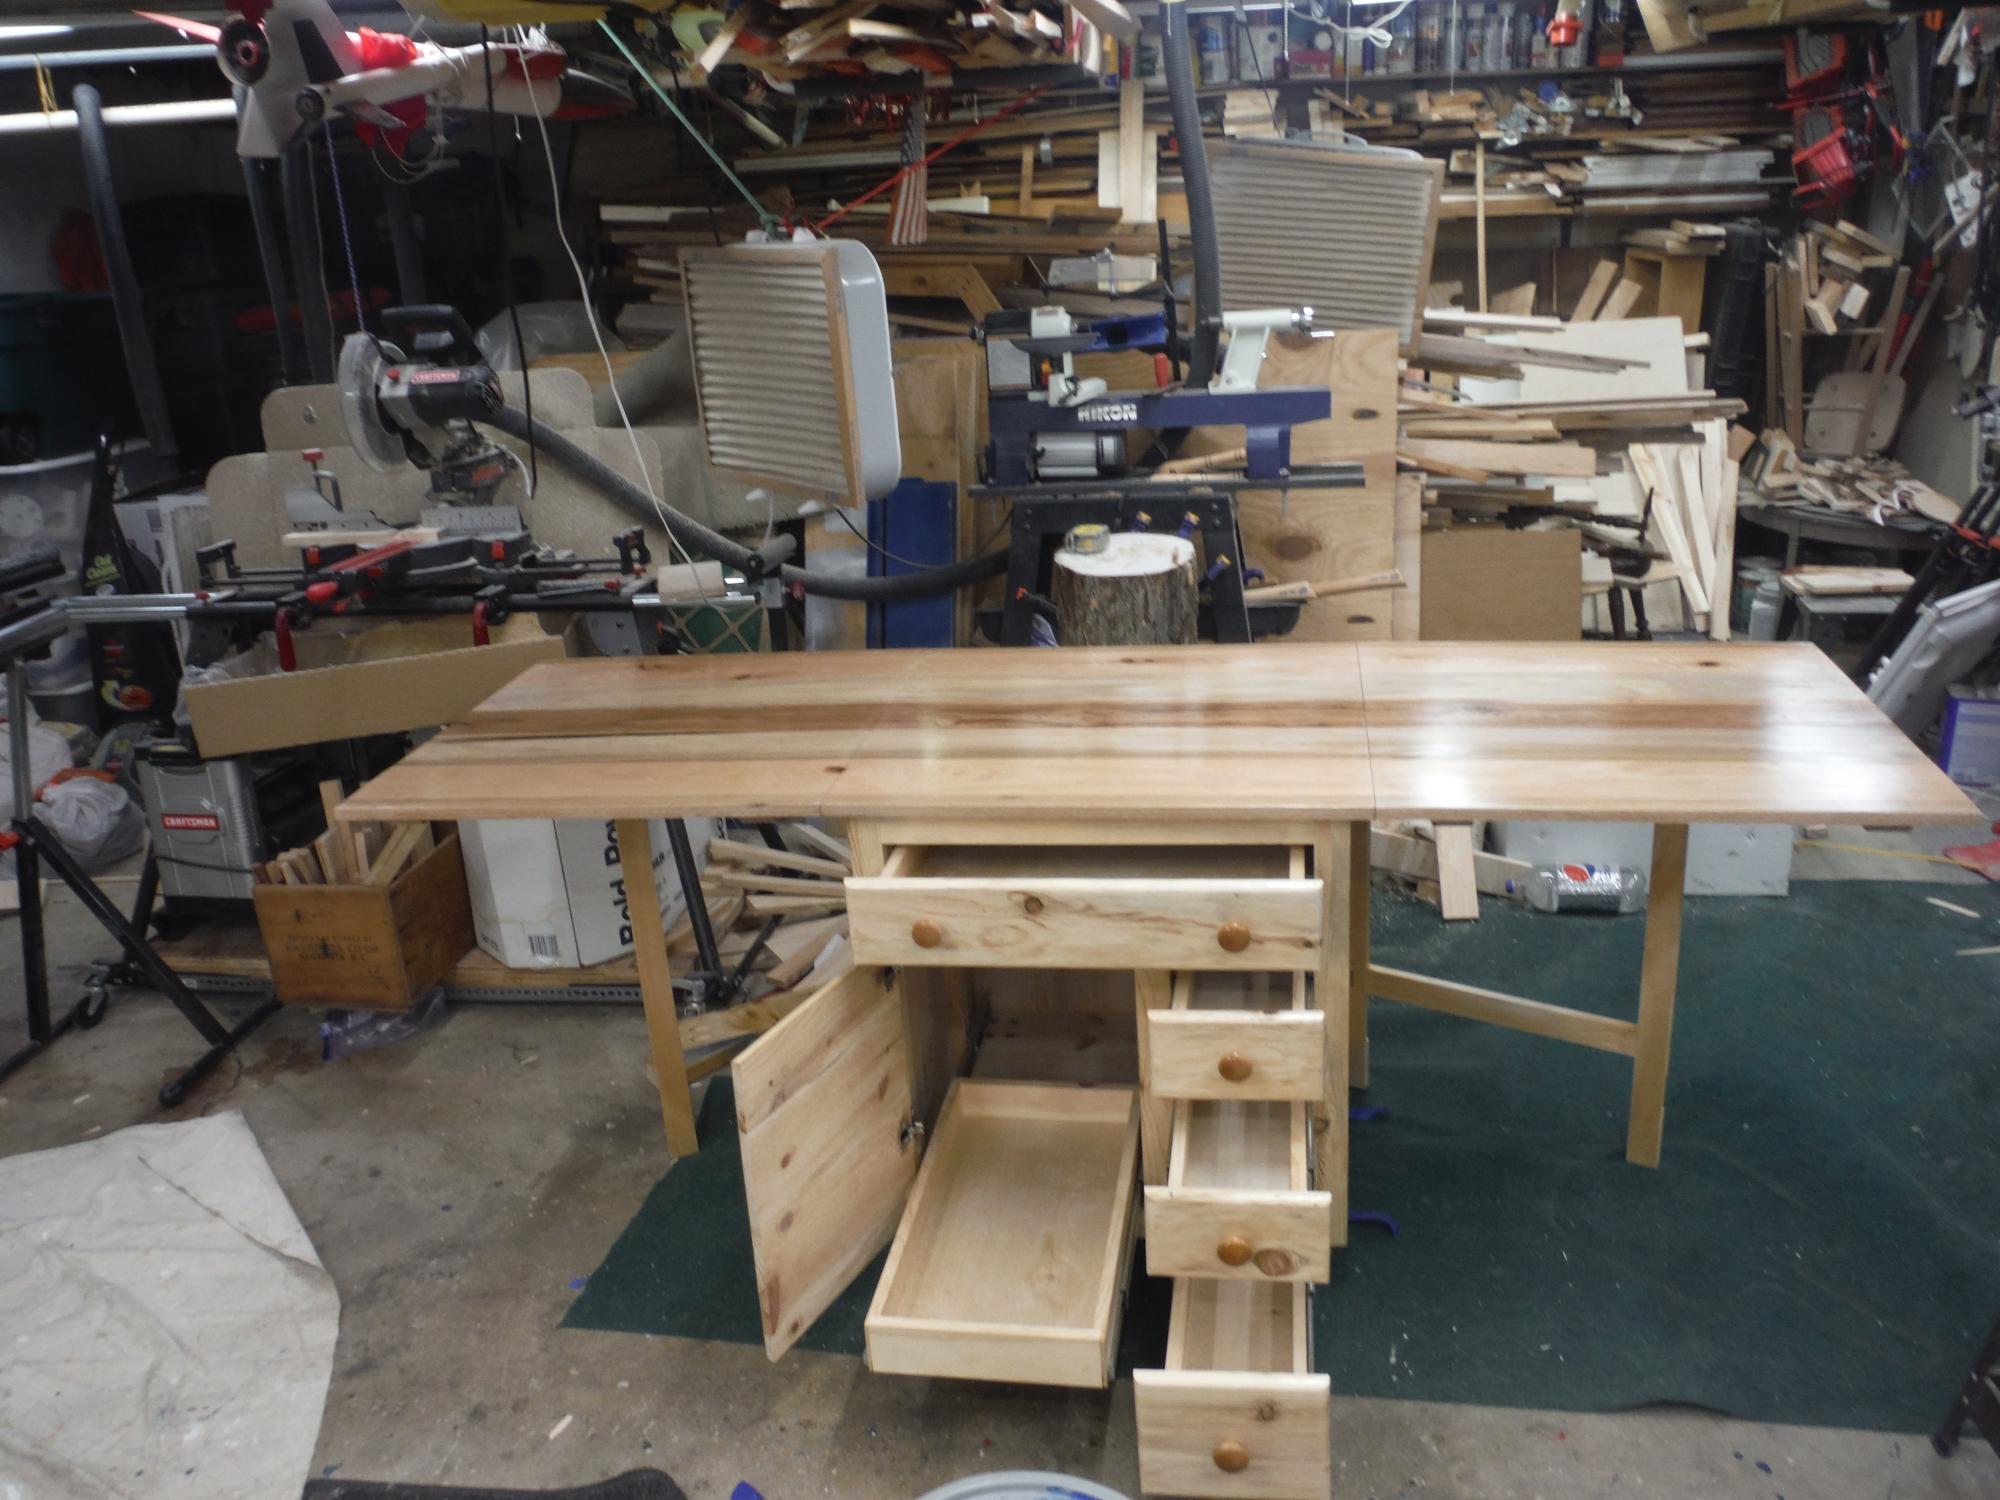
Built using your sewing table as the base idea. Pine cabinet, drawers and drawer fronts. The top is Hickory, poplar and red oak. base top dimension is 30x30 and folds out to 30x90. Mary will get this as a surprise on Christmas day. Cabinet and to is Varathane 3x. Casters are from Woodcraft and drawer slides are Hickory Hardware.
Built from Plan(s)
Estimated Cost
250.00
Estimated Time Investment
Week Long Project (20 Hours or More)
Finish Used
Varathane 3x
Recommended Skill Level
Intermediate
Comments
Mon, 12/28/2020 - 07:05
build the size of cutting…
build the size of cutting mat. Add roller for fabric.
Porch Planter Steps
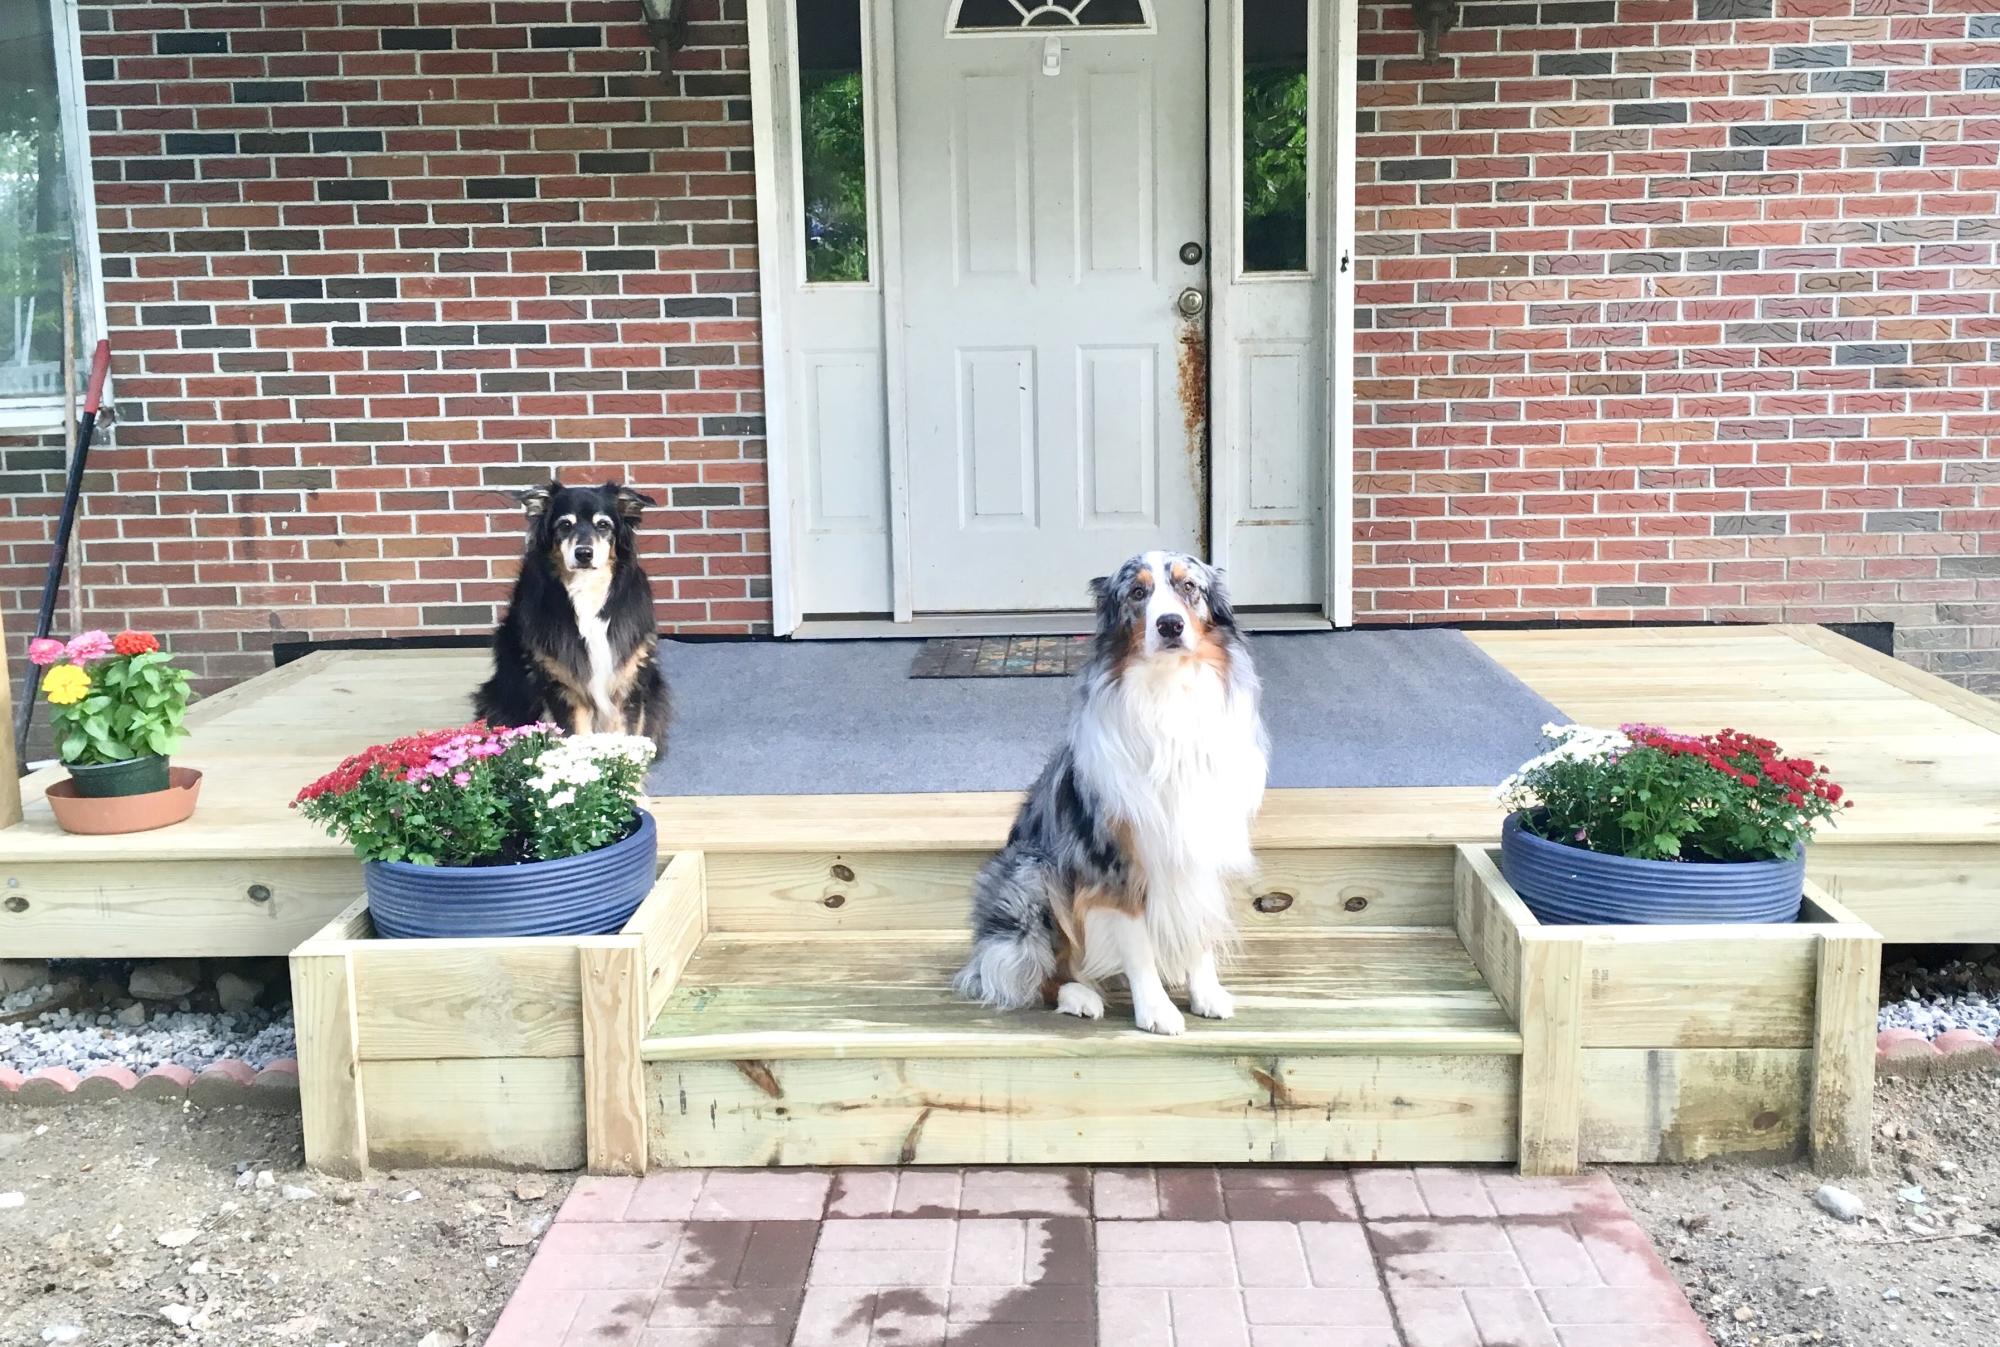
I love how sturdy and beautiful these planter steps turned out! They were easy to build and work perfectly with the new deck/front porch I built this summer. I only needed one step and I used the same 1x material for the top of the step as I did the deck. I just added a couple more supports for the 1x material, as it isn't as sturdy as 2x6's. Thank you so much for the wonderful plan!
Built from Plan(s)
My take on the toy box
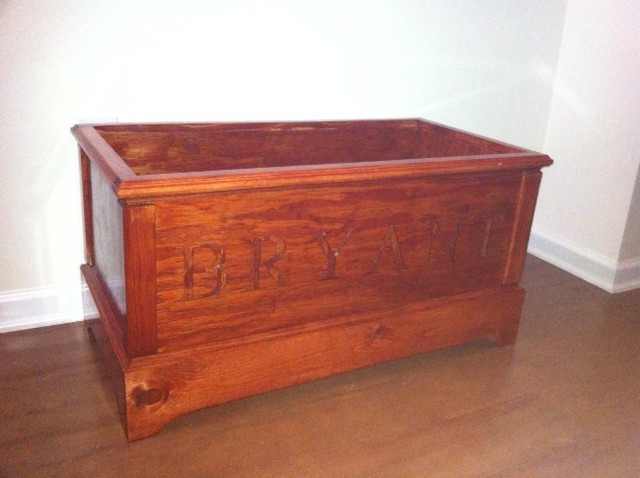
I chose to go with regular plywood, and I used thin pieces of wood to cover the screw holes in the corners. I just rounded the edges of the corner pieces to make them meet up with the molding better. Then I routered the top to smooth it out. I stained and clear coated it instead of painting it. For the lettering I chose to router it out instead of drawing it on.
Built from Plan(s)
Estimated Time Investment
Weekend Project (10-20 Hours)
Finish Used
minwax gunstock and spray on clear coat
Recommended Skill Level
Beginner
Comments

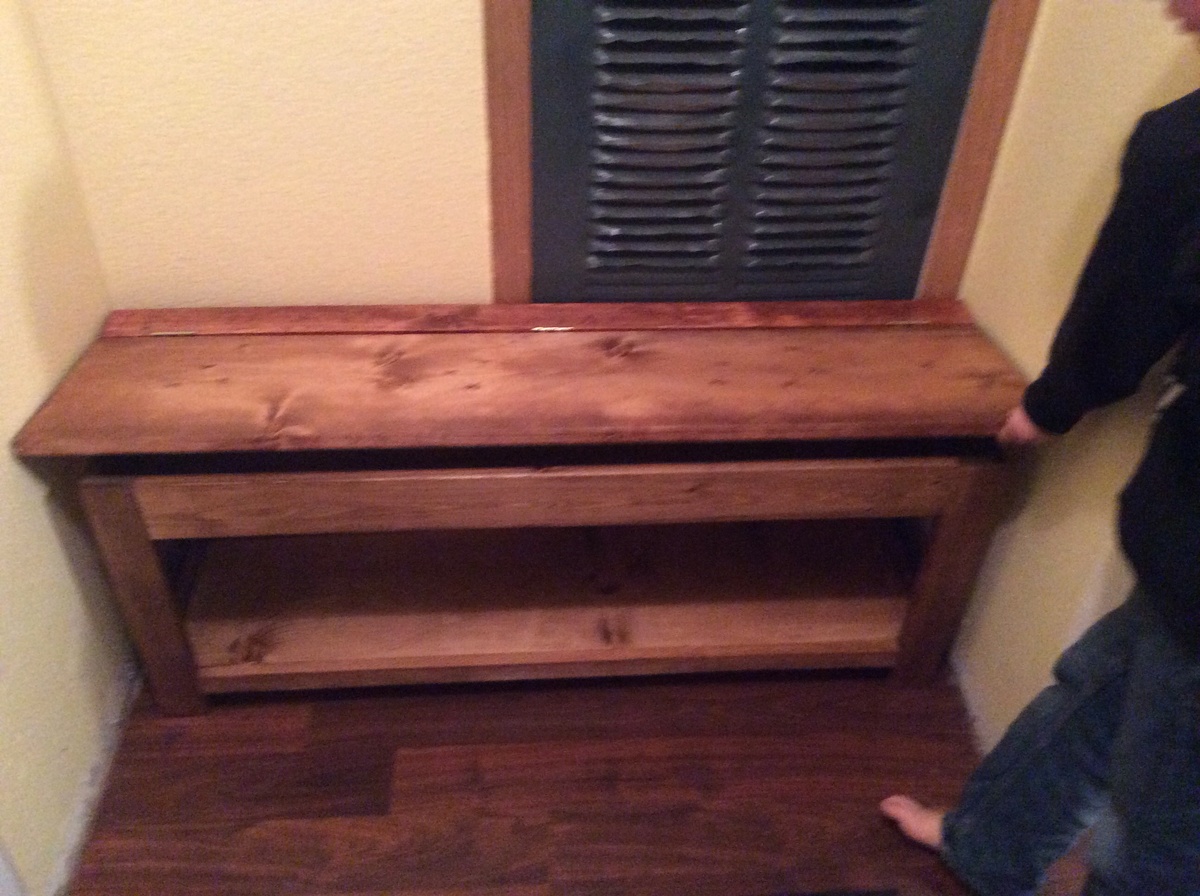
Storage Bench
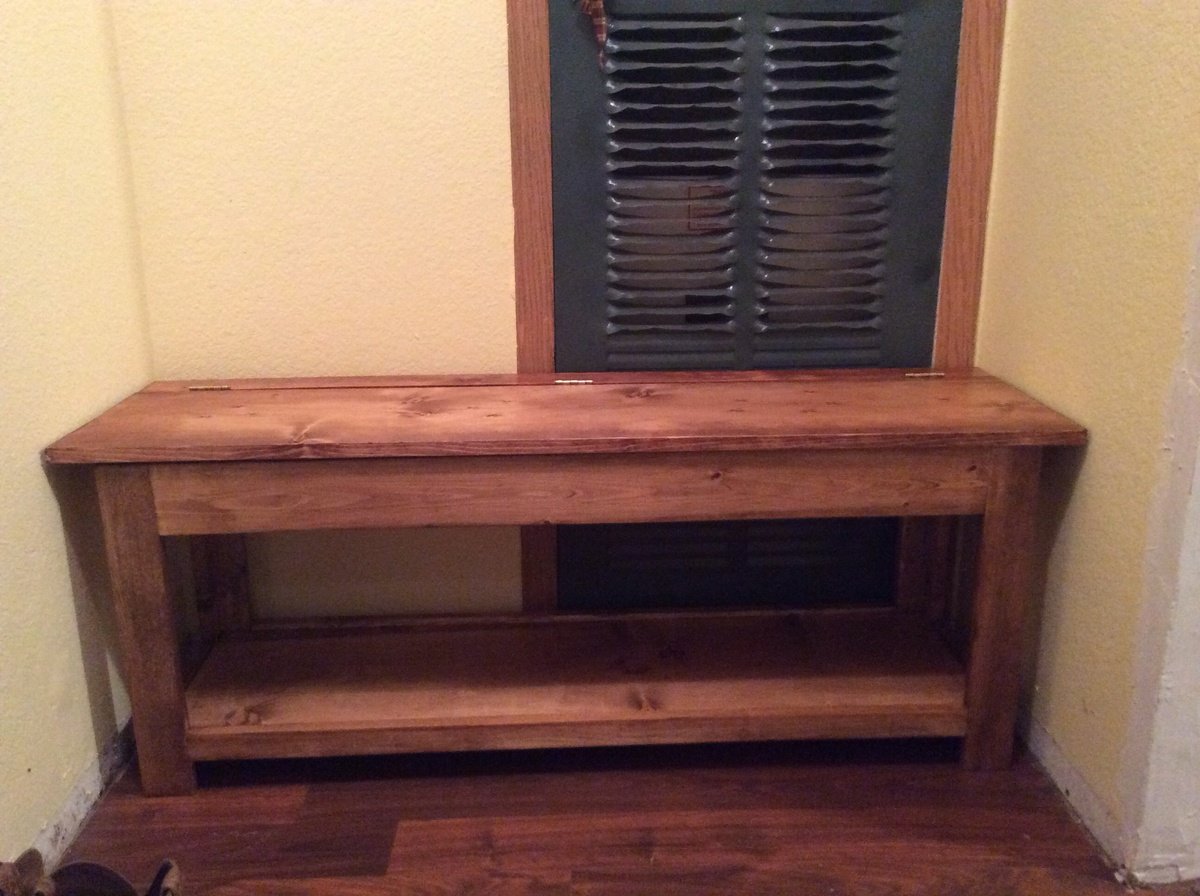
I have a small mud room and this bench was perfect for keeping shoes organized on the bottom shelf, as well as storing hats and gloves inside. The storage area isn't very deep but it holds a decent number of hats and gloves.
Built from Plan(s)
Estimated Time Investment
Afternoon Project (3-6 Hours)
Finish Used
One coat of Minwax Early American stain with a satin sheen polyurethane over the top.
Recommended Skill Level
Beginner
Entry closet turned bench

The coat closet in our entry was always cluttered with too many coats, oddly placed mittens and hats, and shoes were piled on the floor. This was our solution. After this picture was taken I attached several hooks I found at a local antique store along the rail for the coats or sweaters we wear daily, and shoe bins were added below for each of our three daughters.
Estimated Cost
$20 plus accessories
Estimated Time Investment
Afternoon Project (3-6 Hours)
Finish Used
Sample paint jar purchased from large chain grocery market
Recommended Skill Level
Intermediate
Industrial Bookcase for my office
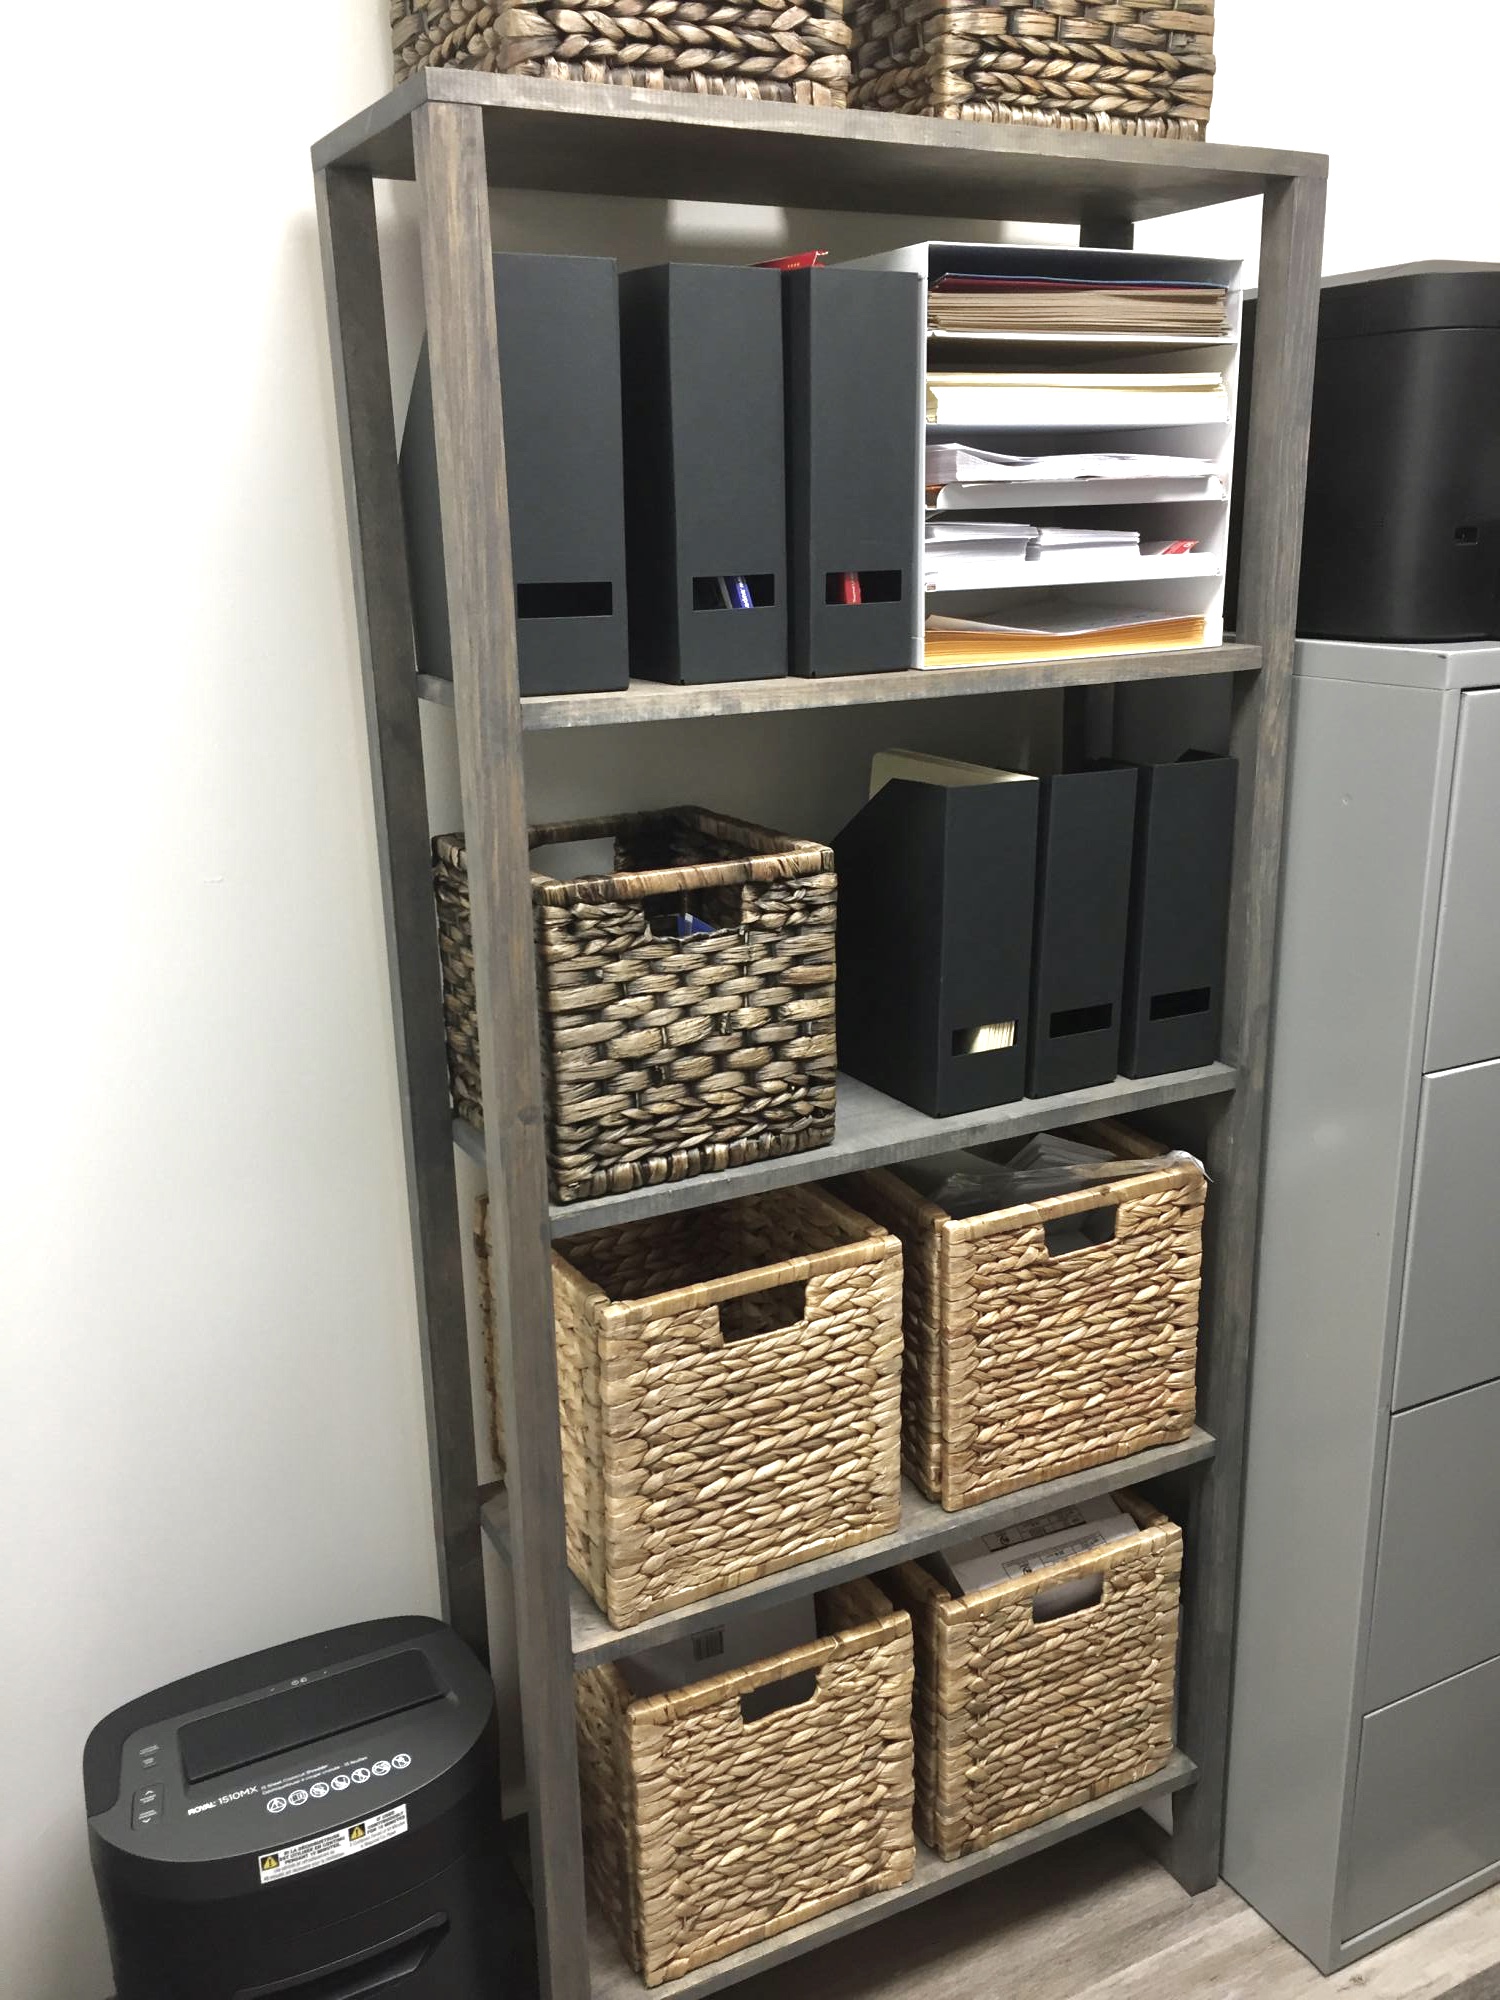
I built this bookcase for some office storage.
Built from Plan(s)
Recommended Skill Level
Beginner
Dorm Room Counterheught Table
My grandson is in his second year college. He just got his first apartment and needed a table for homework and eating and folding clothes. We made a scaled down version of a farm table and it turned out exactly the way we wanted it.
Roger H
Built from Plan(s)
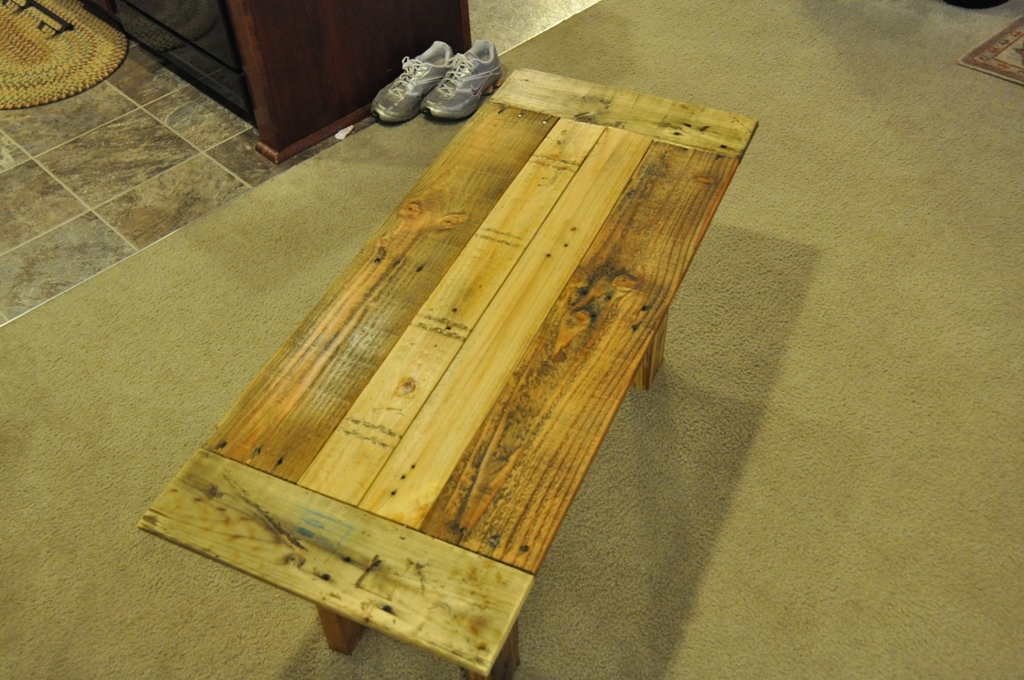
Reclaimed wood coffee table
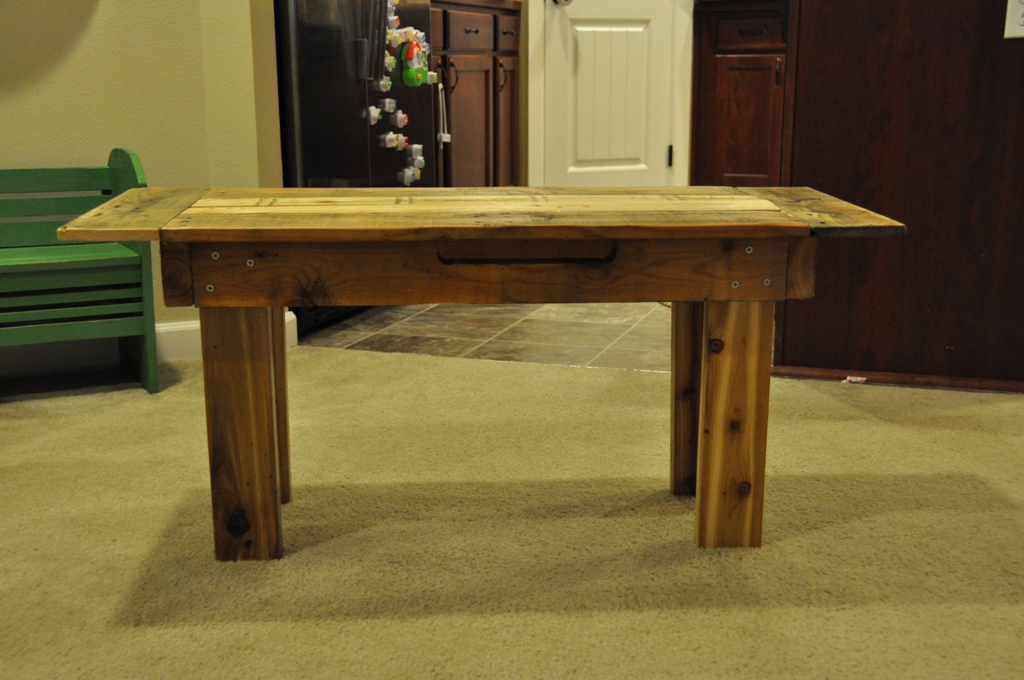
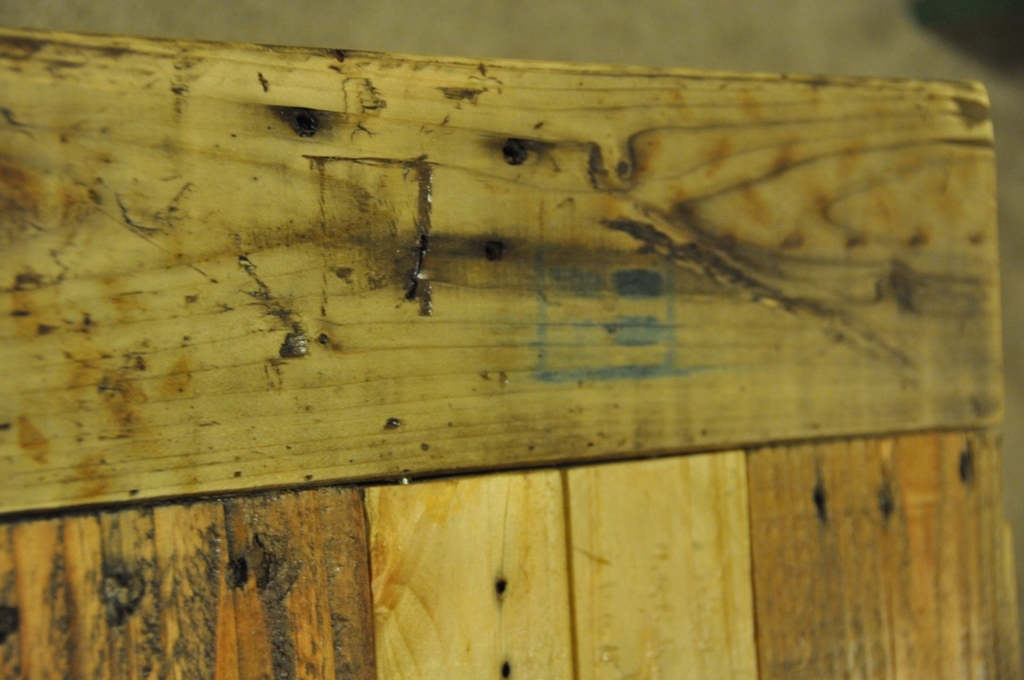
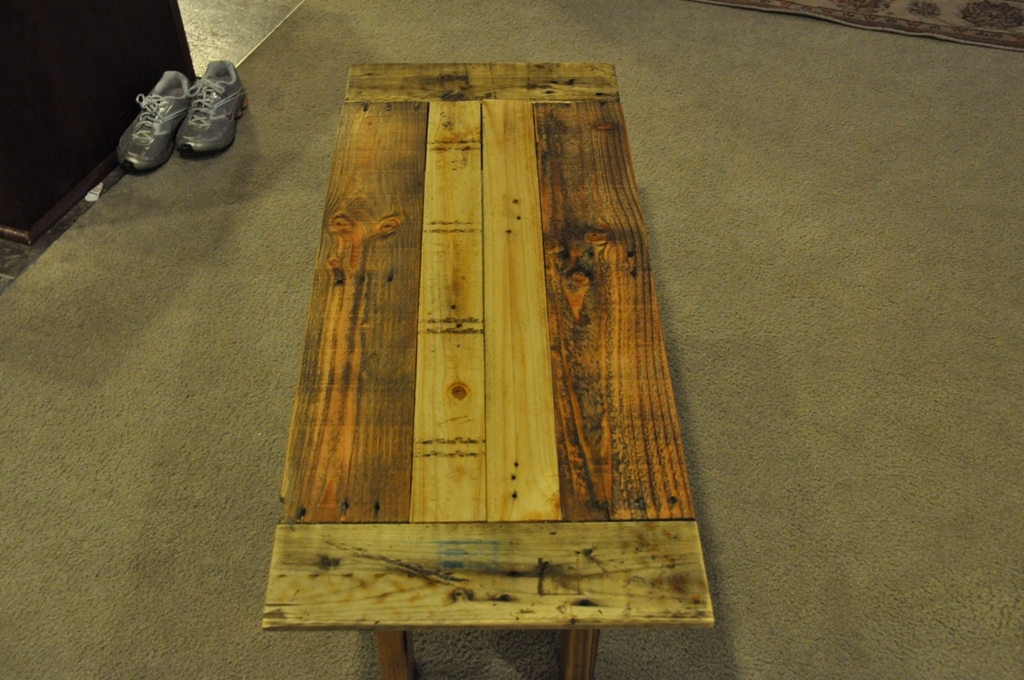
I had a bunch of extra wood sitting around the garage, so I decided to build this. Reclaimed wood 41 1/2 long by 17 1/2 wide and 19 inches tall. I used natural stain so it could keep it's beat up charm.
Built from Plan(s)
Estimated Cost
Free wood, money spent for stain $8.00
Estimated Time Investment
Afternoon Project (3-6 Hours)
Finish Used
Natural Stain with 2 coats of poly.
Recommended Skill Level
Beginner
Porch Swing

My first project!
Estimated Time Investment
Afternoon Project (3-6 Hours)
Recommended Skill Level
Starter Project
Comments
Fri, 01/24/2014 - 22:16
Good job on your first project!
Congrats on your first project! Looks great. I will start my first project as well in the next few months. I am guessing that the edges were well sanded to avoid splinters?
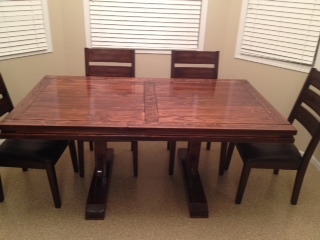
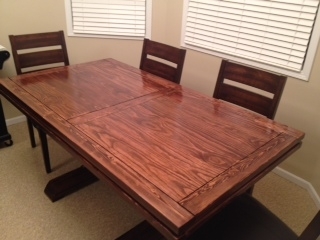
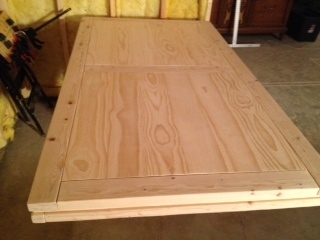
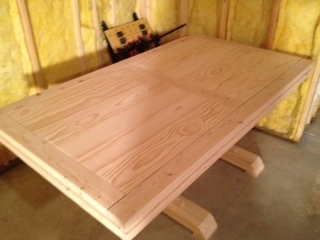
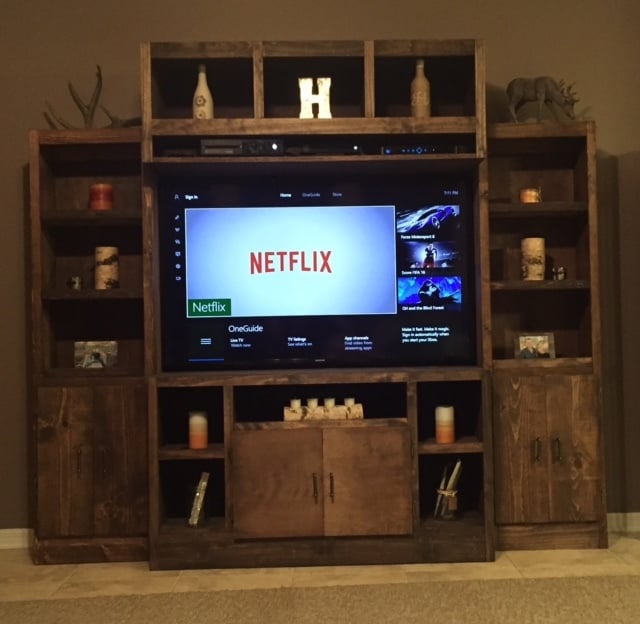
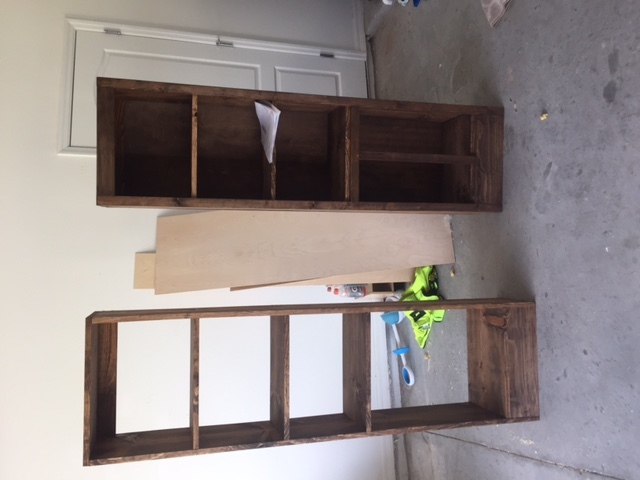
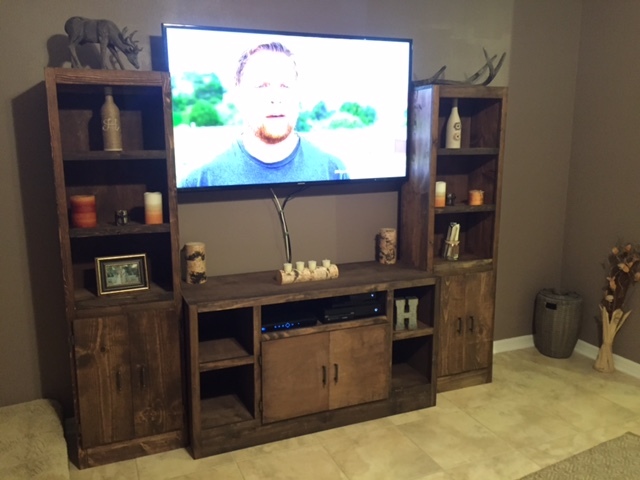
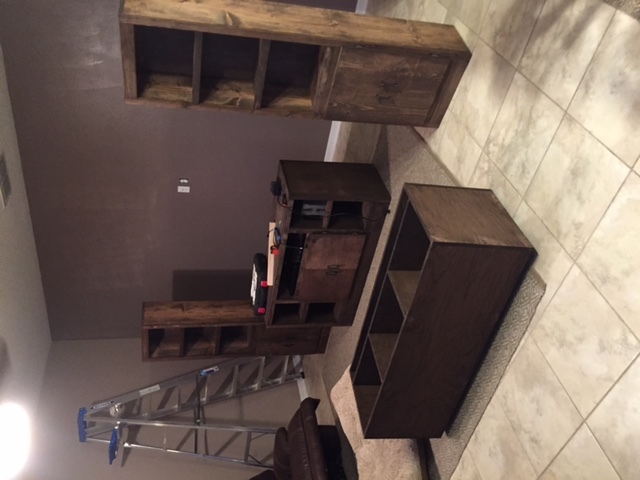
Balin TV Stand
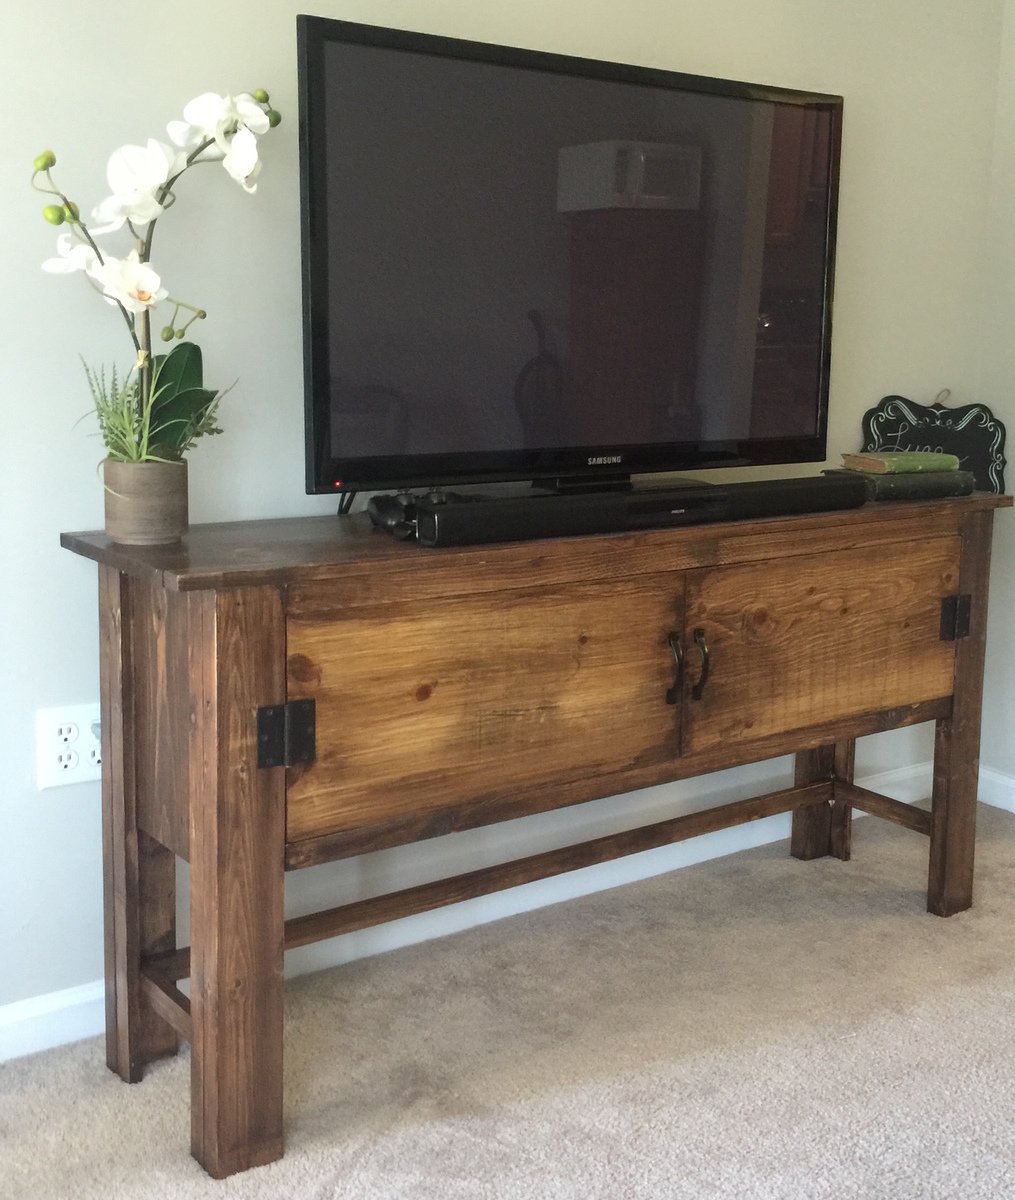
This was my first furniture project and I simply wanted to hide all of the cords for my TV. My husband and I opted out of the drawers since we wanted a big area to store all of the other items (DVDs, playstation, etc.). We also did not put a back on the table so the electronics stored inside could properly ventilate without overheating.
Built from Plan(s)
Estimated Cost
We bought all lumber from Lowe's and it totaled to $180 for the lumber, sand paper, wood conditioner, stain, and polyurethane finish.
Estimated Time Investment
Week Long Project (20 Hours or More)
Finish Used
Wood conditioner, Varathane dark walnut wood stain (1 coat, applied a heavy coat with brush and wiped excess stain with a rag about 3-5 minutes after initial application), and finished with Minwax fast-drying polyurethan clear satin (1 coat).
Recommended Skill Level
Intermediate
Comments
JoanneS
Tue, 01/14/2014 - 16:35
Great job!
Great job on this table! I like how you placed the pedestals, you can push the chairs all the way in on the ends. Your finish looks beautiful!
DIY everything
Tue, 01/14/2014 - 22:32
SWEET!
I love the finish you used. Do you mind sharing the name and color?