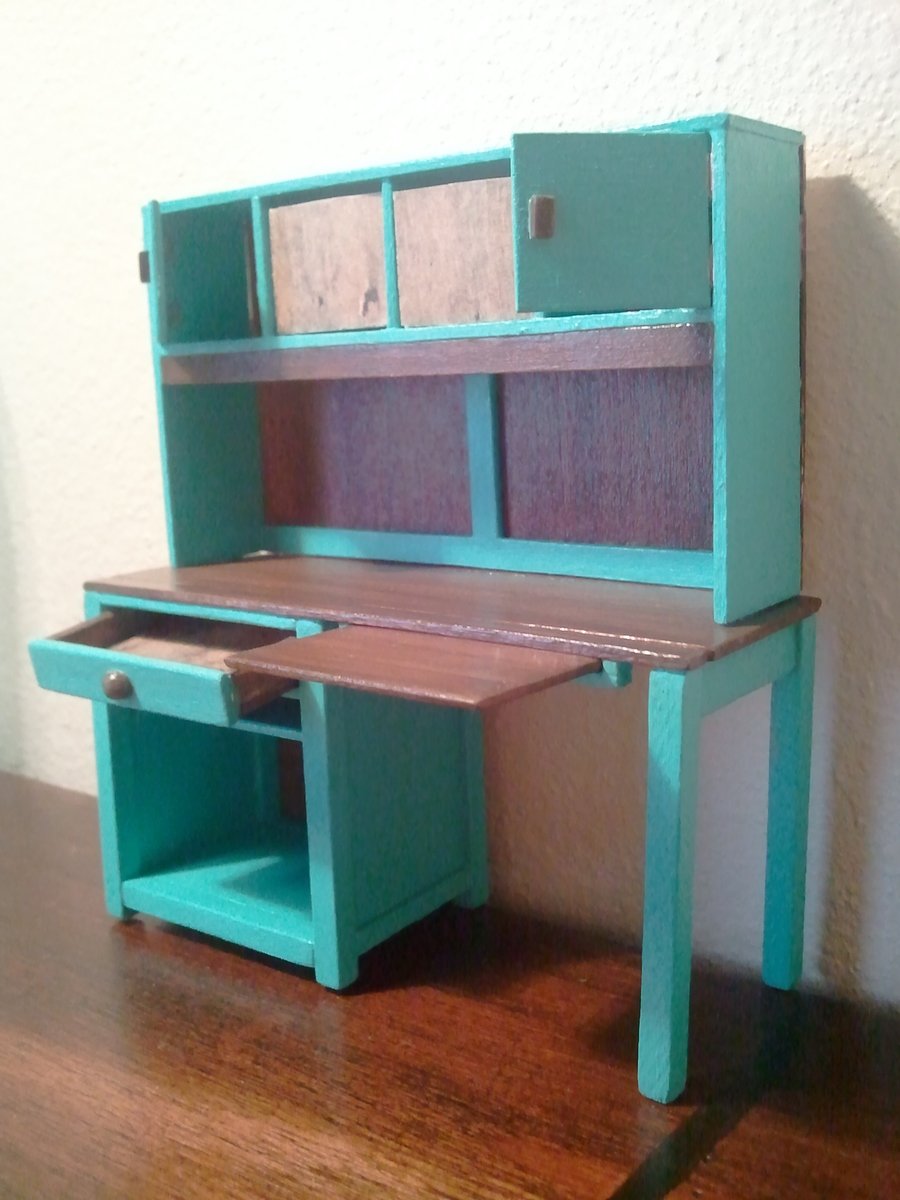
Miniatures are a cute and easy way to see your project before you start the full sized version. And if you know someone who likes minis, you have a nice gift for them later! (or you could start a new hobby)
http://www.the-art-of-dollhouse-miniatures.com/miniatures-scale-calcula…
This is the link I used to find my measurements in mini. Just in case you guys might enjoy trying a smaller scale.
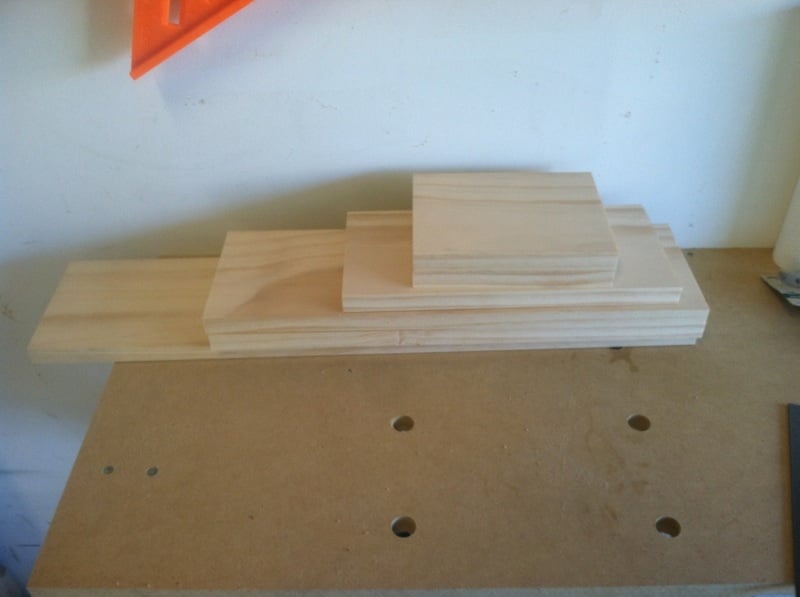
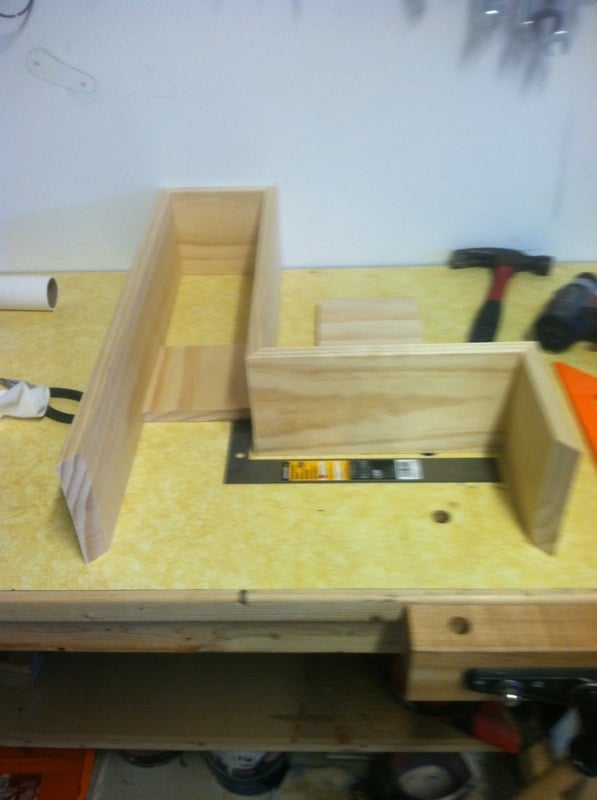
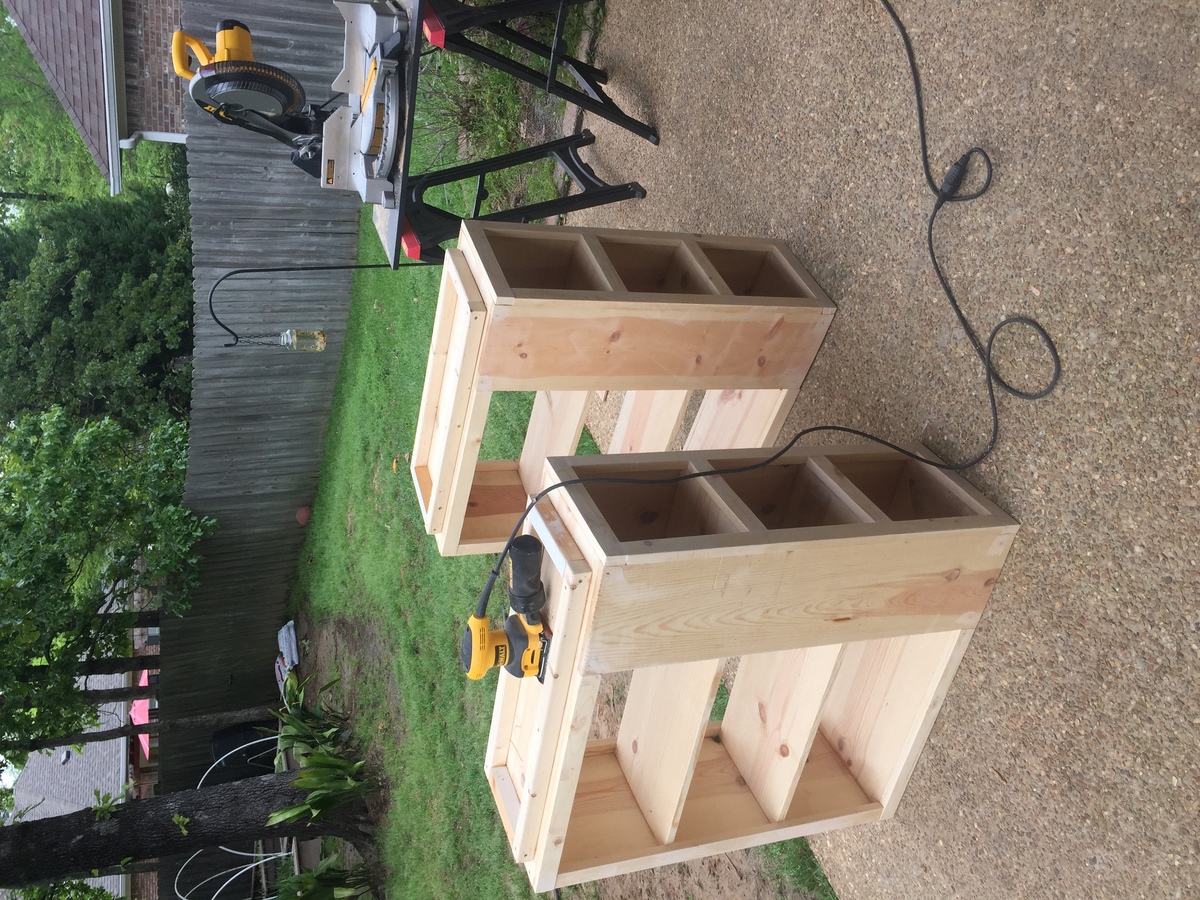
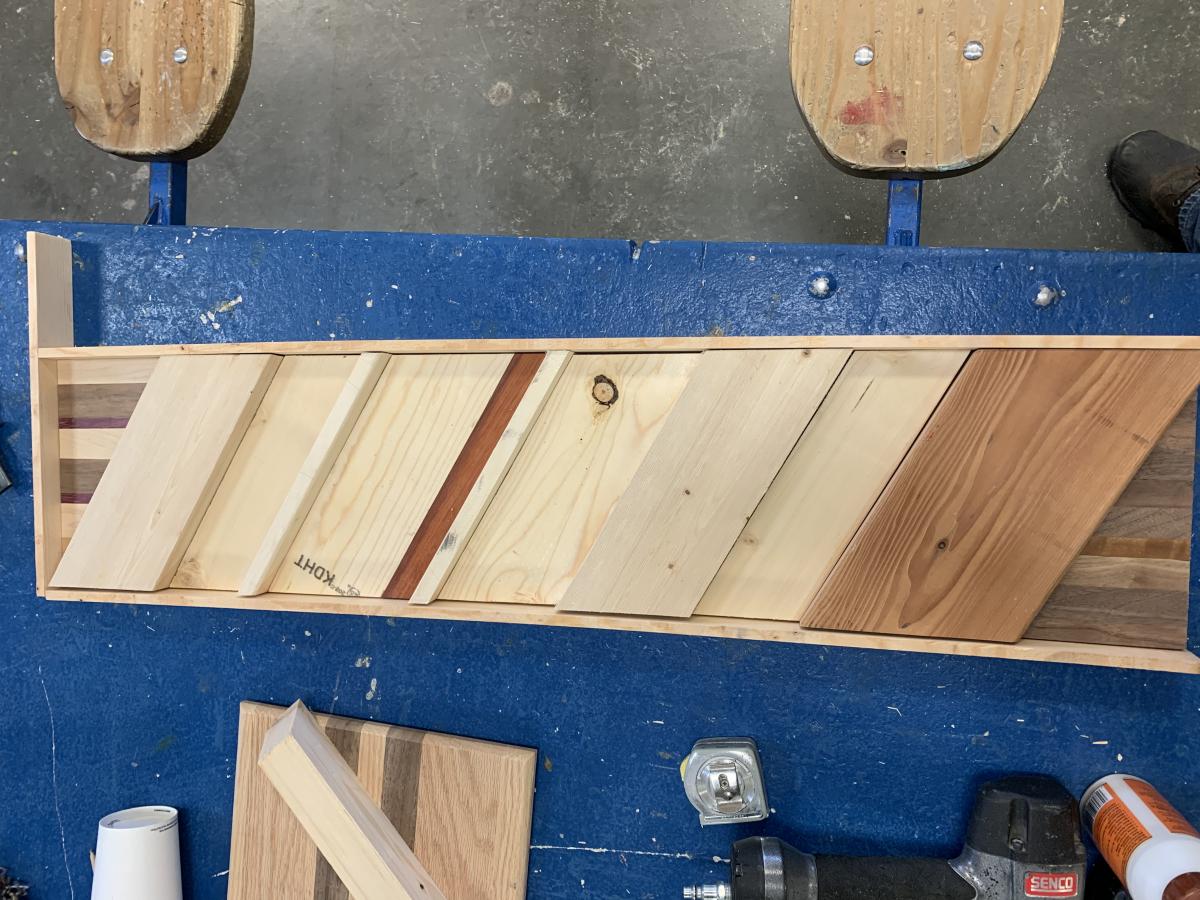
Its a good idea to very lightly sand your pieces, I used a metal nail file.
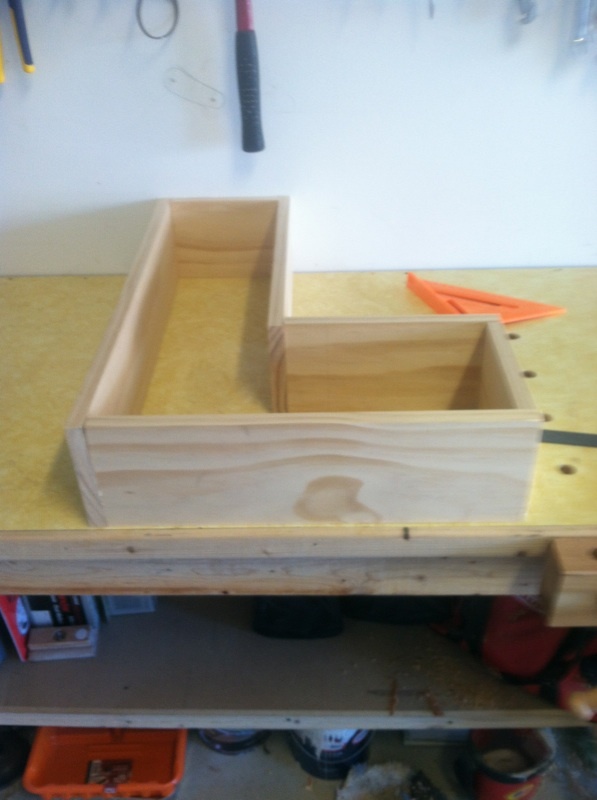
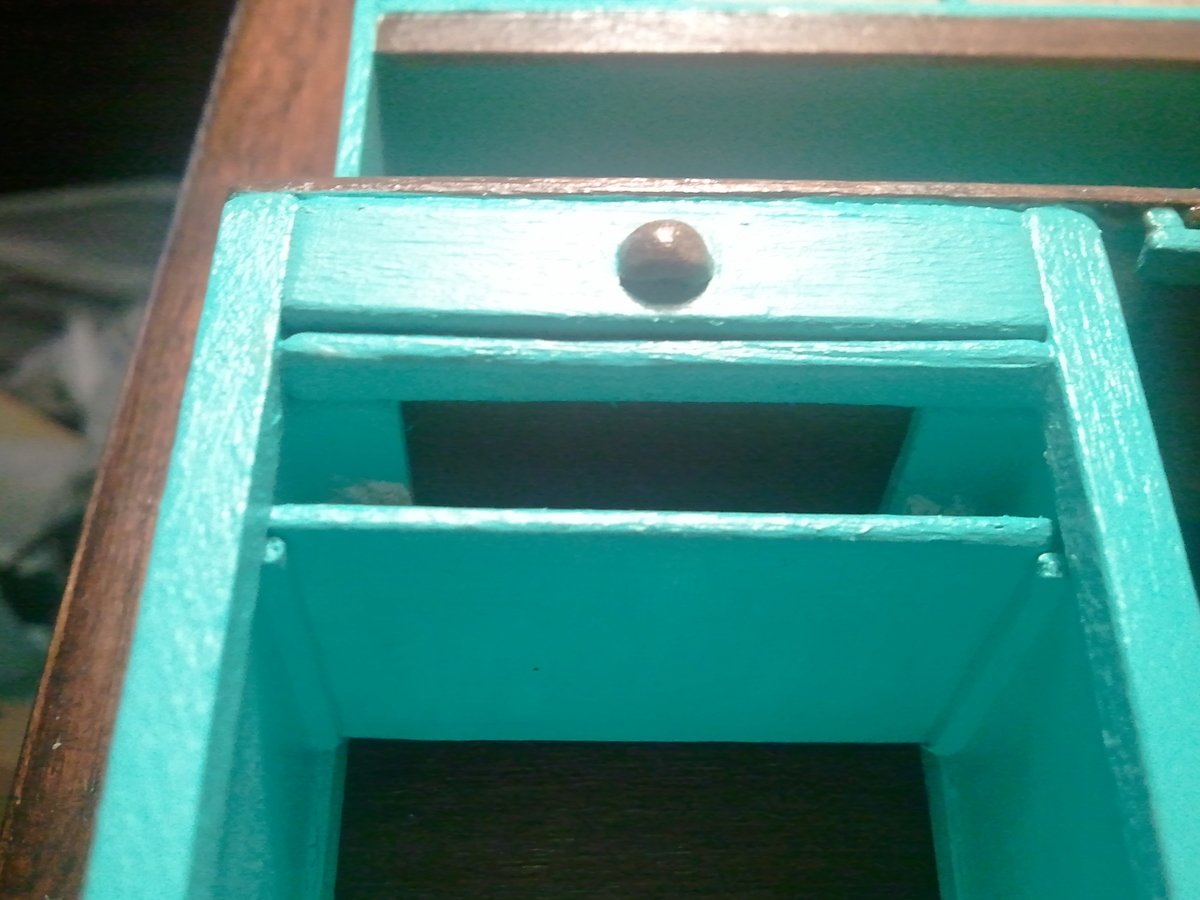
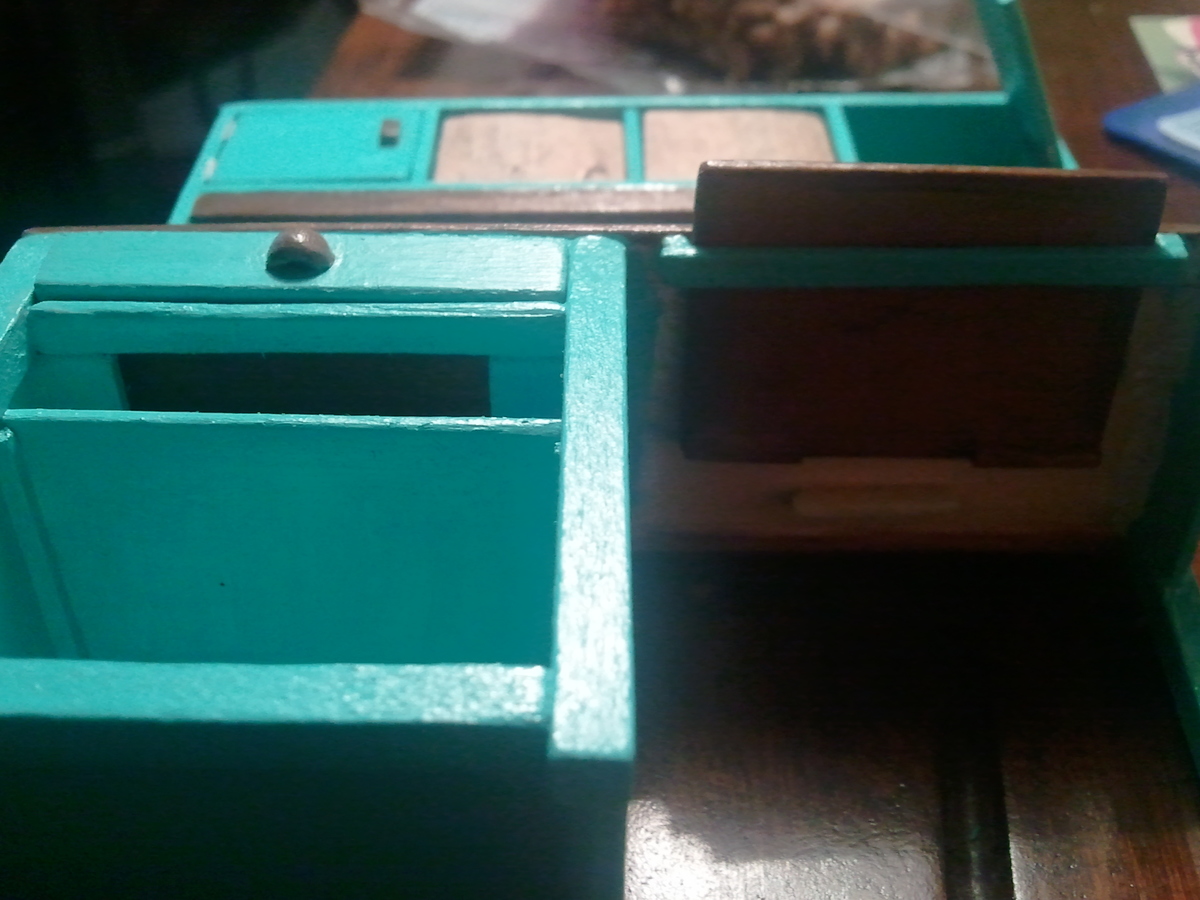
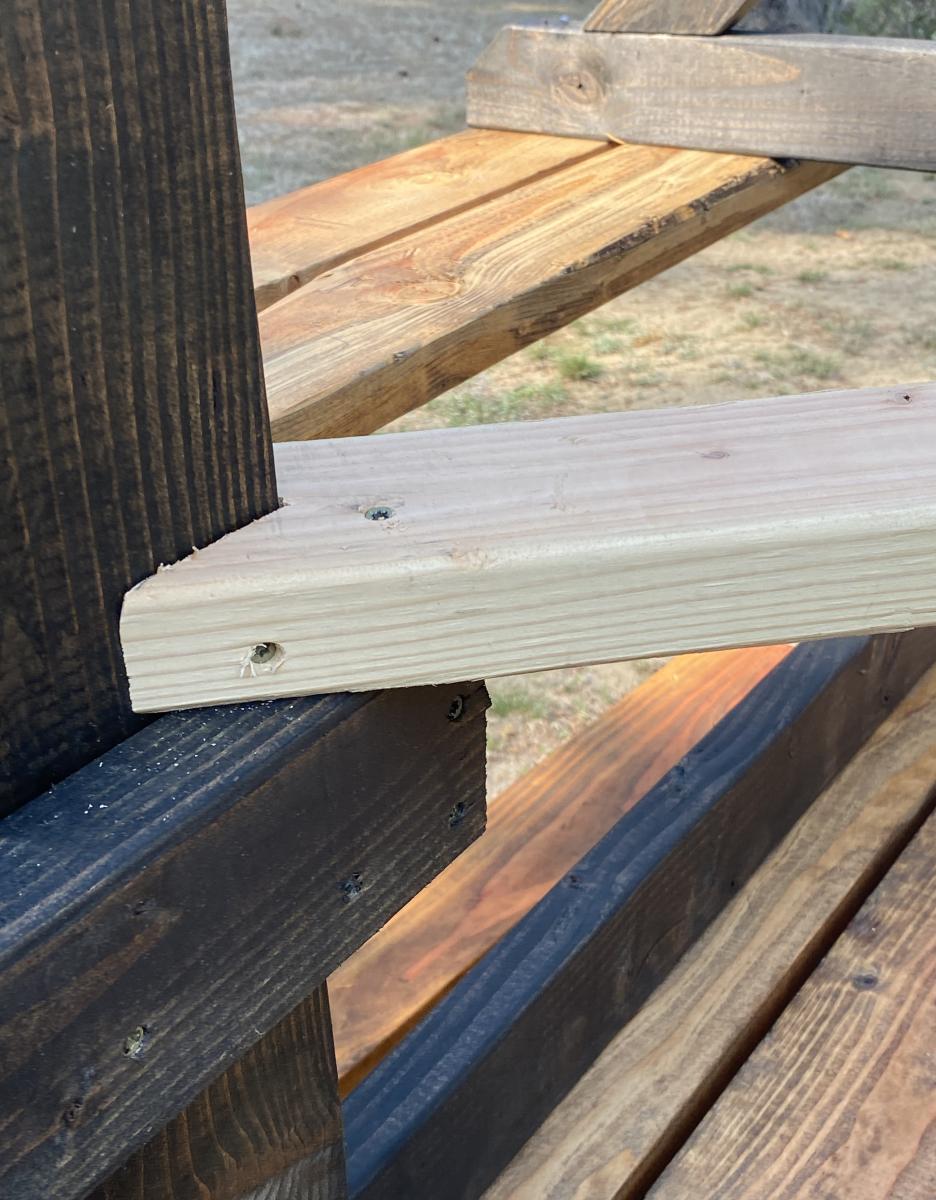
After adjusting your measurements, follow Ana's instructions for the desk. For the drawer to actually work, I used mini 1x's and made old-style slides that are mounted to the underside of the desktop. these support the drawer and guide it also. Similar idea used for the extra desk space via the pull out. For the hutch doors, I made simple paper hinges. Make sure you use cardstock or layers of regular paper.
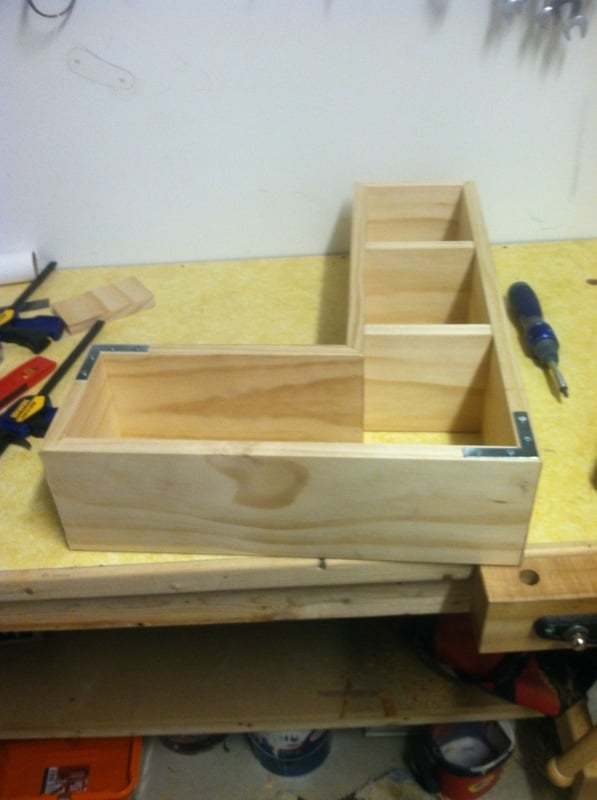
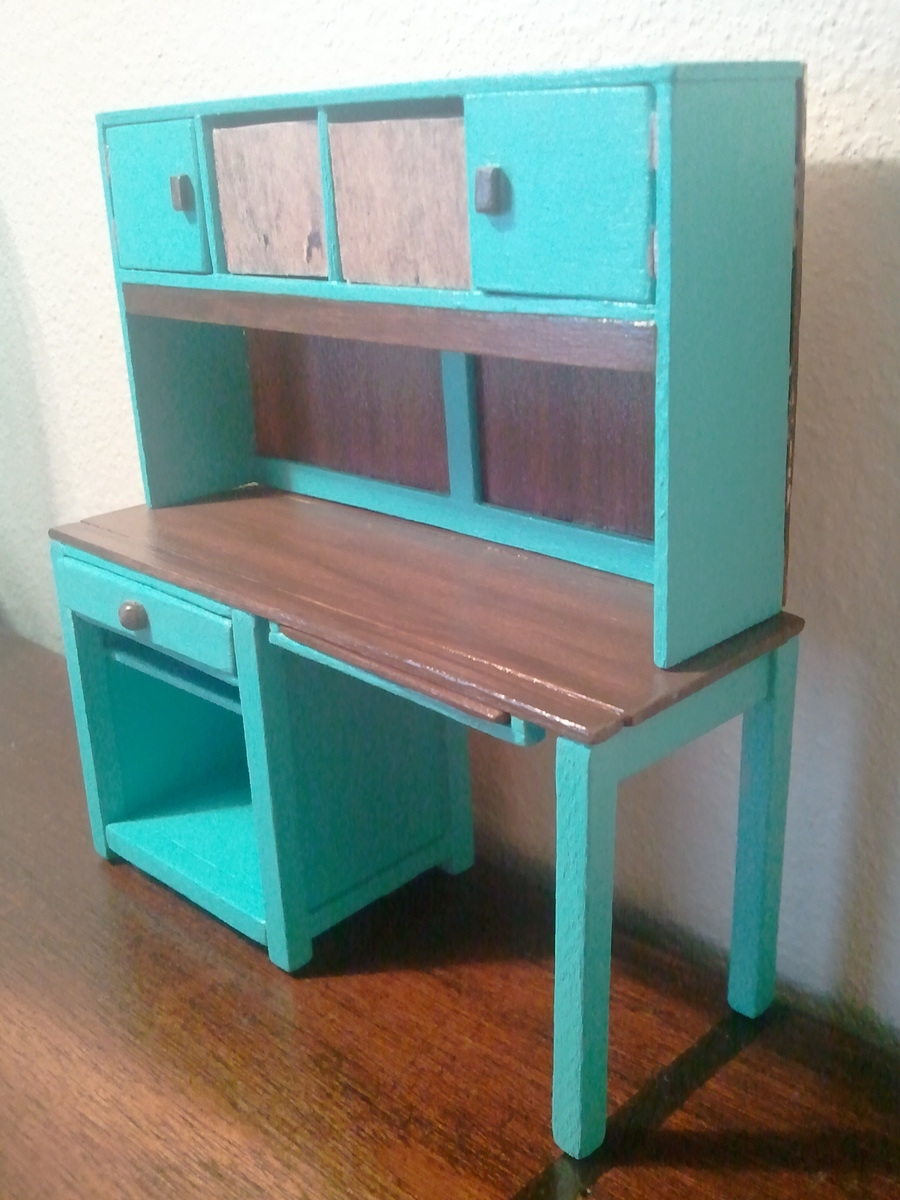
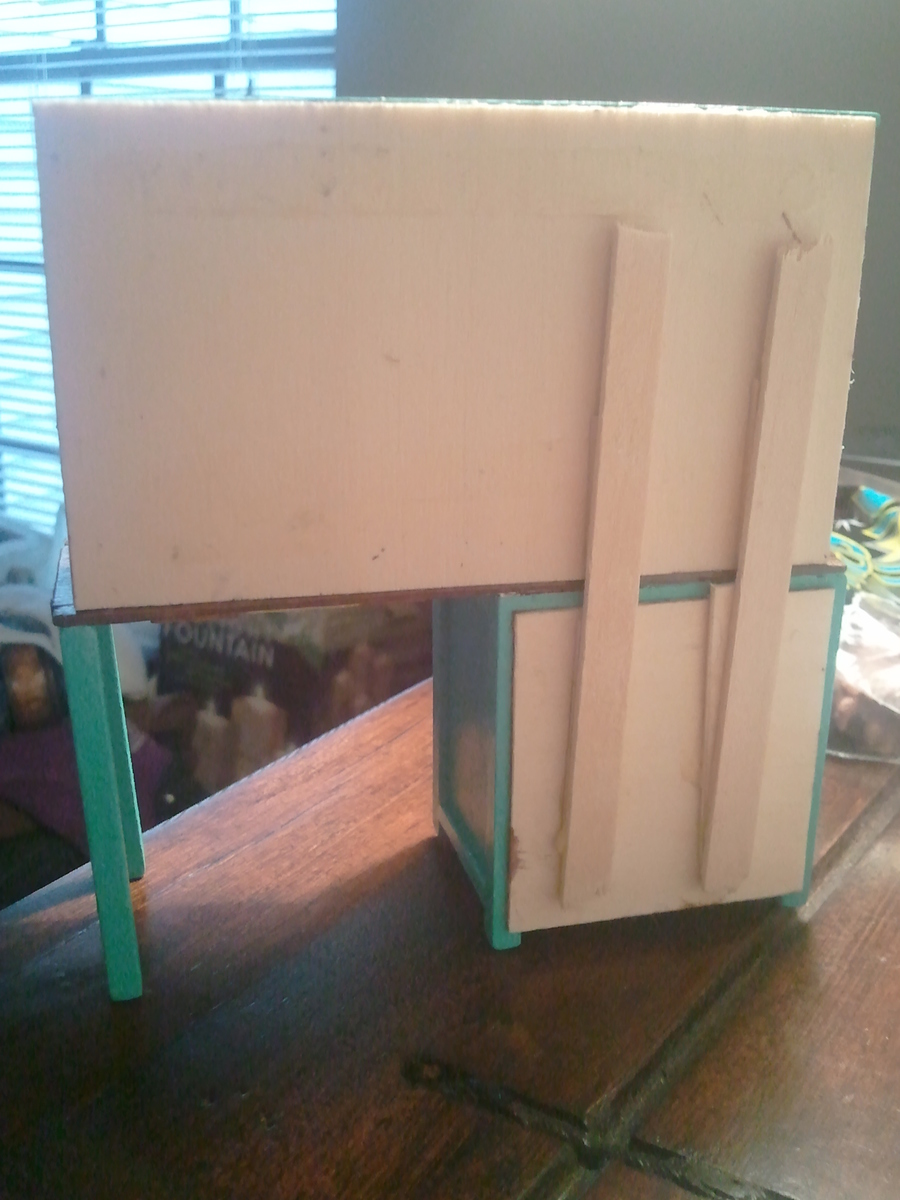
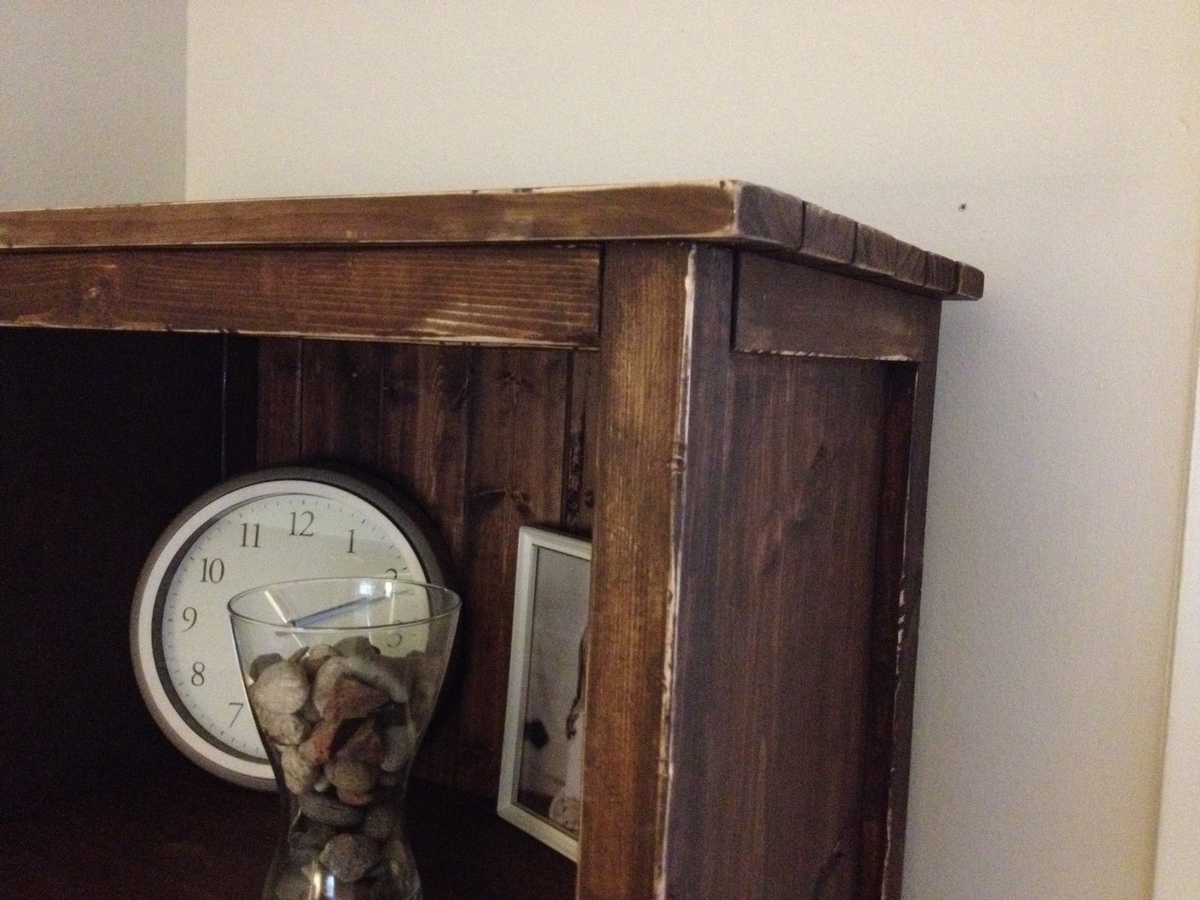
The full size hutch is screwed to the desktop, but the mini needs more support, so spare parts make good braces. I also used spare bits of wood for the handles on the doors, and half a wooden bead for the drawer handle.
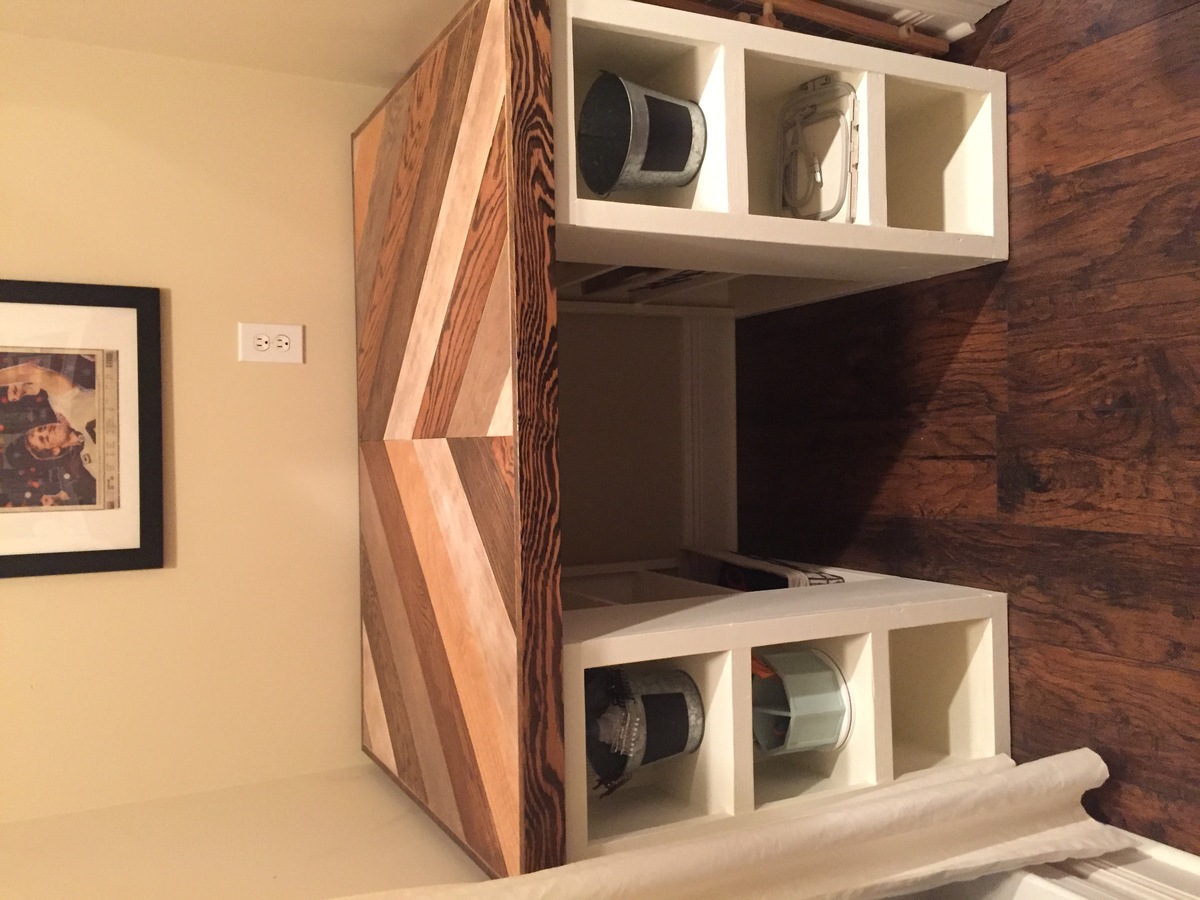
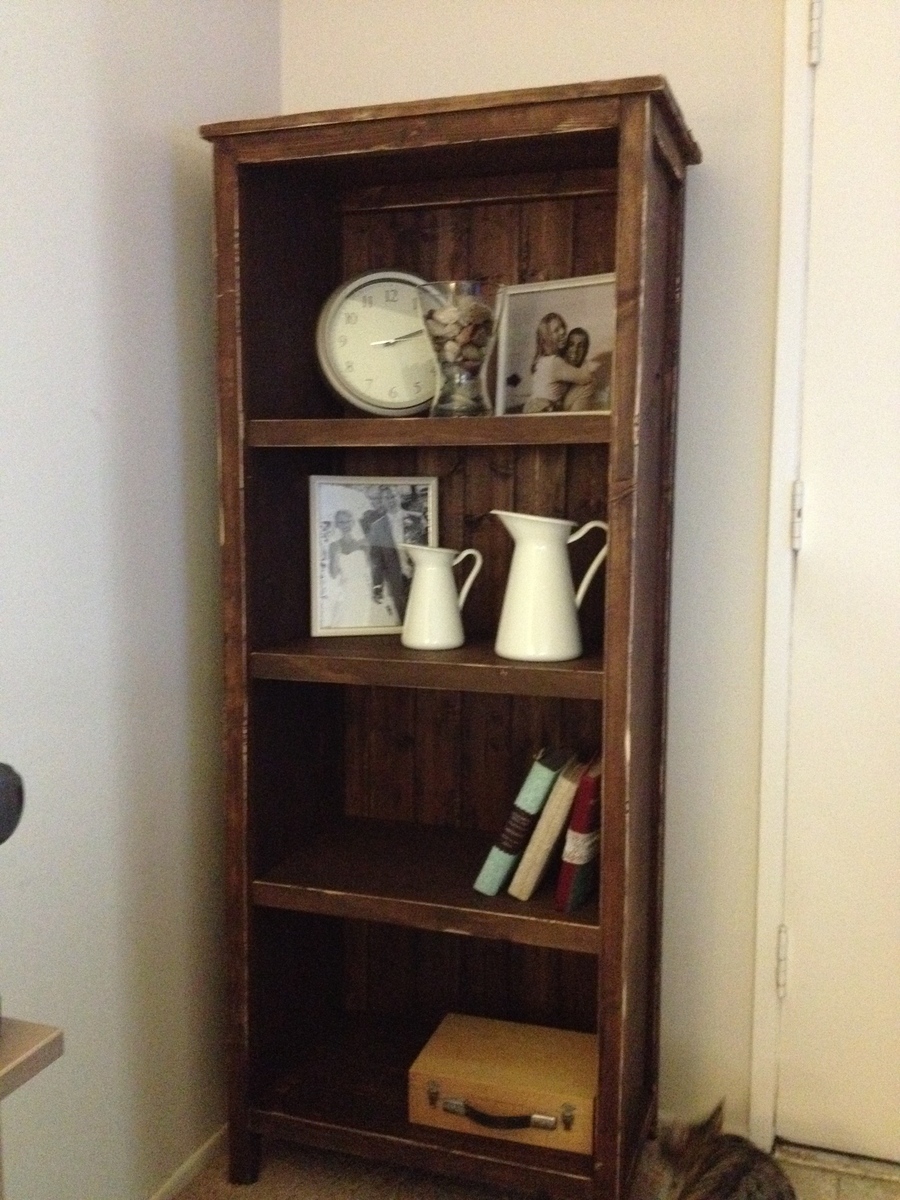
After making this mini version of the Channing Desk, me and my husband were able to adjust add-ins like the pull outs (my full size will go above the drawer) and even thought about making the whole section of drawer/shelves detatched for more manuverablilty in a tight corner space.
I can't Wait to start the full size version!!
Estimated Cost
$10-$15 unless you already have craft paints
Estimated Time Investment
Weekend Project (10-20 Hours)
Finish Used
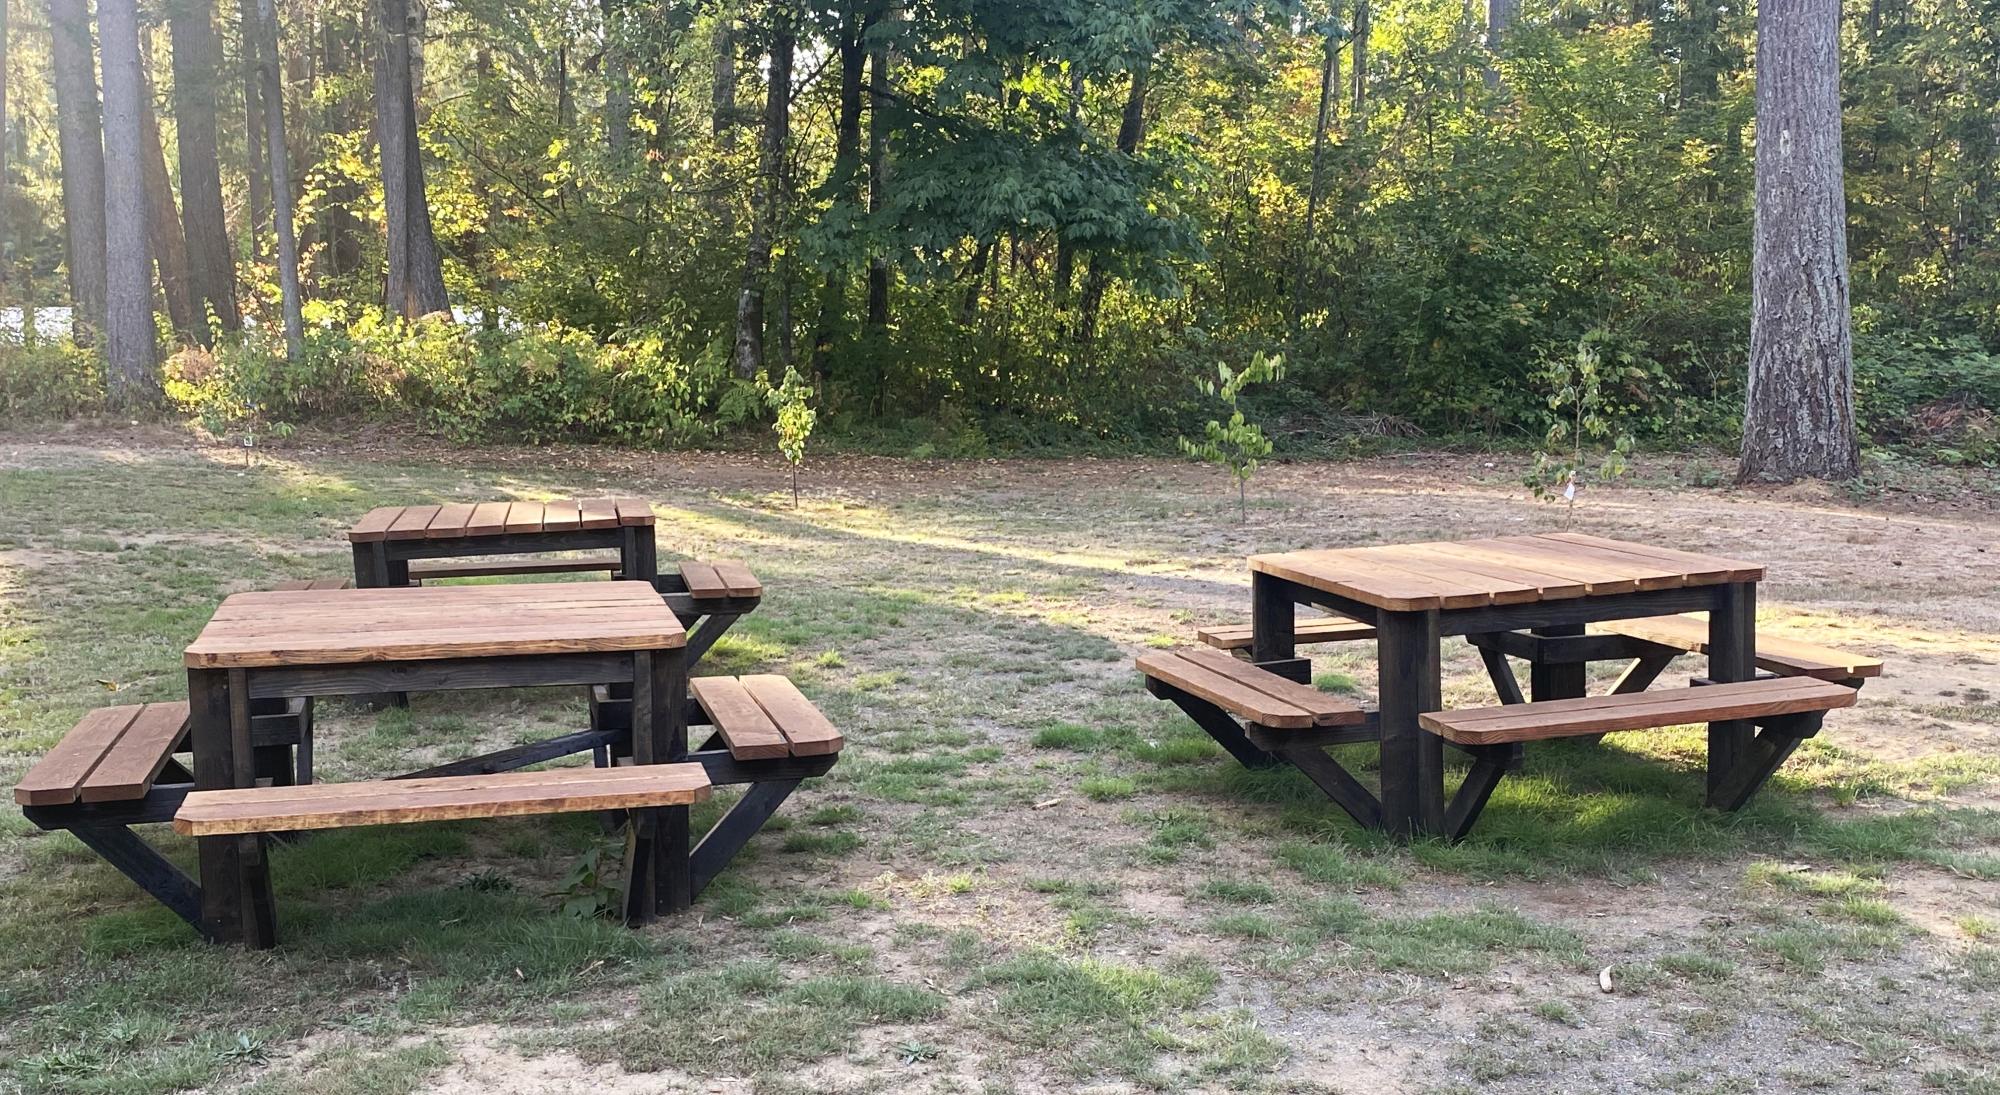
For the brown stain I used a Walnut gel stain from Americana craft paint, 3 coats. After letting the 3rd coat get tacky, I used a slightly wet brush and wiped it back in different places to lighten the stain's color. This gave me more variations in color since Basswood doesn't show as much grain as "full size" wood.
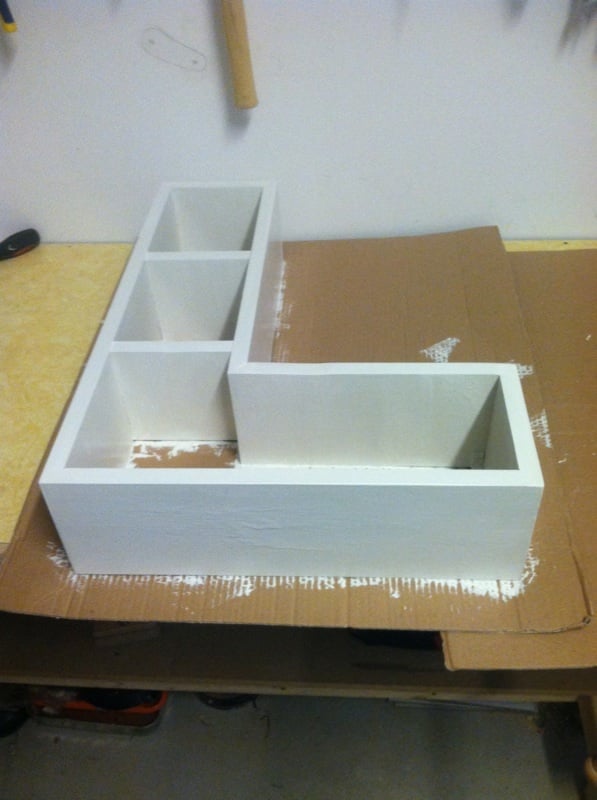
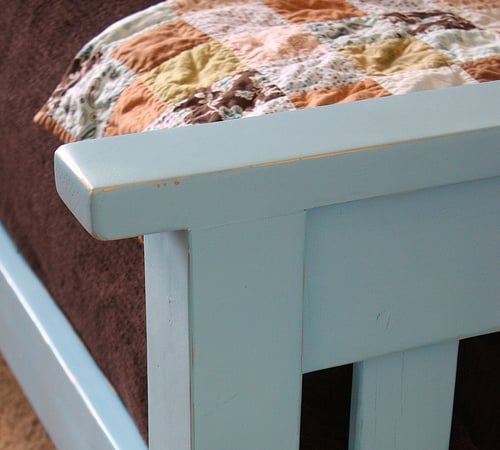
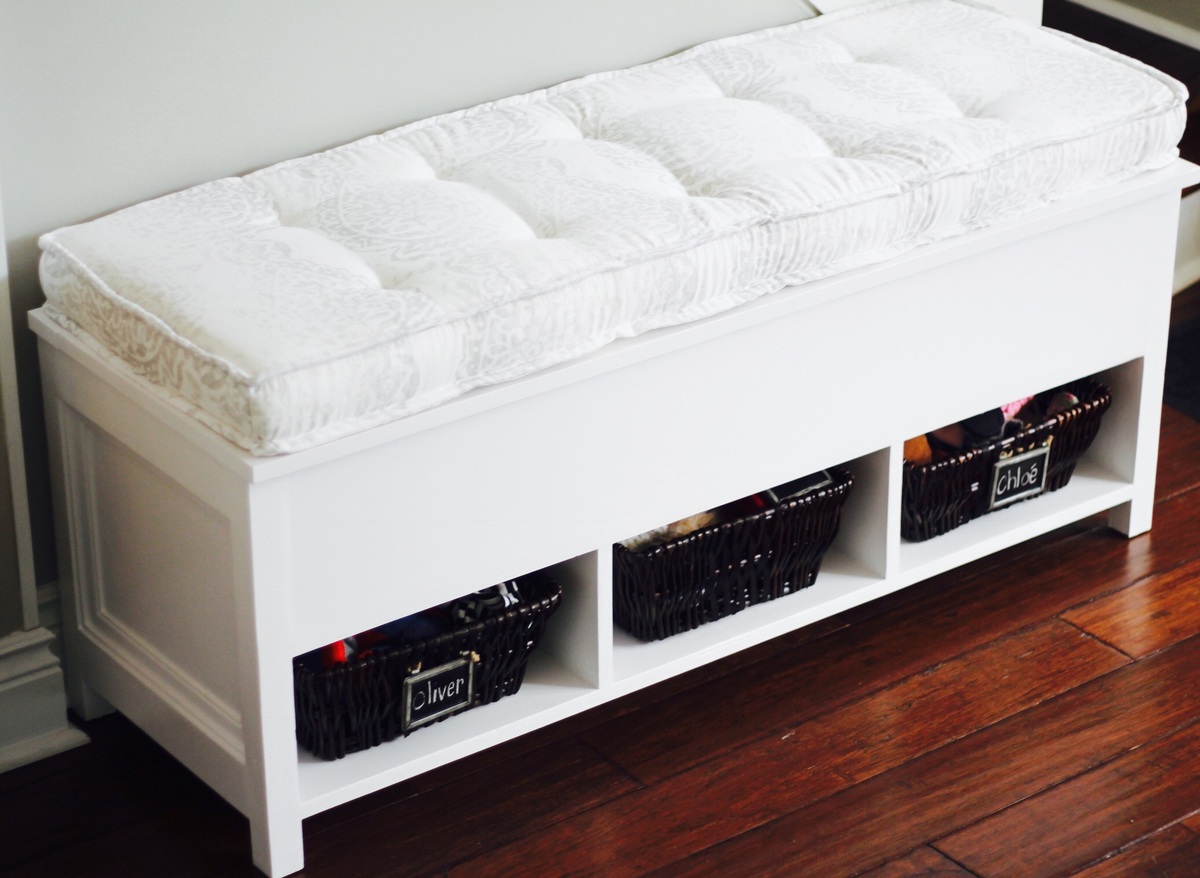
I used a base coat of white for the rest of the desk, then 2 coats of a pretty Turquoise from Creamcoat craft paint.
I varnished the whole desk with 1 coat of satin from Creamcoat, and gave the stained parts 3 coats.
Recommended Skill Level
Beginner


Comments
Our Monkey Farm
Tue, 05/01/2012 - 13:40
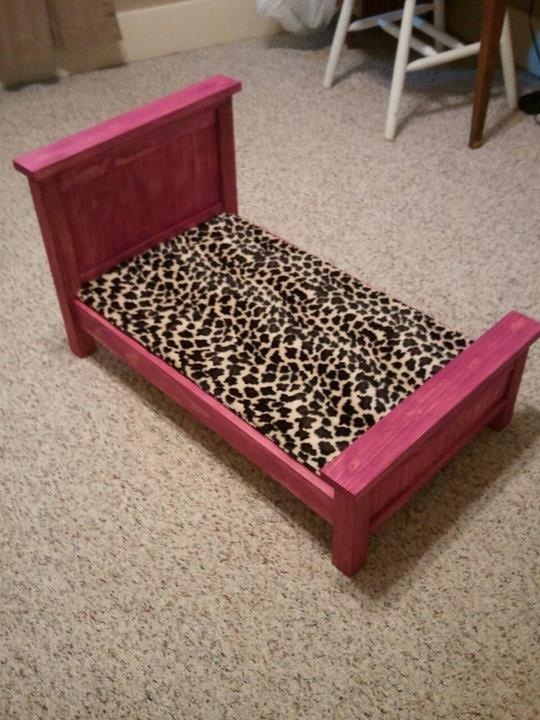
This is so beautiful! I agree
This is so beautiful! I agree with you, the woods beauty is best as is, without paint hiding it. You could put a coat of poly to seal and preserve the wood without losing any of its natural beauty. Great job!
MonicaP (not verified)
Thu, 10/25/2012 - 07:25
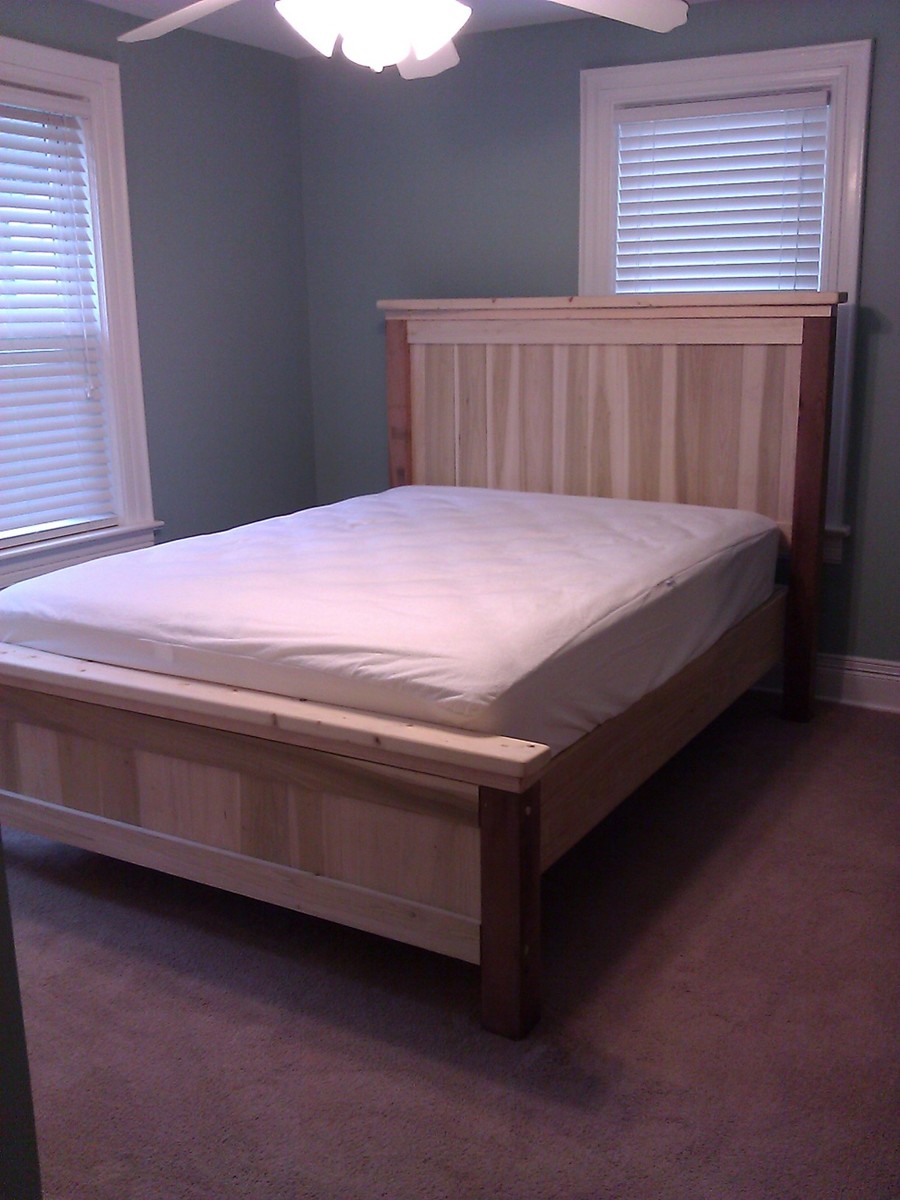
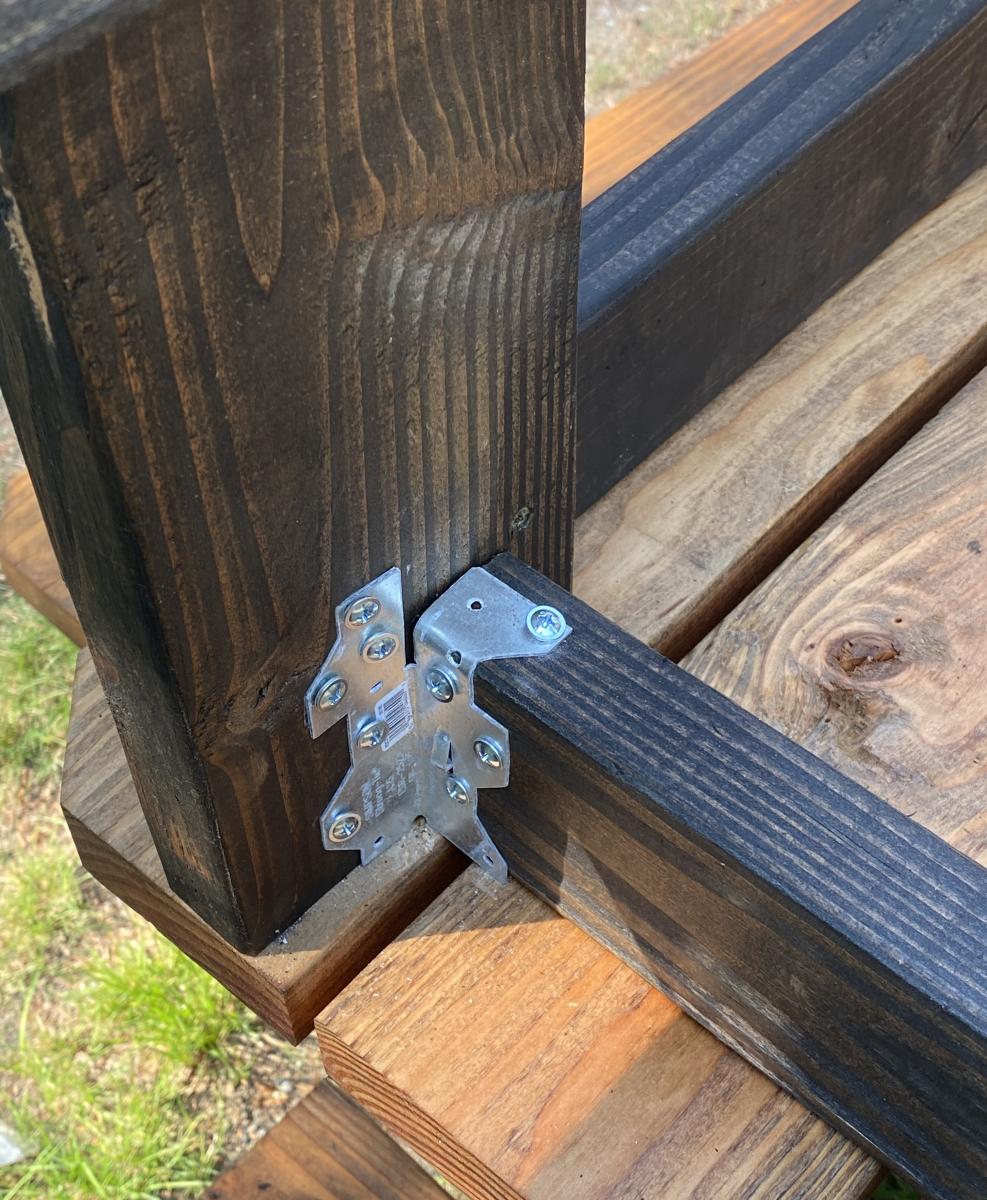
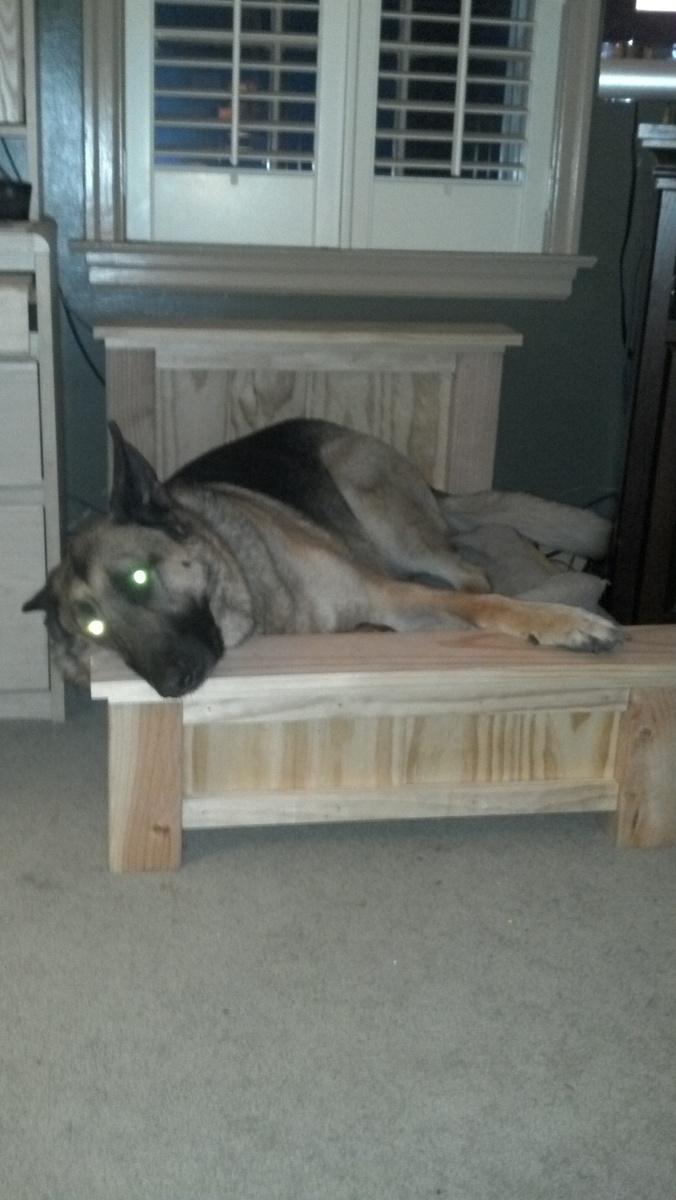
Bedrail hardware
I clicked the link for the rockler hardware that you used. I noticed that it required mortising. Did you find that difficult to do? Did you use a router to mortise the wood?
Anonymous Coward (not verified)
Thu, 10/25/2012 - 11:01
They also have surface mount
They also have surface mount hardware
http://woodworking.rockler.com/search?asug=&w=bed+brackets&Search.x=0&S…