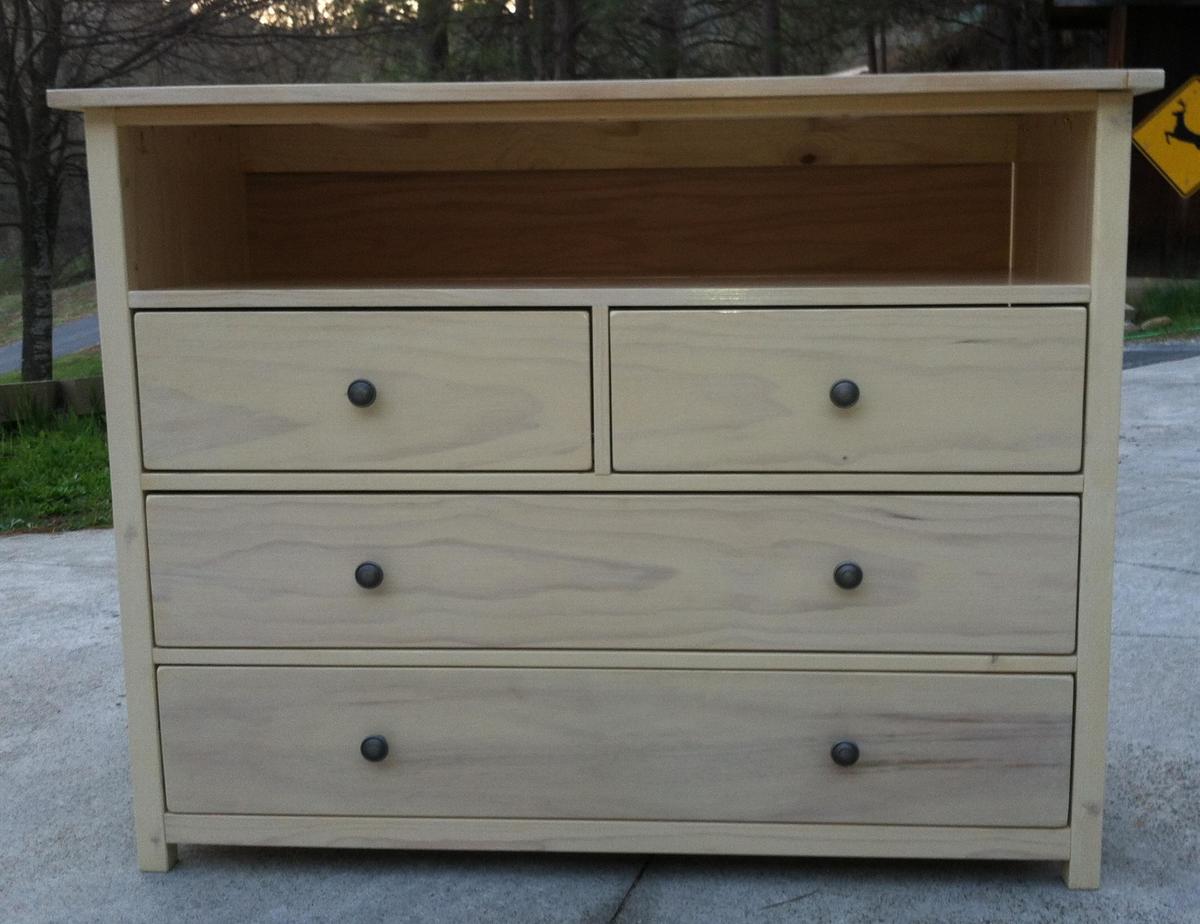
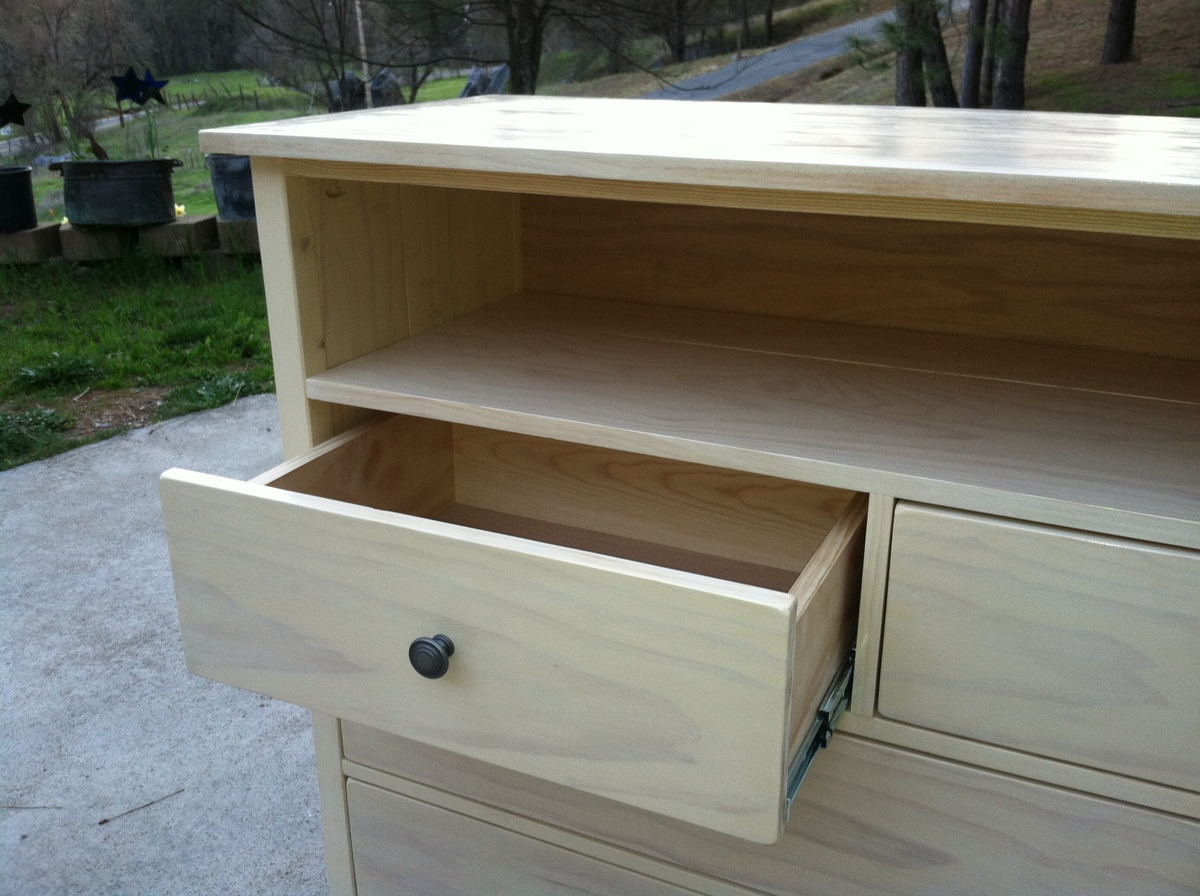
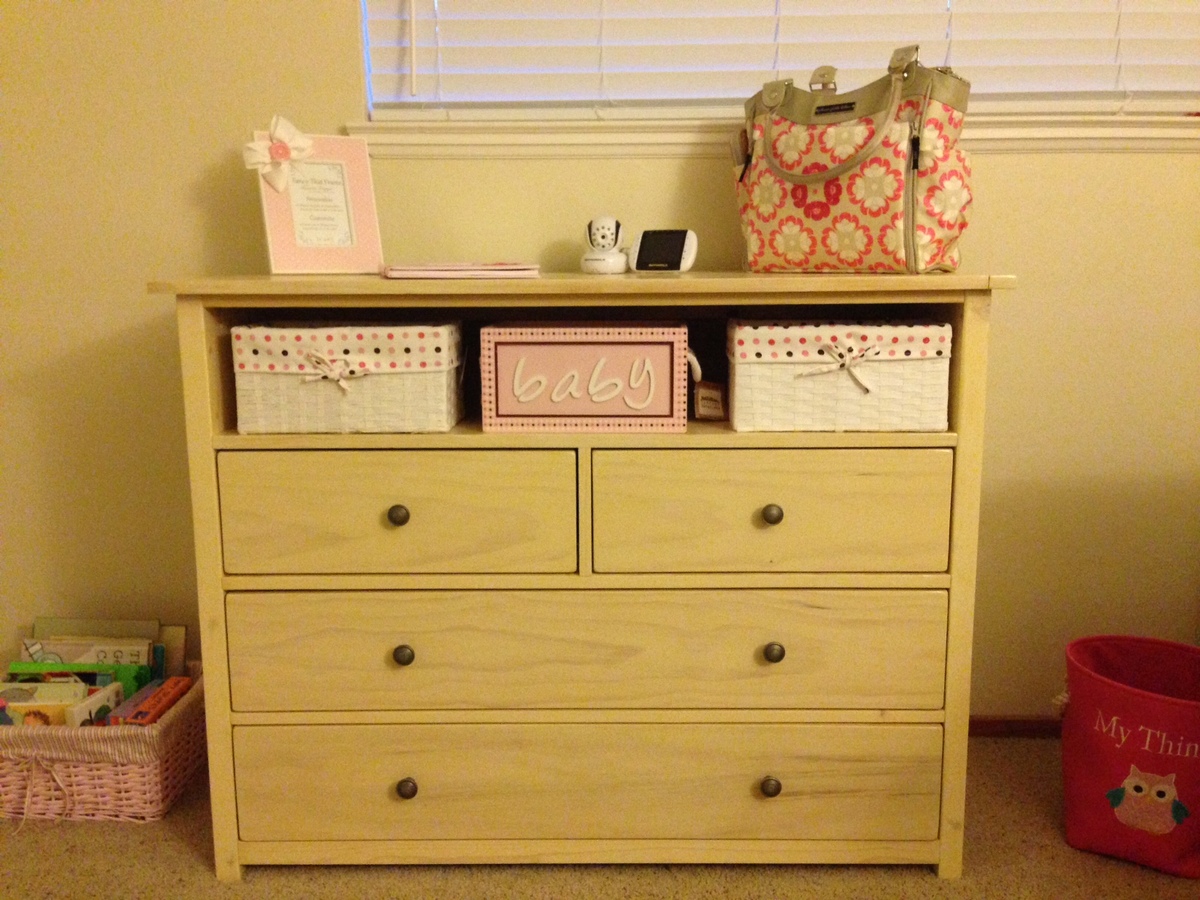
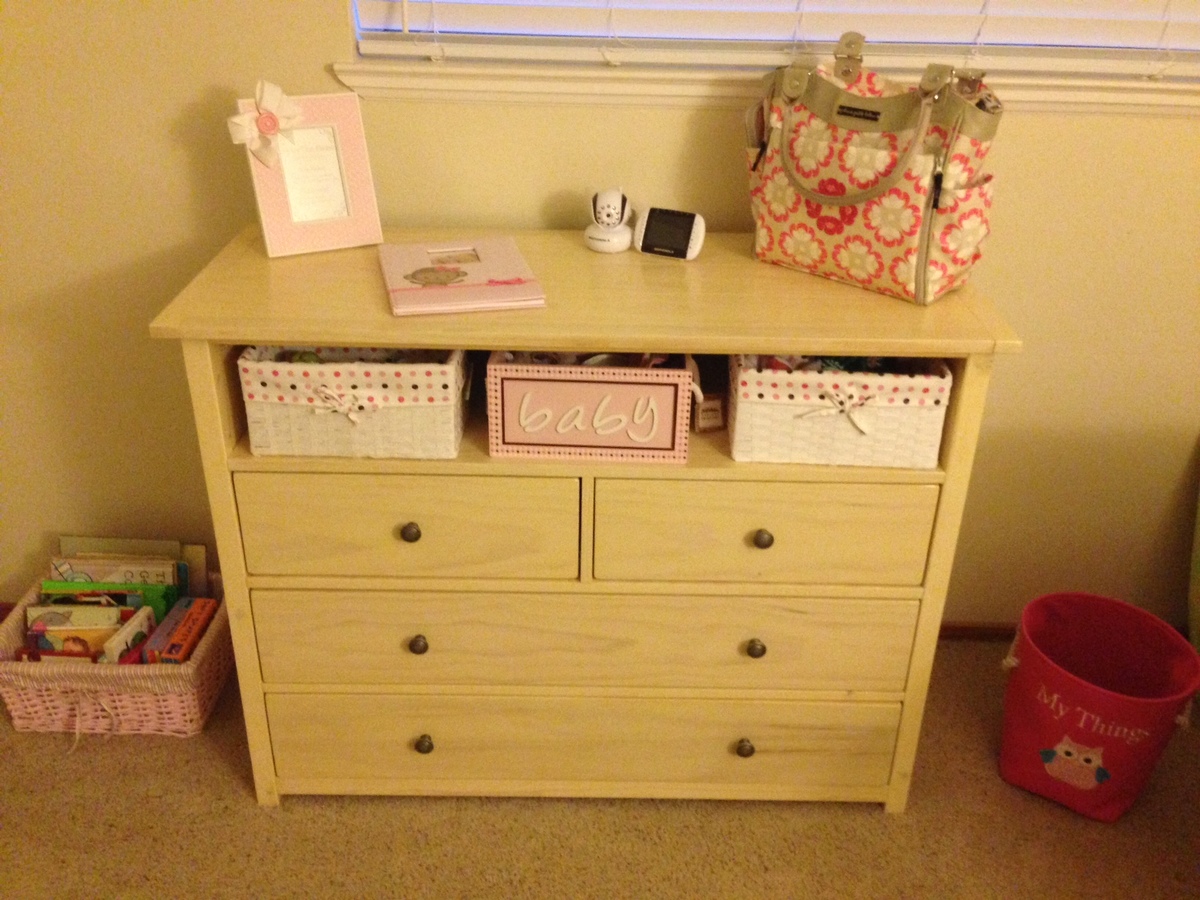
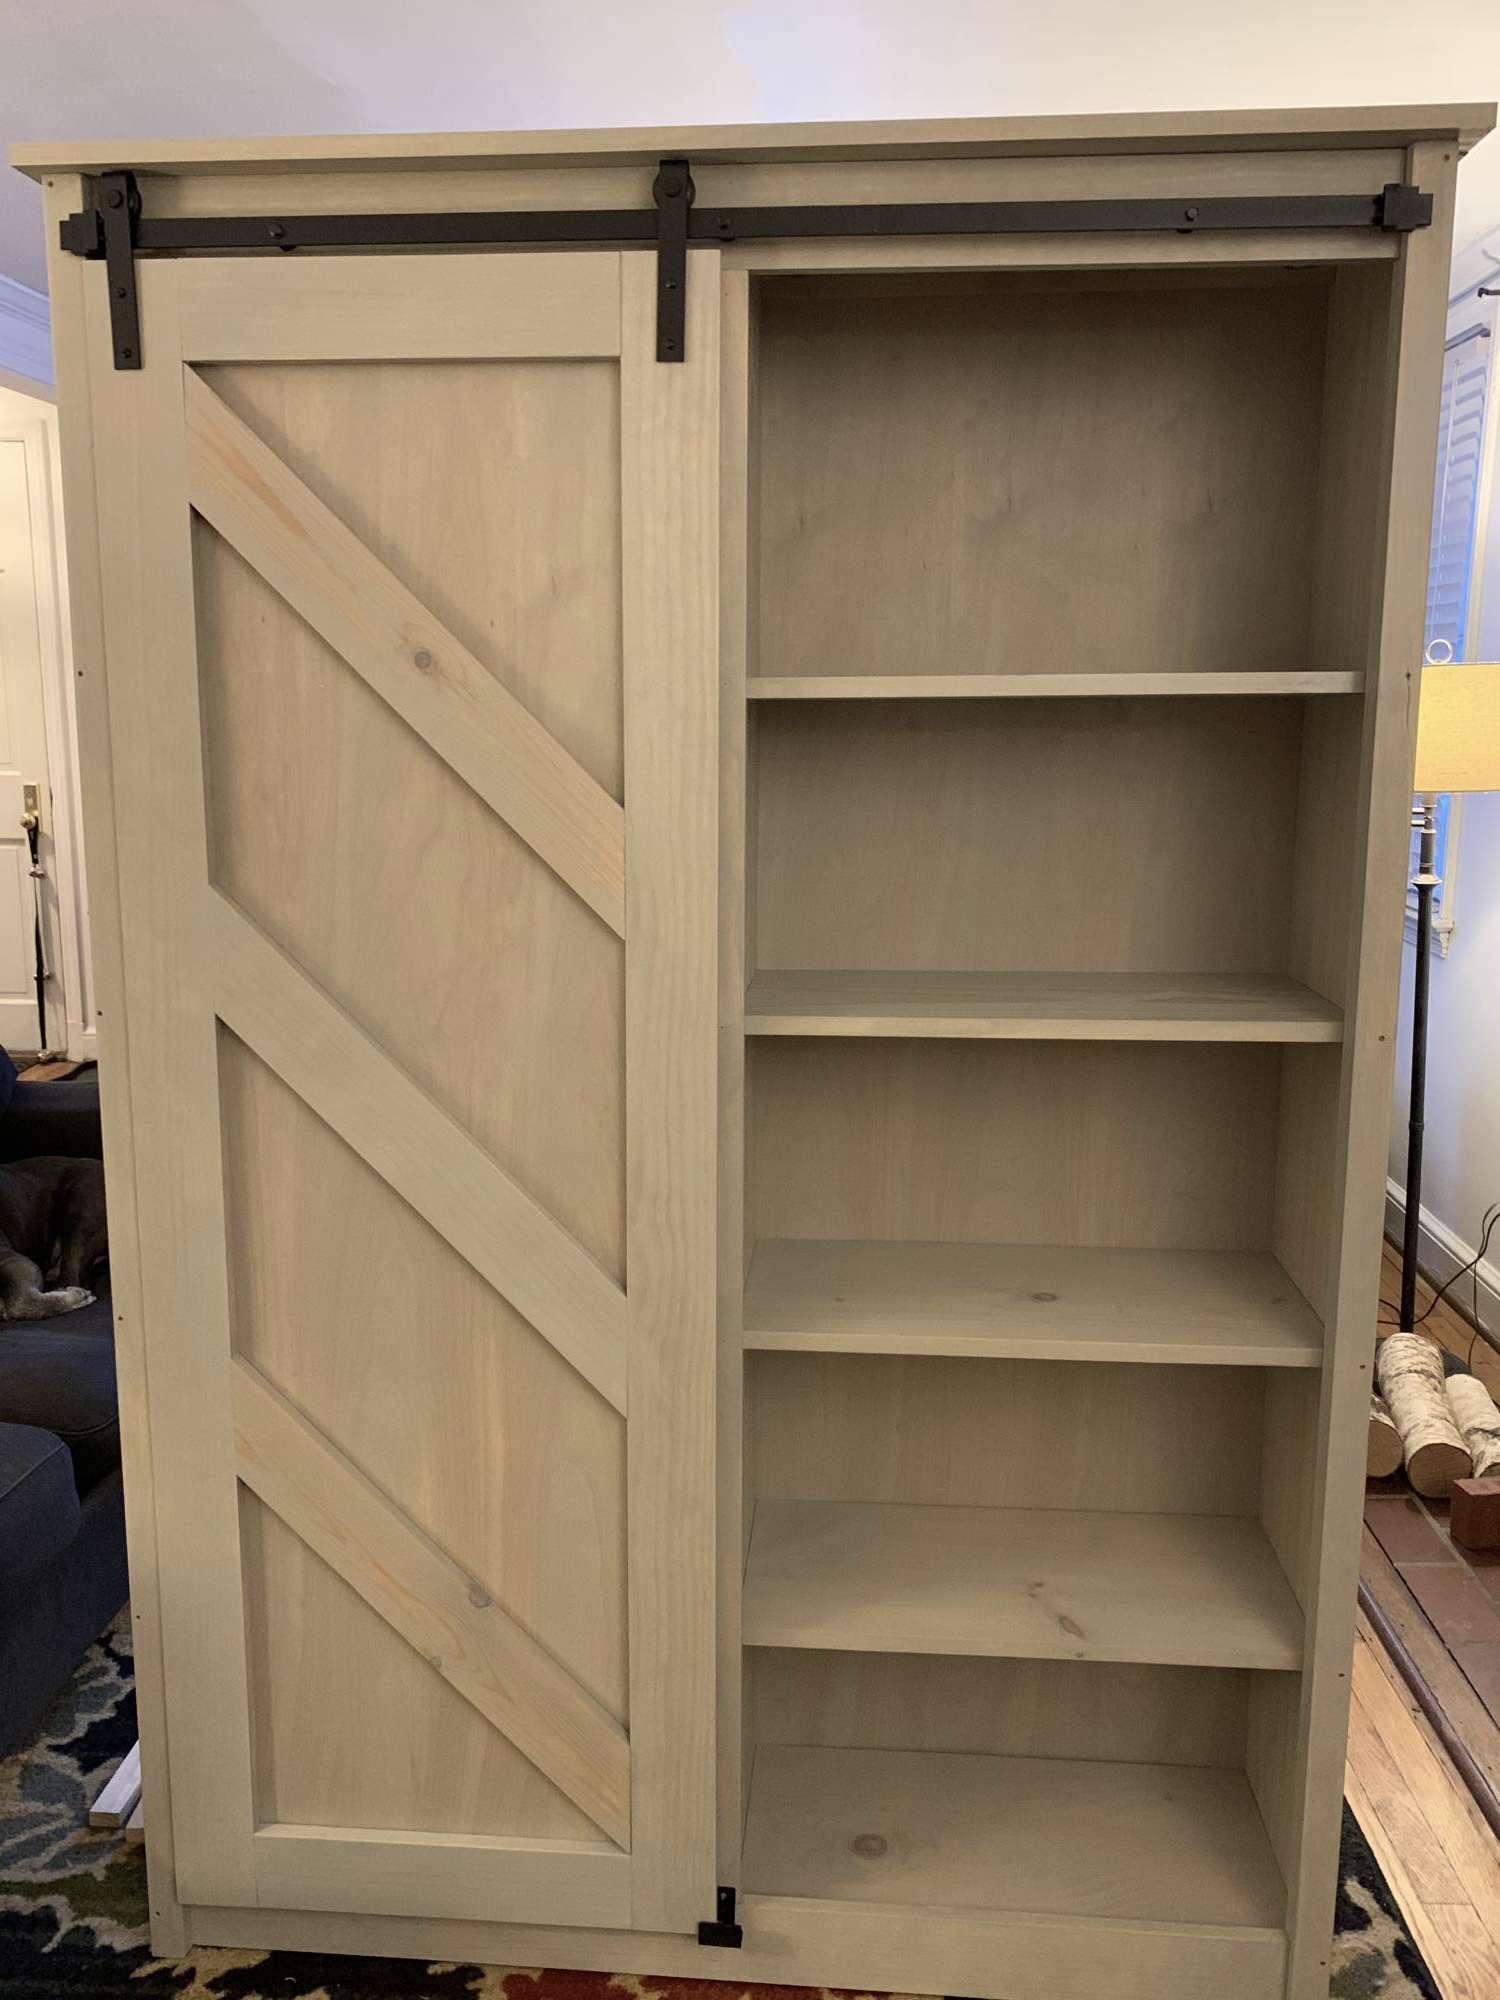
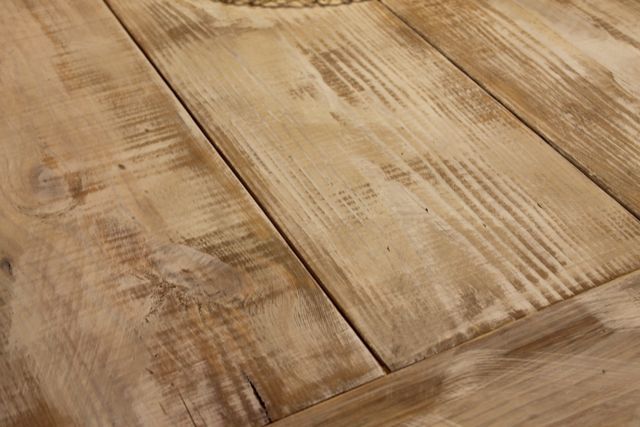
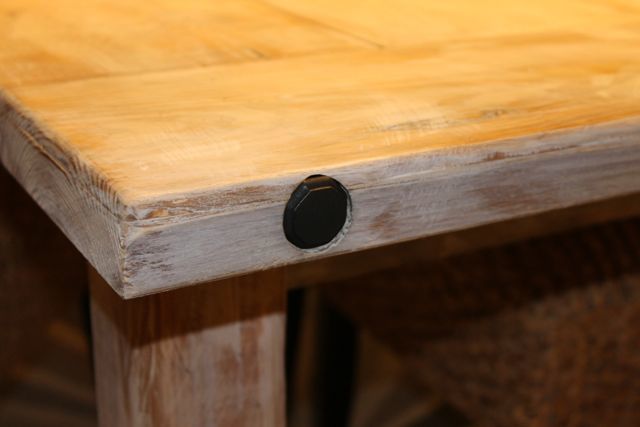
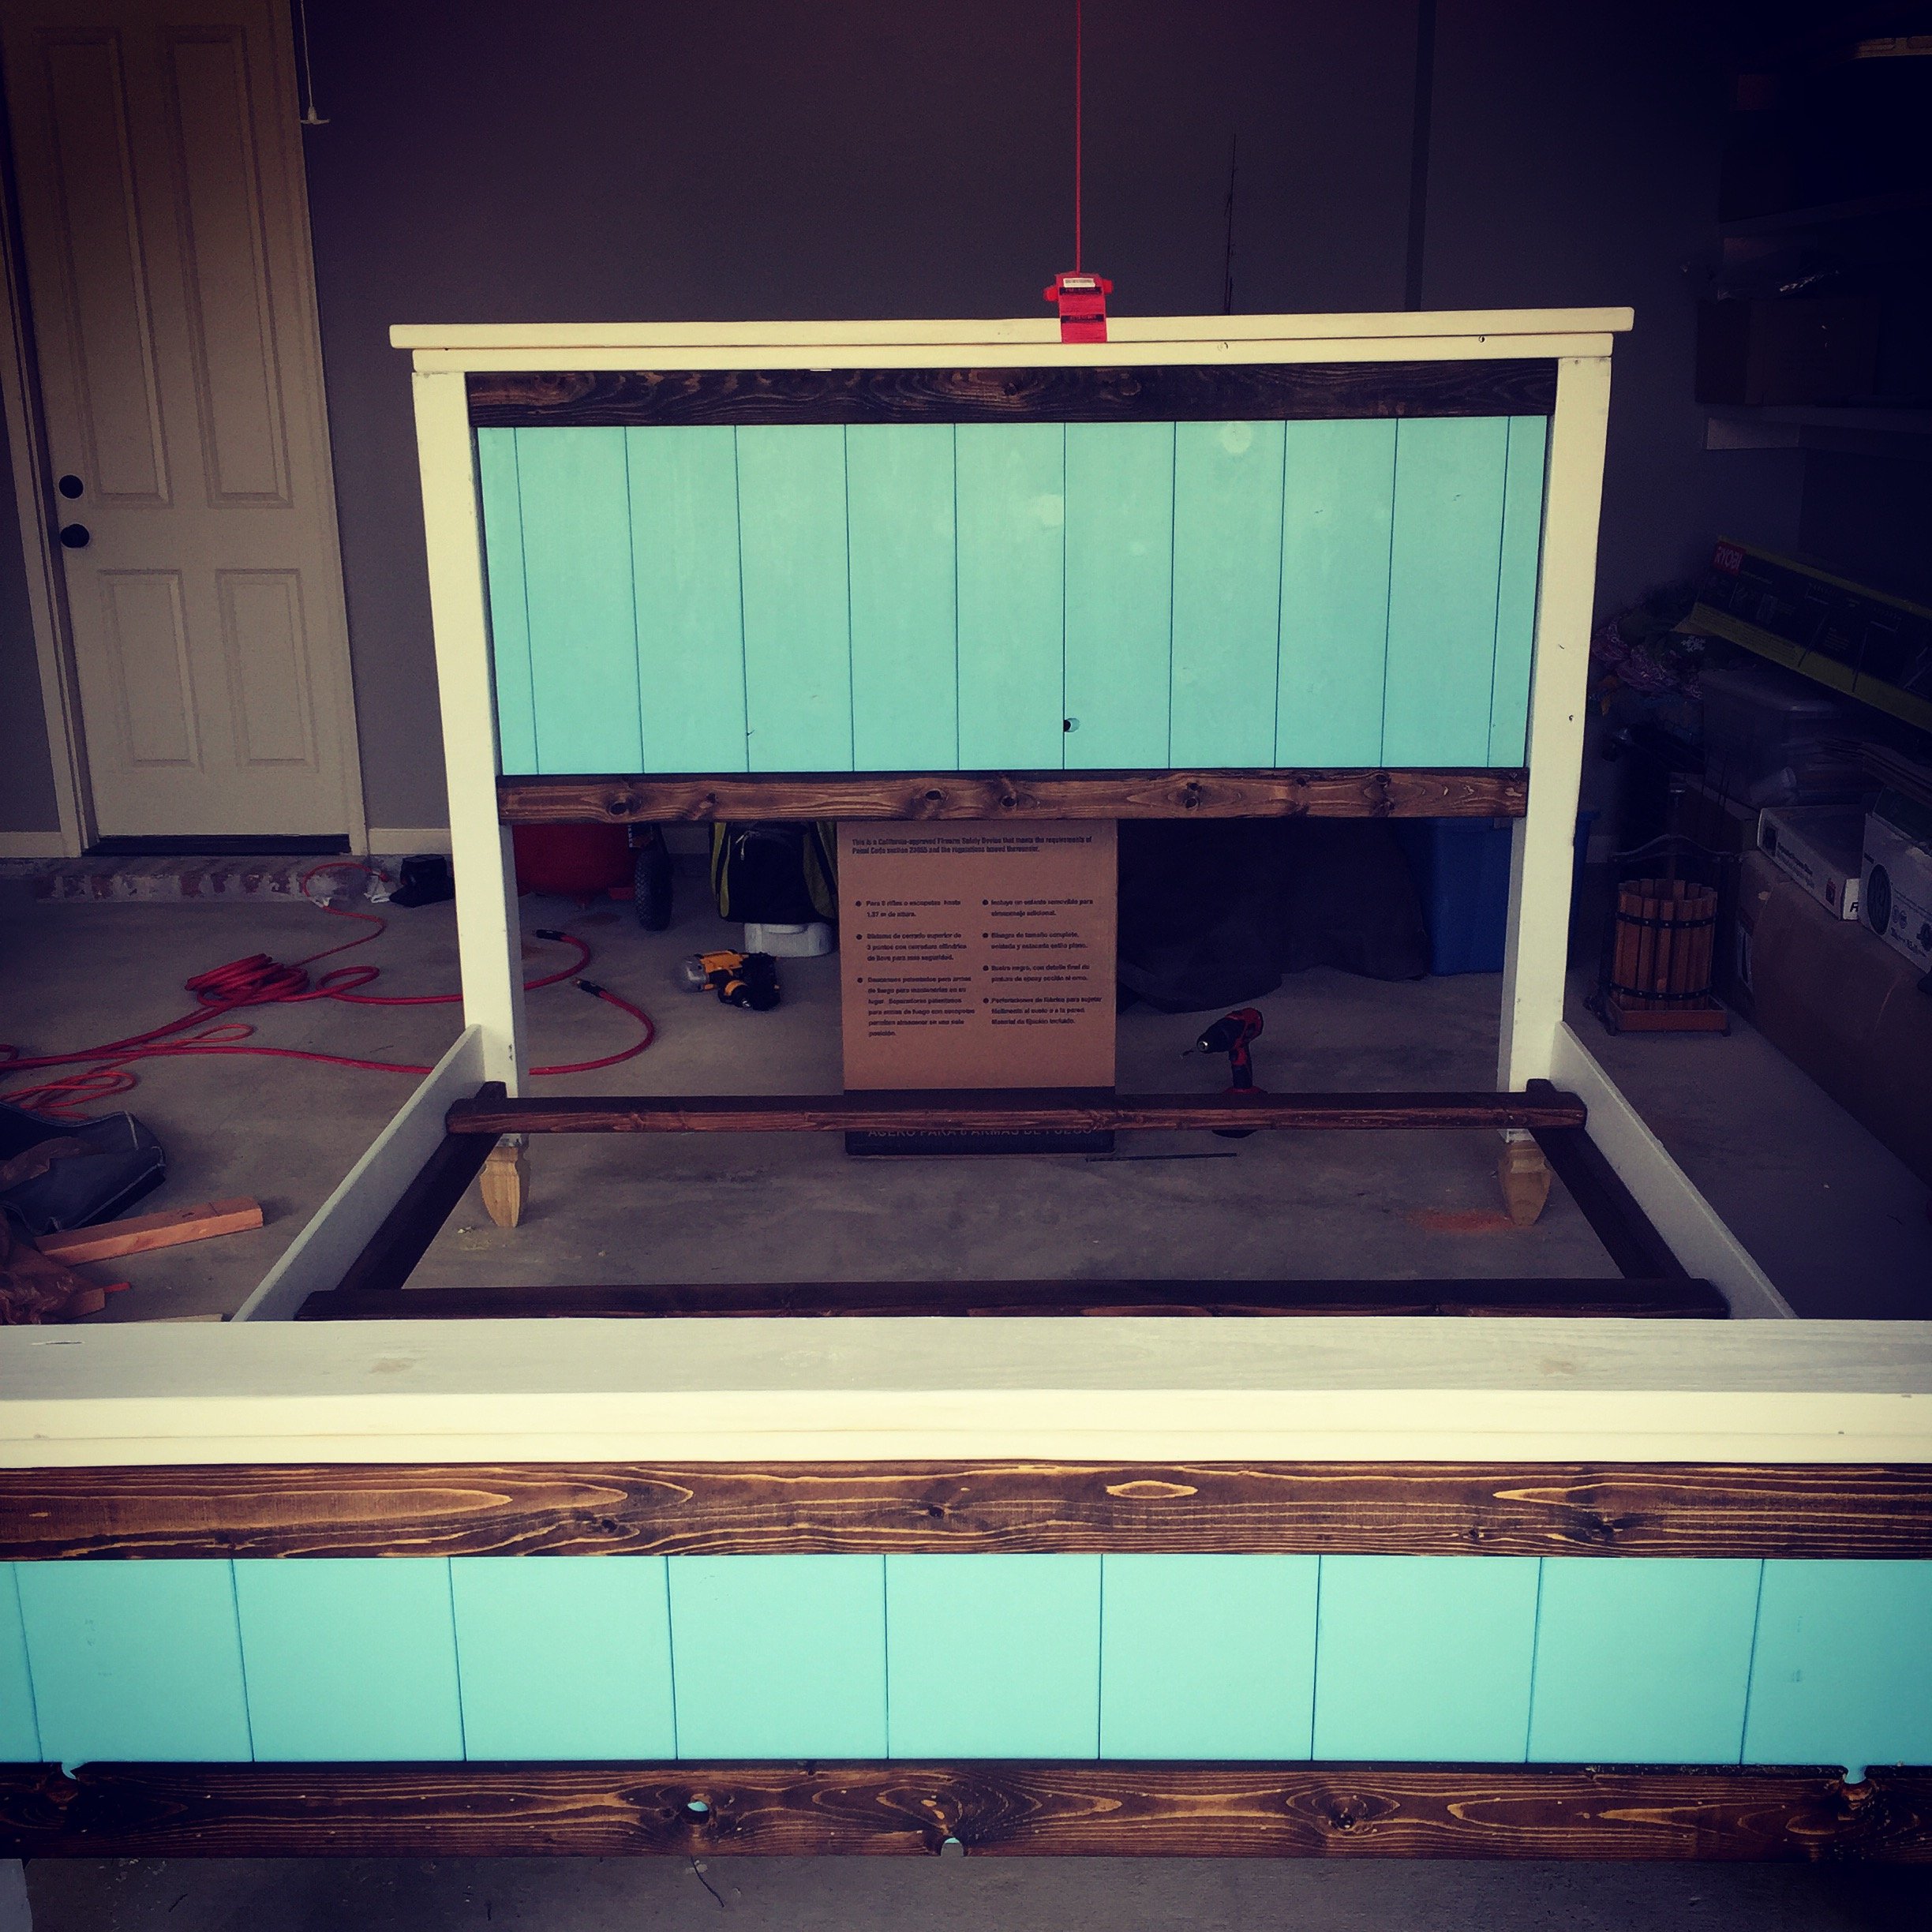
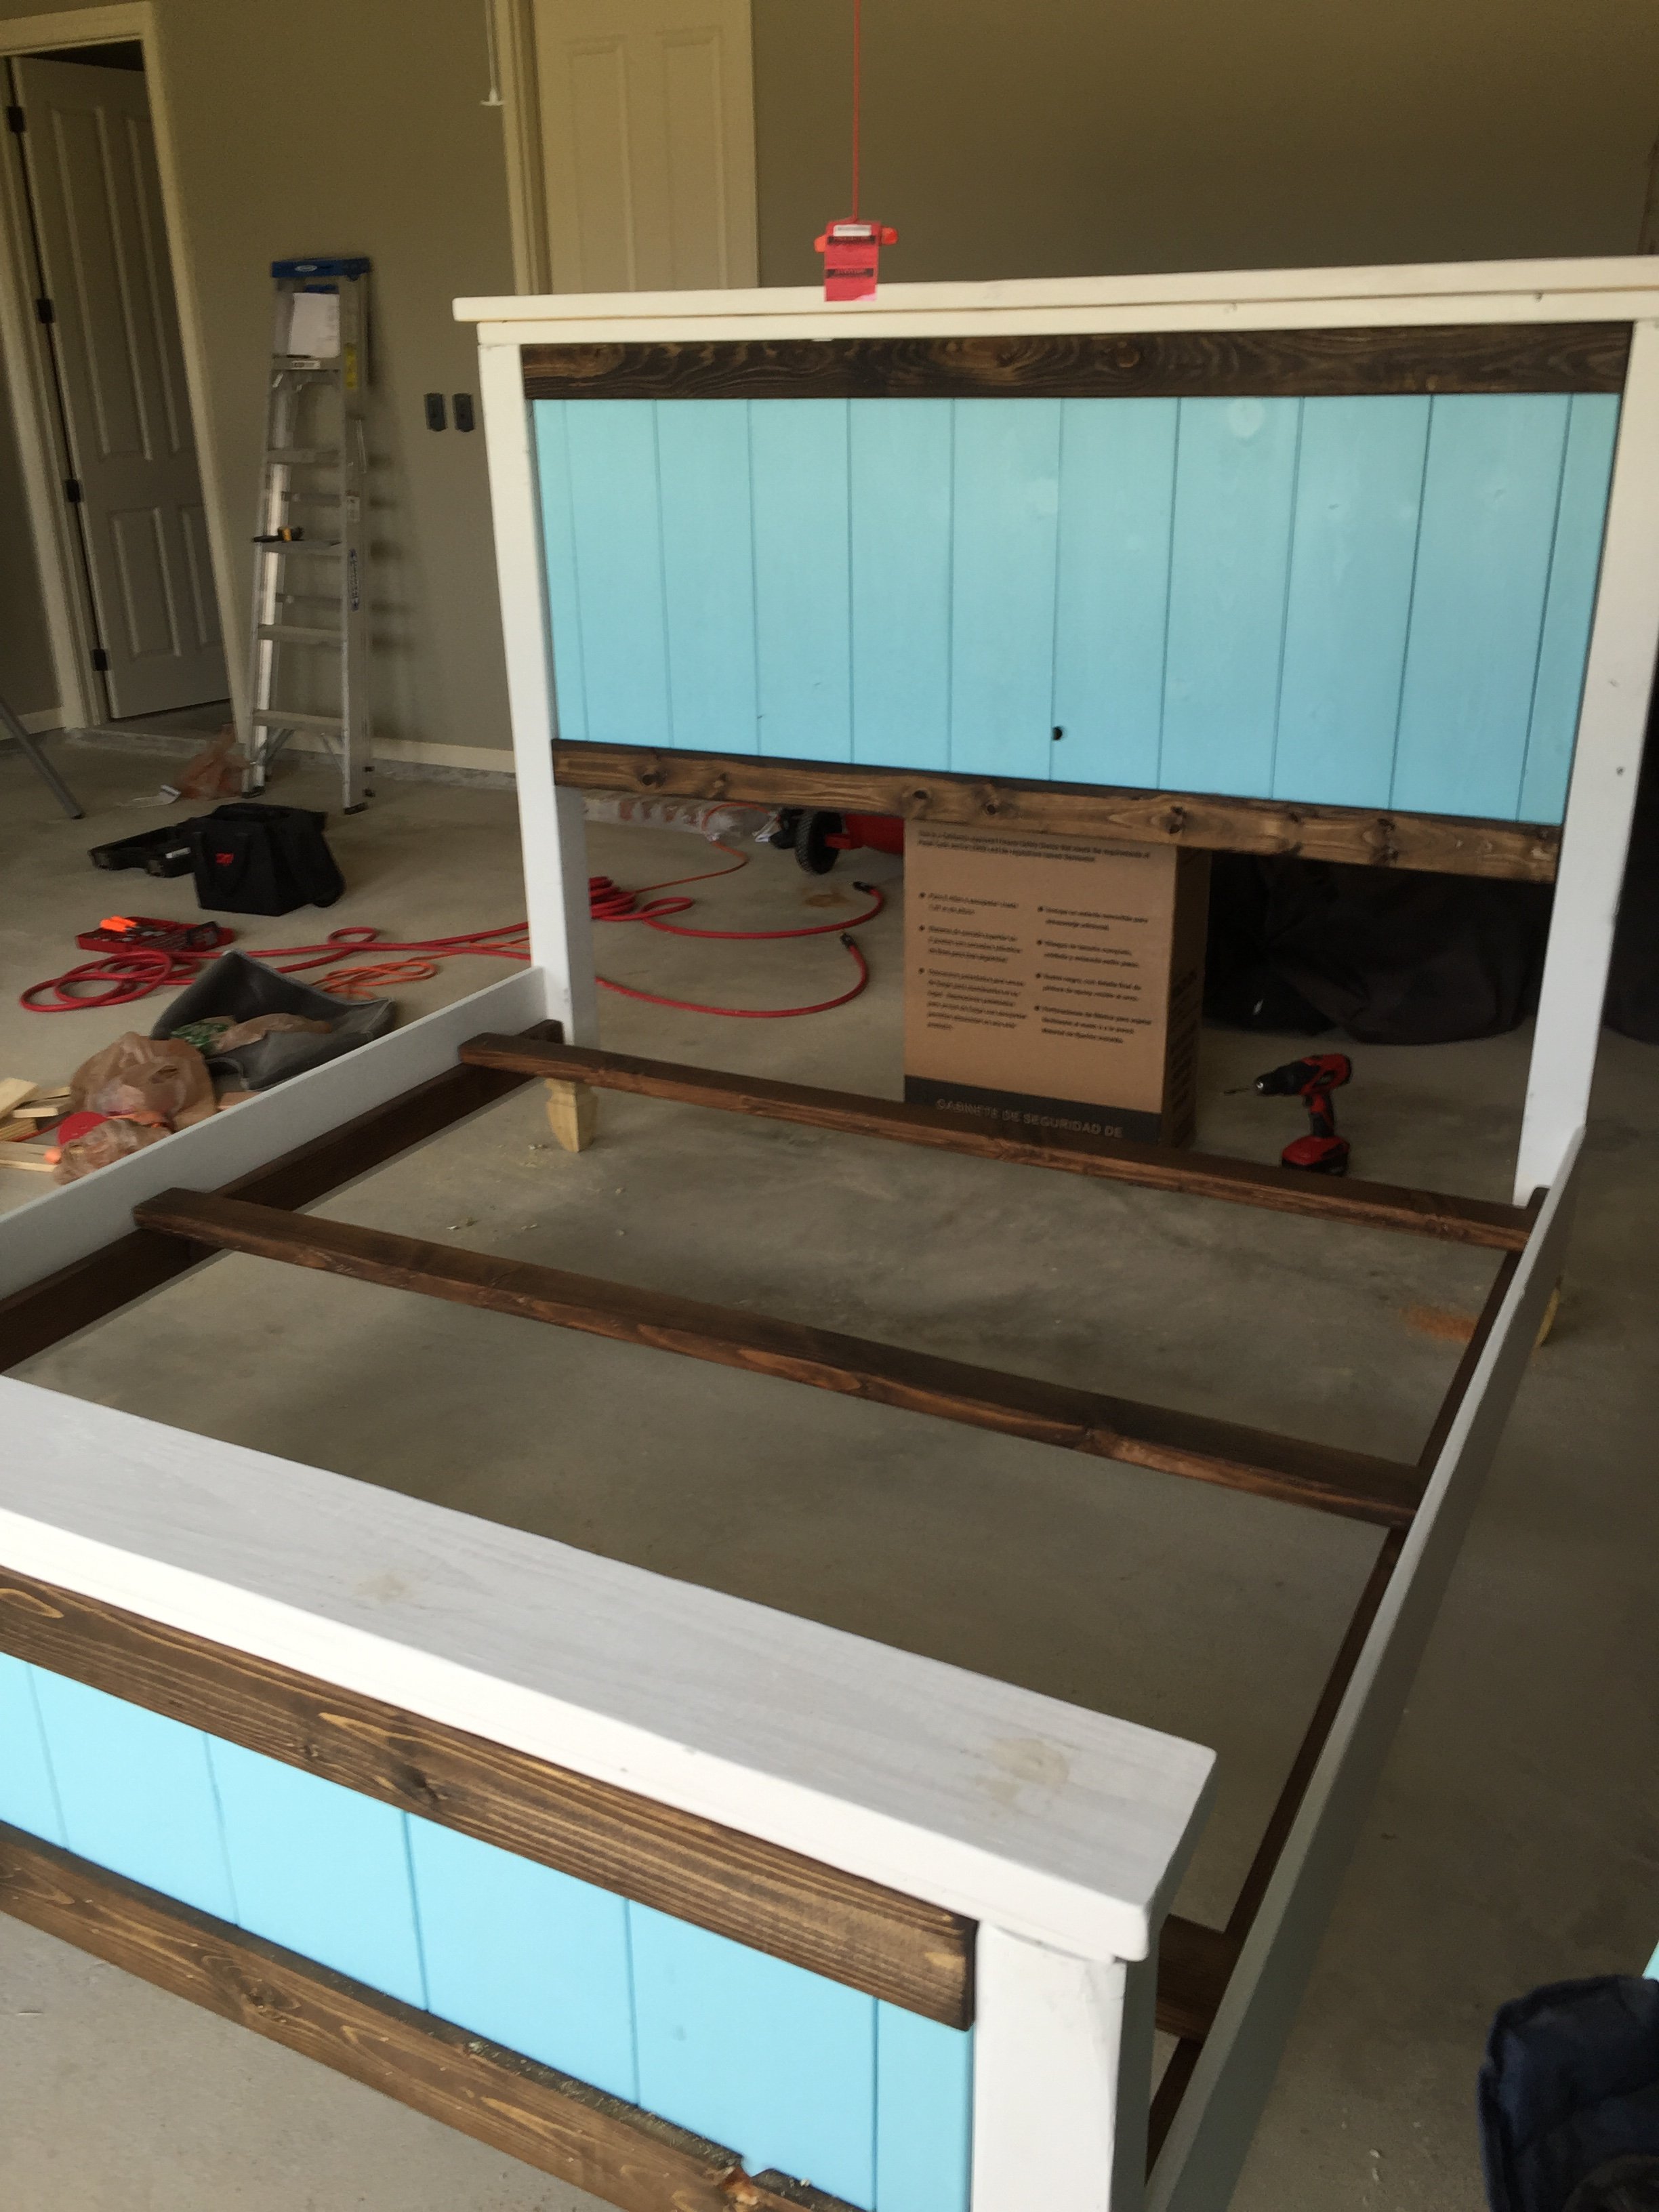
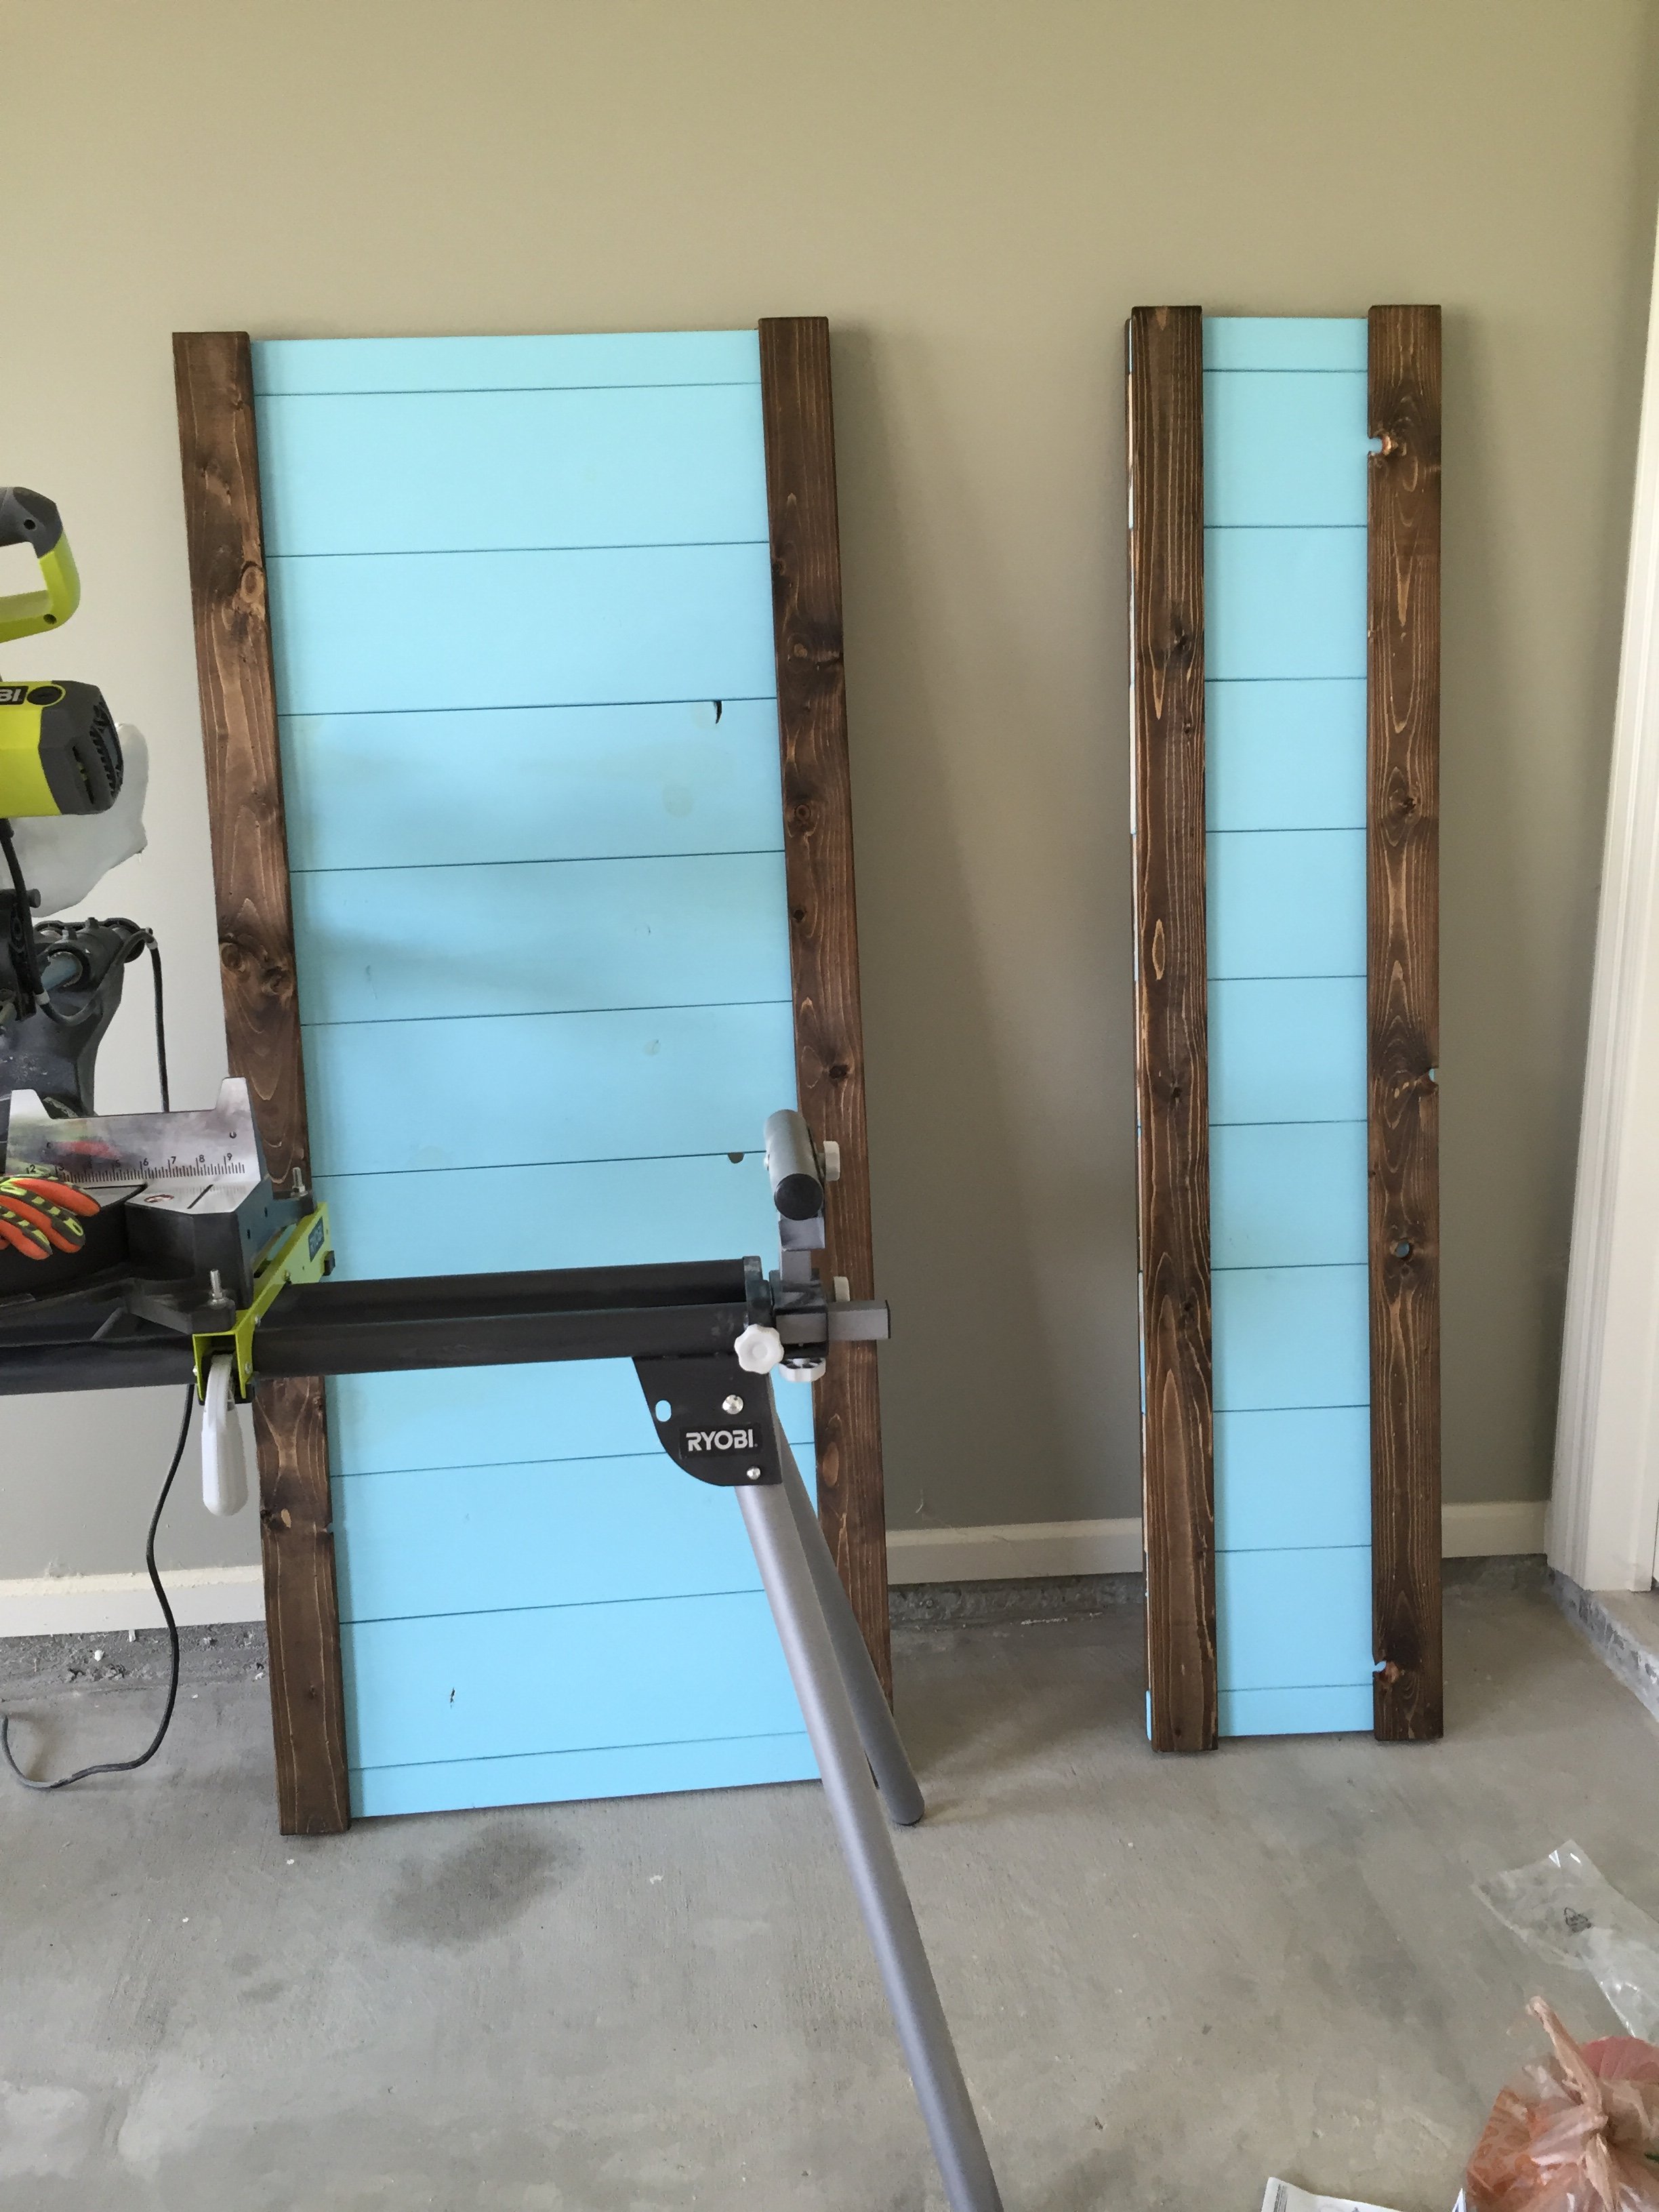
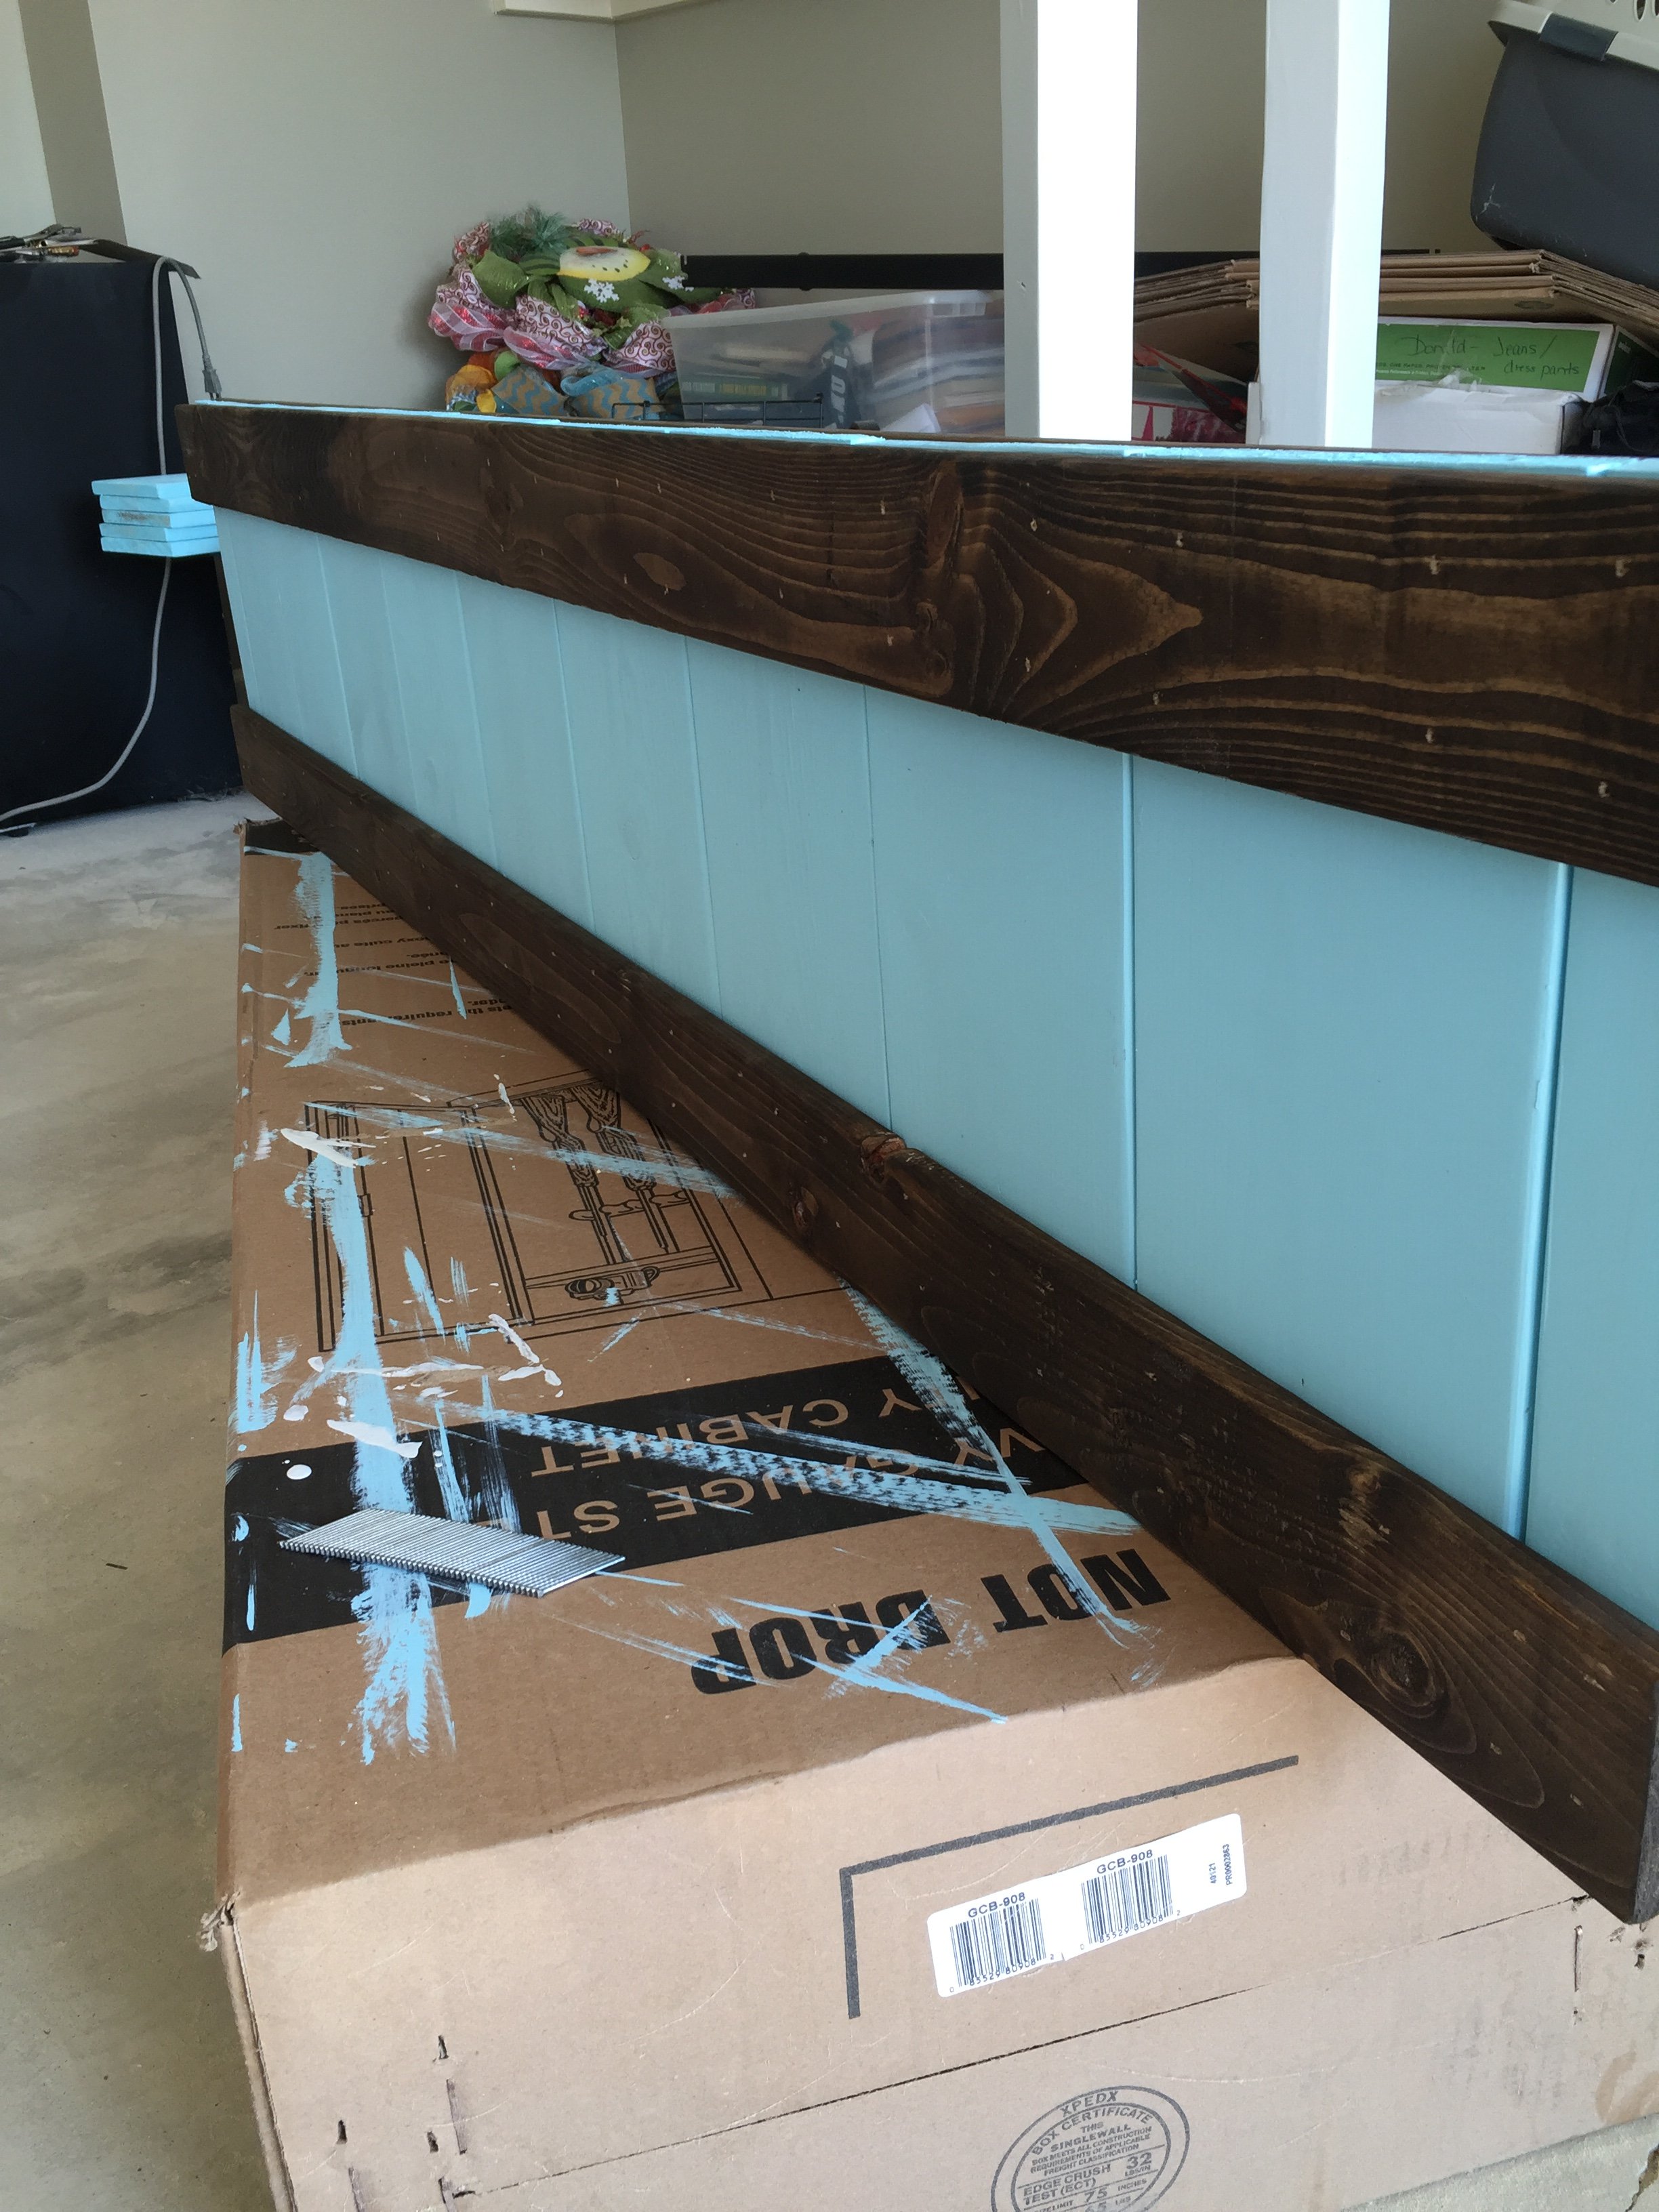
Beach Cottage Dresser
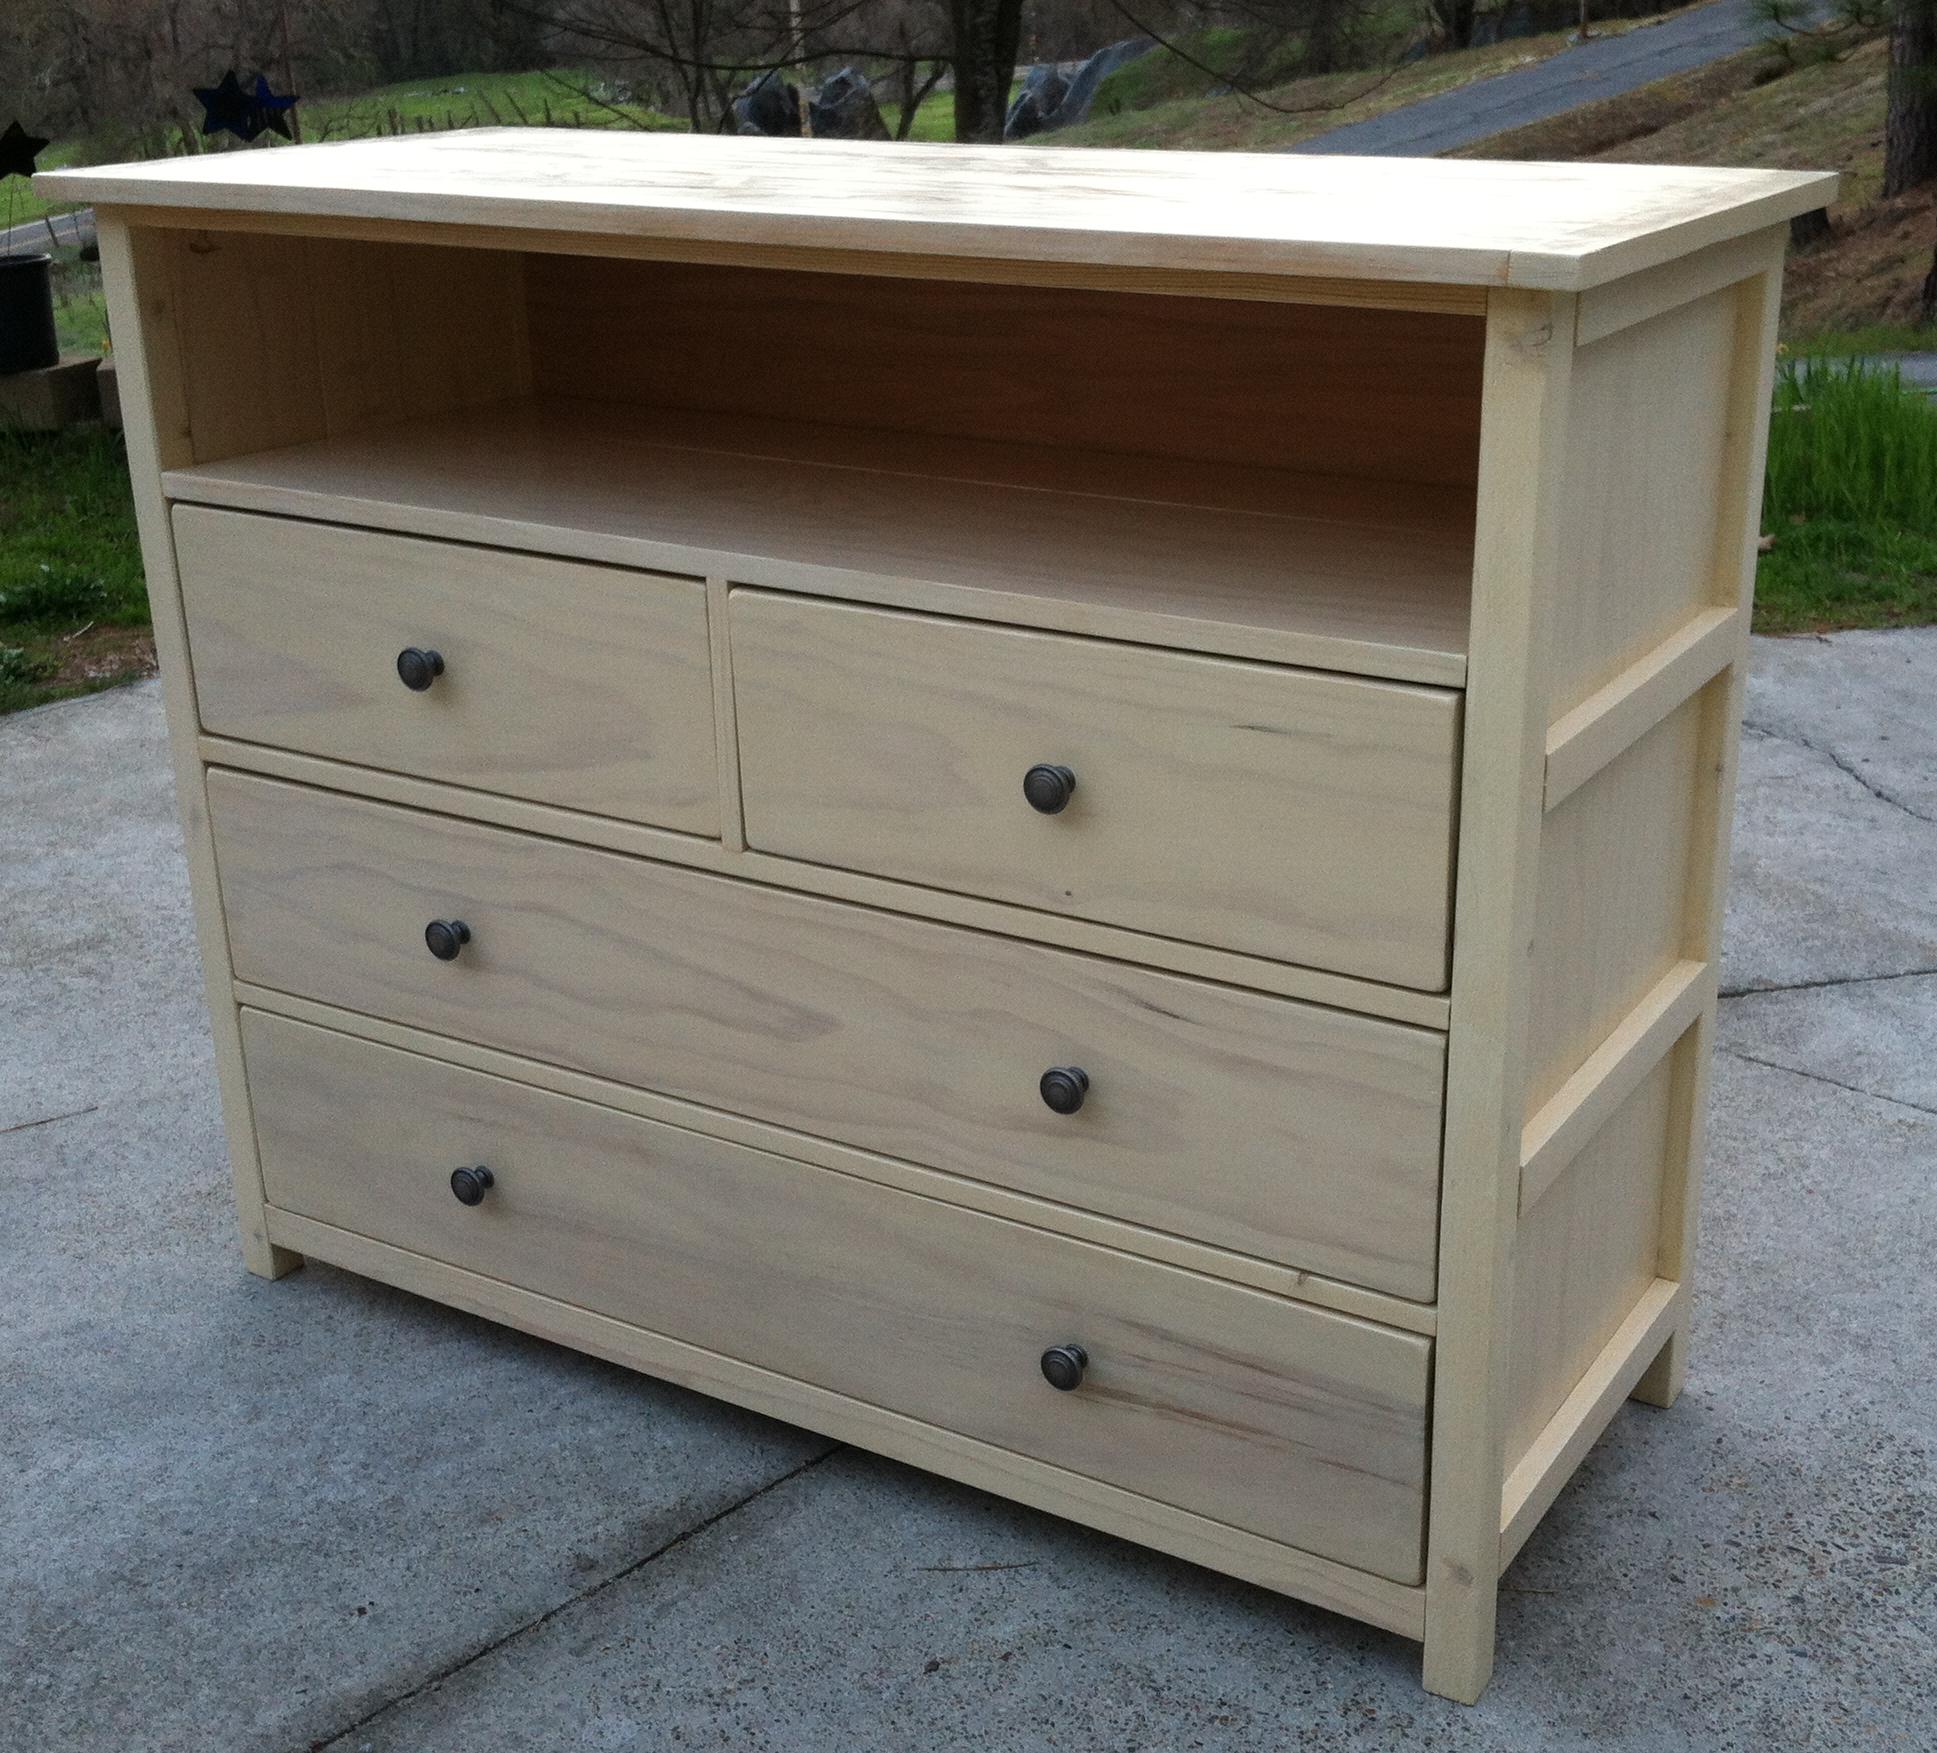
My friend, who is expecting a baby, asked me to build a changing table for her. She provided me with a couple of things on her wish-list. 1. to have a big enough top to change a baby (of course) 2. a cubby or cubbies for easy access to baby stuff 3. big enough drawers to house all those cute baby clothes. Well, she was given a couple of changing tables and the project just turned into a dresser. In any case, the Patrick Beach Cottage Dresser was a great design to work off of. This was my first build that I made for someone other than myself or my family. Every build becomes my favorite and this one is my newest favorite.
Built from Plan(s)
Estimated Cost
$300 (I used a better grade lumber)
Estimated Time Investment
Weekend Project (10-20 Hours)
Finish Used
Two coats Rust-o-leum wood stain - willow (looks like a whitewash)
Four coats Minwax glossy polyurethane
Four coats Minwax glossy polyurethane
Recommended Skill Level
Intermediate


Comments
mommyof2cuties
Wed, 03/26/2014 - 23:39
Dresser/changing table
Wow! You did a gorgeous job & you're friend is very lucky to have received such a beautiful gift. Initially, when I saw you're photo, I thought it was a media dresser. The cubbies could also be used for TV components (DVD player, cable box, ect.) I can only hope to make such a great piece someday.
Katetoye
Thu, 04/02/2015 - 10:29
Dresser/changing table
Do you have the adjusted plans for this dresser.
lisarrus
Mon, 09/04/2017 - 18:05
dresser/Changing Table
Were the adjusted plans ever posted?