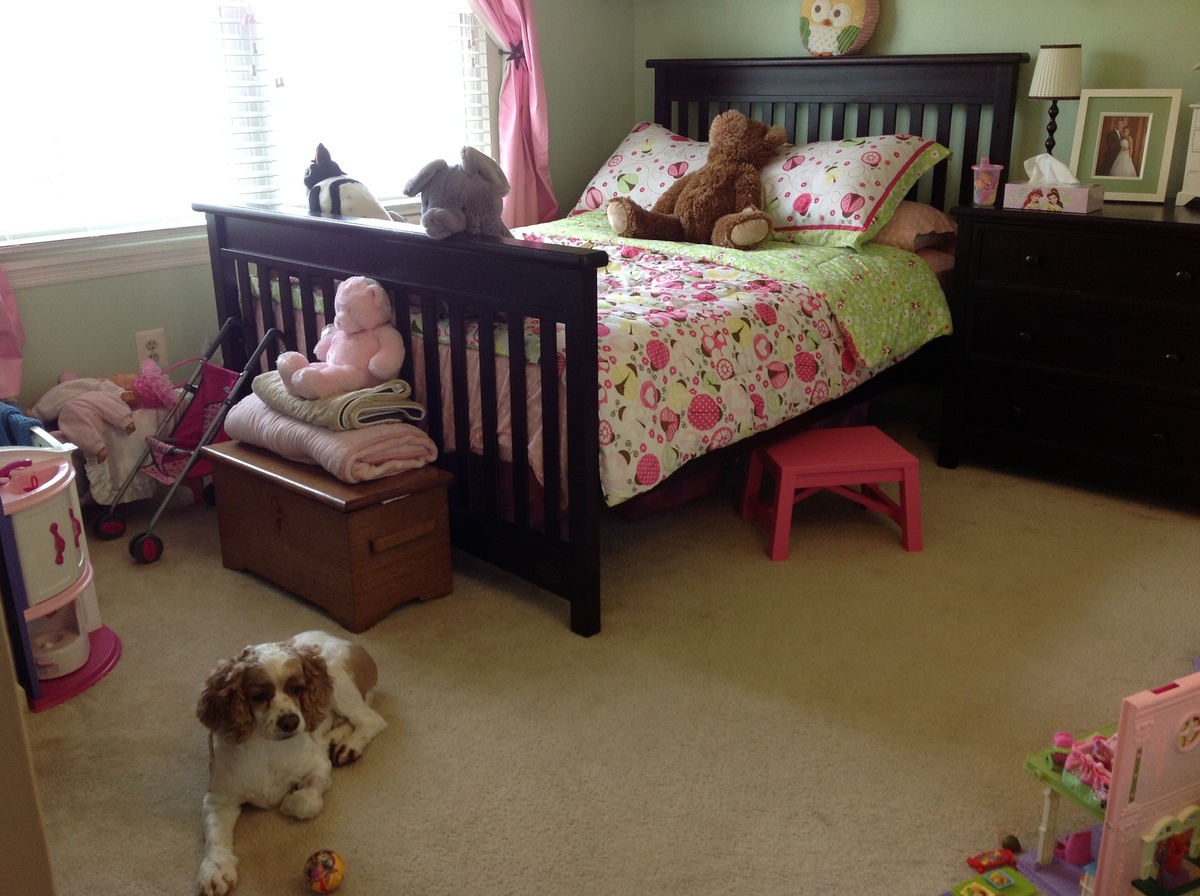
We had the bed on plastic bed risers because we needed more storage in this small house. It was on one of those free metal bed frames you get when you buy the mattress and box springs. Wheels on risers is not too stable and we couldn't keep the pillows from falling down in between the bed and the wall. Sitting up in bed was also difficult due to pulling on the window curtain and the bed sliding or moving when leaning back on the wall.
I searched for a few months at furniture stores, websites, and craigslist to buy a headboard when I found this estimated price on someone's at $150 or so. That's less than I would spend for a headboard that I both liked and was made of real wood. Plus, it would come as a whole bed vs just the headboard.
I probably spent around $250 total, screws, hardware and stain/poly included. All the wood was $195 all from home depot. I had to go through every single 4x4 on two occasions to find 4 that I thought were good enough for furniture.
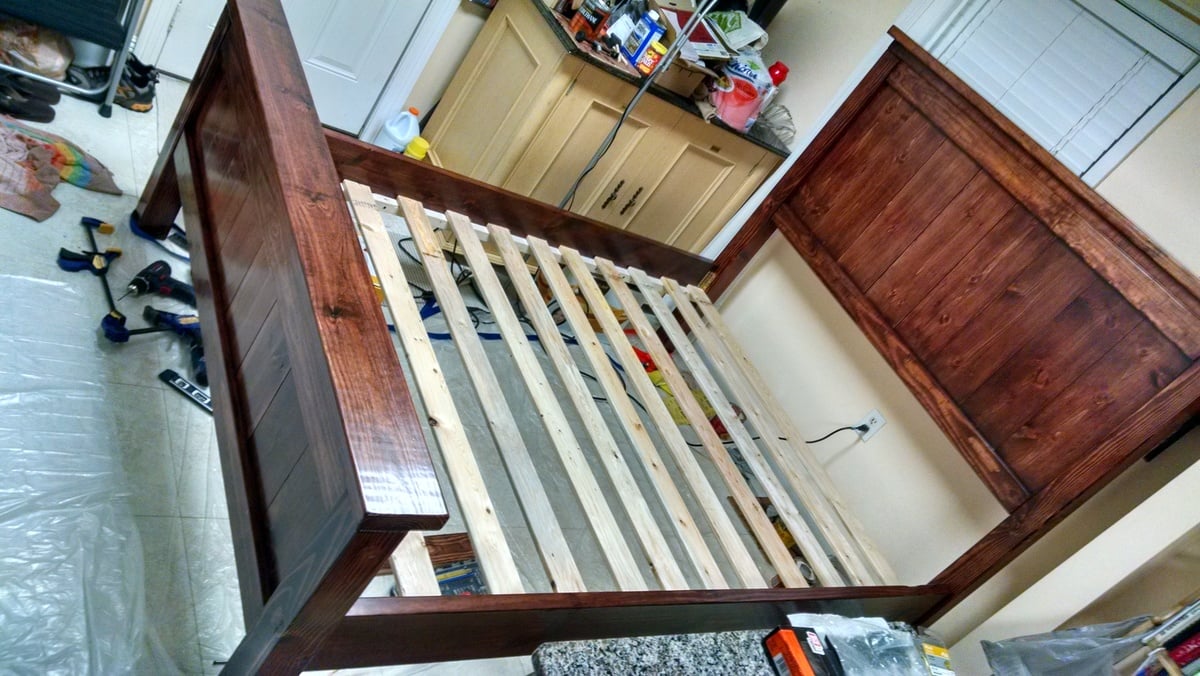
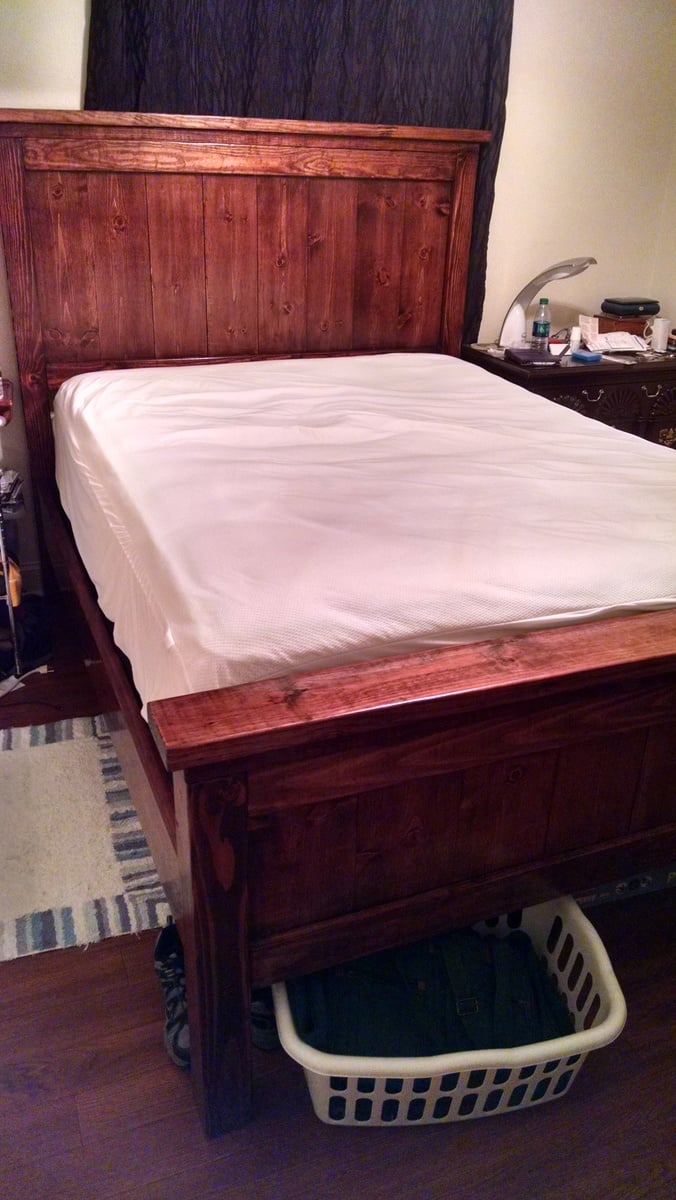
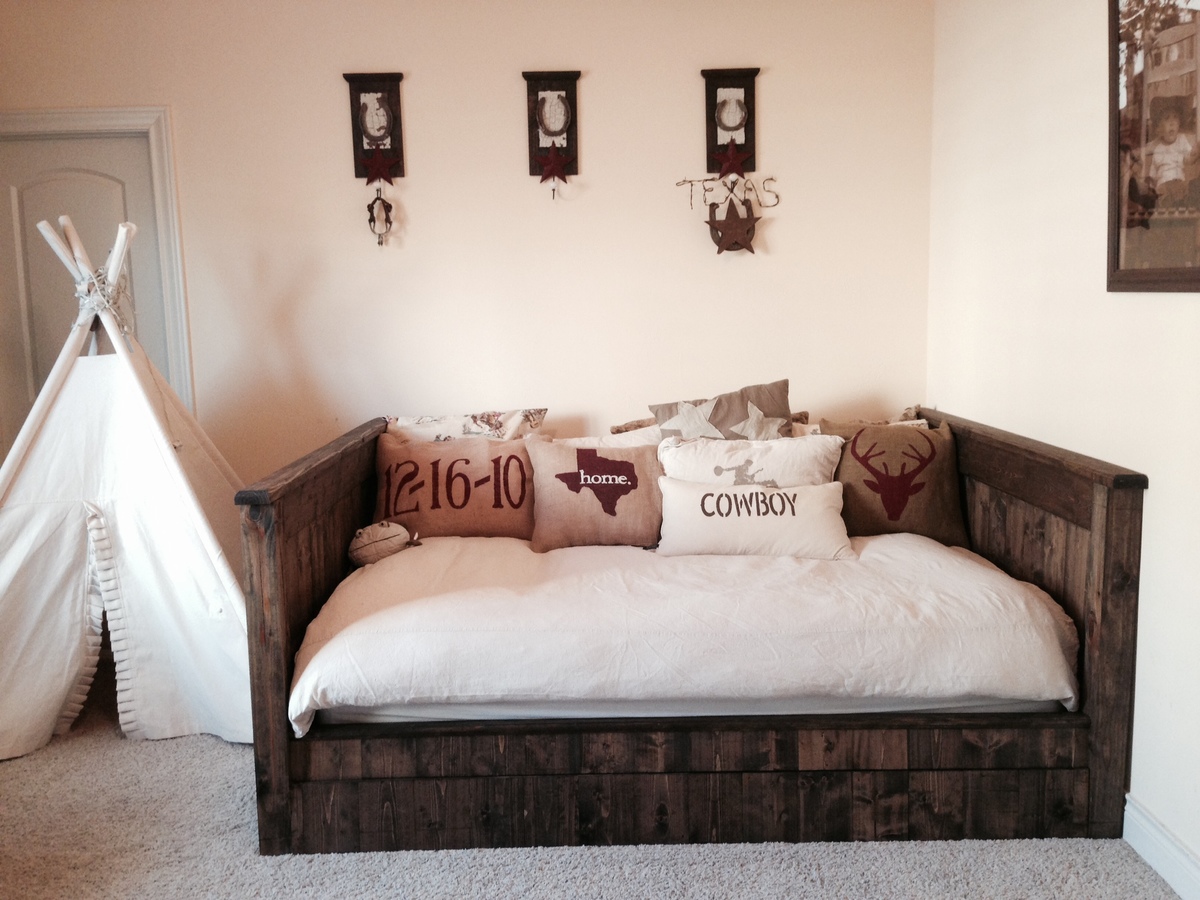
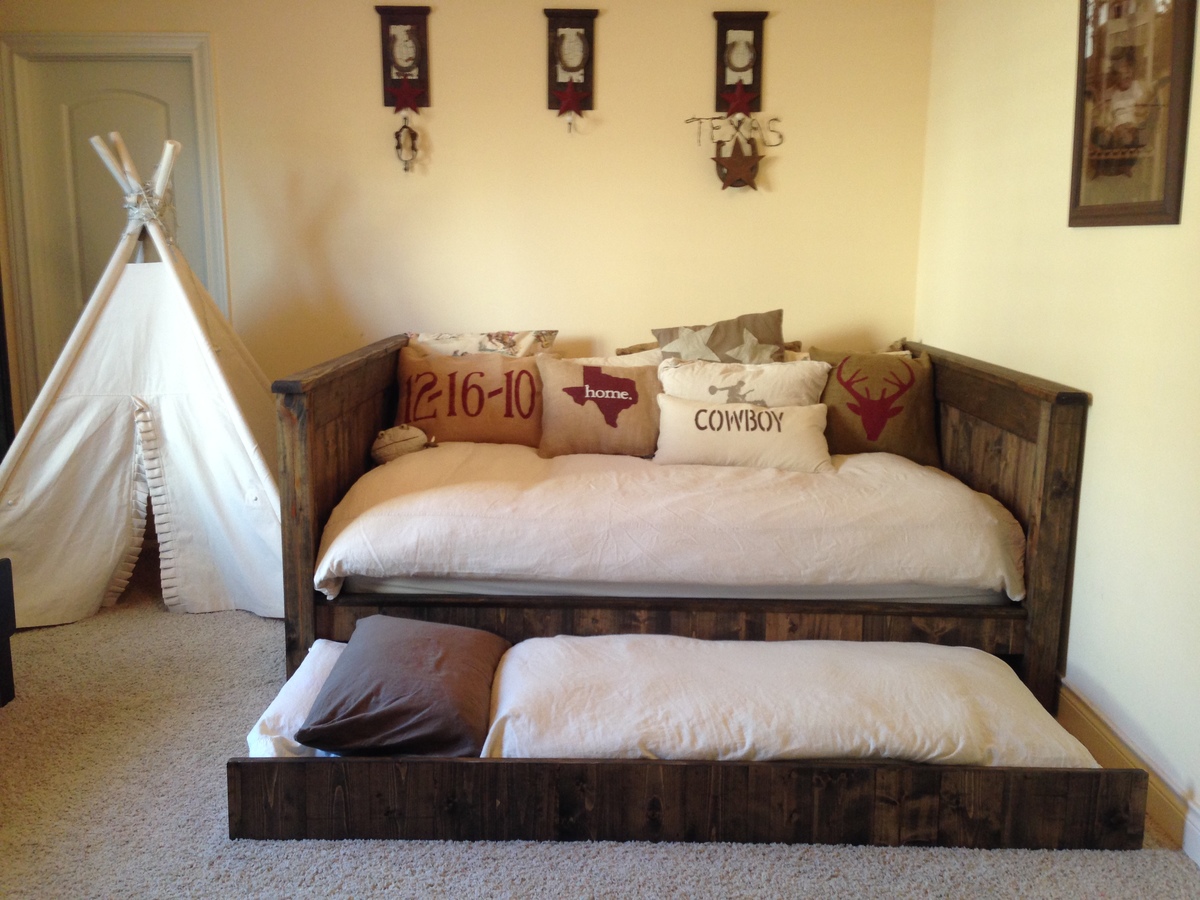
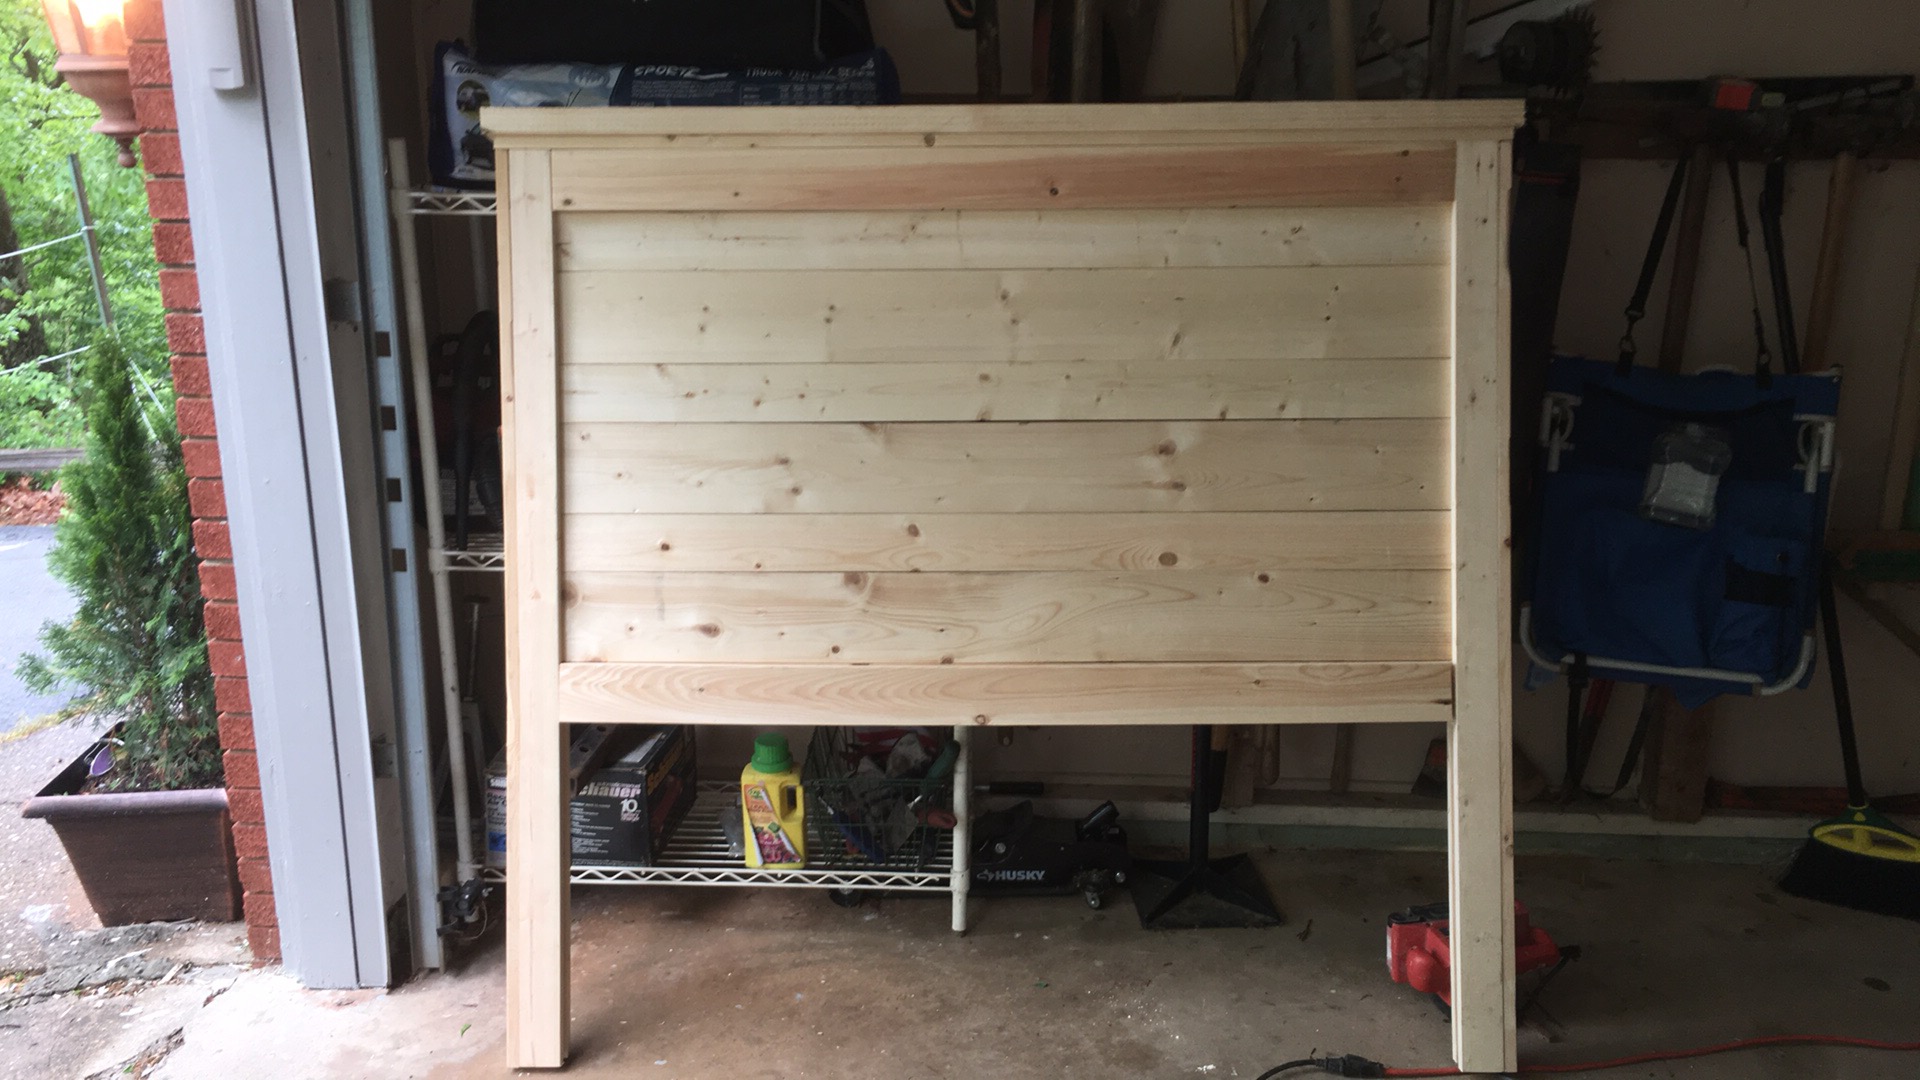
The clearance is a full 12 inches below the rails and footboard. I wanted the footboard to be about even with the top of the mattress. Also, the bottom of the headboard to be even with the top of the mattress to maximize area to lean back against. As a result it does seem a little silly looking and disproportionate without the mattress on the bed. Also I had to use four 4x4's to get the height needed above the mattress and box springs and 12 inch clearance for storage underneath.
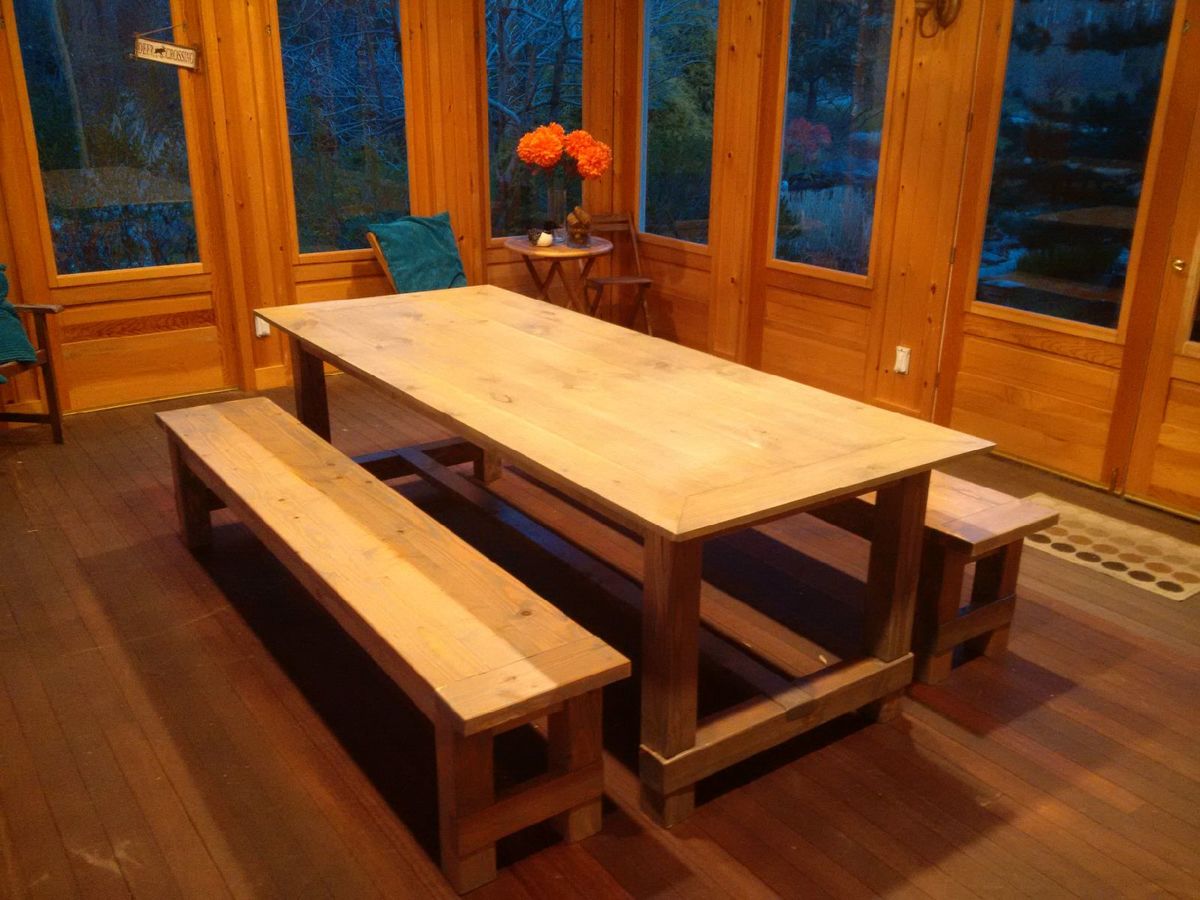
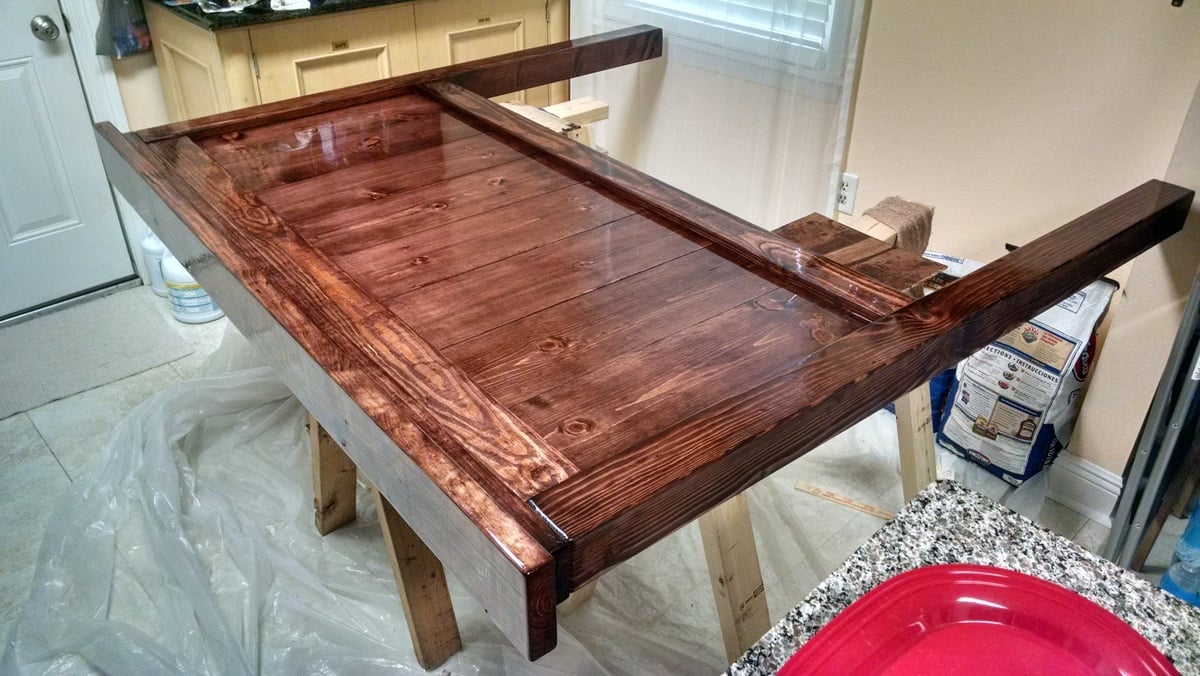
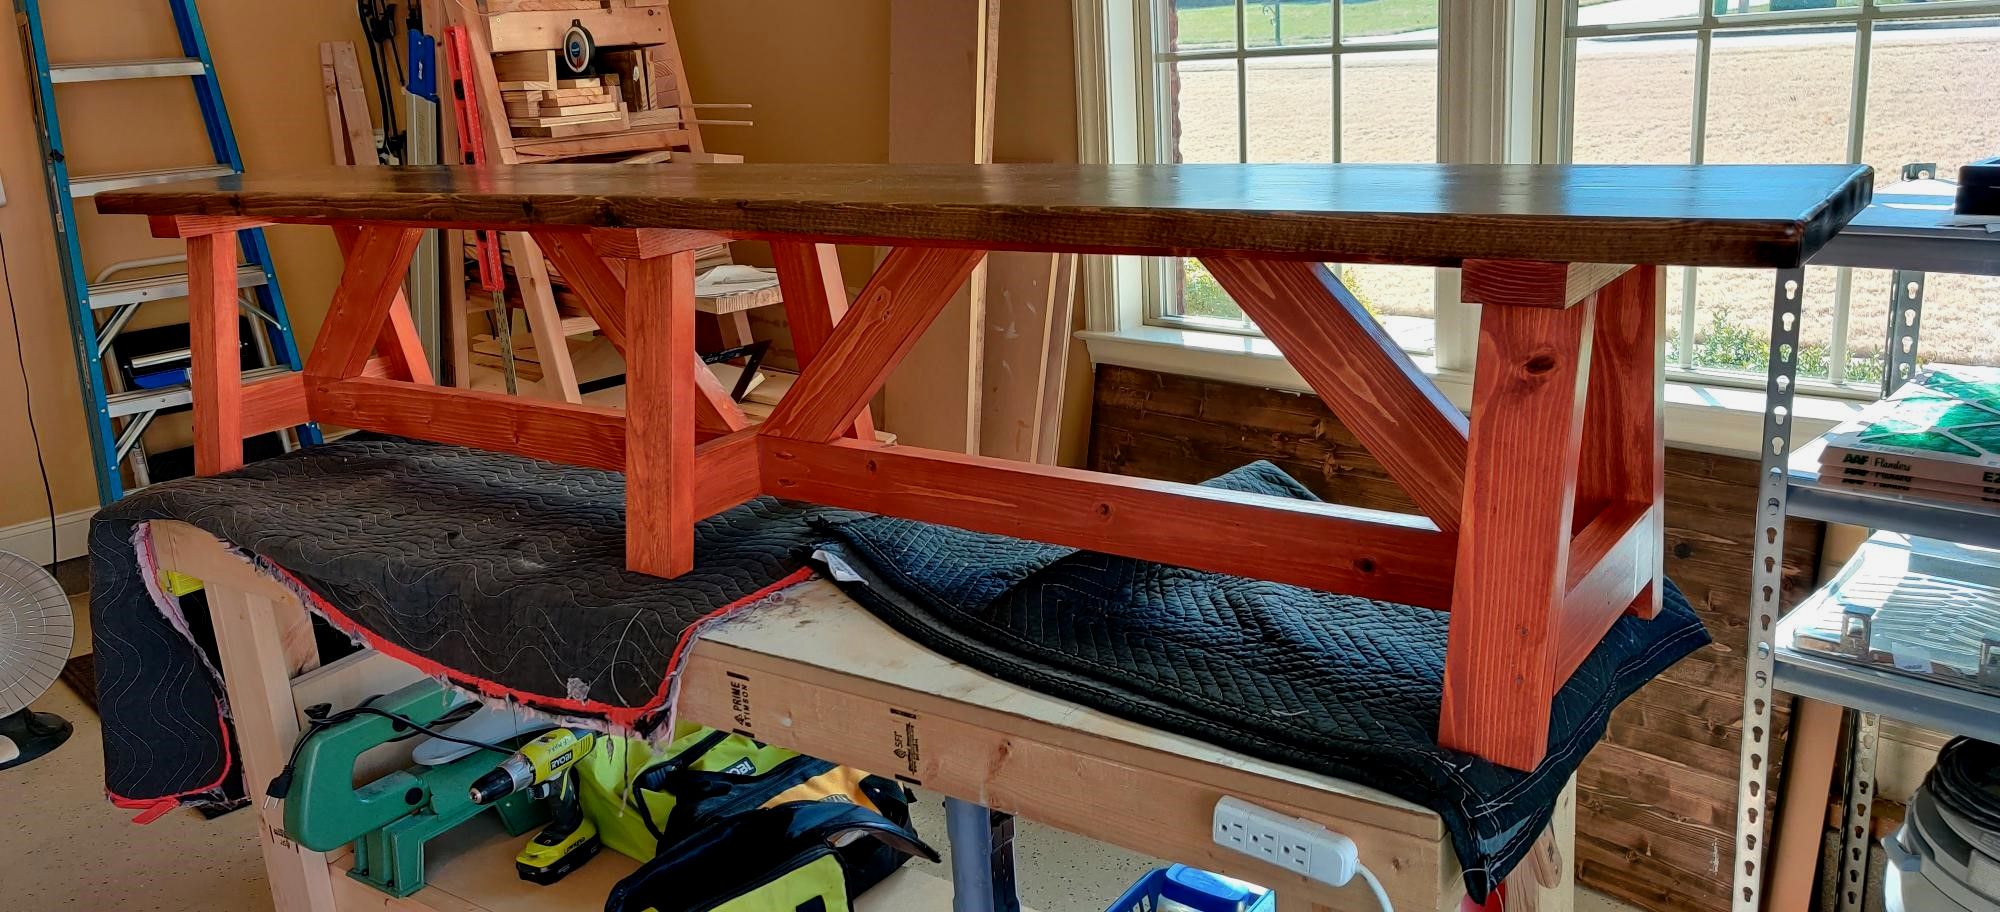
This is the first time I've polyurethaned anything and I think it came out nicely.
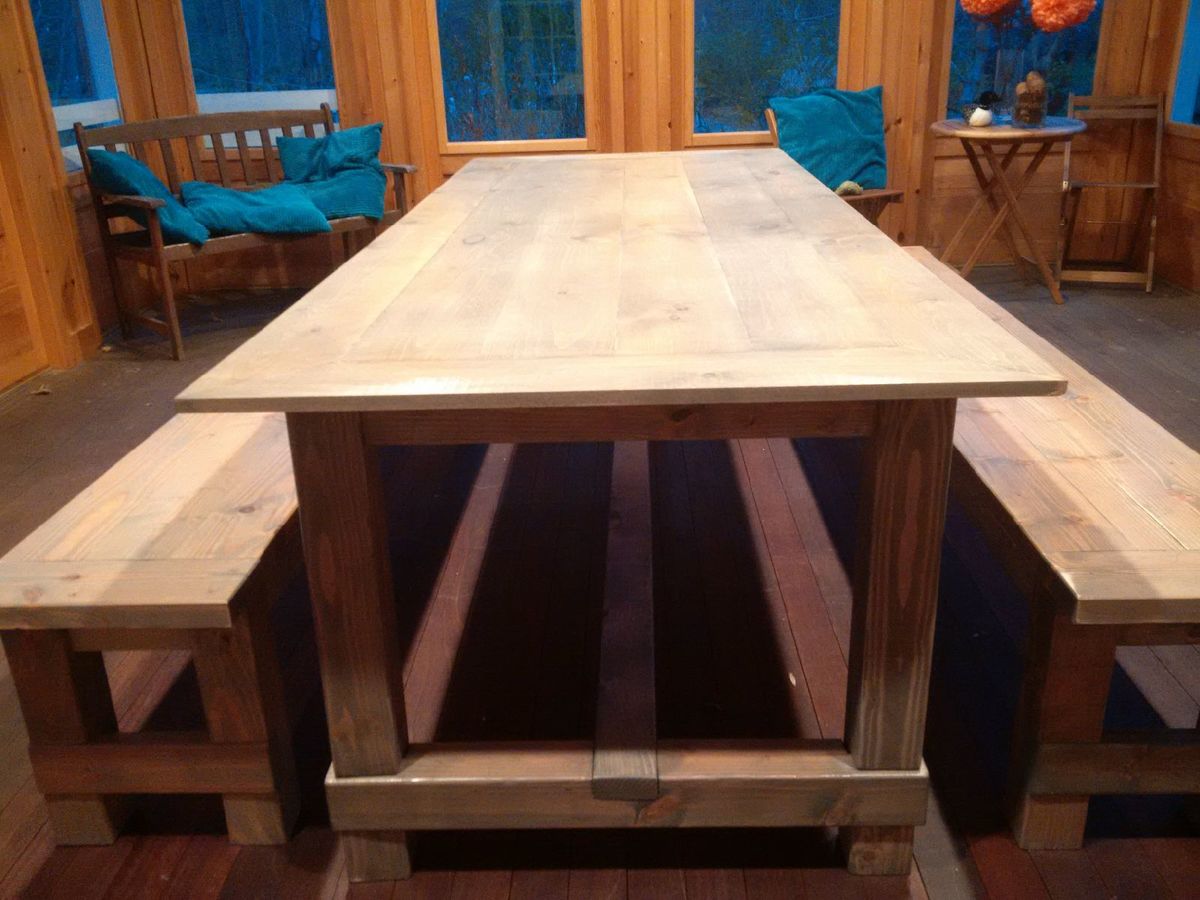
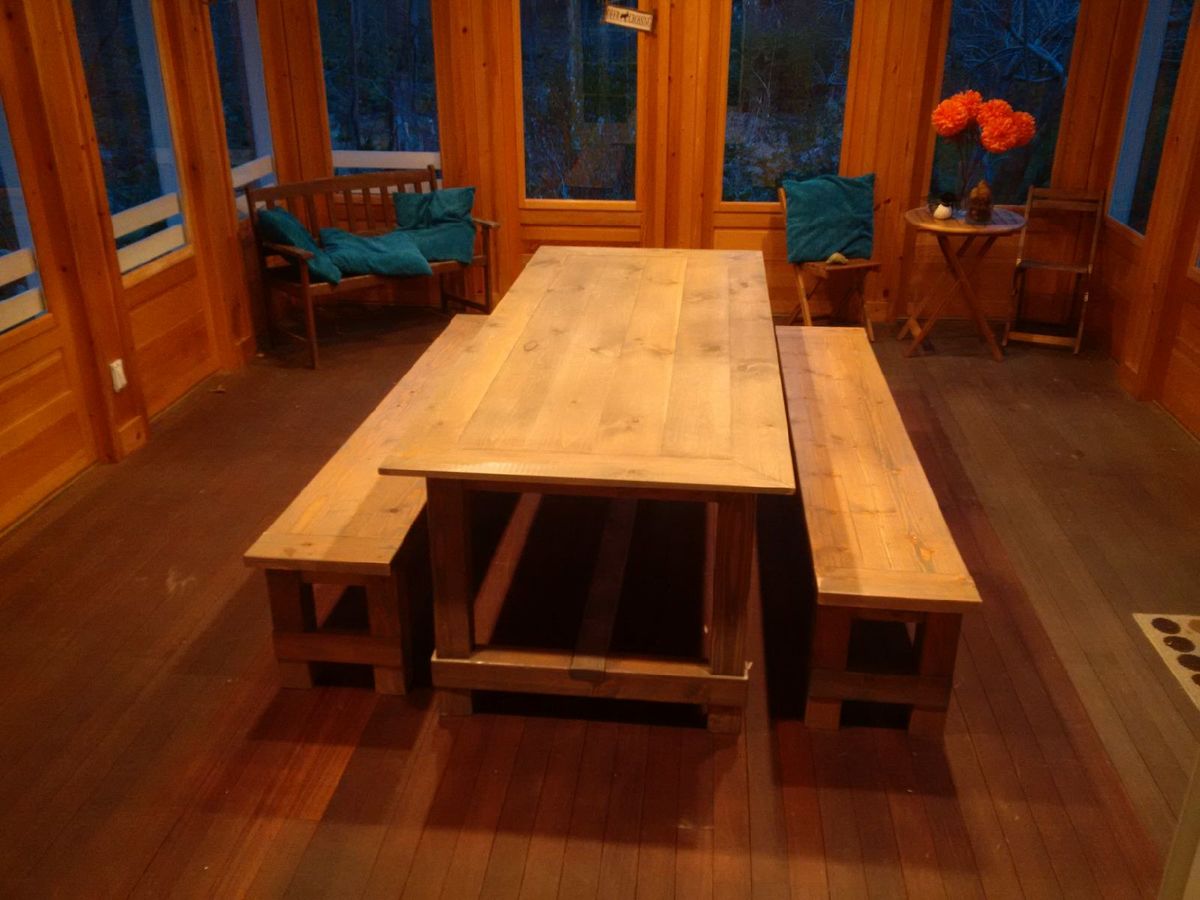
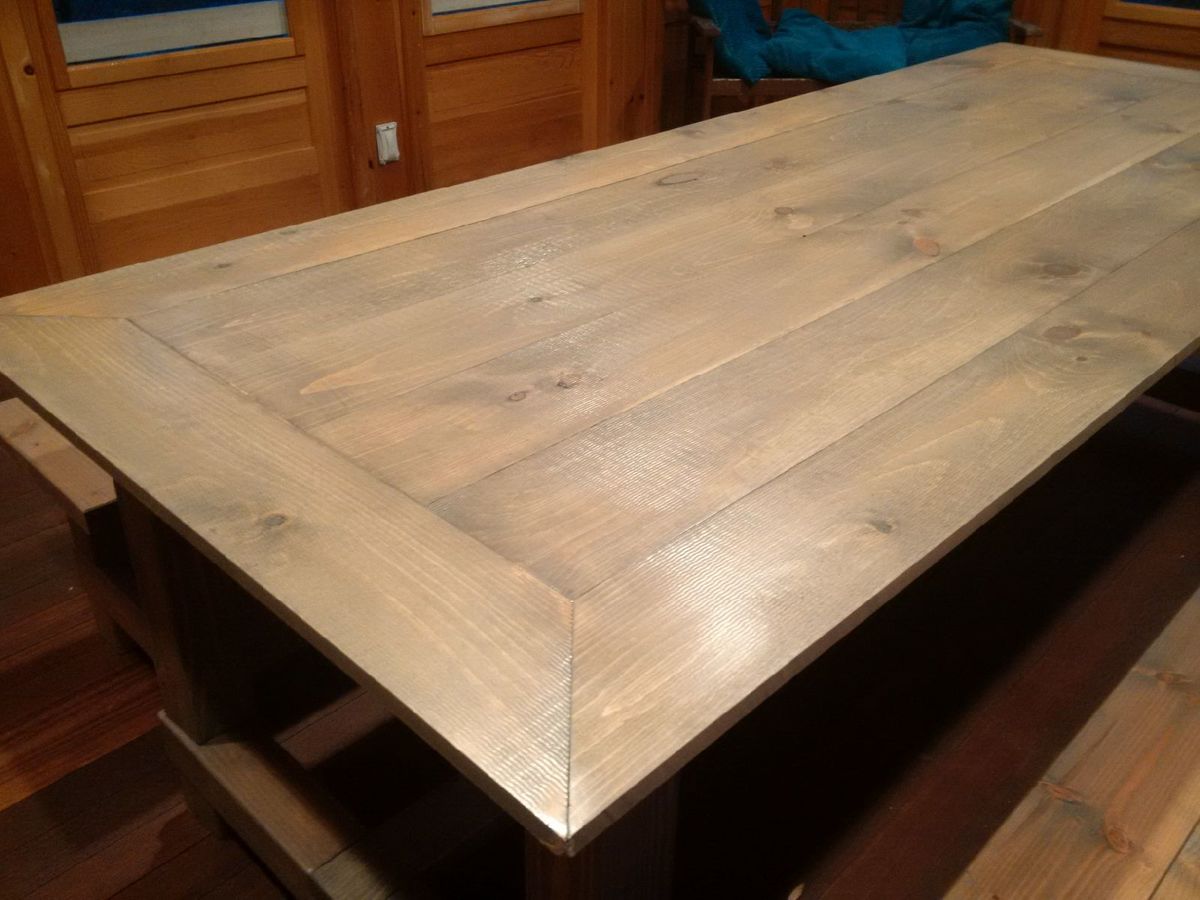
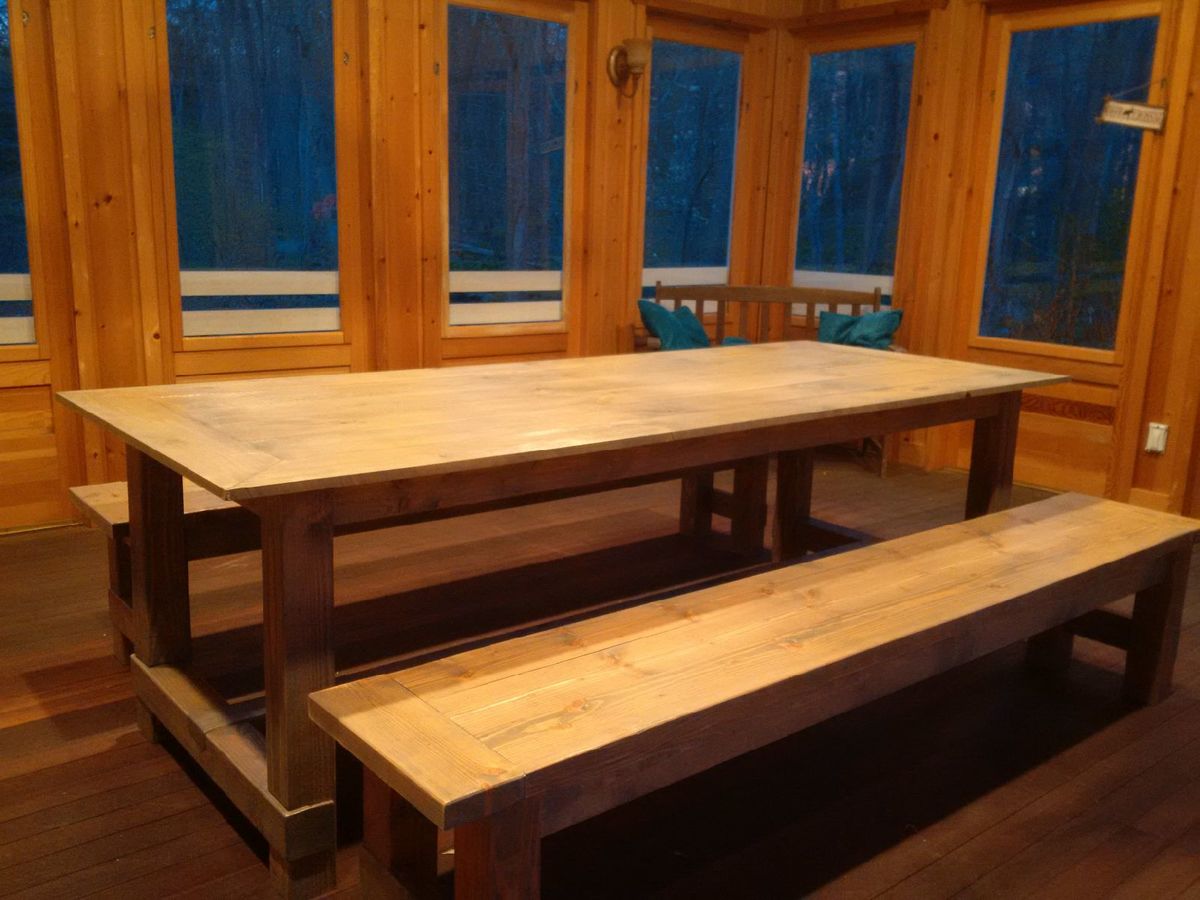
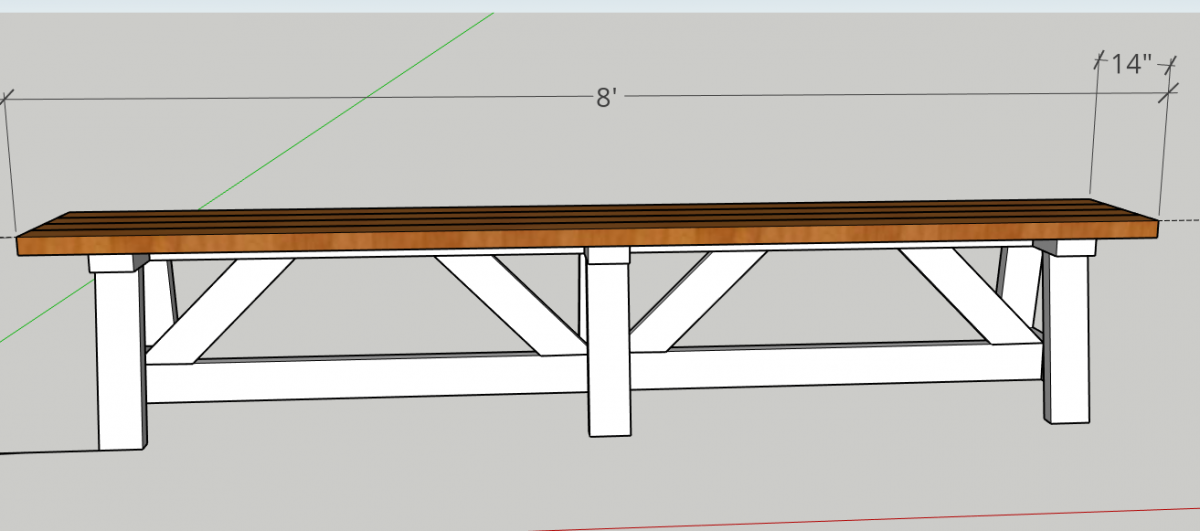
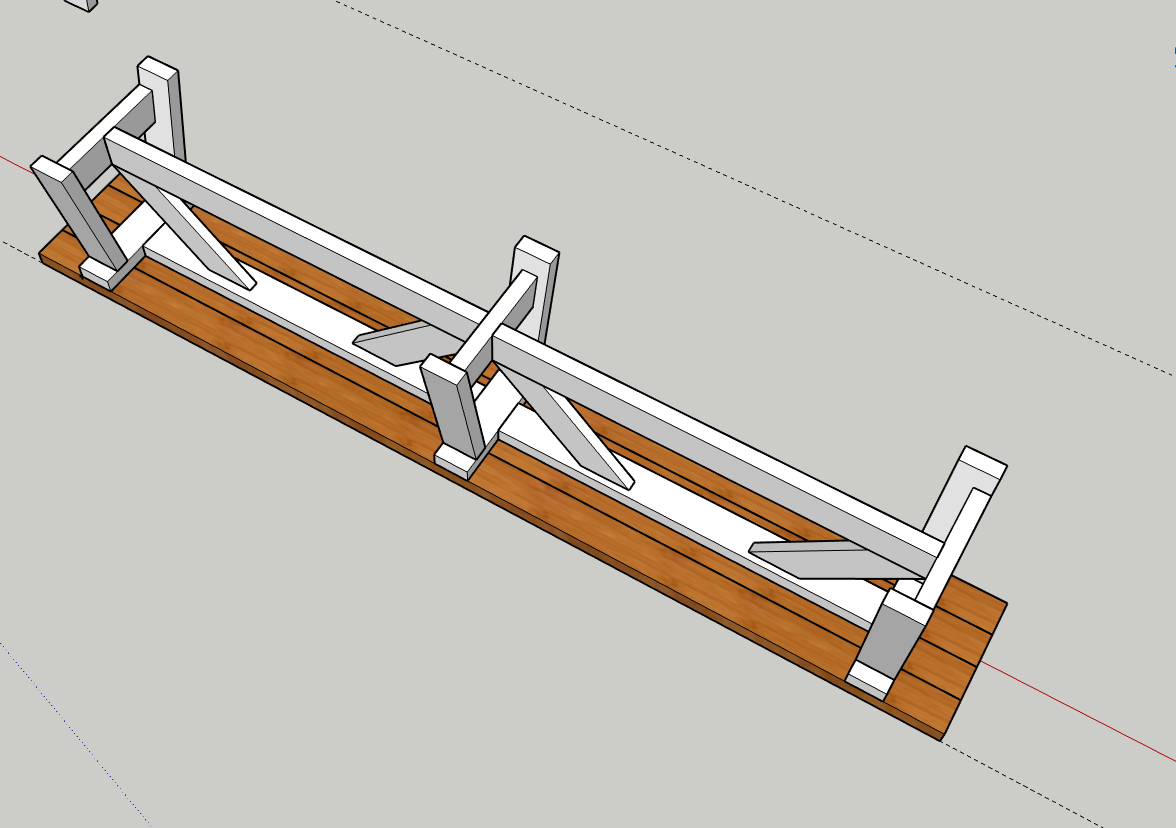
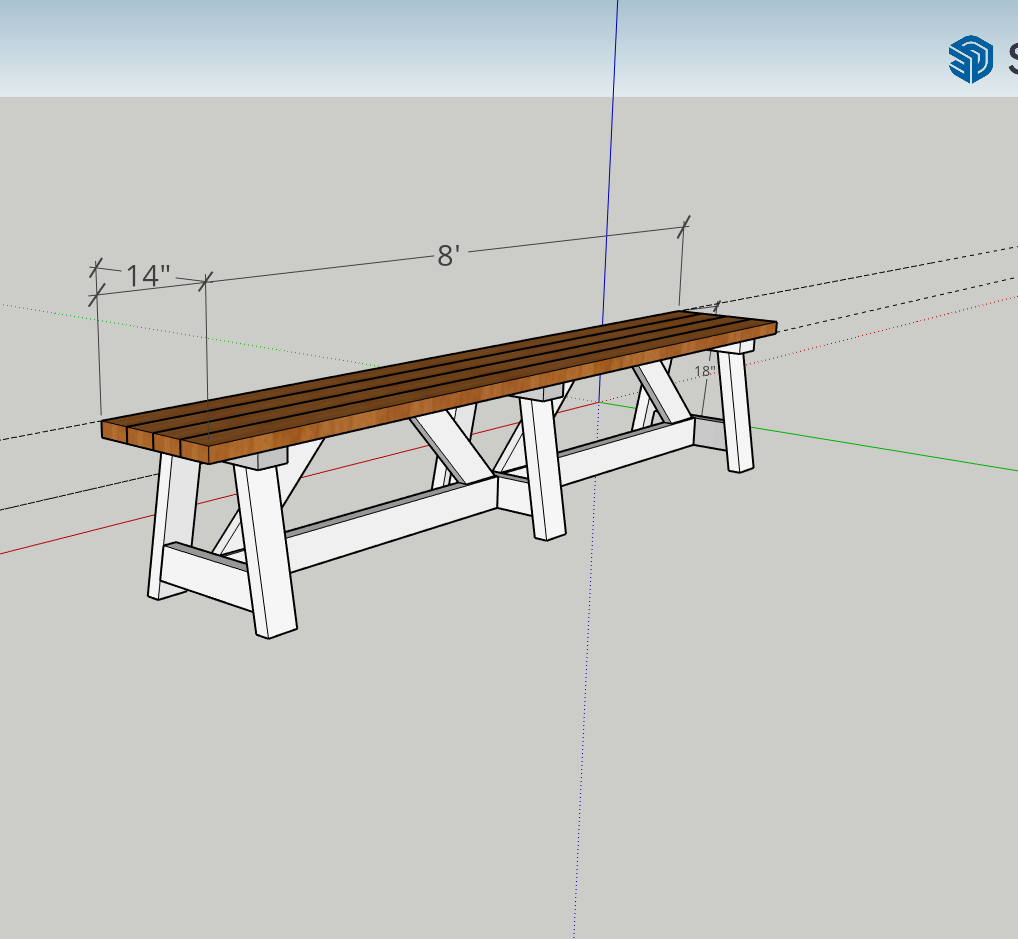
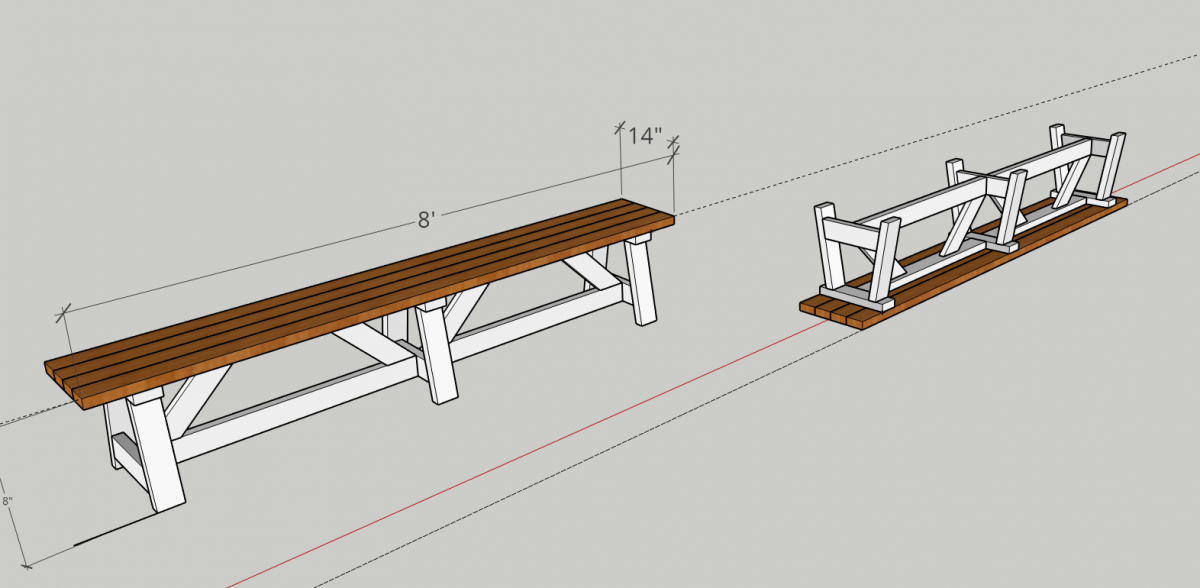
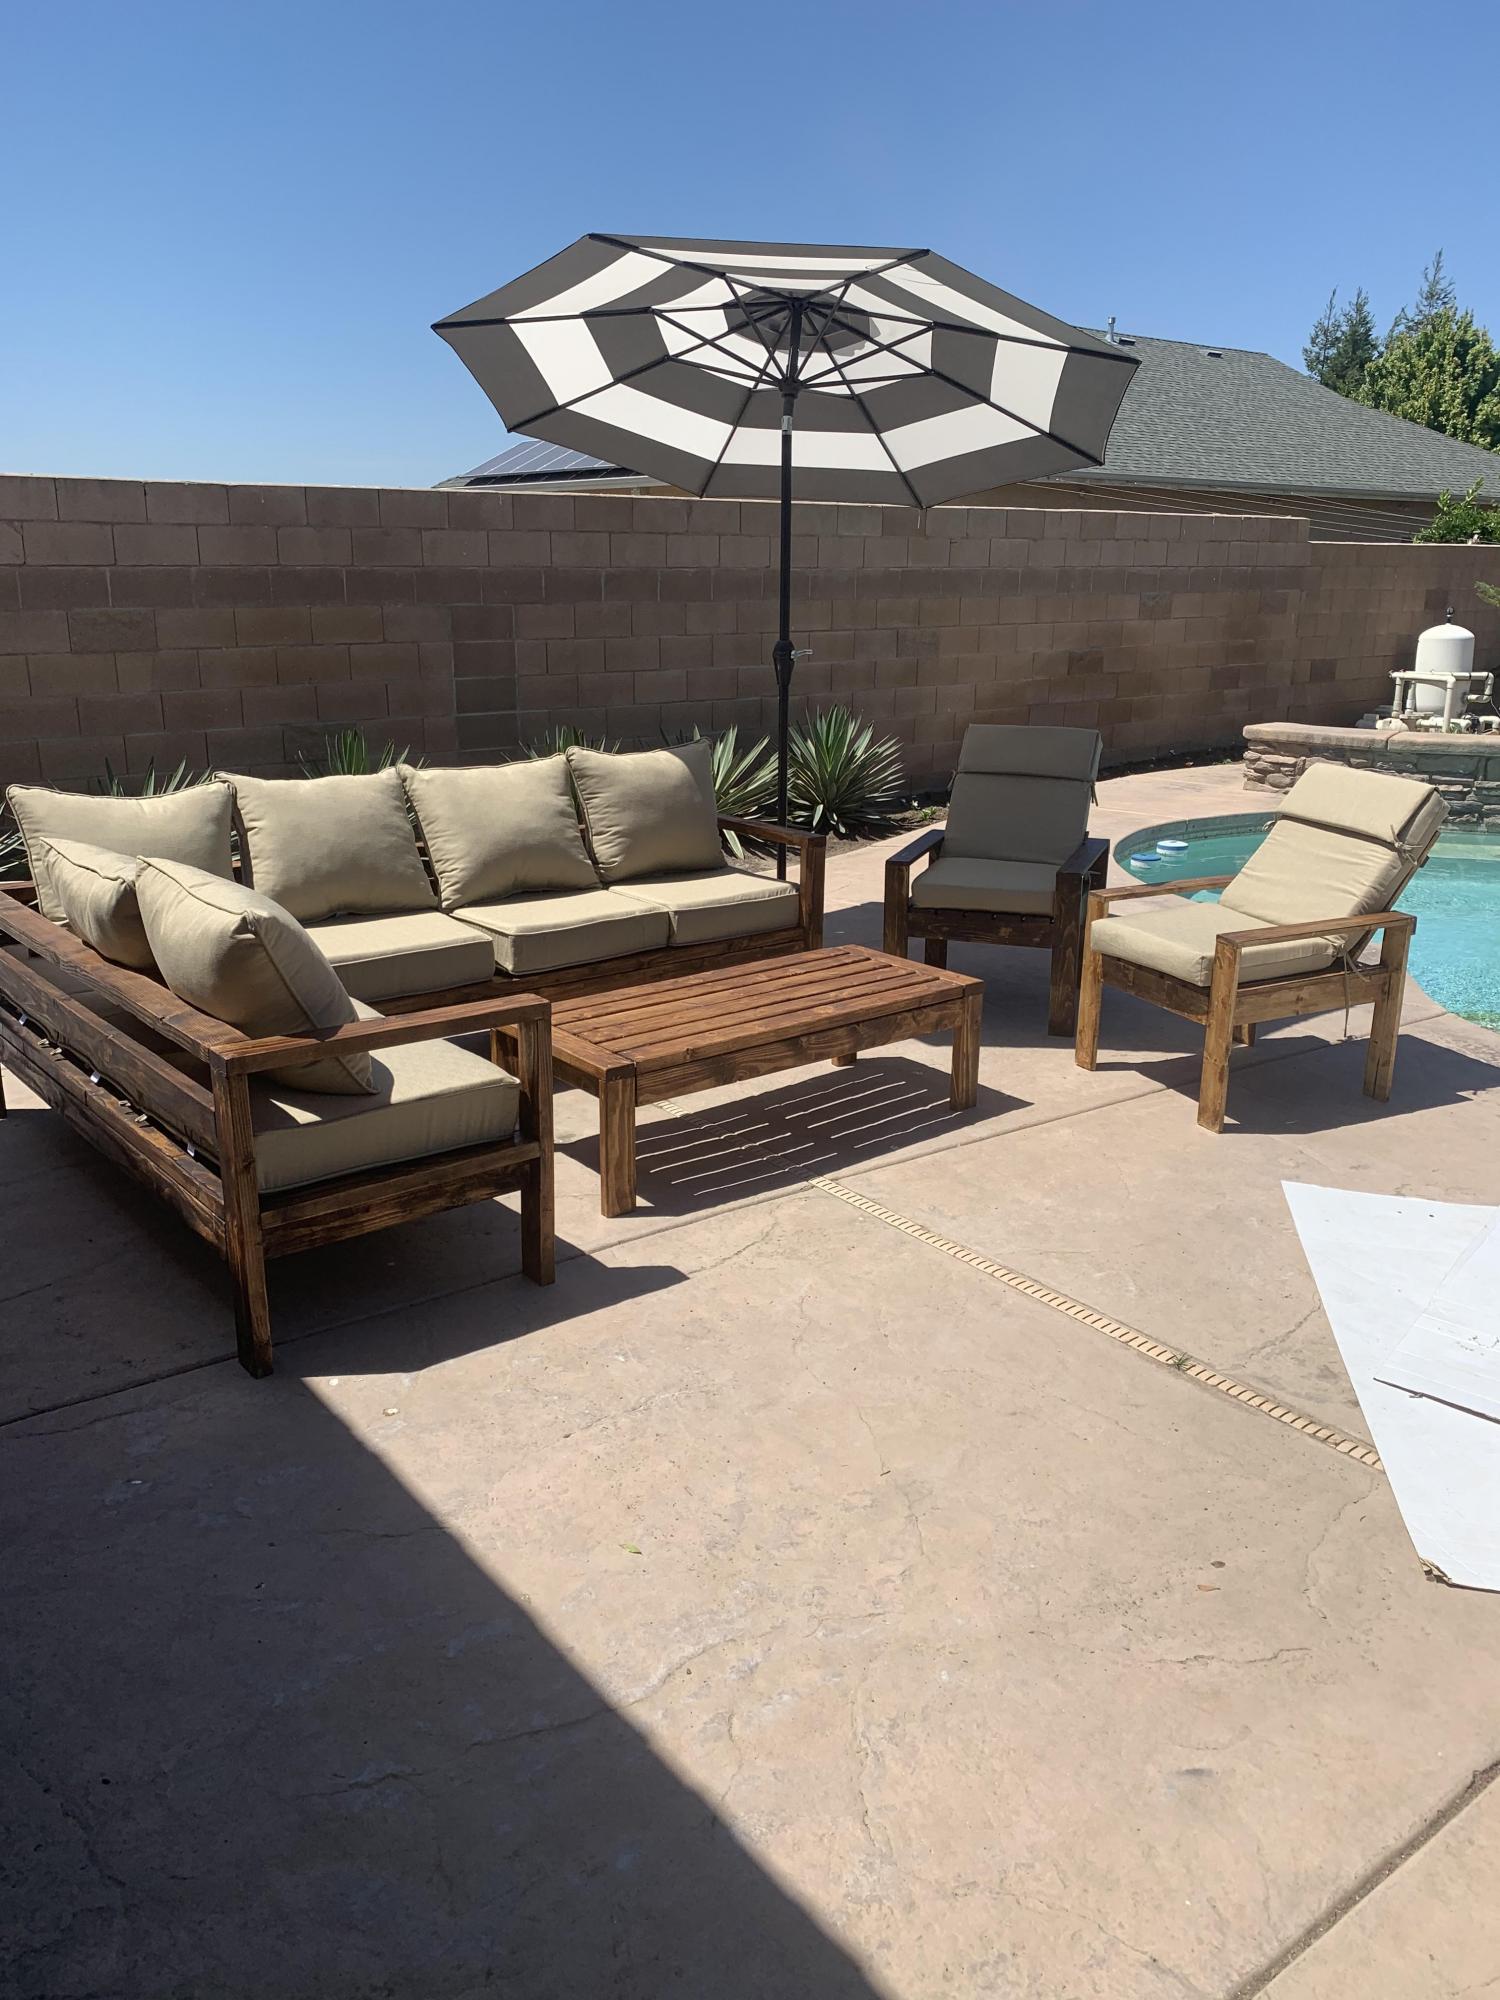
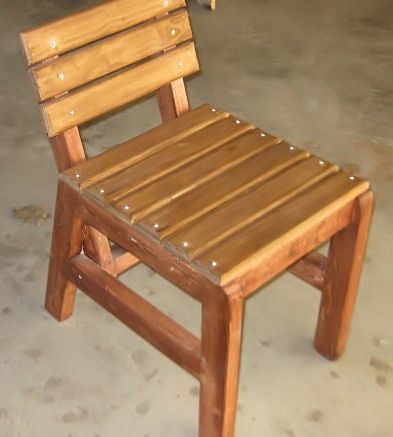
Started March 29th 2014 and just finished a couple of weekends ago. I don't have that many tools, for example I used some ratcheting tie downs to hold things together while screwing together the headboard and footboard. I believe at the time I only had one clamp. I was really dreading this project taking more than a year. One of my buddies constantly ragged on how long it was taking me. I want to thank him for all the times he laughed at me while I was too tired to get off the couch. Bo, you are a true friend. Studying and school work took alot of time and I was away over the summer and winter breaks. My next project will only take one month I hope. I'm going to try to do something like the farmhouse table only for taller chairs that will seat about 4. I like the rounded edge look to the wood which allows for a little bit of error in the straightness of the wood and cuts etc. This was a fun project and when we get more room I want to build a king size.
I guess I'm going to see what chair plans there are on this site now before I look at starting a table.
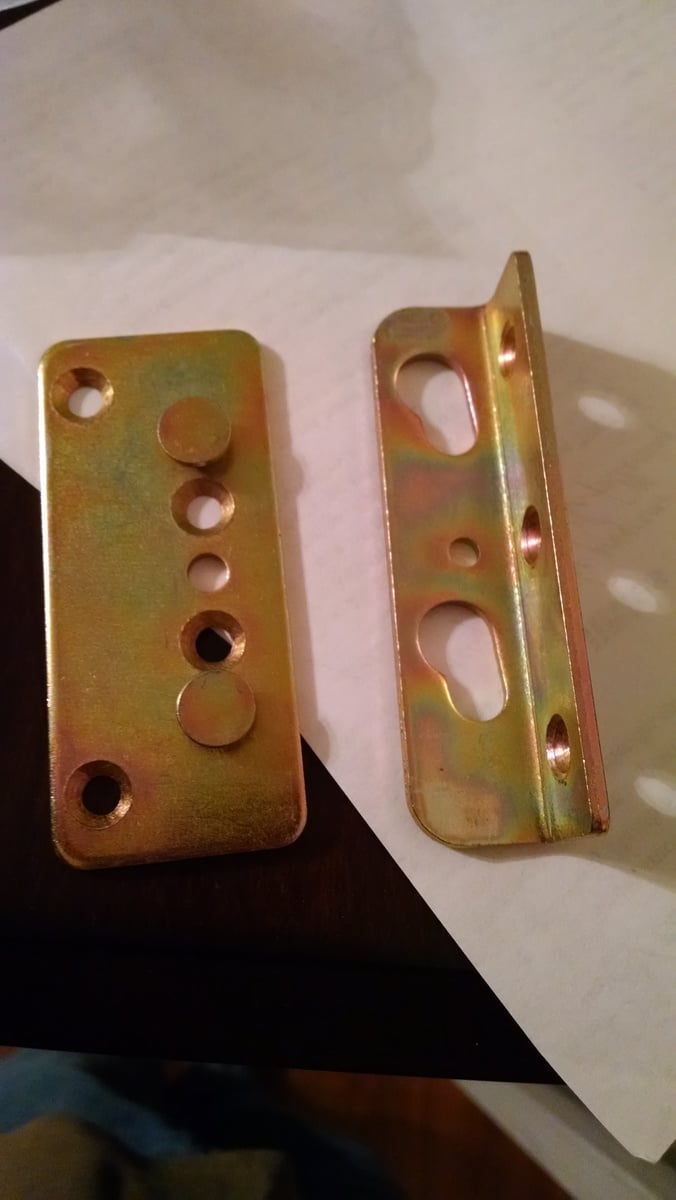
Thanks to all the other brags that allowed me to show my wife what the bed could look like finished and different rail systems and supports. I bought rockler hardware, no mortise required, from amazon so the bed could be disassembled and moved easily without nuts and bolts exposed. I'll definitely do that again for the next bed I build.
I have more photos of it unfinished and being built if anyone cares to see I can upload them as well.
Happy building everyone!
Estimated Cost
$155 (WOOD ONLY) if you build the bed for looks around a metal frame
$250 if the bed supports the mattress, finished out in natural wood, and you buy the hardware I did
Estimated Time Investment
Week Long Project (20 Hours or More)
Finish Used
Minwax prestain wood conditioner
Minwax red mahogany 225
Minwax clear semi-gloss polyurethane fast drying
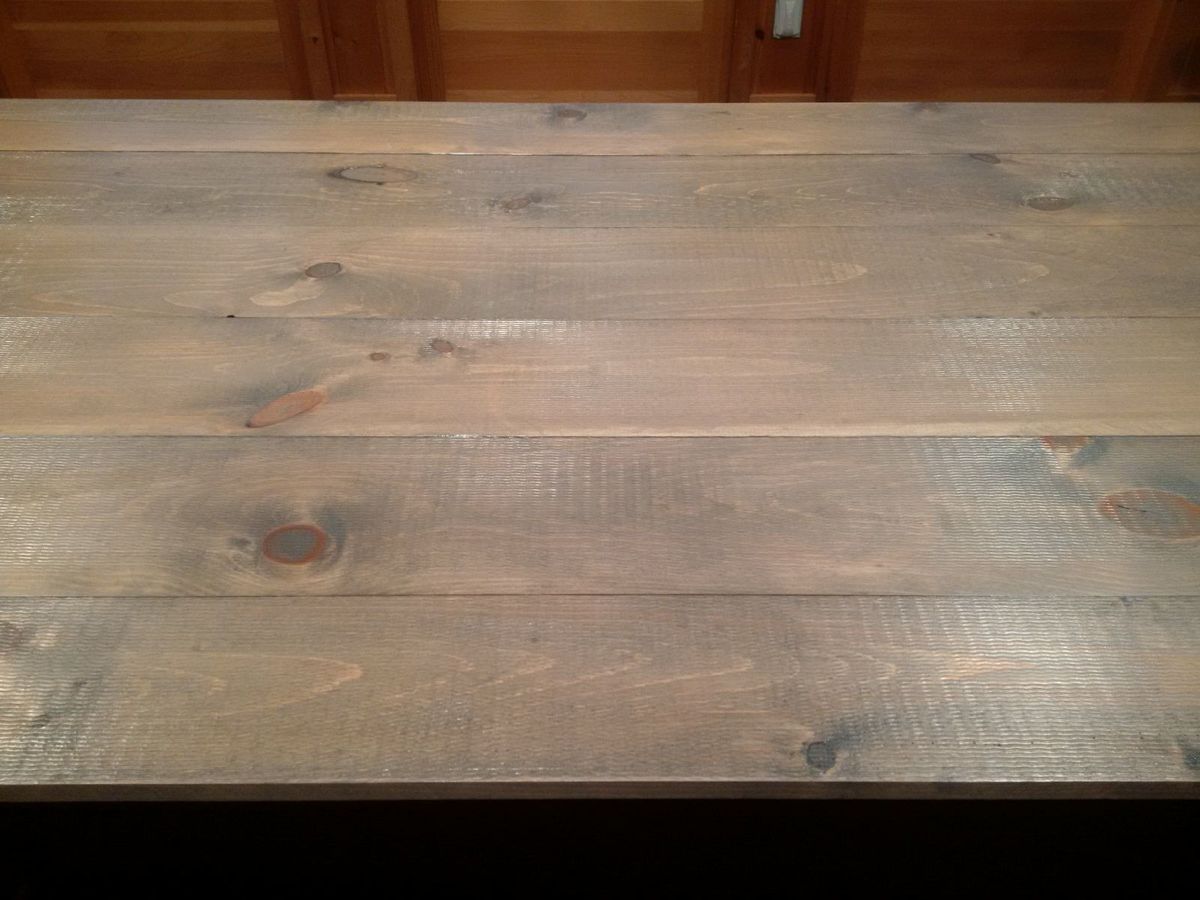
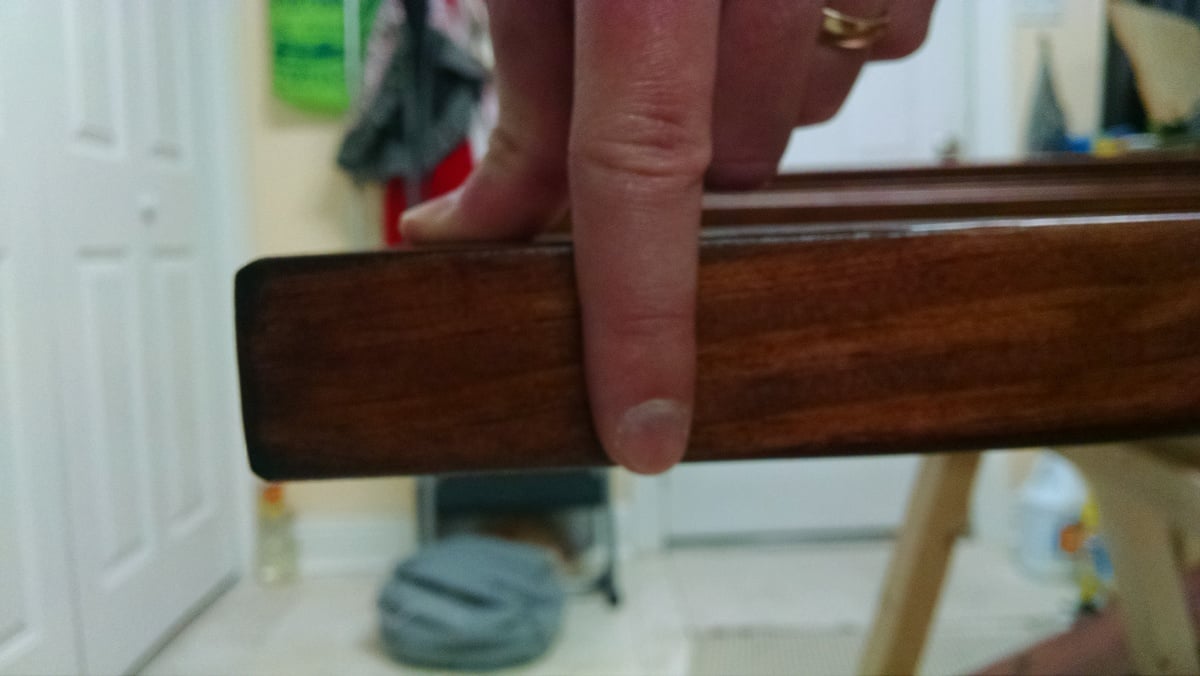
Porous areas: areas with more grain, knots in the wood, and ends of boards cut will stain darker. The prestain wood conditioner minimizes this. I tried staining the back of the headboard without using it first, because I'm cheap. But it really does look blotchy. Some areas will stain darker than adjacent ones even though there is no perceptible difference in the roughness, grain, or knots in the wood. I definitely recommend it for pine and cedar fir like what I bought at the home depot.
For the stain I painted on with a sponge brush, bought 20 for $5 at Joann fabrics, and wiped away with cut up pieces of old undershirts, fruit of the loom or hanes lol.
Poly was also applied with the sponge brushes. The first coat remained rough. Second coat still a little rough however bubbles and raised areas due to sponge adding air to the poly when brushing it on. After second coat sand down imperfections with 220 grit sand paper on a 3m sand paper holder. Reapplied poly and sanded bubbles with 400 grit after the third coat. All sides have at least 3 coats. Visible surfaces have 4 or 5 coats. The final coat you must watch dry and eliminate all bubbles while still wet on flat surfaces and take care of bubbles as they arise from knots. Do not attempt to fill in voids with poly while current layer of poly is still wet. Wait for it to dry, then drip in extra poly into imperfections surrounding knots and any dents in the wood. The poly will flatten out on its own and you can soak up any excess with a new sponge brush so that it does not cause a droplet looking area on the surface. The poly will not flatten out and blend with the other poly if the layer is partially dried though and you will need to sand and do the area over again.
Be ever mindful of poly running down around the backside of what you're working on and creating a droplet on the other side. Requires a lot of hands and knees looking under the saw horses with a brush or just be more careful and don't apply too much.
Good luck!
Recommended Skill Level
Beginner


Comments
Ana White
Tue, 01/27/2015 - 15:12
Wow I just love how this
Wow I just love how this turned out! Thanks for sharing your talent!
In reply to Wow I just love how this by Ana White
Lady Goats
Fri, 01/30/2015 - 19:24
Thanks, Ana!
Wouldn't do it if it weren't for you! <3
marenras
Tue, 01/27/2015 - 16:06
This is fabulous!
I'm in love. I'm making this one. Thanks for sharing!
In reply to This is fabulous! by marenras
Lady Goats
Fri, 01/30/2015 - 19:25
Cool!
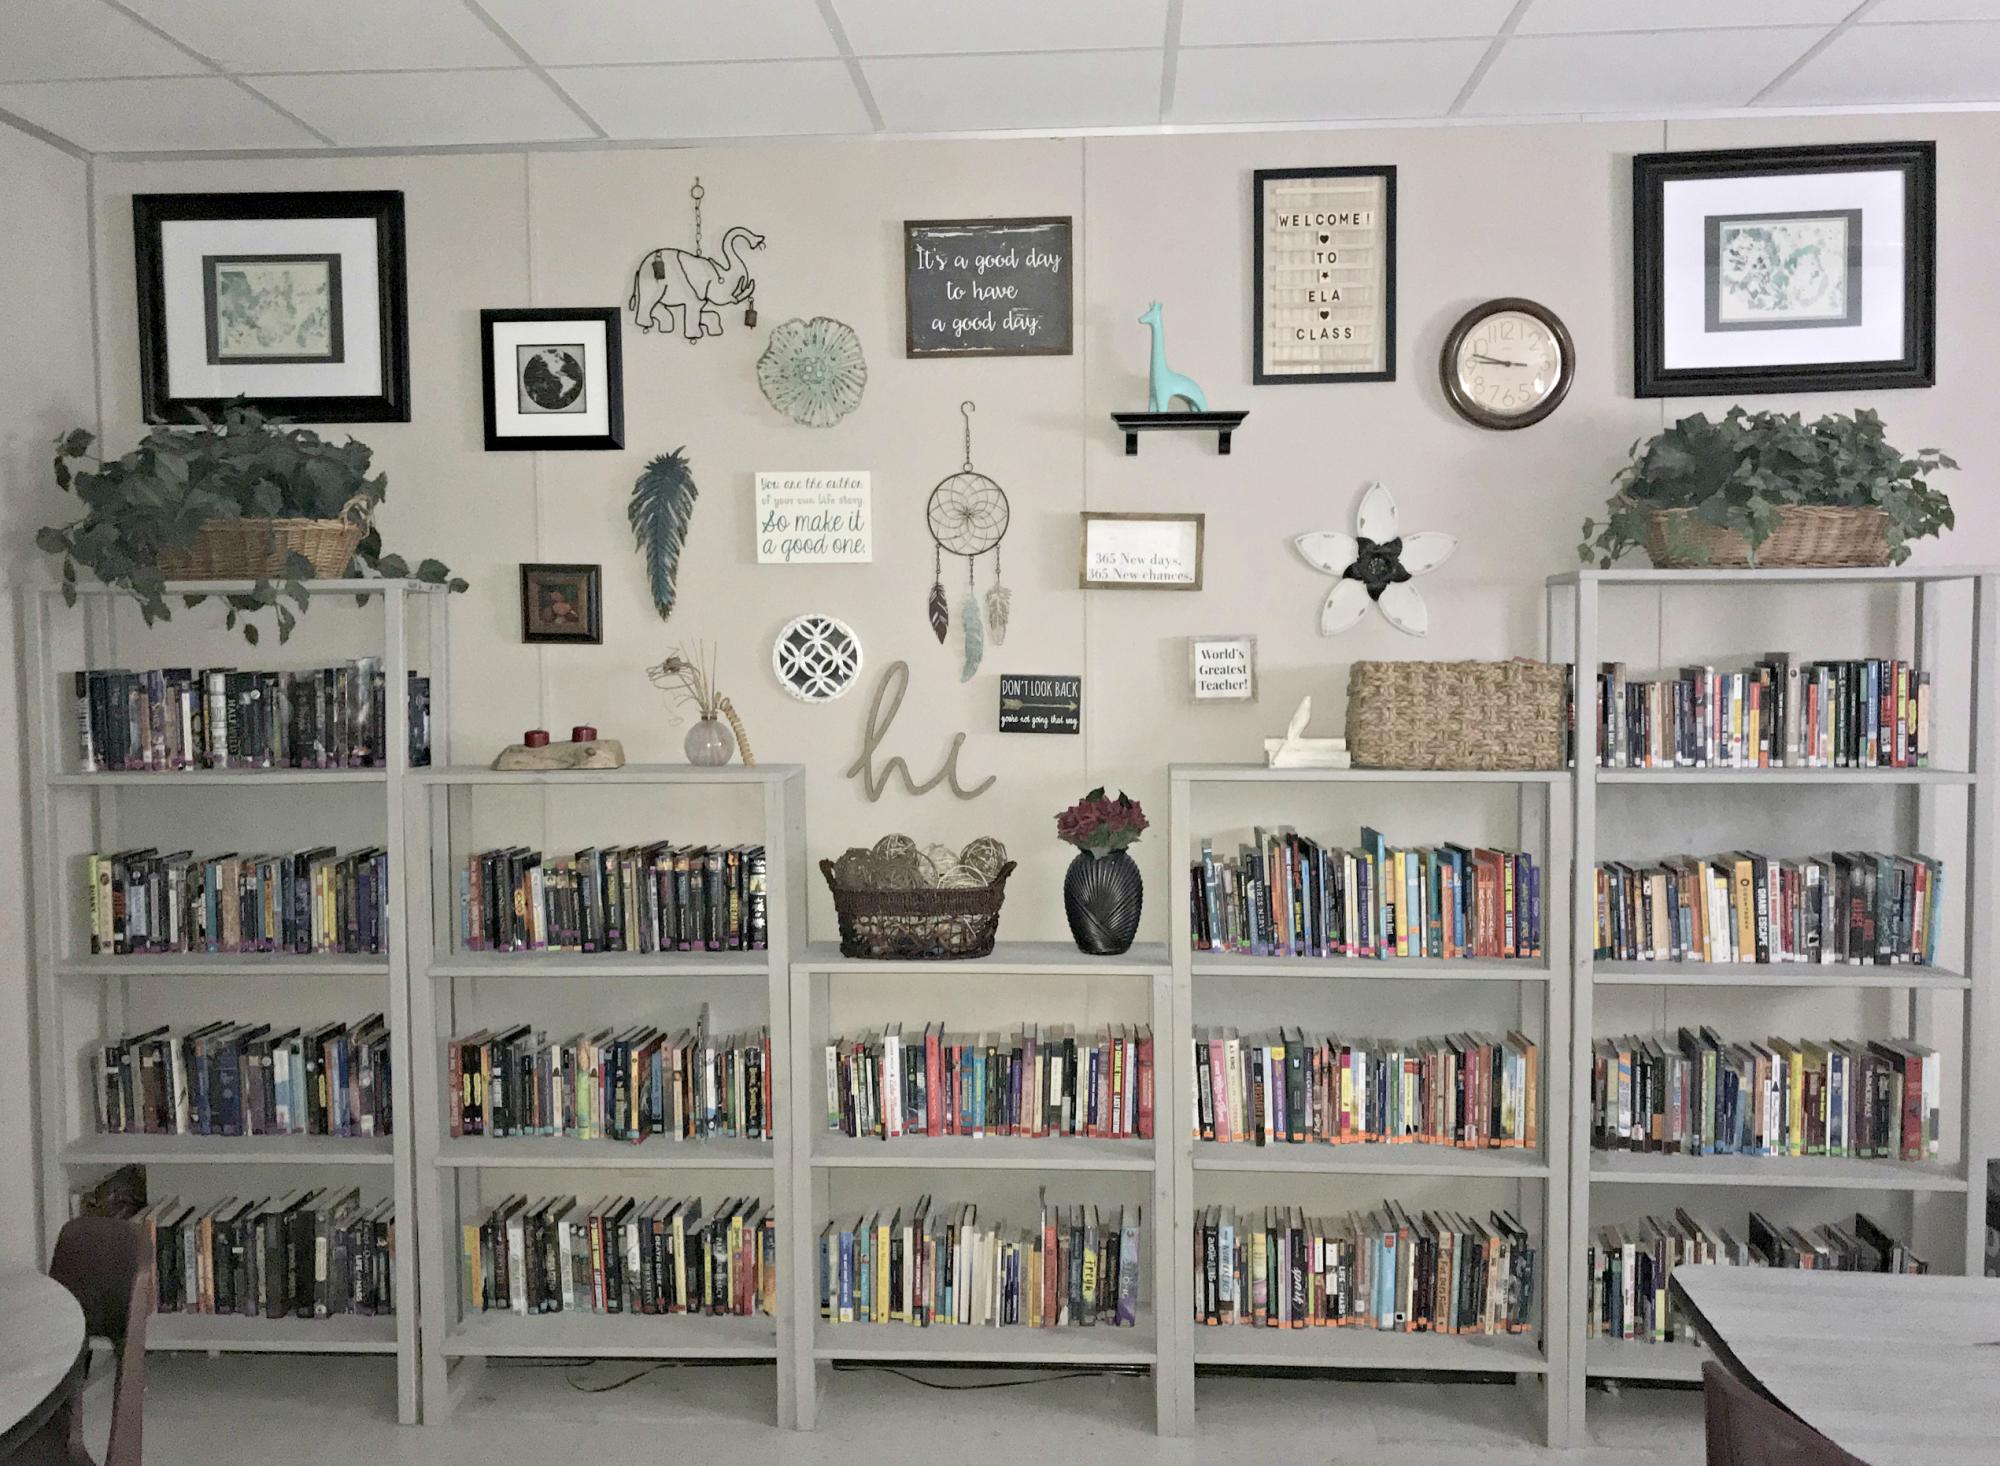
Can't wait to see it! I just saw that Ana did something very similar, so make sure you check it out, too! http://ana-white.com/2011/02/library-console-table