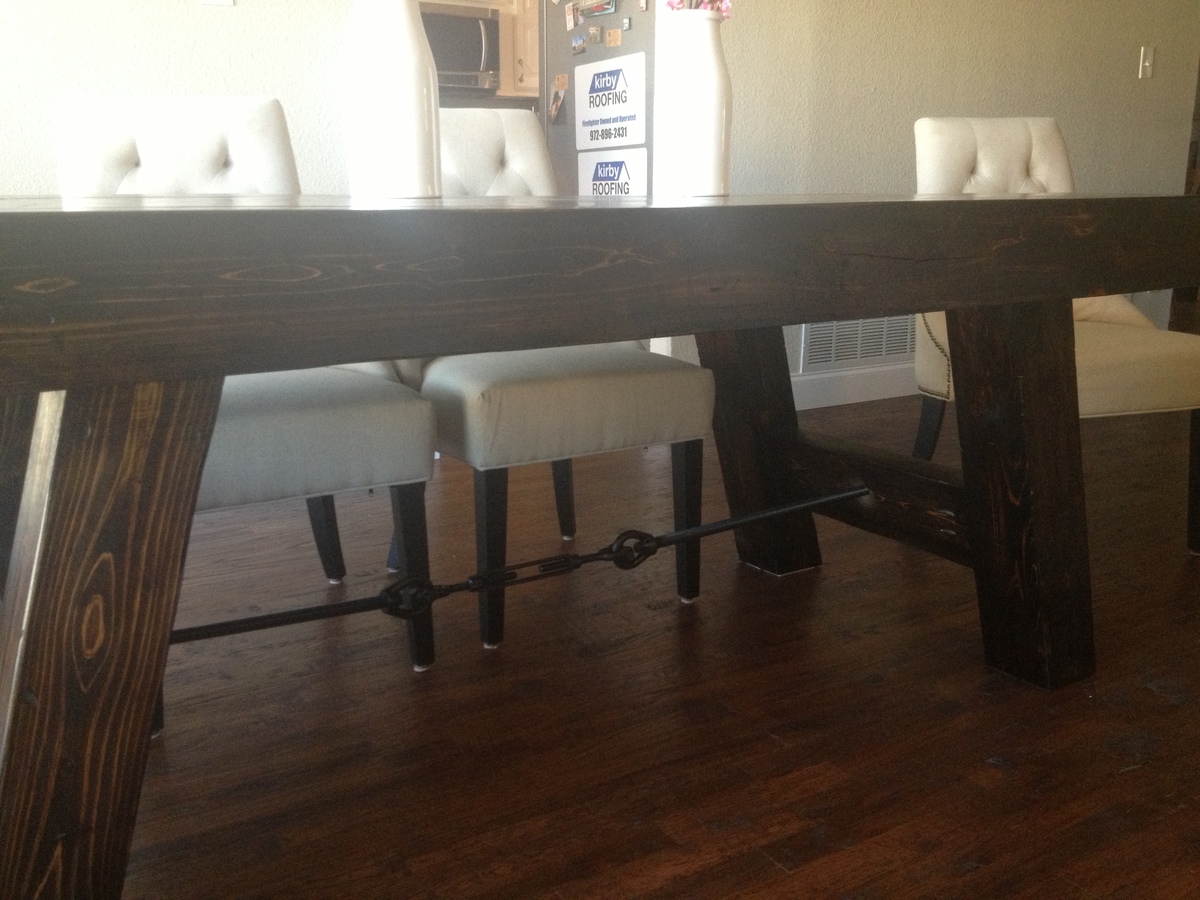
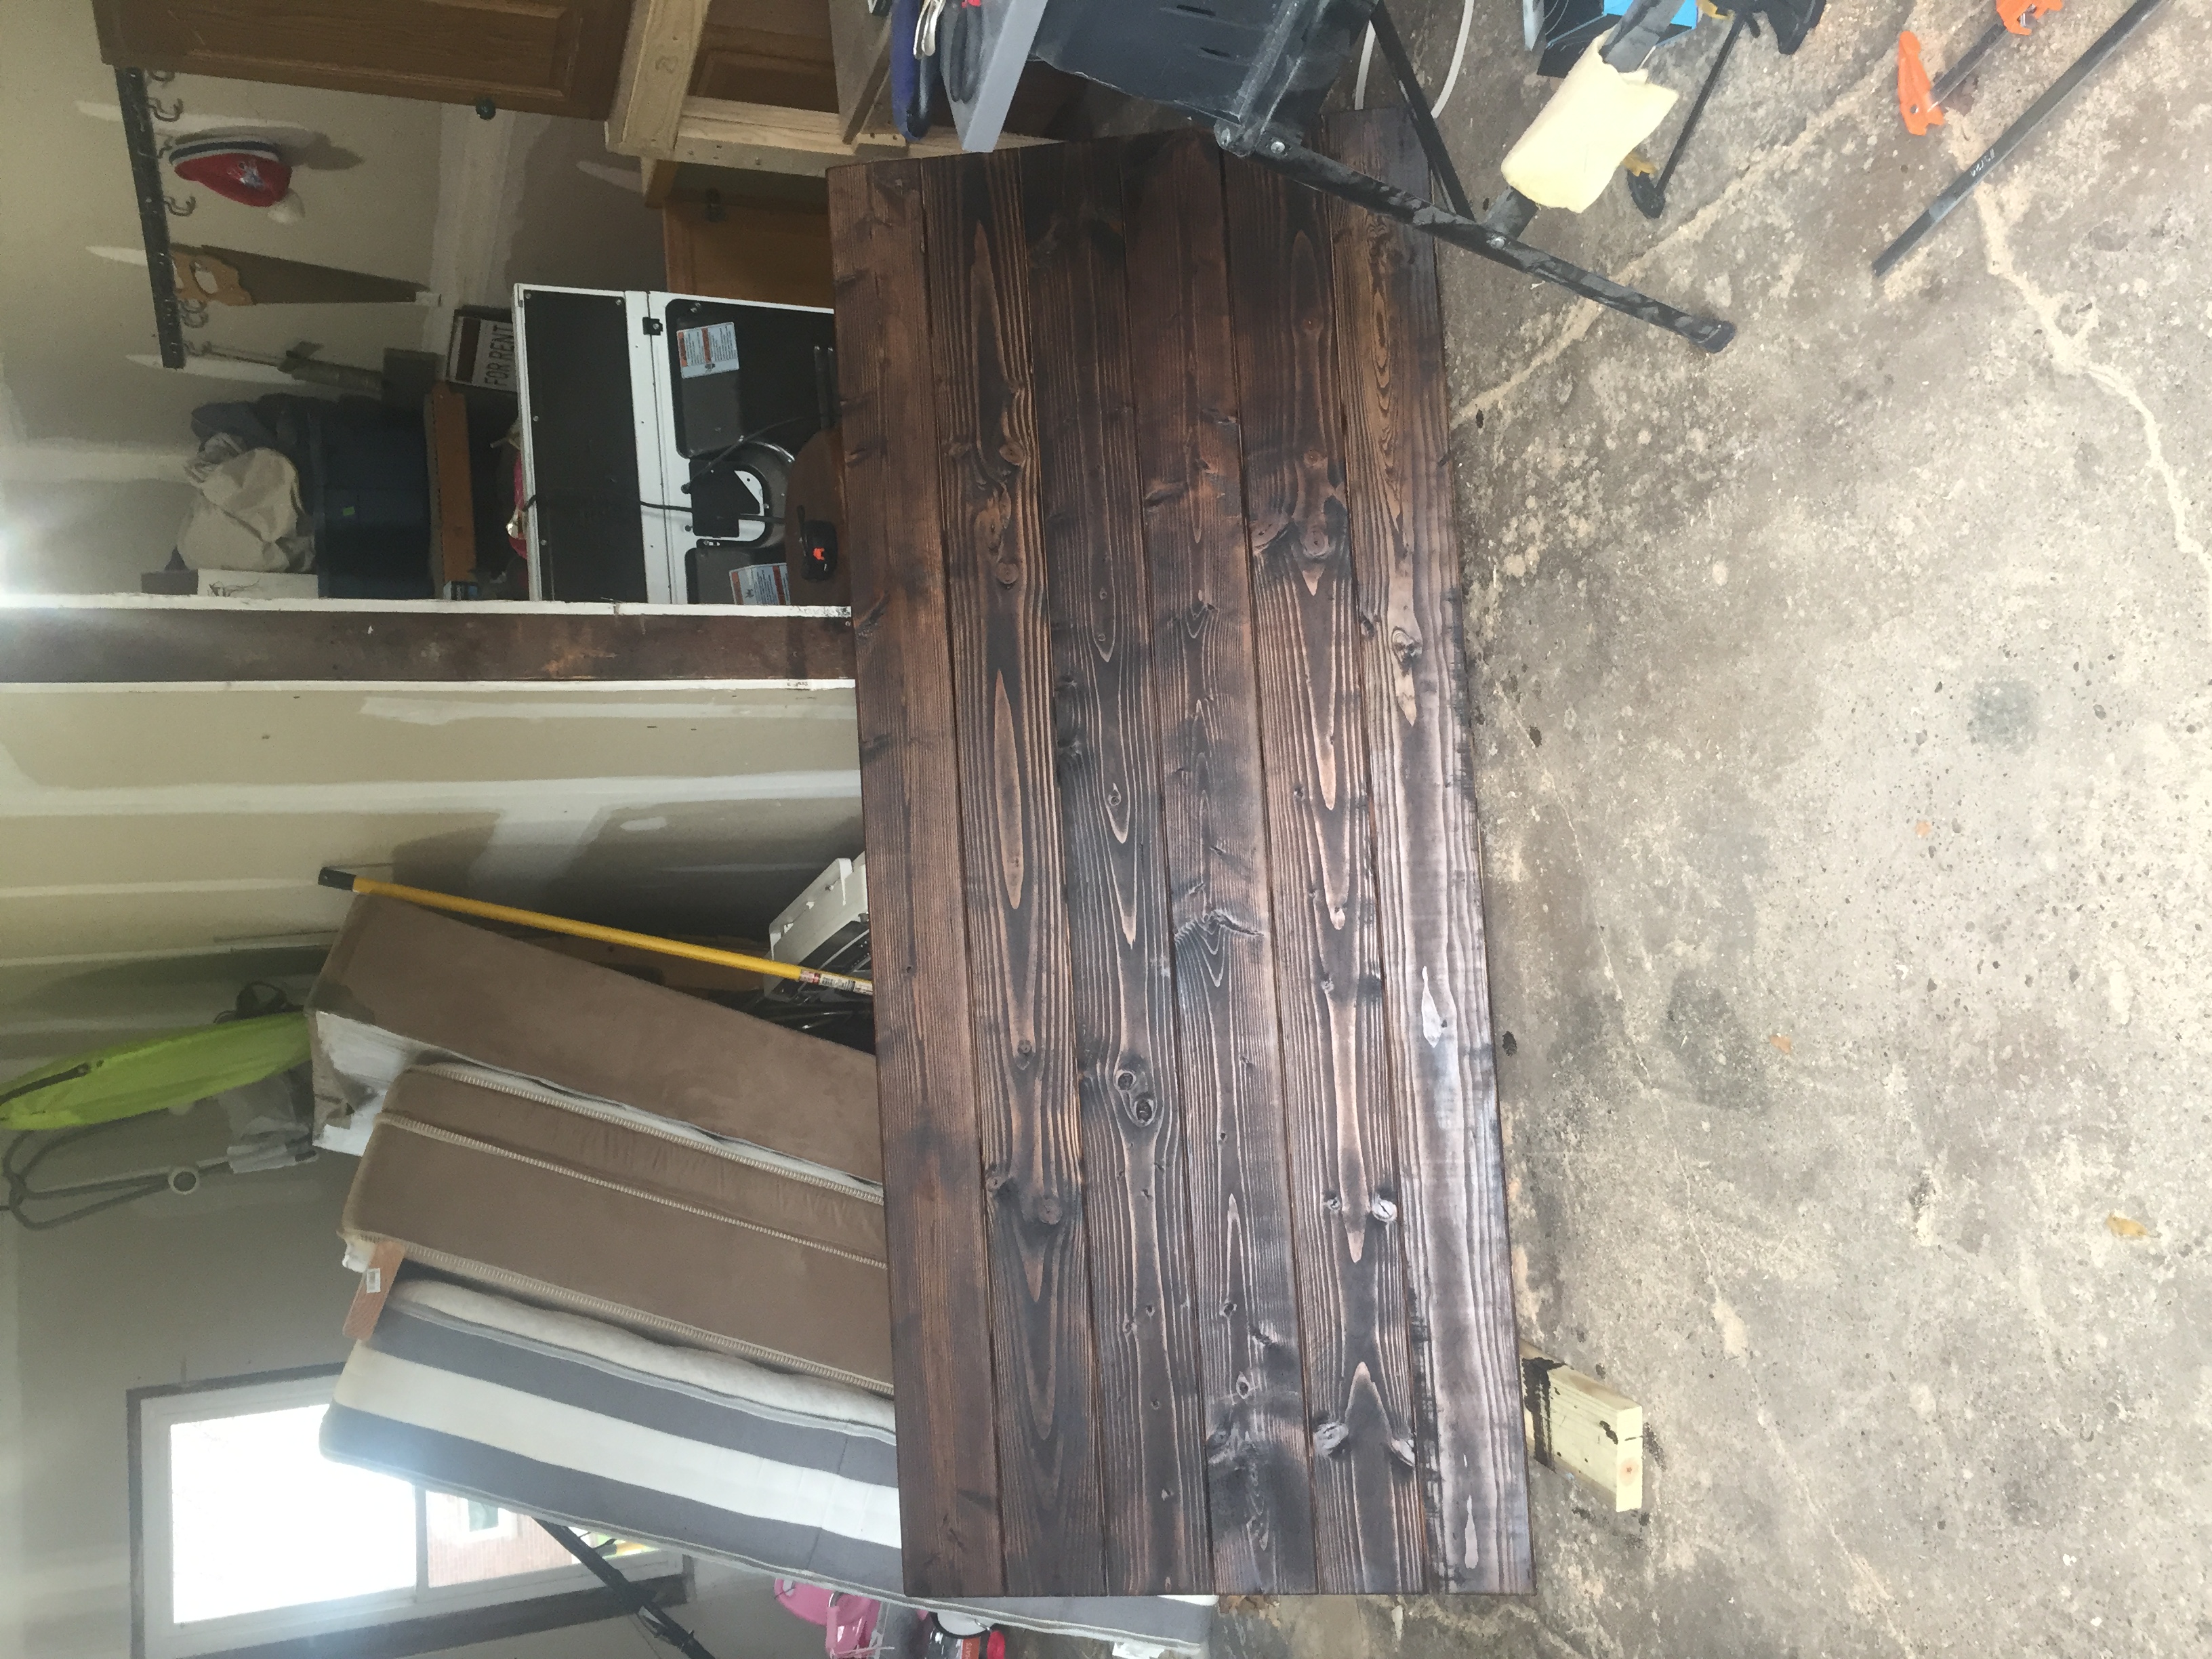
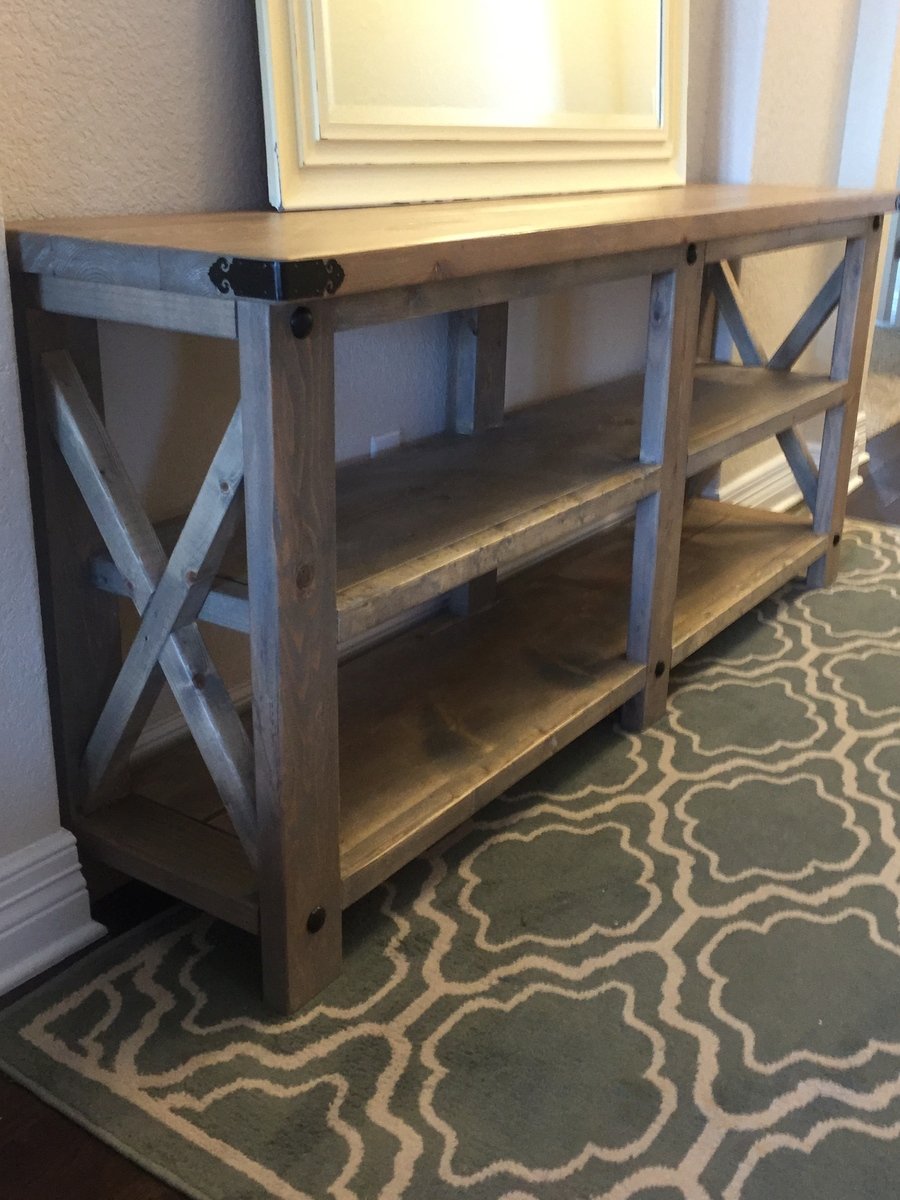
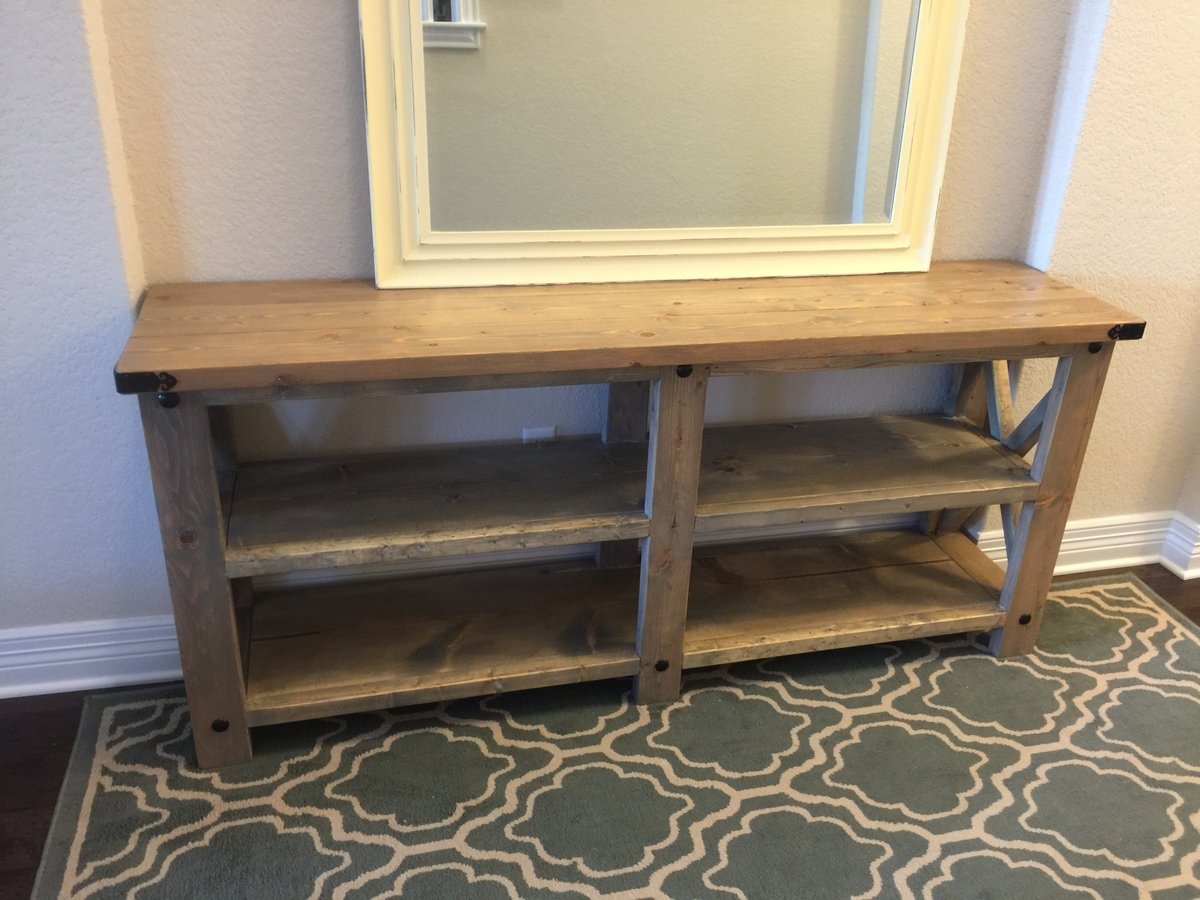
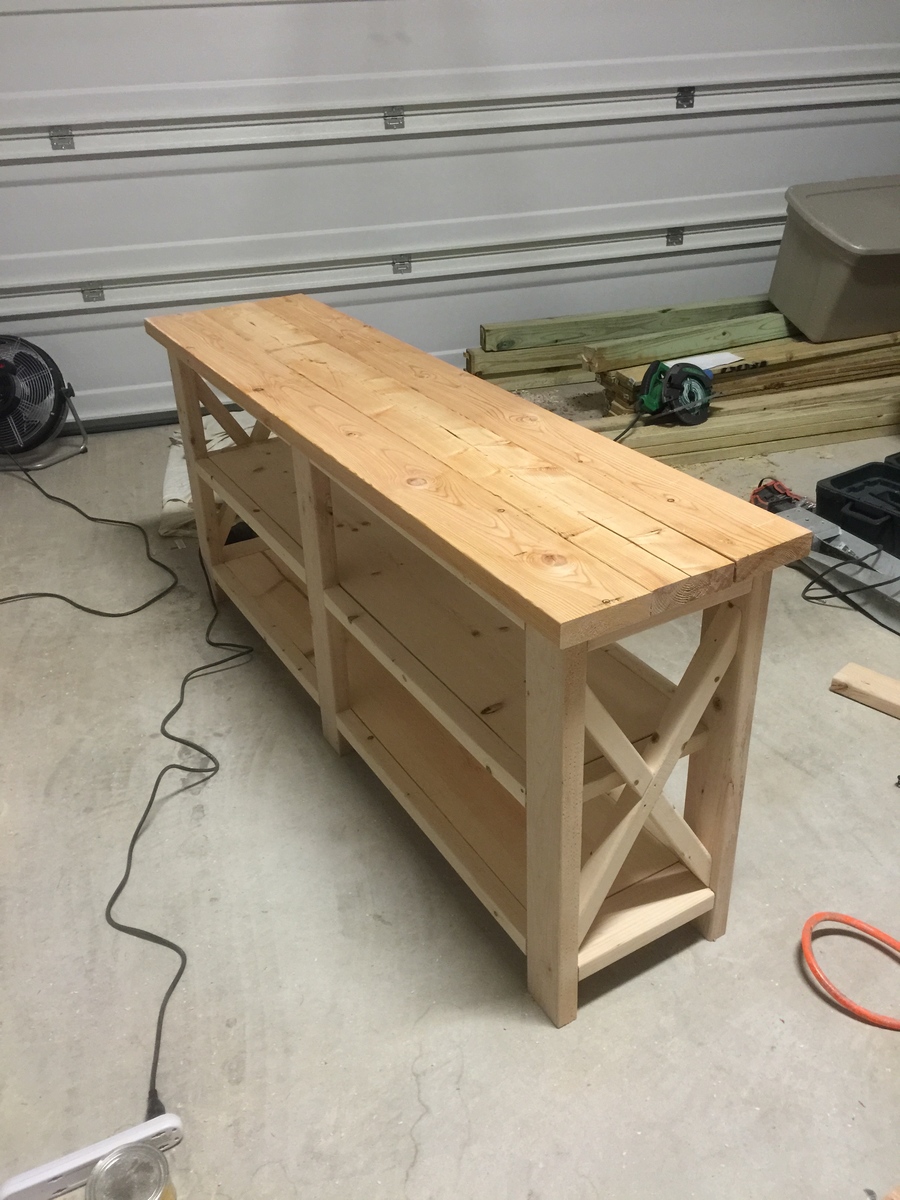
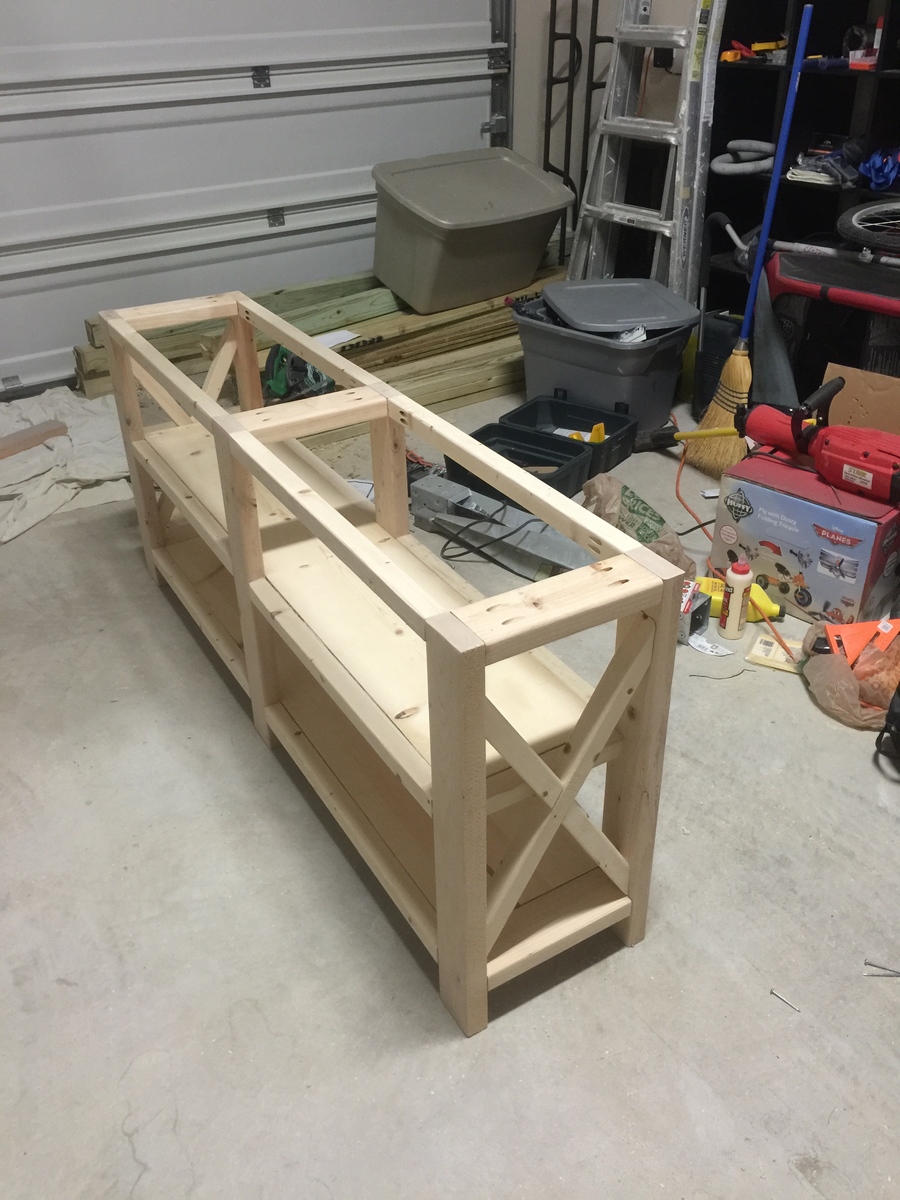
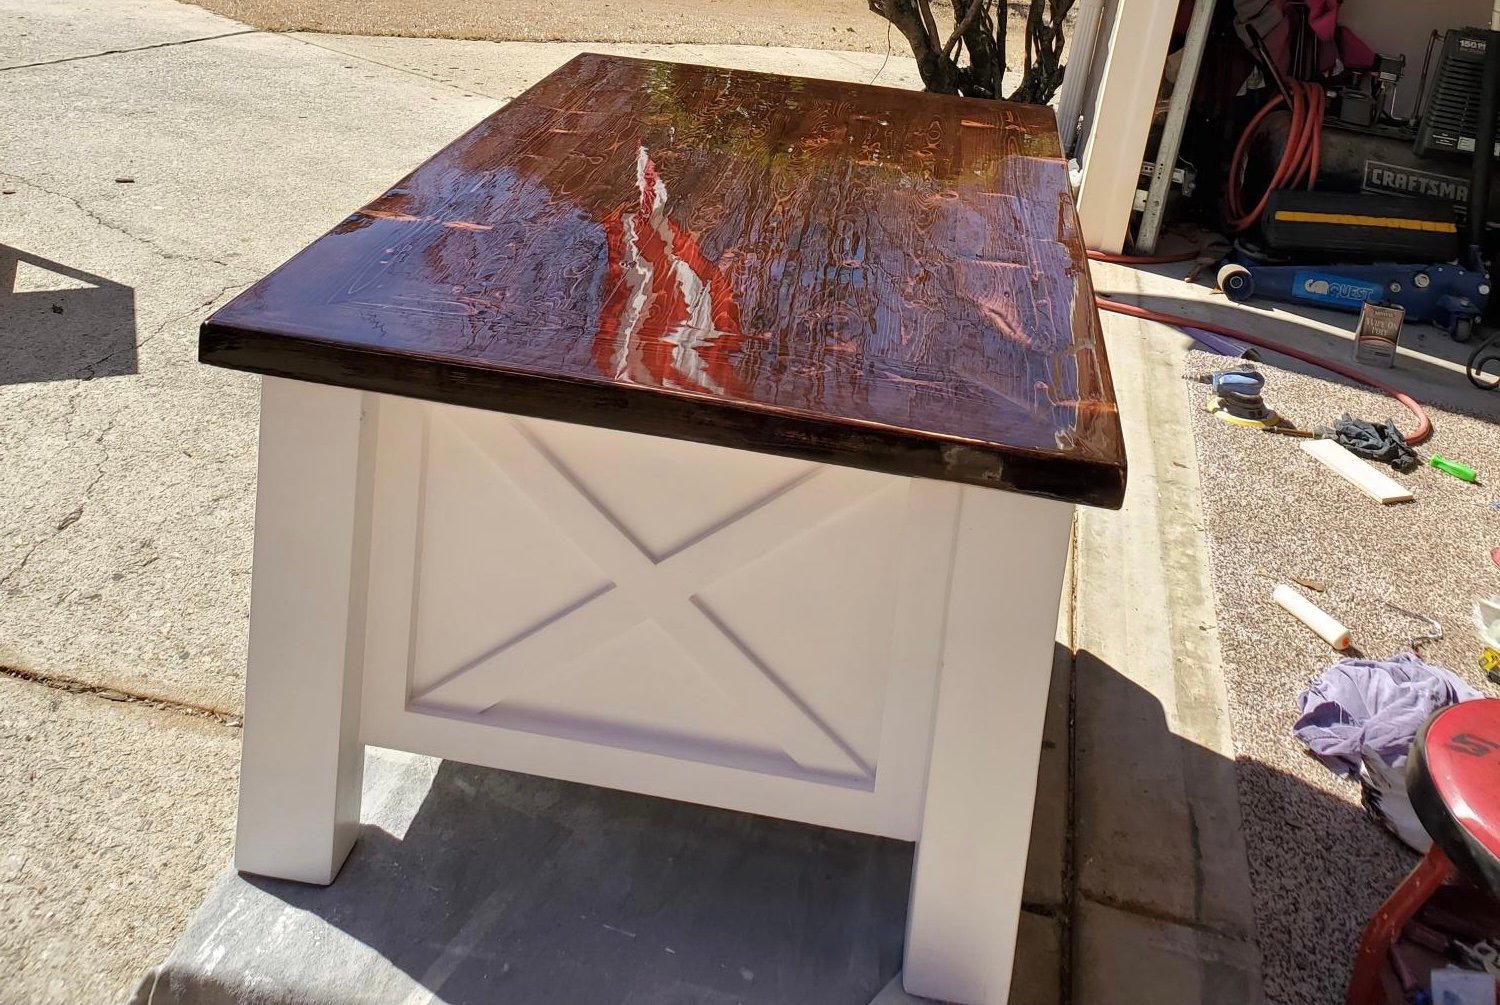
Benchwright Table
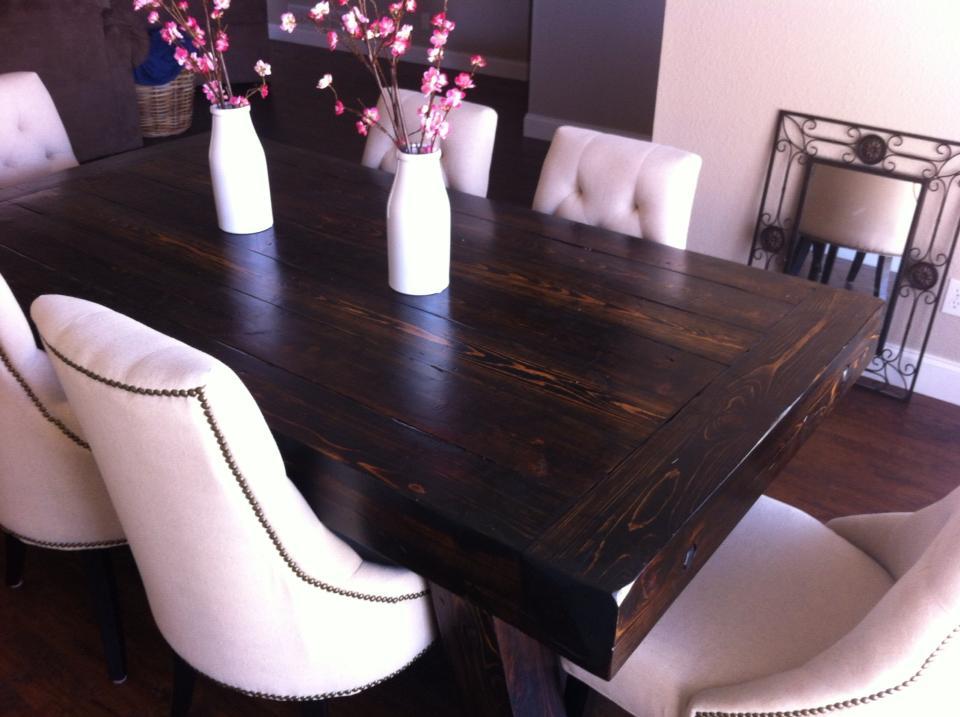
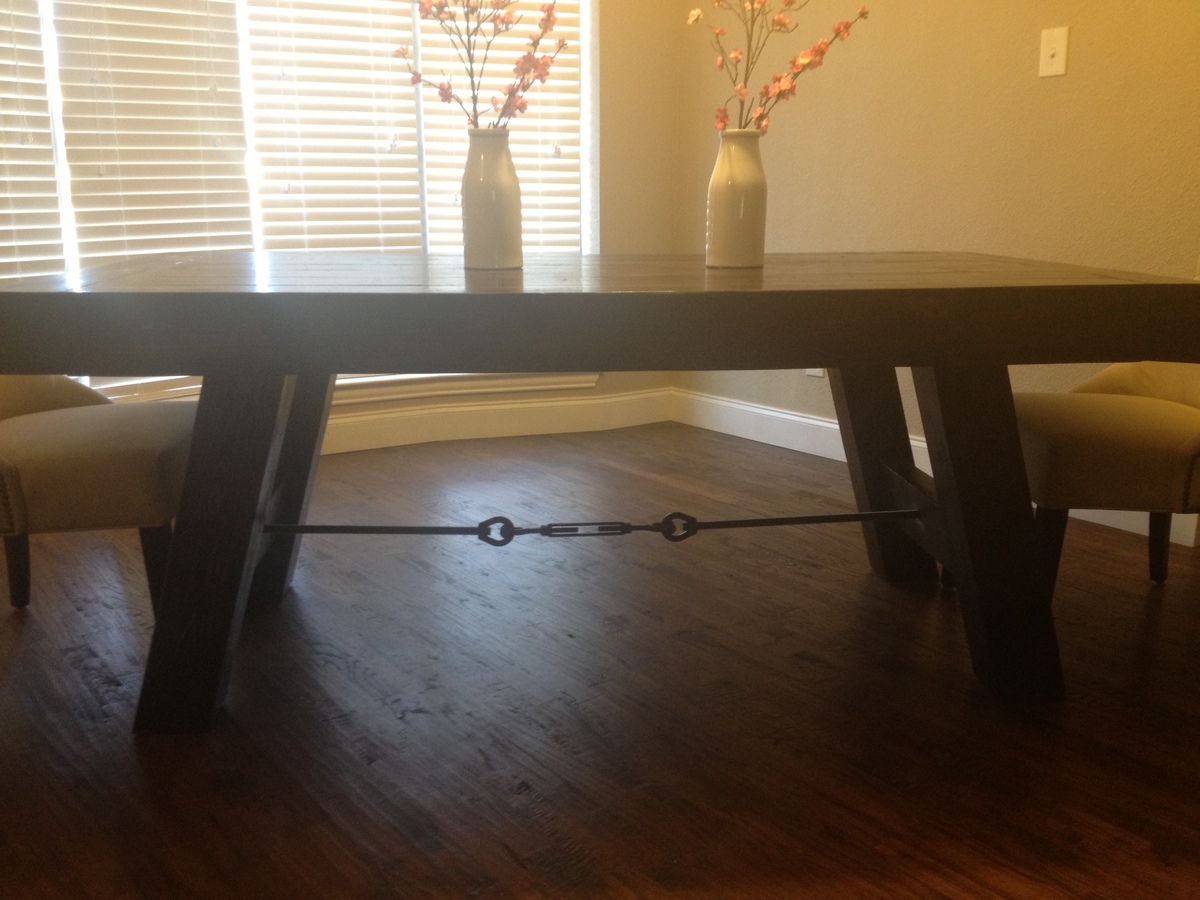
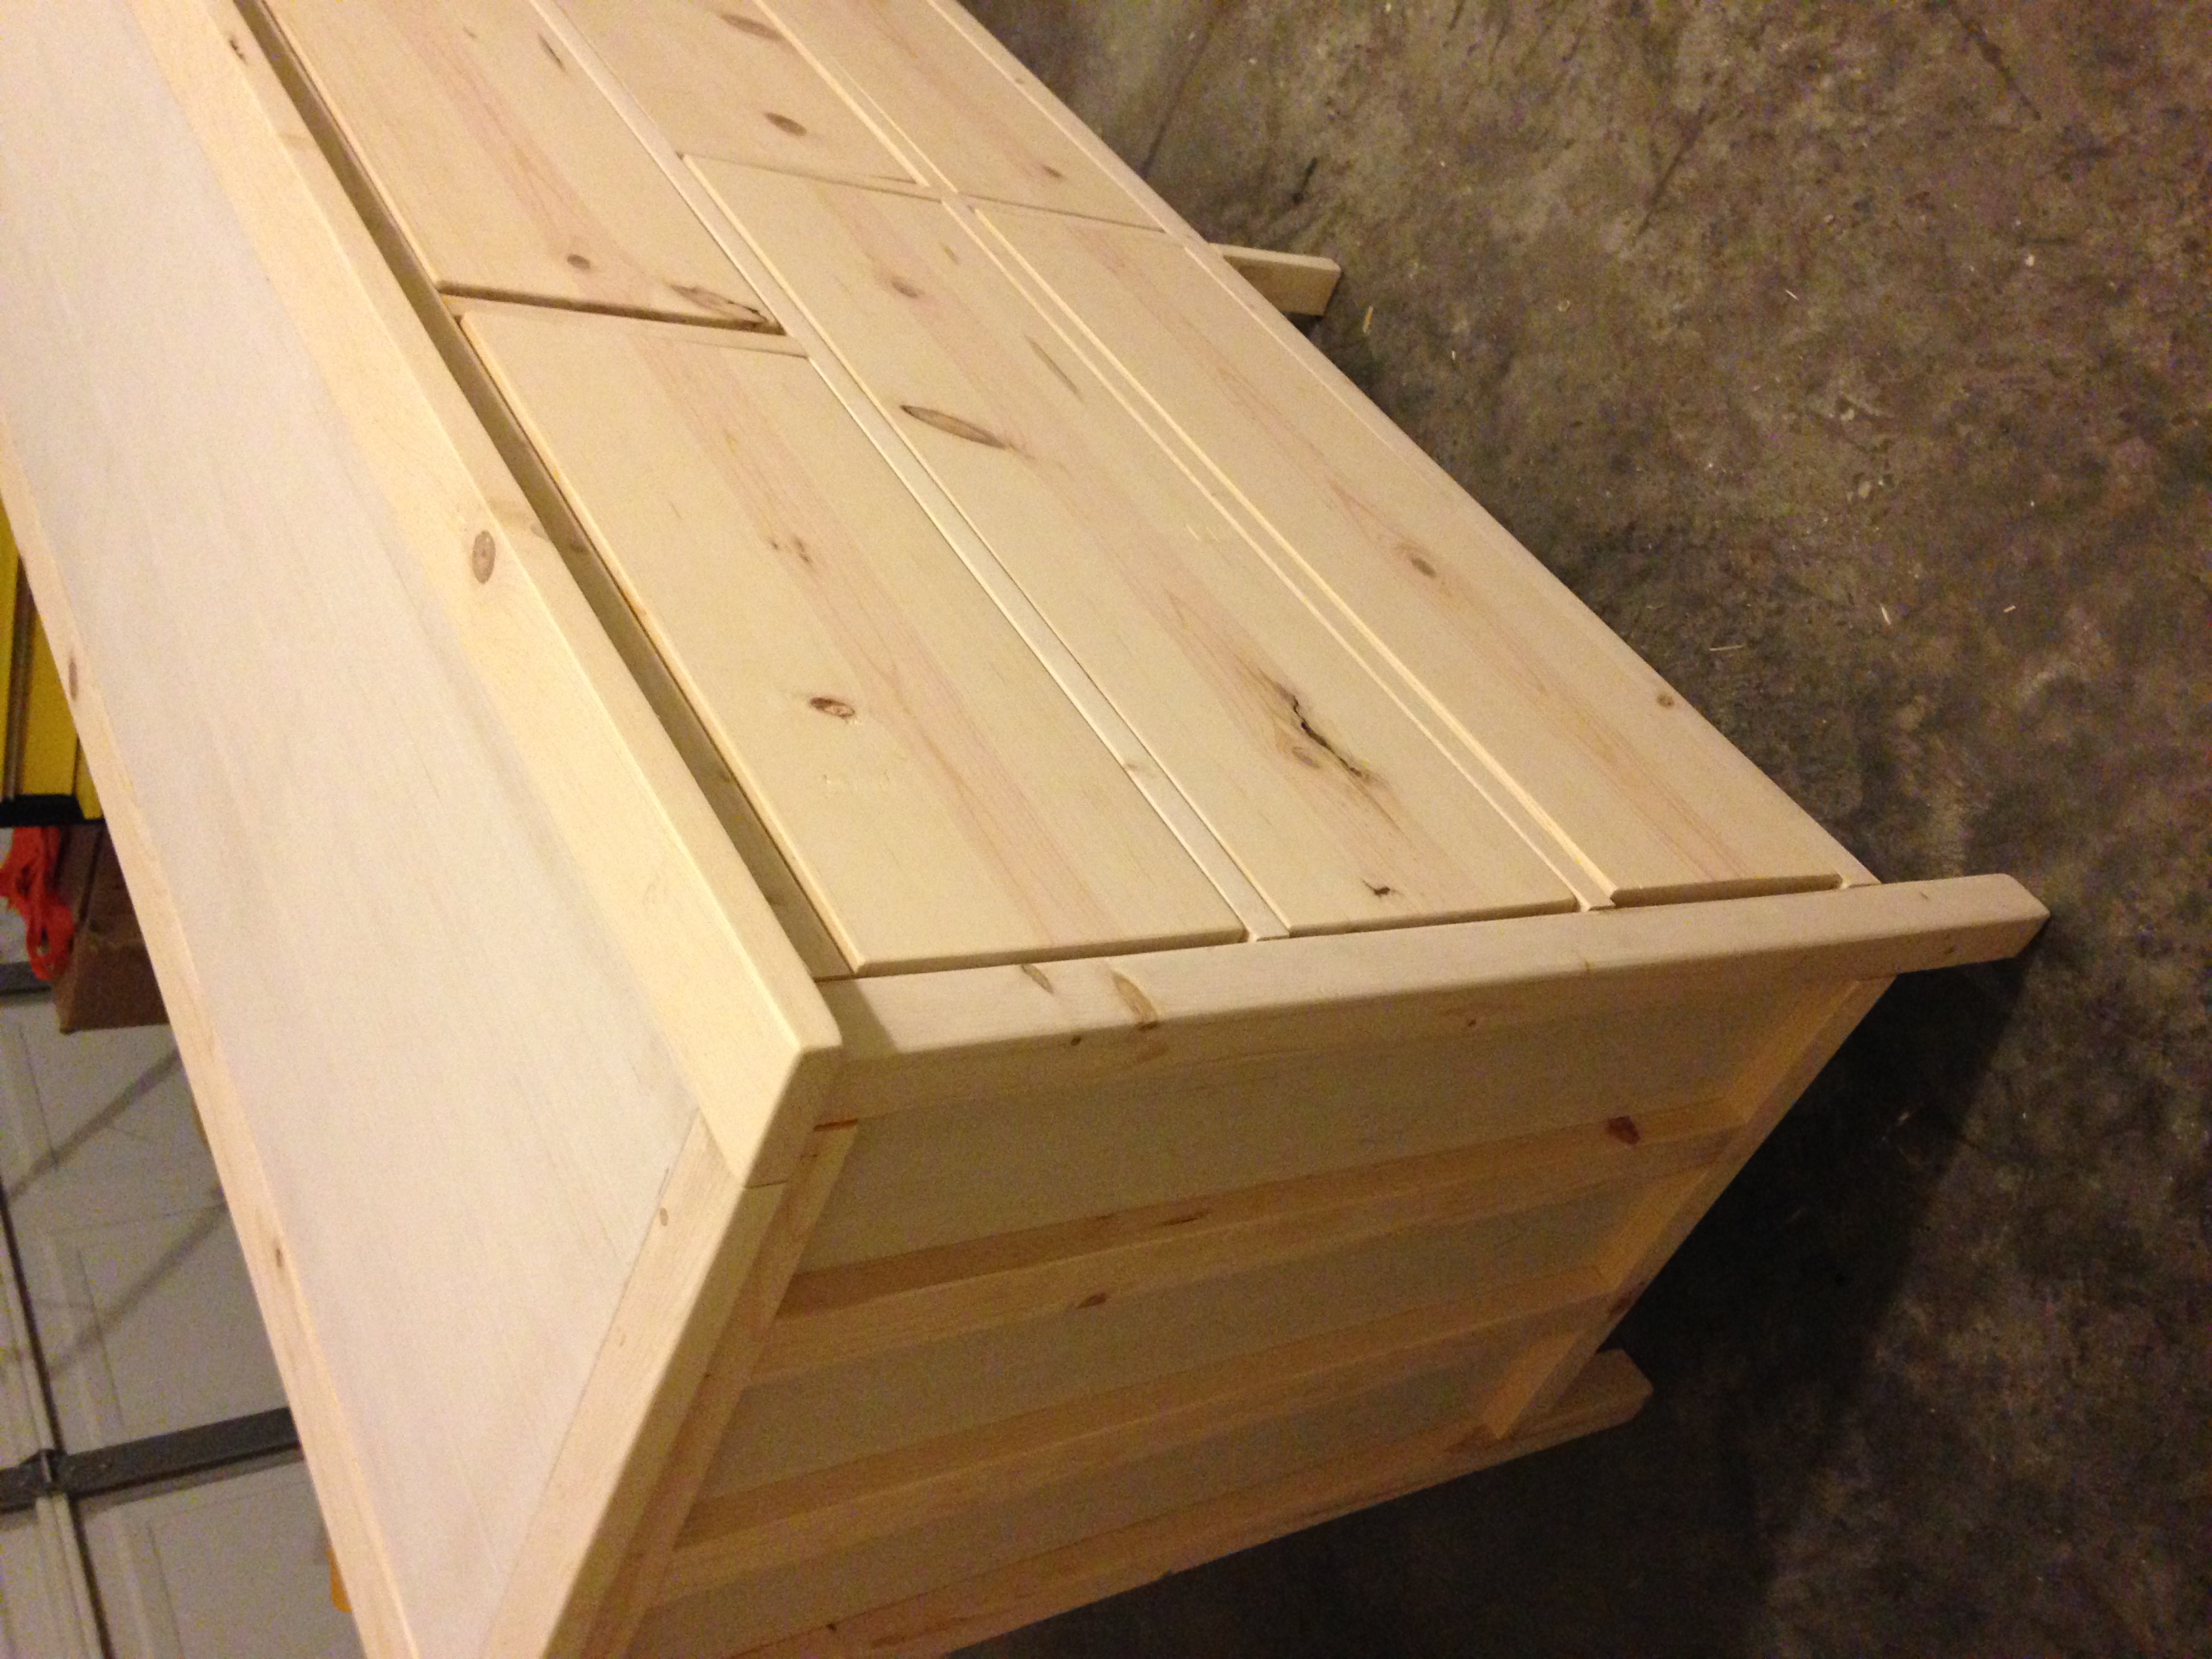
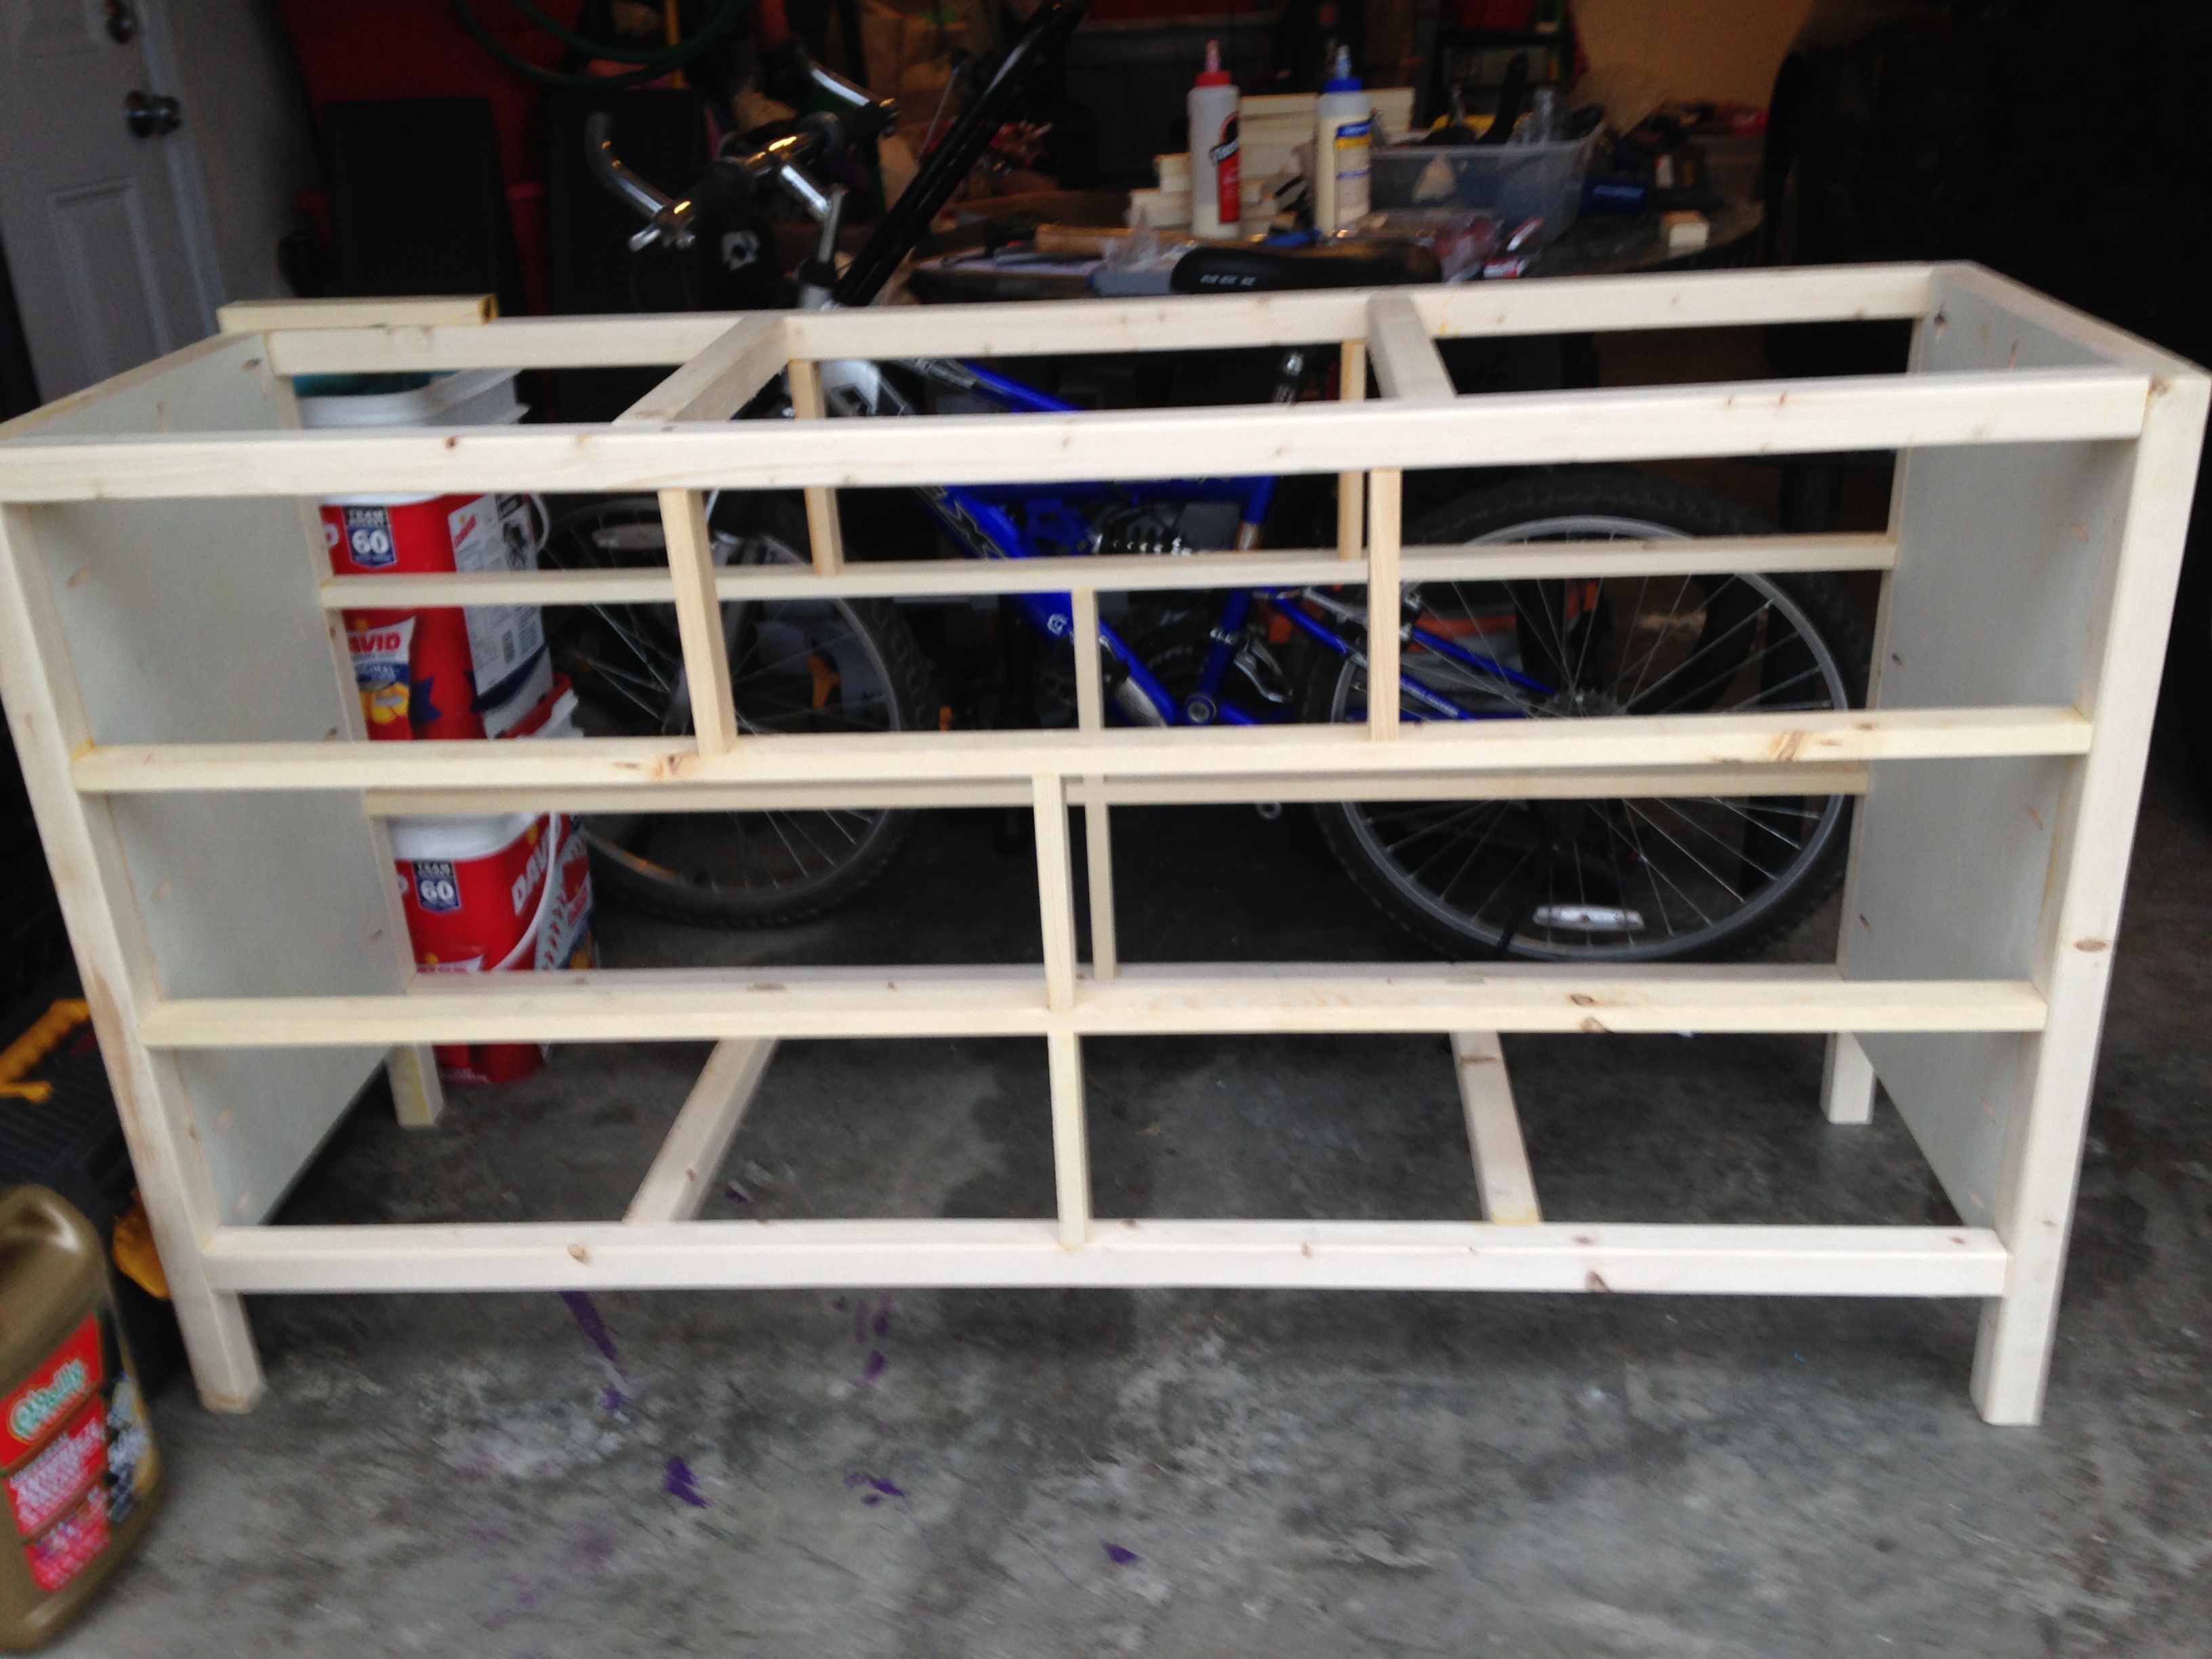
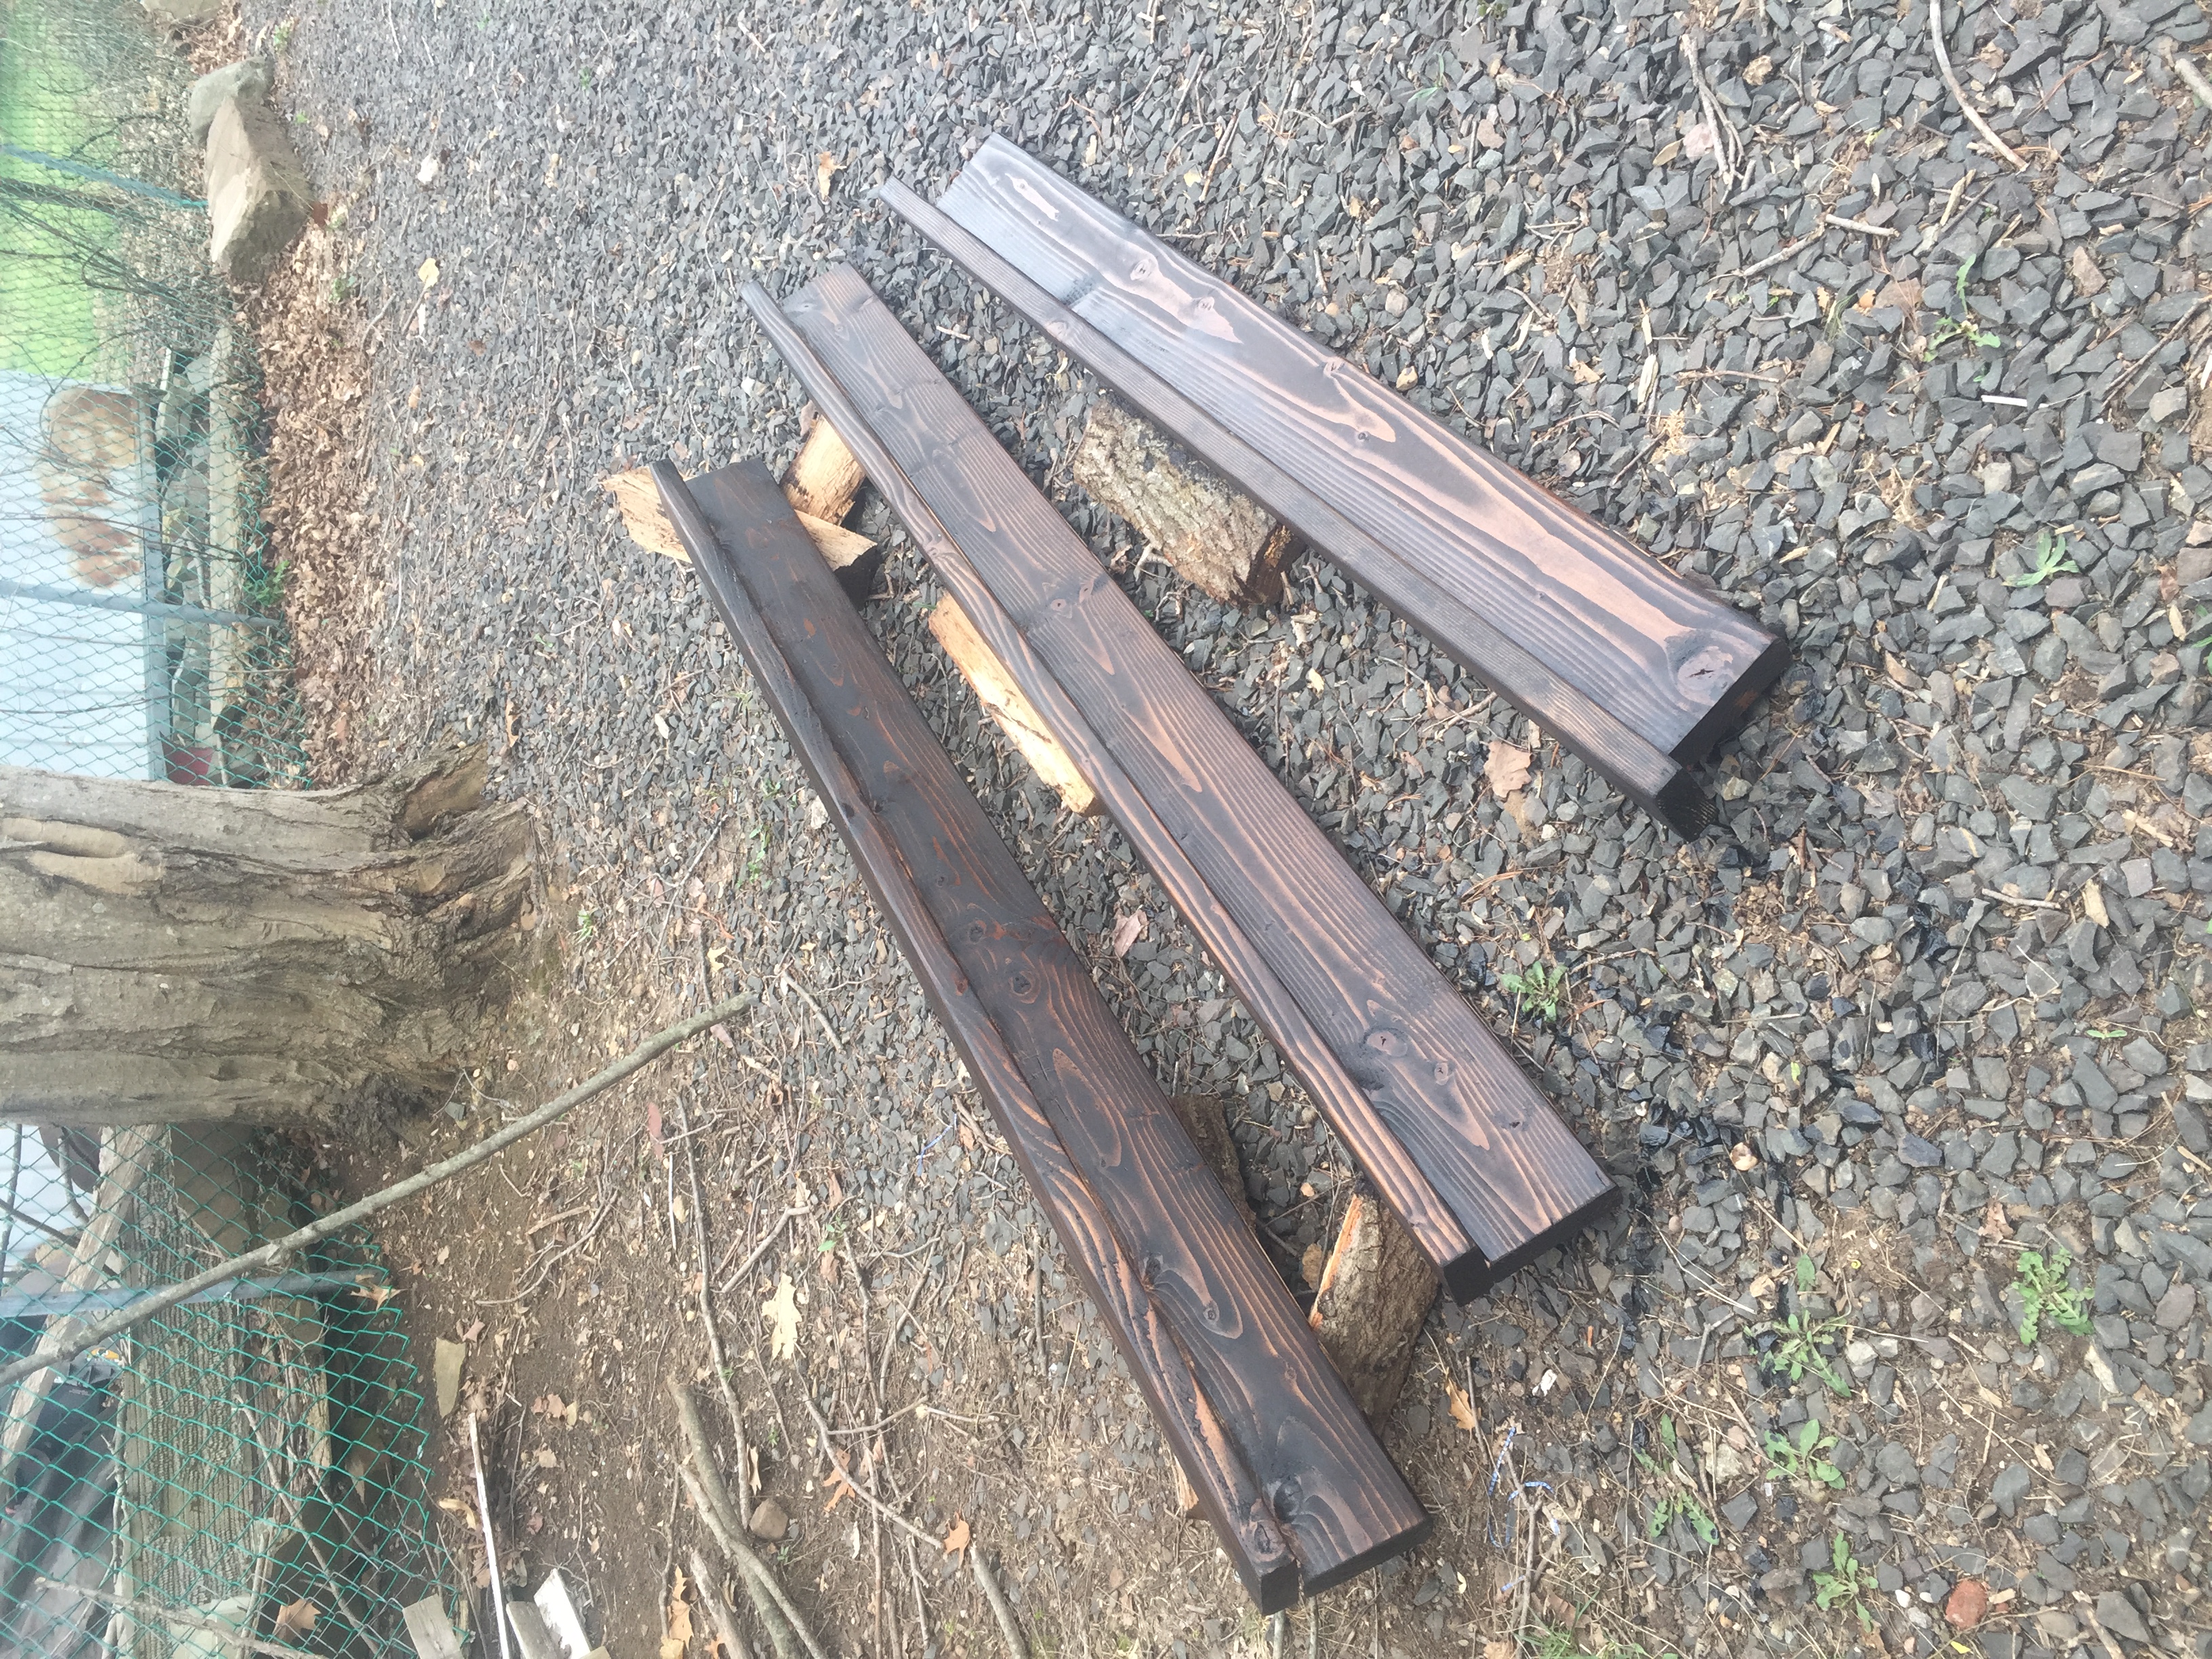
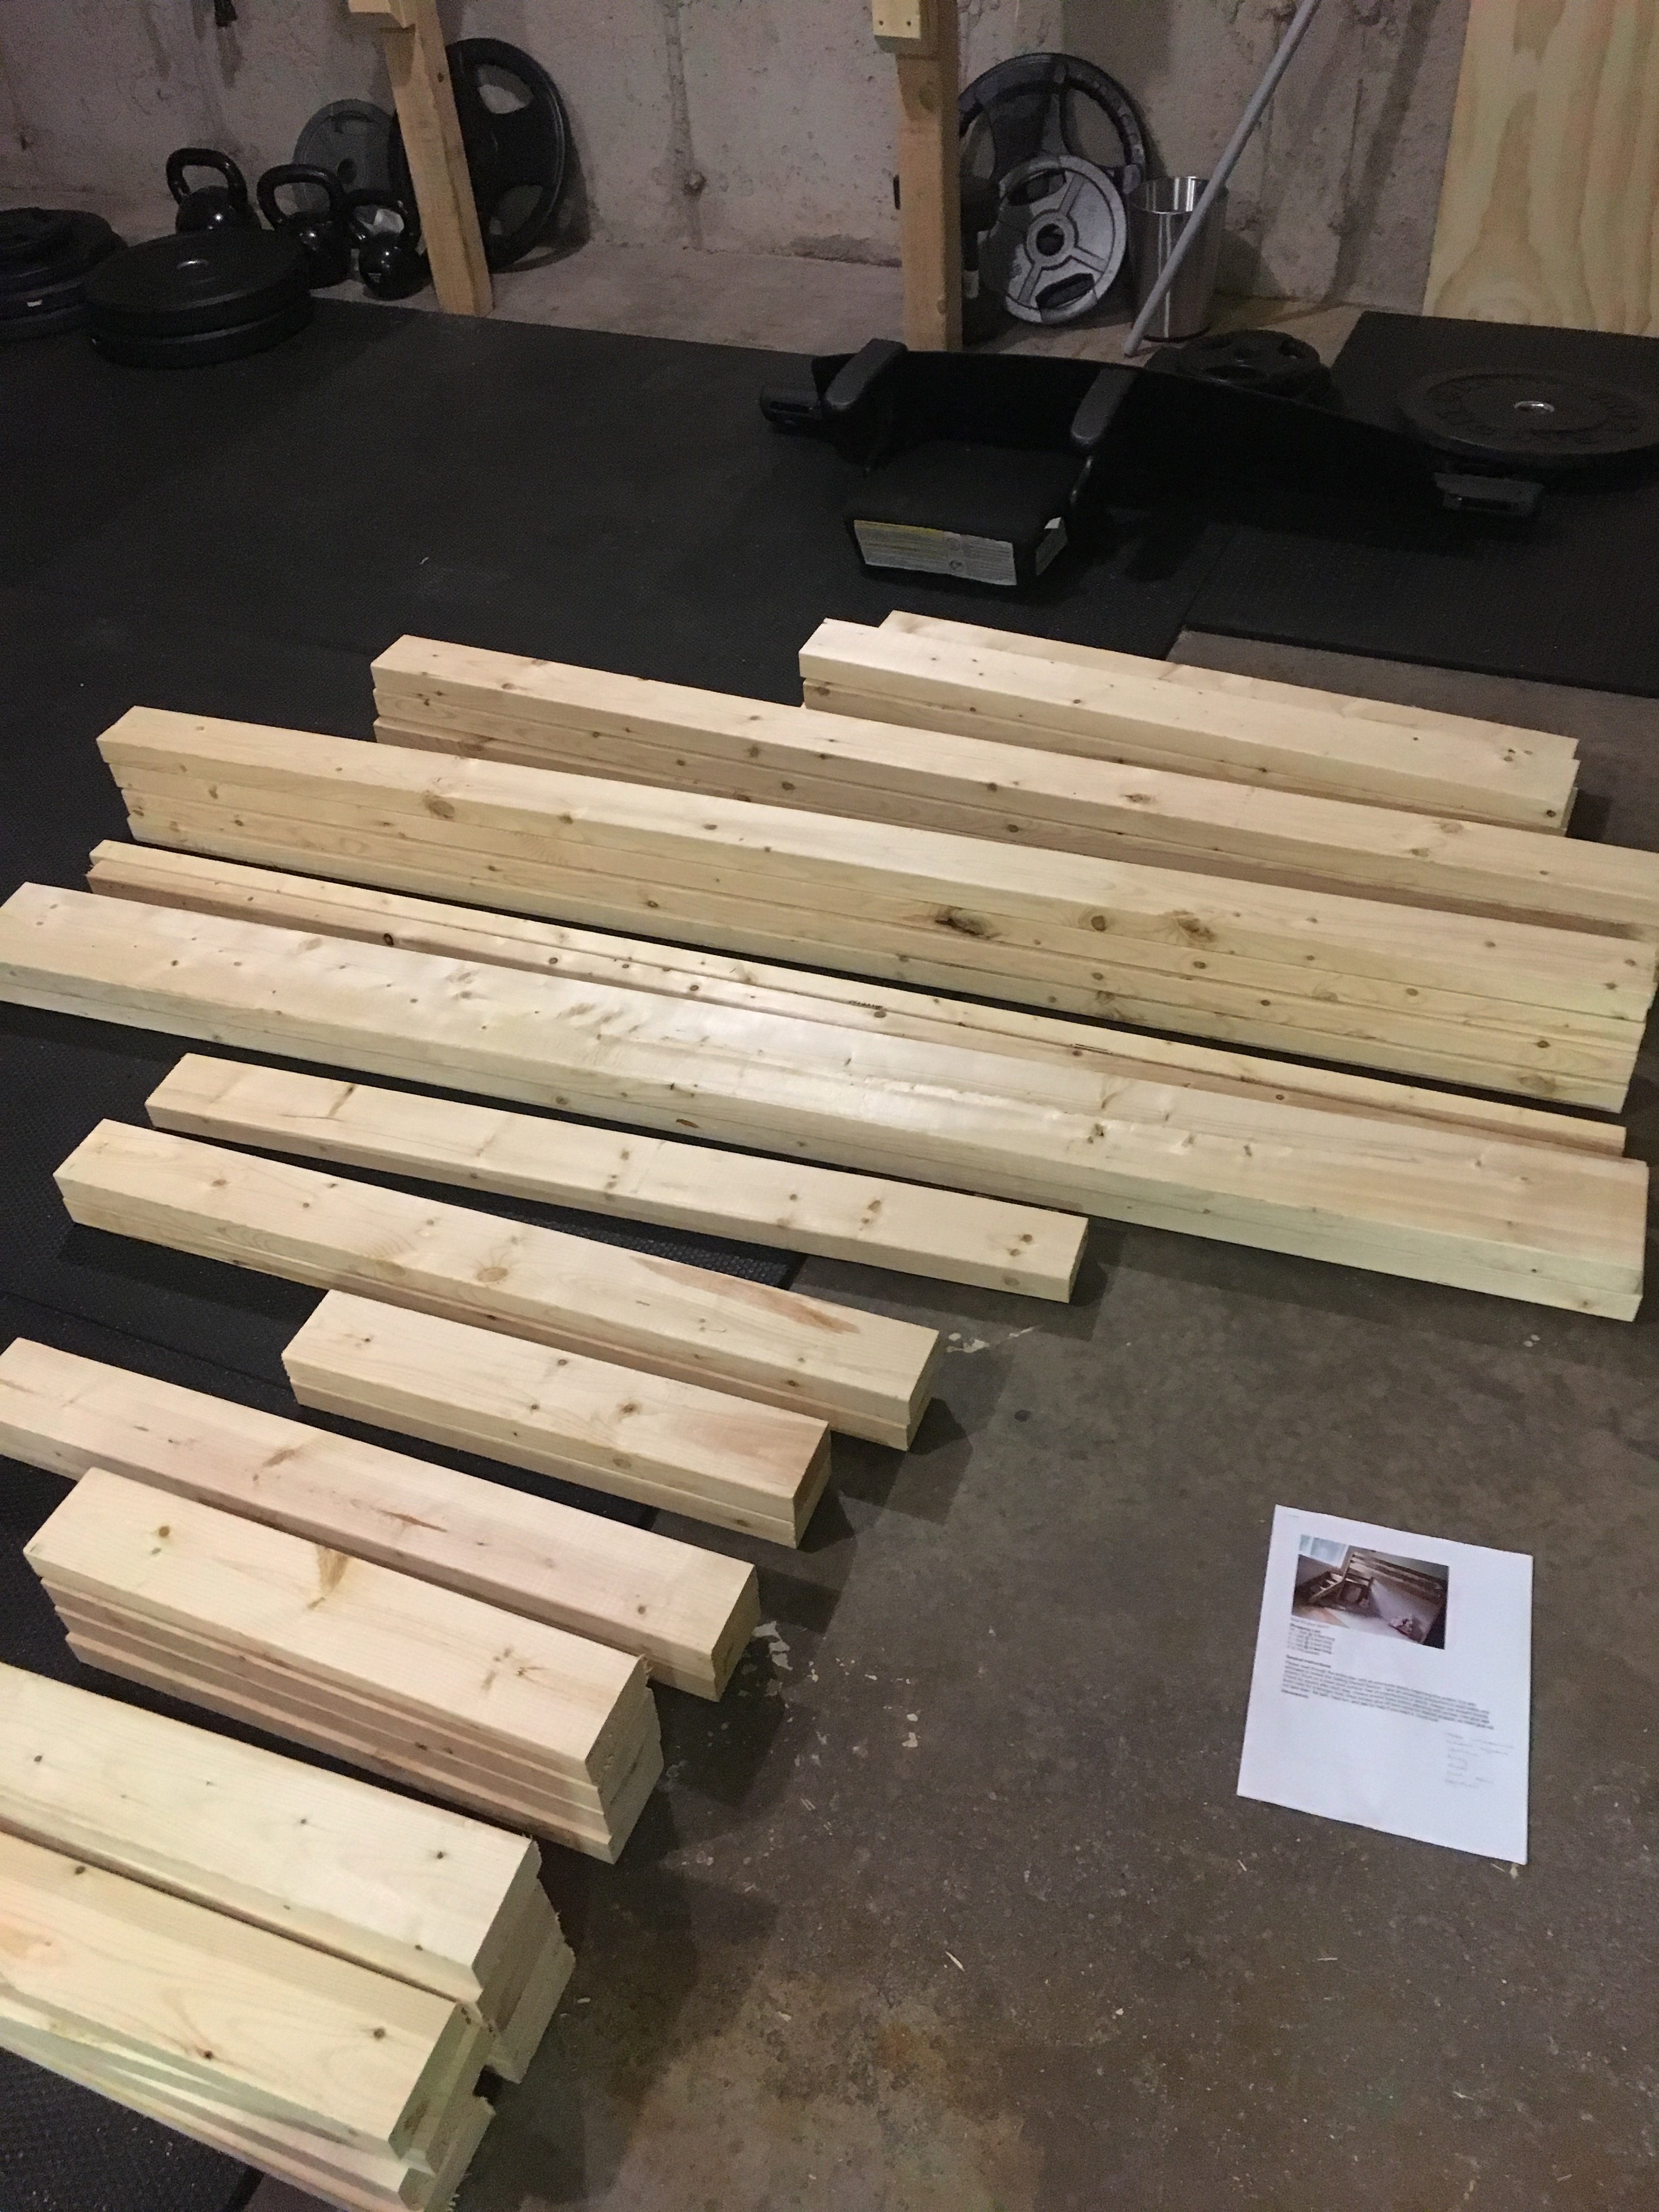
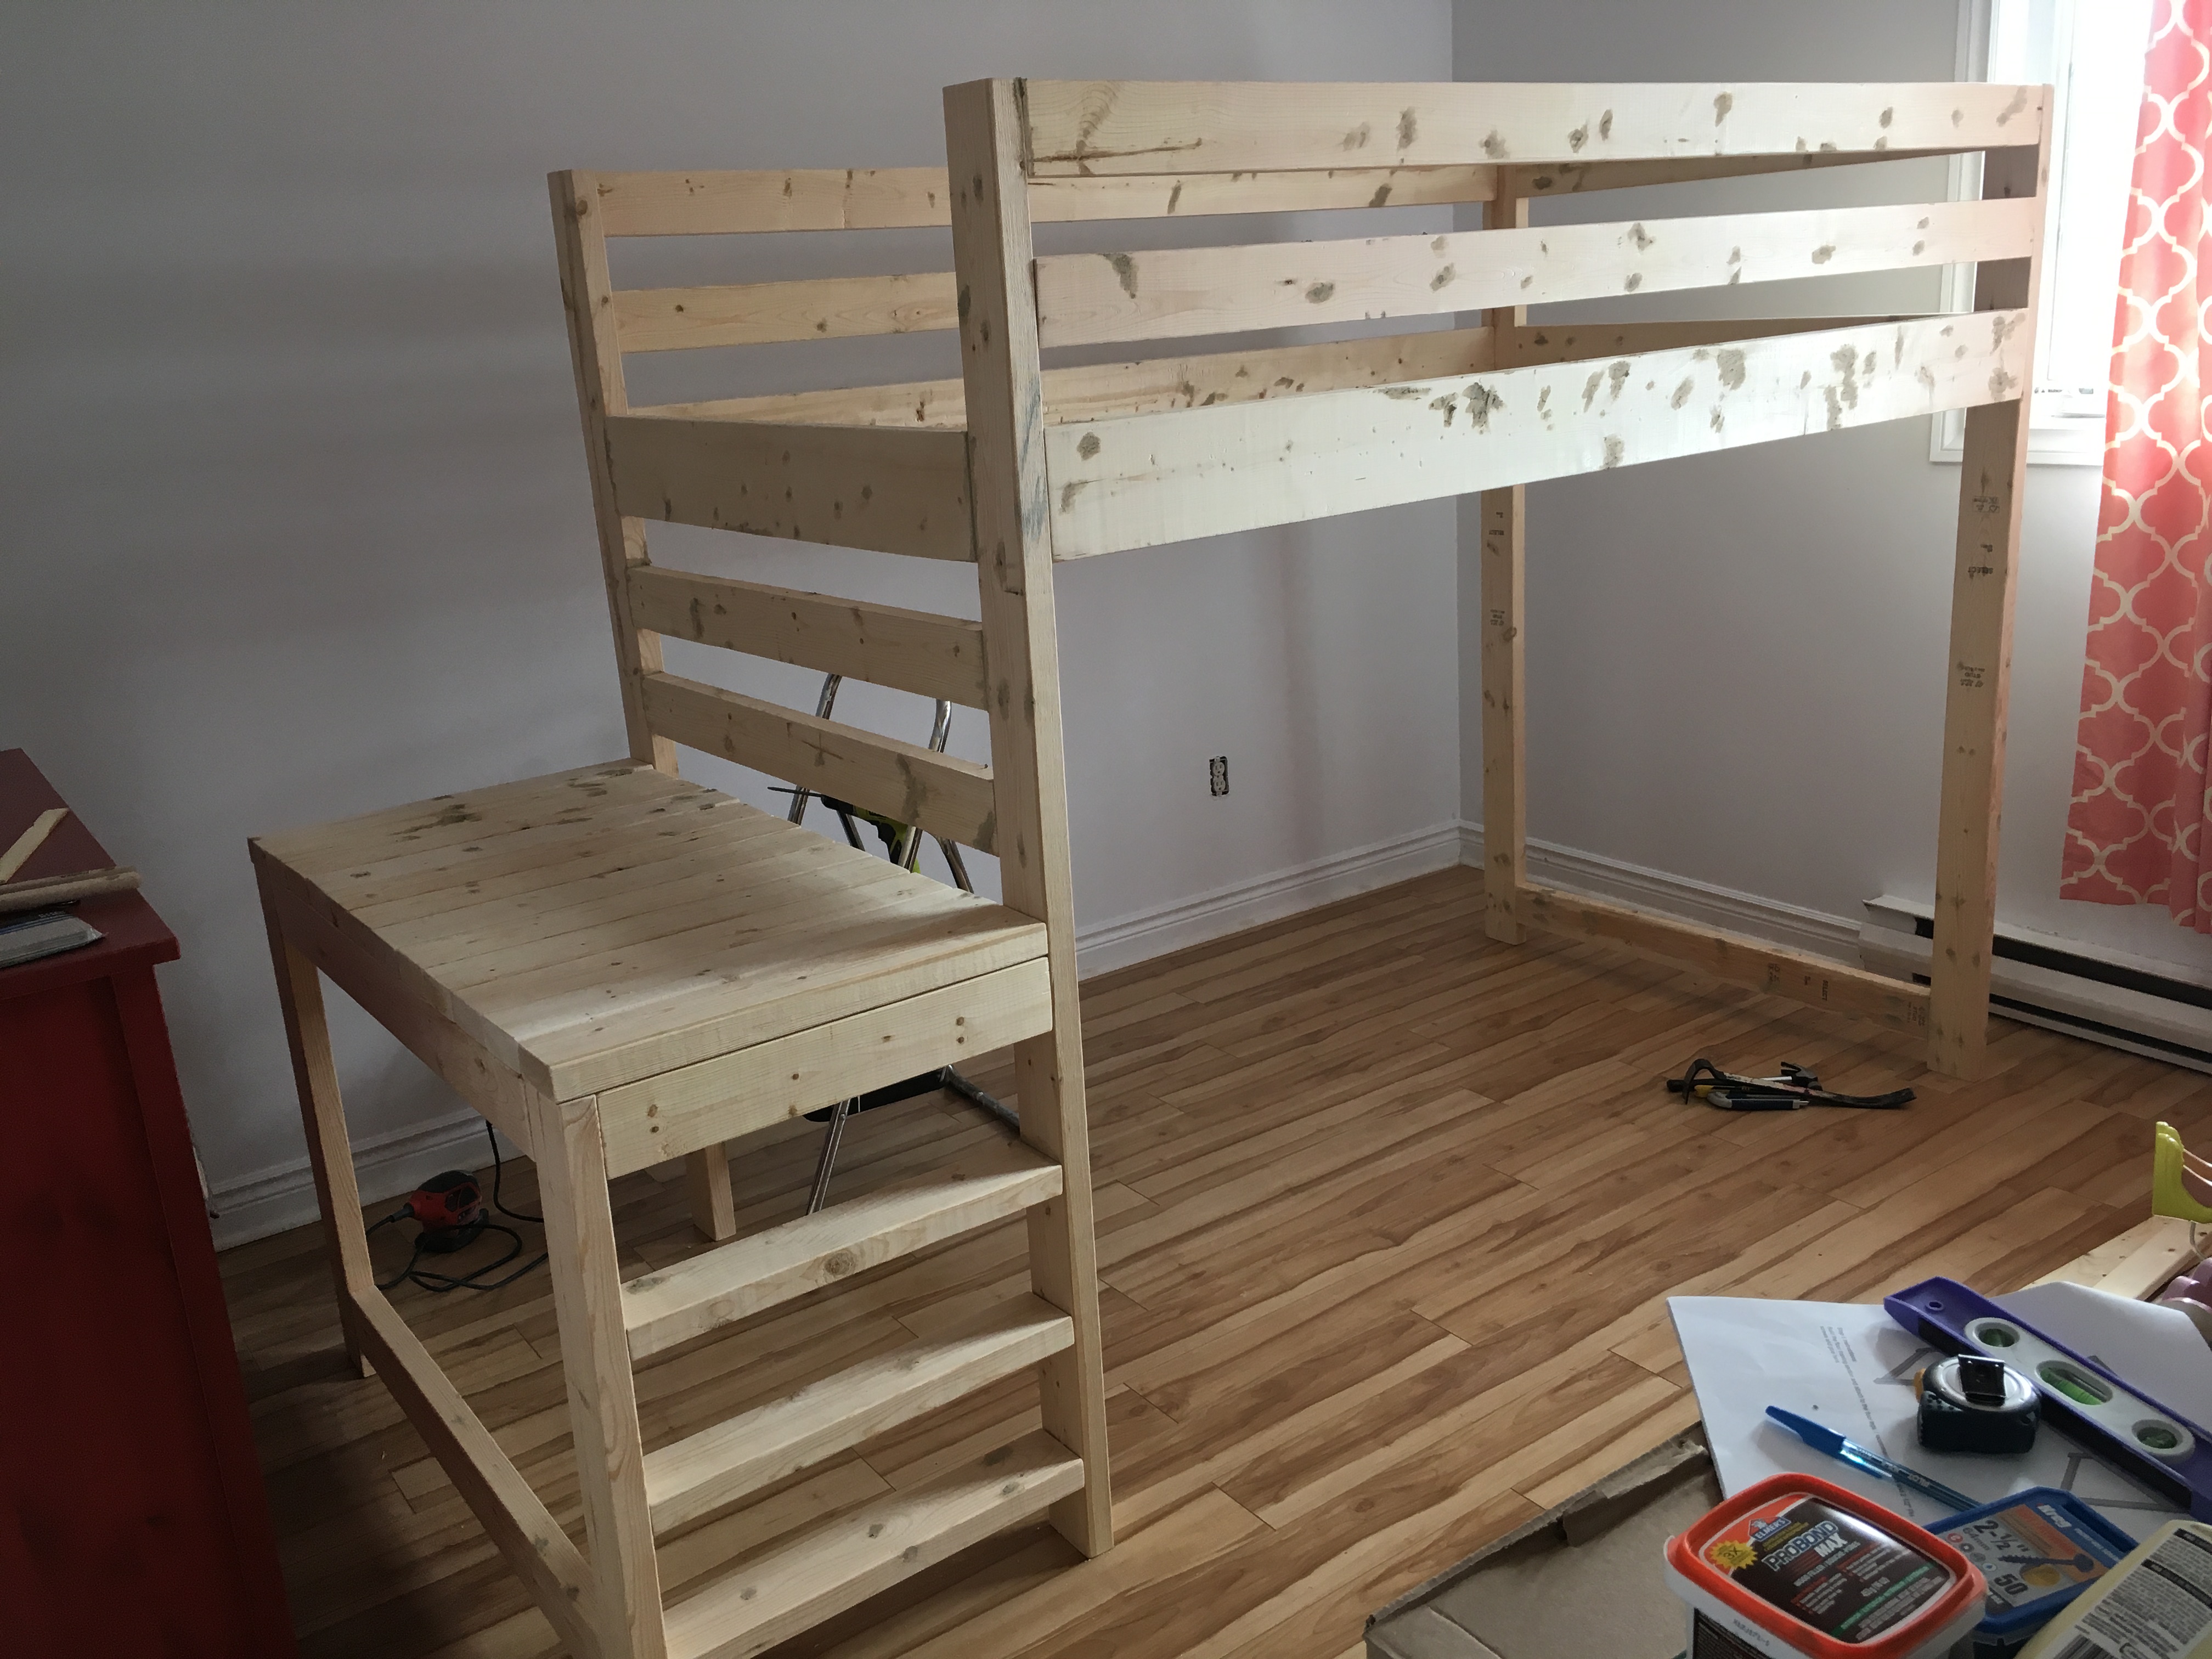
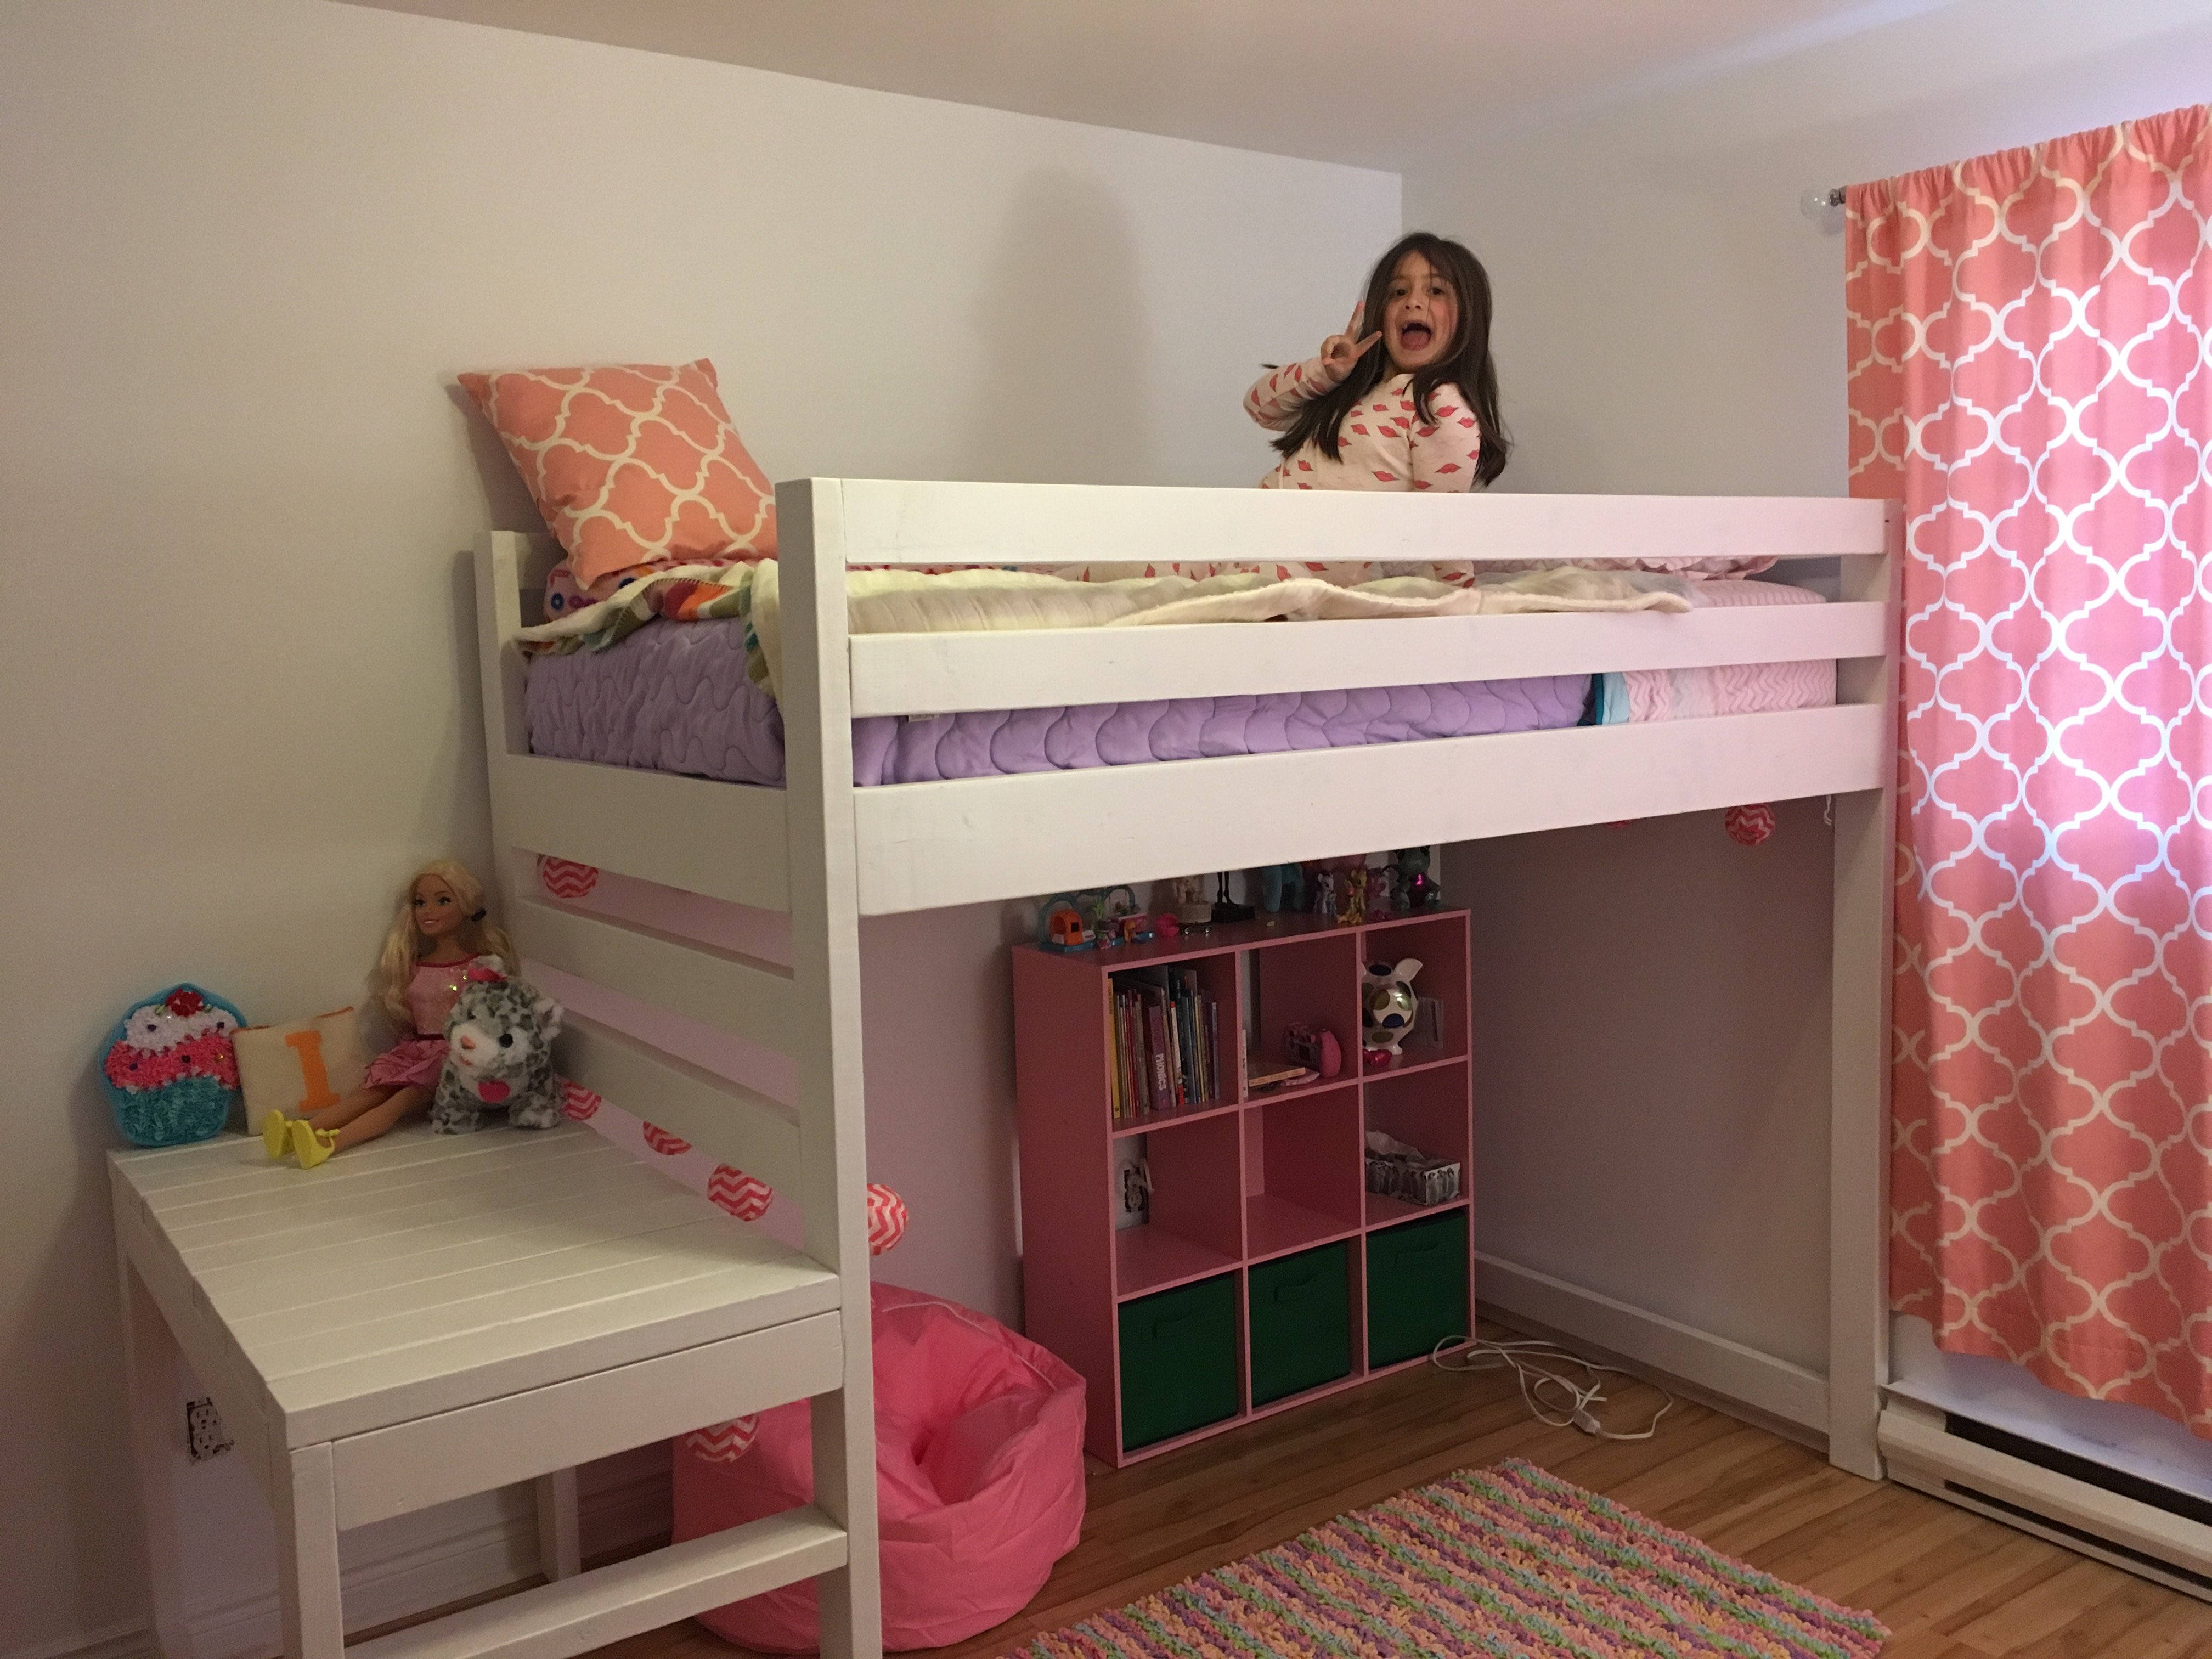
My wife loved the Benchwright table at pottery barn, and I did not love the price. Got a lot of ideas from this site and tried to make it my own. The outside and legs are made from 5"x5" Cypress, purchased from a local saw mill. I used a kreg jig on the entire thing along with lag bolts and glue. It is very heavy and I can jump up and down on it. Bought the hardware from Fastenal. Fun project, took about 16 hours total.

Built from Plan(s)
Estimated Cost
$400
Estimated Time Investment
Weekend Project (10-20 Hours)
Finish Used
Minwax Poly - 3 Coats
Recommended Skill Level
Advanced


Comments
chasekirby80
Sat, 03/02/2013 - 14:47
table
Test
rtberry89
Sat, 03/02/2013 - 18:30
I'm in love.
It's absolutely gorgeous. This is stunning. I'm incredibly jealous of this.
jbayer80
Sat, 03/02/2013 - 20:21
Holy Amazing!
This is by far my favorite table I've seen on here. Wow...its all I can say. I wish it was not in the $400 range.
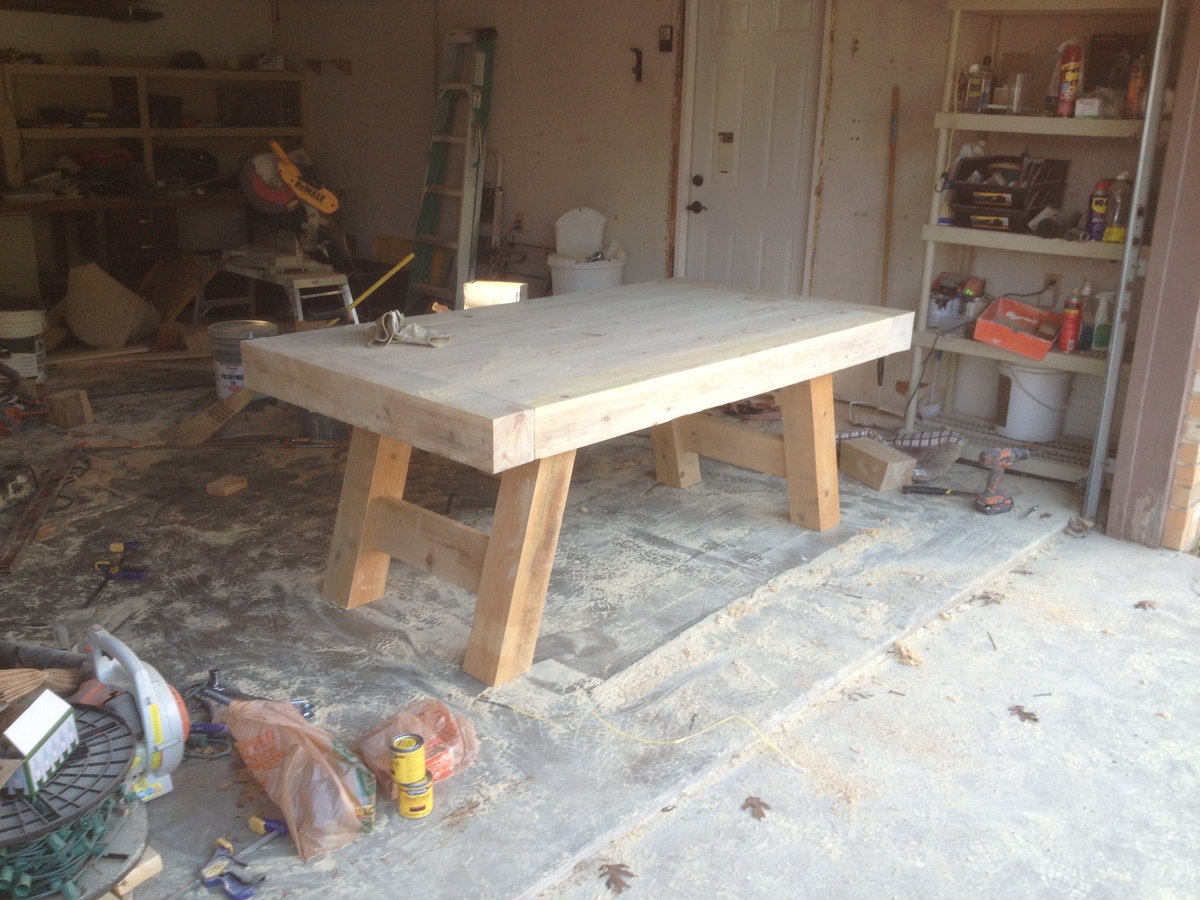
BTW, that is some serious saw dust. haha
In reply to Holy Amazing! by jbayer80
chasekirby80
Sun, 03/03/2013 - 05:50
Cost
Thank you,
I helped a buddy make on shortly after I made mine. He used 4x4 pine, it looks a little smaller and the pine did not stain as dark, but it is still a very nice looking table. He made it for under $150, so that might be a good option.
jbayer80
Sun, 03/03/2013 - 07:37
Great option
That is a great option. Hopefully when its time for a table like this I can afford the 5X5's.
What a statement that table has!
spiceylg
Mon, 03/04/2013 - 05:29
Wow
Absolutely stunning. Great job!
Rework
Tue, 07/30/2013 - 18:43
Wood for the top
You posted you used 5x5's for the outside and legs. What did you use for the rest of the top?