So this is my first ever work.
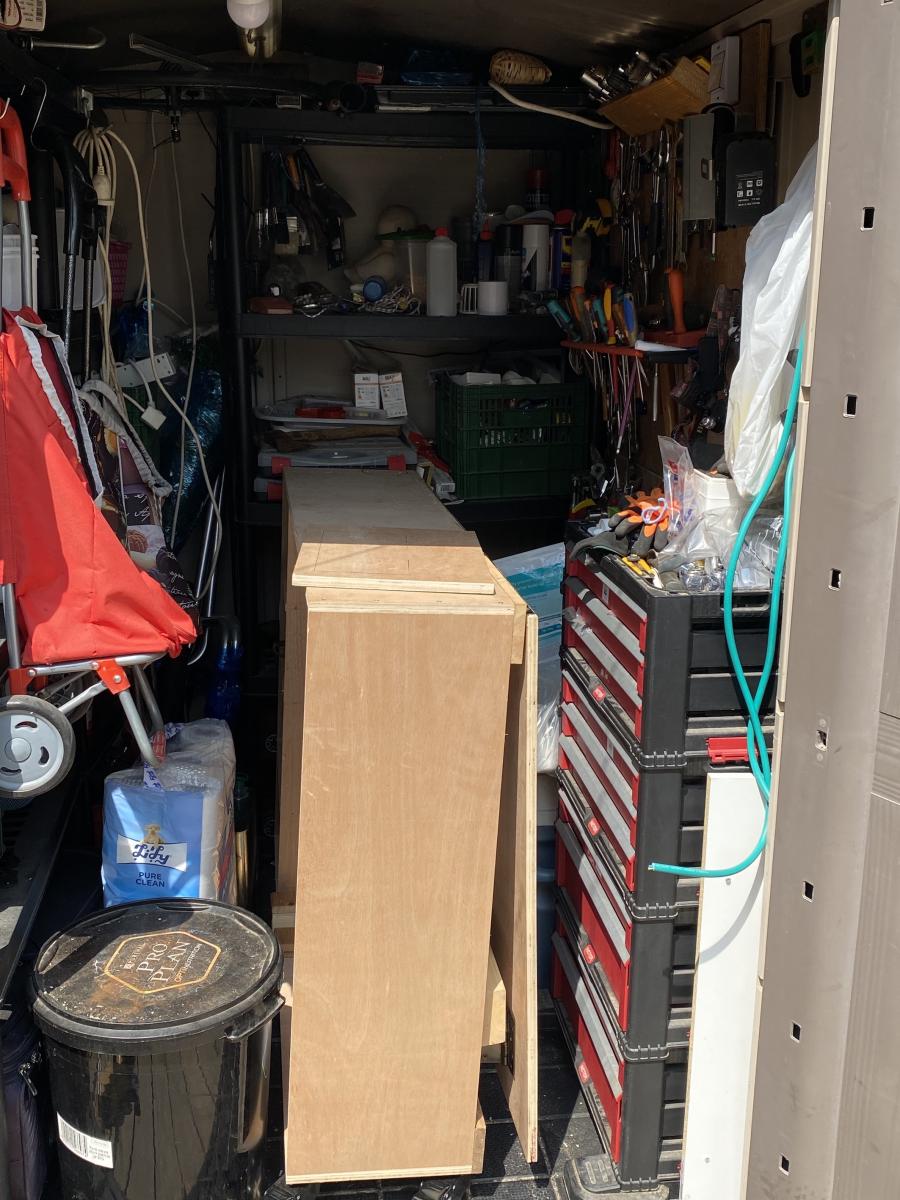
I have a very limited storage place (outside shed) and the super benefit, is that folded, this workbench is just the perfect fit (you can see in the picture how well it's fitted).
I am a tall person, so I took the liberty to add some CM's to the total height, and also extend the 'Flap' to be bigger. It's both beneficial but also adds some risk, as it's less stable when folded. And needs to be taken care when moving around.
I added magnets to the legs, with a piece of metal on the bottom side of the flap, so when opening the flap, the legs are held until released. (you need a fairly strong magnet for the 2X4.
One thing I noticed, and needs to modify is that the hinges holes are paralel to each other, that mean, that you either need very flat screws, or as I did, screwed them on alternating holes. So when closed, there is no pressure from the tip of the screw. Another solution is to use a hinge where the holes are not parallel to each other. ( i saw something like that online.)
I still want to add 2 top drawers, and a shelf, but it's pretty complete and functional as it is.
Super excited !!!