Mini farmhouse nursery table
Needed a small table for the nursery and this was perfect!
Needed a small table for the nursery and this was perfect!

Made this to match the Tryde coffee and end table I made for my other half. She loved them, and loves this. We added the bottom piece which wasn't part of the plan. Using the 2x4 in different direction gave it a unique look. We love it.
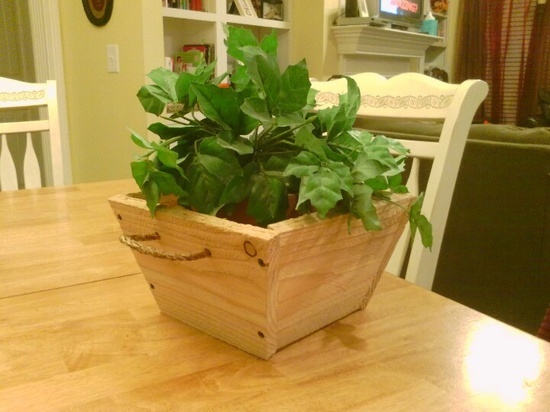
You were right, this really was super-easy and super-cheap!
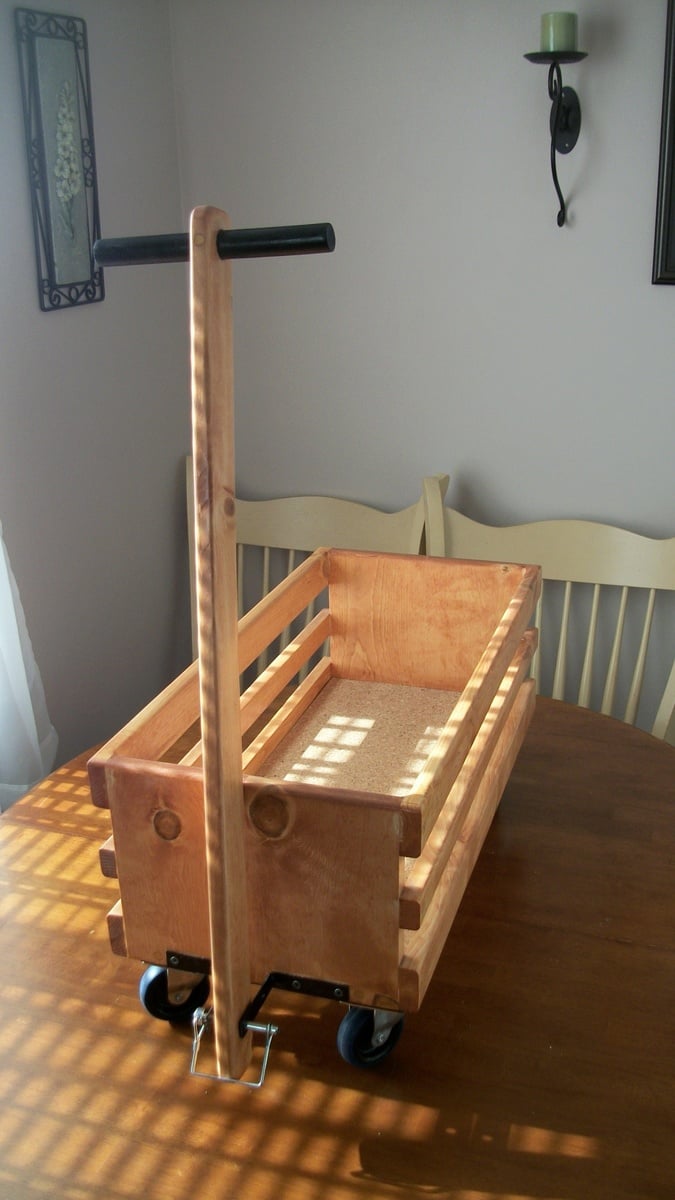
Based this wagon on plans found on Ana White's site. I built this for a 2 year old girl of a co-worker. She is right now using it to pull around her dolls.
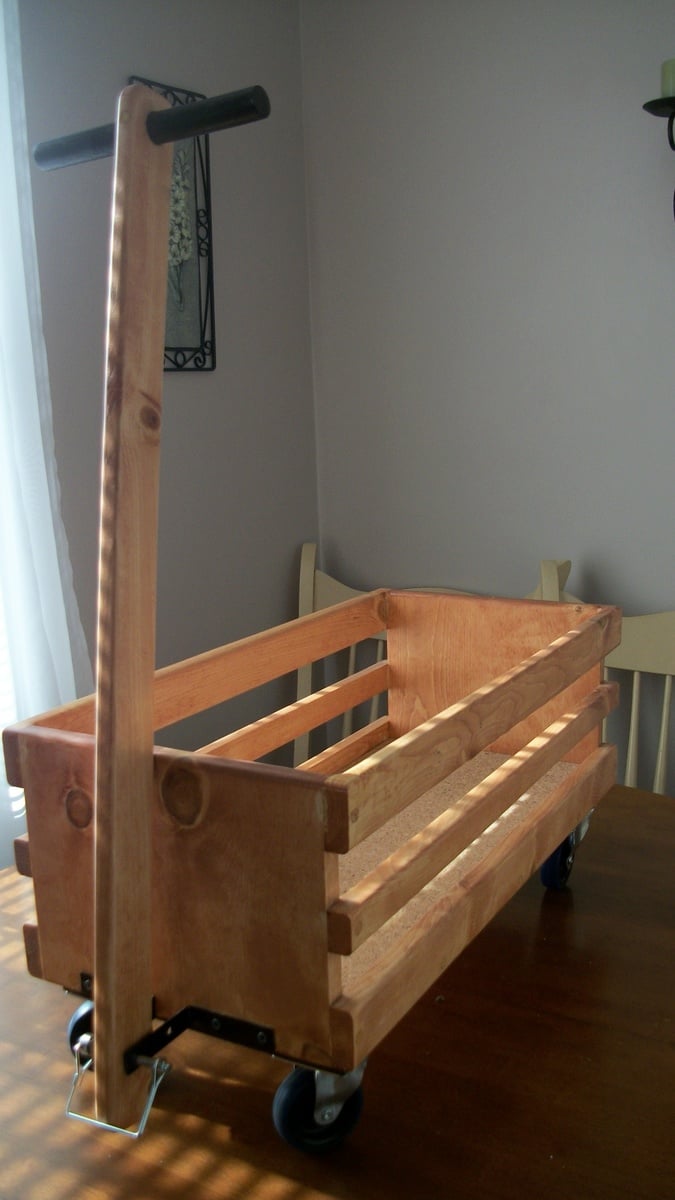
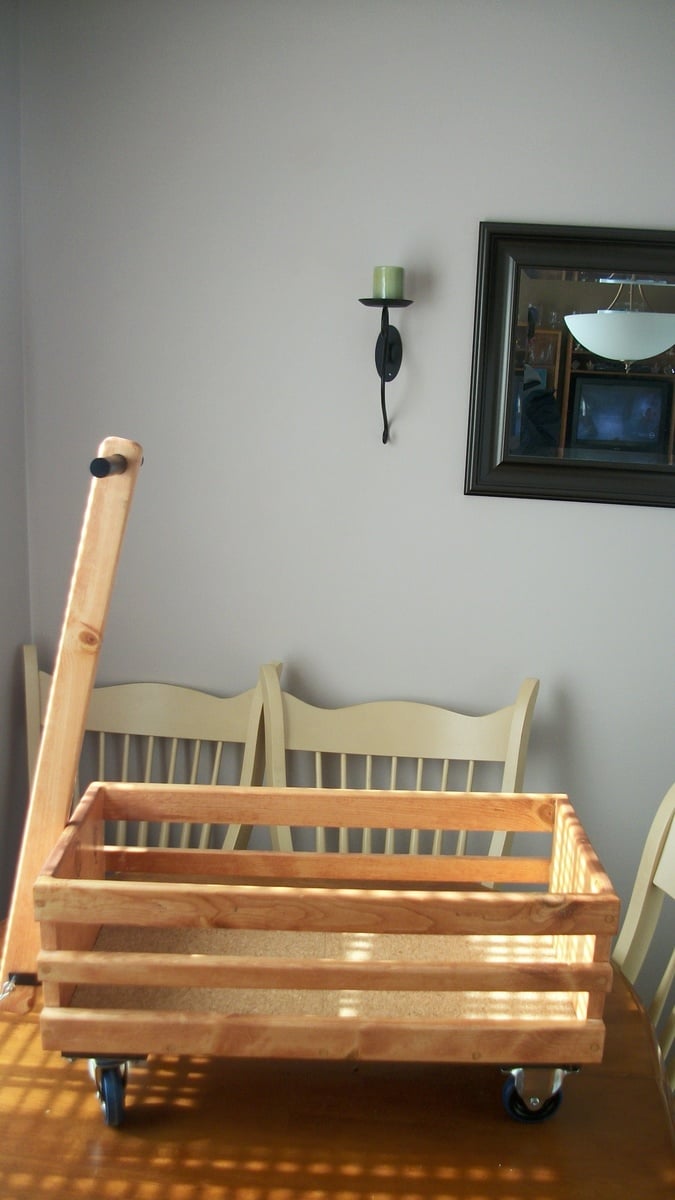

These floating shelves were so simple and are so strong! I decided to not attach the tops because you can’t see up there anyways. So will make a good hidden storage spot for small items.
My first project besides some simple shelves. I wanted to use old sturdy wood I had from parts of a bed so I used the ana white plan but improvised quite a bit. I also accidentally made it much higher but like it this way. I am going to paint it a deep bright greek blue in the spring. I am happy with it!
I built this closet system for our basement gym as a Christmas present to my boyfriend. He loved it!
I stained all of the boards before building as suggested in the plan - it definitely saved a lot of time and stress. After cutting and staining, and I brought all of the pieces downstairs to build.
The actual building went relatively quickly, but without perfectly straight boards, the shelves themselves were a little tricky. I also just nailed the shelf boards down with wood glue rather than screwing them in to save time - it's still sturdy and secure.
The length of the closet is about 8 feet long, so the middle shelf is about 1 foot and the two rod shelves are about 3.5 feet long.
This was pretty easy and inexpensive to make. I'm going to make the coffee table this weekend, but converting it to a chest with a lift top. Purchased some cantilever hinges for that on Amazon for about $35. Will post pics of that once it's done. Sorry the photos came out sideways....They keep uploading that way even though they are right side up on my iPad......

My wife wanted me to build a chair for our son, who is about to turn 1. The idea is that he'll take pictures with this chair throughout the years. I searched high & low for the perfect chair that my wife would like and found nothing. I don't know why I didn't just come to your page first, I've visited for years. I dressed it up a little using stringers (porch railing) for legs instead of 1x's, and button plugs vs. putty to cover the screws. Just needs paint and its done. The wife loves it!

Easy Peasy!
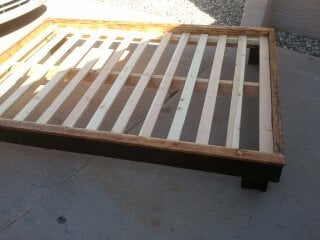
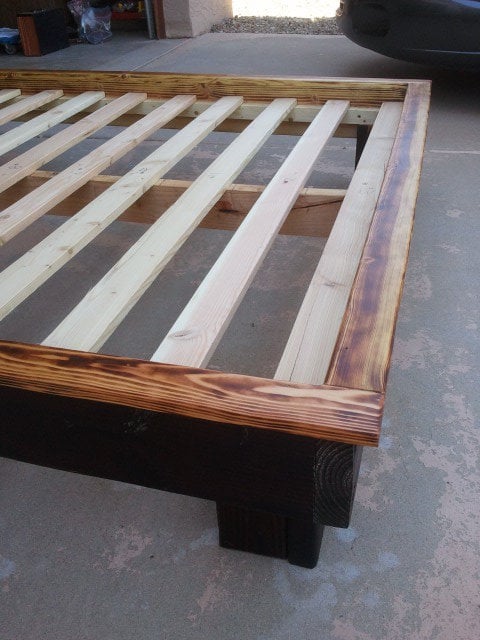
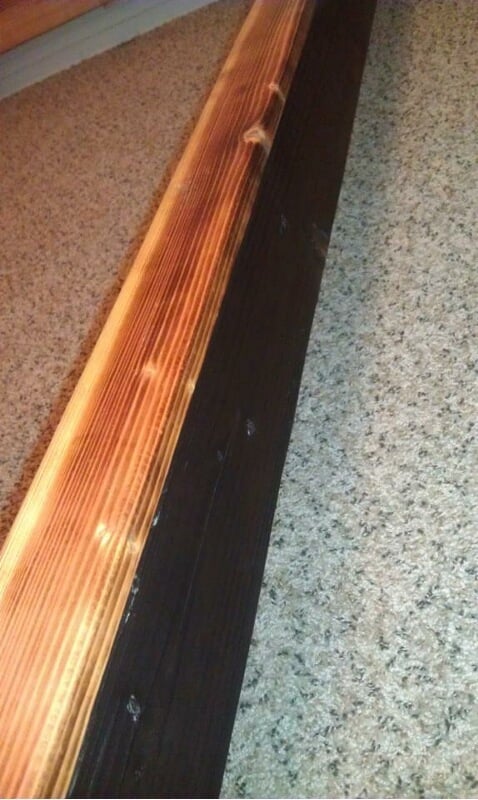
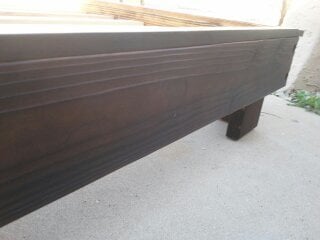
Materials & cost: Framing grade pine and 1x3 furring strips. $110 including finish materials.
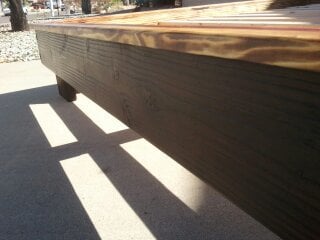
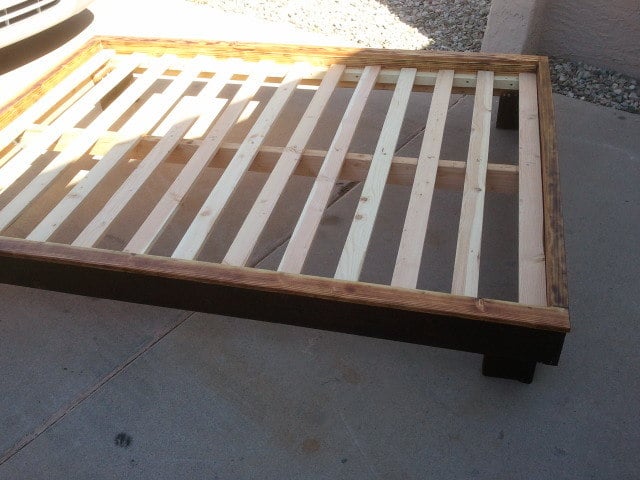
I used some of the excess 2 x 6 that I had left over to make the feet square instead of just using 2x4s like in the plans. just cut them to the same length as the 2x4 feet, then butt them up against the 2x4 feet and mount them to the frame.
Also, I made the support beam removable by using face-mount 2x4 joist hangars to hold it instead of bolts.
Total build time = less than one week
Next project will be a custom headboard for it..
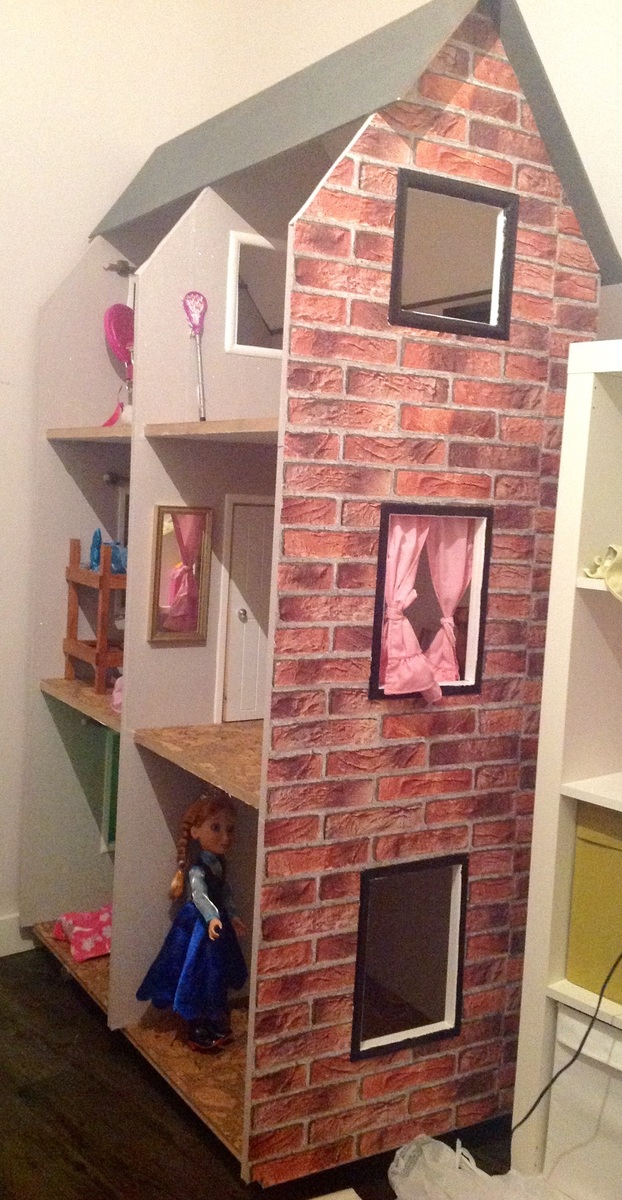
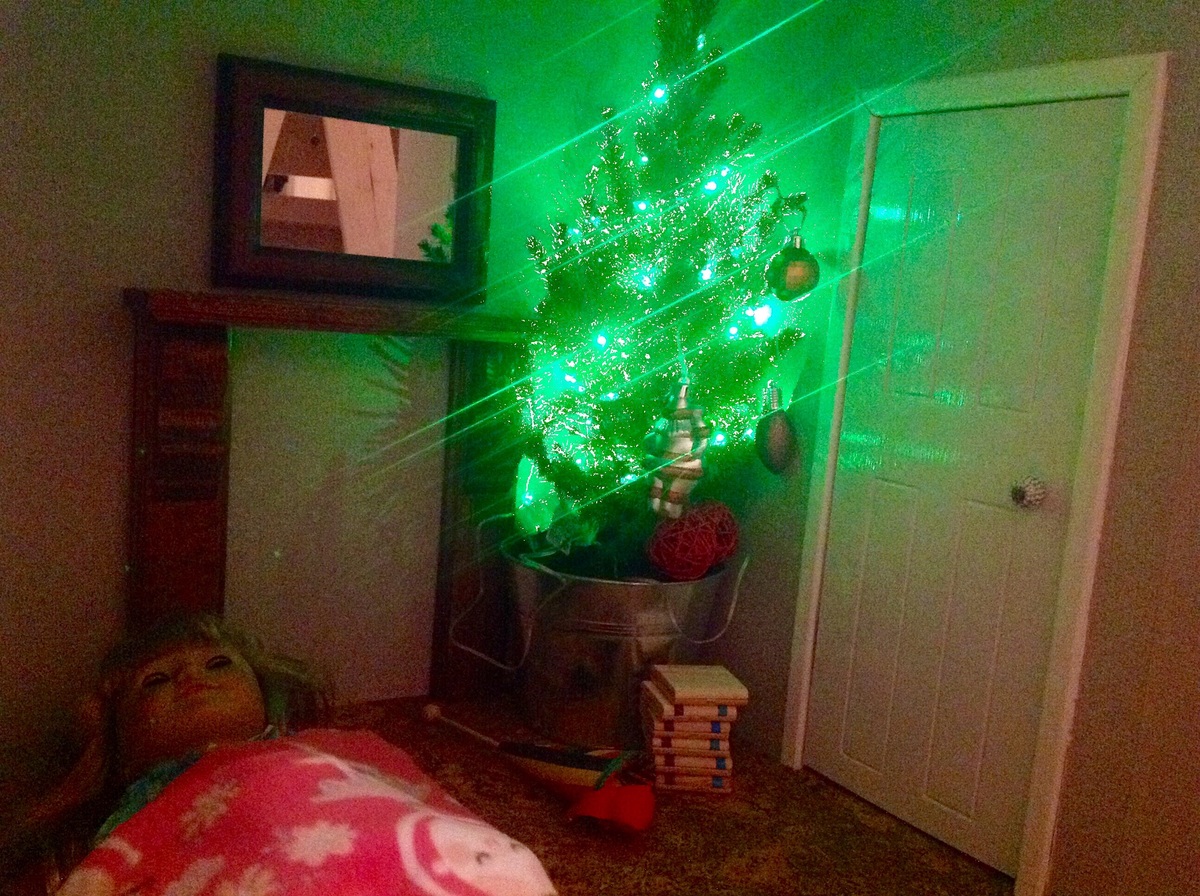
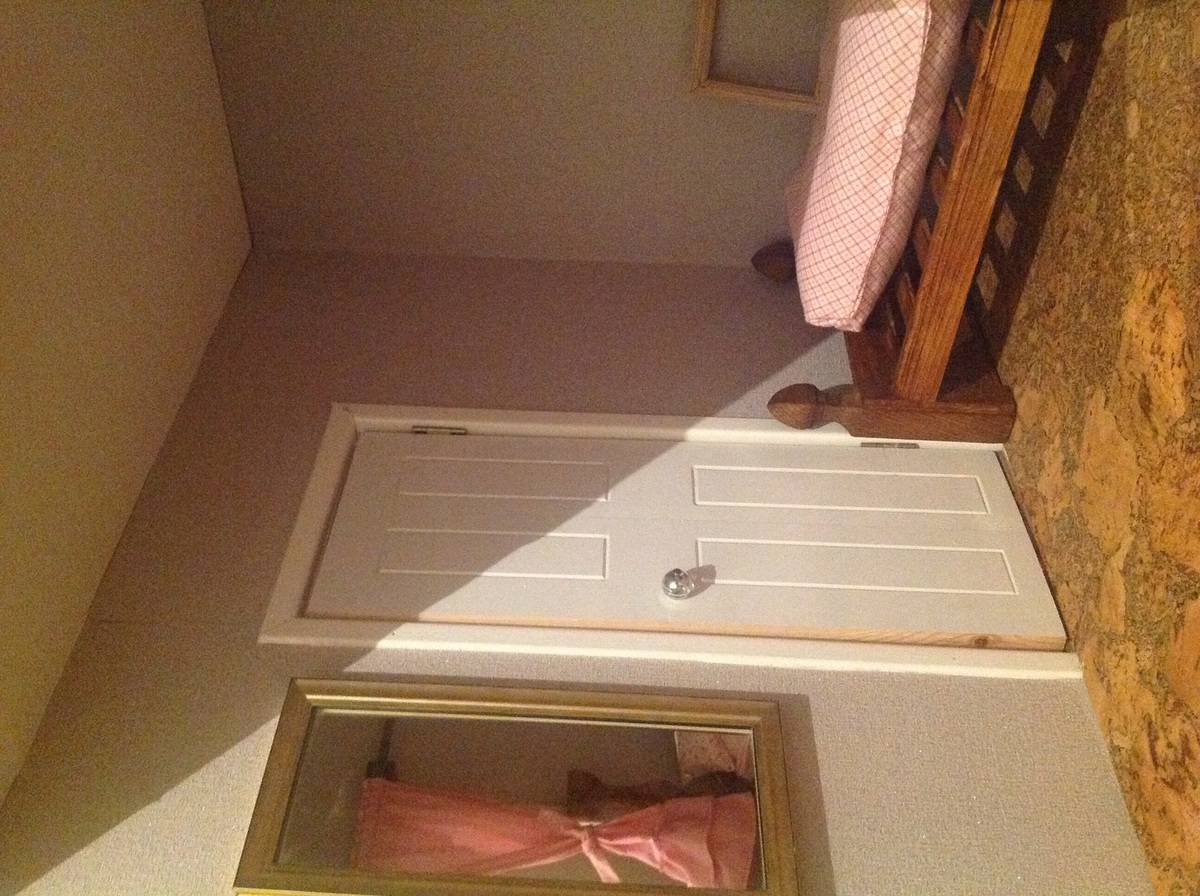
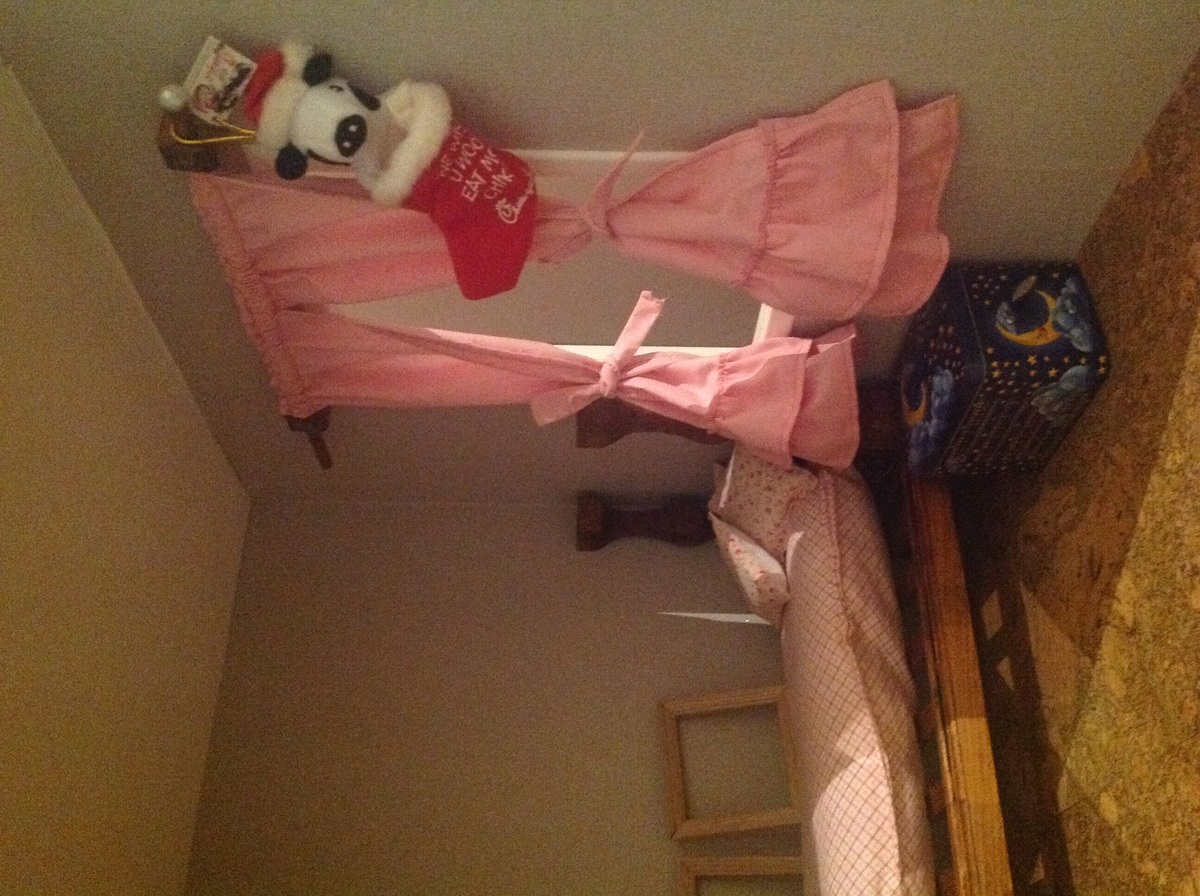
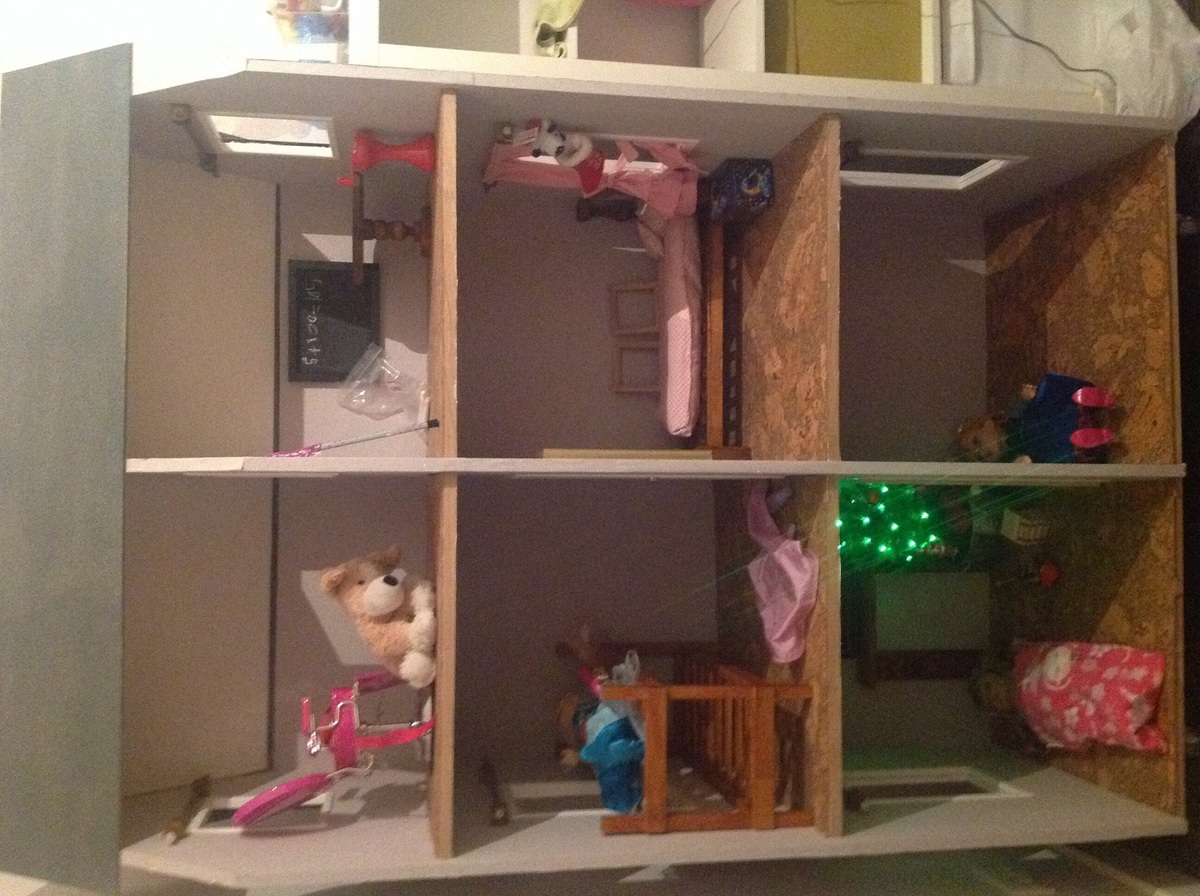
I followed the plan for making the shell of the house, but since I have access to help and the on-post woodshop I made a few changes. We cut a 2x4 to fit the doorway, and then used the lazer cutter to make the panels, after sanding and painting, I used a necklace bead as the doorknob. We also cut some 1" square blocks and drilled the center, the used the grinder to round them out to make a holder for the dowl curtain rod. I also used scrap frame wood for the window/door trim. Then I covered the entire house in wallpaper! The outside is a brick wallpaper, the inside is a gray/silver with sparkles, and the ceiling is white with sparkles. I used cork for the floor so it would be soft and warm feeling. It took me a long time, but I am very happy with the results. My daughter was thrilled to recieve this on Christmas morning!

Built a pair of these for the master bedroom as my first project... Not too bad, very functional, and I was able to use mostly wood I had laying around...
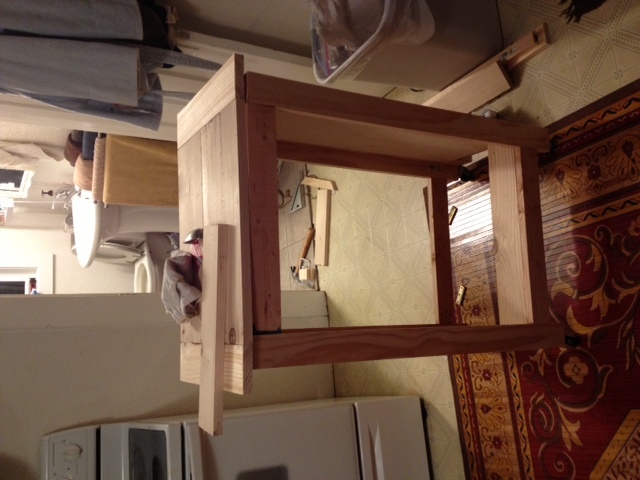
I saw Ana's tilt trashcan plan and I knew that I had to tackle this bad boy. I didn't want anything stationary because my 1910 kitchen is big but also pushed against the walls. My stove is 7 steps from a counter top so prep is kind of a pain.
I modified Ana's original plan to be taller and even (well, close) with the stove's height for extra counter space. I also wanted a slide out cutting board with a hole so that while I'm chopping my ingredients, I can scoop it into the hole that drops directly into the trash.
I'm a very ambitious girl who doesn't like to be told that I can't do something. This is also my second built....my first is a huge craft supply cabinet made from old barn wood that is lovingly referred to as 'The Outhouse'. My tools are limited to a 7in circular saw, drill, and Kreg Gig. I knew this would be tough but after a few head scratches, I have a pretty cool island.
If you have questions about what I asked, please ask. There are all types of wicked little tricks/fixes in this beast.
Sun, 09/21/2014 - 08:11
we are about to start building and island based off this plan as well and i love the holy cutting board idea. do you have pictures of that or advice on how to accomplish it? we plan to make it twice the width with two trash cans. ( we have 5 kids= lots of trash!)
We made this bed in the king size. DEFINITELY sand each shim prior to gluing it down. It is definitely no fun rolling over in the night and hurting my hand on the rough shims. I would also recommend staining the headboard (the base for the shims) prior to gluing down shims so that any holes between shims blend in with the stain color underneath. We did not and there are a couple spots that you can see the plain wood under the shims. Also, we did what they recommended in the plans to secure the side rails. The bed is not very stable and squeaks. We keep talking about altering it somewhat, but it's so dang heavy that we have been putting it off. One other thing that I wish we had done would have been to sand off the corners of the end of the footboard. We've gotten a few bruises from walking into the ends. It cost more than we expected and it took longer. But overall, we love it and are very happy with it. Just wish we had known now to do some things differently.
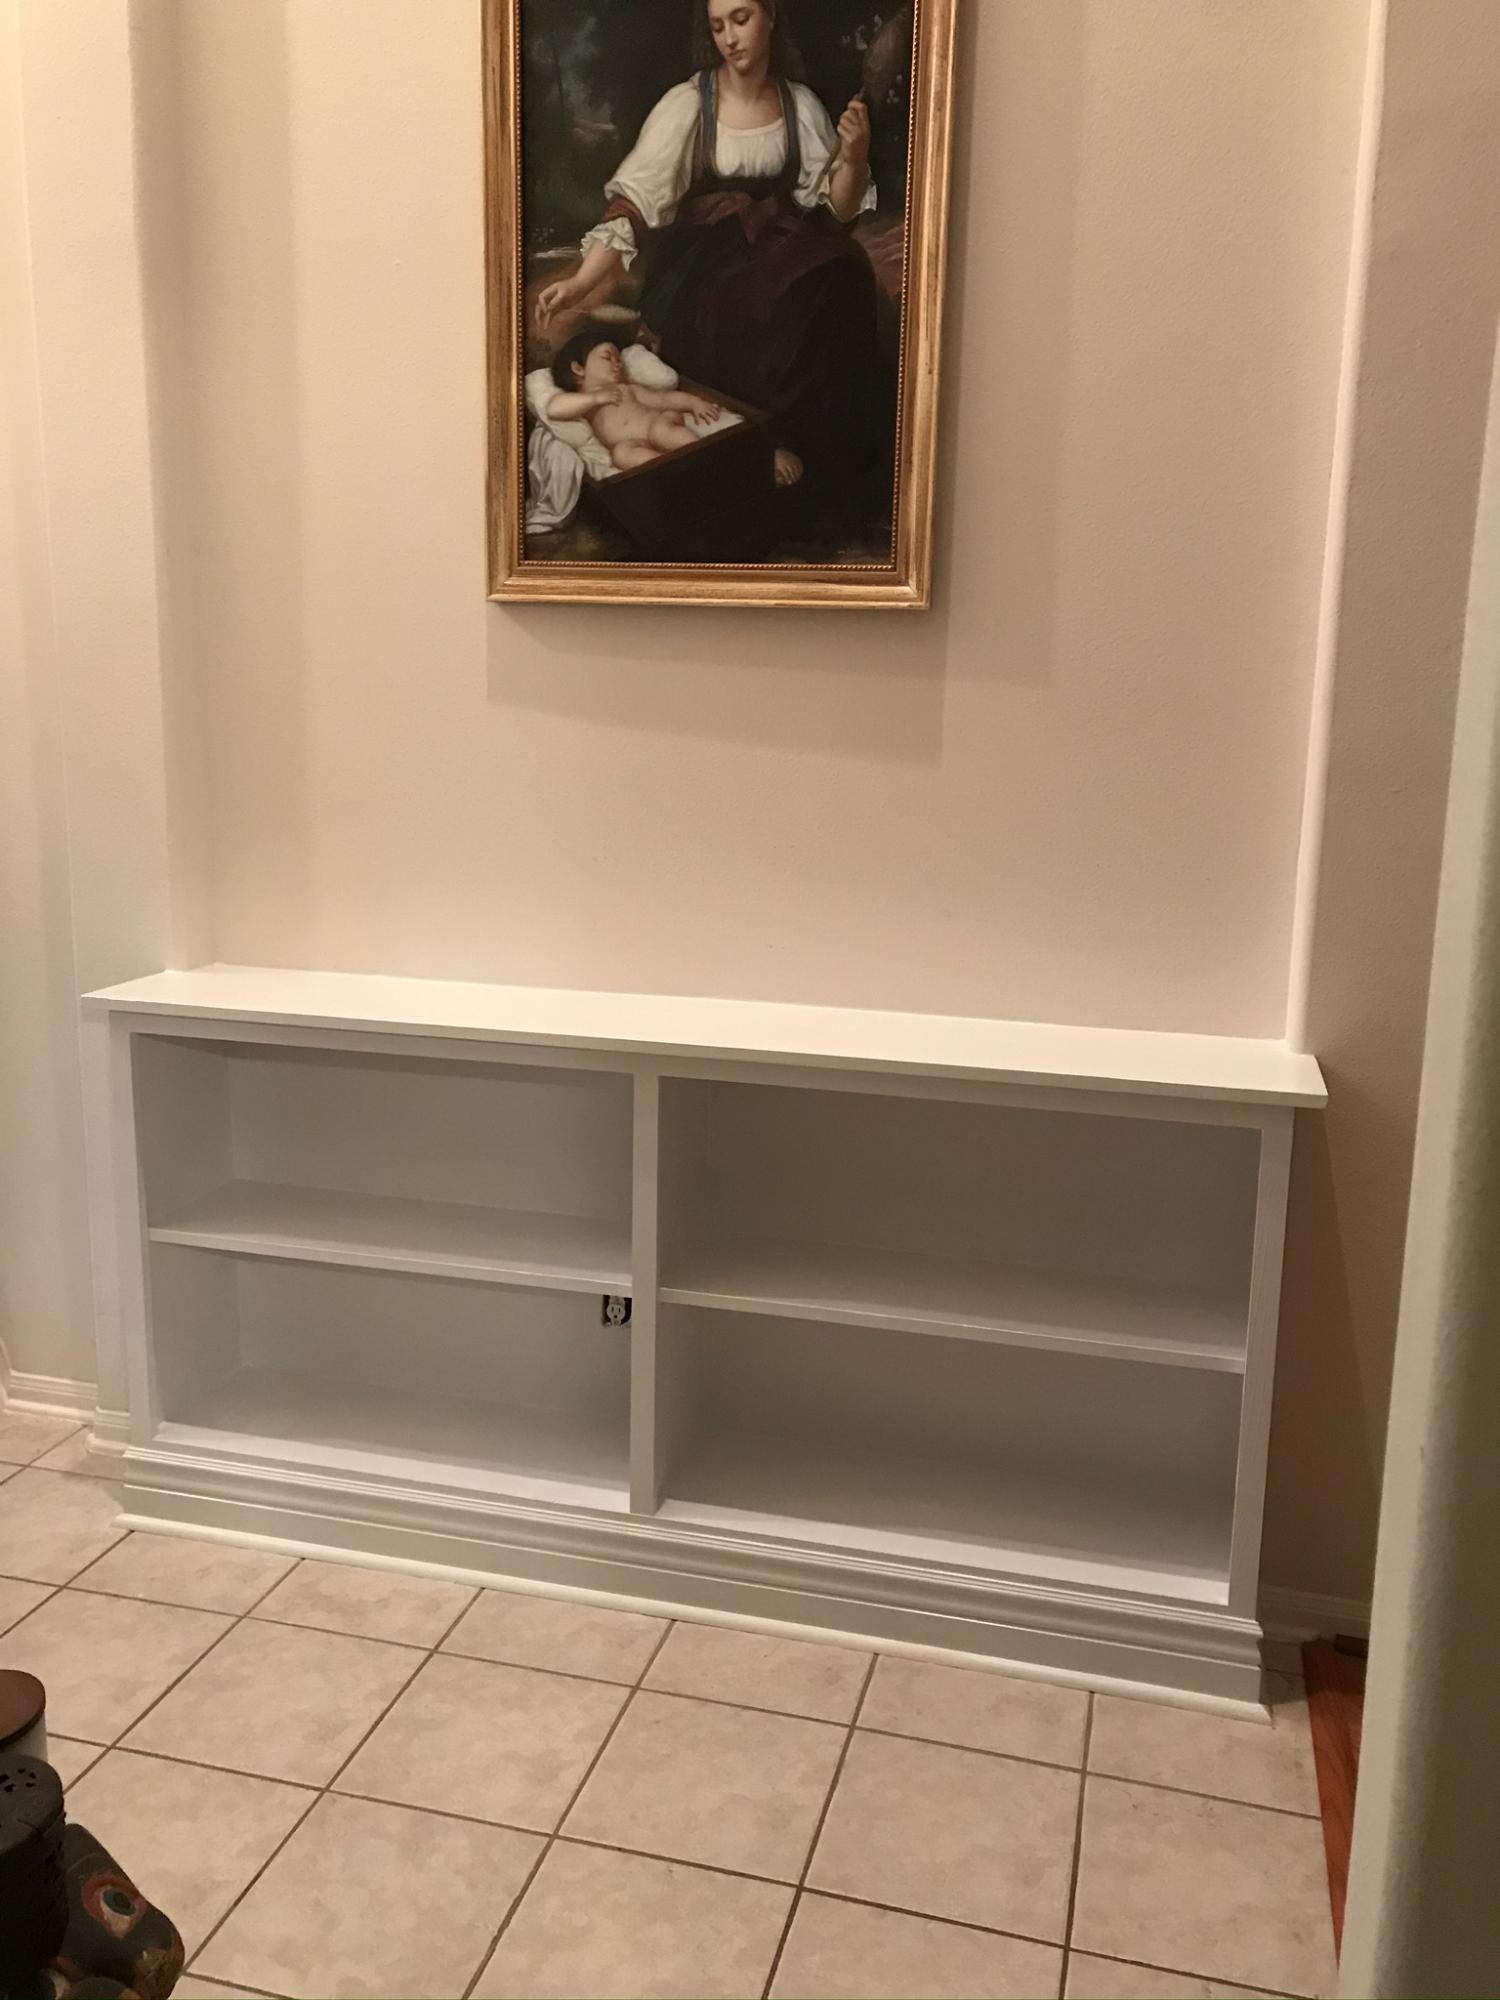
I used the Extra Wide Console Bookcase plans as inspiration for my built in bookcase. I made the top width 75" with the base width at 72" to fit snuggly in the little nook in my foyer. I didn't put a back on it since I attached it to the wall. I did anchor it with several screws to both columns. Also, instead of using the small additional piece on the top, I used an 1x8 and a 1x6 to make the top. I used my Kreg jig to attach the two board together along with some wood glue.
Very tickled with the results. Once the paint is good and dry, my photos, key bowl, and coin jar along with lots of books will be put on it.

I needed a new laundry system, and thank goodness I found Ana White's projects on Pinterest! I incorporated the laundry sorter and added casters to the bottom as well as a paper towel roll on the side since it is next to the sink. I also used a modified version of the washer/dryer platform into my space. It does not have the bottom platform and the 4x4's are inside the 2x4's and attached to the platform as well as the 2x4's. Sterilite makes organizer drawers that fit exactly in the opening of under the platform. And, voila! New colors, new organization, new light bulbs :0), new laundry room!
Sun, 02/24/2013 - 12:48
Great job! Looks much better and I bet it's a lot easier to get laundry done now.
Wed, 02/27/2013 - 19:18
That looks like it was a lot of work, but totally worth it!
This was my first project using Ana's plans. It's a combination between the smiling mudroom and the shoe shrine altered to fit sneakers and boots. I was very happy with how it turned out and couldn't wait to get on with my second project which was the planked sideboard. We were doing renos at the time and I was able to build the closet organizer before enclosing the closet. That thing is never moving.
Fri, 01/02/2015 - 11:14
Great work. I love the scroll work. I really wished I had mudroom for a storage system like this.
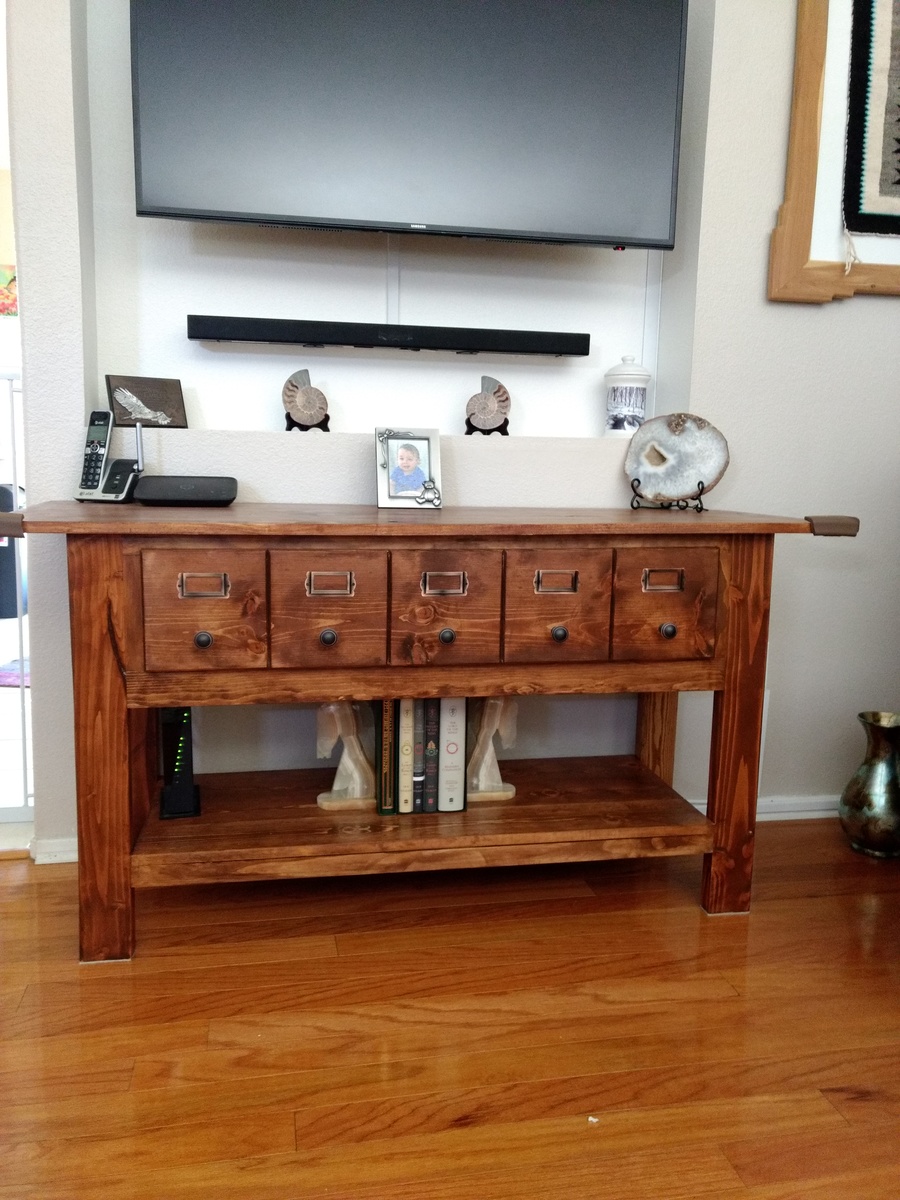
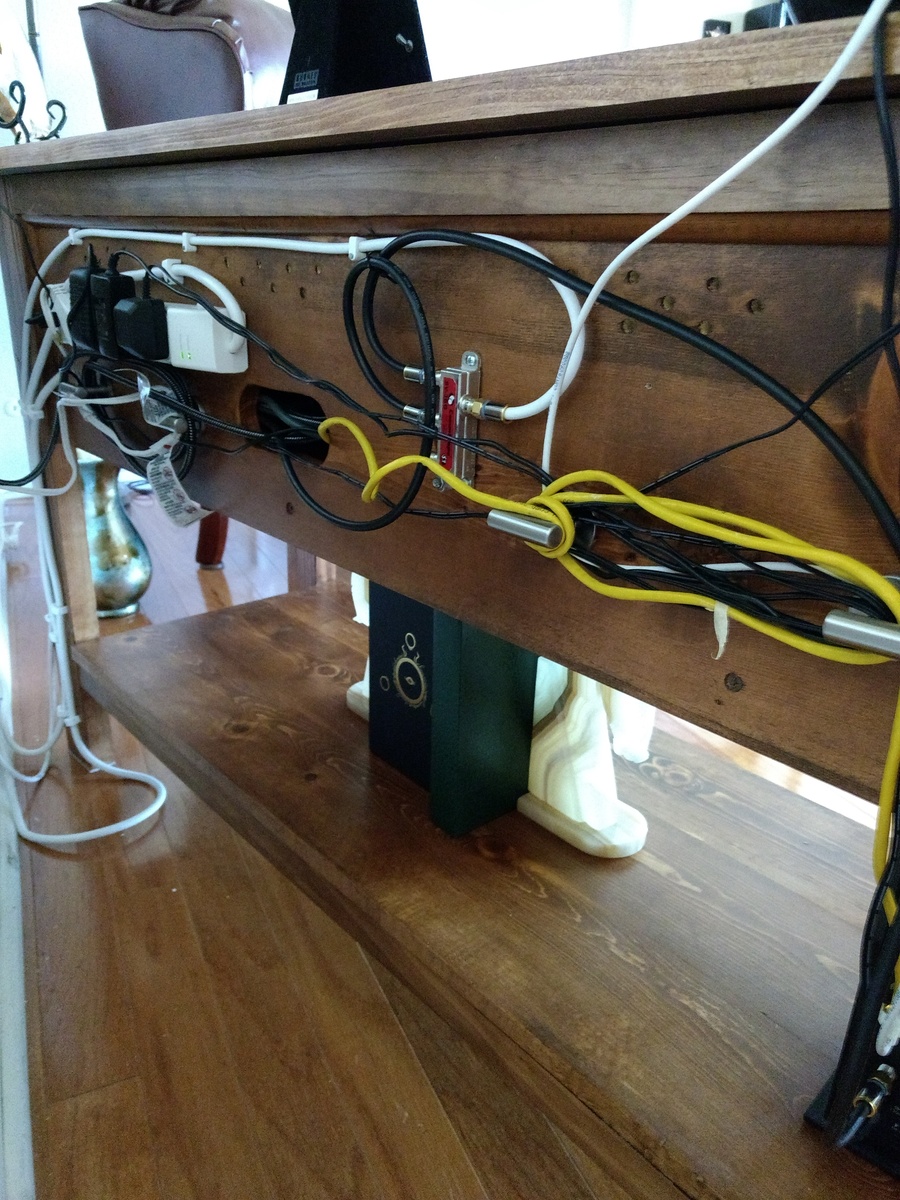
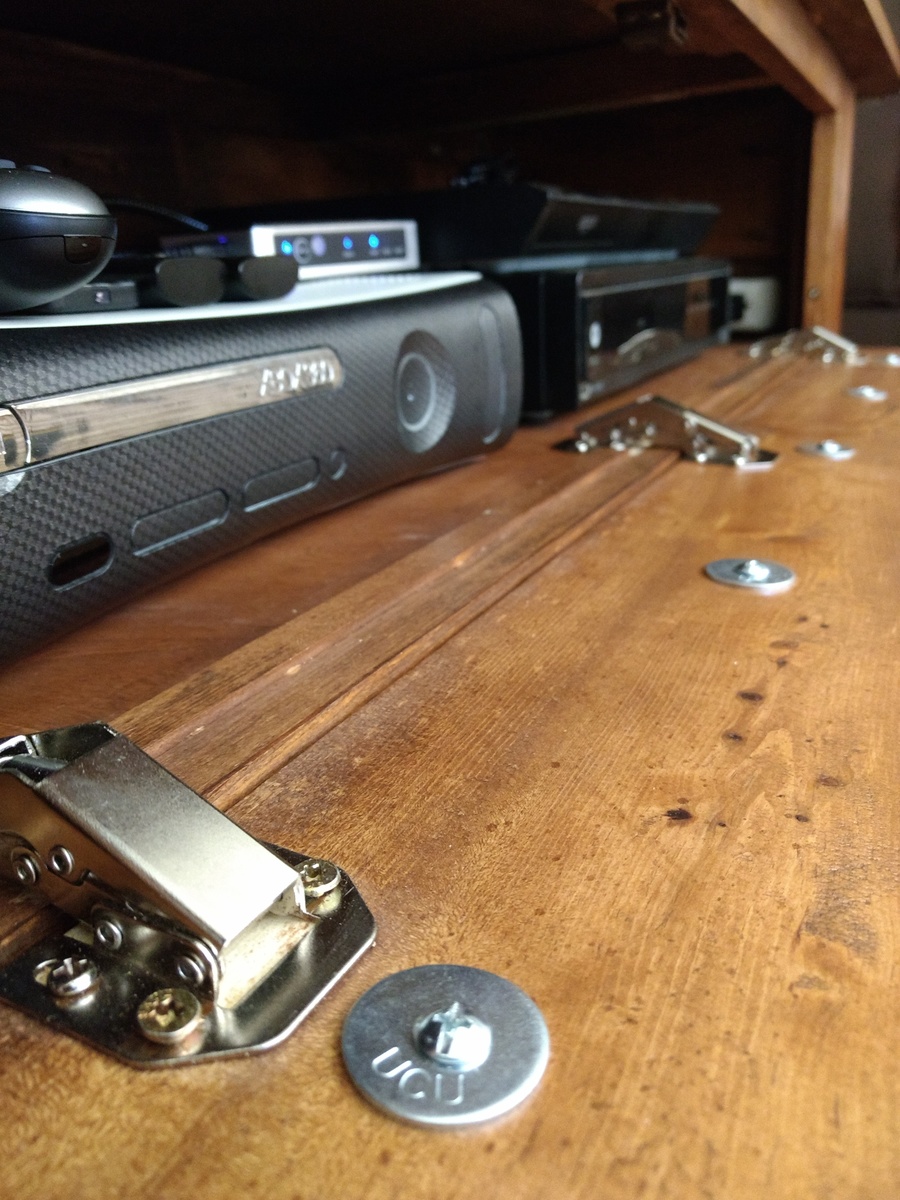
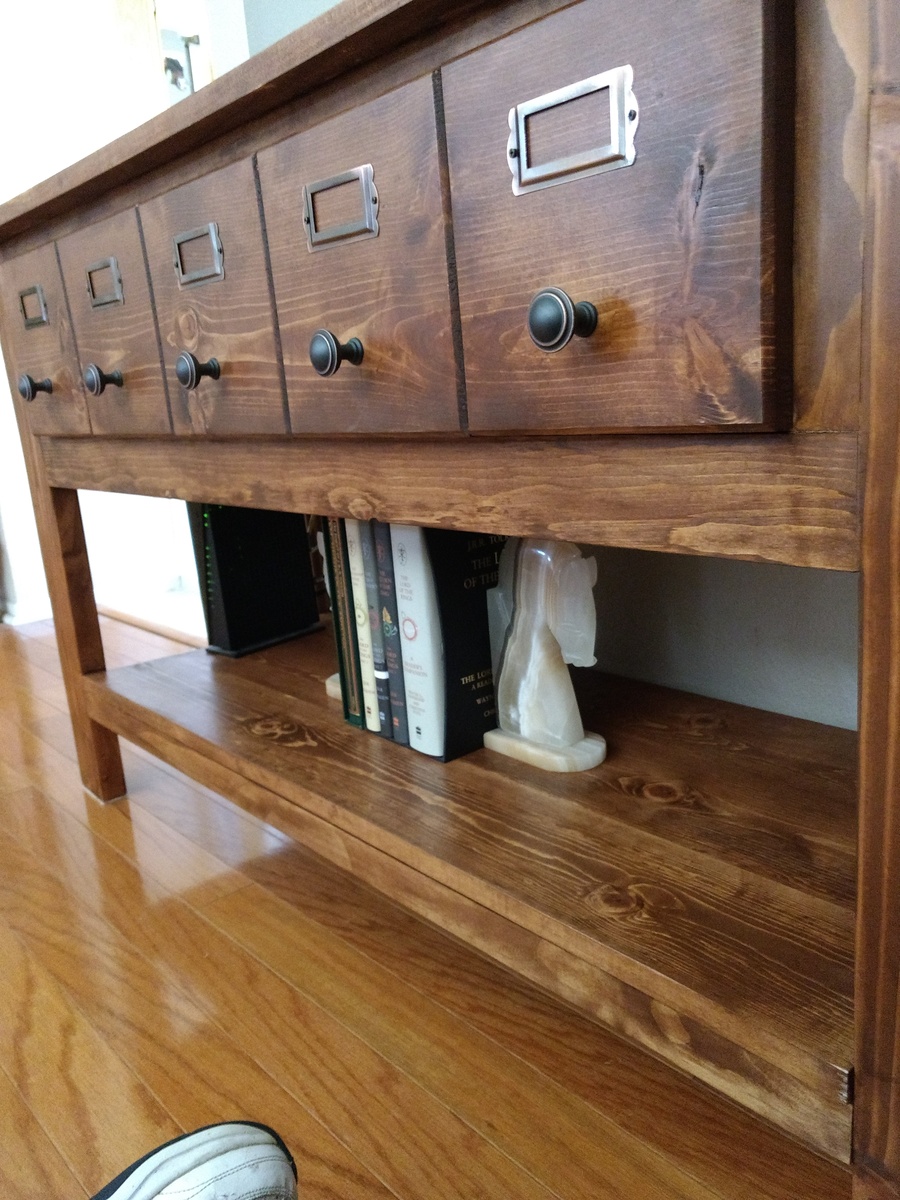
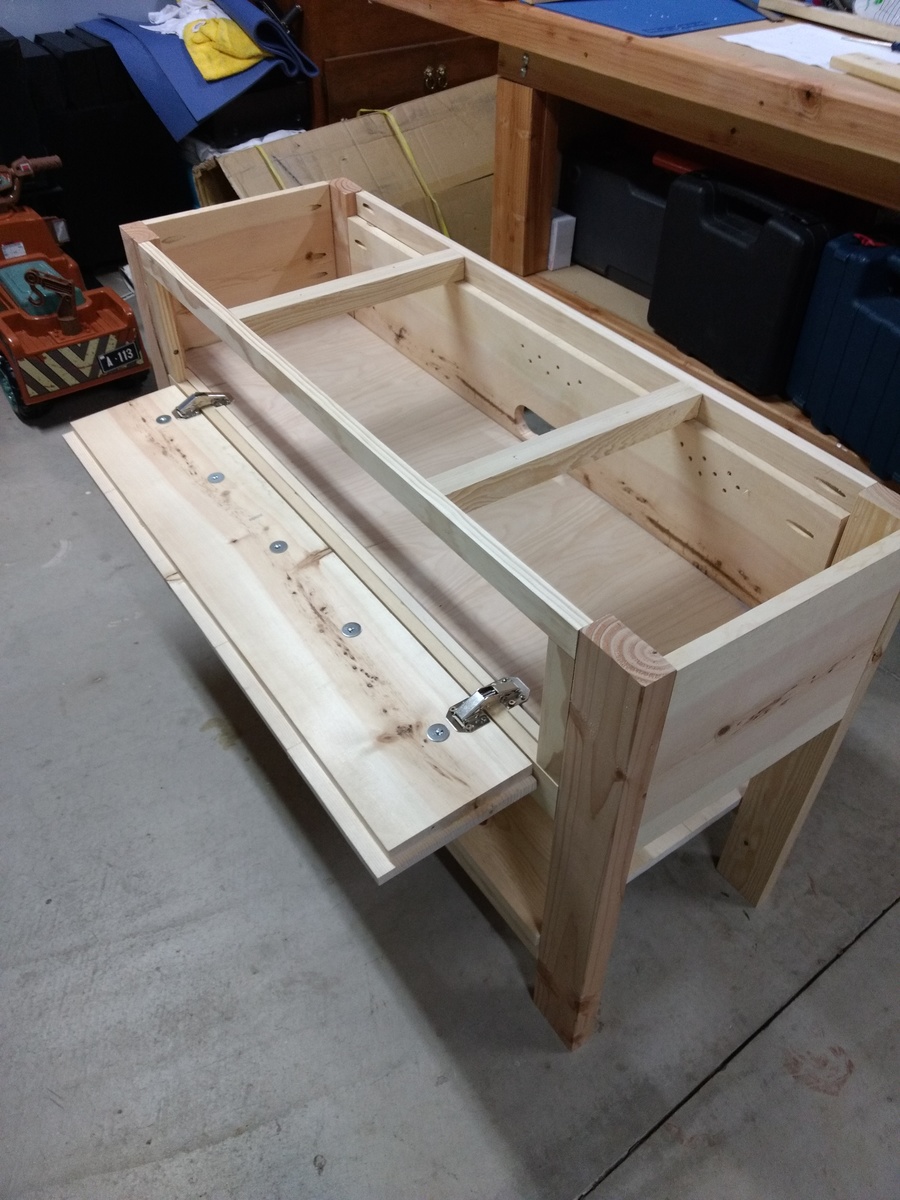
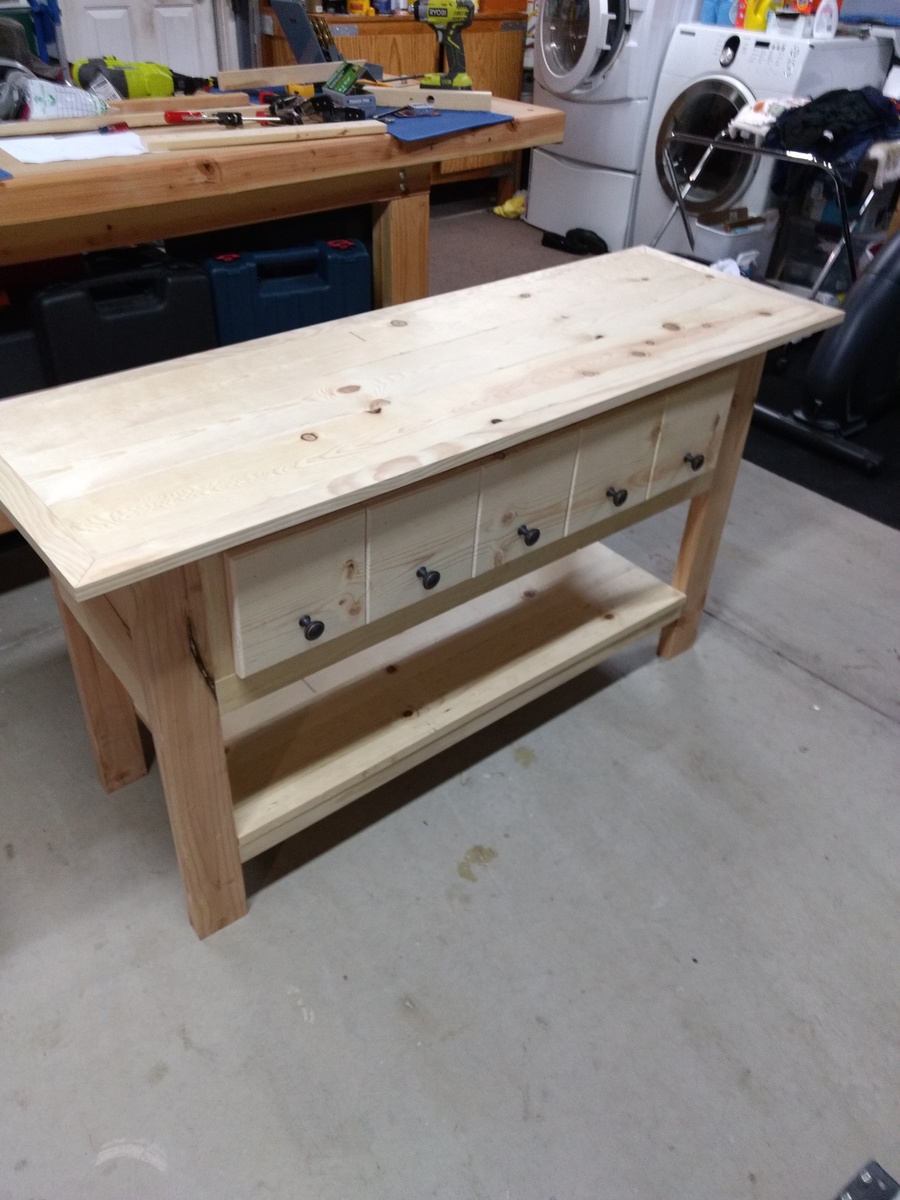
Made media center for new TV / speaker from Jen Woodhouse design I found on Ana White. Turned out well. Changed some aspects to fit my situation. I changed some of the joinery, and used a 12 inch piece of pine on the back to allow for stability and ample space for cord management. I used three hinges due to weight of the front and put some corner cushions for grandson's sake (toddler). Most items bought at local home improvement store but index card holders bought on ebay for very reasonable price.
Mon, 11/20/2023 - 06:40
Sorry, I mistakenly reversed identities. It's a Ana White design I found on Jen Woodhouses' site. Mea Culpa