Farmhouse Small End Table
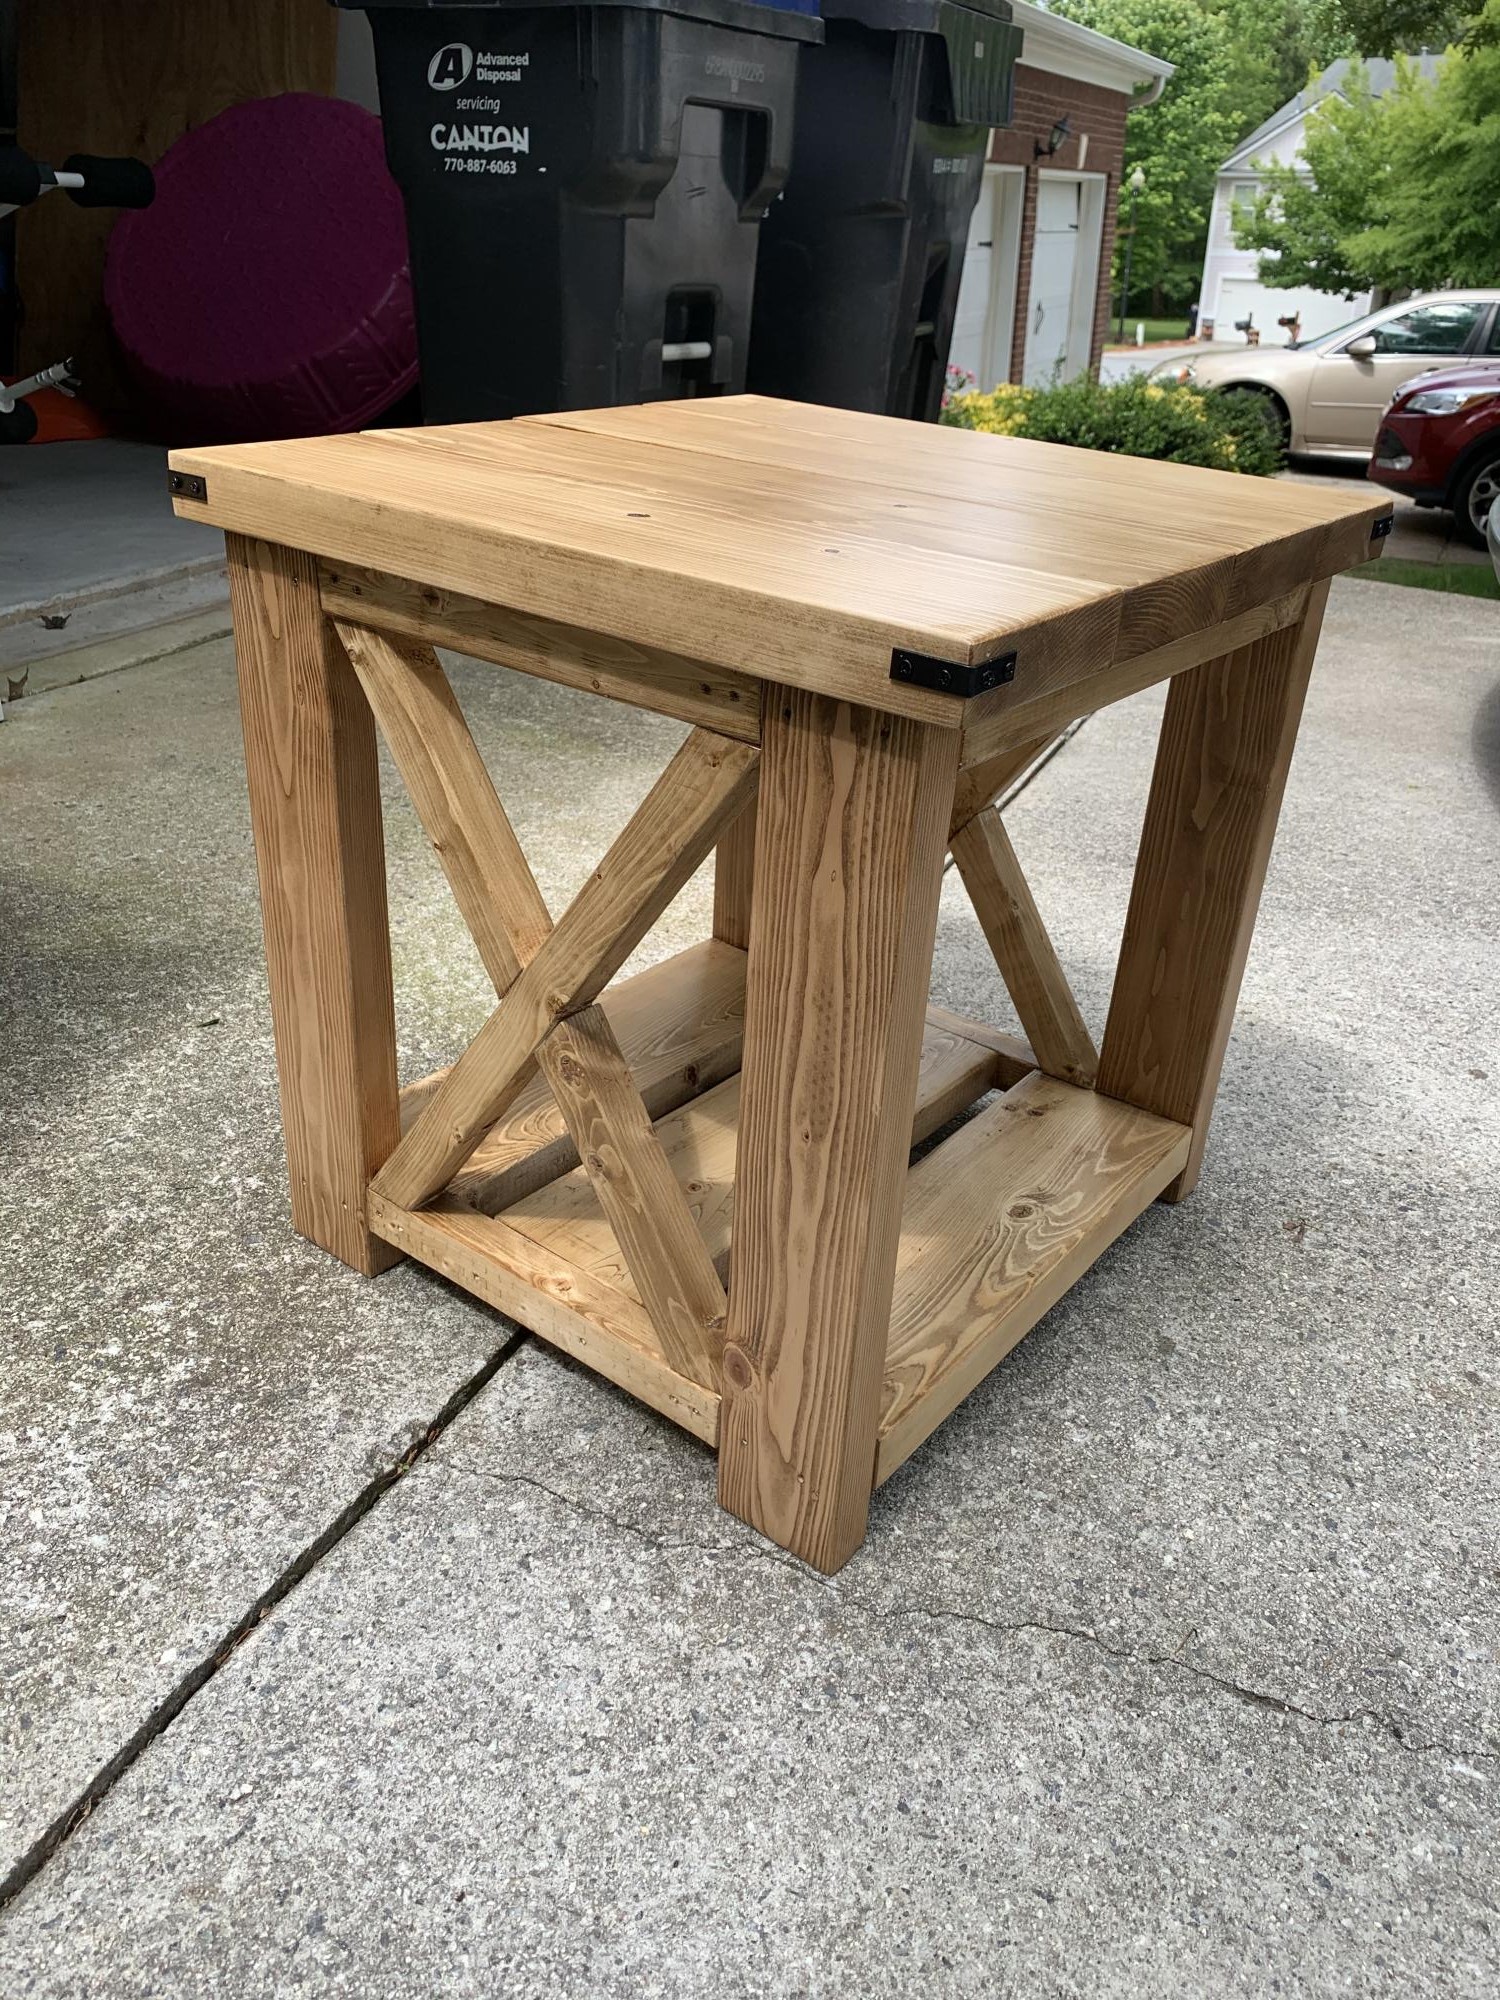
My 2nd ever build! Made to match farmhouse beginner coffee table. This is the smaller size posted. So Easy! Thank you for the plan and for the videos. I love them and am learning so much!
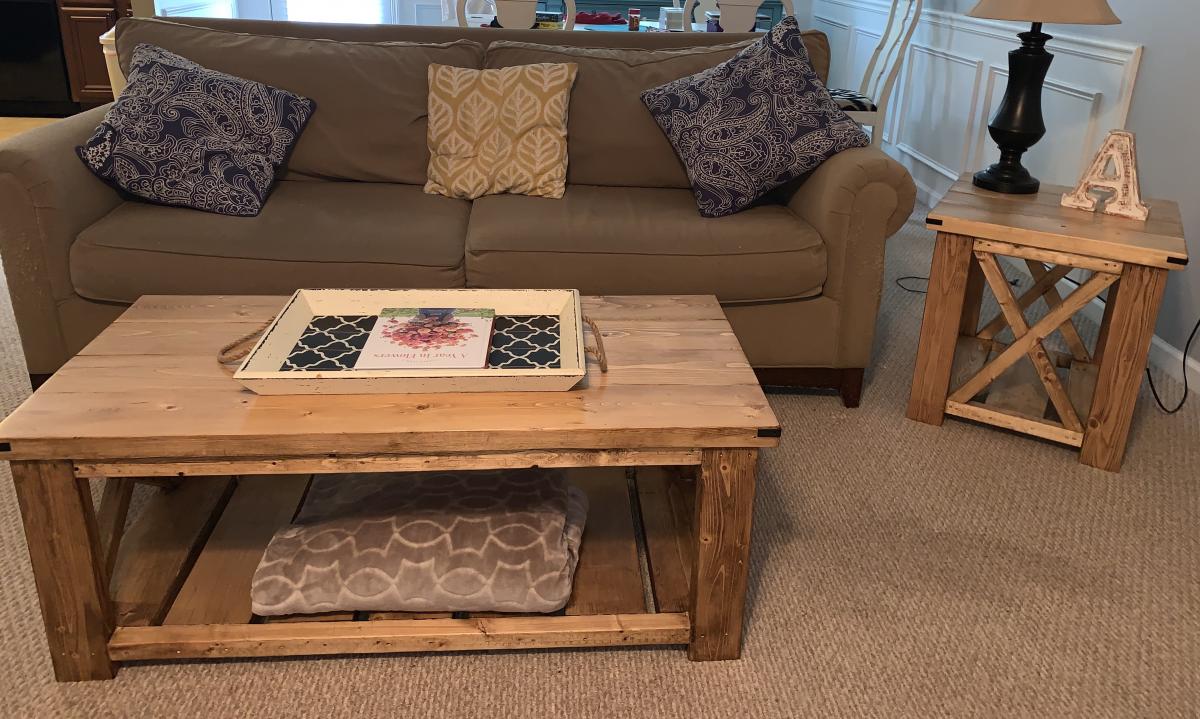
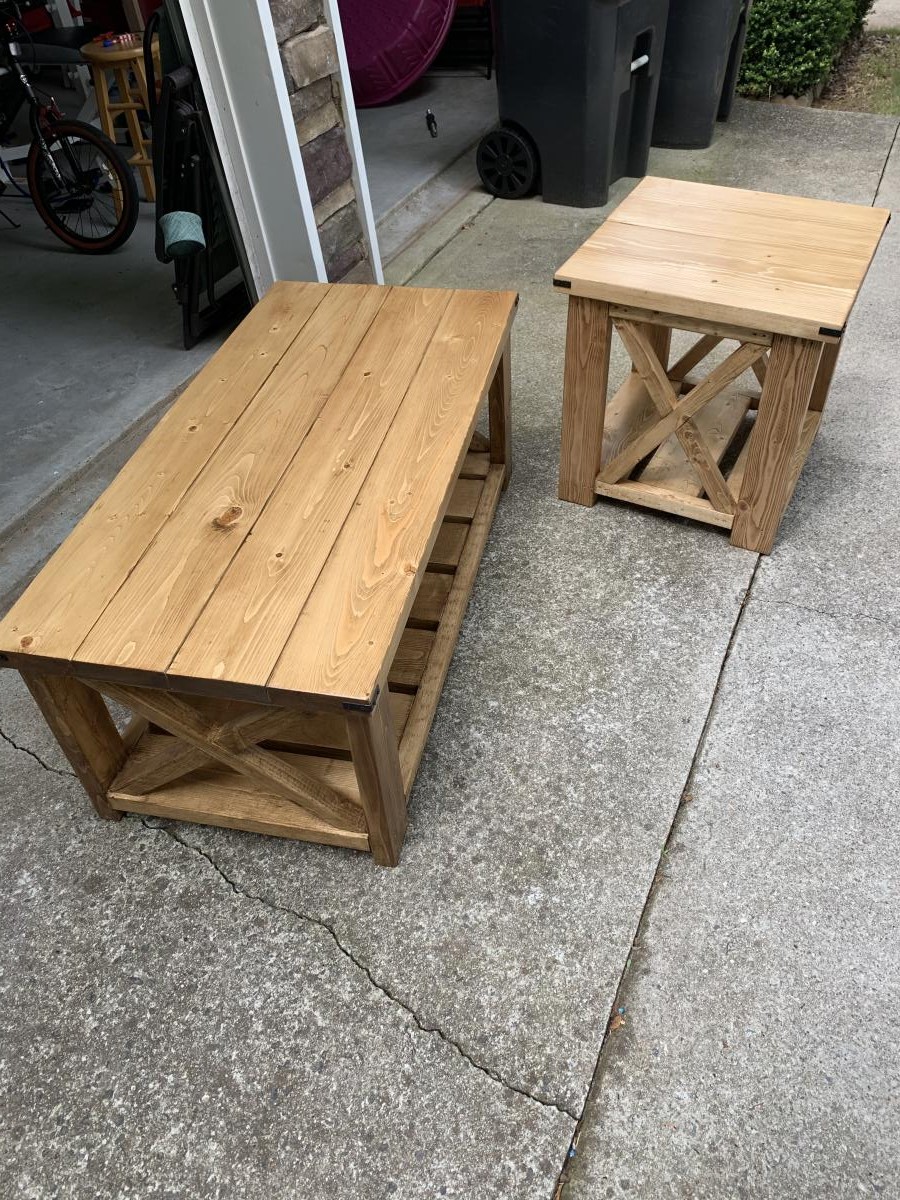

My 2nd ever build! Made to match farmhouse beginner coffee table. This is the smaller size posted. So Easy! Thank you for the plan and for the videos. I love them and am learning so much!


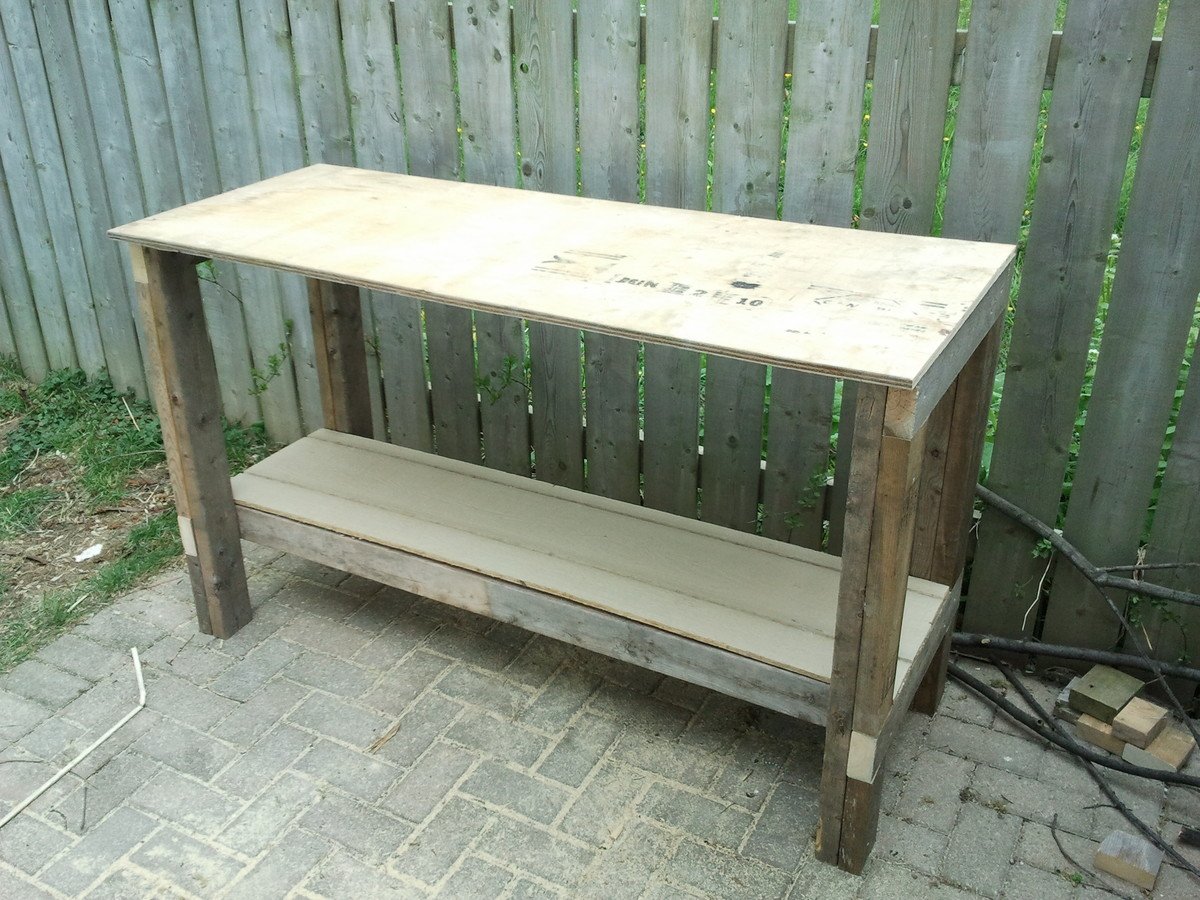
When I bought our house the previous owner had asked me if I wanted him to leave all of the scrap wood he had beside the house I said "Sure"
Looking at the pile I was amazed at how much was actually there.
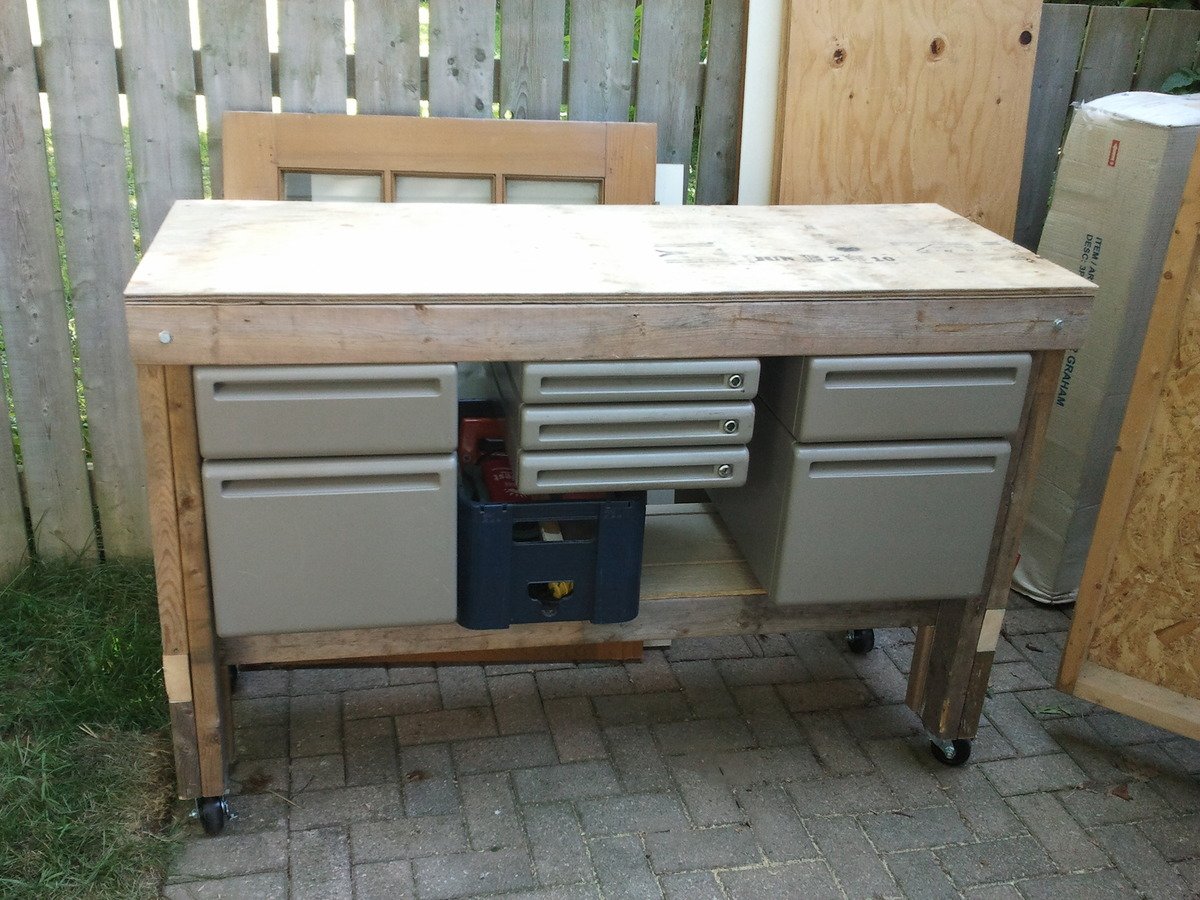
This workbench is from the Mastercraft Essential Workshop book. I built one of these when I was younger with two sheets of plywood for a top and a back on the shelf so nothing falls out. My lack of sheet good scraps forced me to modify the design. Fits nicely into my mini shed workshop.
Note that the picture doesn't show the front 2x4 under the plywood top.
UPDATE:
My office cleaned out some old junk and gave me these modular drawers. I new they would make an excellent storage system for my workbench. Overkill...yes...but they were free so I couldn't resist.

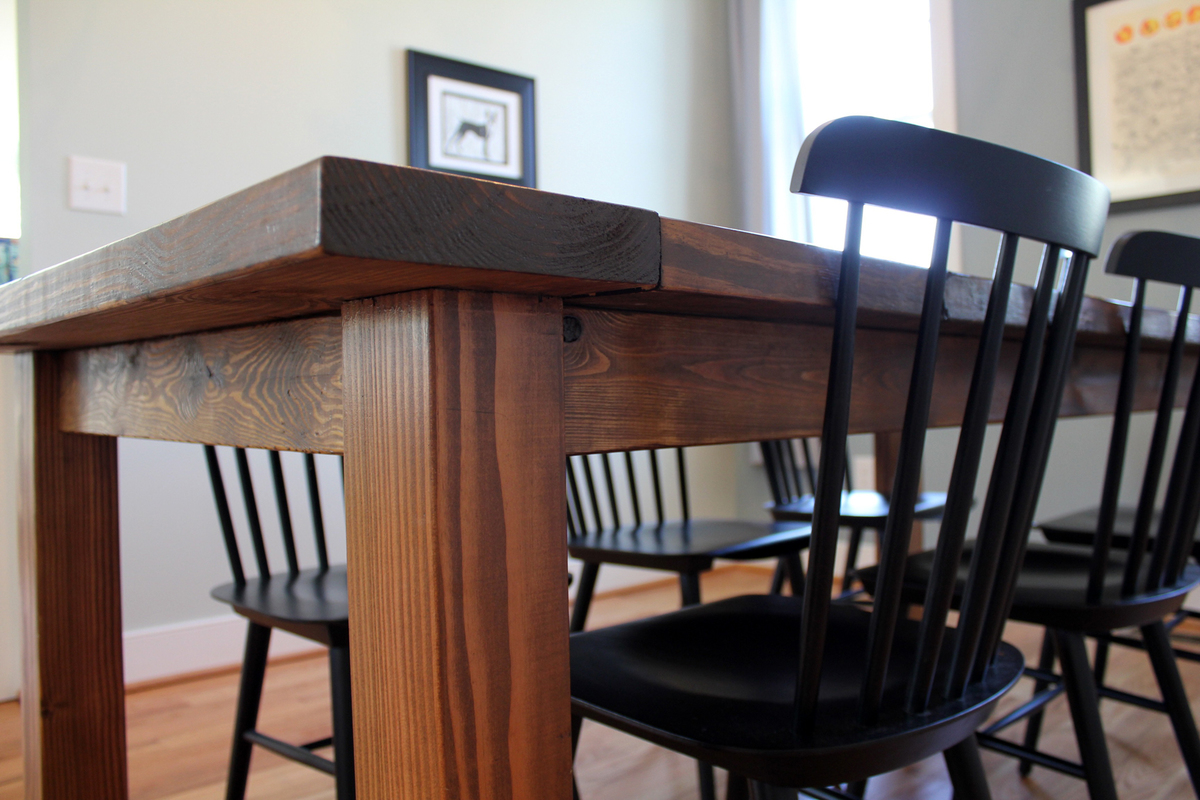
Modified to remove the end braces so that chairs can be pushed in on the ends of the table. Full report on my blog!



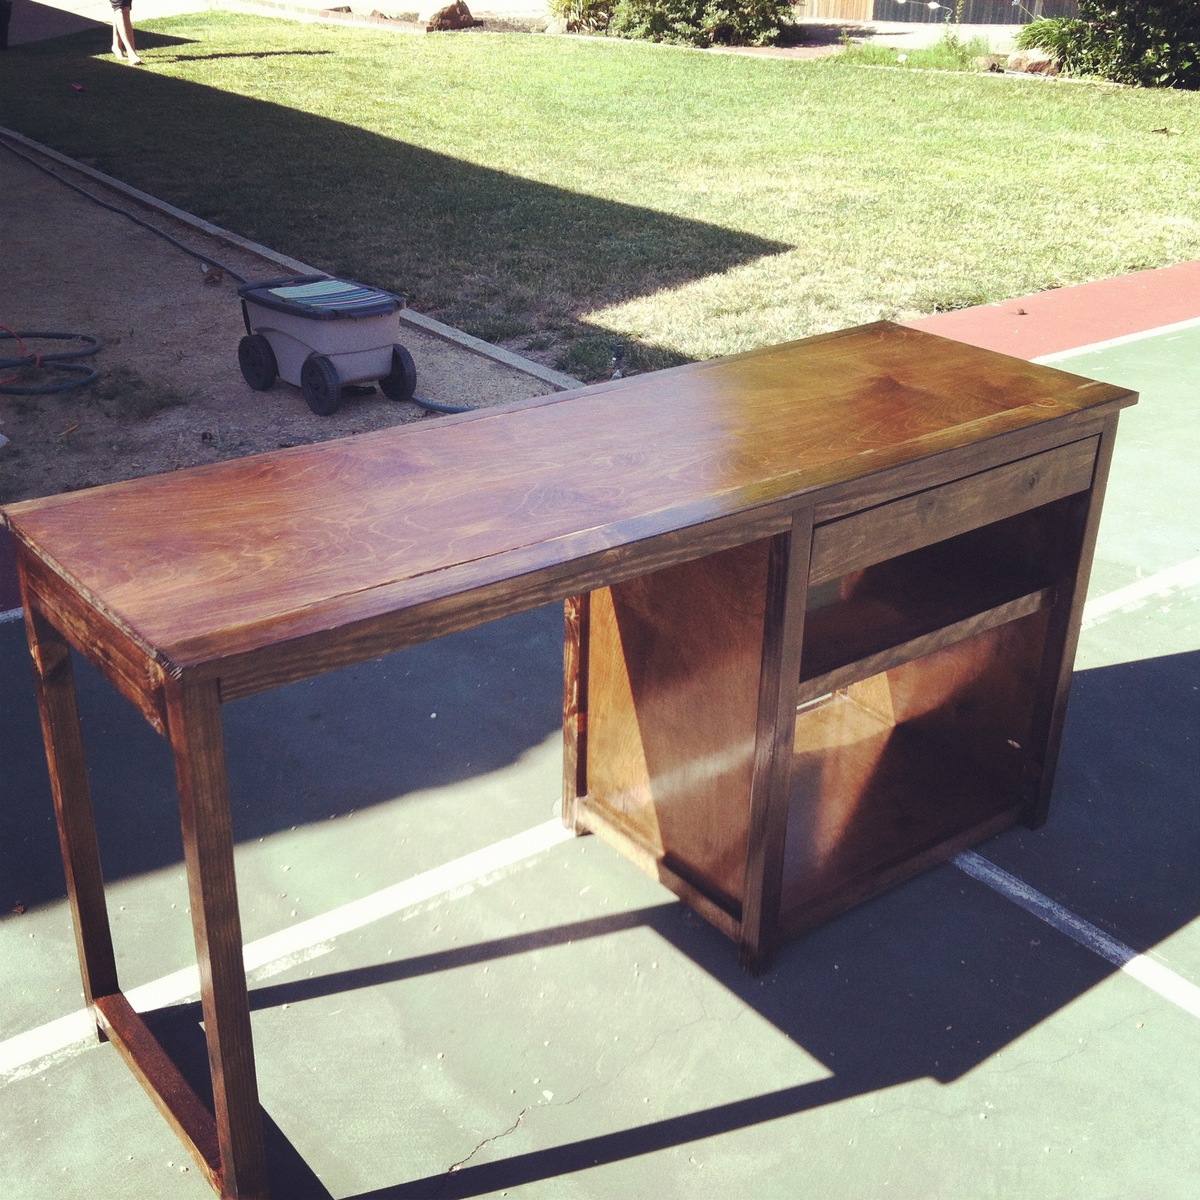
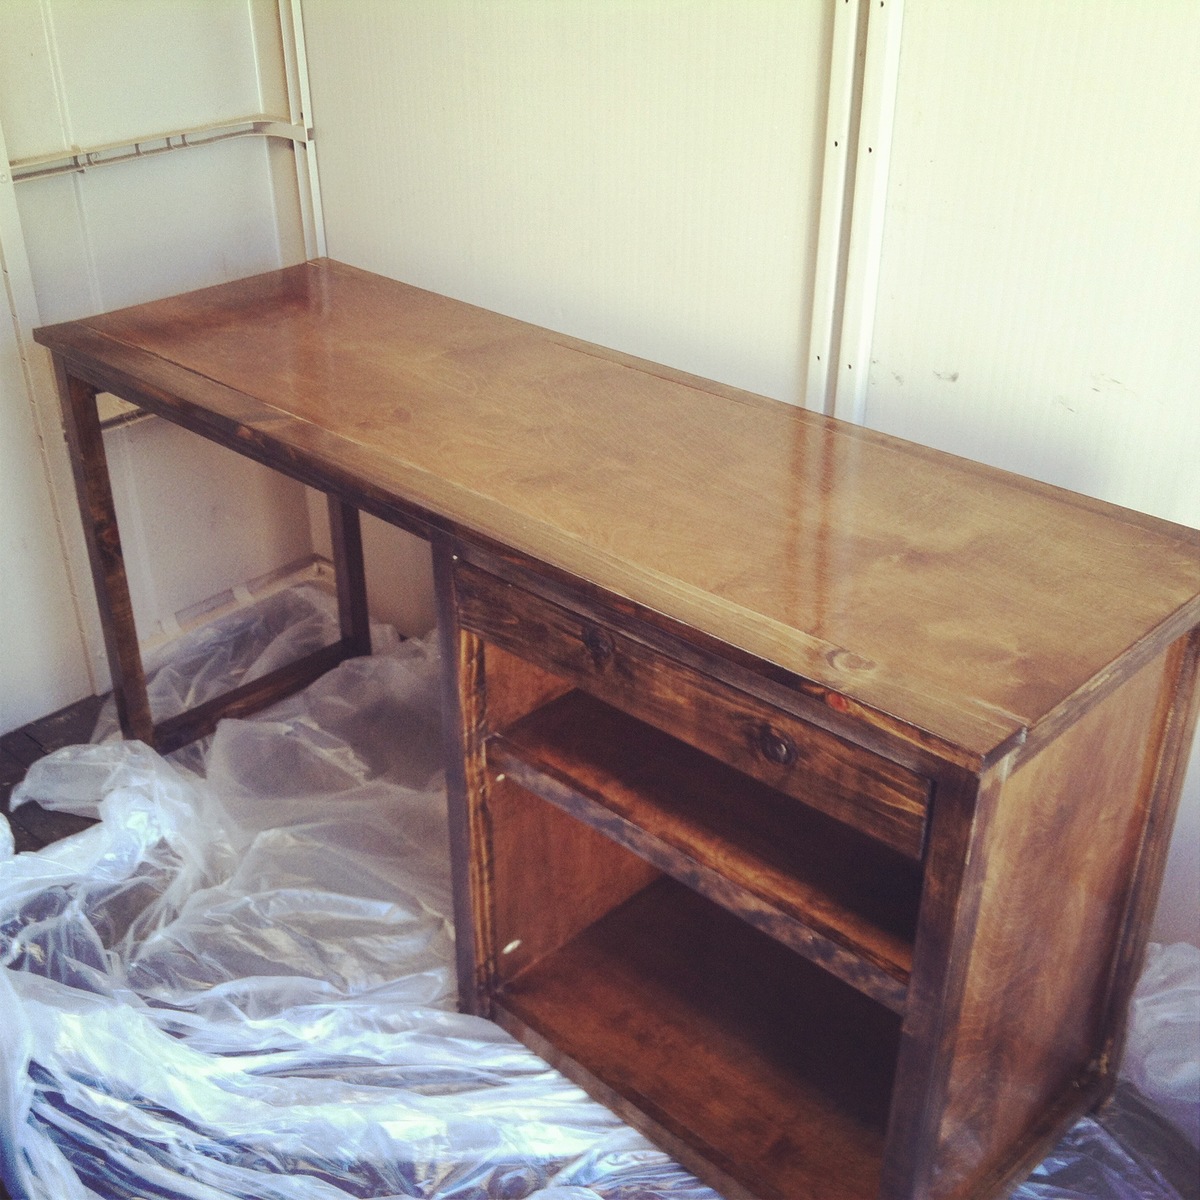
Awesome desk made from the Channing Desk plans on Ana-White.com! I had such a great time building this desk with my girlfriend. It was our first of many builds together.
thanks again ana-white.com
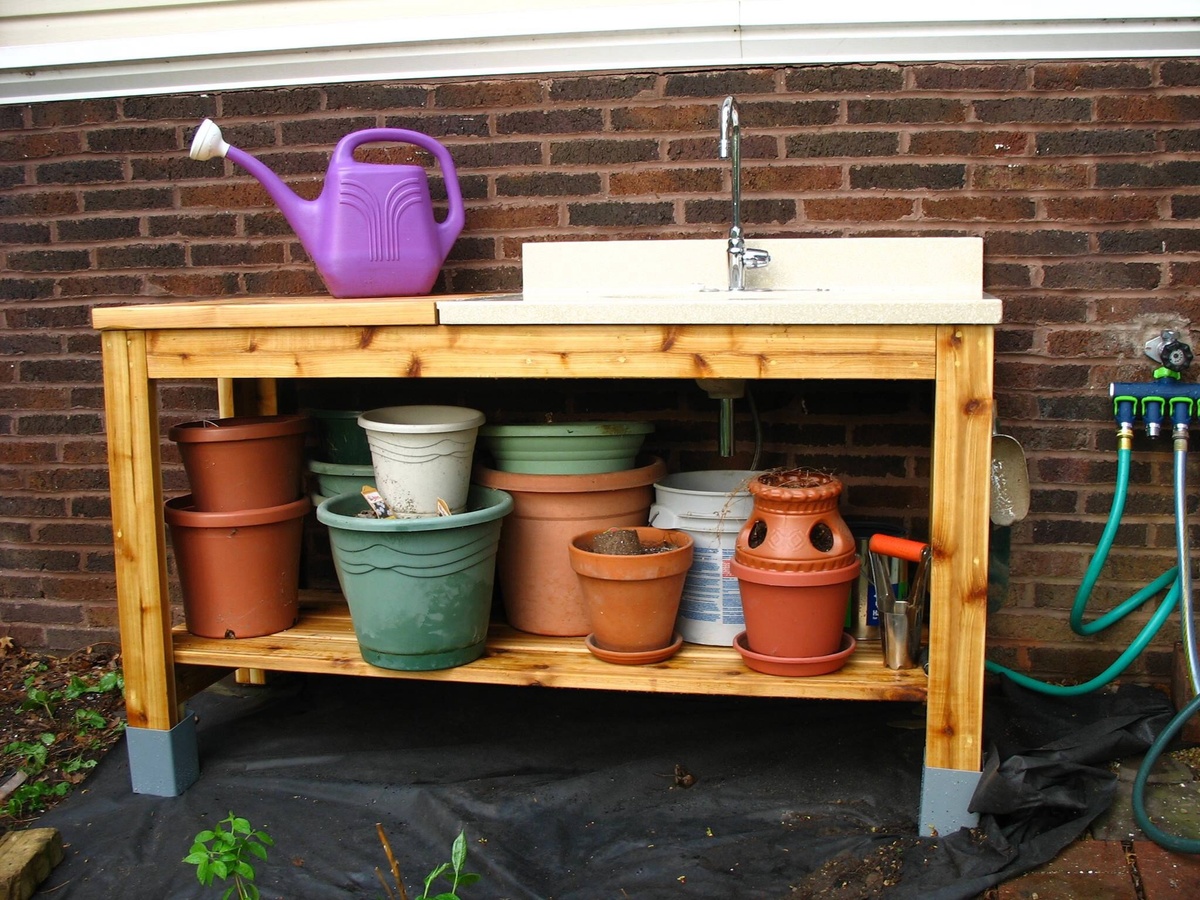
I adjusted the depth of the bench to accomodate a bath vanity top with sink (from the Habitat reStore). The width was adjusted to allow for 2 feet of workspace to the left of the sink. The overall height was adjusted to my wife's height. The front legs were made longer than the rear to account for the slope of the yard location.
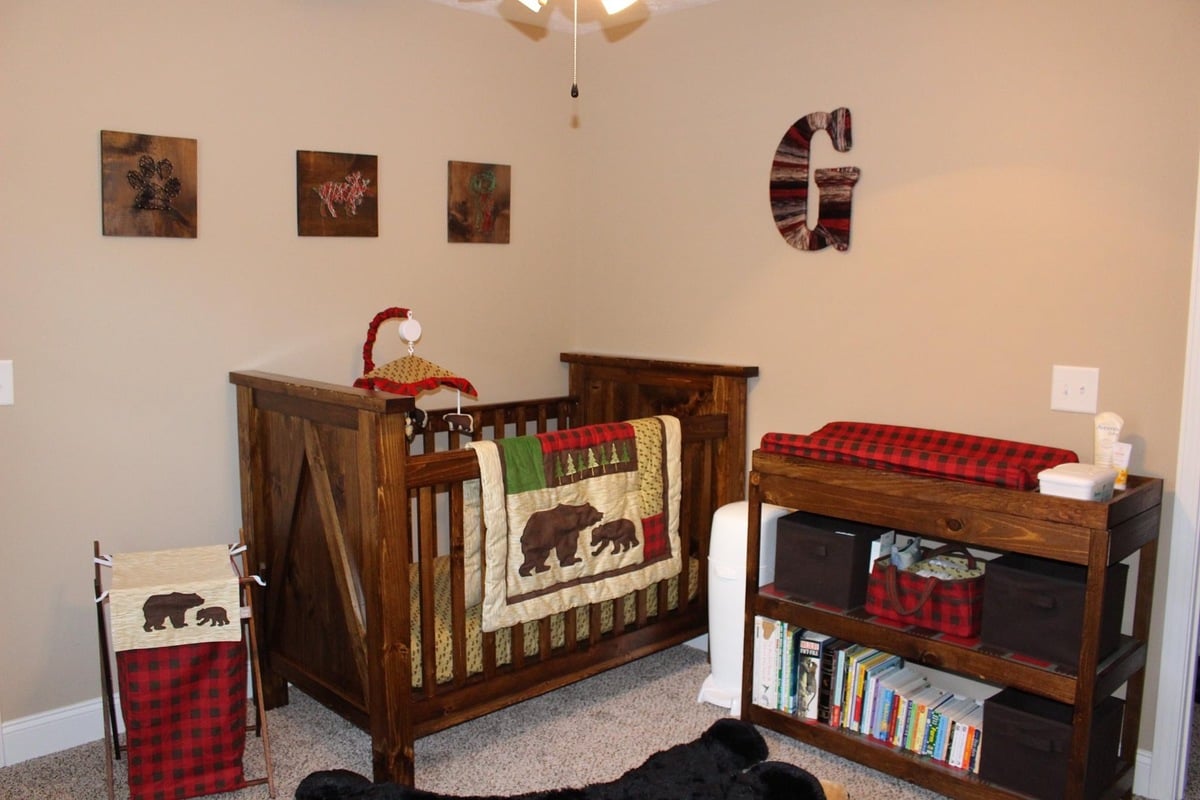
I built this crib and changing table using the DIYstinctly made crib plans and the simple changing table plans from this site. The tartan design on the shelving is the product of LOTS of painters tape. A word of warning: if you decide to build this crib, buy your matress first and cut the rails to length. I had to remedy a gap of about 6 inches at the end.
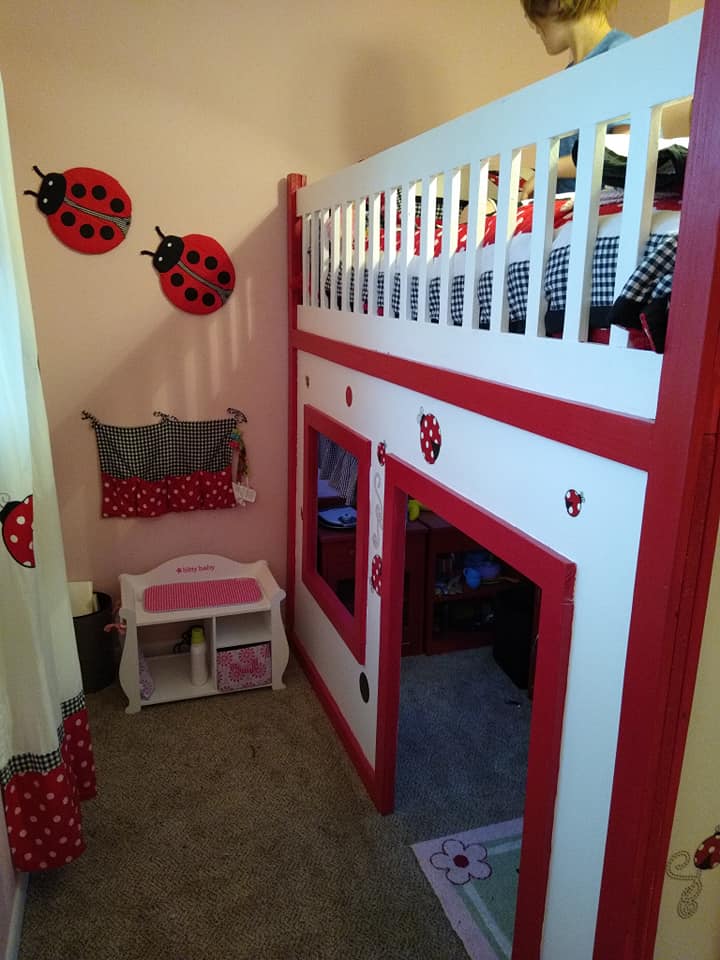
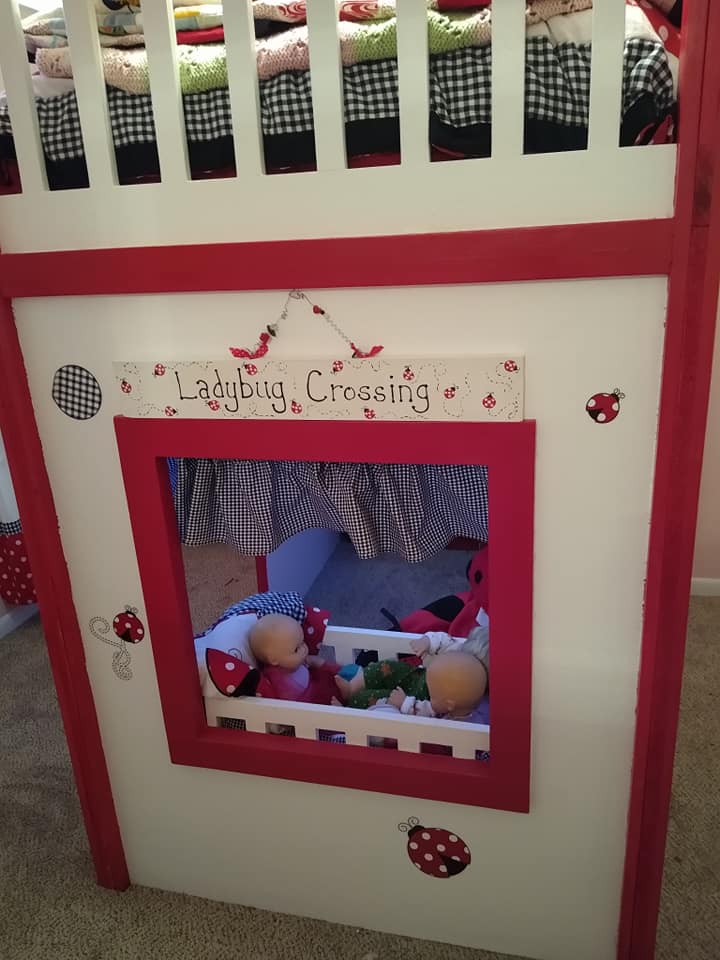
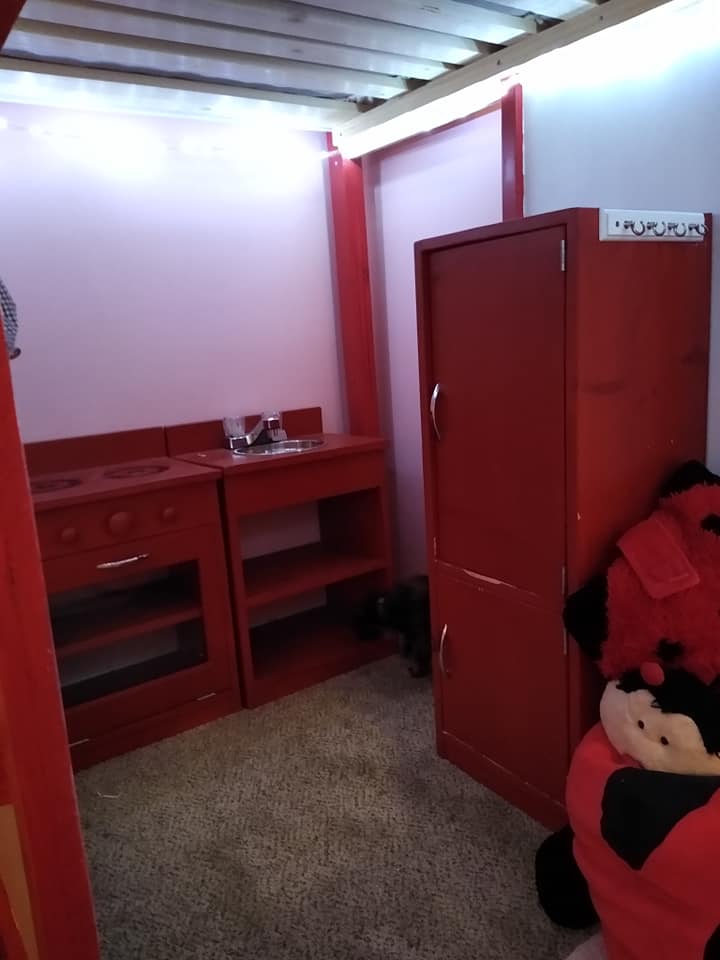
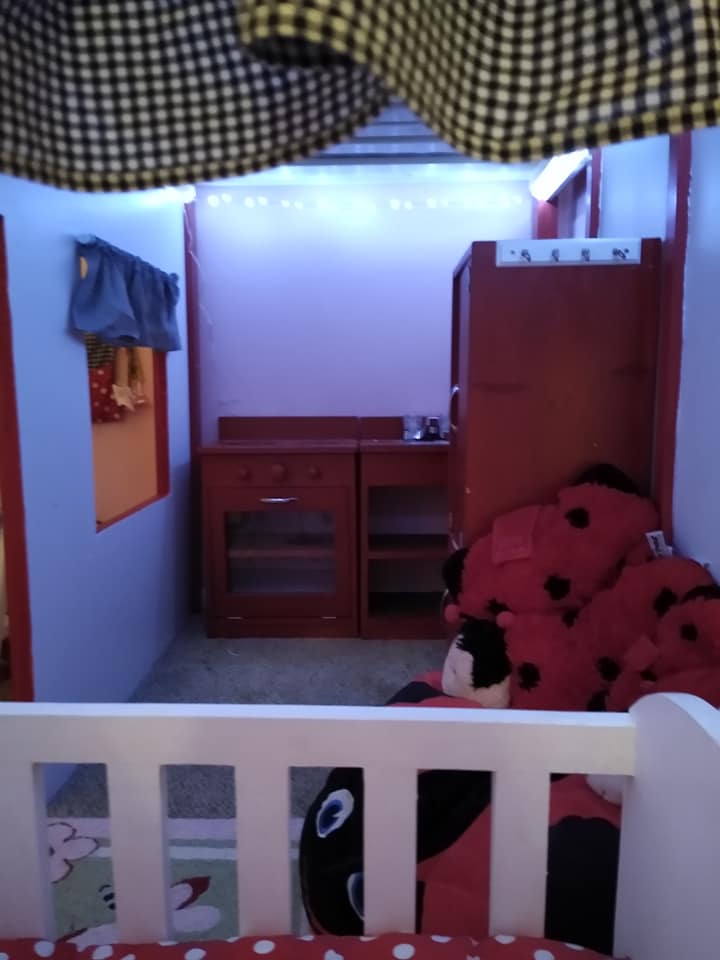
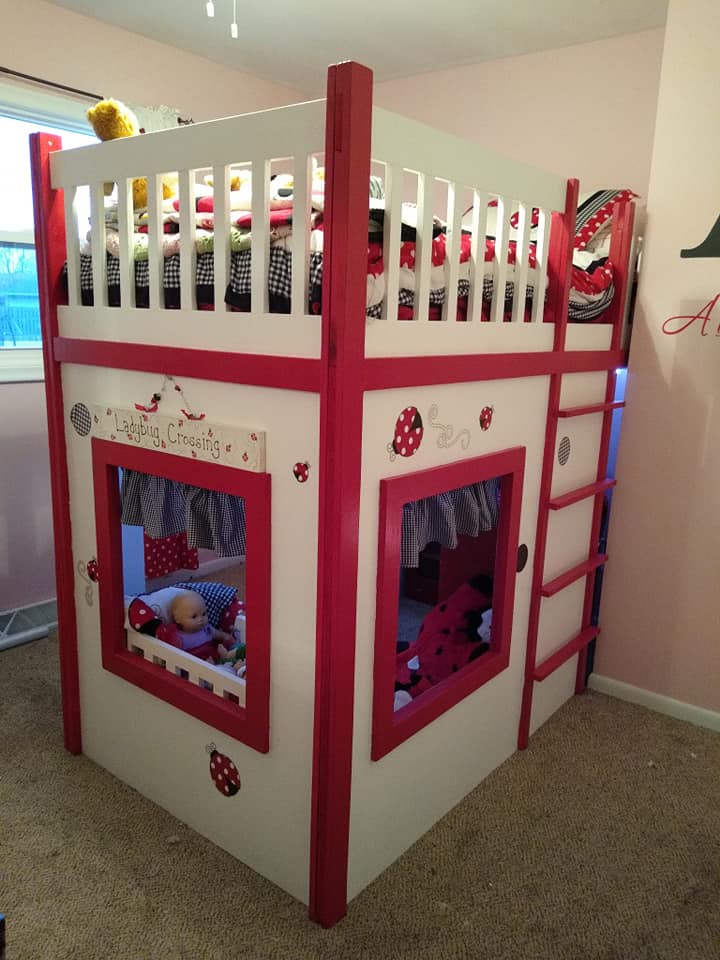
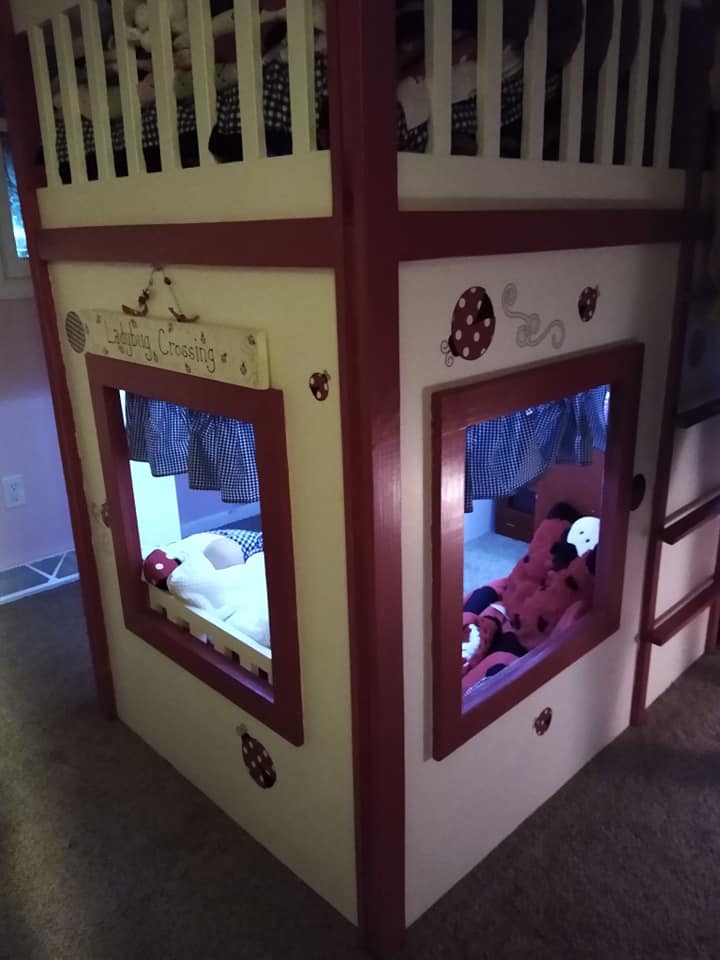
I had to change around a bit of the plan because my daughter's room has a weird shape. So she gets into bed on one side of the bed, but the playhouse side is opposite so that it would be able to accommodate a window and a door on that side. We were able to put in 3 full sized windows this way.
Inside her playhouse is the play kitchen set I built her several years ago (it's seen a ton of use), as well as the doll crib that I built her (which has also seen a ton of use.)
Inside, we used coated mug hooks around the top of the inside to hang rope lights, and we used the same hooks as curtain rod hangers for the cafe tension rod curtain rods we used for the windows.
My mom asked me to build her a buffet to match the Provence style dining table I built her a few months ago. I used the Providence Table plan as a jumping off point. Here’s a quick breakdown of the changes I made to the plan:
• Supply list – 3 2x6x12′ boards for the top
2 2x6x10′ boards for the shelf
5 2x4x8 boards for the legs and supports
• Design – I cut the legs to the same dimension, but flipped the legs 90 degrees so the profile matched the table’s. I placed the leg support 4″ from the ground, again to match the dining table. I added a shelf by drilling the 10′ 2×6′s down onto the leg supports, and used scrap 2×4′s under the center to keep it from dipping. I nixed the center top support, and decided to keep the cross supports at the same angles and length, but doubled them and used scrap 2×4 cut at 18″ wide (the width of the buffet) to span the three boards so the center wouldn’t dip or warp over time.
We chose cedar to match the table and cut down on chemicals, but it could cost a lot less if you used untreated pine for indoor use. Either way, $120 for a twelve foot long buffet isn't too shabby!
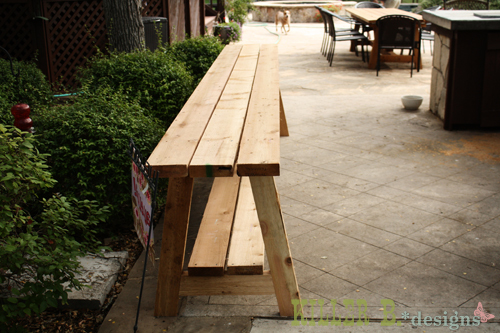
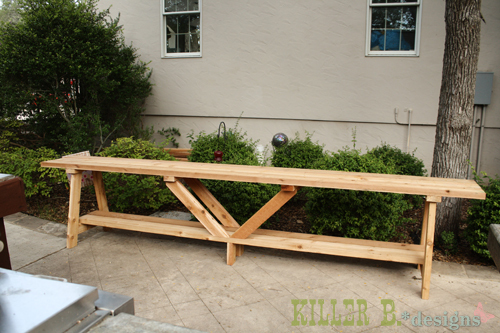
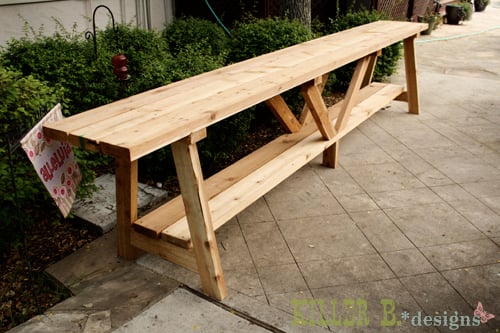
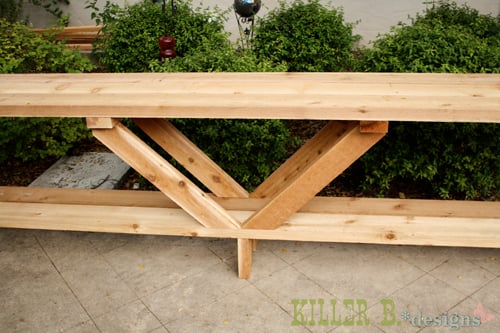
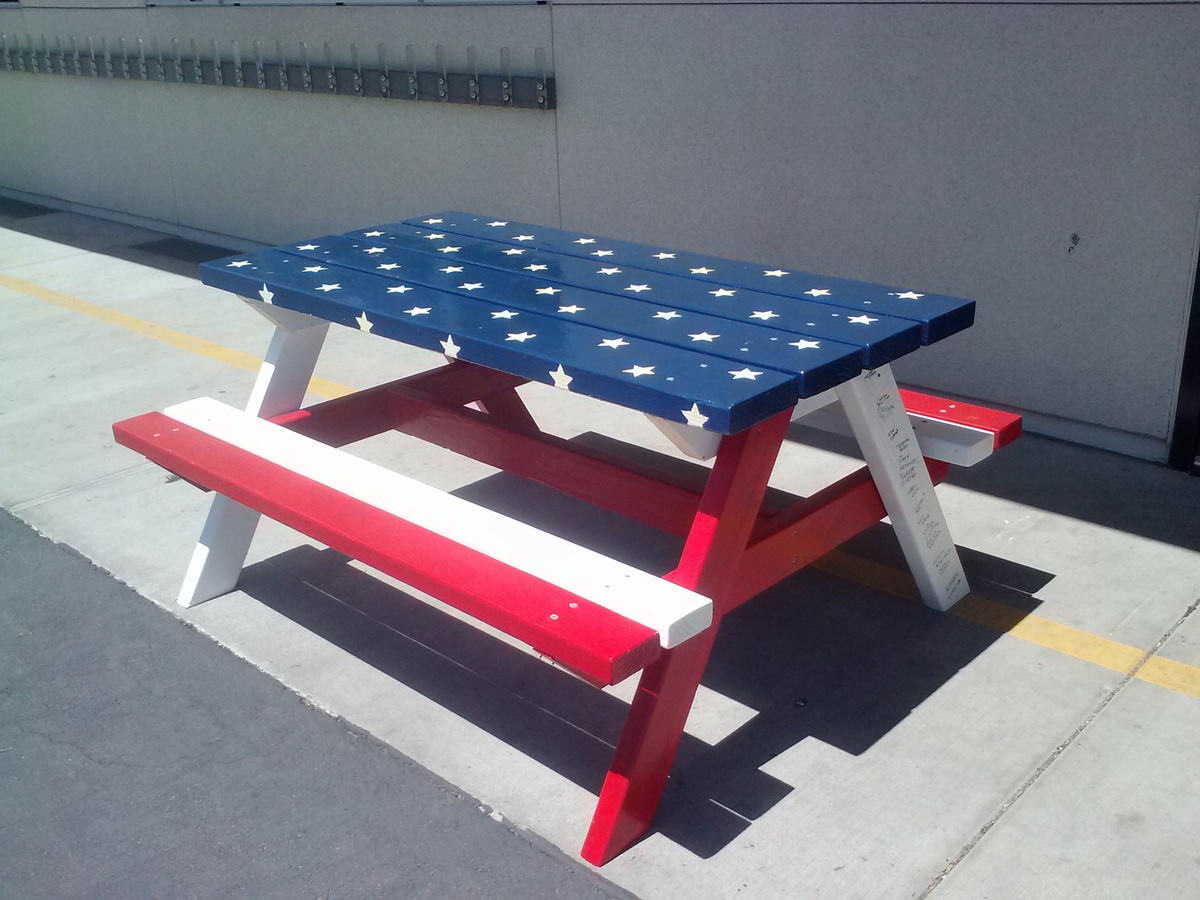
I built this for a silent auction at my school. My students chose the theme. Each of the kids in my class signed the white legs. Super easy to put together after following the plans to cut each piece of lumber. The painting was another story thanks to those stars!
Sun, 09/04/2016 - 10:46
How did you paint your stars? I love this table and making one for a silent auction, would love to know how you did it.
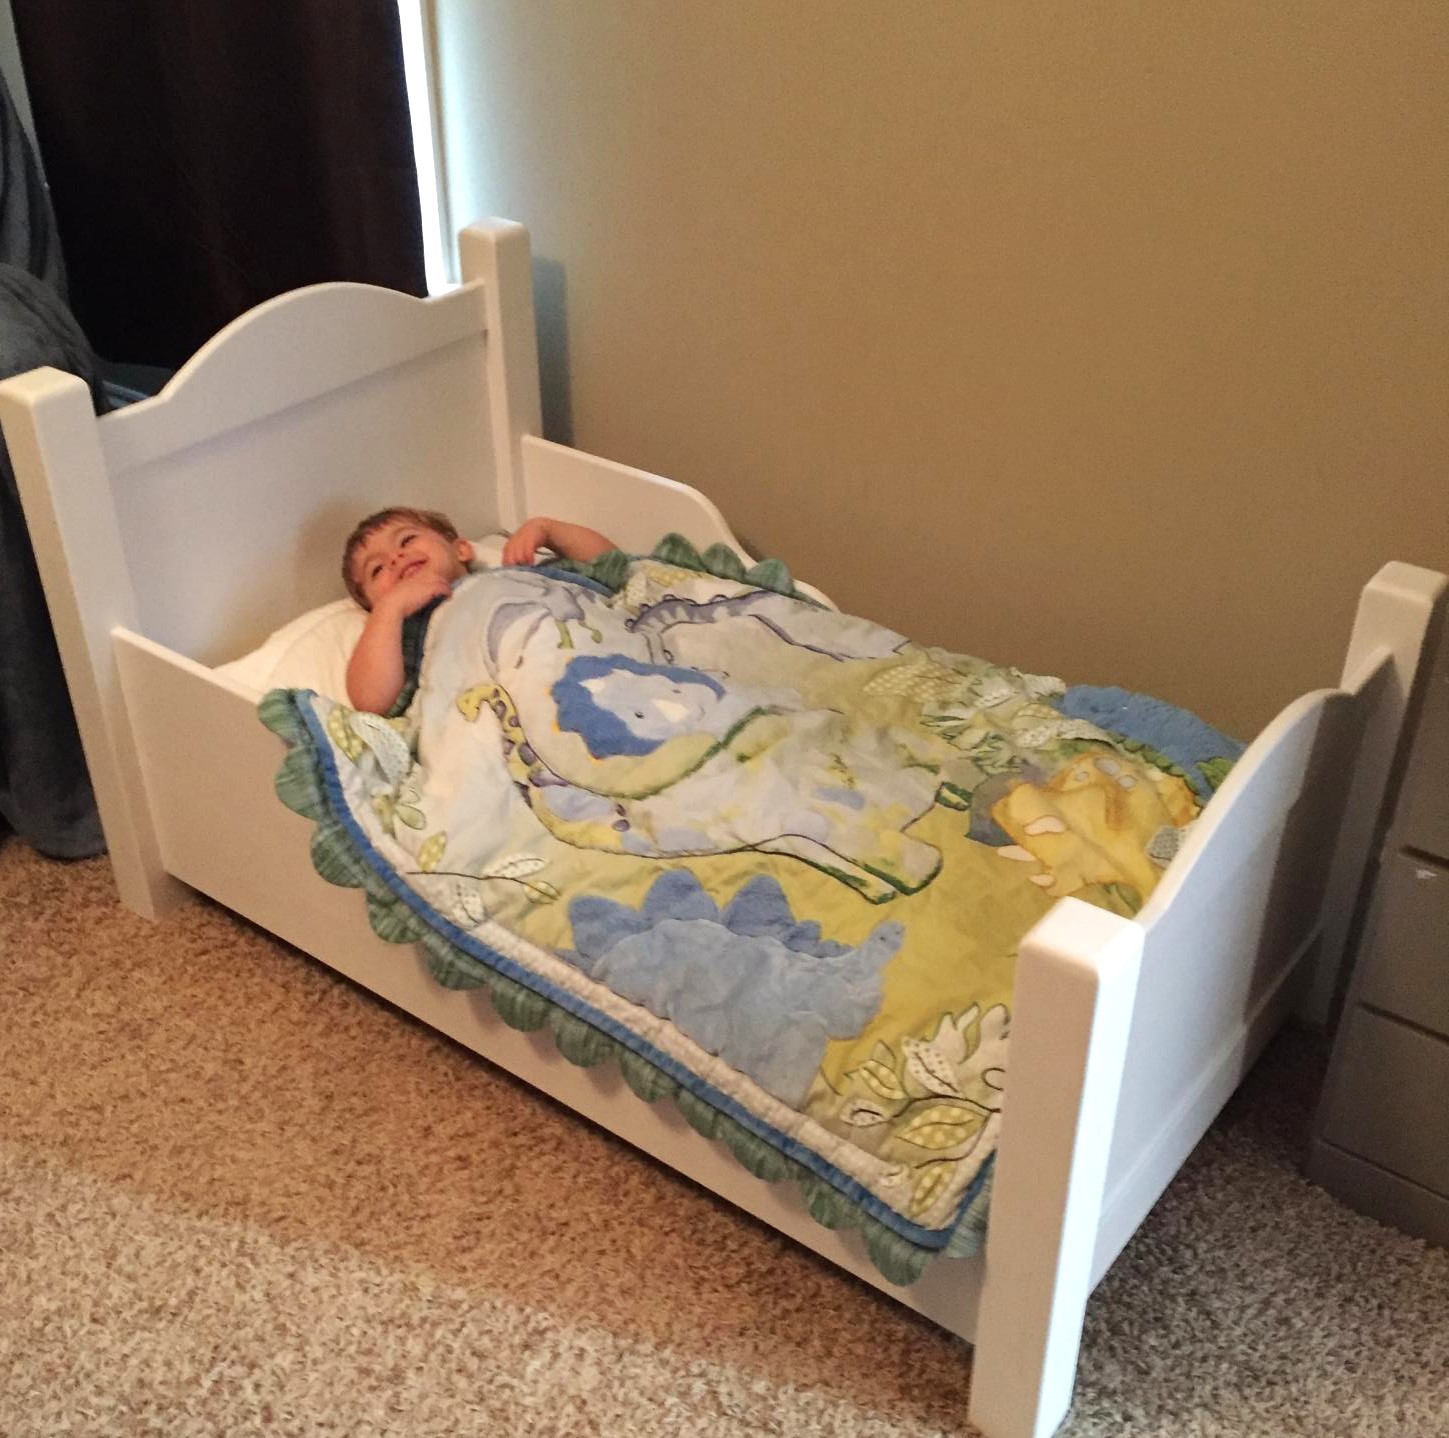
I was thinking of buying the conversion kit for my son's crib when I came across this bed. I modified it a little but used the base design. It came out great and this was the first time he saw it and got in it. Now all we need to do is figure out how to get him to use it!
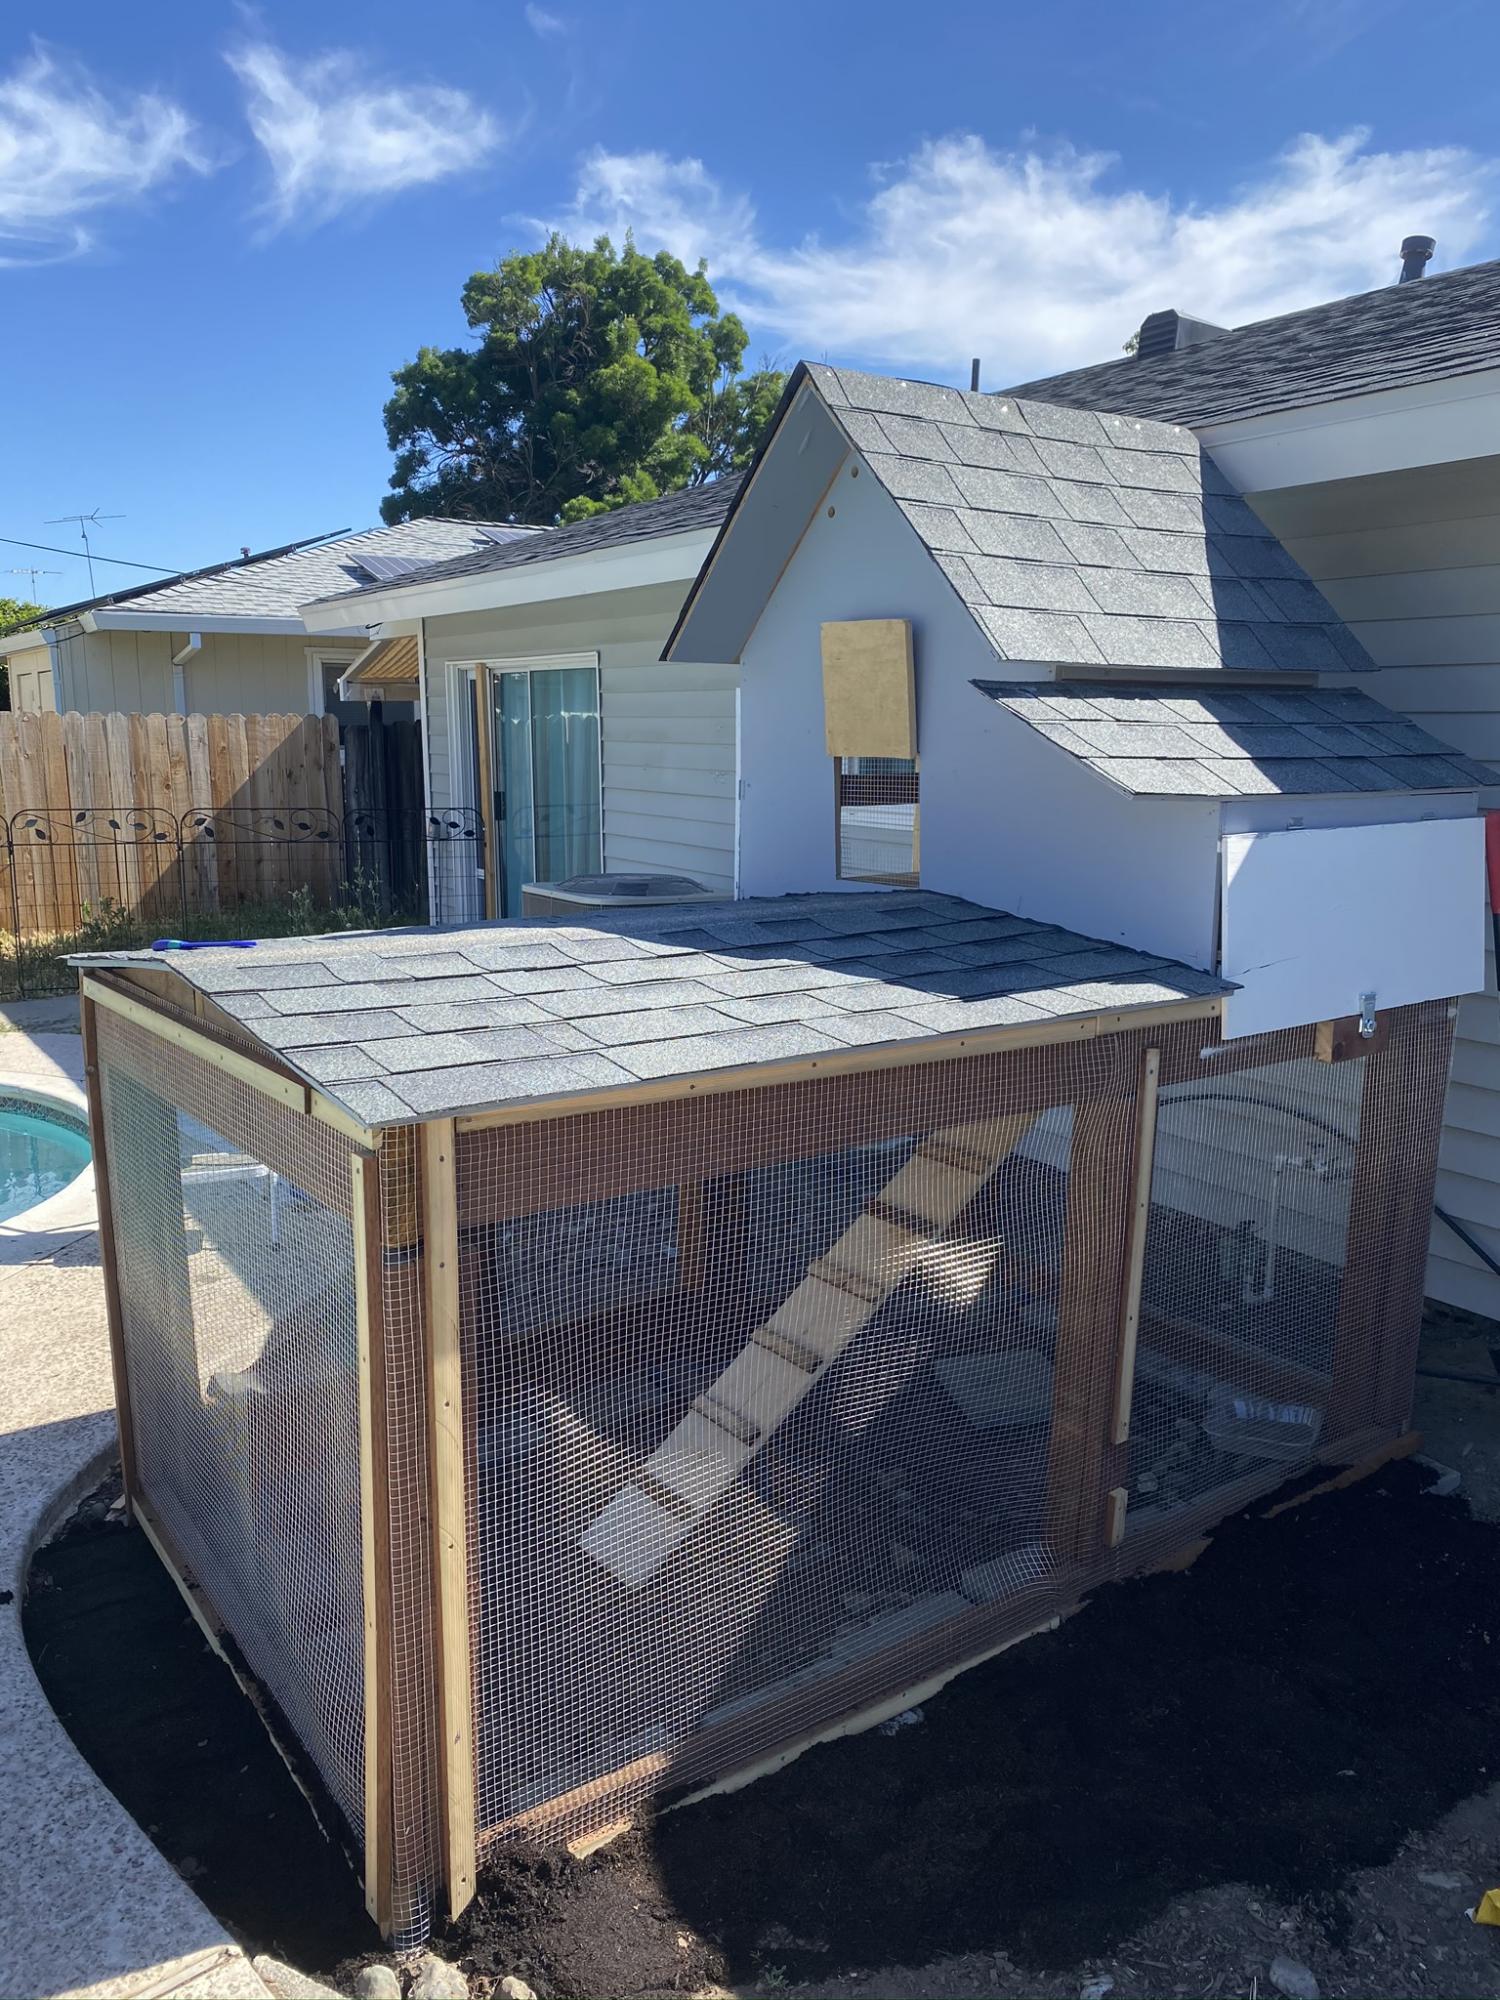
Made it four feet longer for her four chicks. Will be adding automatic feeders and water soon.
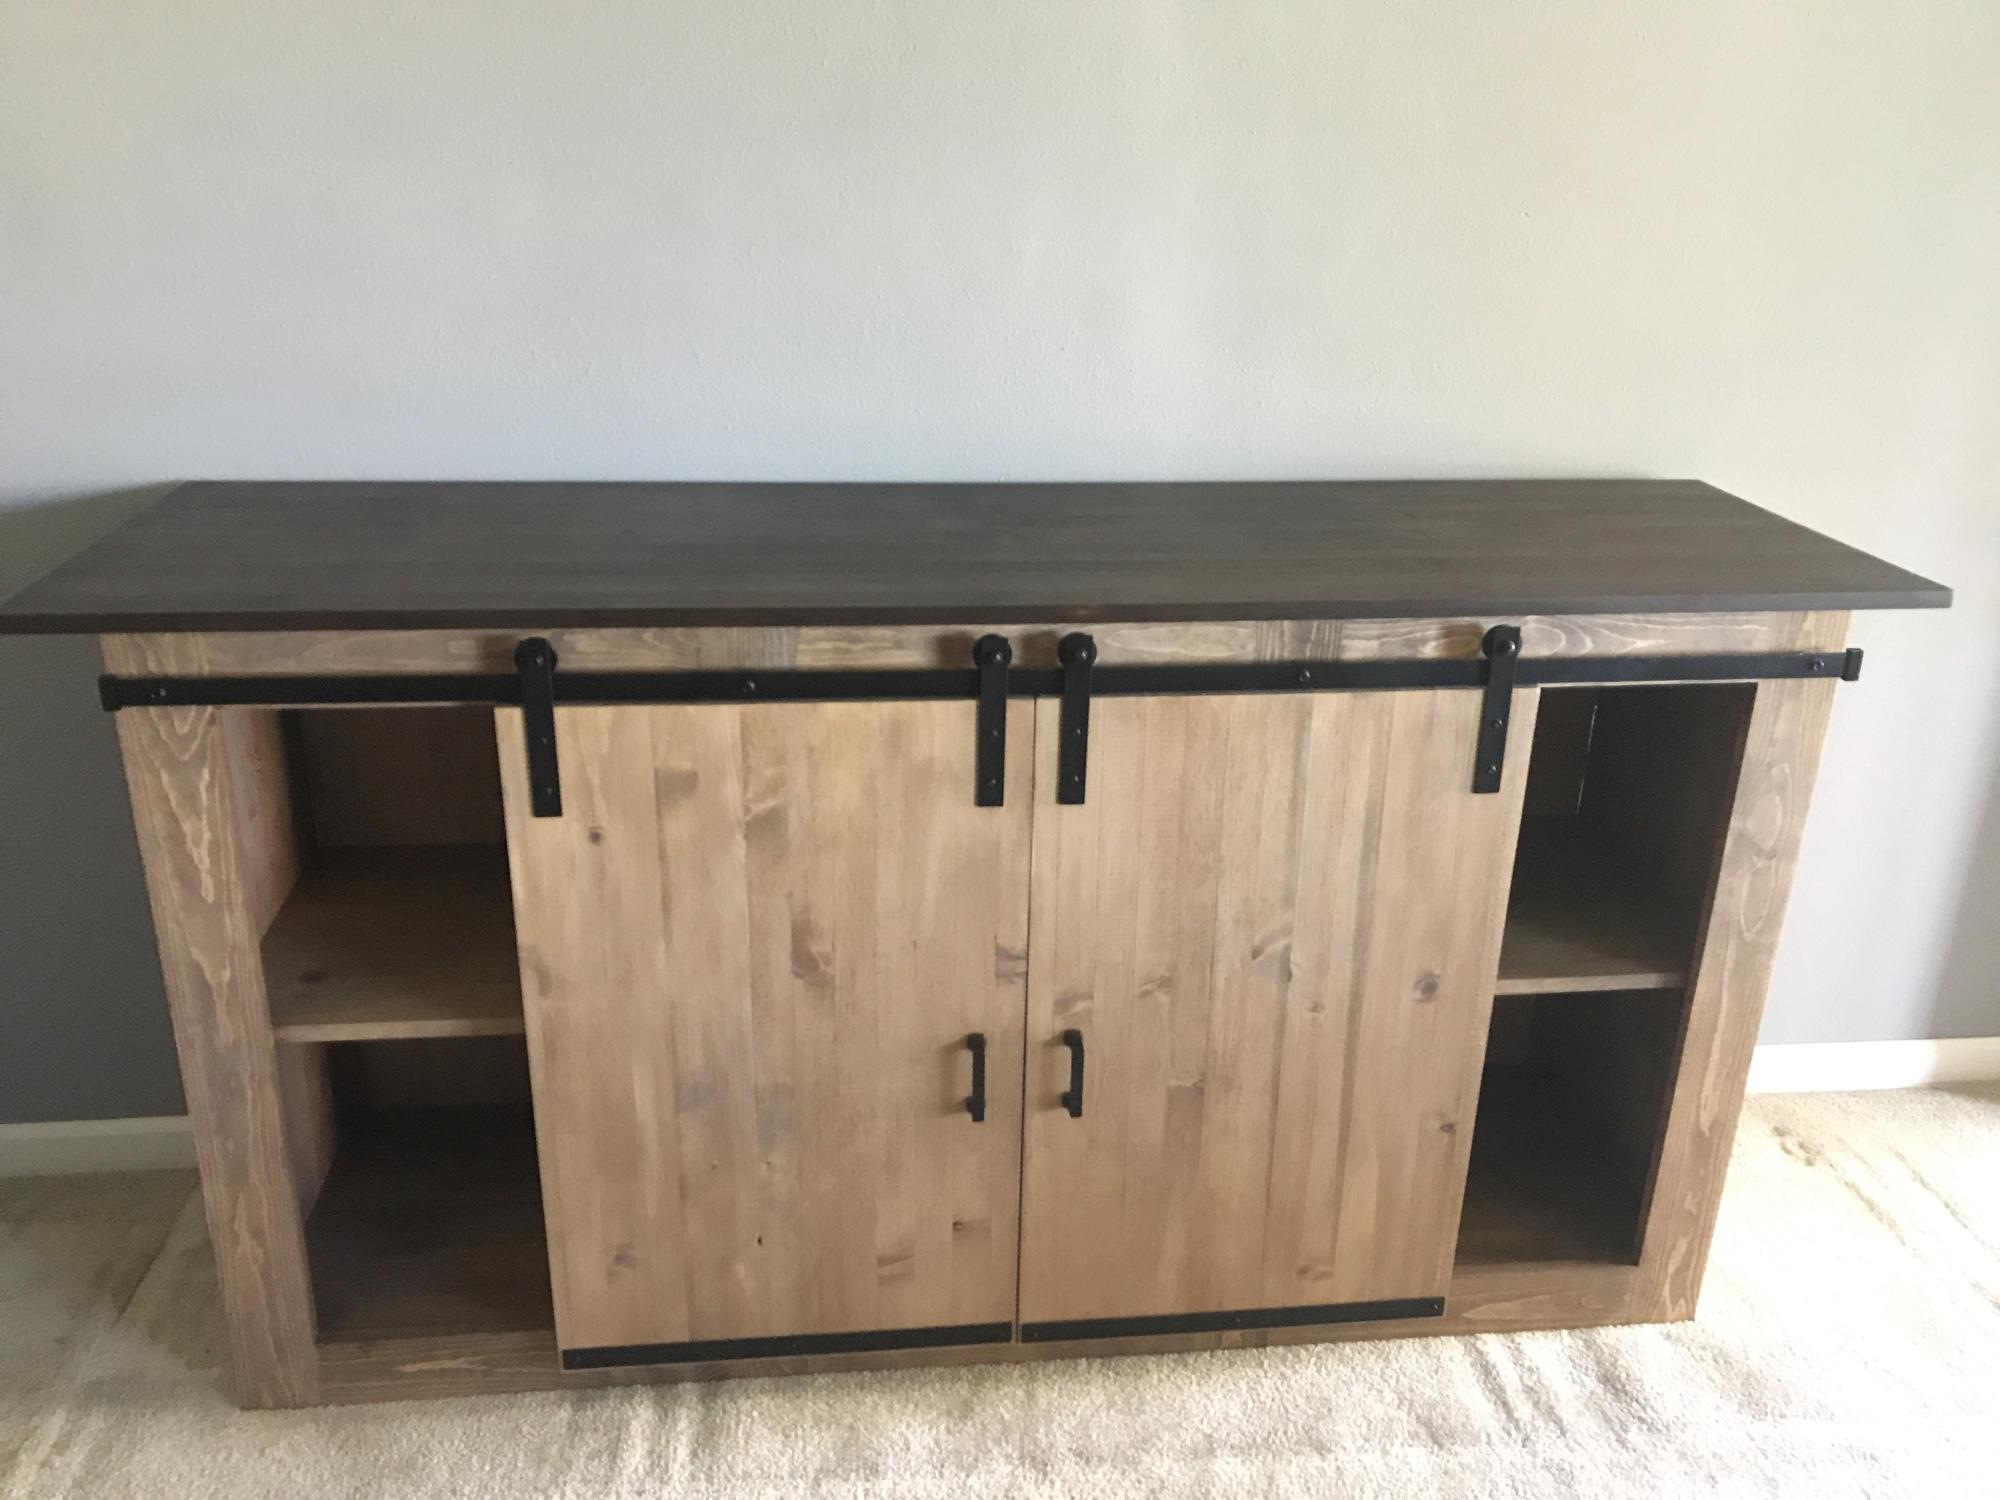
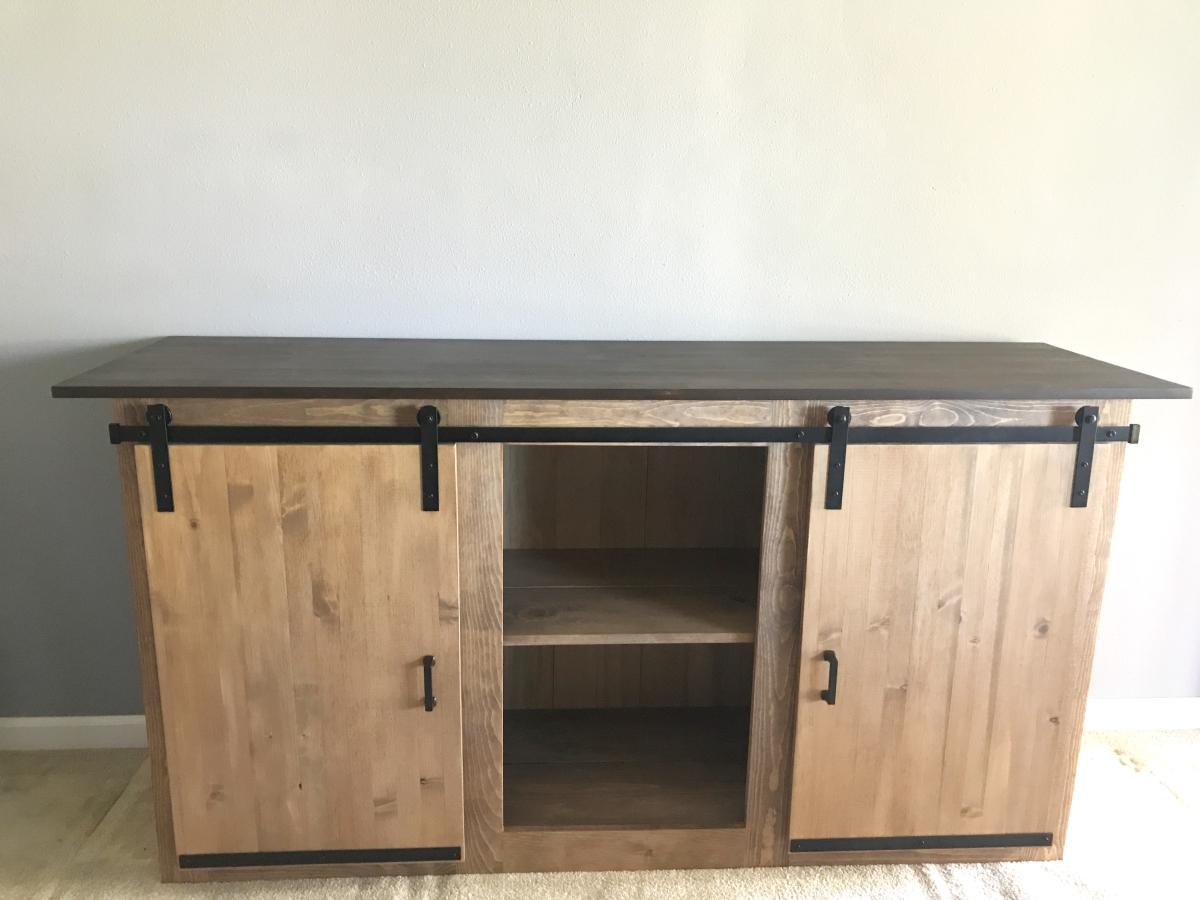
I retired from law enforcement and took up a new hobby. Your plans have helped me learn to build. This is a tv console I built for my sister’s new house.
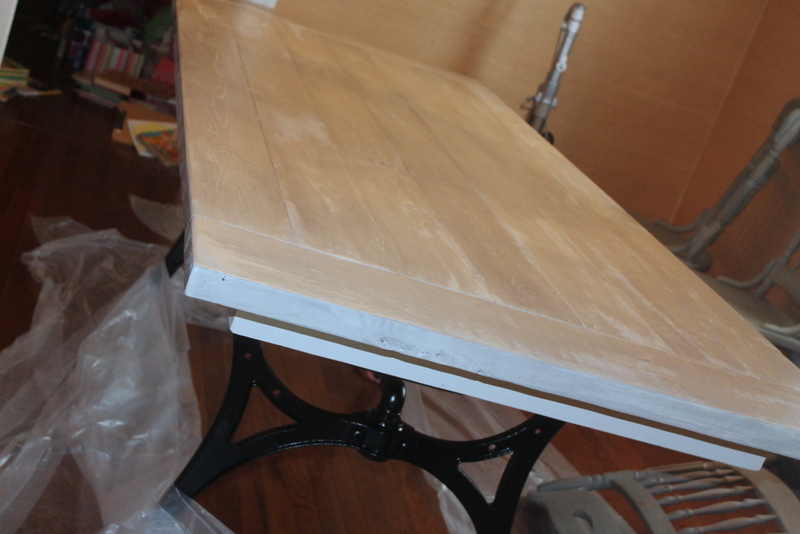
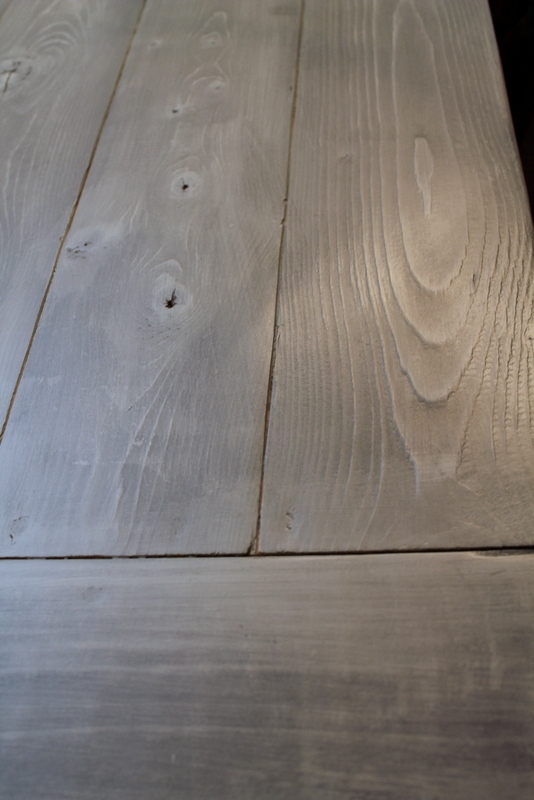
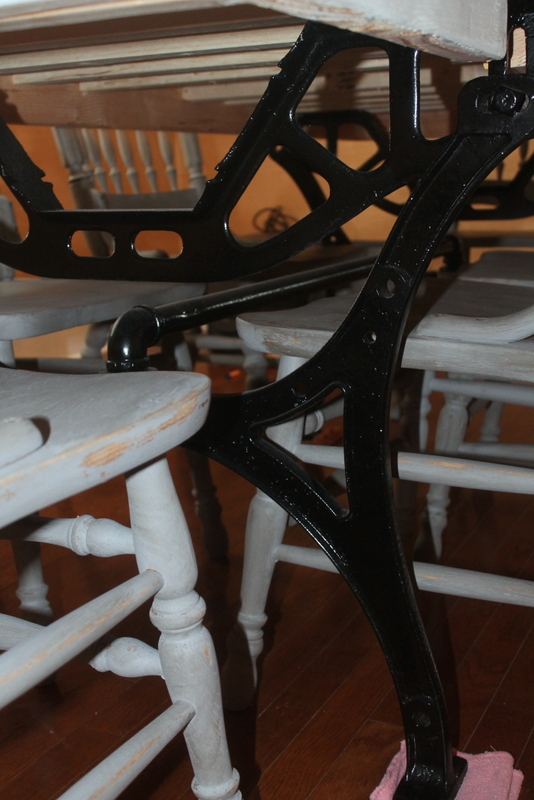
We just slightly modified the plan to accommodate our really great industrial sewing table base.
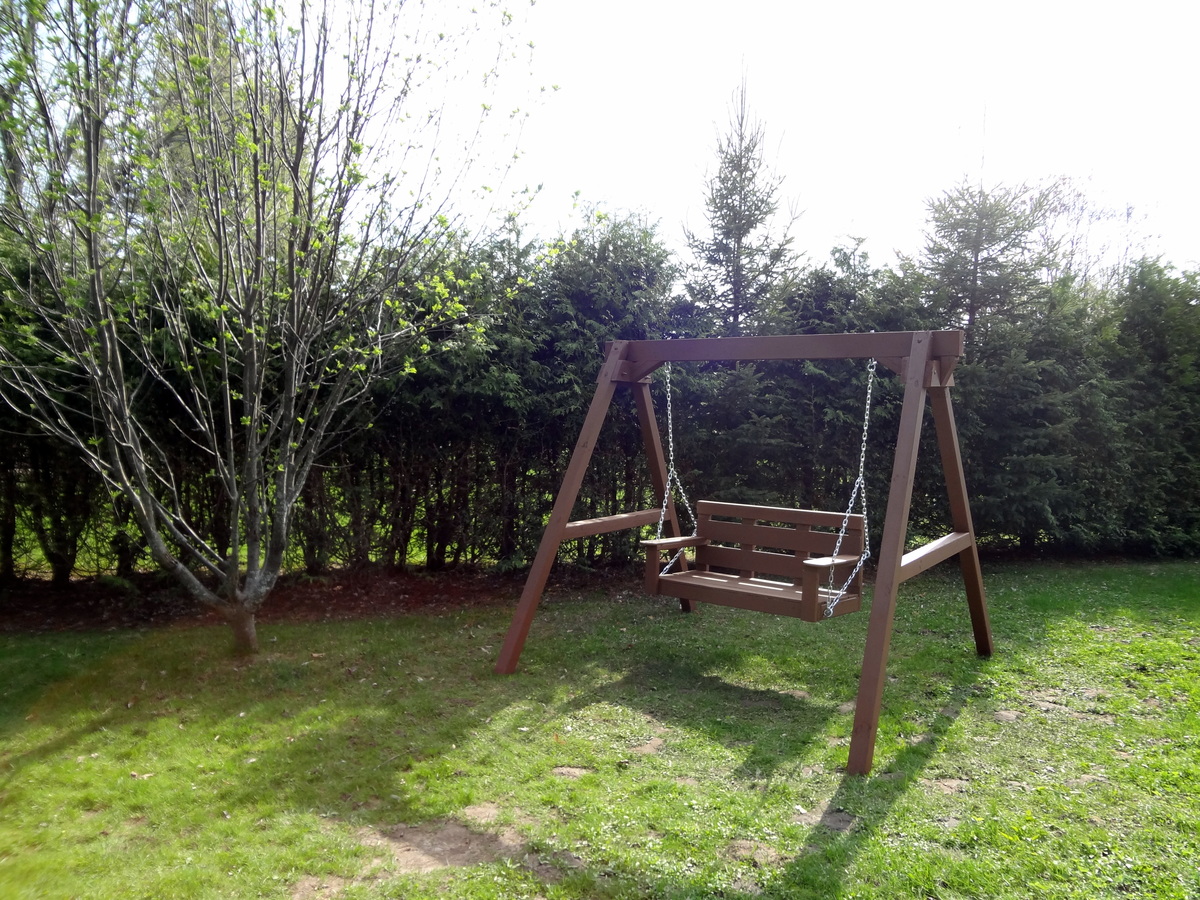
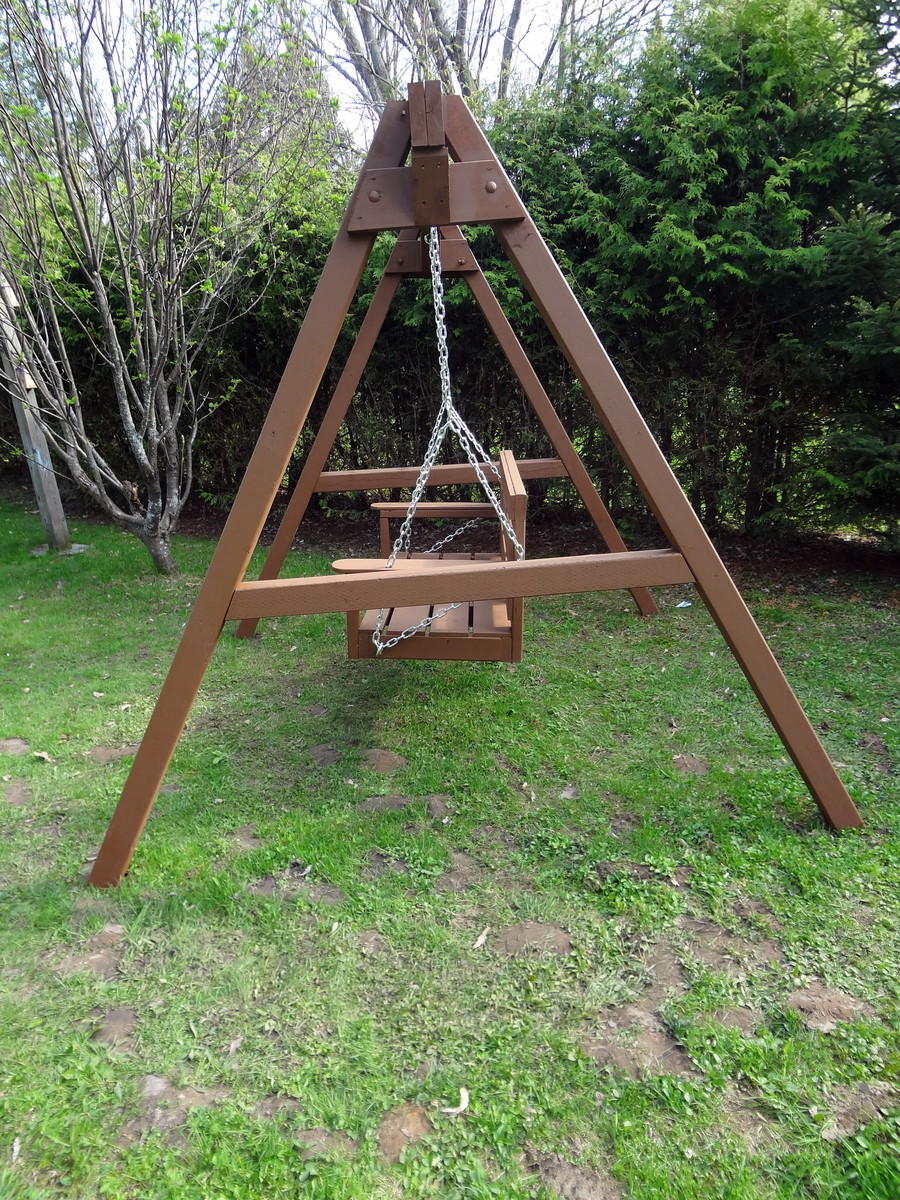
A great weekend project...the "love swing"! I used the plan from Ana for the swing seat and added two arm rests from left over 1x6, rounded them off and sanded.
I cobbled together an A-frame to hang everything, made from five 8 foot 4x4s and two 8 foot 2x6s laminated together for the stretcher. Assembled with 1/2" galvanized carriage bolts and hung with 1/4" chain.
Definitely going to want a good miter saw for the A-Frame angles (the top ones are a bit tricky to get everything lined up)
Love it! Thanks for another great plan Ana..and of course..Shanty2Chic!
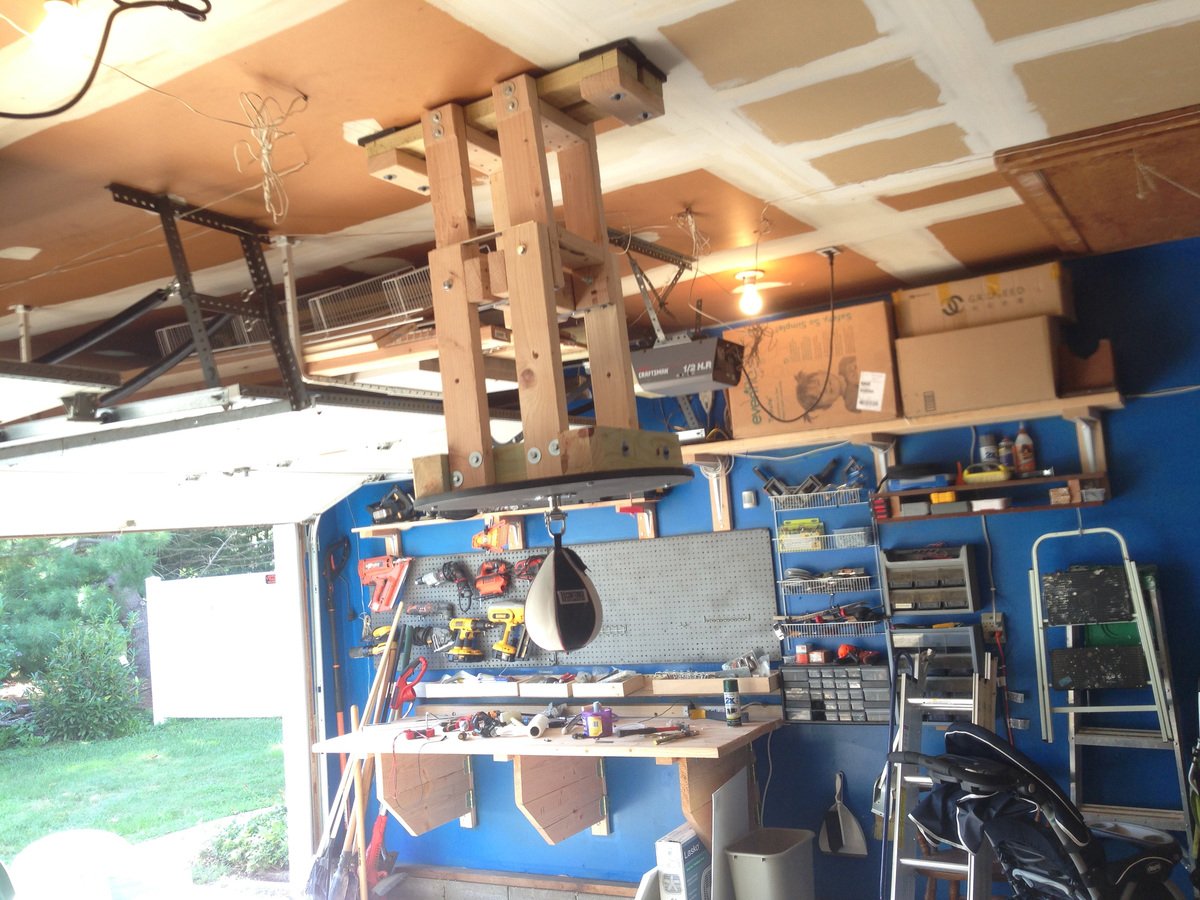
I’m an avid boxer and wanted to be able to work out in the convenience of my garage without making too much noise, and still make it easy to carry out normal garage functions (workshop and parking the car). I came up with an original design of a speed bag platform that locks away in a raised position, completely out of the way for normal garage usage. Then it unbolts and slides down when ready to engage. I also used rubber dampeners where I mounted it to the ceiling rafters to reduce vibrations and cut down on noise travelling through the house.
I documented the whole project in my blog post at http://www.justmeasuringup.com/blog/diy-boxing-speed-bag-station-that-stows
I work on a lot of projects in the garage, and having a speed bag right in the middle is a great way to take a short break in the middle of it all - or when I bang my thumb with the hammer and want to release some anger :)