Square Outdoor Table with Built-in Seating
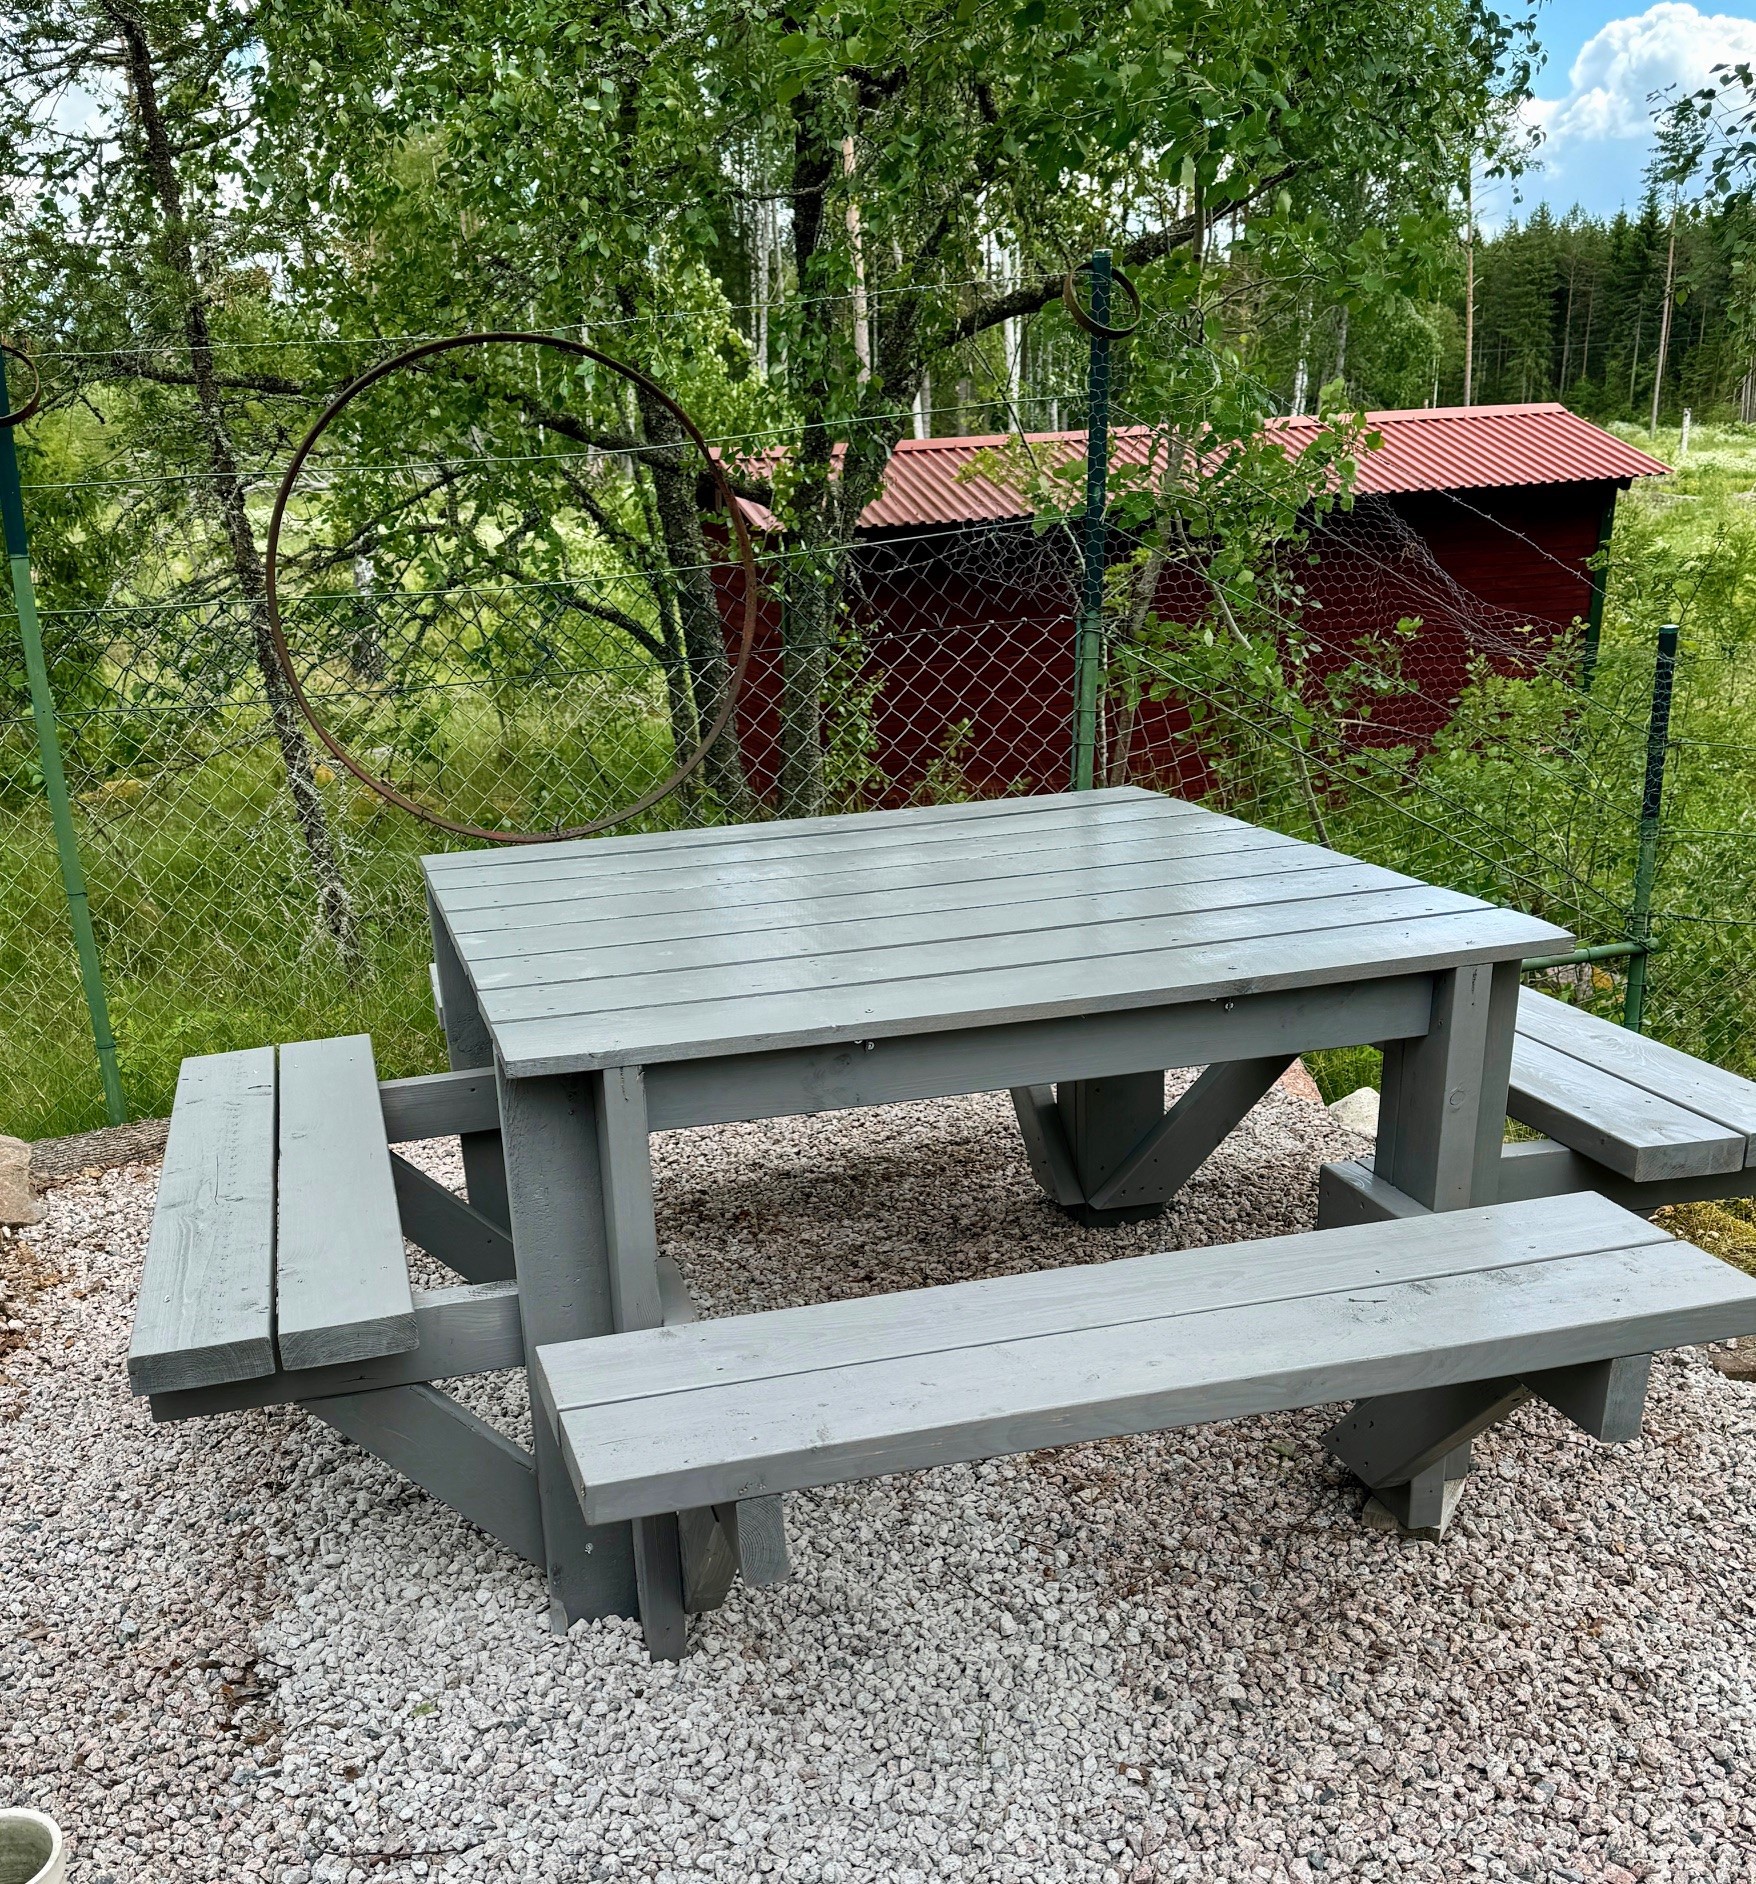
My first Ana White project, so fun to build. Now standing at my summer place in Sweden, ready for a whole summer of picnicking.
Marie Stana

My first Ana White project, so fun to build. Now standing at my summer place in Sweden, ready for a whole summer of picnicking.
Marie Stana
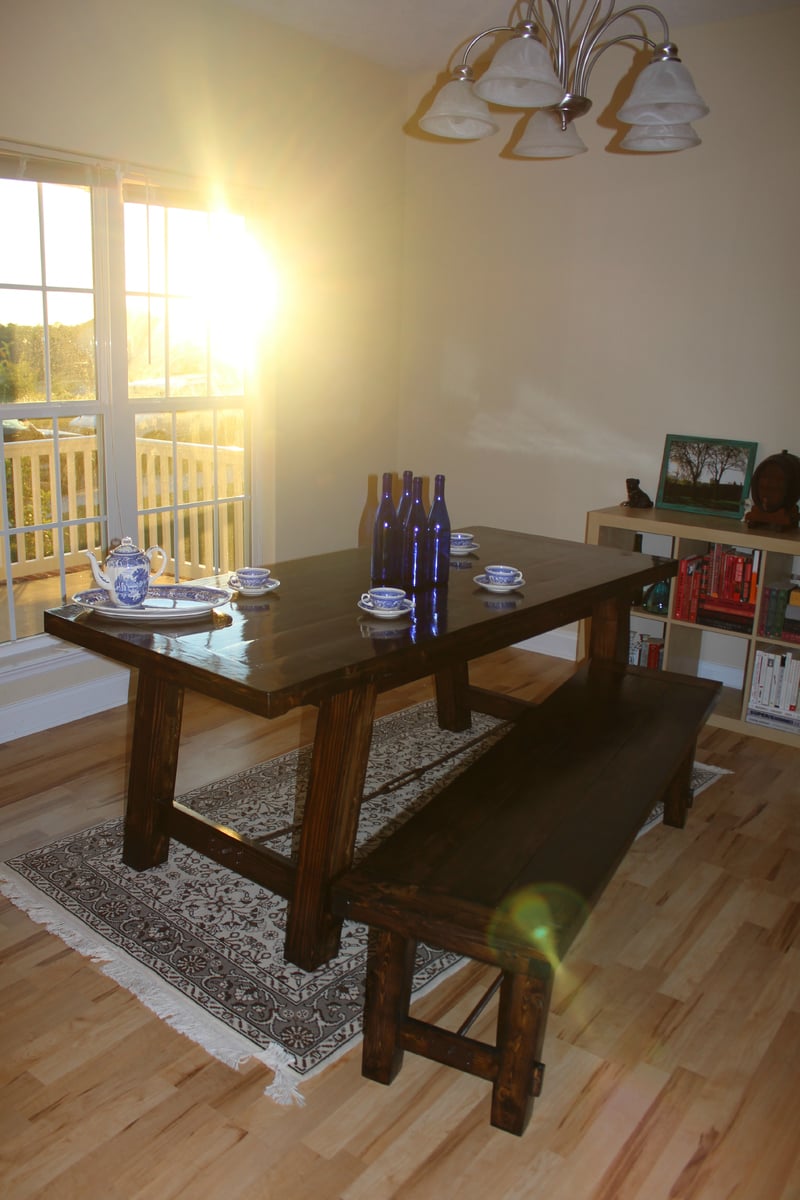
We made this after making the benchright bench! You can also see the bench in the pictures. Love the table (and bench)! We wrote about the project (step by step) on our blog- http://thehuth.blogspot.com/
Thanks for sharing plans!
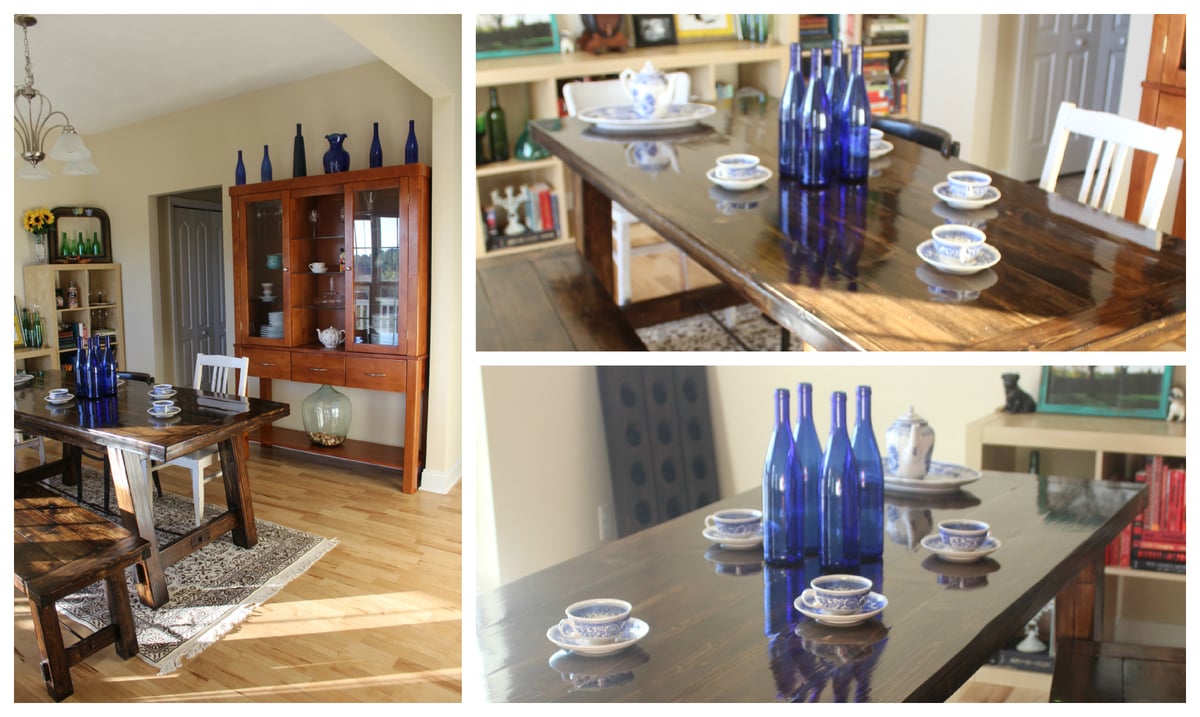
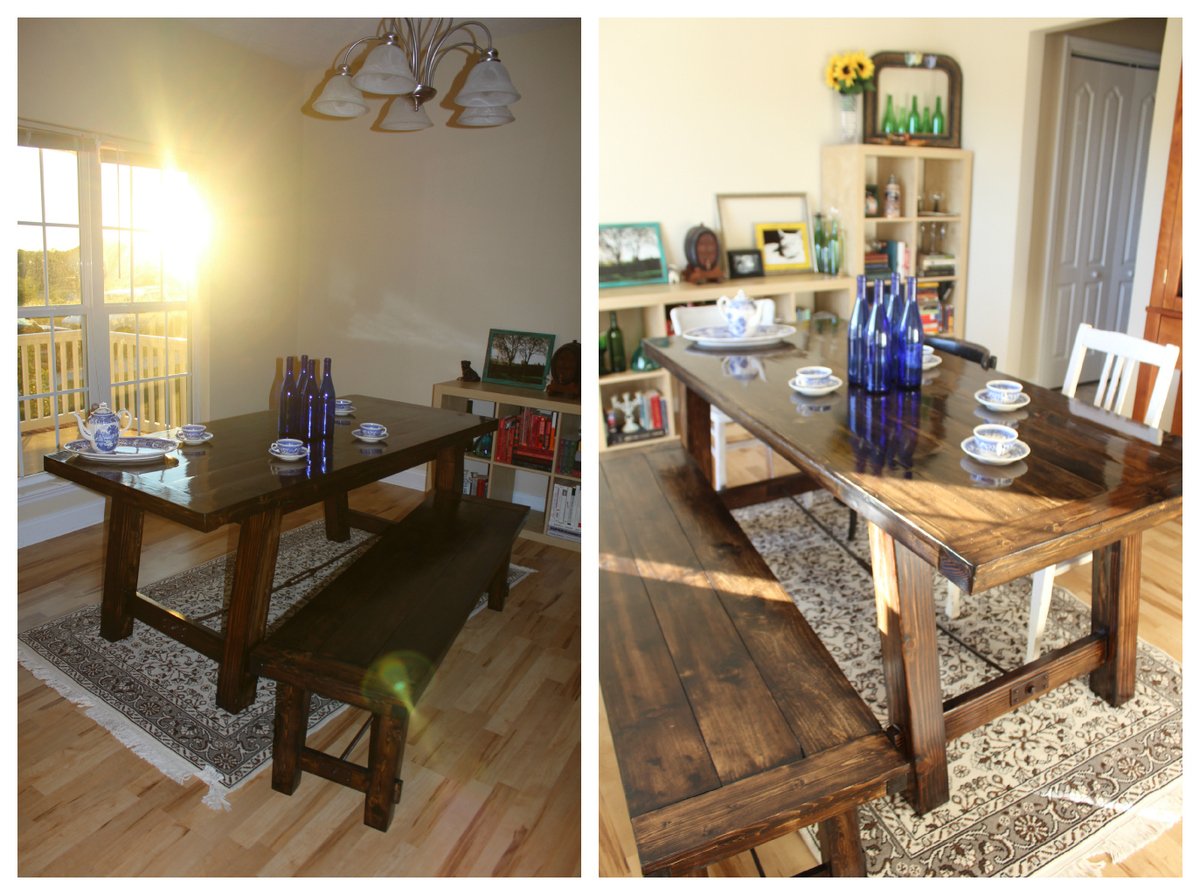
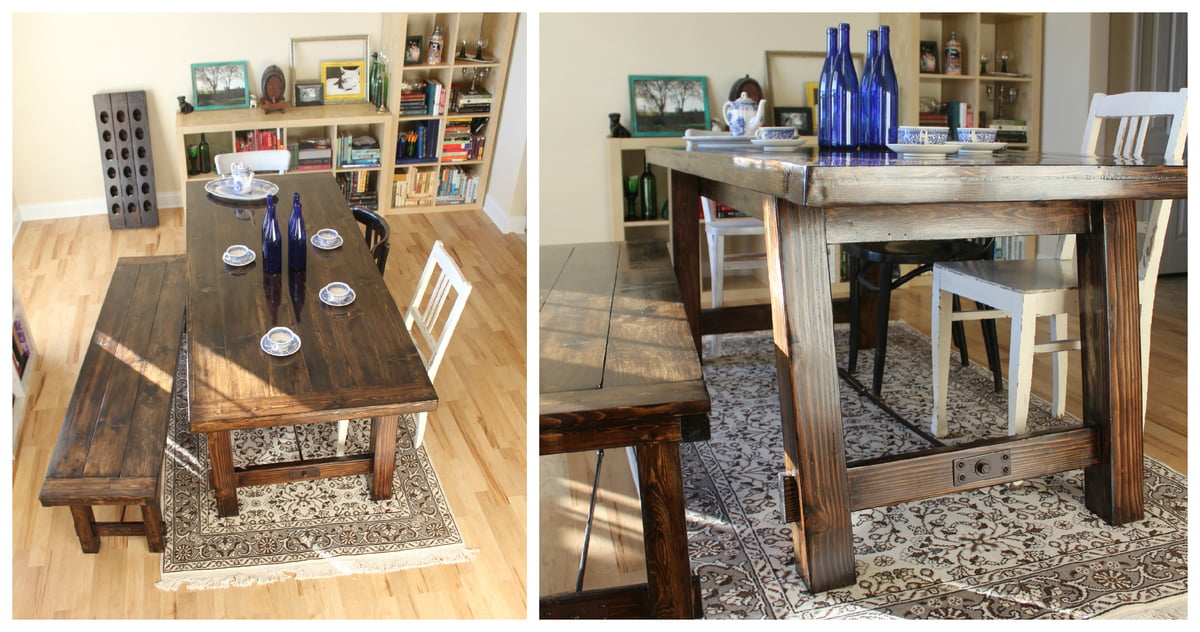
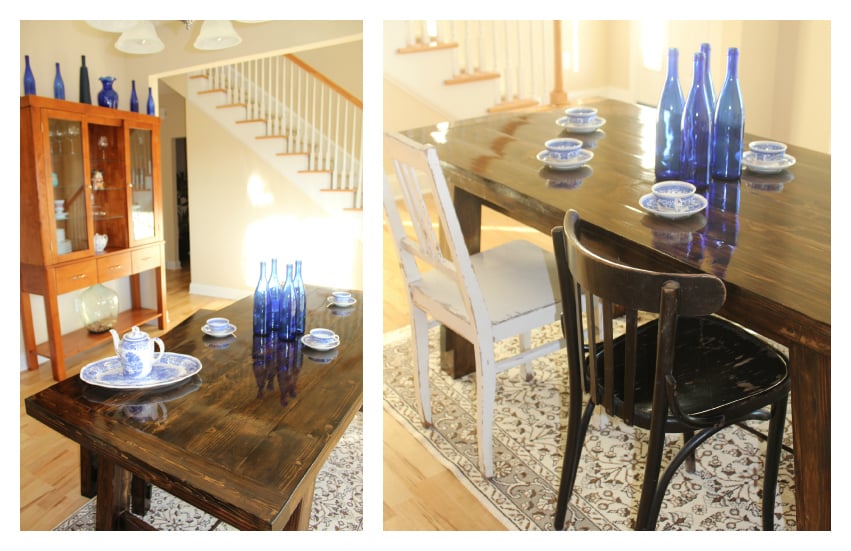
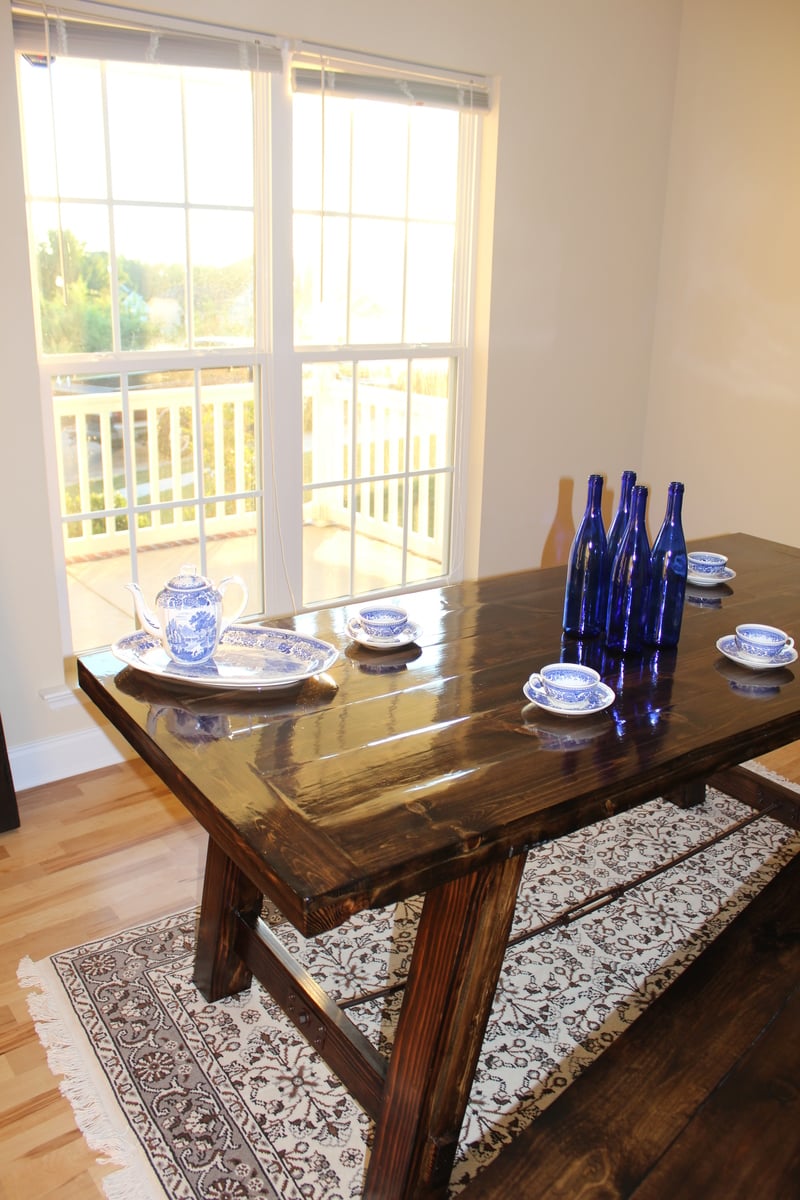

My wife and I saw this exact table at restoration hardware for $3000 and I couldn't see spending that on a table. So I decided to take on this project which took about 8-12 hours to complete, building the table and bench was easy, just took a while to sand and stain. When all was said and done I had about $200 wrapped up in it.
I loved this easy project, and I made it even easier by using a solid pine panel for the top. I also added a bottom shelf to allow for storage. Please see my blog post for details on our size customization, cut list and modifications.

The majority of my builds are inspired by or built for my grandchildren. This was Kayden's first big bed and he was so proud.
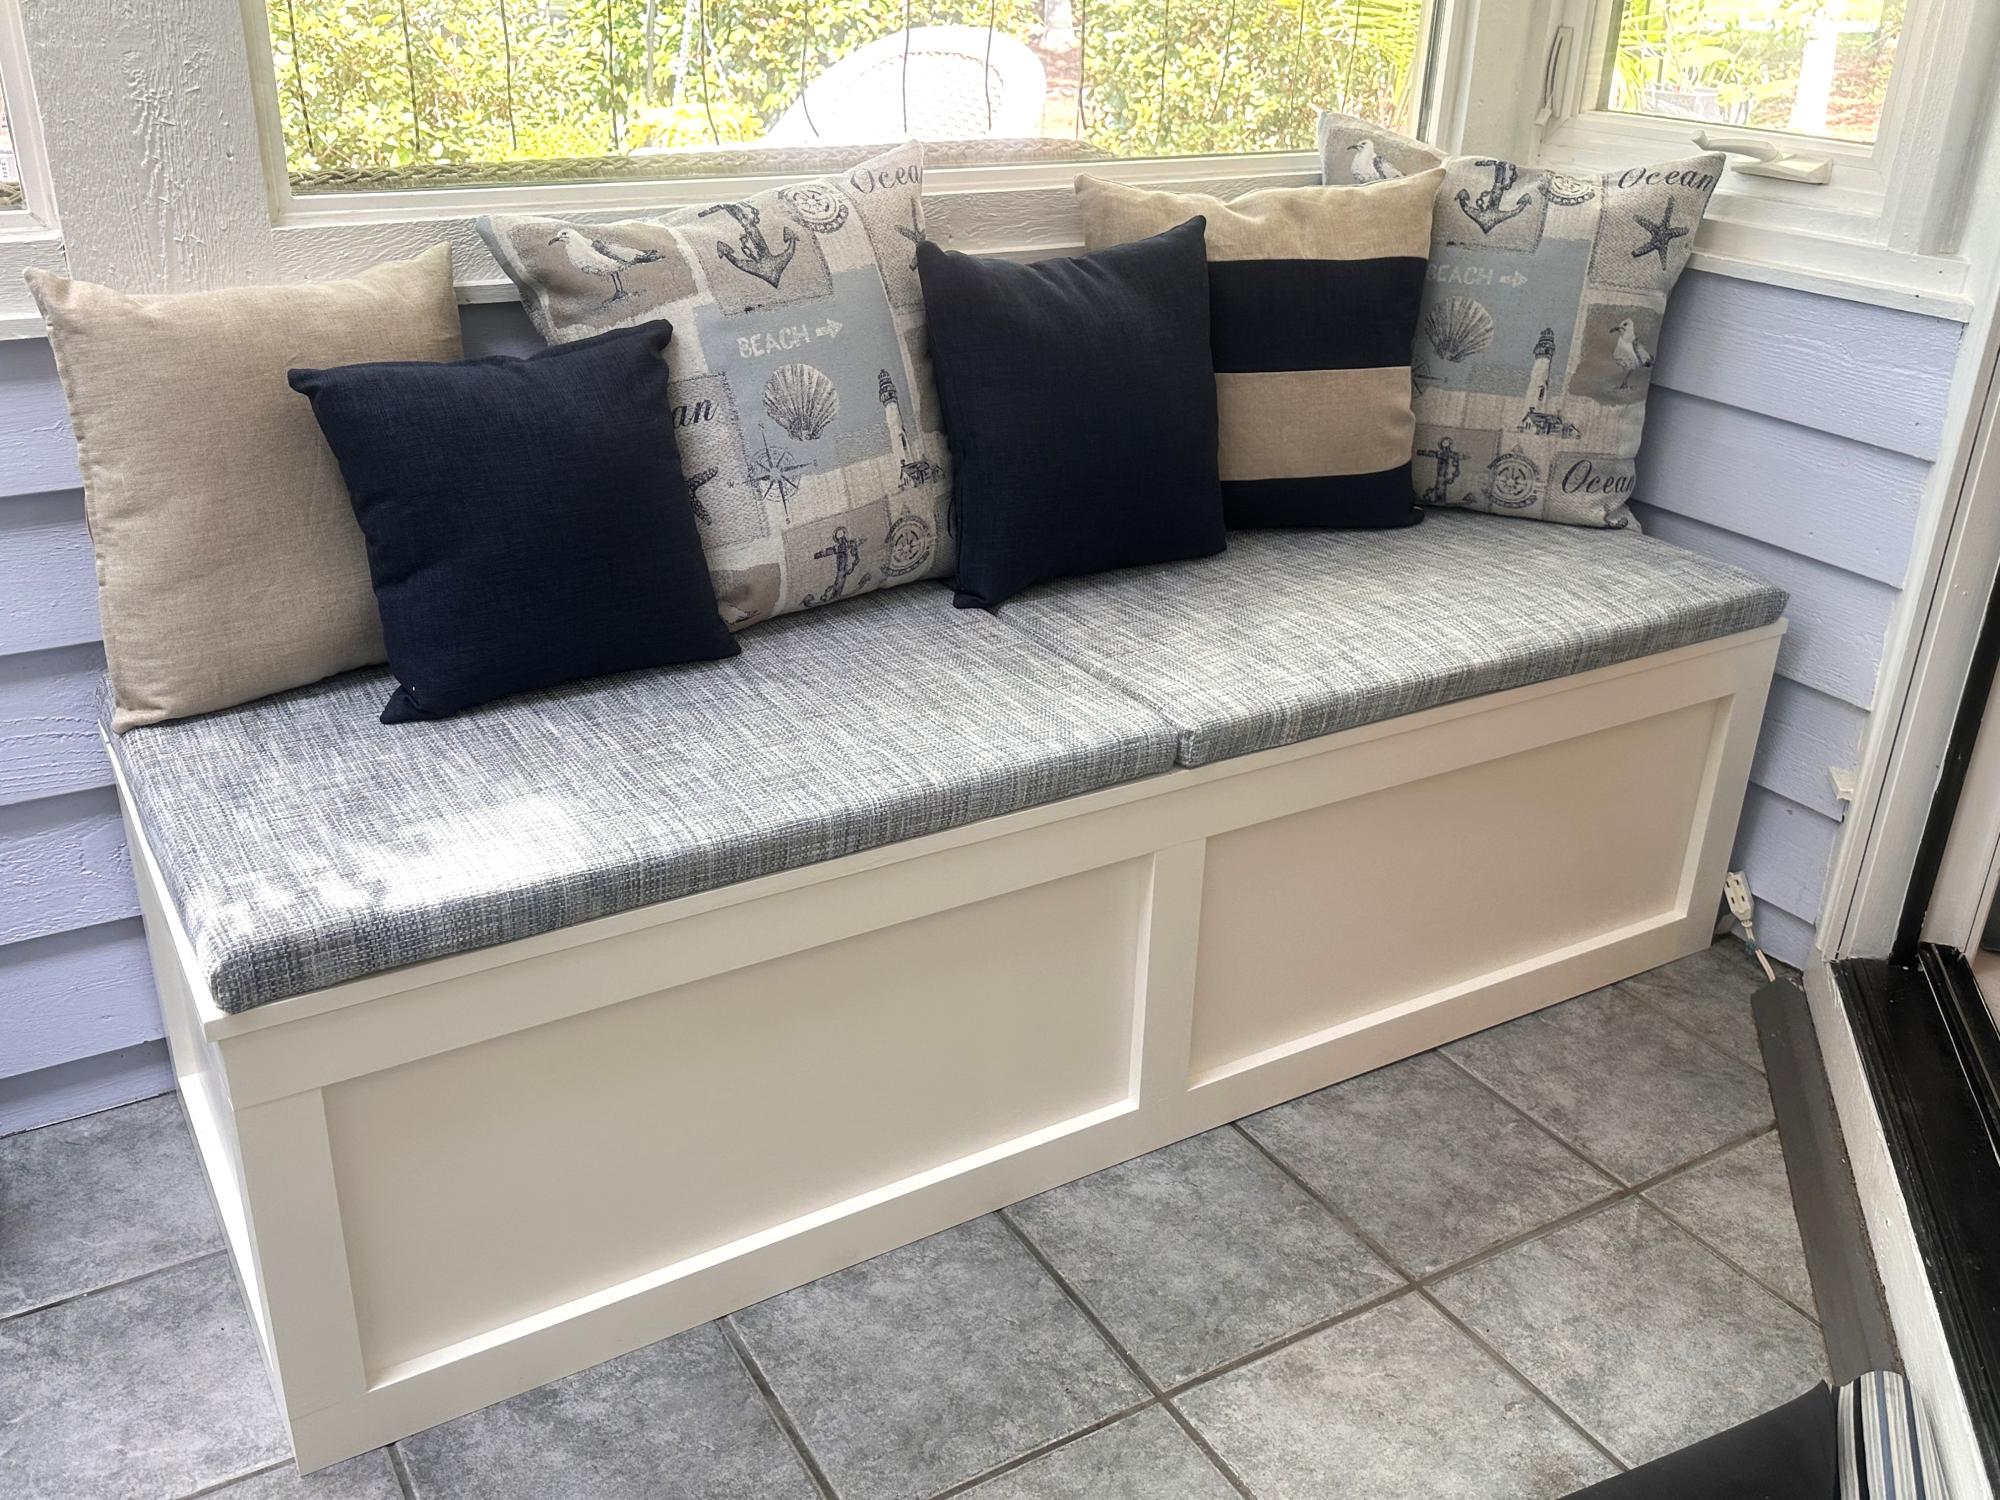
My husband and I used the plans from Ana White’s Banquette bench with a few minor tweaks. We placed our single freestanding(not mounted to the wall)bench in our Carolina room. I also made bench cushions and pillows to make this a comfy place to watch the birds or the golfers out back. It was an easy and fast project to complete.
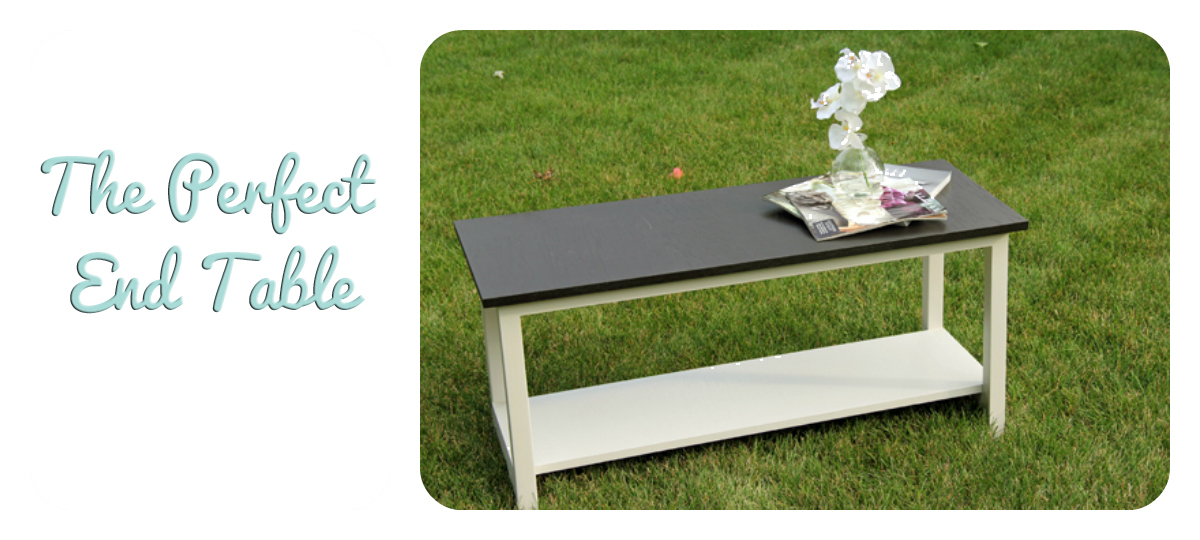
I built this using a combination of Ana-Whites plans and JenWoodhouse alterations.
I made my tables to fit my sofa so they are only 20" tall.

I increased the size of the original pLan per the customers request. 45" wide x 72" high x 22" deep. Had to build it in my garage and the dismantle it and build it again at their house as it wouldn't fit up the stairs all together.
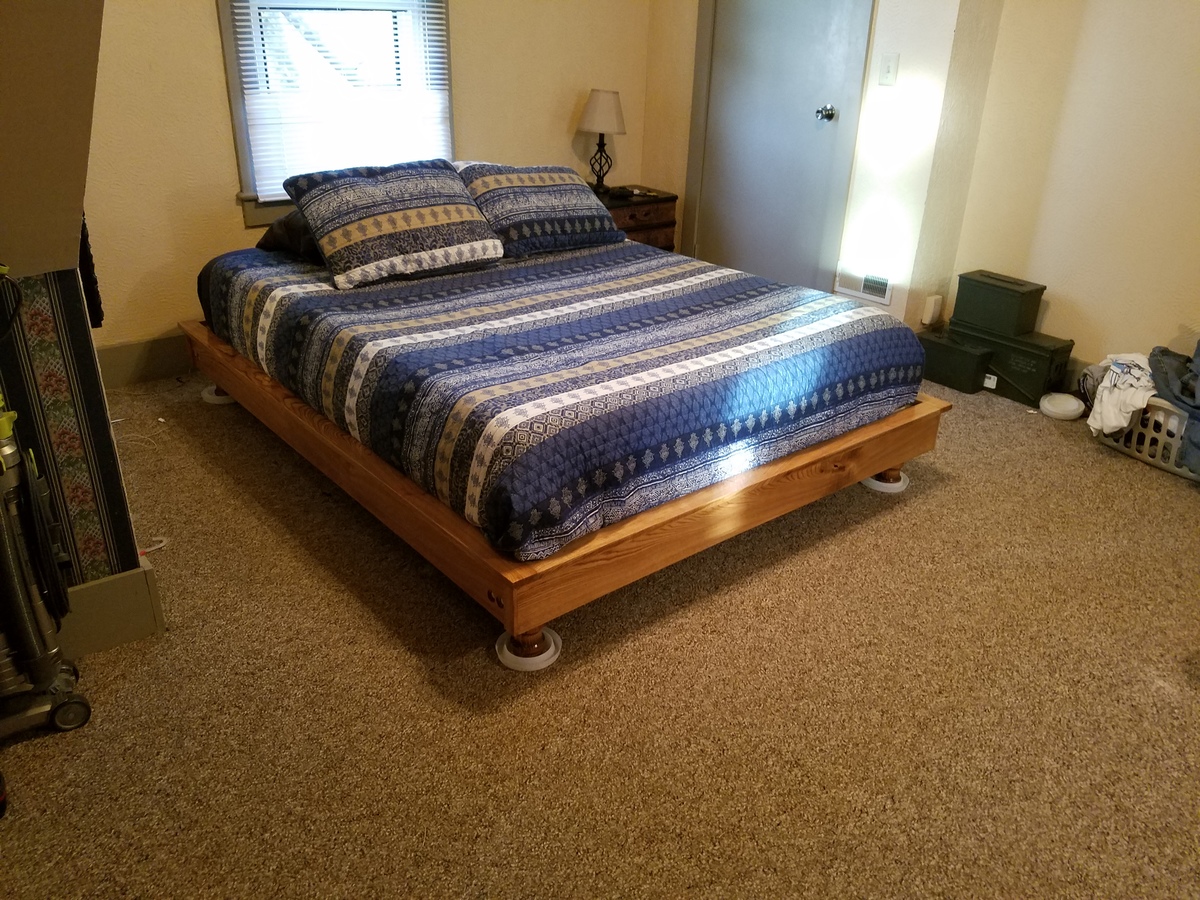
More than happy with how this turned out. Hoping to do the headboard soon after a few orders. Decided to use ash and match a dresser I made. Used pine 1x6s and attached ash 1x6s on the outside for the frame. Used ash for the trim, as well. Assembled with pocket holes and wood glue. Decided to raise the legs 1" and turn then on the lathe. Used 4x4 douglas fir for the legs instead of a 2x4. Attached the legs with carriage bolts. Not shown are plugs to cover the bolts. Finished with a golden oak stain and semi-gloss polyurethane.
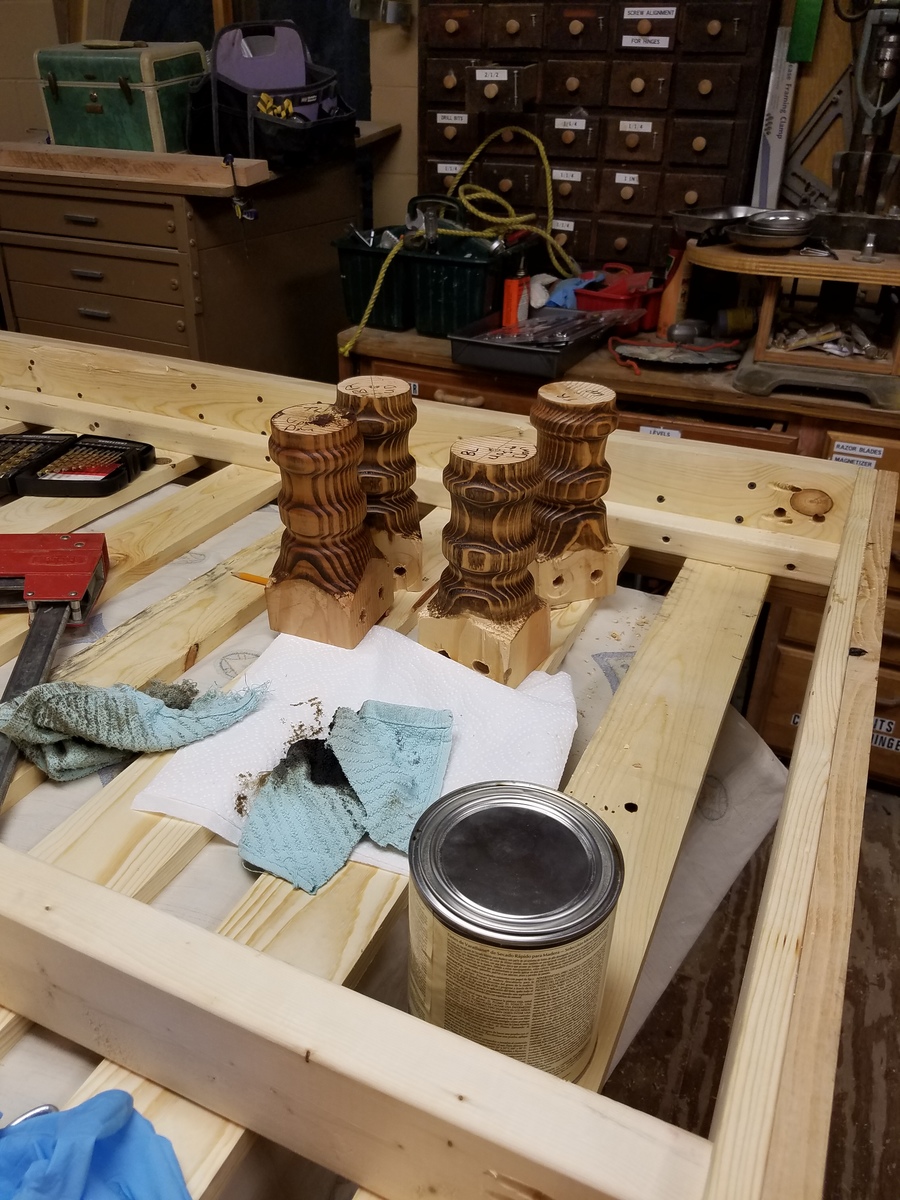
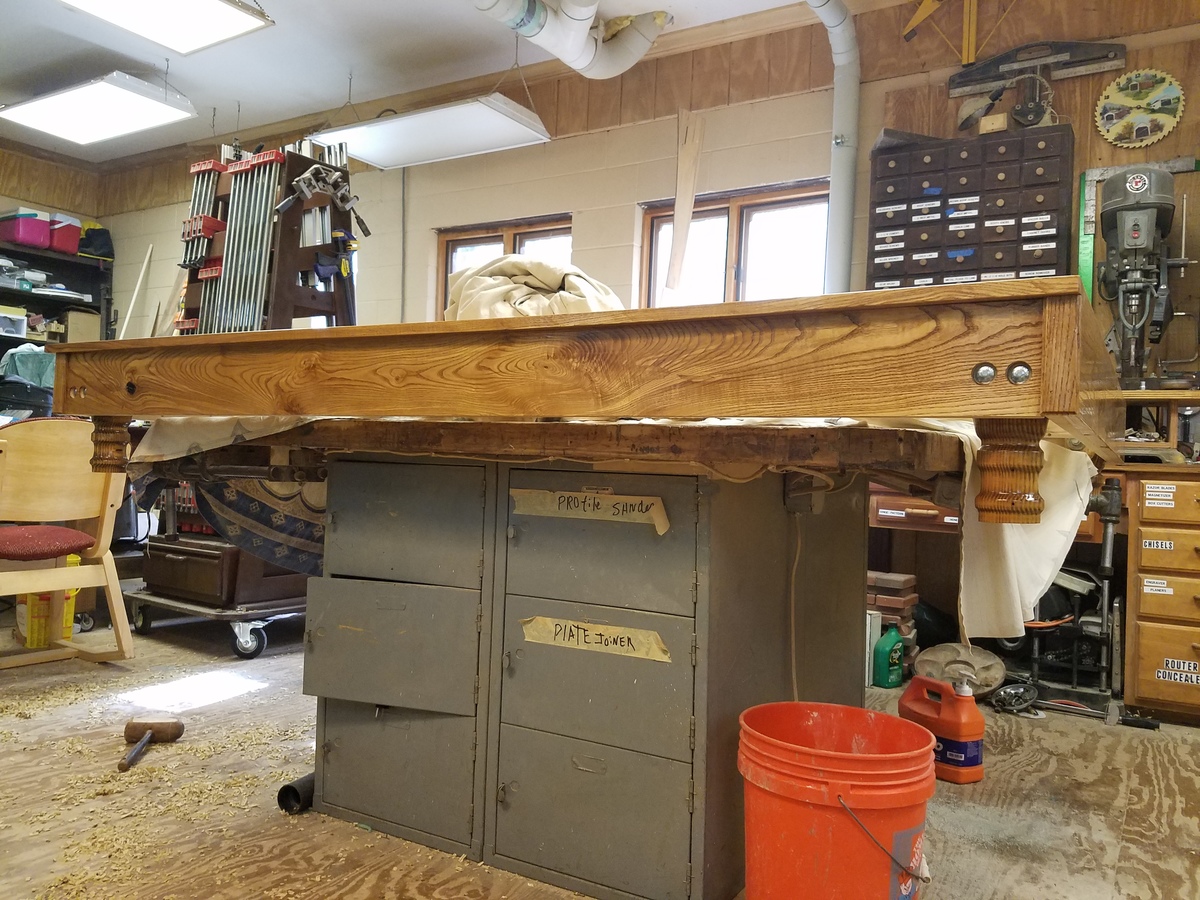
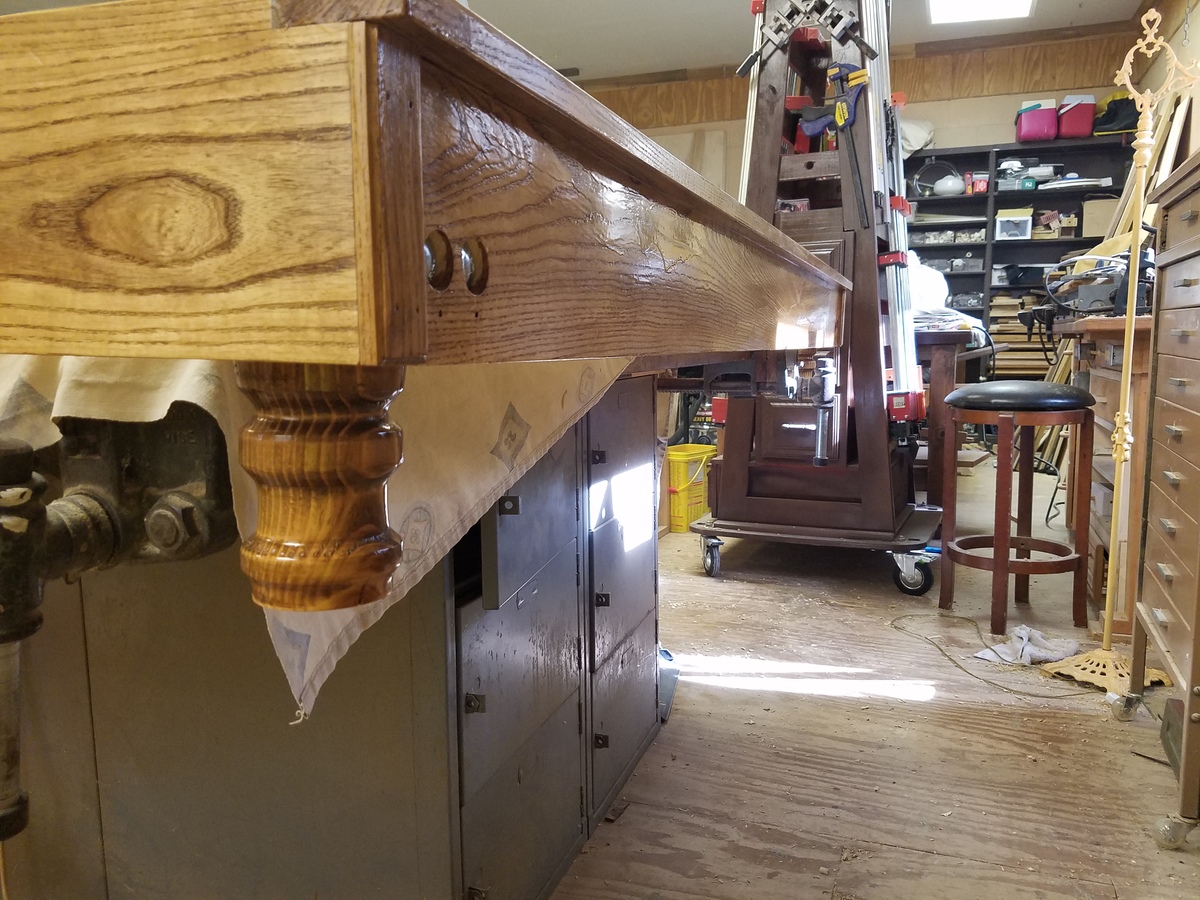
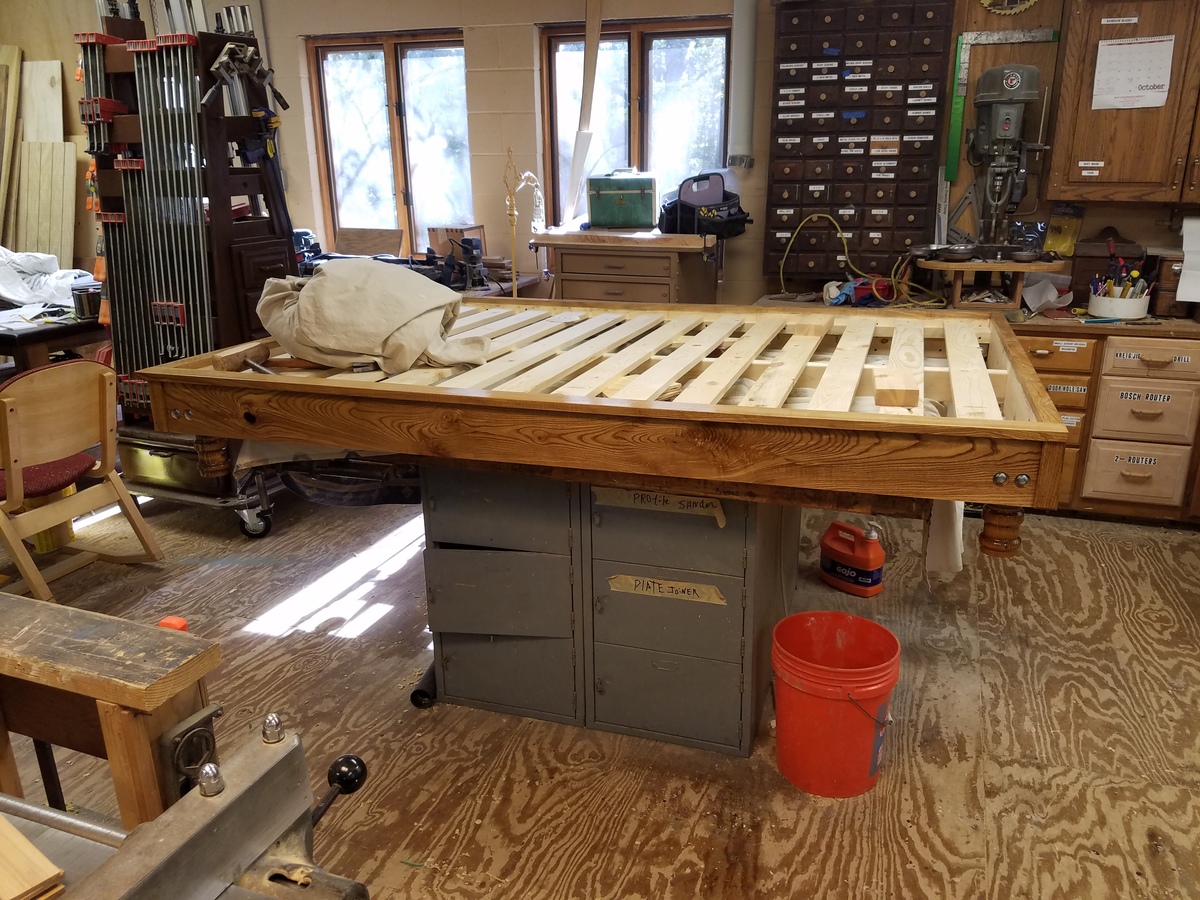
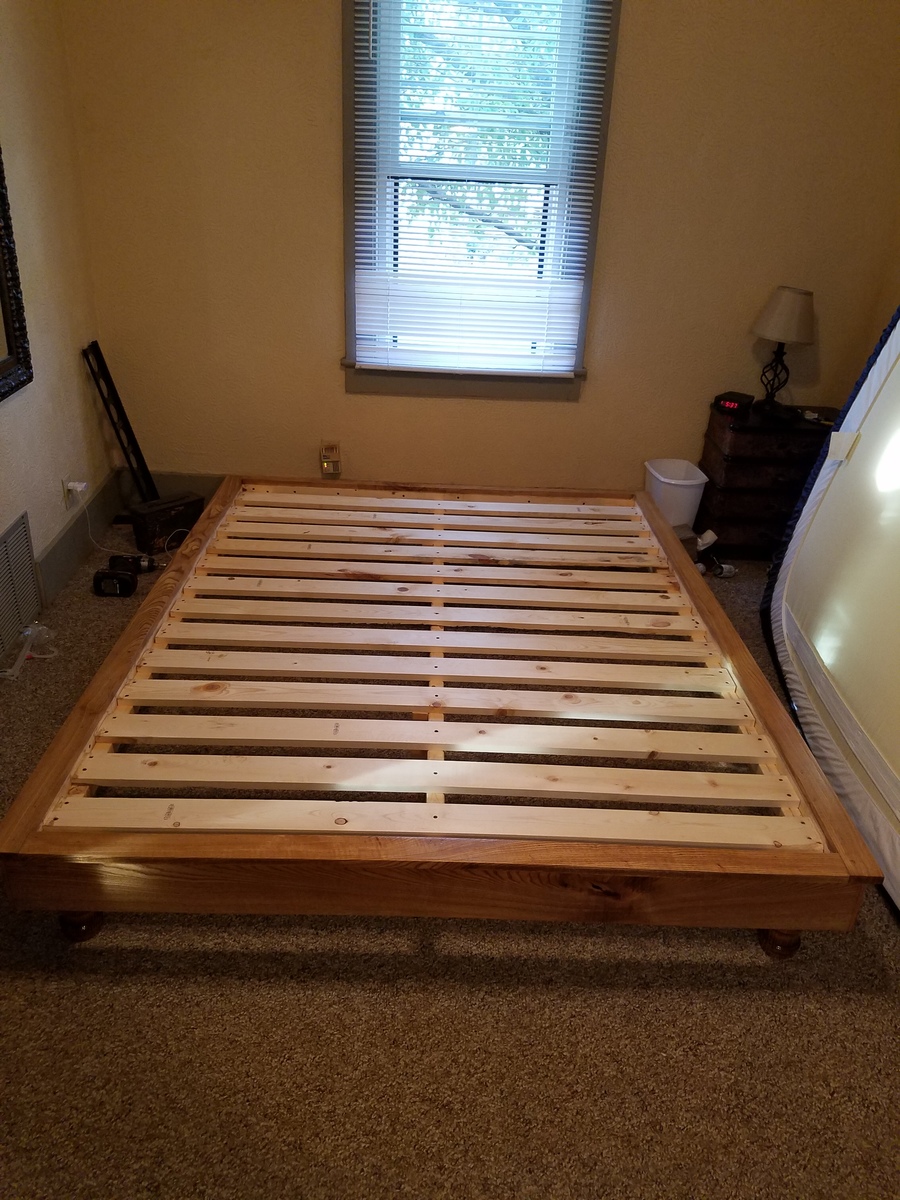
The second furniture building project I've ever made. It was super fun to make, though I probably spent half my time making sure ever corner was square!
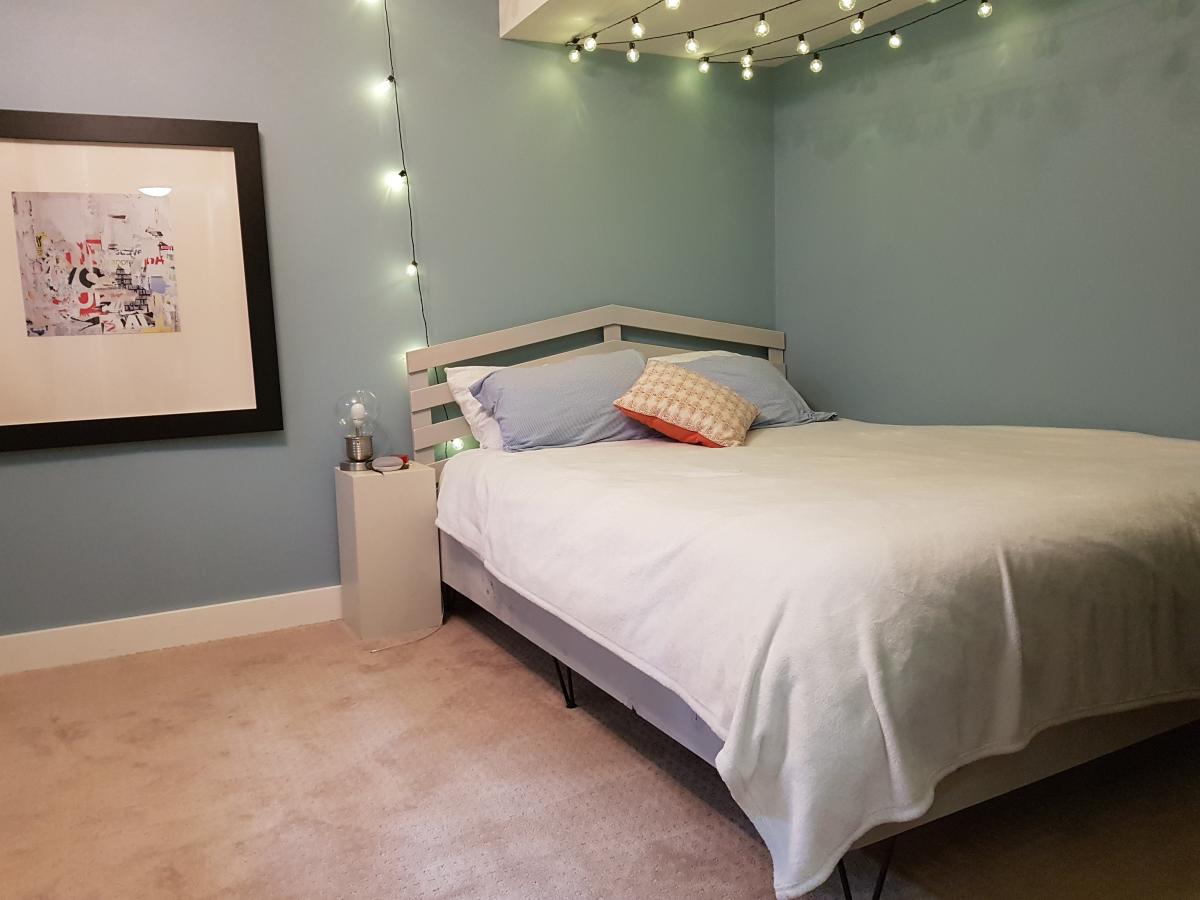
I used 2 x 8's for a bit of extra depth (my daughter has a deep mattress) but other than that I followed the plan, even down to the 6" hairpin legs.
My daughter wanted a really simple headboard so I added a Chevron-style headboard from https://vintagerevivals.com/70-diy-slatted-headboard. As an upcycle, I used the wooden slats from a bedframe we were getting rid of and it worked perfectly.
Fantastic project and happy teen!!
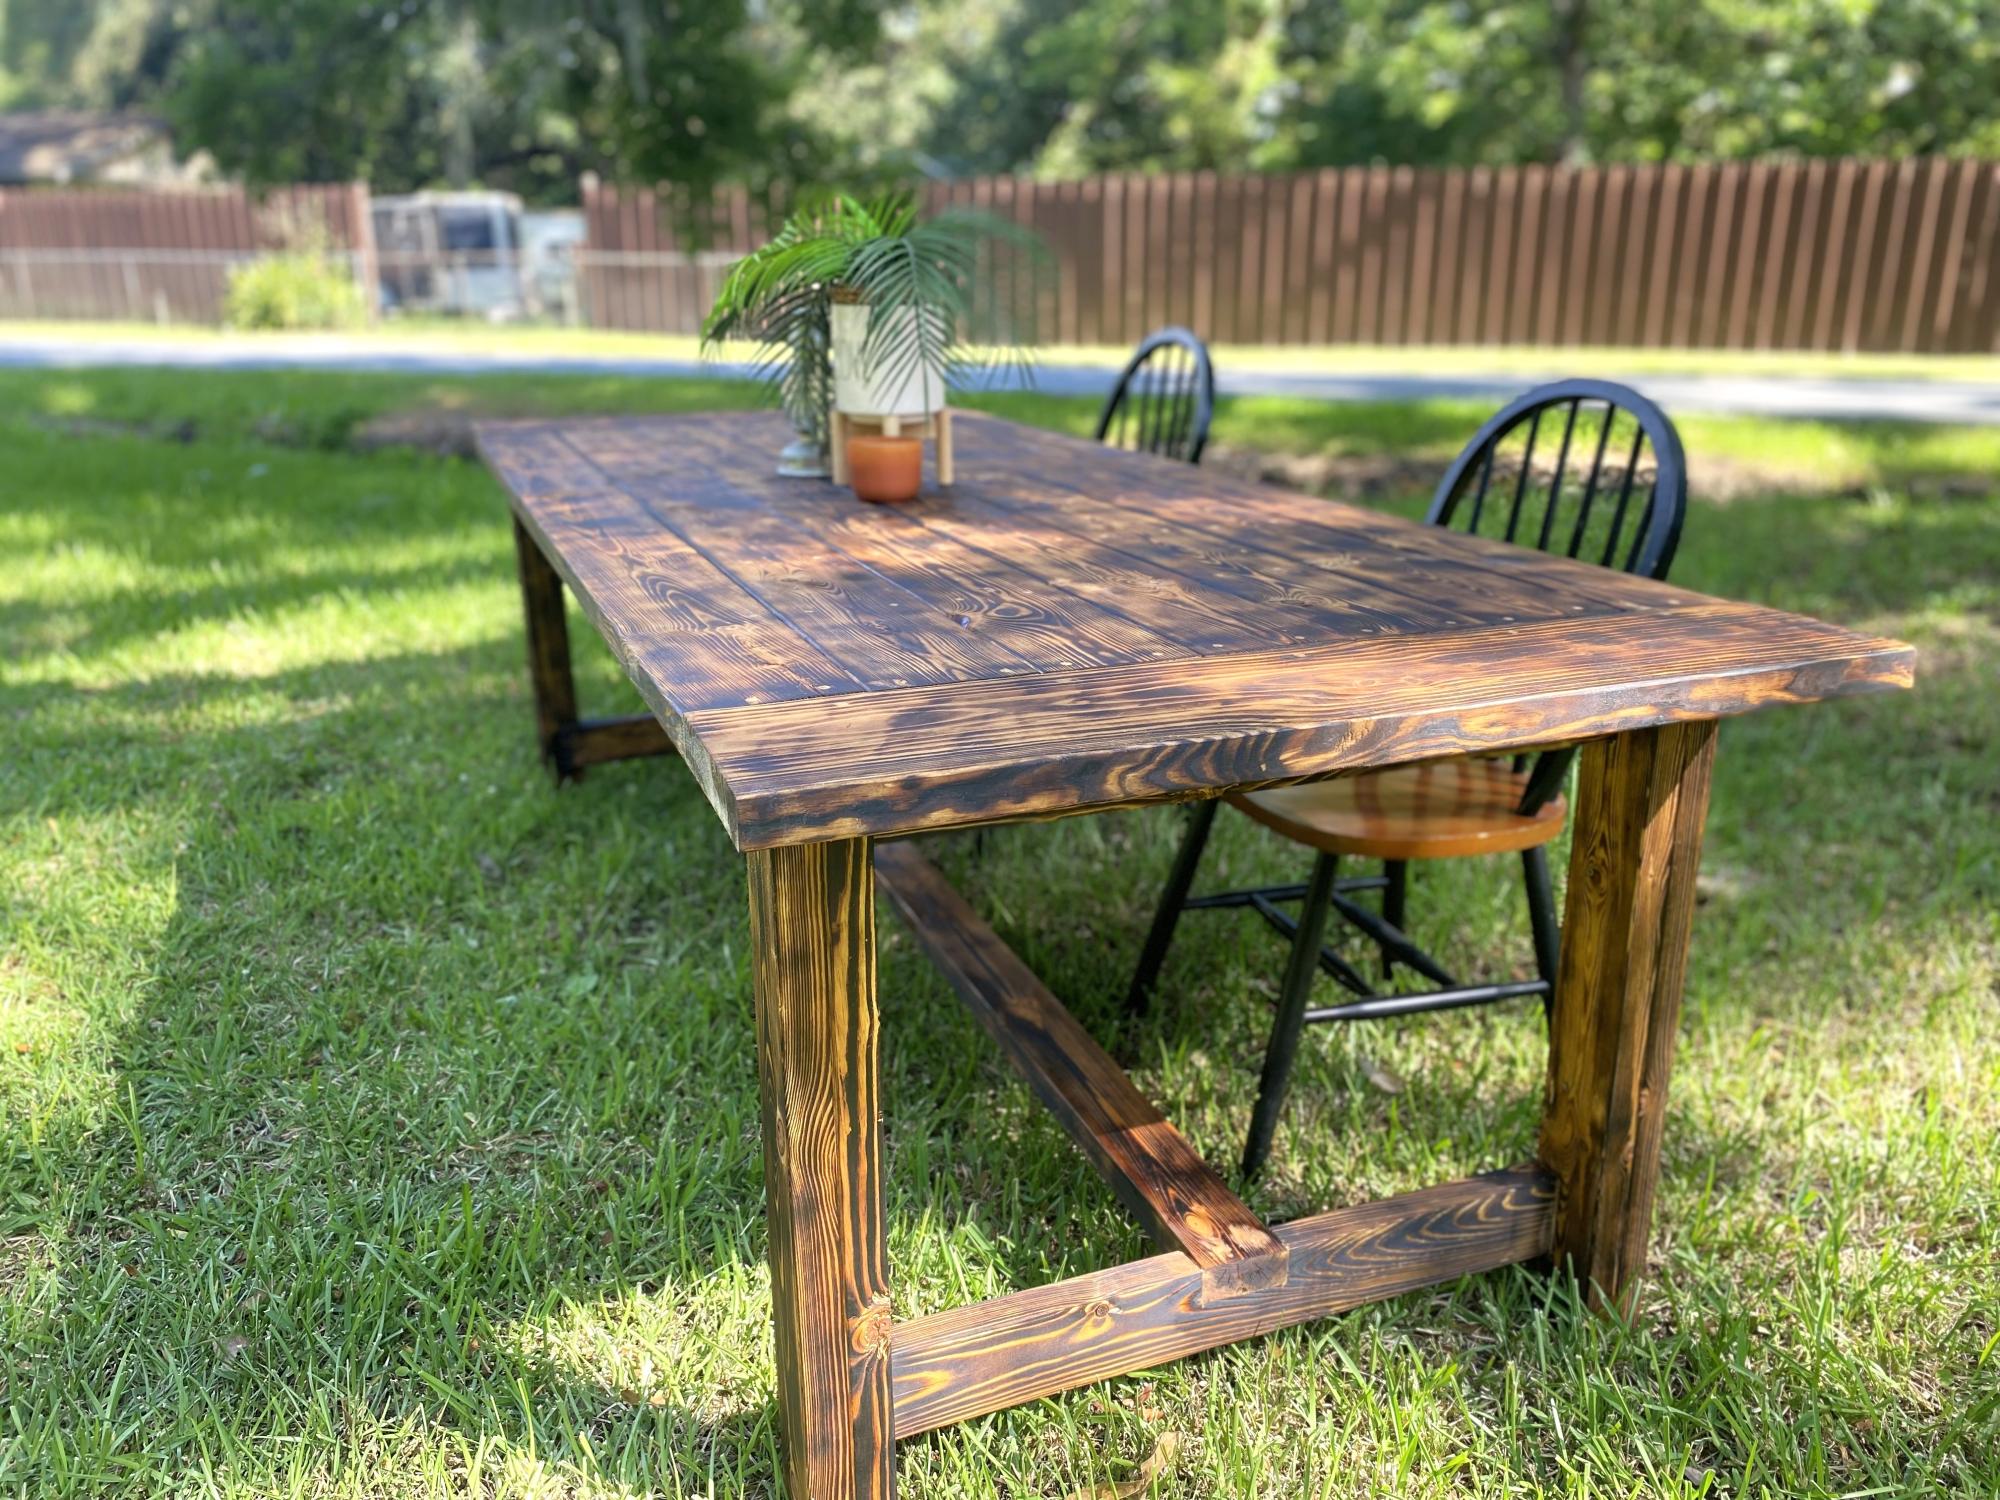
This is the first Woodworking project I’ve ever taken on. I absolutely love the plans for this farmhouse table. I used pine and then used a torch for the finish with oak stain. I love the way it turned out.
Bryan Carrejo @ TheBrosWoodworks.com
When my wife told me that our son needed a new bed, I saw that as an opportunity to buy some new tools. After selecting which bed to build from your site, I spent a few hours over the weekend making the loft bed with stairs. Our son loves it! The only thing left to do is decide on a paint color.
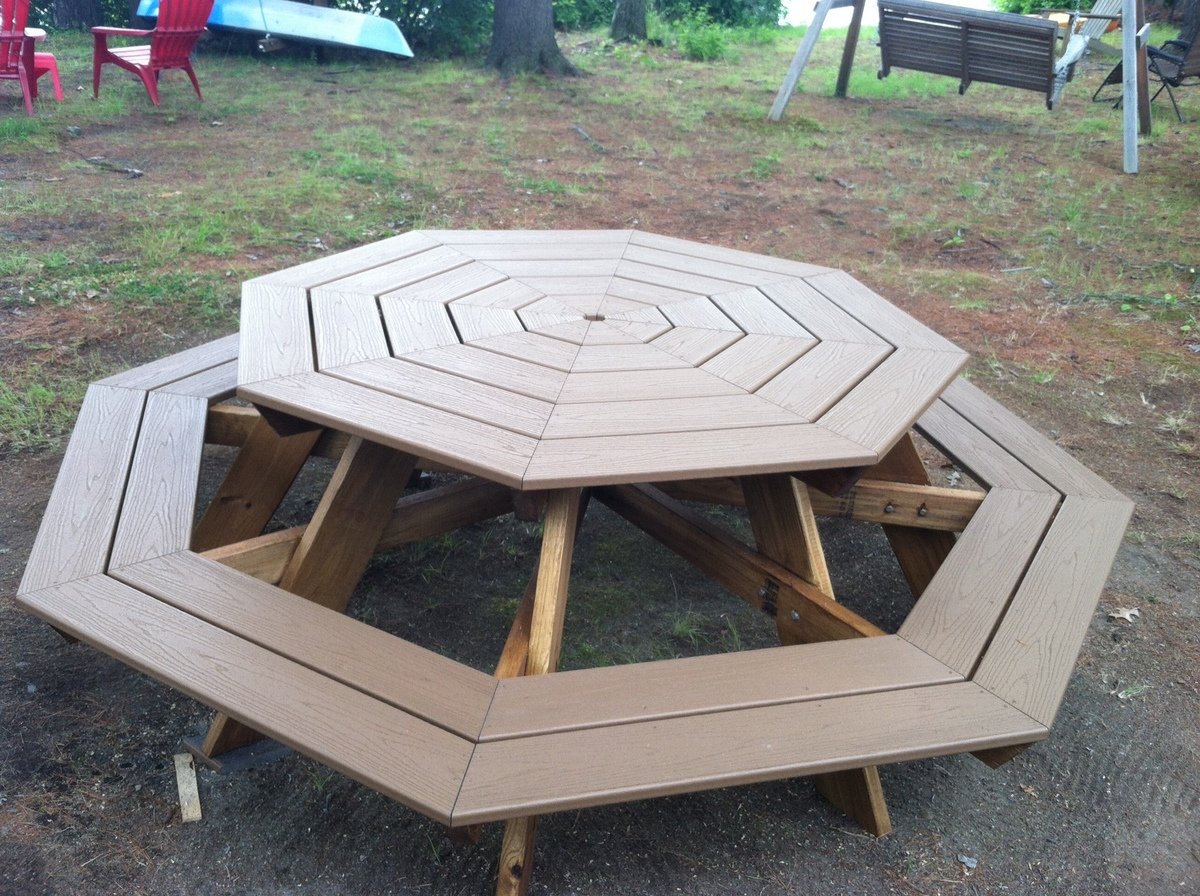
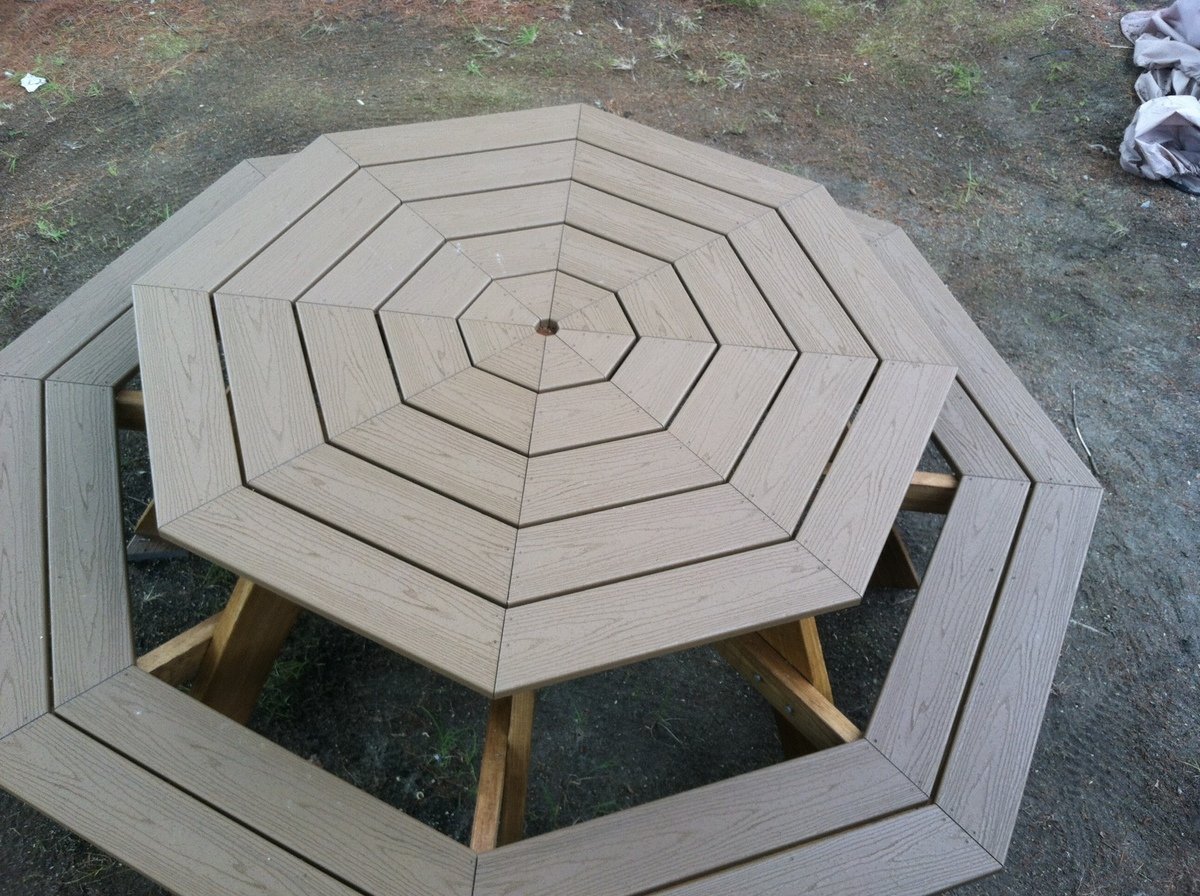
Living in a cottage on a lake during the summers, I needed a picnic table that would take care of a big family so I built the Octagonal picnic table on Ana's site, however with a twist.
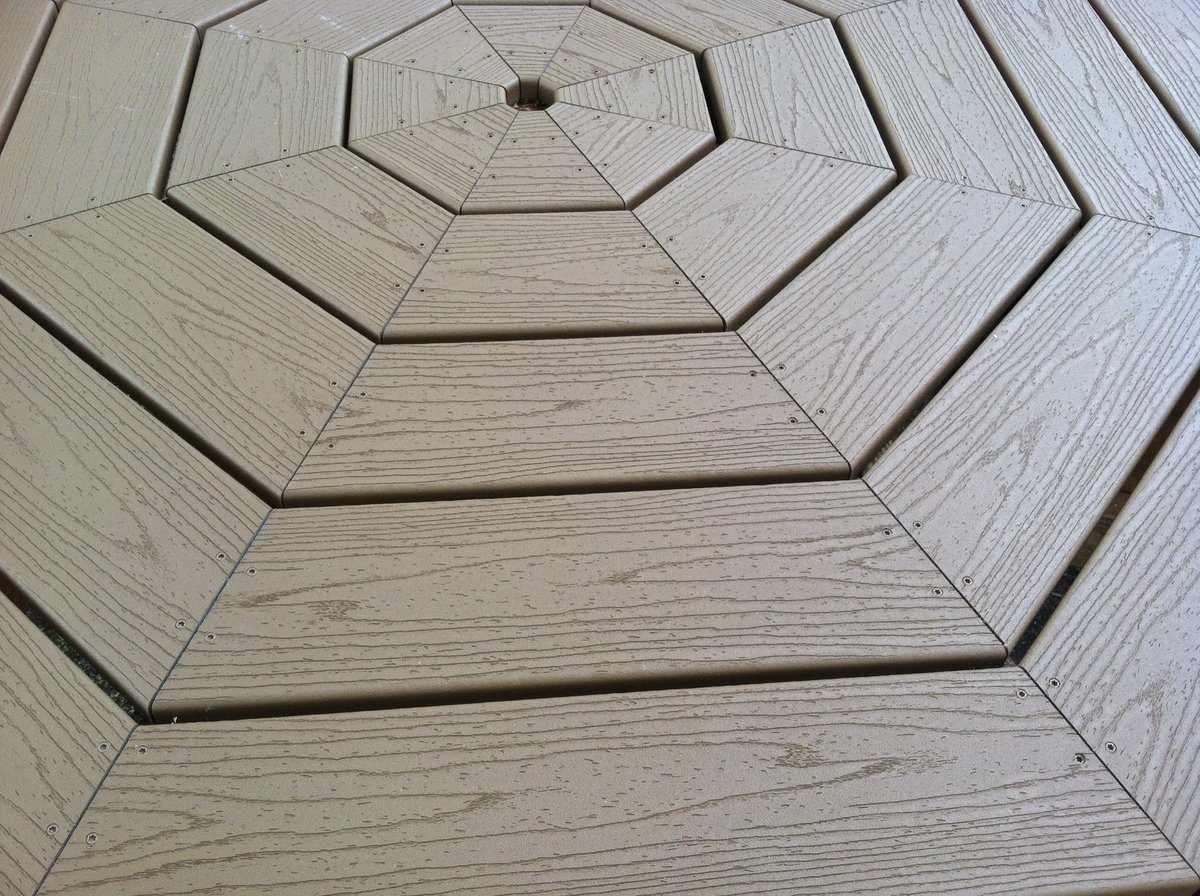
Since we are under a bunch of trees, I wanted to be able to scrub the table easily and not have to do any maintenance on it over the long term. So I built the top and the benches using Trex. Yes, it was more expensive but the result (if I do say so myself) was incredible.
Since Trex isn't as structural as 2 x 6's, I reinforced the seats using 2x4s laid horizontally underneath the seam of each of the two bench pieces. I also drove a few extra screws through the Trex benches along the 2 x 4's to further strengthen seating area.
Aesthetically, I didn't care for the 1/2 inch spacing for the table top and benches so I reduced it to 1/4 inch and cut the length of the Trex accordingly. I used decking screws that exactly matched the color of the Trex.
I did take the advice of one of the former builder's of this table and staggered the legs to make it easier to get in and out. That was a worth while suggestion.
The only 'warning' I was given about using Trex was that it could get 'hot' if in the sun for long periods during the day during the summer. This table is in the shade almost all the time, but having said that I have read that the Trex as decking gets no hotter than treated lumber stained the same color.
This is a great design at it was lots of fun to build.
Really enjoyed making this. It turned out to be a perfect Entertainment Center. Will be using the same idea to make a bar piece that will accompany this in our recreational room.
Mon, 11/07/2016 - 12:36
Love the mods with the opening, looks sharp! Thanks for sharing:)
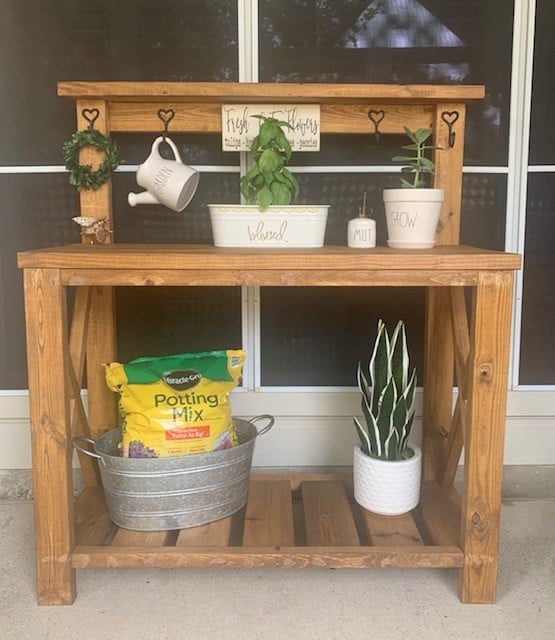
My hubby made it for me after seeing yours!! I LOVE IT THANK YOU SO MUCH!
The buy list is correct the cut list is wrong the bottom 2*4's listed should both be 2*6's
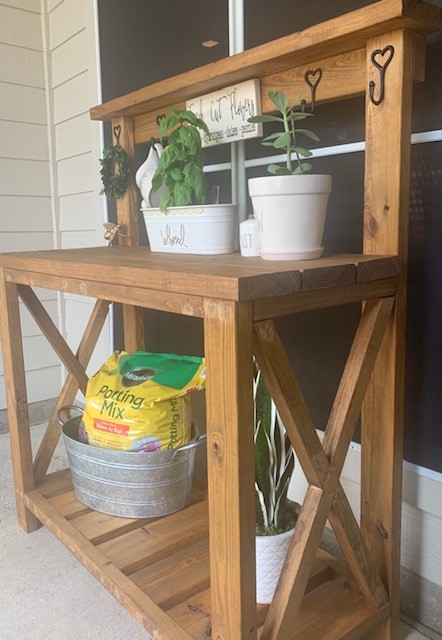
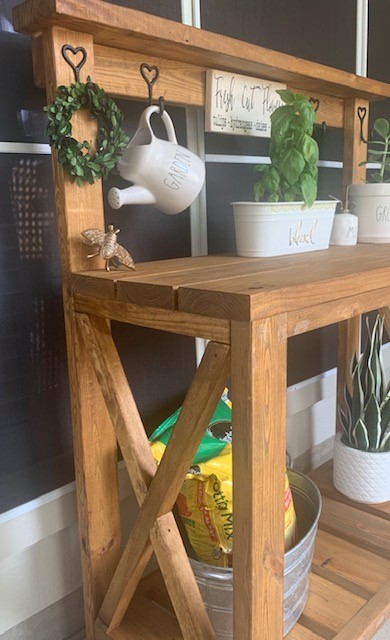
Here is a bed I recently made. My inspiration was a bed we saw at a local high end furniture store in the mountains that has price of $4,800. I bought my wood at a local saw mill for $125. I used a wood planer, table saw and miter saw to build the bed. It turned out great.
G Russell
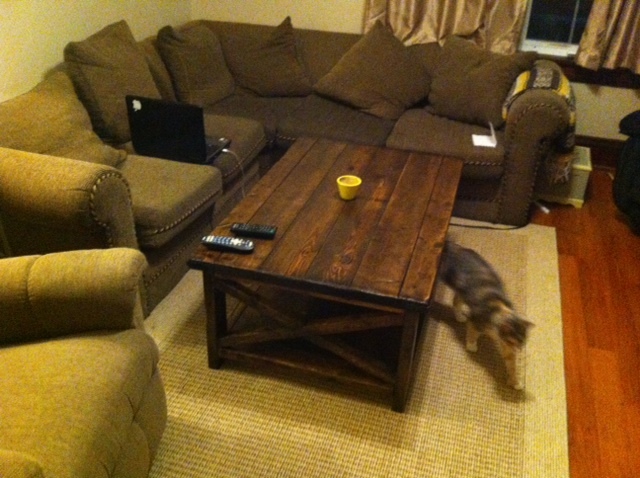
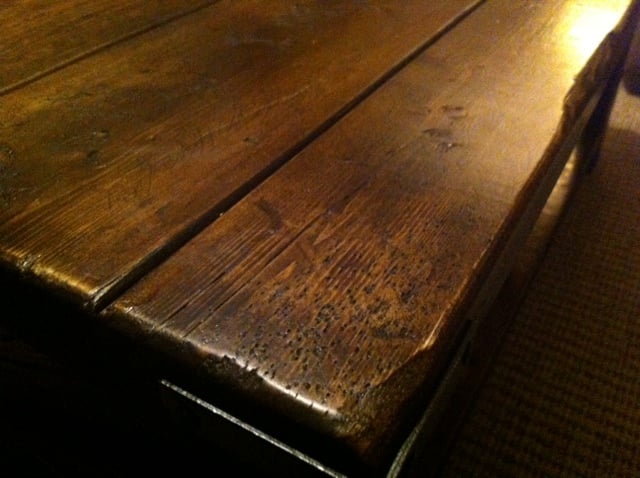
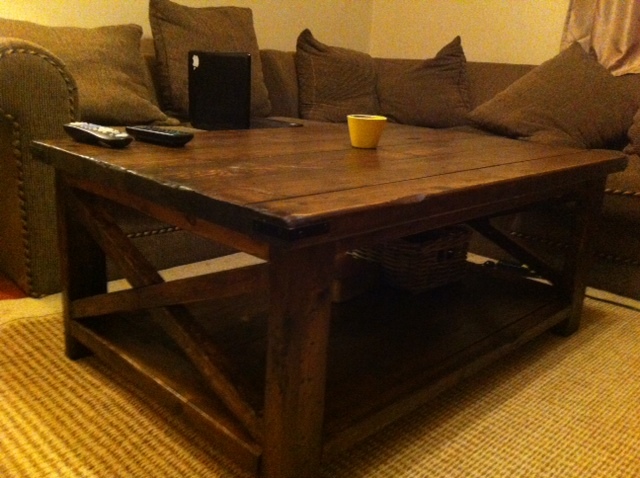
I love how this table turned out. The plans were simple and easy to follow. I chose to distress the table to give it some character i found a great video on youtube for different distressing techniques here http://www.youtube.com/watch?v=4Iotye7dvAQ For the finish i used the tea and vingegar method then to make it darker i rubbed on a little oil based stain and finished it with polyurethane.
Sun, 12/02/2012 - 19:05
It is probobly best to use both the tea and the vinegar because when they are both used together on the wood they create some kind of reaction giving you the color that you want. It is also a good idea to experiment on some scrap wood first to get the color right. Im not sure if you have read this article or not but it gives the full step by step on this kind of finish I hope this helps. http://thefriendlyhome.blogspot.ca/2012/07/how-to-oxidize-wood.html
Fri, 03/22/2013 - 09:56
I plan on making this table within the next couple of weeks and I hope mine turns out half as good as yours! You did an absolutely brilliant job!
Sun, 10/27/2013 - 05:20
Love this table!! What oil based stain did you use on the spruce after the tea and vinegar method?
Sat, 09/20/2014 - 18:49
Hello! I am hoping someone can help. I cannot figure out the x's. I have a miter saw, miter box, square, any tool you would think to use and I have also tried tracing. I cannot do the x's can some one plllleaase tell me or show me how they figured this out?
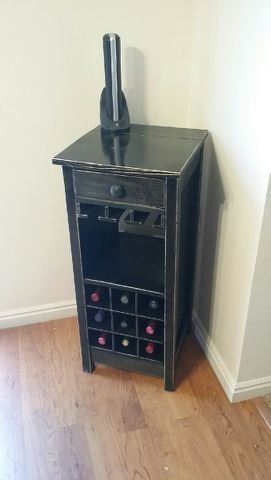
First project I have done and loved it! Building it I got it done pretty fast it was the polyurethane layers that took the longest.
Modified the Grandy Sliding Door to be three doors only. Stained top and doors, added polyurthane, and painted the rest with chalk paint. We couldn't find the hardware ourselves so we made it based on the website recommended in Ana's plans.
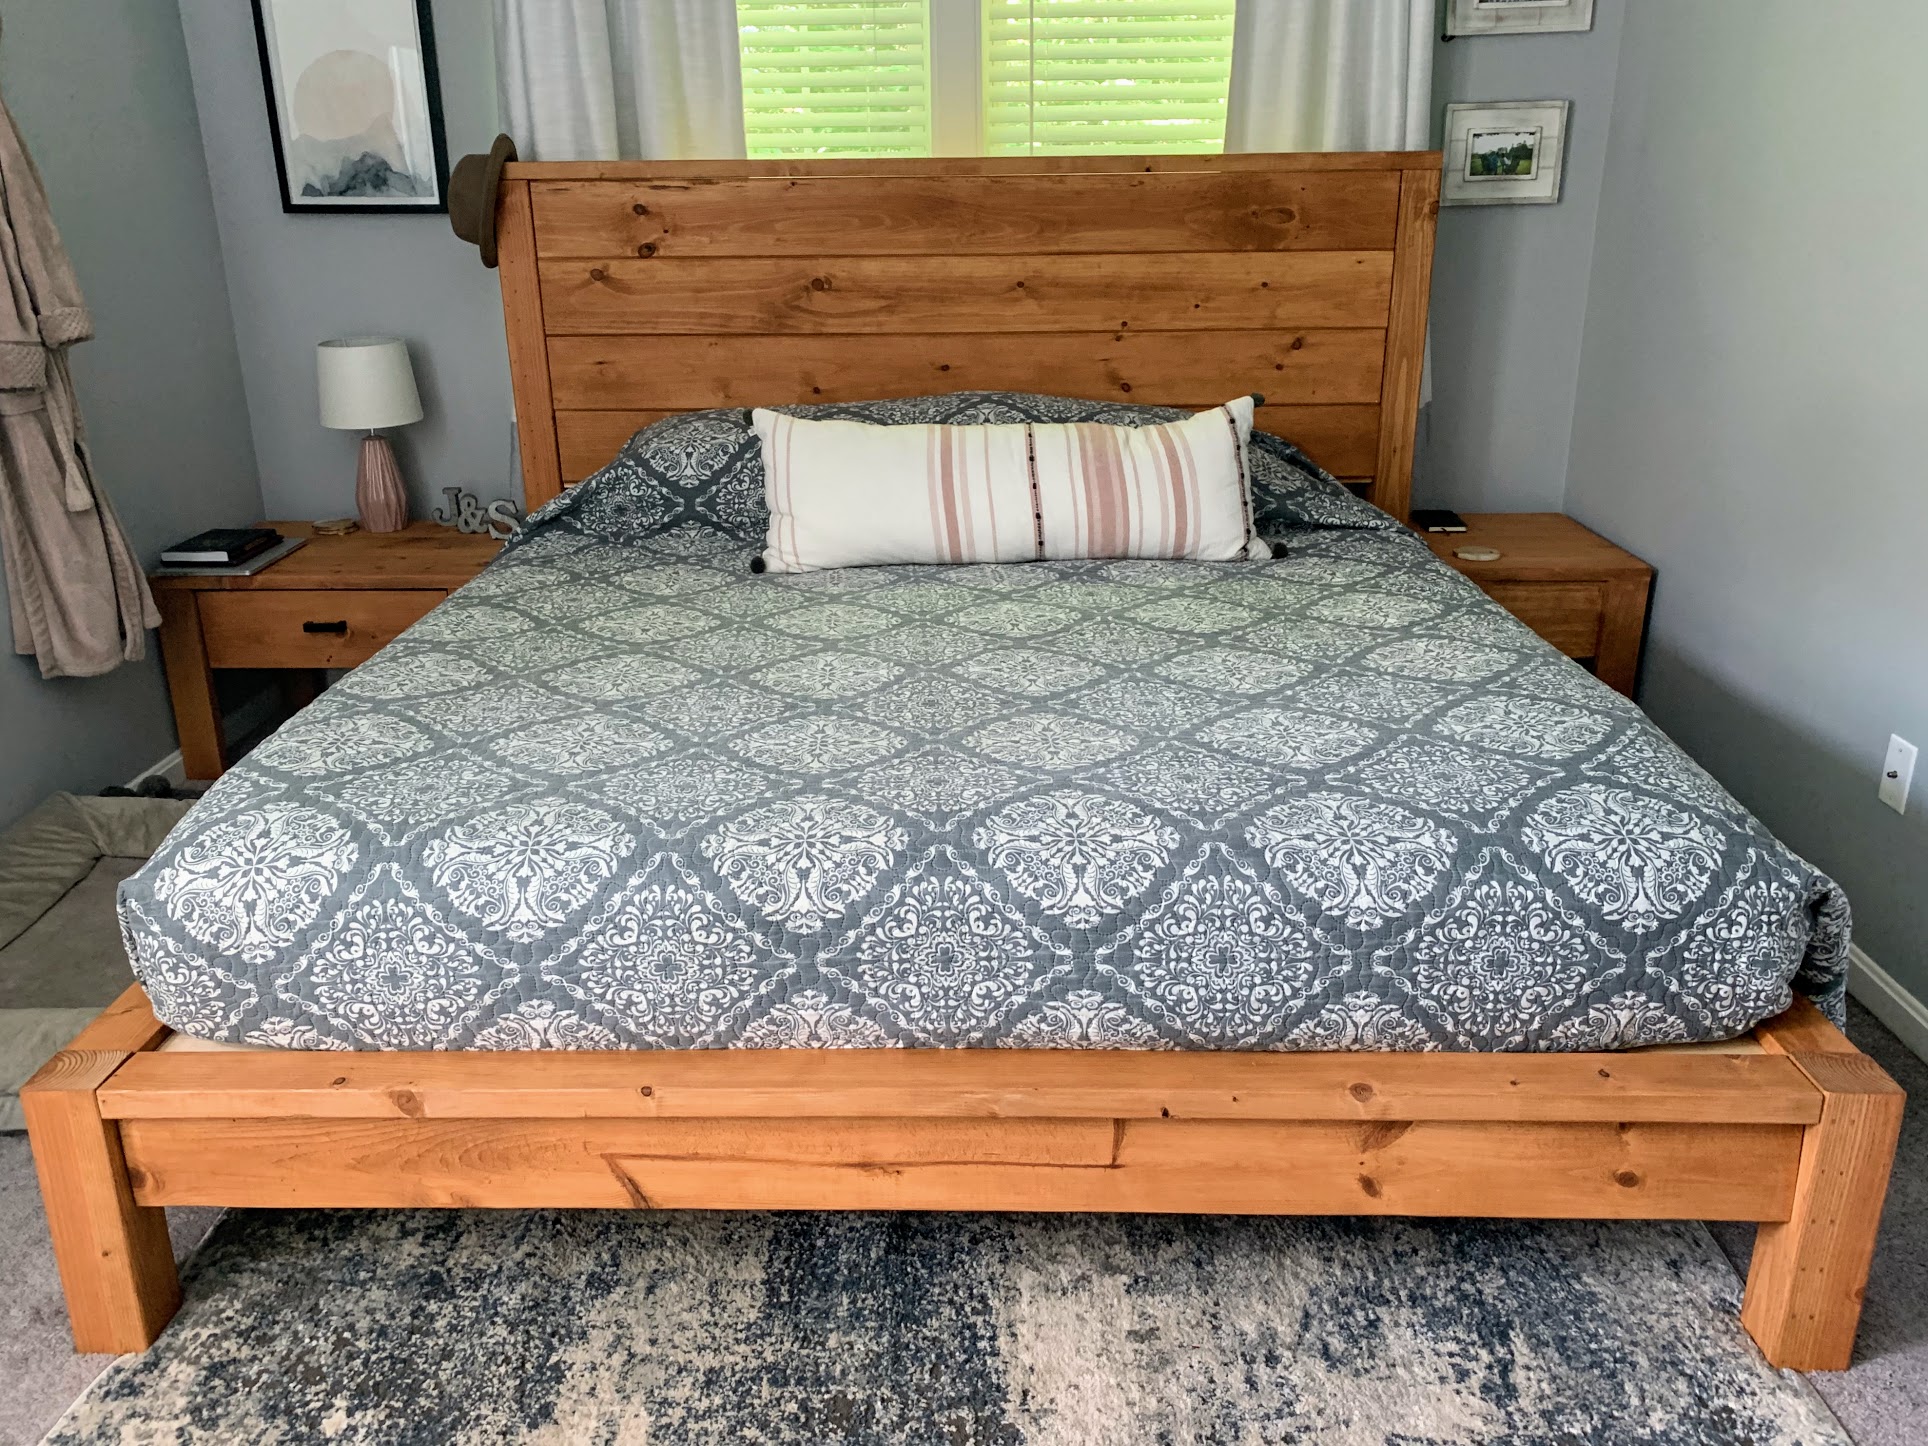
Bed frame - Husband and I built and assembled over a weekend. We love it!
Only variation from the plans were that we used 1x8 shiplap boards for the headboard (because the options were nicer at Home Depot).
Nightstand 1 - This I built myself, it took about 5 hours.
Followed the directions and the drawer worked the first time!
Nightstand 2 - This I also built myself, took about 4 hours.
This one I had about 17" to work with. The only measurement that changed was the front and back cut to 10".
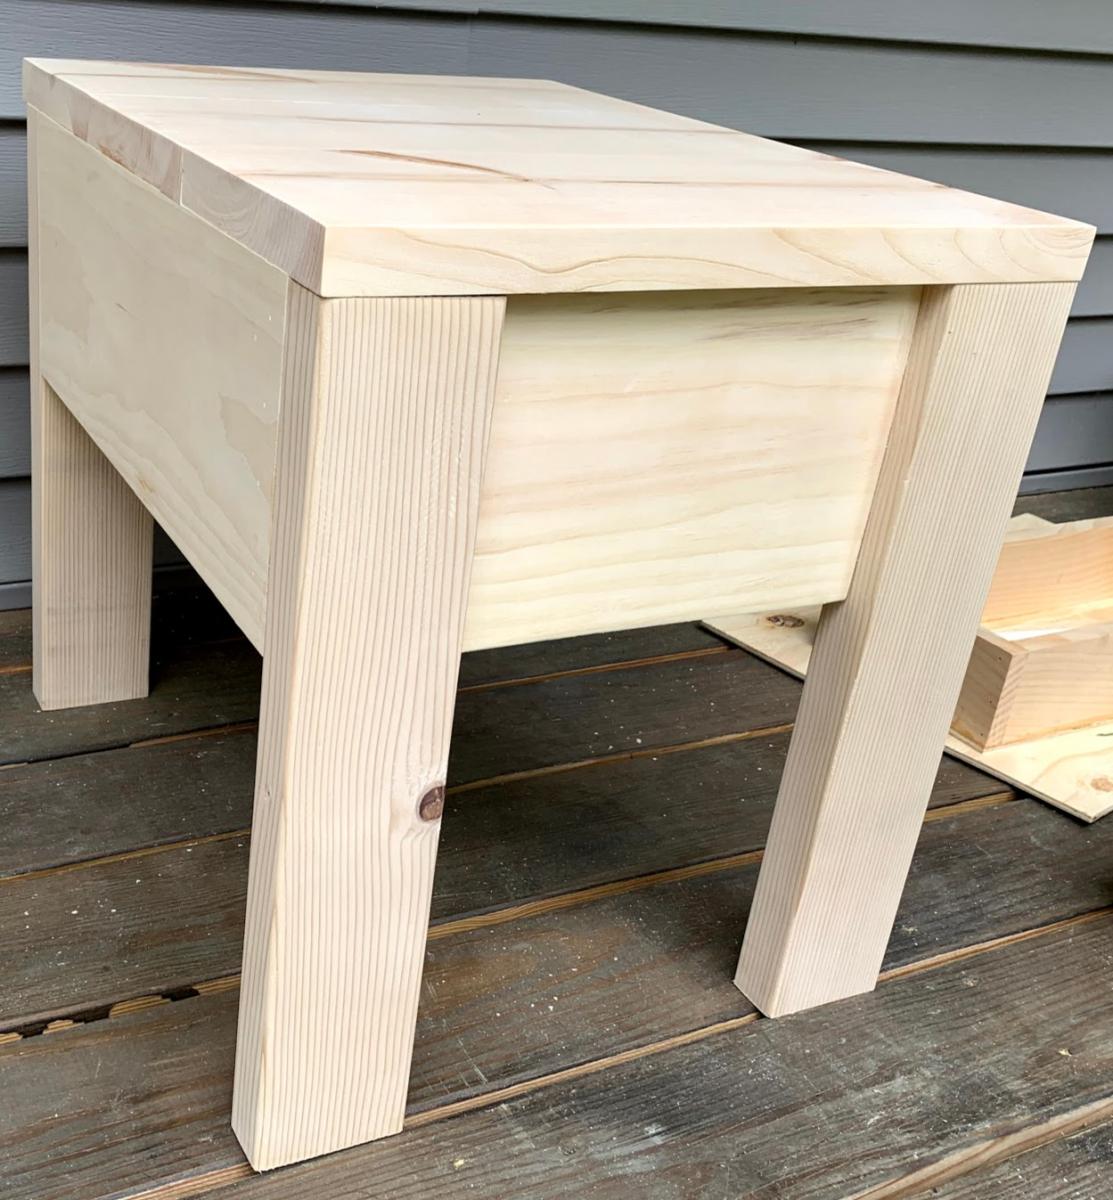

Build straight from Ana's plans. Very easy and quick to build. I spent a little longer sanding it a lot. I then just stained it and put two coats of urethane on it.