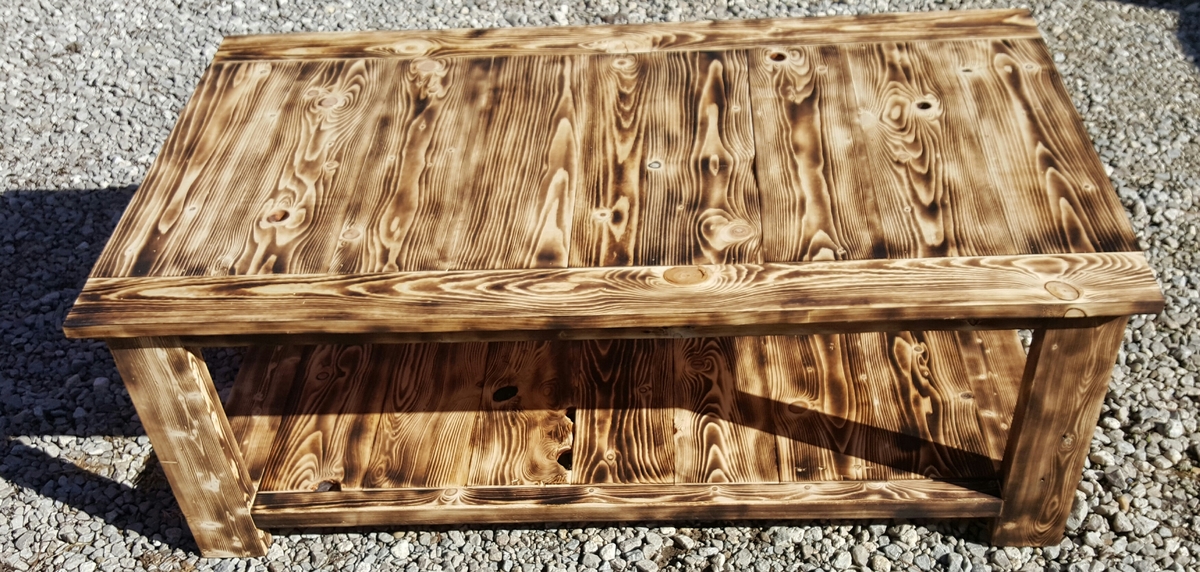
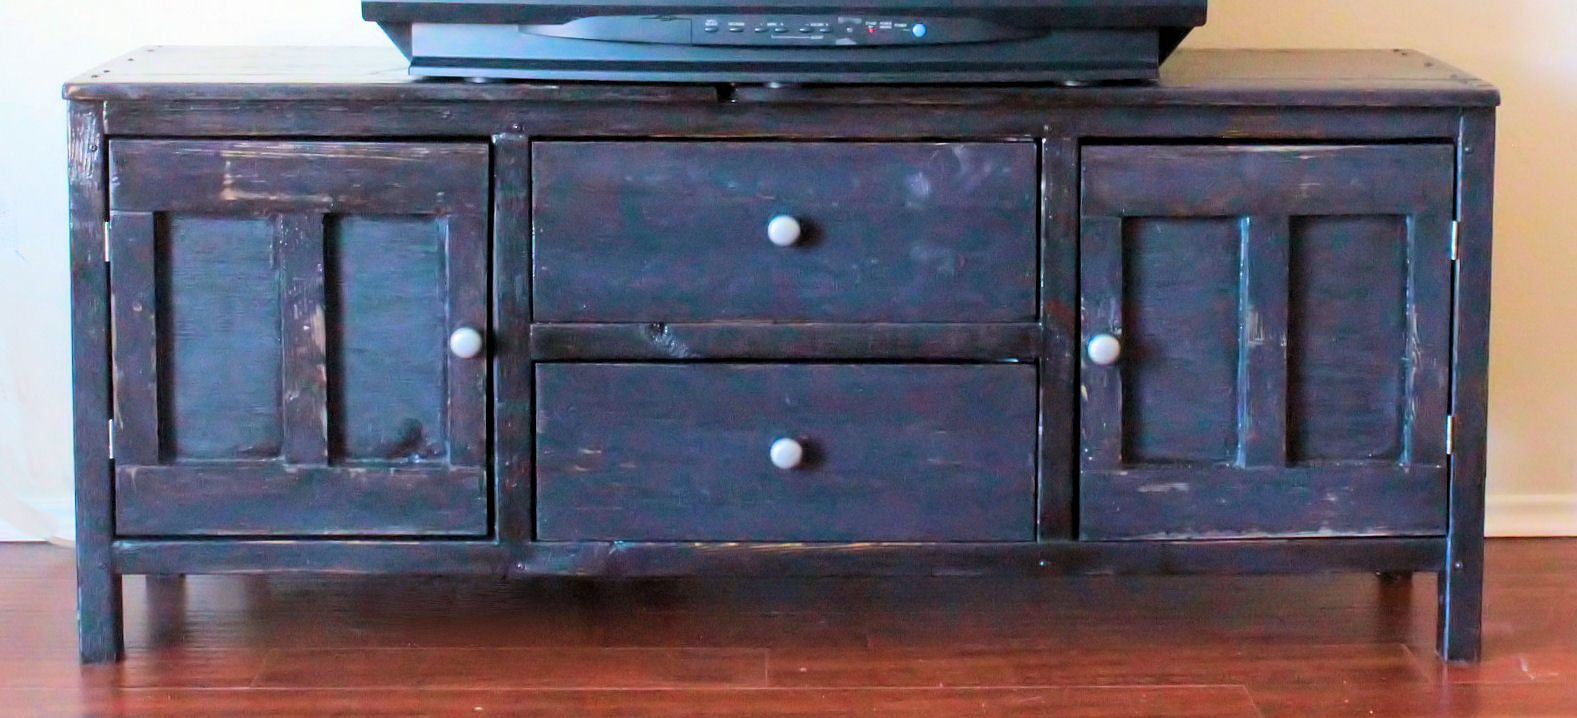
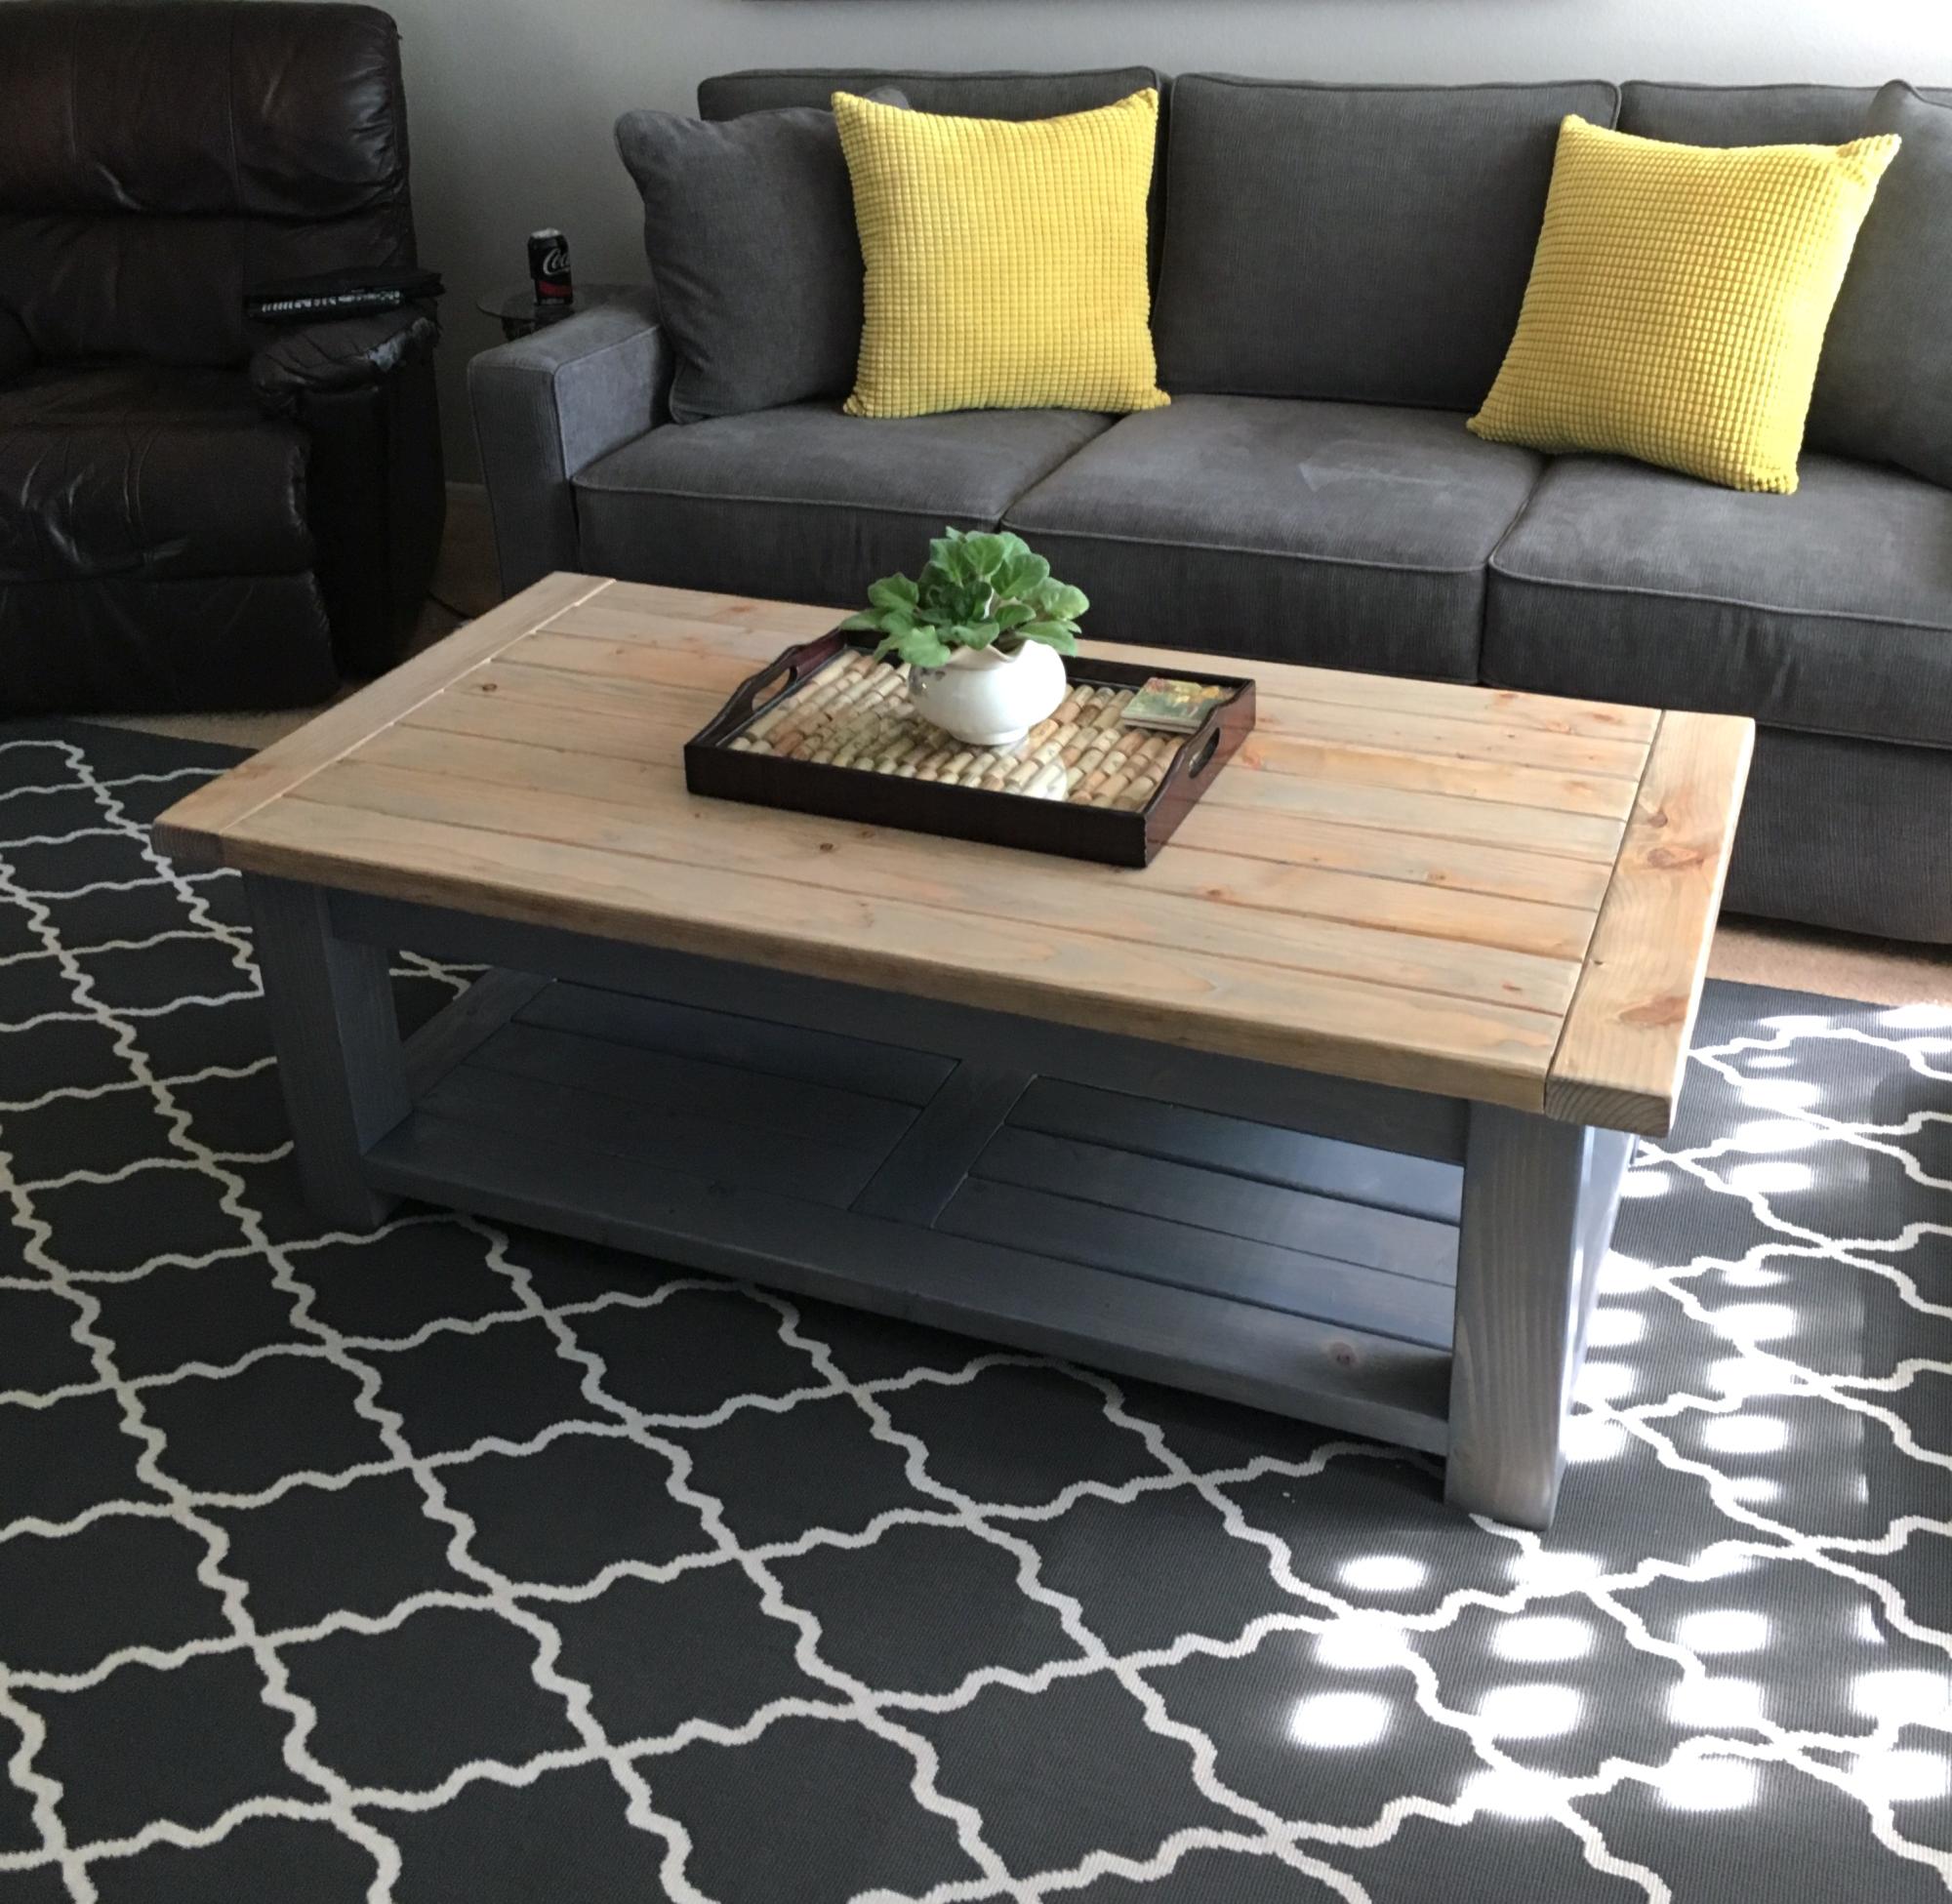
Modern Outdoor Sectional & Table

This was my very first project, and it was so easy thanks to Ana's plans. I bought a few tools that I didn't have already - Kreg jig and miter saw - and things went super fast from there. I found cushions at Ikea that fit perfectly, and were cheaper than making them myself. I just hope they last! I used cedar for the sectional and storage table, and stained them a dark brown. I used deck stain as suggested by a Home Depot employee, so that the stain and waterproofing was all in one step. I have received tons of compliments on this set, and people still can't believe we build this ourselves! Thanks, Ana!
...onto the next project...
Built from Plan(s)
Estimated Cost
$275 (not including cushions/pillows)
Estimated Time Investment
Week Long Project (20 Hours or More)
Finish Used
deck stain - dark brown
Recommended Skill Level
Beginner

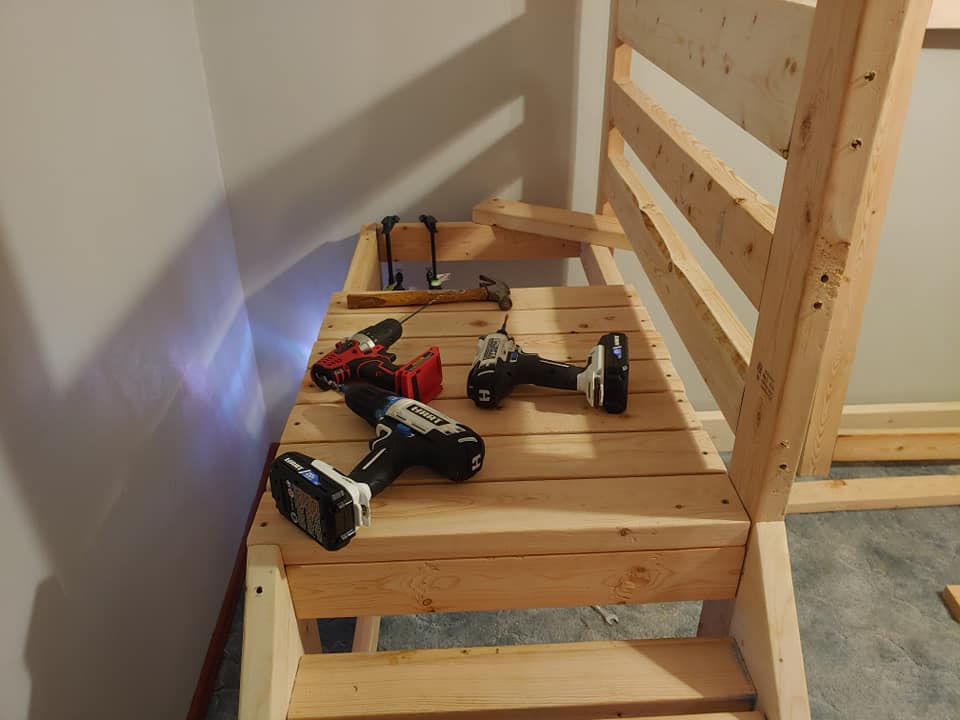
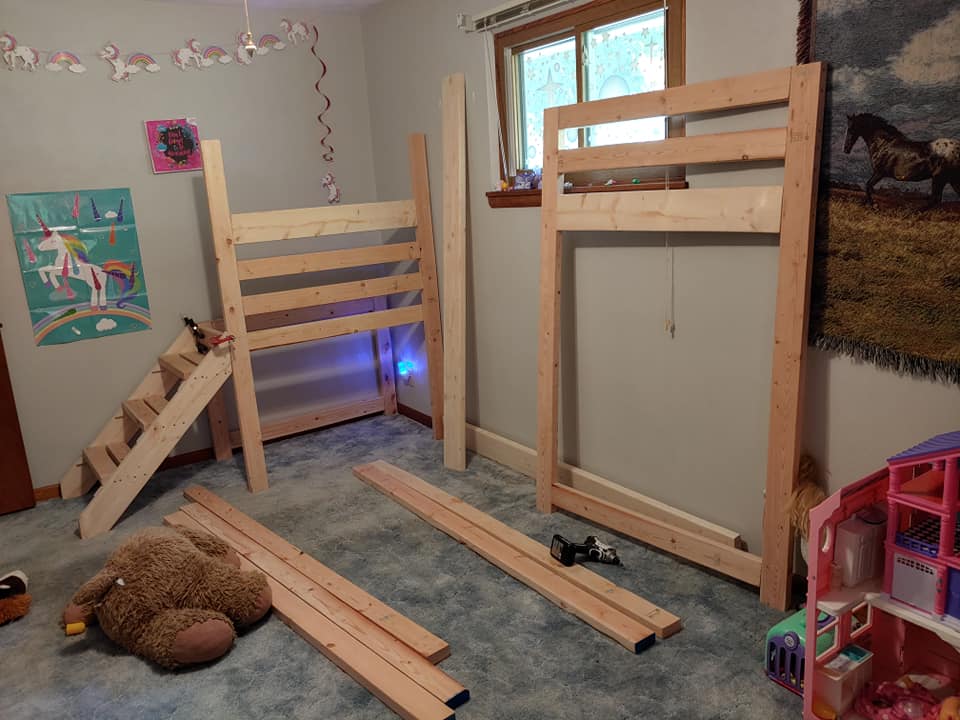
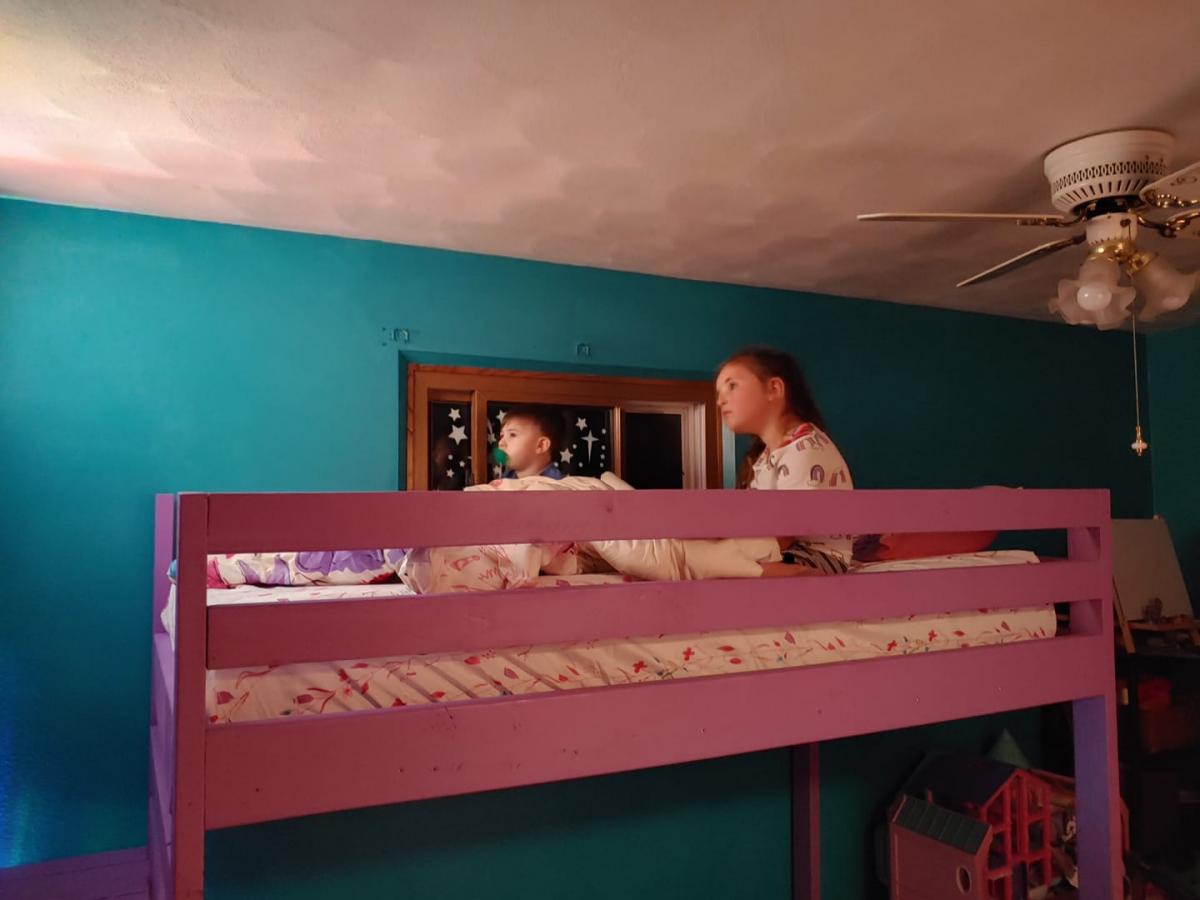
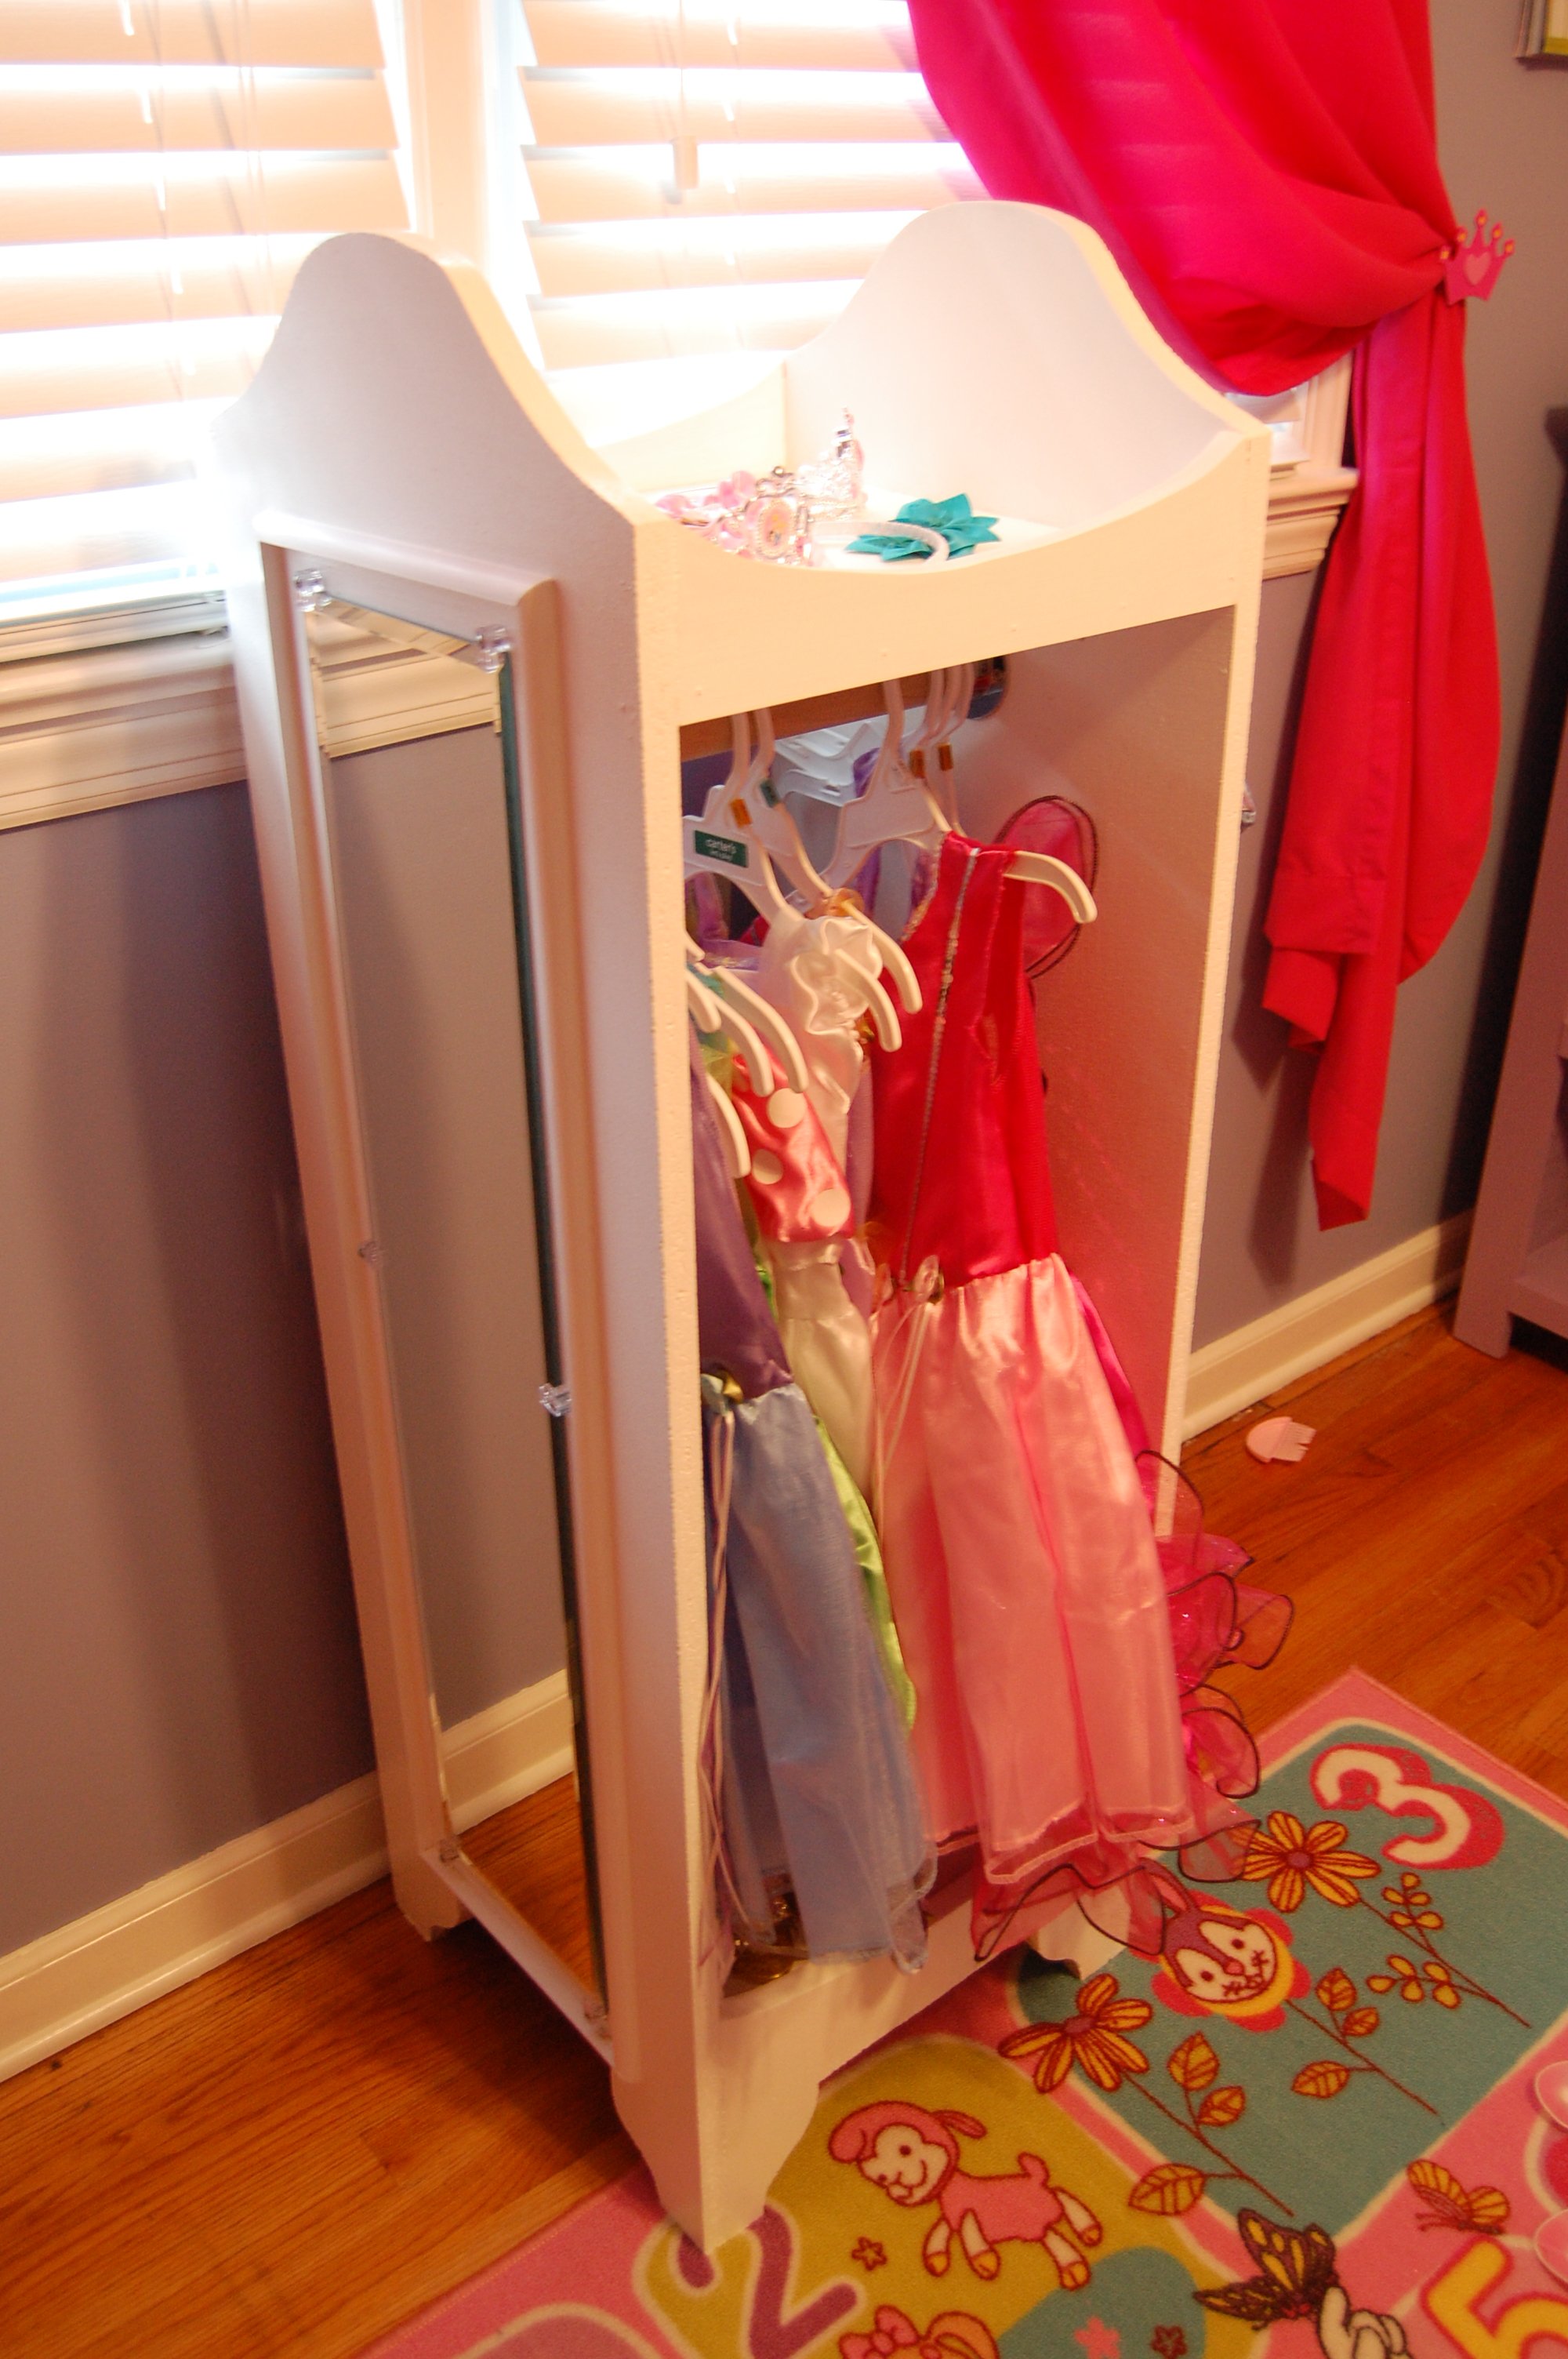


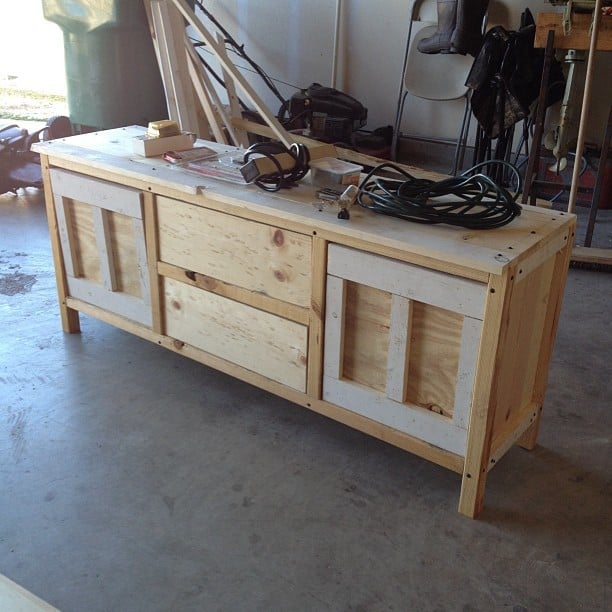

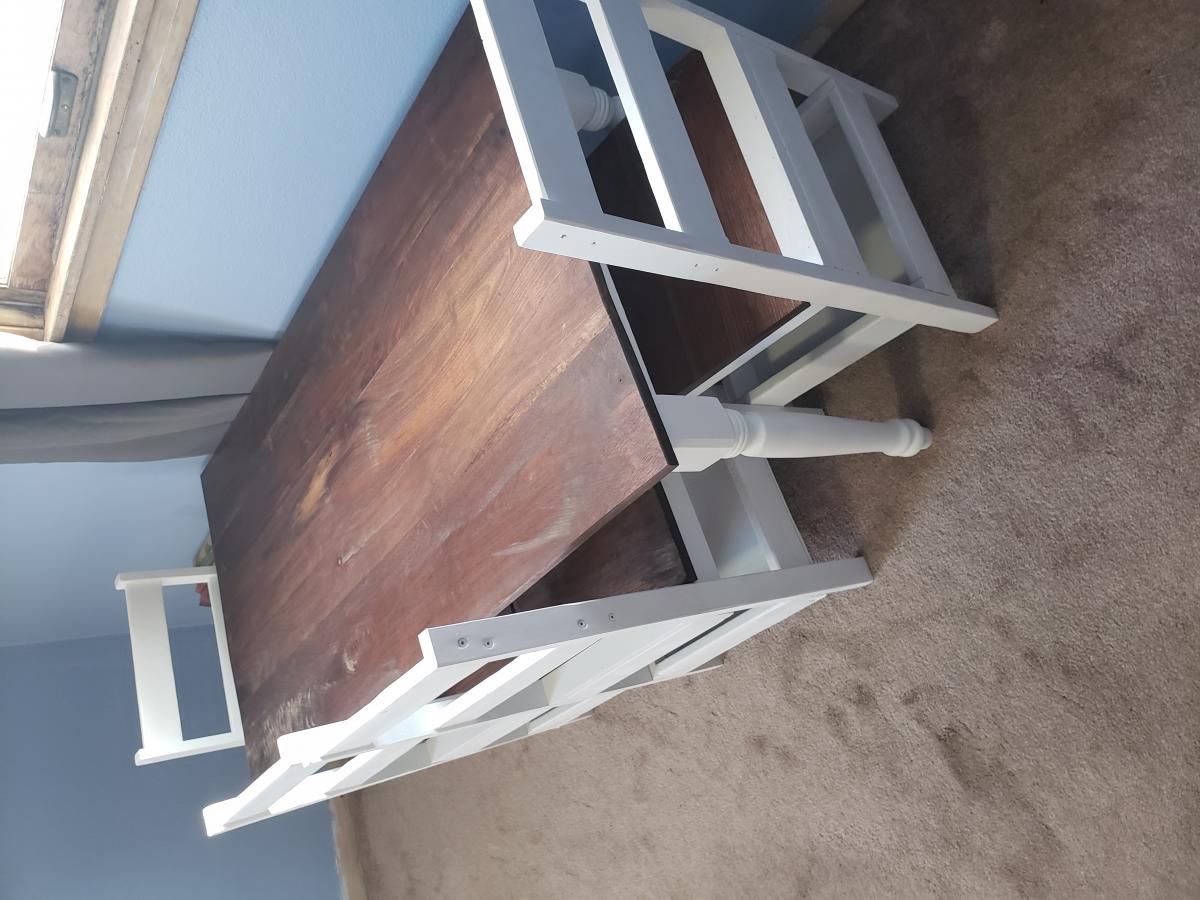
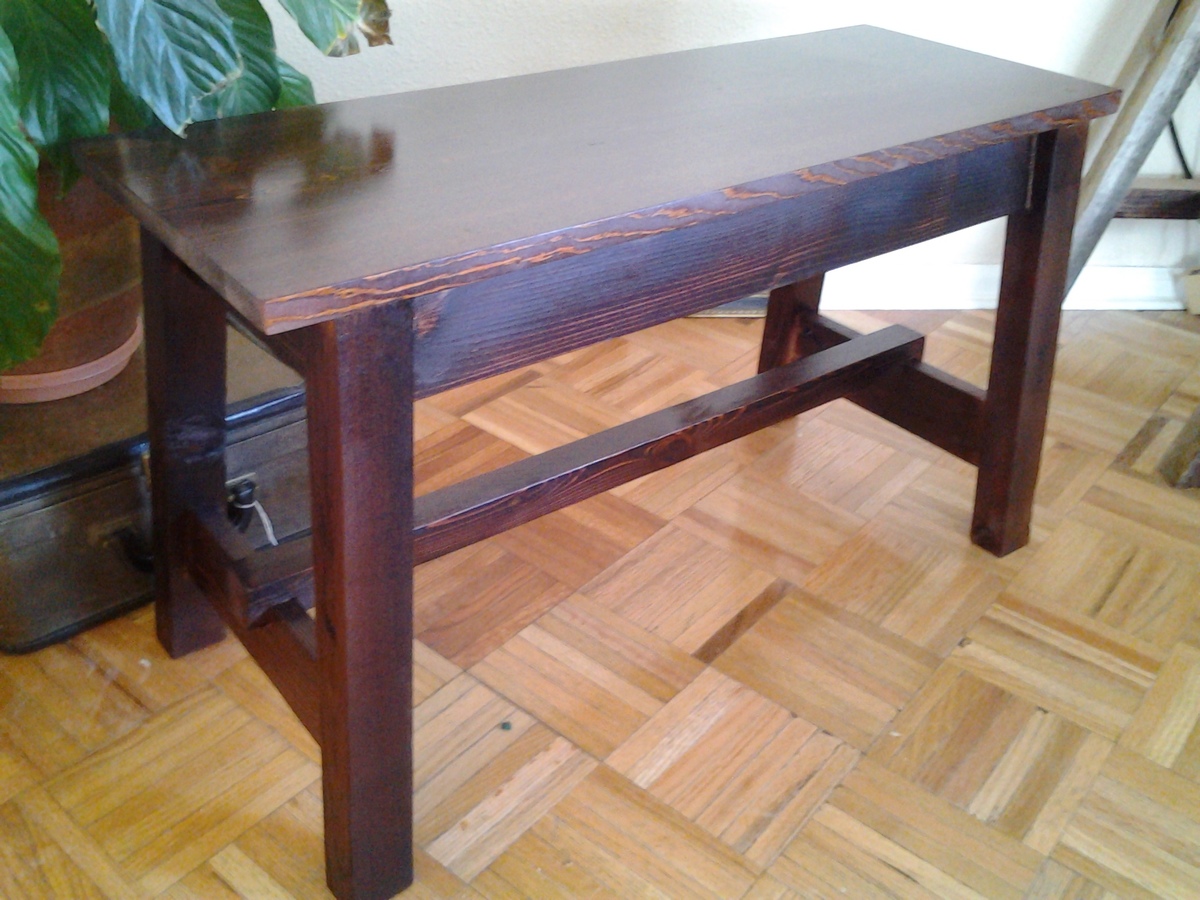


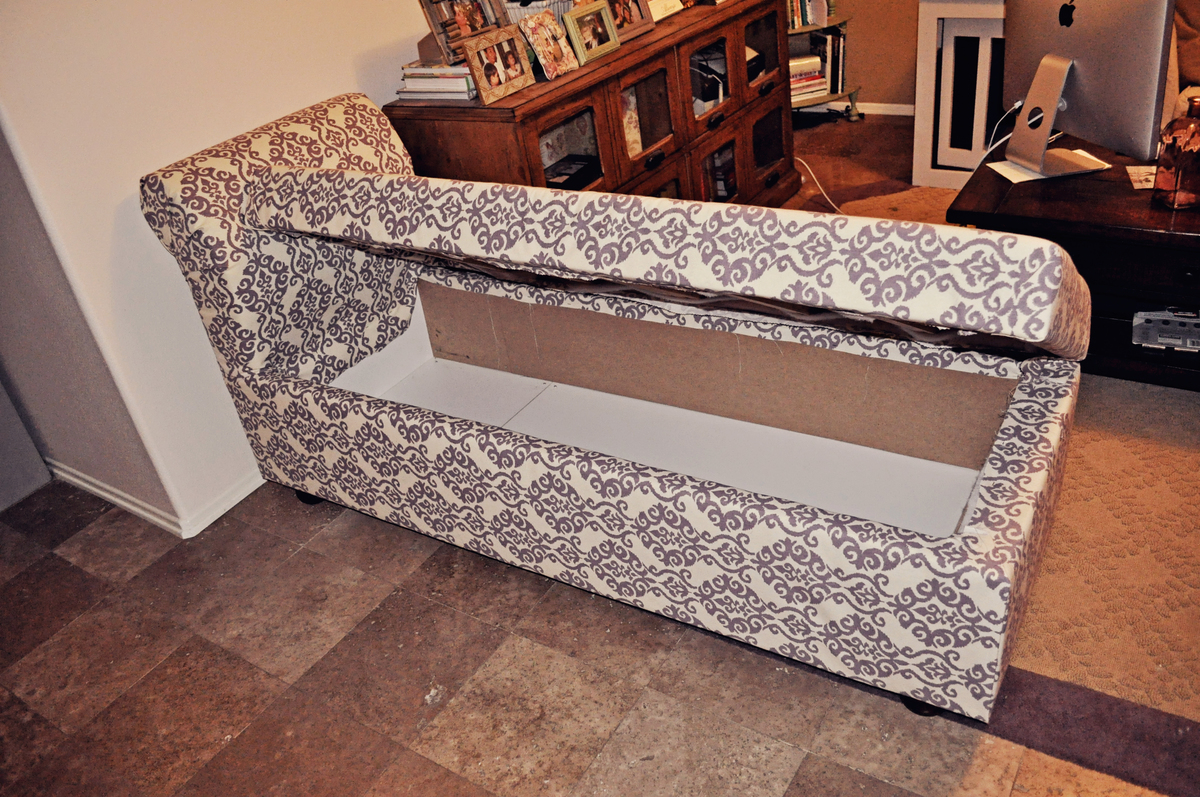
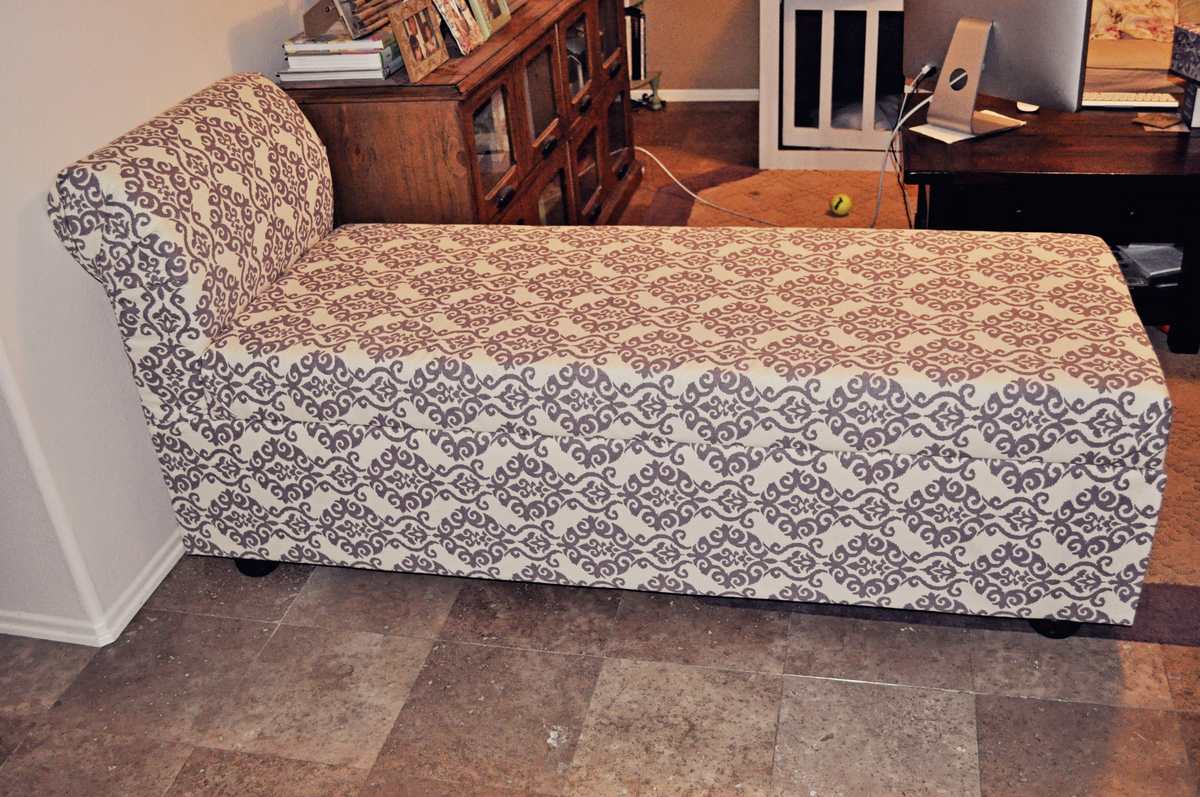
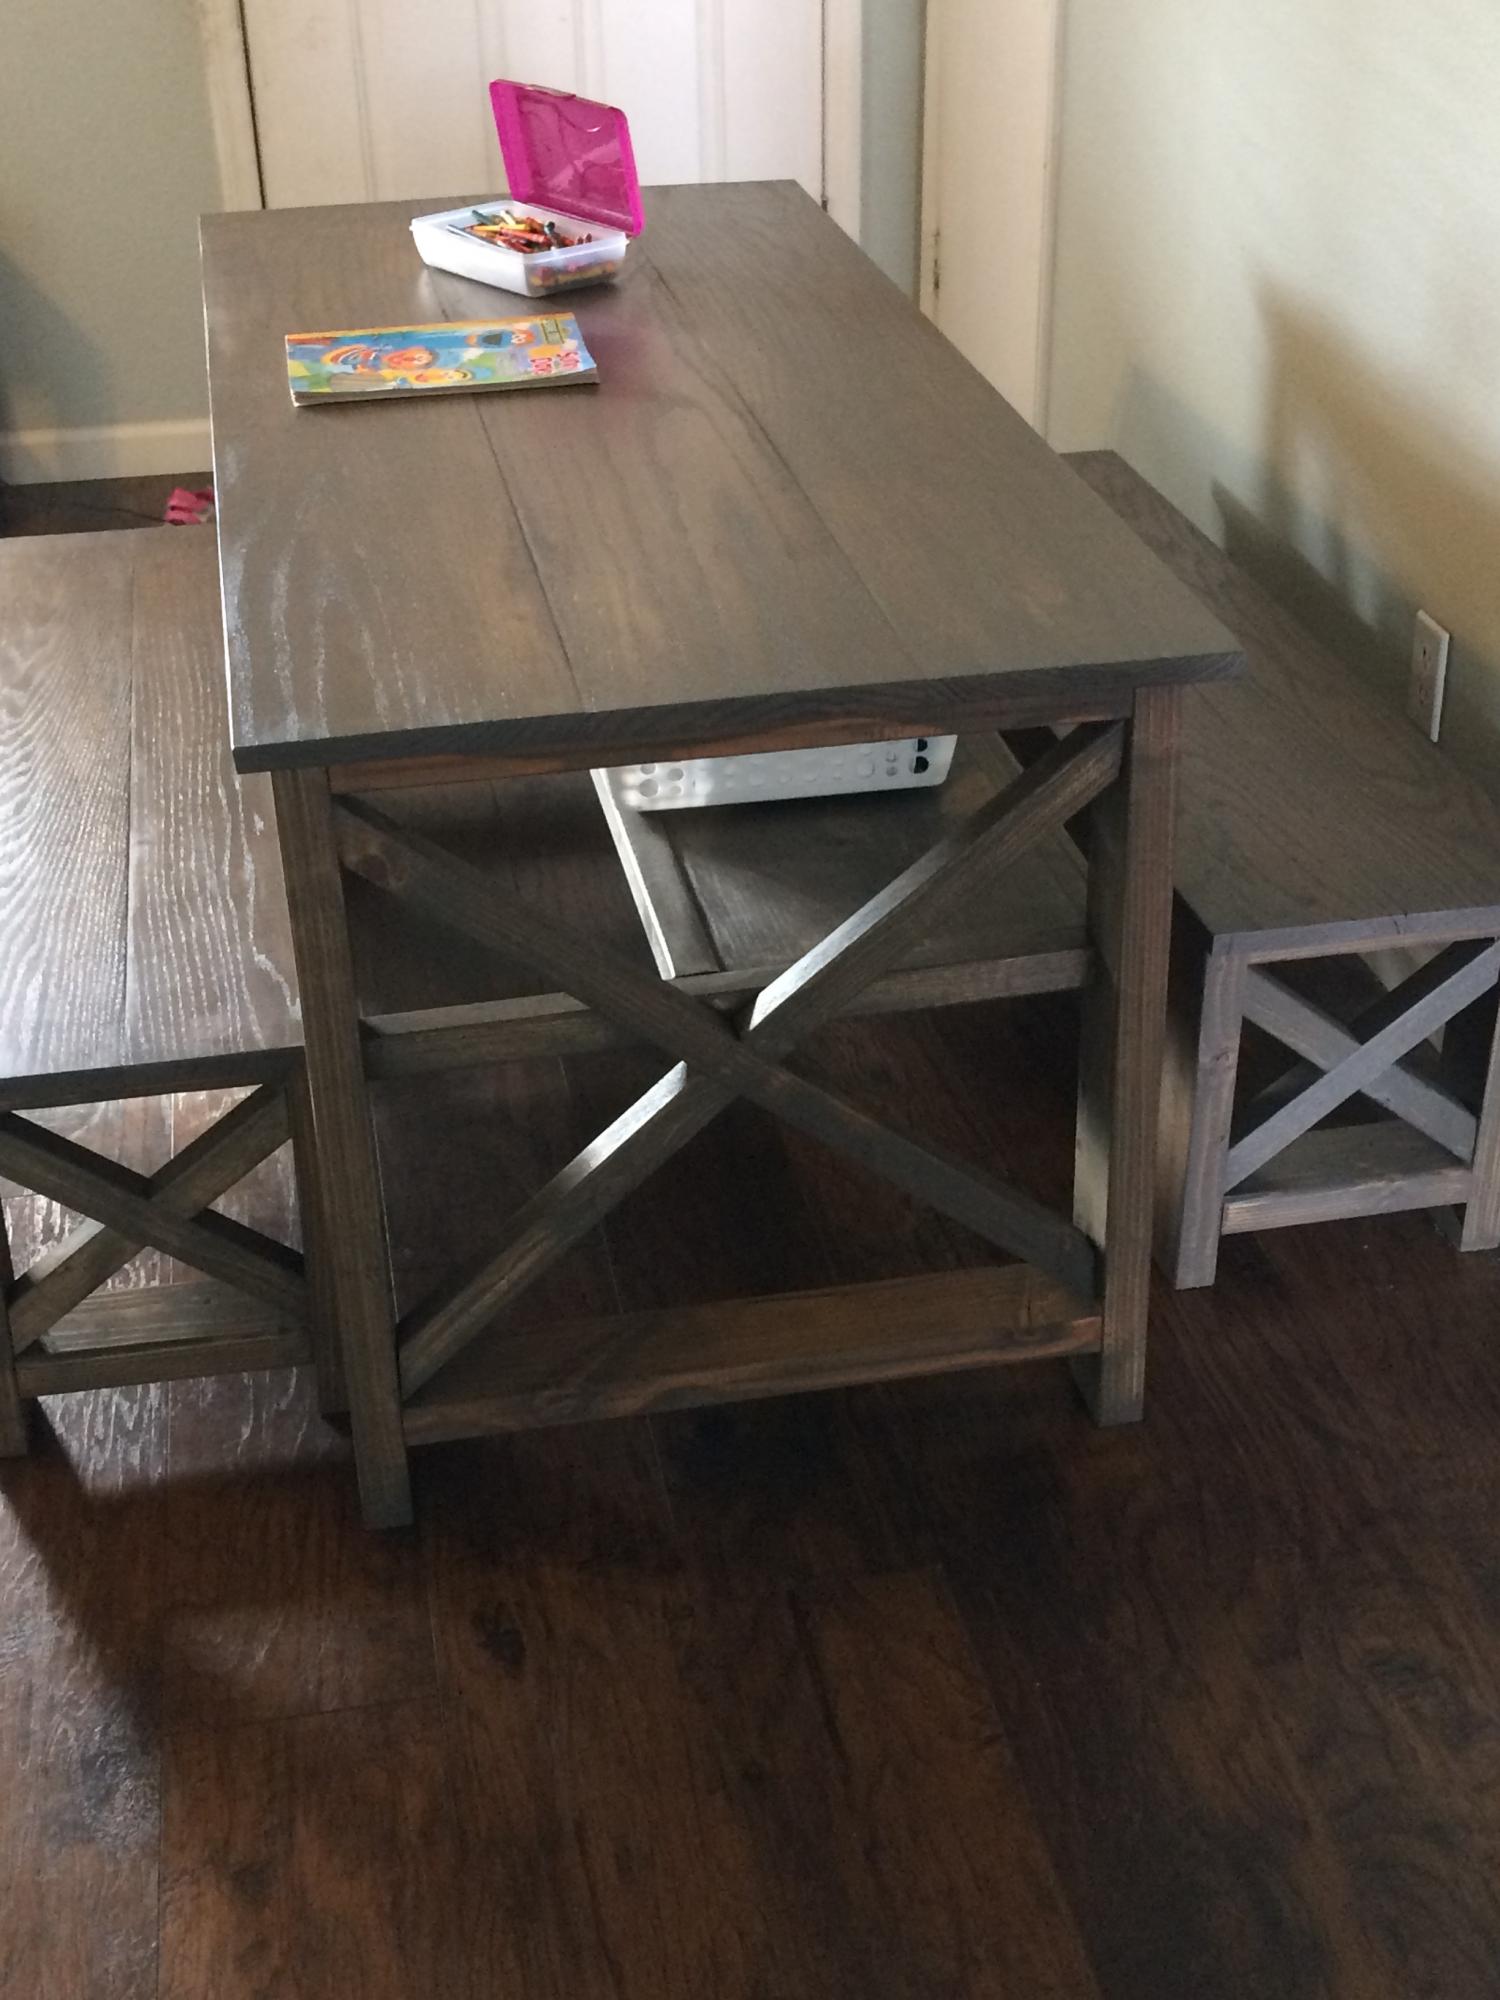
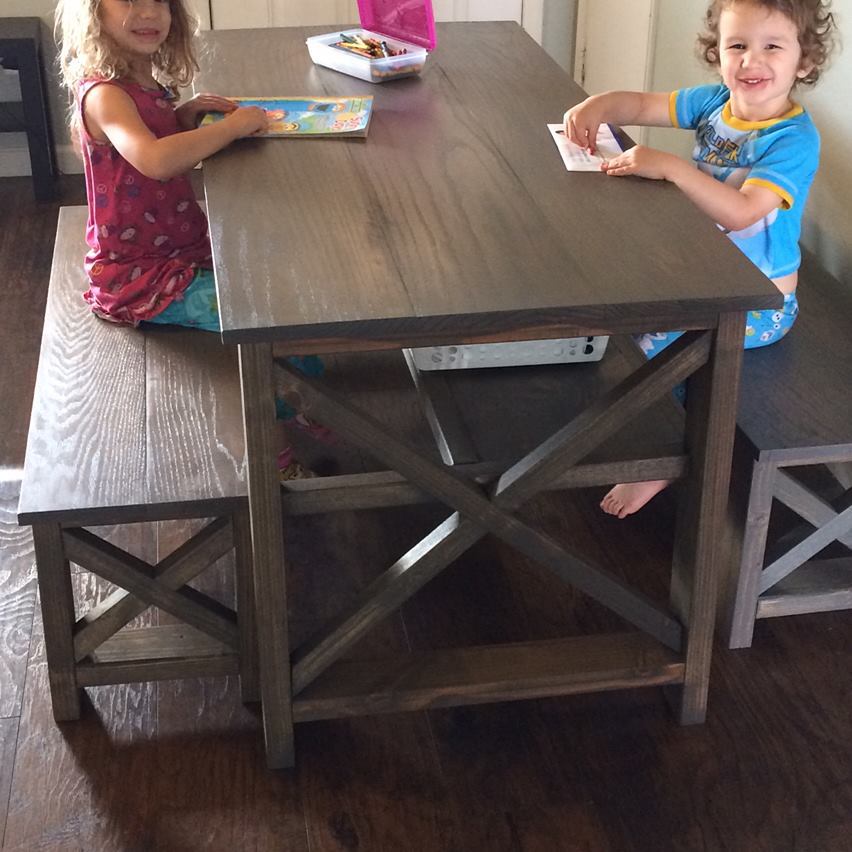
 My FIRST carpentry project! Good thing my husband was willing to help as it was a little heavy and I was googling terms like "counter-sink." It would have been so much easier if we hadn't made it a birthday surprise for my daughter. She LOVES it!


Comments
Ana White
Fri, 11/14/2014 - 13:46
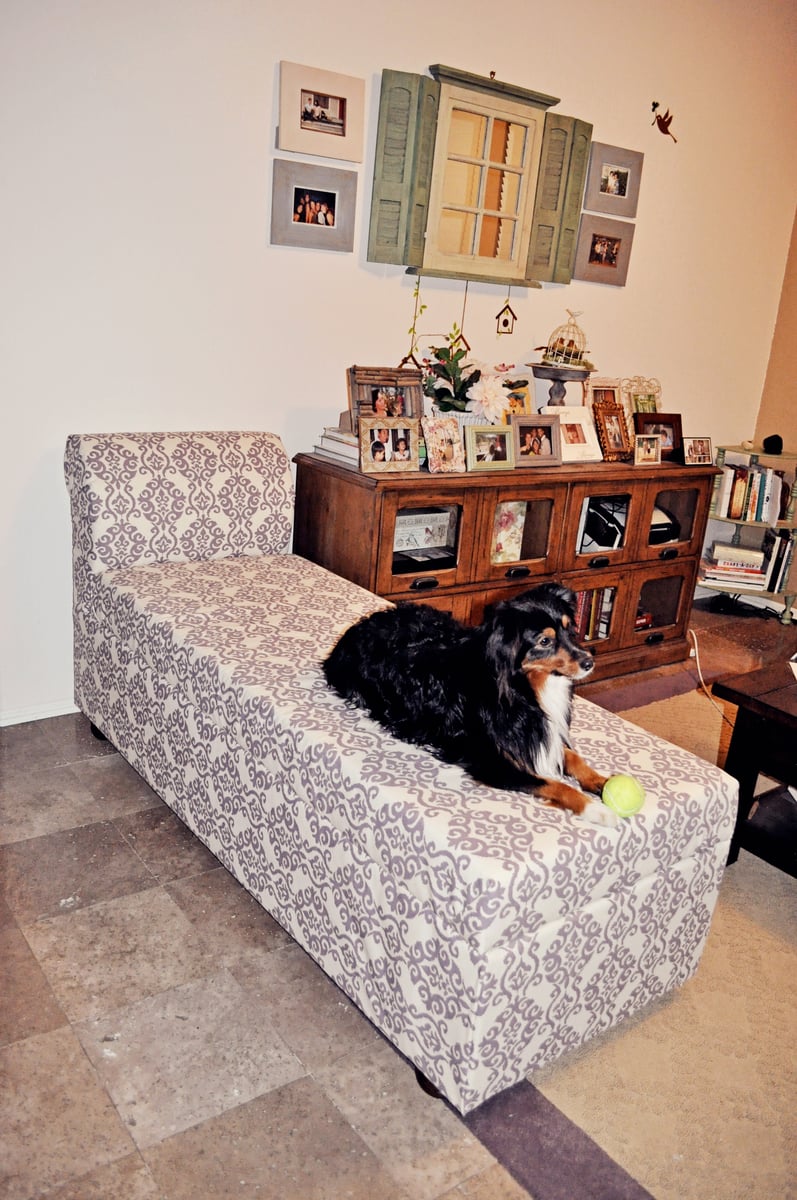
Wow! That's amazing! And I
Wow! That's amazing! And I absolutly love the decor! You have an awesome yard too!