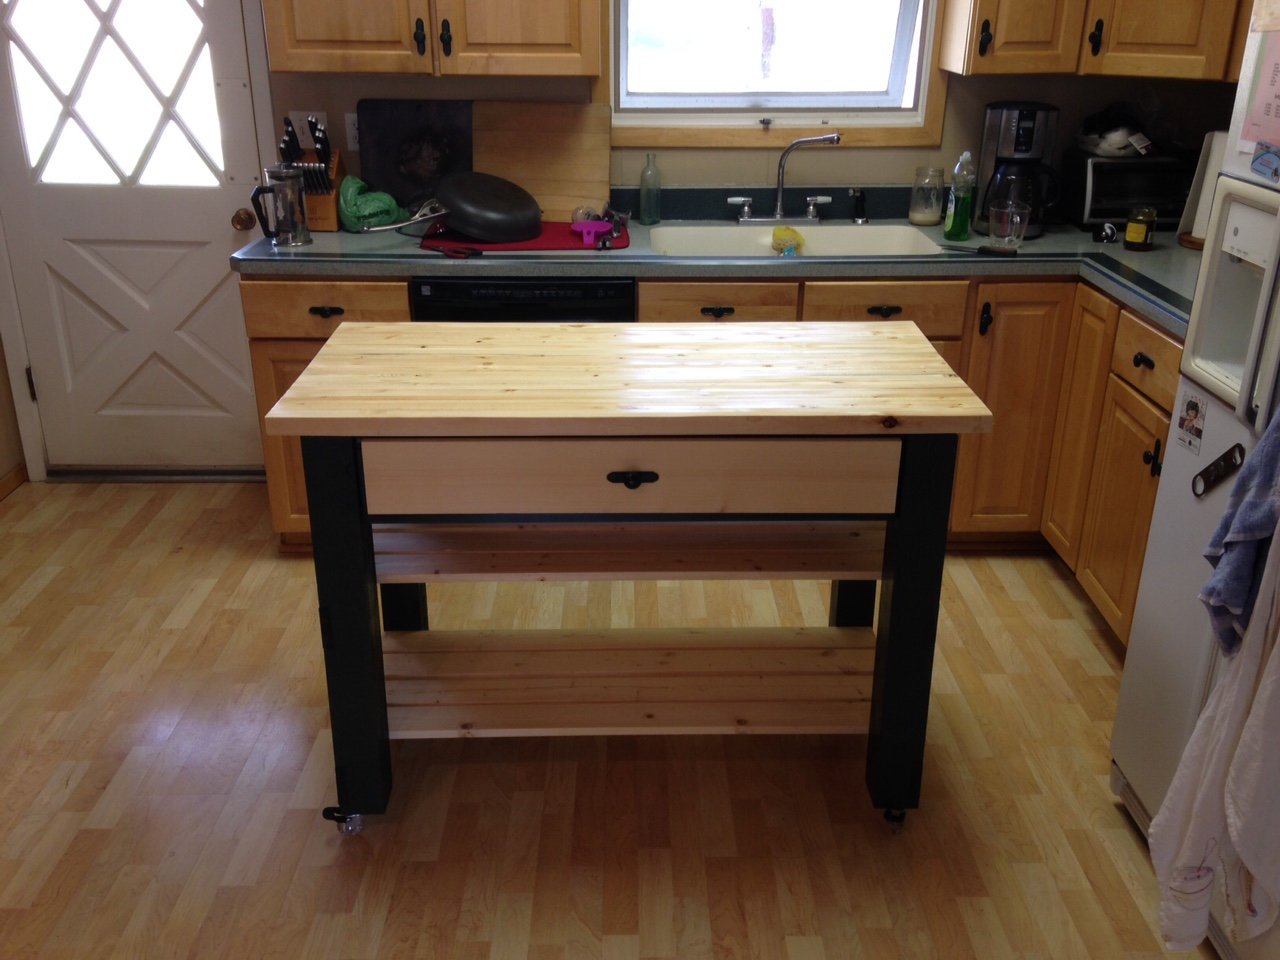
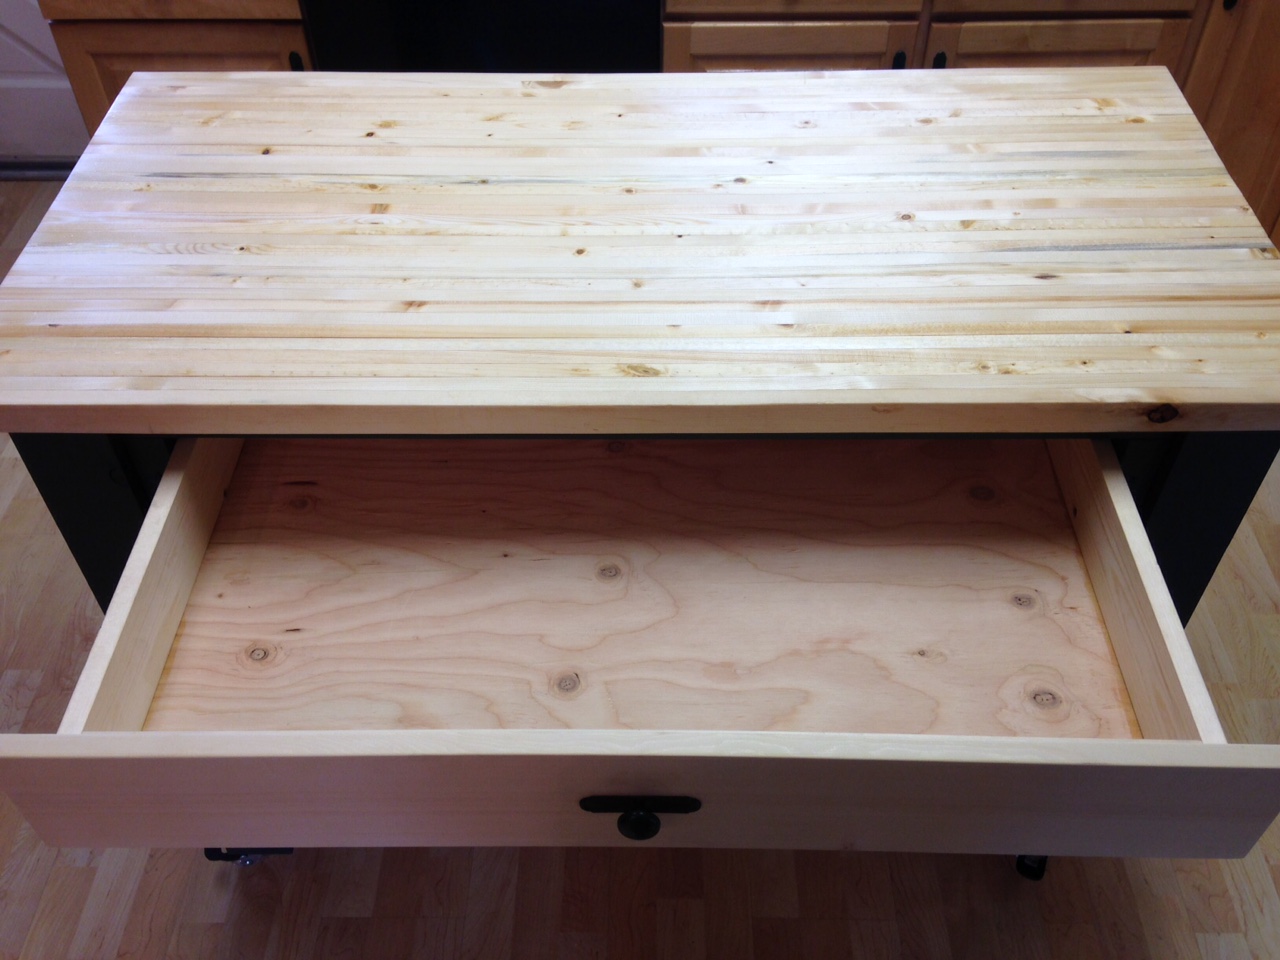
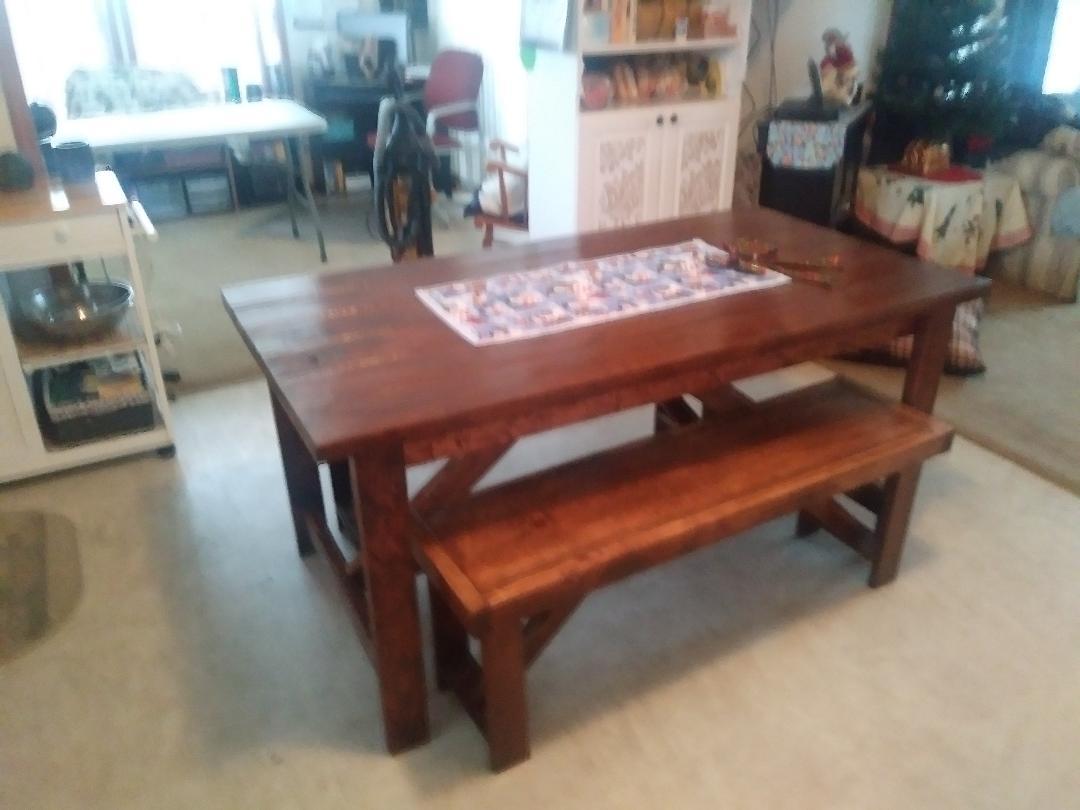
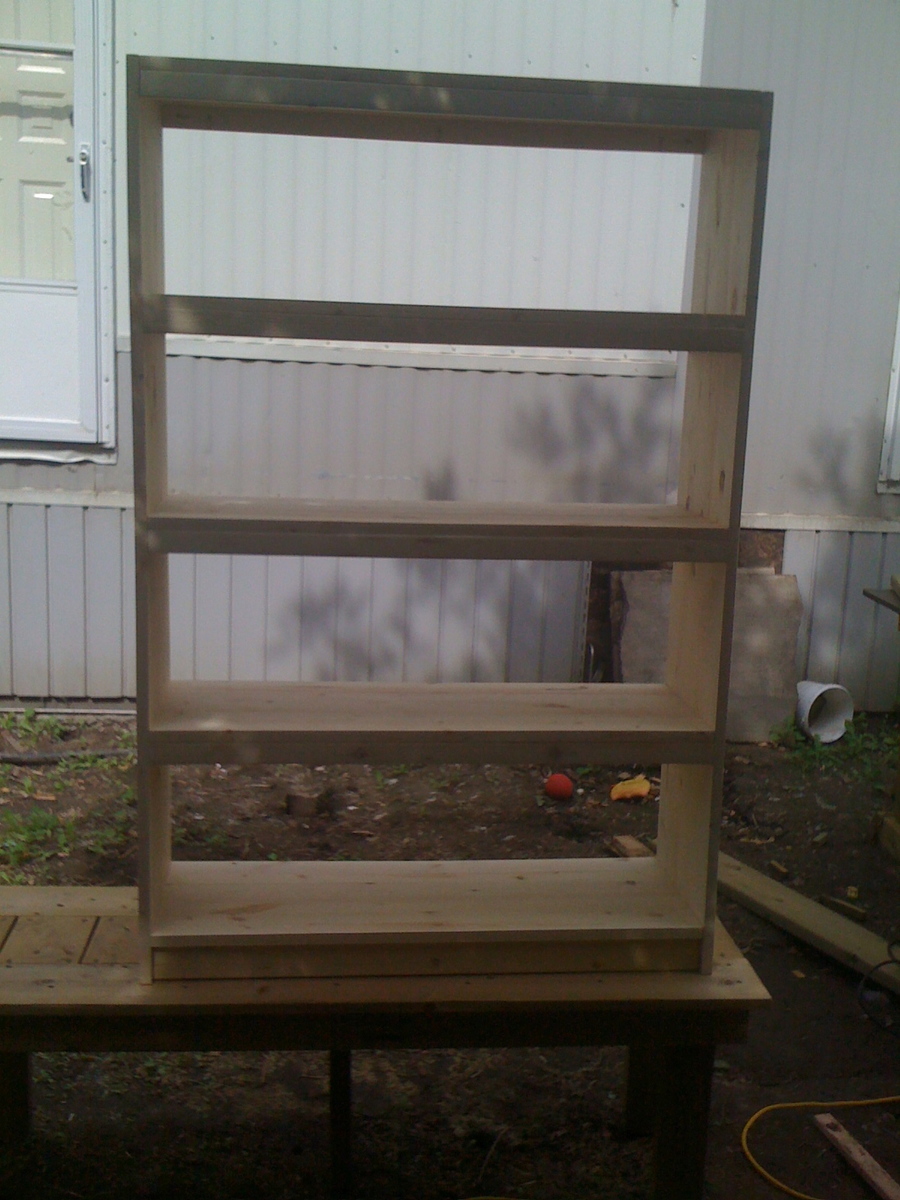
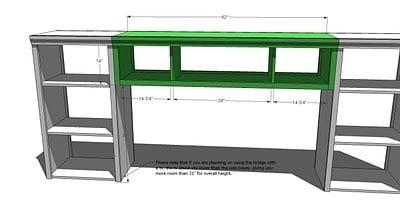
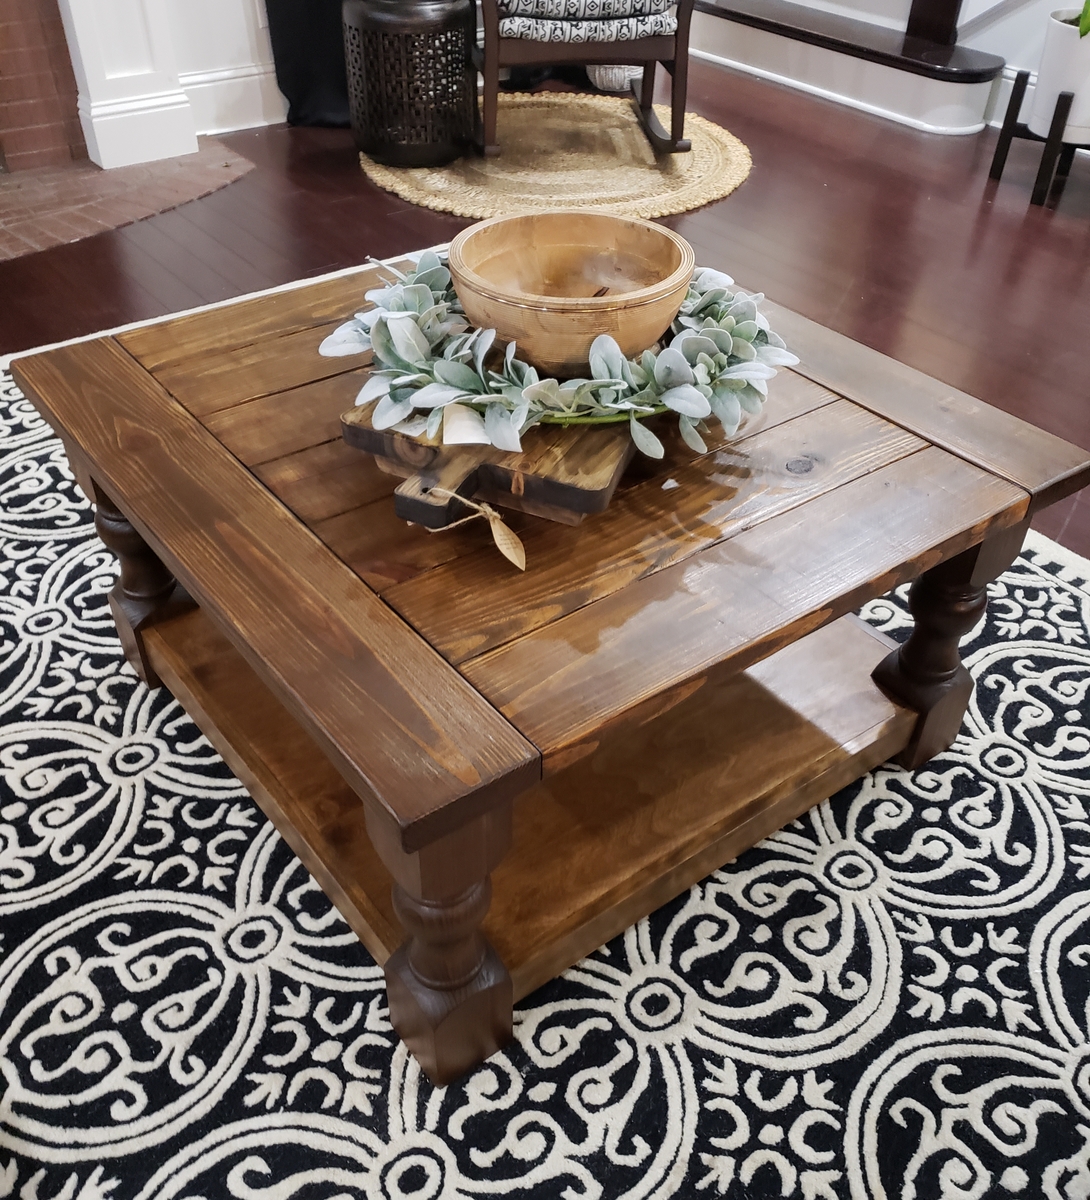
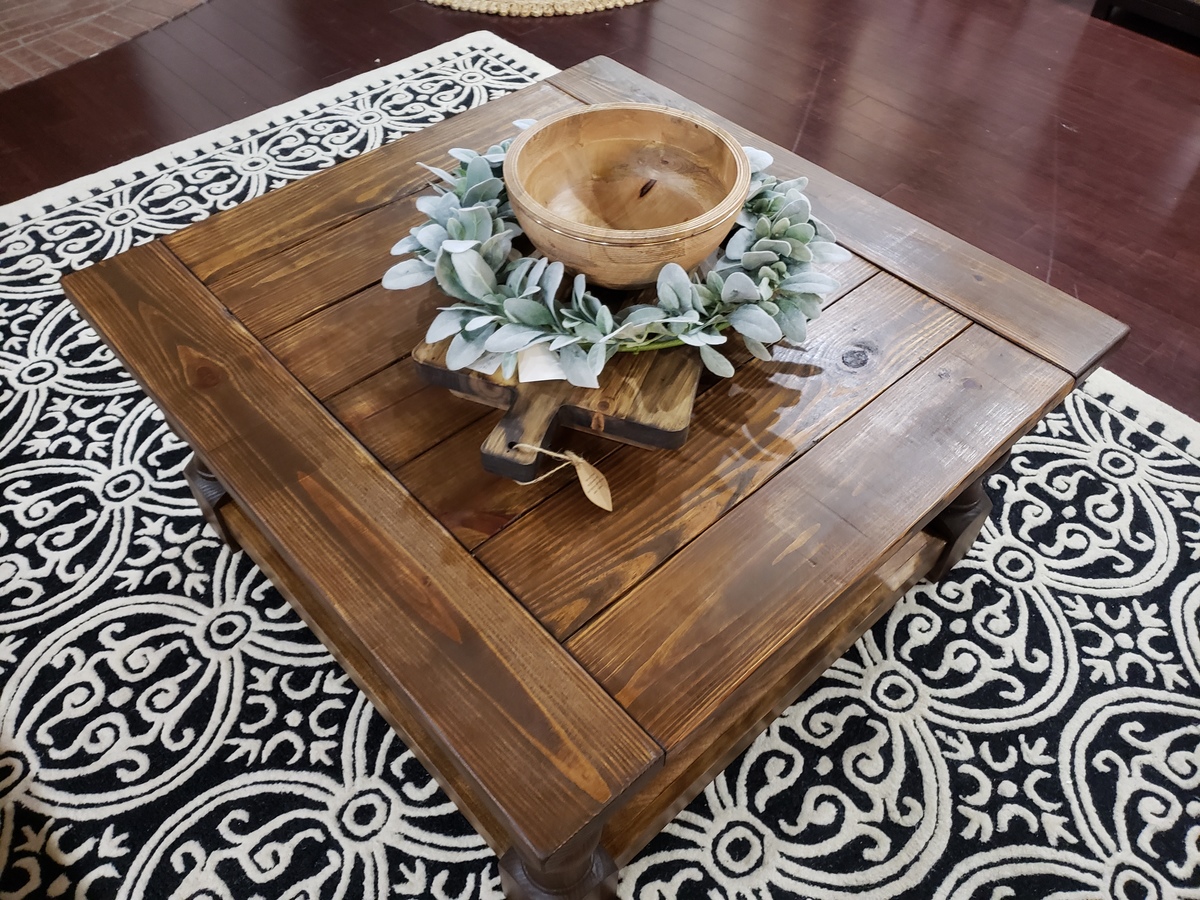
Console Table

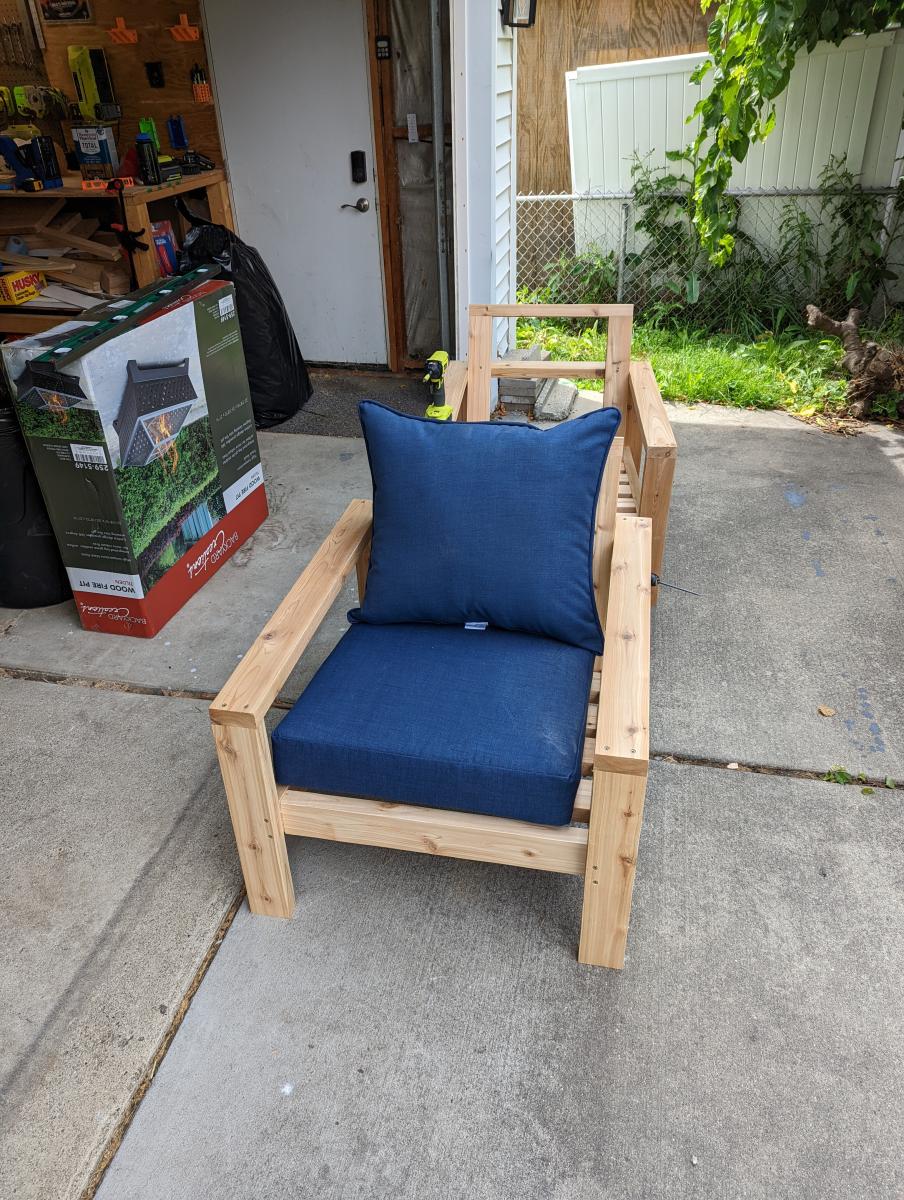
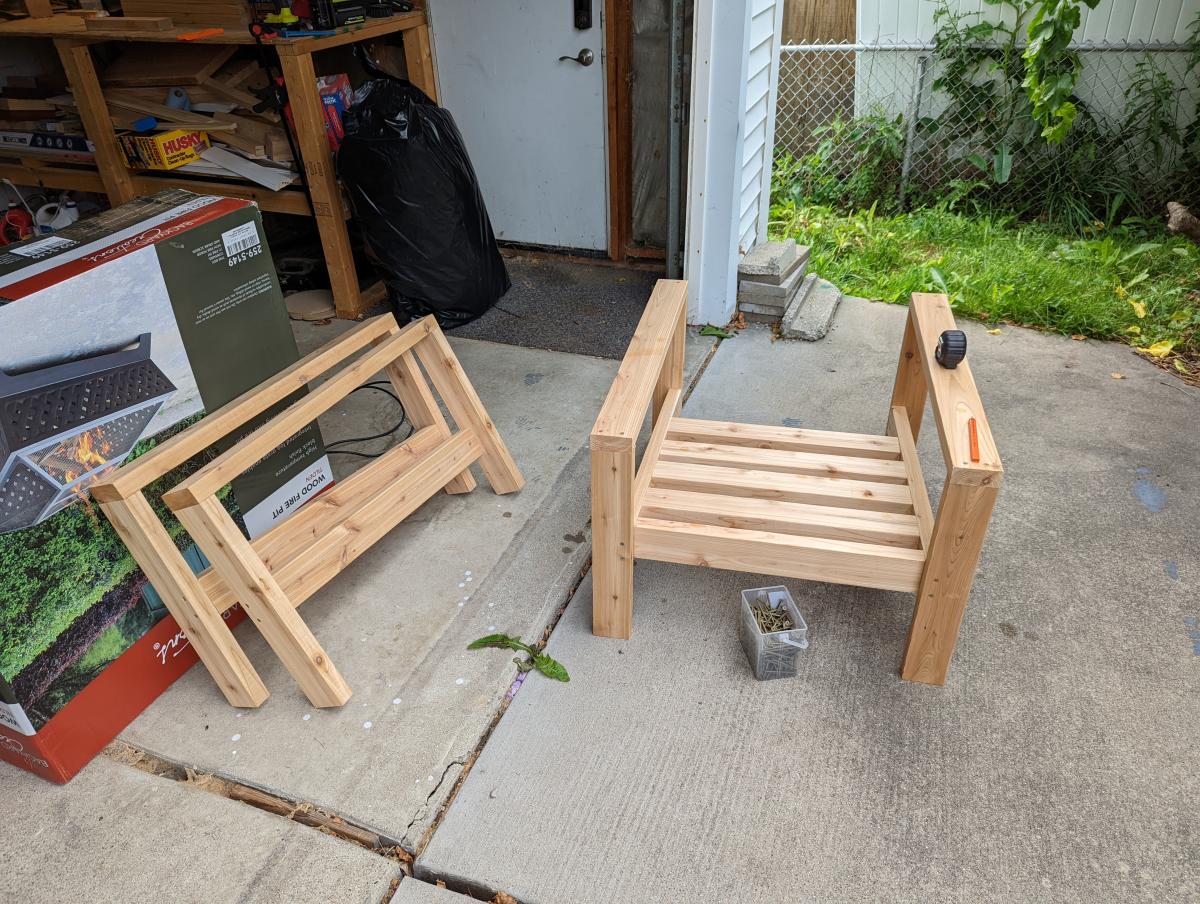
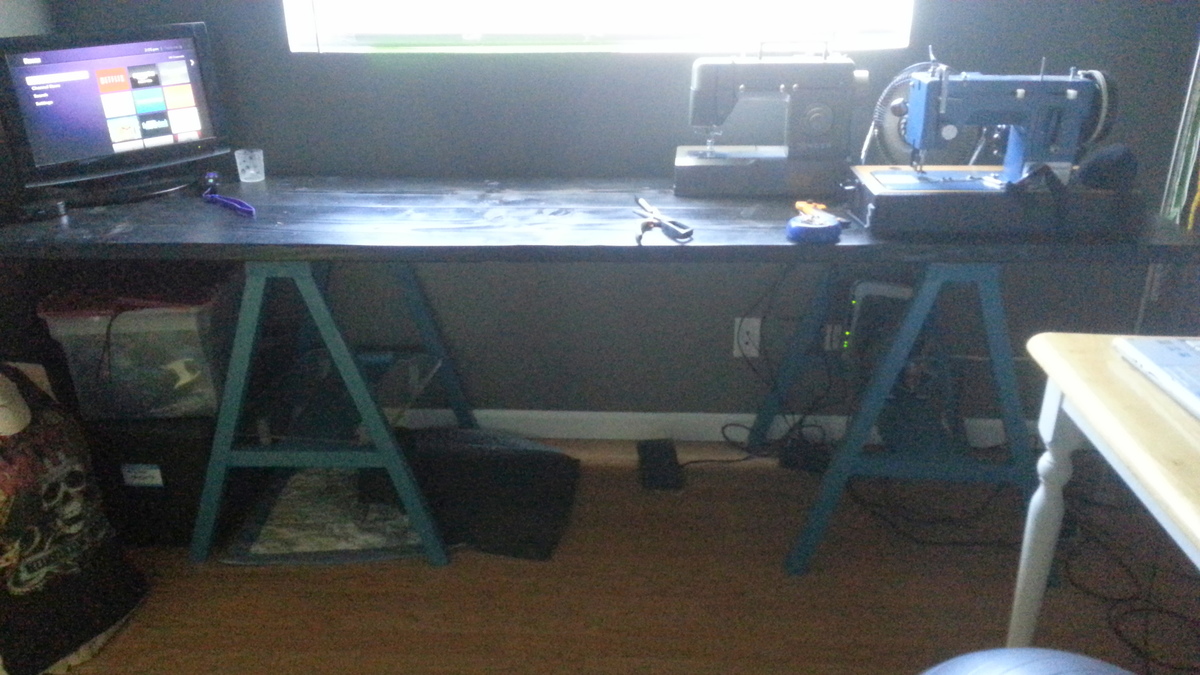
Wanted a side table to go in dining room for drinks and spare dishes to go on when we have get togethers. It was a pretty simple that was fun and got it done in a weekend during naptimes and the spare moment here and there thanks to my husband having time off. I didn’t want a second shelf because that’s just a ladder for my toddlers! I decided to go with a truss look since it fit my furtinure a bit more and I like it having a bit of a decorative look in the back.

Built from Plan(s)
Estimated Cost
50
Estimated Time Investment
Weekend Project (10-20 Hours)
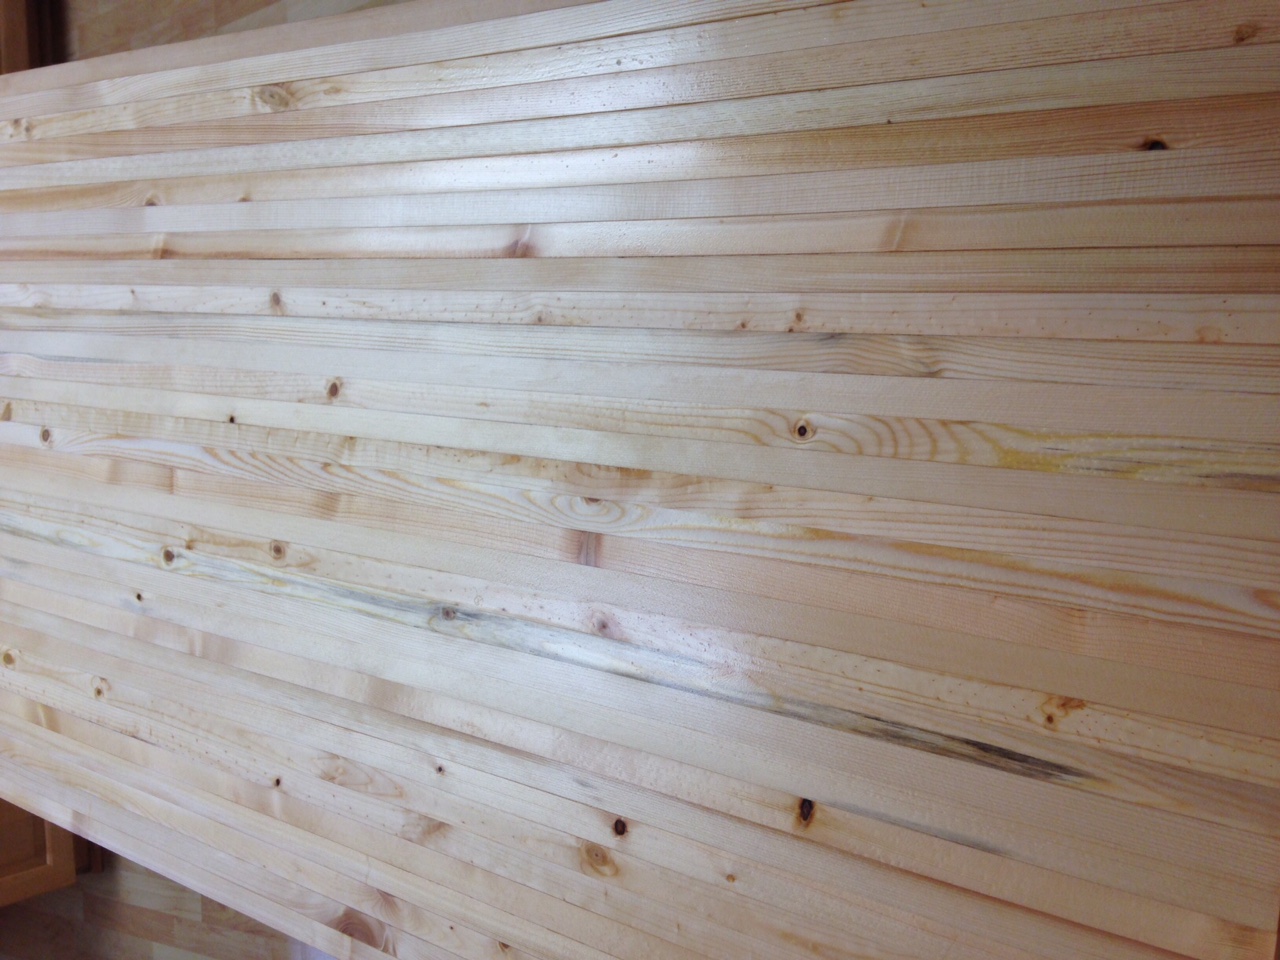
Finish Used
Varathane briarsmoke
Recommended Skill Level
Beginner