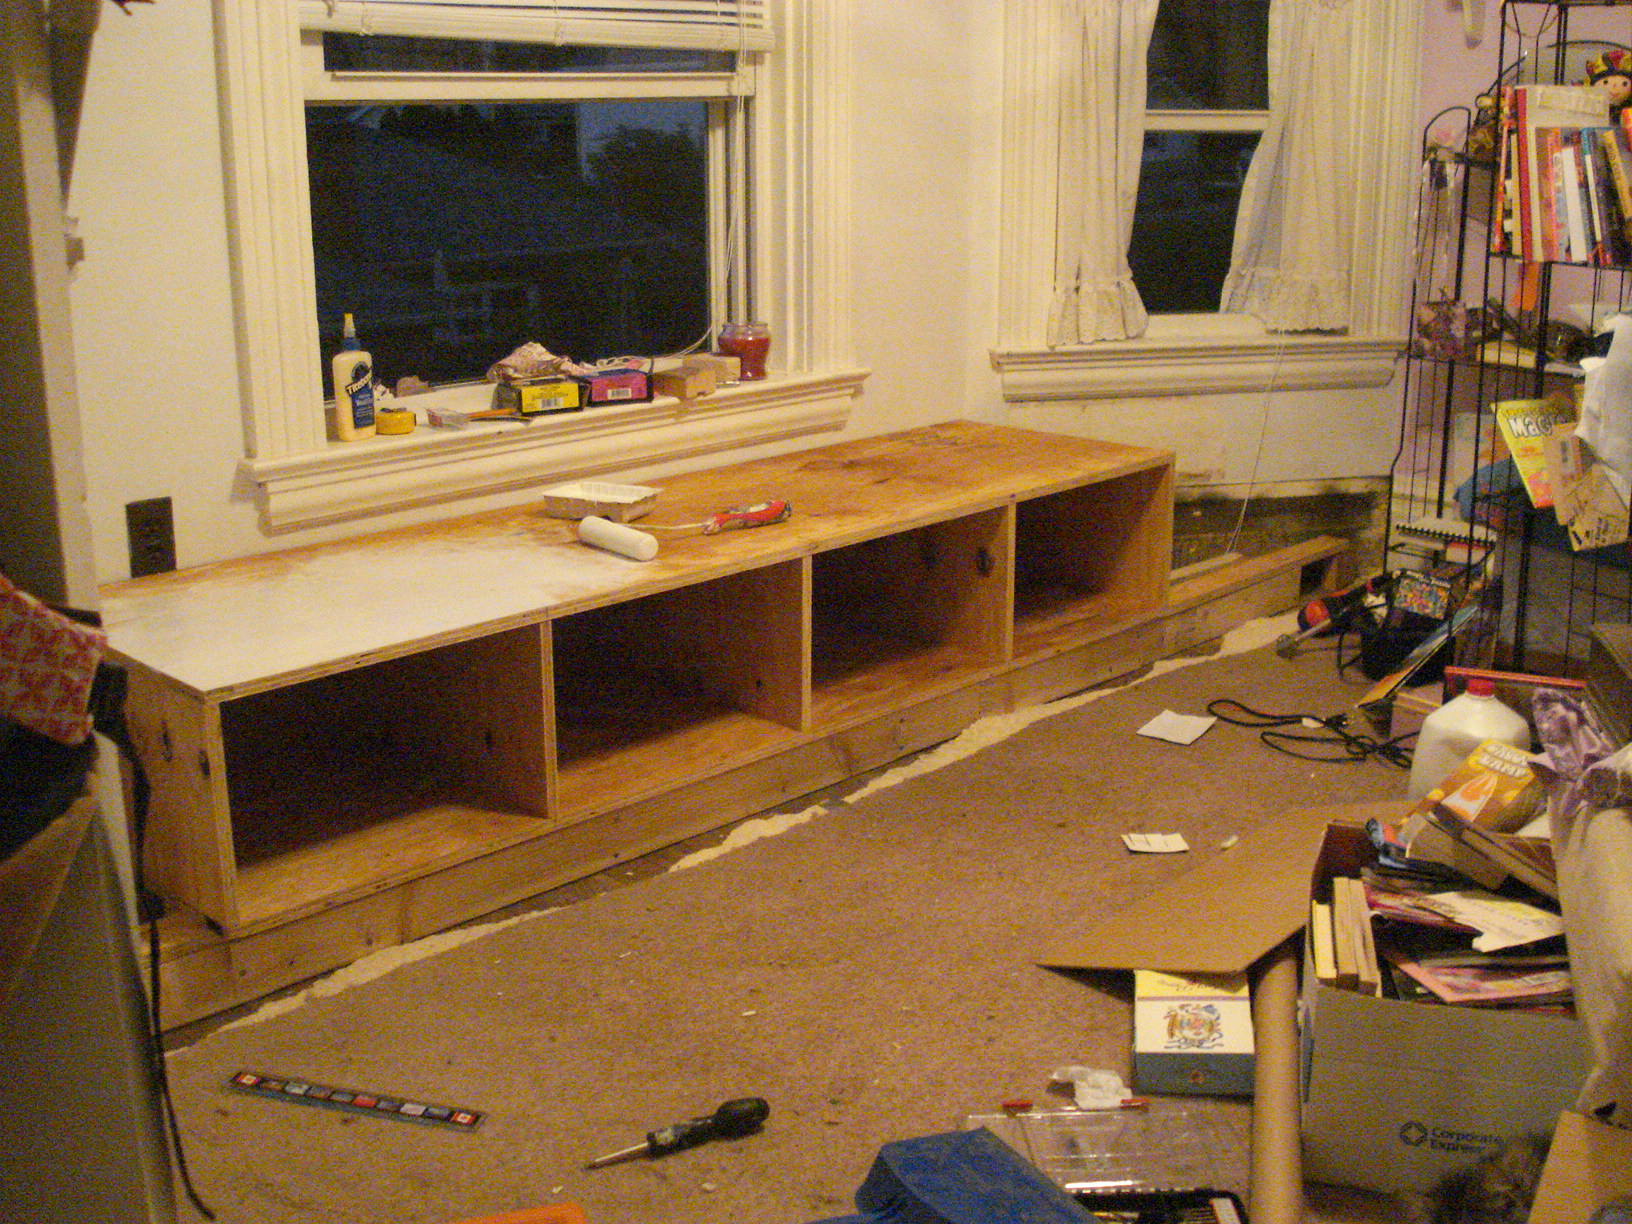
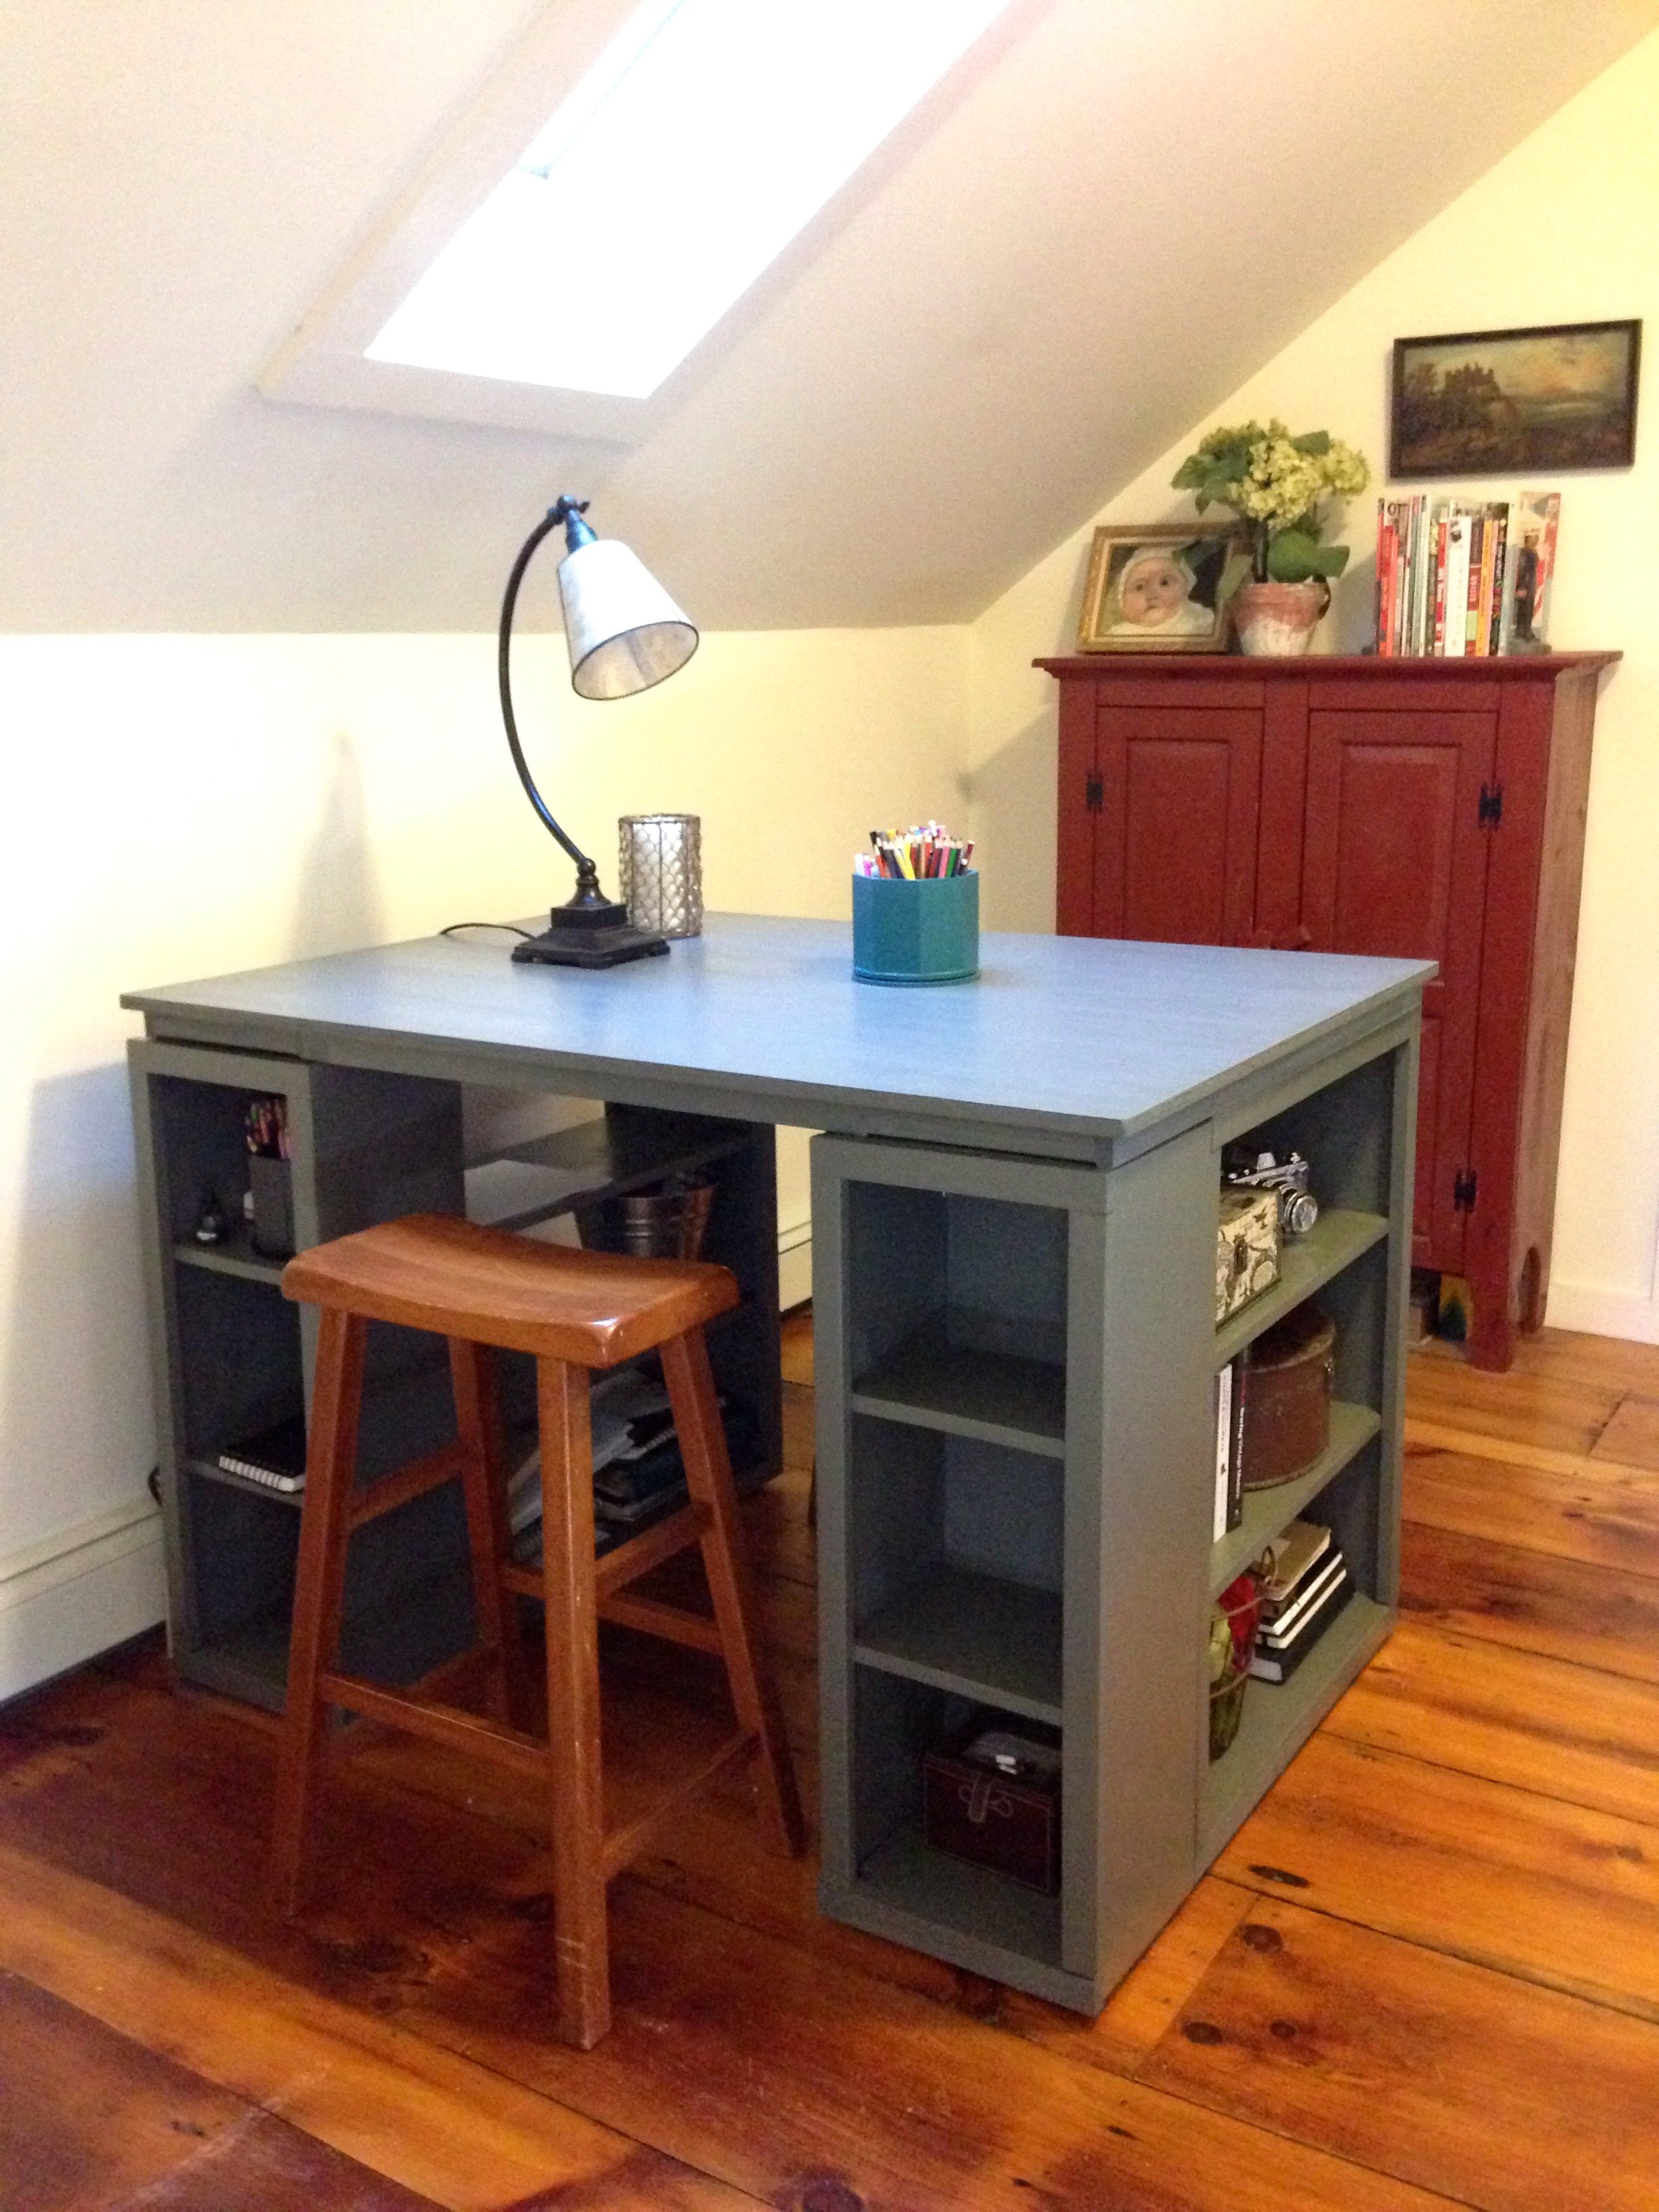
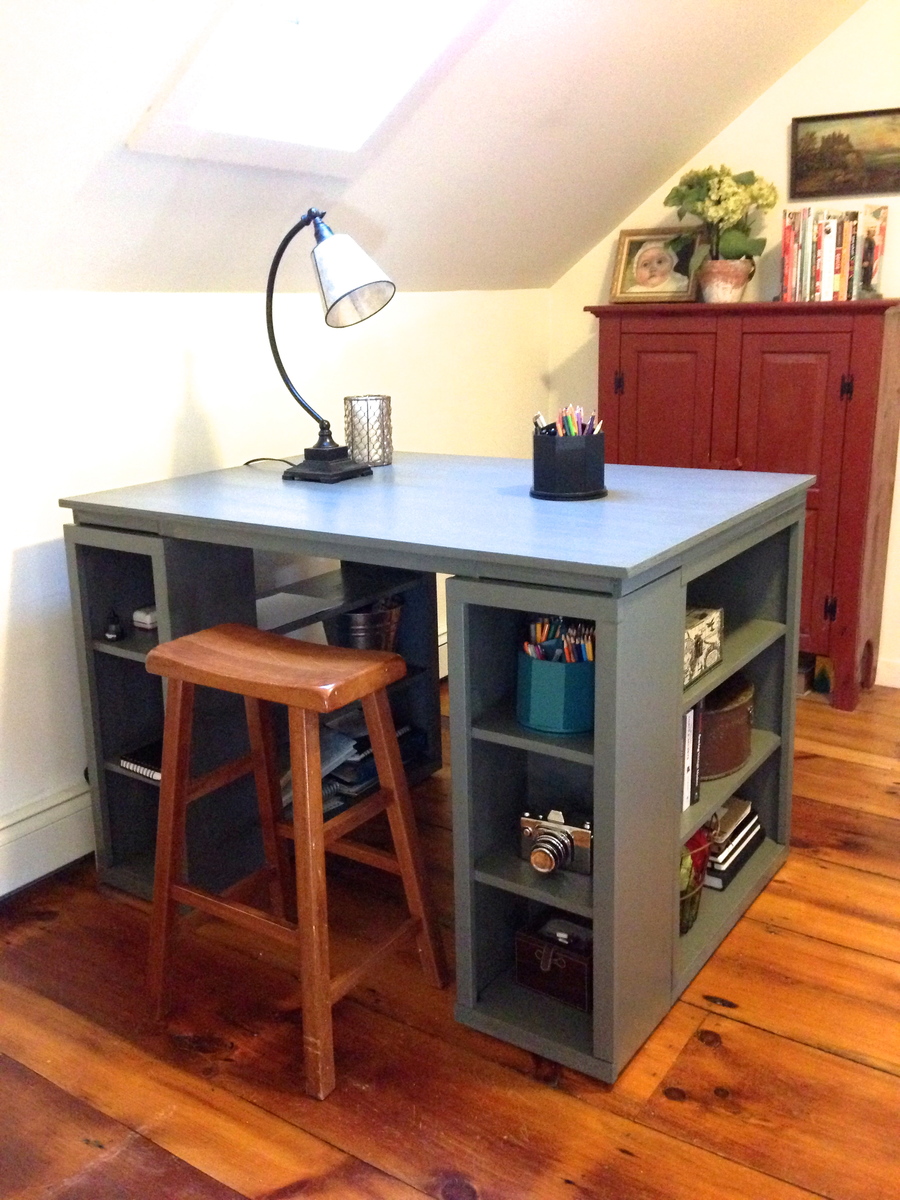
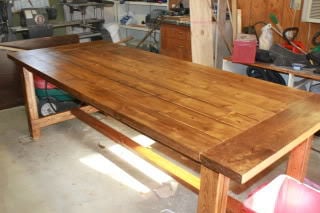
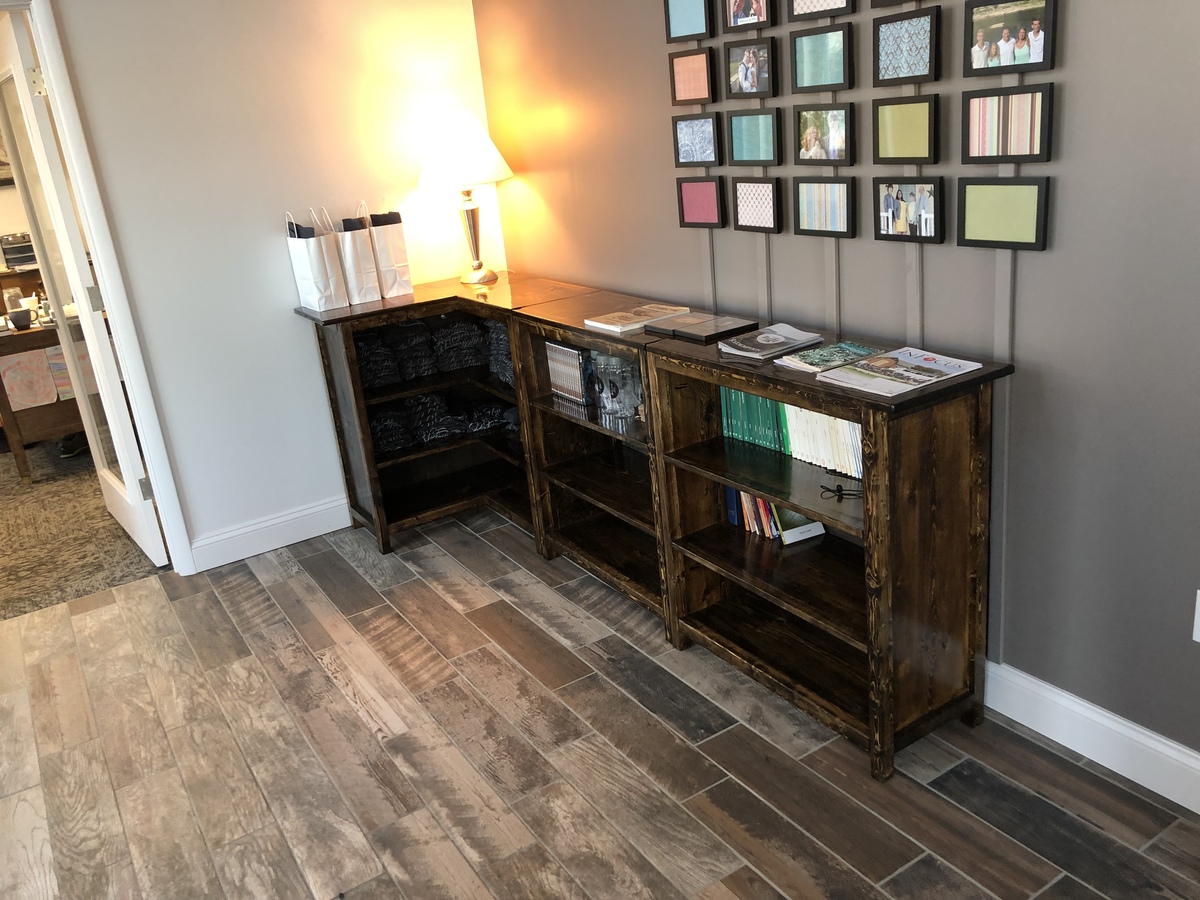
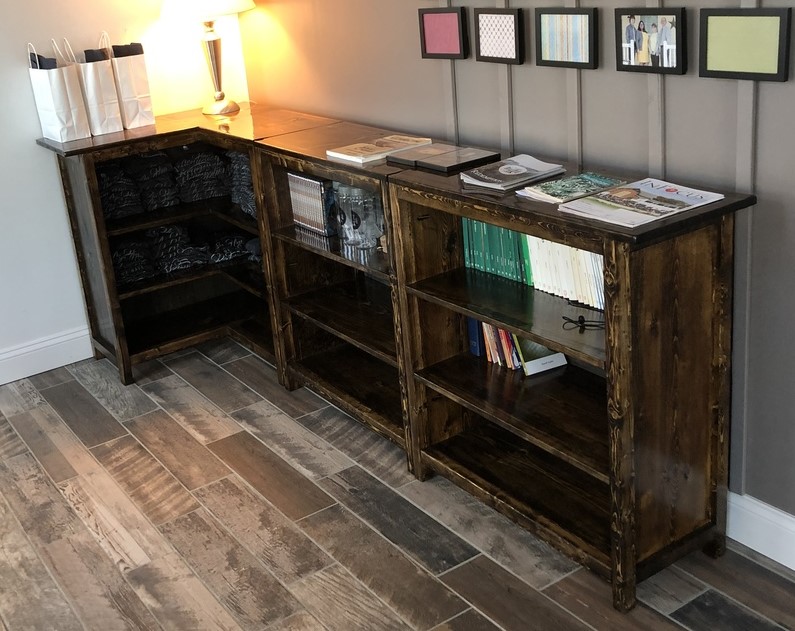
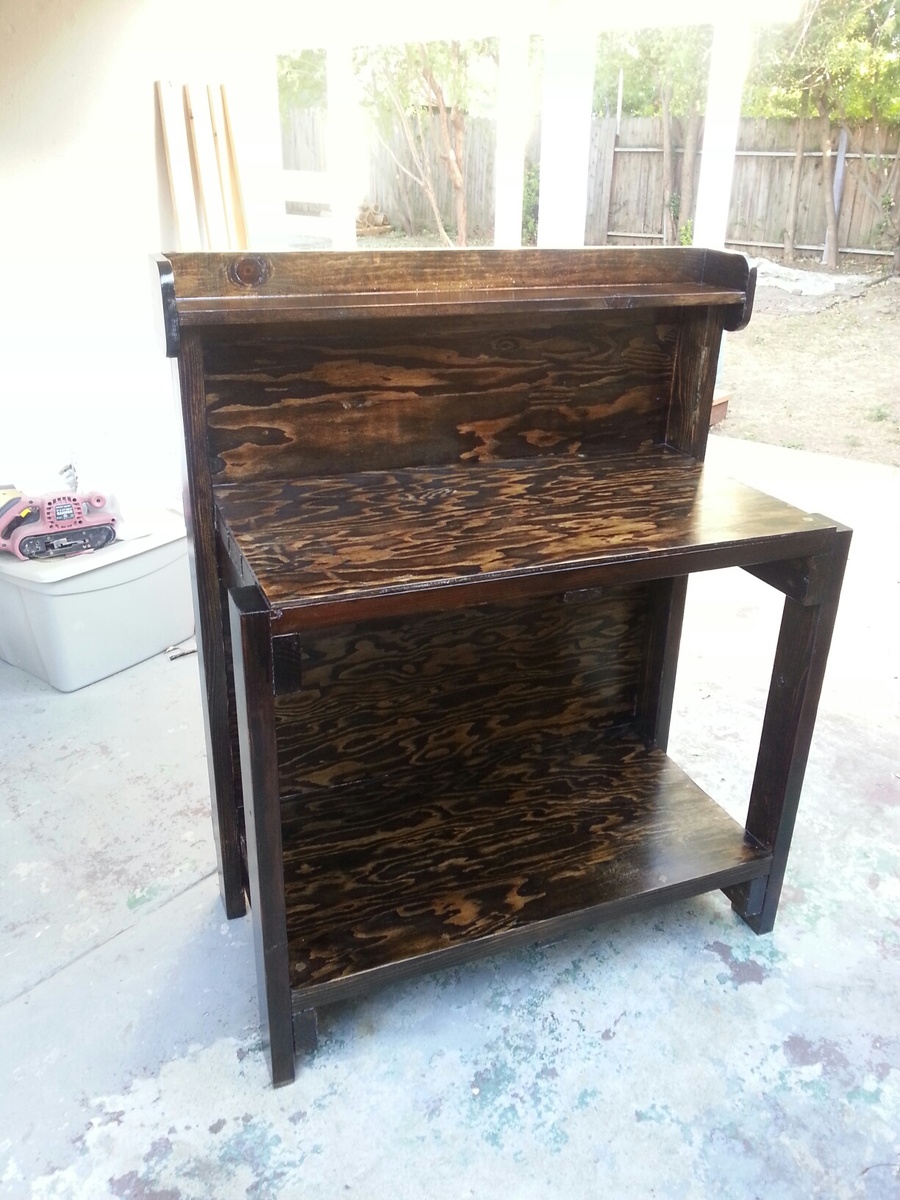
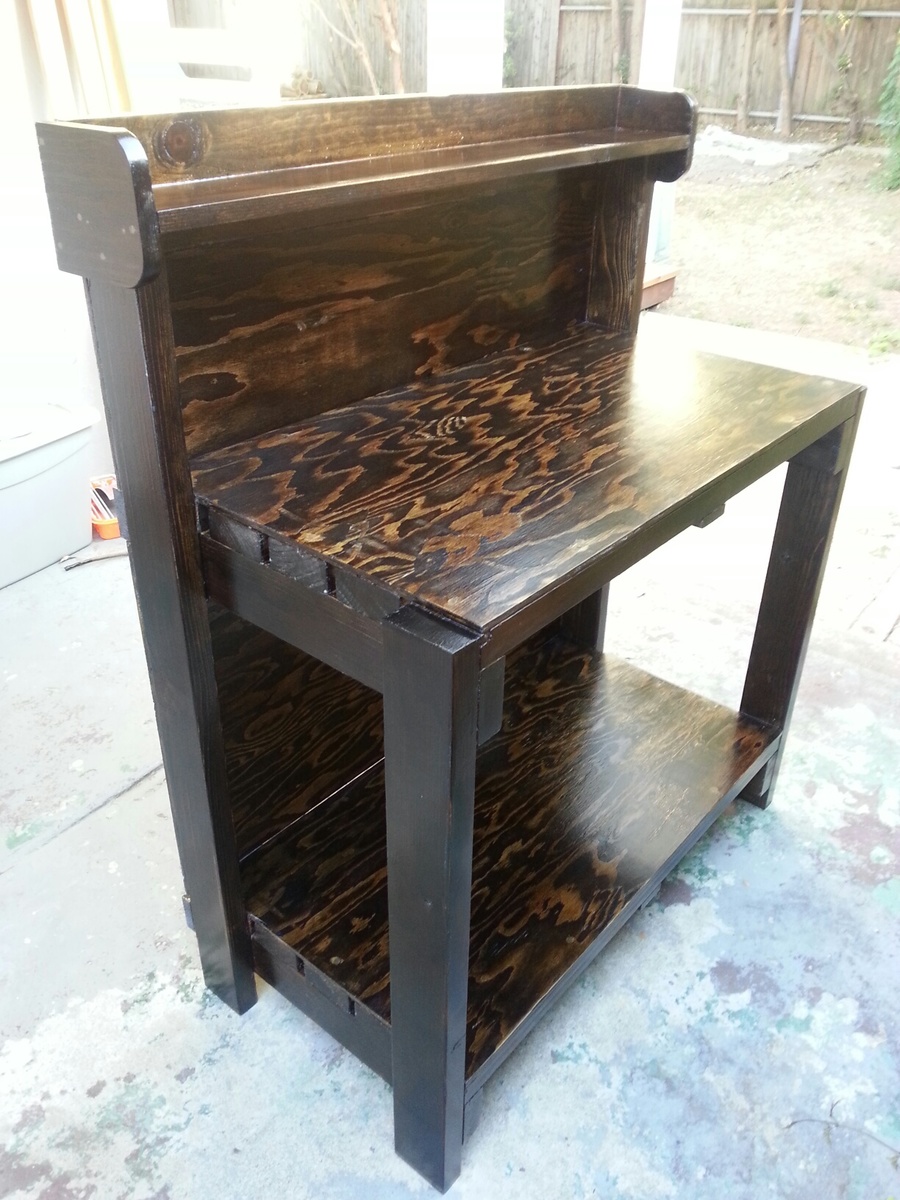
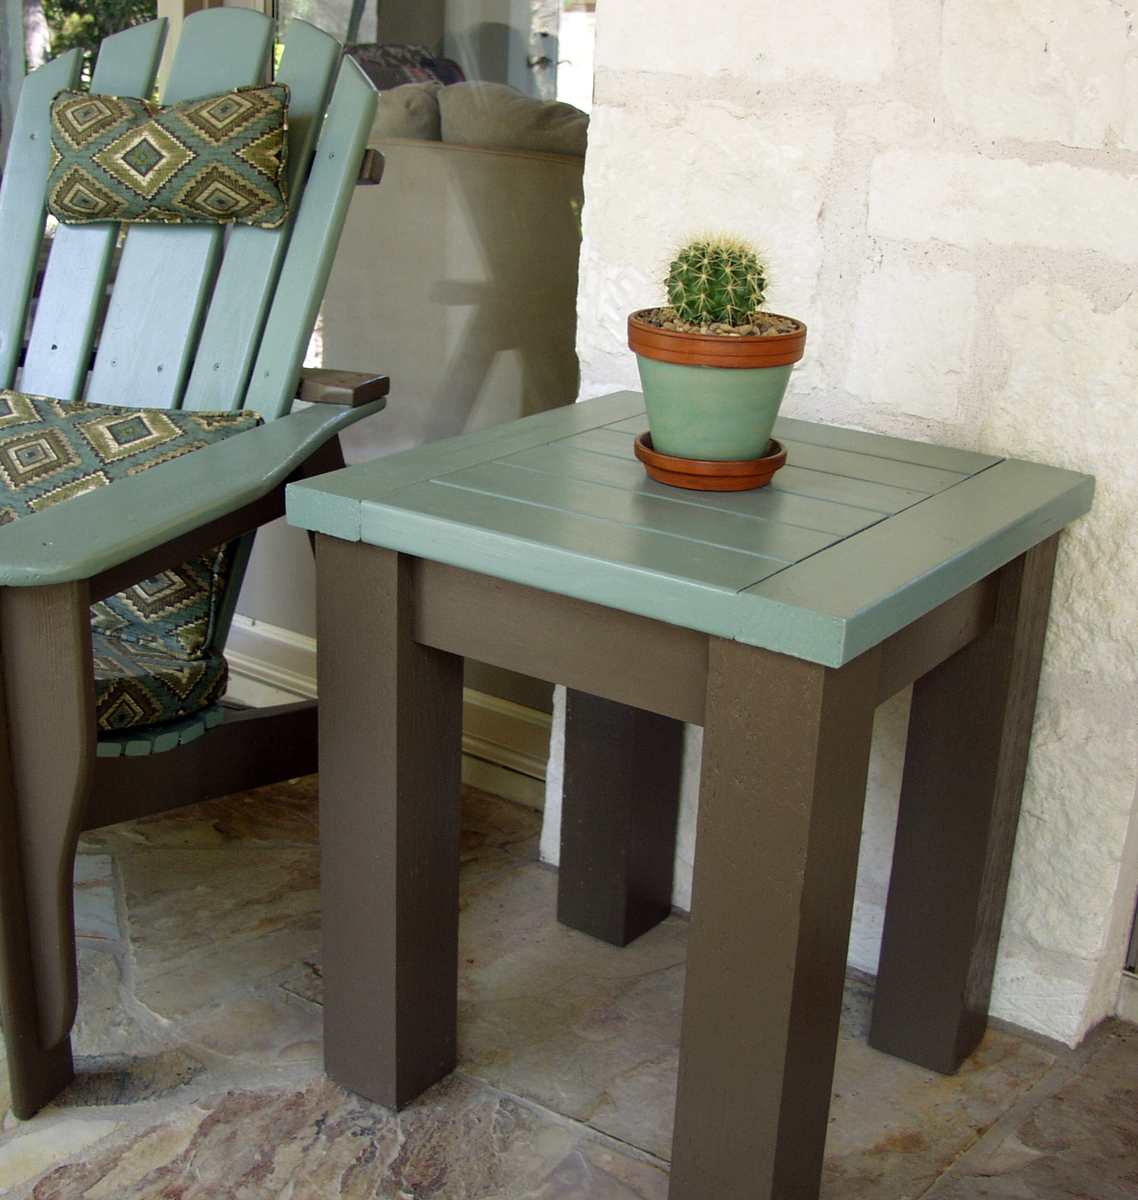
This is my first woodworking project and when I saw the plans, I knew it would be perfect for an indoor study and work bench for my hubby. Not having any power tools except for a drill and two sanders, I went to Home Depot and they were obliging and patient enough to cut my lumber for me (I loved making the bench so tools will be next on my list). The plans were easy to understand and since Maths is not my strong point, I was happy to have something so easy and methodical to work with. I loved the extra shelf on the top and the larger one on the bottom.
I made 2 modifications:
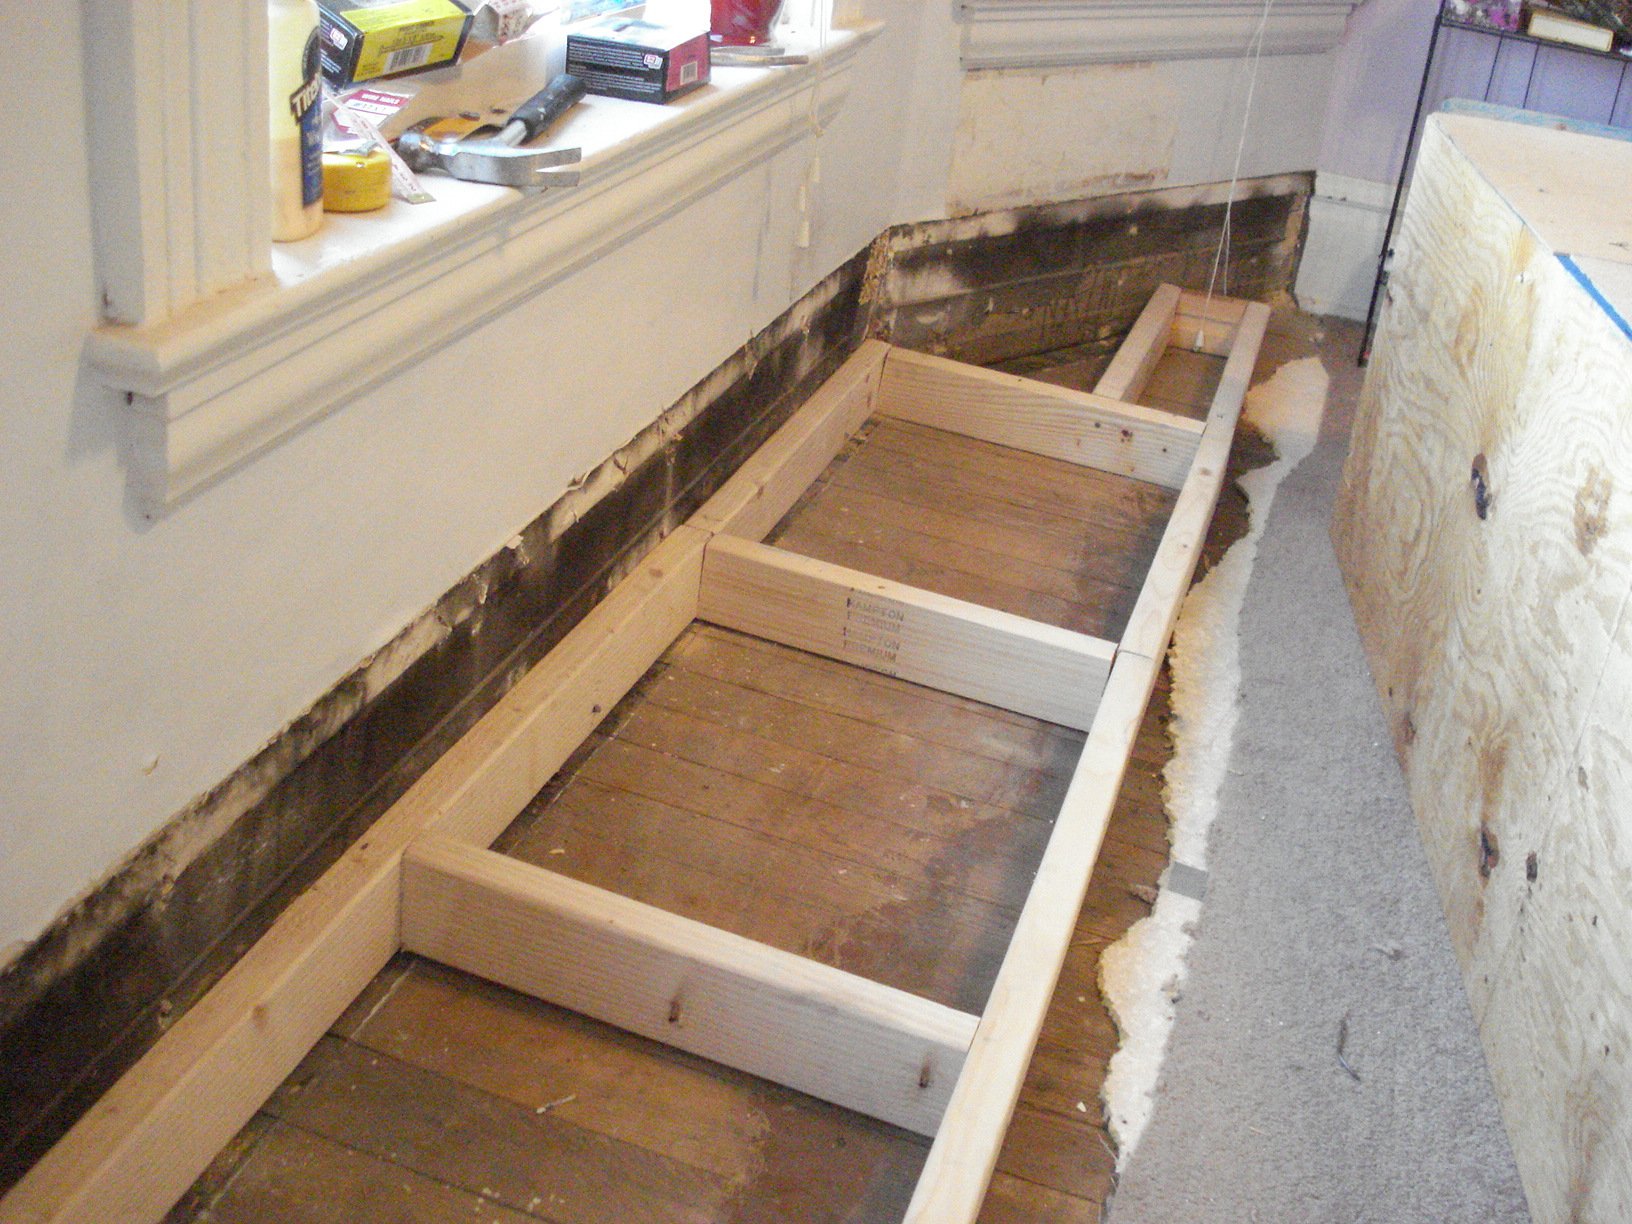
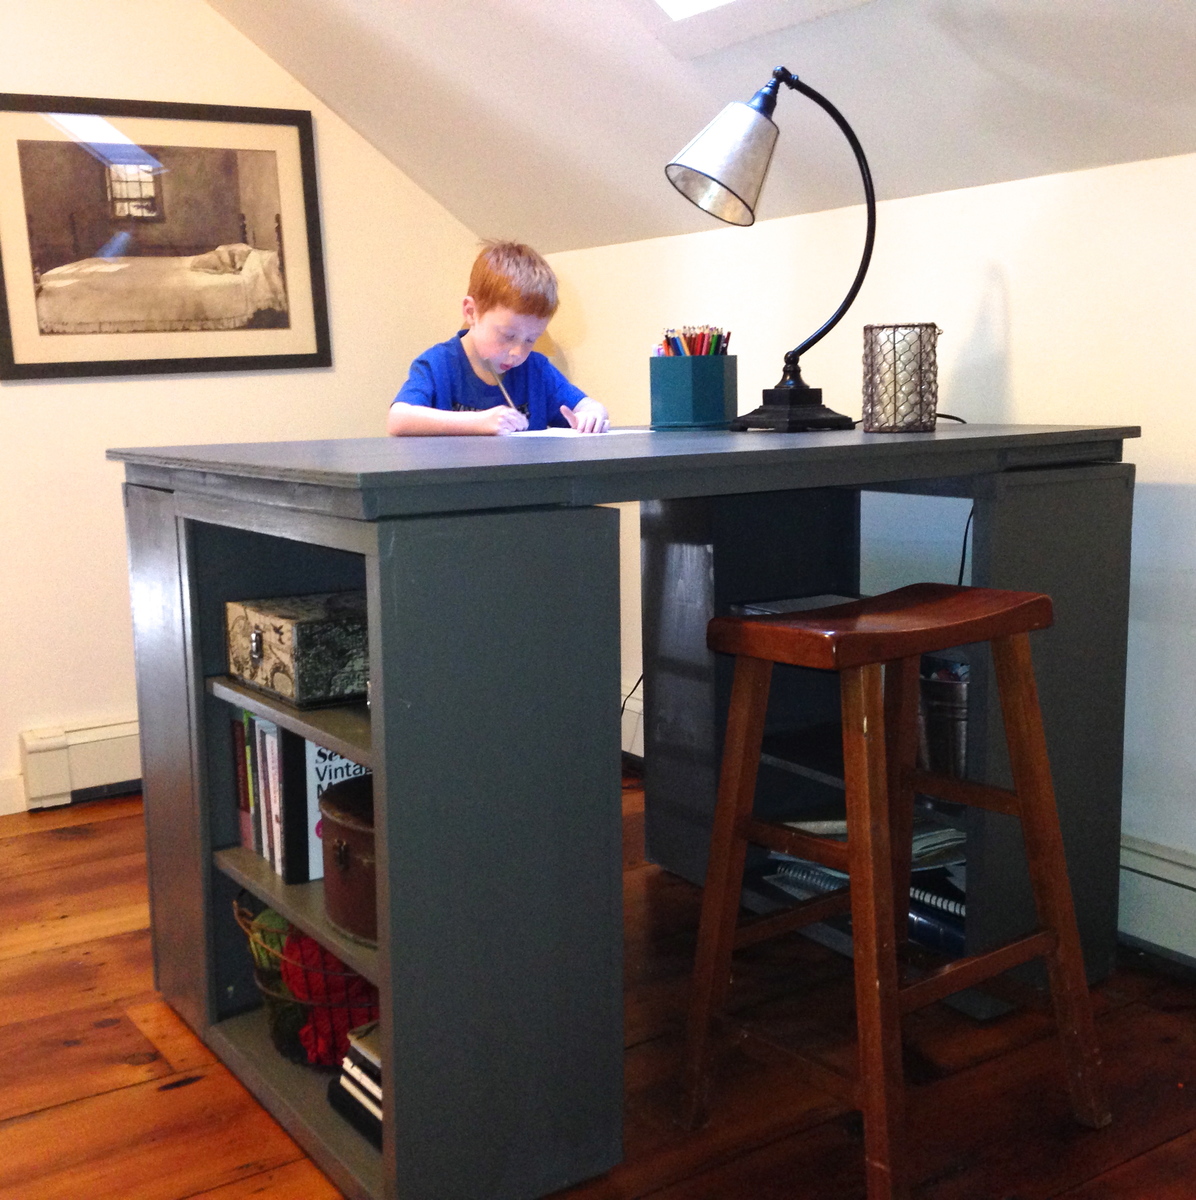
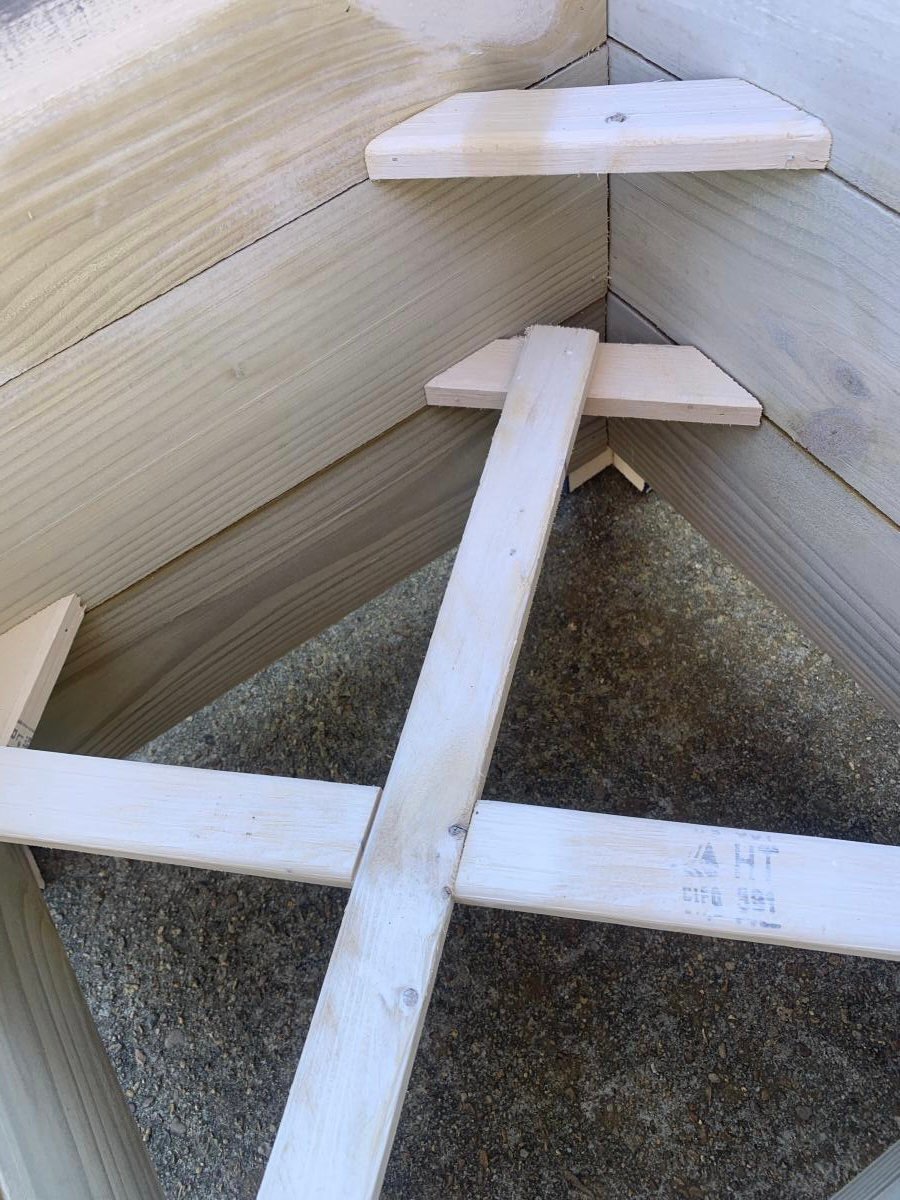
The height of the front legs are 33” instead of 36” because I wanted it at wrist height for my husband on the current stool he has in his room. I kept the back legs at 48”. I forgot to account for the 3” difference when I was assembling the lower shelf, so I ended up taking a hacksaw to the base of the 4 legs after assembly to account for this and this explains why the bottom shelf is so low to the ground. But it works!
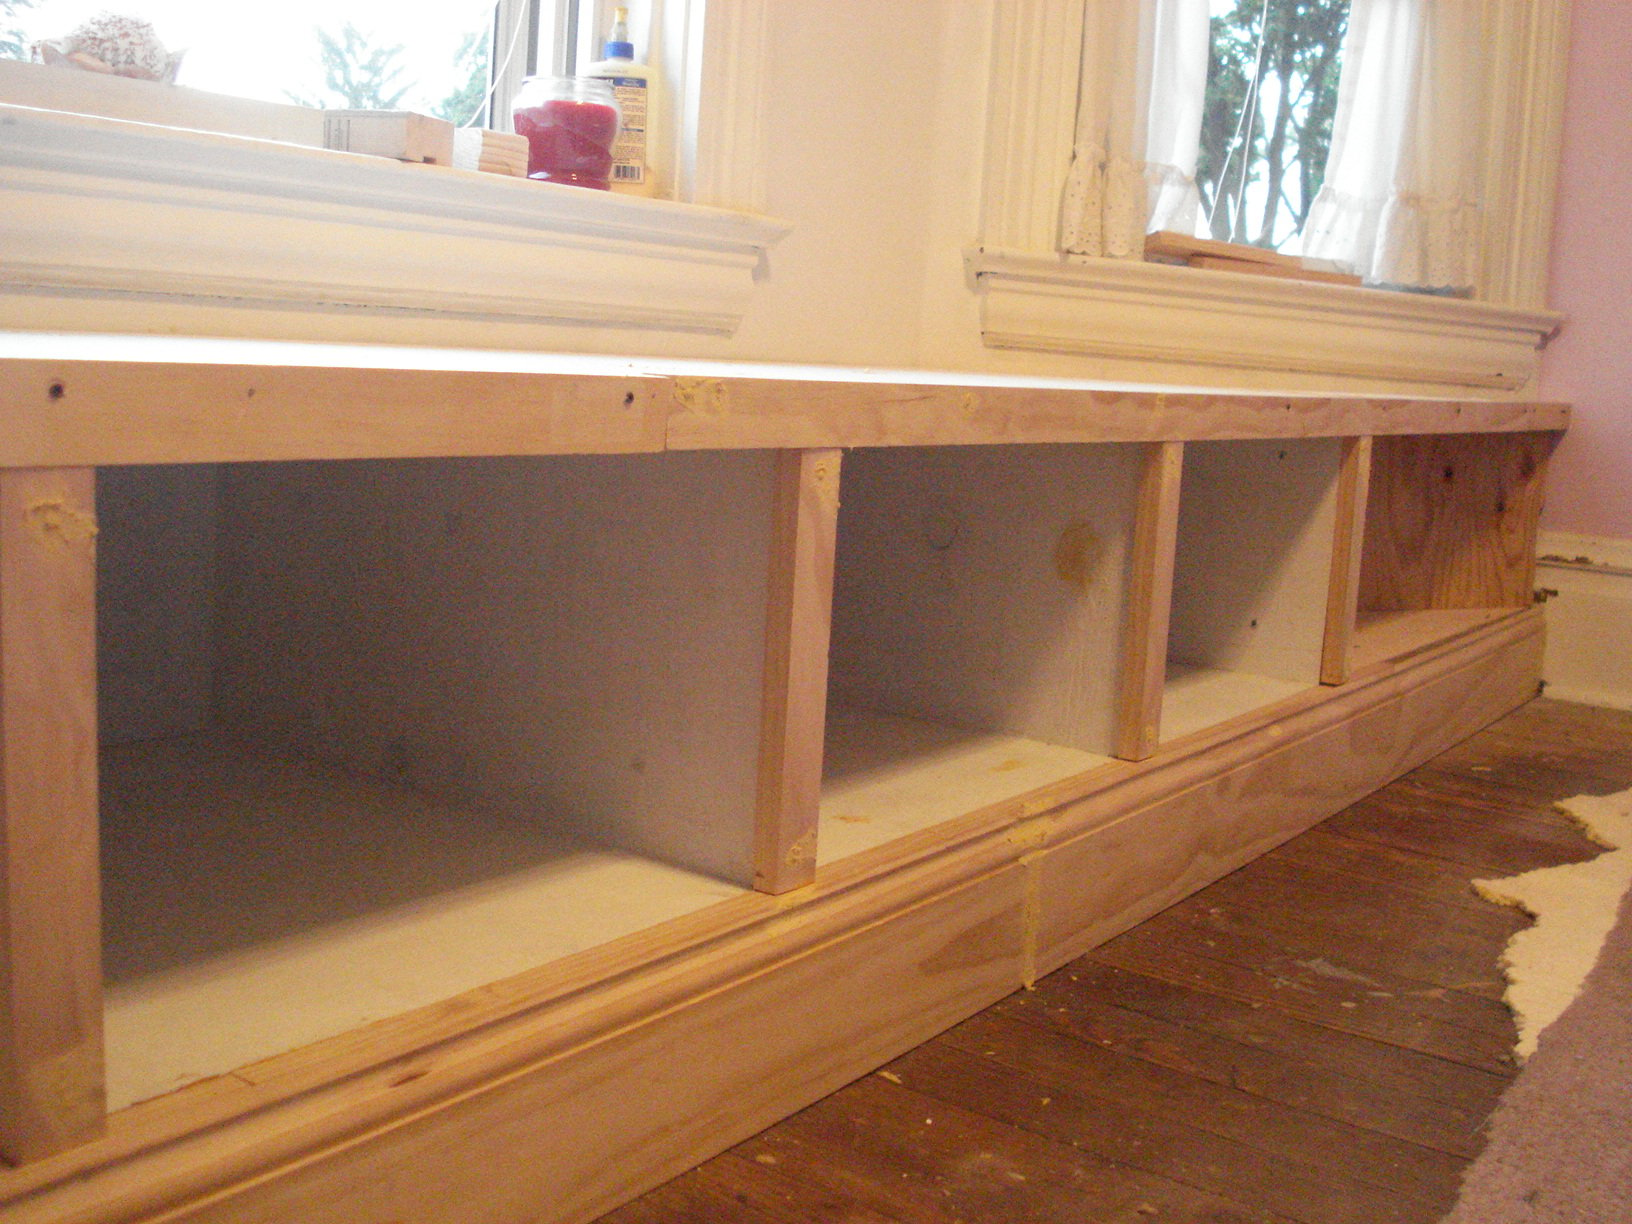
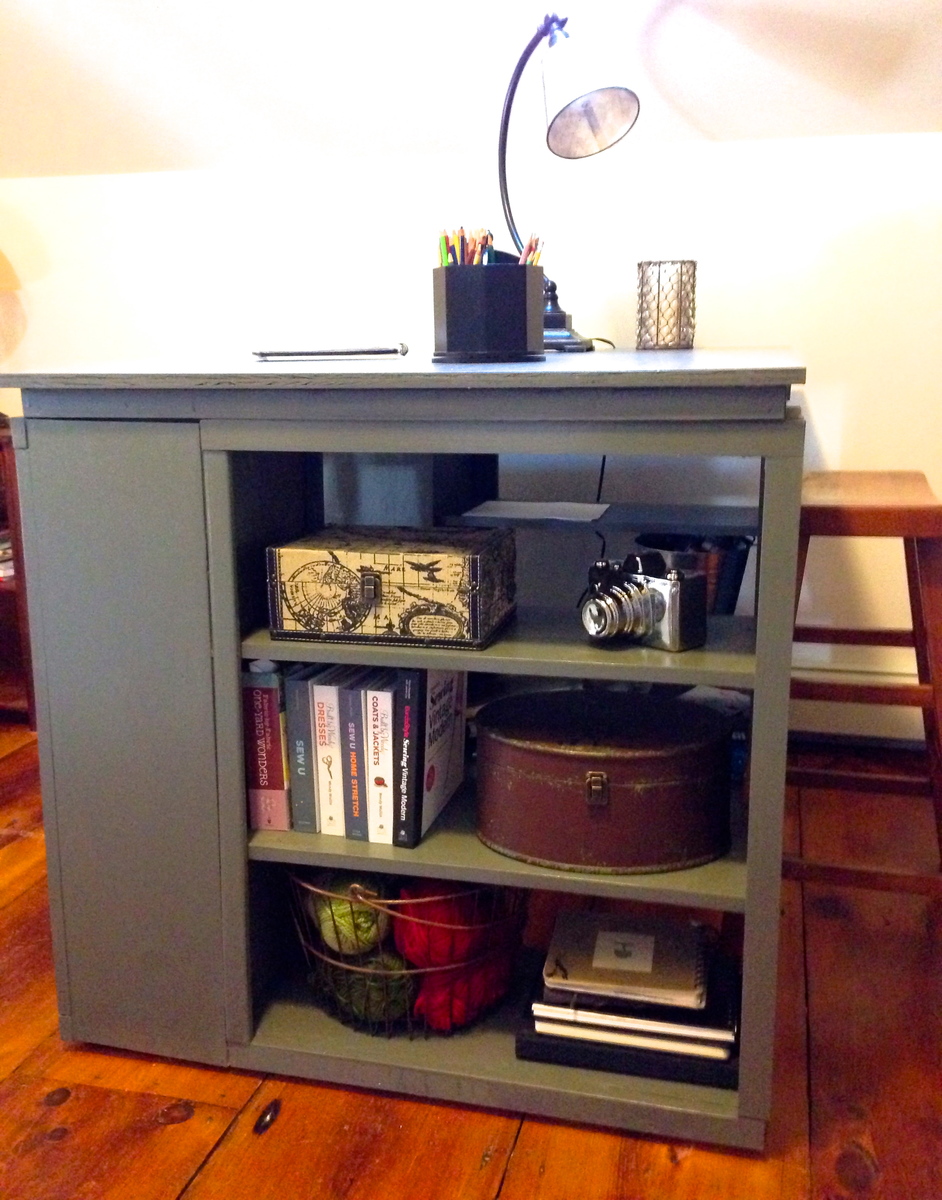
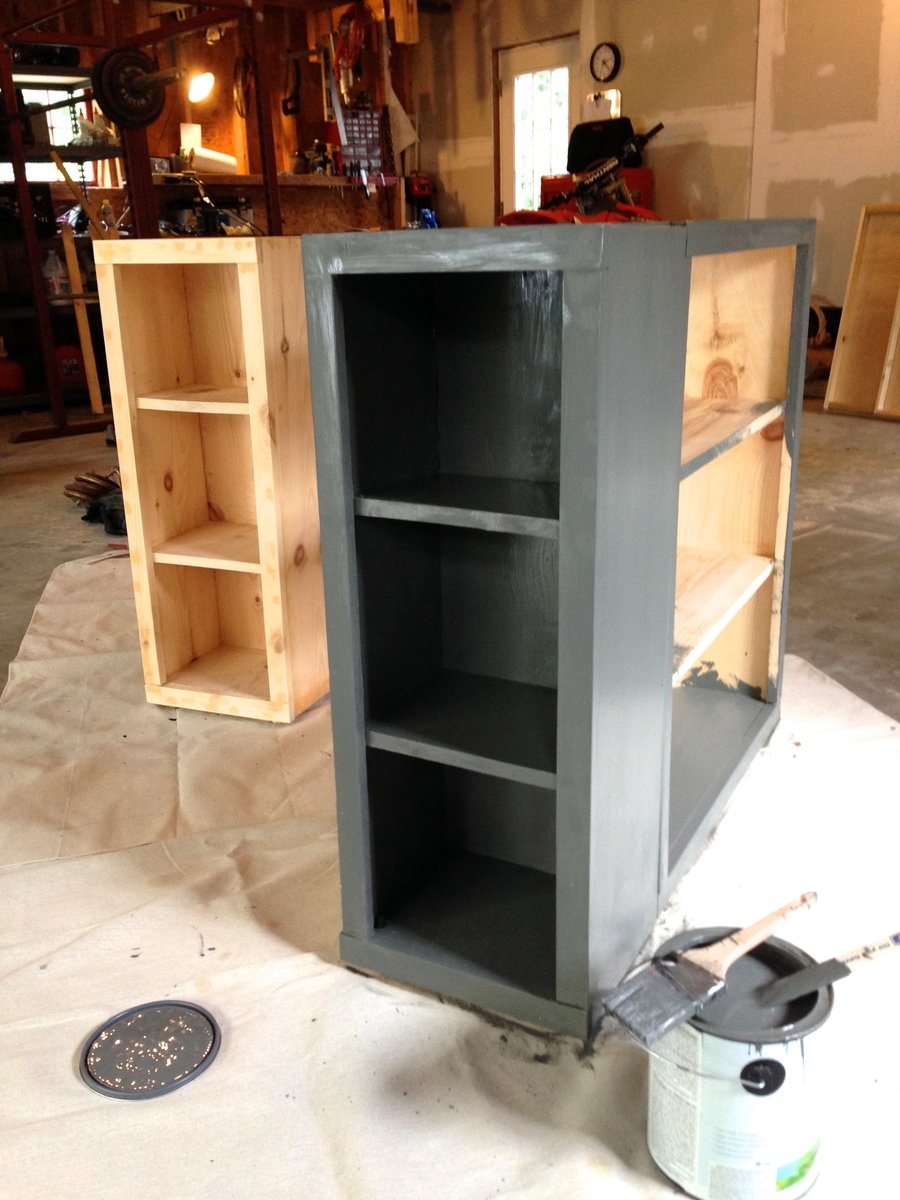
Hubby wanted something attached to the back of the bench to protect the wall behind from spills. He also wanted a smooth shelf surface where nothing could get stuck in small spaces. The shelves also needed to be able to take weight and being a newbie, I didn’t want to mess with the measurements too much. After assembling the bench (including the back supports), I purchased a large 3/8” sheet of plywood and had it cut into 4 pieces – two for the back spaces and two for the shelves and then used screws and glue to attach those to the piece. The one thing I should’ve done was purchased 1 ¼” screws for attaching the plywood to the shelves, because I overlooked it and they went straight through to the underside of the shelves and had to have someone cut the screw ends off, which was no small feat.
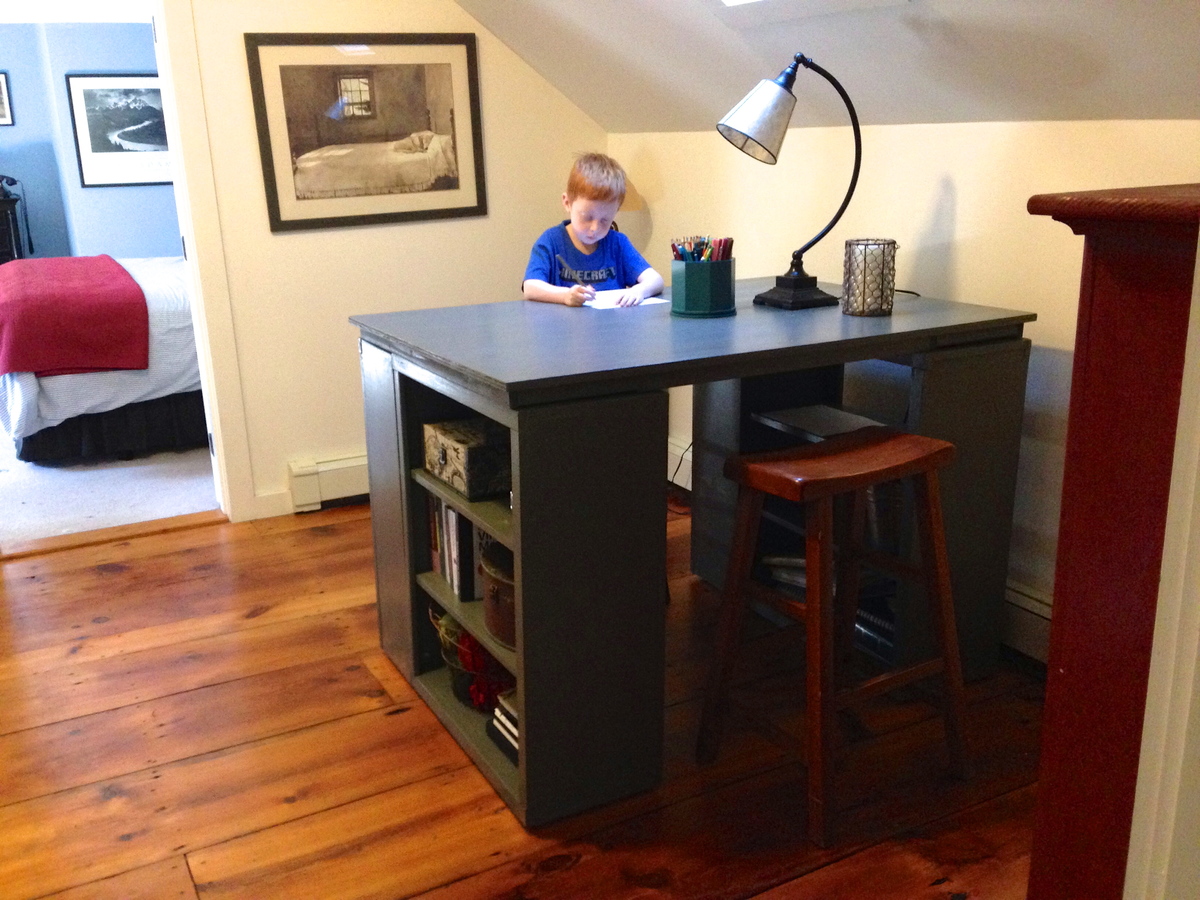
But overall, I was very pleased with the way it turned out, especially for a first-time project.


Comments
The Quaint Cottage
Mon, 09/19/2011 - 06:52
Looks great. I'm getting
Looks great. I'm getting ready to build one for my room. You did a wonderful job on yours.
SingleMomThriving
Mon, 01/23/2012 - 16:43
I've been looking for inspiration
I have an area in my bedroom that screams for a window seat and something to accommodate the stacks of books I'm reading. I love this.
nhoffer
Thu, 06/11/2015 - 20:20
Do you have more pics of the
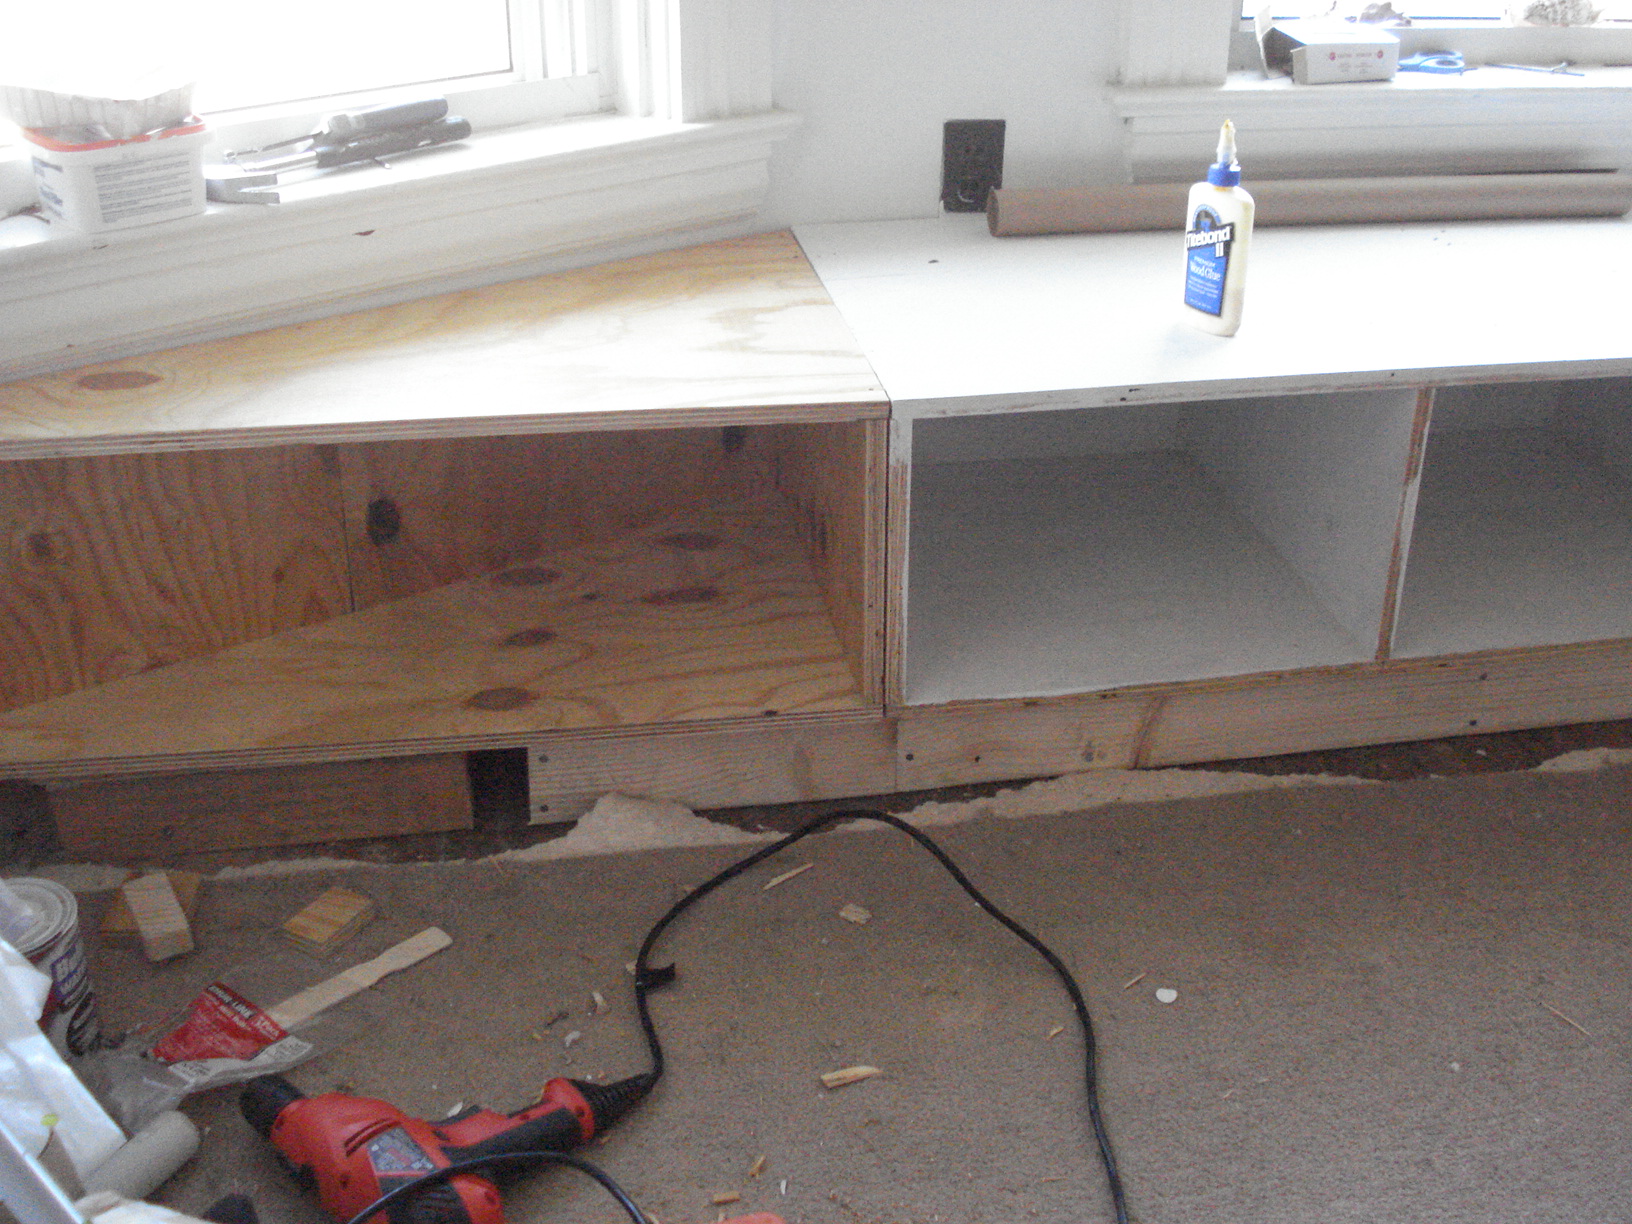
Do you have more pics of the finished product...especially where it meets the angled wall? I don't have a table saw (yet) so I'm trying to figure out if I can handle this without one. :(