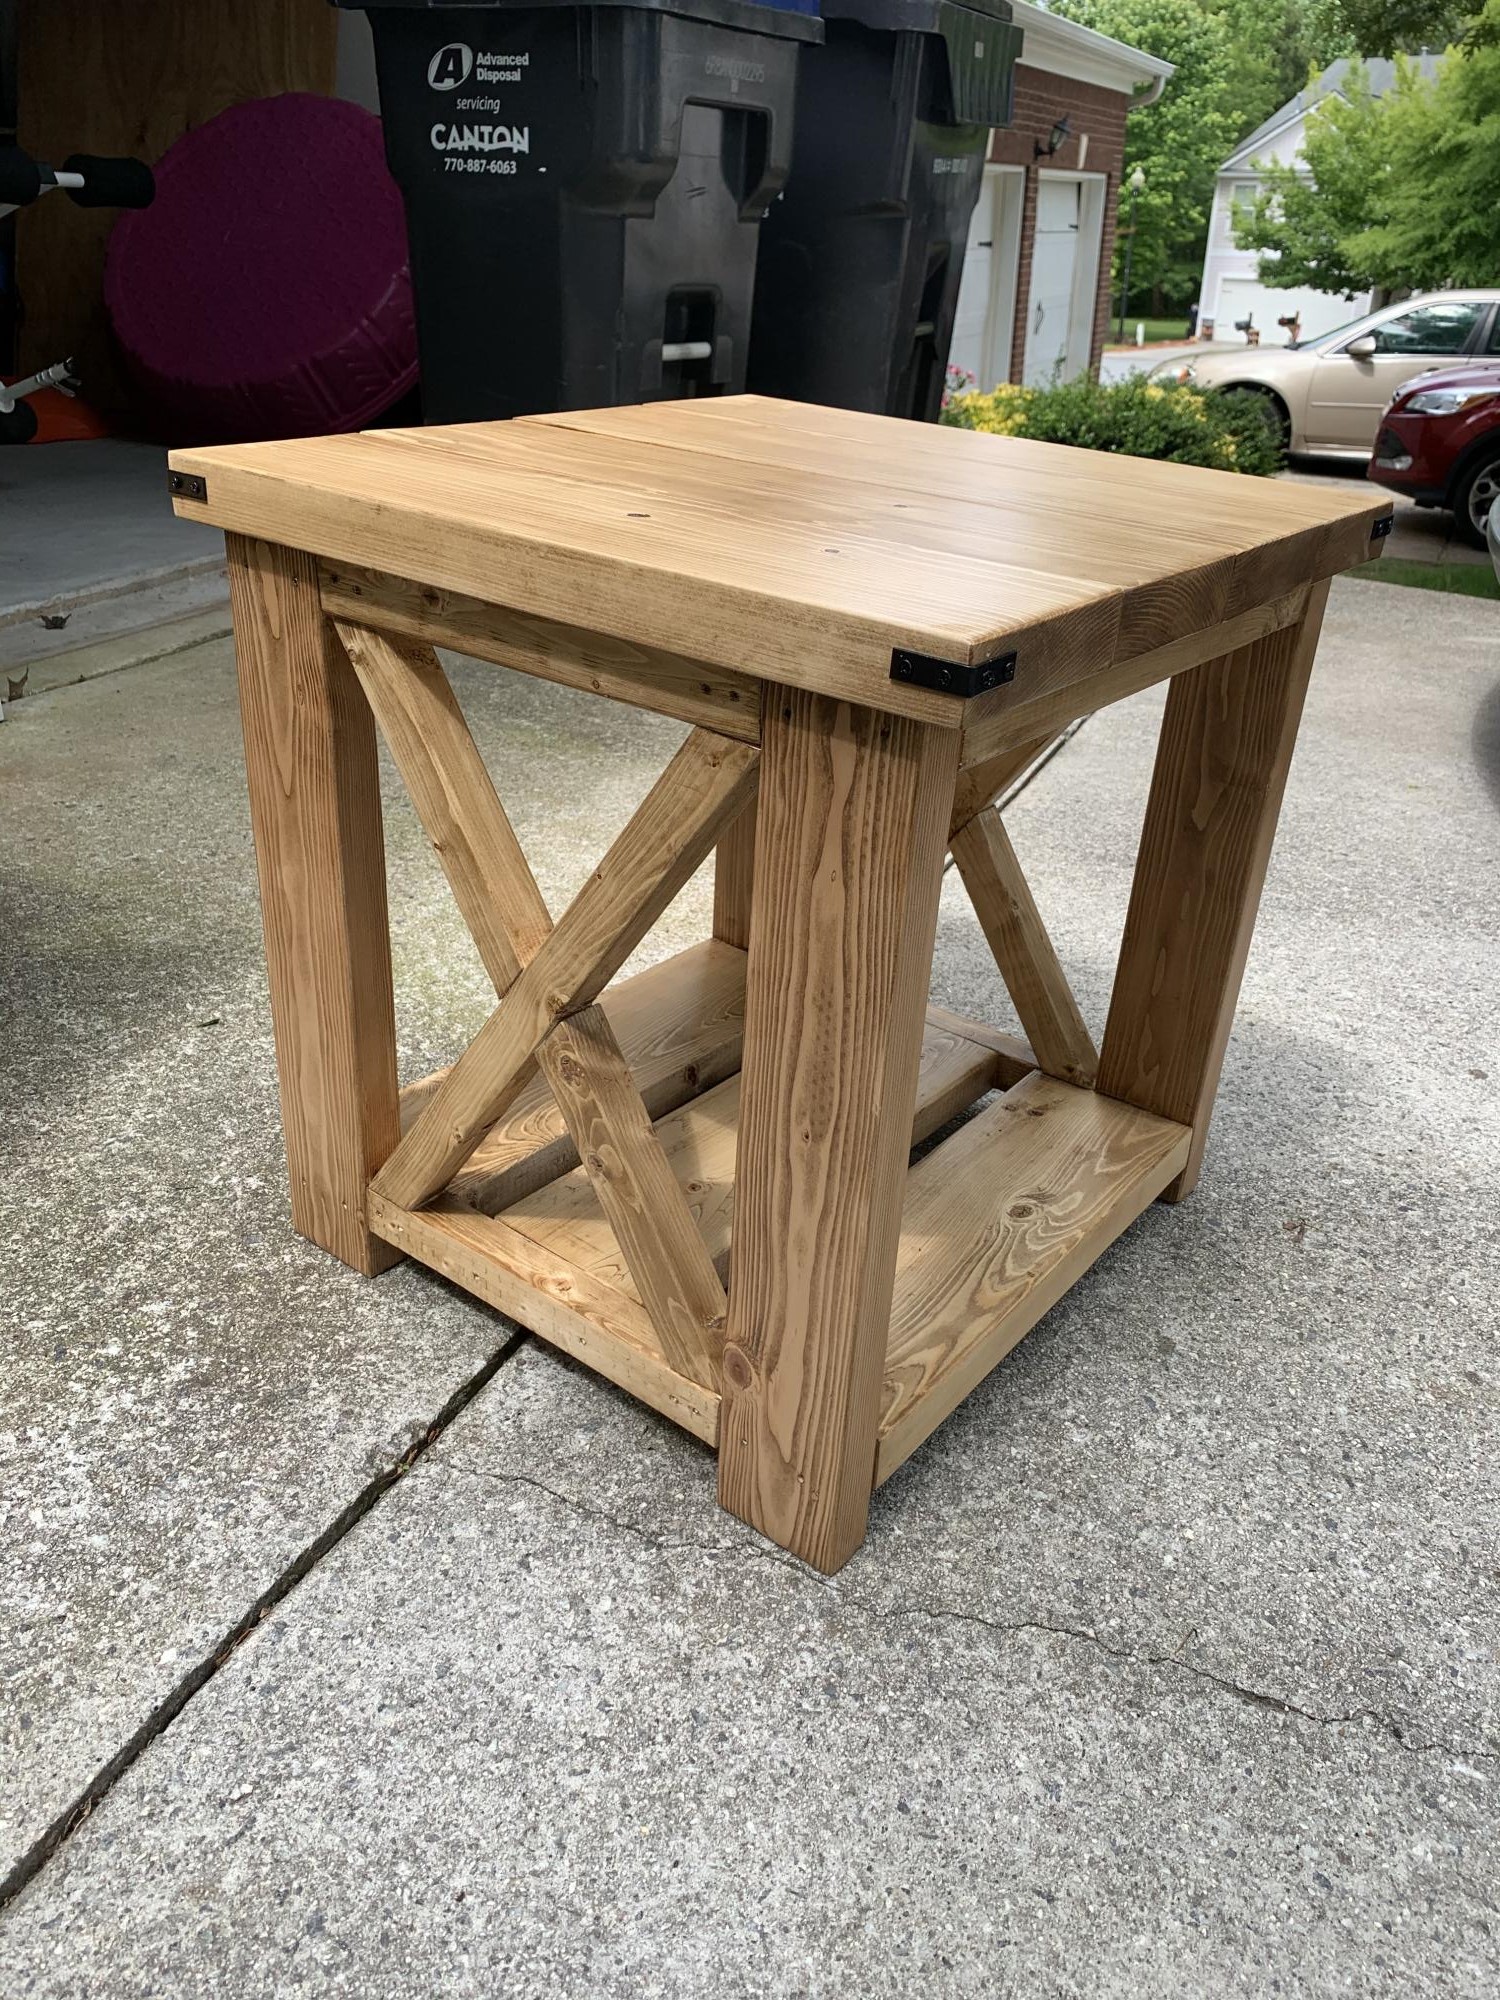
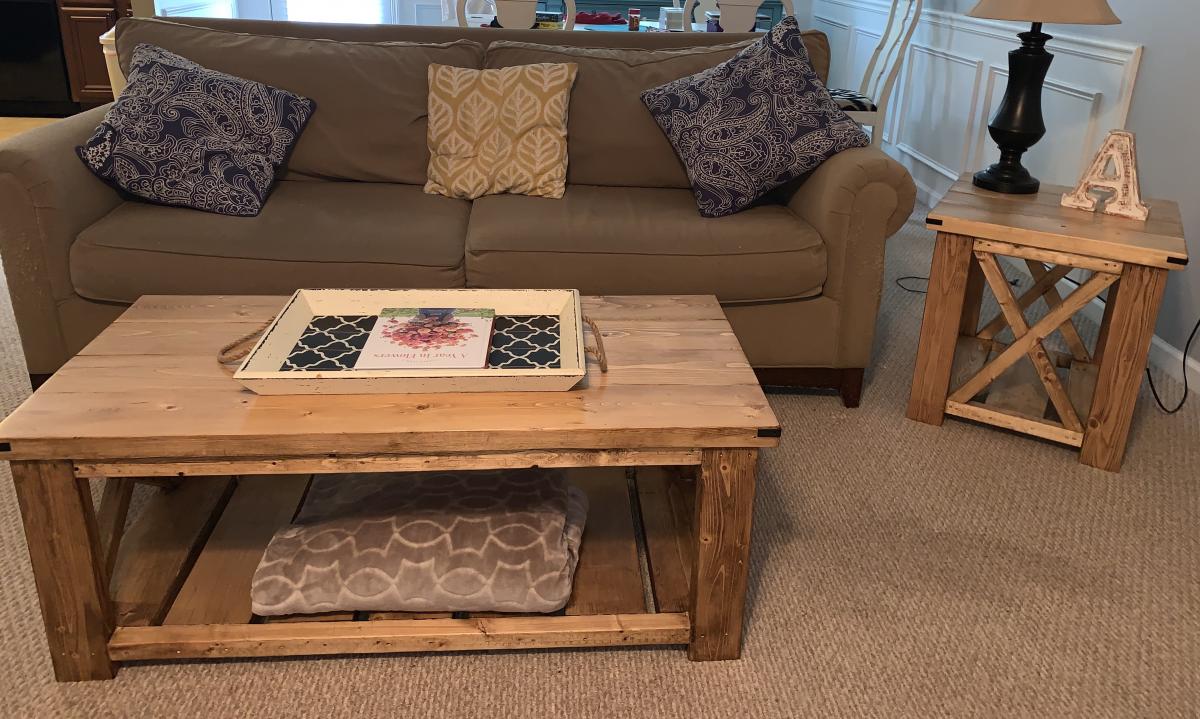
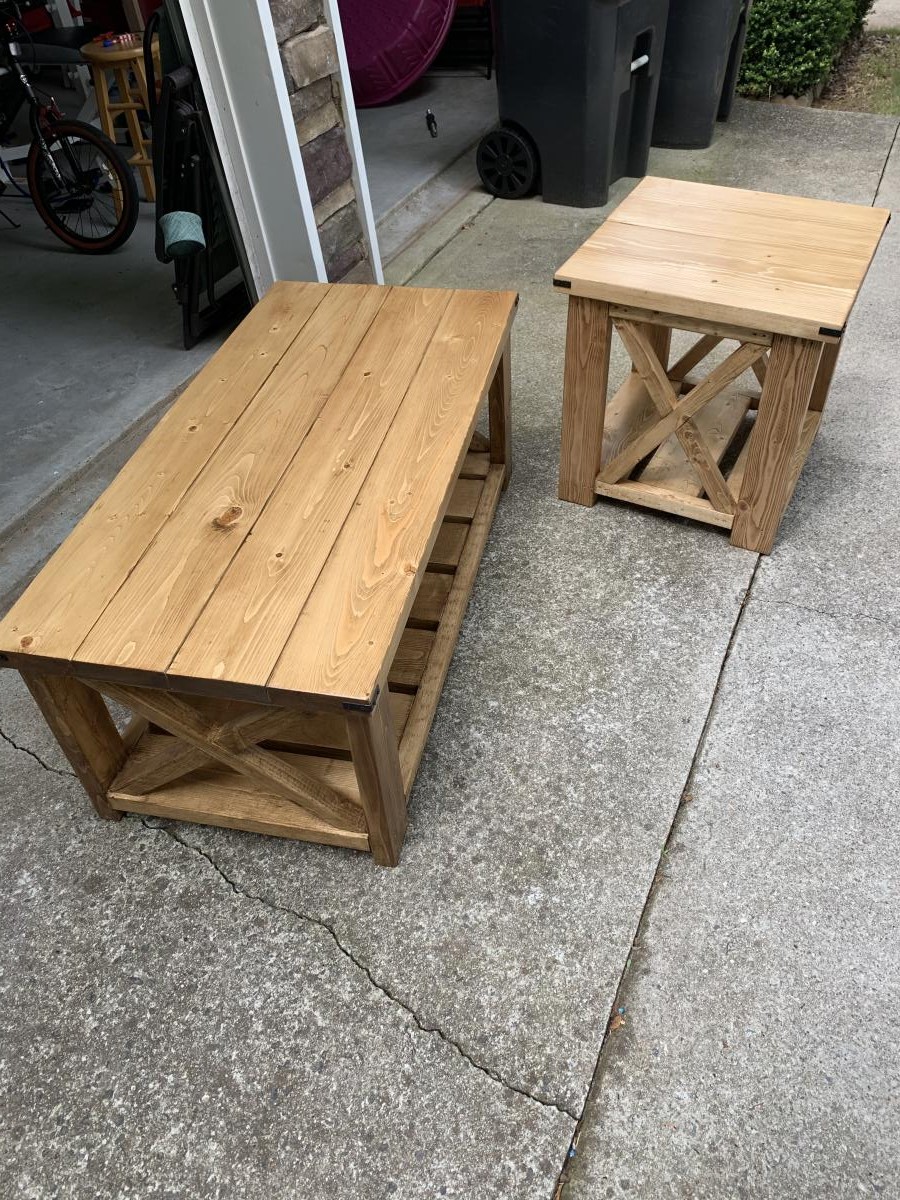
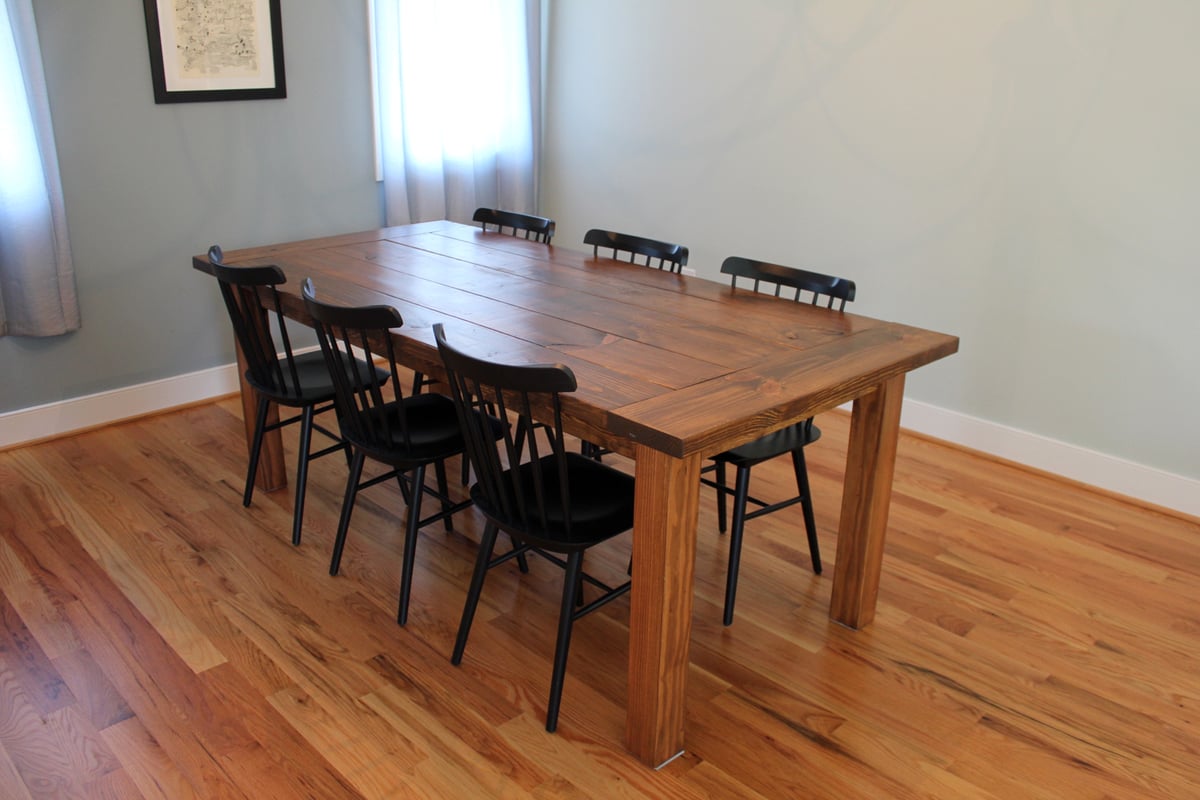
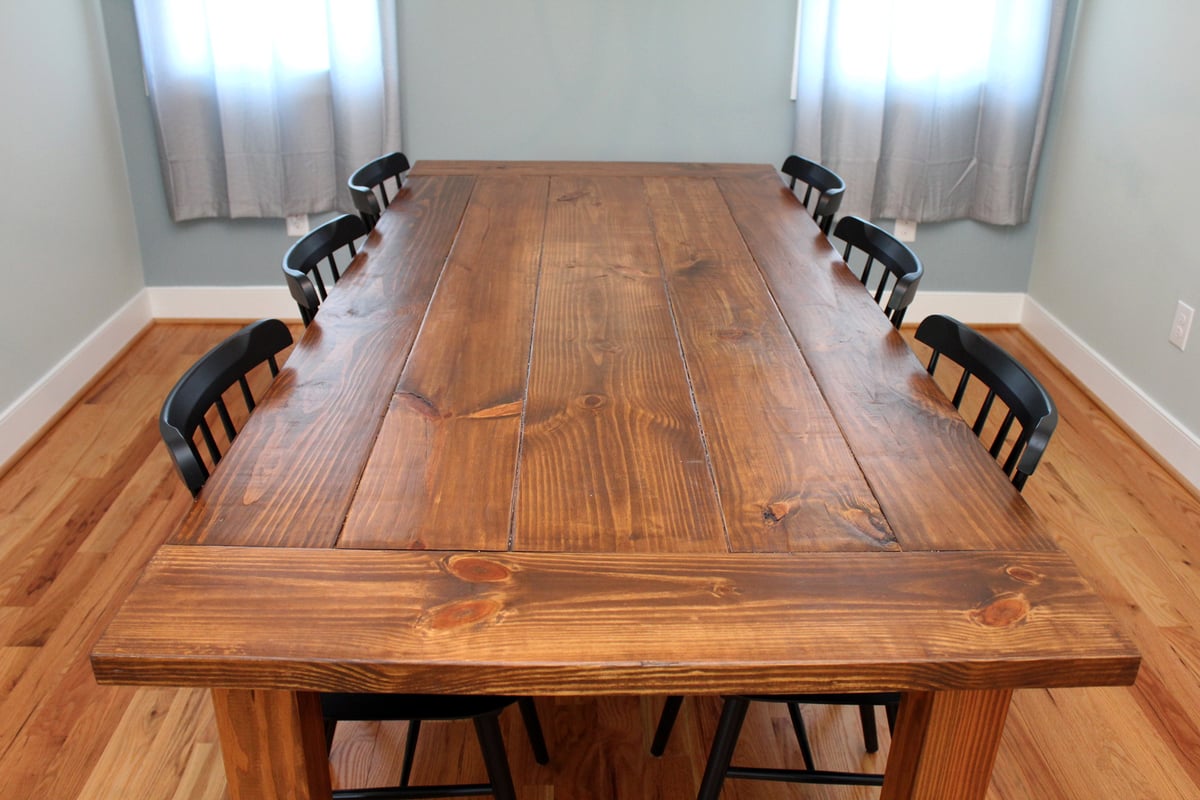
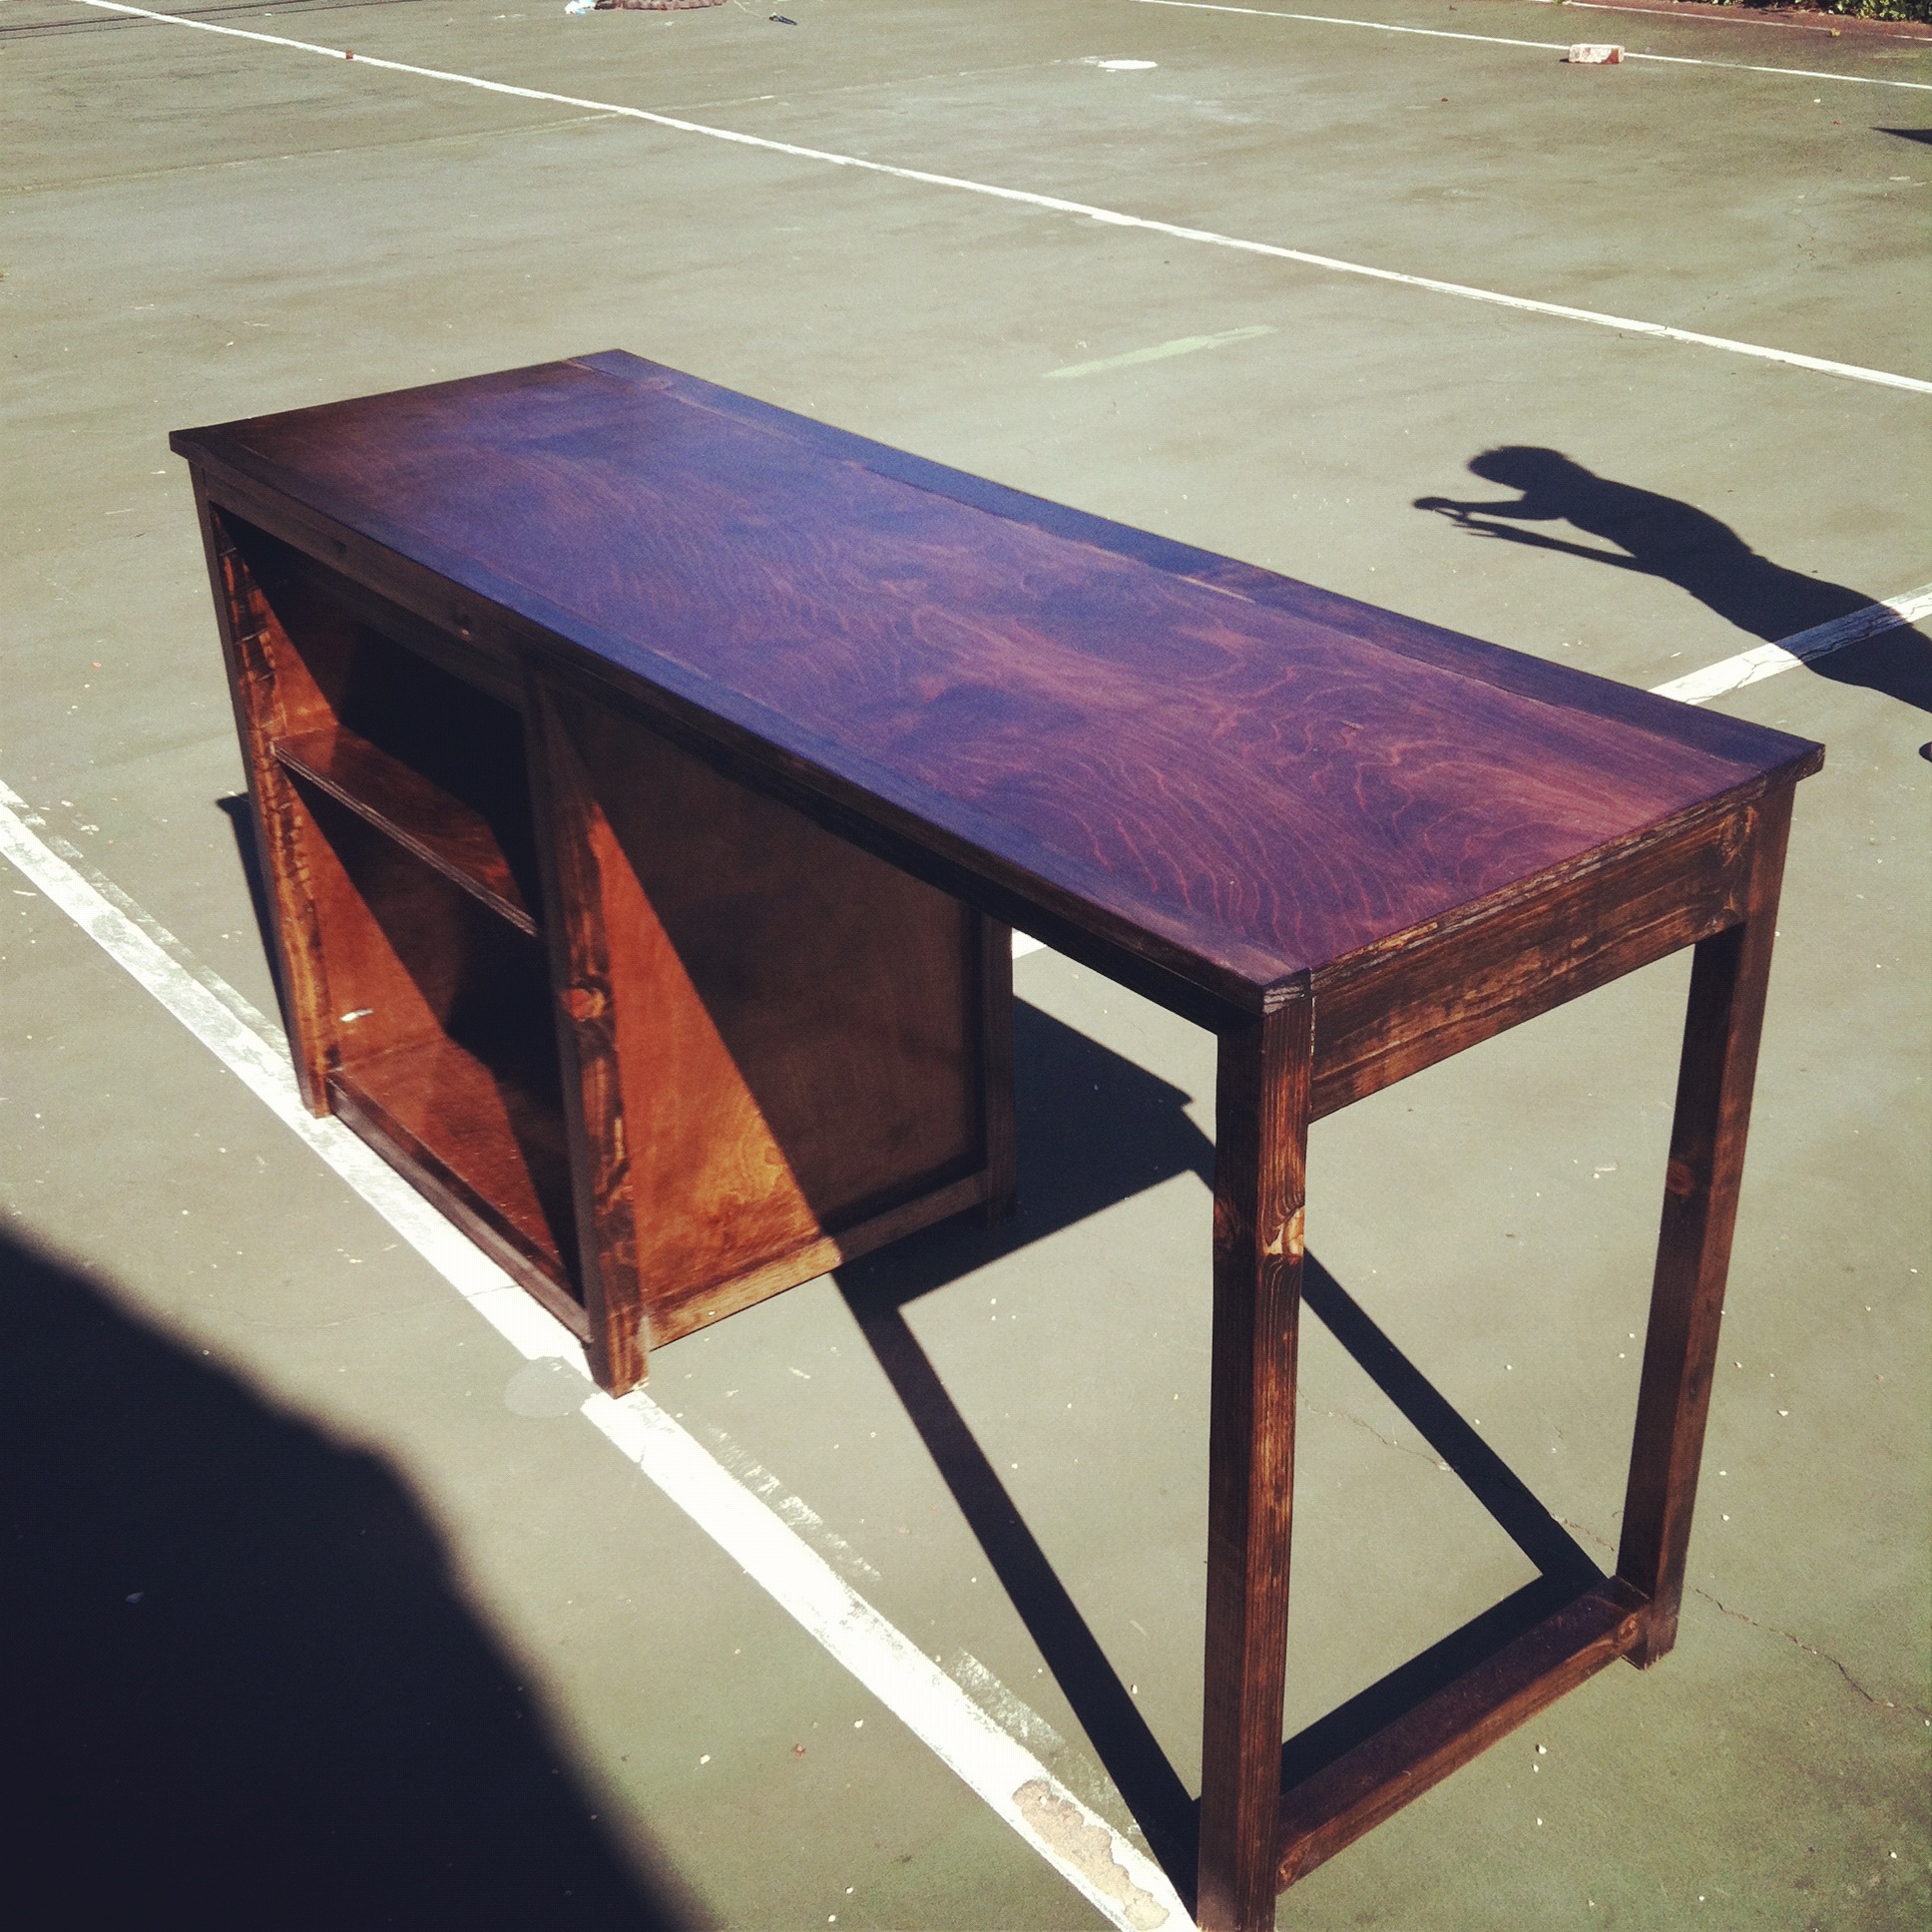
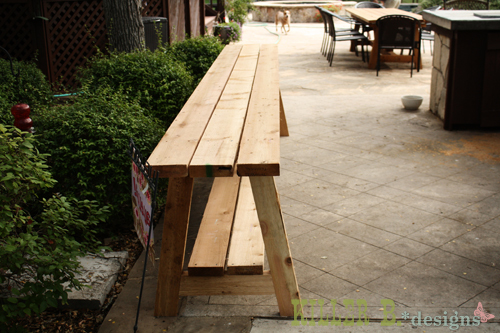
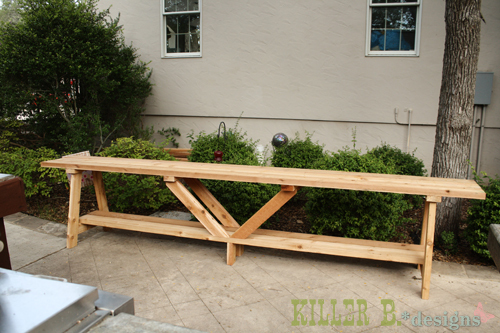
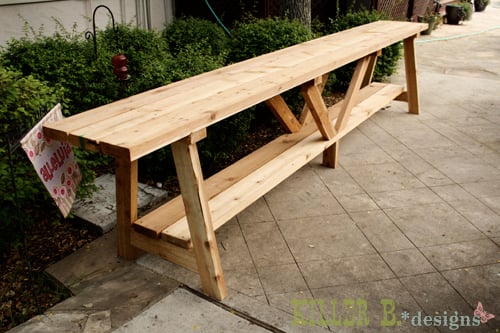
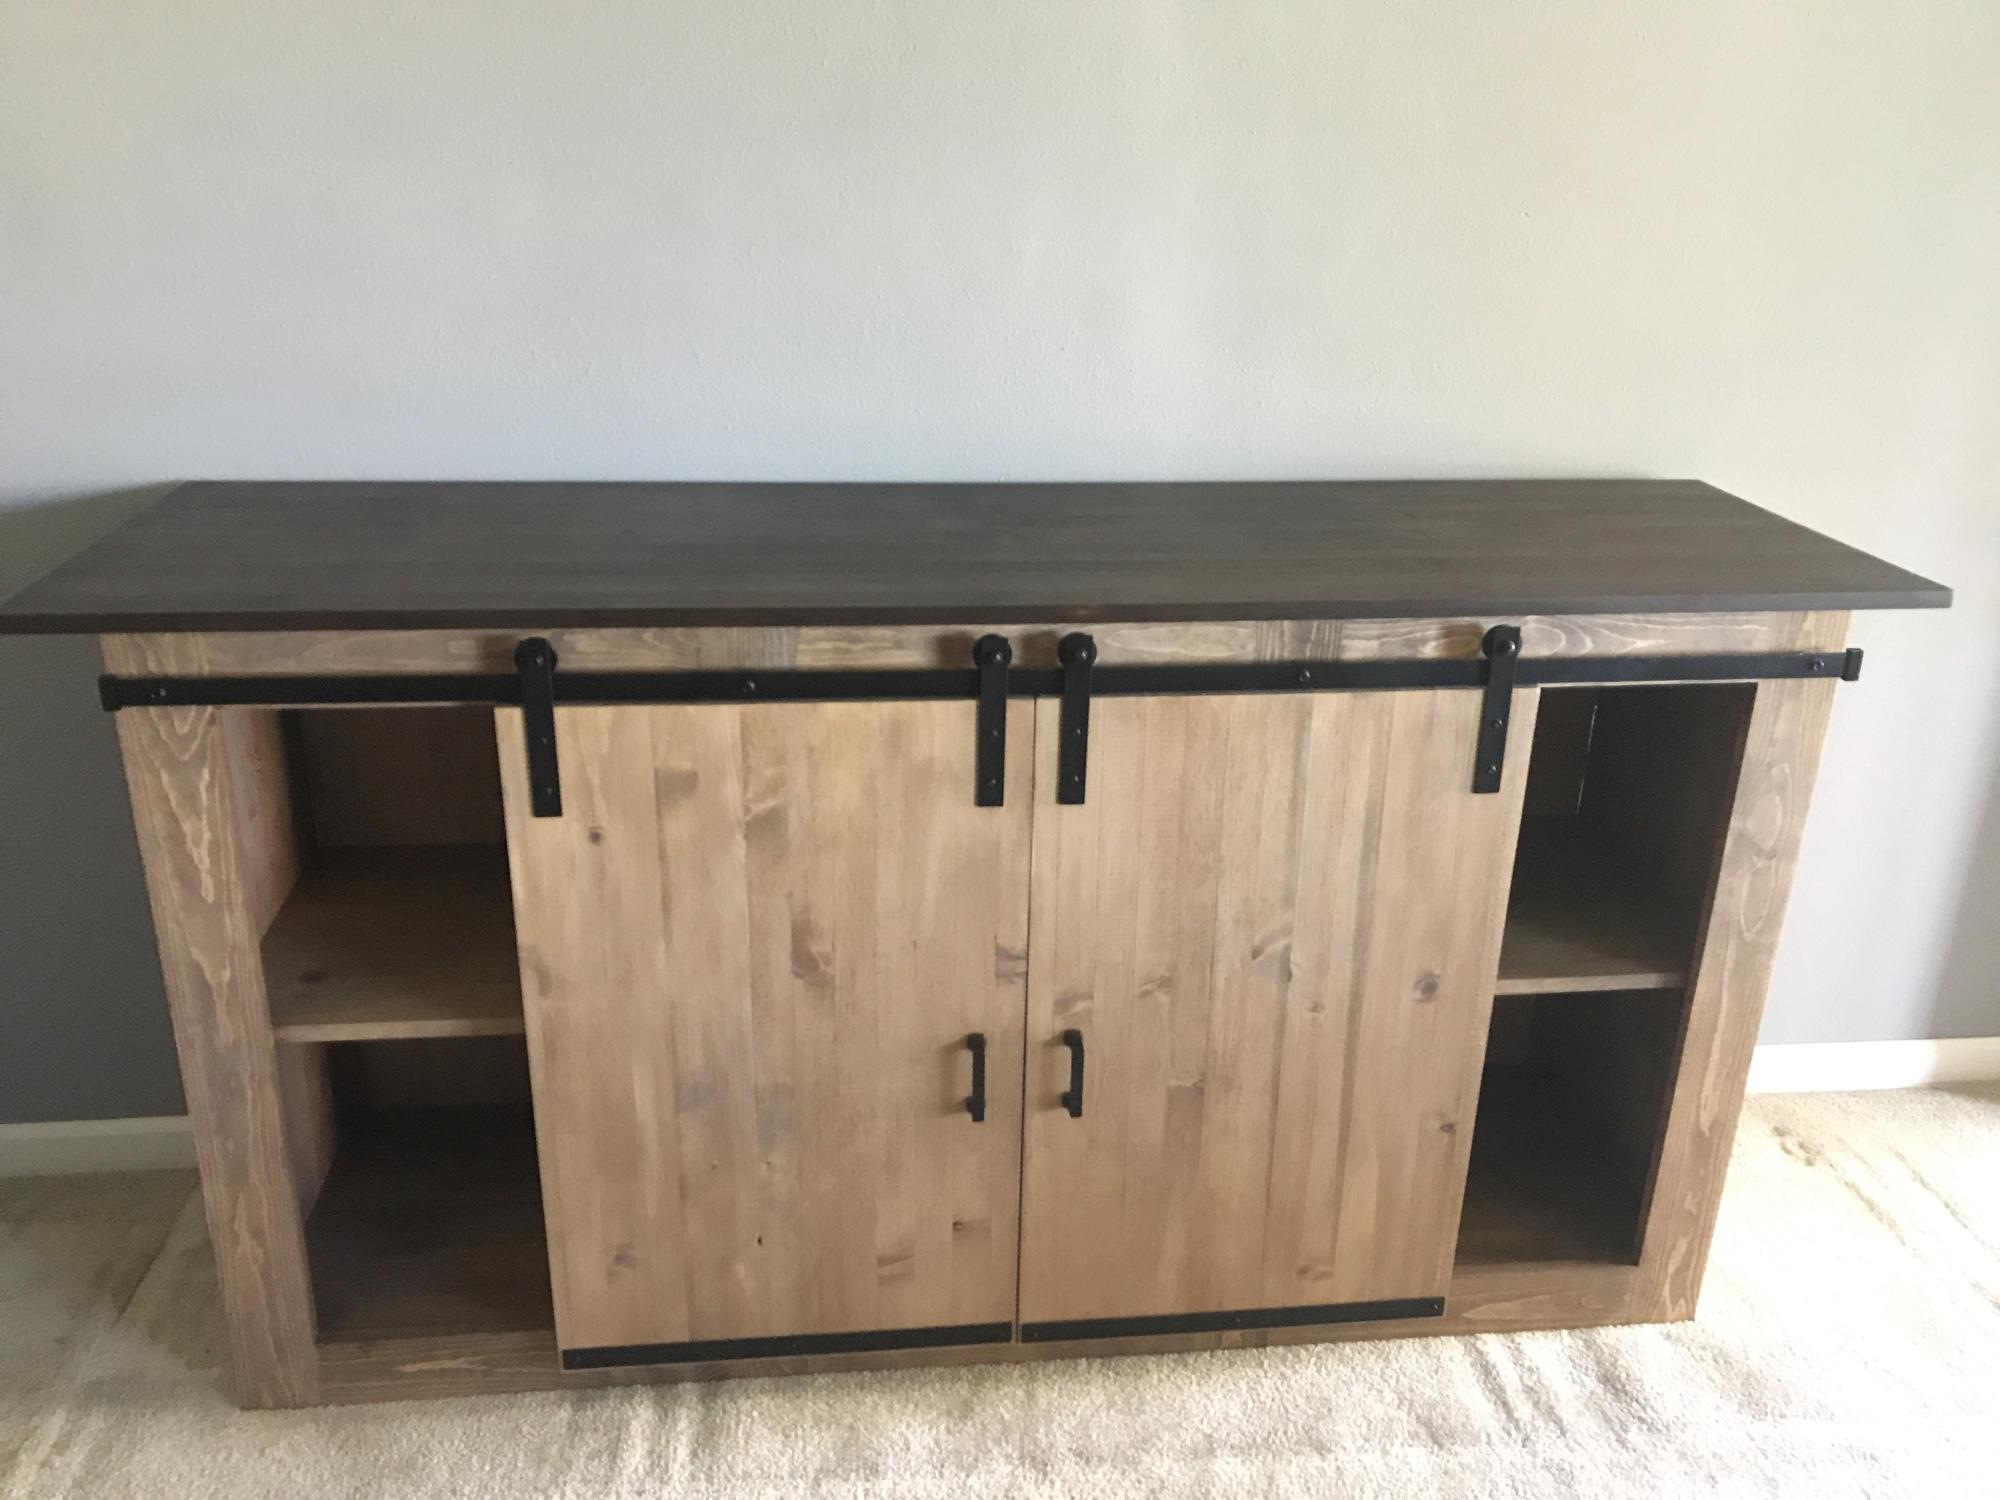
"Tryde" coffee table - beautiful
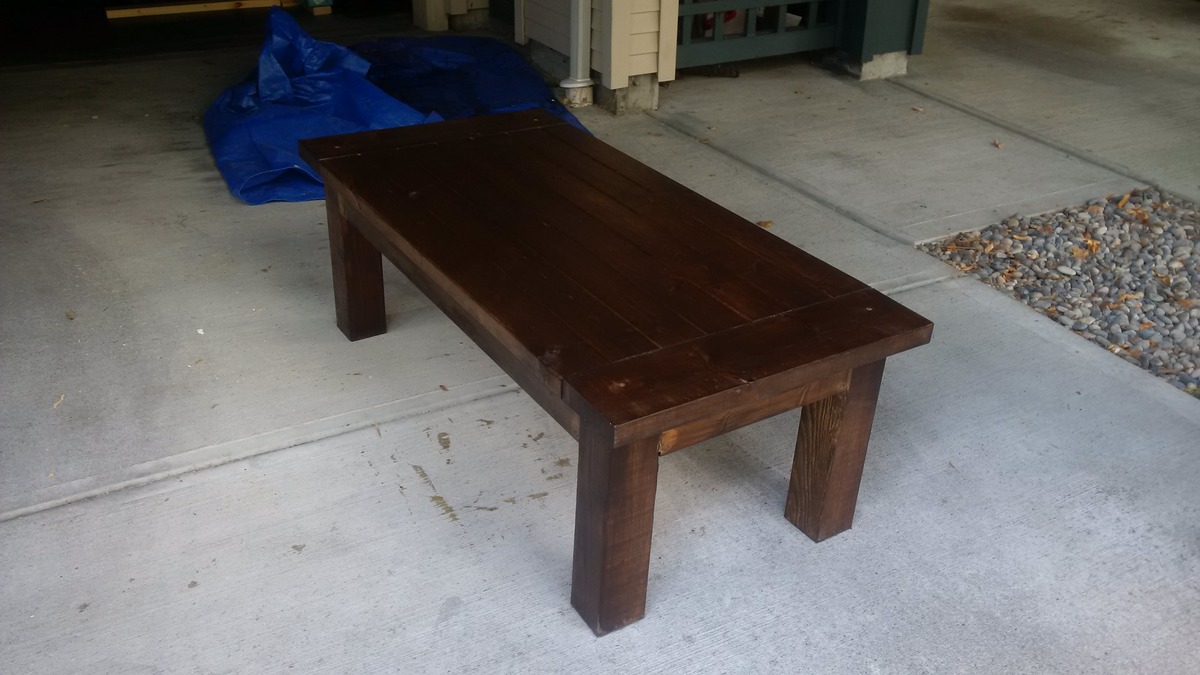
Turned out looking amazing. My family loves it. Thank you for sharing these design plans!
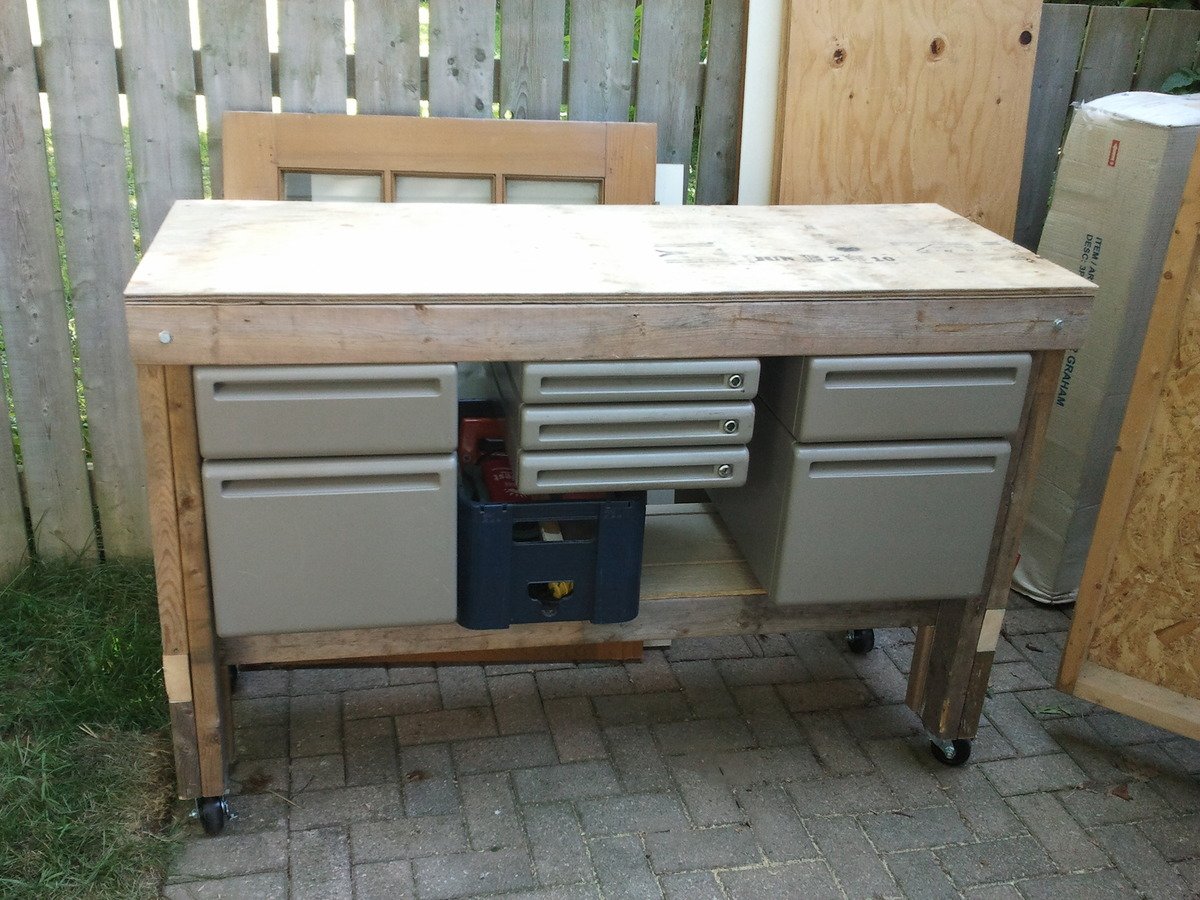
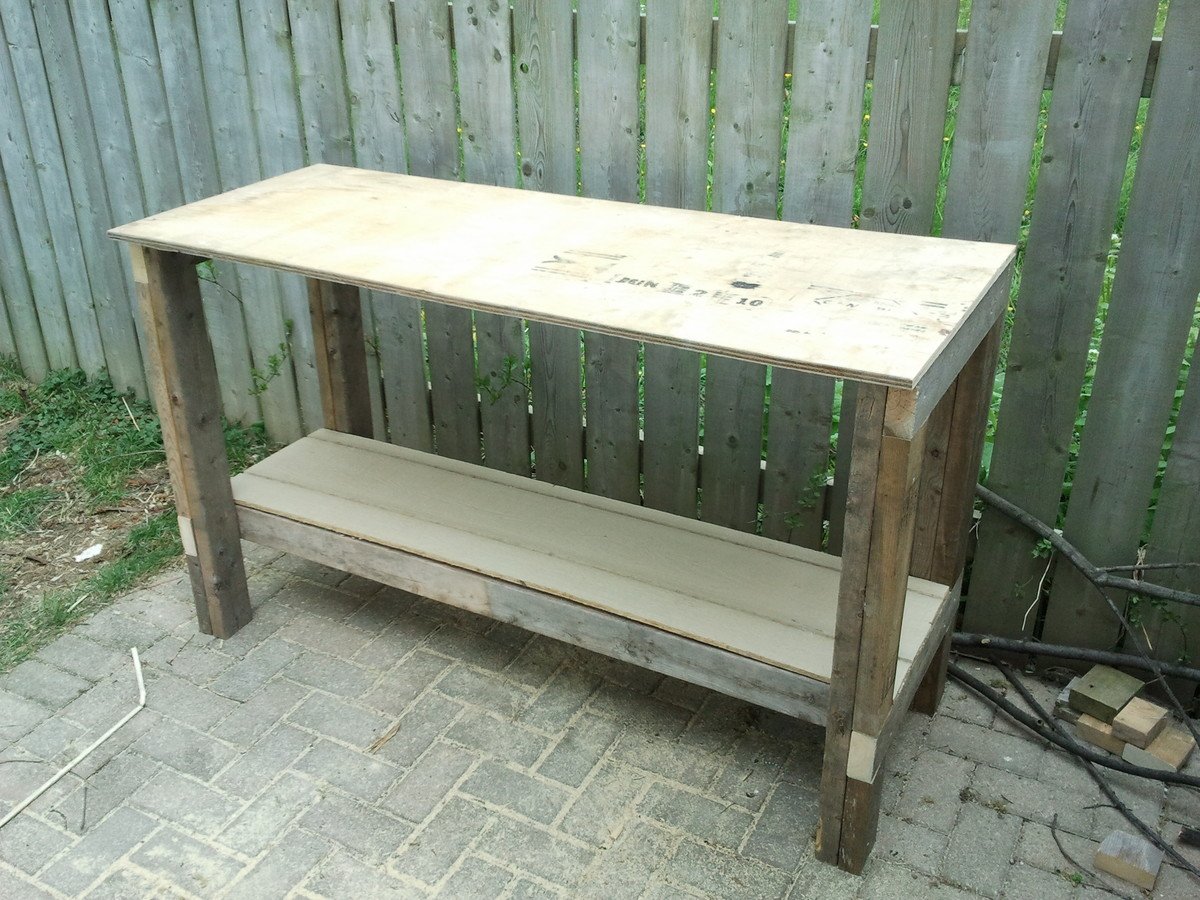
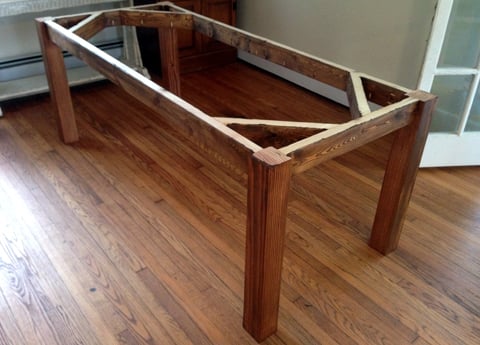
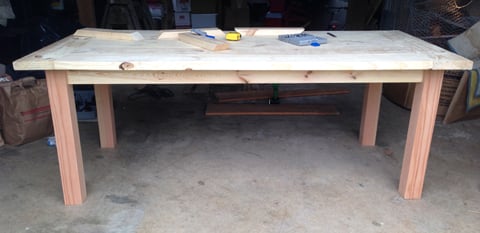
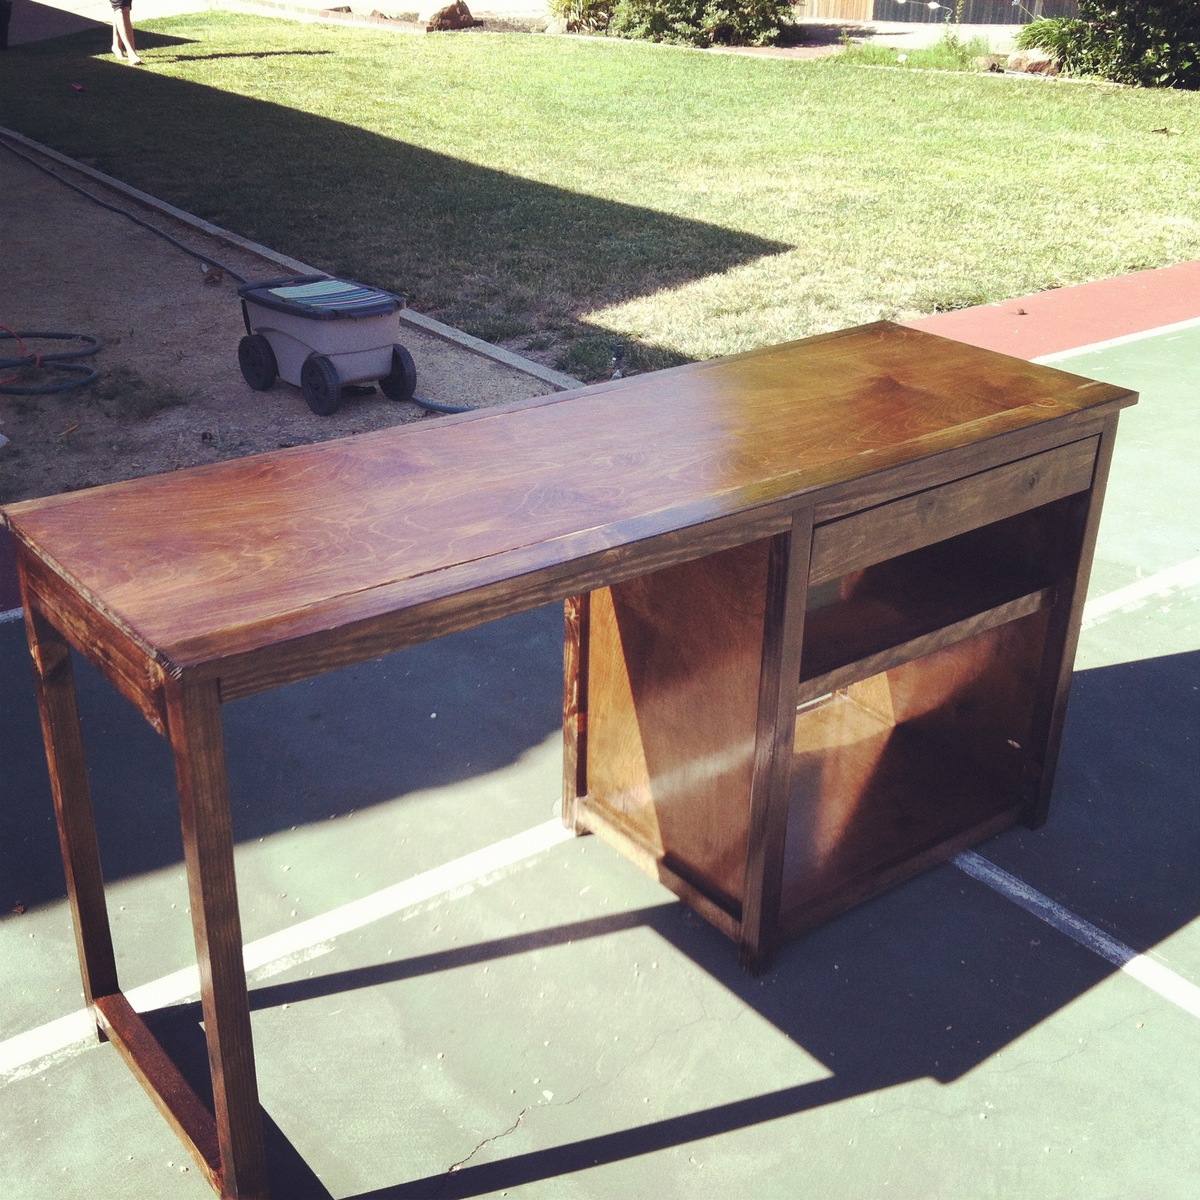
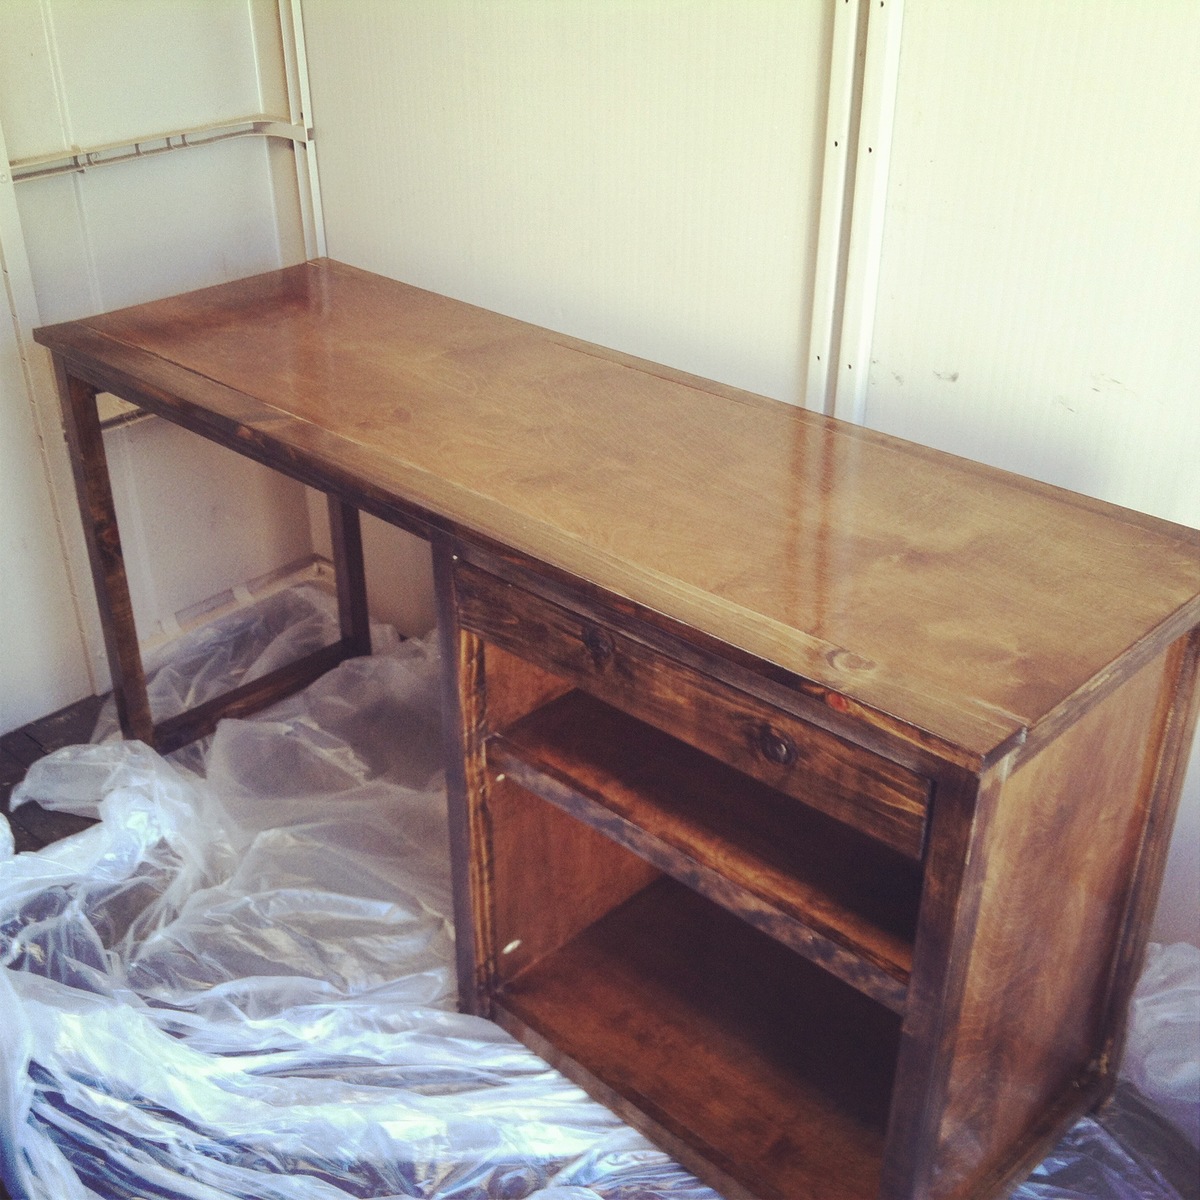
Built from Plan(s)
Estimated Cost
$50 for wood, and another $30 for the various stains, finishes, screws, etc; assuming you already have a pilot/countersink combo bit, paint brushes, etc.
Estimated Time Investment
Weekend Project (10-20 Hours)
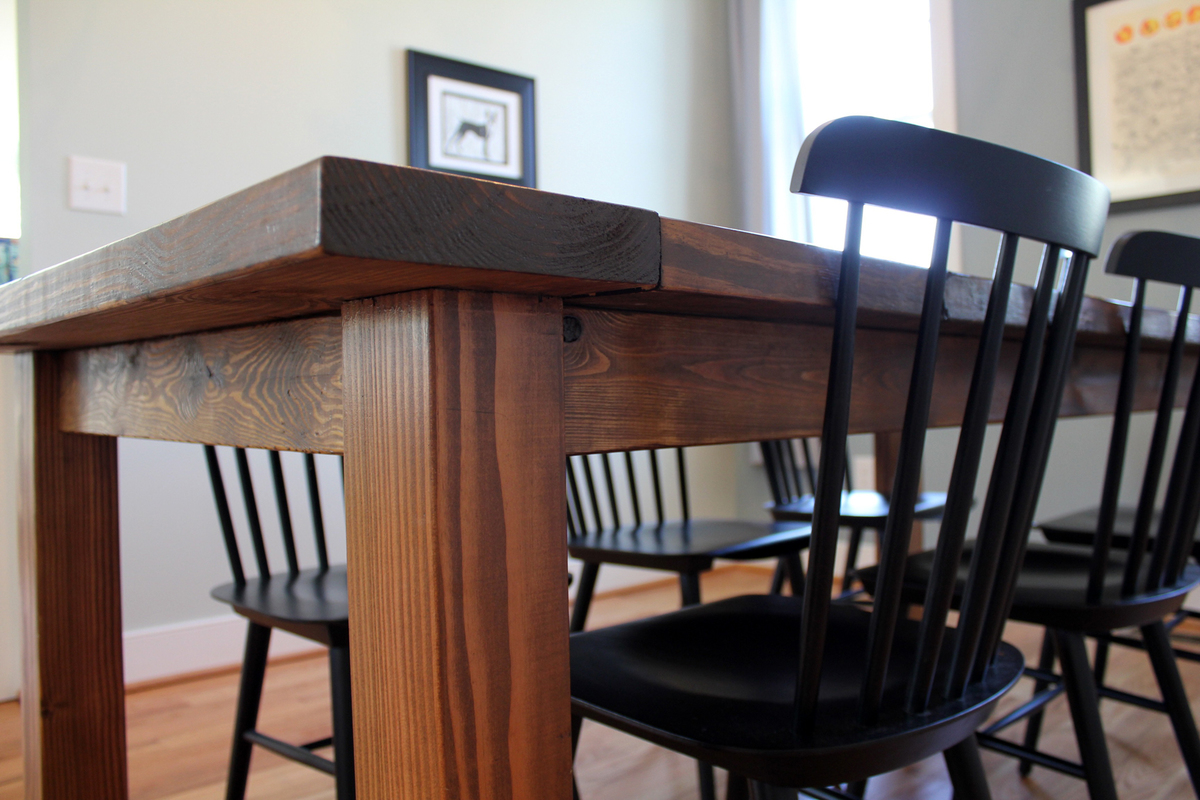
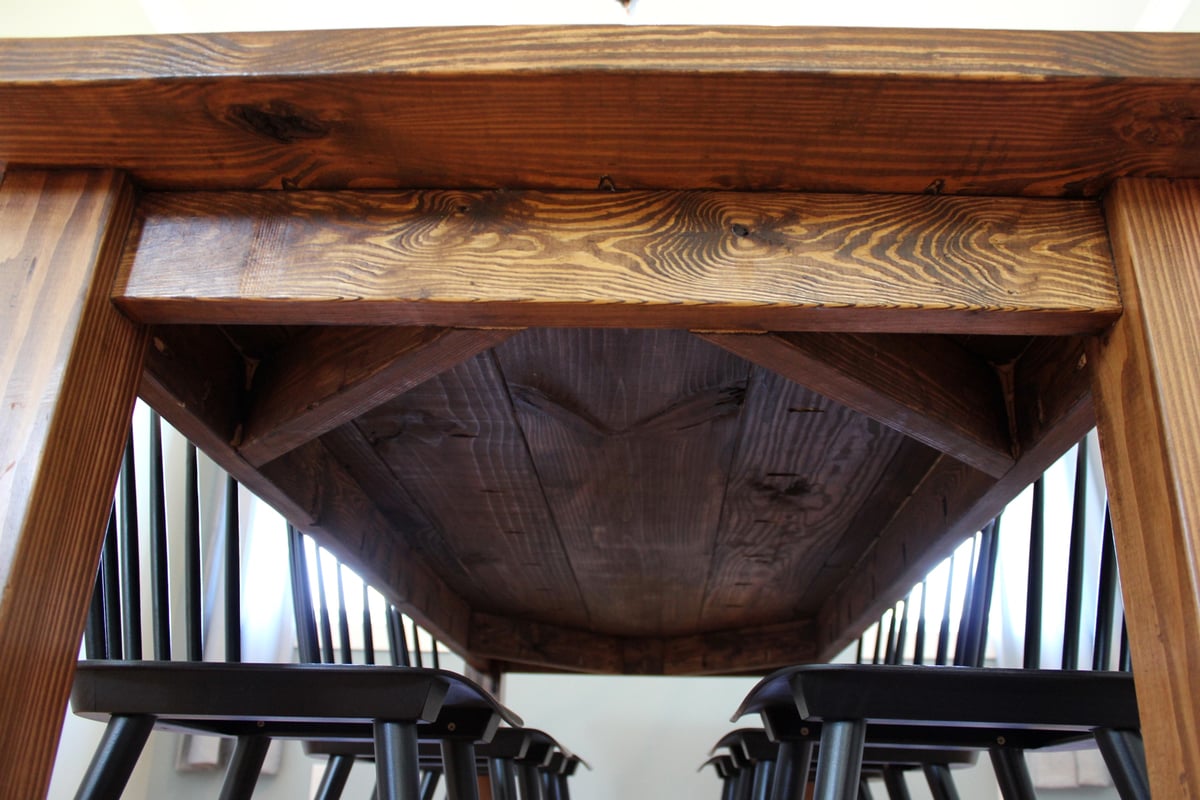
Finish Used
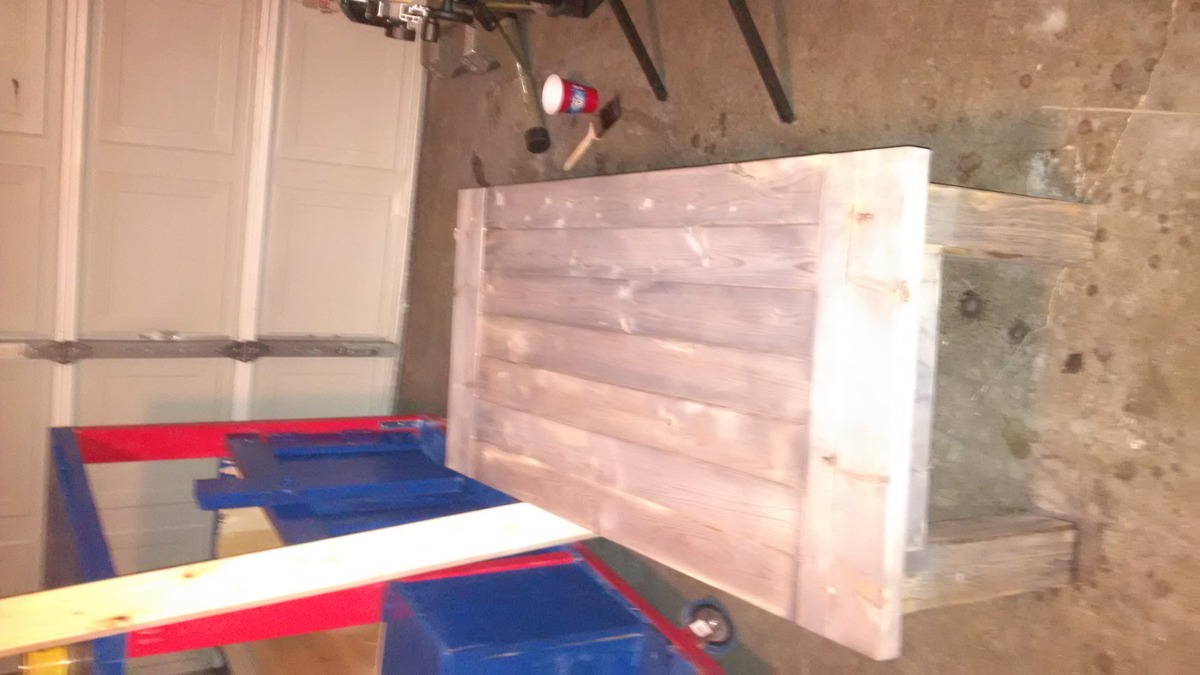
Green tea, vinegar/steel-wool mixture, walnut stain, poly finish.
Recommended Skill Level
Beginner