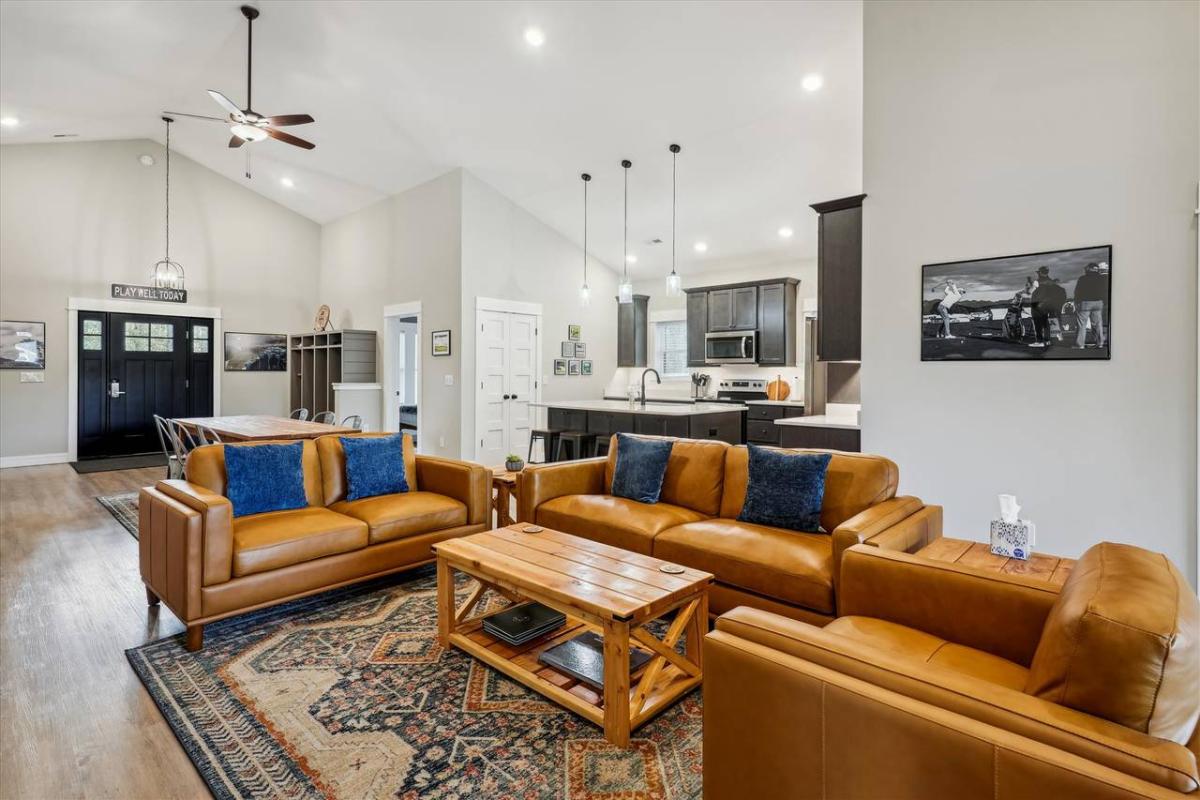
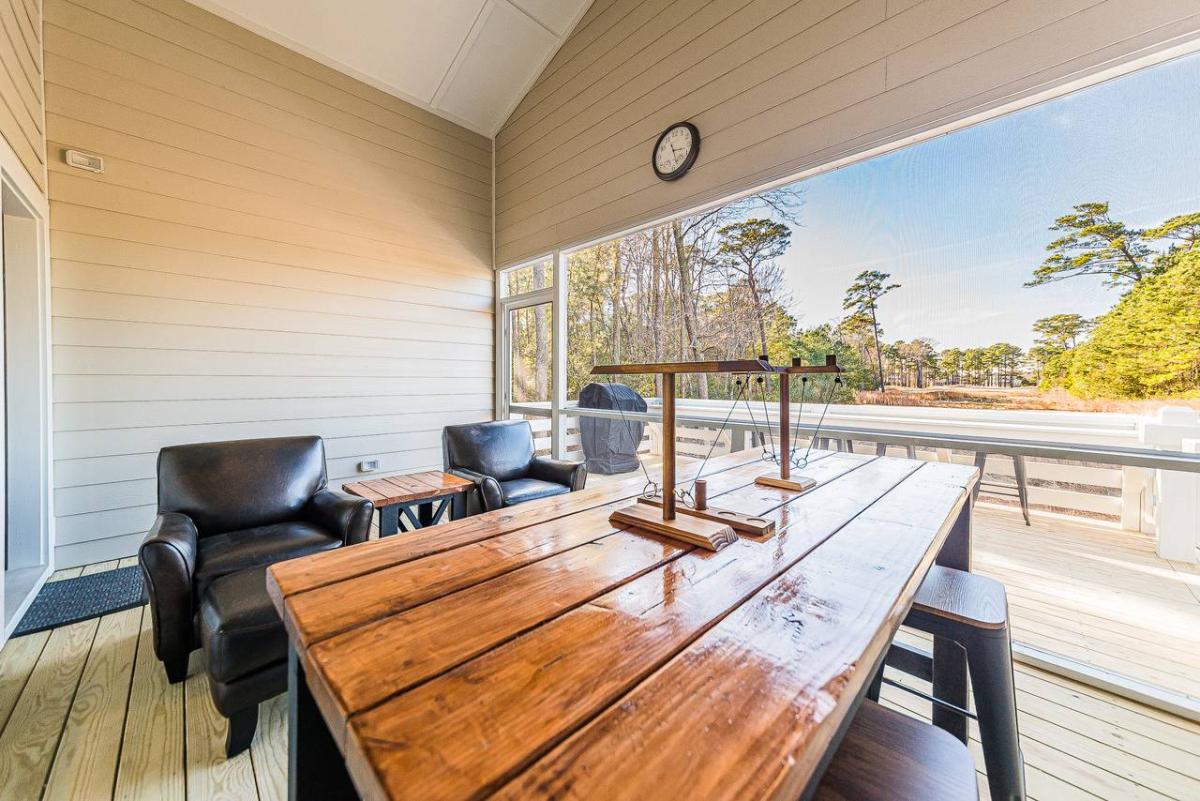
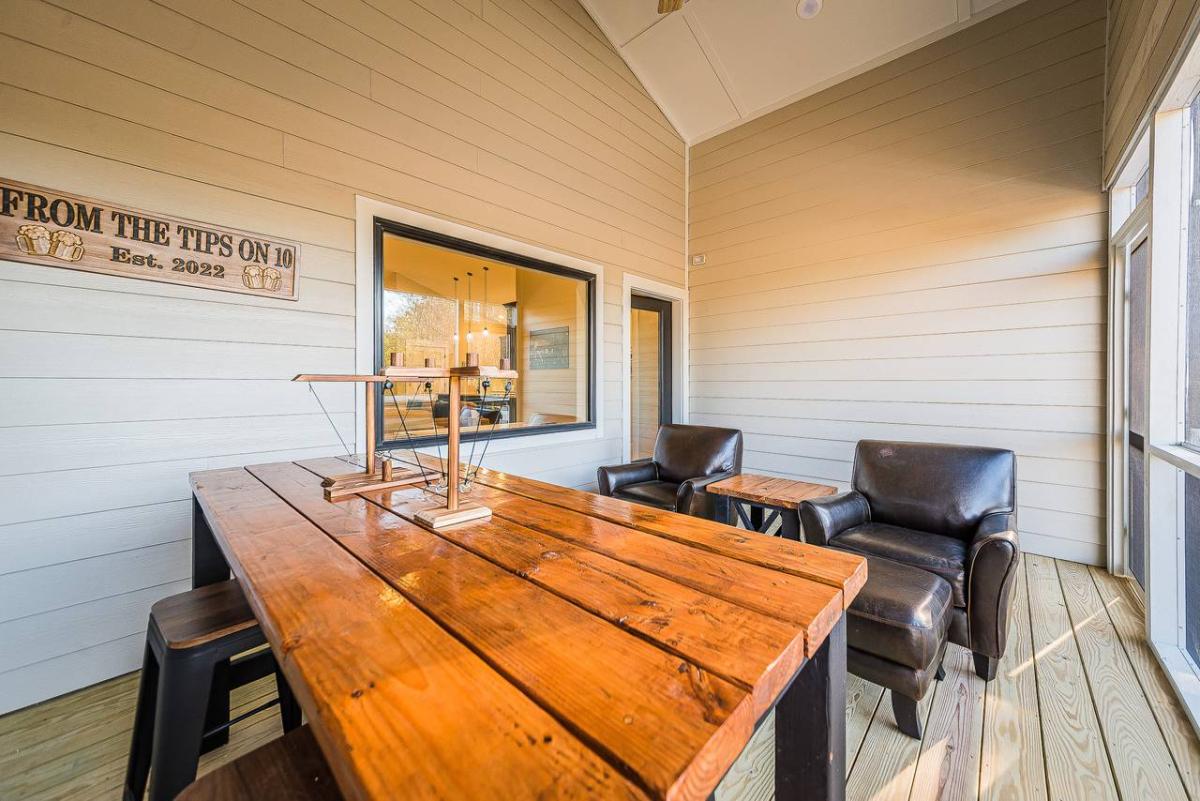
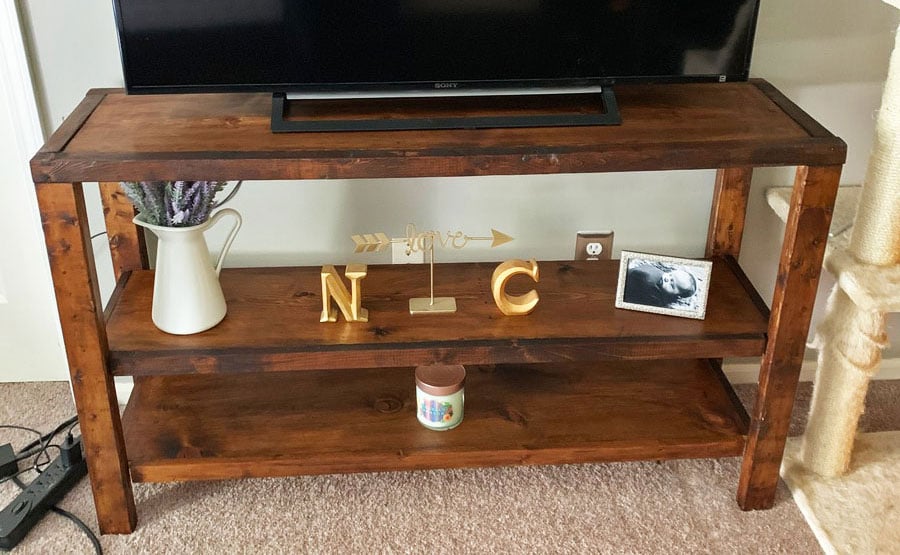
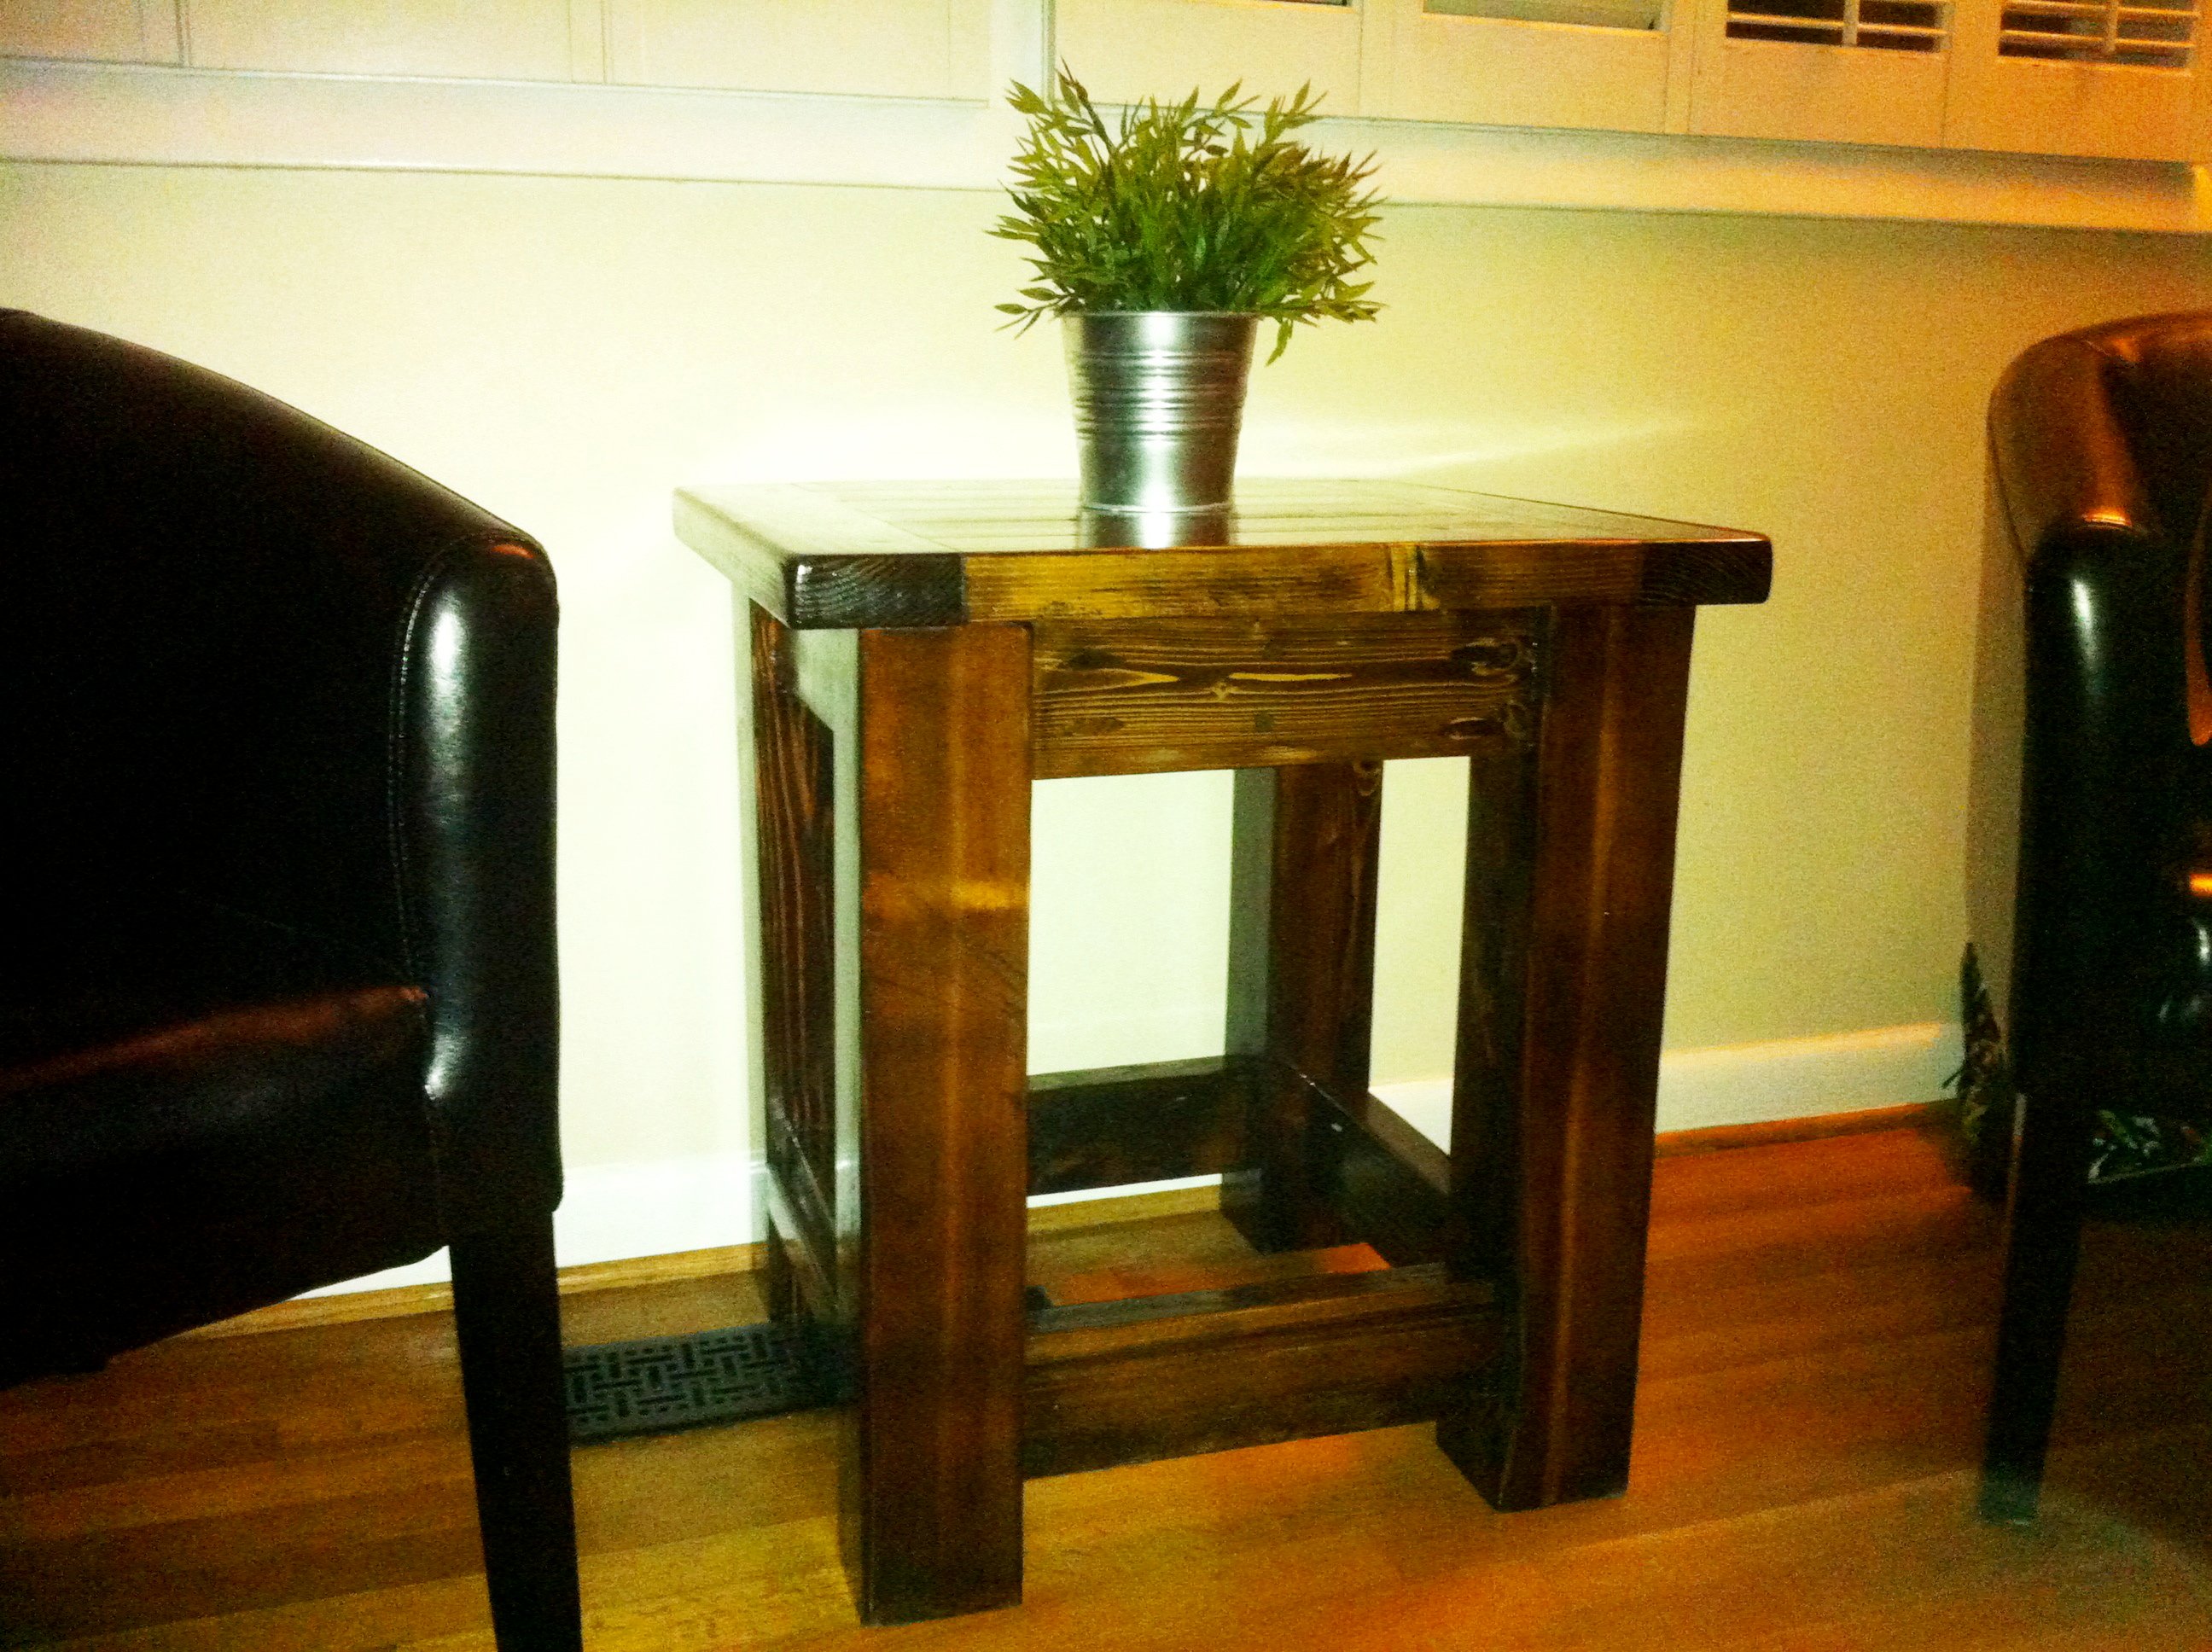
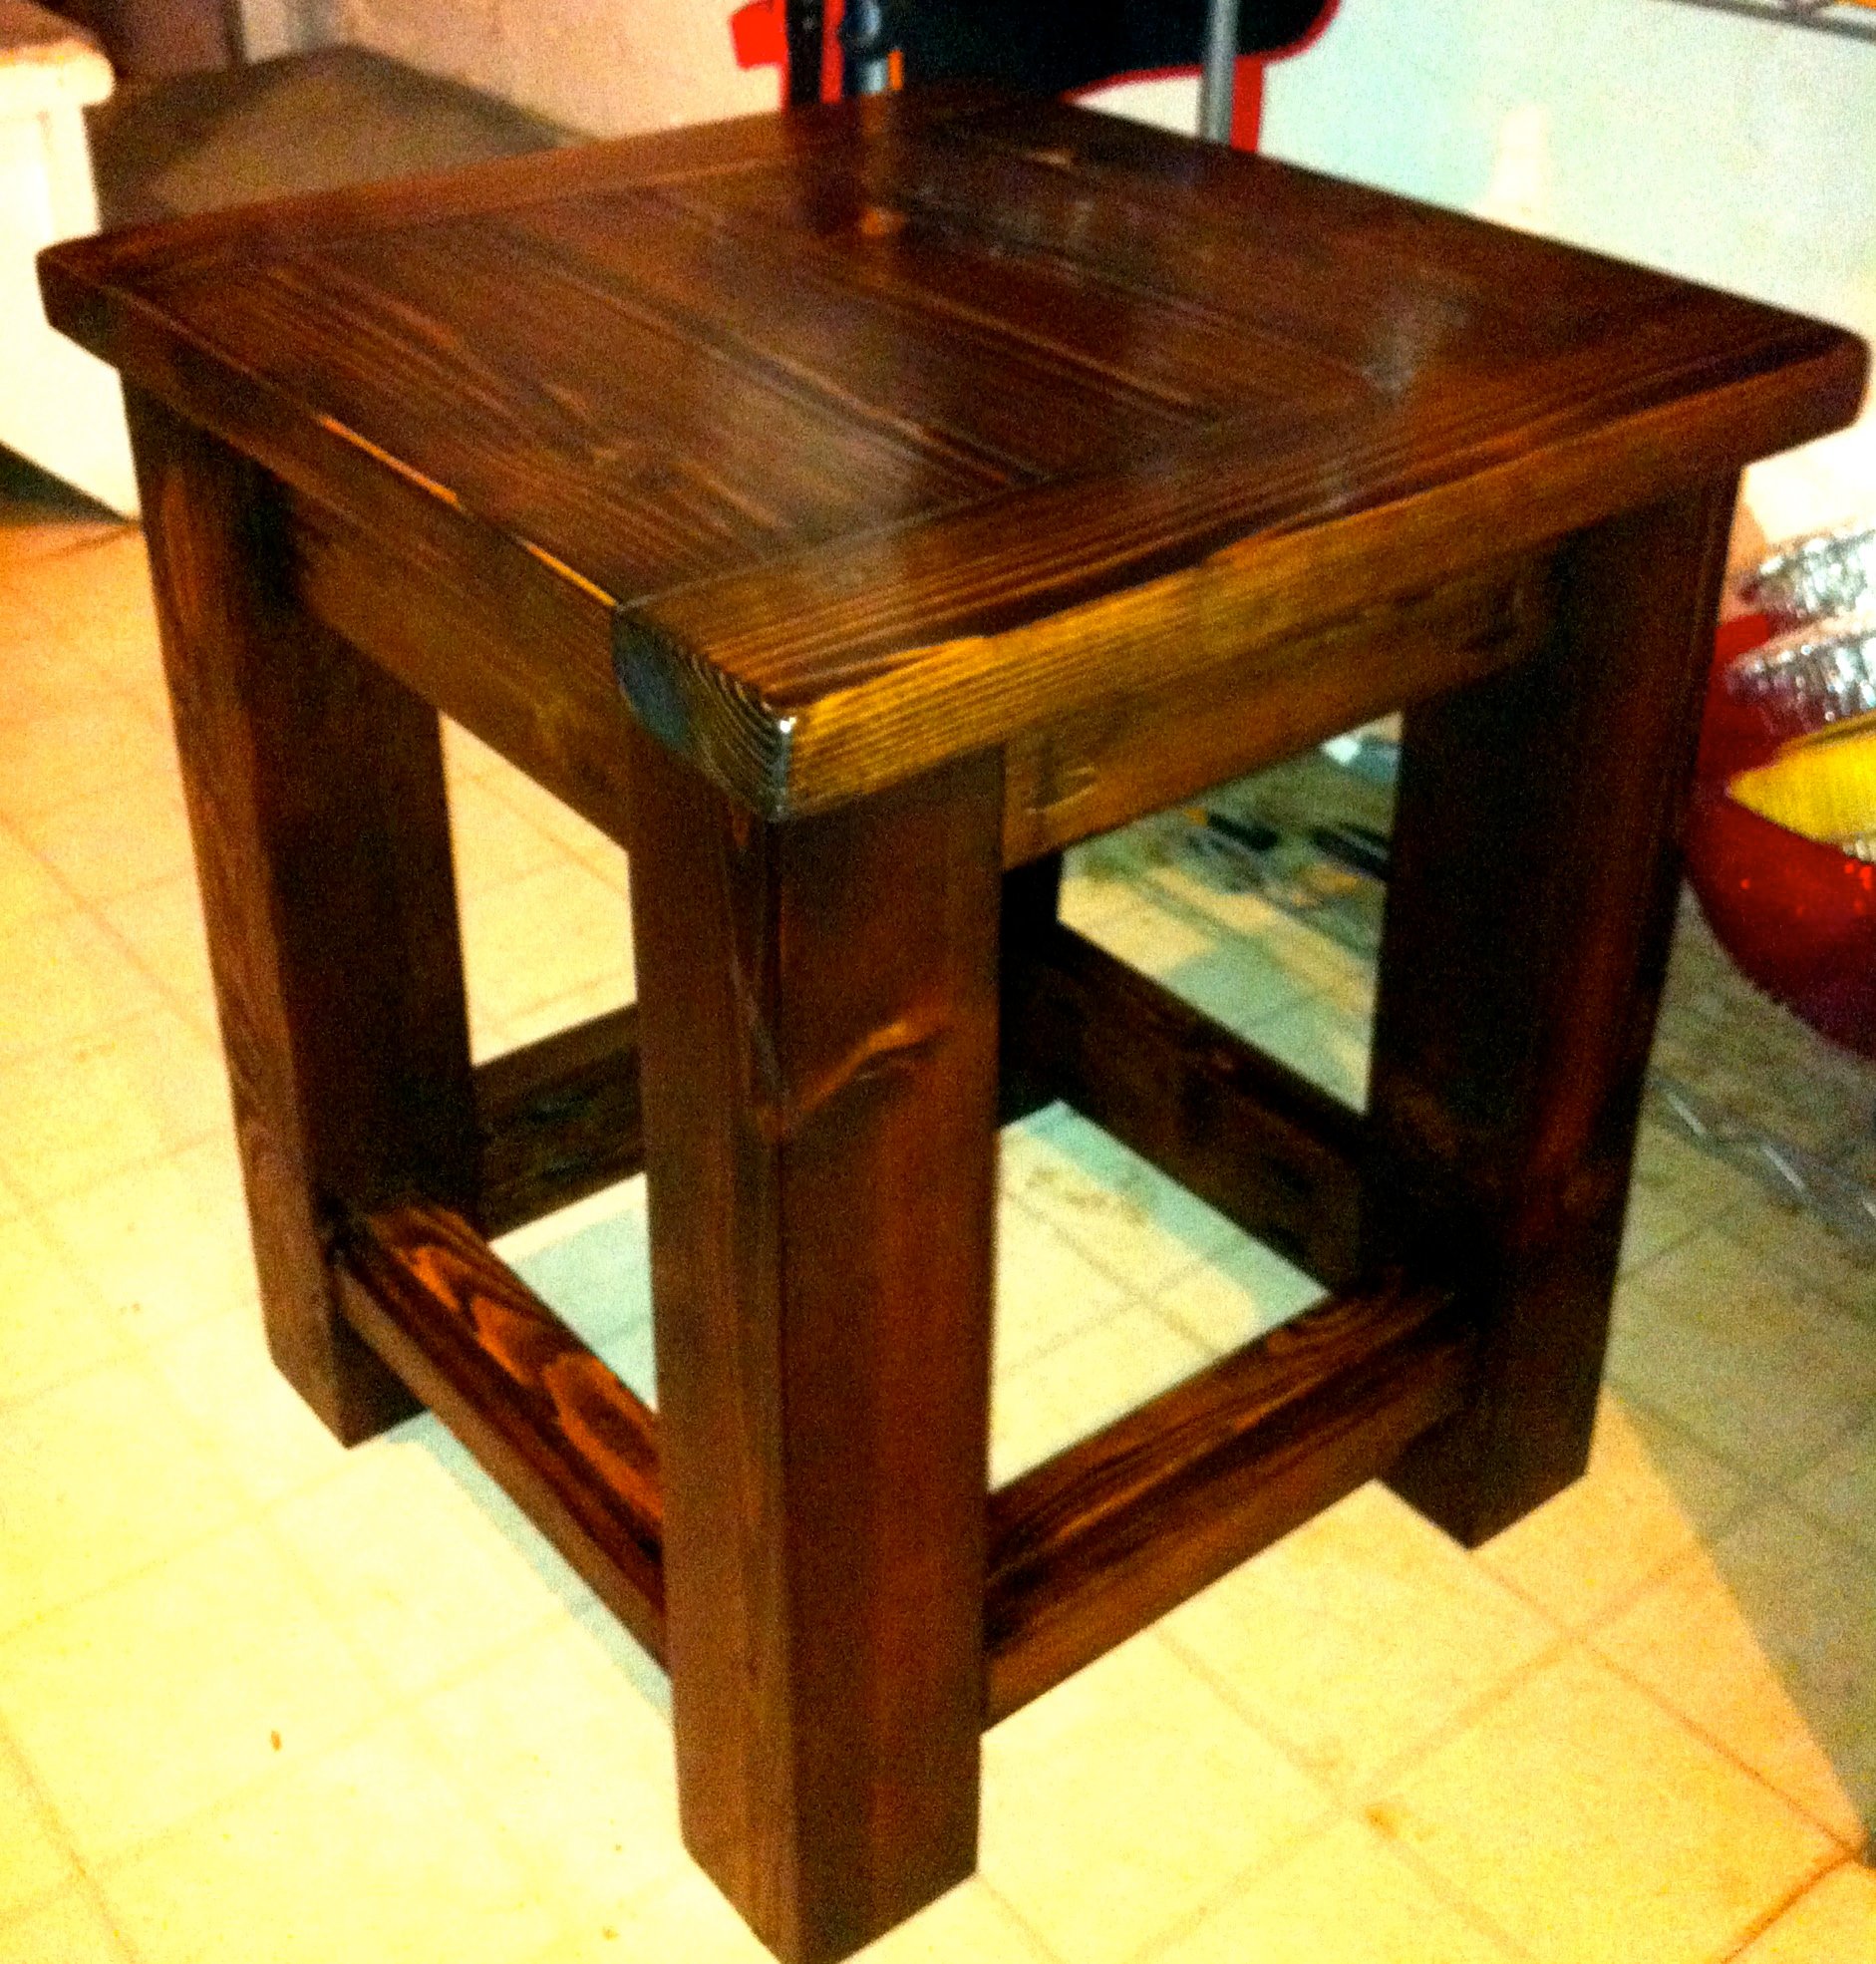
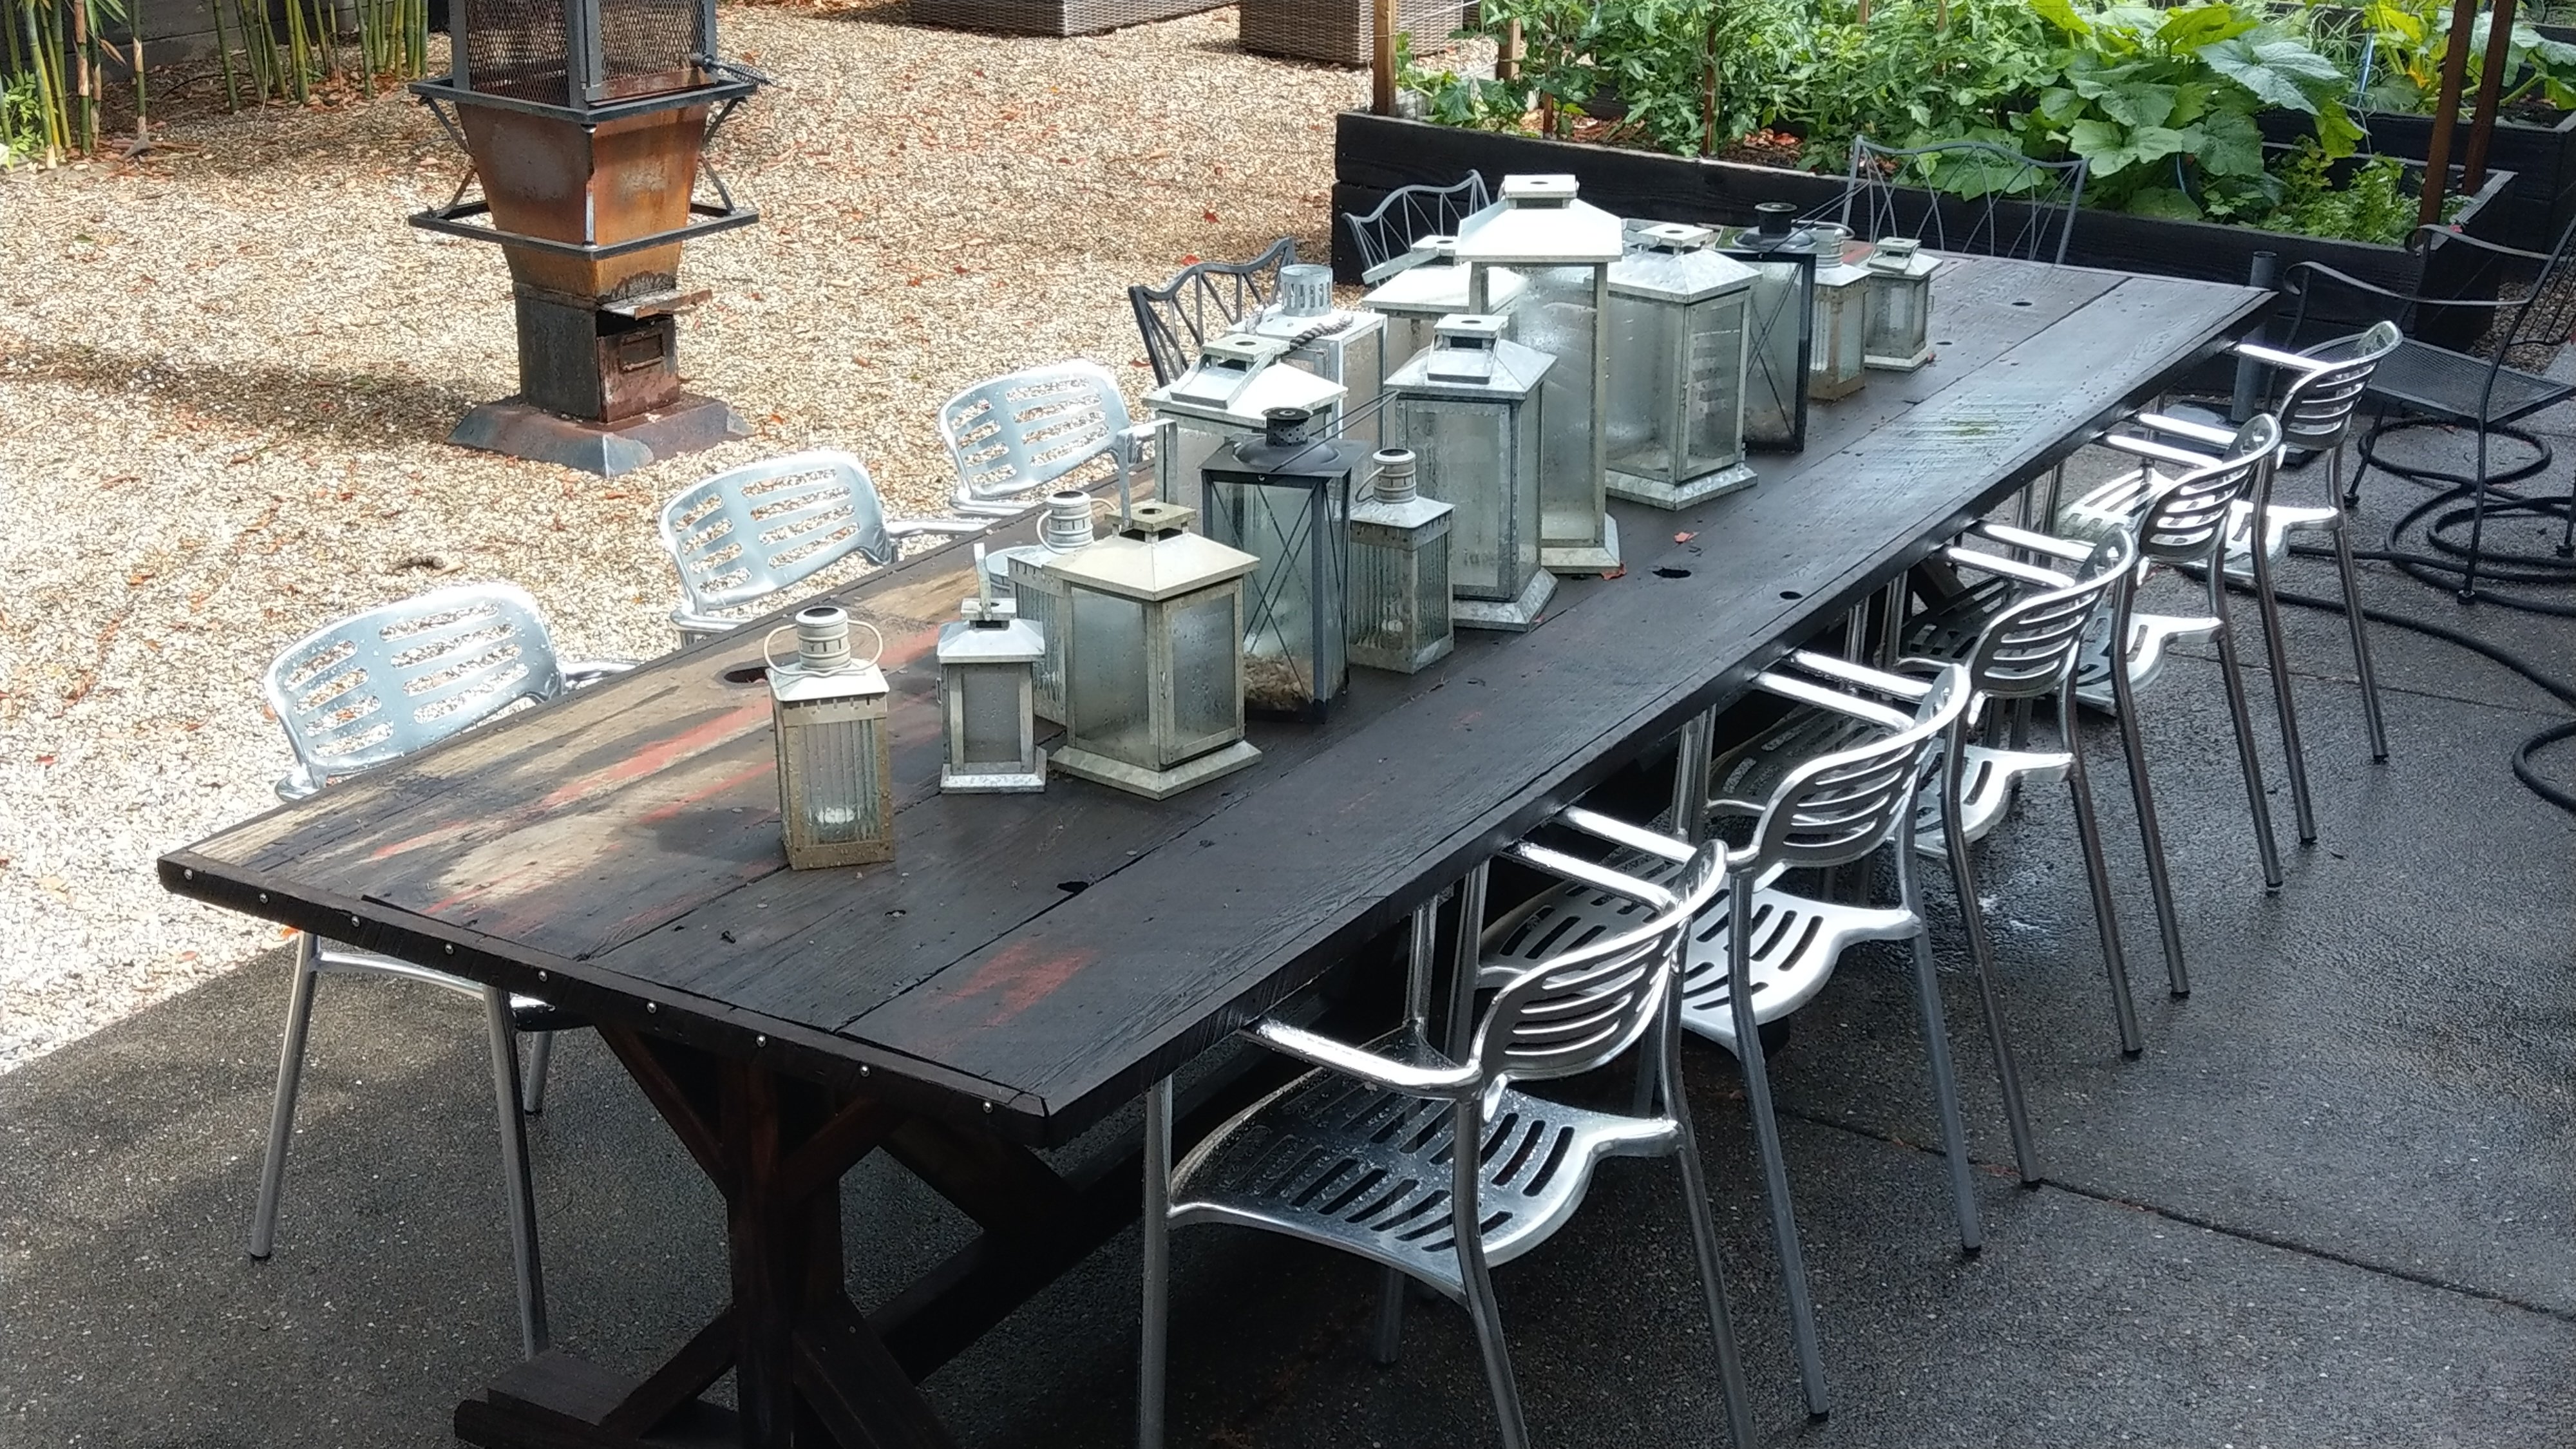
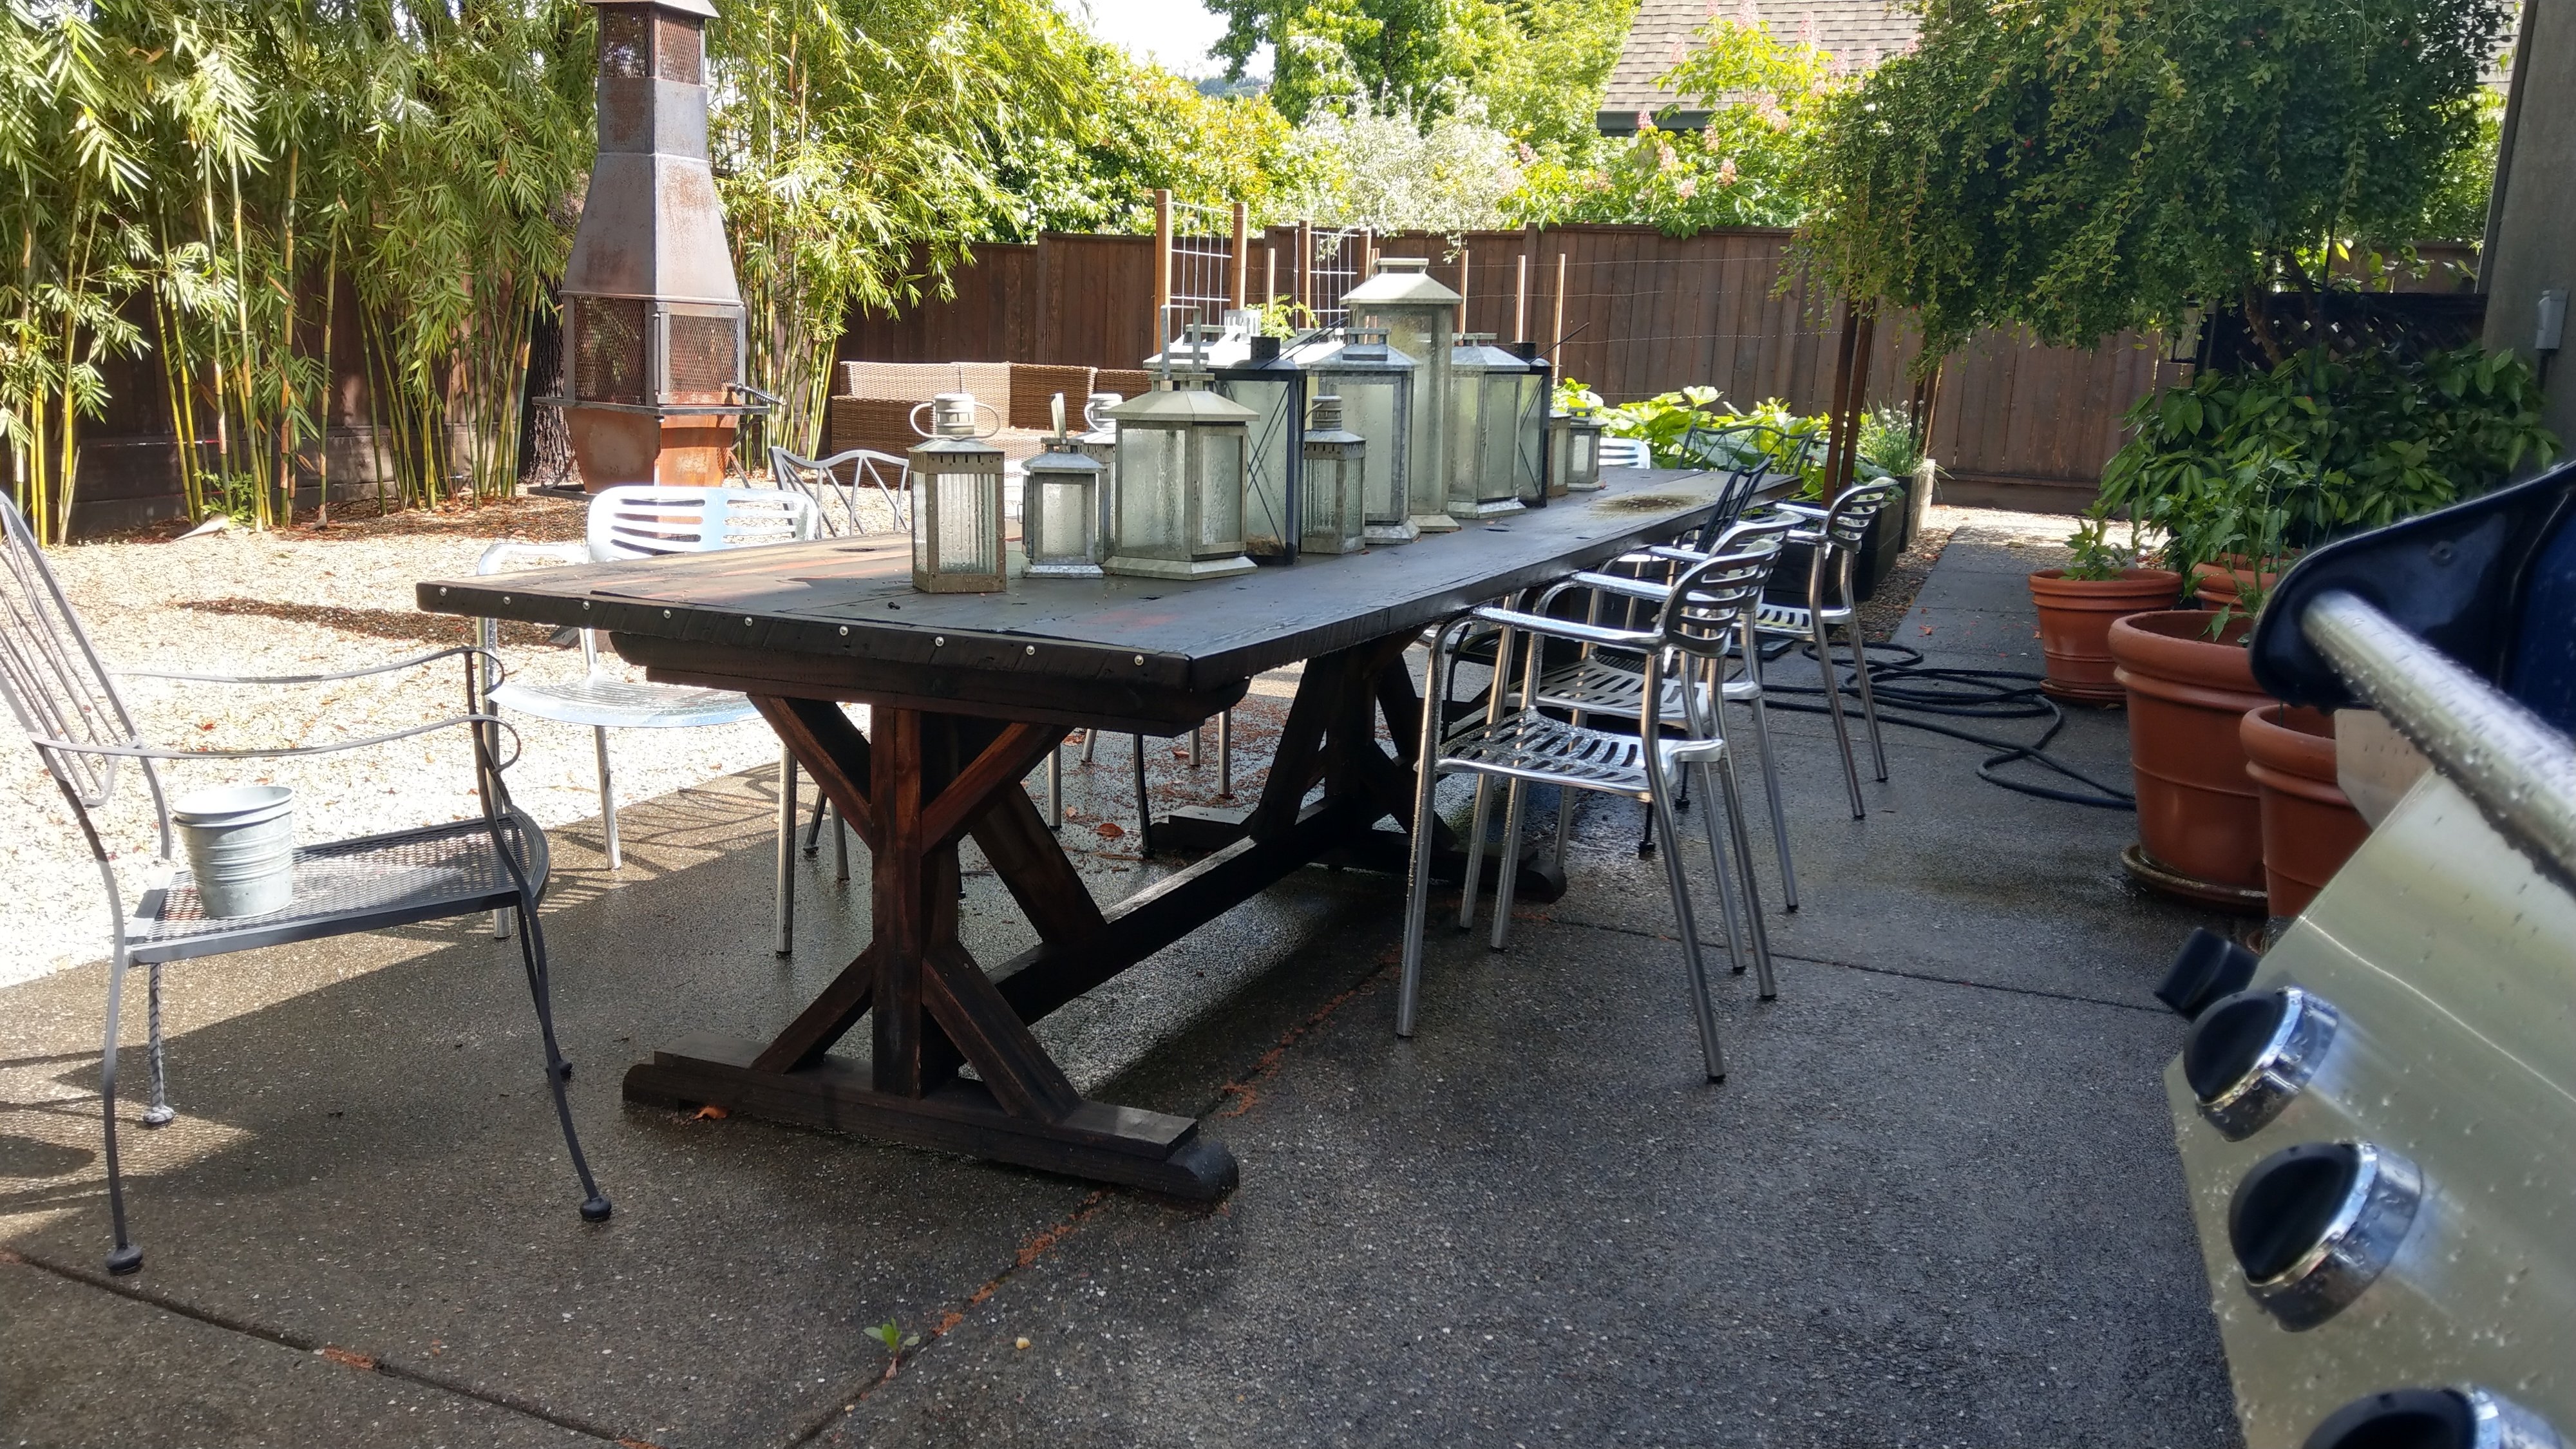
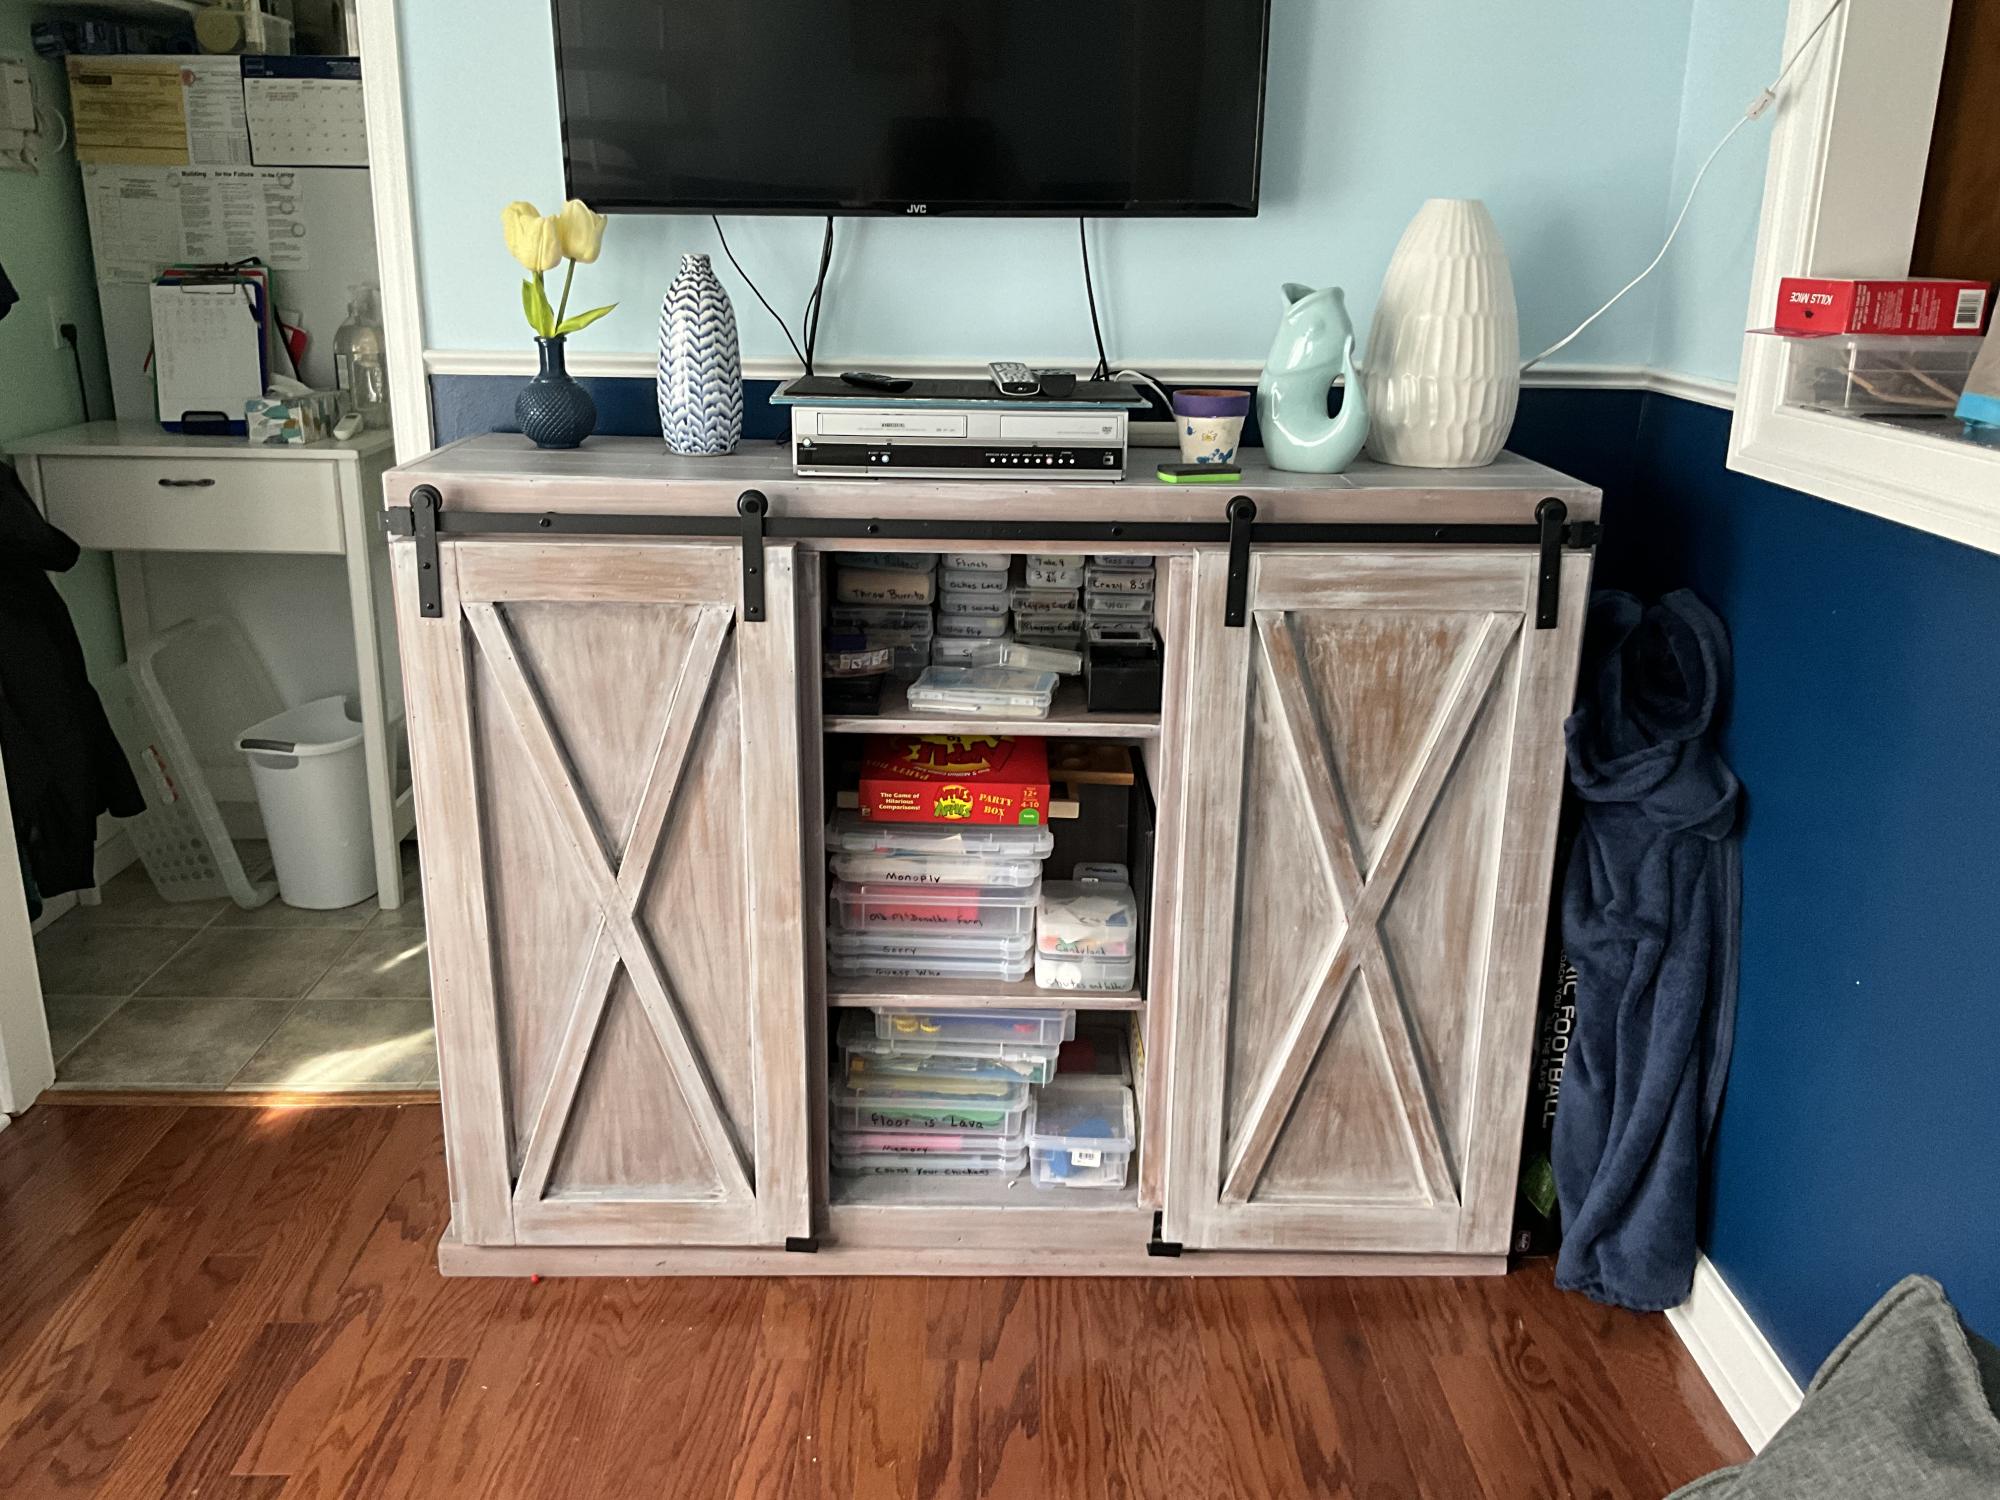
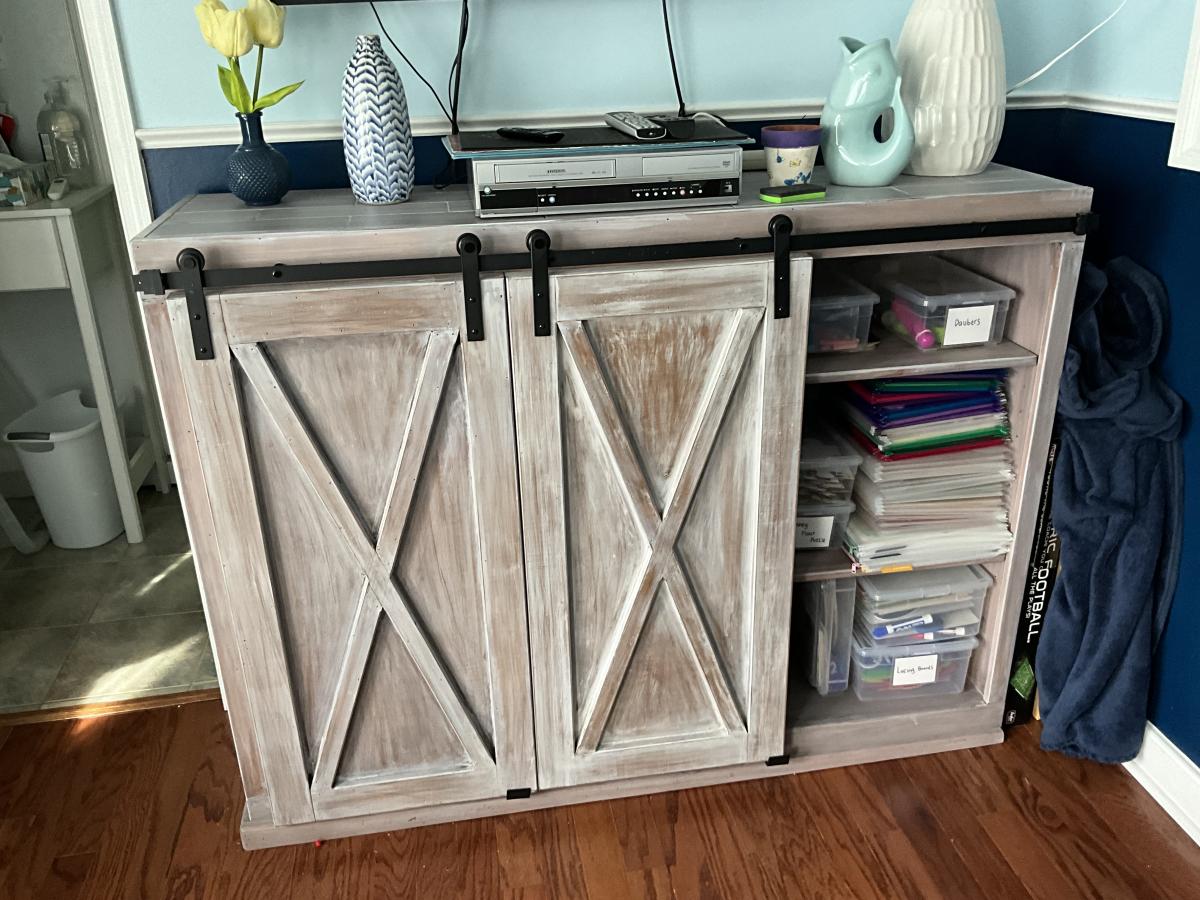
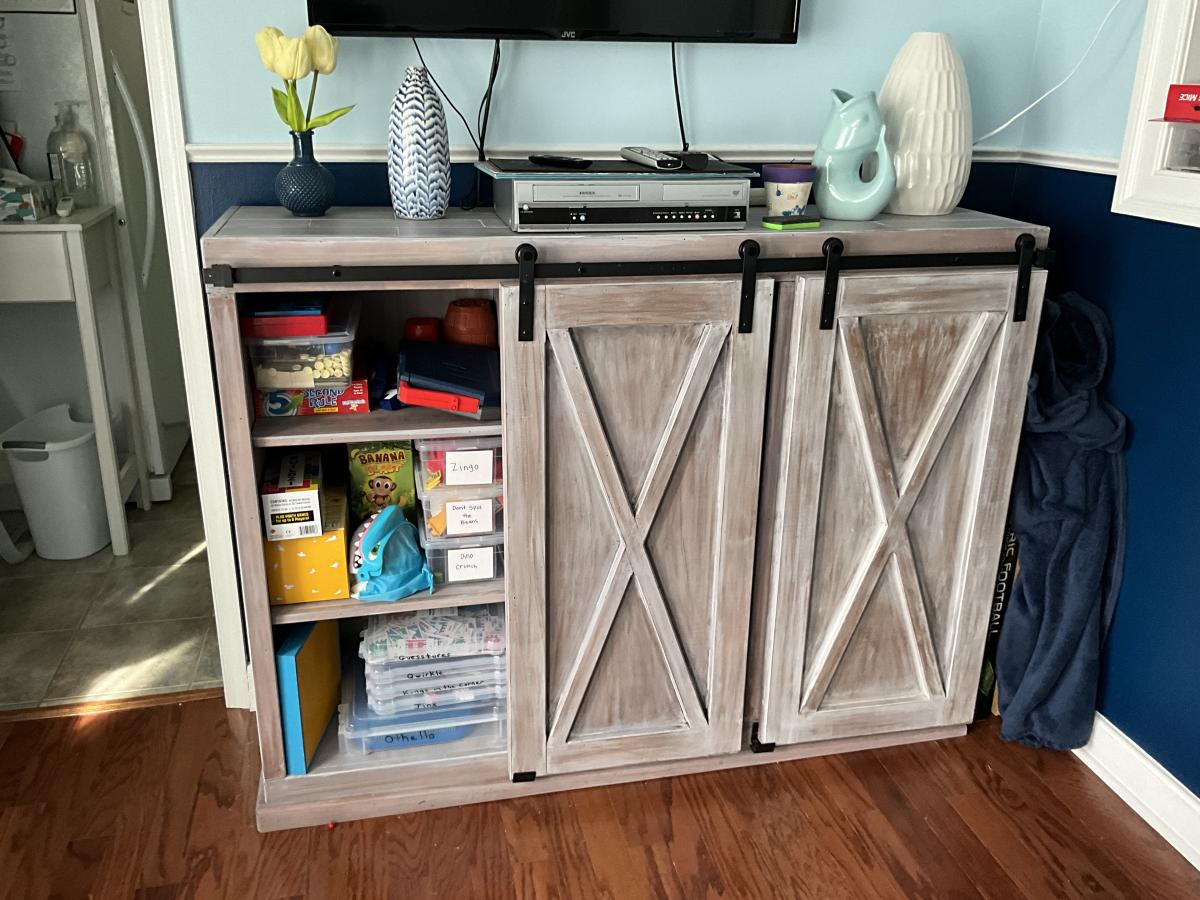
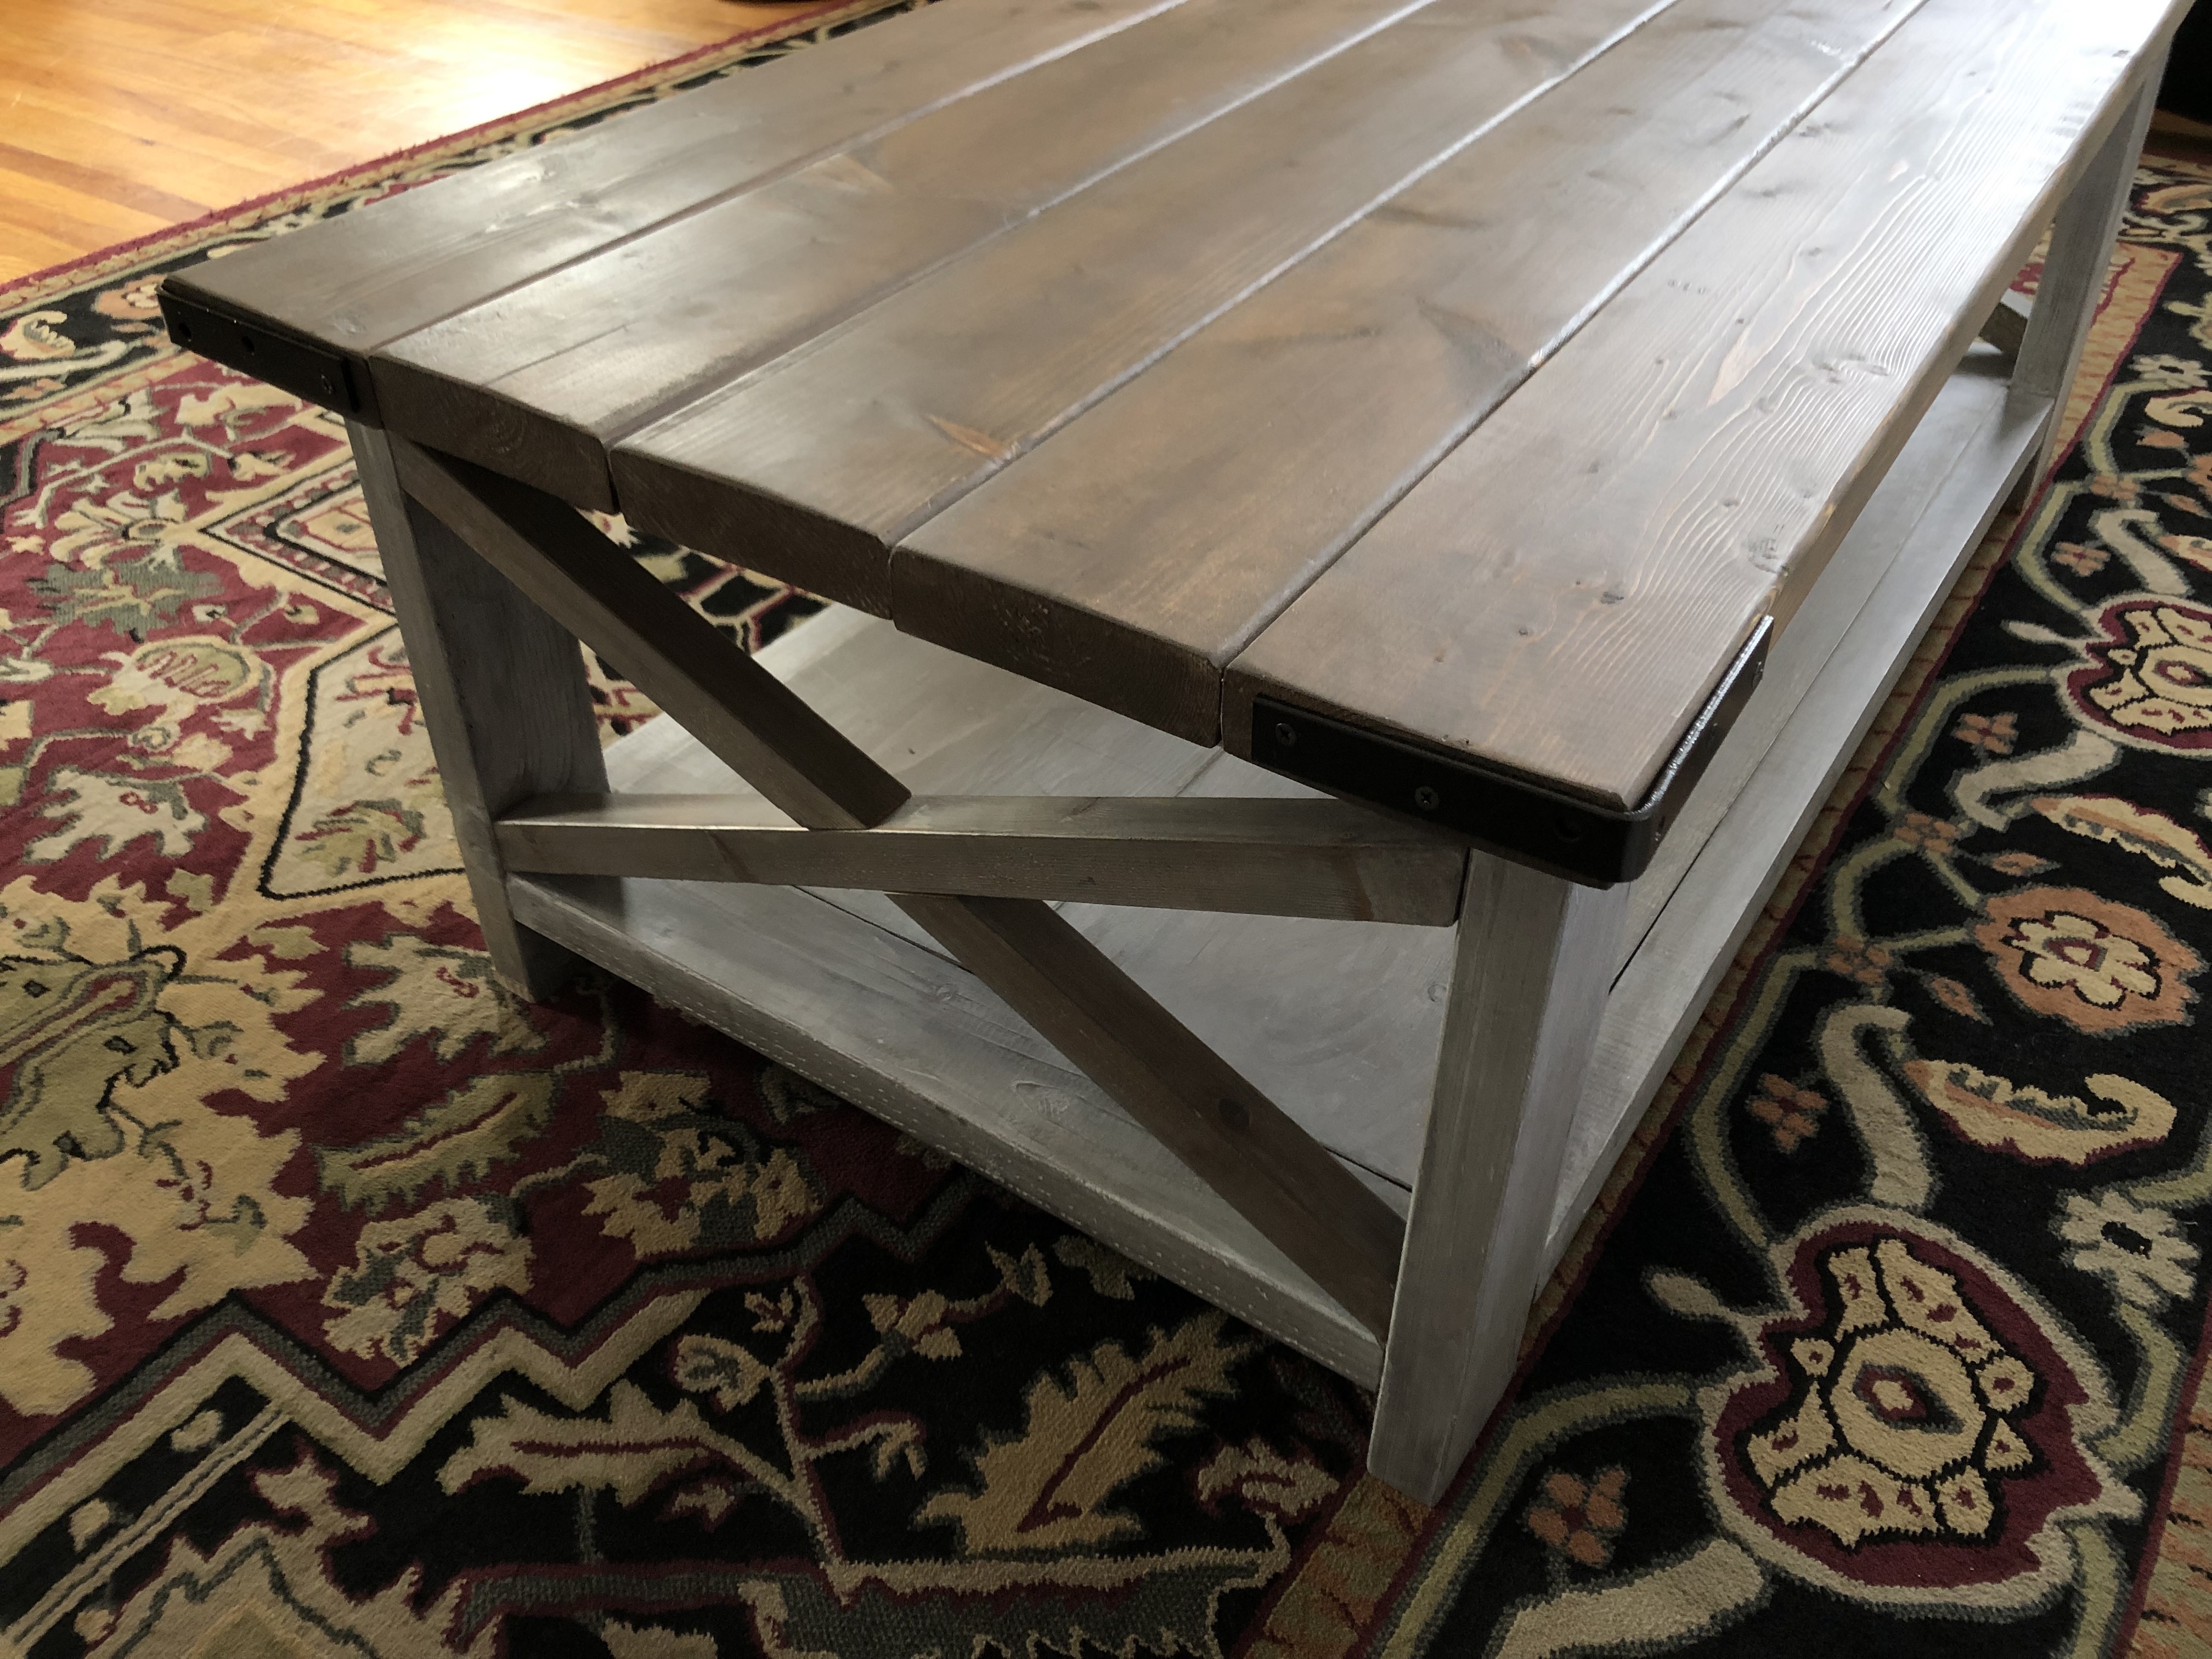
Love My Rustic X Coffee Table
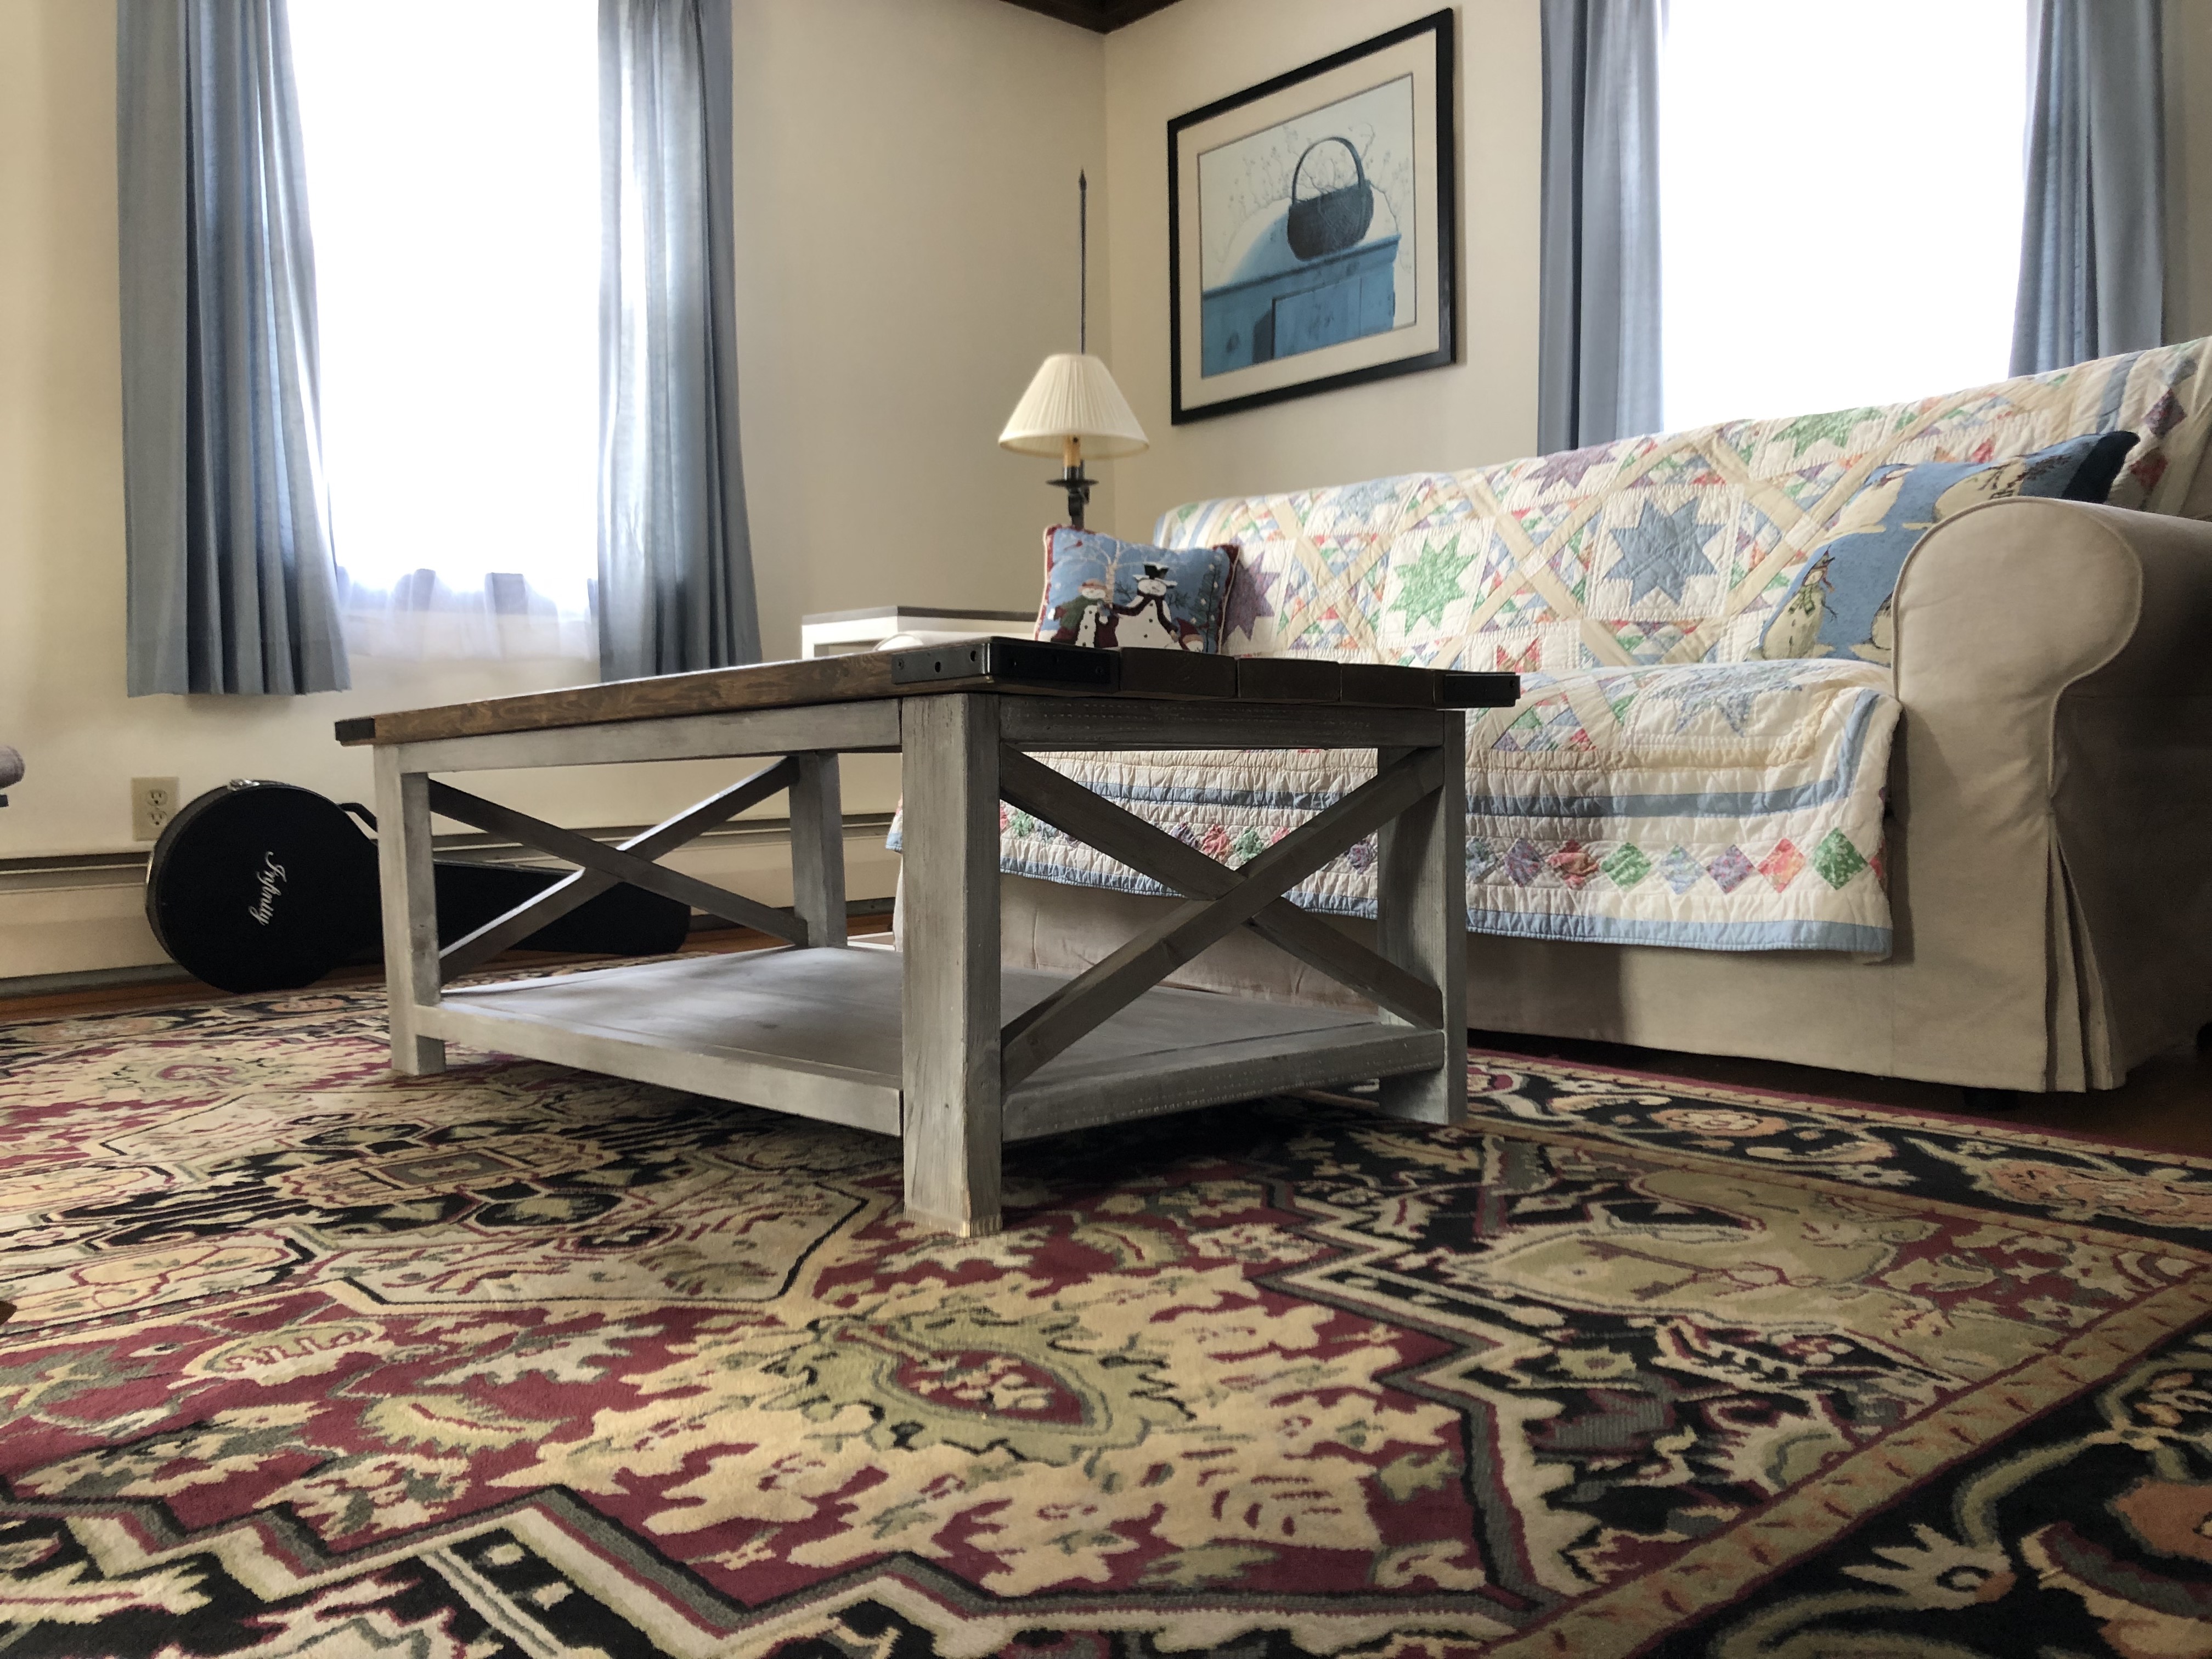
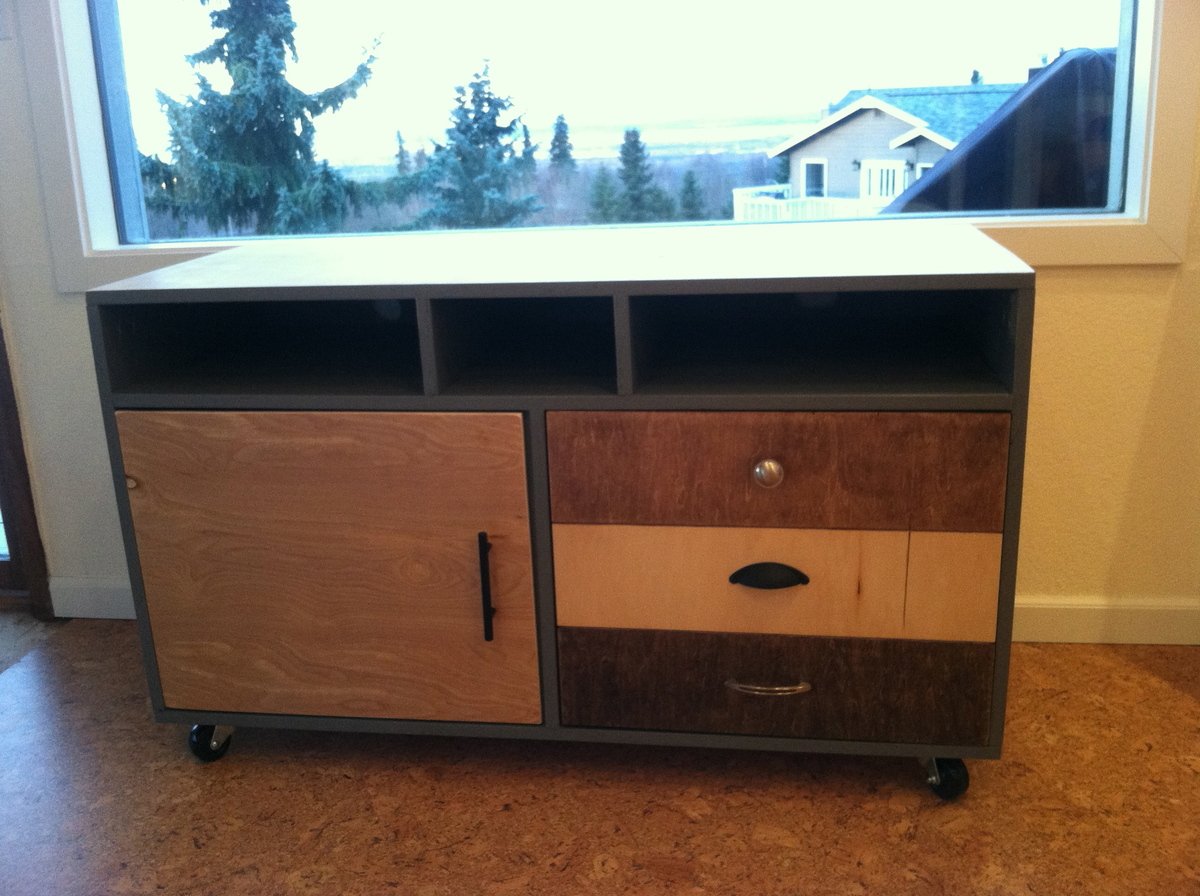
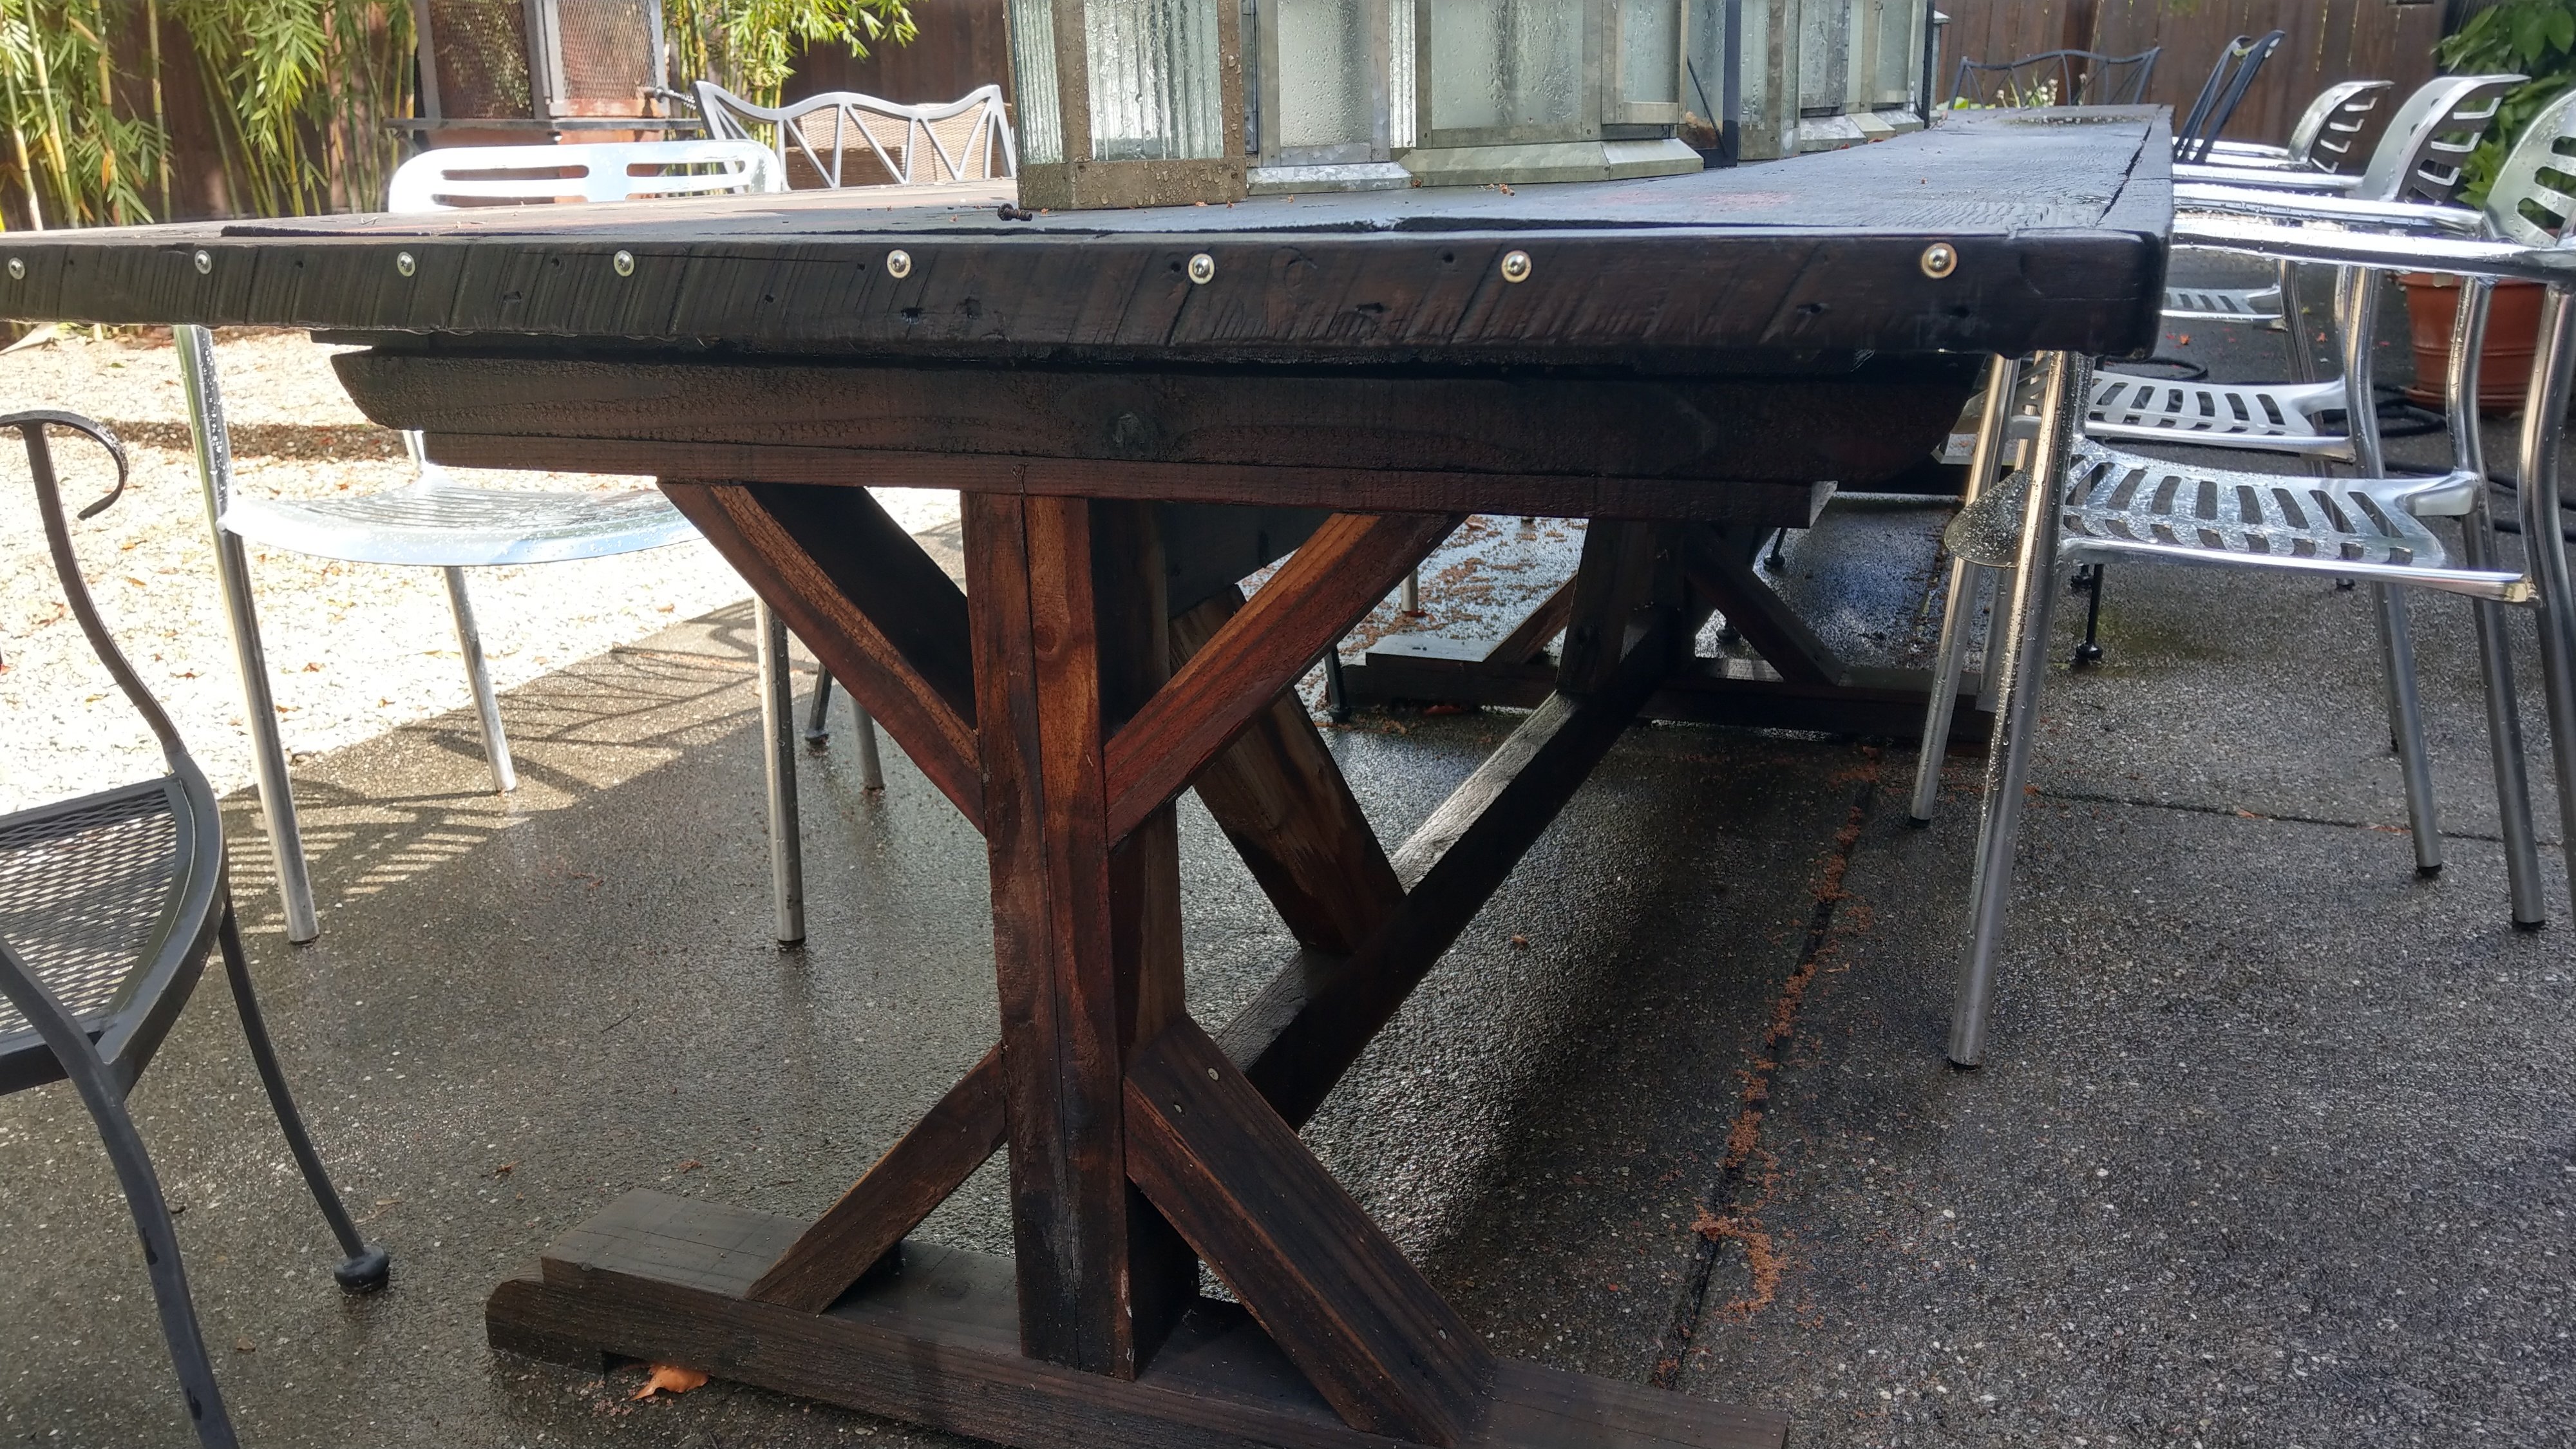
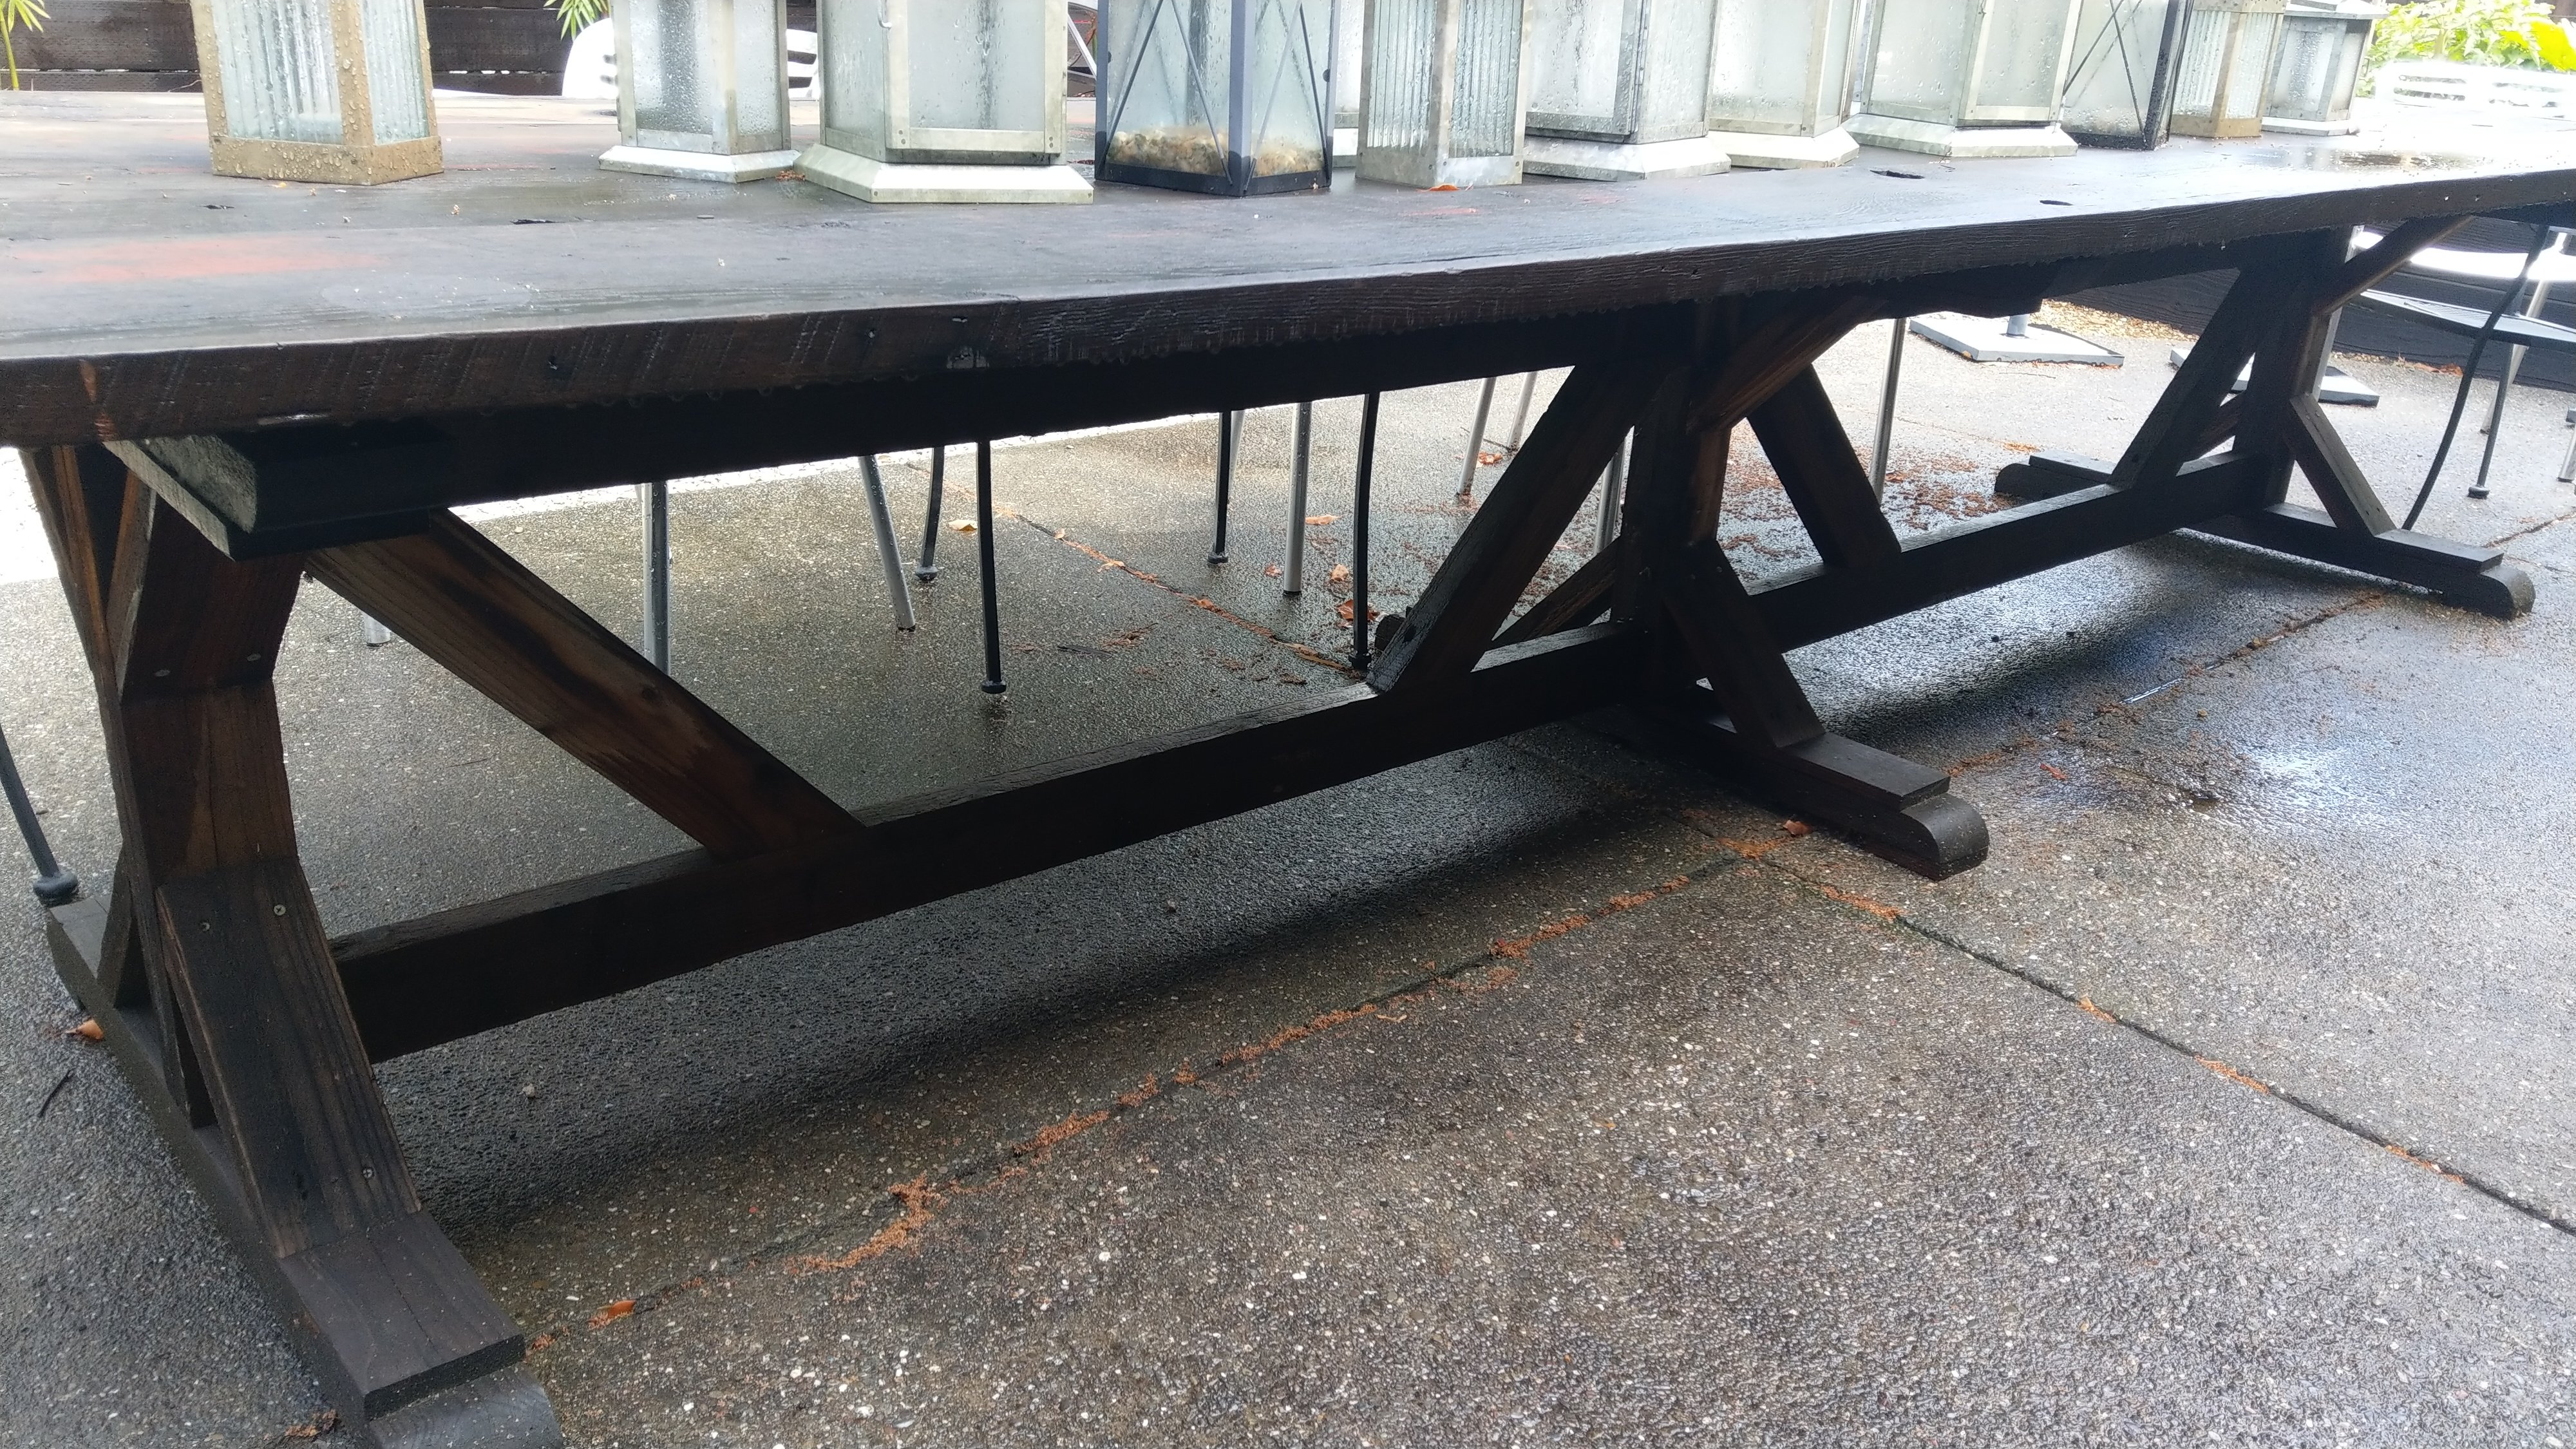
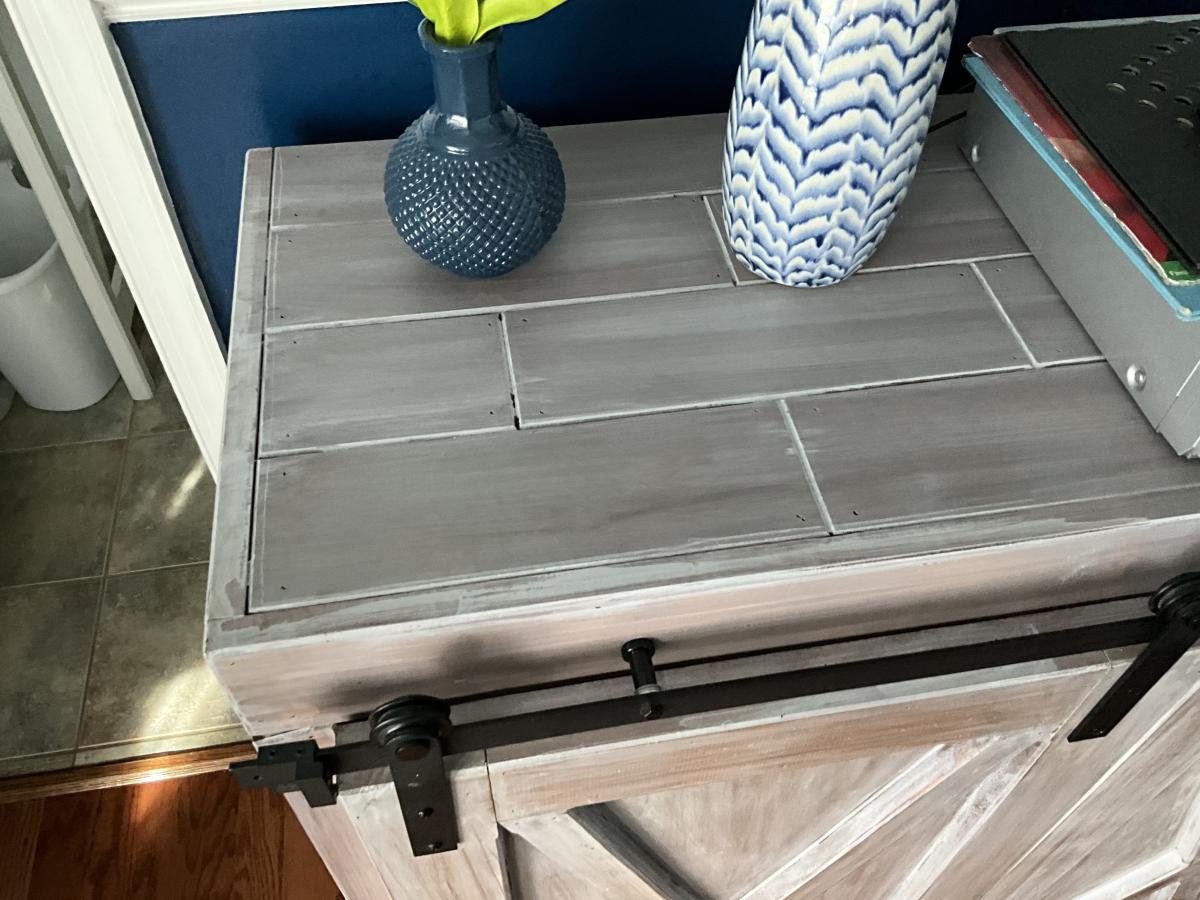
This was a challenge for me, since those 2x6 top boards were slightly twisted and or cupped. I love the X detail and that was fun to put together. I found some "L" brackets and spray painted them for the ends. I stained all the wood first, before assembling.It's a gray/brown stain, one of my favorites. I decided to white wash over the stain doing all of table except for the top. I used a wax finish.
Love it, many times my ukulele, mandolin, banjo and fiddle are all tucked away underneath.

Built from Plan(s)
Estimated Cost
$80-$100
Estimated Time Investment
Weekend Project (10-20 Hours)
Finish Used
1. Varathane Fast Dry Wood Stain - Briarsmoke, 2. Rust-Oleum Chalked Paint - Linen white,
3. Howard Citrus-Shield Premium Paste Wax. I diluted the Linen white chalked paint with water, about 50/50. The day after I stained the wood, I took a cloth (you could use a brush, too) and wiped on the diluted paint. After a few minutes, I wiped off the paint with a clean cloth until I achieved the finish that I wanted.
3. Howard Citrus-Shield Premium Paste Wax. I diluted the Linen white chalked paint with water, about 50/50. The day after I stained the wood, I took a cloth (you could use a brush, too) and wiped on the diluted paint. After a few minutes, I wiped off the paint with a clean cloth until I achieved the finish that I wanted.
Recommended Skill Level
Beginner